Shoe Dresser
I had this space in my mudroom that was a perfect spot to make a custom shoe dresser. I adjusted the plans I found on this website to custom make storage for shoes. Now this weird little space is functional.
Used the Camp Loft Bed with Stairs Plans but double the bed rails. I just loved that the stairs and platform make it a little safer getting in and out.
The garage loft bed was inspired by the plans on your site. I beefed up the framing with 2xs and found siding panels at my local big box.
Tue, 04/21/2020 - 13:23
Wondering if anyone has the plan to this my boys are wanting a garage themed room and this is perfect!!
Inspired by the RH Balustrade Salvaged Wood Coffee Table.
I modified the plans for the Classic Bunk beds by making them 74" tall instead of 63" and added a fourth slat all the way around to add more protection from potential falls. I created one opening in the front for my youngest to get into the bottom bunk, and built slats about 2/3's across the front to act as a gaurd rail. I created another opening on the side for my oldest to get into the top bunk with stairs instead of ladders to again prevent falls. I had to modify the Sweet Pea stairs to accomodate for the extra height in the bunk beds, simplified the railings, and I created each cubby to be big enough to use cloth storage totes that were 11x11x11. Sanded the whole bed and stairs so the corners and edges were all rounded and smooth, and put two coats of white Deck and Porch paint to stand up to the the boys running up and down. I used brackets to secure the stairs to the bed, and sixteen 3" bolts to bind the bed together. Precut and drilled 17 slats for each bed seperated them 2" apart. Spent a few hours every night during the week measuring, cutting, glueing, drilling and assembling the bed and stairs. Spent an entire weekend sanding and painting. Very happy with the way these beds turned out. Overall cost of the project including the paint was around $400.
Built the porch swing and was inspired to build the glider frame by another "Brag Post" Looks great and fits perfectly in my back yard!
Fri, 02/18/2022 - 08:20
Are there any dimensions for the glider part? I have first year agriculture students building this, but we are unsure of the cut list for this. I am sure I can figure it out as the teacher, but with 20 students in the class, it would be better to be able to give them instructions to follow on paper. Thank you!!!
I was really into building things and DIY over 10 years ago, but due to work/life I hadn't done anything since 2009. I was going pretty crazy working from home during the pandemic, and decided to get back into home improvement to have something to look forward to. After doing some painting and building a few accent walls out of shiplap and reclaimed wood (and loving it), I decided to turn my single car garage into a shop. This is when I found Ana White, and absolutely loved the plans and videos around the wall storage and workbench. I can't believe how sturdy everything is, how straightforward the plans are, and how well this turned out. It made me want to build all the things, and I'll be taking on many projects in the future. (my apologies for the pictures being in the wrong orientation - can't seem to adjust them)
Enjoyed this project although with the price of lumber it was a little expensive to build. The only modification I made was to put a cross brace in the centre of the table top. That allowed me to attach the top boards a little more securely as some of them were a little bowed. I'll add a better photograph once I get it out of my garage and on to the back deck. It is a little heavy.
This was my 2nd woodworking project, so I was very pleased with the results. I wanted more seating and storage for my office area. I liked the look of the Farmhouse Storage Bed, so I decided to modify the plans and turn it into a bench. I made the seating area 30" wide and 68" long. Instead of headboard and footboard, I made 2 sides that were about 40" tall (36" 4x4 plus the 2x4 and 2x6). I made 3 24" deep drawers and left the back side open so that I can store electronics that need to be charged in them with the cords hanging out the back of the drawers. It was a lot of fun to make, and I know that my family will enjoy it!
Weekend project, I used 4x4's instead of the 2x4's to give a heavier look, now off to buy a bandsaw to give them a 1/4" taper to give a more refined look.
Sat, 12/28/2013 - 08:39
What were your dimensions since you went with 4x4 instead of 2x4?
Built from the farmhouse potting bench plan
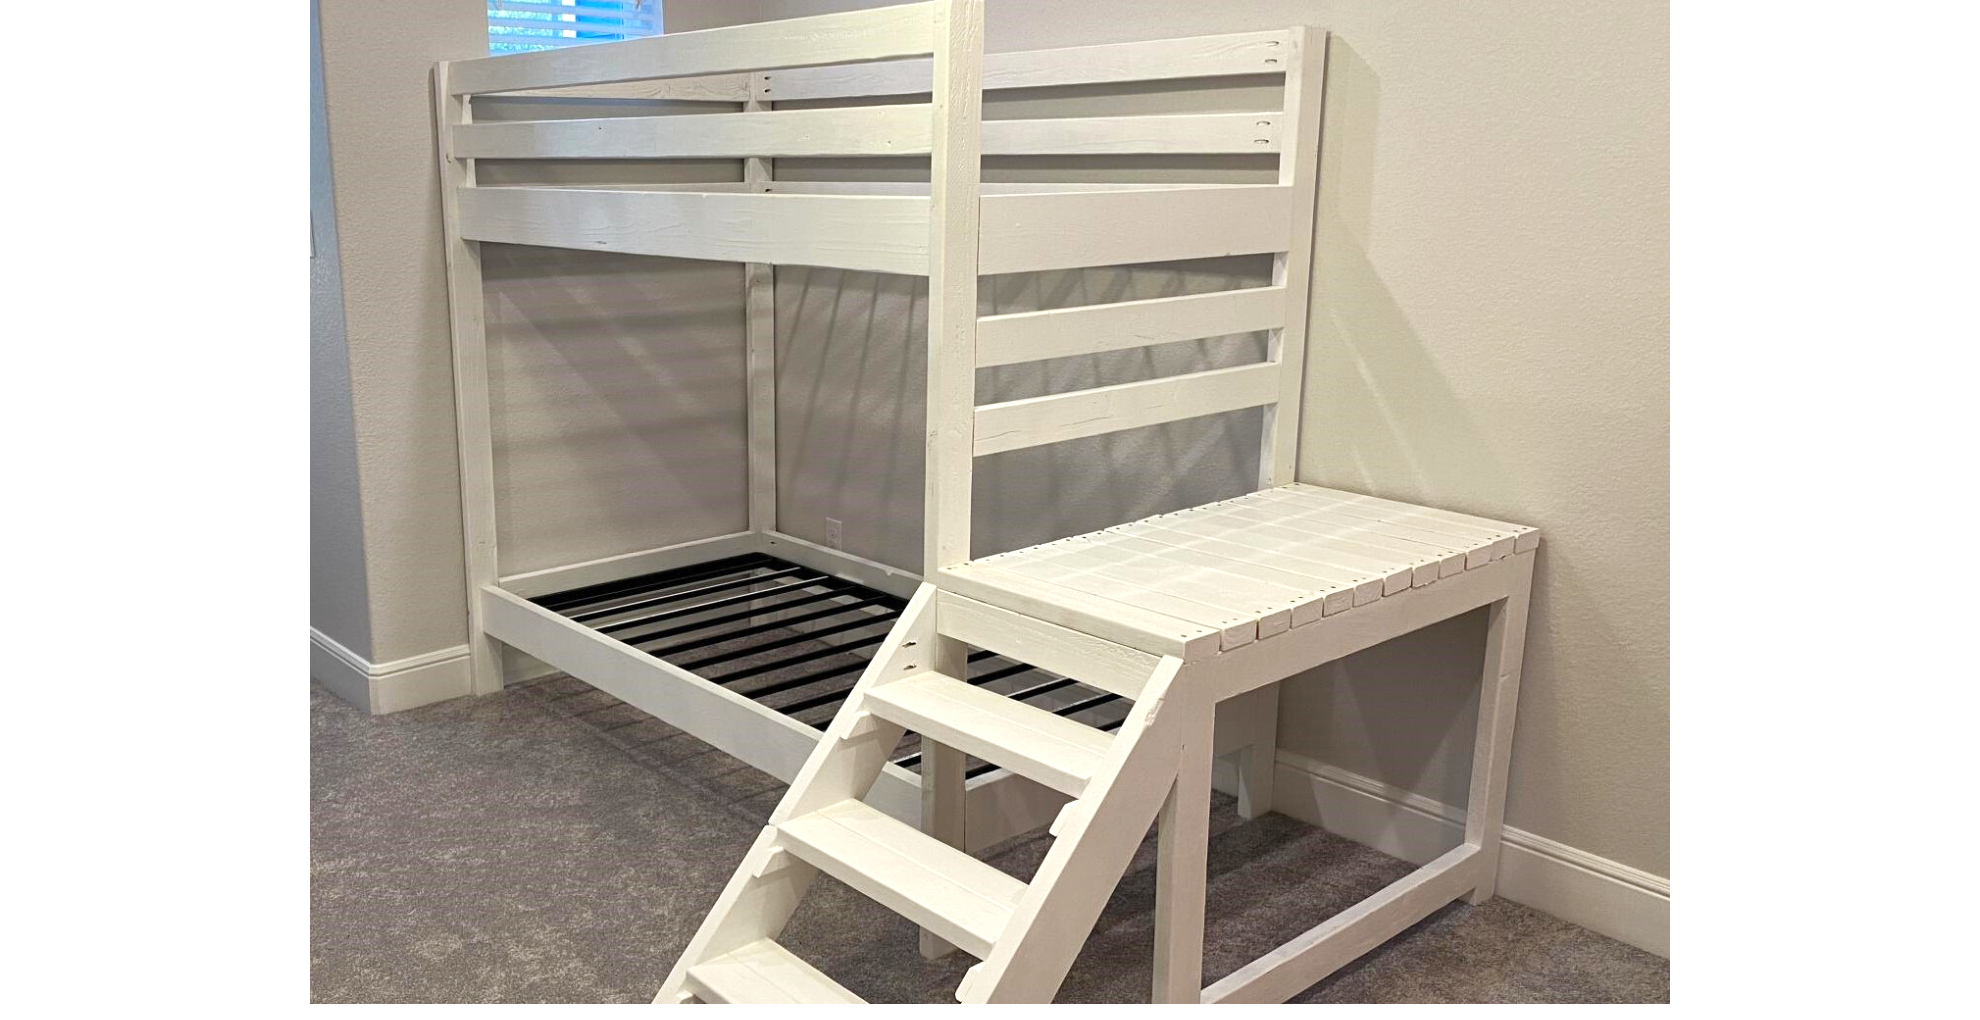
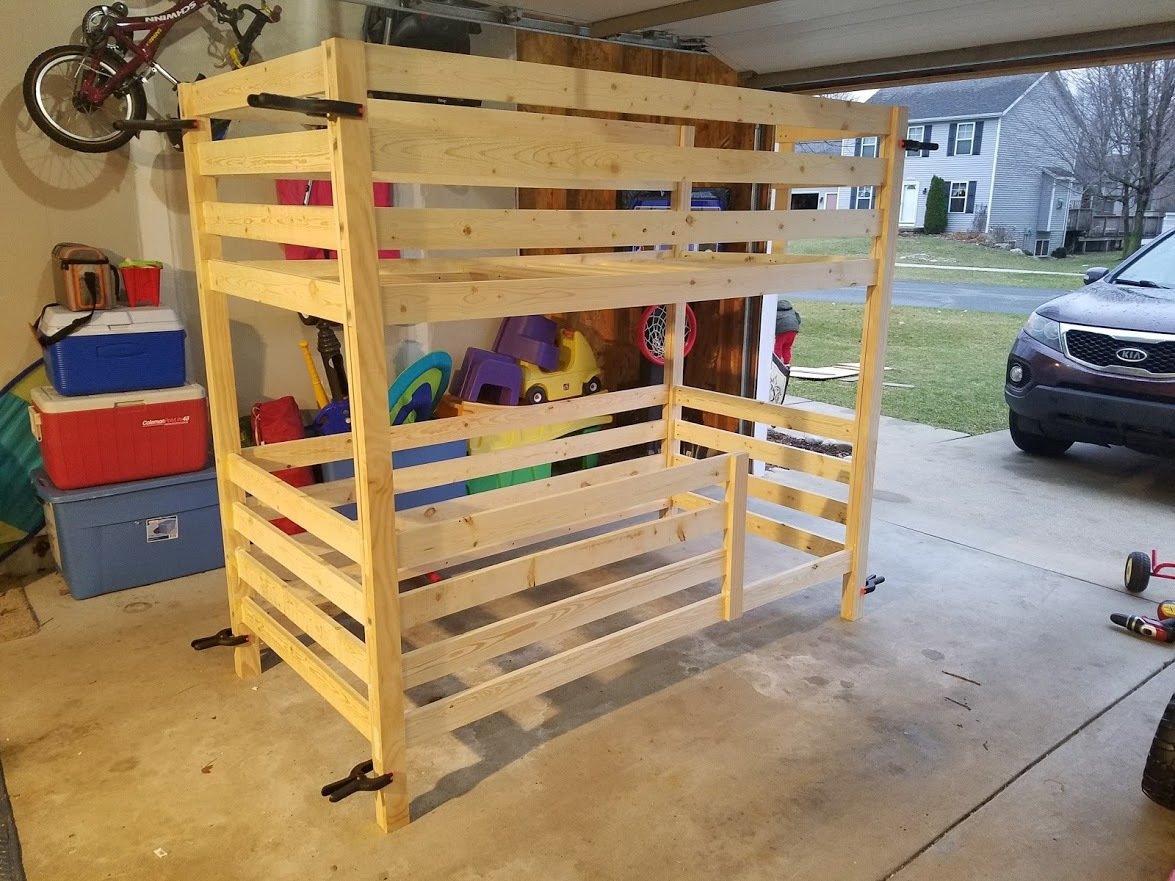
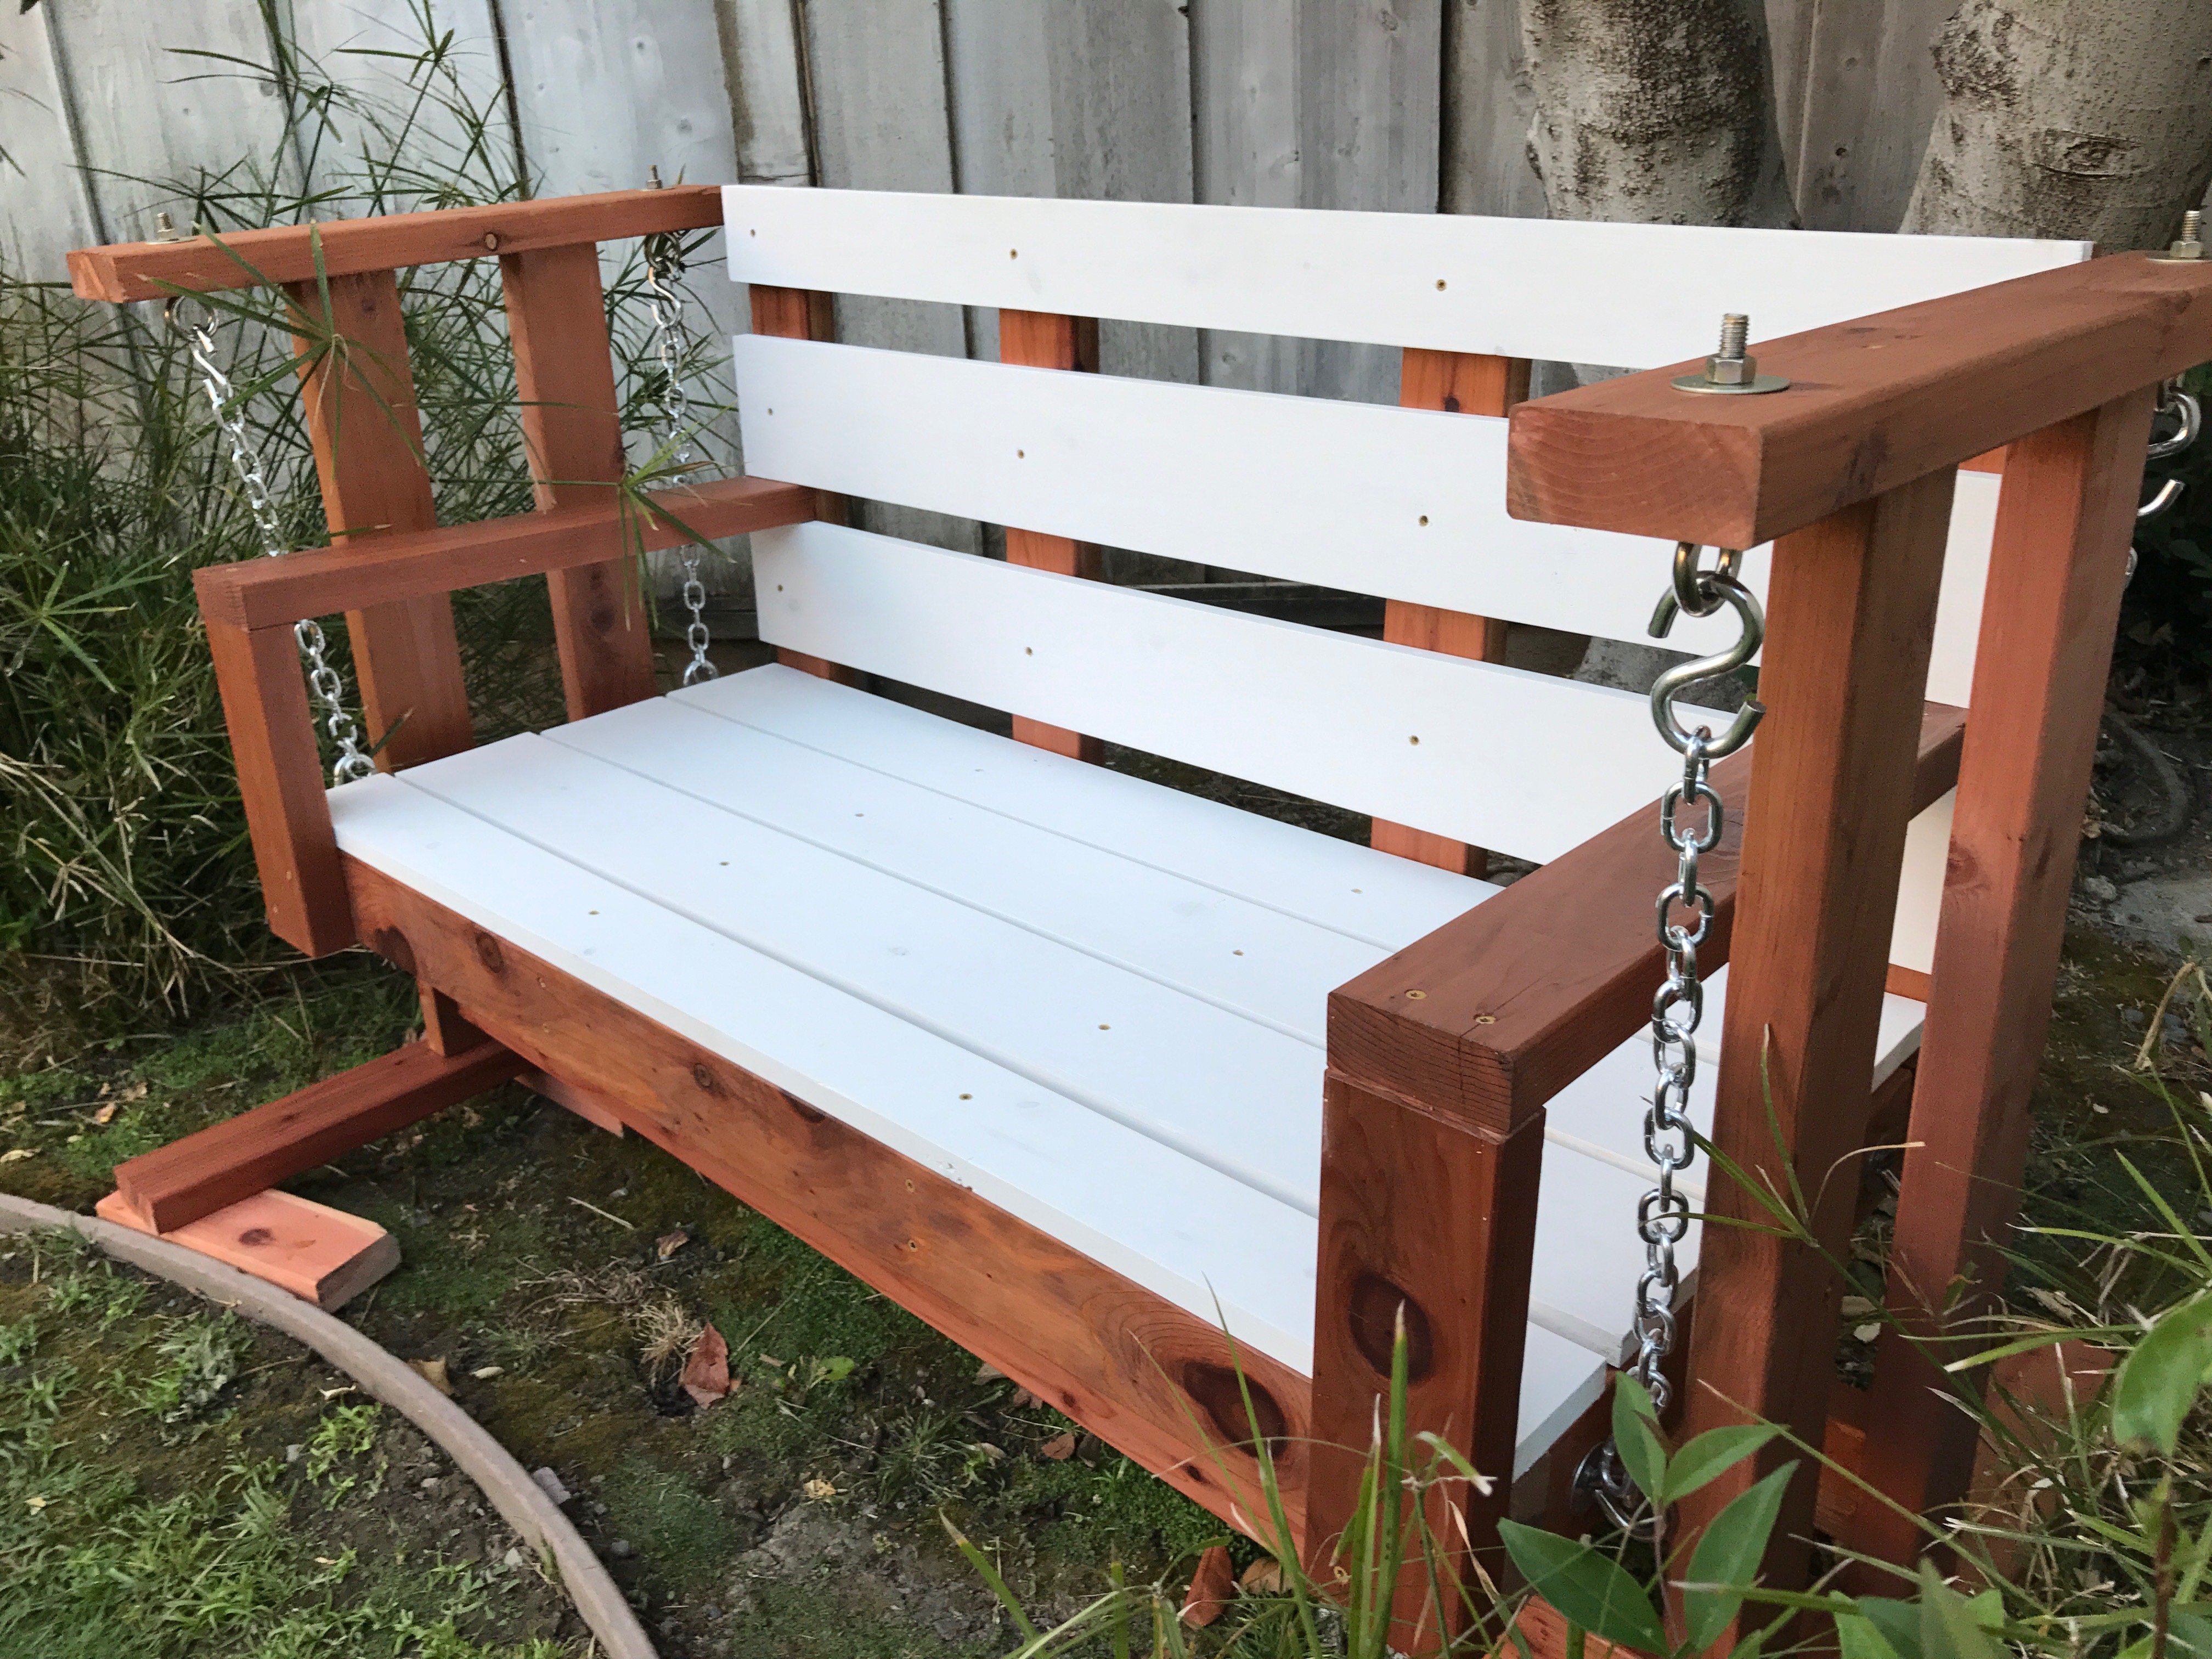
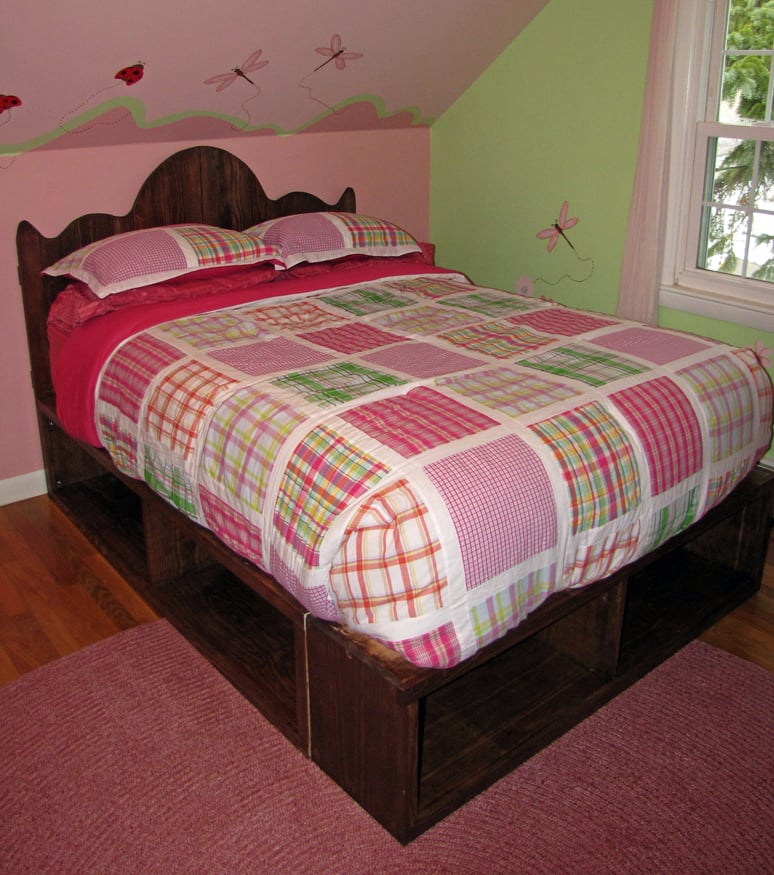
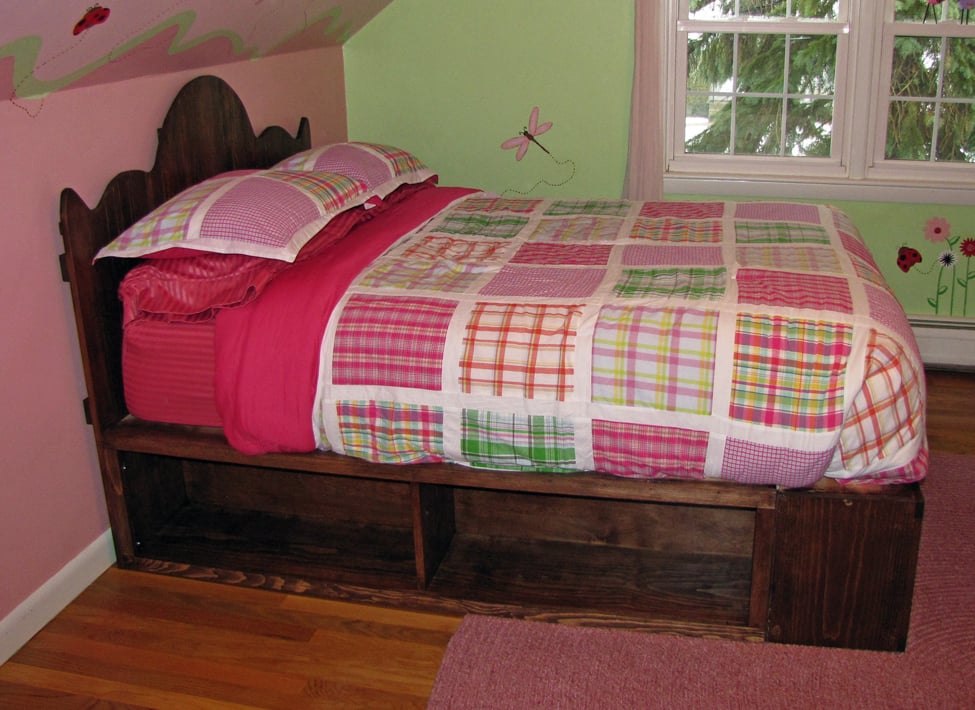
My little girl needed an upgrade from her toddler bed. I've made a few benches and factory coffee table (all from this site and yet to be photographed), but I needed to step out of the comfort zone and handle a "big" project.
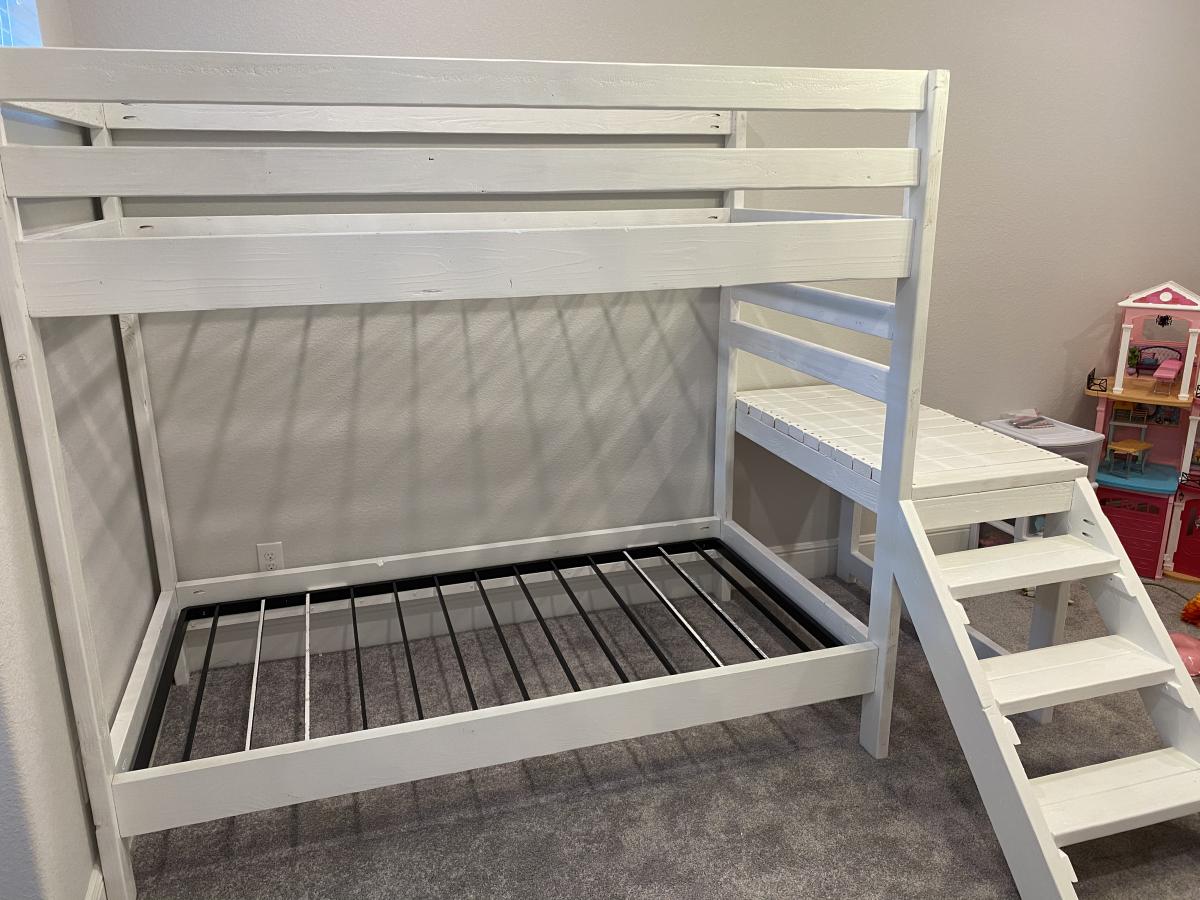
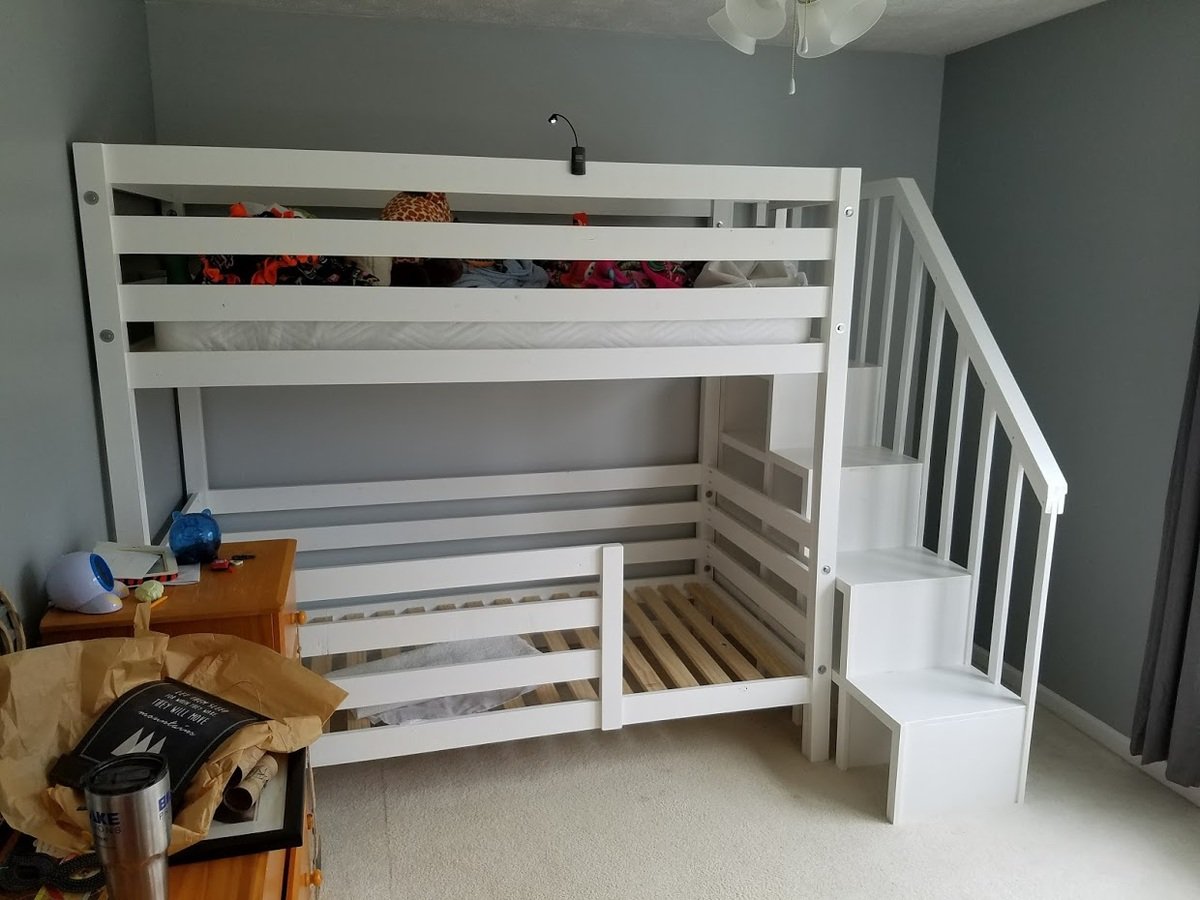
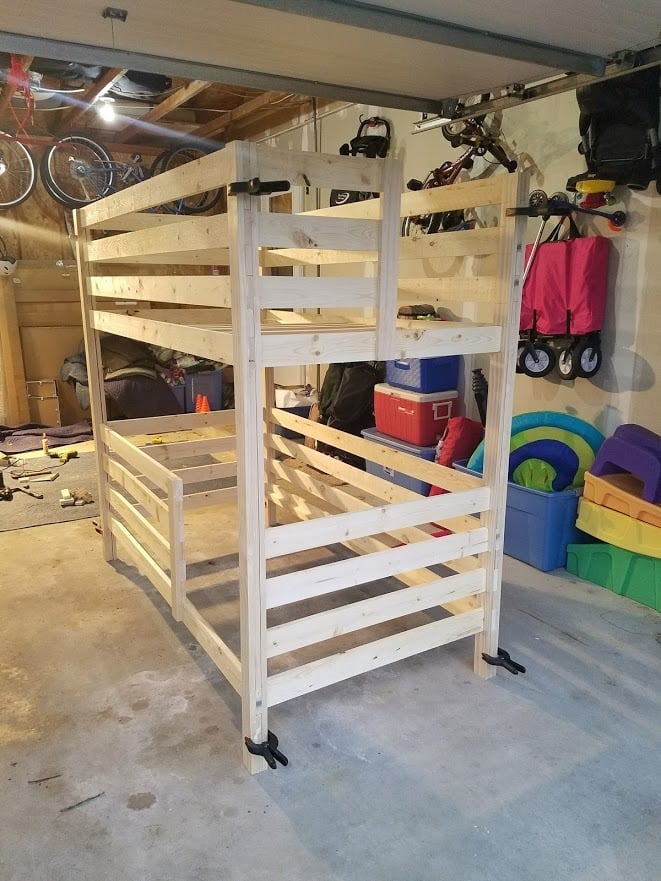
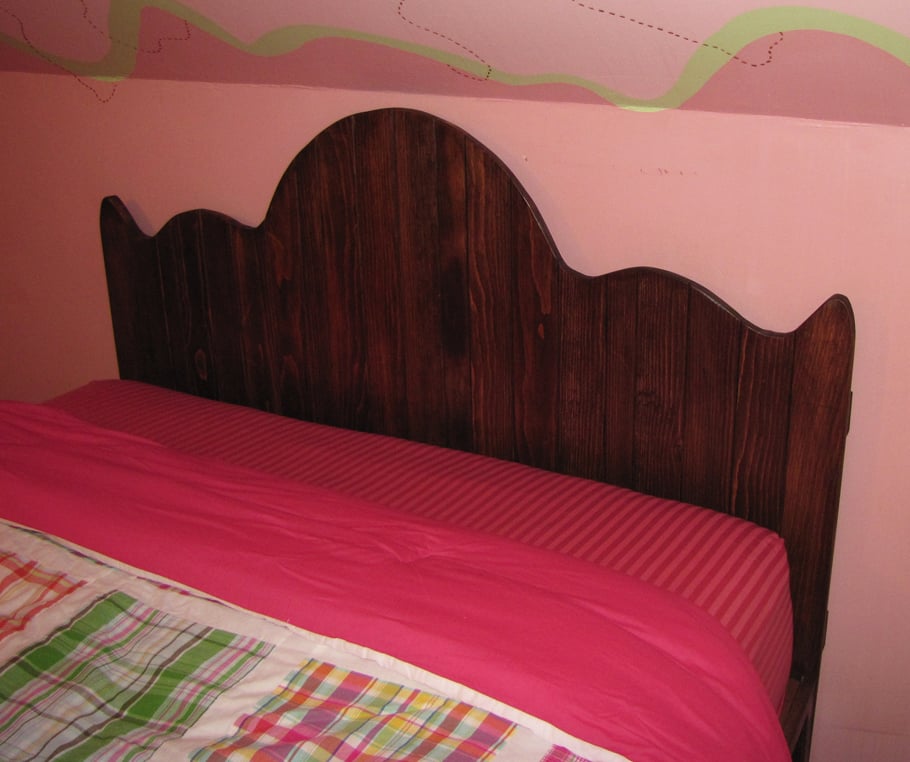
I made a few modifications with the headboard: I lined all the pieces of wood vertically and connected them using three horizontal boards. After nailing the bottom and middle boards, I then cut the shape of my headboard and then attached the final board on top. I also decided to round the edges of the front boards. I wanted the stain to "pop" on each edge. I attached the headboard with bolts, washers, and wing nuts.
Things learned from this project:
1. A little glue goes a long way. You really don't need too much.
2. Nail guns are the BOMB!
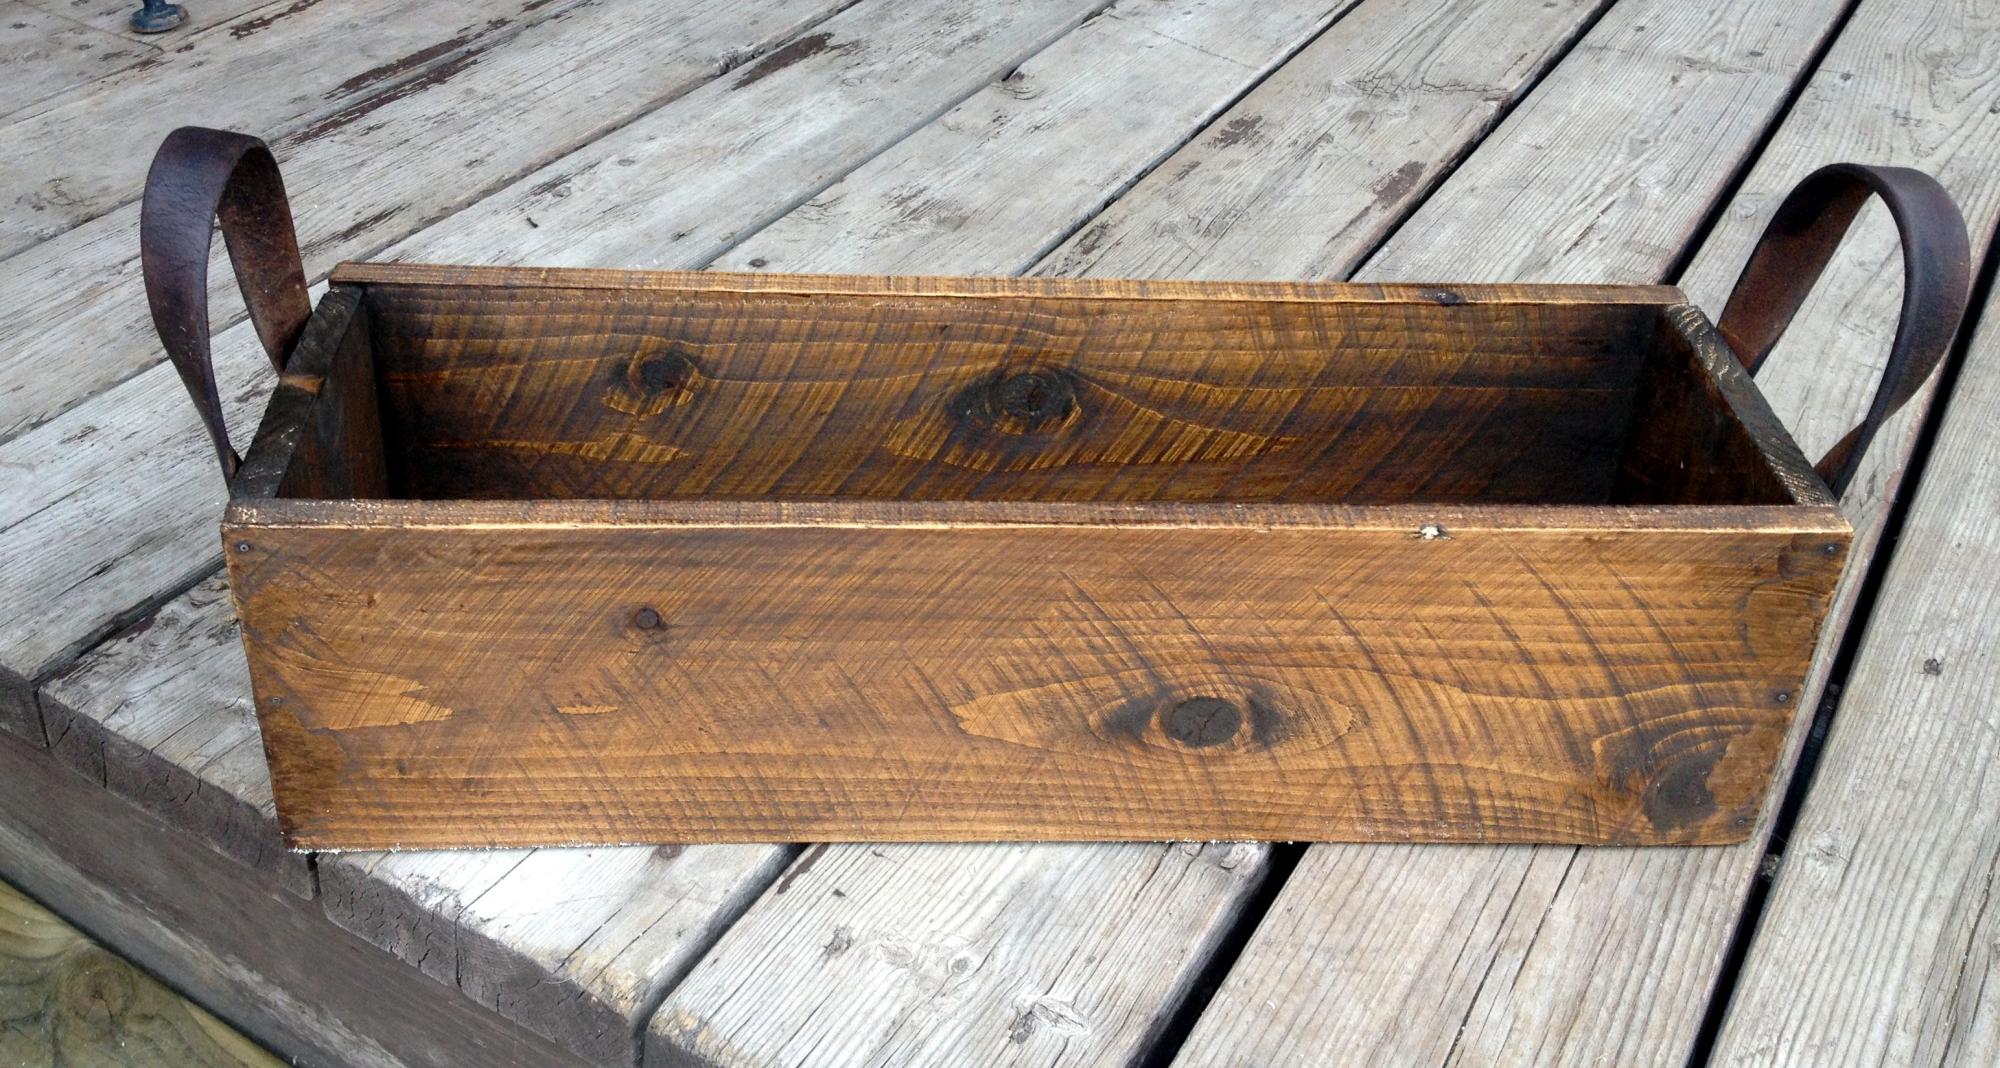
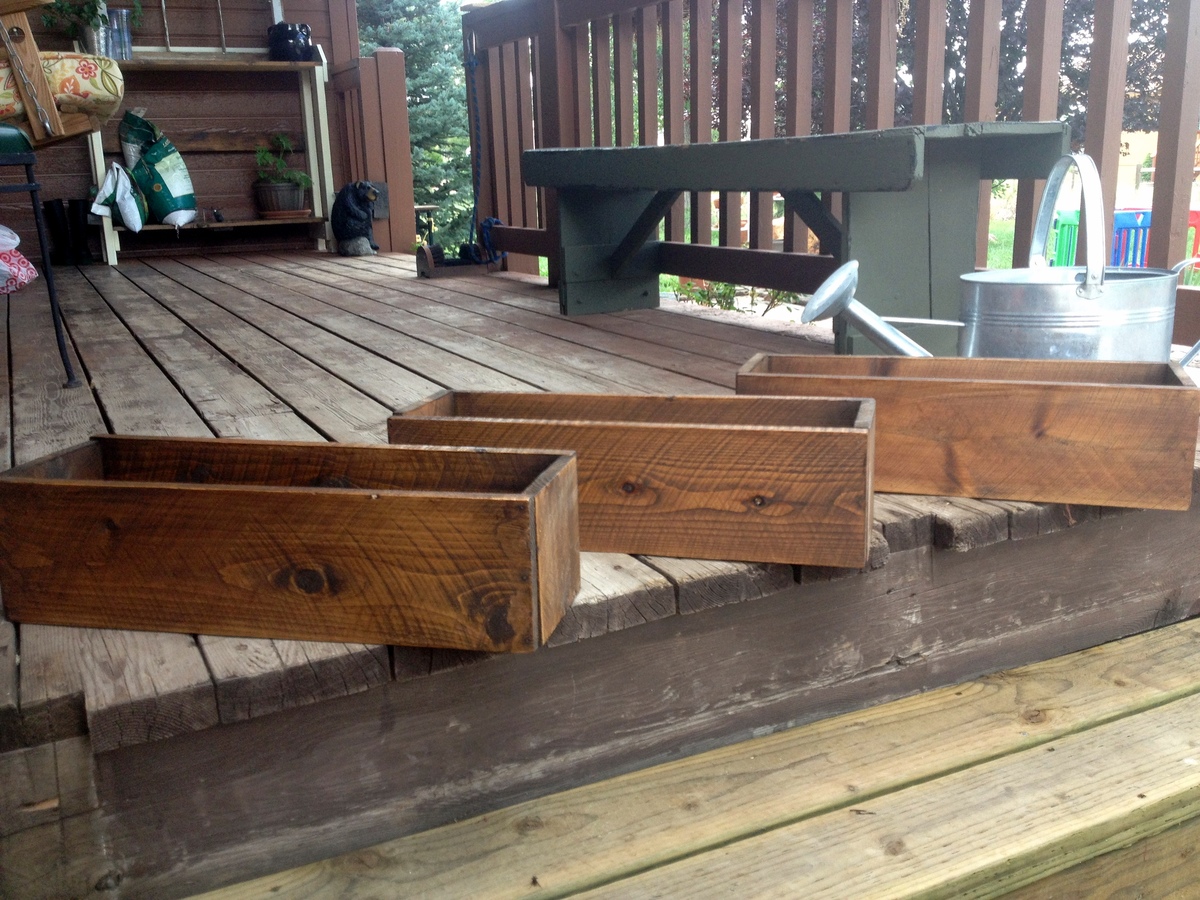
3. Don't chinz out on sanding. We all have parts of a project that we just don't like doing. Sanding the inside of cabinets is mine. But if you don't, the stain will make all the scratches your wood received at the warehouse make themselves known.
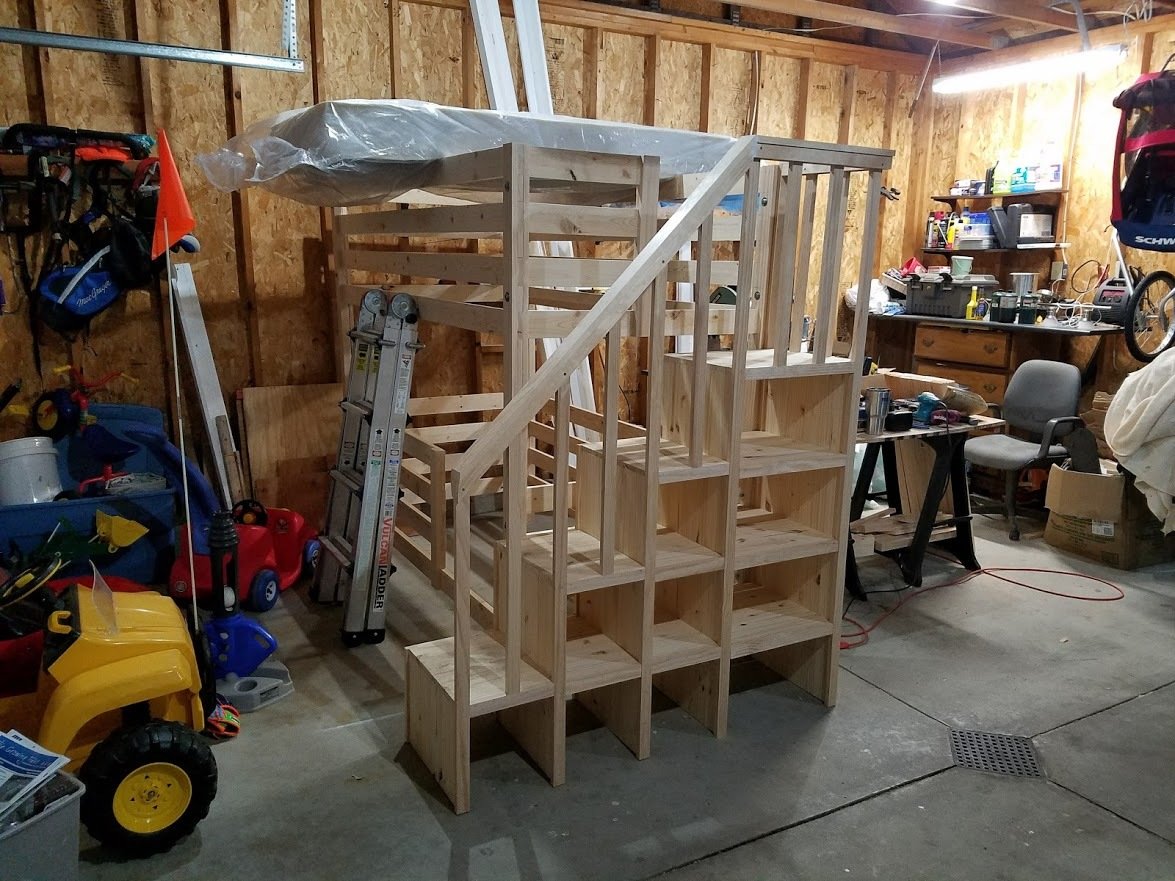
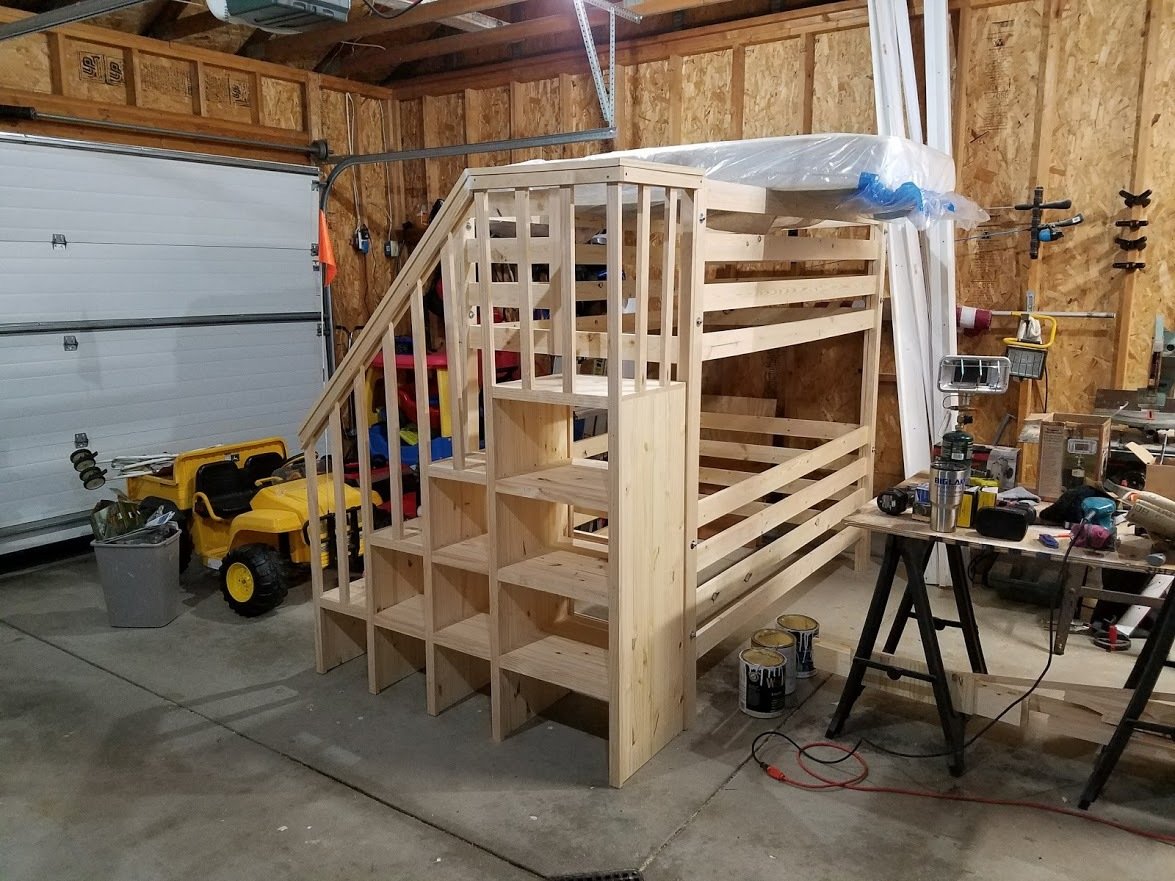
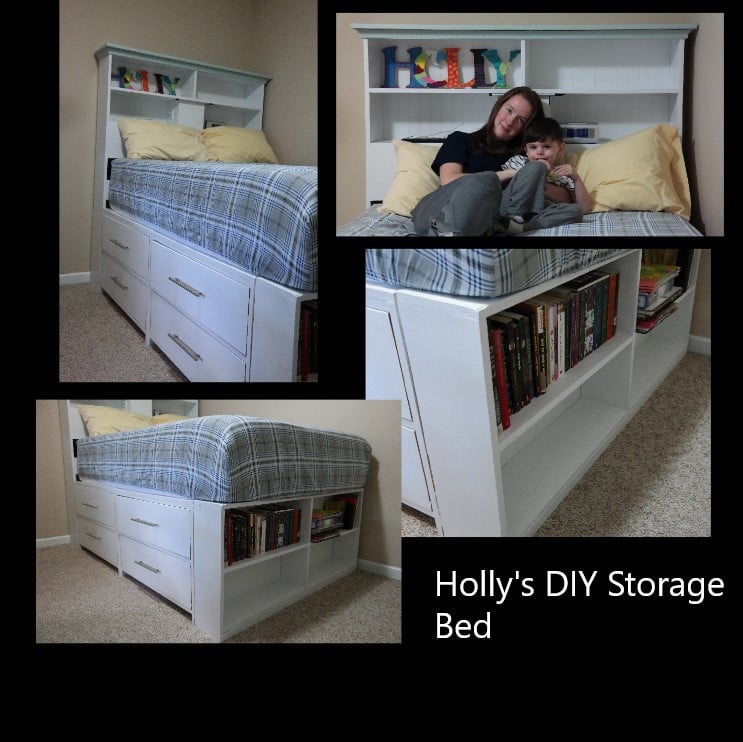
4. Stain (or paint) at least 4" in from the top of the cabinets. The storage part of the bed is made to be a little bigger than the mattress so your little one has someplace to step to get into bed. You don't want the raw wood to show.
5. Make sure to "dry run" your boxes. You want the side boxes to line up with the bottom box. You want the horizontal measurement to be the same all the way down. Once it measures the same, THEN screw in the slats.
6. Enjoy making your furniture. If you're having a rough time, walk away and come back another day. Sometimes seeing the project with fresh eyes is all you need.
My daughter talked me into making her this custom full size storage bed, with a power center and a night light.
A friend wanted a tatty old chest freezer turning into a traditional looking ice cream cart for her business. The freezer itself was way to heavy and not really fit for purpose but, after a week of tinkering about with a couple of design changes here and there to accommodate the weight, I don't think I've done too bad a job.
The internal frame is Nordic fir, half lapped at the joints and secured in place with 38mm oak dowels, the cladding is 6mm birch ply finished with paint from the French chic Al fresco range, the writing proved a little challenging on the the eyes and my hands aren't as steady as they used to be but she's happy.
These are great chairs! Easy to build, comfy to sit in. Check out my blog post for more info.
Mon, 06/24/2013 - 10:59
Beautiful chairs Hillary!!!! I love the green!!!
Thanks so much for building and bragging!
Ana
Fri, 06/28/2013 - 15:58
I'll be making four of these this week in turquoise to match the little ones I made for the kids. Yours is an inspiration!
Sun, 05/10/2015 - 05:17
Are these kid size or adult, and where are the plans for them....
thanks bunches,
Debbie.
Pretty simple and straight forward, just time-consuming without the right tools.
Pergola is 10x12 made of all cedar except posts. Posts were 6x6 brown wood then covered in 1x6 cedar. Slats on top were attached using L brackets. Stained the same year.
My daughter's room didn't have a closet, so I built one. This only took a couple of hours to build. I found the bins on Amazon and built to fit. It's 60" wide 18" D and 75" tall. I love this plan, it's super easy to modify the size and configuration!
My brother and his fiancee just bought their first house, and these sweet little boxes were the perfect housewarming gift! I used the recommended cedar picket, and found some old reins at a flea market for the handles. Piece of cake to build, super inexpensive, but absolutely adorable!
Thank you Anna for providing the template plans for this project. My wife had a mirror leaning on the wall in our bedroom that rarely got used and jewelry all over the dresser. So thanks to you I was able to turn this cheap mirror into useful storage and organize her jewelry. Thanks!
Wed, 10/07/2015 - 10:18
Thank you for building!!! Your post just made my day, I'm so happy to see your build! I love the customization with the jewerly holders too! Thank you so much for sharing!
Sun, 09/17/2017 - 20:49
How did you attach rails? I still cannot figure out the best way to do it...
Thank you!
Comments
Ana White Admin
Wed, 10/07/2020 - 18:44
Beautiful!
Just perfect!