Bath wall storage shelf
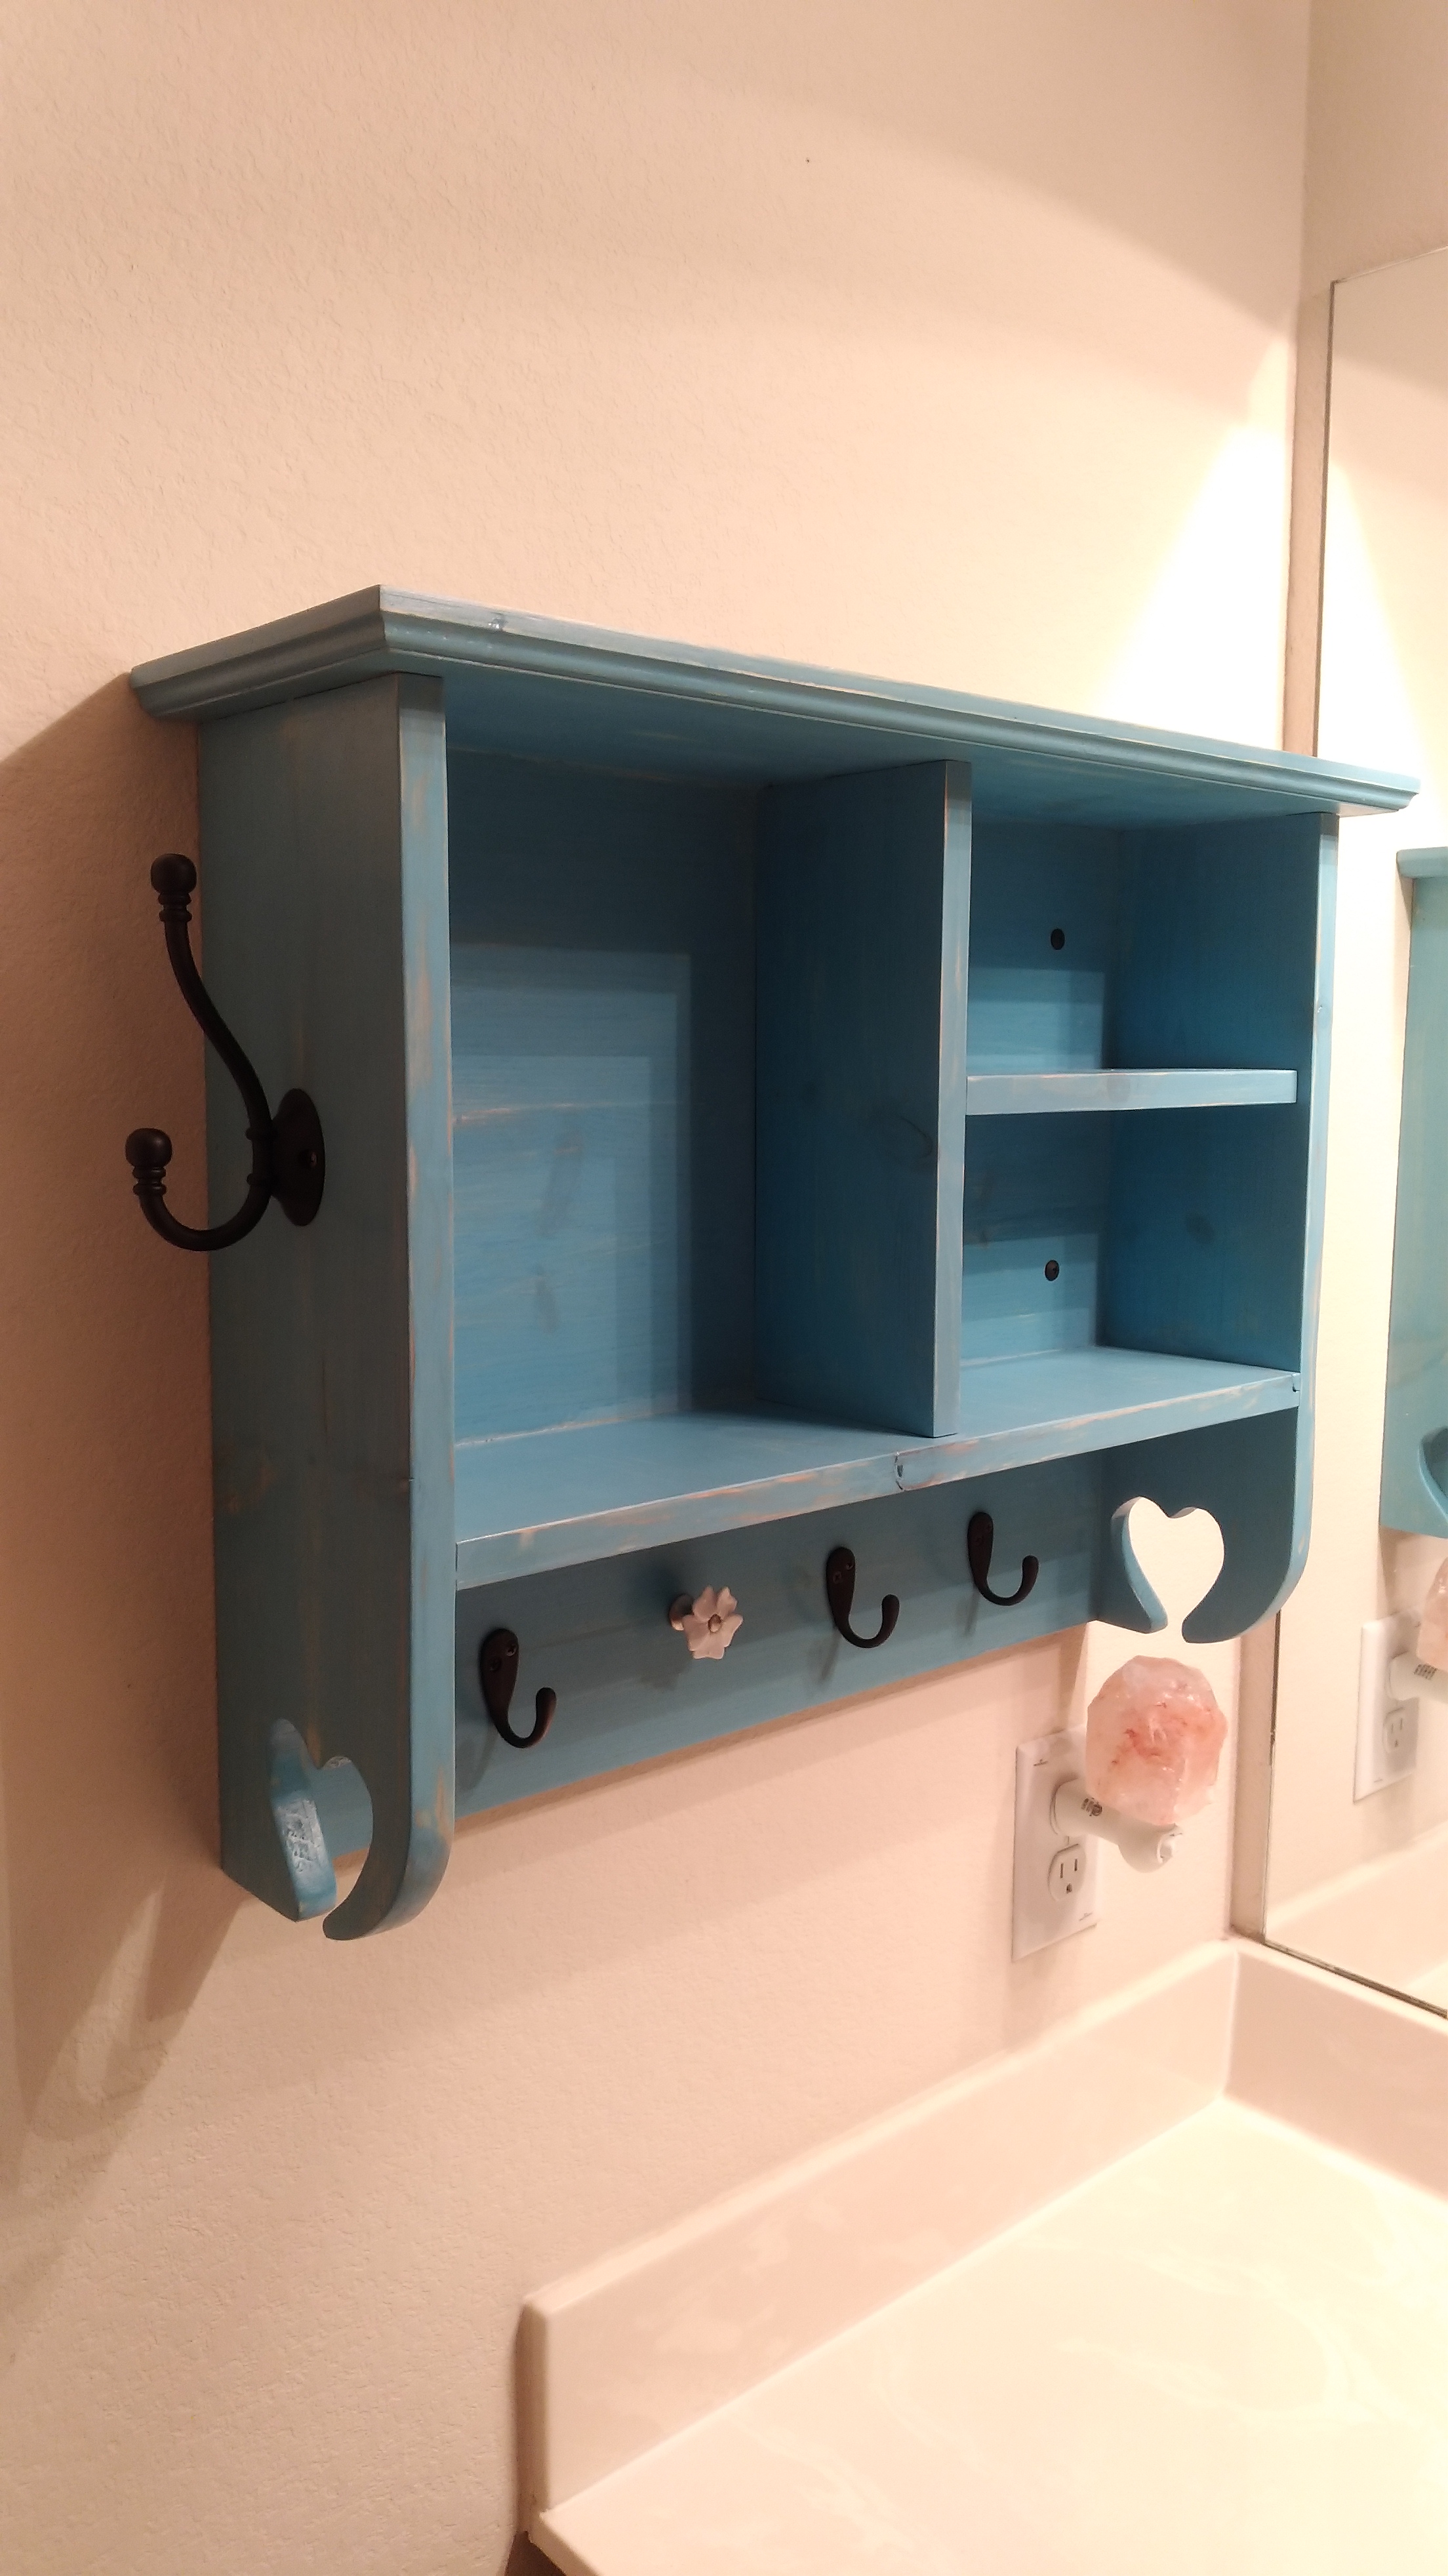
I liked the idea and my wife loved the outcome. Thanks Ana.
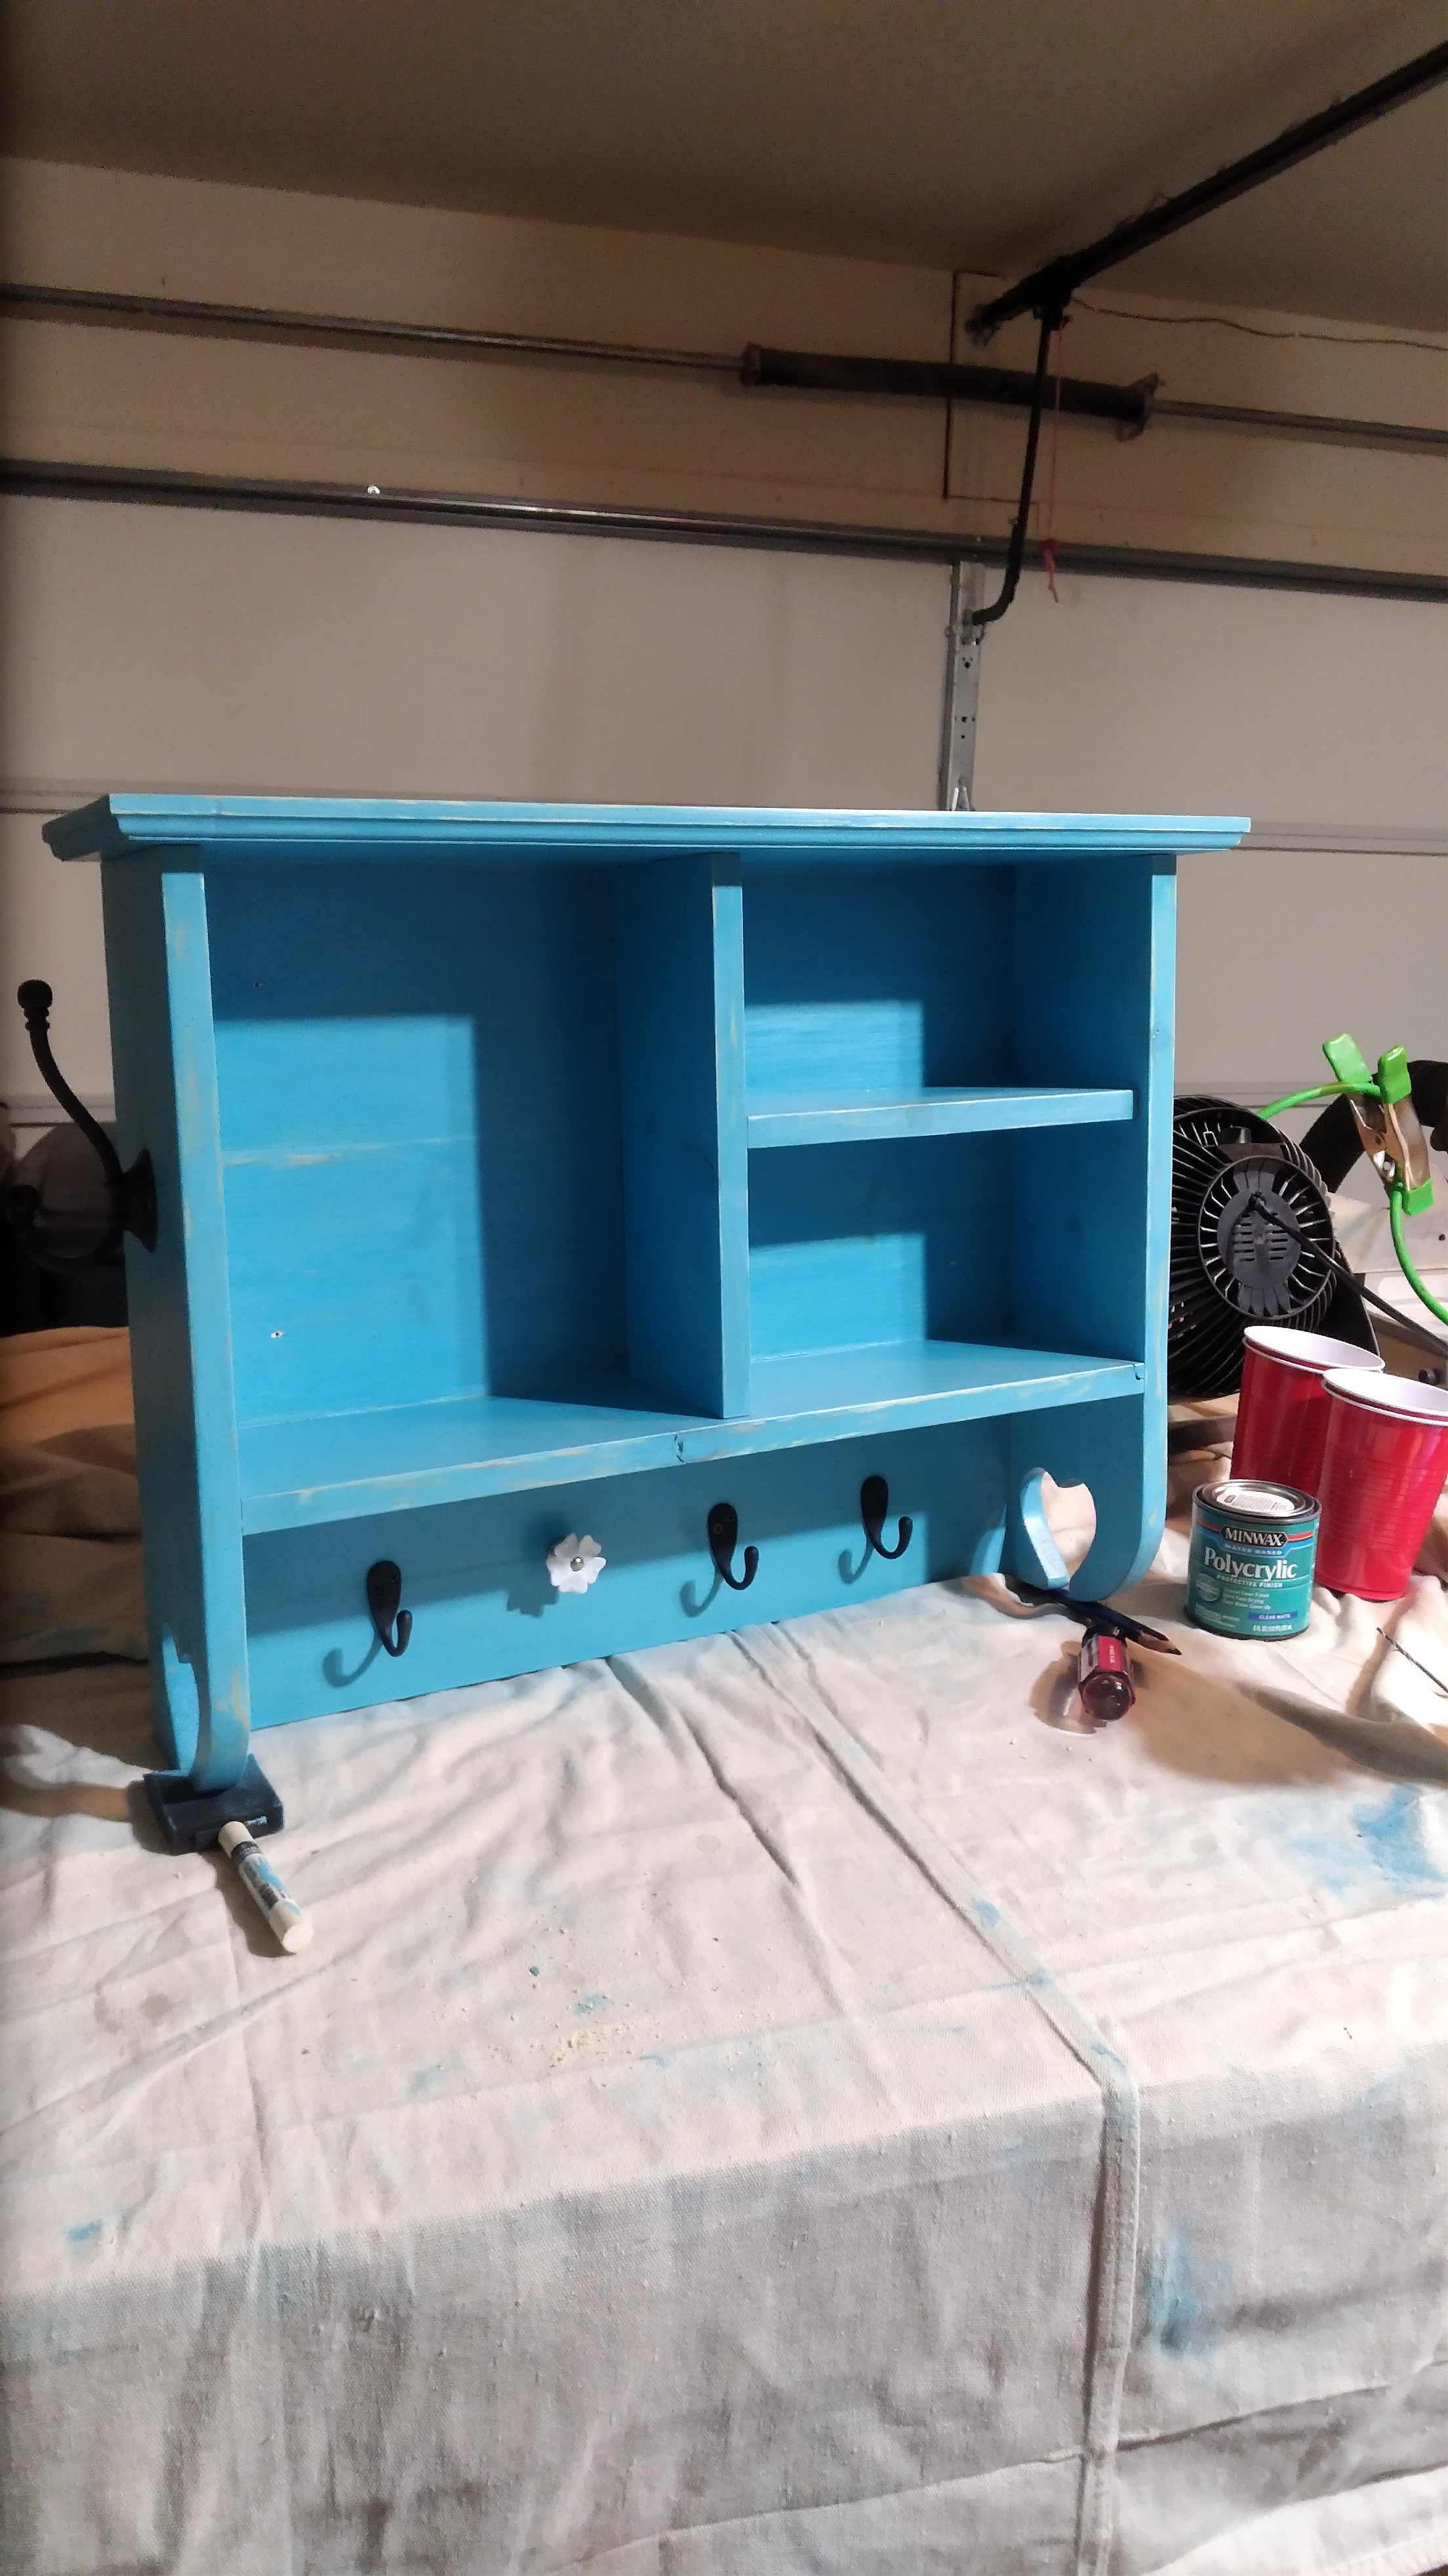
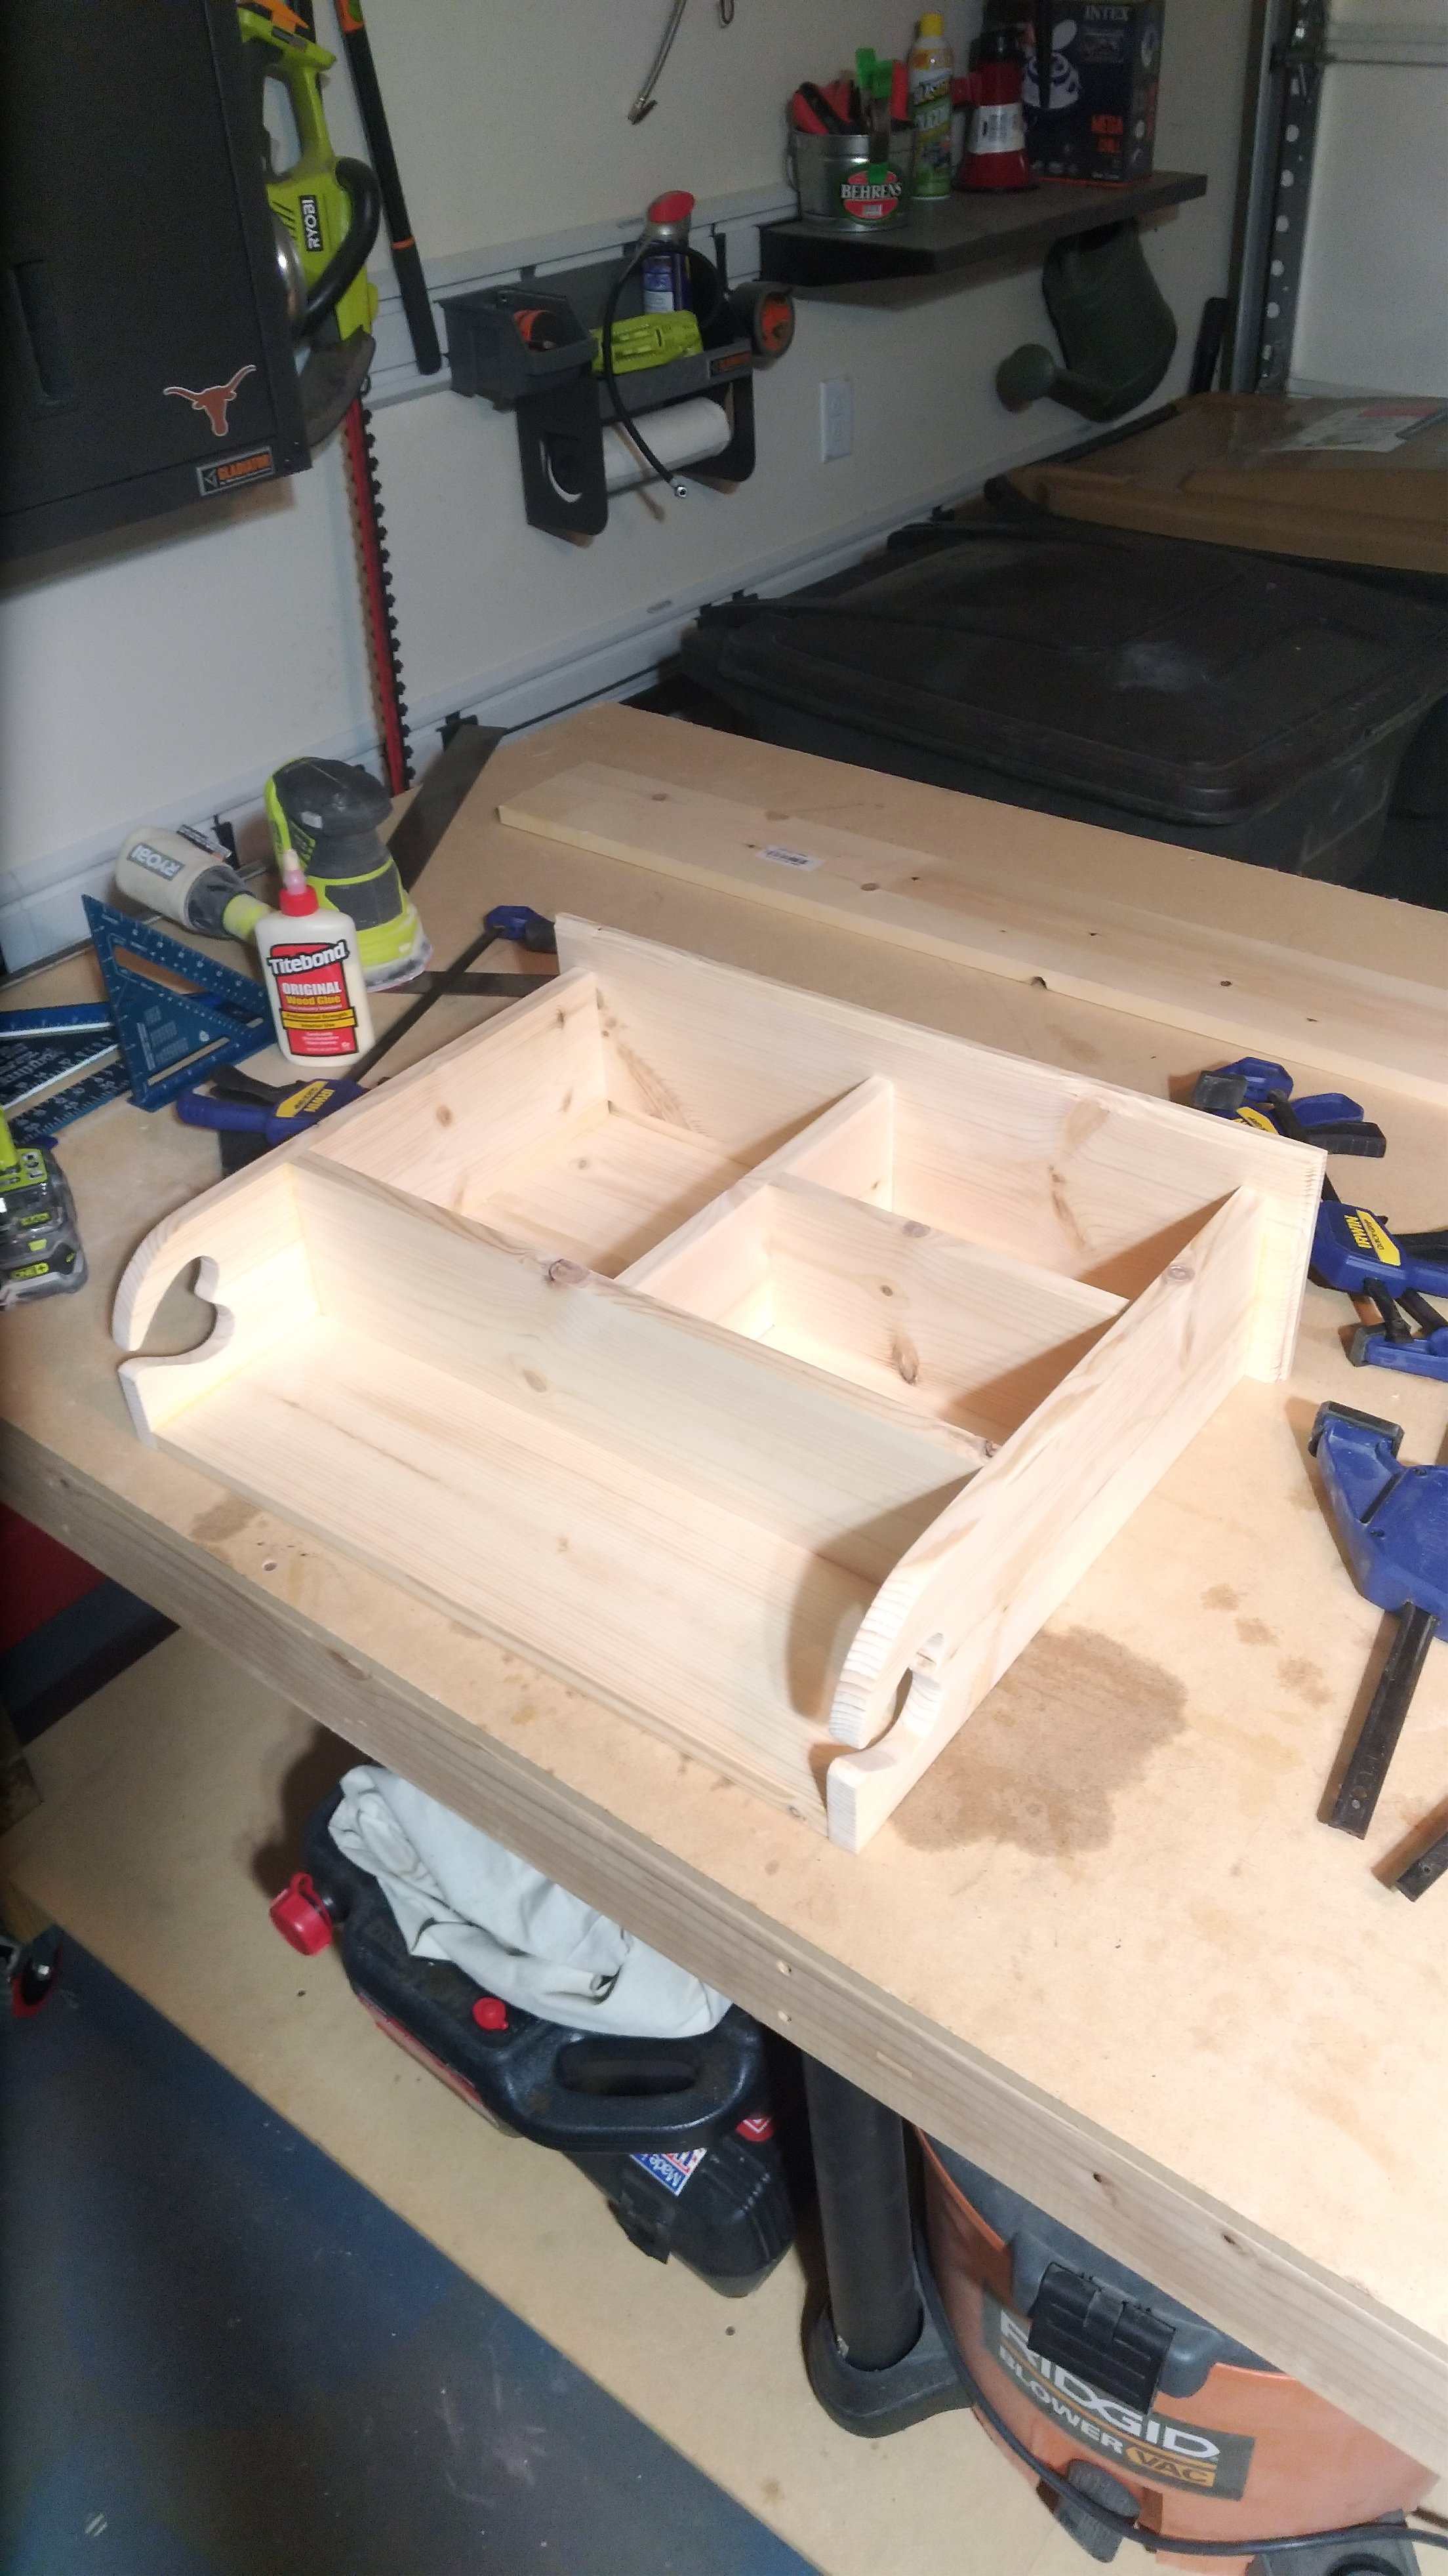

I liked the idea and my wife loved the outcome. Thanks Ana.


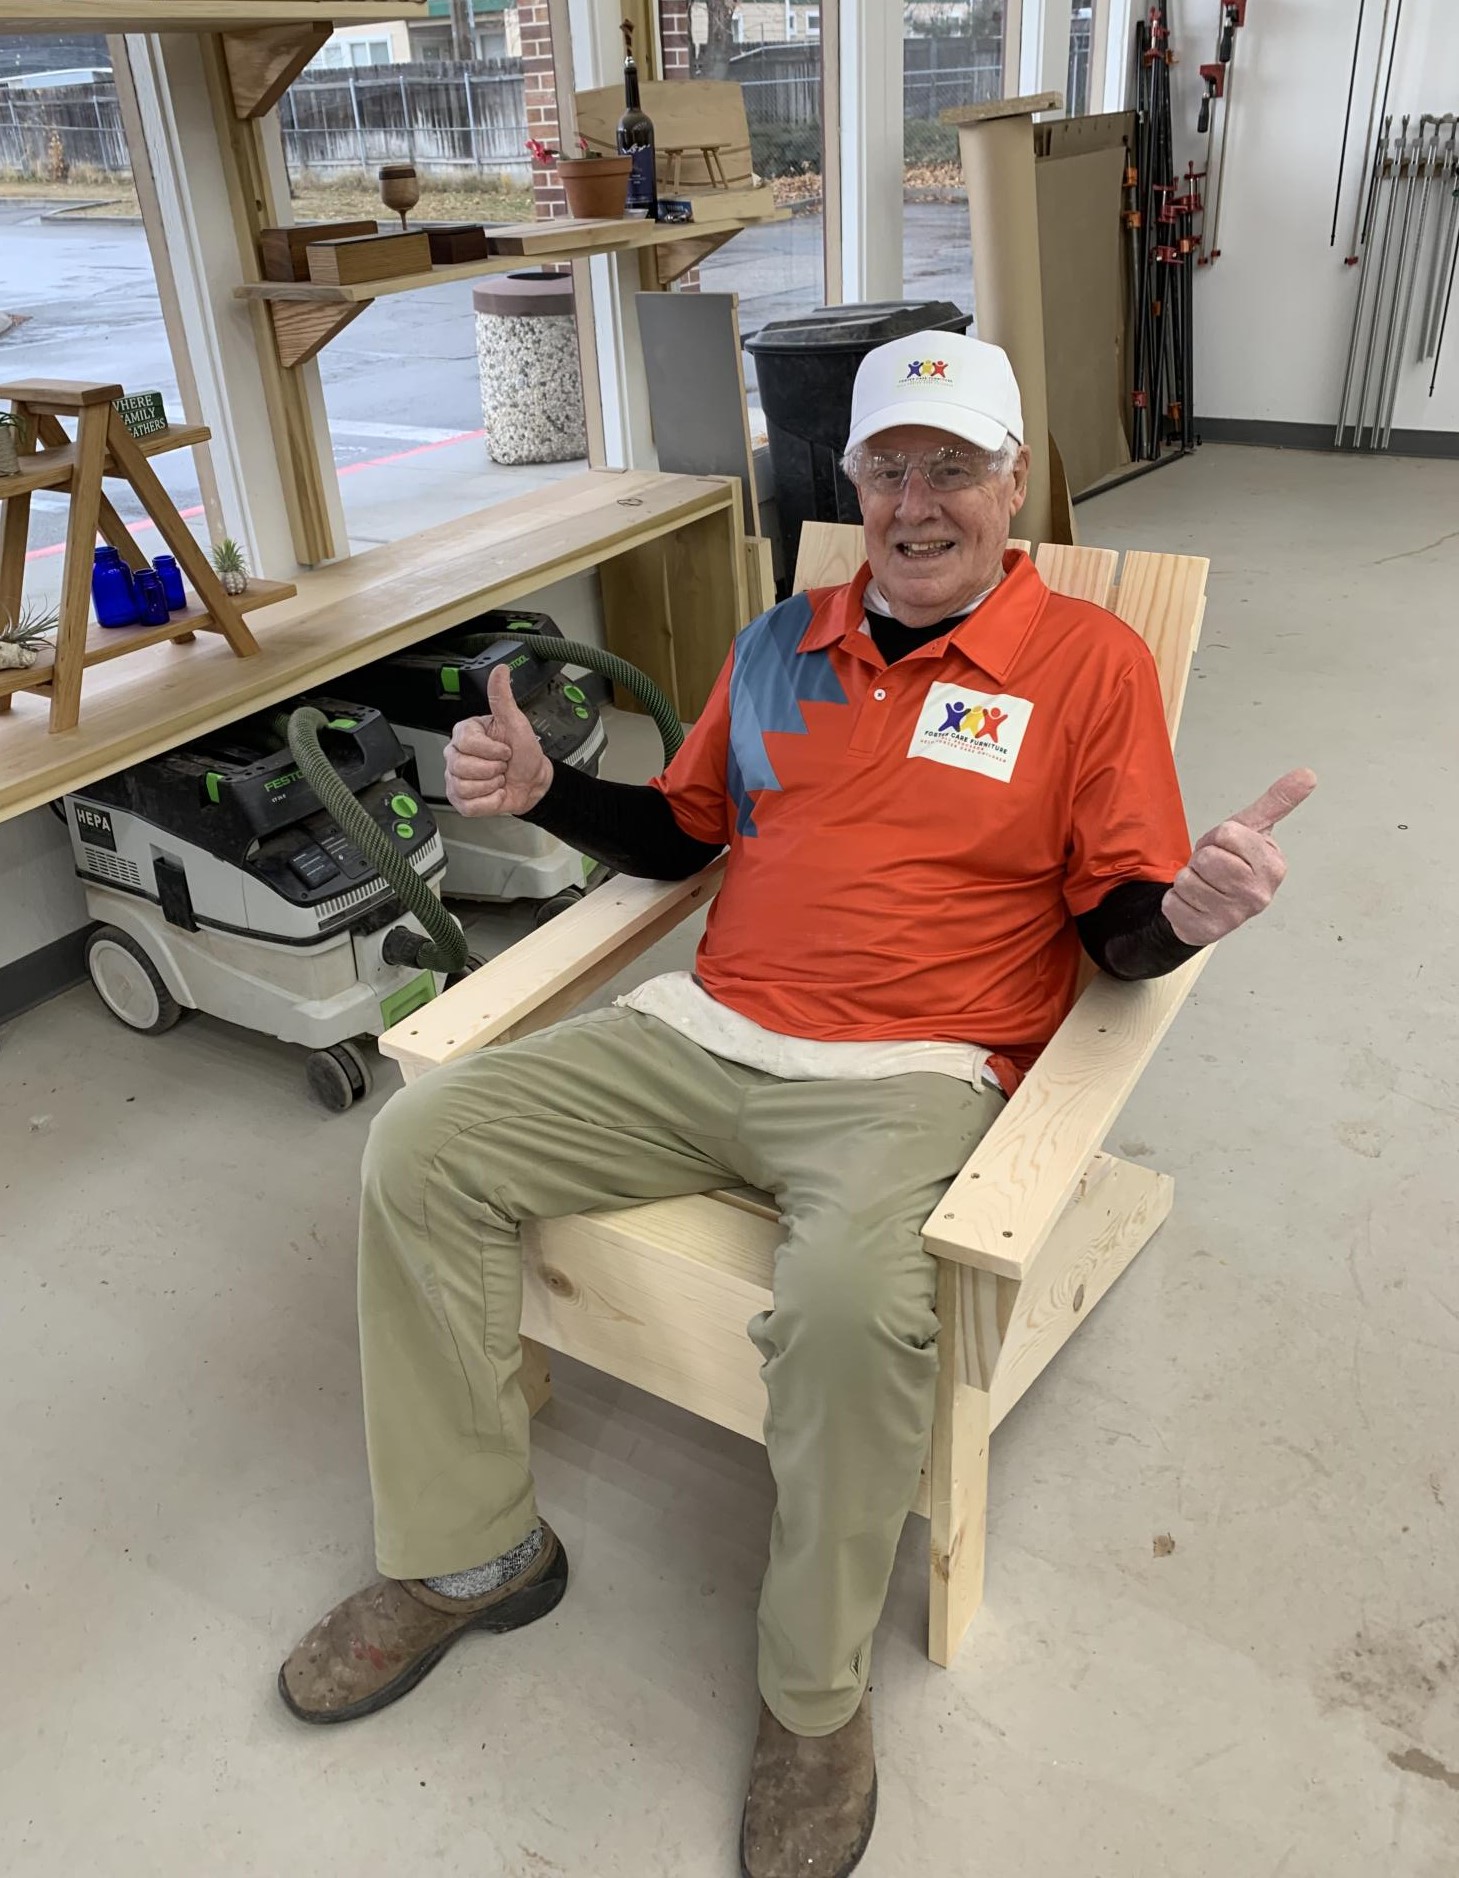
We have started a 501 C-3 non-profit manufacturing company making furniture and giving all the proceeds to Foster Care Youths "aging"out" of Foster Care. Foster Care kids are trained on basic woodworking and carpentry skills and assist with the furniture manufacturing.
We are using Ana White's classic Adirondack chair design for our first project, and they are beautiful.
For more info see our website at www.fostercarefurniture.com
Thanks Ana for helping these kids!
Fri, 03/03/2023 - 11:50
This is so awesome, I will go check it out! Thank you for sharing and such a great way to help these individuals.
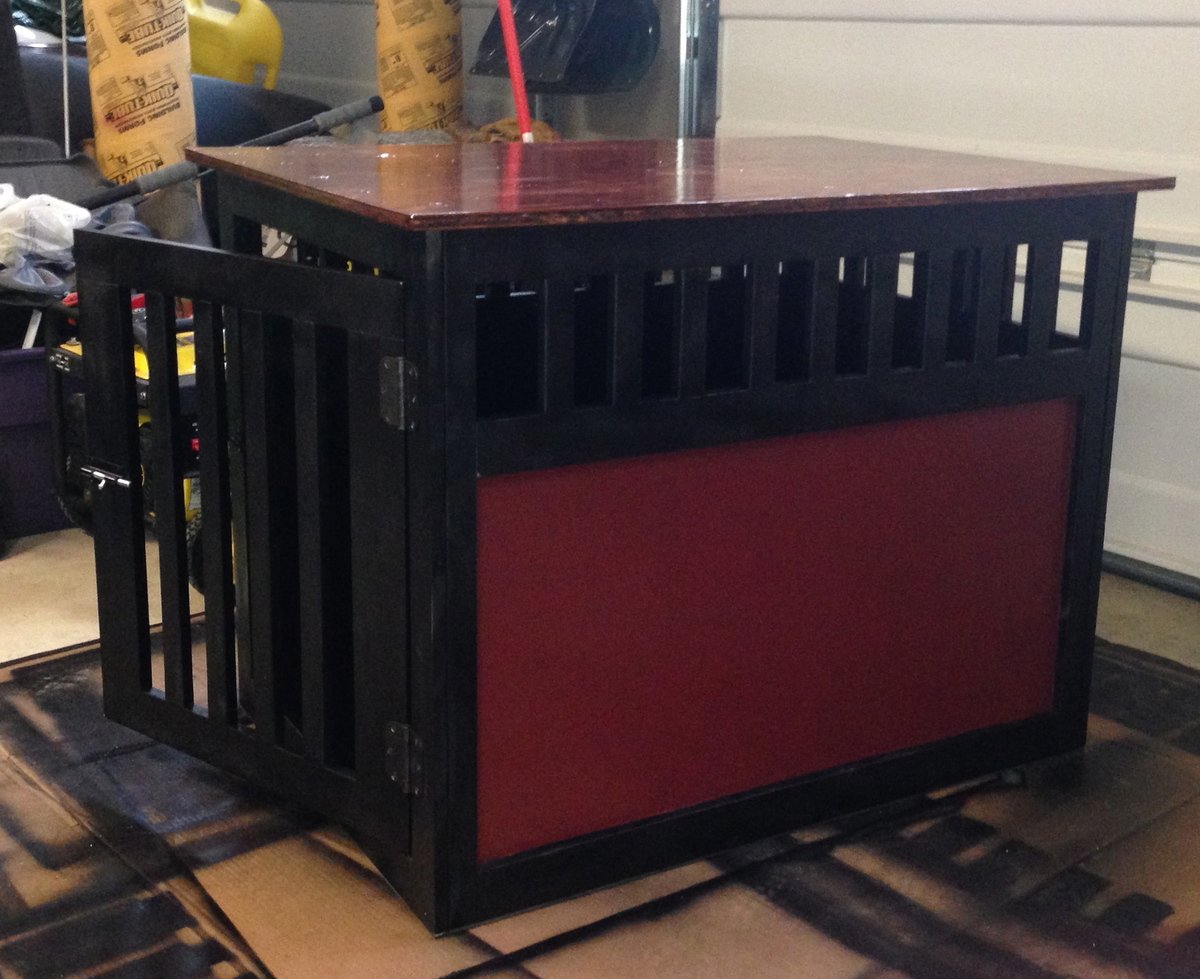
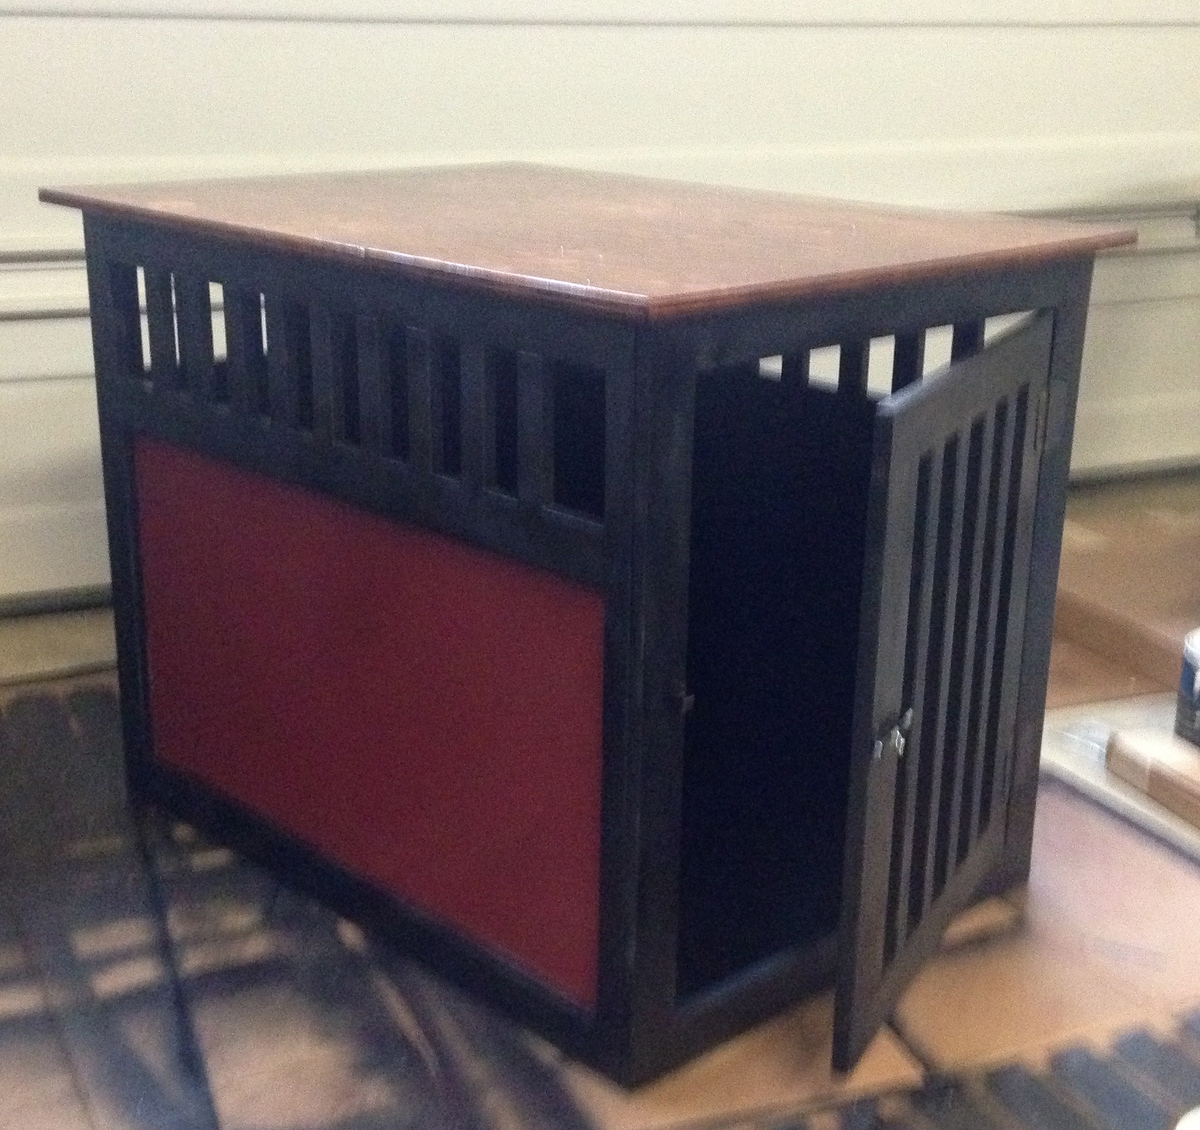
Found these plans for the dog crate and decided to build one for my large Rottweiler. It's large and tall enough for him to stand in (29"W x 41"L x 32.5"H). It didn't take long to cut and put all the pieces together, the longest part was staining the top and putting the urethane coating on it. The cost was really reasonable, I purchased the wood, used paint and stain I already had from previous projects. I plan on building more projects soon.
Mon, 12/09/2013 - 03:22
I would like to build the X large kennel for my dog.
is it possible to have the measurements for the X large version.
the large version is not big enough for my sweetie.
thank you so much
Mon, 12/09/2013 - 03:22
I would like to build the X large kennel for my dog.
is it possible to have the measurements for the X large version.
the large version is not big enough for my sweetie.
thank you so much
Wed, 04/02/2014 - 11:00
I want to build this for my Great Dane mix.. your dimensions would seem to fit the bill.. any chance you have a cut list handy?
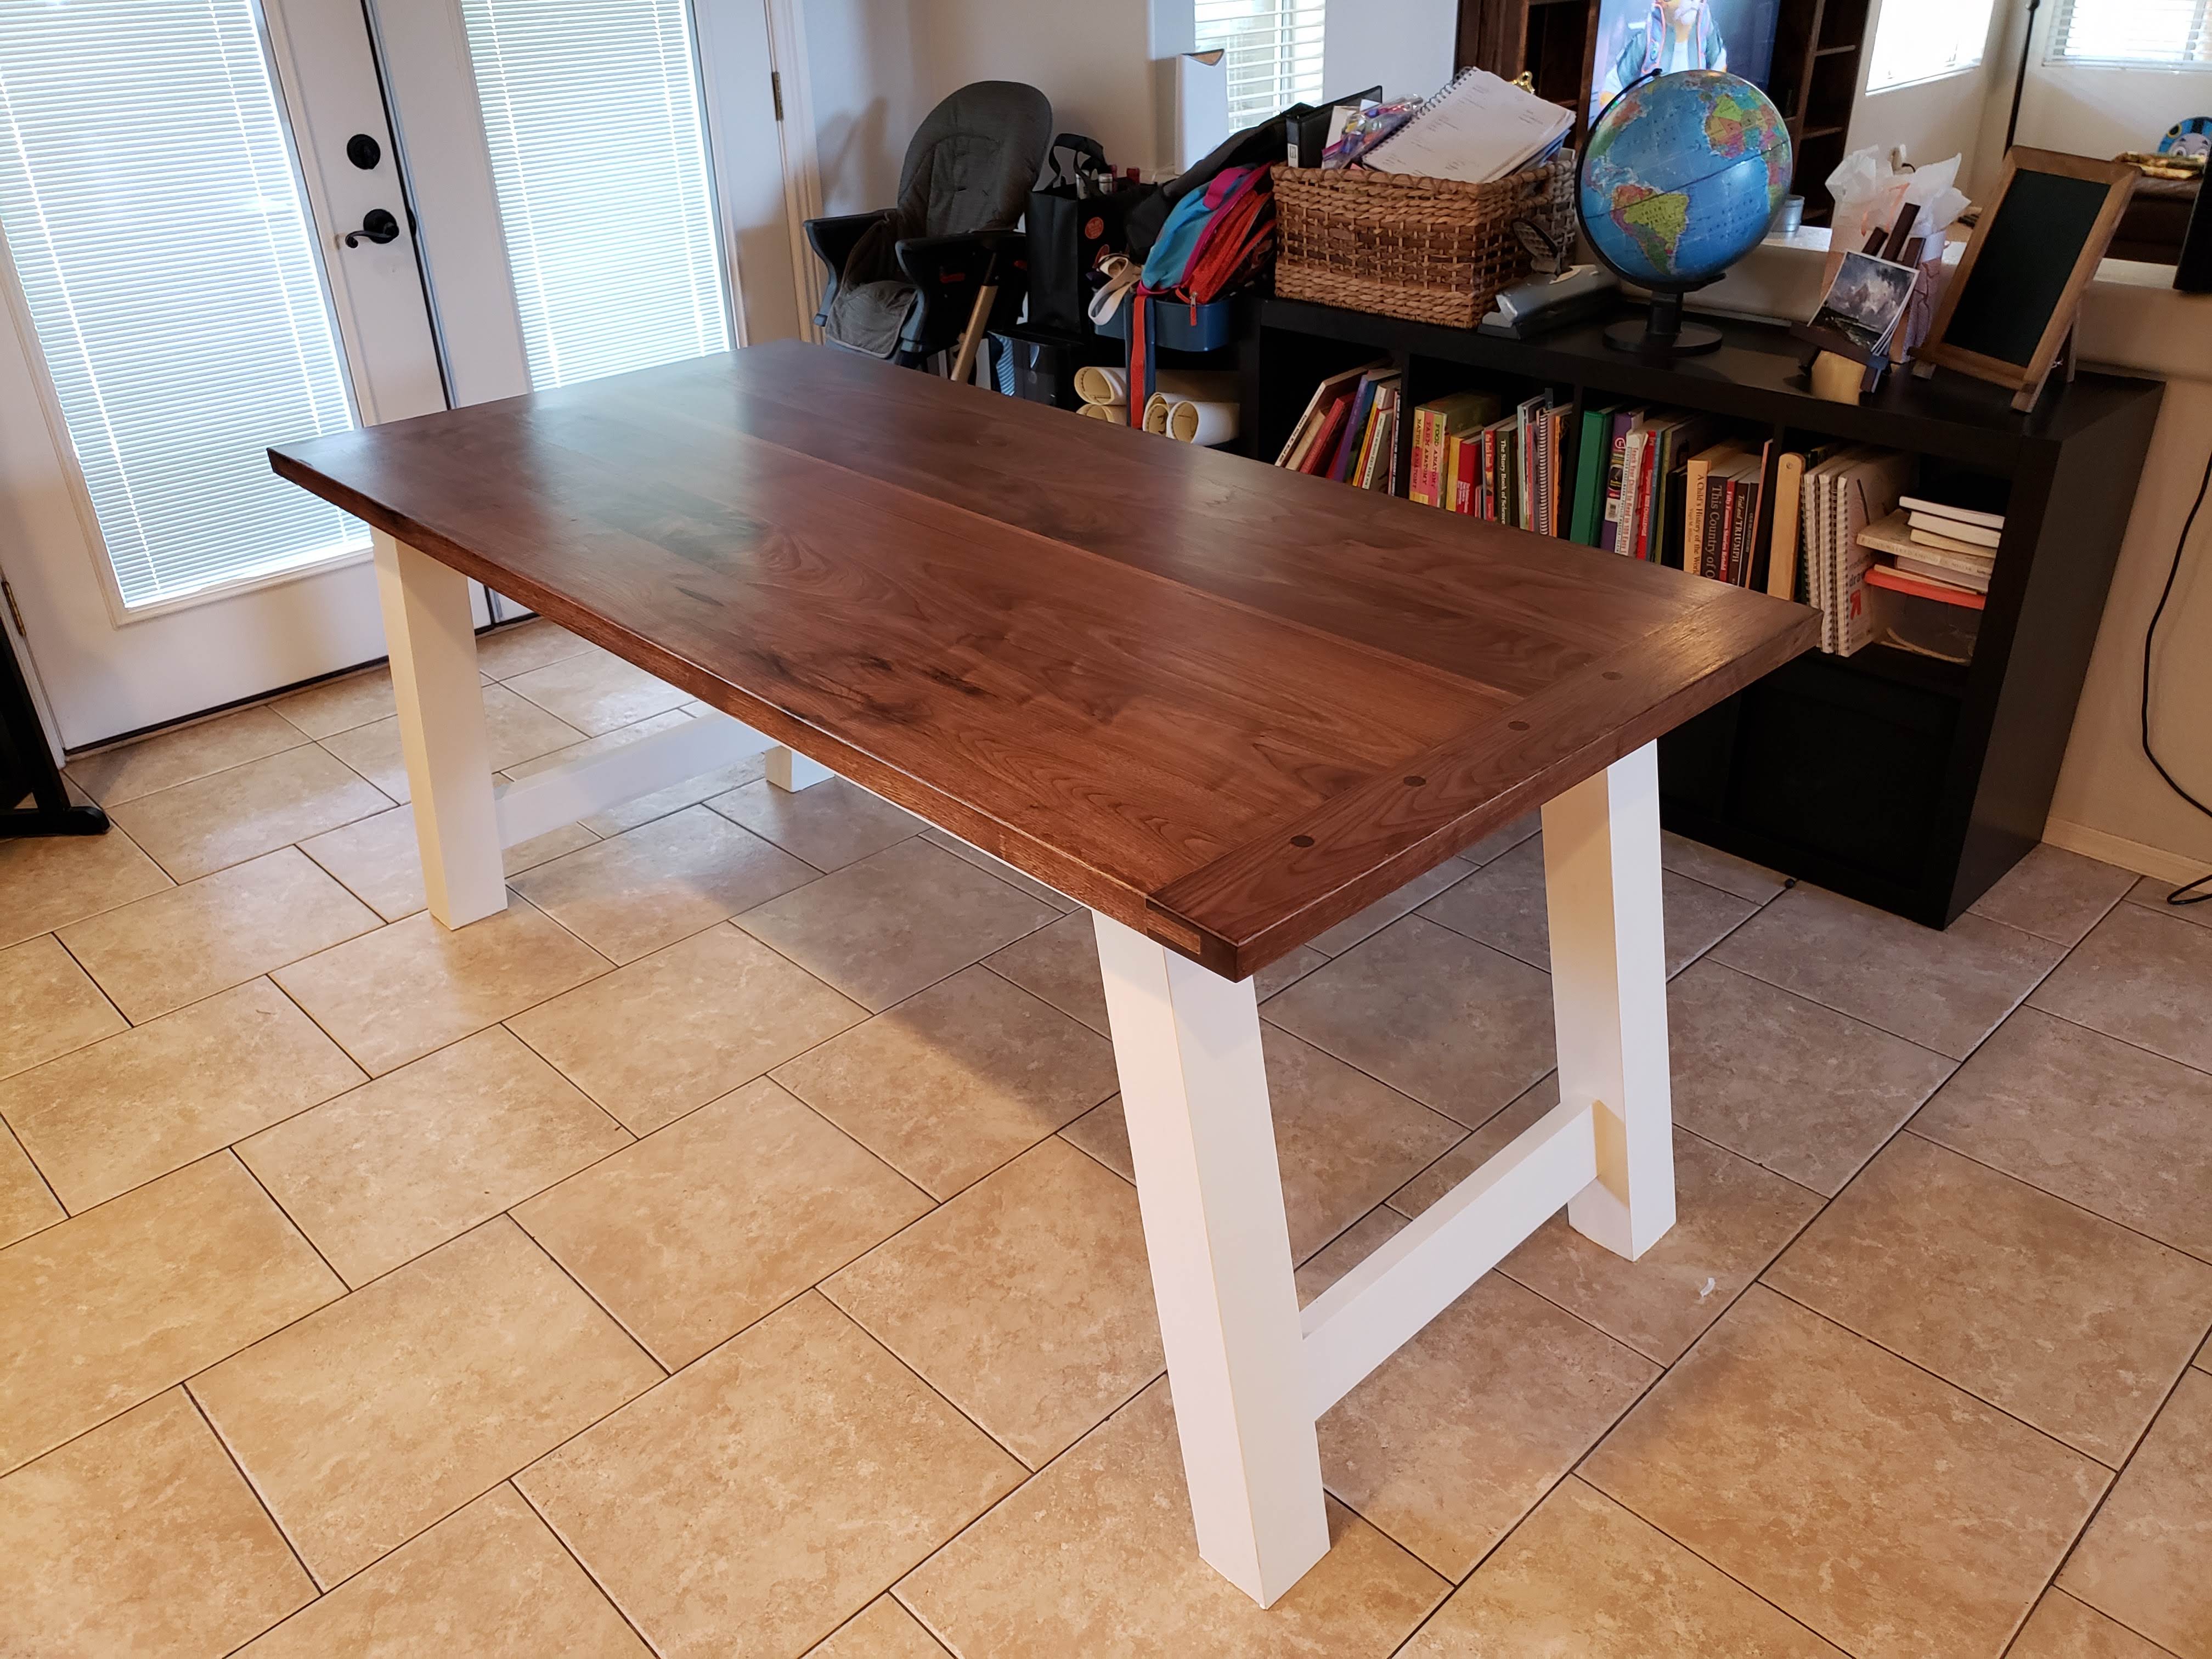
First time major project. My wife wanted a kitchen table. Did tons of research to find the plans I wanted, which is a modified version of the plans on http://image.ana-white.com/2012/05/pottery-barn-benchwright-farmhouse-d… .
Breadbox ends was changed to a tounge and grove ends with wooden dowels as anchors to hold the ends.
Finished with Natural Danish oil, and polyurethane topcoat.
Thanks for Nathan1342 for the advise in getting started.
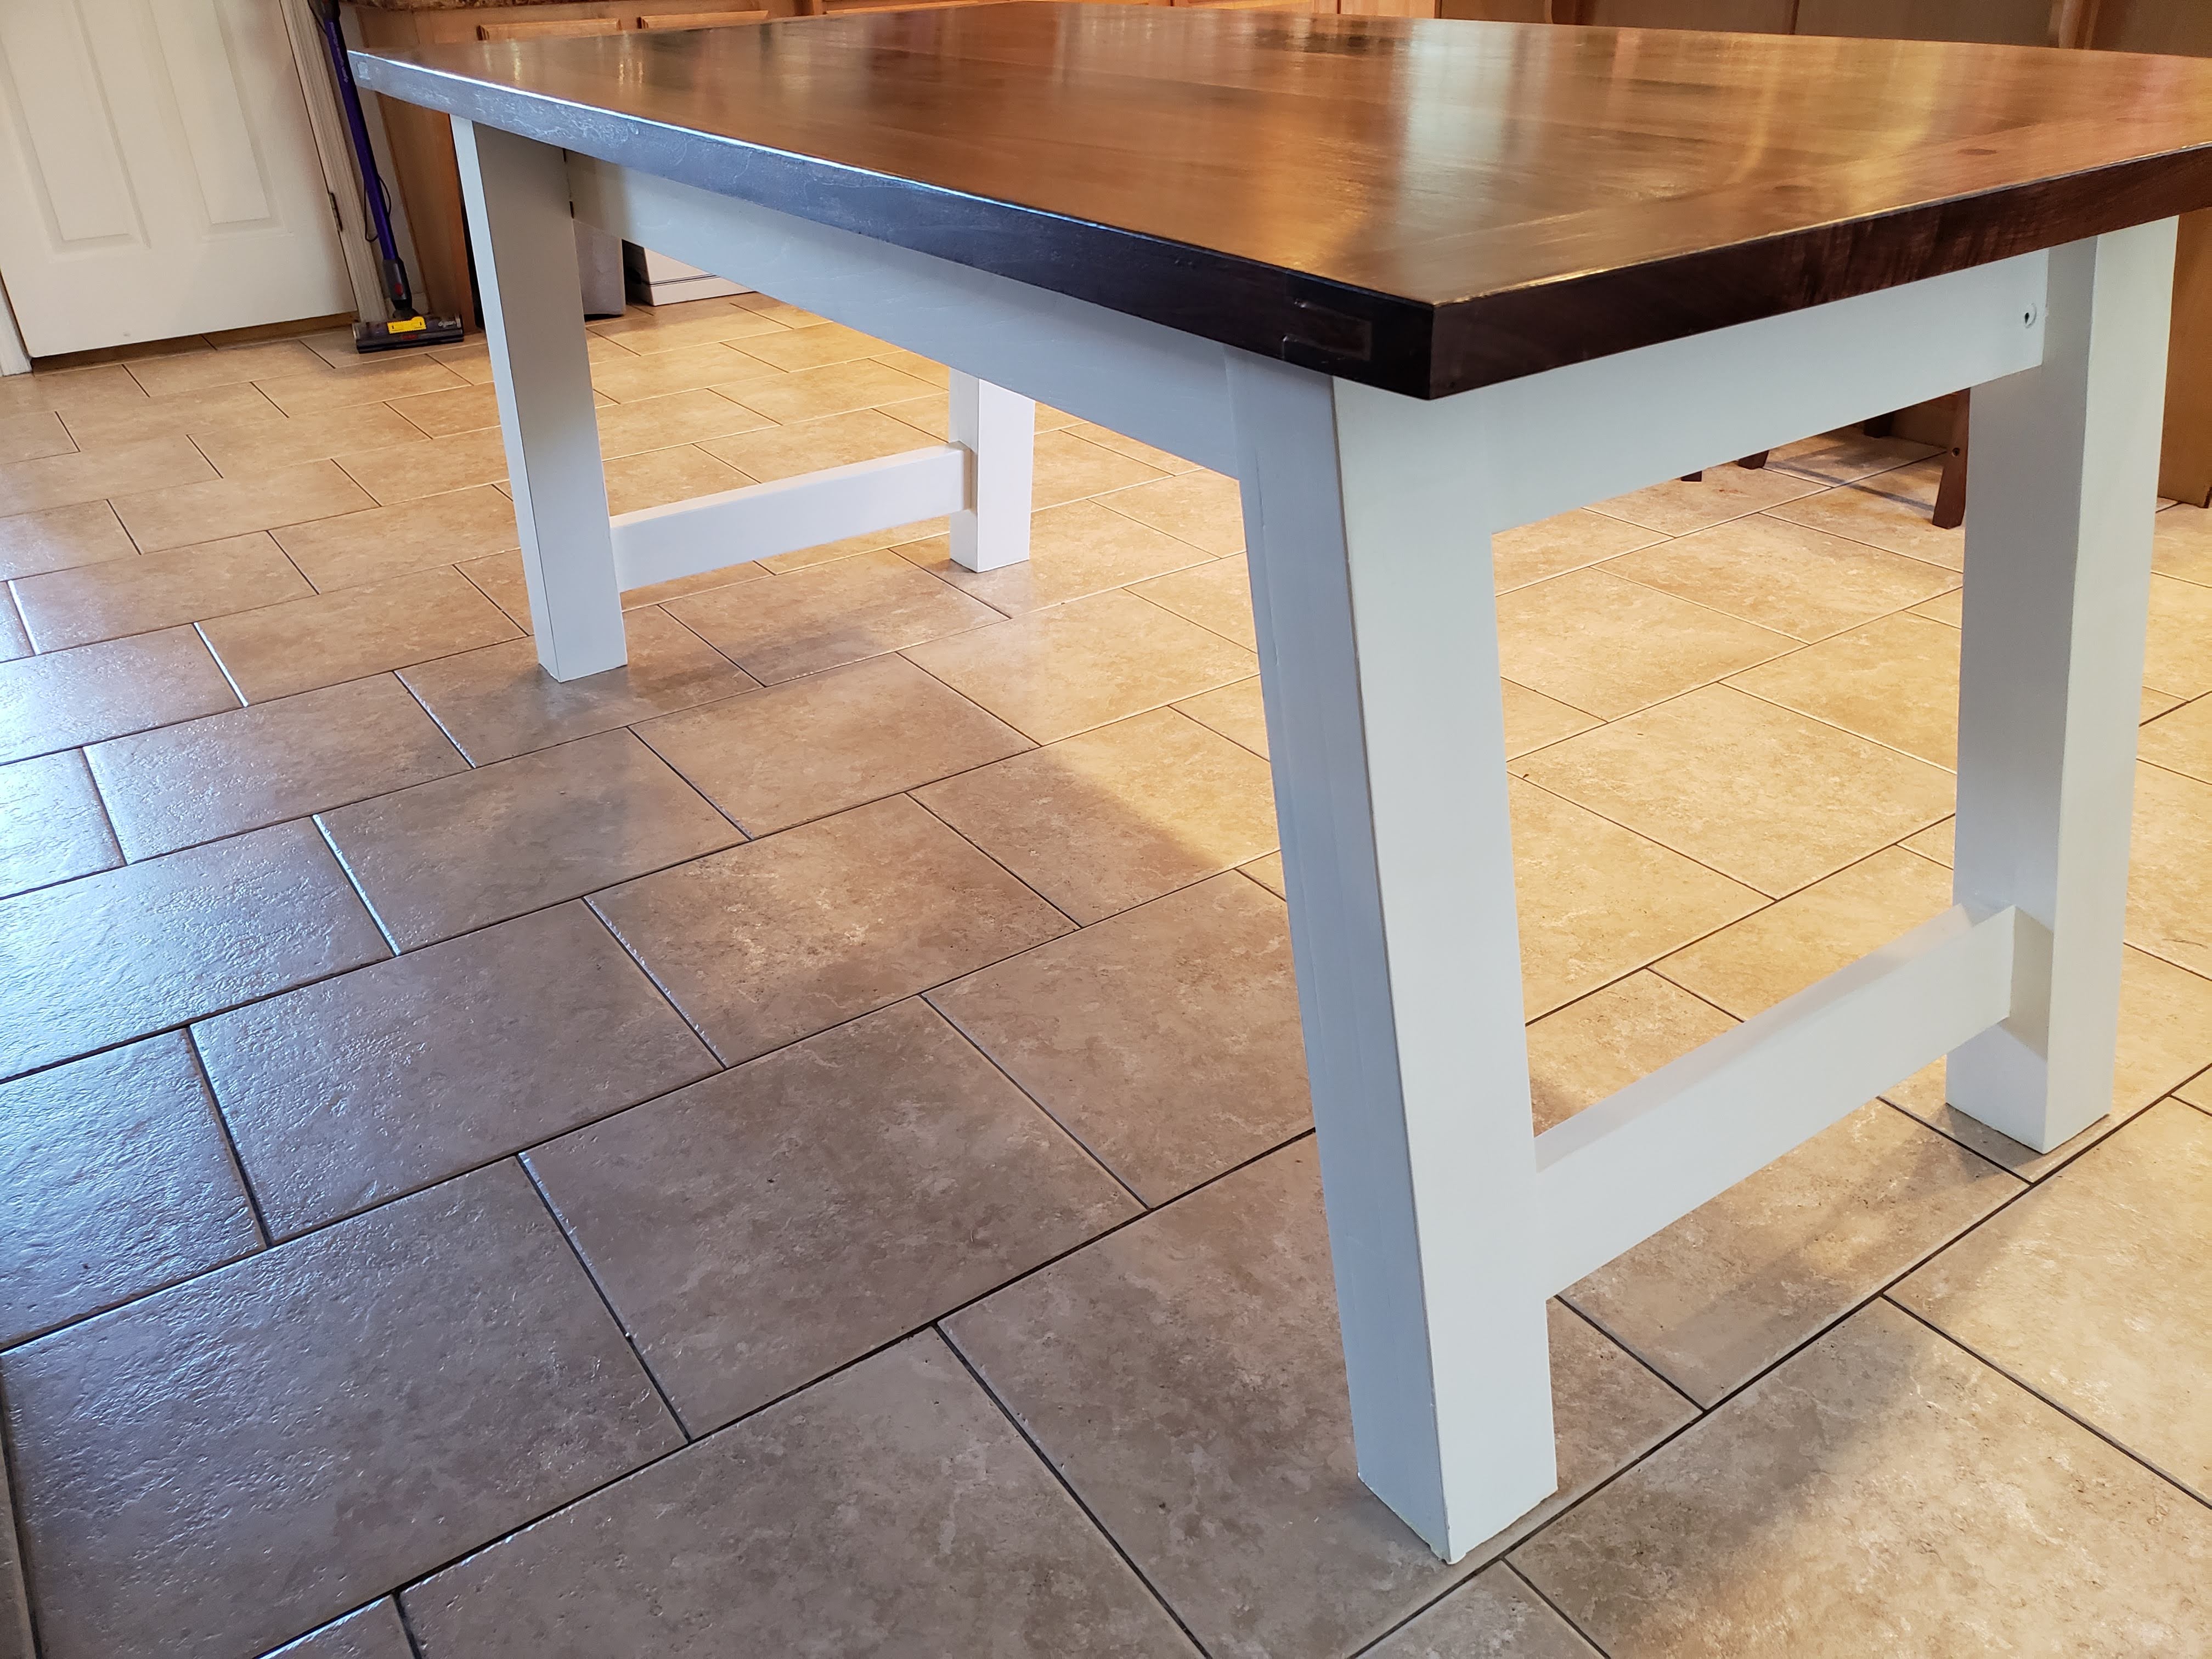
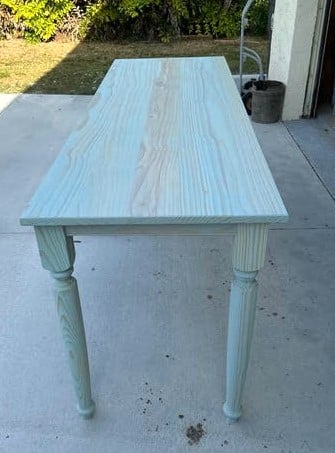
Here is a table I made for a friend. 27.5’’ wide x 78’’ long x 36’’ high. It was custom made for the dimensions he needed to fit in his condo. I used pine boards and legs from Lowes, and Bleached Blue stain. Then put 3 coats of lacquer on it.
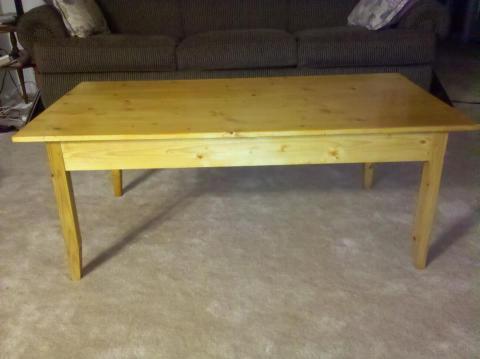
I built that table for a friend using primarily hand tools. The only power tools were a table saw to rip the legs from a scrap 2x12 from another project, and a drill for draw-bore holes.
The table is made from pine, so that it is light enough for a woman of small stature to carry it up to a third-floor apartment. The frame is made with mortise and tenon joinery for strength, and the joints are draw-bored to make sure it doesn't fall apart in our lifetime.
The top is a glued-up panel from five other boards. This was my first panel glue up, so it was a little bit exciting in the same way that a kitchen fire is exciting. The surface has a rustic texture, made by planing it smooth with a cambered jack plane. The texture isn't visible under normal lighting, but with a raking light you can see it. It's very interesting to run your fingers over this table because of the texture from the plane, and the strong grain of the white pine.
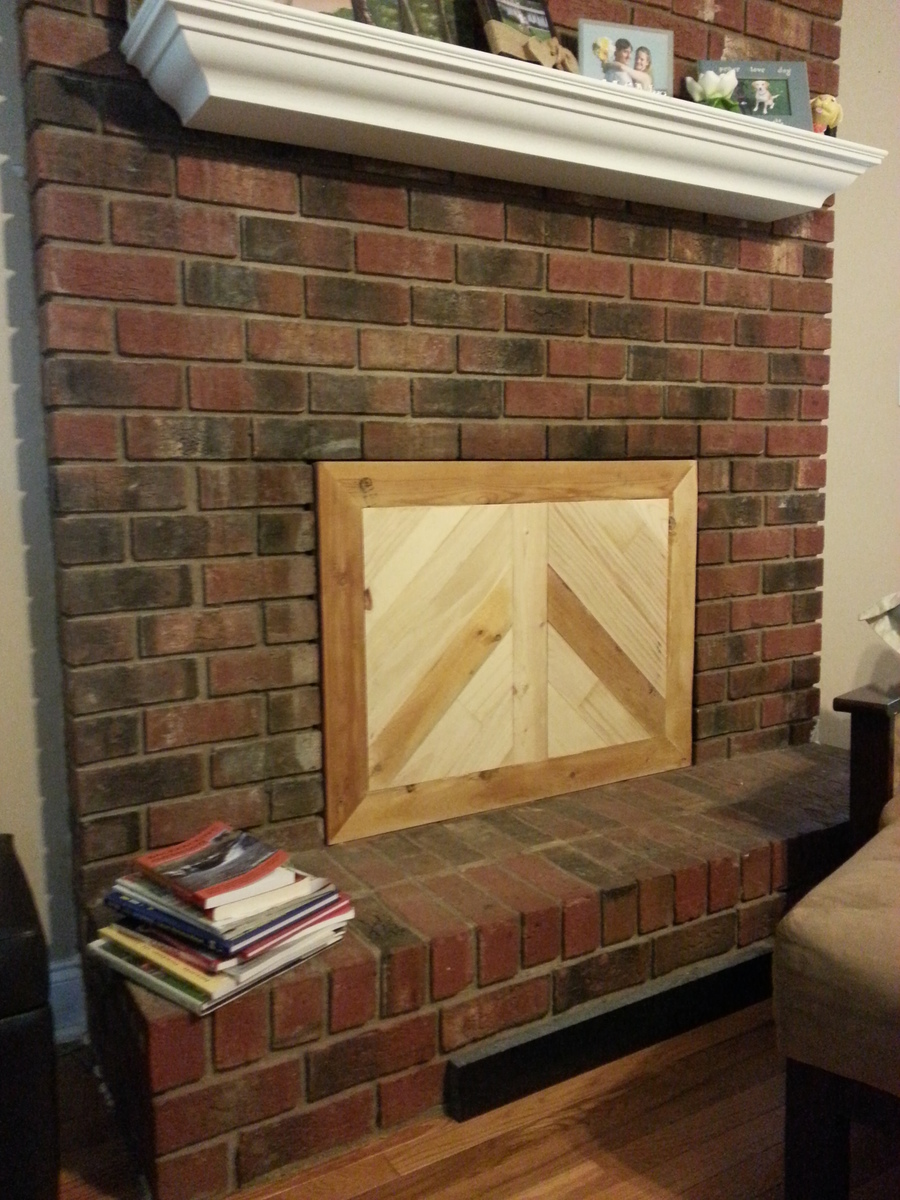
I almost jumped for joy when I ran across this pin on Ana's Pinterest board. Our fireplace is stained black and smells awful during low pressure weather. This project was actually one of my October Scrap Projects, but I felt it deserved it's own post. I had the left over wood and peg board, so all I had to buy was the foam insulation and bumpers.
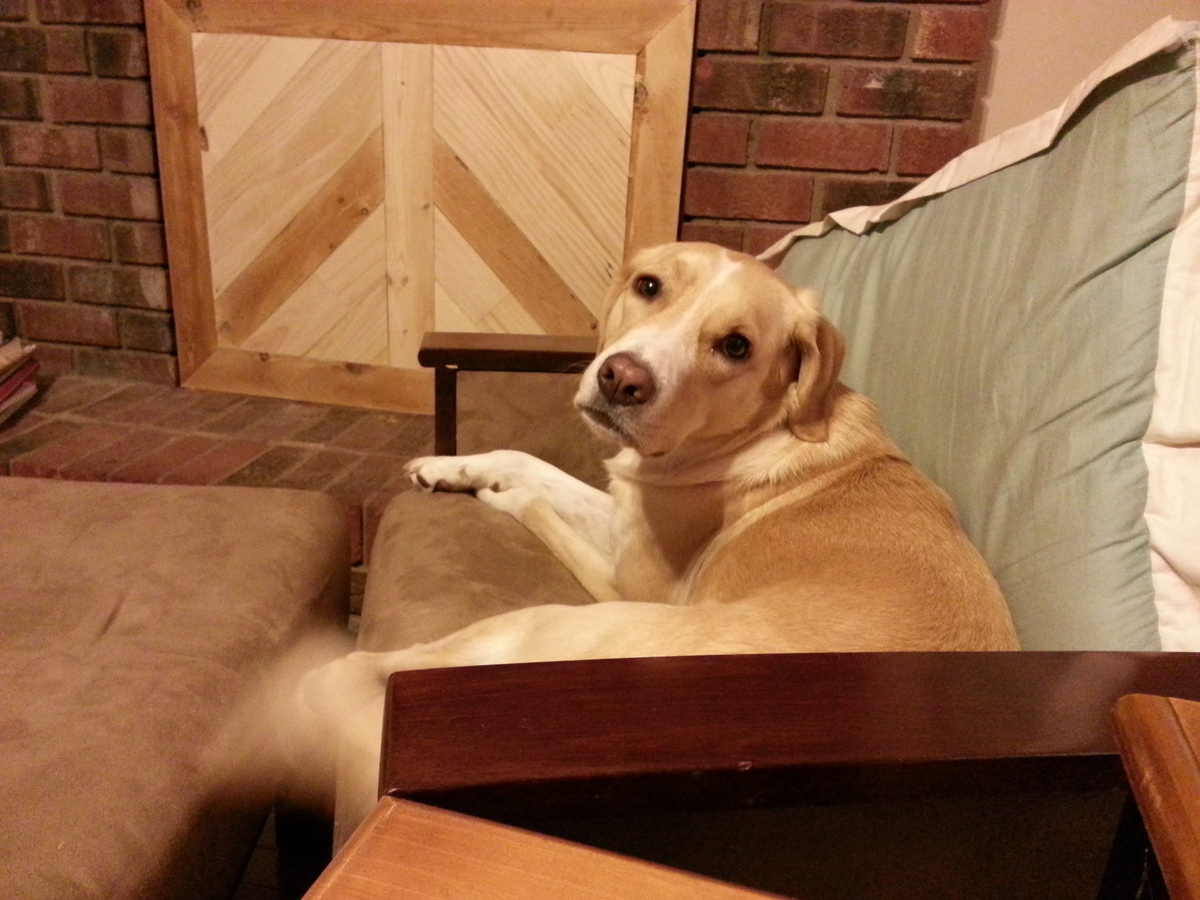
We are still deciding if it needs stained or not, so let me know if any of you have an opinion. The darker pieces are 2x4 studs we salvaged when we took down our kitchen wall so they have a nice 40 year age to them.
Here is the link to the instructions: http://www.prettyhandygirl.com/2013/10/build-fireplace-insert-draft-sto…
Mon, 10/28/2013 - 22:54
Hi Brittany,
Nice work! I think a rich stain color similar to the darker bricks would really tie everything together so that the insert and the white shelf don't compete with one another.
Val
artsybuildinglady.blogspot.ca
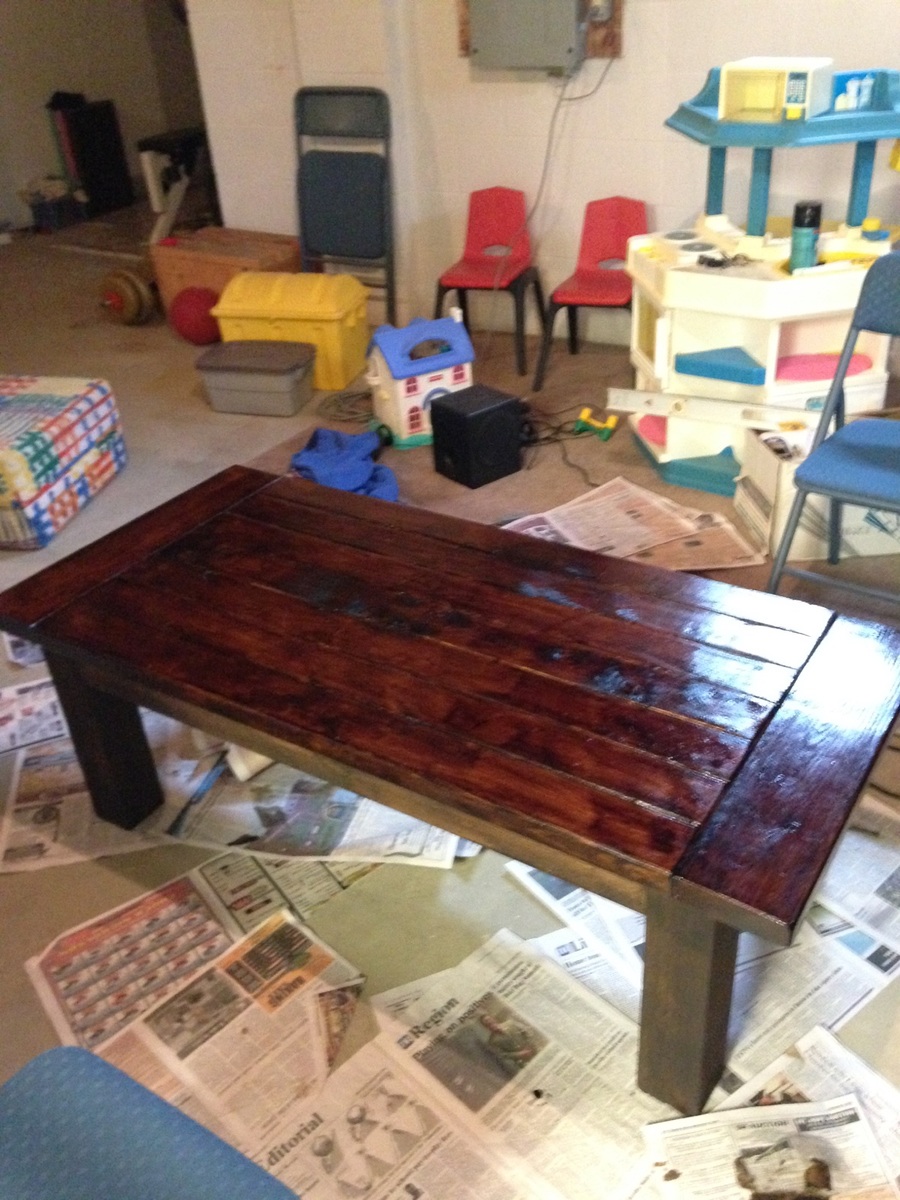
Wife showed me a picture and I found instructions from the projects already on here and did it less than a week. I had the wood part done in about 5 hours and with two coats of staining and a couple of the clear coat and me trying to find some time to do it while working a lot you could probably have this done in a weekend if you were free for the whole weekend.
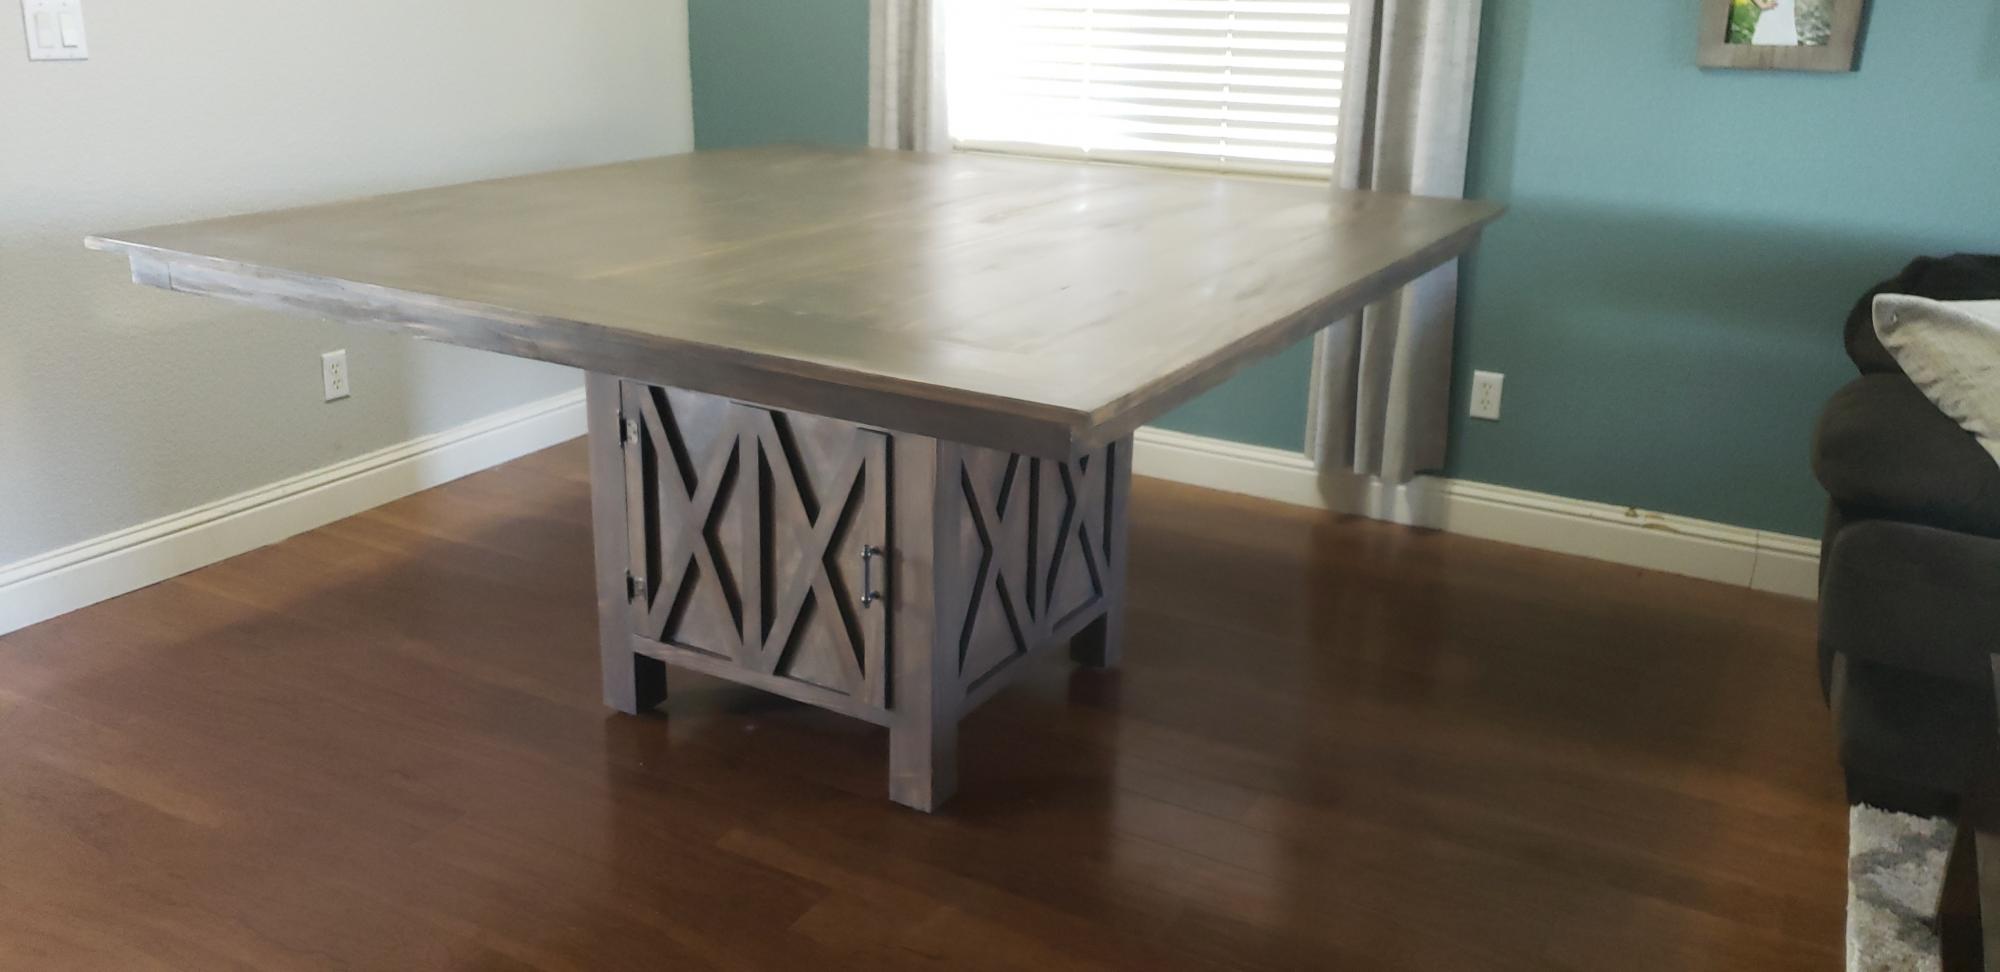
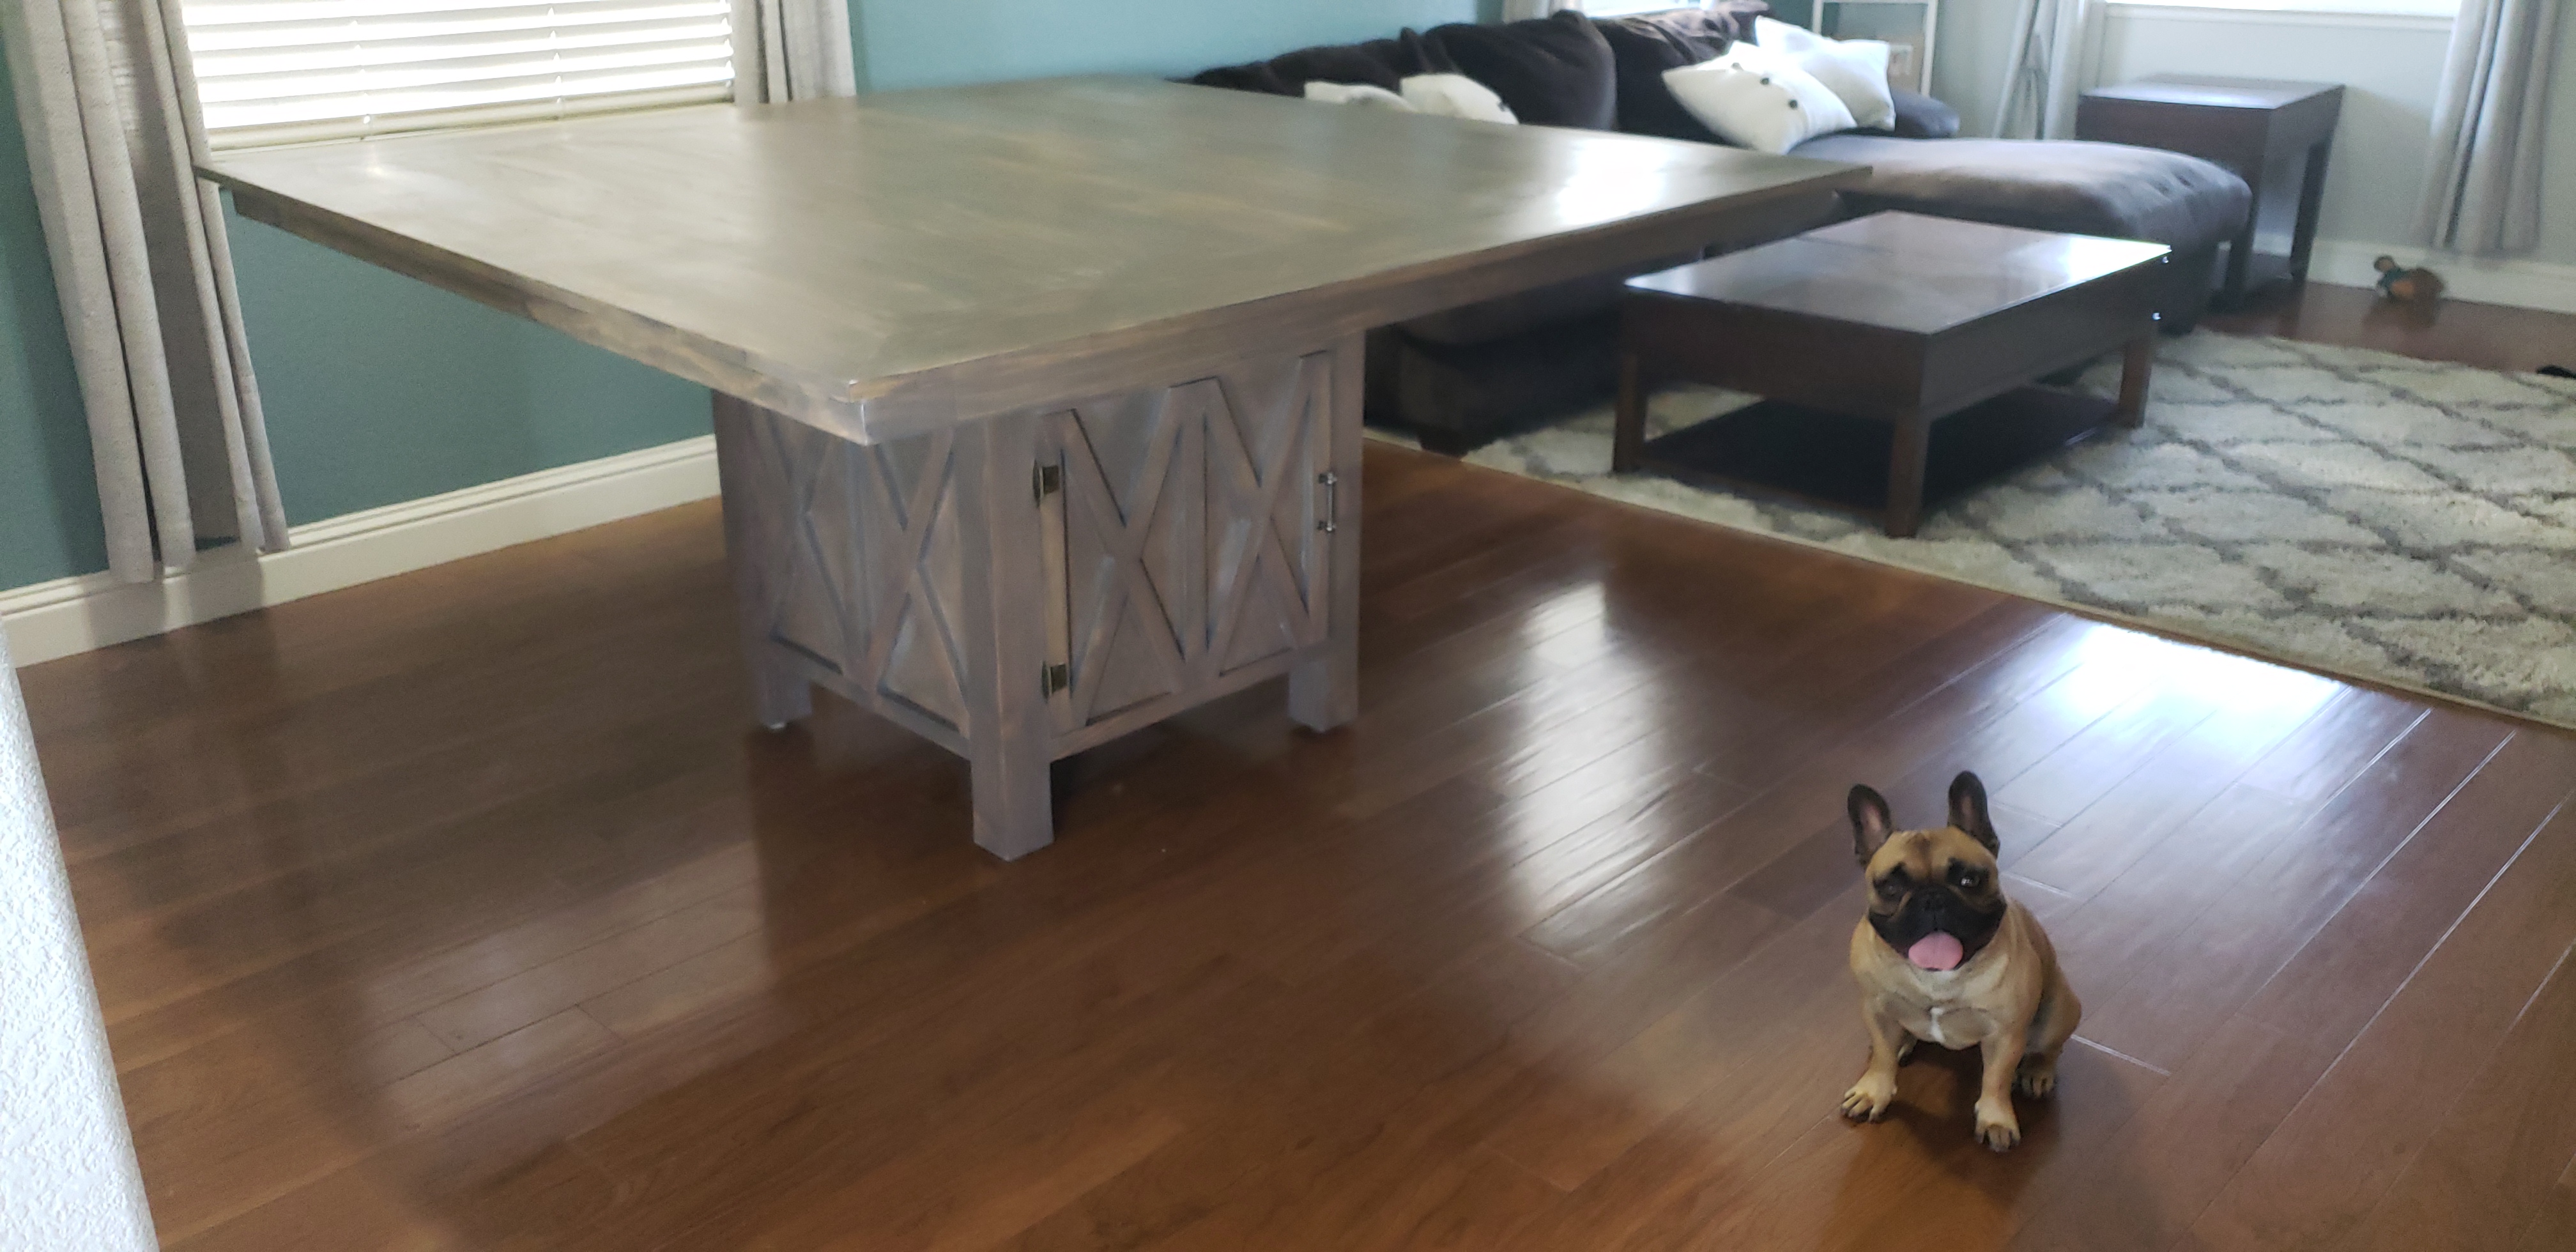
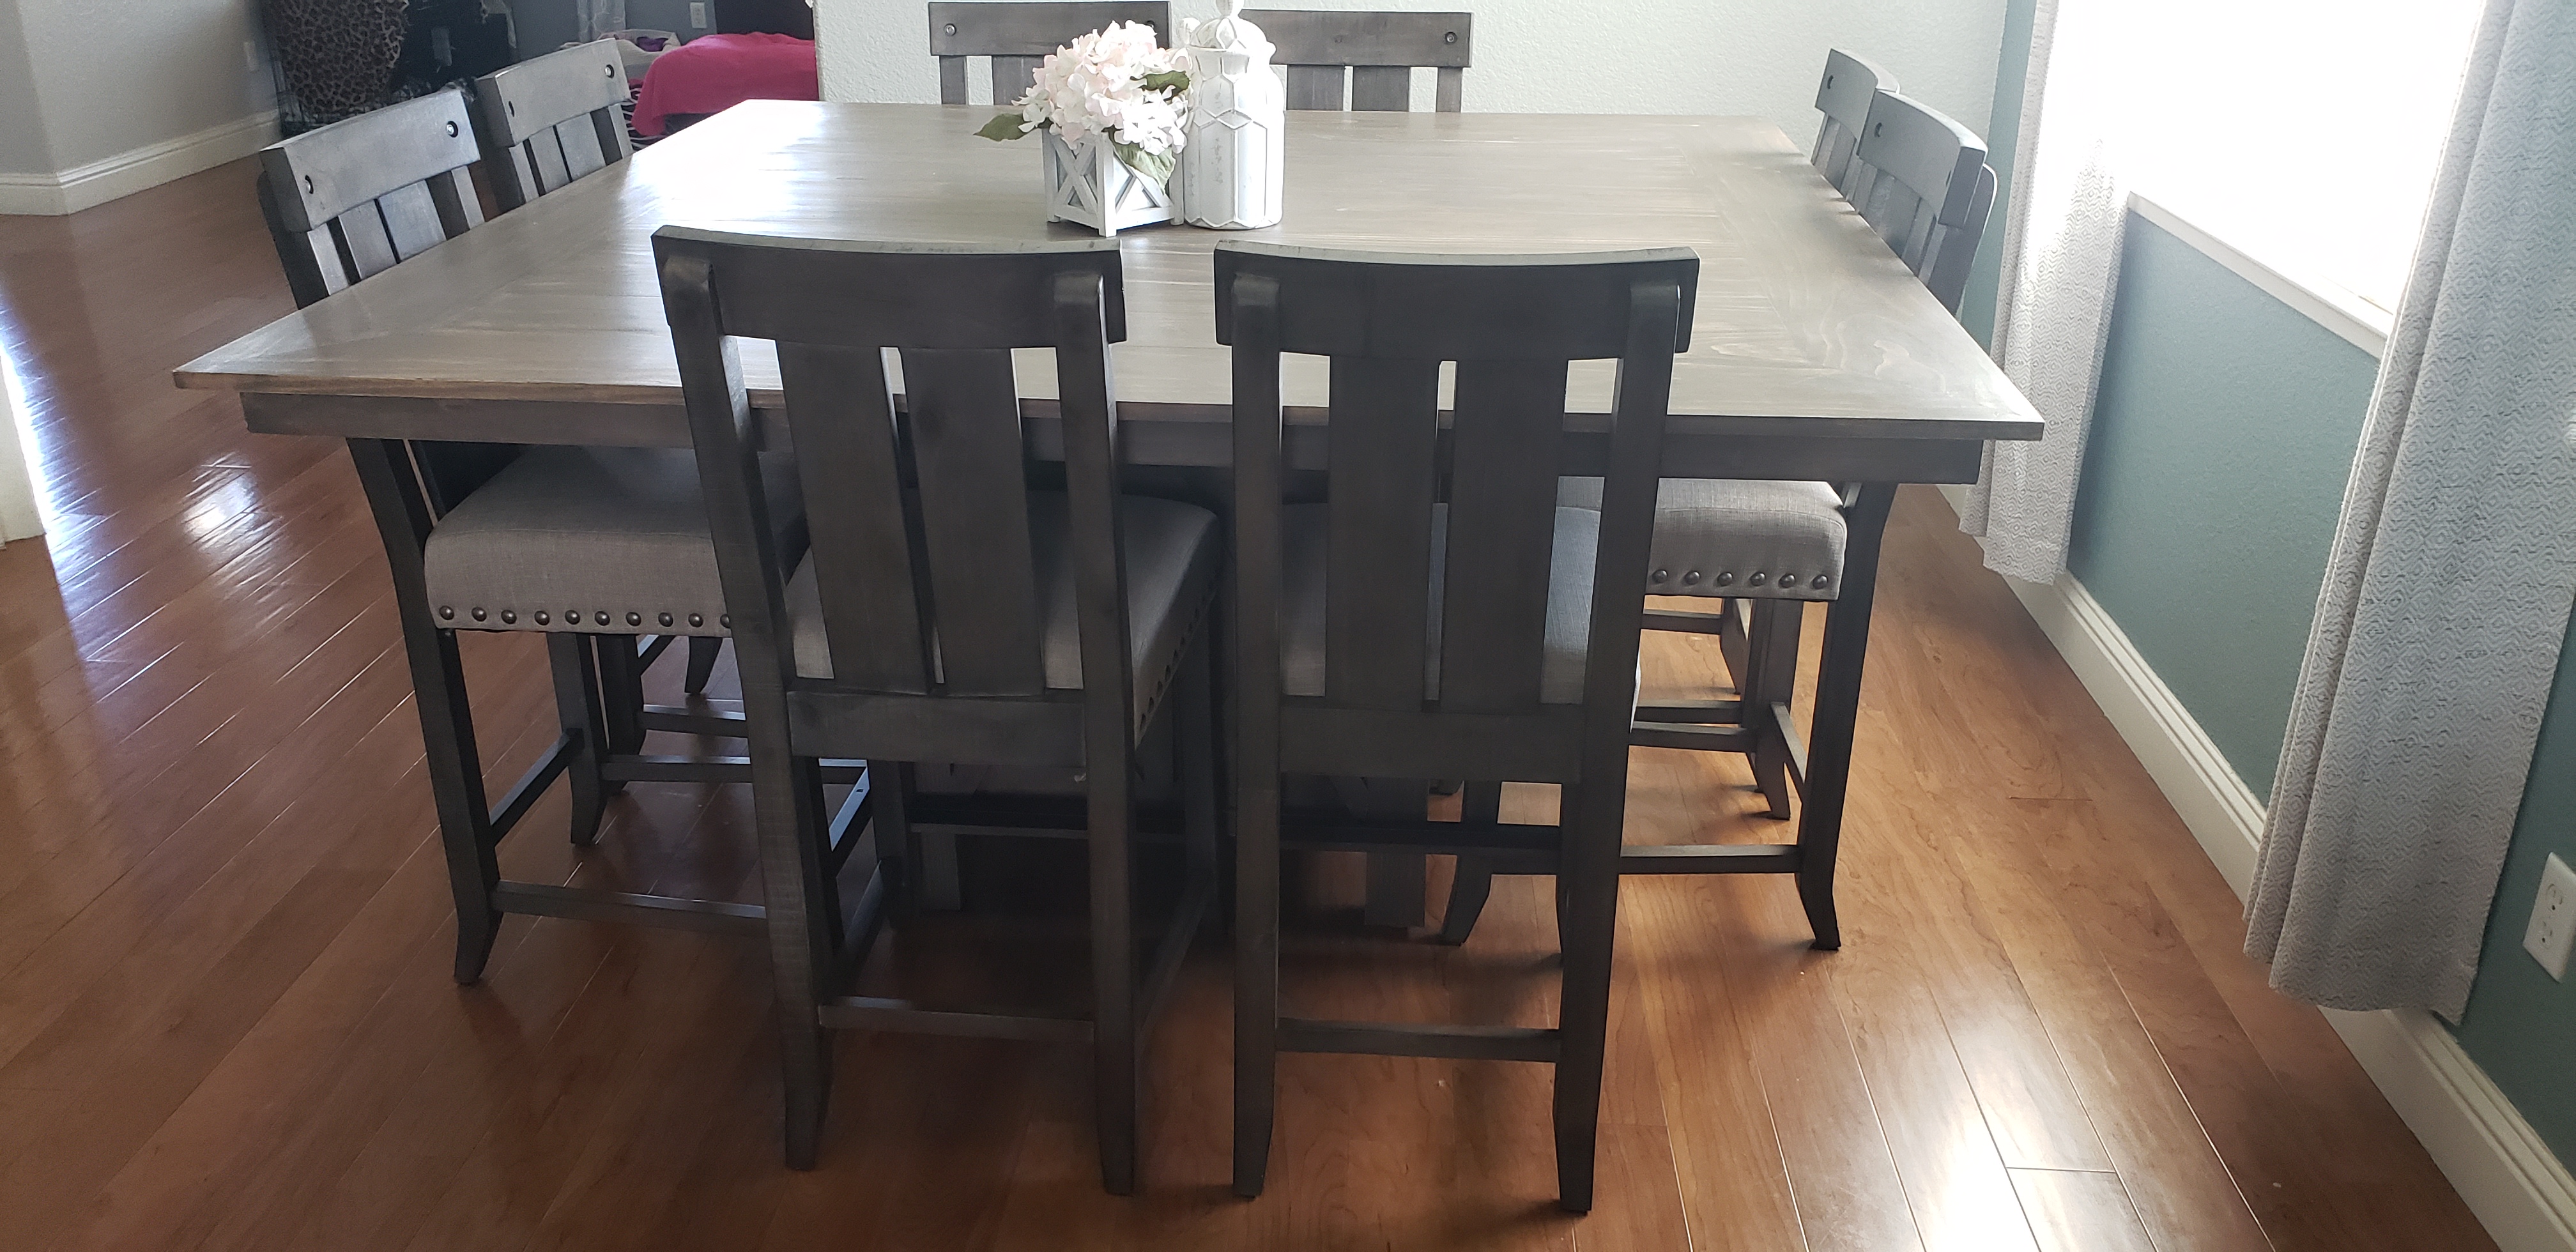
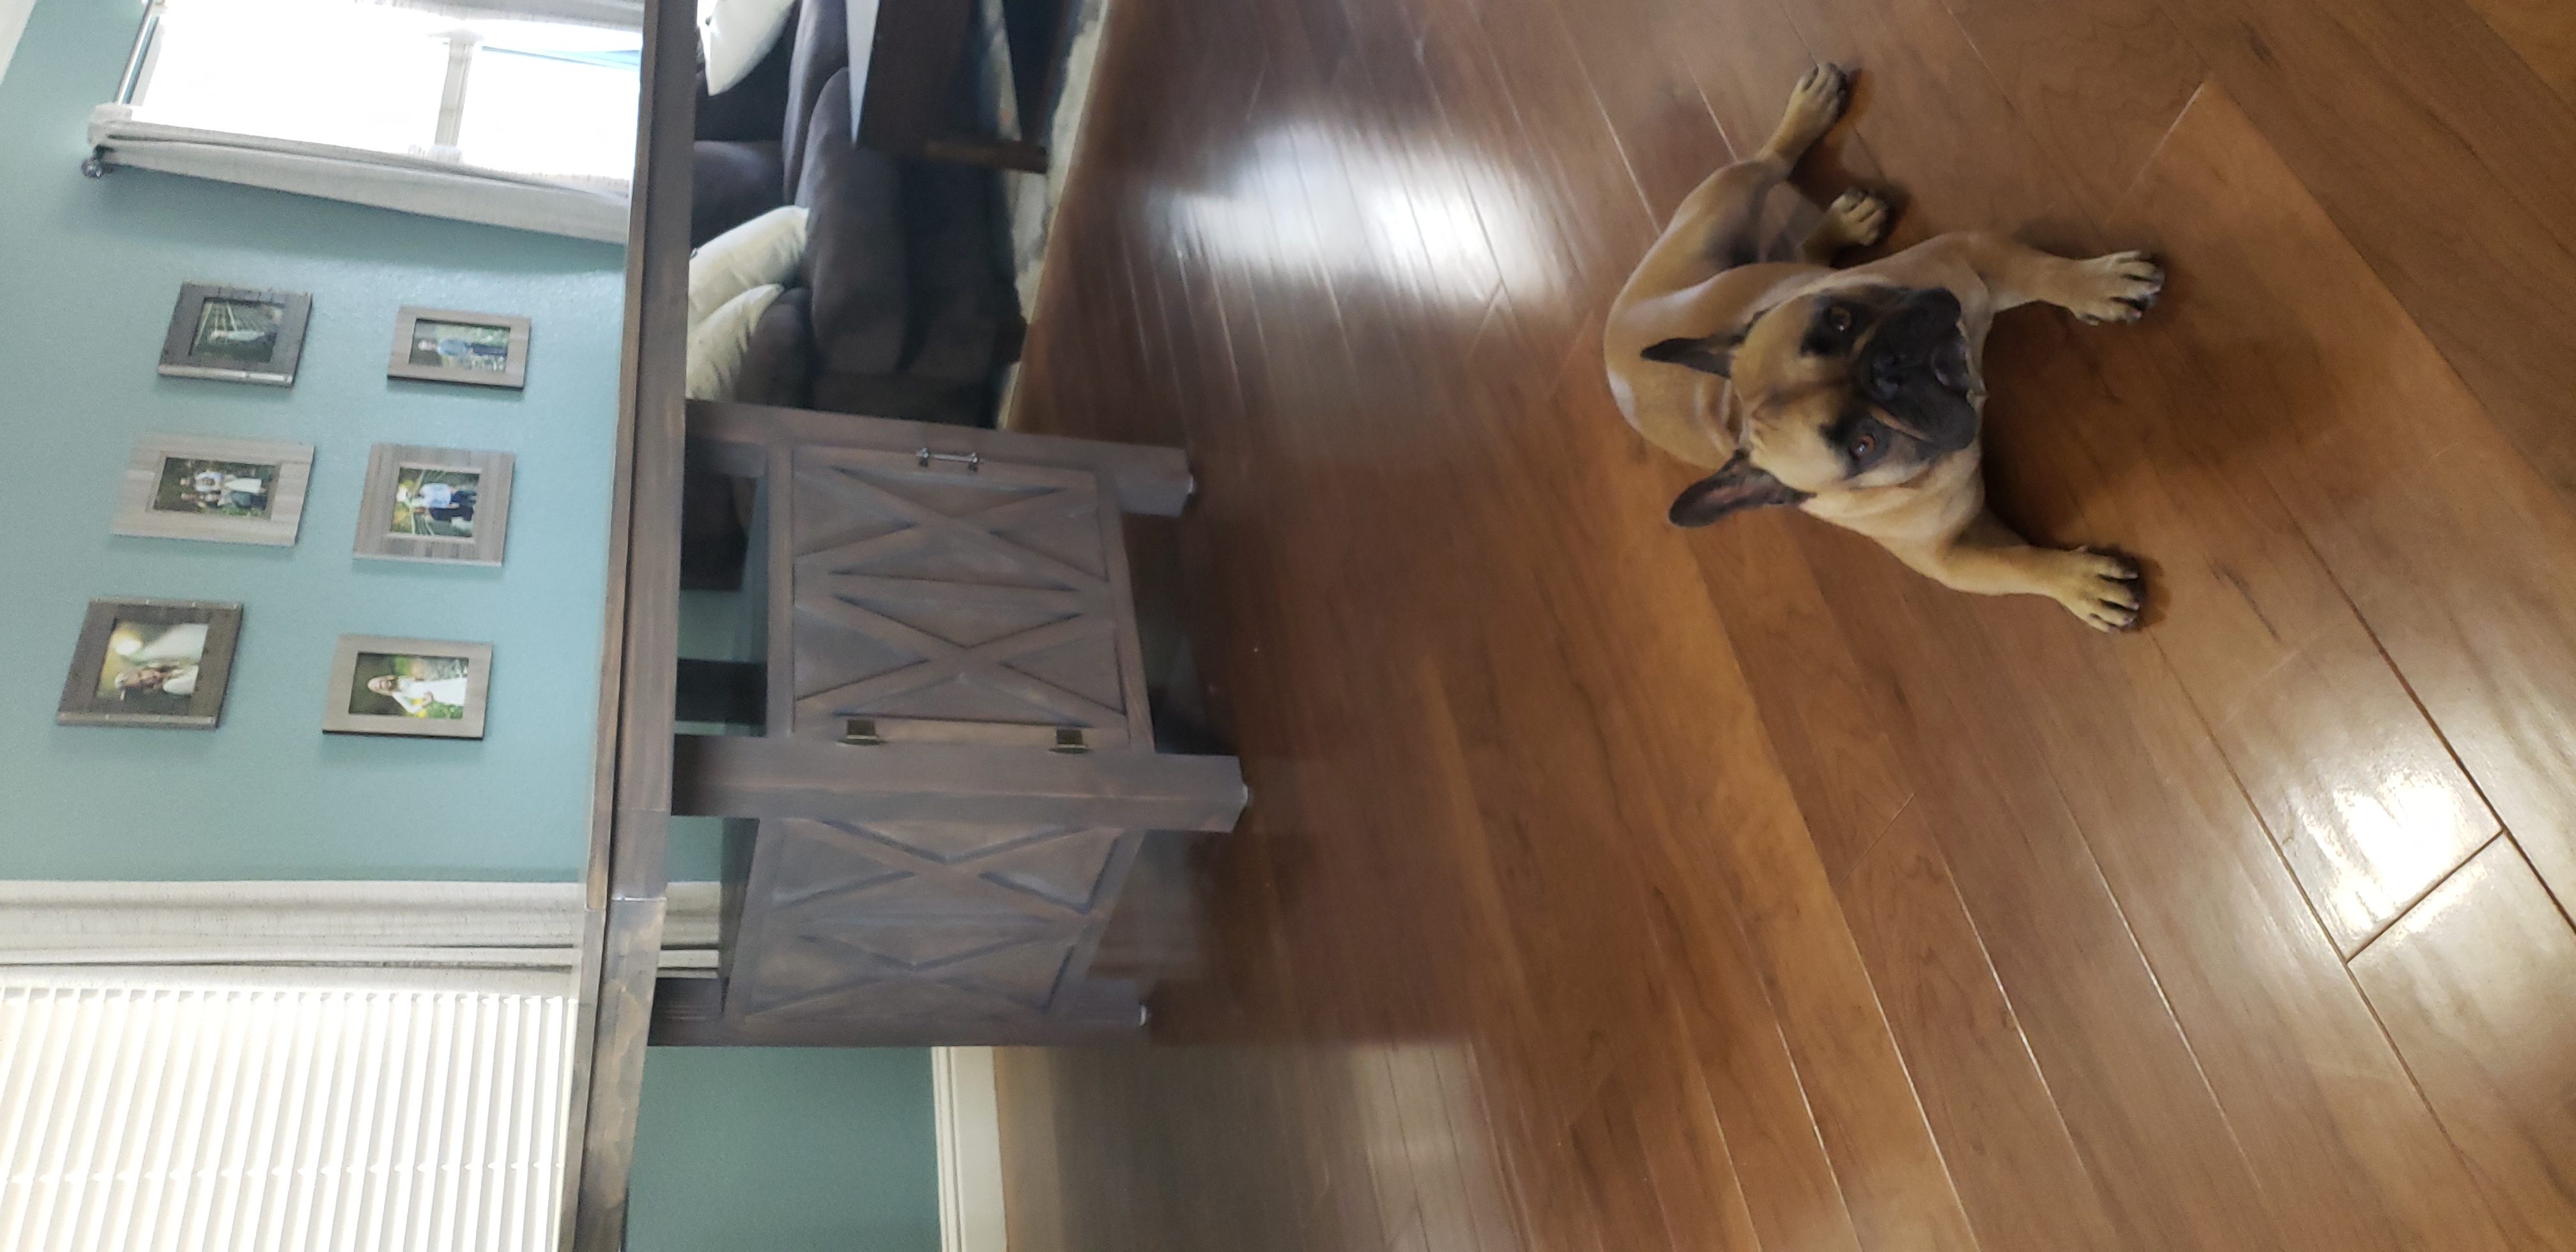
Square dining room table with storage. My wife wanted a square table and could not find one in stores that she liked. We ended up with this table. Briarsmoke is the stain on the table. Used various wood for the table. 2x4s, 4x4s, 4x8 sheet of 3/4" birch, 1x6 & 1x8 premium pine on the top. Chairs were bought at Living Spaces and match really well.
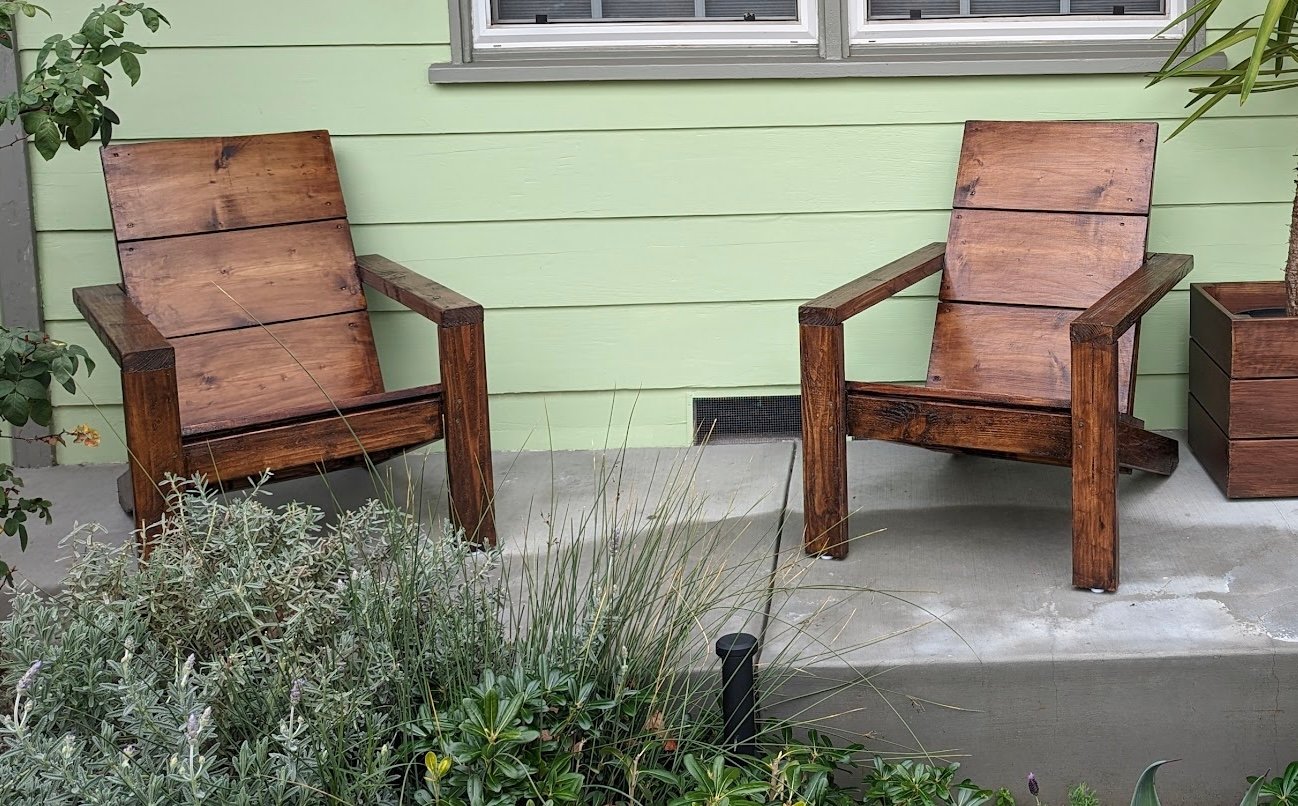
This was such a fun project. Your plans were spot-on and easy to follow. I am not a total beginner woodworker but not experienced either and I am so proud that I created these beauties with your help. They are adding so much to our curb appeal. I learned a lot and I got an education on pocket screws and the Kreg jig; I ended up buying the 520PRO. I am so grateful!! Thank you so much!
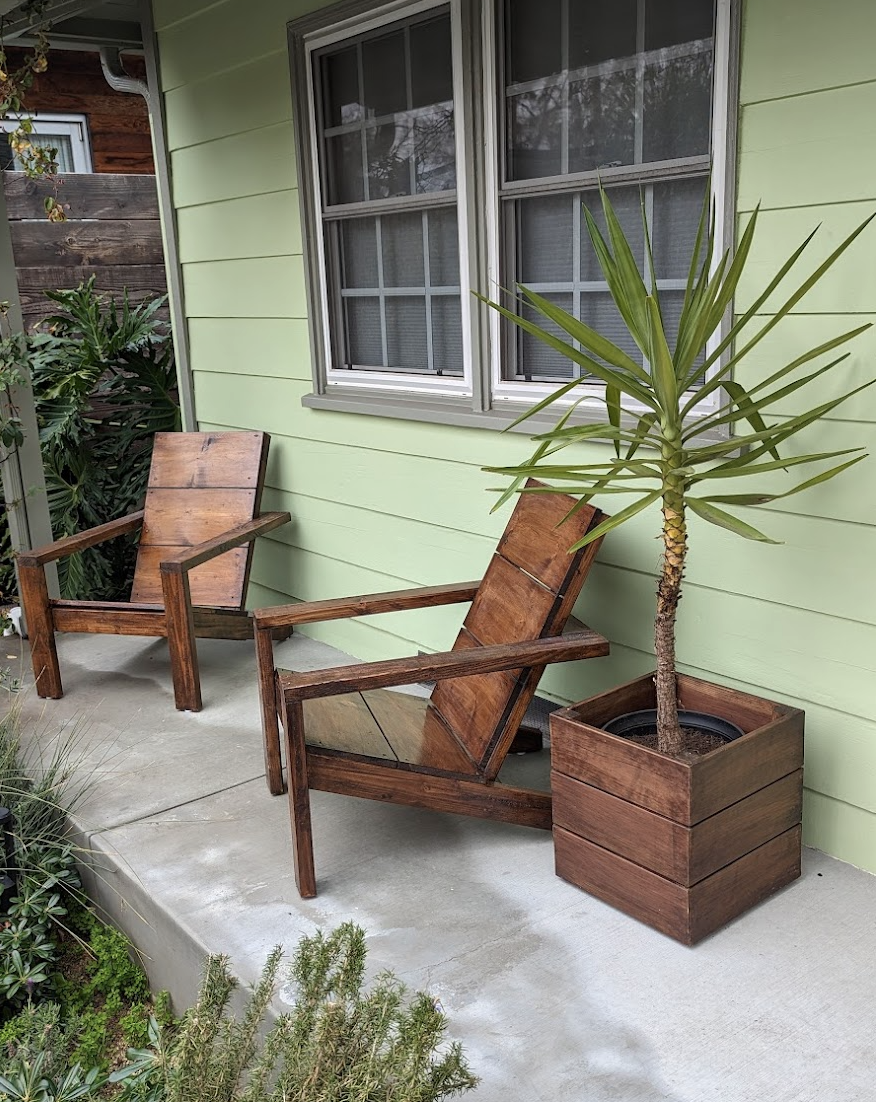
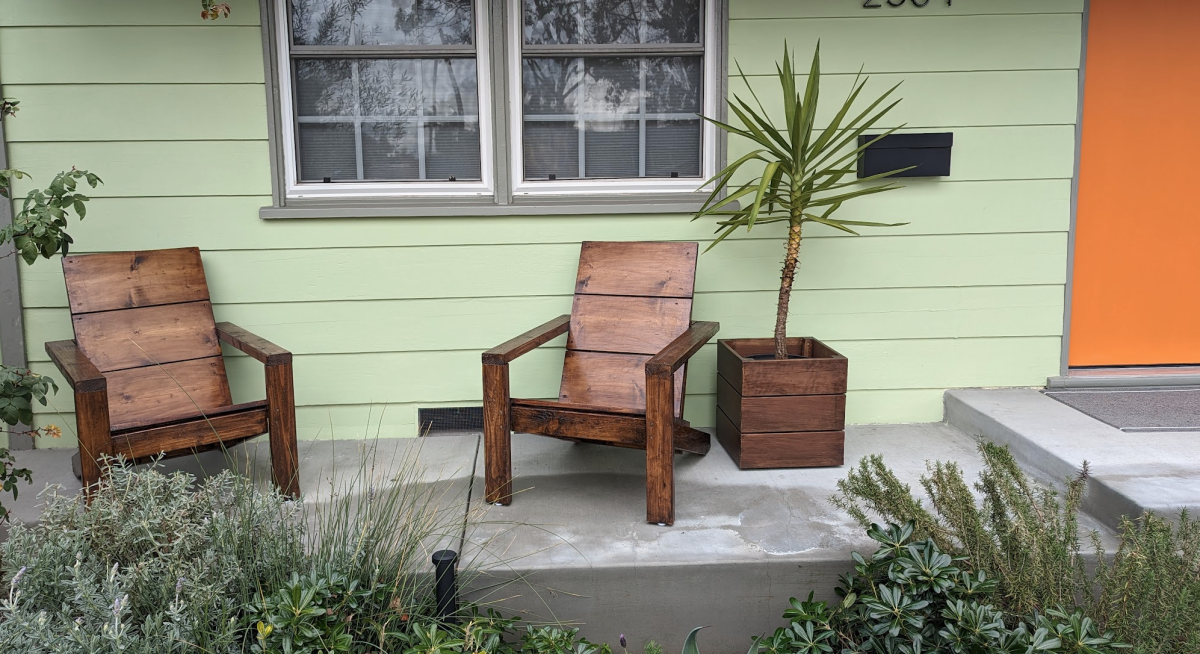
Sat, 03/18/2023 - 09:13
Great stain choice, it looks so inviting! Thank you for sharing.
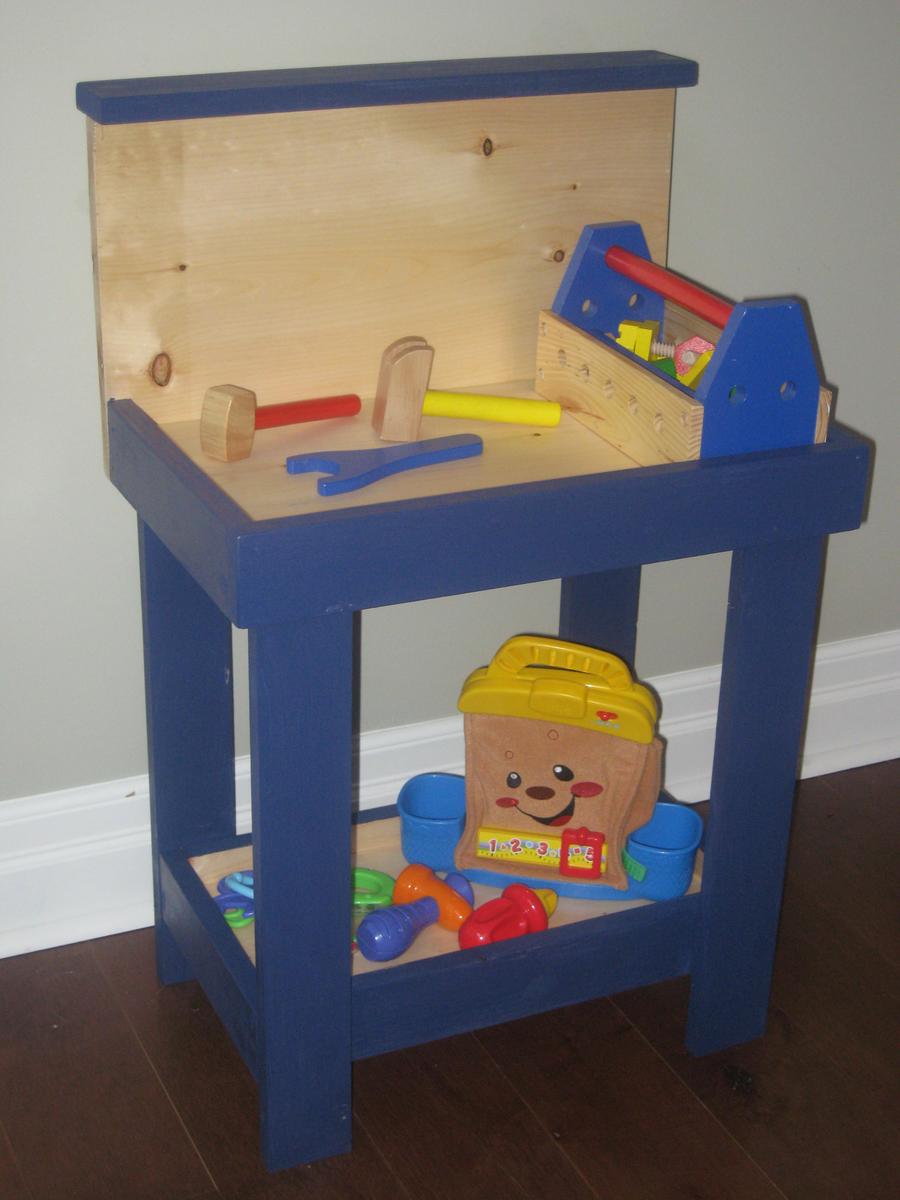
I am so excited to have my son see this on Christmas morning. I decided to build in the bottom shelf for more tool storage and I am considering drilling some holes in the sides of the top shelf or the back for hammering in "nails" (or clothespins painted grey). This was my first project without any man-help and I can't wait to get started on the next one! Thank you so much Ana for your designs and more importantly, your inspiration.
Fri, 12/02/2011 - 13:12
Awesome! I'm making one for Christmas also. Next week is a busy week for me because I'm making four different things. You did an amazing job and it's good to know that it only took a couple of hours.
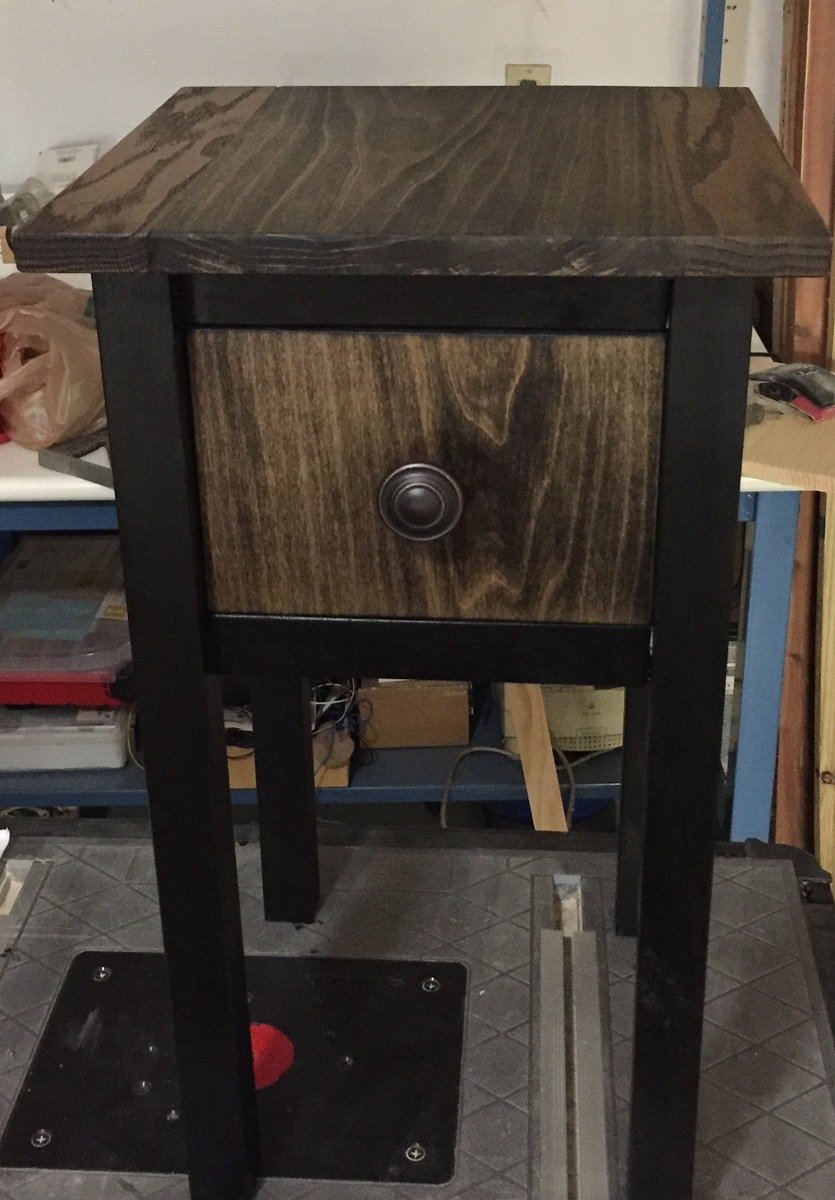
Square instead of rectangular. Top is oak and poplar stained Jacobean. Drawer front is poplar. Interior of drawer is cedar. Pine for everything else.

I've been looking for a simple end table when I stumbled upon this gem.
To get the wood grain to pop I torched the top before staining, then I high buffed a glass look into the clear coat. It really turned out perfect.


Simple x bench followed the plans posted below except I shortened it to fit our old table.
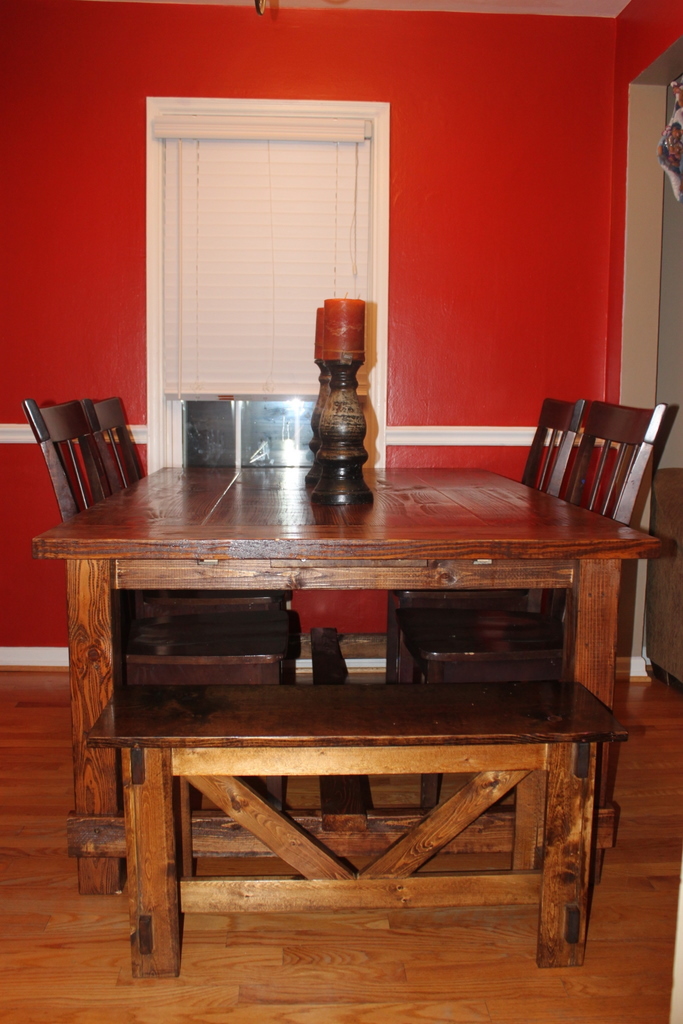
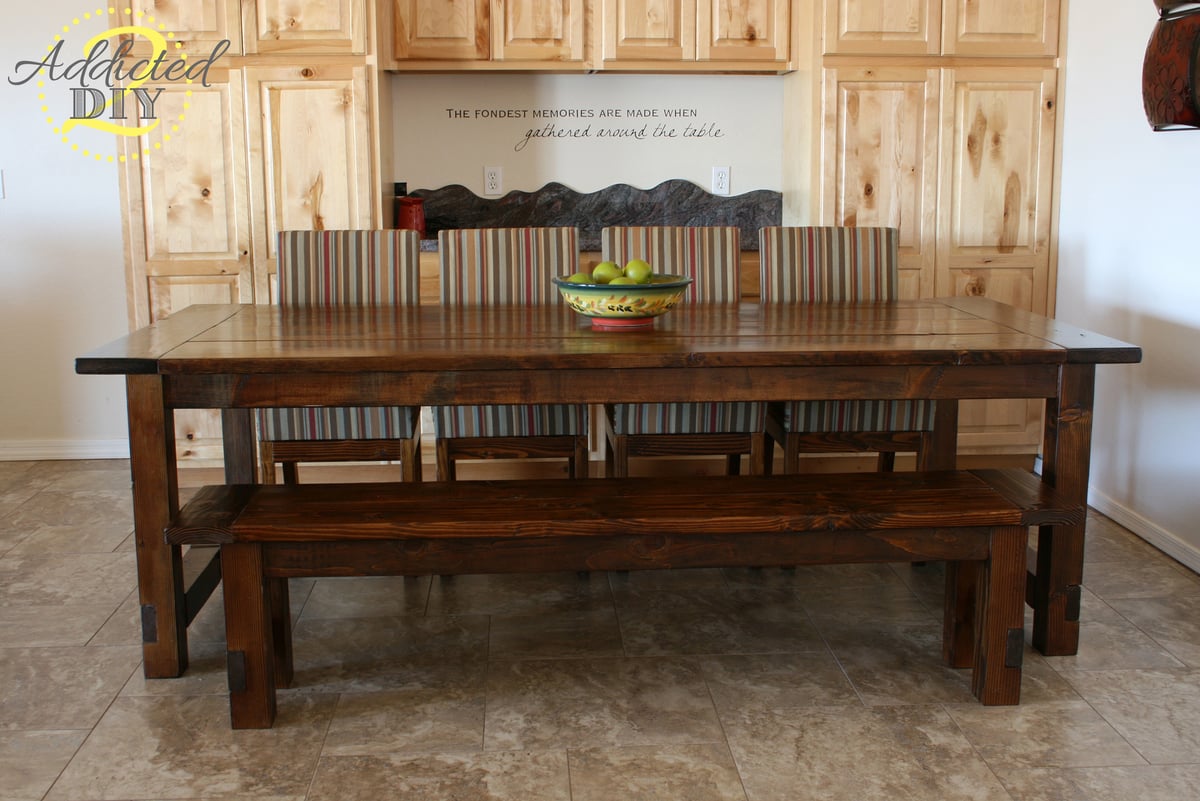
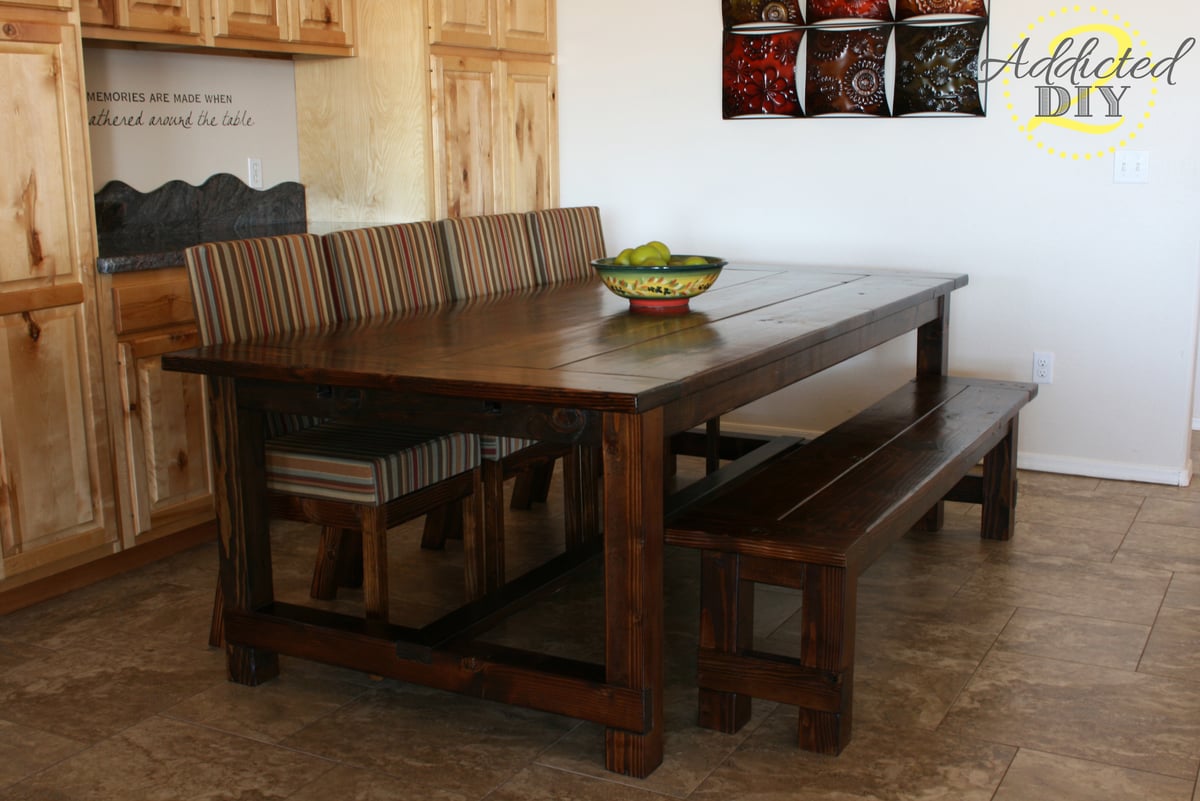
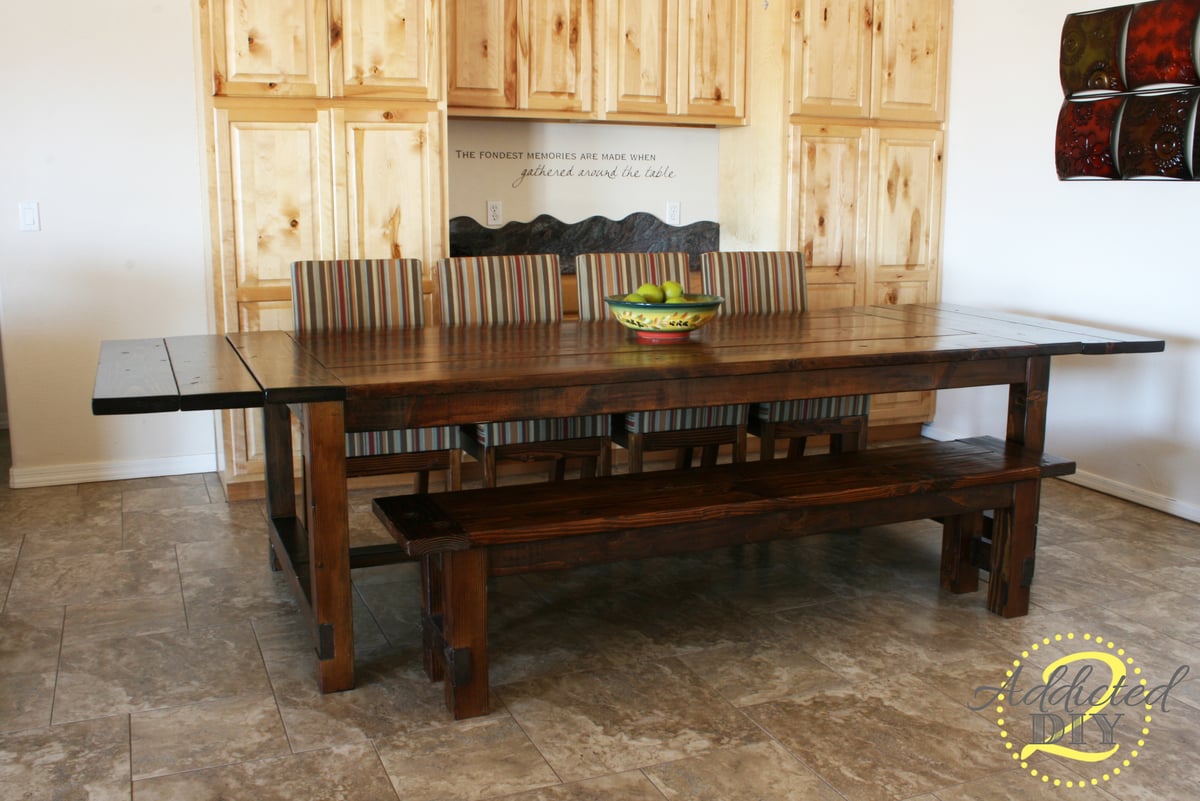
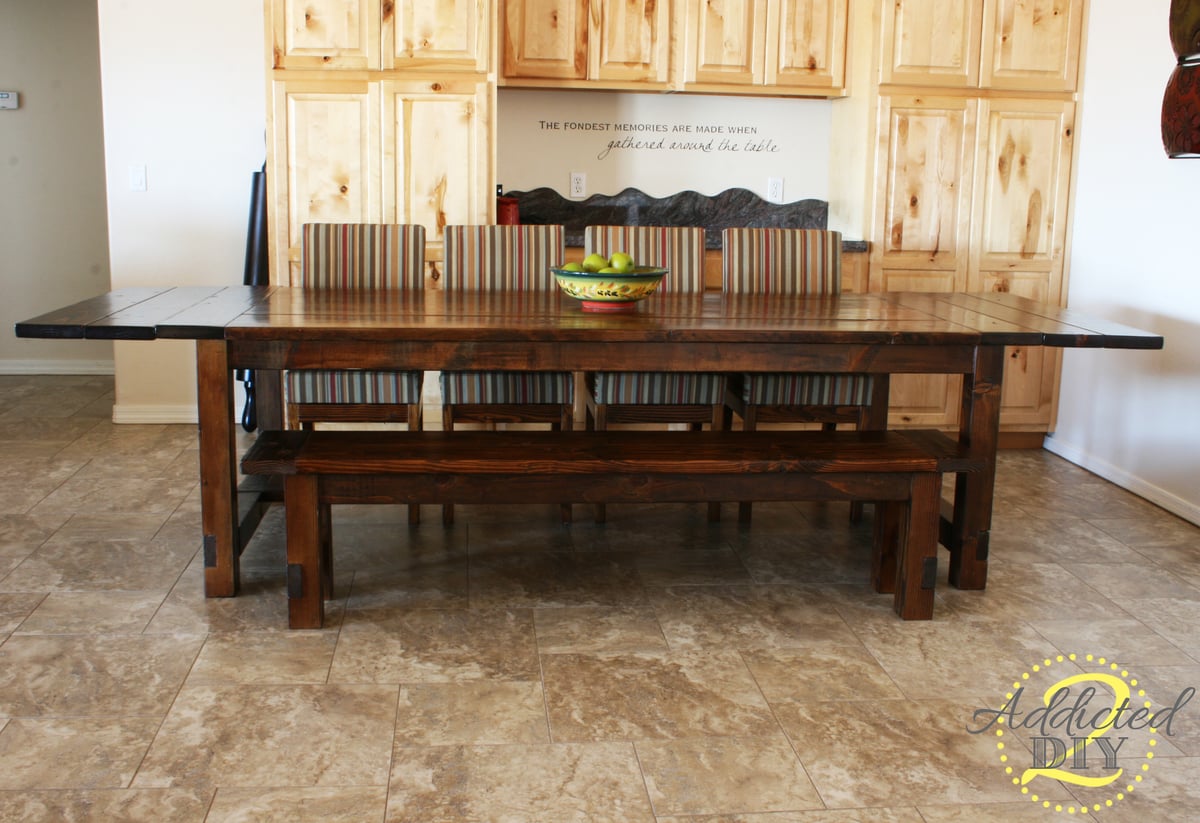
We built this farmhouse table a few months ago and absolutely love it. We modified the plans a bit based on another brag post and went with a replica of the Restoration Hardware table. I also built the chairs for the table based on the Parsons chair plans
Tue, 11/05/2013 - 17:59
Really nice job! This was quite an accomplishment, especially given that you guys did additional chairs (that look fantastic). Also, great job documenting on your blog.
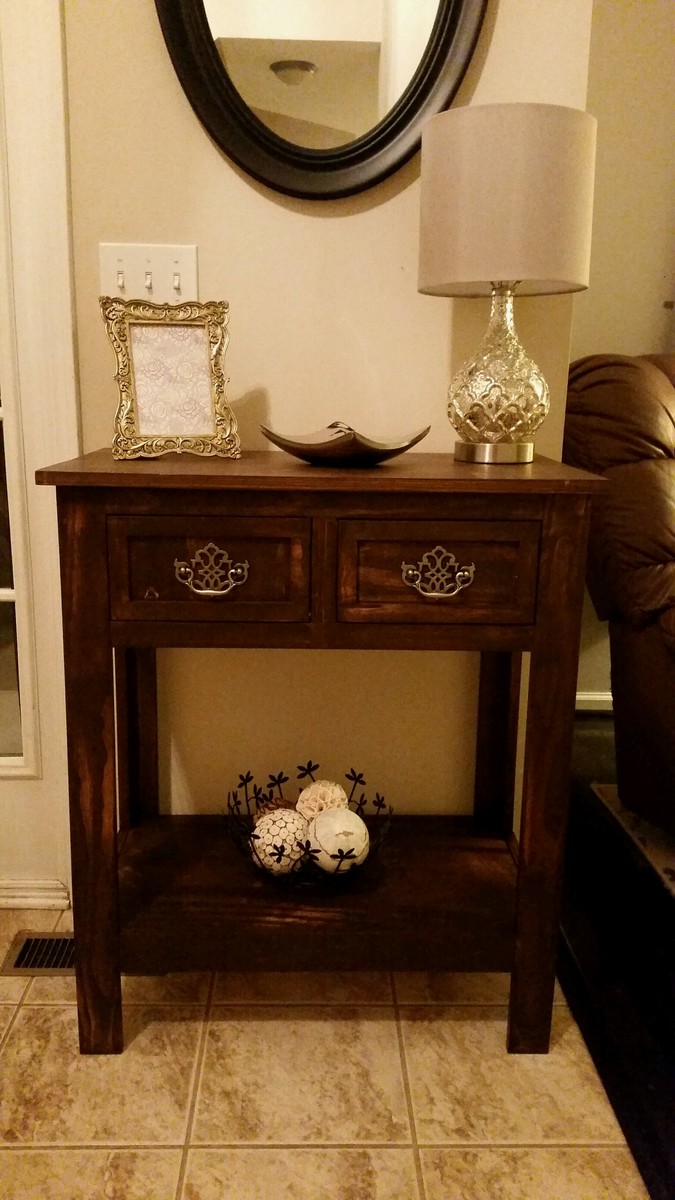
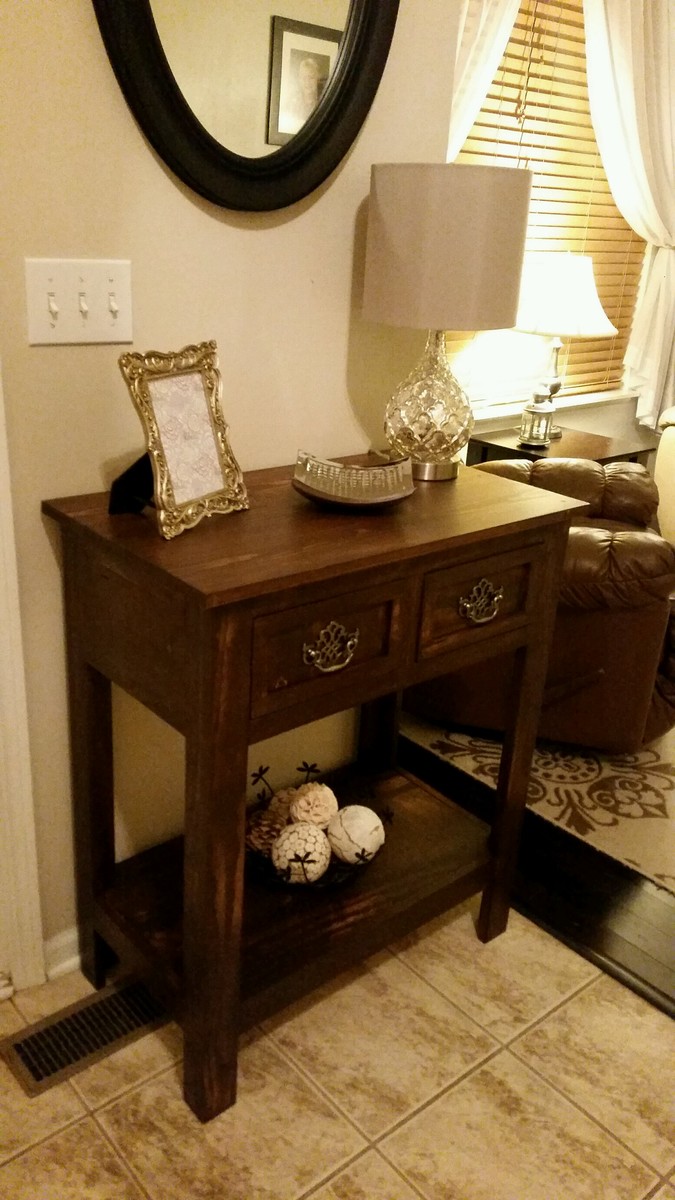
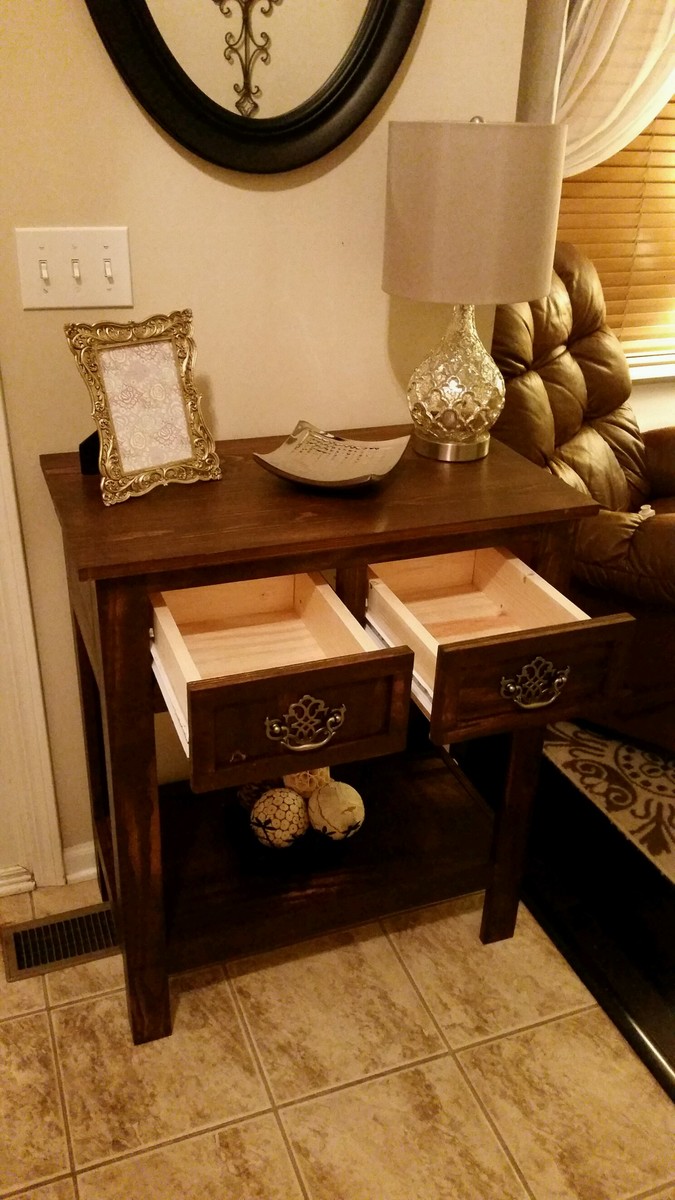
Absolutely loved this table when I saw the plans and knew it was exactly what we were looking for near our front entrance. I got the wonderful idea from another builder on here (Kiely54, thanks!) who modified the drawer faces and used the amazing drawer pulls. My wife loved the drawer pulls so much we hunted them down at our local Menards. This is the first time I have ever built a piece with drawers. I was absolutely terrified about making and fitting the drawers, but it wasn't nearly as bad as I thought. I have now learned how to do it and now I don't feel so limited about the pieces I build. We modified the size to fit our area and we absolutely love the finished product!
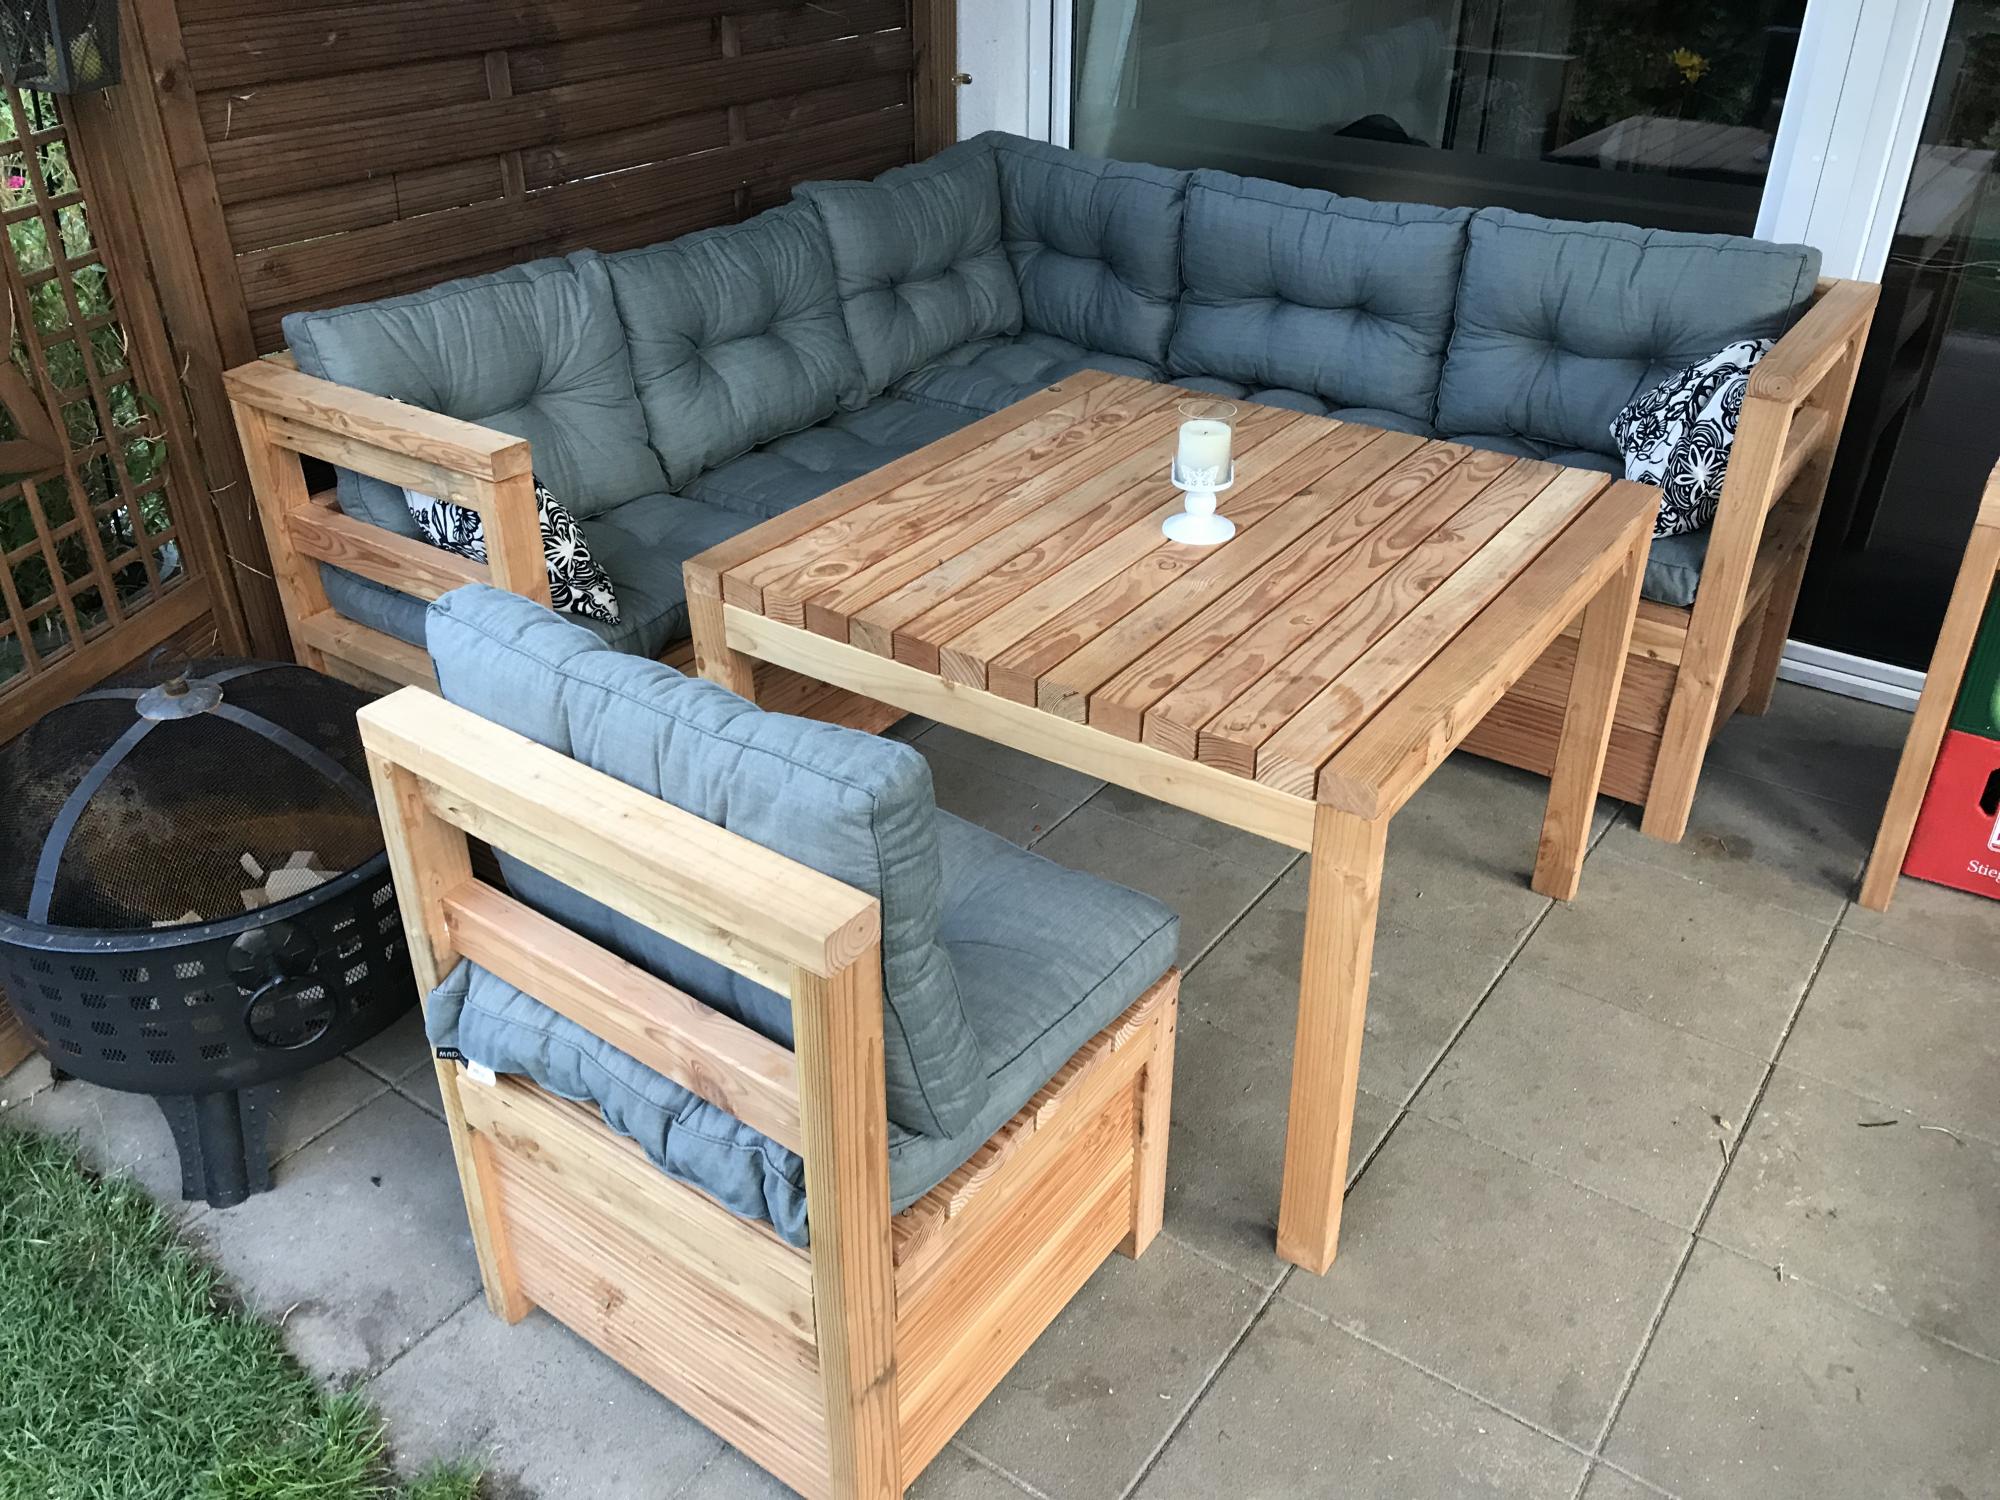
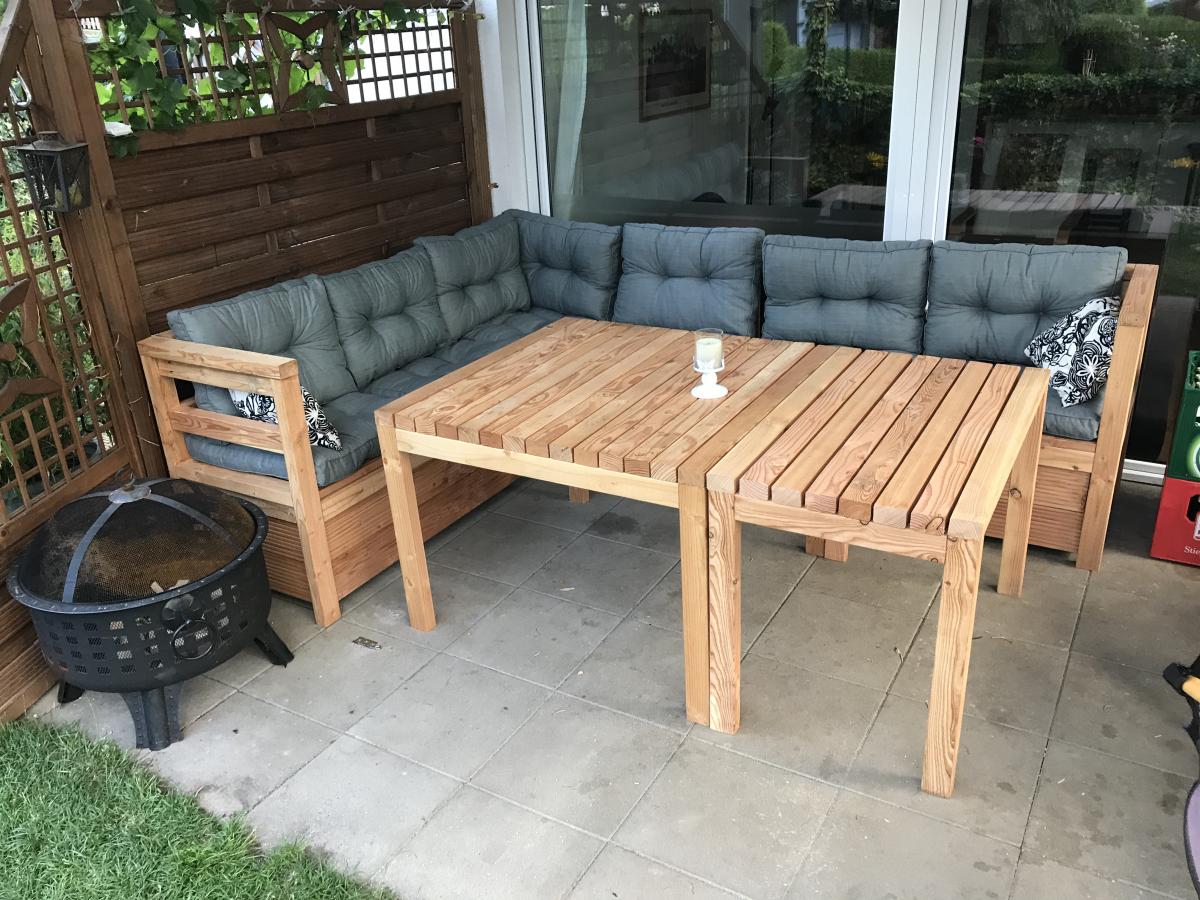
Thanks for the 2x4 sectional & coffee table plans: https://www.ana-white.com/woodworking-projects/2x4-outdoor-coffee-table
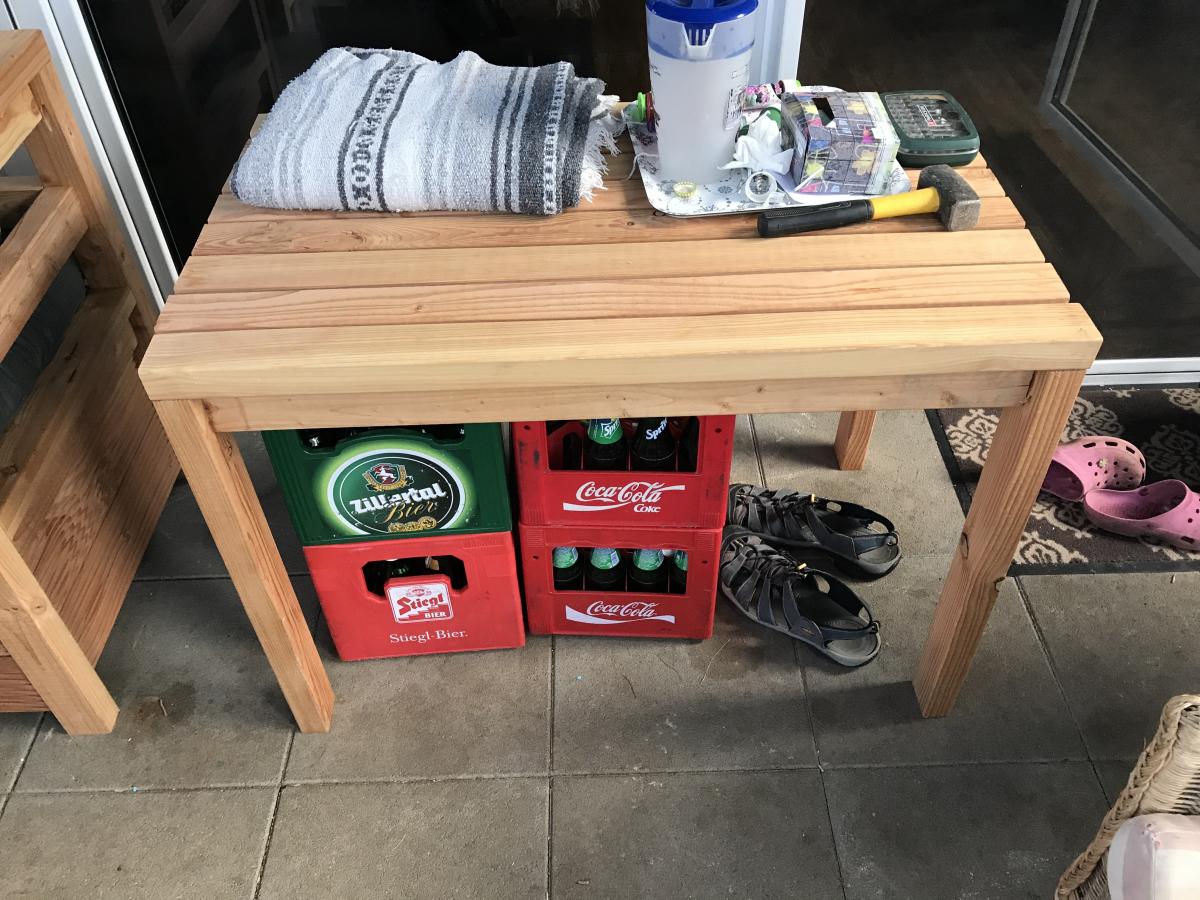
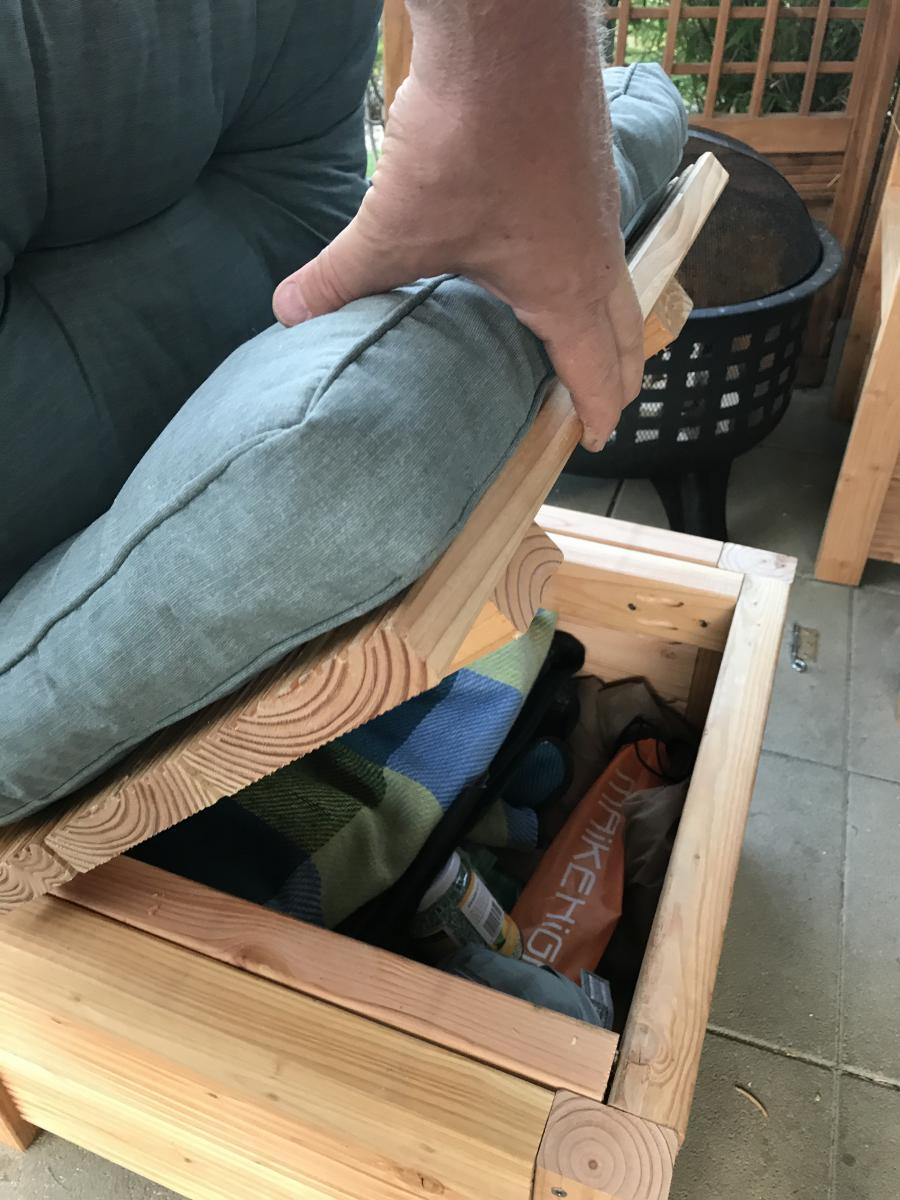
I adjusted plans to make more of a storage bench and higher table for our patio. Also had to figure out new wood sizes, since the standard sizes here in Austria are different than in the USA.

I needed a place for all my gardening pots and planter boxes and this was a perfect solution. So with my dads help we built this shed.

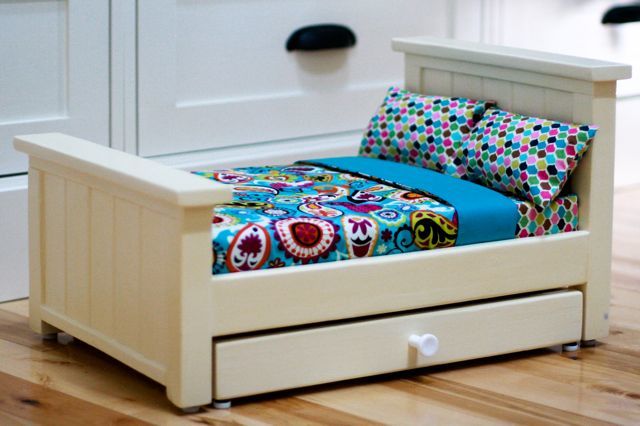
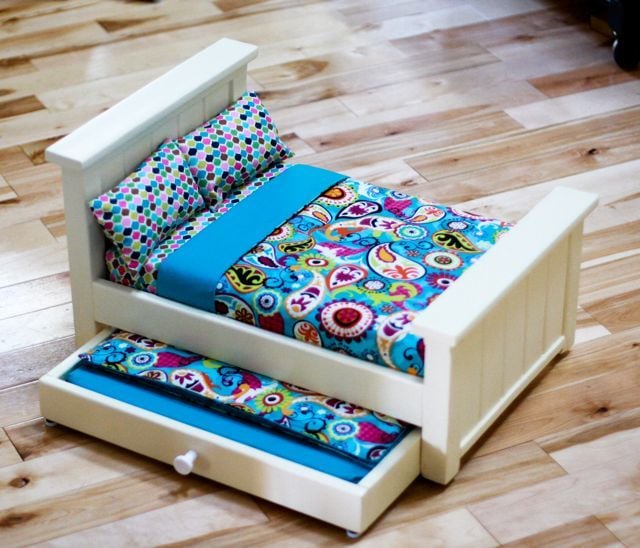
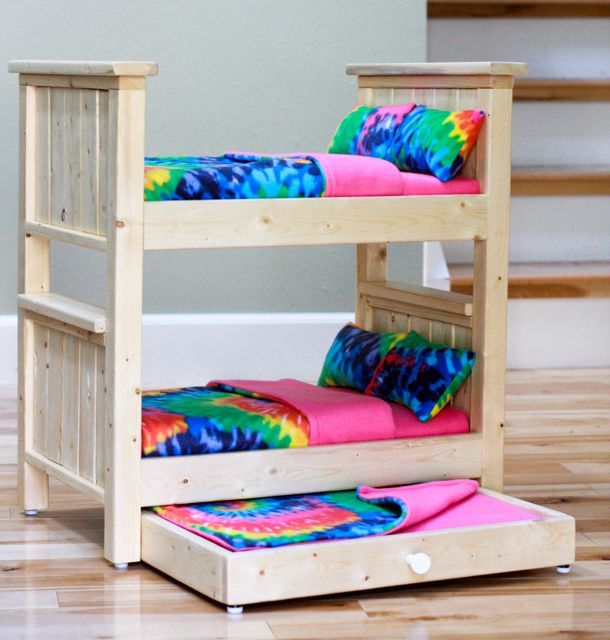
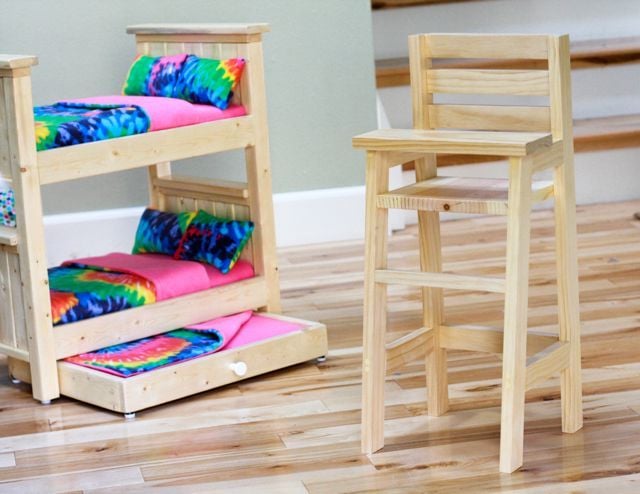
For these beds I modified the original farmhouse doll bed plans to accommodate a few more dolls. In the process, I discovered that, while doll furniture turns out SUPER cute, it takes me about the same amount of time to build a little piece as it does to build a big piece, especially when you consider the time it takes to sew the bedding.
I put these together mostly with nails and glue, but used my kreg jig to join the rails to the headboards and footboards.

Wed, 12/14/2011 - 23:05
Hillary you are so inspiring and talented!!! Love!
Thu, 12/15/2011 - 06:00
I love the mods you did on these. For the farmhouse w/trundle, I know you had to raise up the bottom and it looks like you did the headboard sized boards for the footboard and made the headboard w/even longer boards? Then for the bunkbeds, are those all headboard lengths for the head and footboards and then just very long 2x2s for the posts? I am never brave enough to mod anything just yet! I also absolutely love that bedding on the top pic! So bright and cheery!
In reply to Great job! by spiceylg
Thu, 12/15/2011 - 06:51
Isn't that bedding beautiful? I love it. The fabric is from Hobby Lobby. They have so many cute calicos.
Yes, you got the mods right. If I were to do the trundle again, I'd make the headboard longer so that it goes almost to the ground like the footboard, otherwise you can see the trundle.
The bunk was easy -- much easier than the other bunk plans all out of 1x2s. I've made them both now and the farmhouse one just comes together a lot faster (once you figure out the measurements).
Thu, 12/15/2011 - 09:57
I love Hobby Lobby but never think to check out their fabric! Silly me, I'll have to do just that! Okay, thank you for the info. I just noted the additional detail of the feet, how nice! If you don't mind, I'd love the measurement of the 2x2 for the bunks, simply because I'm lazy like that, lol!
Thu, 12/15/2011 - 10:27
The 2x2s are 22 3/4" and the slats in the headboard are 7". I think the bottom of the bottom headboard is around 2 3/4" or 3" from the bottom of the 2x2s. All the width measurements are the same as in the original plan. Also, I used lath strips for the mattress to rest on instead of a rectangle of 1/4" ply -- it seemed easier and I think it was cheaper, too.
Fri, 12/16/2011 - 08:00
You are so right about the time it takes.
I made a stuffed doll and her clothing for a niece, and I could have made myself two complete outfits in the time it took to sew one dinky doll dress.
Tue, 02/28/2012 - 07:40
Hillary how did you do the trundle for the farmhouse single bed. I read where you said you would do the headboard longer,but this is going to be my first build and I need a little more instruction to make the trundle and how long would you do the headboard. Thanks!!!
In reply to Trundle by lmhaney (not verified)
Tue, 02/28/2012 - 09:05
Hey. I made the trundle using 1x3 boards just slightly shorter than the size of the overall bed (so it would fit underneath). I used two 18 1/2" 1x3s and two 14 1/2" 1x3s. I built it using pocket holes on the 14 1/2" 1x3s, screwing into the 18 1/2" 1x3s. Then I attached two 1x2 cleats to the bottom insides of the 18.5" boards so that I'd have a place to set support pieces for the mattress. I attached the cleats with glue and nails, I think, but pocket screws would work fine, too. I used pine lath for the support, attached with glue and staples.
For the headboard, I cut my panel pieces at 7", I think, but I should have cut them at 9 3/4" so that the headboard panel would extend closer to the ground like the footboard panel does. Here is an abbreviated cut list:
footboard panel -- 5 1x3s @ 6"
footboard legs -- 2 2x2s @ 7 1/4"
headboard panel -- 5 1x3s @ 9 3/4"
headboard legs -- 2 2x2s @ 11"
All of the horizontal cuts are the same as the original plan as long as you are using #1 pine. If you are using #2 pine or furring strips, your horizontal cuts will need to be slightly smaller b/c your panel board will be slightly narrower than the plans expect.
Just be sure to screw the side rails of the bed in high enough to get the trundle underneath.
Hopefully that all makes sense! Good luck! Can't wait to see photos!
Sun, 08/05/2012 - 04:04
You think that the hardware store will cut all the peaces for me?
In reply to You think that the hardware by Aida (not verified)
Sun, 08/05/2012 - 06:29
They -might- cut it for you. But based on the experience of a lot of people here, and the advice of some Home Depot employees also on here, it's a mistake to have them do that.
You can do the cuts on your own though. If you can't afford a circular saw, or you're uncomfortable with them, you can buy a hand saw for about $25. It's no good for cutting plywood or MDF, but for solid wood it's hard to beat.
Mon, 08/06/2012 - 19:26
Nope, I don't think they will. And if they did you won't be happy with the outcome. Too many cuts and there's no way they'll get every cut right. You'd be better off finding a friend with a miter saw you could borrow for an hour to get all the pieces cut. Good luck!
Sun, 08/12/2012 - 08:27
Thank you........ I may have to stop been afraid of using this tools and just use it lol............love this bed and my daughter want me to make it for her........ I will post pictures
Tue, 10/29/2013 - 08:53
Just curious if you have ever thought of making these and selling them?? I have been looking for a doll bunk bed for my daughter for Christmas and love this bunk bed with trundle. So thought I would ask if you would consider making one and selling it!!
Sun, 12/08/2013 - 18:07
I absolutely love what you did with the trundle and the bunk bed. You are so talented! Thank you so much for sharing the measurements that you used to make the bunk bed and sharing tips. I am going to attempt to make one for my daughter. This will be my first woodworking project. I am crossing my fingers it goes well. Thank you! :)