Pantry Cabinet
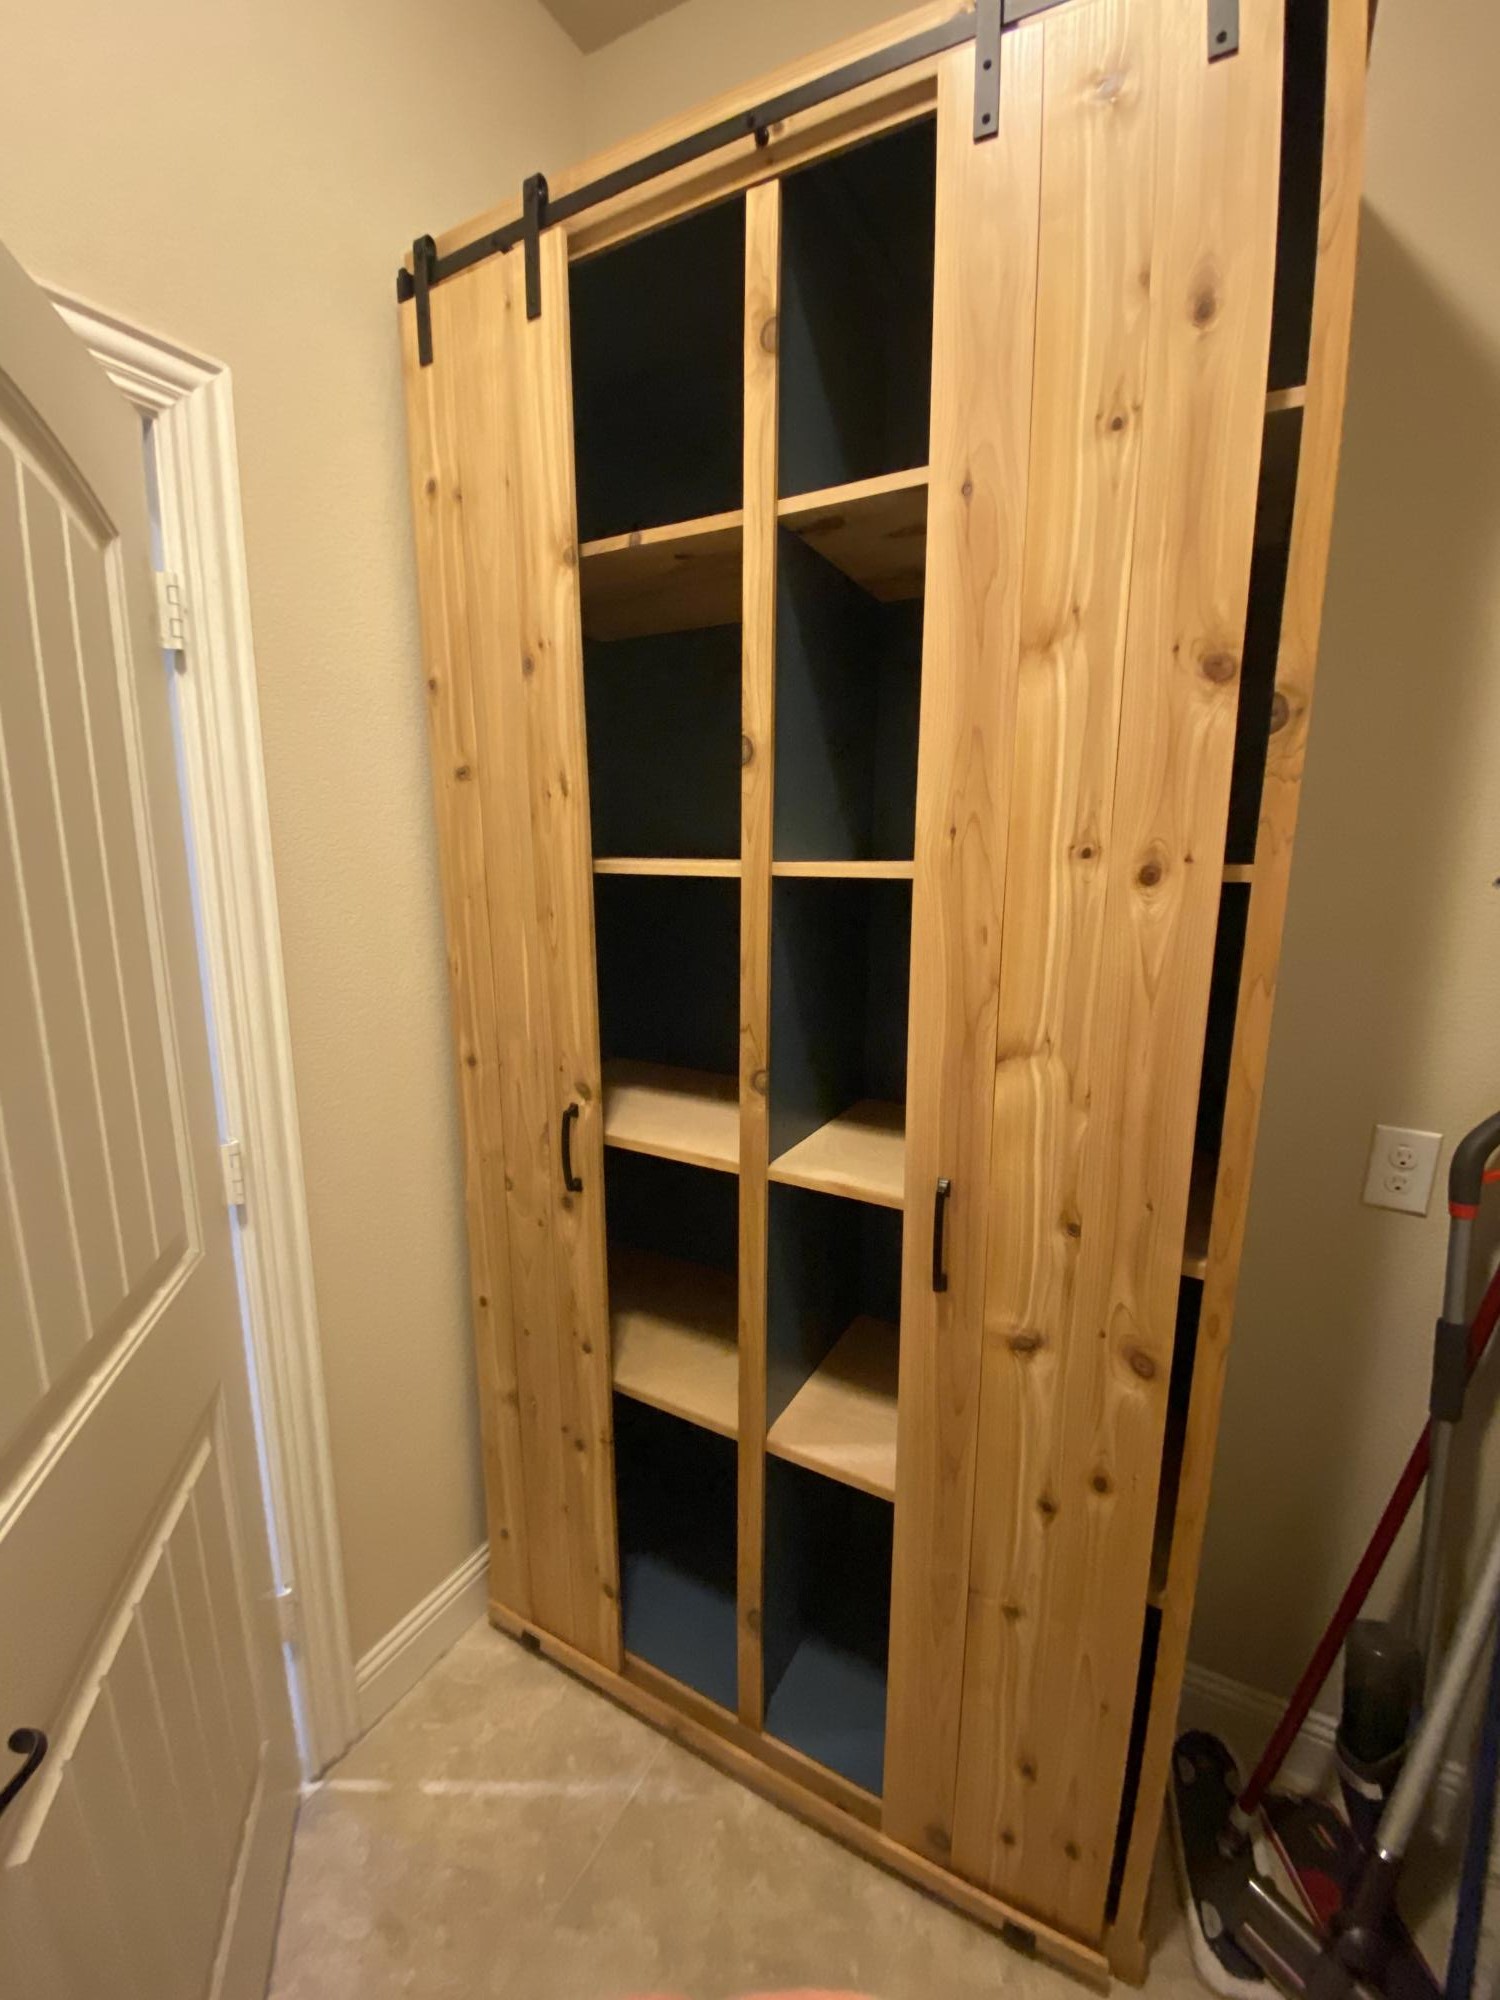
Had to re-size from the plans to fit my space, but my wife loves the extra storage we now have in the laundry room. Put in adjustable shelves.

Had to re-size from the plans to fit my space, but my wife loves the extra storage we now have in the laundry room. Put in adjustable shelves.
I changed the plans a little bit to add on the extra shelf on top as well as making the shelves an inch narrower than the plans. The project was actually pretty easy and really only took me about a days worth of work.
I made this dresser for my sister's nursery. The room is fairly small, so she wanted a changing table on top of the dresser to save space. We also added a third row of drawers.


Sun, 11/23/2014 - 05:35
I like how you modified the plans to make it have two more drawers. I'm looking forward to doing this very soon for my twin daughters. I was just wondering how the dimensions on the right and left sides were changed? Also, does this seems to carry the extra weight of the drawers OK?
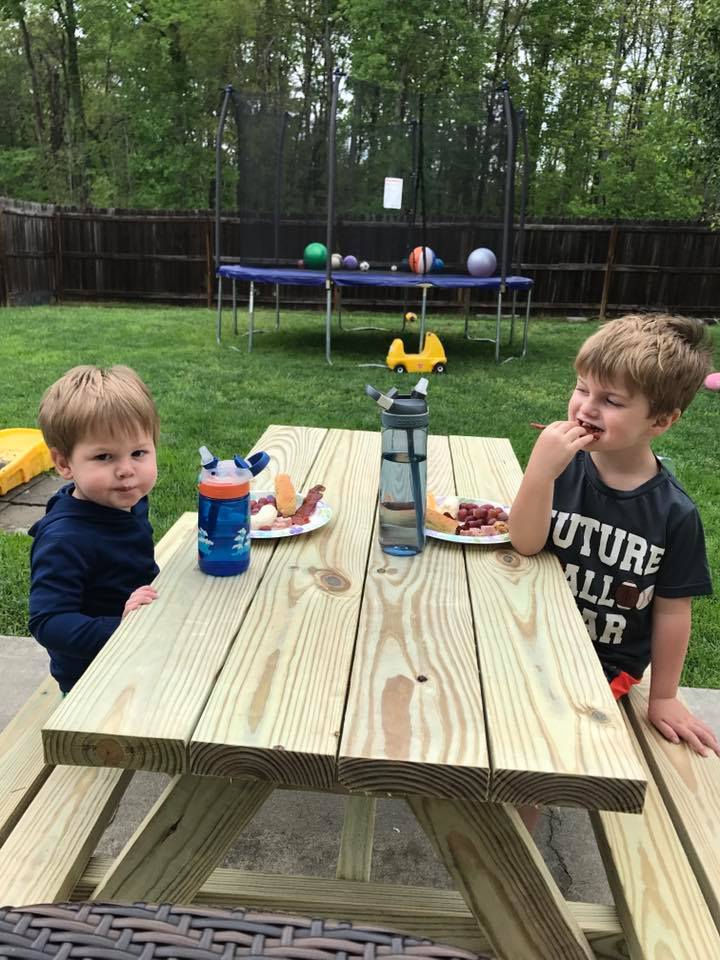
My son and I made this table this weekend in just a couple of hours with no problems. The directions were clear and easy to follow. Thank you for sharing them with us.
Used 36 inch legs instead of 32".
Also used two 6x1 inch boards for each side of the box.
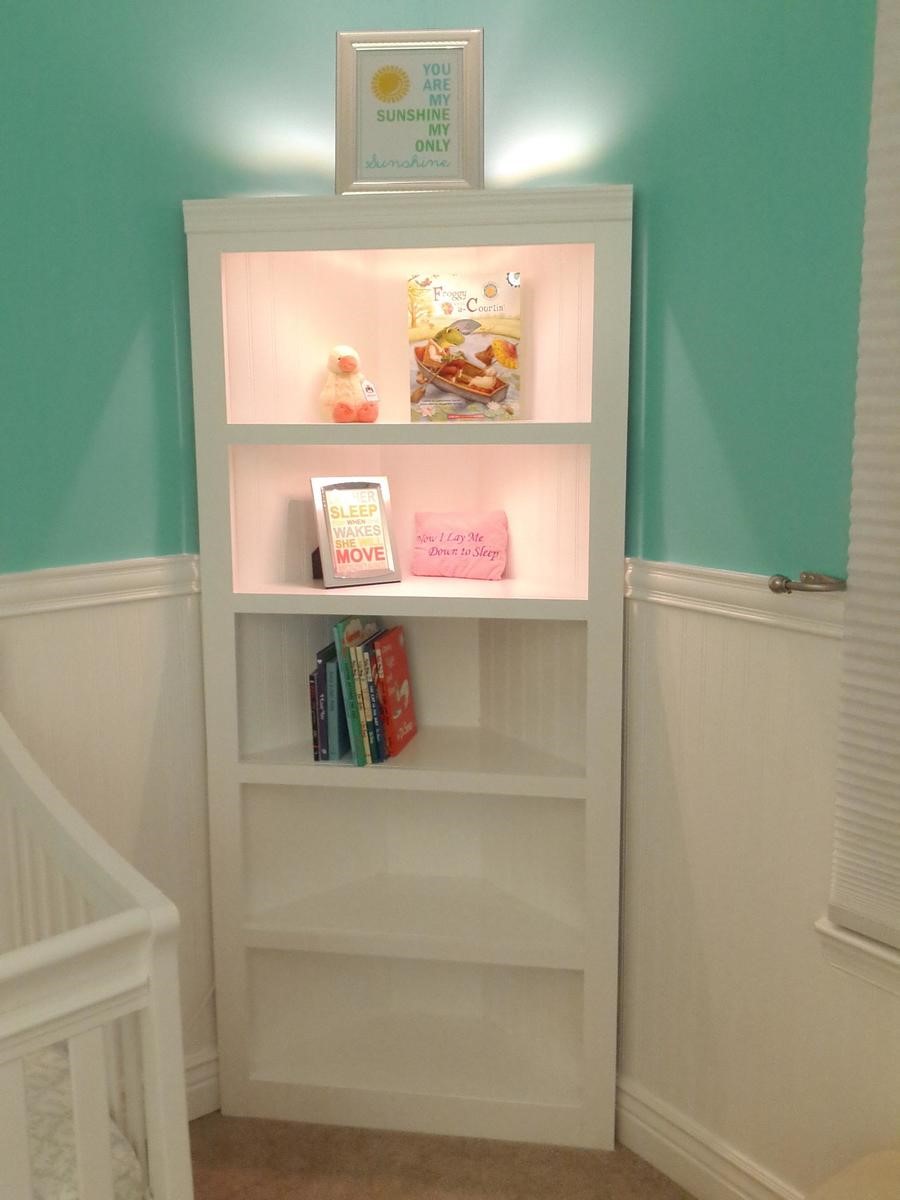
Super Easy.. I like it better without the doors. Recommend getting a KREG Jig. I have the Jr and it was perfect for this project.
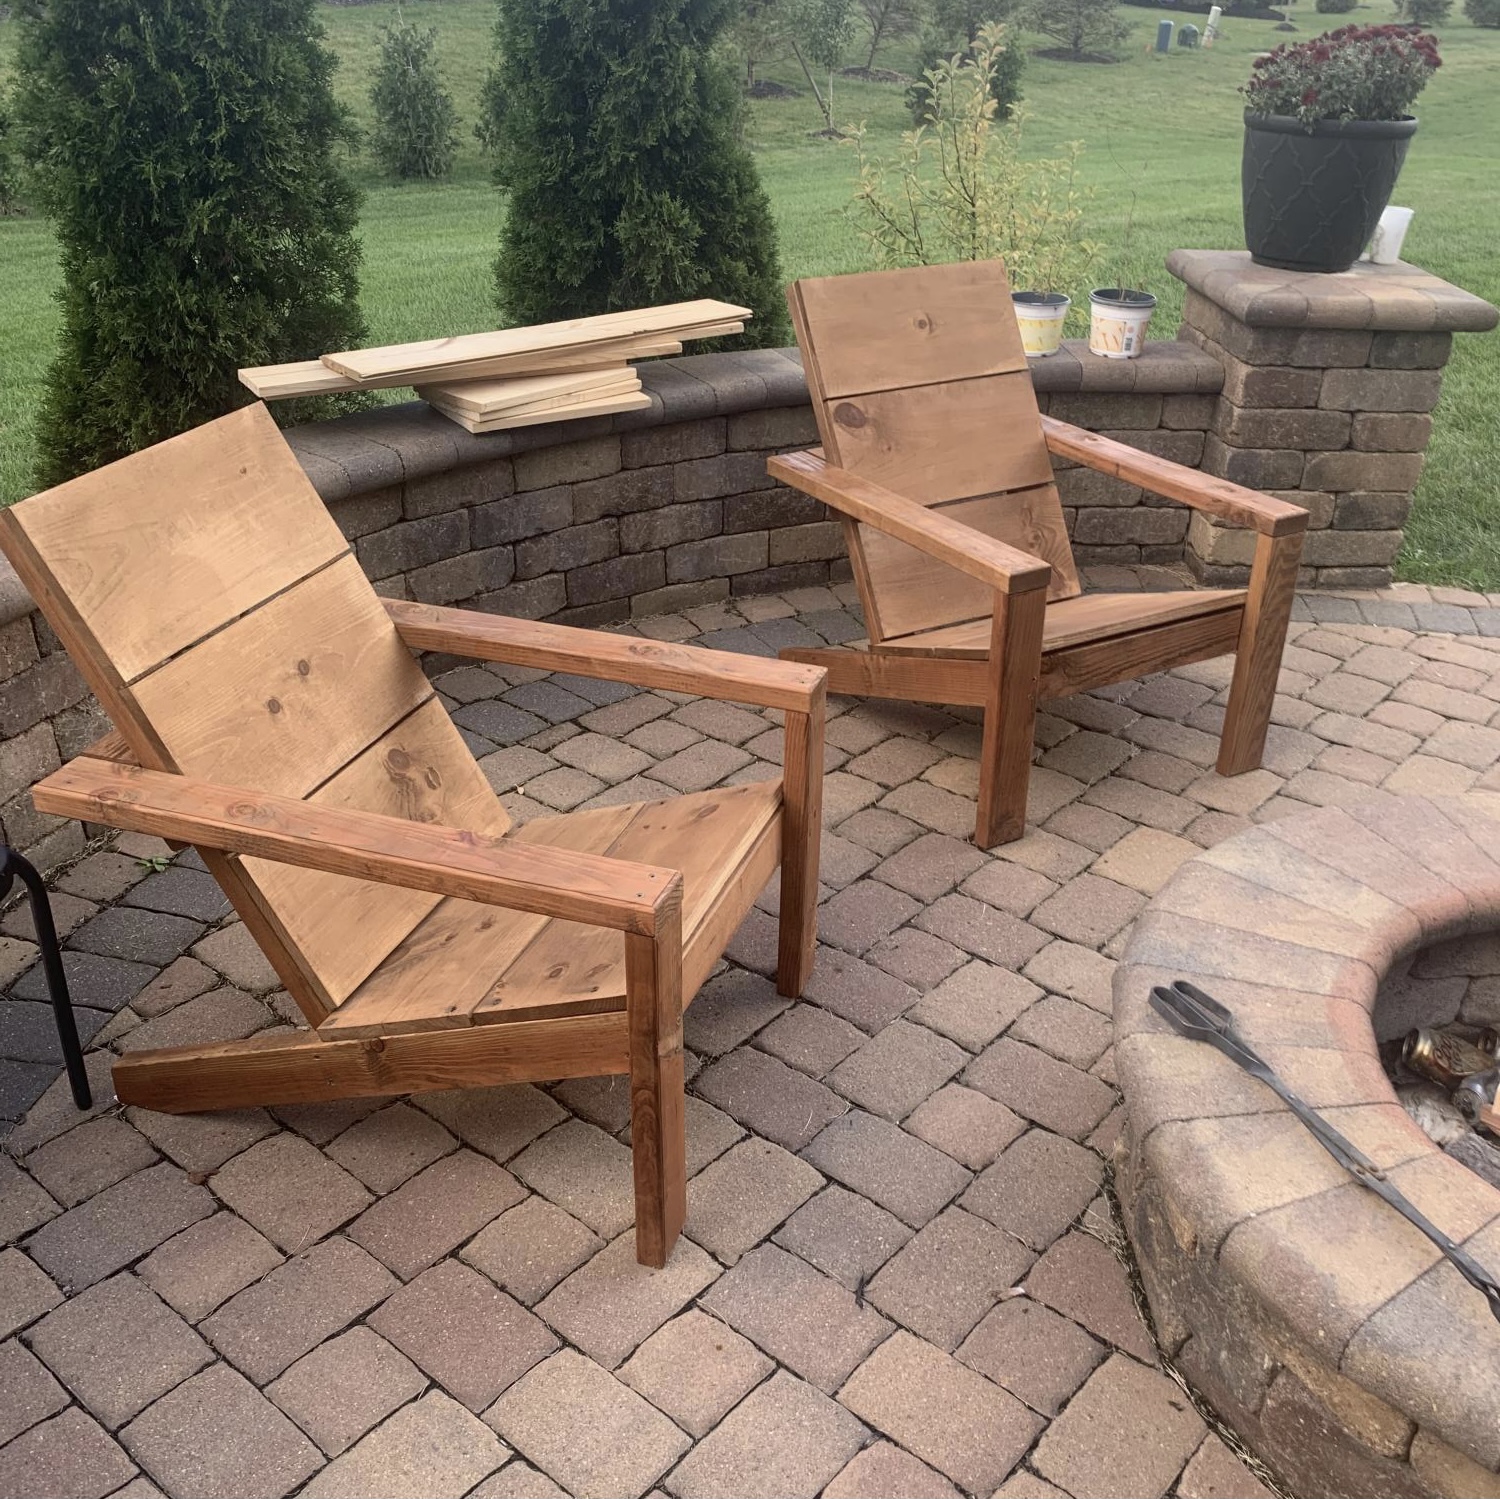
I made five of your 2 x 4 Adirondack chairs. Well I started with one and then my wife wanted four more after she saw how it turned out. We absolutely Iove them and they are easy to make! Thanks Ana!
David Knight
Tue, 10/05/2021 - 09:30
Those looks great, so happy to hear you're enjoying them!
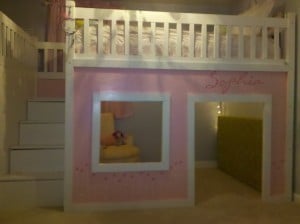
I changed this plan and made it into Full size. Feel free to contact me if you would like more information about how to do this too.
This table was built out of an old 5 panel door and some scrap would that we had lying around. old hinges and knob came from a local antique store. To finish the door my wife crackled the top and clear coated it.
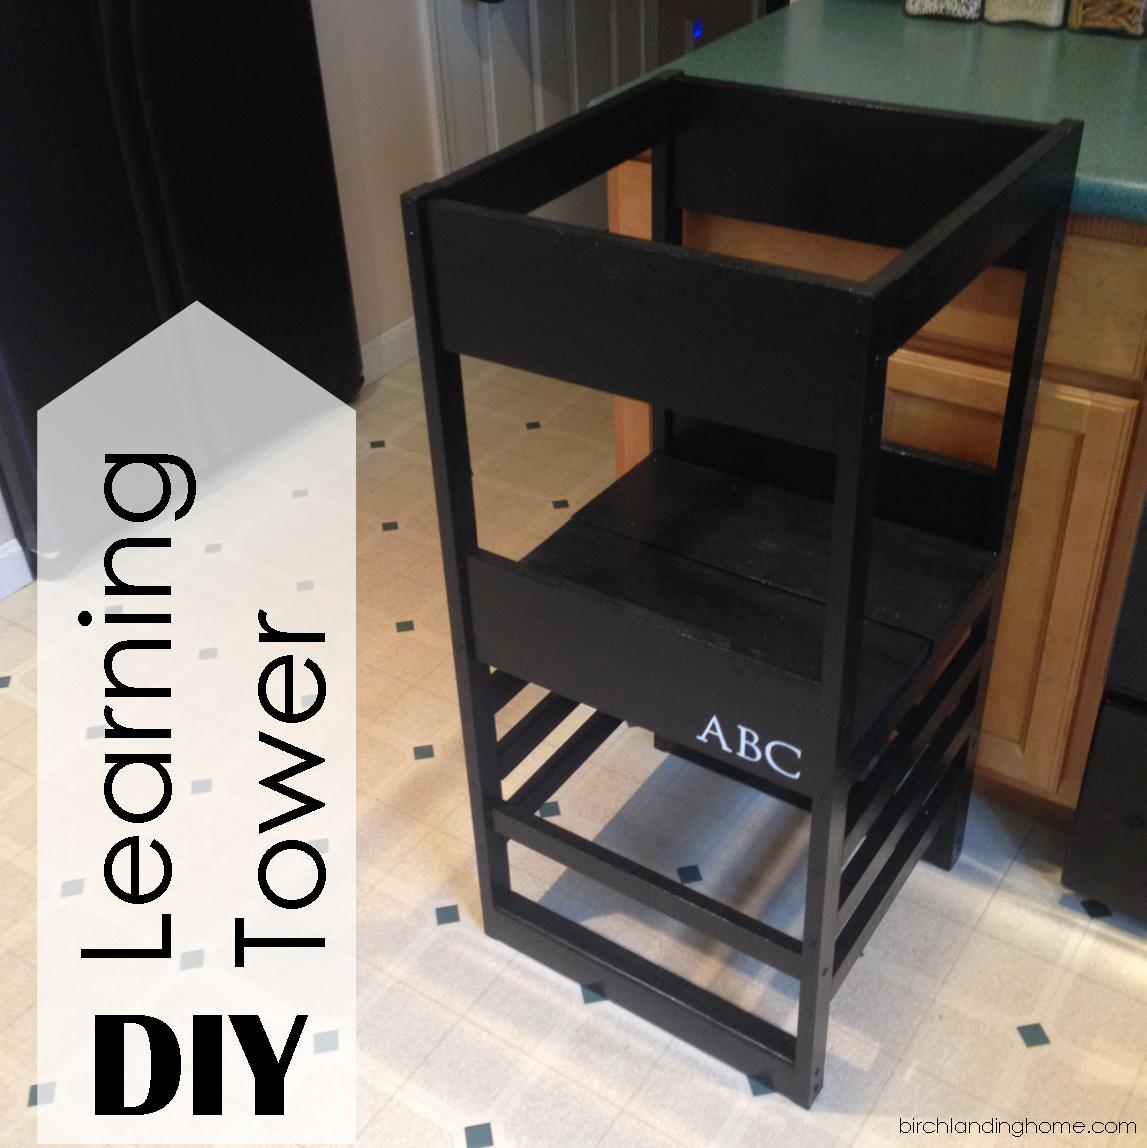
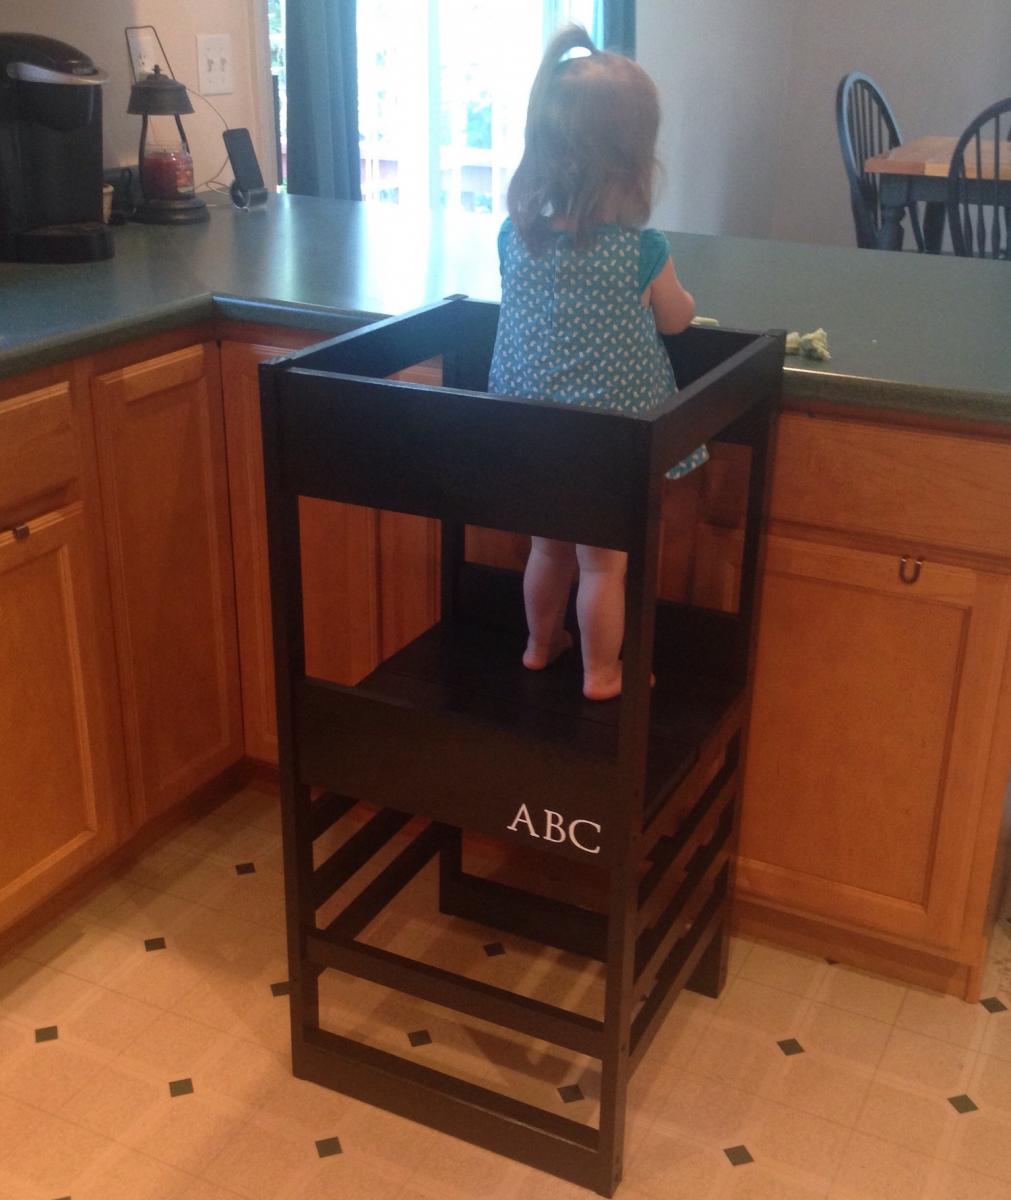
Our little one may be happily playing independently but the second I go to make dinner she demands to be held and refuses to be put down, making cooking impossible. To help keep her occupied but still involved I've been eyeing a learning tower / kitchen helper on Amazon for months now, but at $200 it just wasn't in our budget. My sister-in-law had made a learning tower from a plan by Ana White and suggested I try to make one too. I was unsure at first, I've never made anything more complicated than a birdhouse, but I decided to give it a go!
Please see my blog post for additional photos and lessons learned during this project.
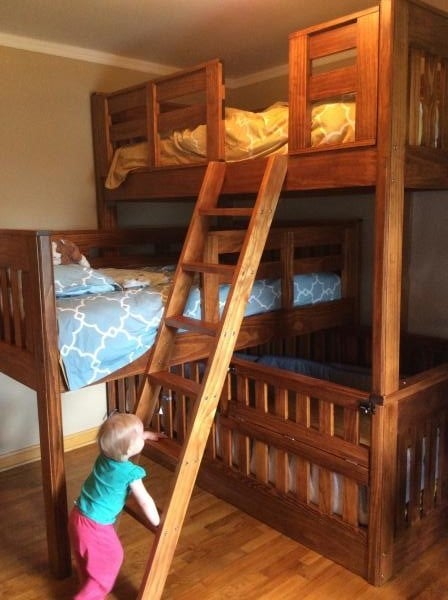
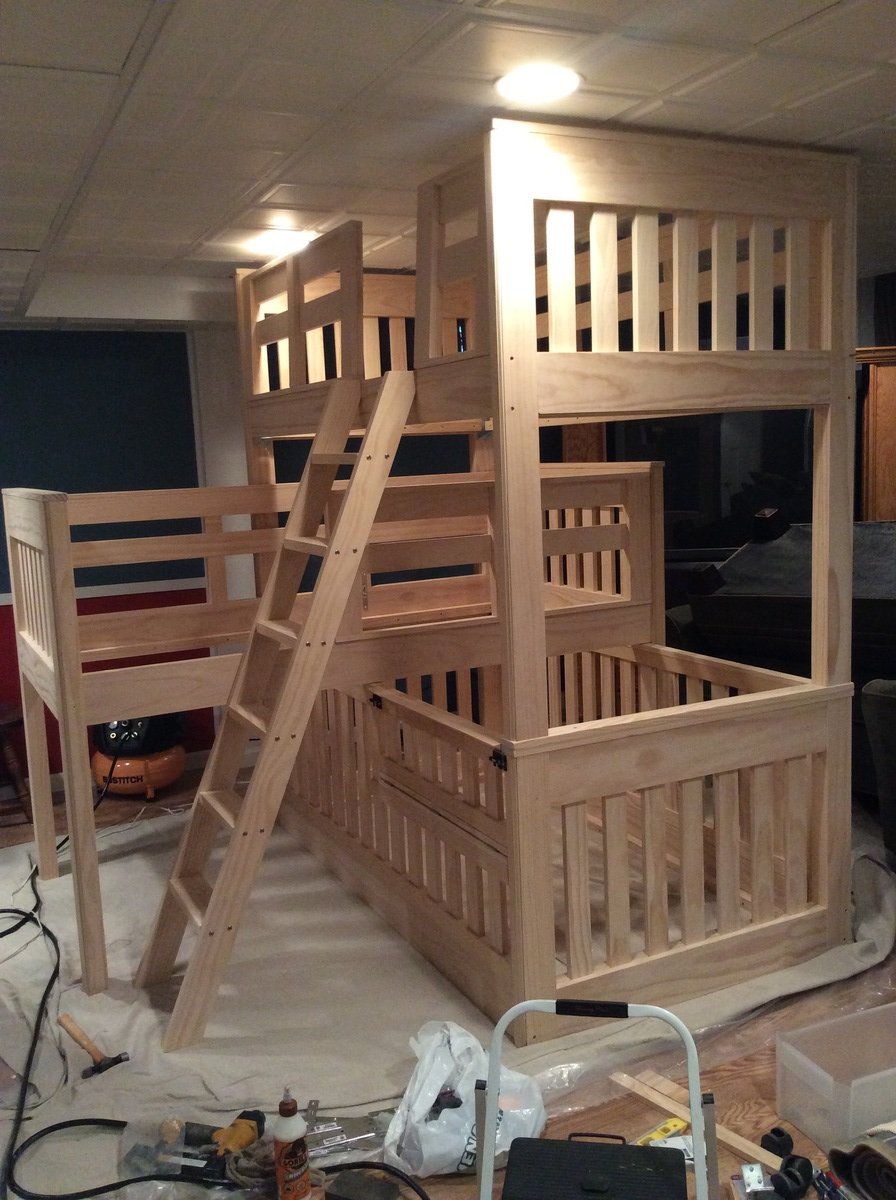
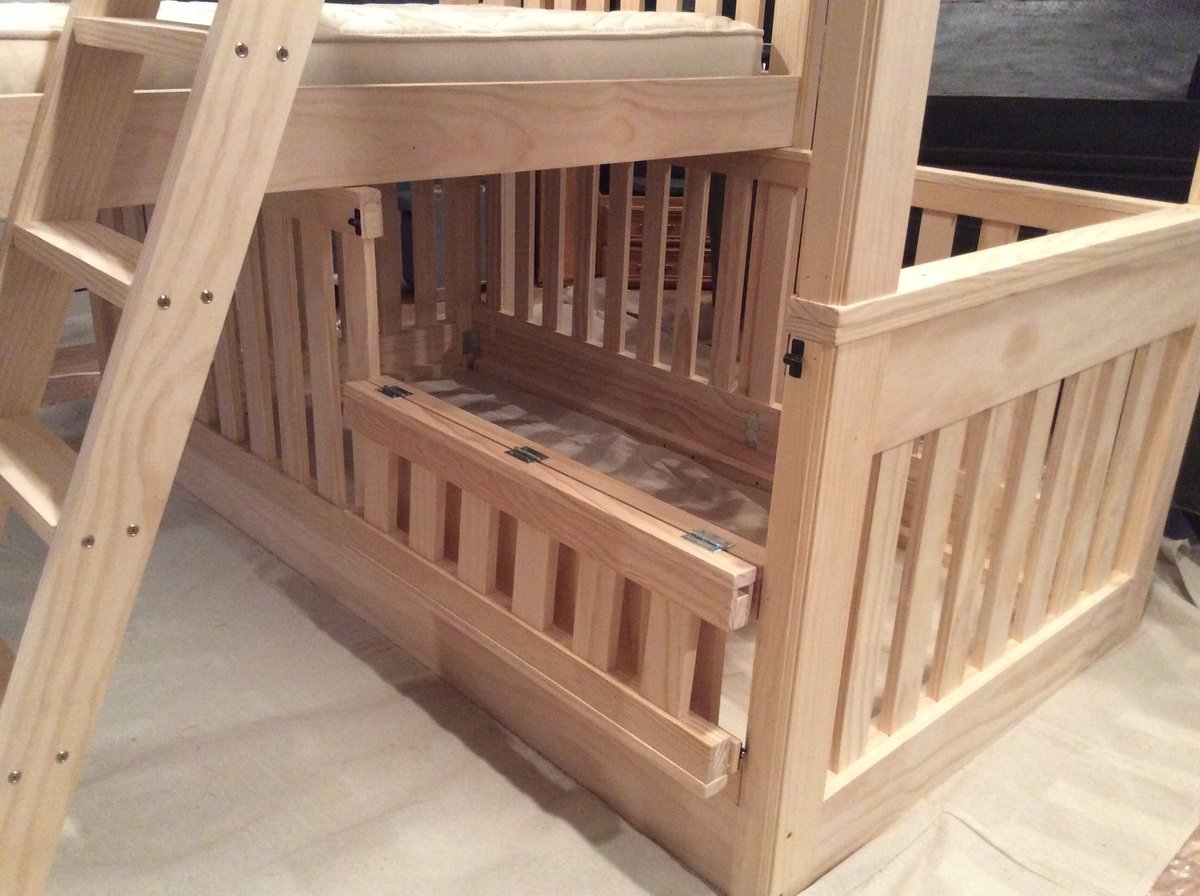
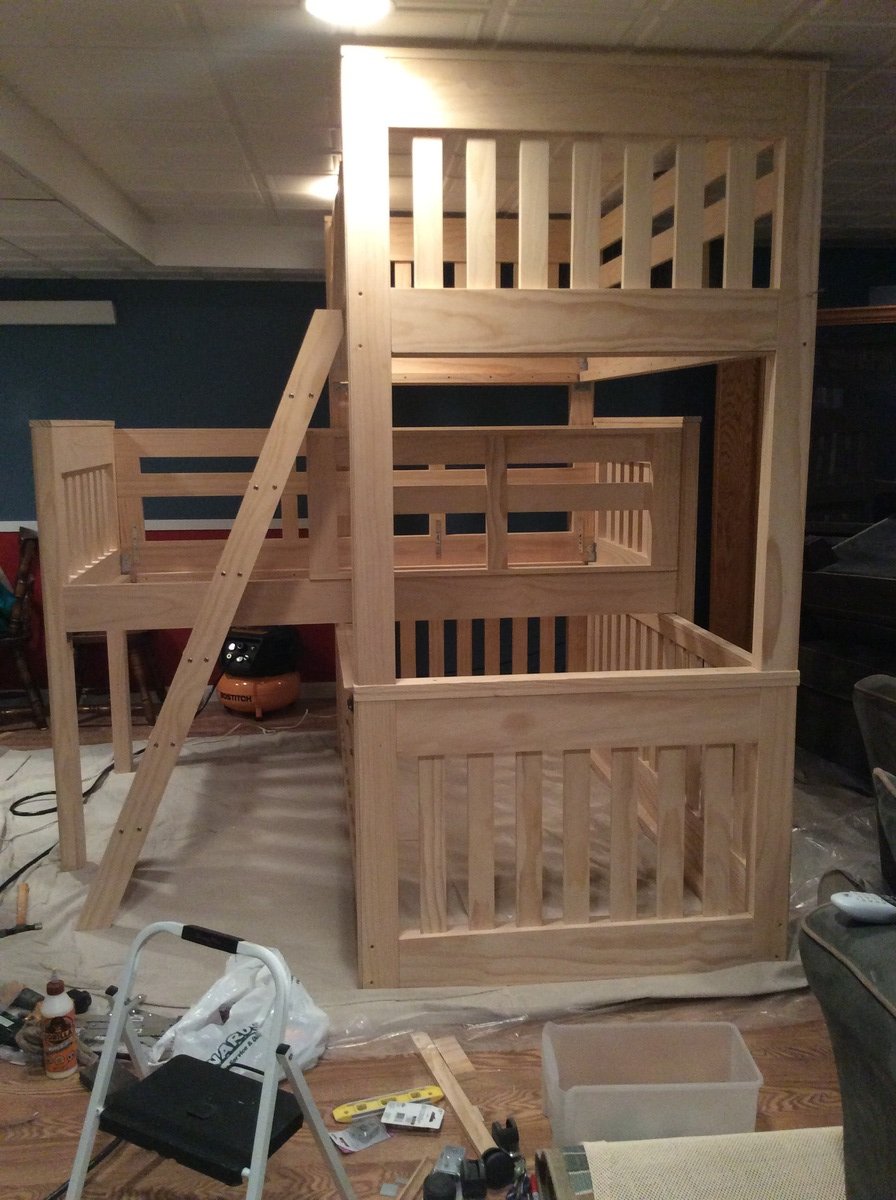
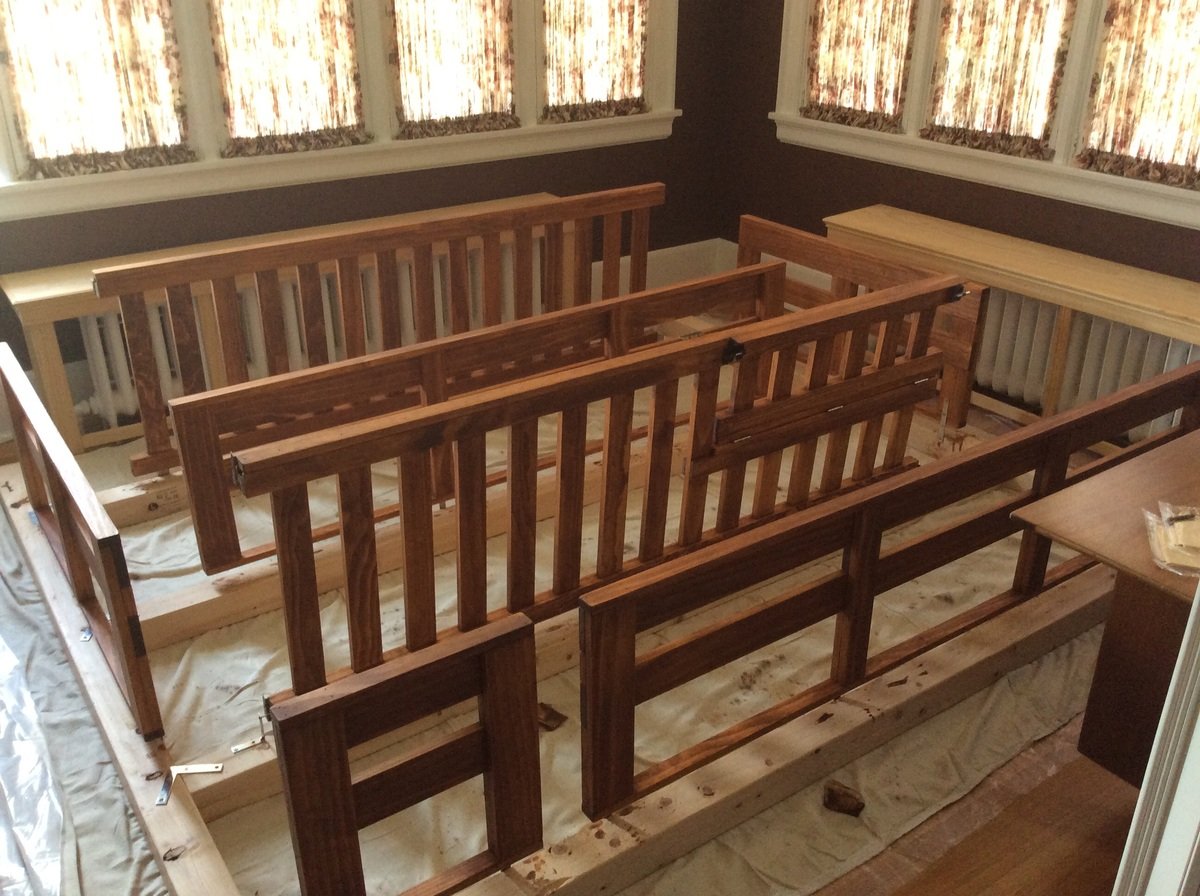
We needed beds for 3 children, one of which is 14 months old, in a small bedroom and with the simple bunk bed plan to start with I came up with this. The kids love it, although it took the 14 month old a few tries before she accepted the change from her regular crib in another room to this crib/bed and sharing a room with her siblings. Now it's all good!
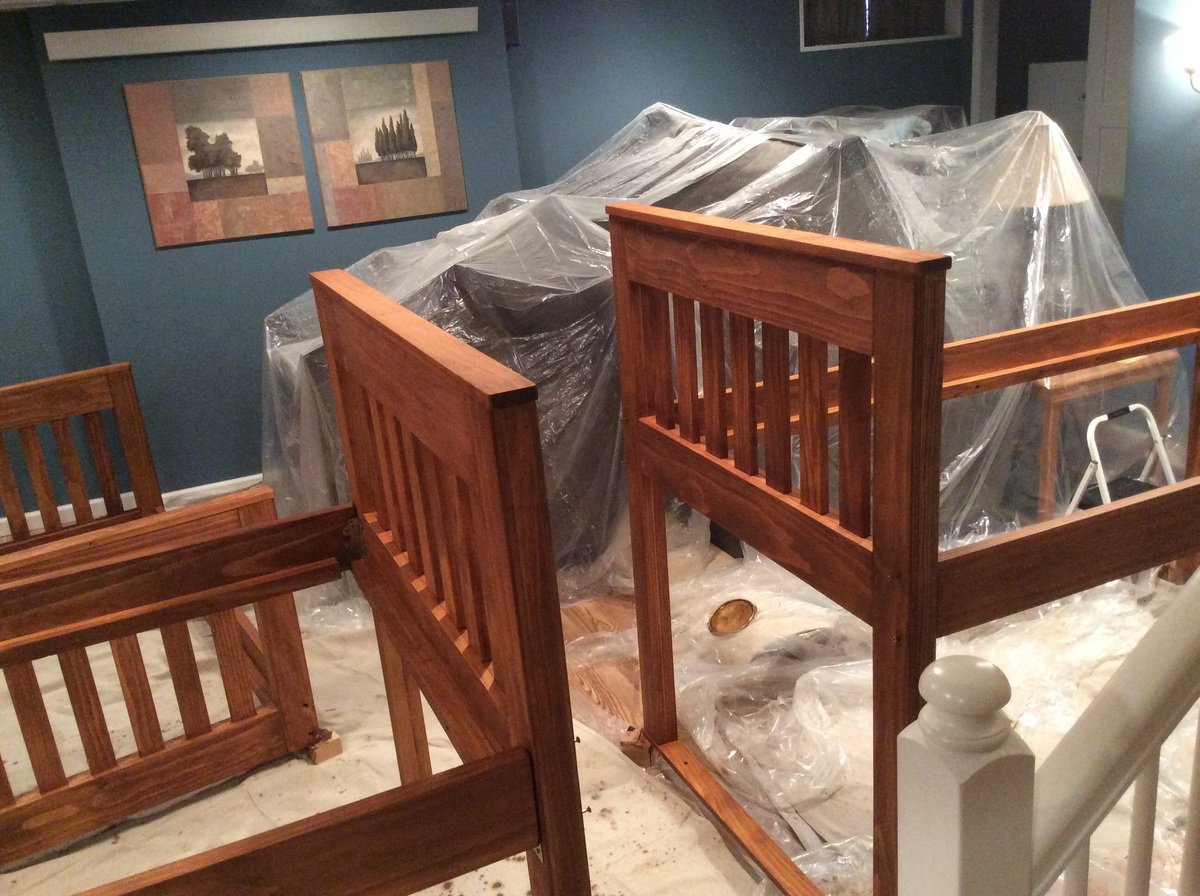
The beds can also be used separately. The top bunk and the middle bunk will stand 30 inches off the floor when used as separate beds, so like loft beds with storage space underneath for a dresser, reading nook, toys, etc. All side safety rails can be removed for unstacked beds as I finished them all separate from the beds. The bottom "crib" bed side rails can also be removed for single bed. At this point it would just sit on the floor as a single bed also but I may come up with some sort of feet to get it up off the floor when the time comes. They really wanted this set of bunks to be able to be used separately also. The fold-down portion of the "crib" side rail was designed to give easier access for changing sheets, etc. for the "crib". This "crib" bed also uses a regular twin mattress.
Wed, 11/23/2016 - 08:45
I have three boys (youngest is 10 months right now) and we're getting these built for us this summer. How did the baby take to it? Also, How tall was the bunk. I'm thinking about ceiling height.
Fri, 05/01/2020 - 12:50
Thank you for this idea! We have special needs son who won't stay in bed unless he has a rail. Now that he is 7 this might work. Keep him with his brother in the same room too.
The link for the plans is not the same bunk bed. Is there another set of plans or do I need to just improvise based on the photos?
Thanks again!
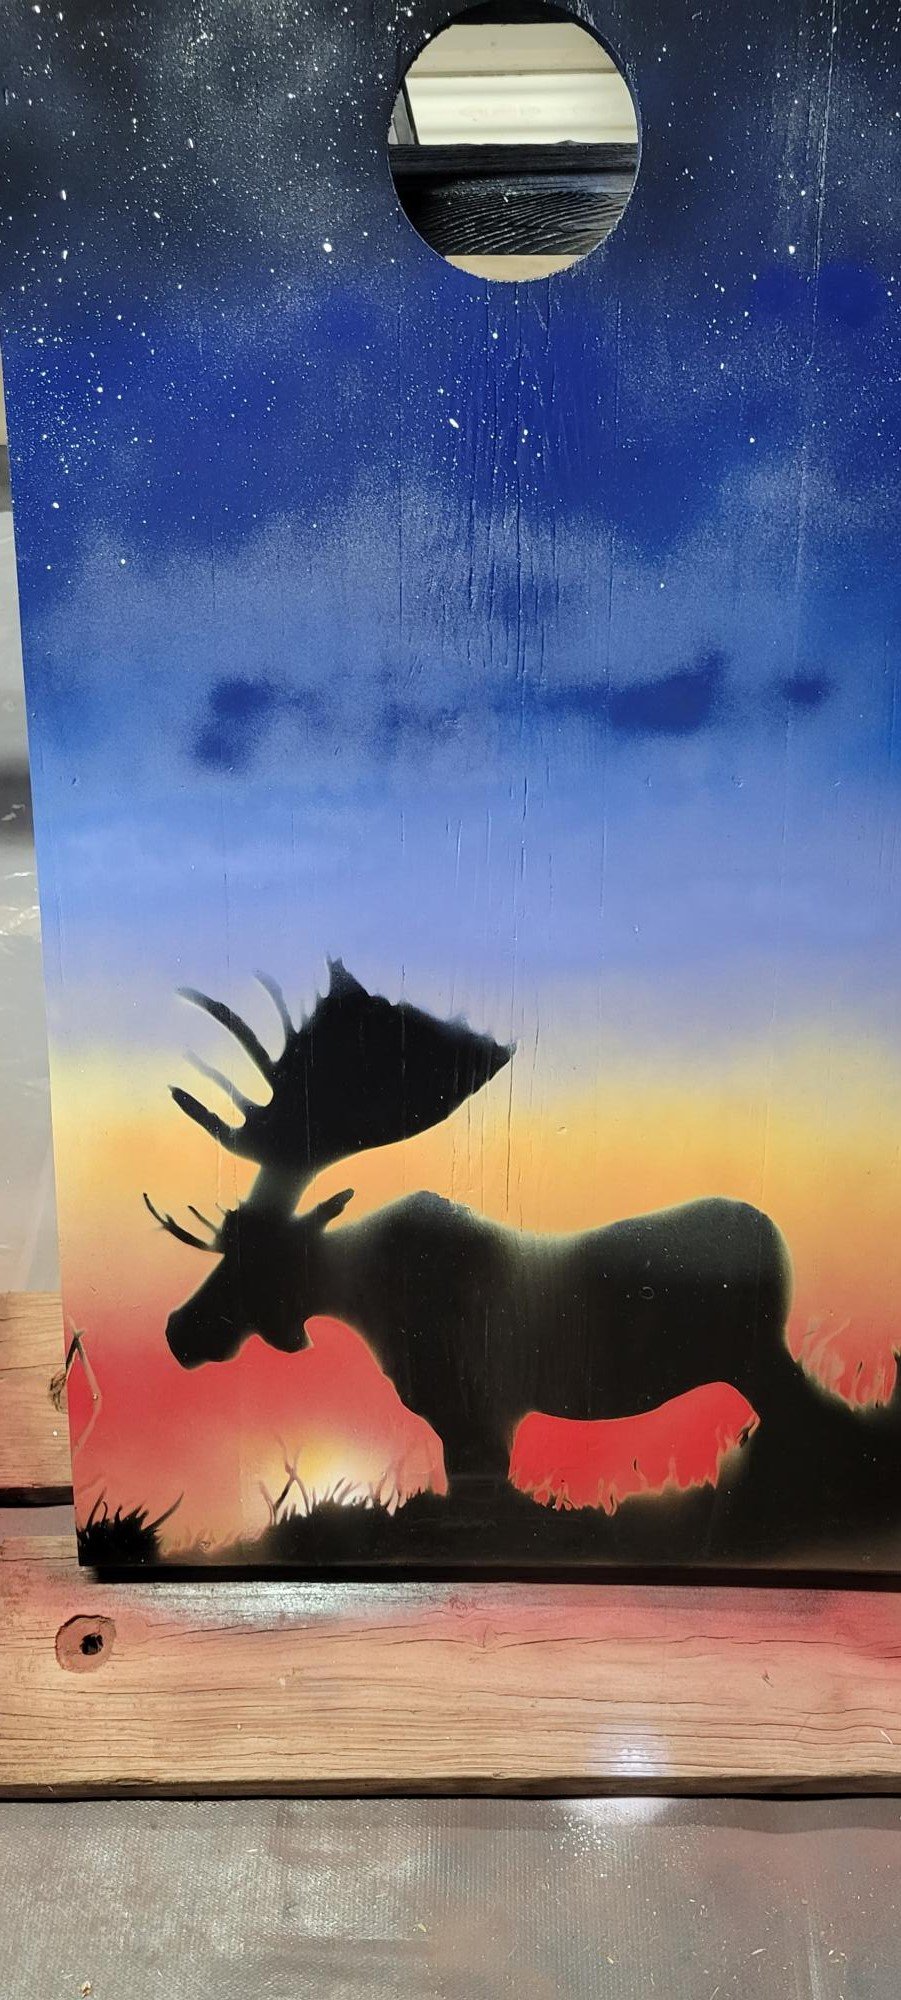
This is the first of the cornhole boards this year. Having never made such before, I learned a lot of the tips and tricks in this build. This build begins with cedar 2x4s and cedar fence pickets that I took down this last summer. I began by sanding the boards starting with 60 grit through to 320 grit with a belt sander up to 180 grit and hand sanding through 320 grit. The frame was glued up with Titebond II, then counter-sunk #8 x 1-1/2 screws. Next, we used nine (9) different cans of Rust-Oleum semi-gloss paint to fill in the background and to cover the moose and bear senciles drawn by my wife. The boards were then coated with Minwax Poly-Acrylic (9 coats) and Howard's Bee's Wax (6). The boards are secured with 3-inch toggle fasteners and the handles are Kayak straps with four (4) screw holes; I used the same Torx screws for strength and stability.

I wanted a Tiki Bar for my deck big enough to store bottles and trinkets, and put a spread on to eat outside. The simple potting bench was my base plans and i just expanded from there. I increased the depth by 4 inches and the width to 46 inches. I increase the height to 7 1/2 feet at its highest point. I used treated 4x4s for my legs and to provide the upright height. I used 2 (8 inch) Lag bolts where the roping is to keep it sturdy on top. All additional parts were bought at Lowes.
This ended up being about $200.00 but will last for a long time.
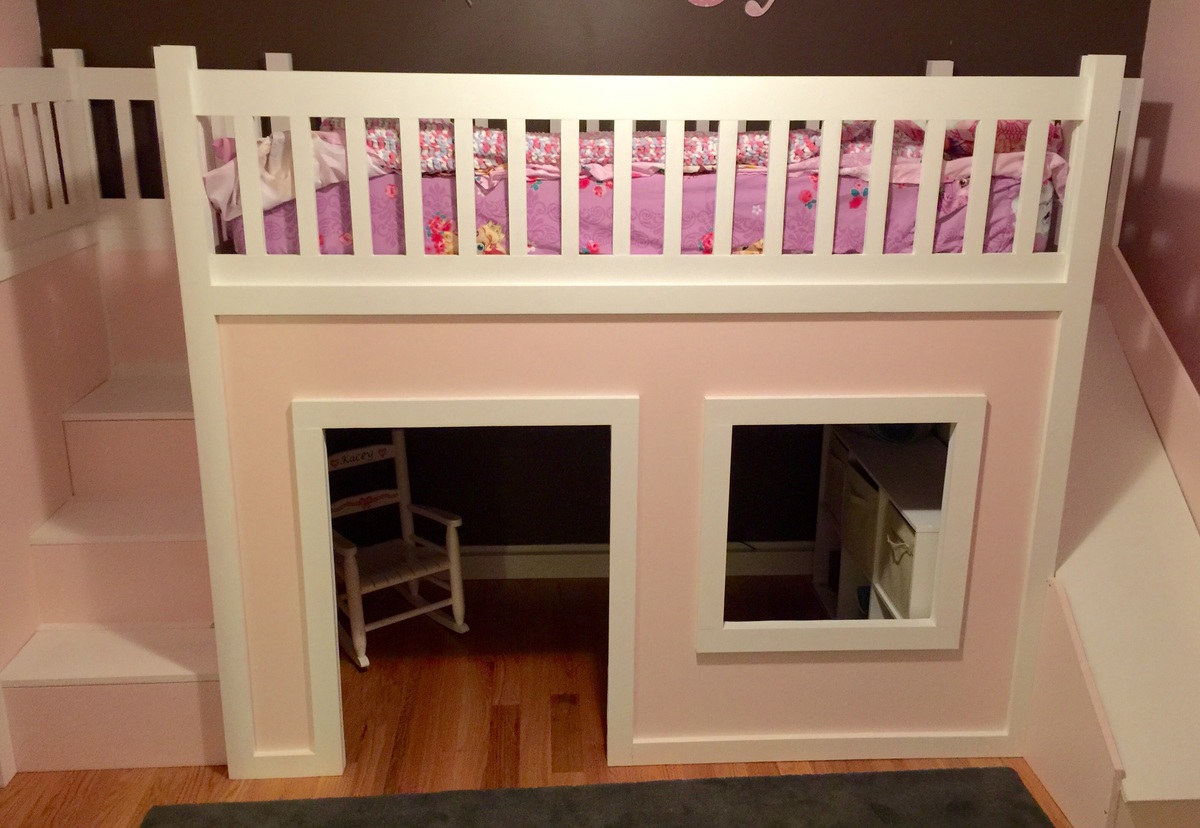
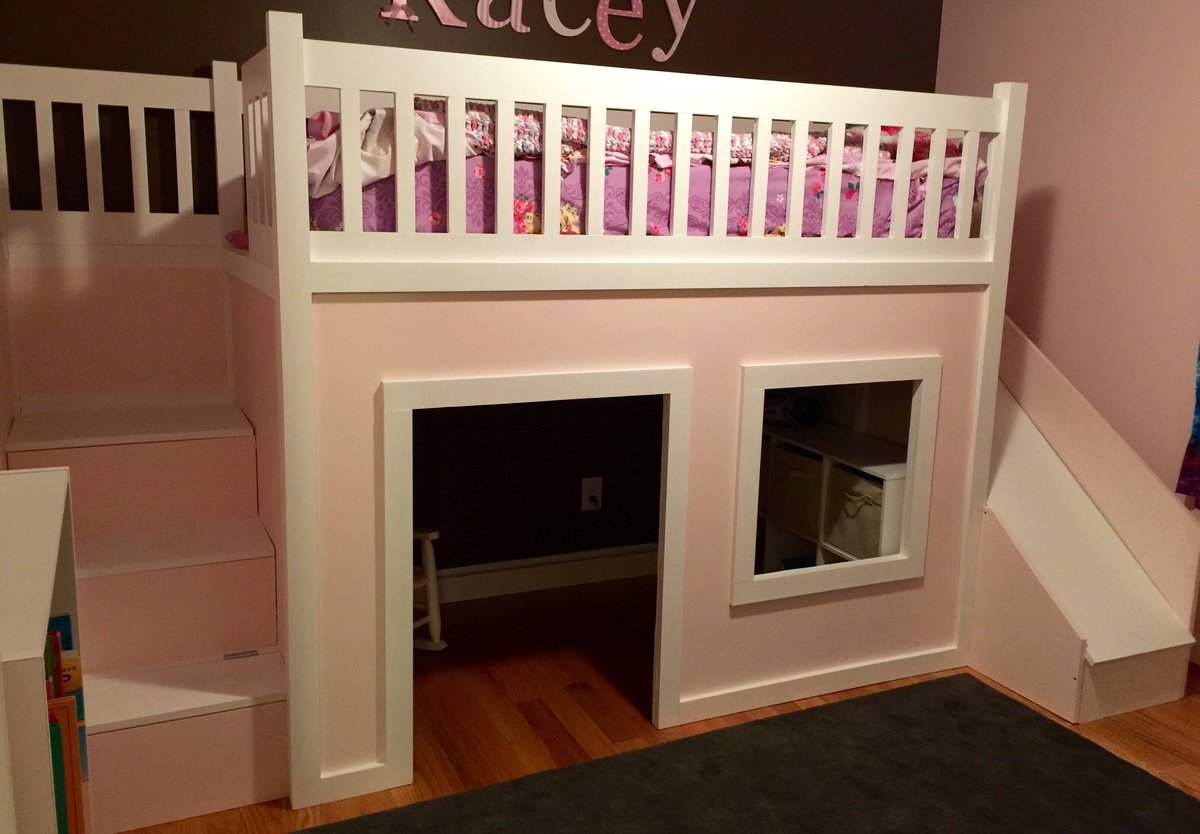
This is by far the biggest project I've completed yet. It actually surprised me how easy it was to complete. It did take me about 4 days to build the project and an additional week to sand and paint the project.
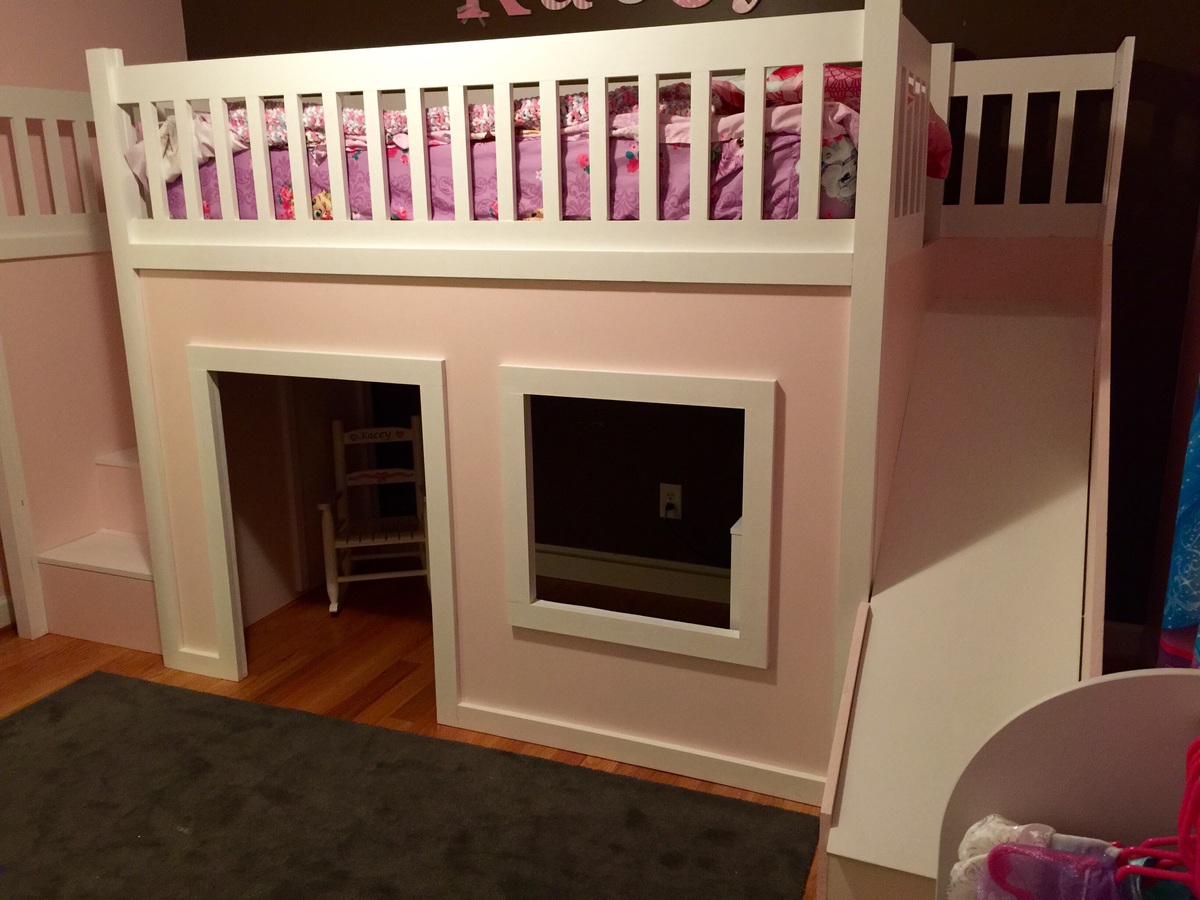
I followed the playhouse loft plans and the storage stairs plans, adjusting only the back to allow for the additional length of the slide. I didn't add the windows to the sides (I didn't see any point in having them there). I also used the castle loft plans for the slide. When I first started this project I was planning on making the slide completely separate. I changed my mind mid project after I had the side wall cut to length at Lowe's, so I just added that small piece to the left of the slide to make up for the gap. I also made this project in 4 separate pieces (stairs, slide, front wall, back) so I could put it together in her room in one evening and not have to kick her out. Once we moved it to her room all I had to do was screw the four corners in and attach the back wall and bed slats.
I definitely recommend not using particle board. I had no idea what the difference was between particle board, mdf and plywood when I started this project. Particle board was less then half the cost of plywood, but looking back I would pay the extra for the plywood. I don't feel like the screws hold well in the particle board and it also chipped on the bottom some. I actually had a chunk come off in the corner where I must of screwed to closely to the edge. I'm sure this is basic knowledge for most, but for those newbies (like me) just a little tip.
I had a lot of fun building this bed (not so much sanding and painting) and learned a lot. Now off to browse for my next project :)
Thu, 07/09/2015 - 07:30
Awesome job! Looks clean and not even close to DIY. Keep it up!

We've been looking for some saddle back stools for quite a while that would fit snug under our kitchen island. I couldn't find any, so I checked Ana-White and found the perfect building plan. I used scraps to build two matching stools and so I altered the plans to fit what I had. Other then the dimensions being different, I also used a 2x12" piece of wood cut down to 9x15" for the stool top.
I've documented the process as best as I could at; http://www.tommyandellie.com/Site/Home/Entries/2011/6/13_More_Seating_f…


Thu, 06/30/2011 - 04:50
I skipped a step that I might redo. I'd recommend taking some wood filler and spreading over the knots and imperfections before painting it. Sand it down, smooth it out, and it'll be Looking flawless.
Thu, 07/07/2011 - 15:02
I've been looking for some stools like this, so I followed your lead and just finished making some. Thanks so much for sharing!
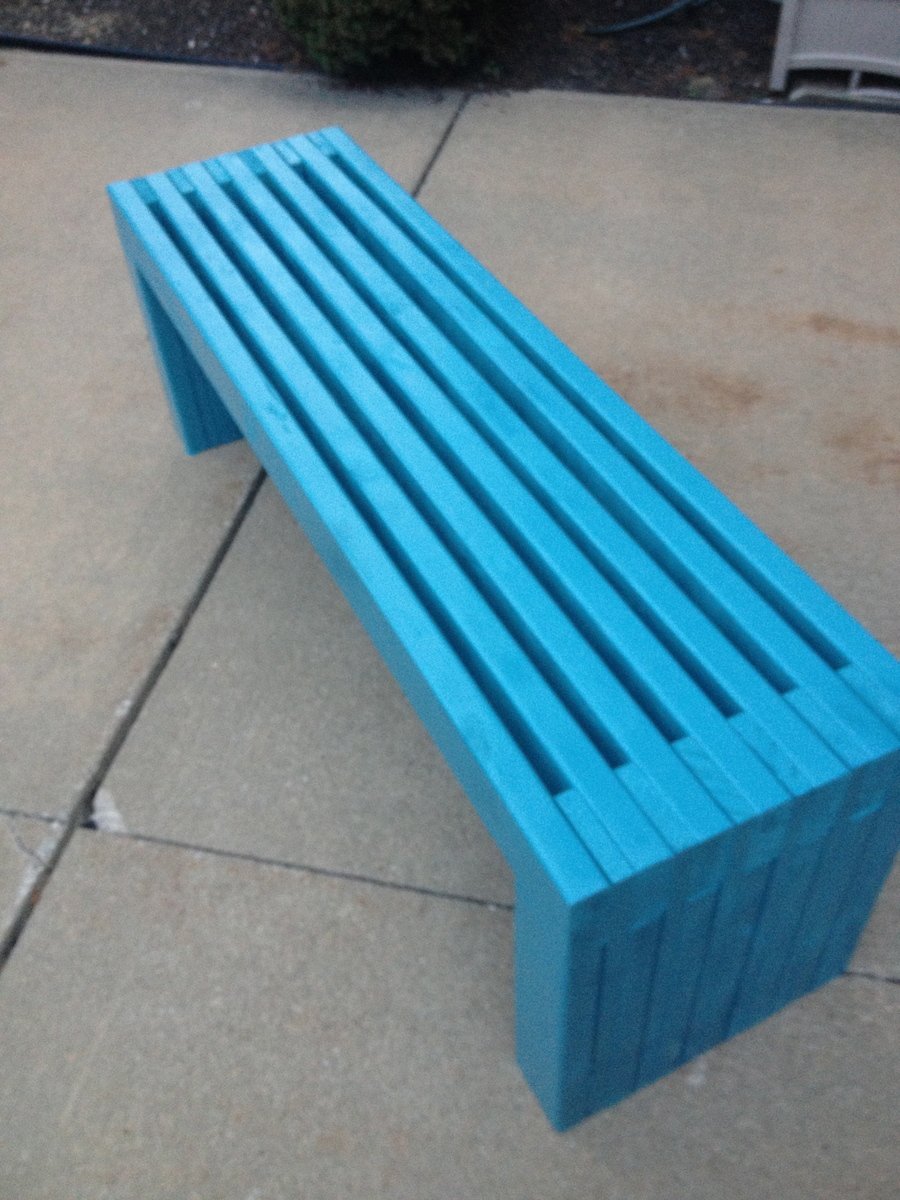
This was my first project. I am pretty excited how it turned out. If I did it again, I would recommend sanding and painting prior to building.
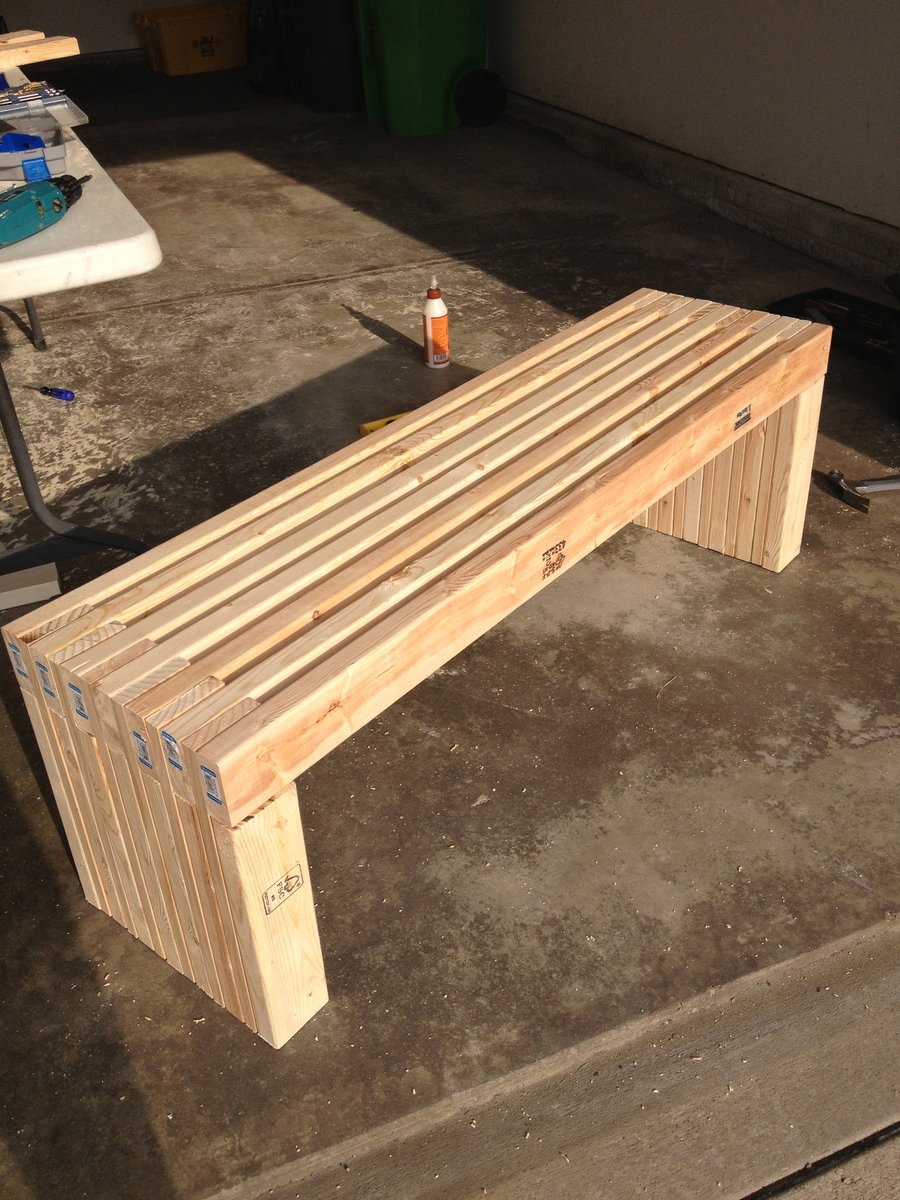
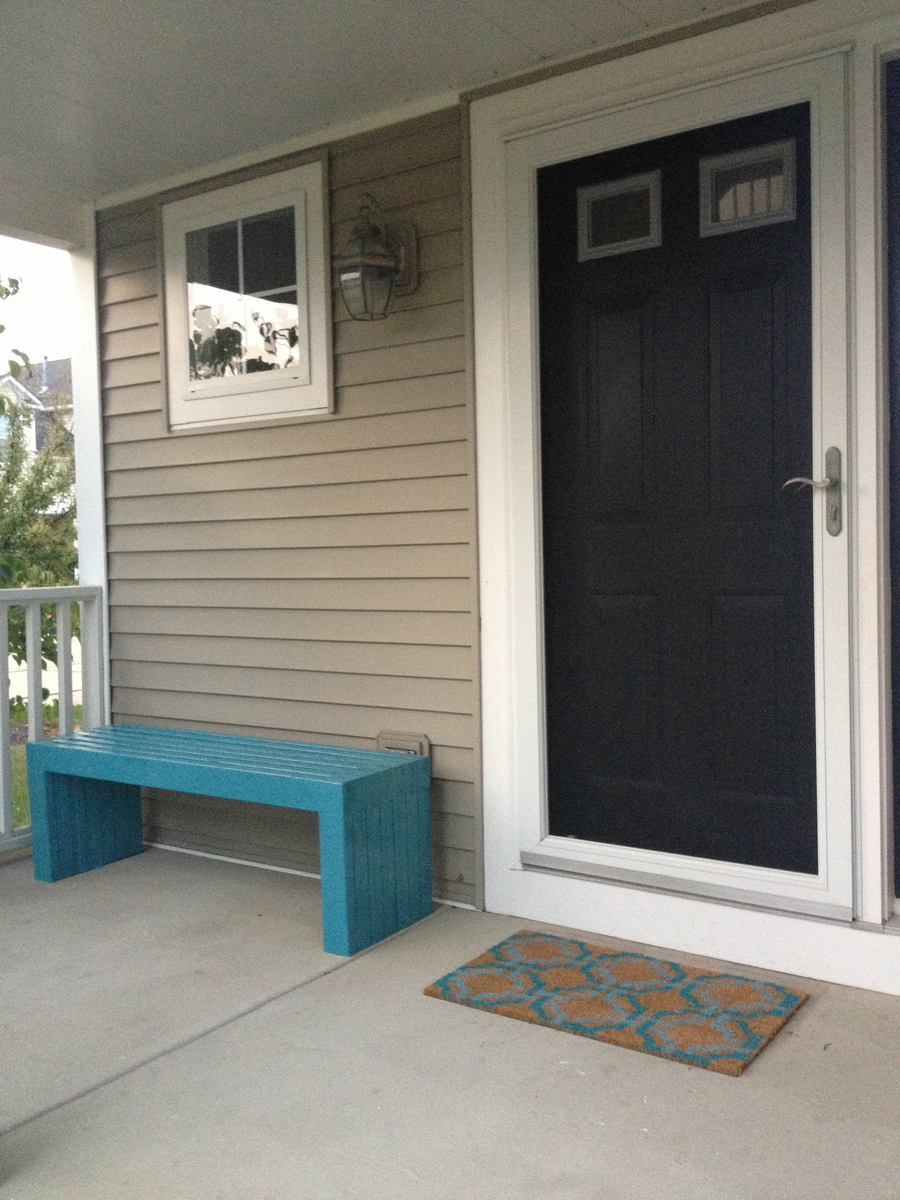
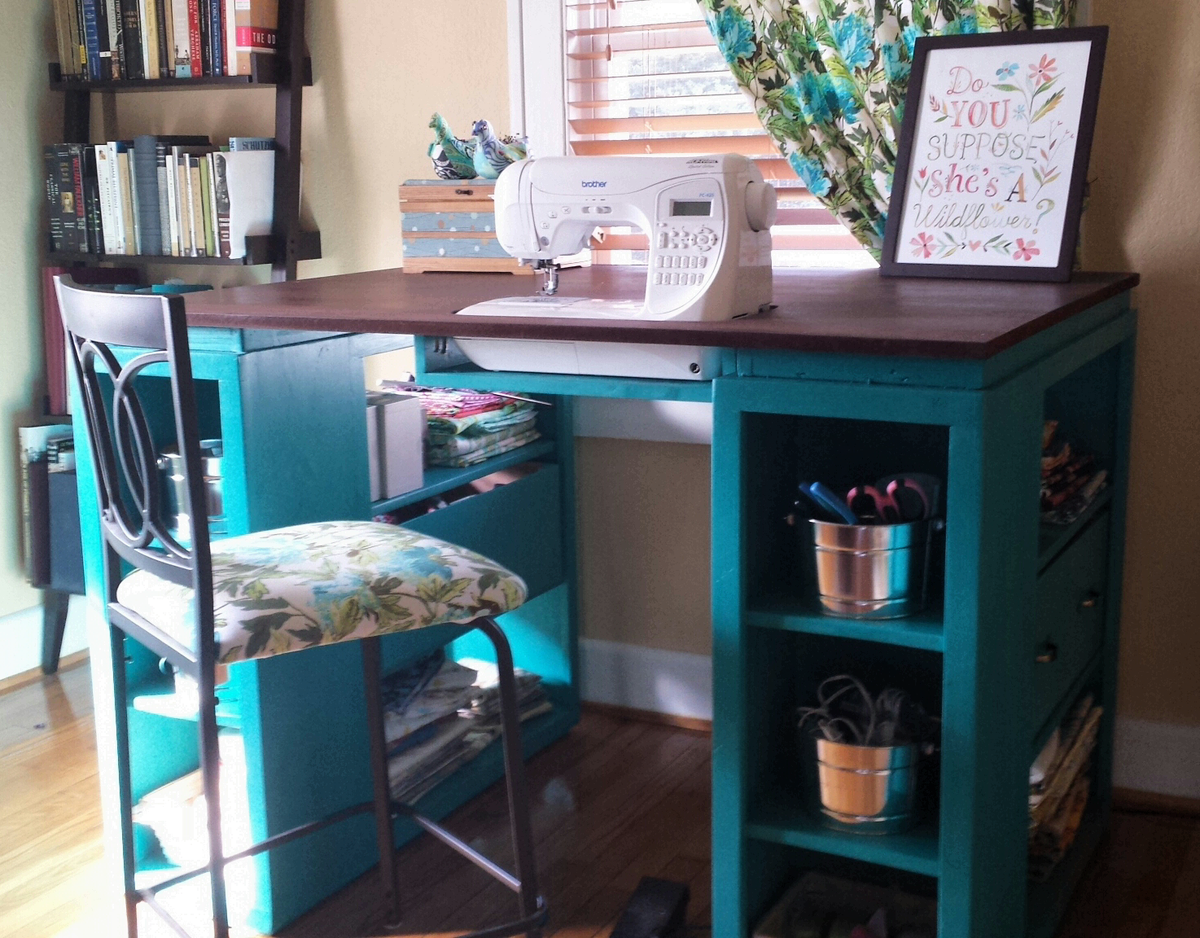
I have been looking at sewing furniture for years, but the prices always made my jaw drop. I have a small craft room, so I needed a table that could also triple as a cutting table and fabric storage. Thank you so much to Ana White for this plan! I built exactly to the plan in The Handbuilt Home, and it's the PERFECT size.
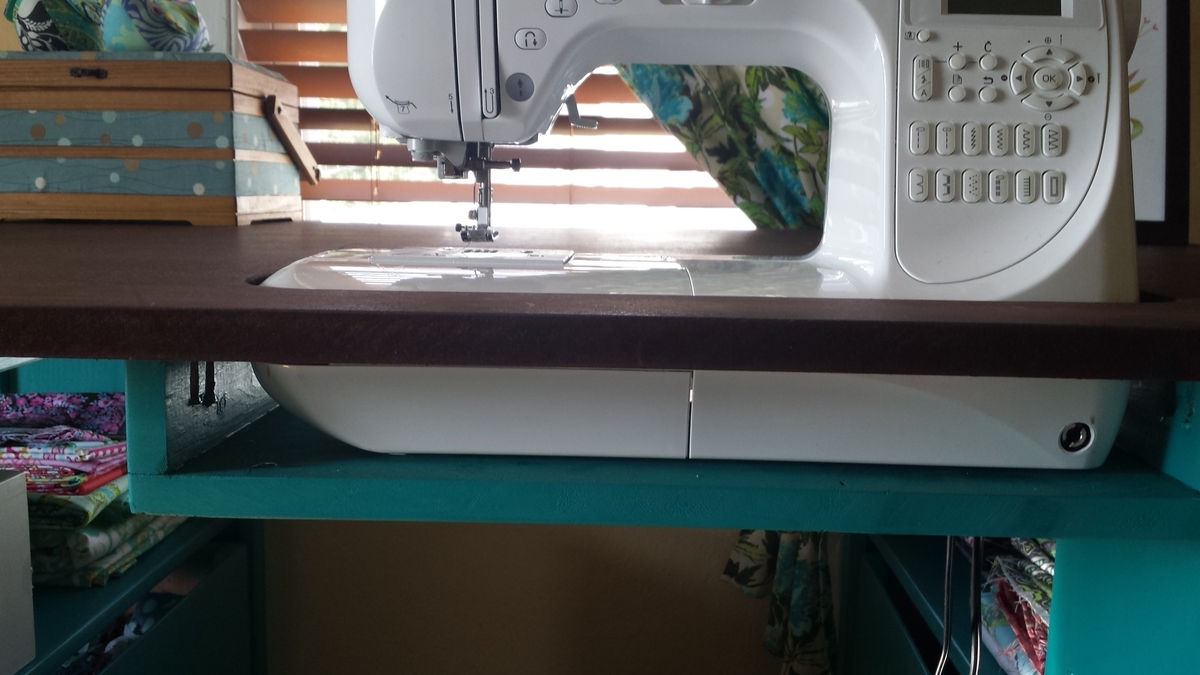
So the sewing machine can sit flush with the top, making working on big sewing projects way easier, I traced the outline of my machine on the MDF and cut it out with a jig saw. Then I built a small shelf using a 1x12 scrap and 2 1x3 scraps. Putting the 1x3s on top of the 1x12 made the shelf 3.75 inches deep, which is exactly the depth I needed. I attached it to the underside of the tabetop using a pockethole jig and screws.
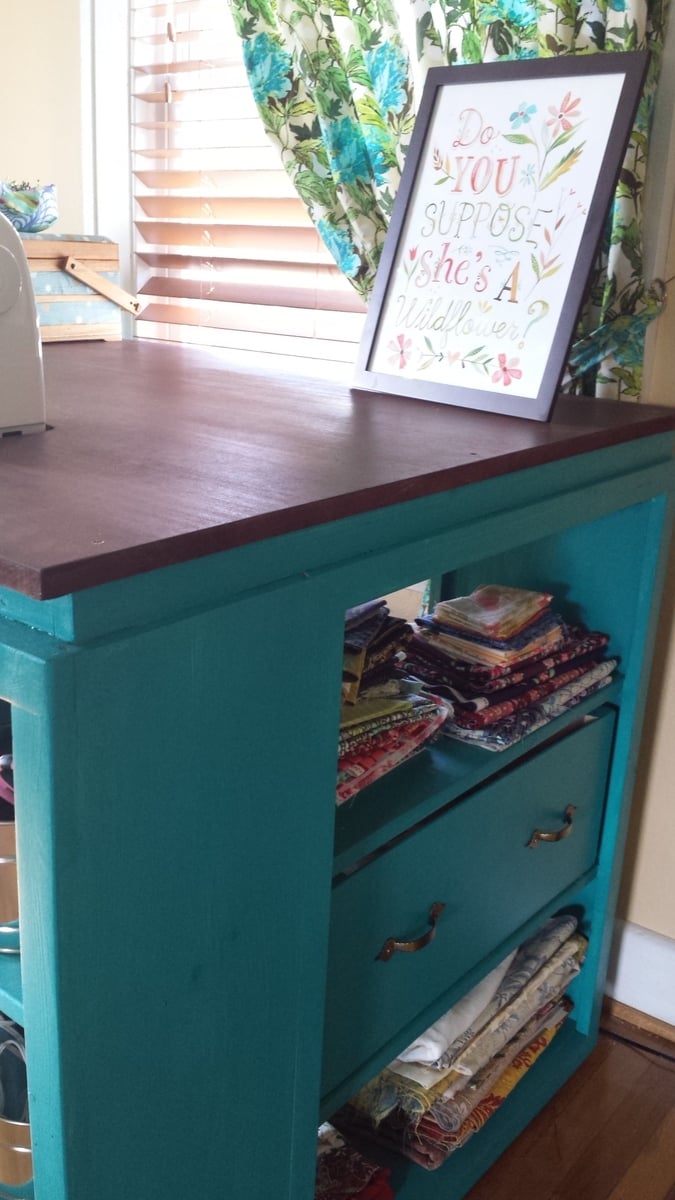
I built 2 boxes using 1/4 inch plywood, and installed drawer pulls on them, giving the illusion that the table has 2 drawers built in. This is where I keep my ugly stuff--interfacing and fabric scraps.
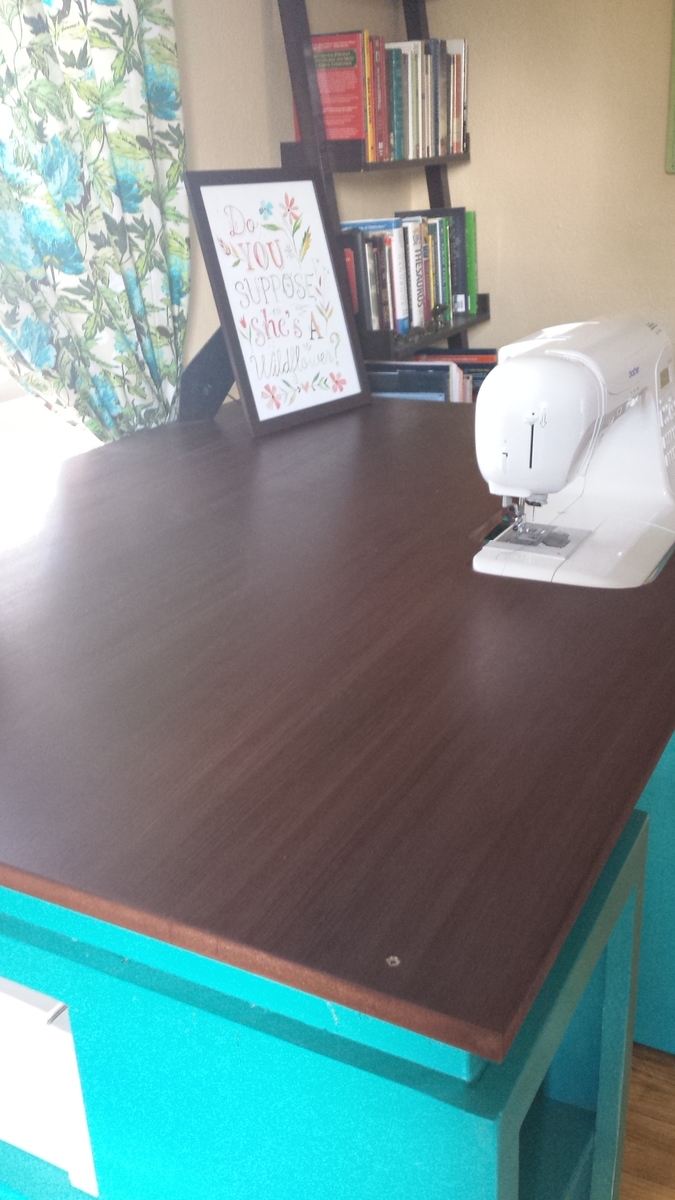
I got the color scheme for the table from the entryway console plan in The Handbuilt Home. In order to make the MDF top look like it had a wood grain, I applied mahogany gel stain with an old washcloth in very thick strokes that spanned the length of the tabletop. It soaked in and lost the "grain" look in some places, but the majority still looks like wood. I did have to apply several coats of polyurathane over the stain; the MDF has a prickly texture that grabs fabric and makes it hard to feed through the sewing machine.
My only complaint is that I didn't quite think through the fact that seating is bar height and I'm 5'7". It's a little difficult to reach my sewing machine pedal. I may build a small stool for the pedal to sit on so I don't have to half sit/stand to sew.
This is the first woodworking project I've done alone from start to finish: from going to Lowe's and picking out the wood, to cutting the wood with a circular saw, assembly, and finishing. (My fiance did carry it up the stairs for me. :) )
I'm so in love with this table! And now to finish the quilt I started 6 months ago....
Mon, 09/23/2013 - 07:40
I really like your colors! And that drawer idea is so clever! Nice work!
Val
artsybuildinglady
Mon, 09/23/2013 - 15:22
I love this idea!! I too have wanted a sewing table for a long time but the prices of them take my breath away. I may have to make myself one! Thanks for the inspiration!!
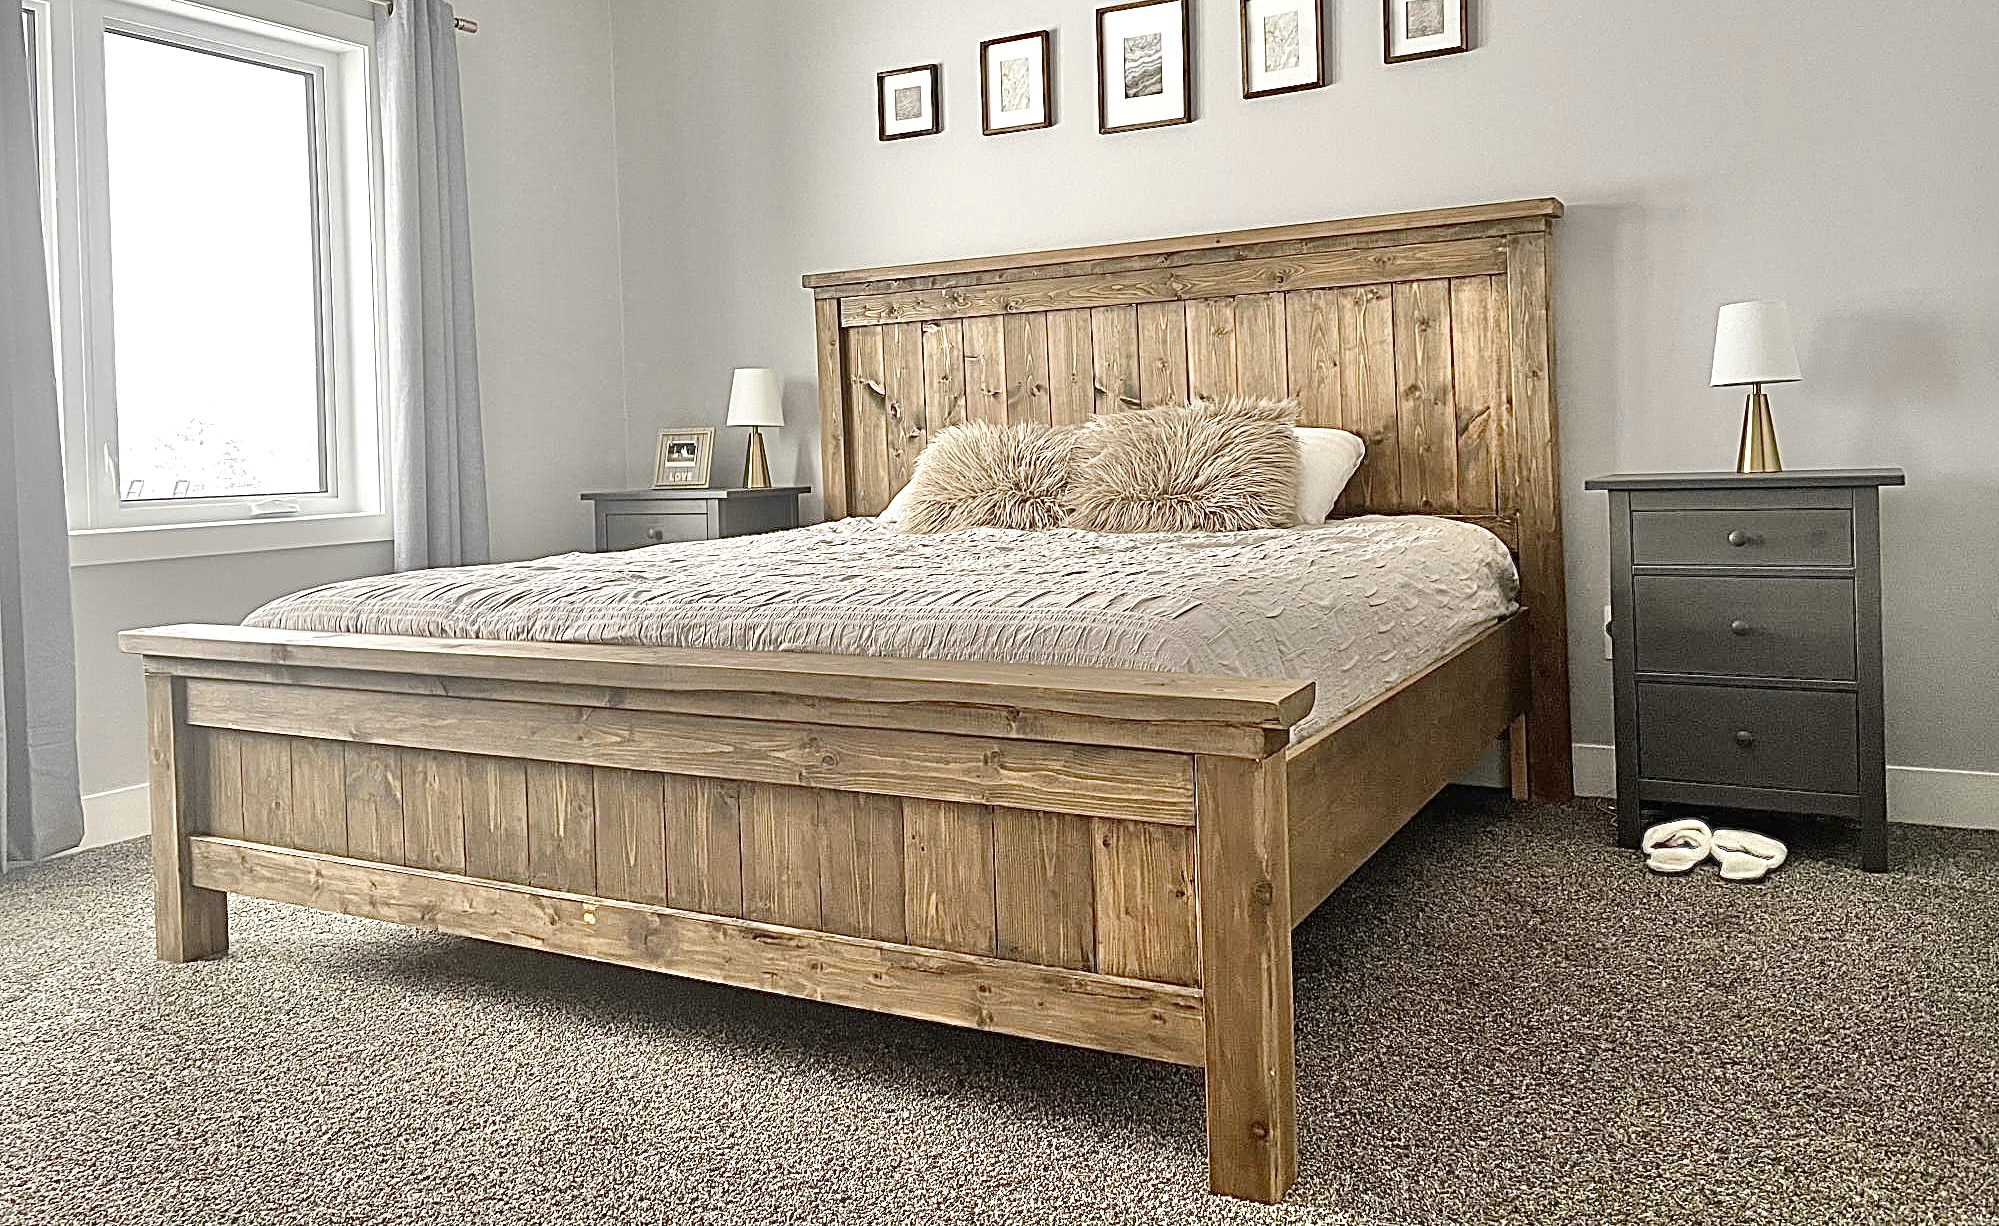
My husband and I had worked on this bed together, and we are so happy with it! We went with taller side tables that we purchased, and just stained the wood instead of painting it.
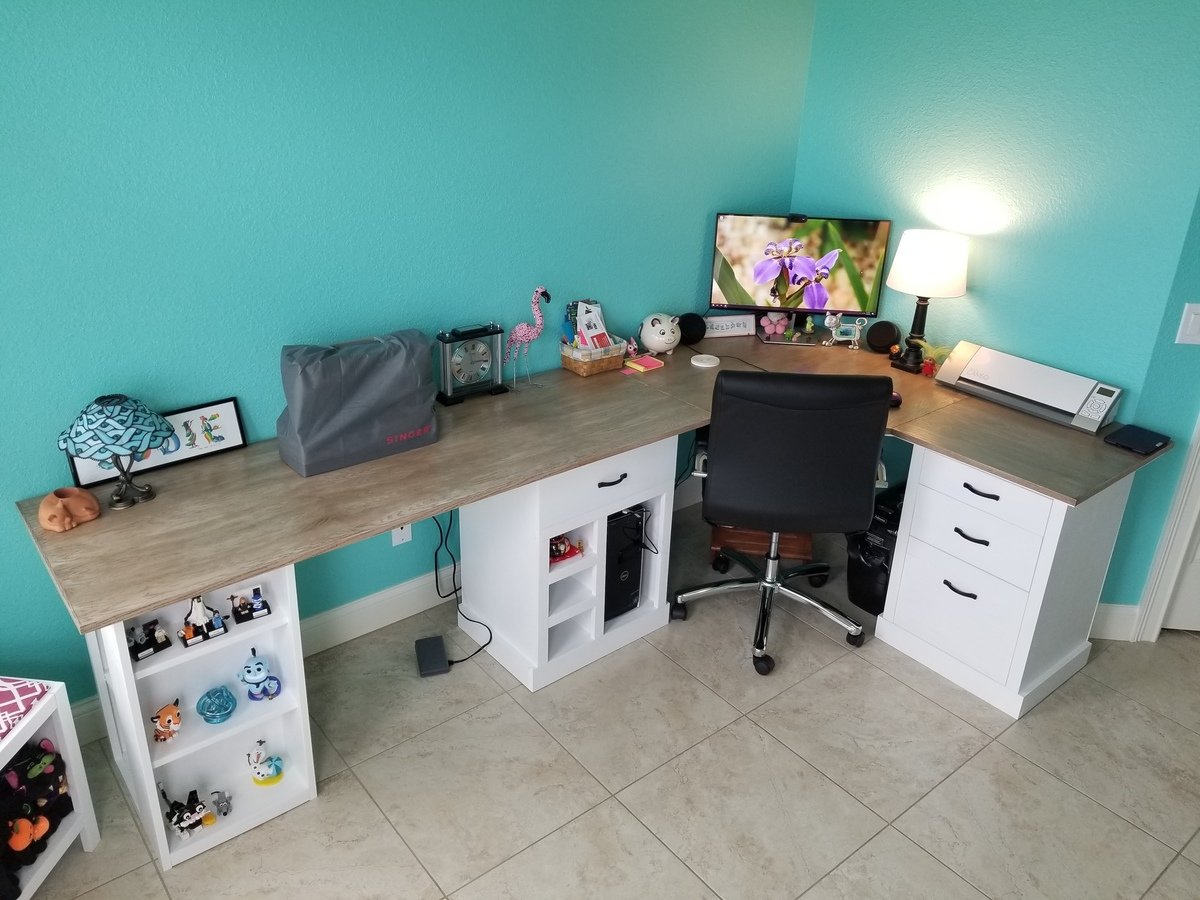
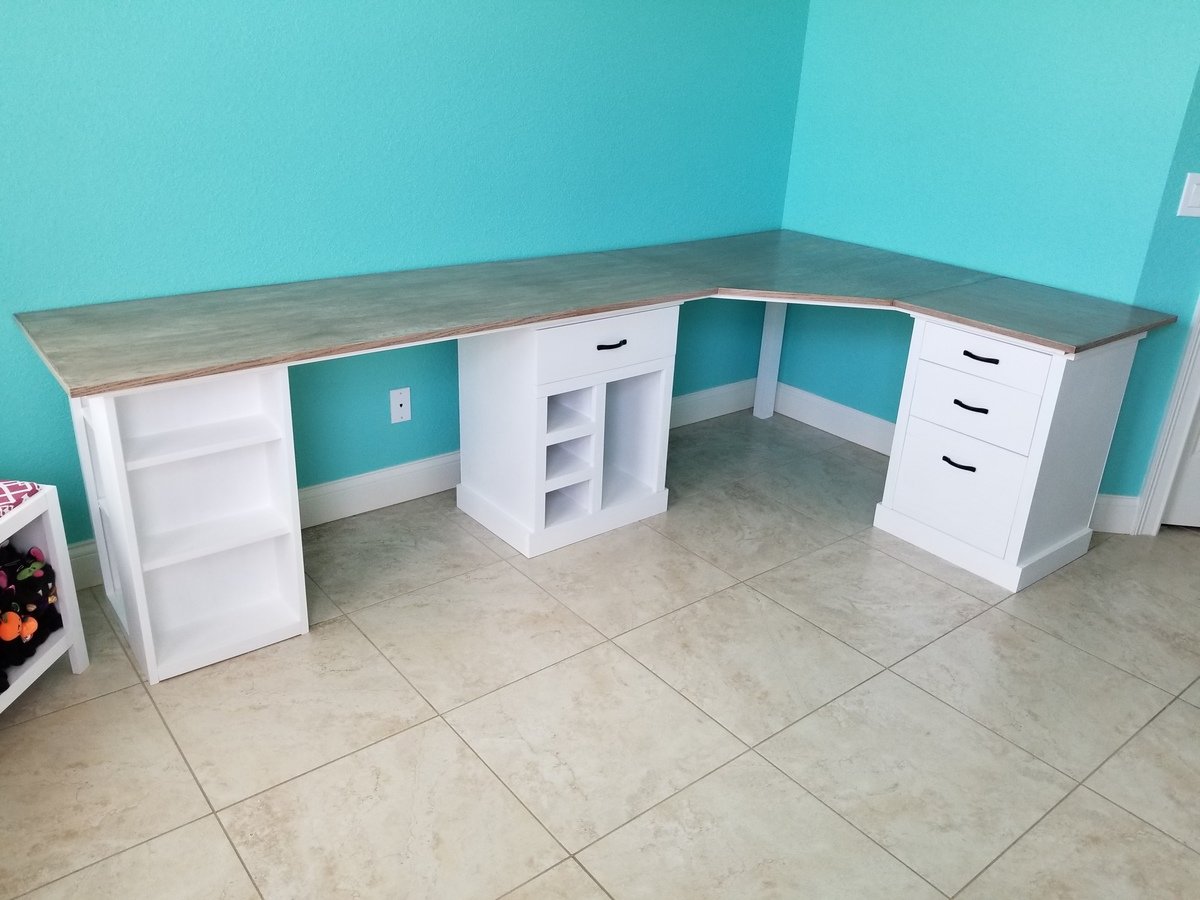
I started creating the furniture for my new craft room by making the Easy Three Cube Benches I found here. I modified them so that my cats could lay on top and look out the windows. The cube benches gave me the confidence to design a printer stand. Using Ana White's technique of "build the box" and then add the rest, I designed a custom printer stand I am so very proud of! After the printer stand, I moved on to the final piece that would complete my craft room, a modular desk with plenty of workspace to complete any craft I want. I modified each module a little to keep with the theme design of the room. I created three modules. The last one being a bookcase that is a modification of the Modern Craft Table bases. I used better quality Oak plywood for the desk top, and good pine and whiteboard plywood for the modules.

I’m a first year teacher of construction class at Waterloo High School in Illinois. We recently used your Small Cedar shed instructions with some modifications for a class project. It’s a bear getting cedar right now, so we used T1-11 for the outside and 2x4 for the frame.


Sat, 03/25/2023 - 09:14
Very fun and job well done! Thank you for sharing.
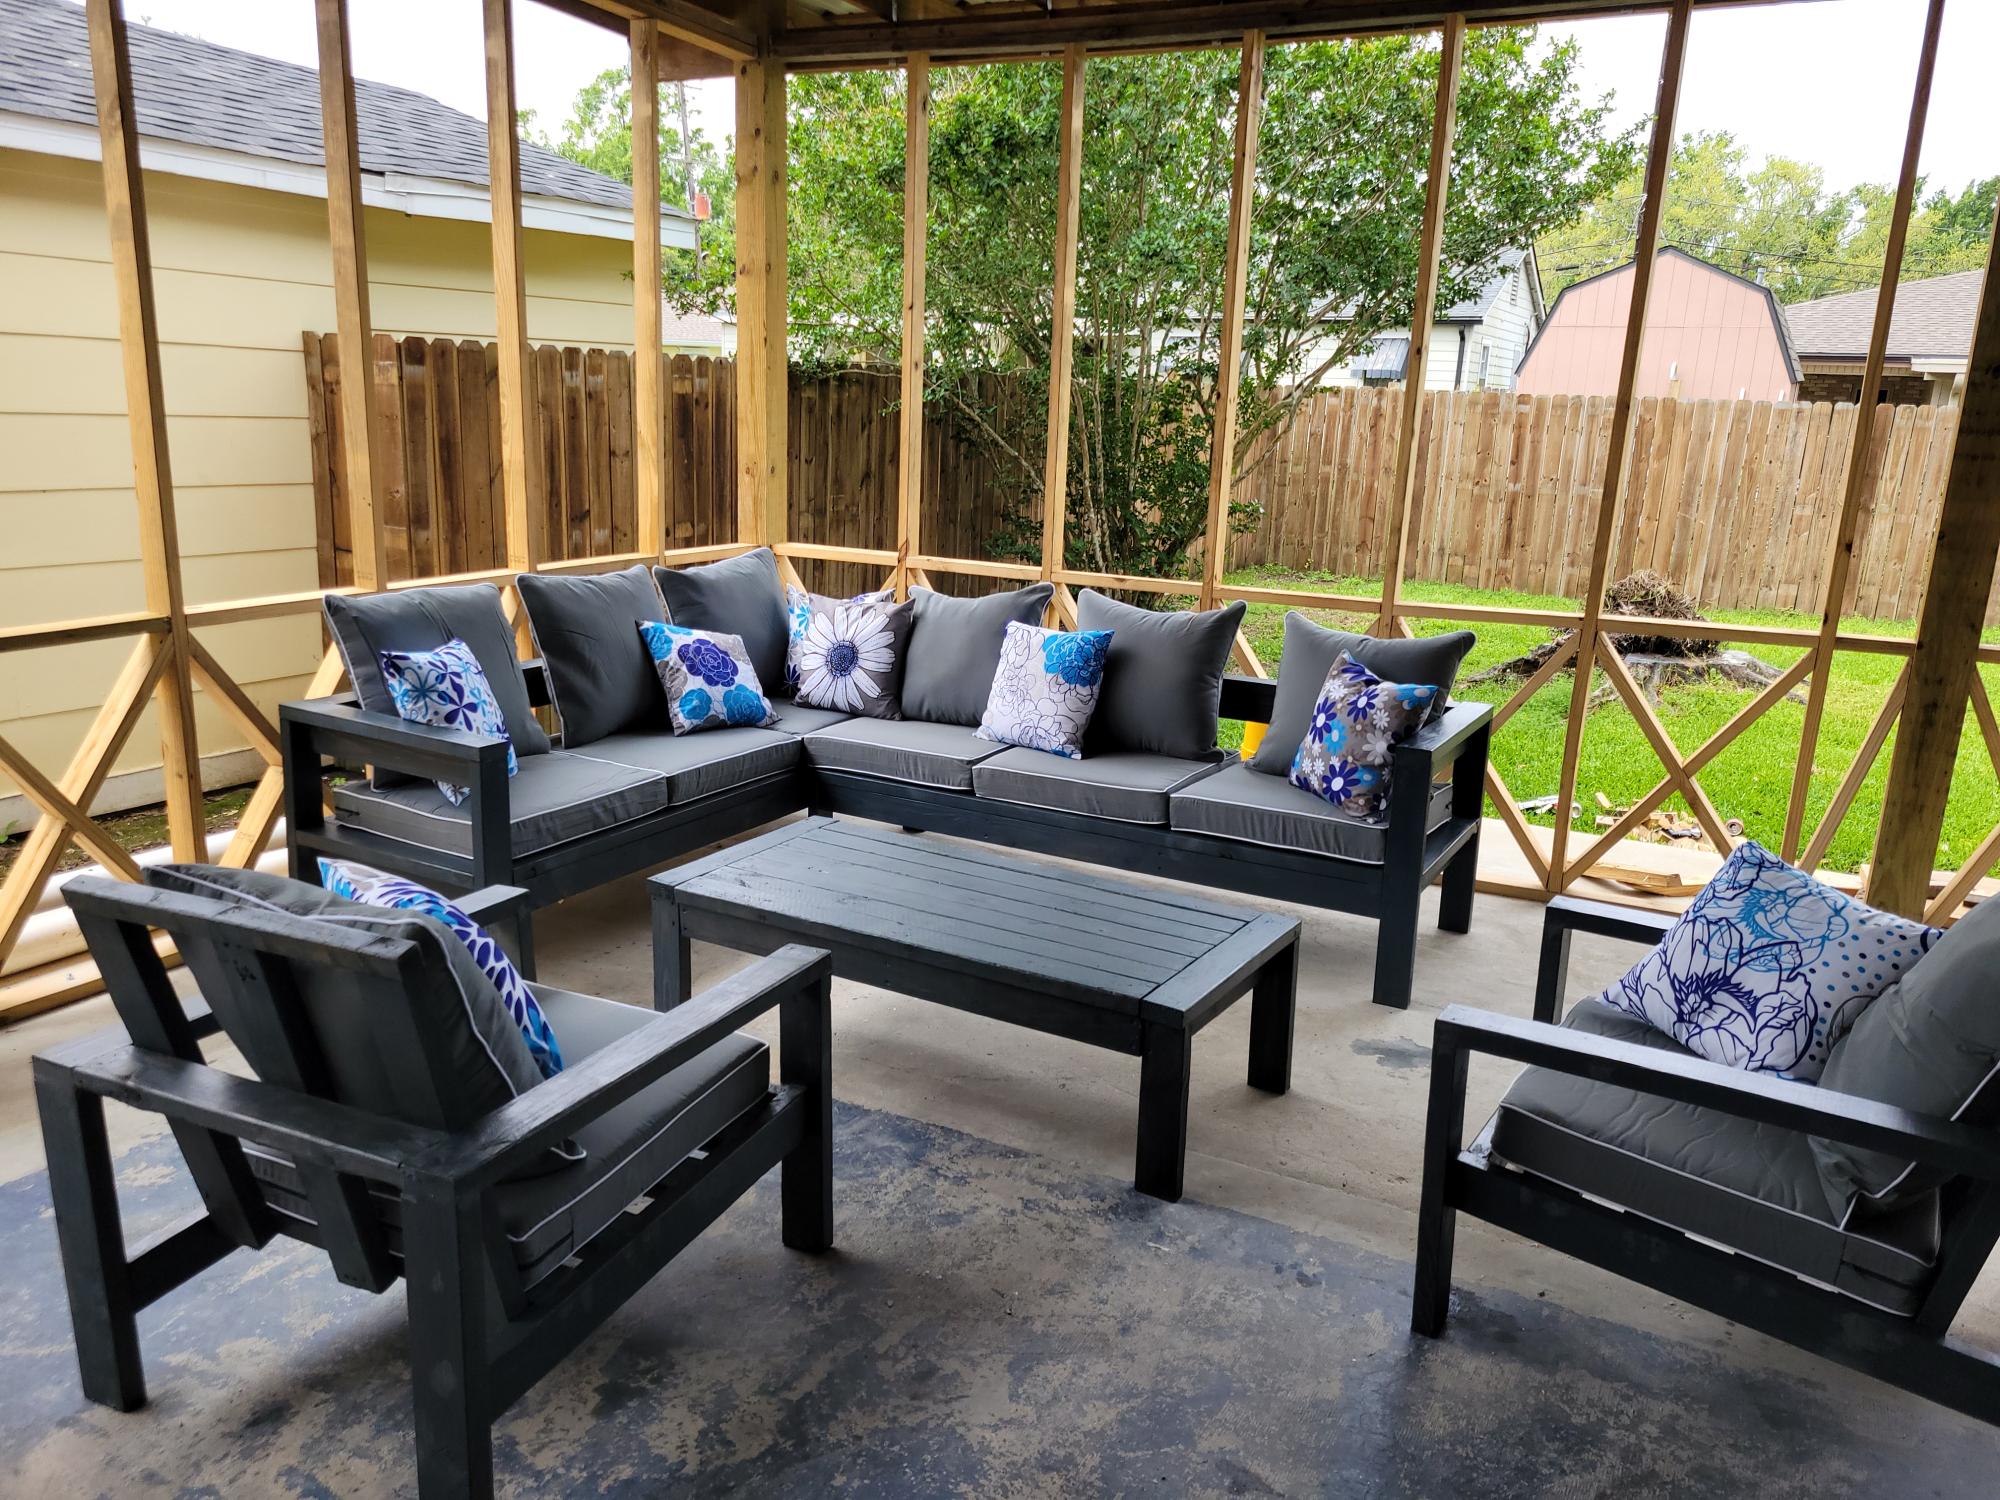
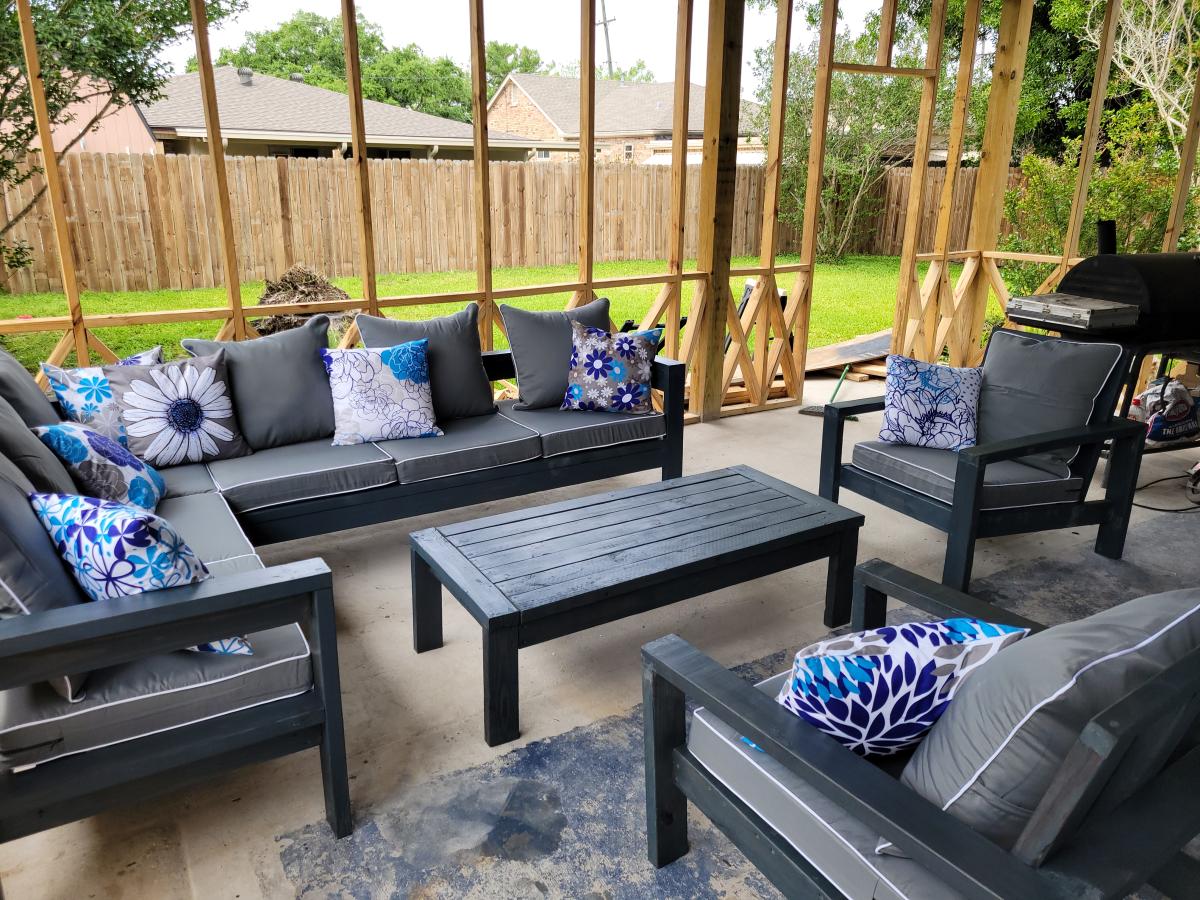
Your easy to follow 2x4 proje ts turned out amazing. My outdoor set is complete. The chairs, also, came from your plans. I built all of it by myself in one weekend. Thank you
Comments
Ana White Admin
Fri, 11/27/2020 - 14:51
Beautiful!
Love the look and all the extra storage!