My Greenhouse
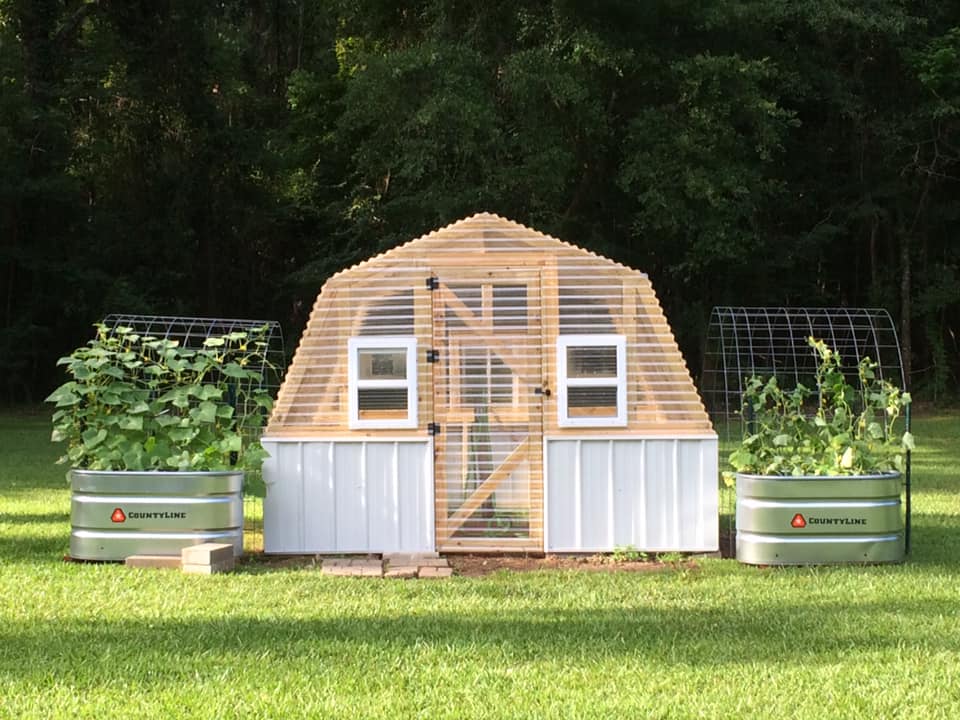
I went from a 6 x 8 Harbor Freight Greenhouse to this one 10 x 12. I added a few windows...
Built from Plan(s)
Seasonal And Holiday
I went from a 6 x 8 Harbor Freight Greenhouse to this one 10 x 12. I added a few windows...
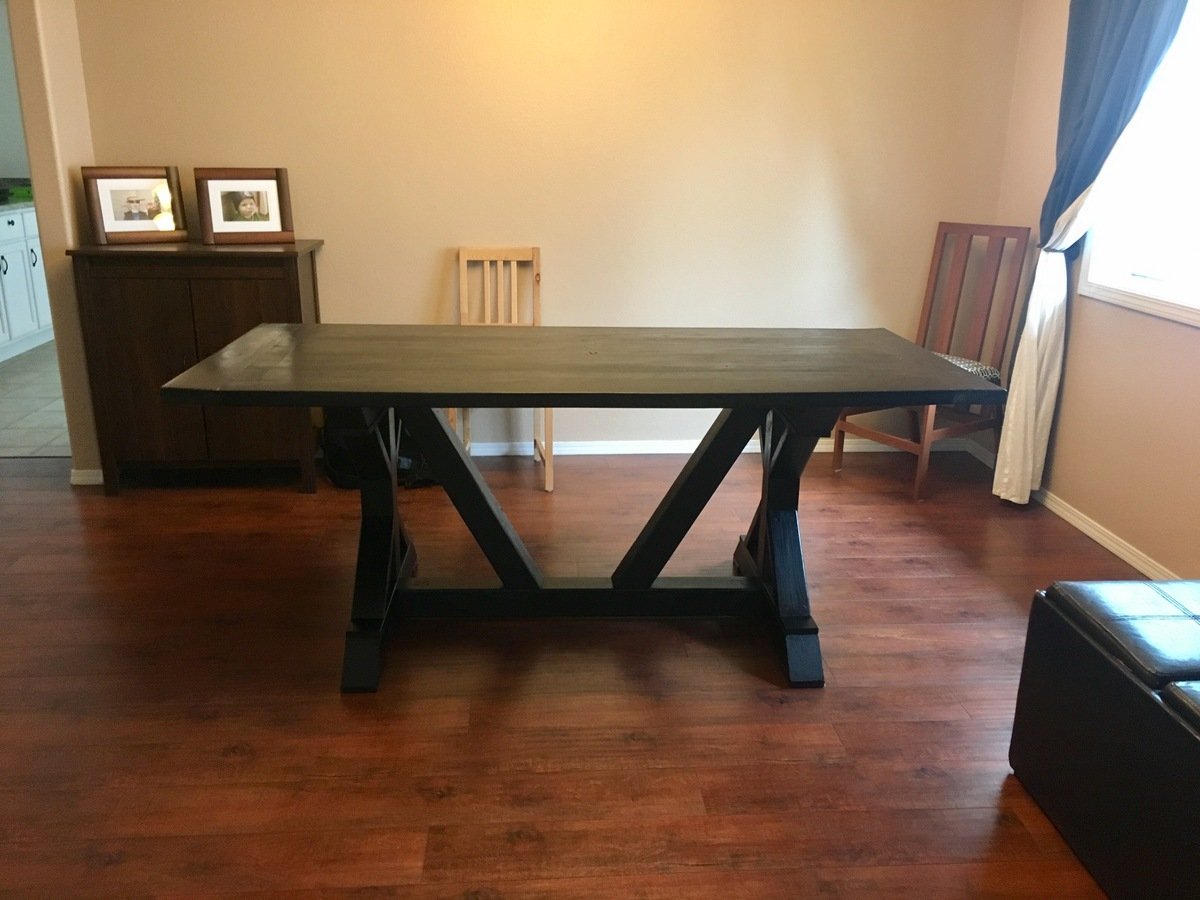
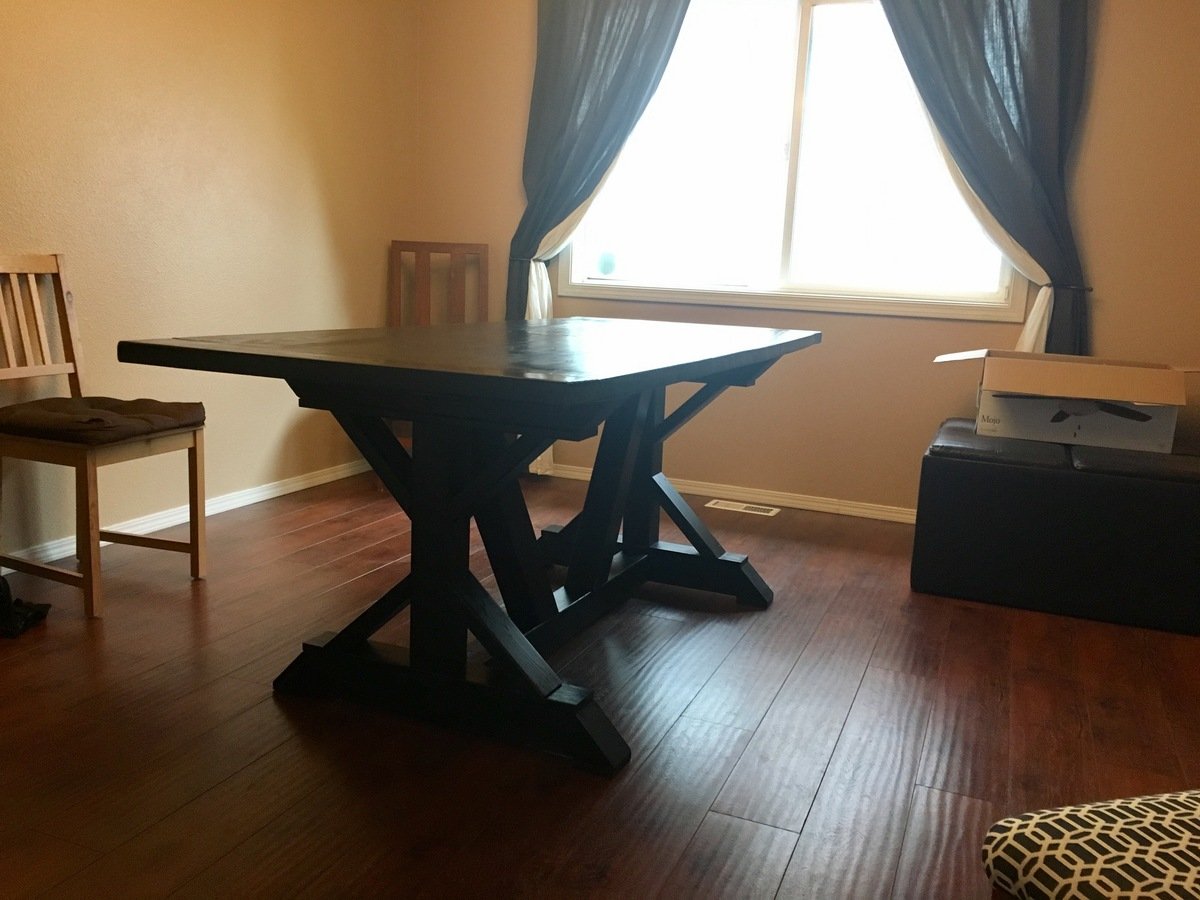
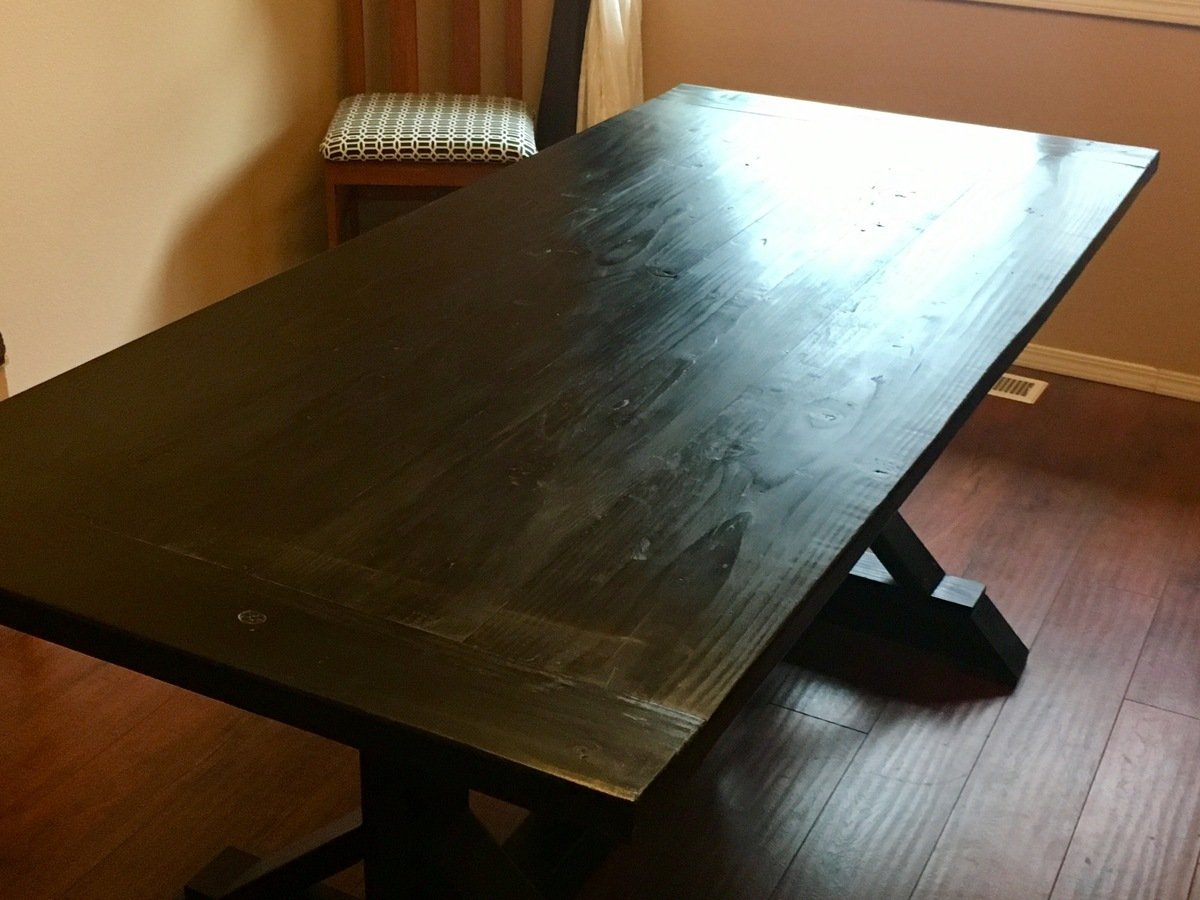
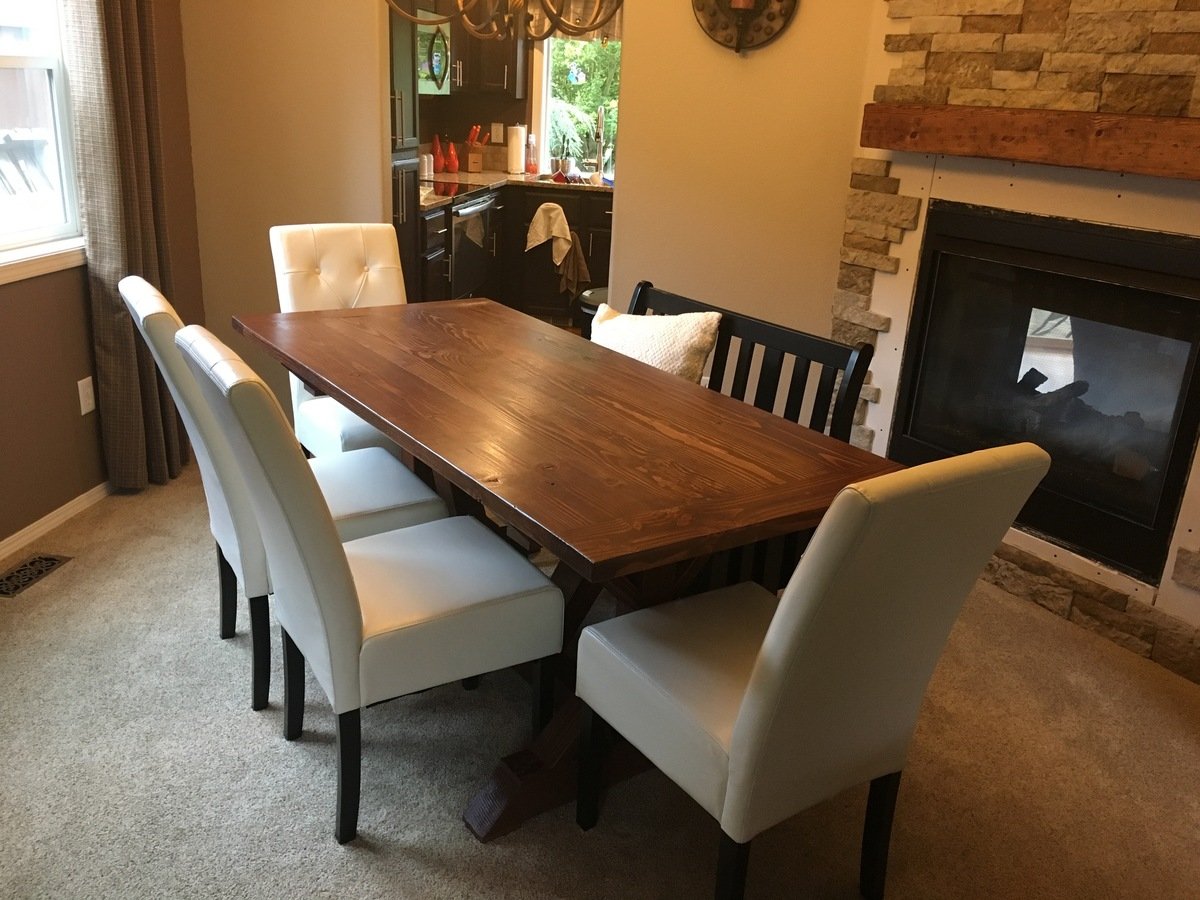
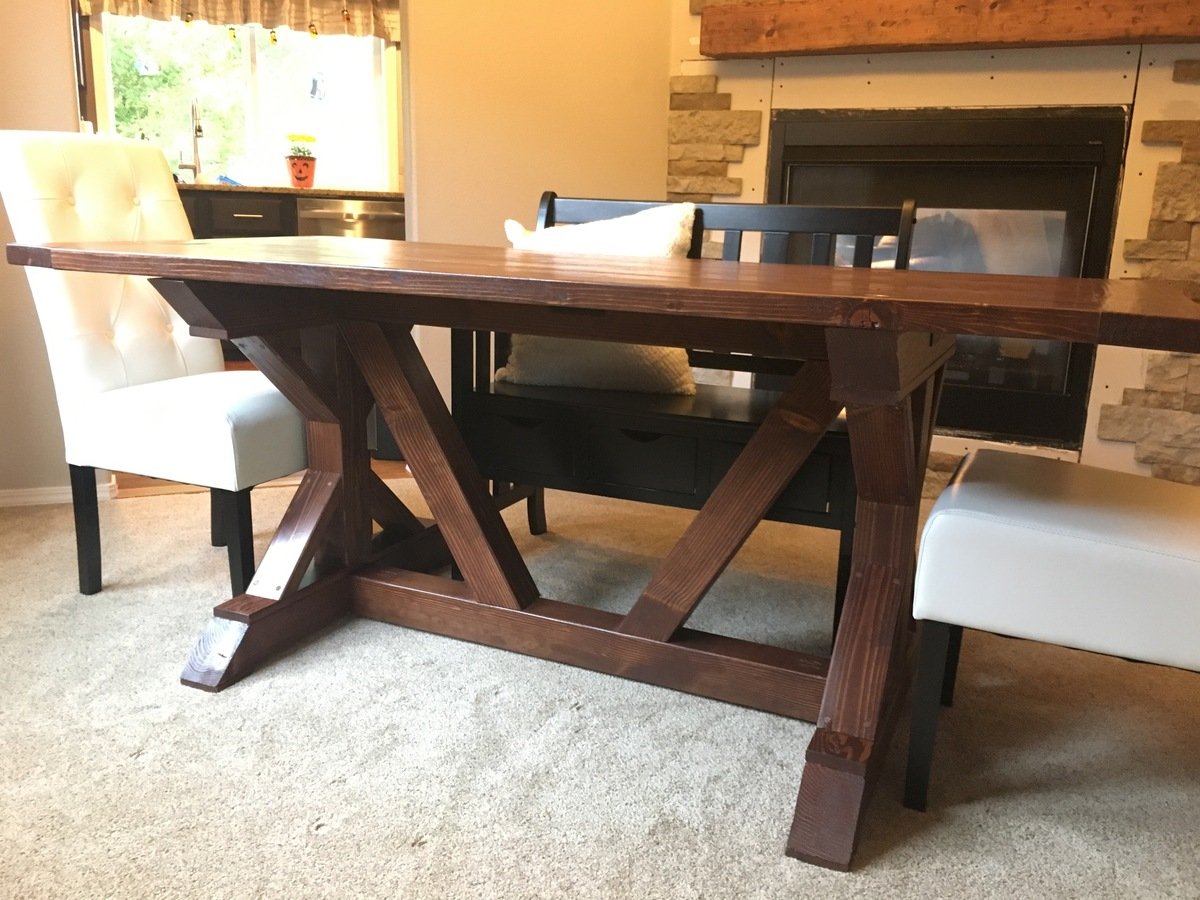
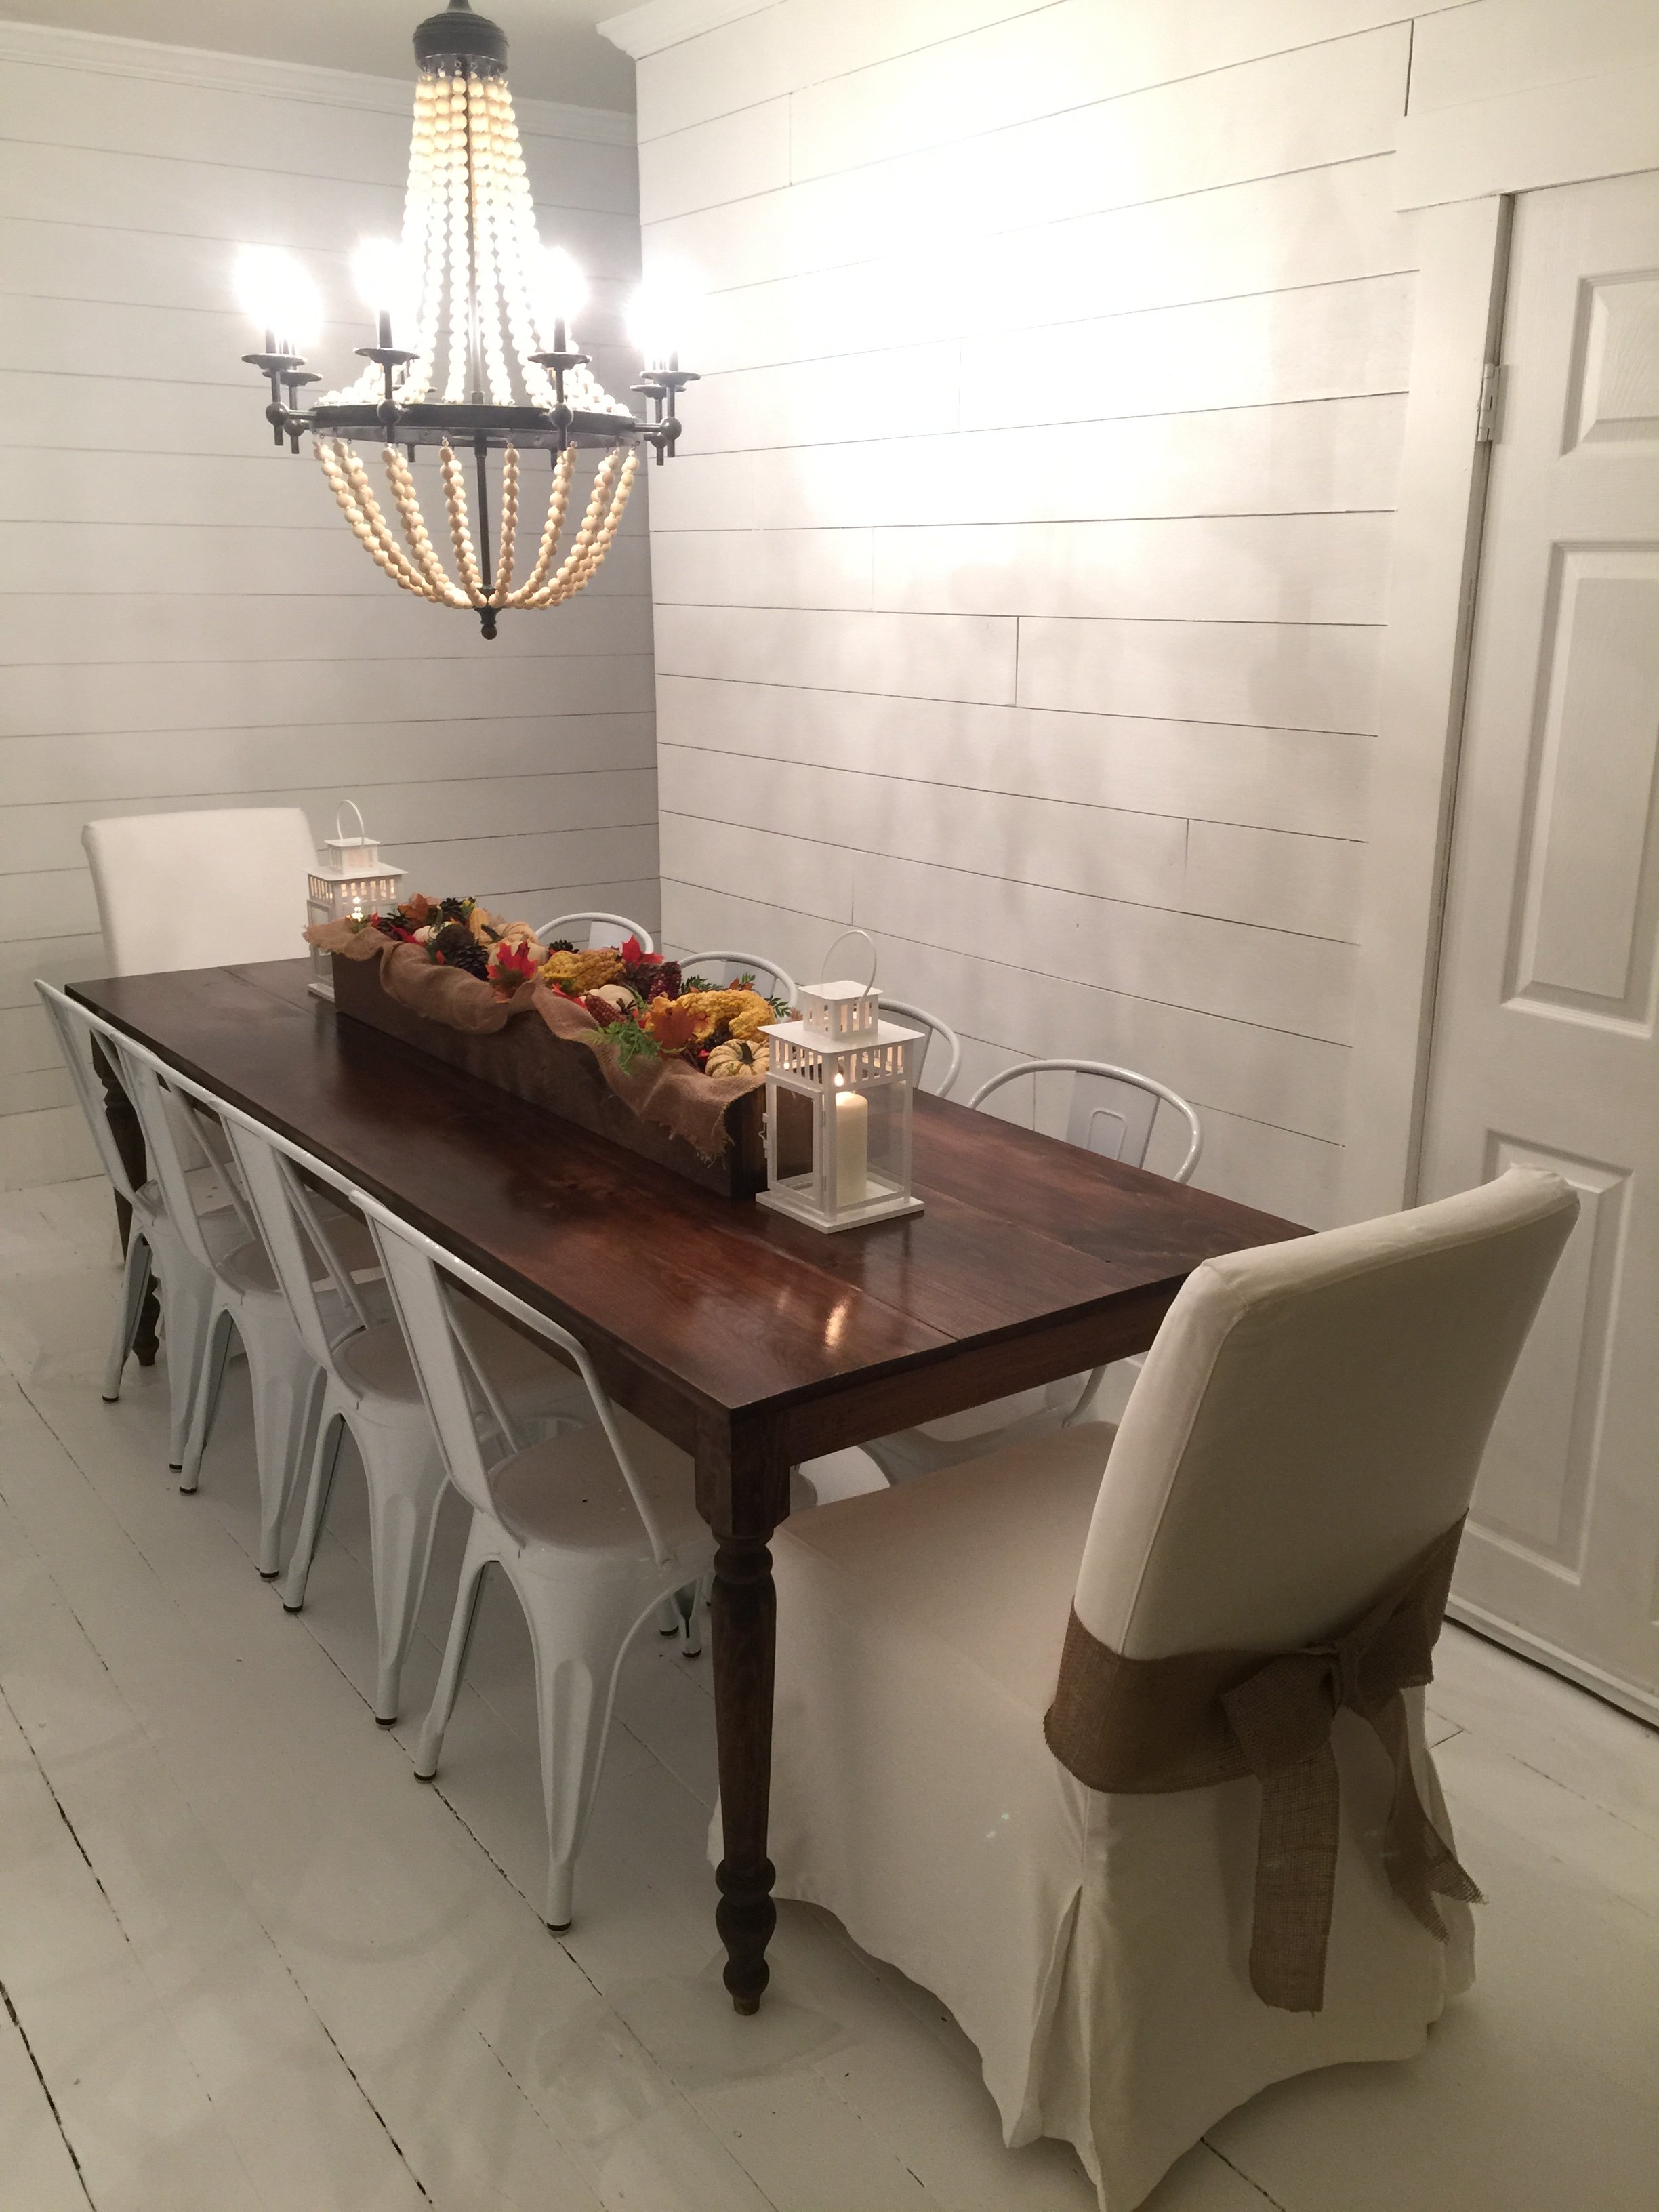
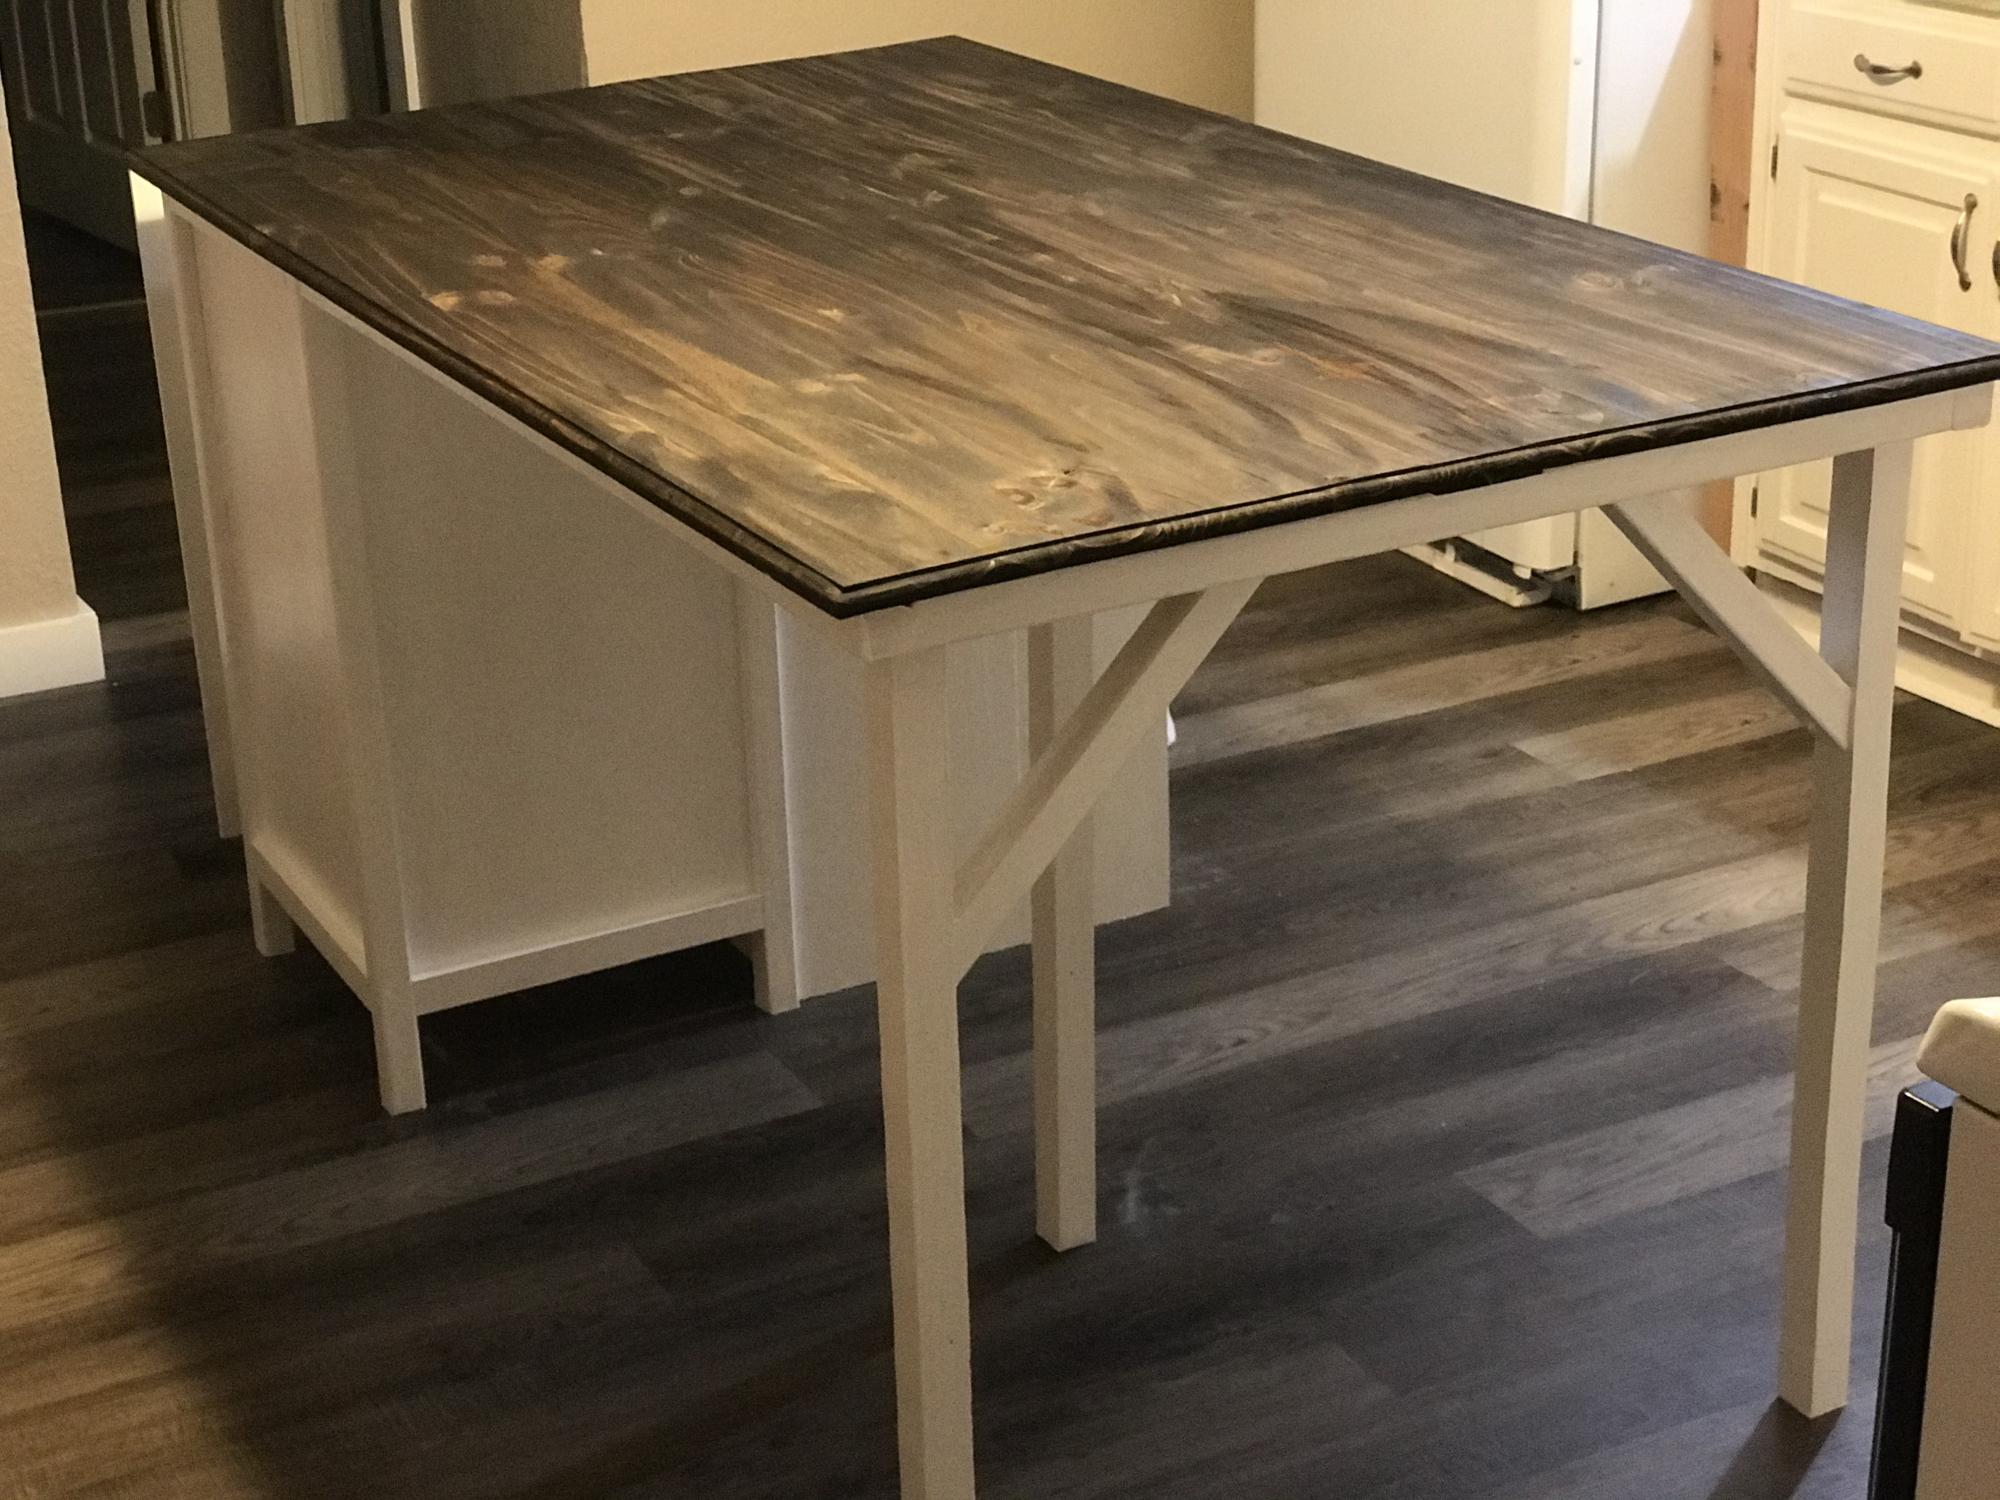
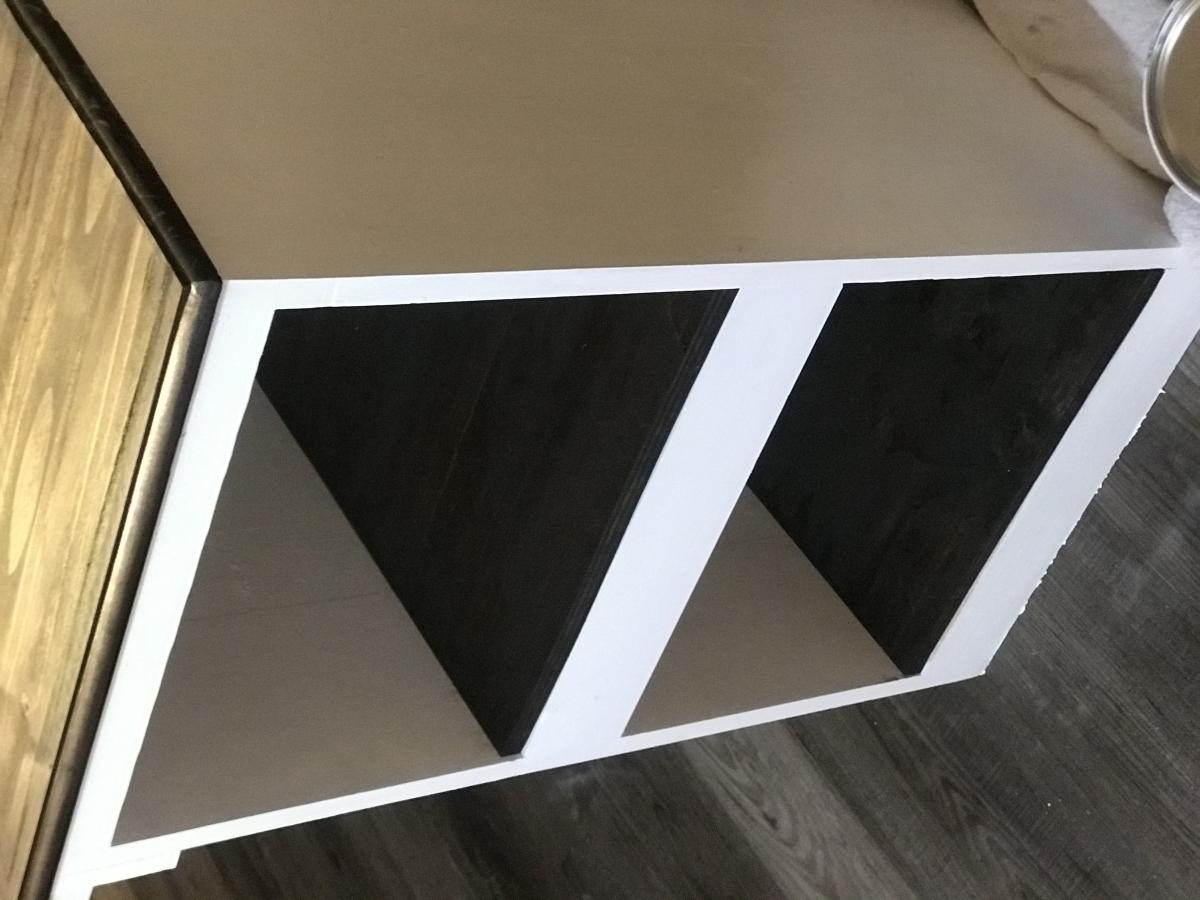
I made two of these tables and they were pretty fun, but were a little more work than I thought they would be. All of the wood is kiln dried douglas fir, as the first table top I made warped as it was green wood and not the look I was going for. I shortened the length to 72" so I had to adjust the angles for the center pieces. I decided to build the tables, stain it, them took them apart and glued important joints, prior to staining the tables a second coat to avoid the glue standing out. I also used 4x4's instead of sandwiched 2x4's as I thought it looked nicer that way. I finished with 9 coats of polyurethane on the top and than a coat of wax using 0000 steel wool to get all the little imperfections out.
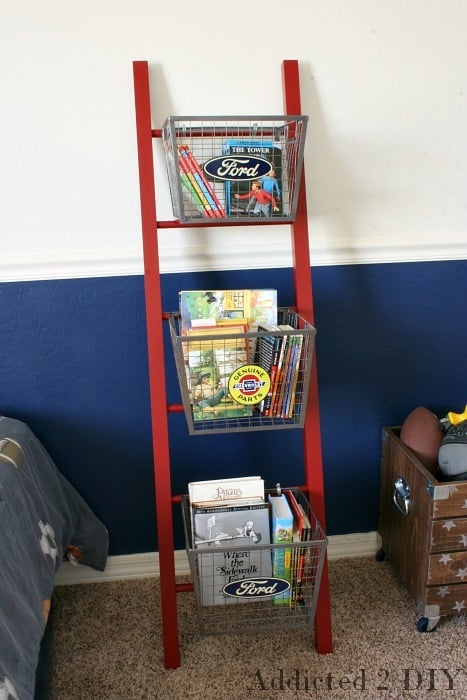
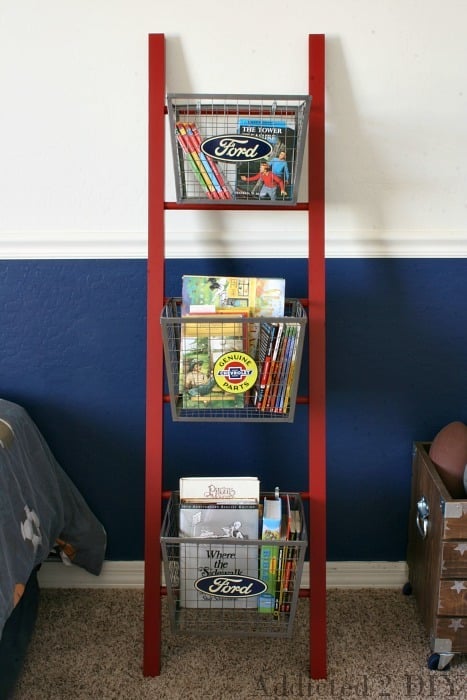
I saw this Ladder Shelf in the PB Teen catalog months ago and knew it would be an easy knockoff project. It took maybe 20 minutes to build the ladder, and then I painted it using a paint sprayer. All-in-all, it only took a few hours to build (minus the glue dry time). And I was able to build it for 1/3 the price of the original! Check out my blog for the instructions on how I built it. http://addicted2diy.com/2014/07/01/pb-teen-inspired-ladder-shelf/

easy
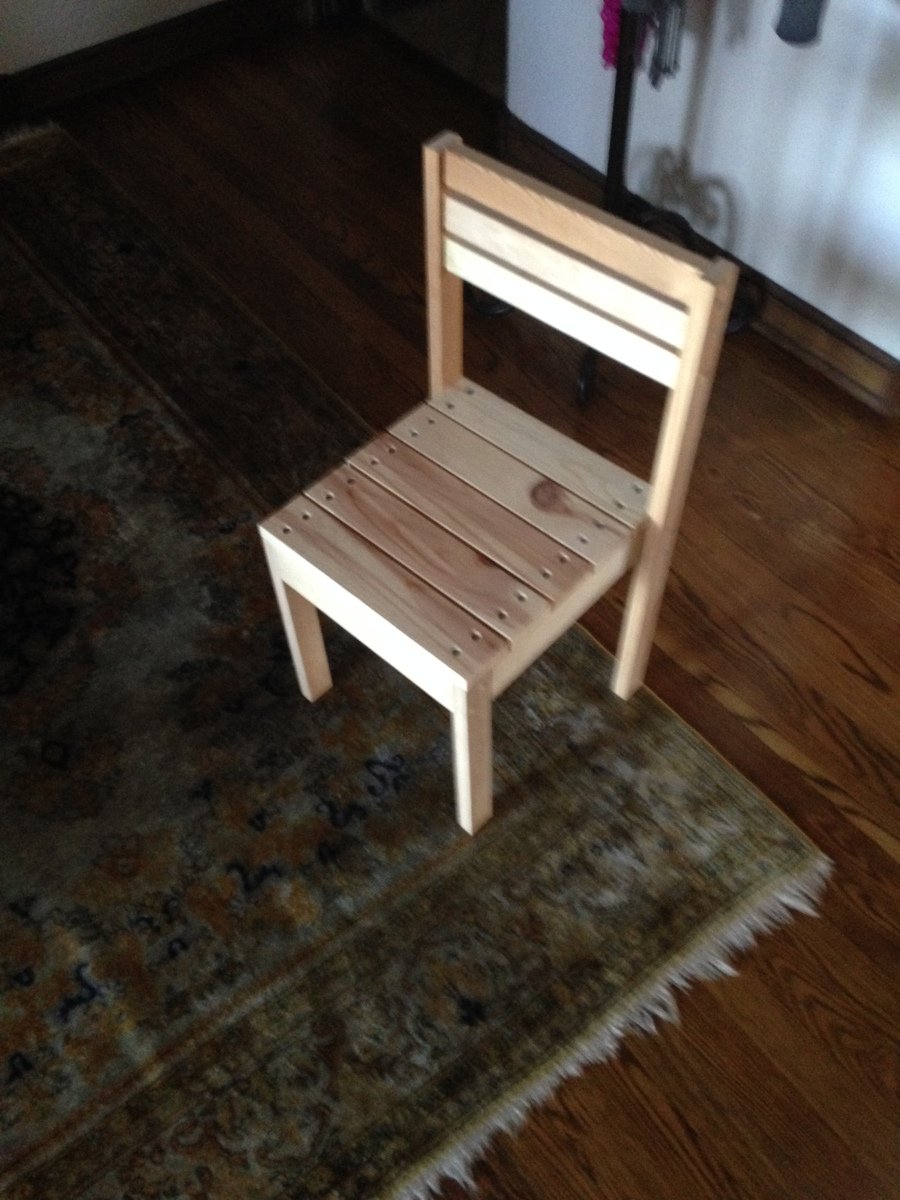
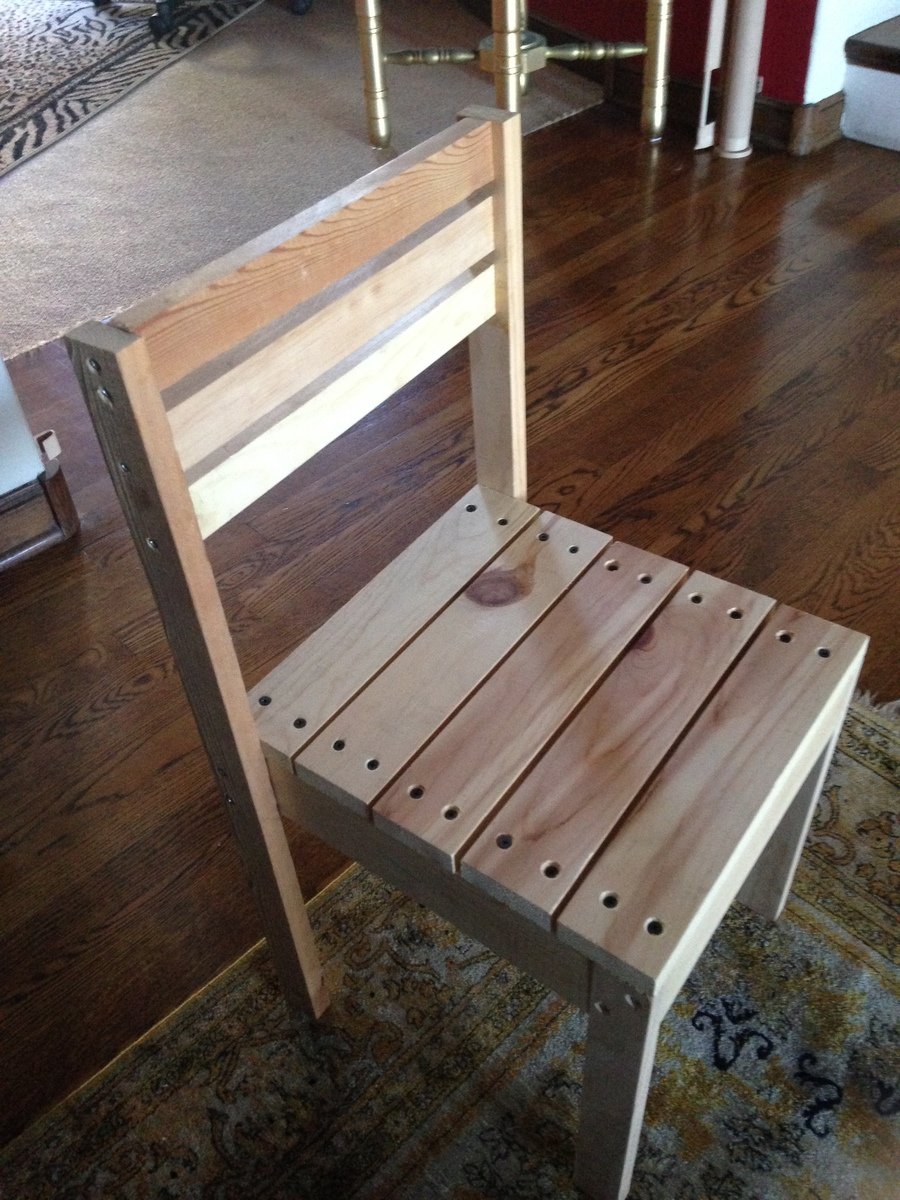
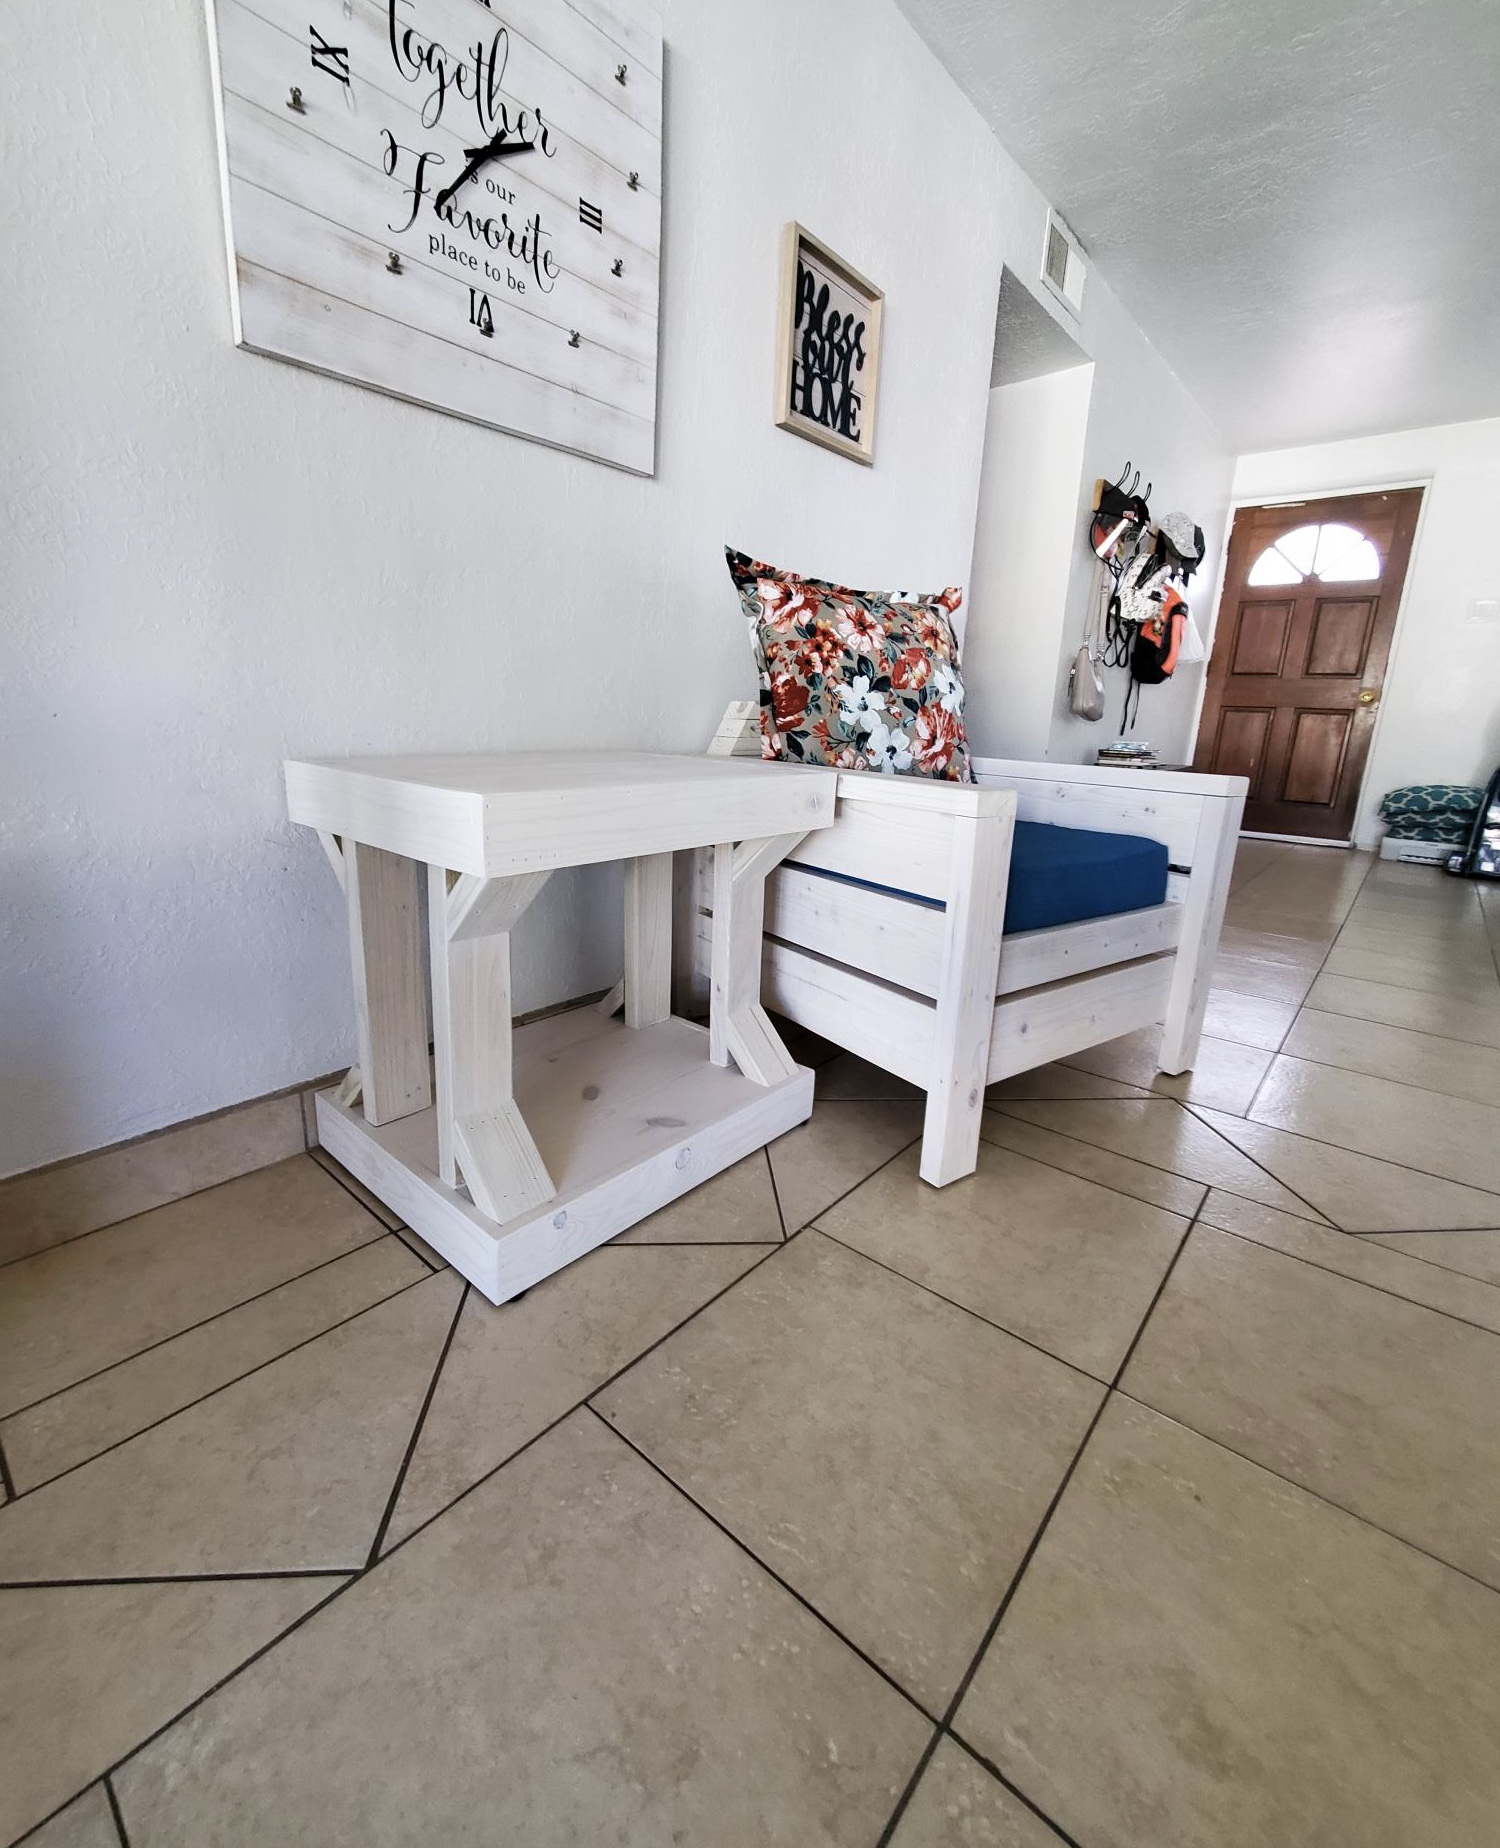
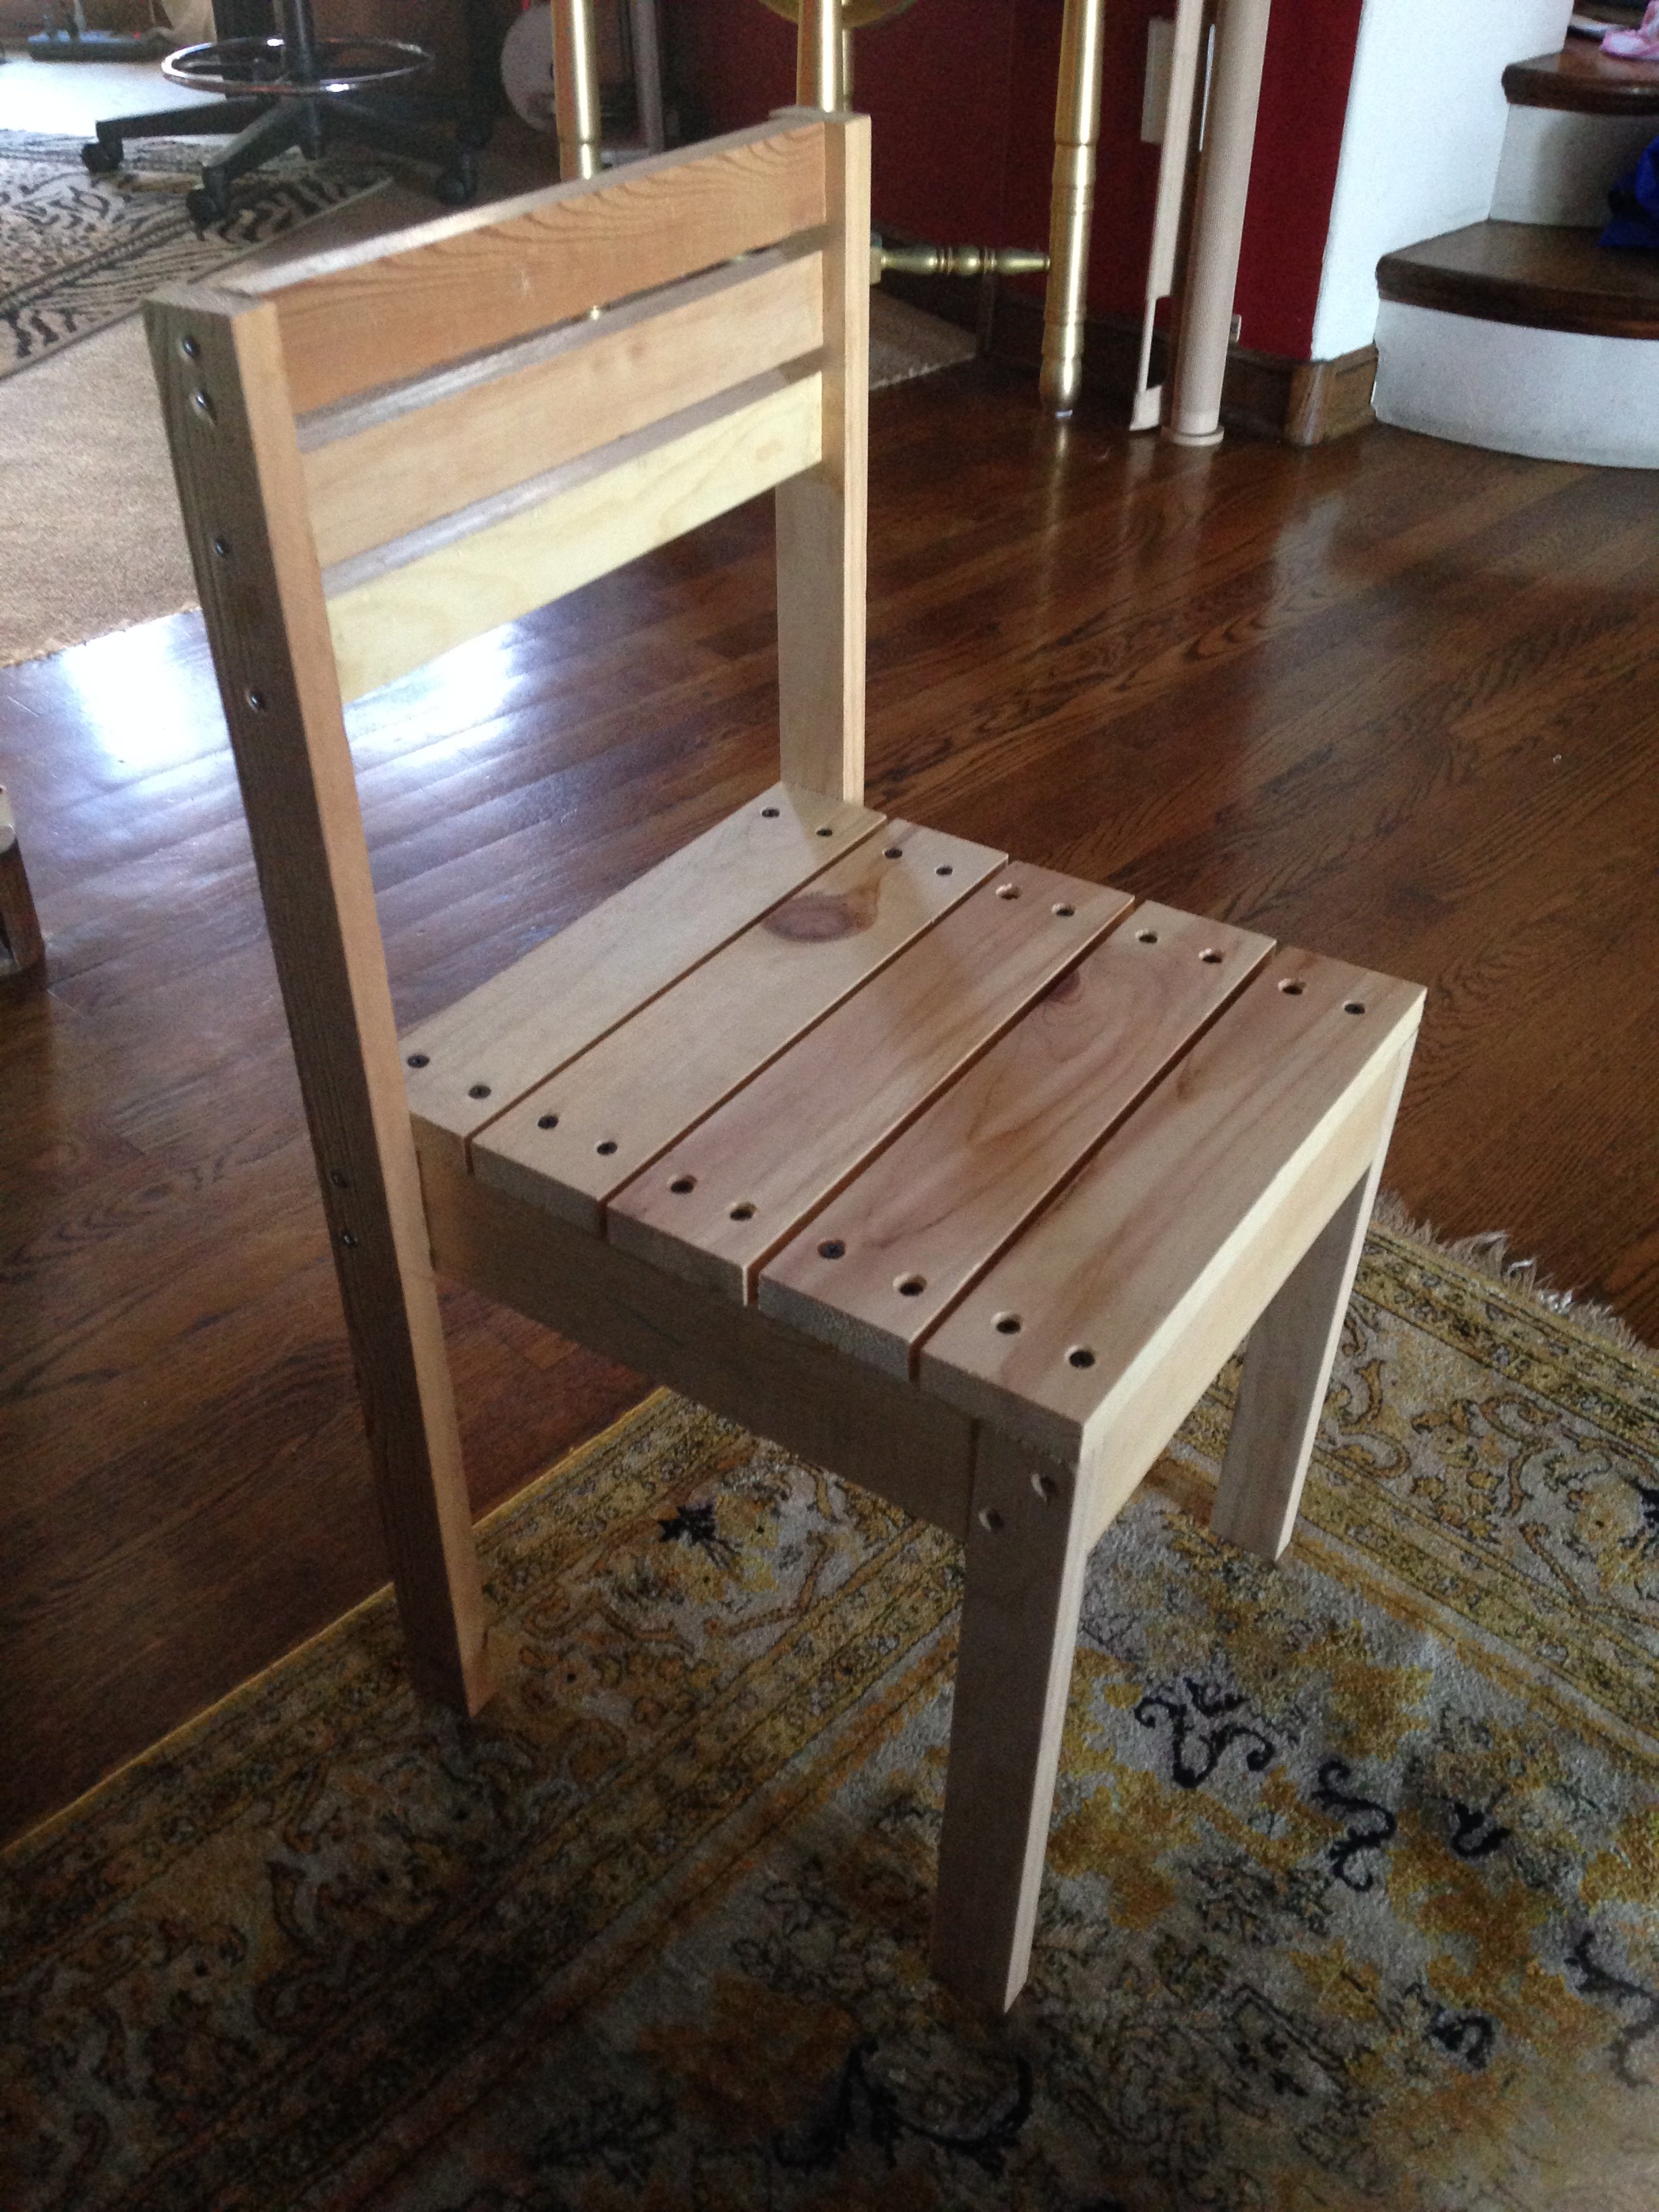
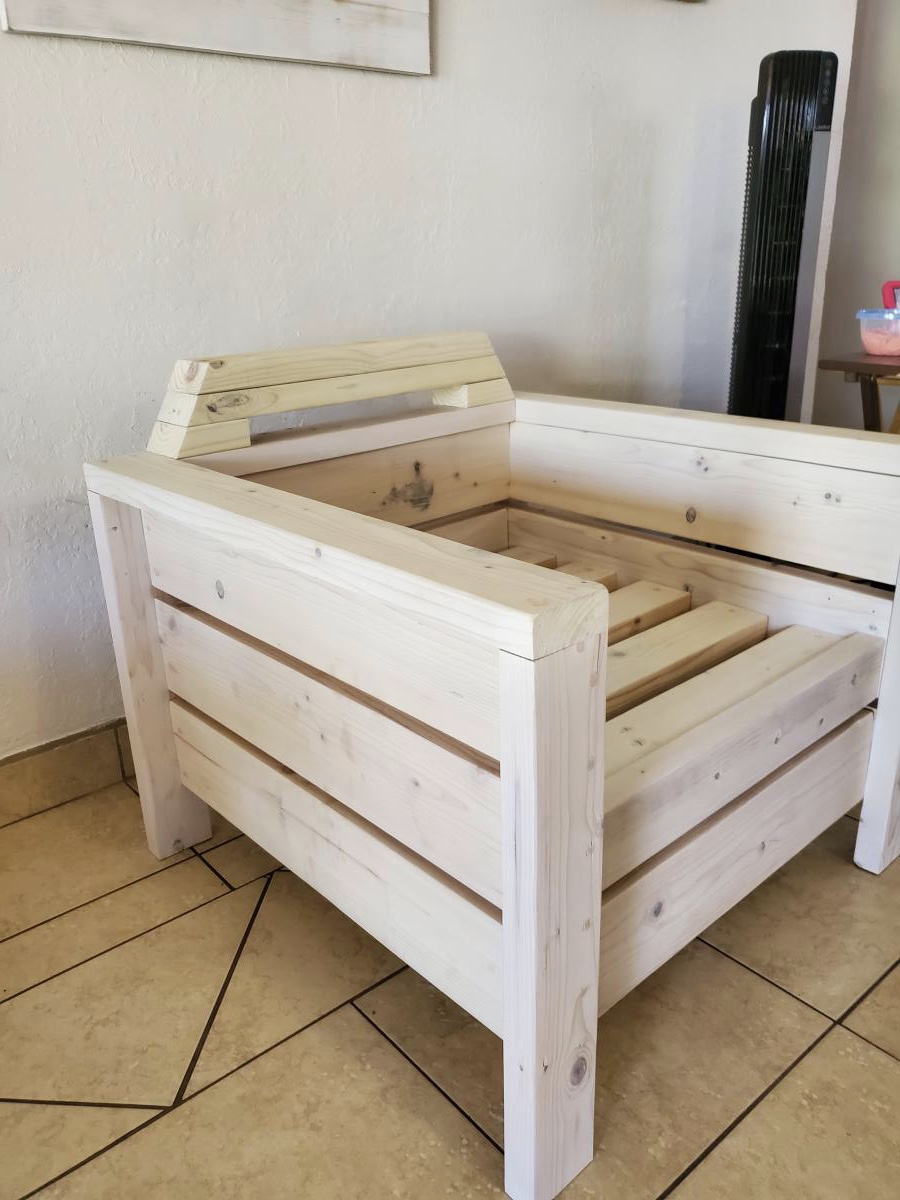
I built this modern chair and end table. I will be building one more chair to complete the set.
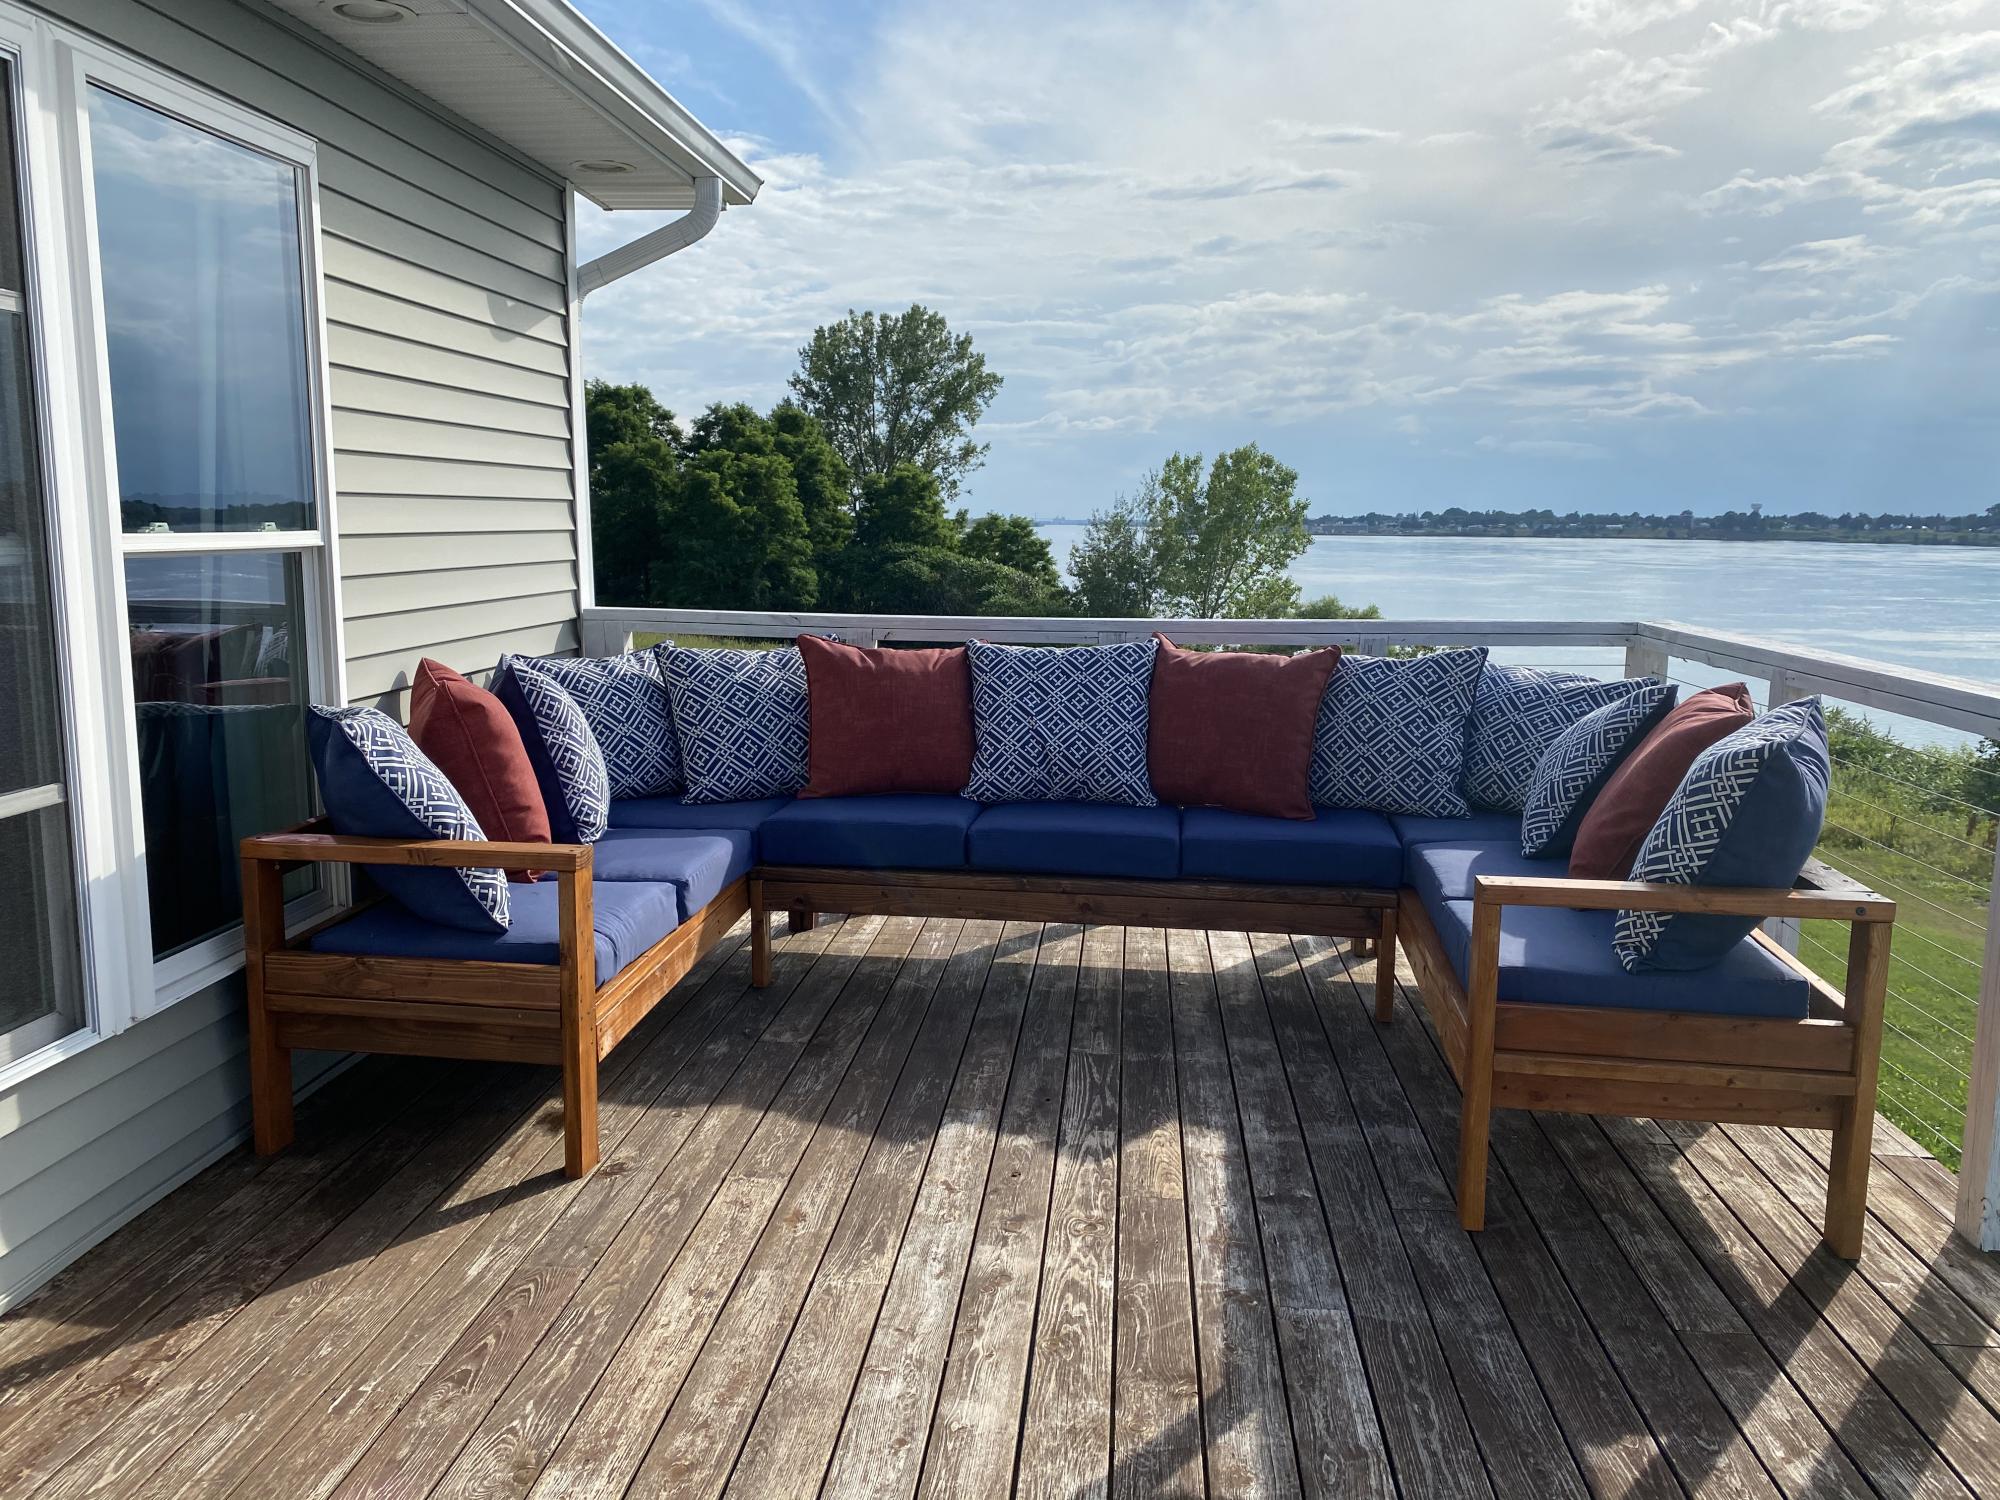
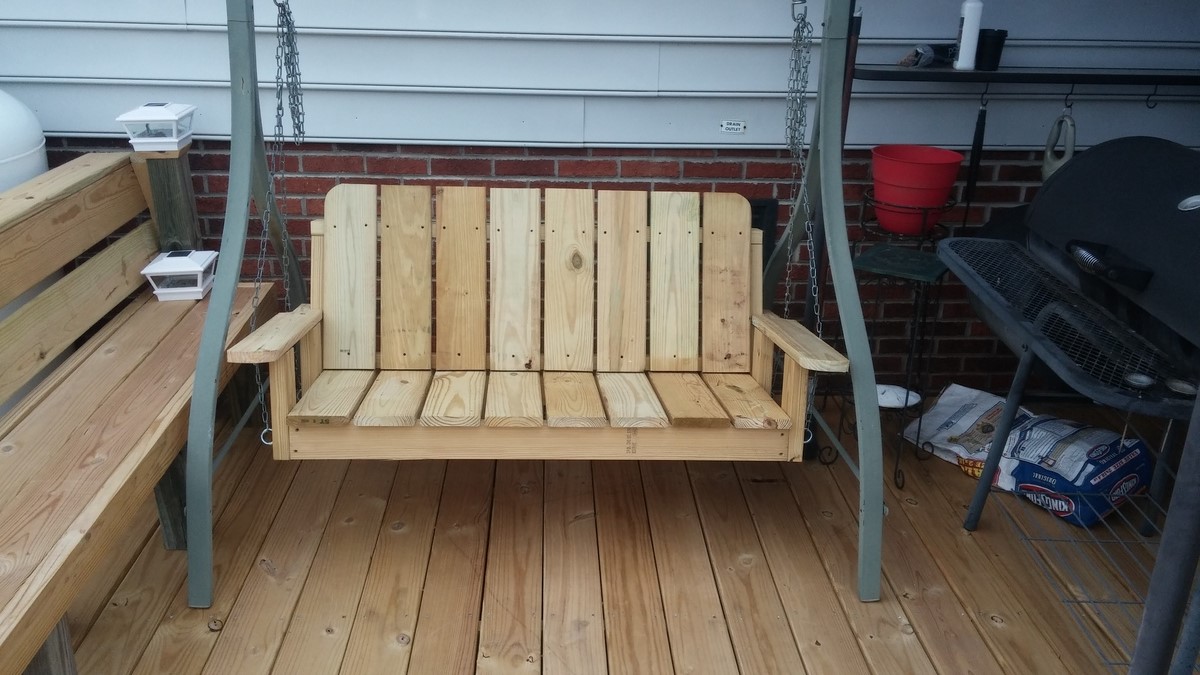
I love my new outdoor sofa! Was a great quarantine project with my teenage children. Finished it off with a ton of cushions from Lowe’s.
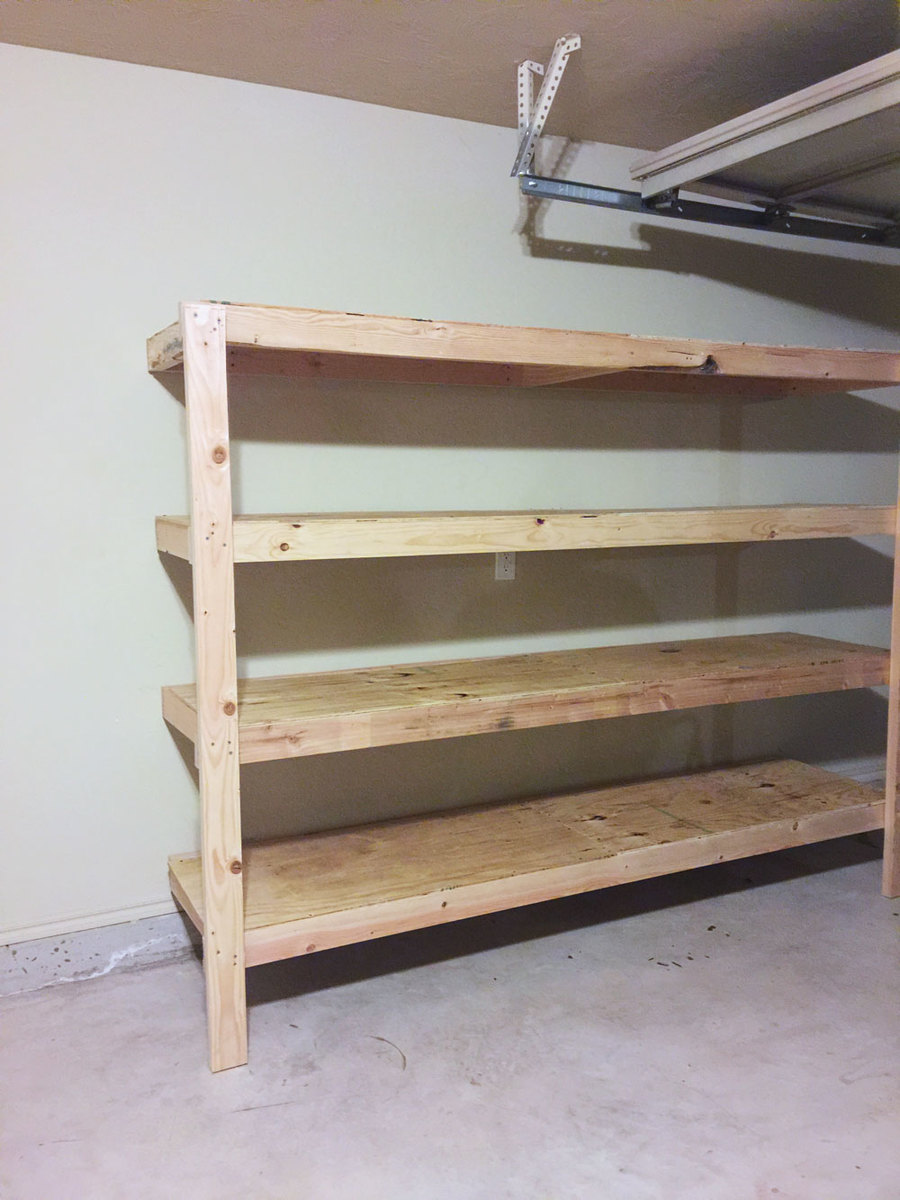
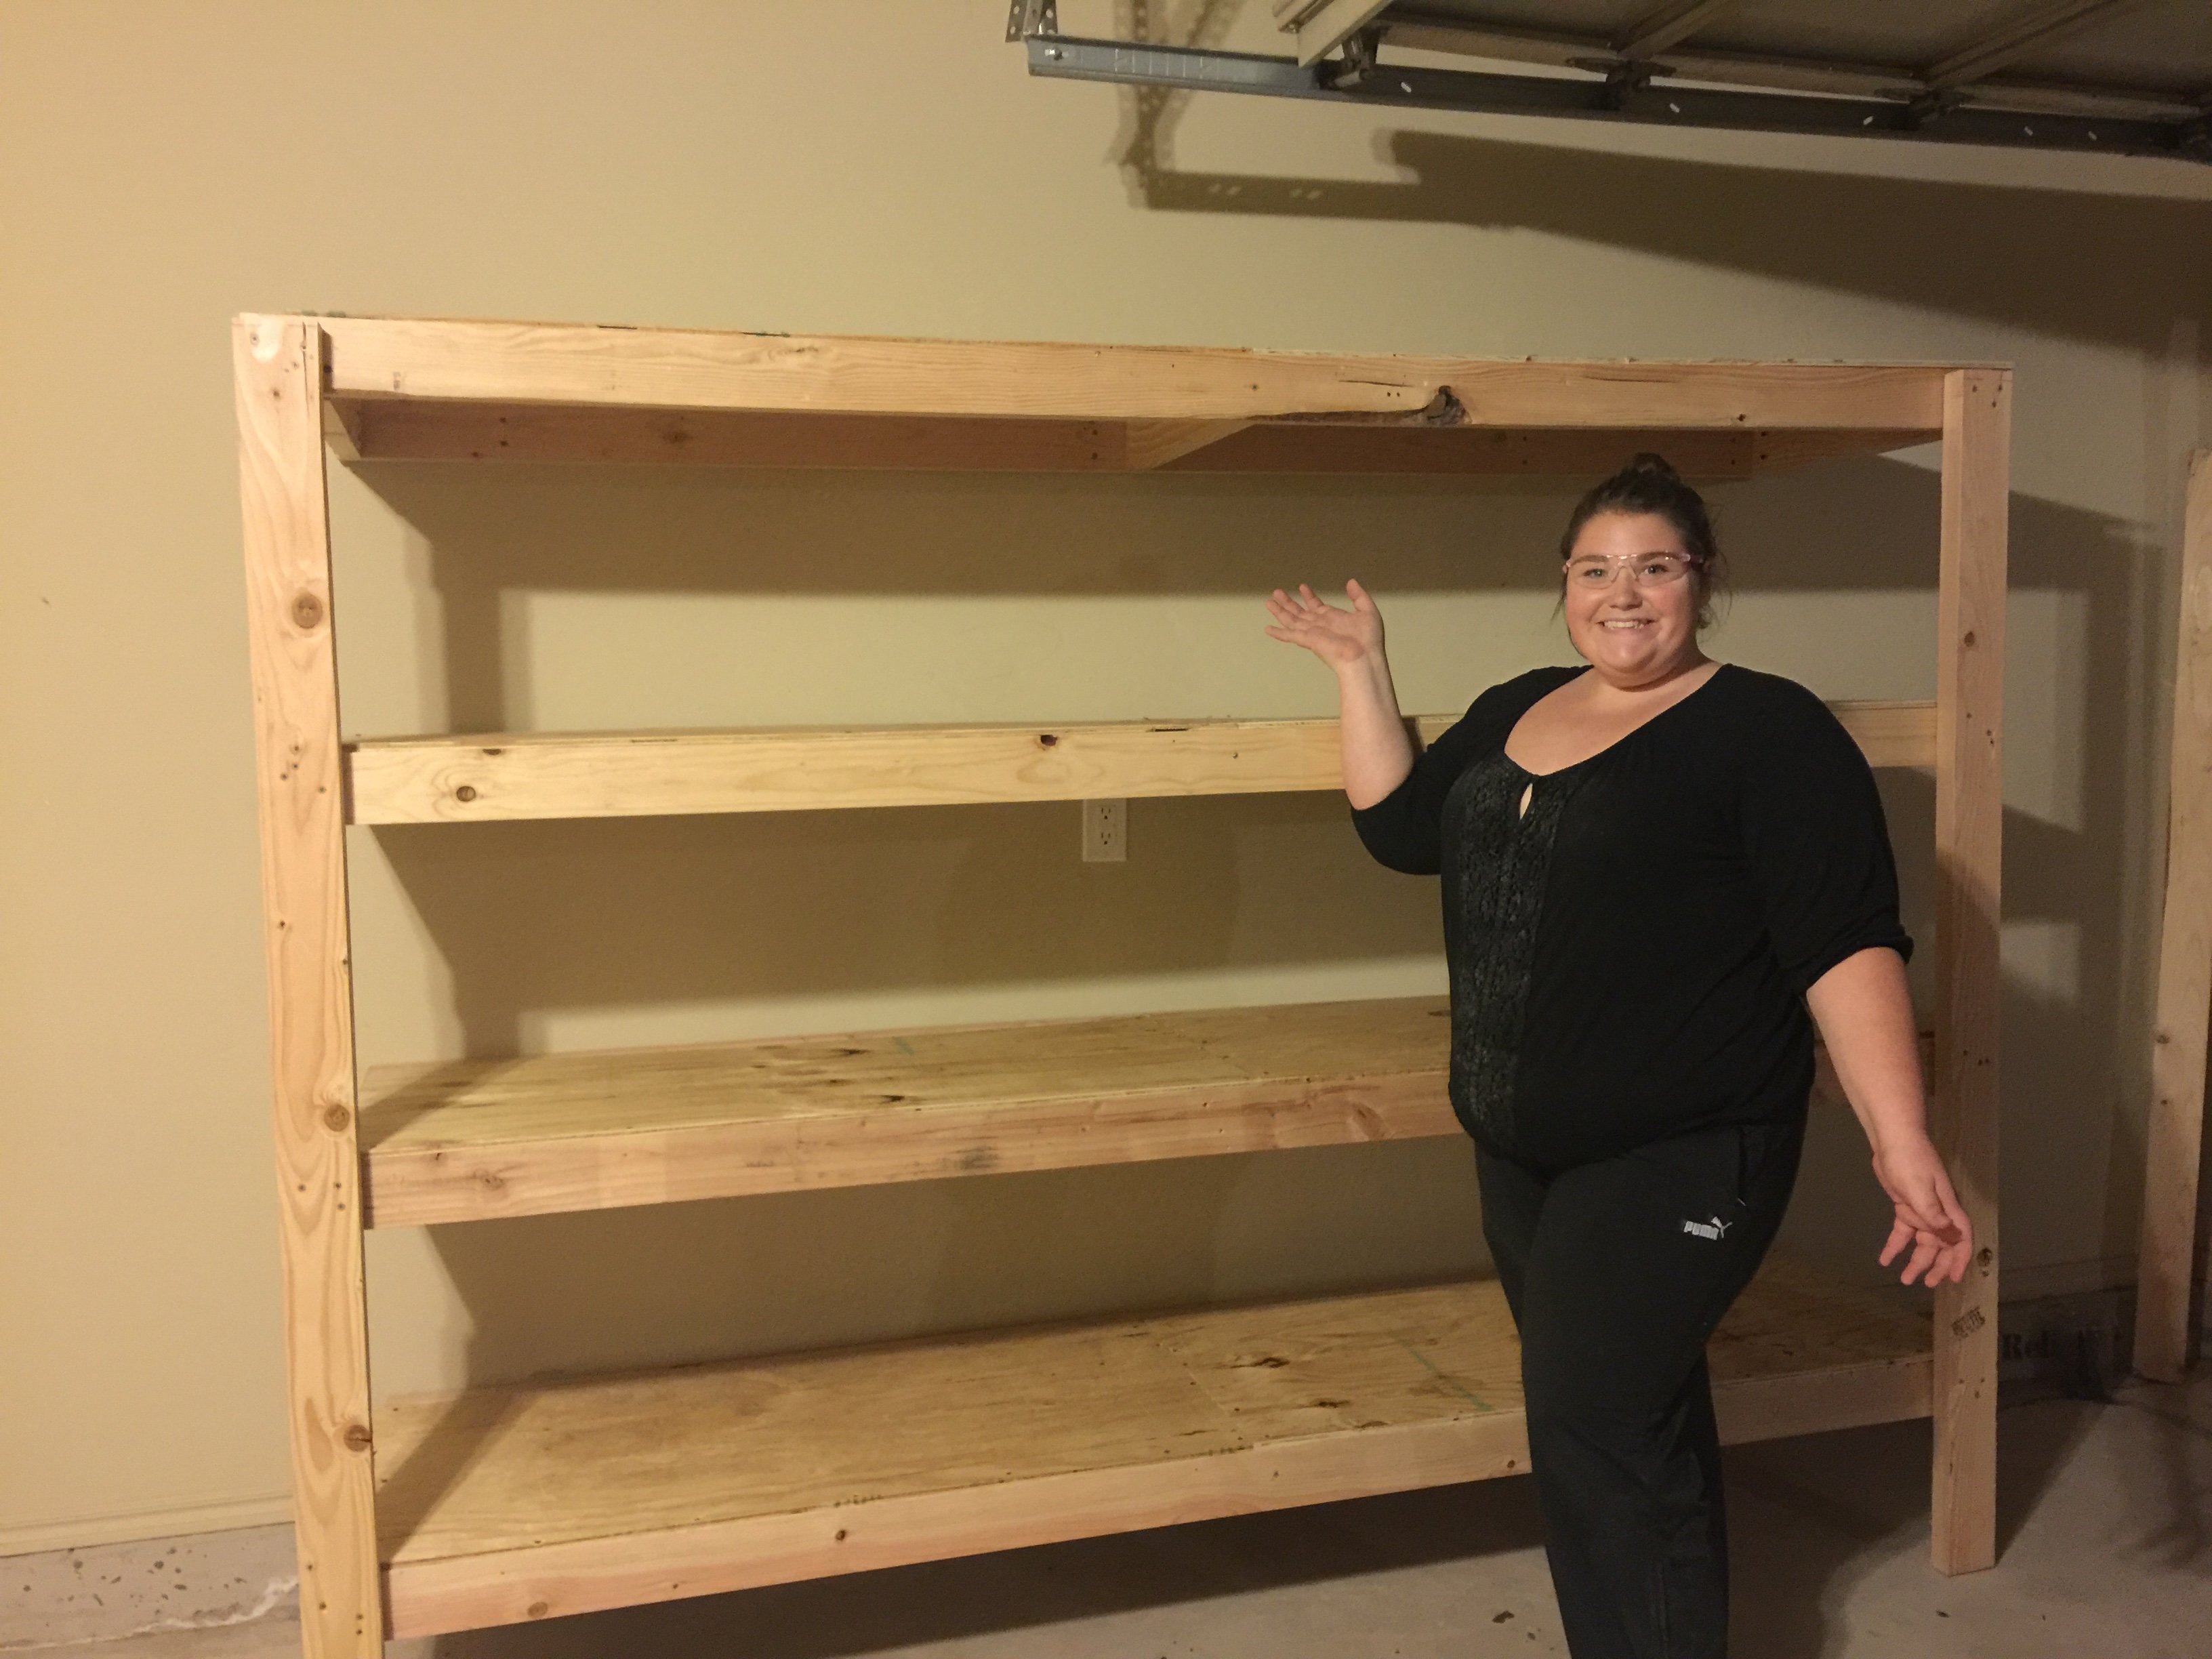
Wanted some easy storage shelving that didn't break the bank. These were perfect! $79 is what it cost for ours (which includes the $20 Kreg Jig). Lumber was only $58.68 and I bought and extra 8 foot 2x4, so it could have been slightly cheaper!
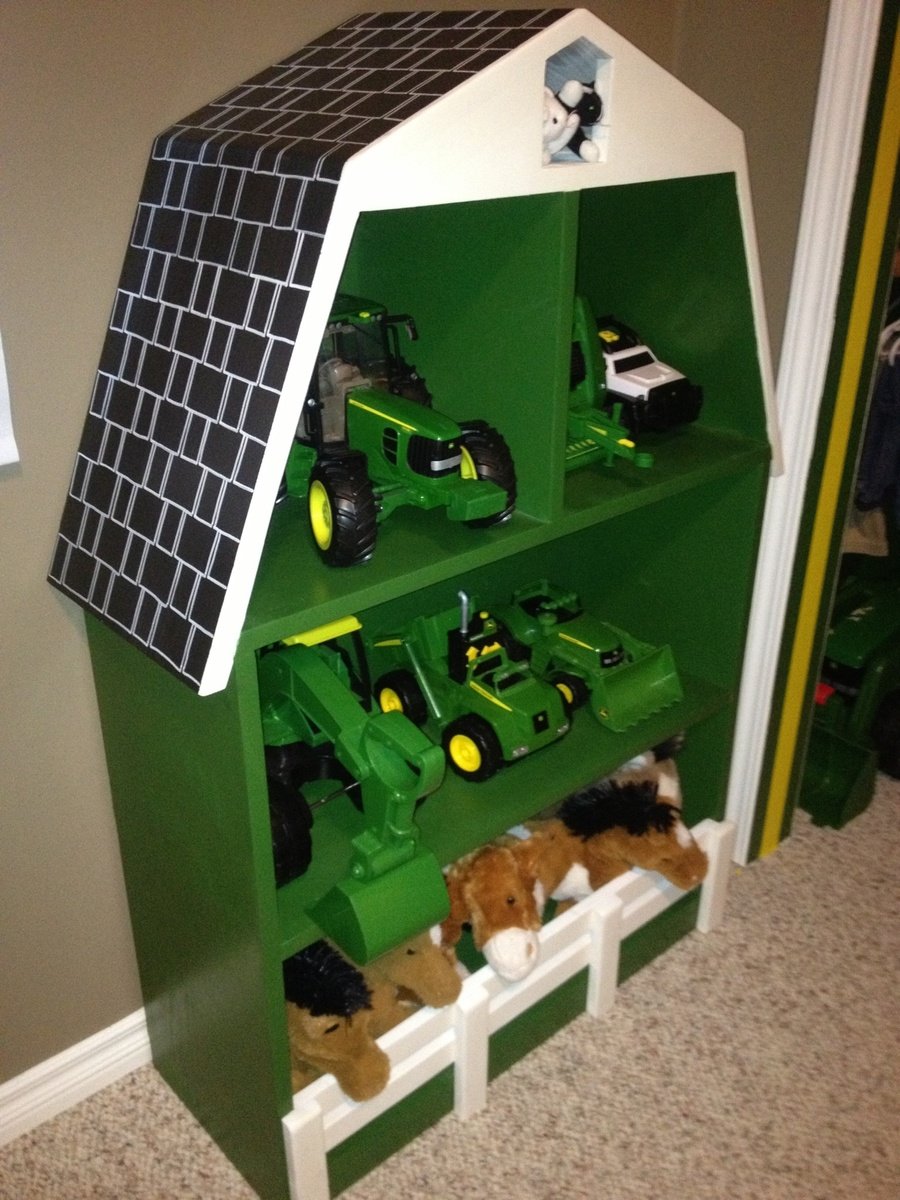
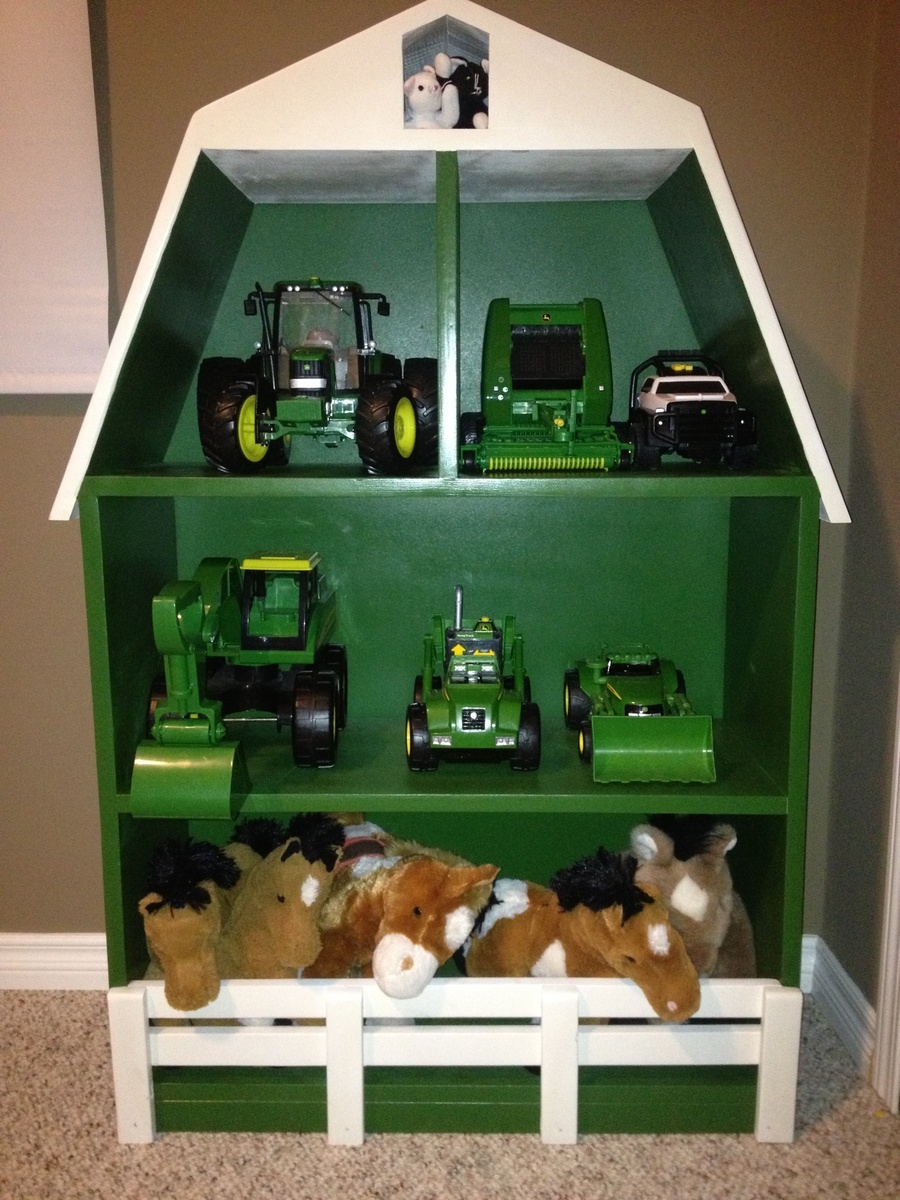
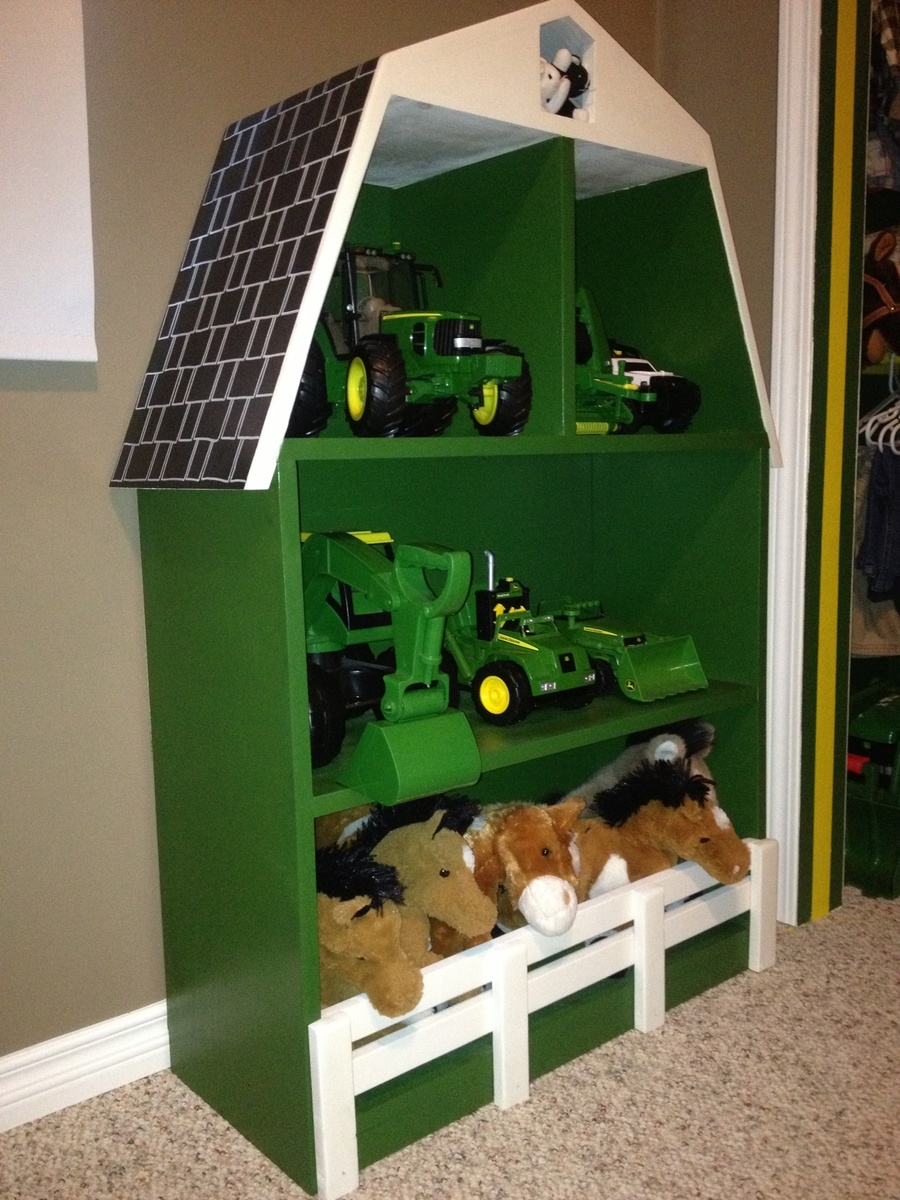
After finishing my boys' new John Deere room and tractor bunk bed (also posted), I saw this plan and thought it would be the perfect thing for some extra toy storage.
Yes, I know, barns are supposed to be red. Everything else in the room is John Deere green and I had paint leftover, which is not cheap. So green it is! I used my new paint sprayer for the first time on this project and am thrilled with it. I would recommend it to anyone who dislikes painting as much as I do. I bought the Wagner Flexio 590 which comes with a detail sprayer as well as the full size and I'm very happy with both.
Thanks to Ana for the well laid out, easy to follow plan and also for helping me create a big boy room that my boys love!
Thu, 07/31/2014 - 07:24
I love this. :) I especially love the spacing of your horses and cats... very realistic. lol. I also saw the bed when you posted it. VERY impressive little details!
Thu, 07/31/2014 - 09:38
Thanks so much for your comments. It's so nice to hear positive feedback since I'm very new to this! My 3yr old is quite particular about everything being in its place, I'll pass along that you liked his animal placement. Lol :)
Sun, 09/27/2015 - 18:26
Could u please send me the plans for this? My email addy is [email protected]
First table my husband and I have ever made, and it turned out beautifully!
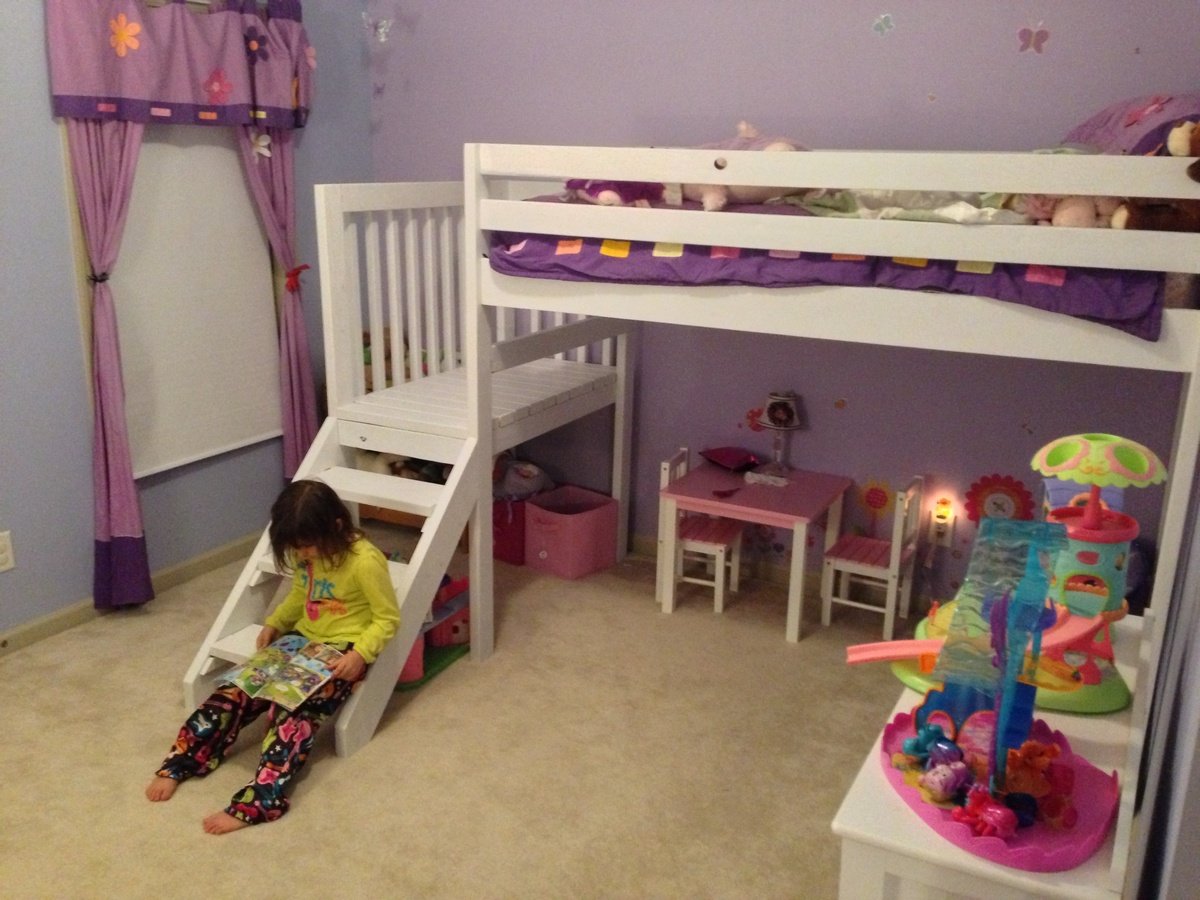
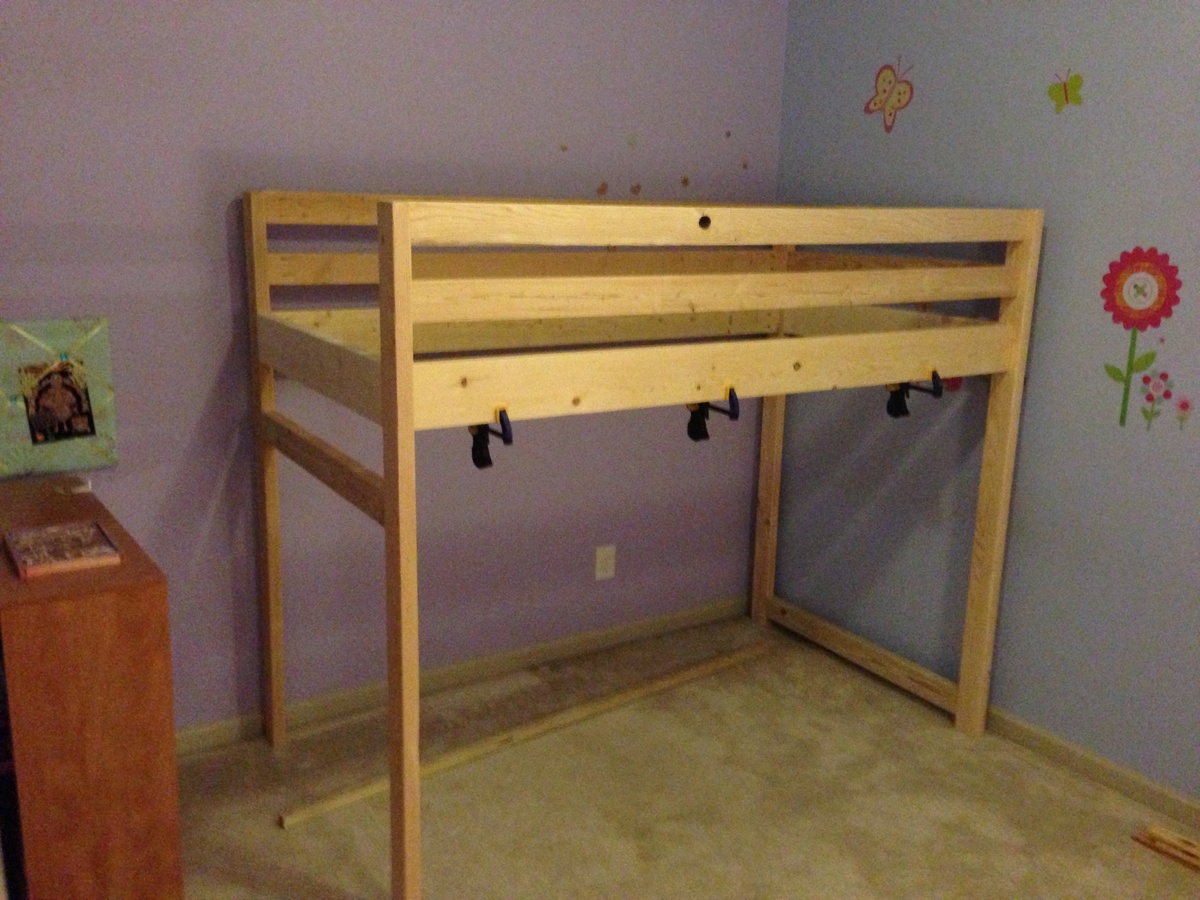
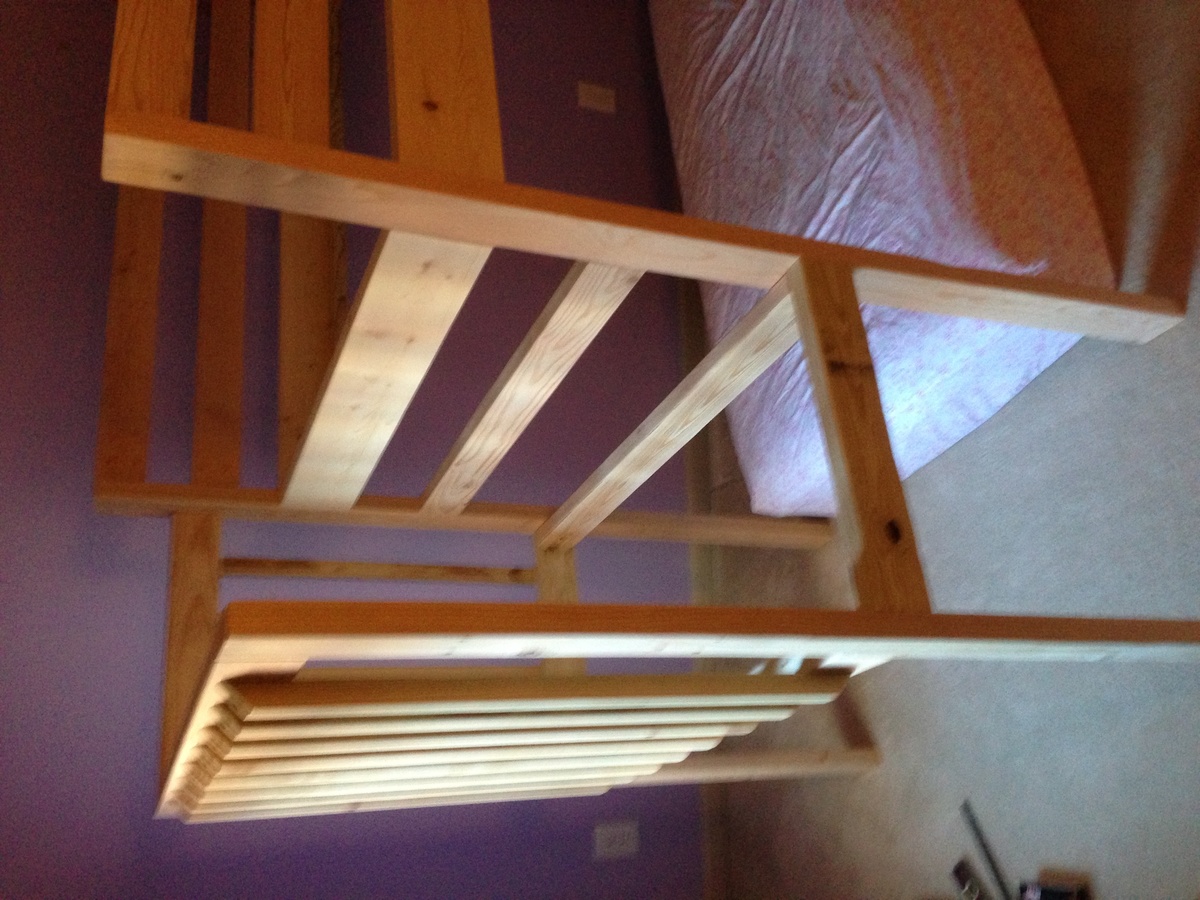
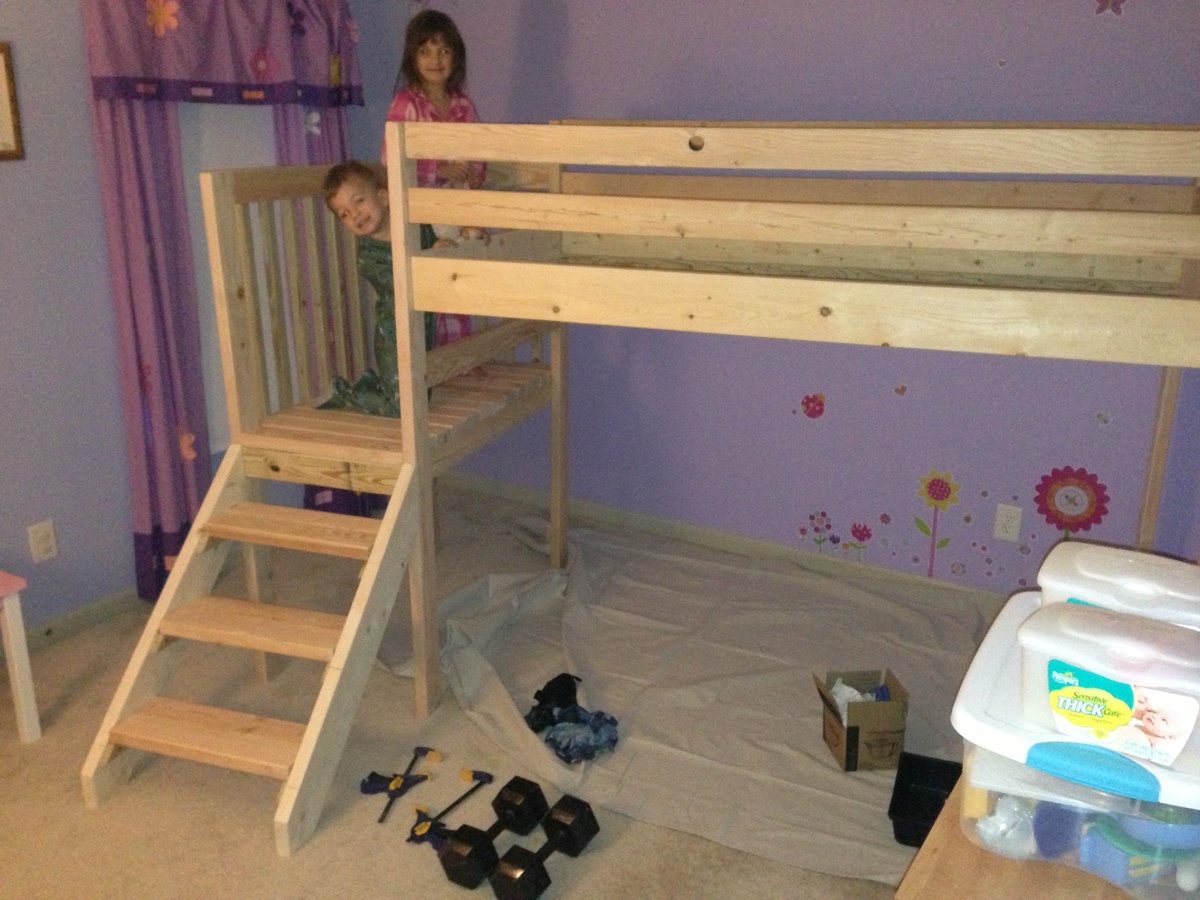
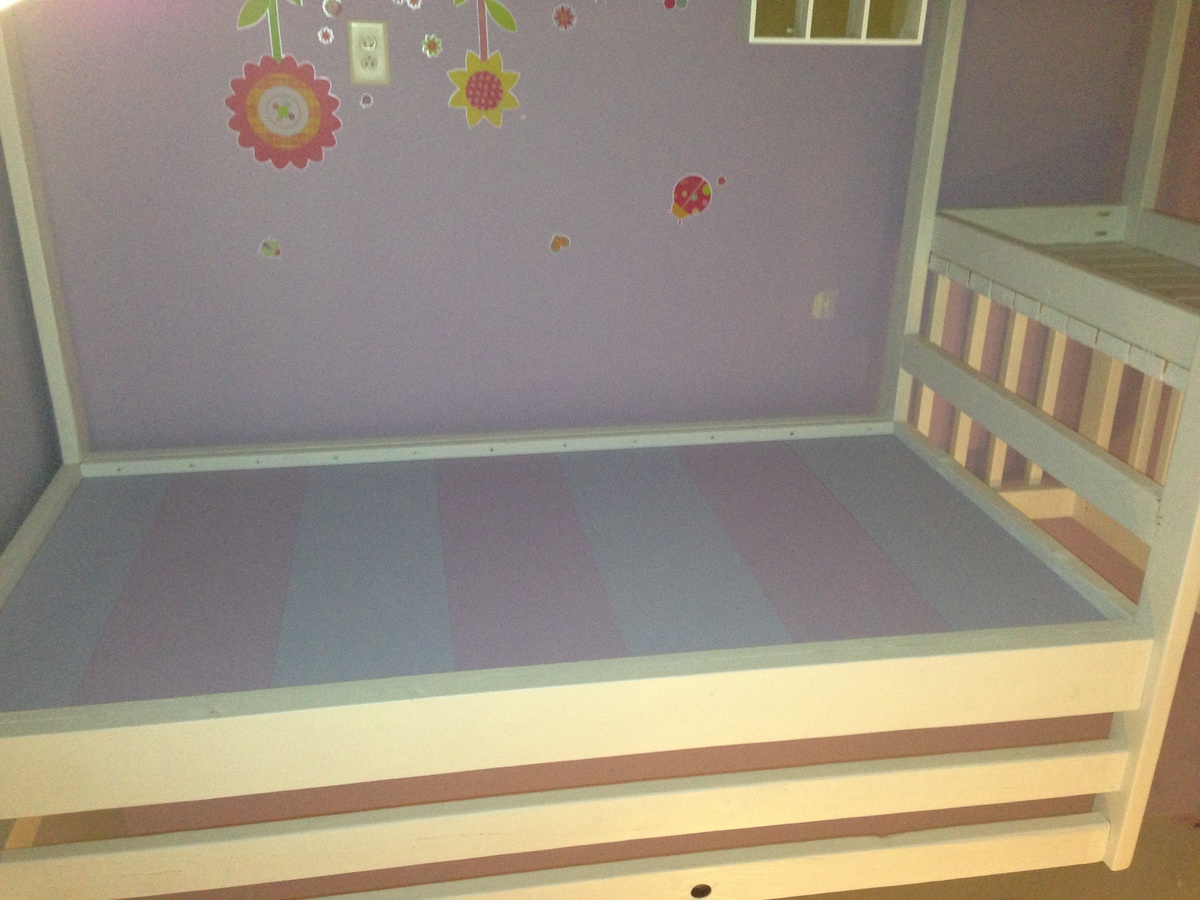
It was time for my son to move to a big bed. So he got his sister's bed and she got a new loft bed. From the pictures on your website, she just loved this bed. I was able to throw it together and get it painted in a weekend and she was sleeping in it by Monday night. I added the rails because we weren't able to set it in a corner, and now that it is Xmas time we strung lights on them. We painted it white. For the mattress support I used 3/4" slats of MDF and used left over paint from her walls to paint the exposed side. Over all it was a pretty simple project, gives her more room and my daughter loves it.

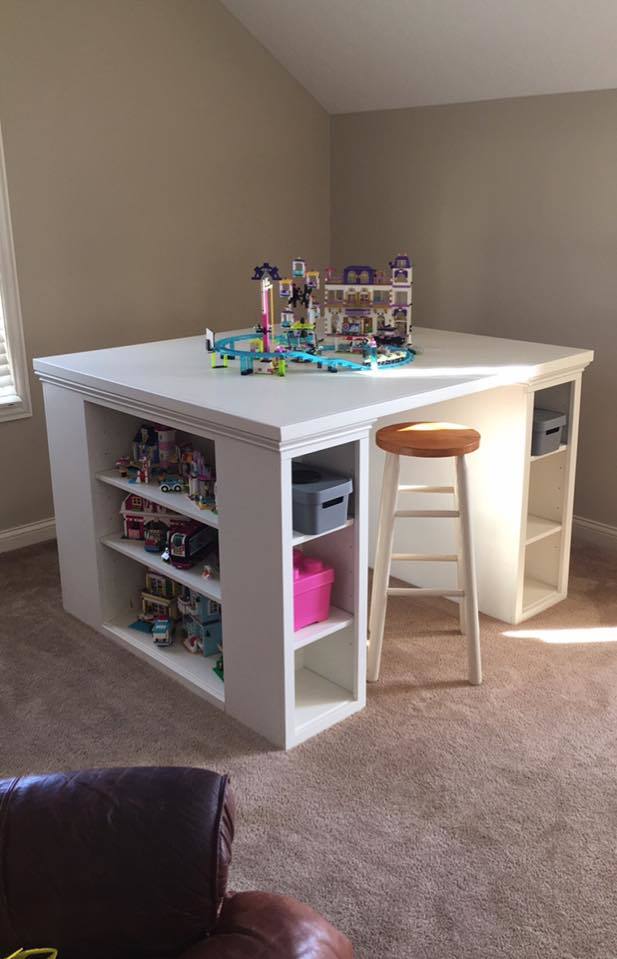
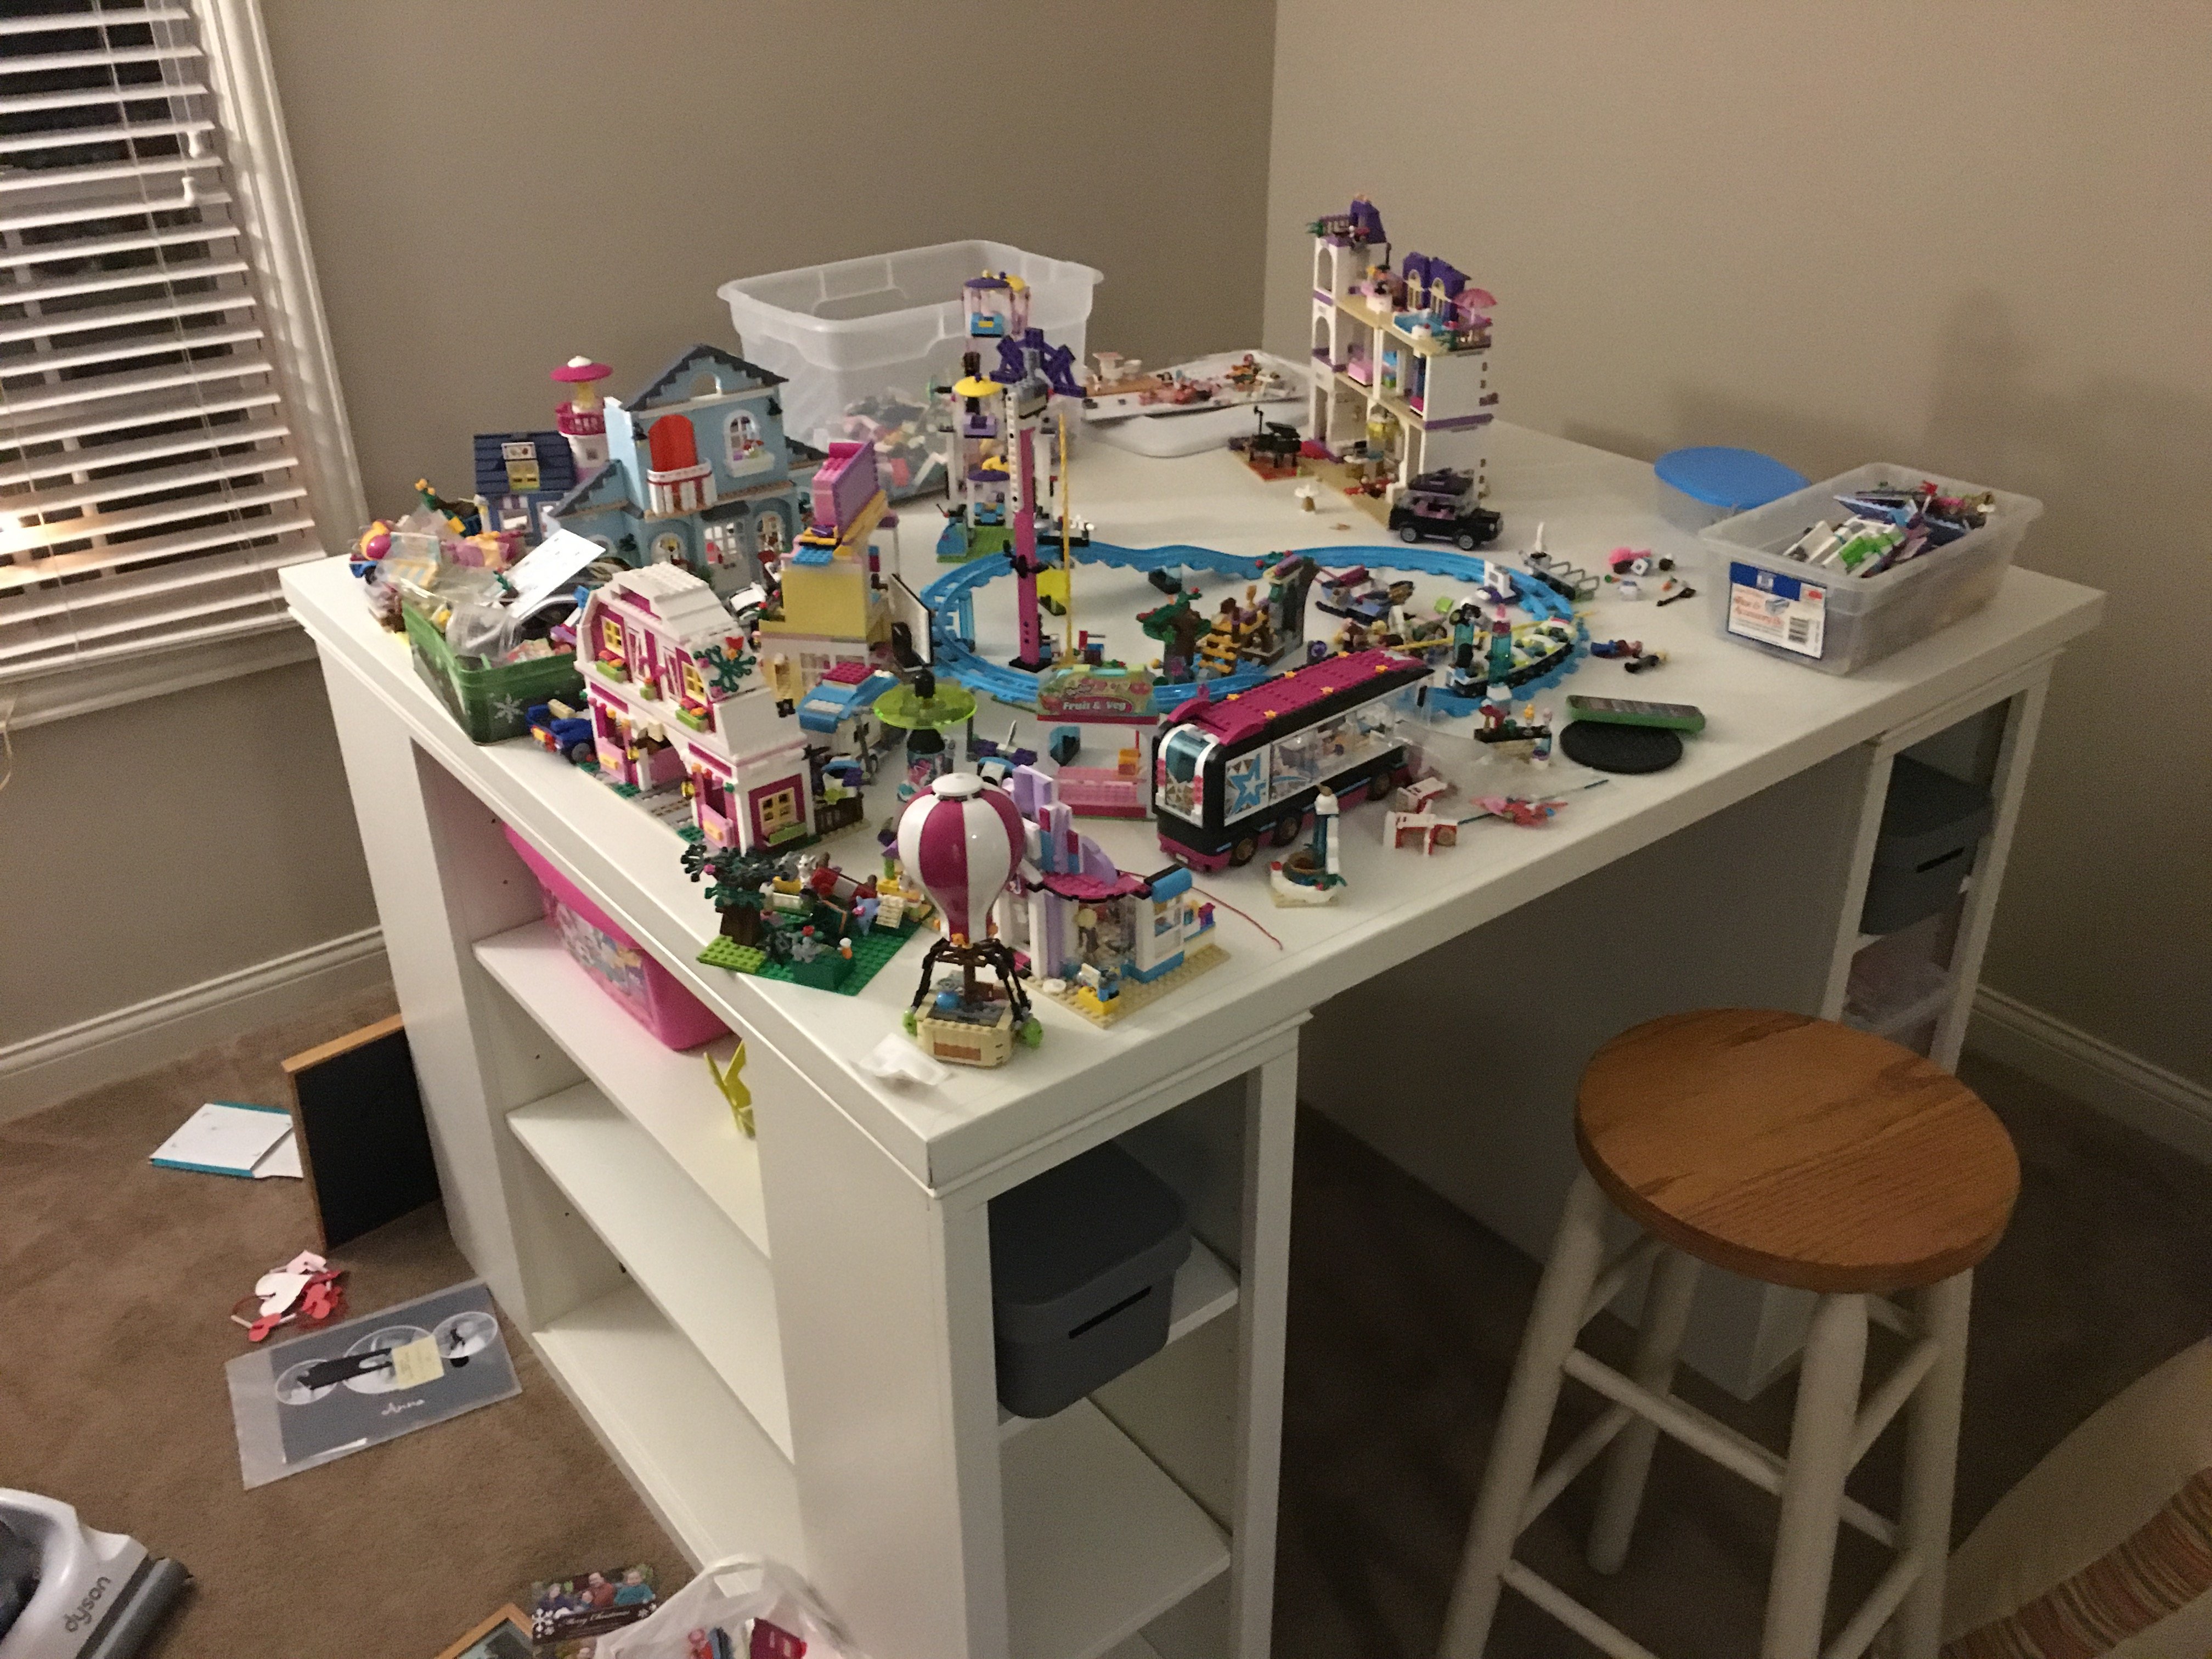
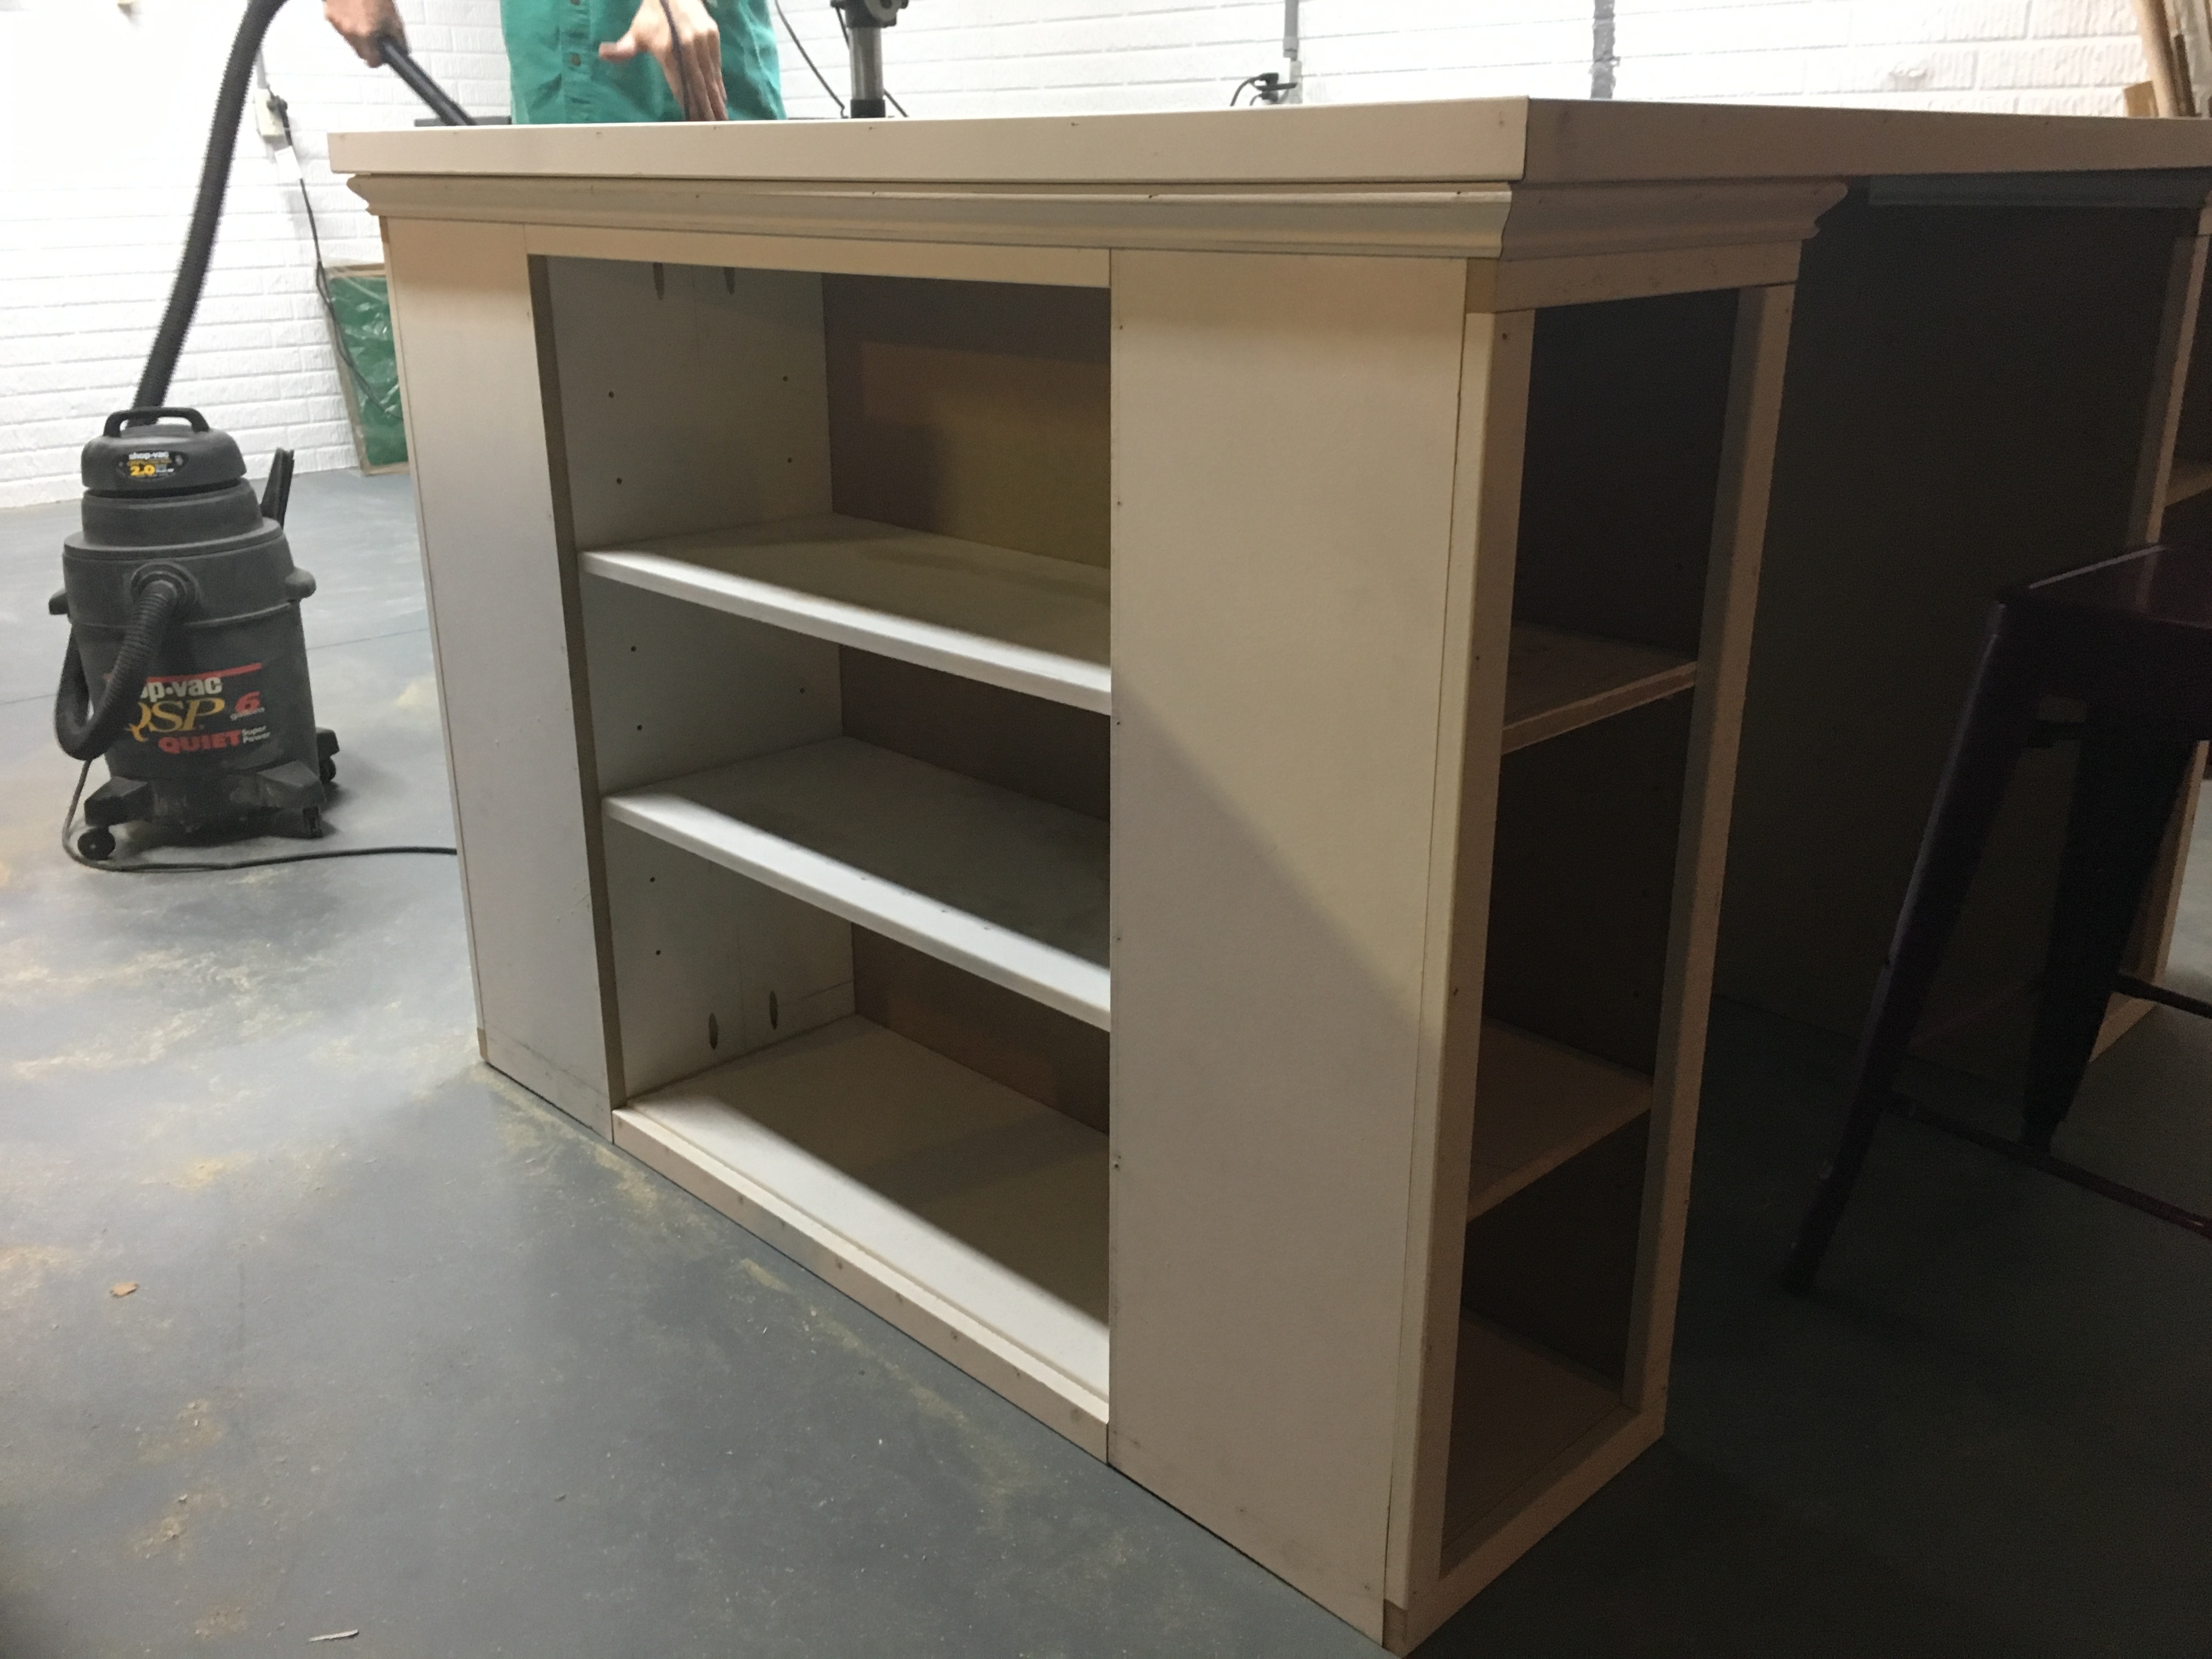
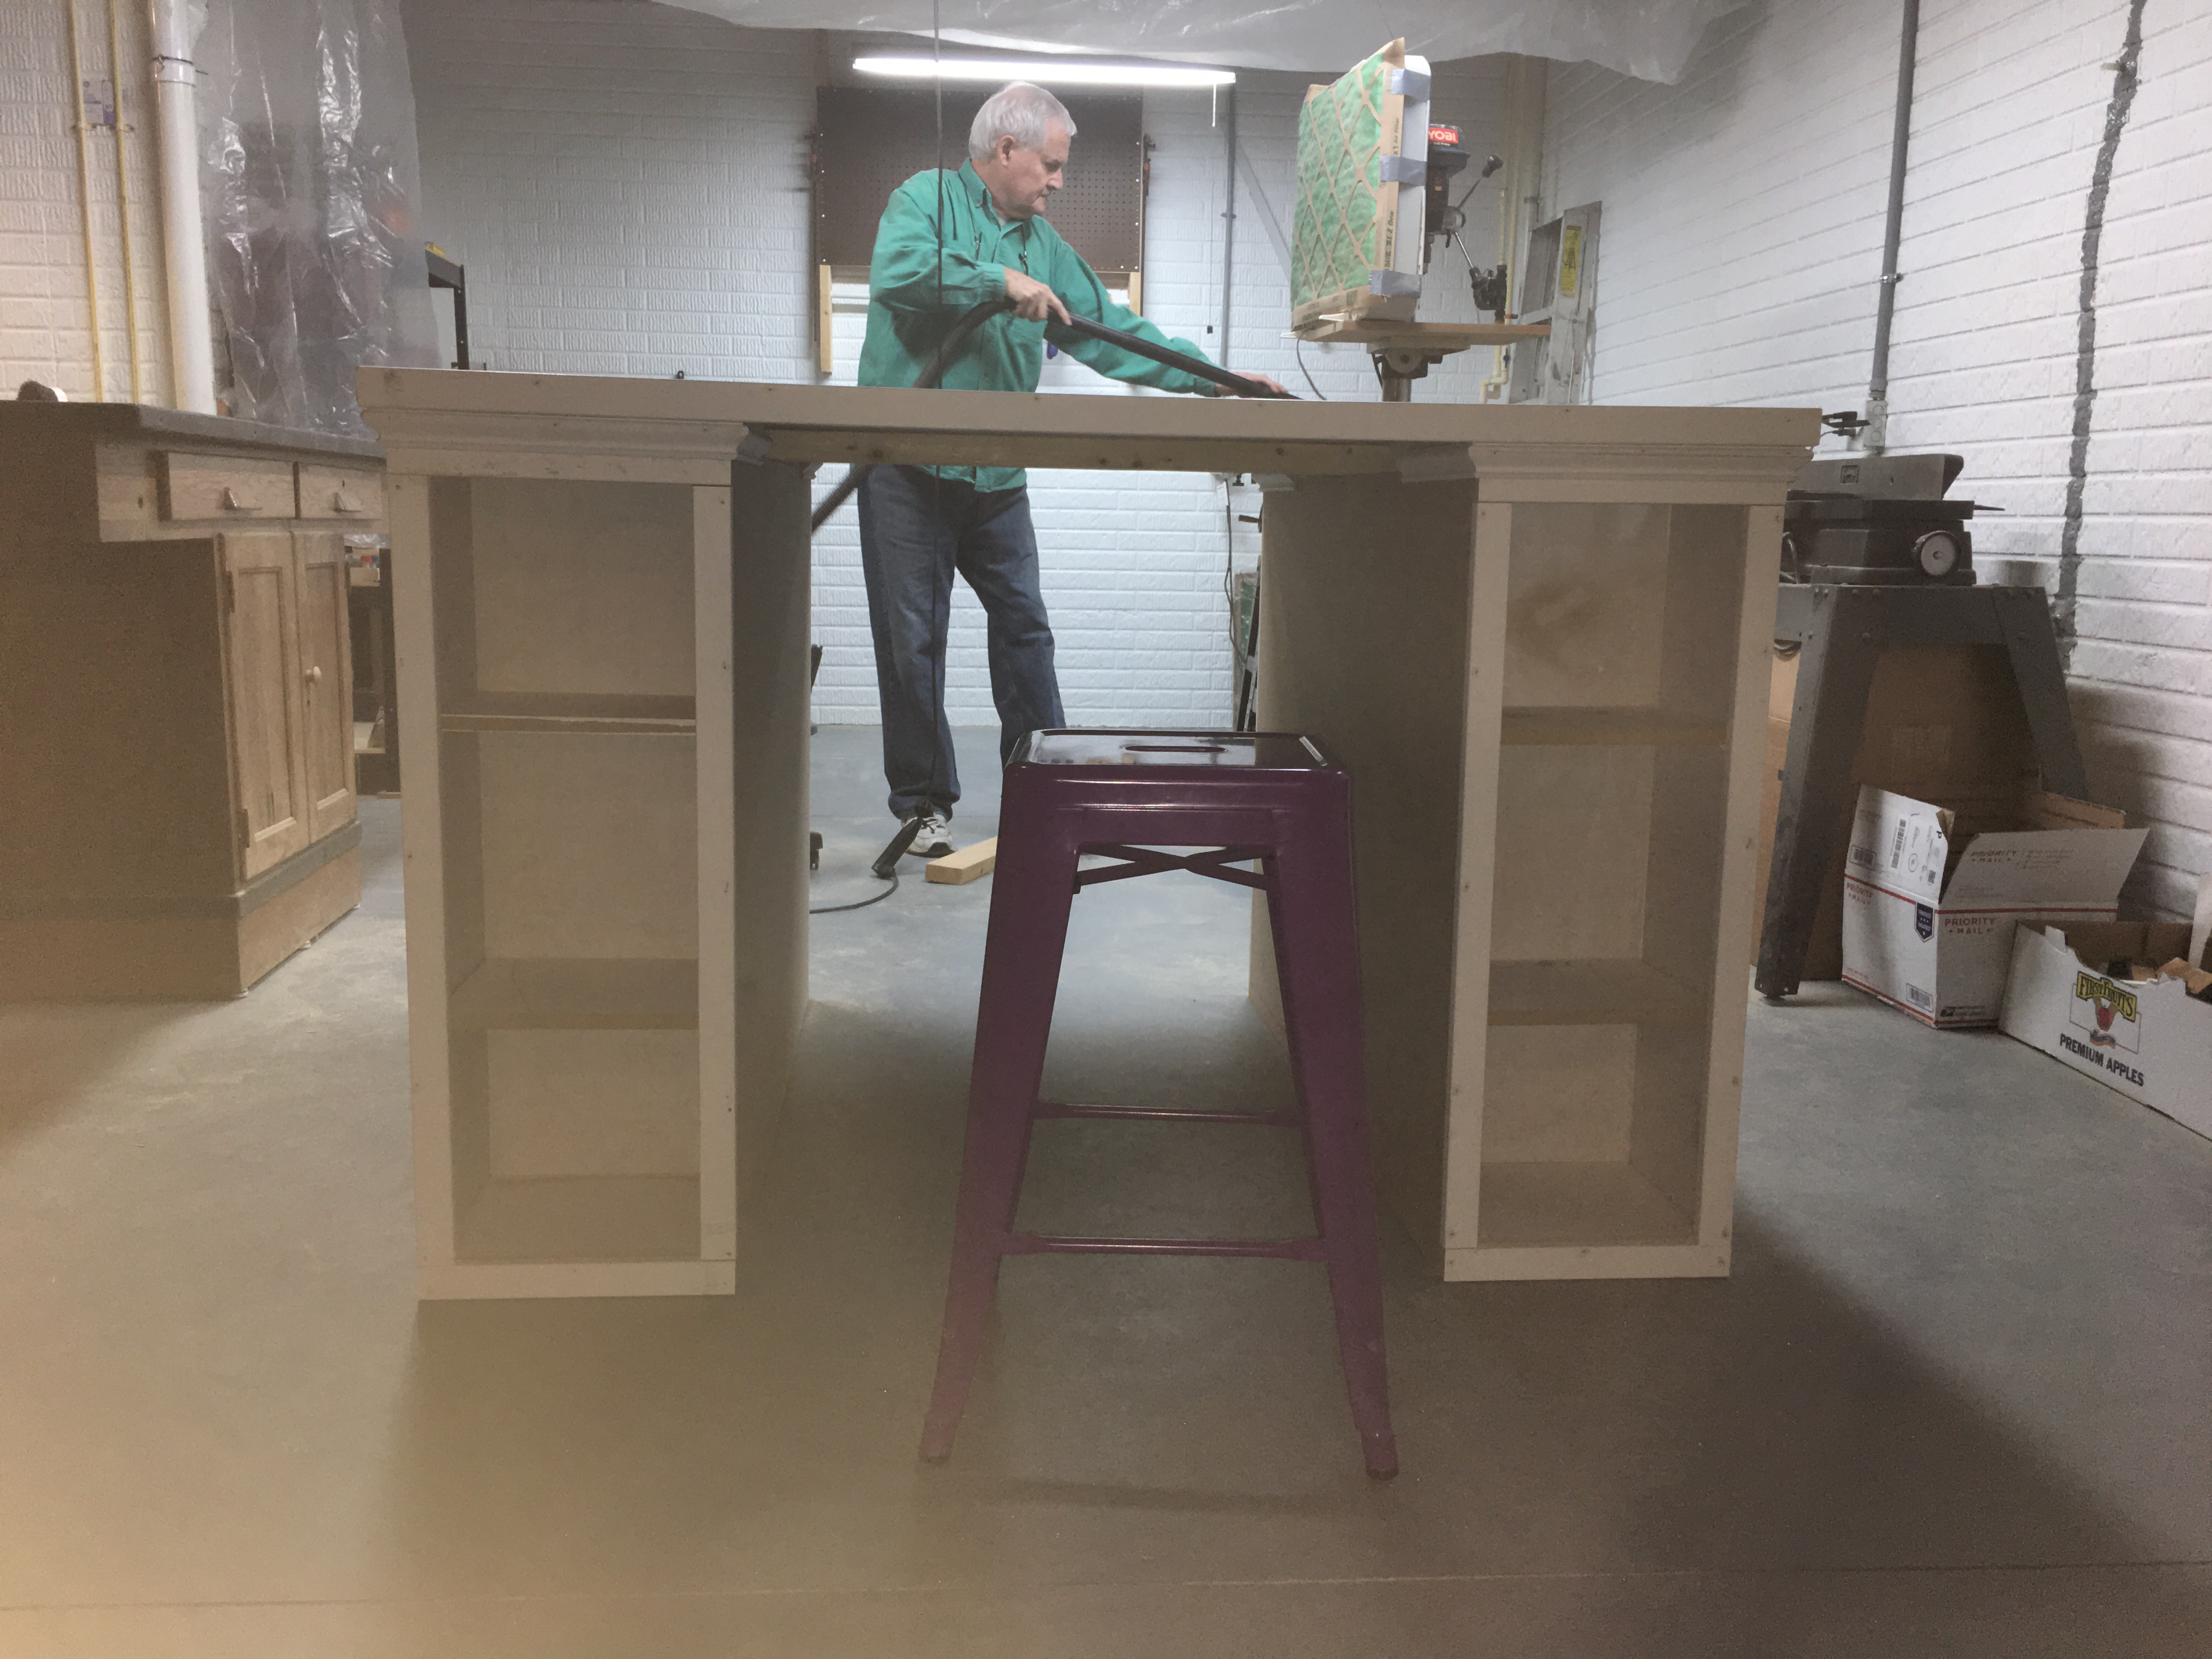
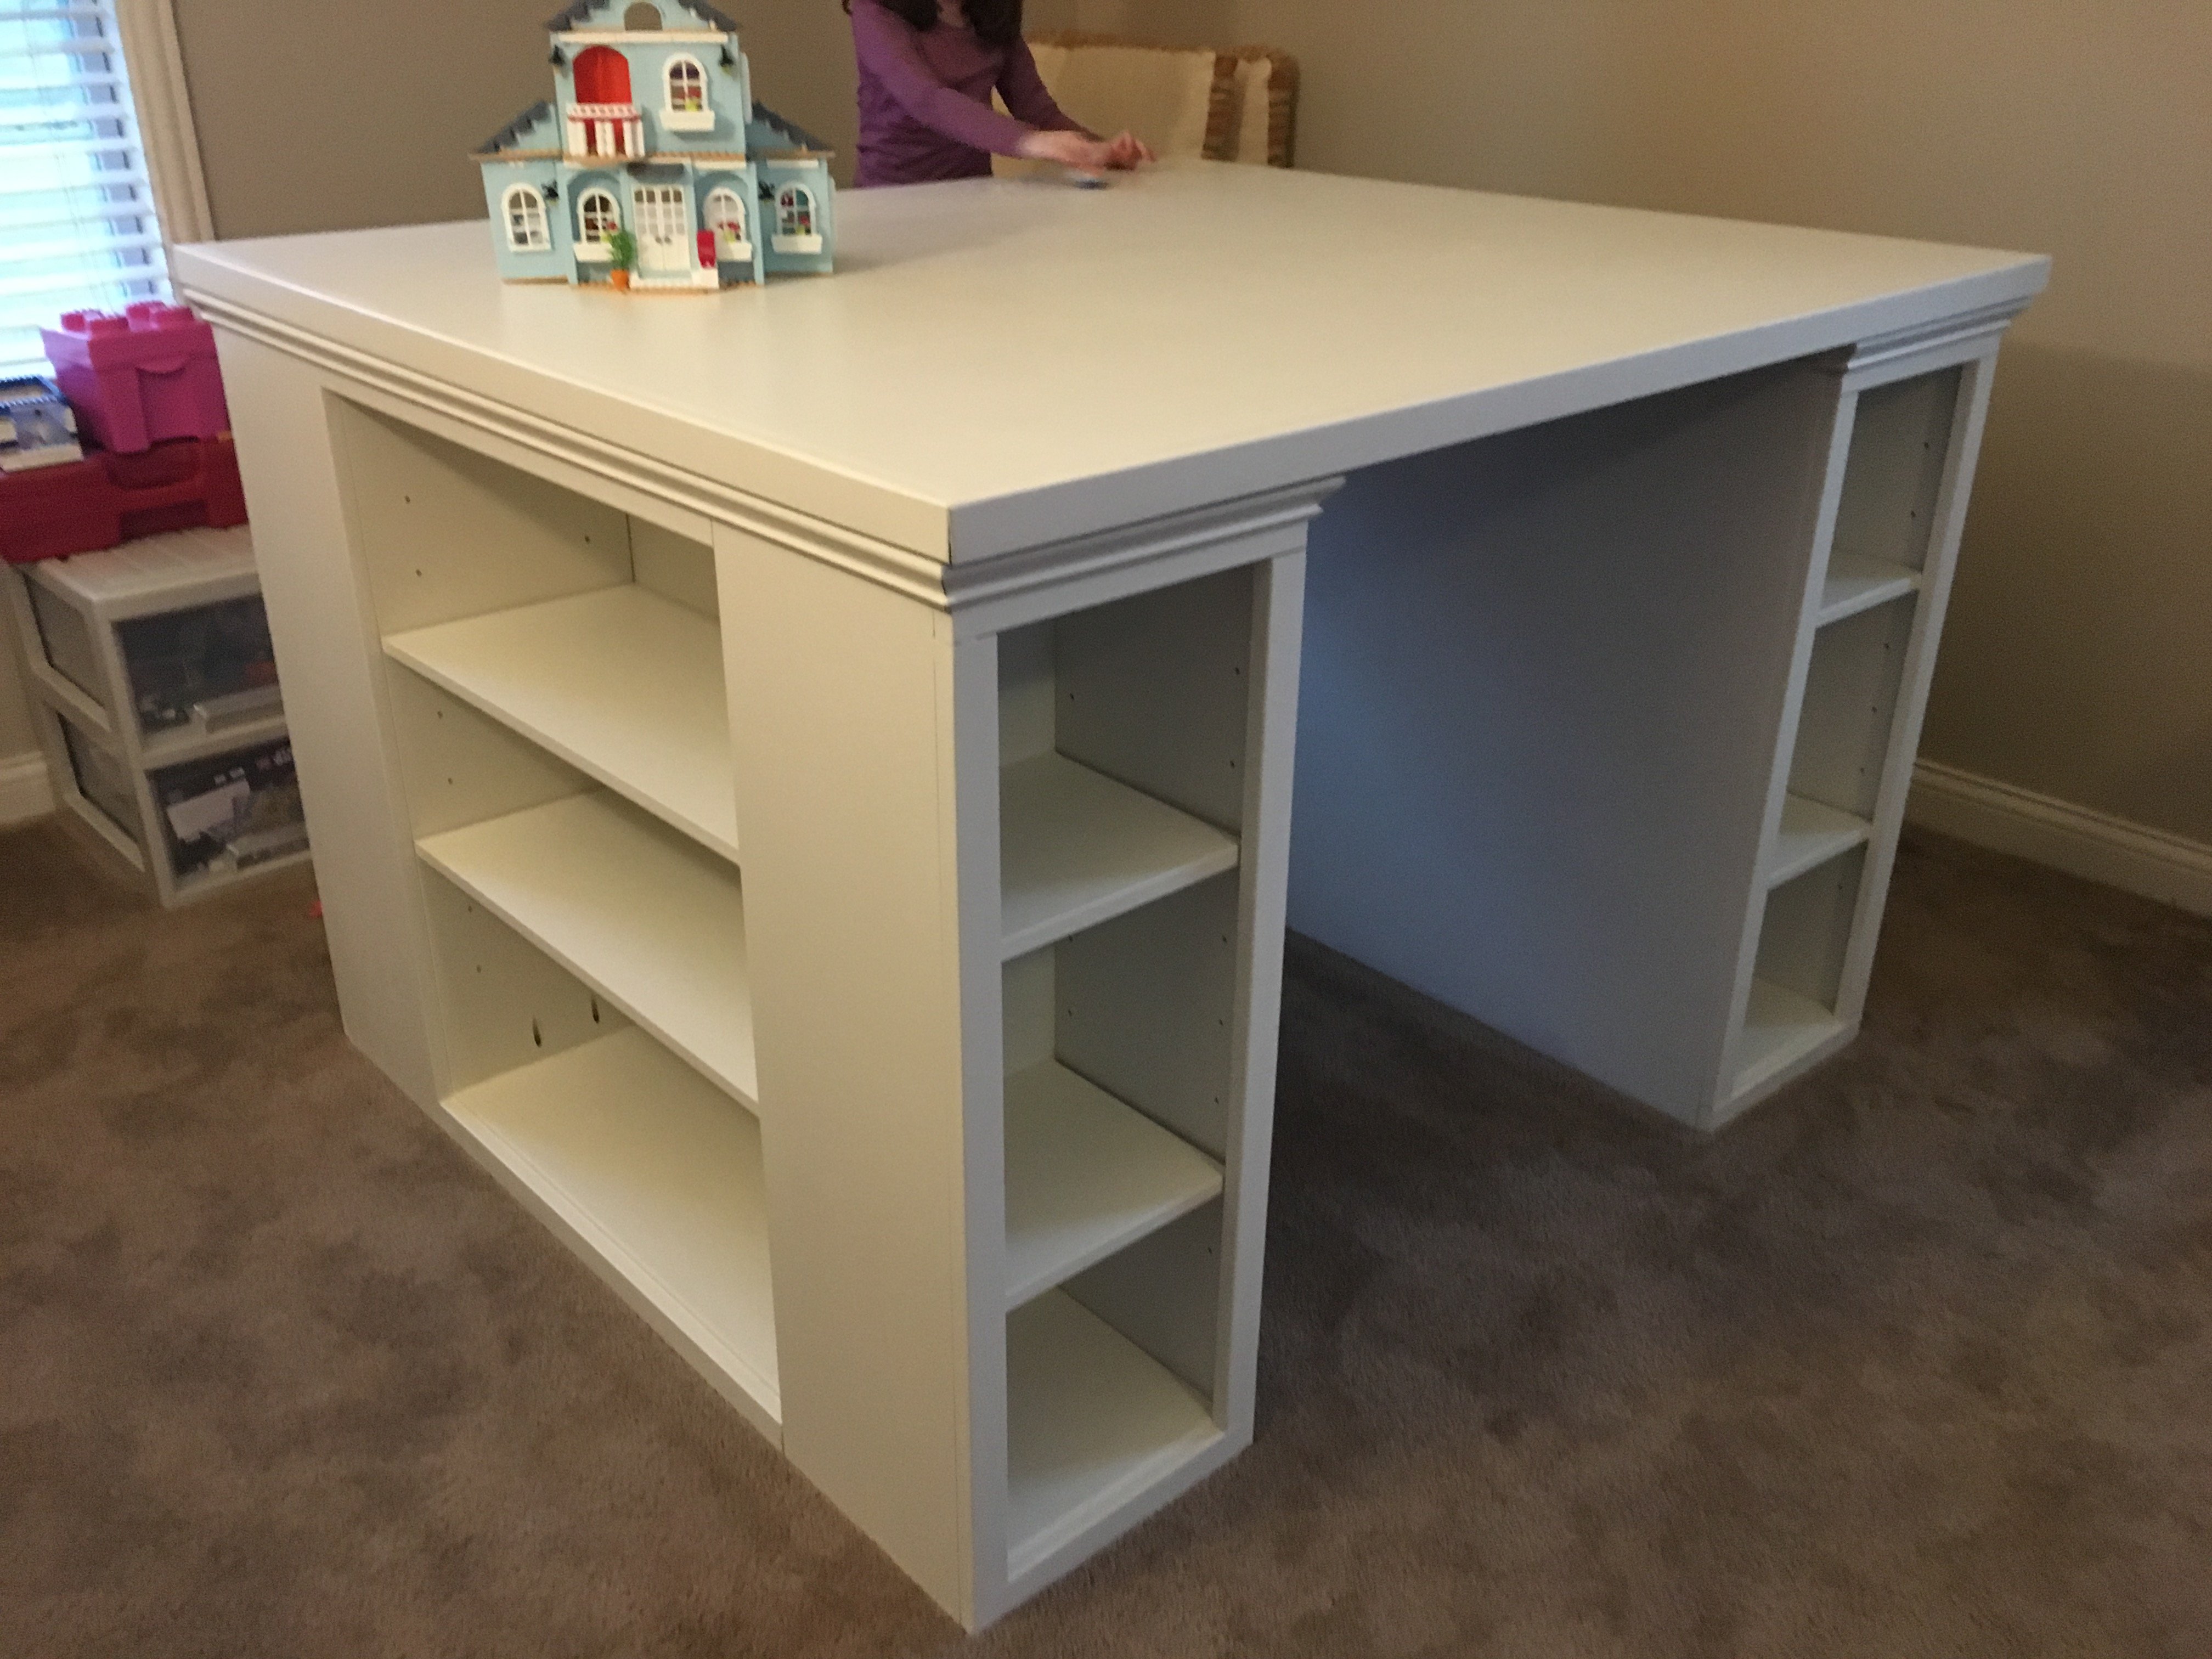
This is my more traditional take on the modern craft table (I guess that means it isn't technically "modern"!). We call it the "Lego Table" at our house. I doubled up the ends like others have so that my two daughters can have their own sides. My wife asked that the there be backs on the side shelves so that items aren't pushed off. I also added trim around the tabletop and molding to give it a bit more traditional appearance. Finally, I made the shelves adjustable.
I’m very excited for my first project. Not to be boastful, but I am very proud of myself. So my wife decided she wanted a kitchen island. I began from the top of the plans and about halfway through I realized I have a small kitchen. The wife came in and said “that’s way to big). So I had to make a lot of adjustments. For instance, the 4x4 legs became 2x2. I was afraid it would not be sturdy enough, but it turned out nice. I left out the portion of the plans for the range and just made a bigger shelf to accommodate my wife’s mixers and other large kitchen items. Instead of a second shelf I made a slide out trash can (single instead of double). It fits the kitchen well and more importantly the wife loves it. Now to build stools. Thanks to your site Ana, I was able to make a place for my family to have dinner together. My daughter helped me with this project and has been asking when we will start our next project.

Sun, 10/18/2020 - 12:50
You did a fabulous job, huge pat on the back! Can't wait to see your next project!
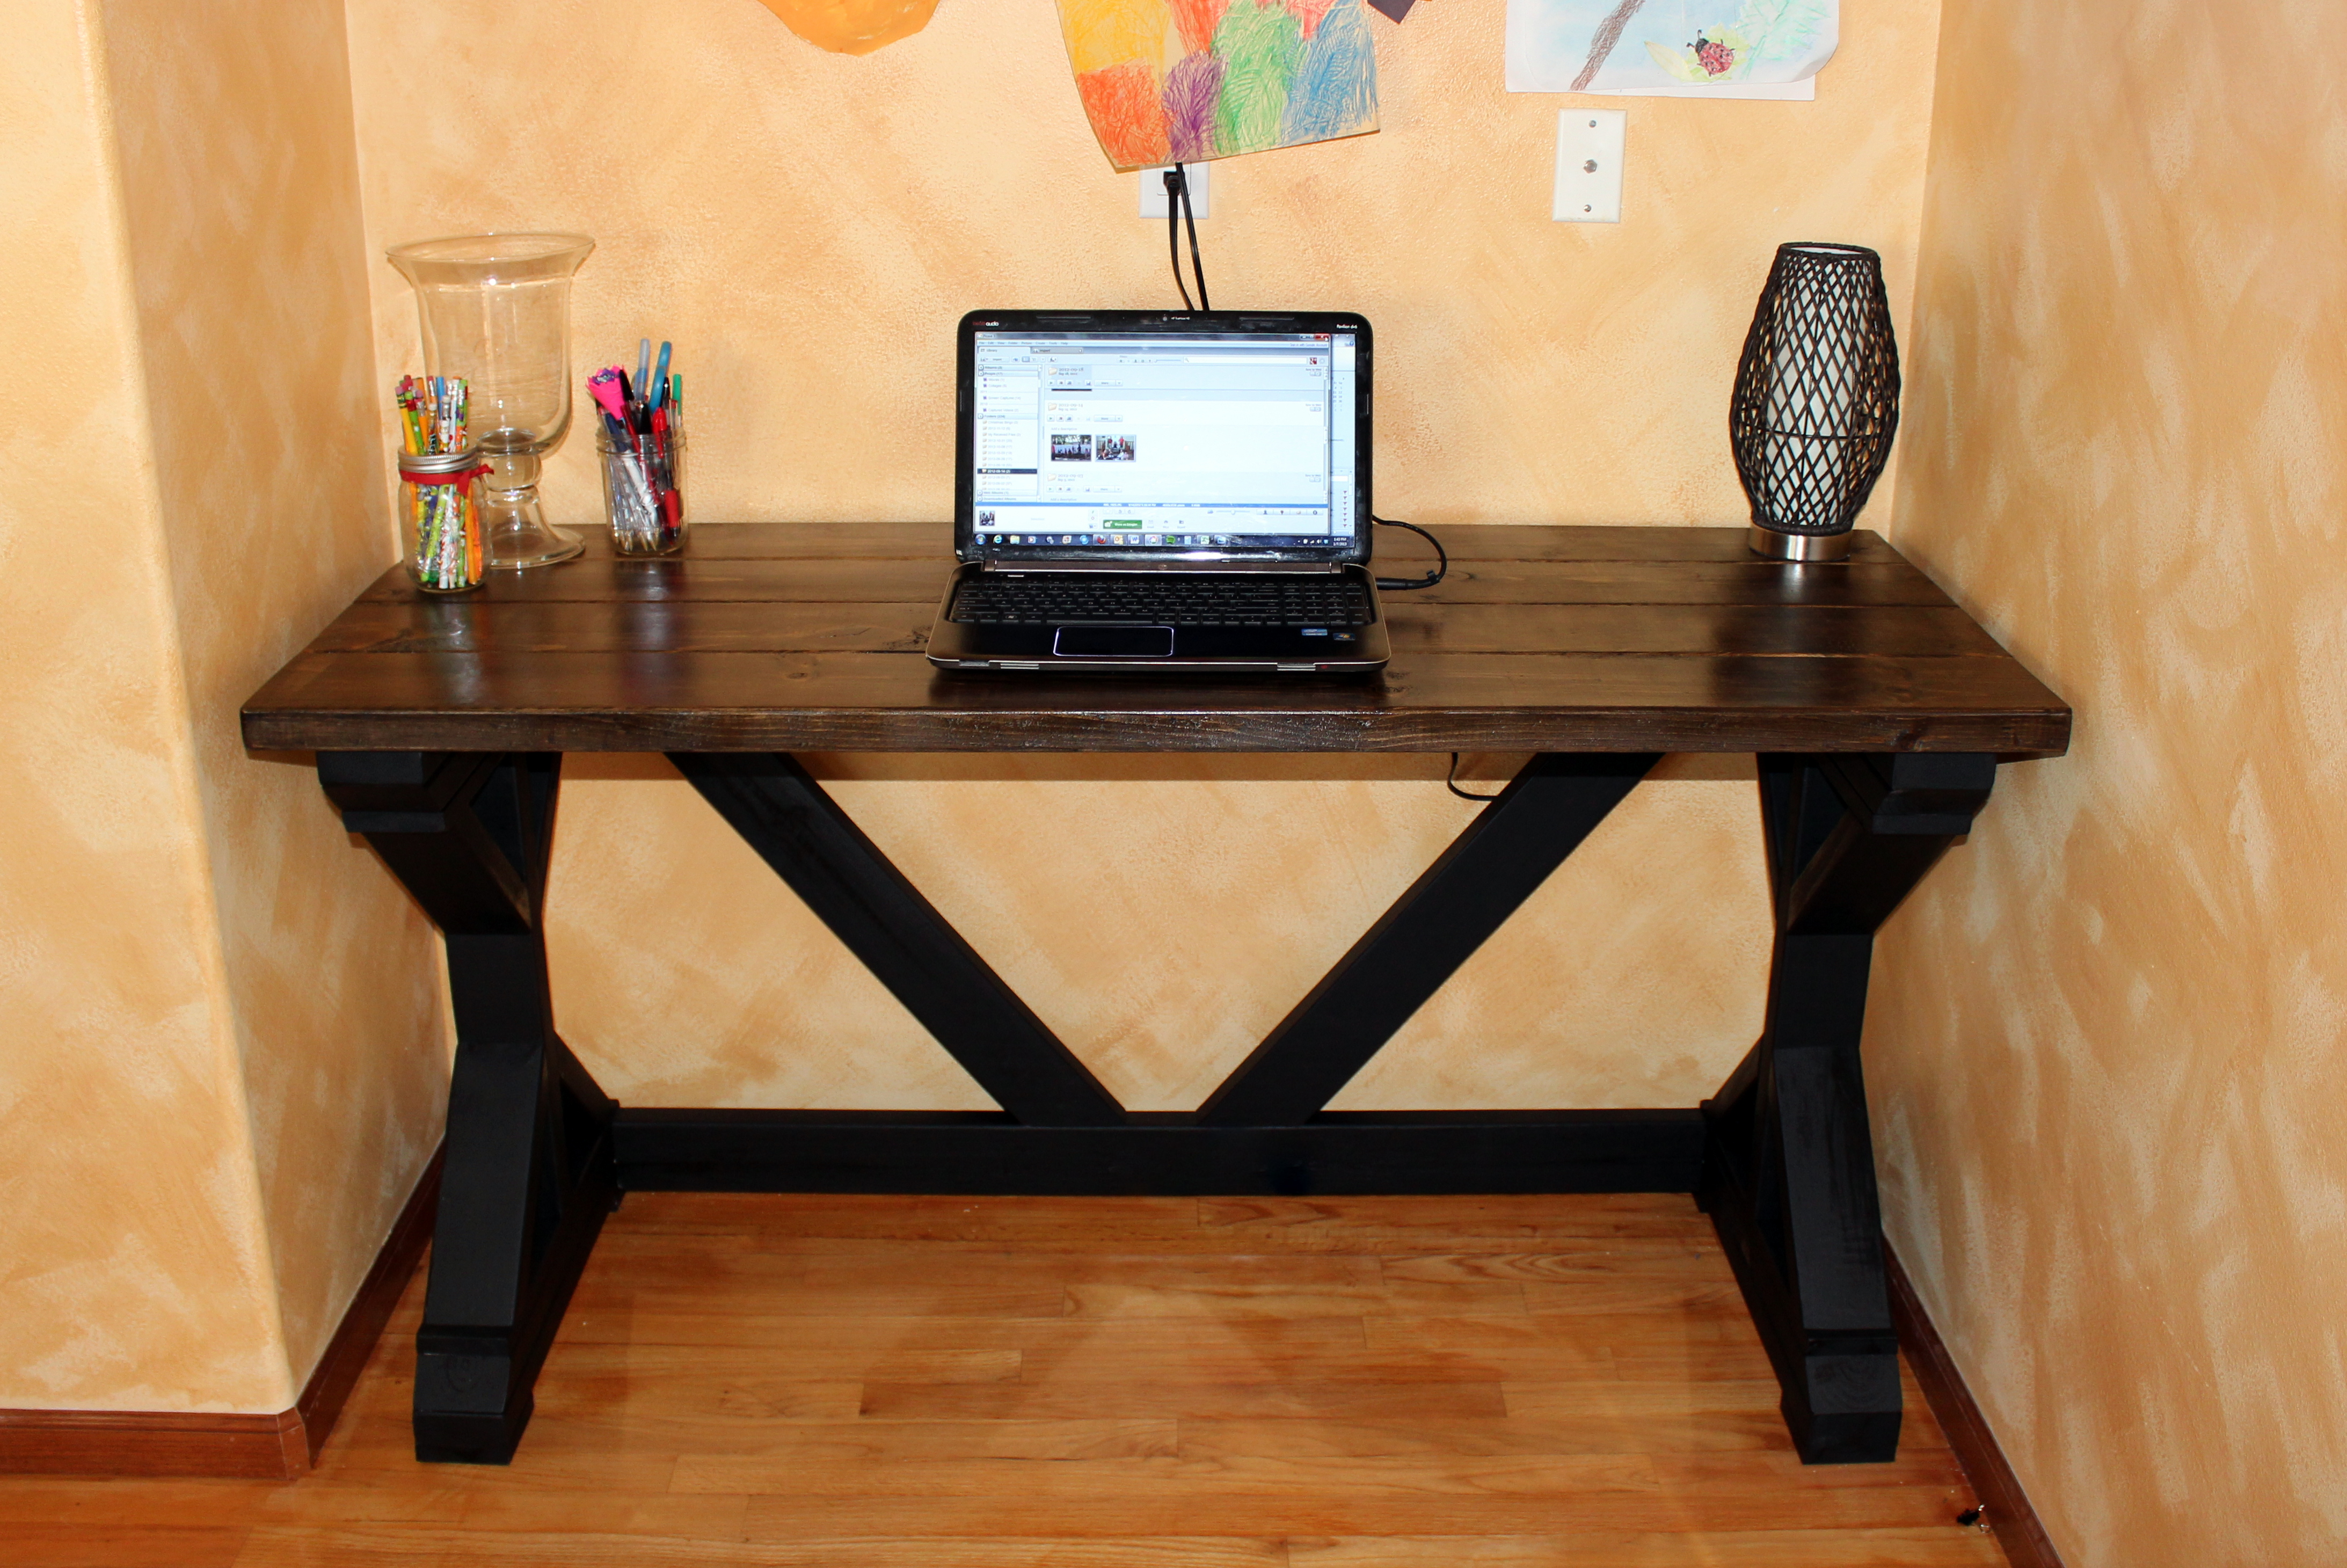
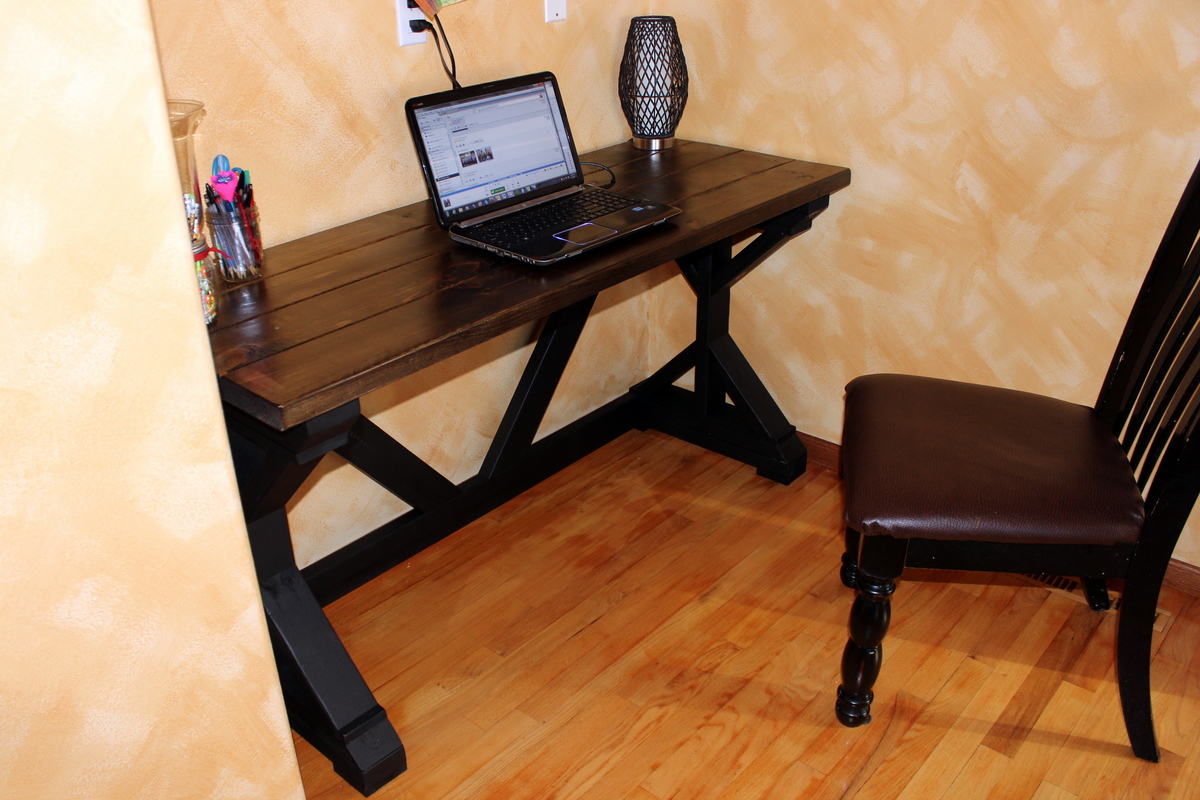
This was my first build EVER. I had never even used a saw before, so if I can do this, so can YOU!
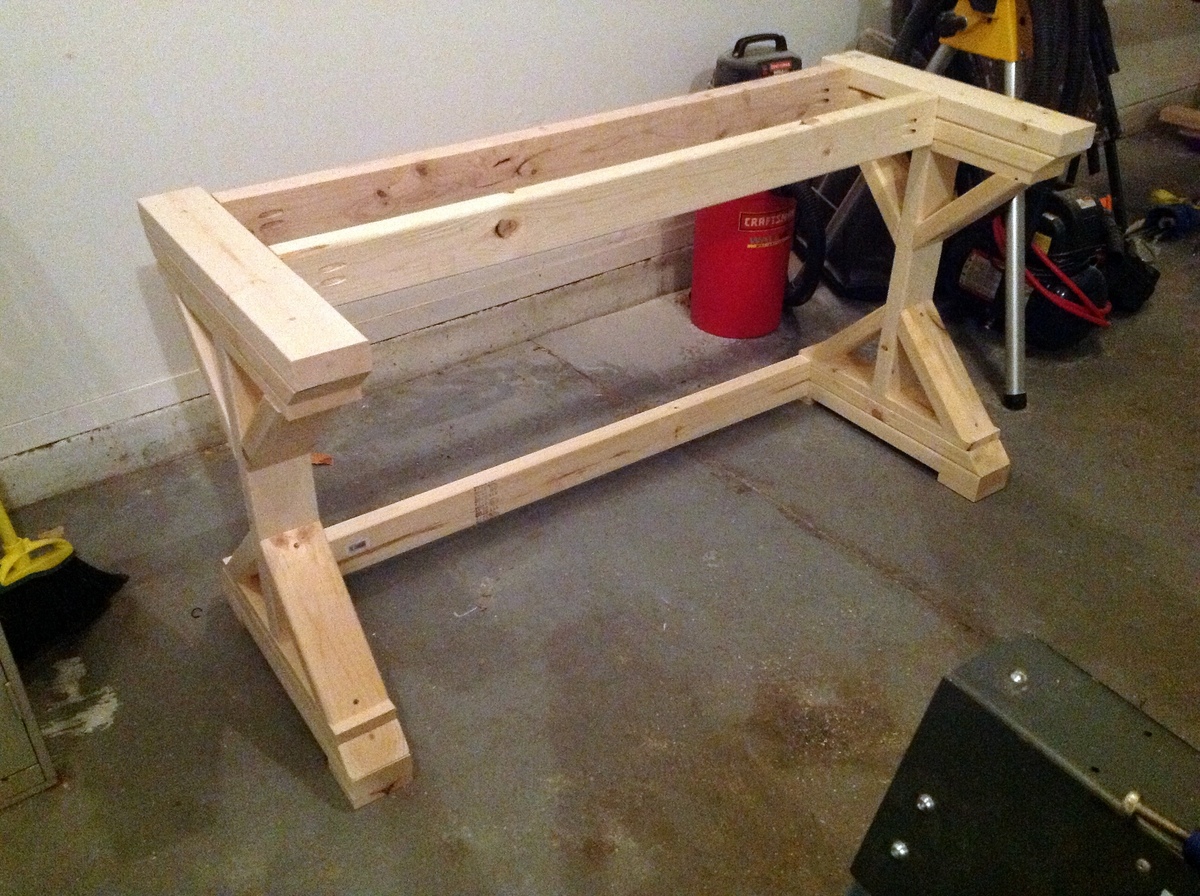
The original plans call for this desk to be 72" in length, but my space only allowed for a 60" desk, so I cut the 3 braces that go along the back down by 12", as well as the 2x6s that make the desktop. The cross-braces in the back were also cut down, but I did that by measuring for fit (as demonstrated by Ana in one of her videos where she made the x-bench).
I described this as a weekend project ONLY because of the time I had to allow between coats of paint, etc. I built it easily in one day (with kids at home!).
This was a GREAT experience and I am HOOKED! Thanks to Ana and Shanty-2-Chic for designing this!

Mon, 01/07/2013 - 12:52
Great job, love the dark painted legs and stained top. Great that you could build it to fit your space!!
Tue, 01/08/2013 - 08:27
I hope to build this desk this week! Your post timing is great! AND your end result is gorgeous!!!
Thu, 01/10/2013 - 19:31
I absolutely love this. I've been searching for a new desk and I think I want to copy yours. Love it.
Fri, 01/11/2013 - 00:35
Well done...I too have been contemplating giving this ago. Our out door glass table exploded due to the heat here in Australia on monday...never going glass again...did I mention the nightmare clean up job :-((
Im building the big version....Im excited..you did it so I can too!
Sun, 07/13/2014 - 15:48
Looks great! Do you know what the length of the cross braces ended up being from short end to long end?

I wanted to make a black and brown picnic table, this one turned out really nice and it gets a lot of compliments.
I, also, reinforced the 2x6s used for the seats by boxing in 2x4s underneath. I just cut 4 53" (probably could have been 54" honestly) and mounted them to the bottom of the seats and screwed them into the seat cross members. This should keep them from flexing.
Tue, 01/14/2020 - 08:29
I love the look of this, it is great. I'm looking at your estimated cost wishing that was the case where I live .

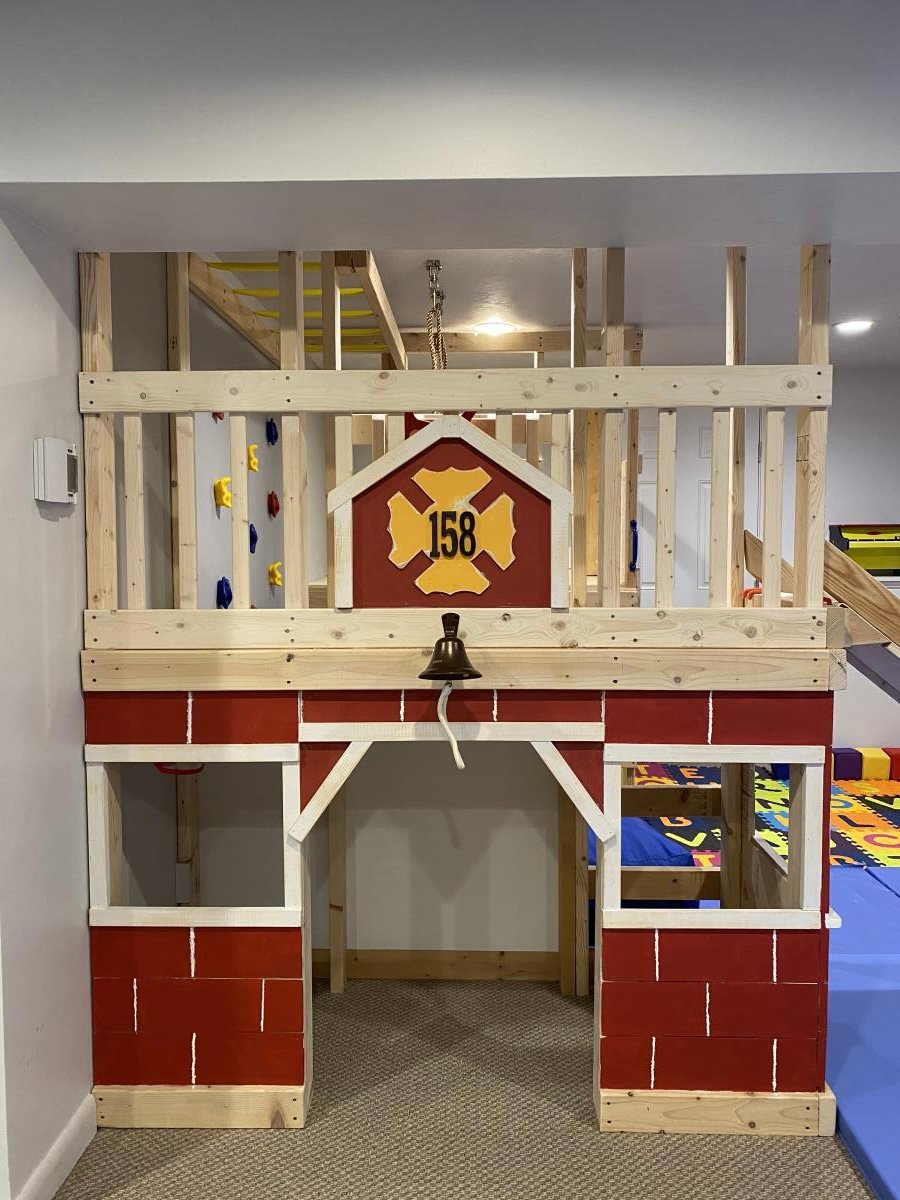
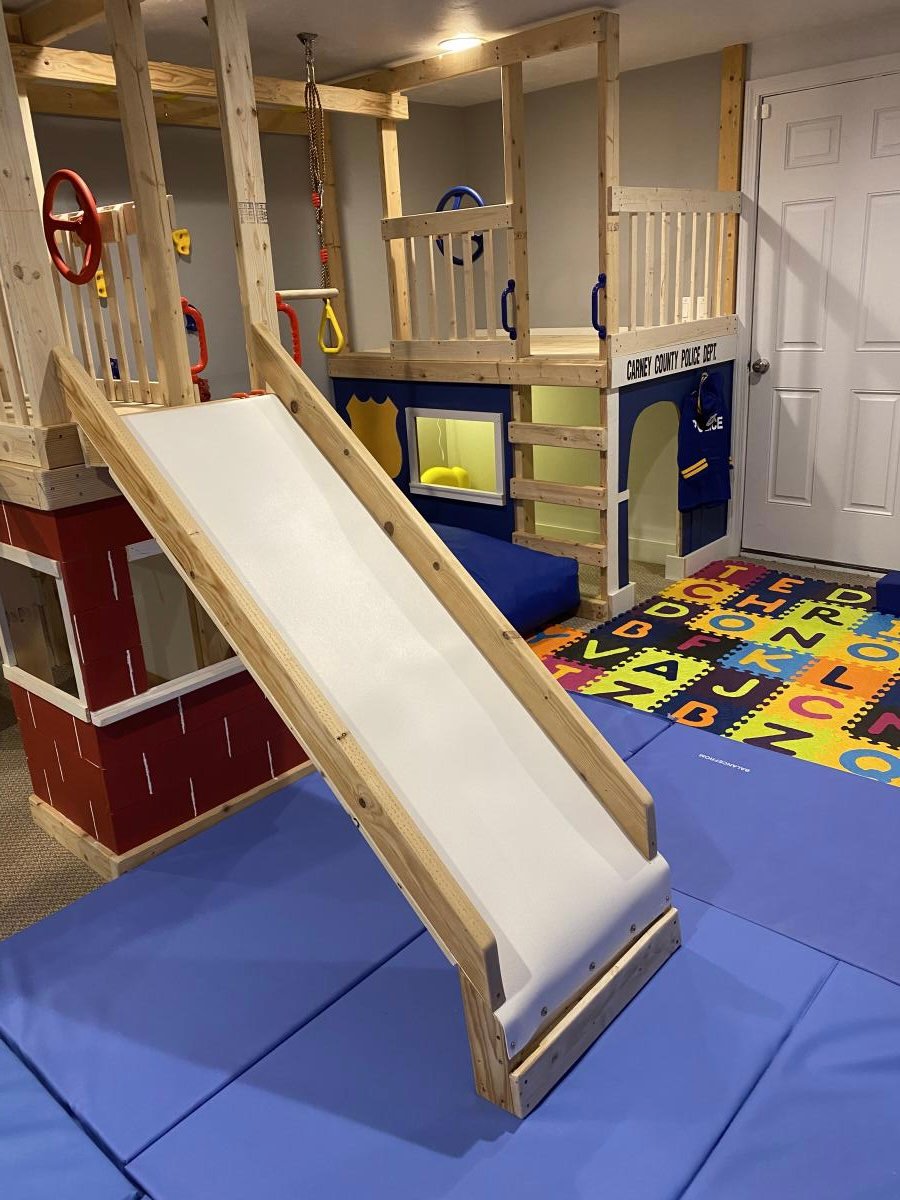
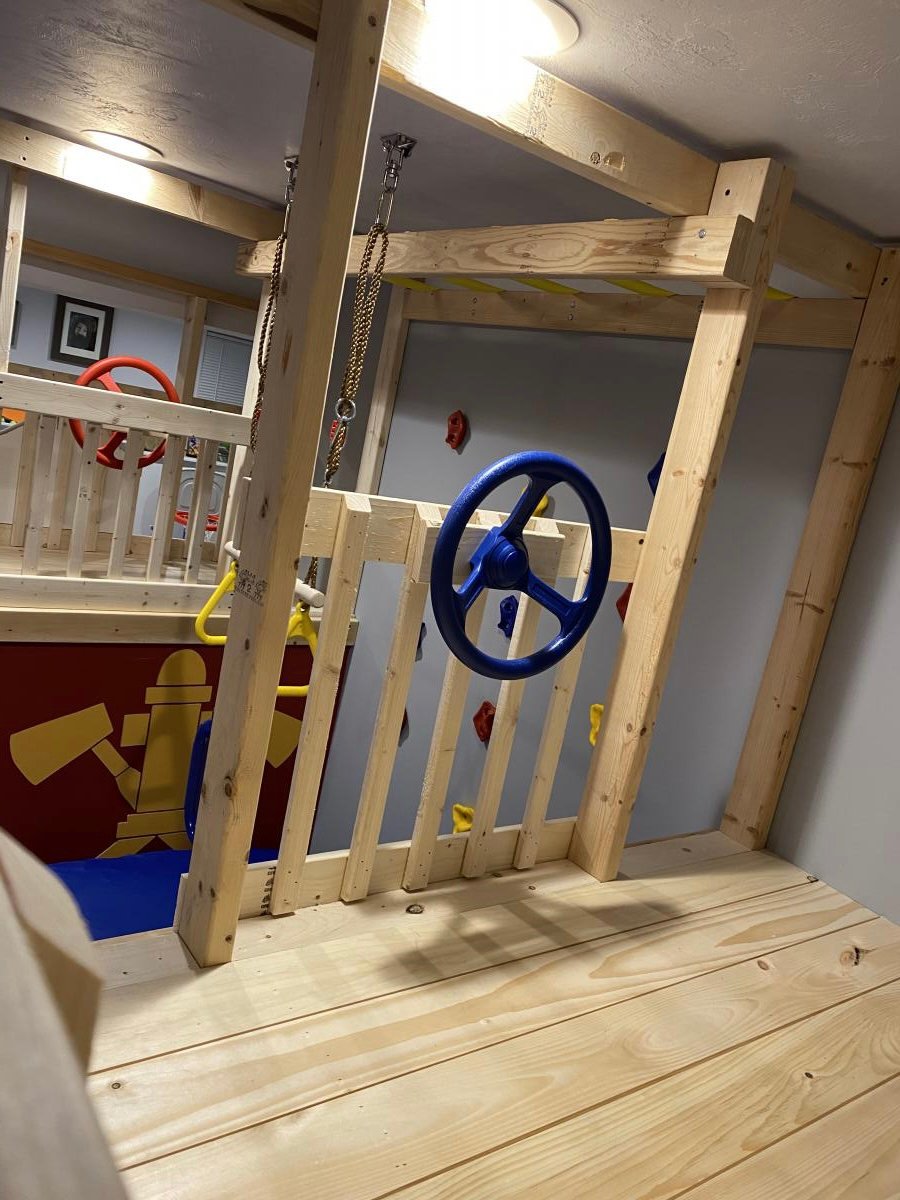
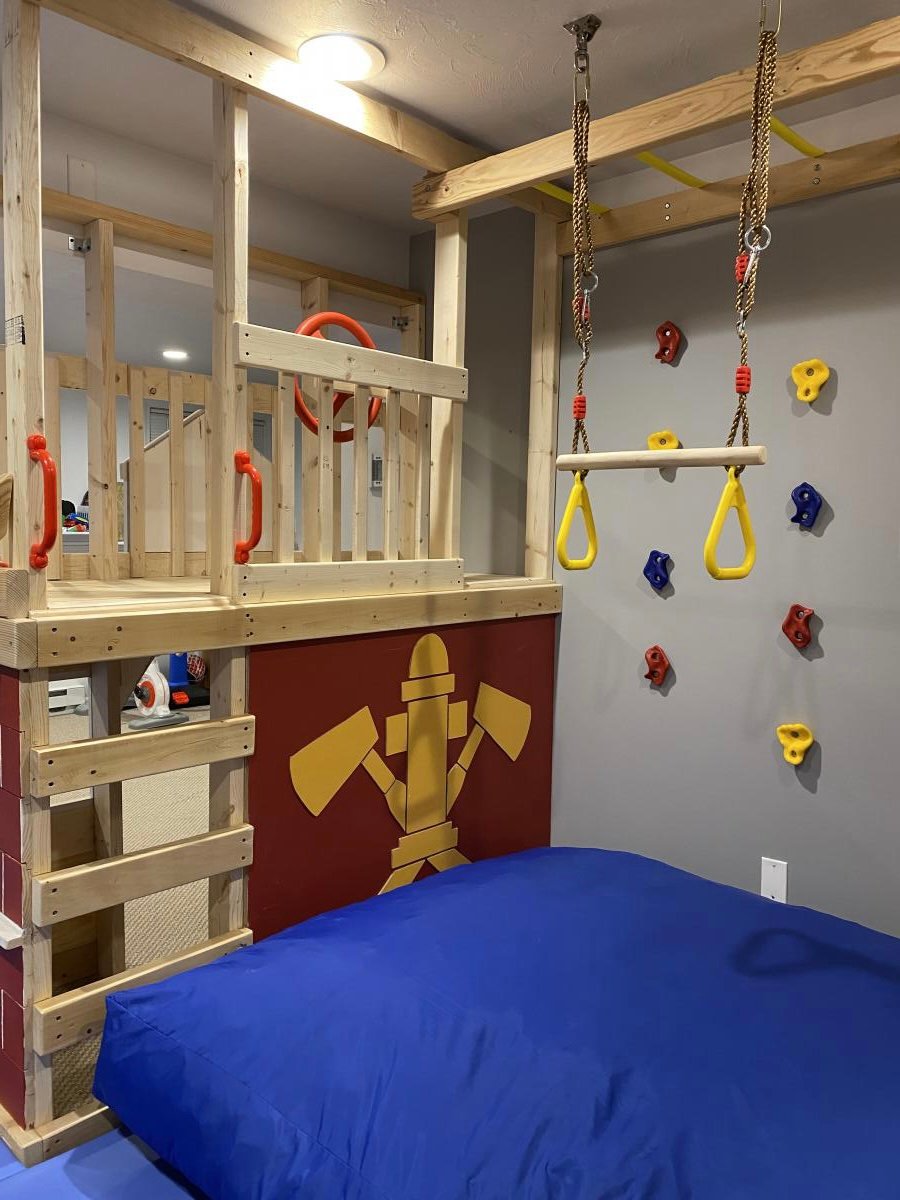
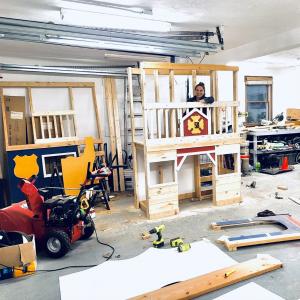
With Christmas approaching and the realization that my three young boys had way too much “stuff”, I enrolled the help of my dad to build this amazing basement play area. When I found Ana’s plans for the play gym with monkey bars, I knew we were in business. I modified the design to fit our space and we were off. Such a fun build and my boys absolutely love spending time down there. Thanks so much for your continued inspiration and the confidence you give us mamas to build with the big boys, Ana!!
In reply to Fabulous! by Ana White Admin
Fri, 01/08/2021 - 16:23
Thank you so much!! 🙏
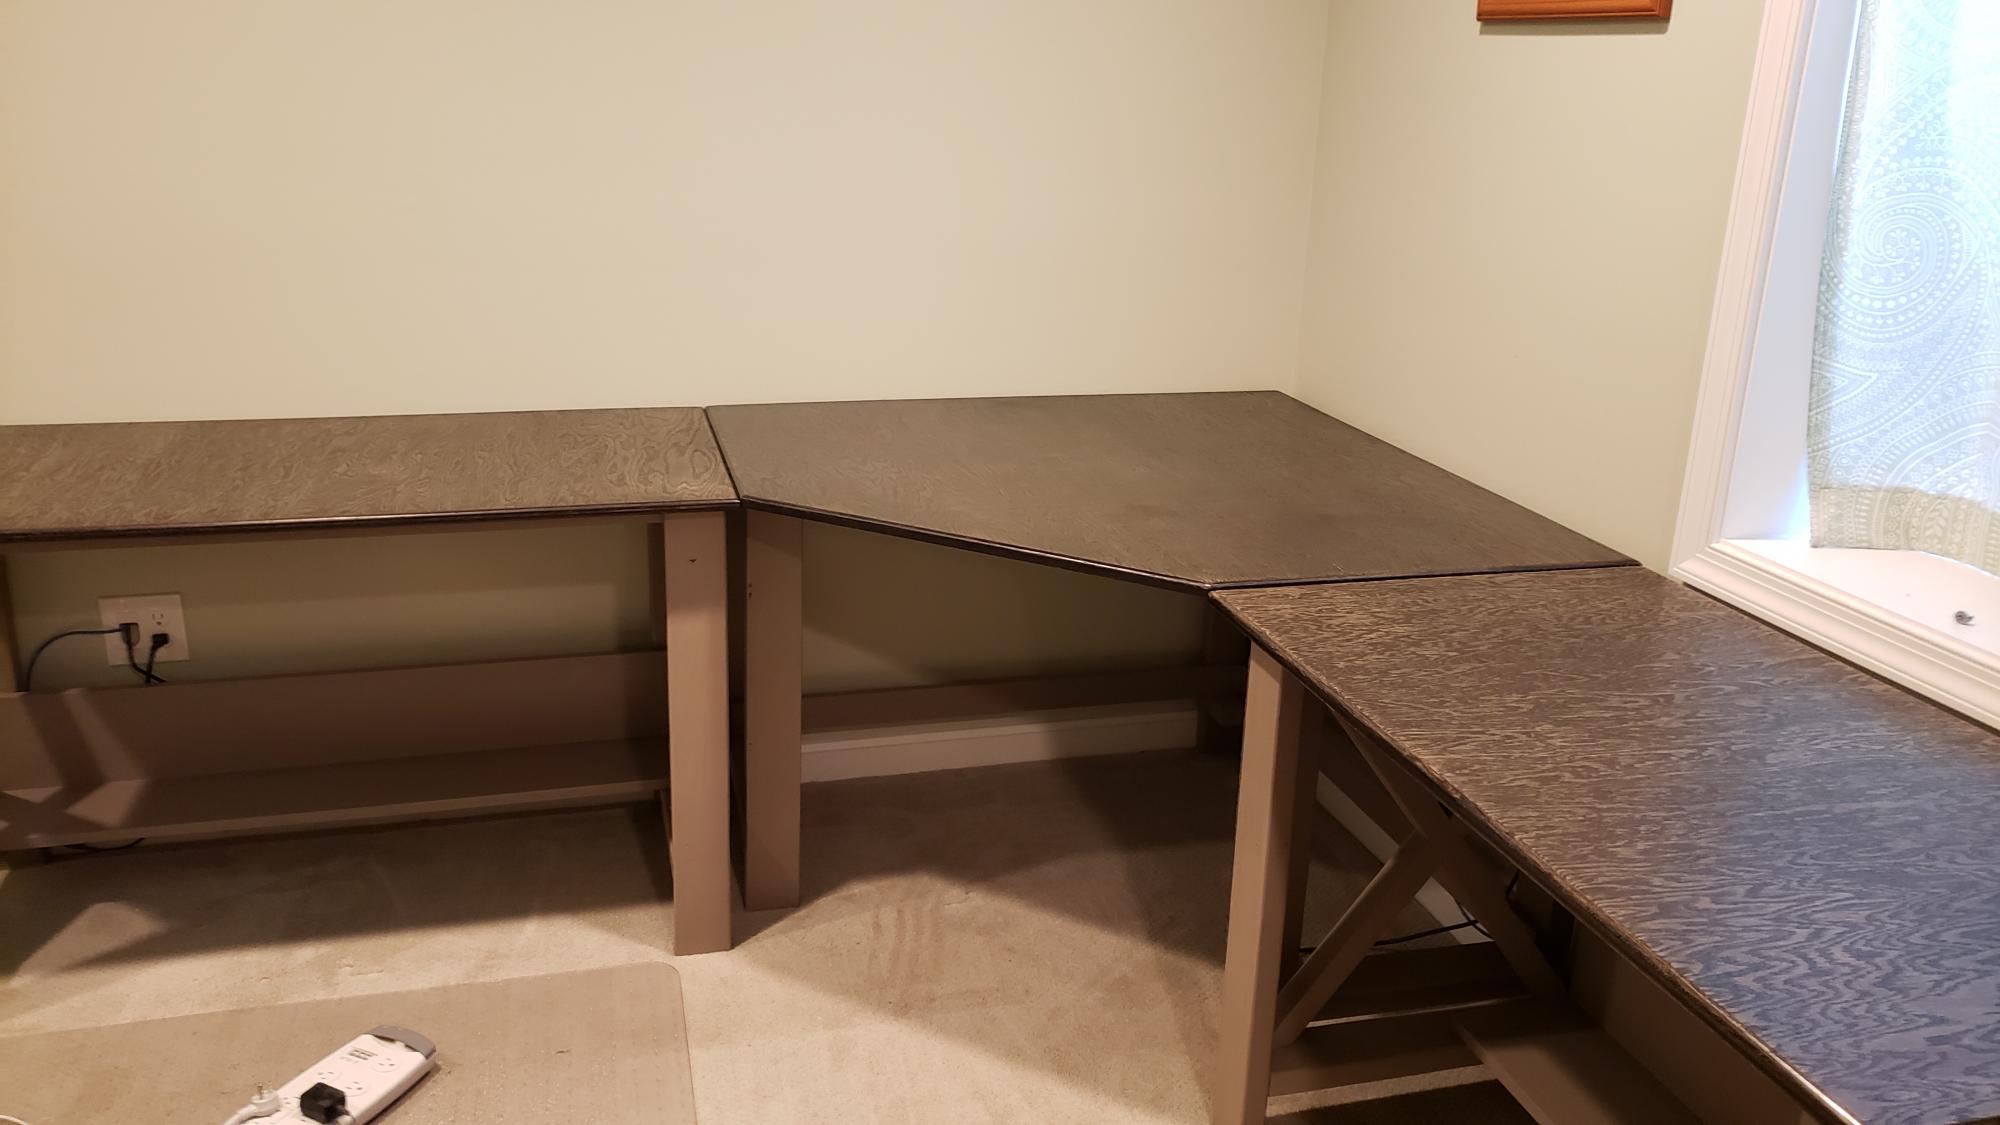
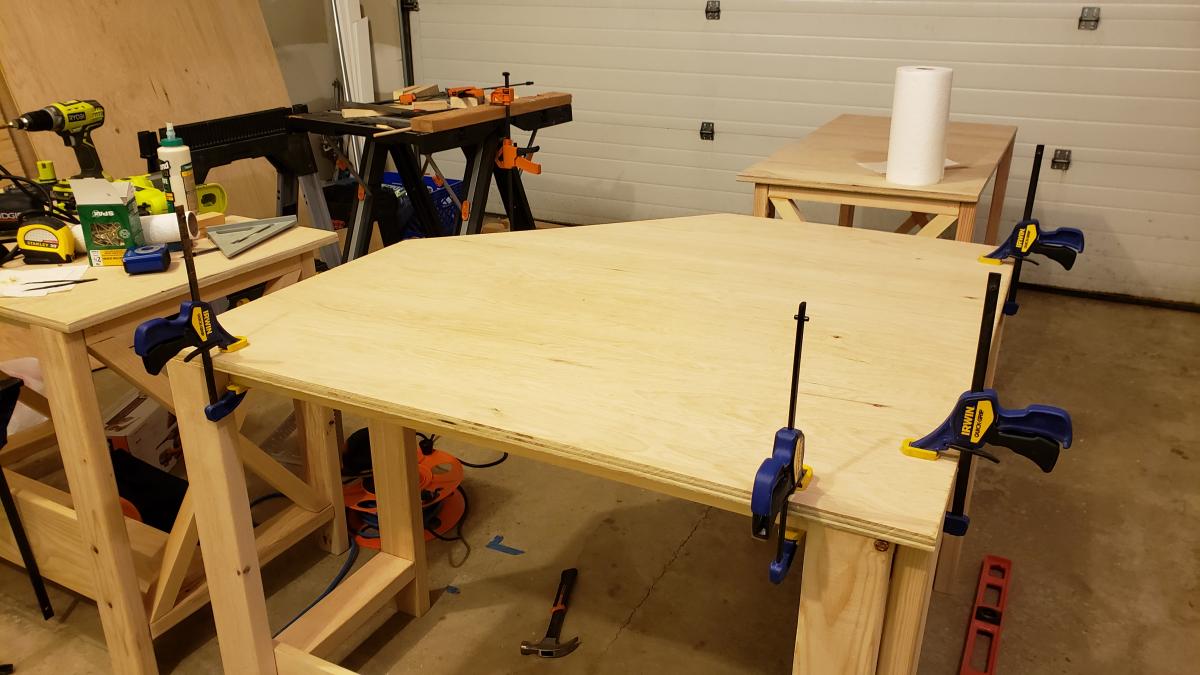
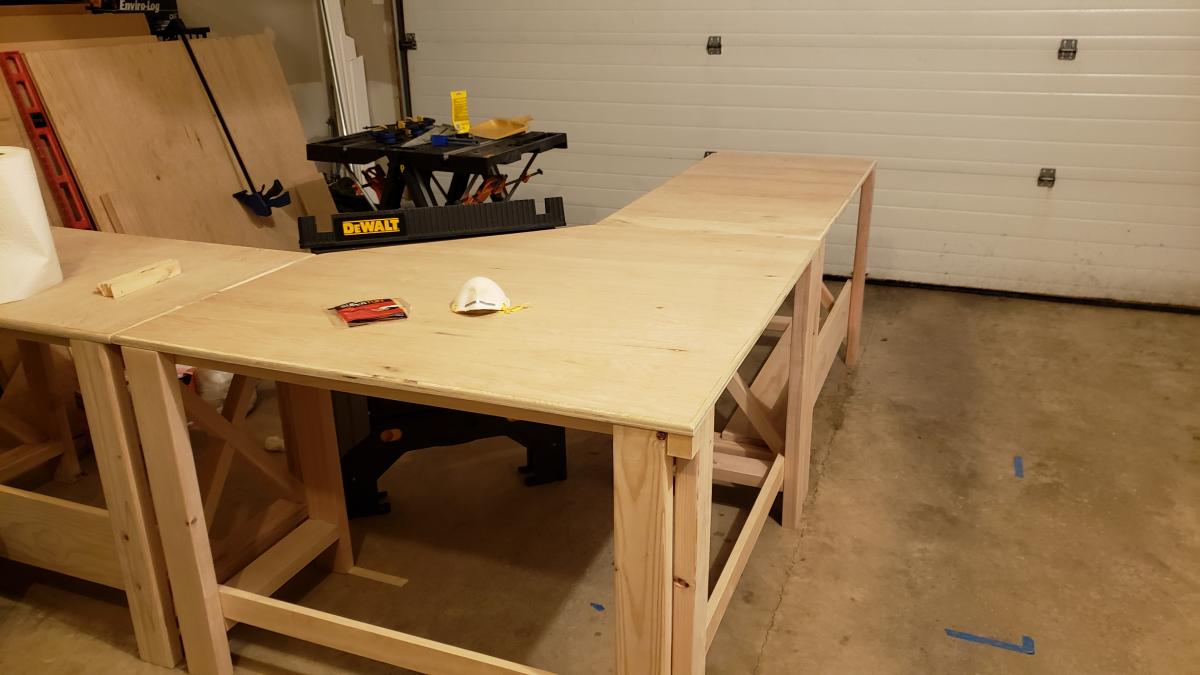
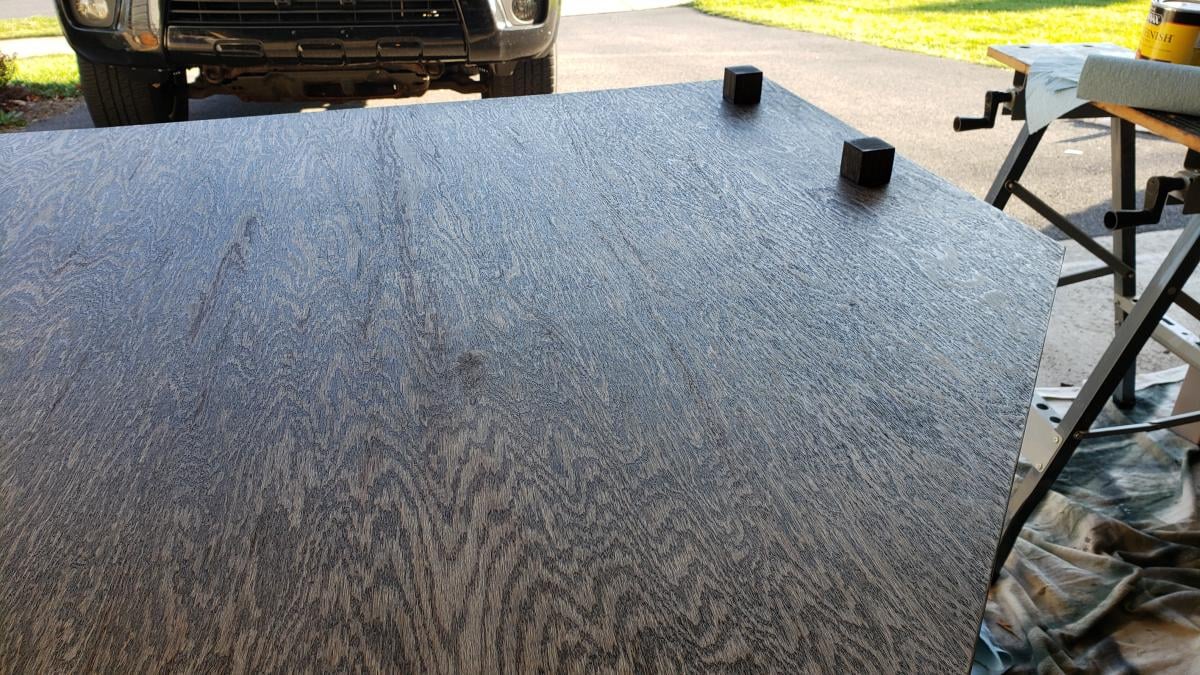
My wrist has not taken well to the work at home requirement of the pandemic. So, I decided to replace my desk with a similar one that I have at work. Only, this one is much prettier.
Essentially, I built two desks using the farmhouse desk plans. One of them I made less wide than the plans by simply making the horizontal pieces 36" instead of the plan's 47 1/2".
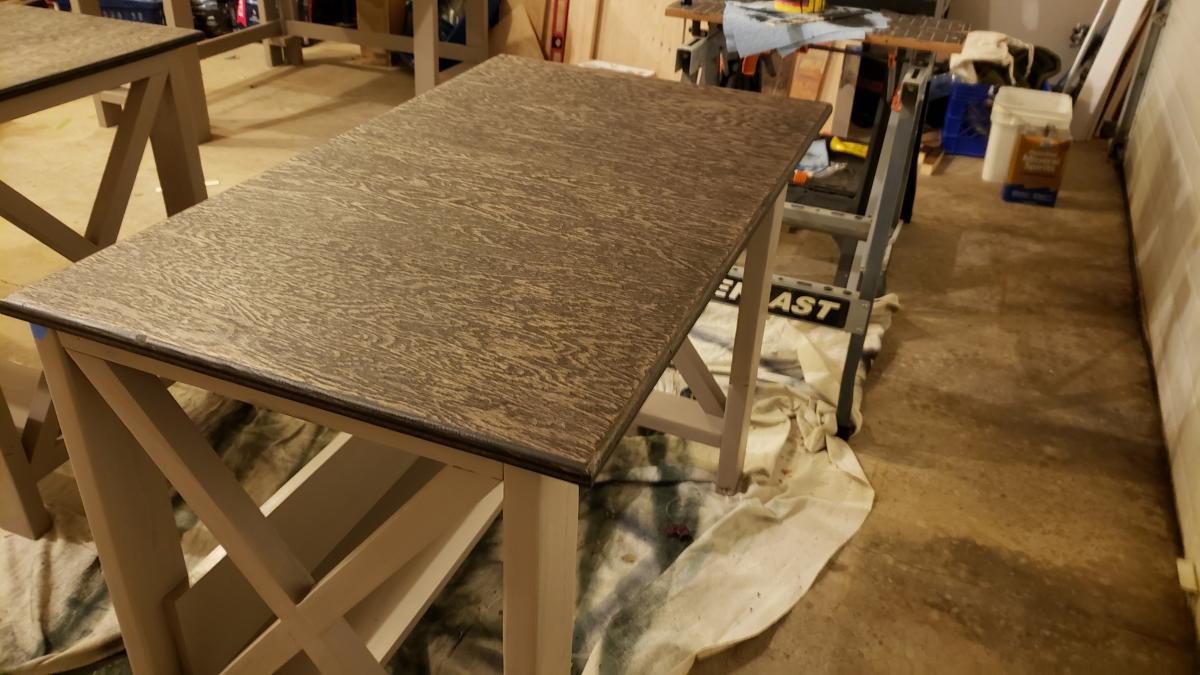
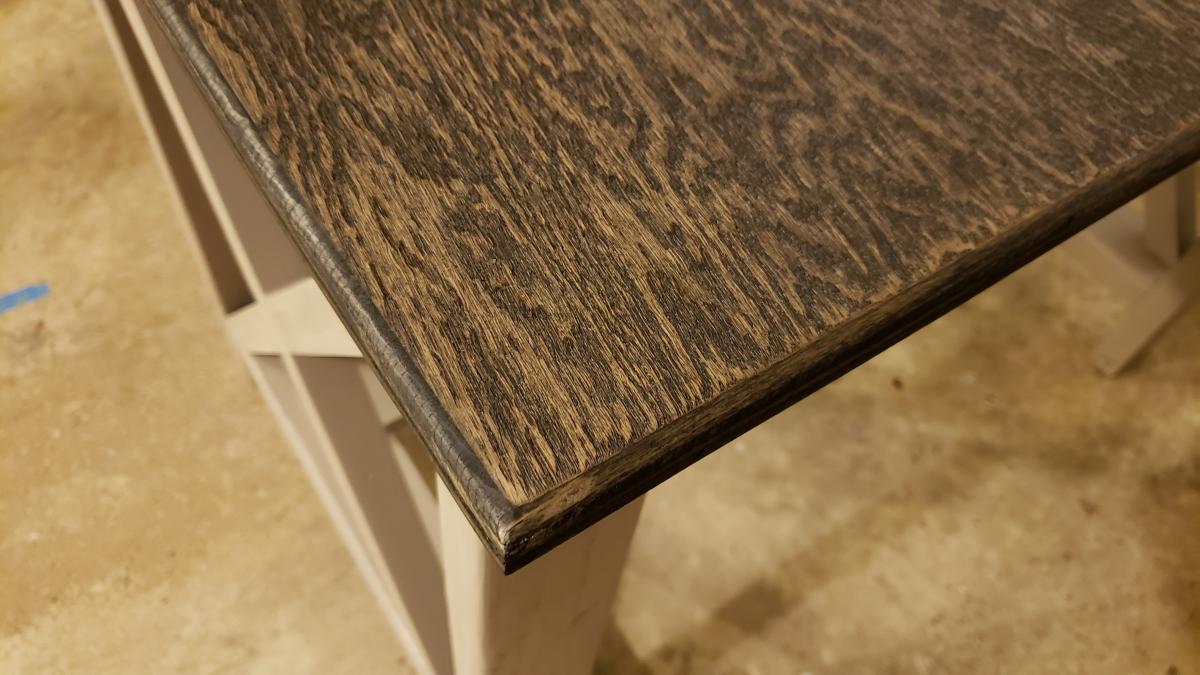
For the middle portion of the corner desk , I based it off of the Office Corner Desktop plans. I made just the middle portion for those plans, but made the edges 46" instead of 38" for a deeper desk as well as to allow more room for my legs not to hit the uprights of the farmhouse desks. I made the corner desktop detachable, so it was easier to fit down the stairs to the office, using some small ~2" cubes placed on the bottom. They just serve to keep the desktop from moving around on the frame. The base of the middle portion I made up using the same ideas used to create the farmhouse desk frames.
I made plenty of mistakes along the way as I'm a software engineer, not a carpenter. I think next time I'll buy a miter saw, most of these cuts were by hand and aren't as straight as I'd like them to be. But, I like to work with my hands and this has made my day job less painful while I'm working from home.
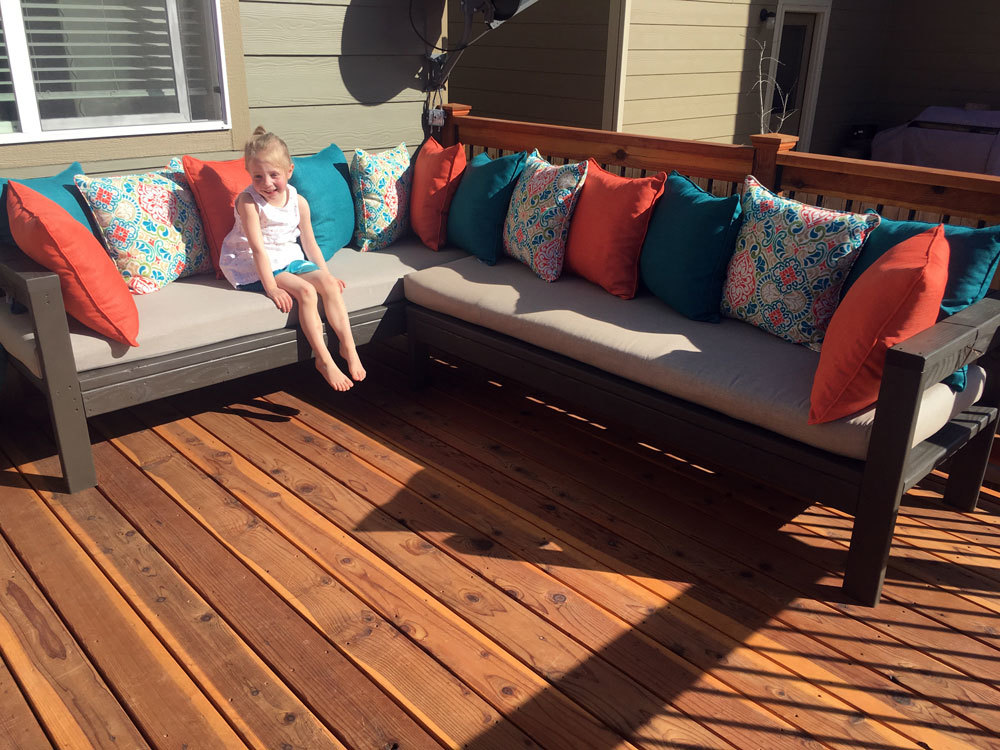
We are loving this outdoor sectional! It was super easy to build! The hardest part was figuring out cushions. I made the bottom cushions and got the back pillows on sale at Costco for less than I could make them. Thank you!
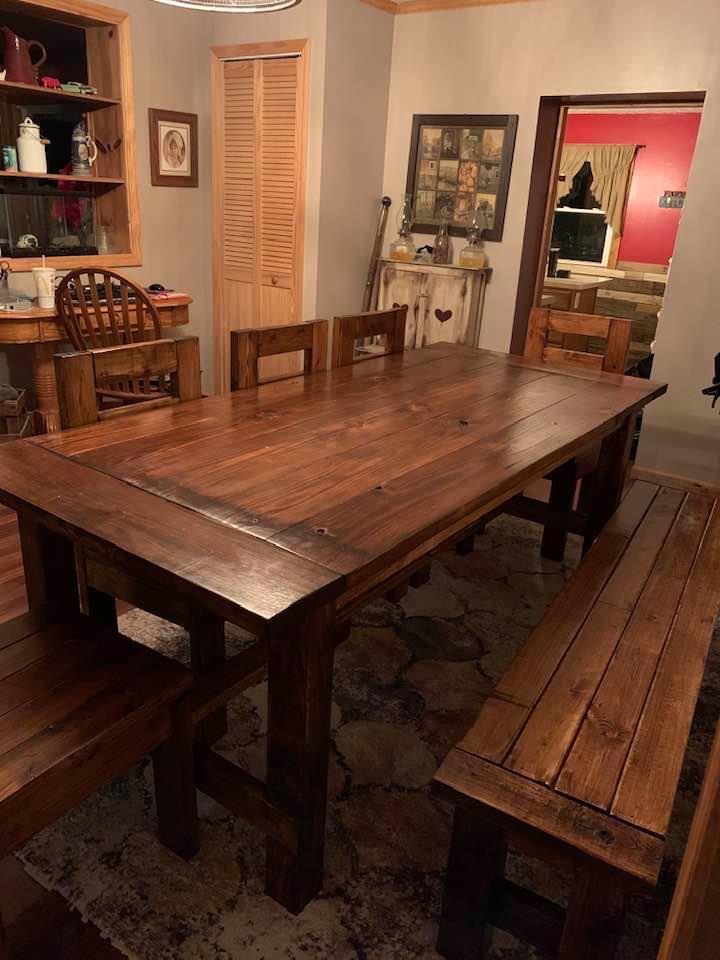
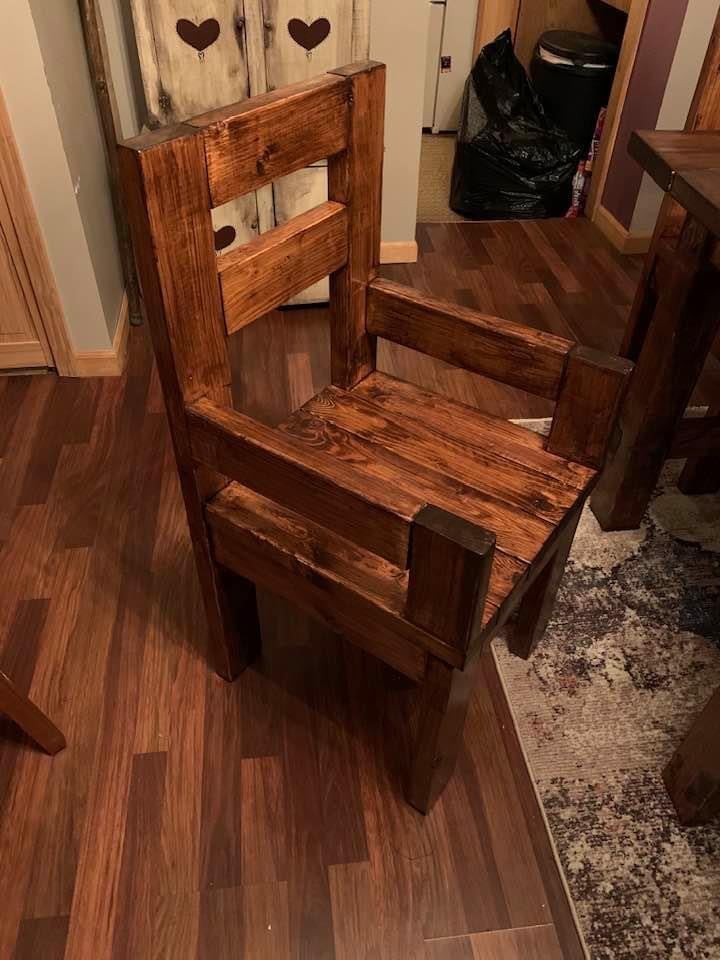
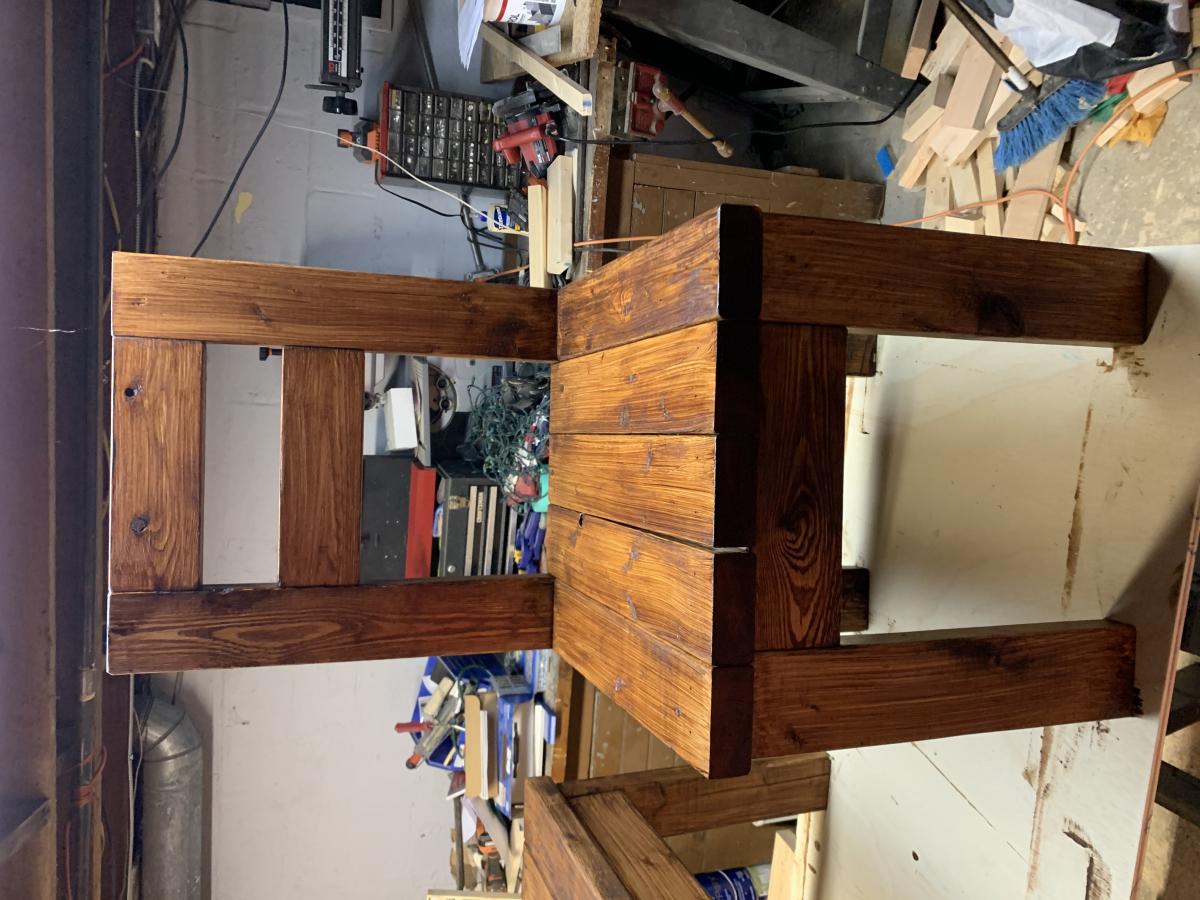
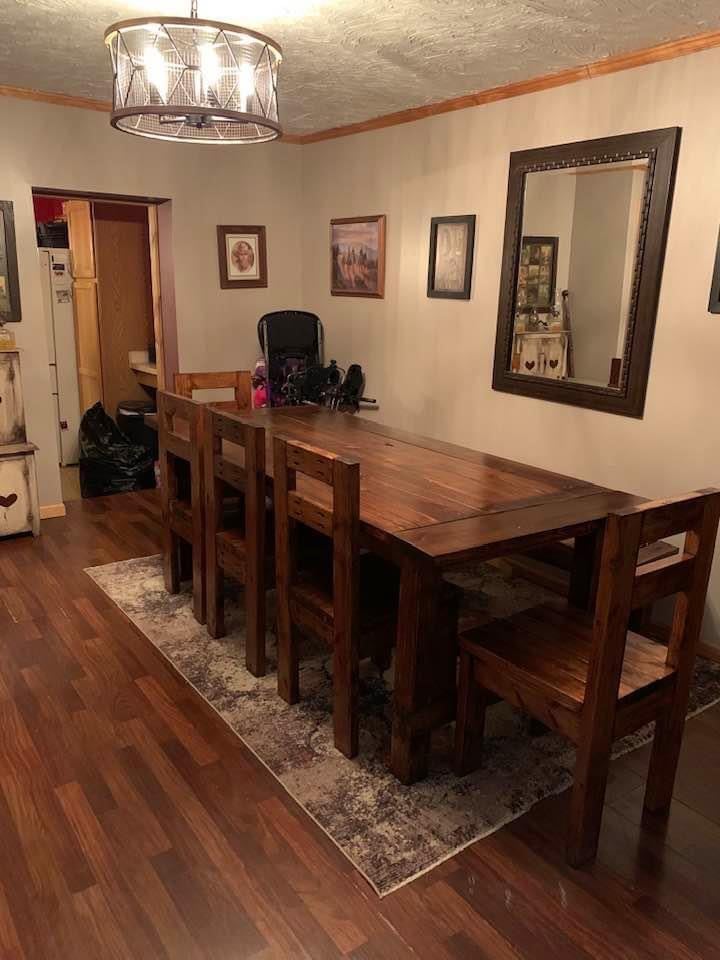
Started with building the table for our ever expanding family. We priced out a new table and chairs at the price of $3700 and was able to build the table, bench and 5 chairs for $400. The table is perfect for our big family and very solid. The bench and chairs went together fairly easily. I adapted 1 of the chairs for my son who has to have arms to keep him safe. Great for any family.
2x4 chairs are from morelikehome.net day 4 build
Used left over deck boards
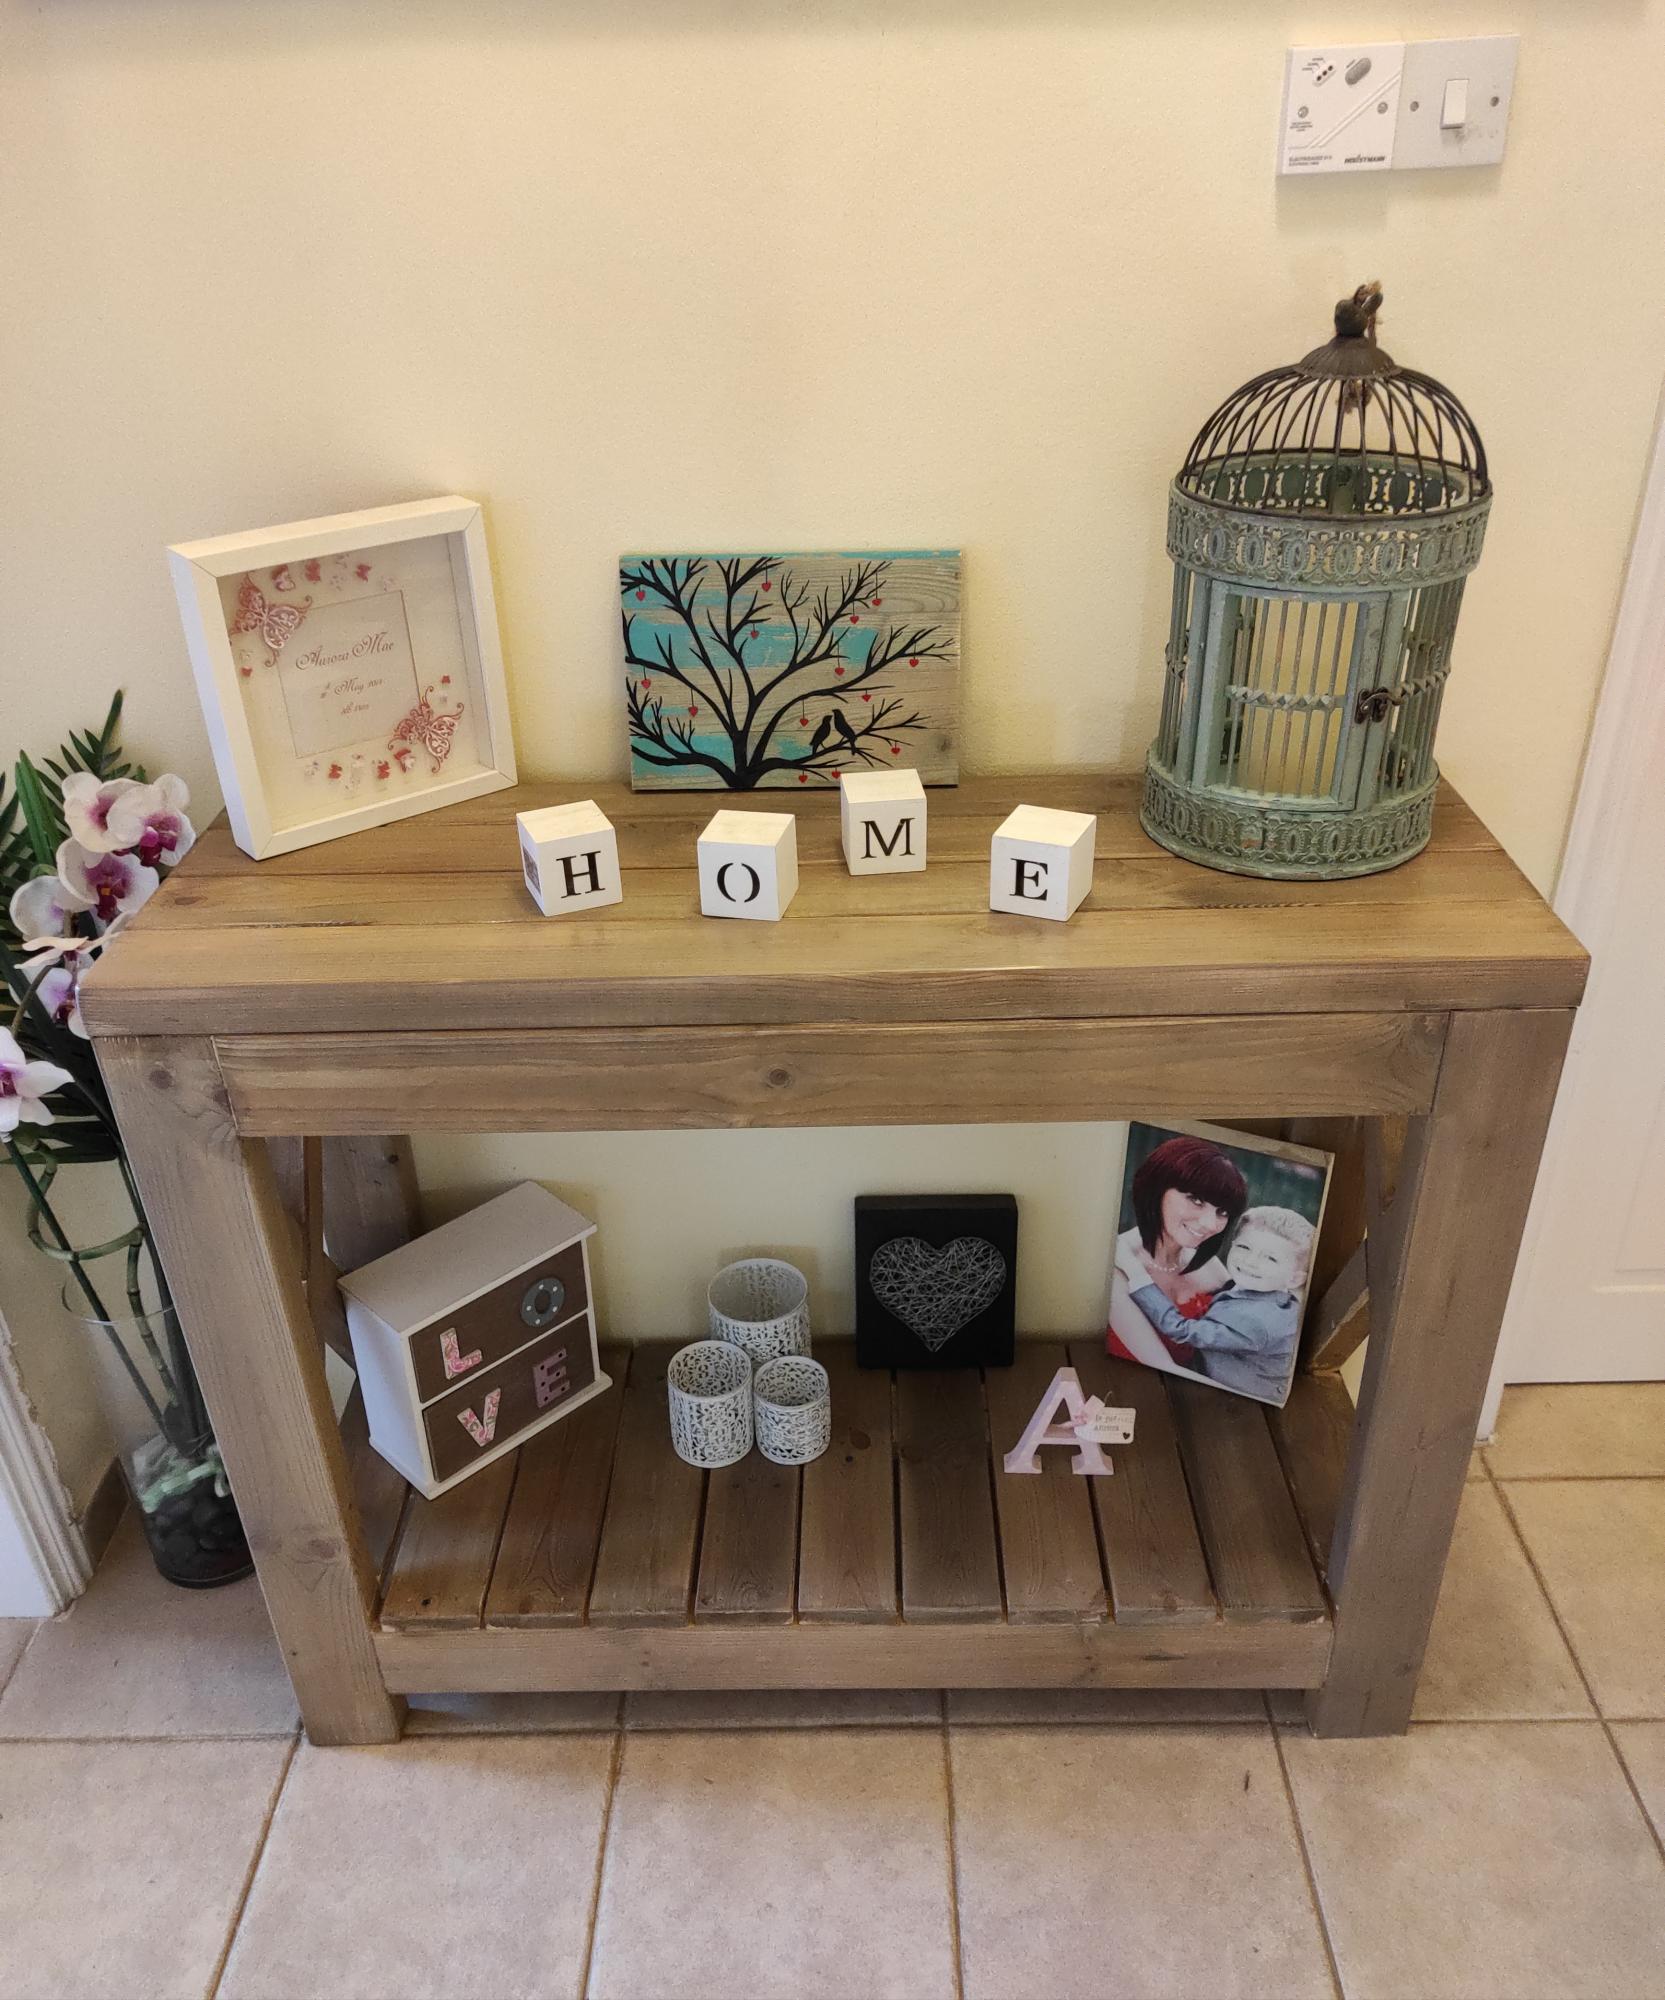
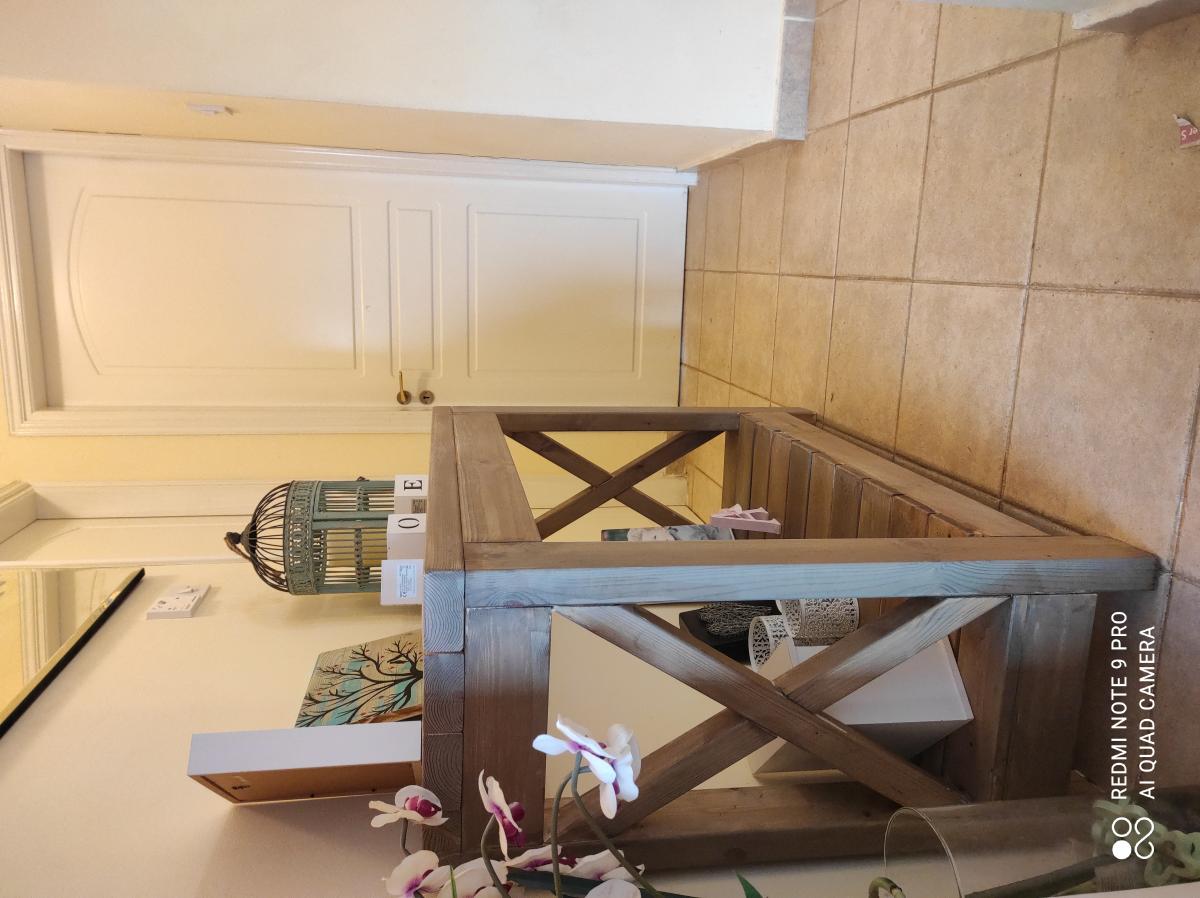
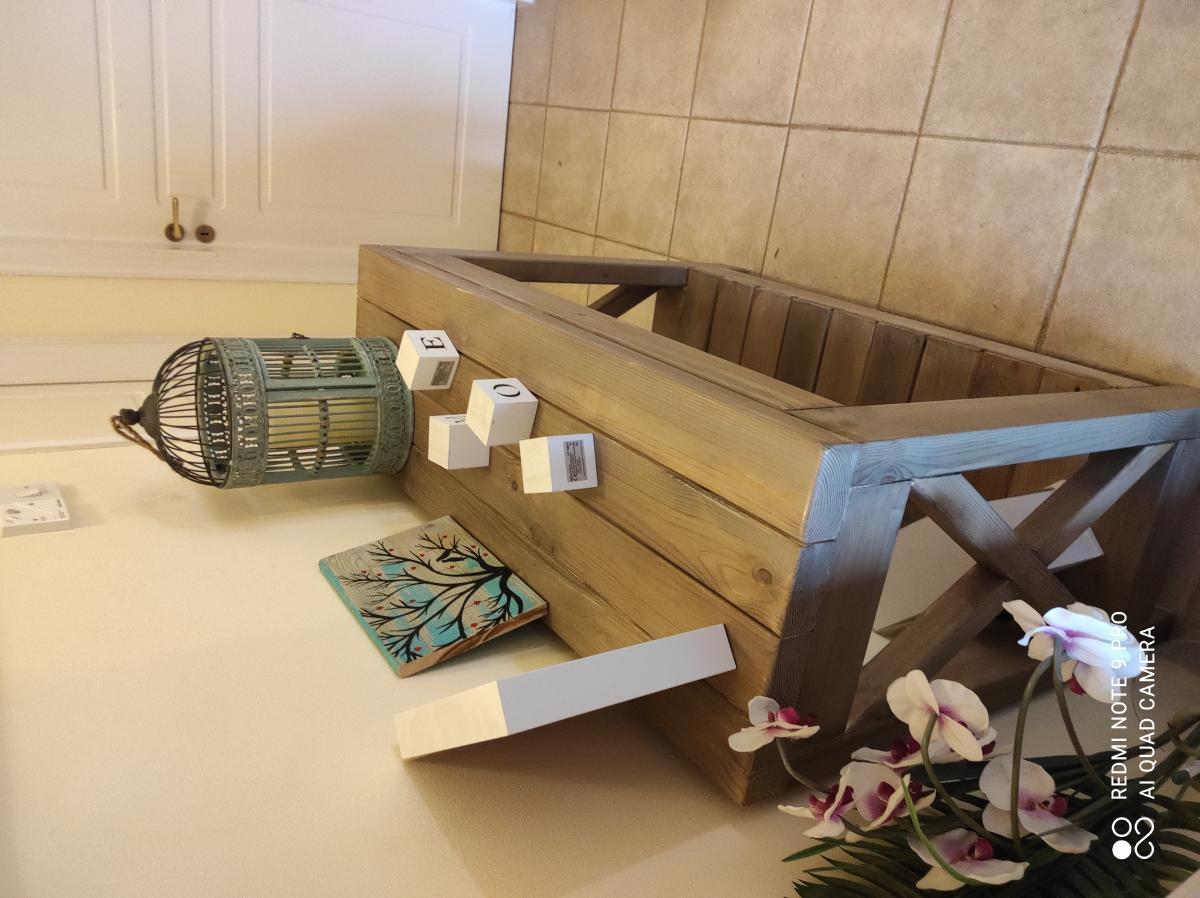
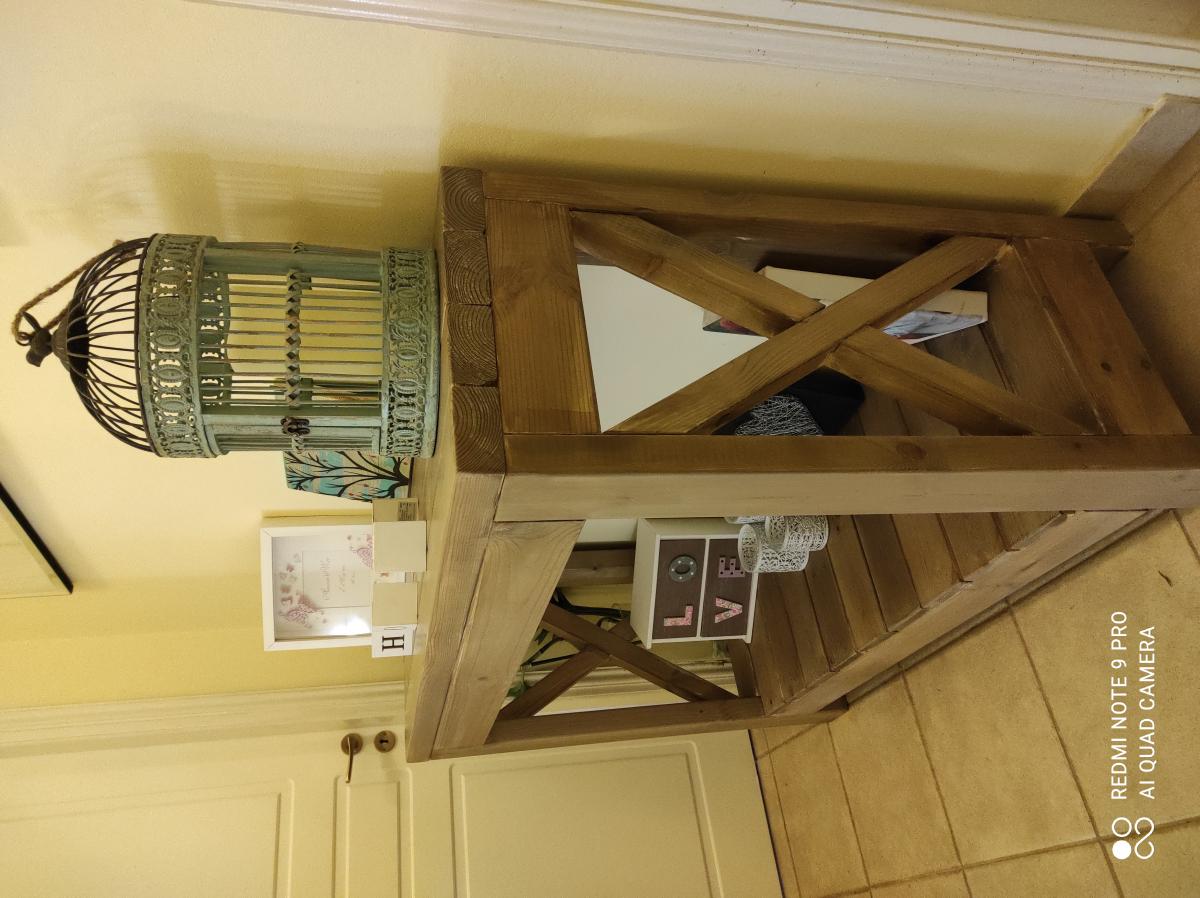
Based on the rustic x console plans with a few small changes to cater to the space available.
Built entirely from 2x4 with the exception of the X's which are 2x2; I choose to use half-lap joints to make these, ordinarily I'd have these a lot neater but chose to leave them visable to add the the rustic feel.
For the finish I've oxidised the wood with a steel wool and white vinegar solution and then applied a light grey wash over the top.

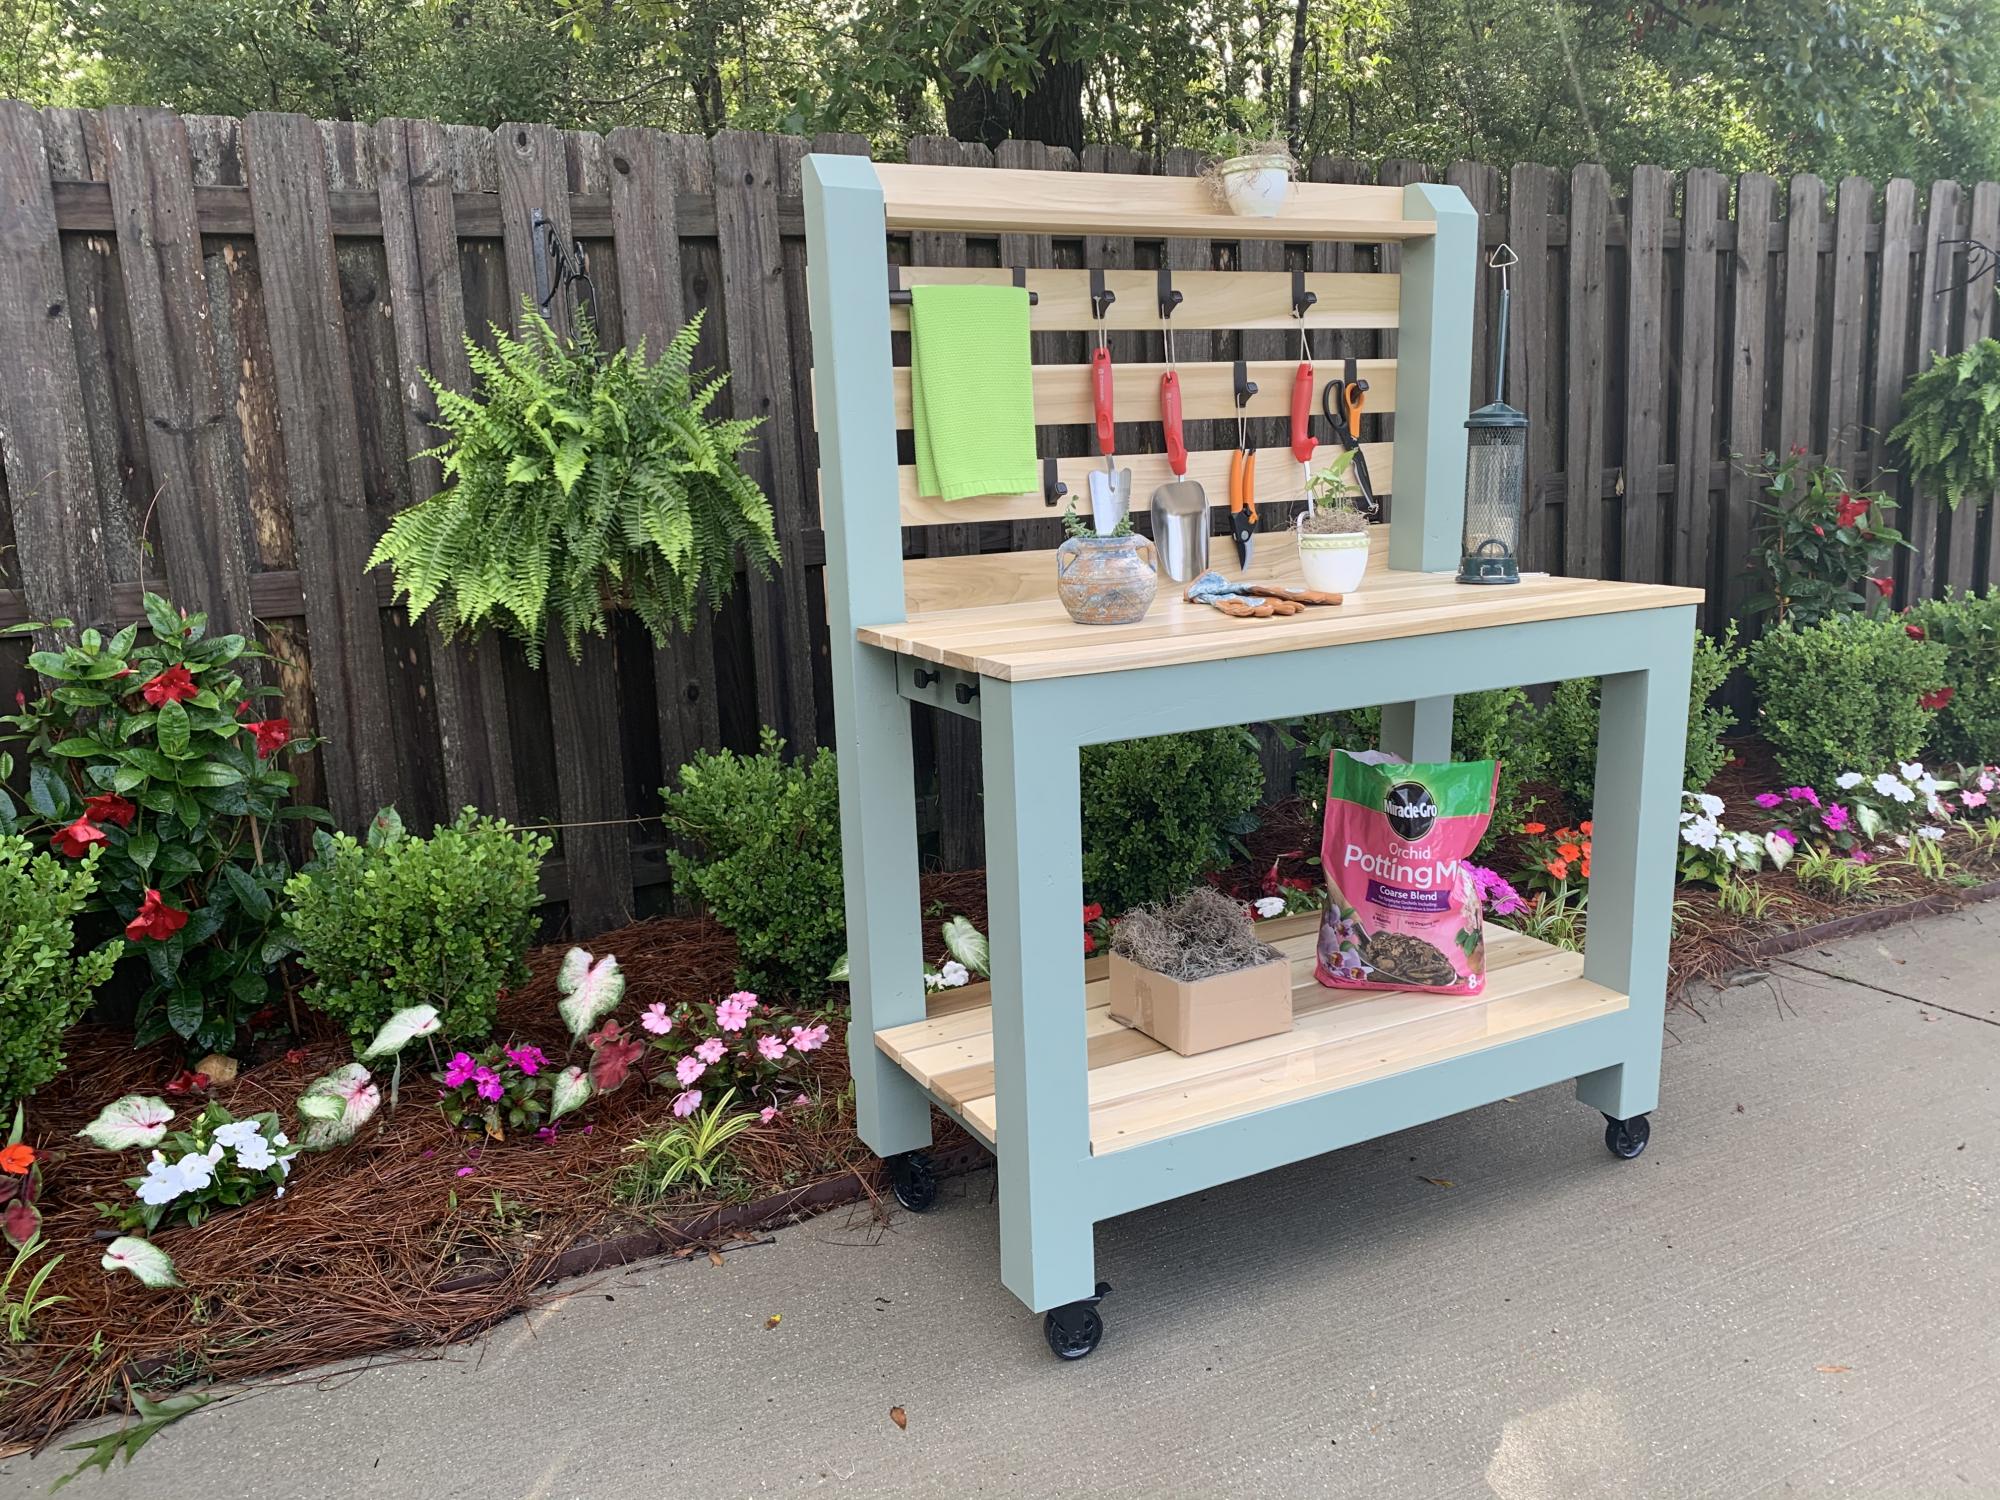
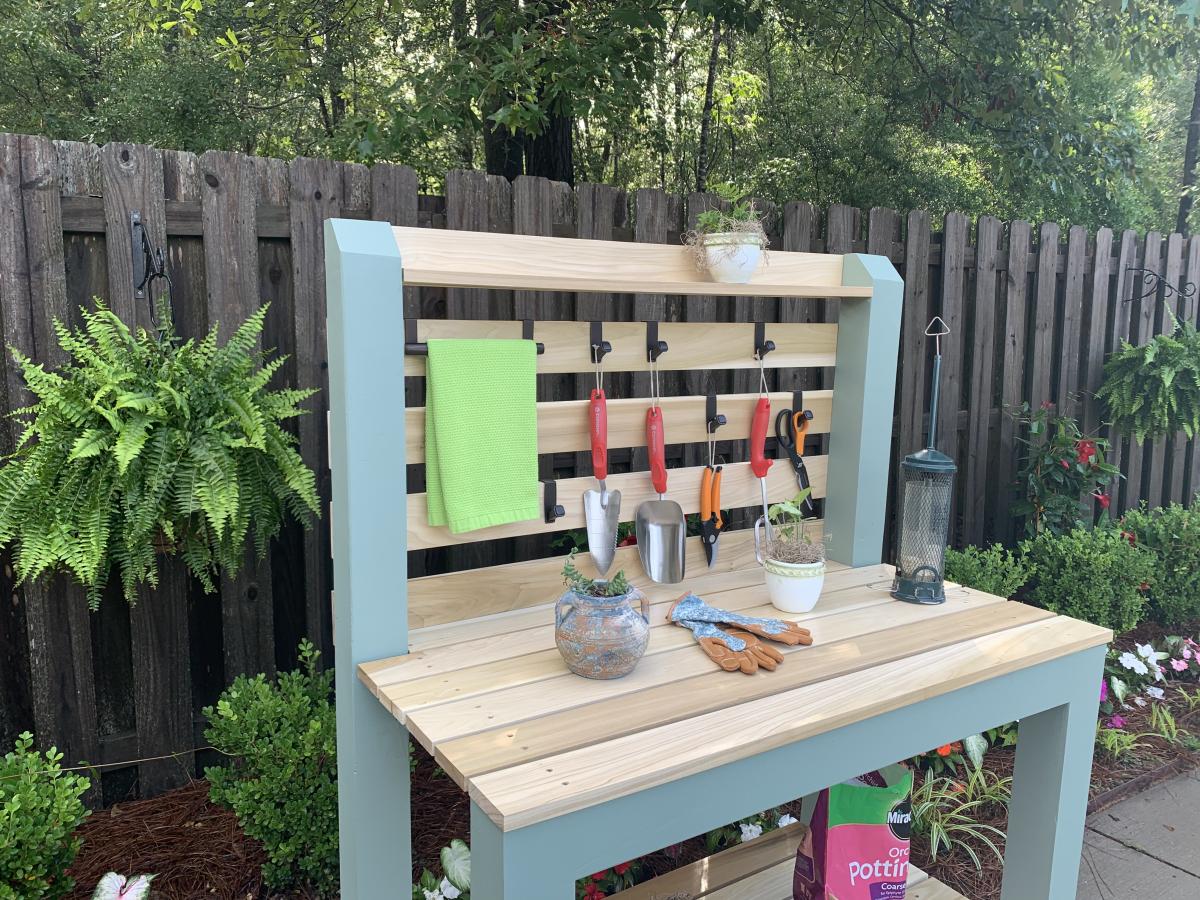
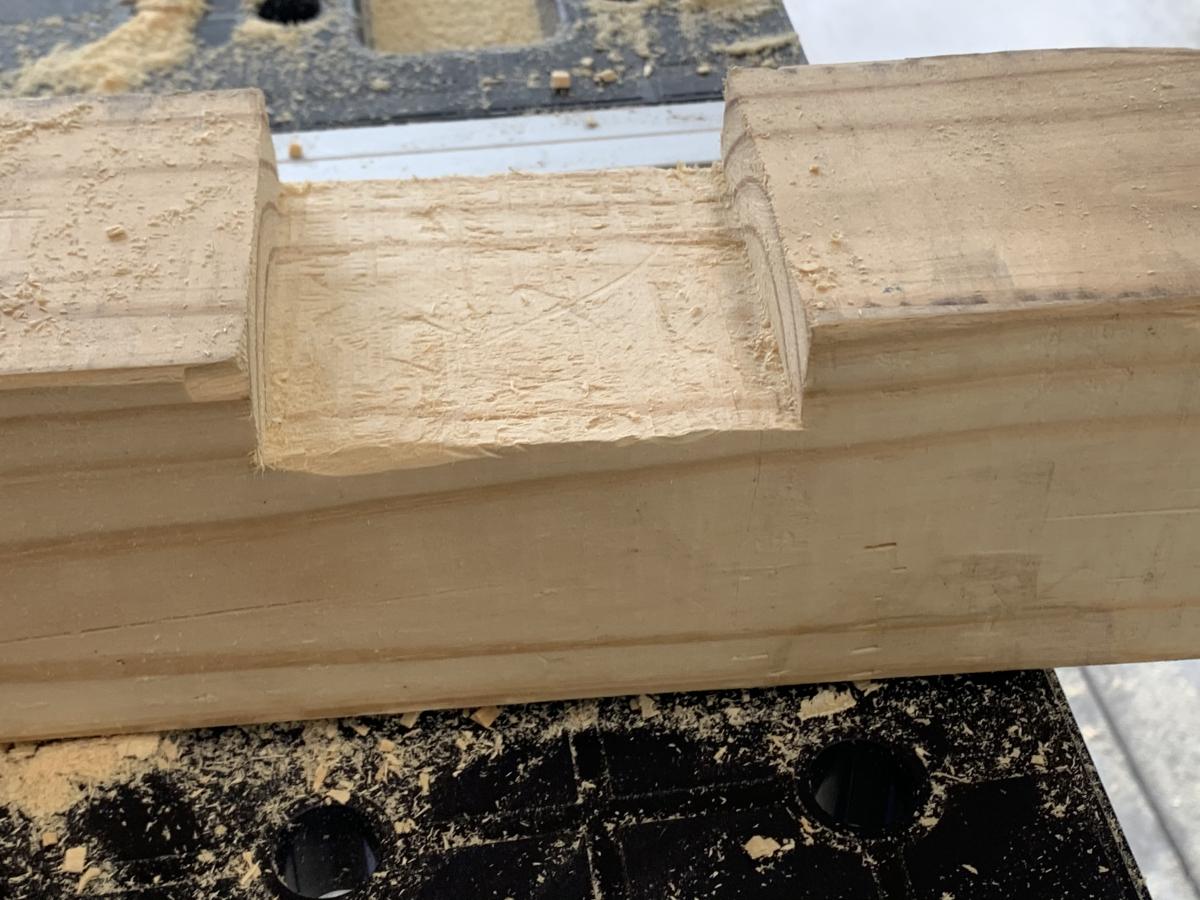
I was intrigued by Ana’s Simple 2x4 Potting Bench. The project seemed simple enough and it would be used as a means to clean up clutter in the garage. My main focus was to make it semi-portable and weather resistant. Instead of using 2x4’s for the corner posts, I used 4x4’s to accommodate casters. I also shorted the length of the posts by 4 inches to compensate for the height of the casters. To provide extra rigidity I did a dado for the 2x4’s that connect the front and rear legs. In retrospect, I wish that I did not dado the legs because it made it more difficult to attach some of the shelf planks. I painted the frame green and left the shelves and backboards clear for beautiful contrast. My wife is ecstatic with the result.


Comments
dsimmons
Tue, 03/02/2021 - 10:01
Is that metal for the bottom…
Is that metal for the bottom? Gorgeous!!