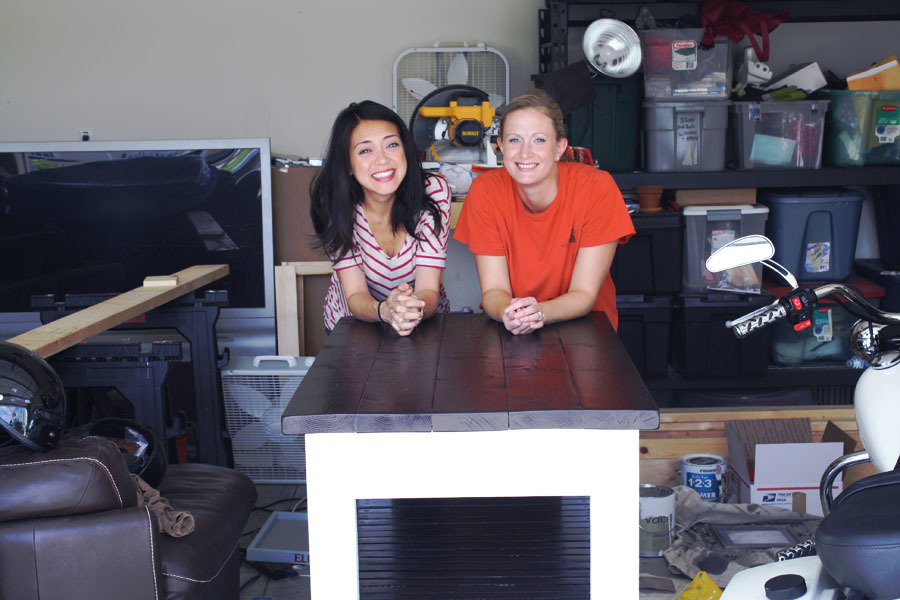
Concrete Top End Table
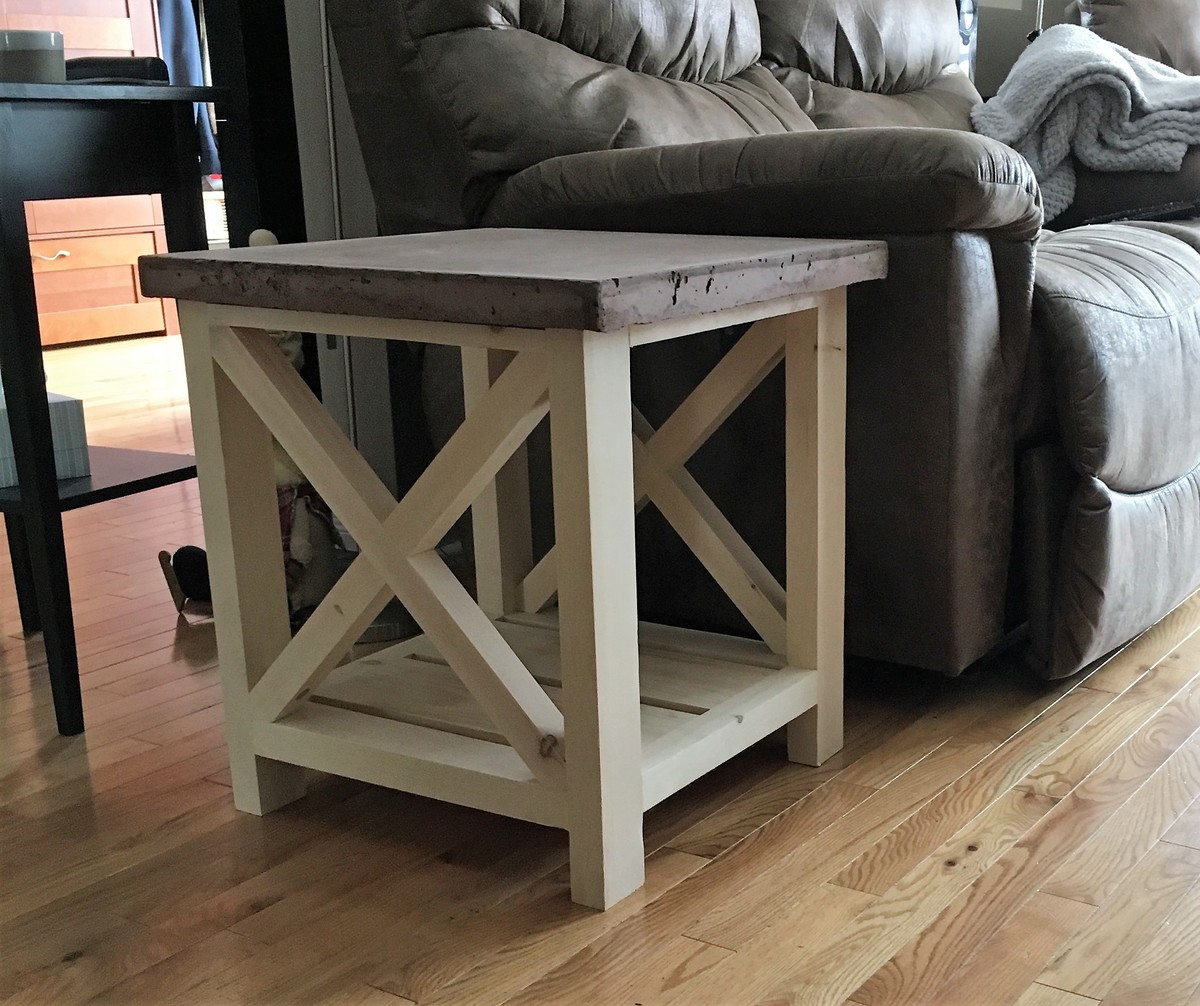
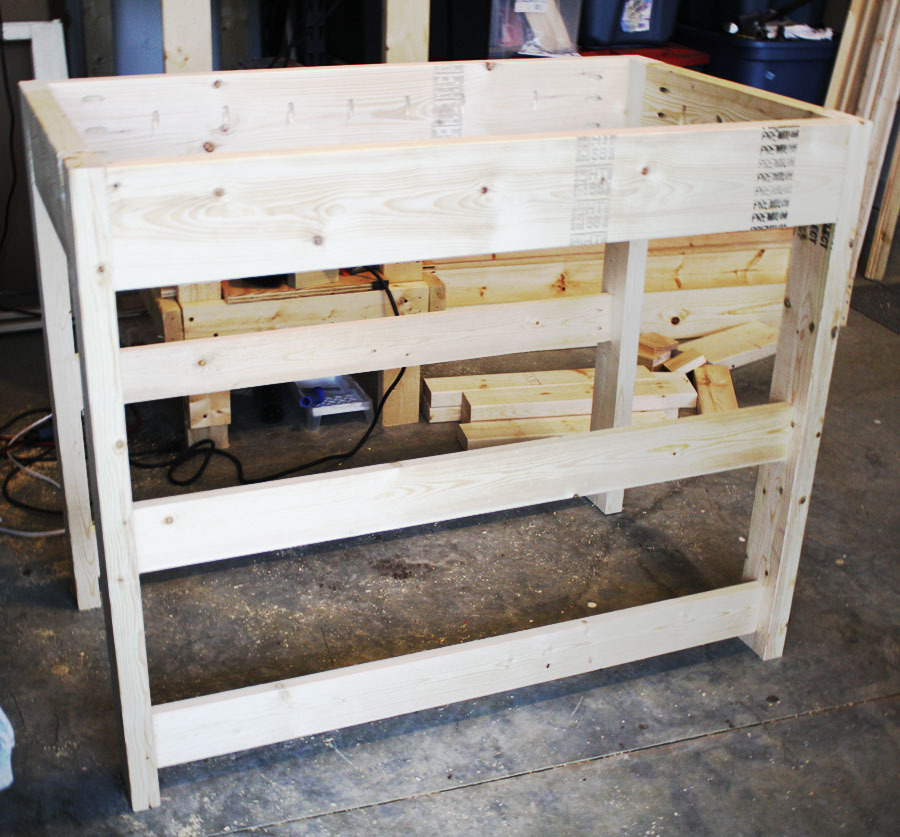
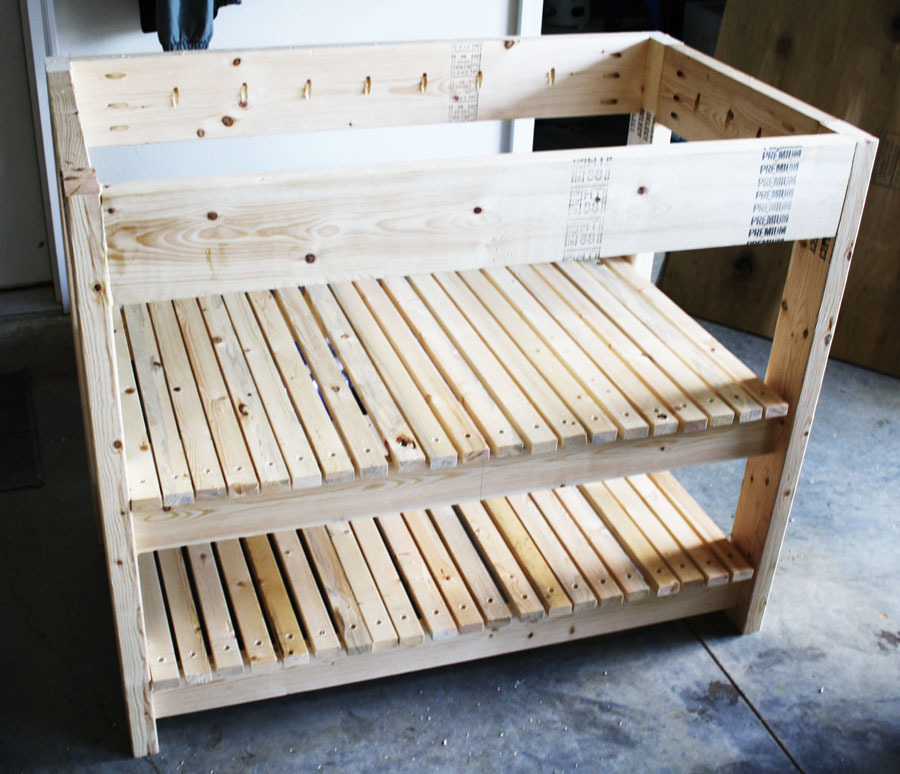
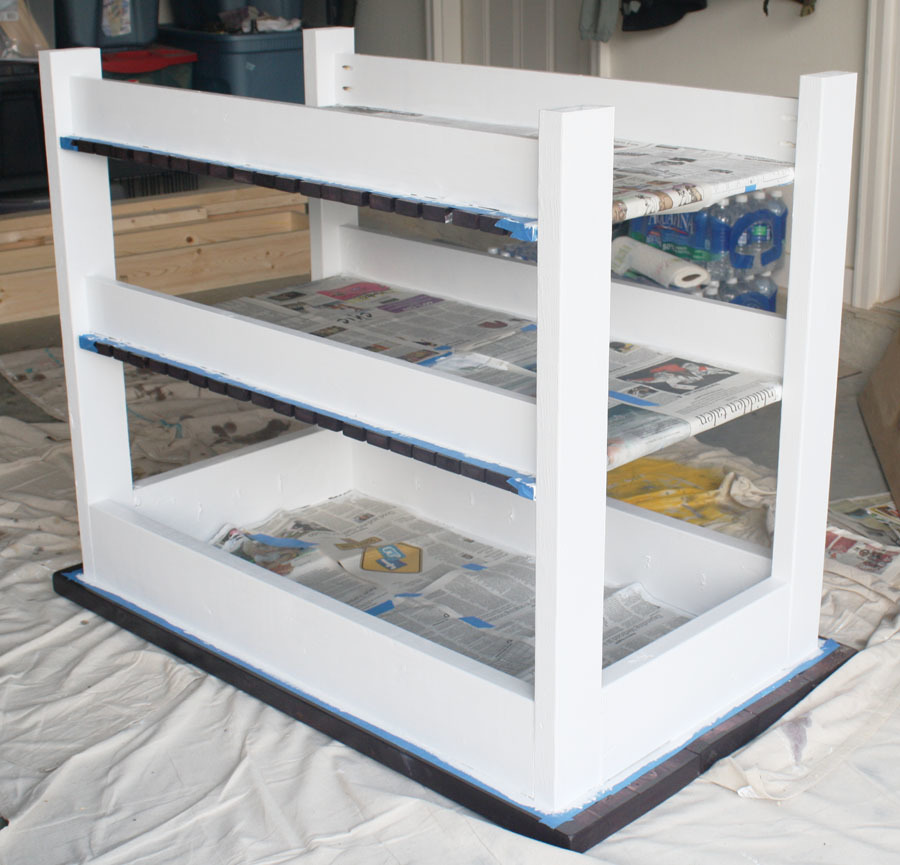
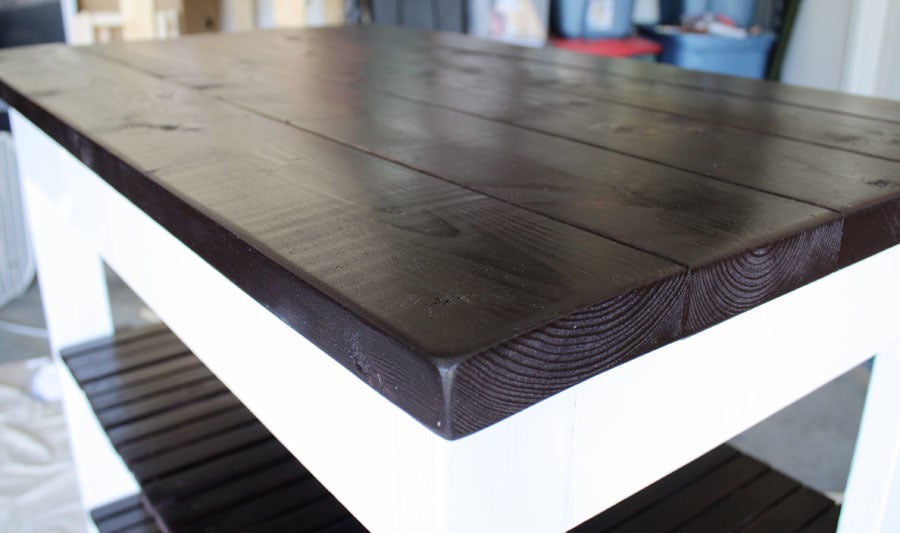
I decided to go with with a concrete slab on the top this project was quite simple especially with the well formatted plans
the slab is 20x20 so I had to make adjustments in my sizes!

I decided to go with with a concrete slab on the top this project was quite simple especially with the well formatted plans
the slab is 20x20 so I had to make adjustments in my sizes!

Instead of attaching the top to the coffee table base as done in the plans, the top is attached using a set of coffee table lift top hinges.

Fri, 08/21/2020 - 23:38
Looks wonderful, love the finish. What kind of stain did you use?
Wed, 09/30/2020 - 19:59
I love this table. It is just what l have been looking for. Is there any instructions. I would love to make this.
thanks
peggy
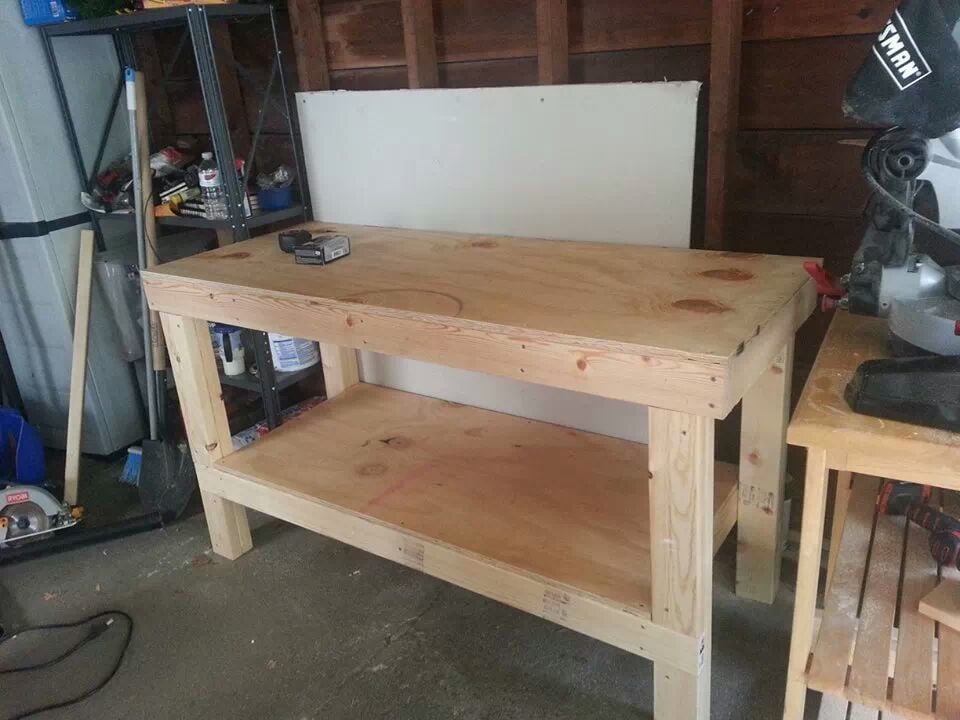
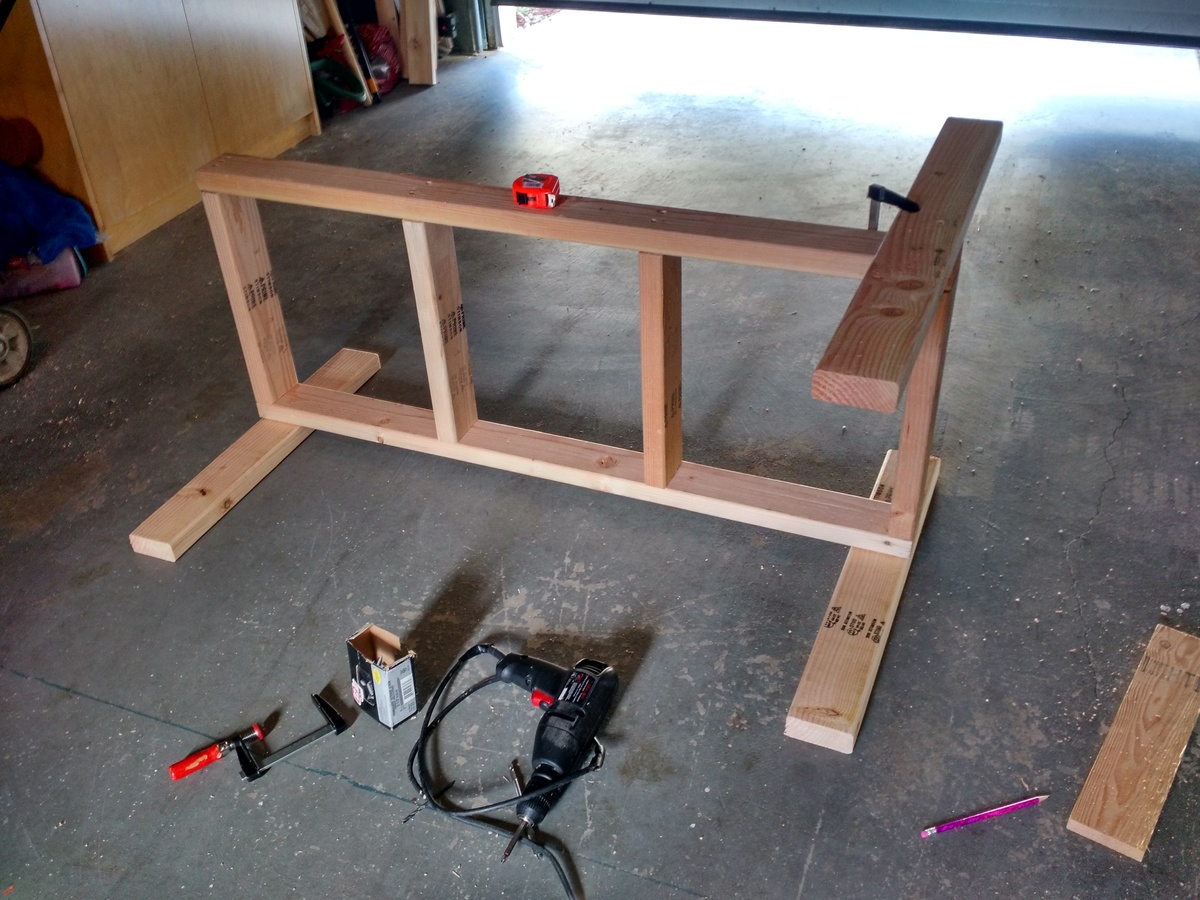
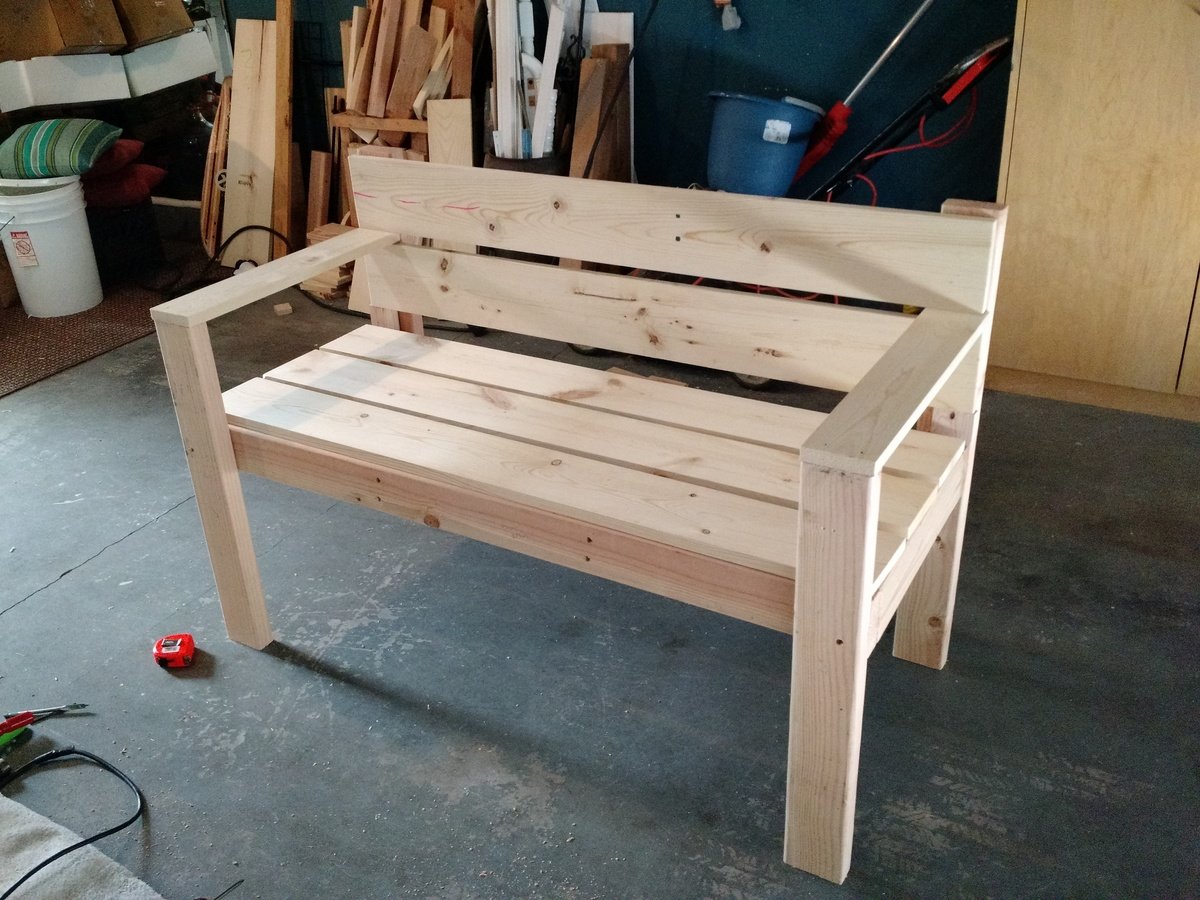
This bench was made from the plans for the Workbench to Get the Job Done....and we did get it done. About $50 in lumber and a few hours work. The only change we made is we used 3/4" plywood for both shelves to only use one piece of ply. Next to paint it turquoise! Thanks to my friend Richard Ramirez...he did most of the work! Next I'm going to make 2 more not as wide and without the bottom shelf so I can roll my shop vac under one and my trash can under the other.
Sun, 09/01/2013 - 06:45
If I may make a suggestion, you could screw a 2x4 flat to the back, which willow you yo drills holes across it for screwdrivers, chisels punches and what not!
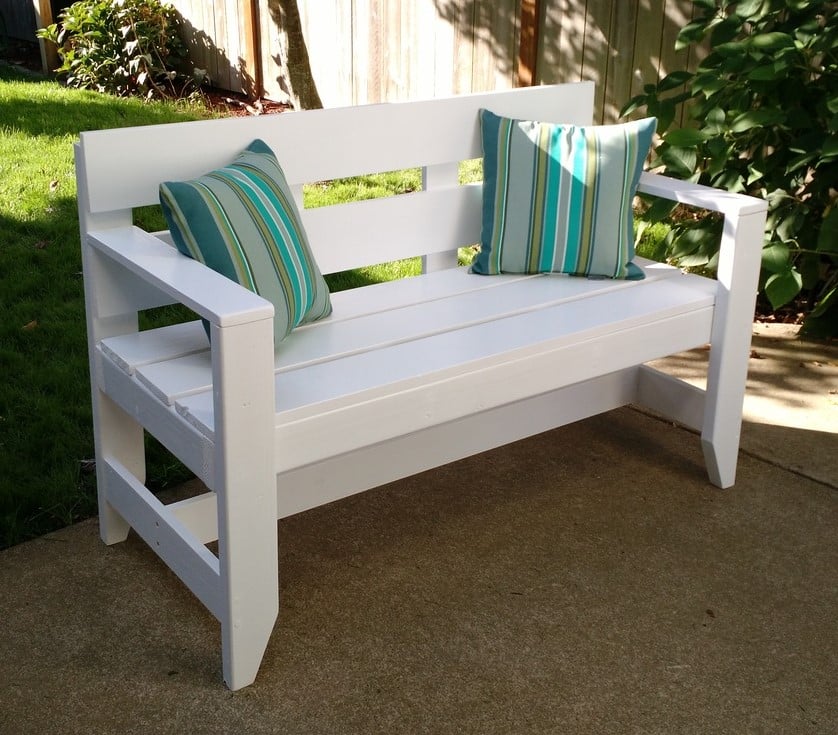
I used a mix of 2x4's and 1x4's for this project. It is only 4 feet long so I thought 2x4's would make it too bulky. It goes together very quickly and it looks great!
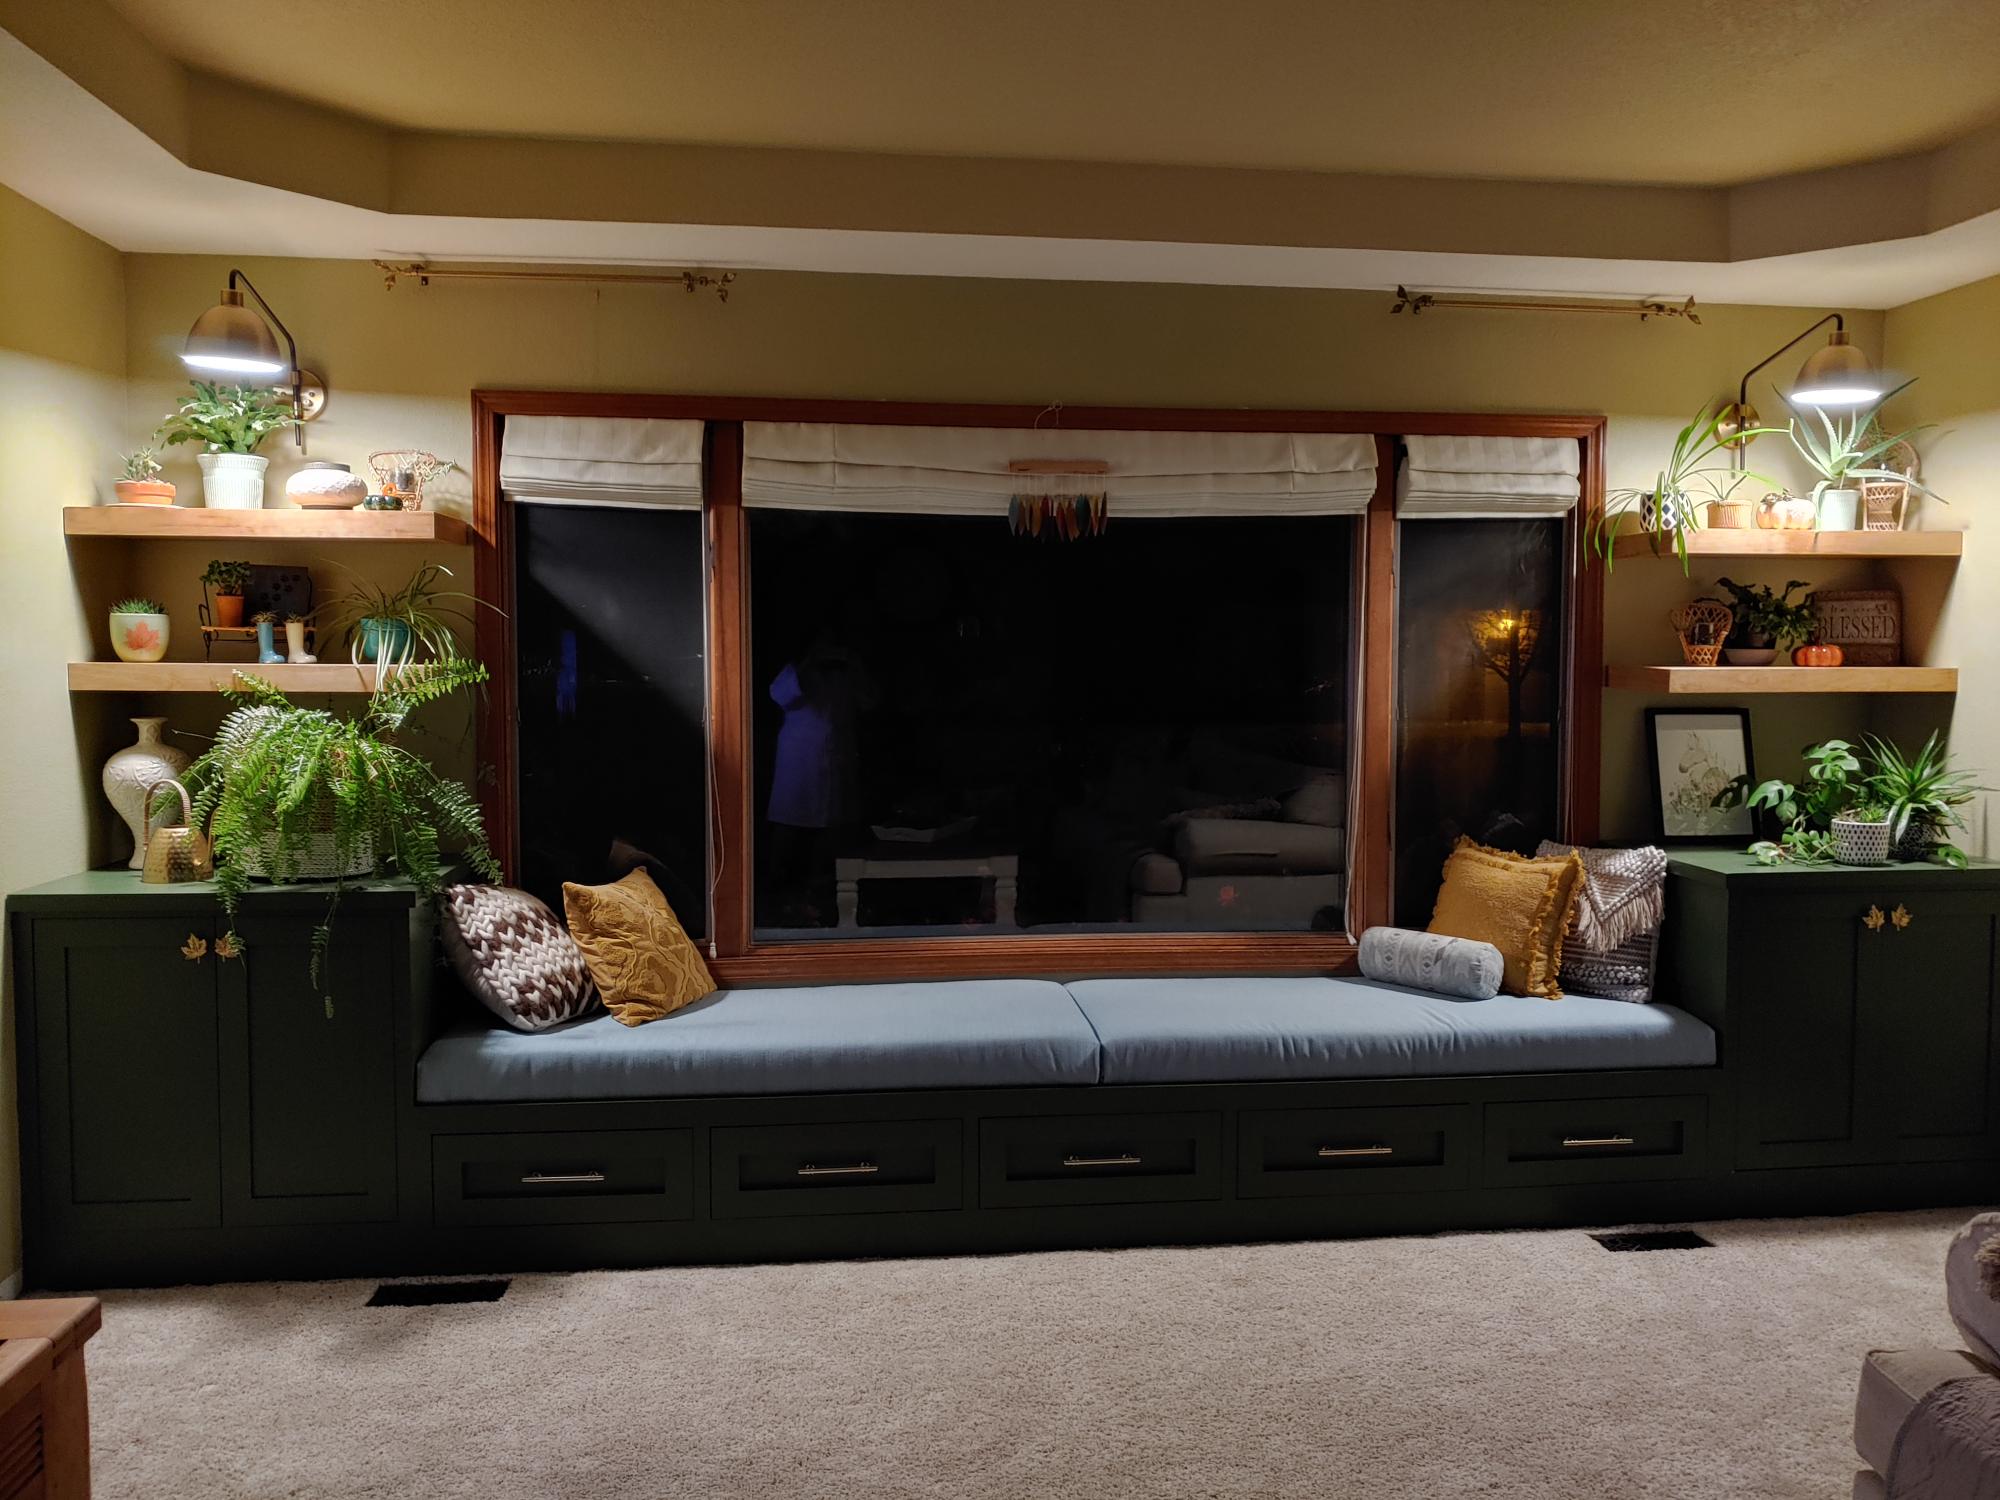
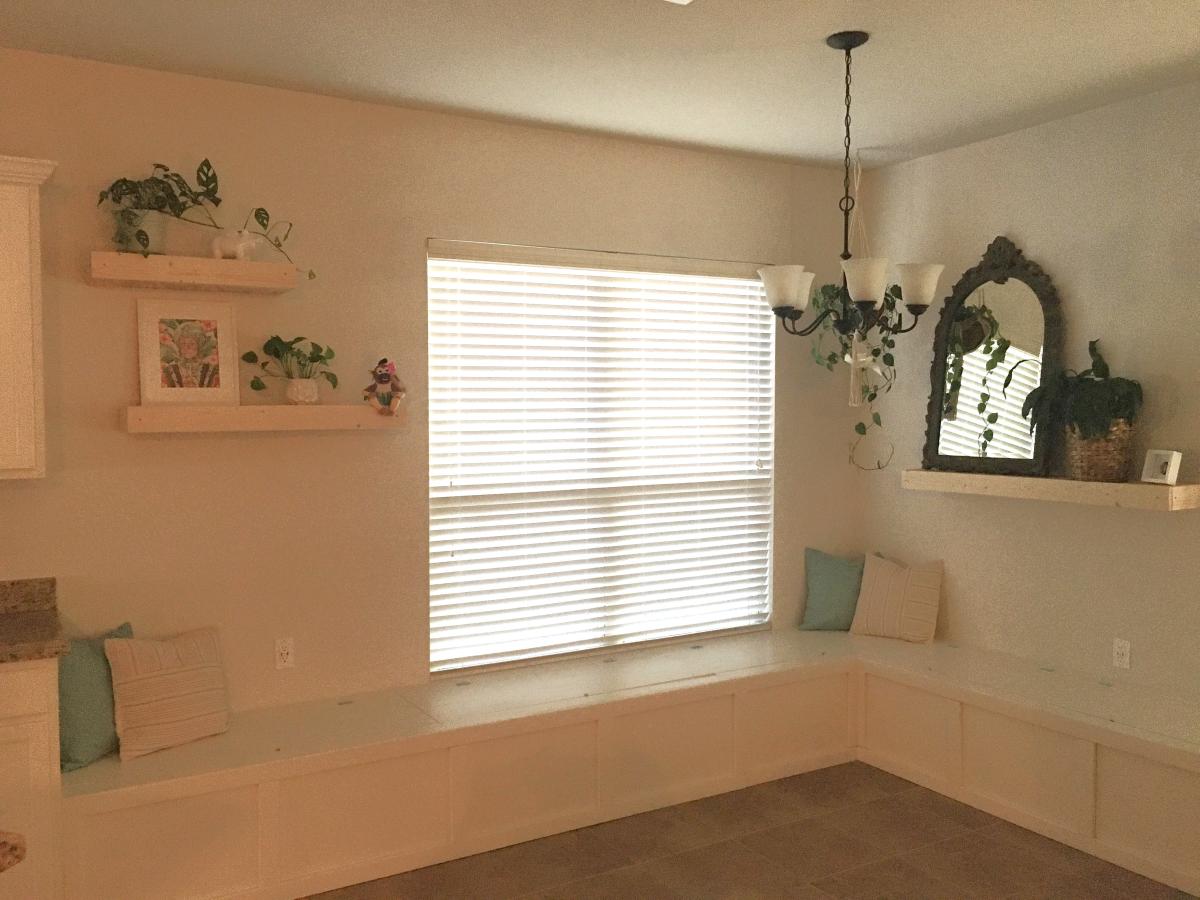
I have wanted a built-in window seat on this wall for a very long time. My hubby and I finally tackled this project. Definitely not perfect and lotsa challenges and mistakes made but we are happy with outcome.
Sat, 11/26/2022 - 14:47
This looks fantastic, great solution for the space! Thank you so much for sharing.
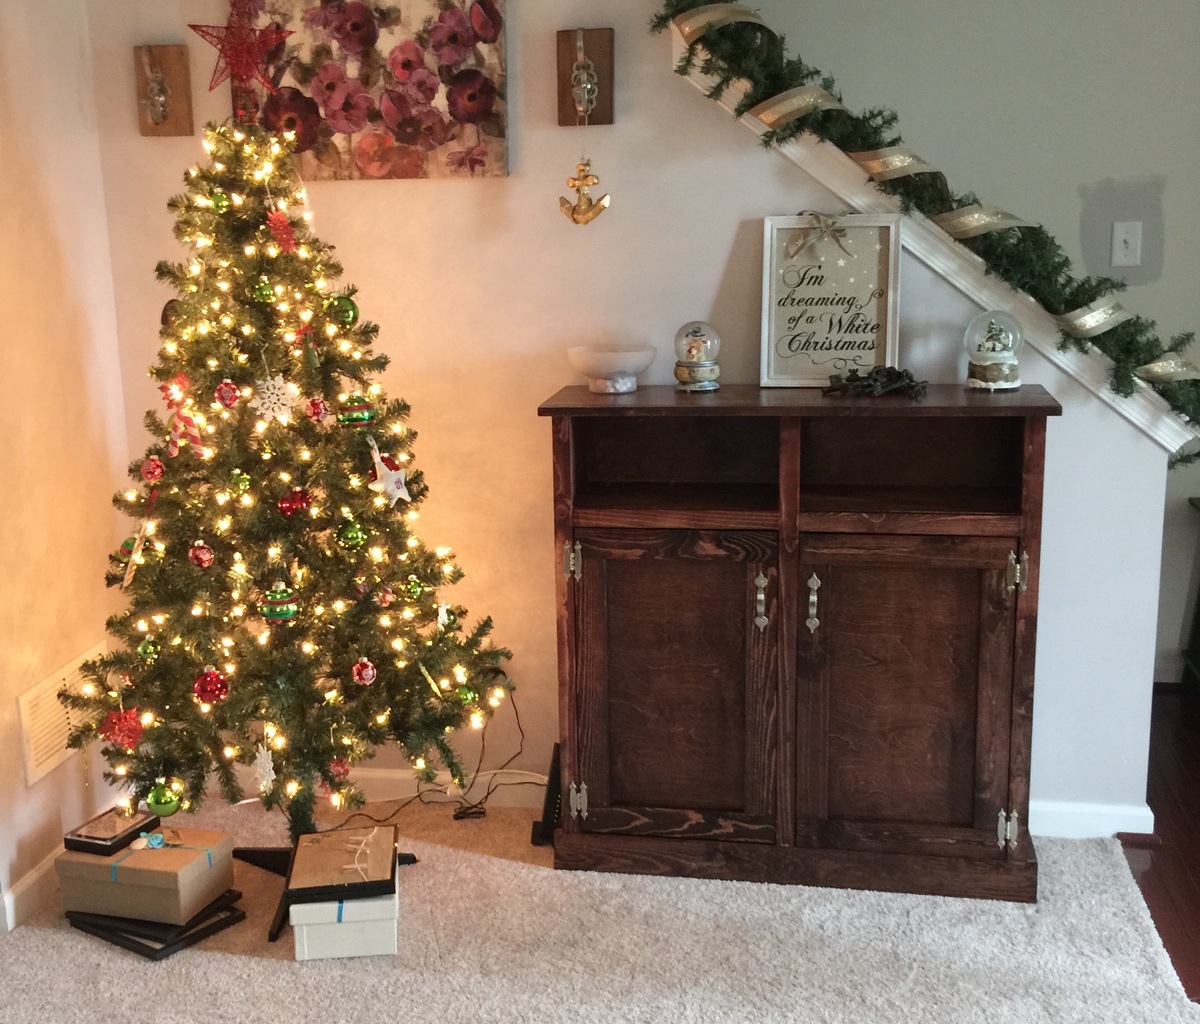
This was my first project with doors. I made it for my daughter's new house and she just loves it! I had a little trouble with the doors wanting to swing inside the console, so I added very small wood blocks on each inside top corner to stop them.
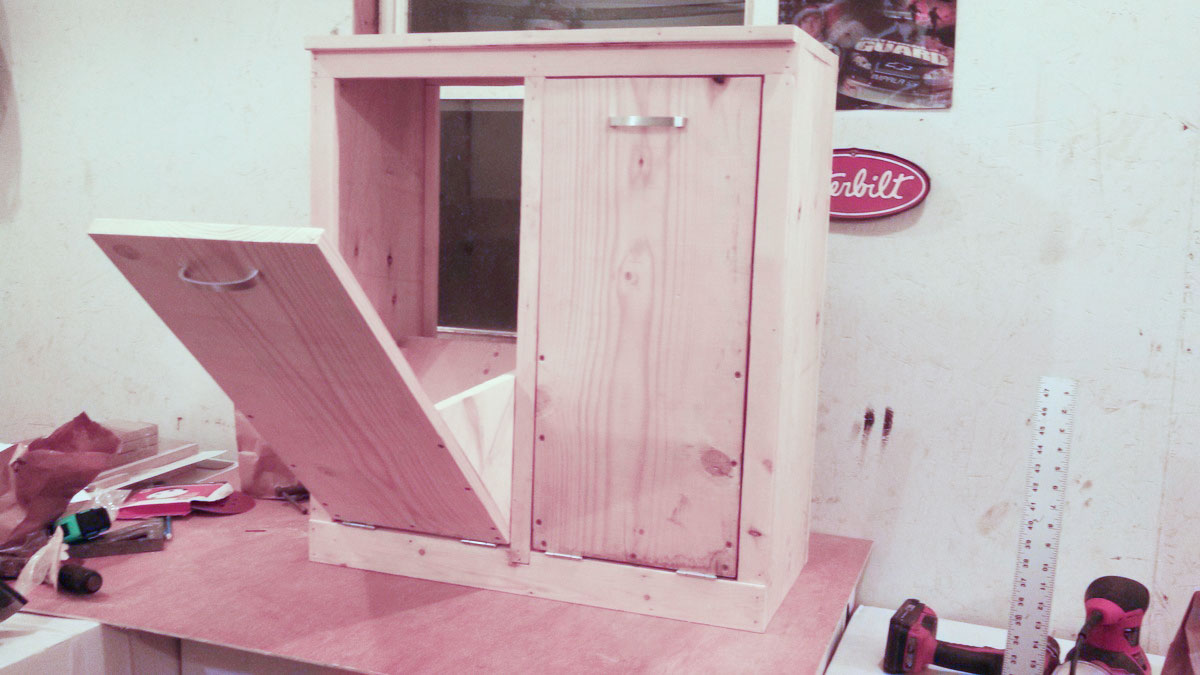
Really wanted one of these but everything I found was way too expensive so I found these plans, tweaked em a bit to fit the space I had and voila, double tilt-out trash bin. Thanks for the wonderful plans!
Sat, 05/02/2020 - 14:36
This is the exact Style I've been looking for!! I see that you made this ages ago - any chance you still have the dimension modifications you made somewhere?

Built for a customer out of reclaimed 2x6 spruce corrral boards. There was a lot of sanding involved in prepping this wood, but I couldn’t be happier with how it turned out!

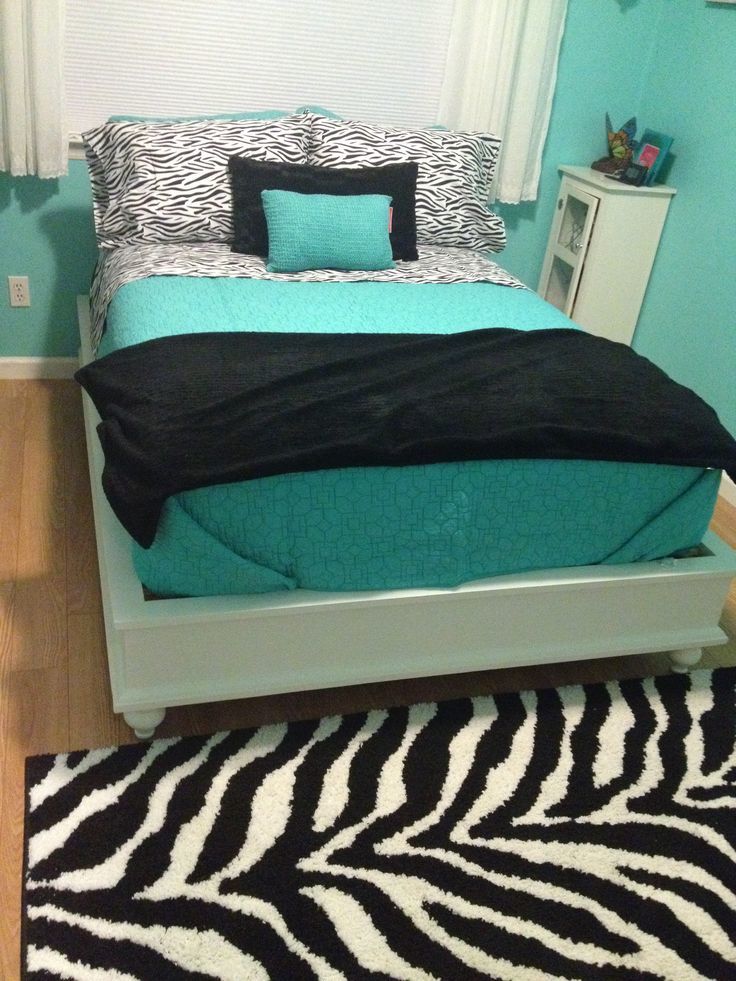
After searching for a bed for our tween we found that we couldn't find the bed we wanted for the price we wanted to pay. I'd been eyeing this site for months and finally decided to take the plunge. The Shanty-2-Chic blog really motivated me to get this going.
This was our first (and arguably most expensive) project ever- husband ended up acquiring new tools to make the job easier, haha.
We followed the tutorial from the site with modifications for a full size mattress. (Just substituted 53x75 for the queen measurements and adjusted cuts accordingly.)
Used furring strips (1x3) for mattress support to save money.
Finished with zinsser primer (bought a quart for all our future projects)- this stuff is awesome!
Picked a flat white paint in a color that matched her dresser.
Cost of Daughters New Bed:
Lumber $120,
Kreg jig clamp $29
Air compresser with nail gun $150
Learning how to construct furniture ourselves: Priceless
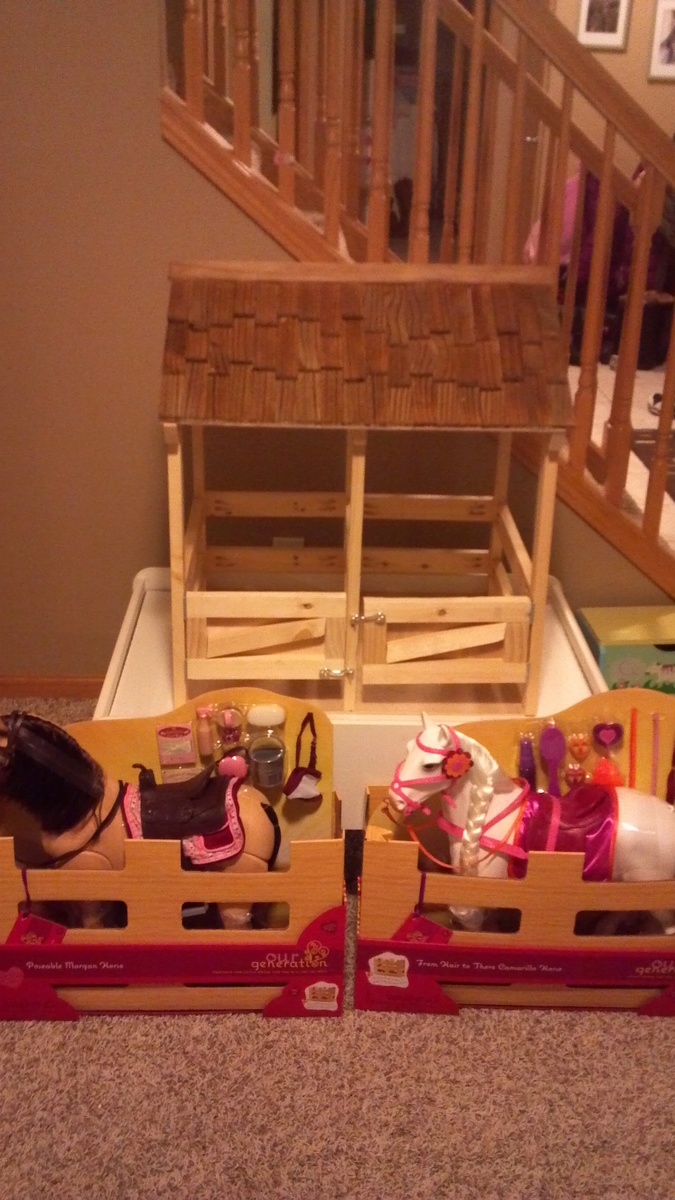
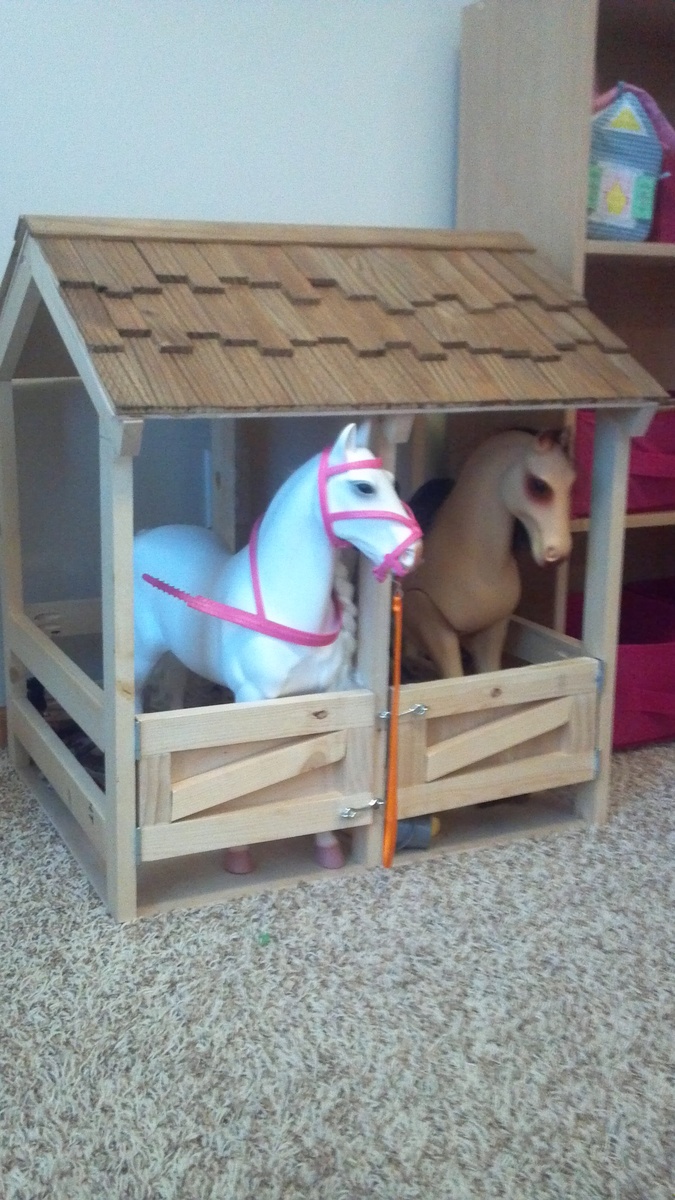
This was a neat project that made a great Christmas present, along with some horses, of course. What really finished it off was the shim shingled roof. I also liked the hinged doors which gives it a little action for the kids to play with.
Thanks for the plans.
Peter
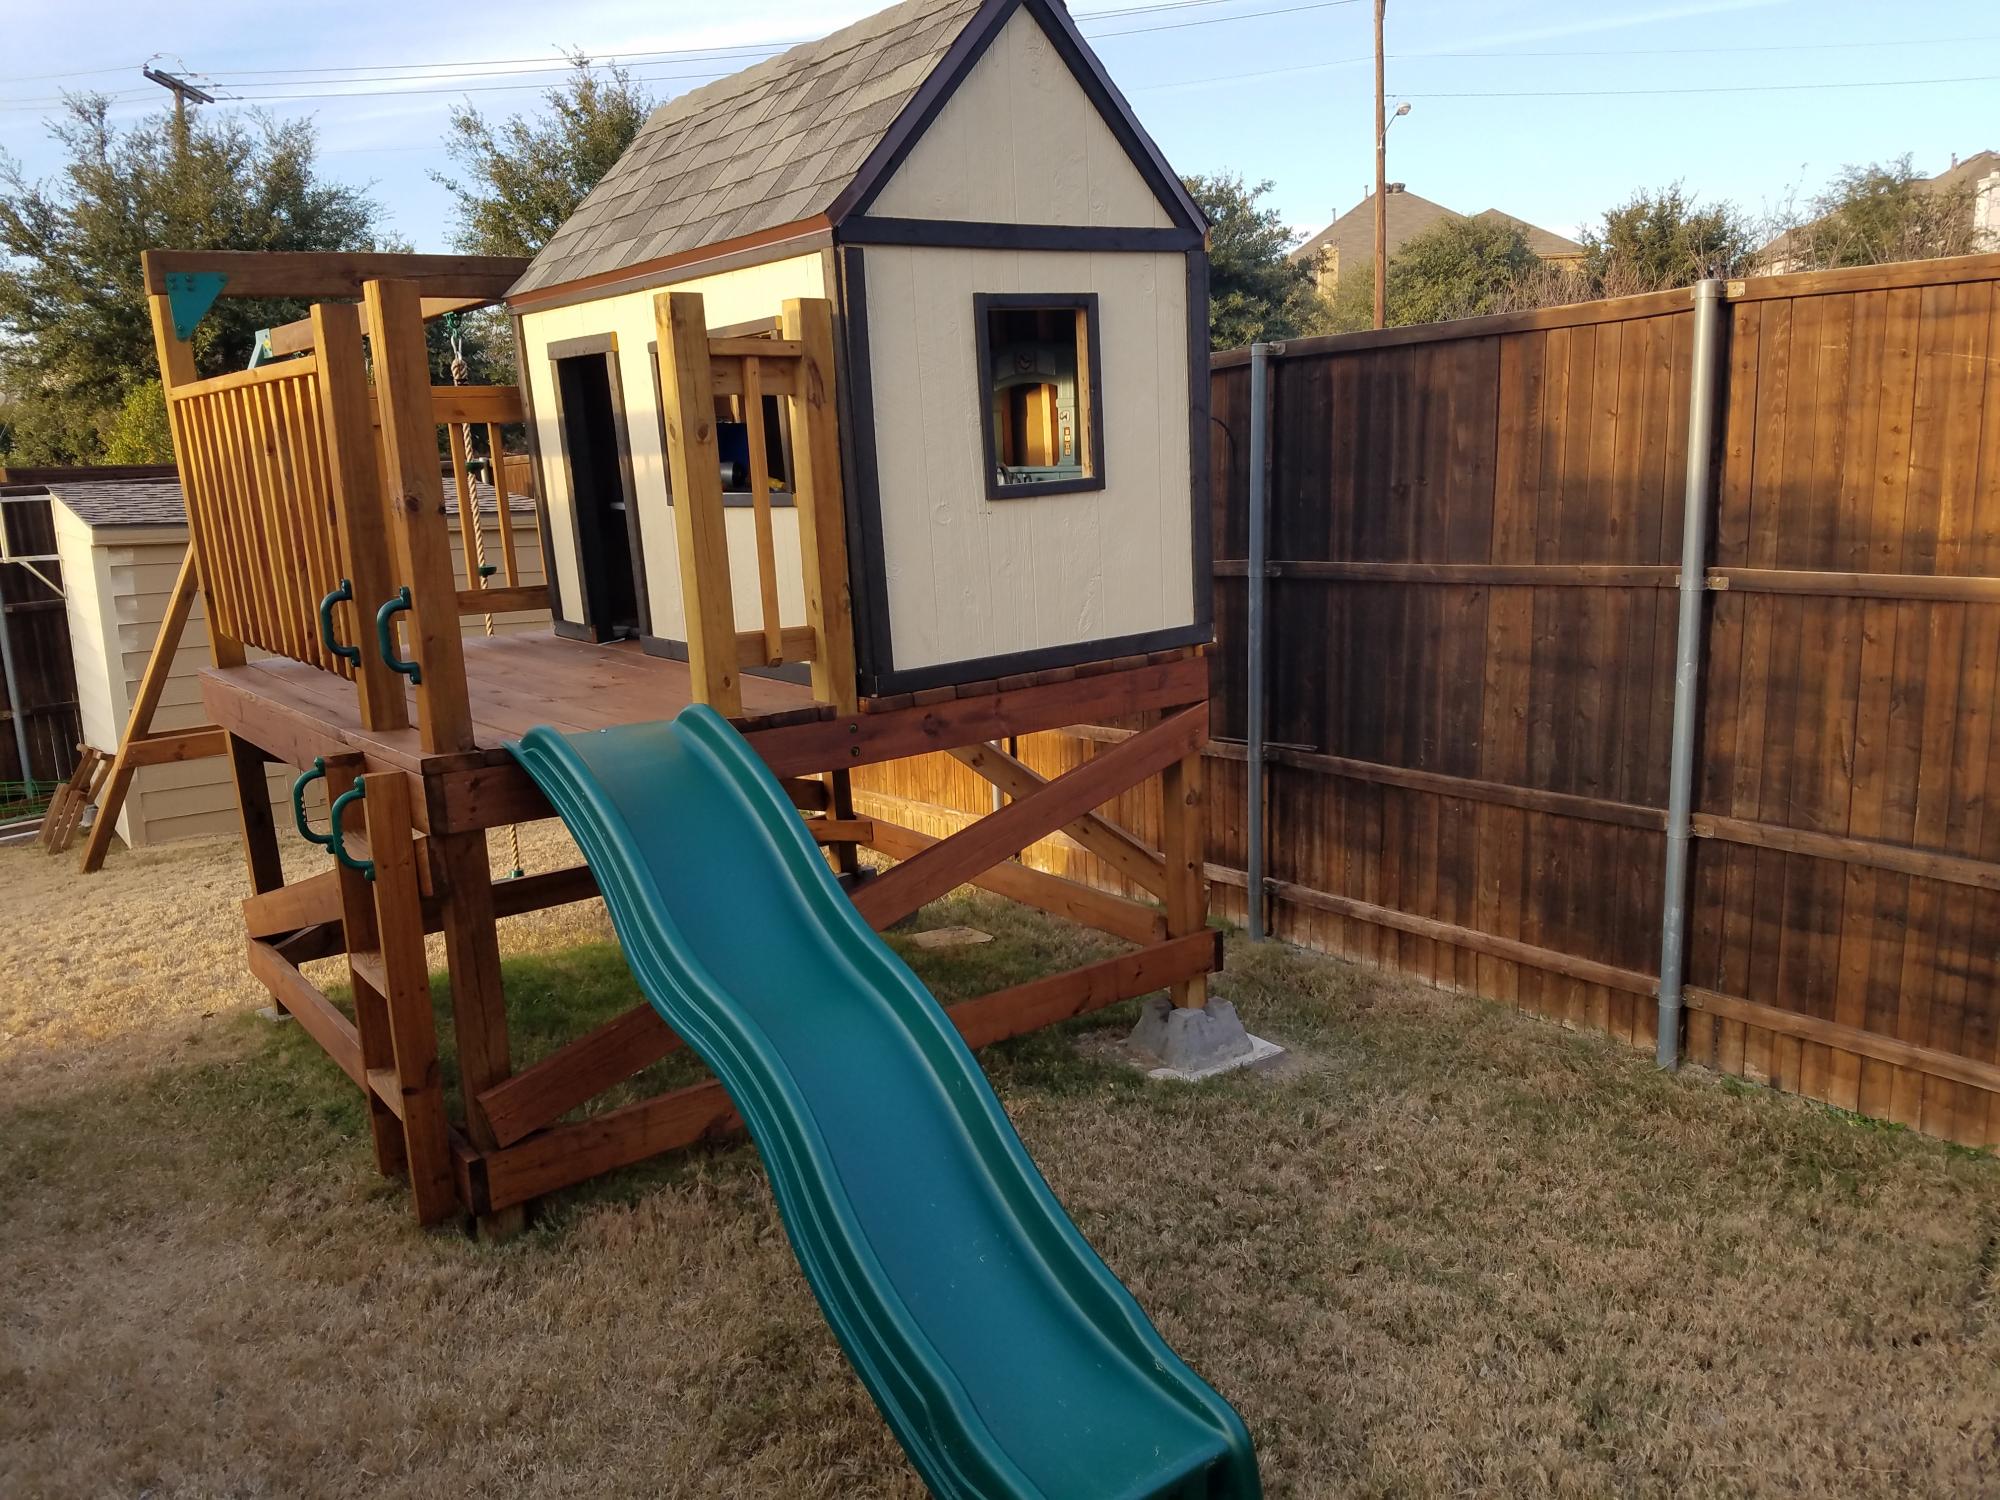
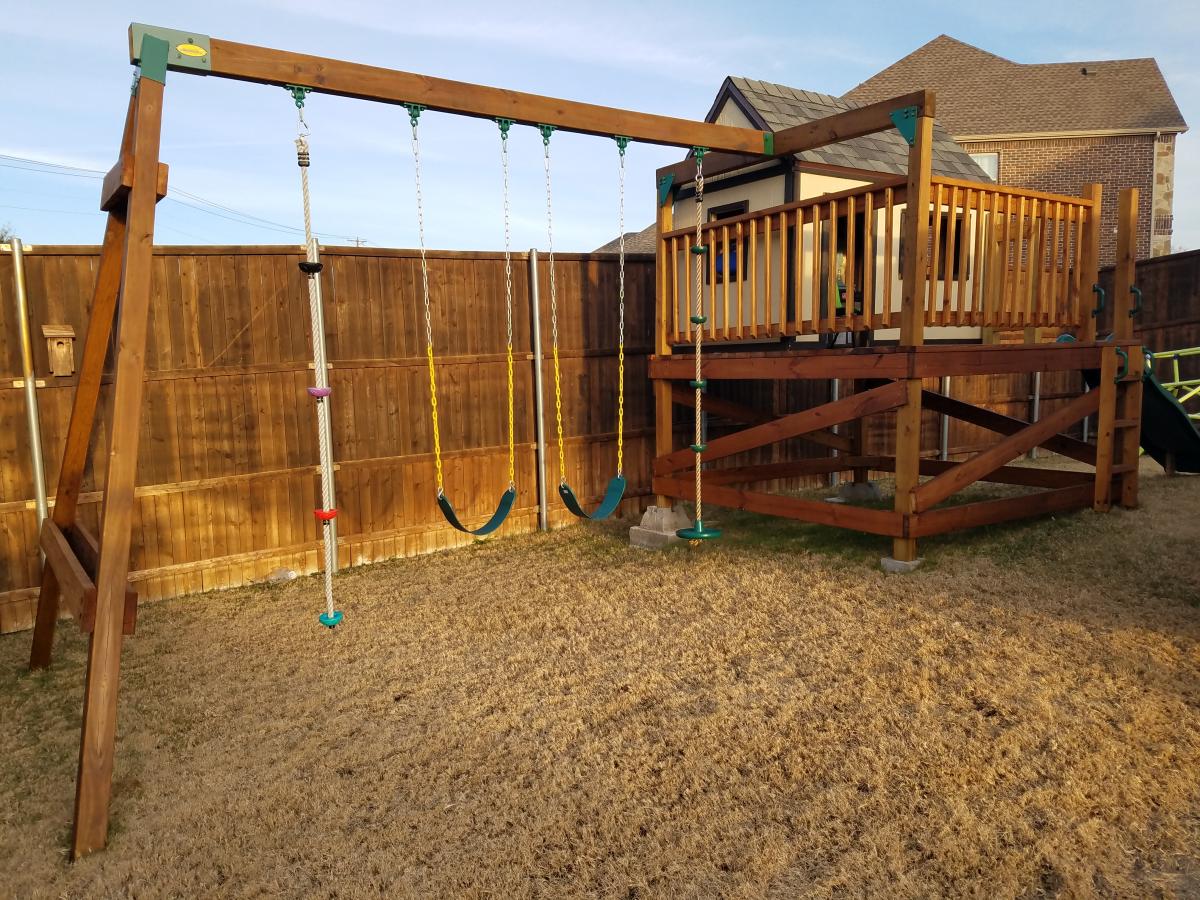
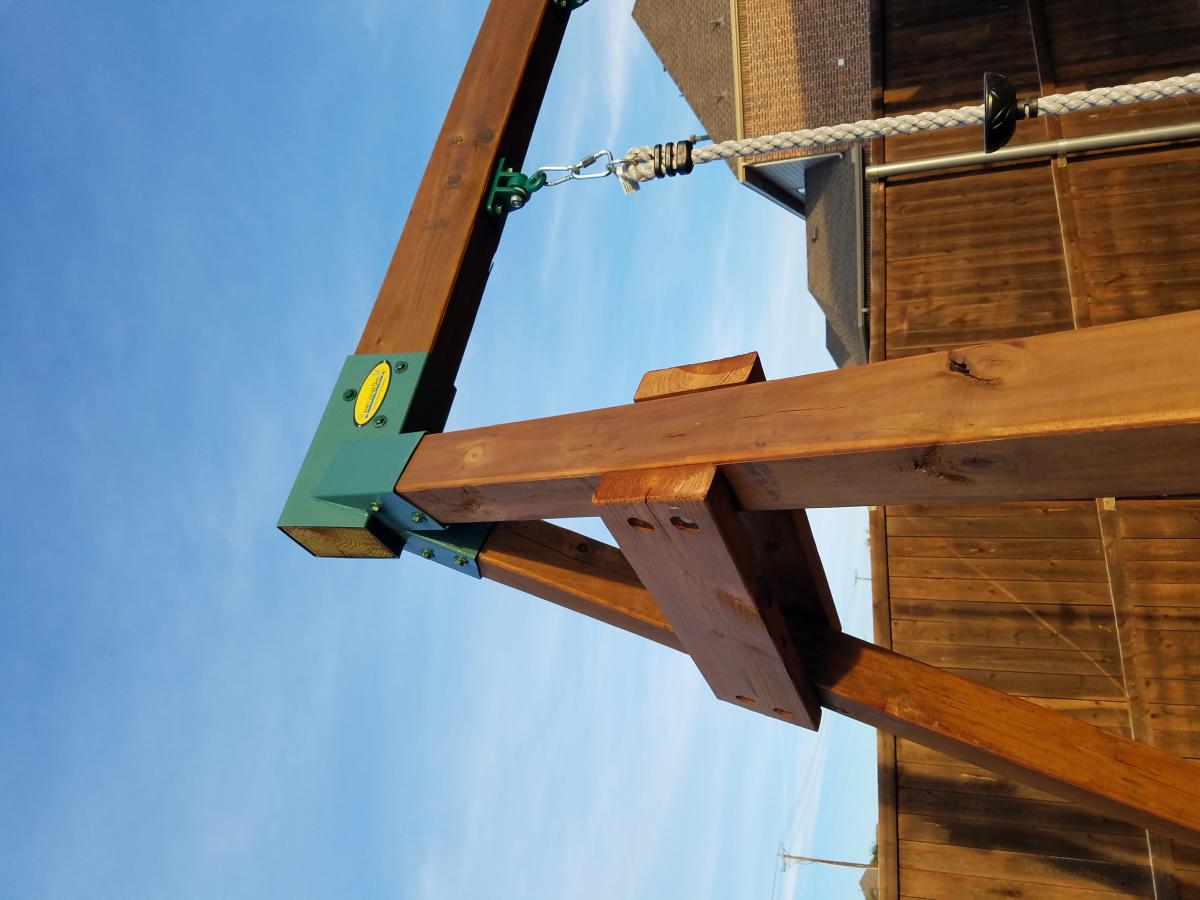
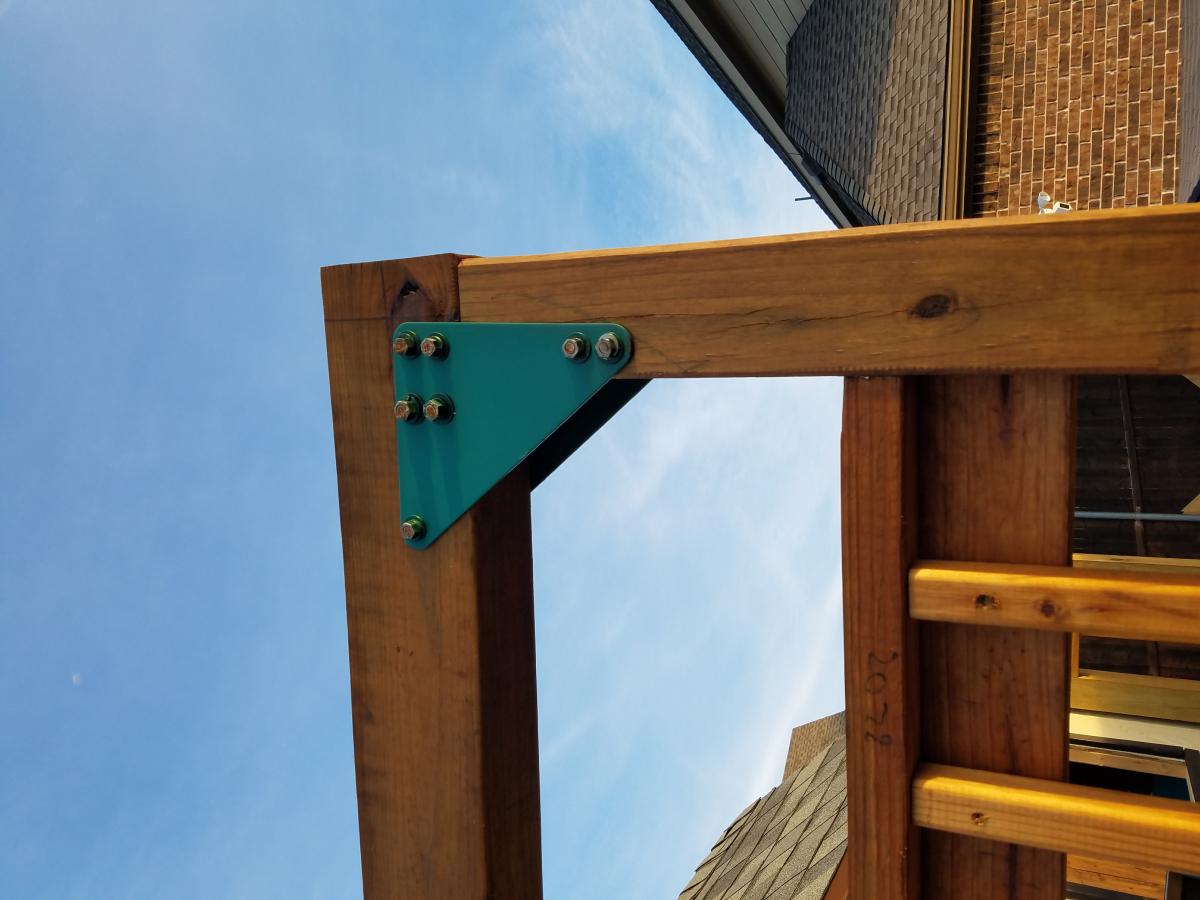
I deviated quite a bit from the plans. Mostly, I used readily available swingset hardware to beef up the design. This stuff can be found on big online sites or specialty sites.
I bought all of the swings, and ninja rope online along with the 4ft slide and safety handles.
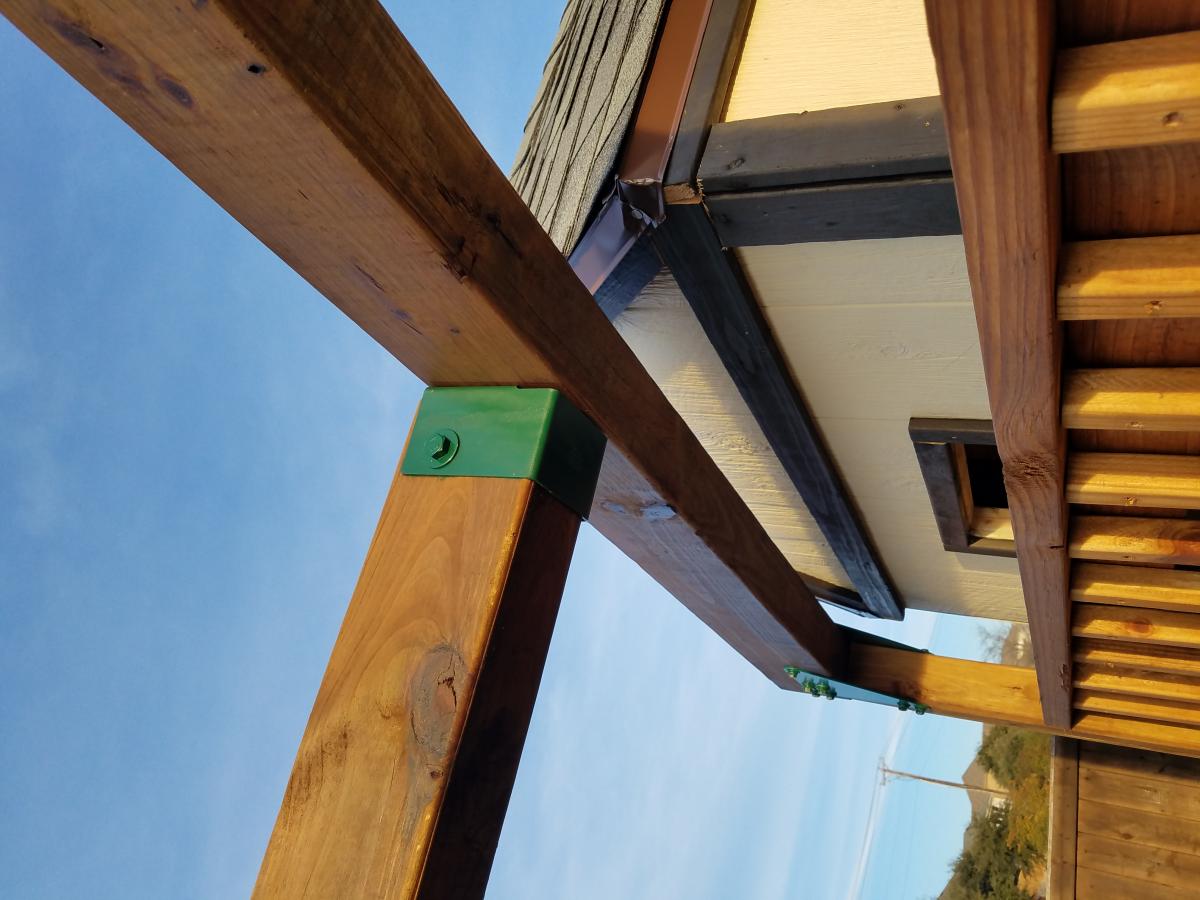
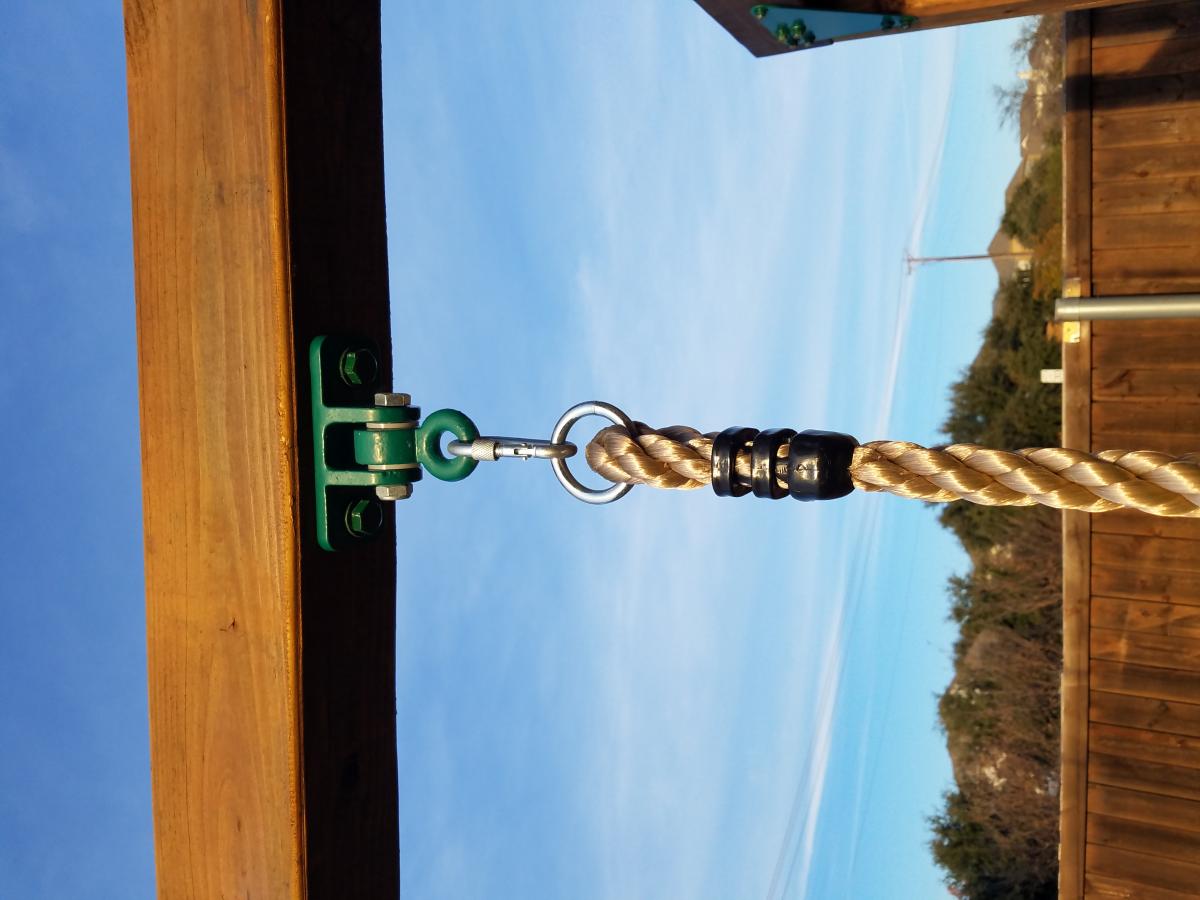
Mon, 04/12/2021 - 15:48
did you put your pillars into concrete? It looks like you have a few different bases.
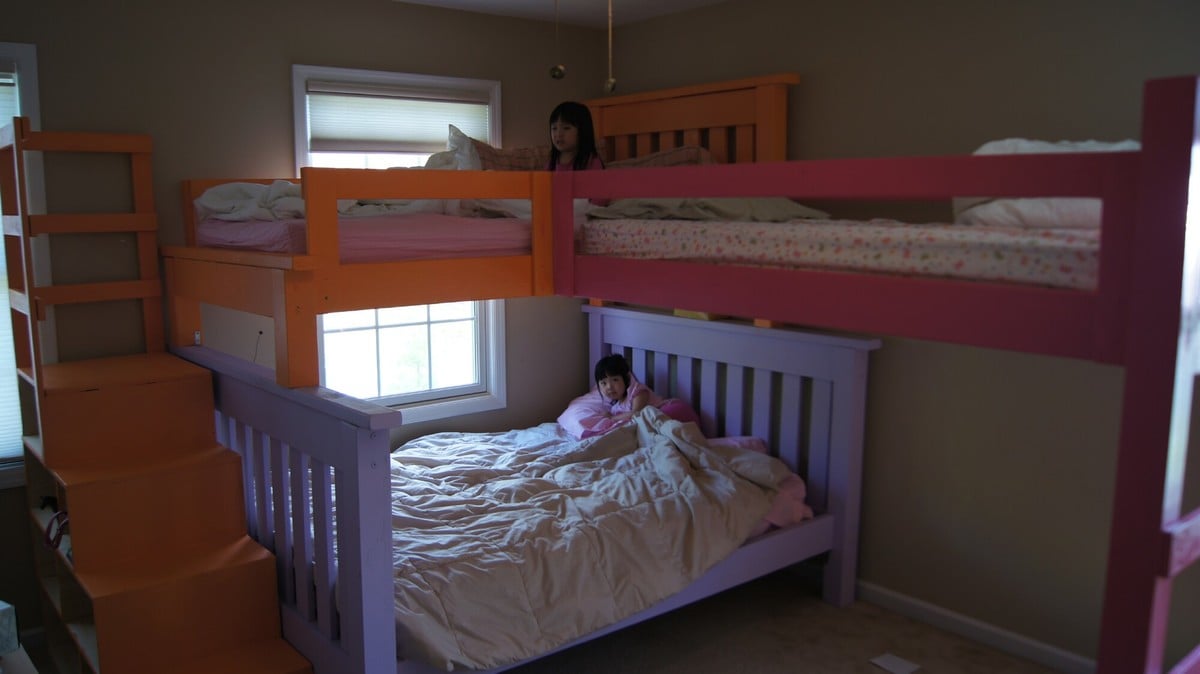
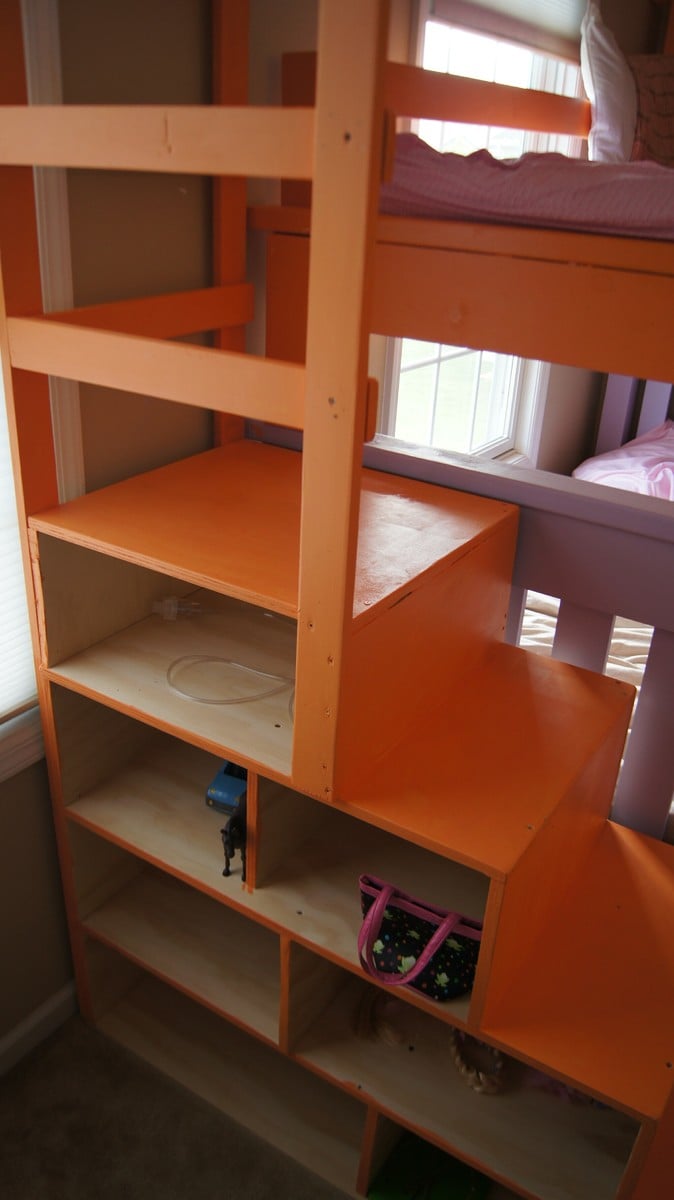
I'm a father of 4 girls ages 6,5,4, and 1. So a regular bunk wasn't enough so I decided to add the 3rd bunk. Each painted in my girls favorite colors. The paint was Martha Stewart signature paint which was on clearance on Lowes. Think it was 3 or 4 dollars a quart. The cubby steps are basically just 4 boxes stacked on top of each other and nailed together and made from 3/4" furniture grade plywood.
It didn't come out perfect but I'm pretty happy with the results. Let me know what you guys think. Thanks.
PS, Ana...my wife is a big fan of yours. She's the one who turned me onto your site.
Fri, 05/11/2012 - 17:30
That looks awesome! It's definitely one of a kind too. Nice job.
Sat, 11/24/2012 - 09:06
Hi,
We are looking to build something very similar, but are needing more information. How did you attach the loft bed to the top bunk bed? What do you have at the foot of the loft bed to keep it up? Thanks so much for any information.
Thu, 07/31/2014 - 14:17
This is BEAUTIFUL. I bet your girls have loved it and worn it well. :) I would love to see 2-years-later pics to see how it has held up over the years. :)
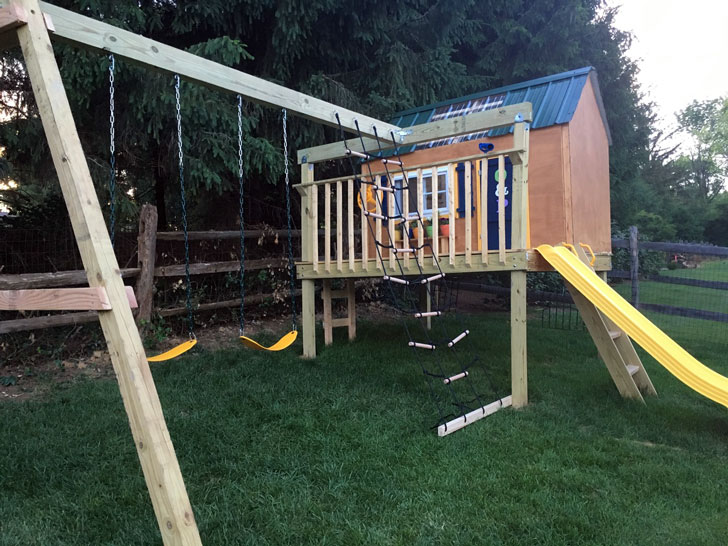
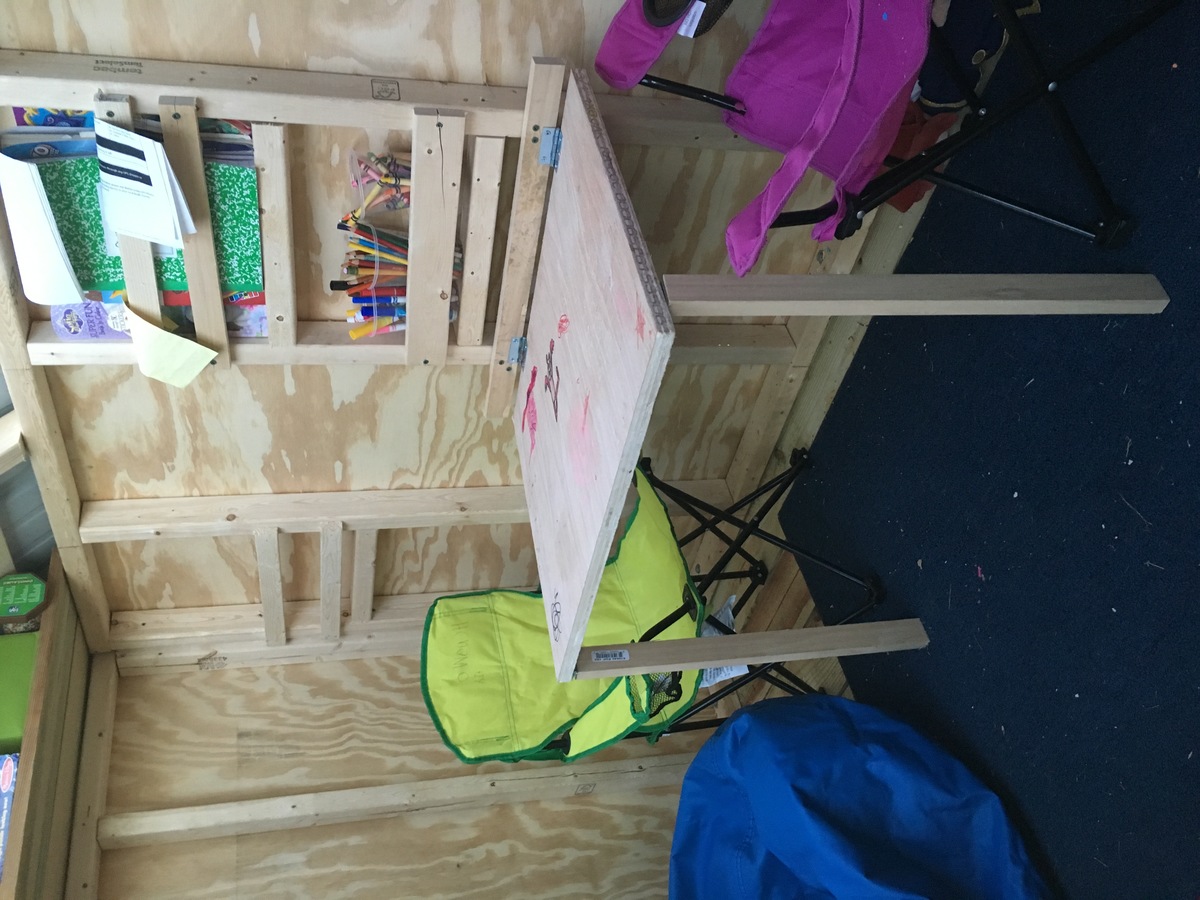
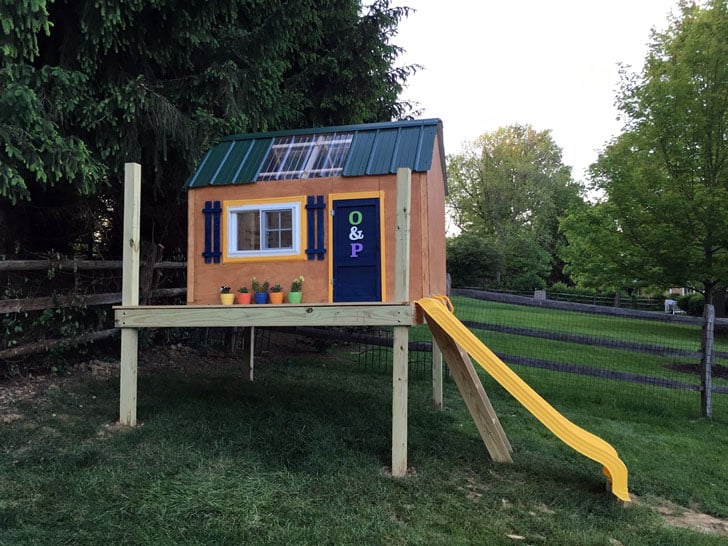
We really enjoyed building this playhouse swing set for our kids. We have a decent slope to our backyard, so we needed to sink our posts, which required a bit more work thank Ana's plans. We also used a real window (my dad just happened to have in his garage) instead of the 3 open aired windows Ana's plans called for. Inside we built a fold under table, shelf, and a chalkboard for thier entertainment.
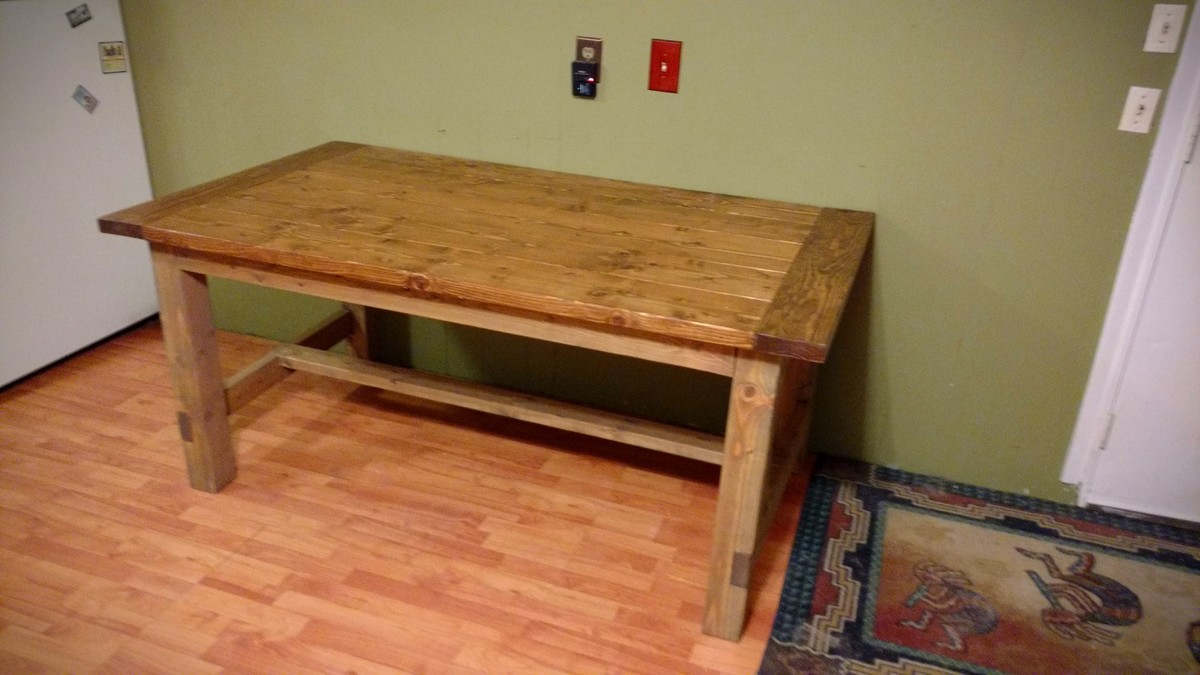
This was my 5th build. Took a few weekends working in the morning. Table is Weathered Oak (base) and Early American (top) stain. Modified the plans to make it slightly smaller so it would fit better in my kitchen. Very sturdy and table looks gorgeous in person, very happy.
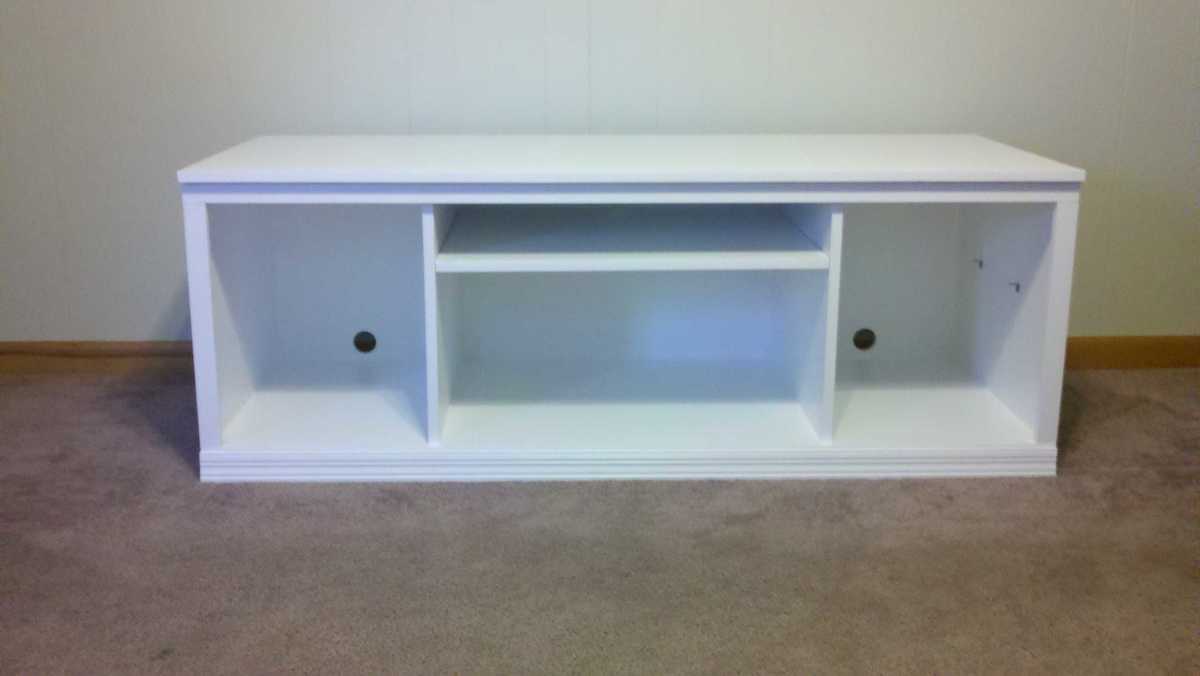
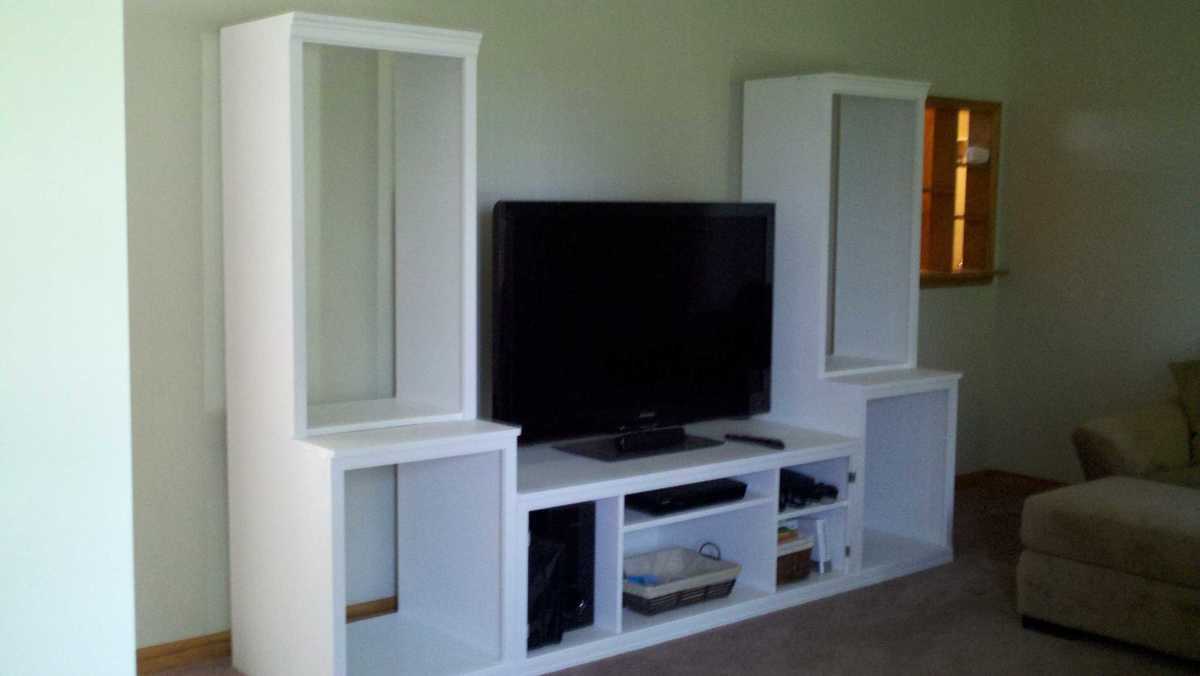
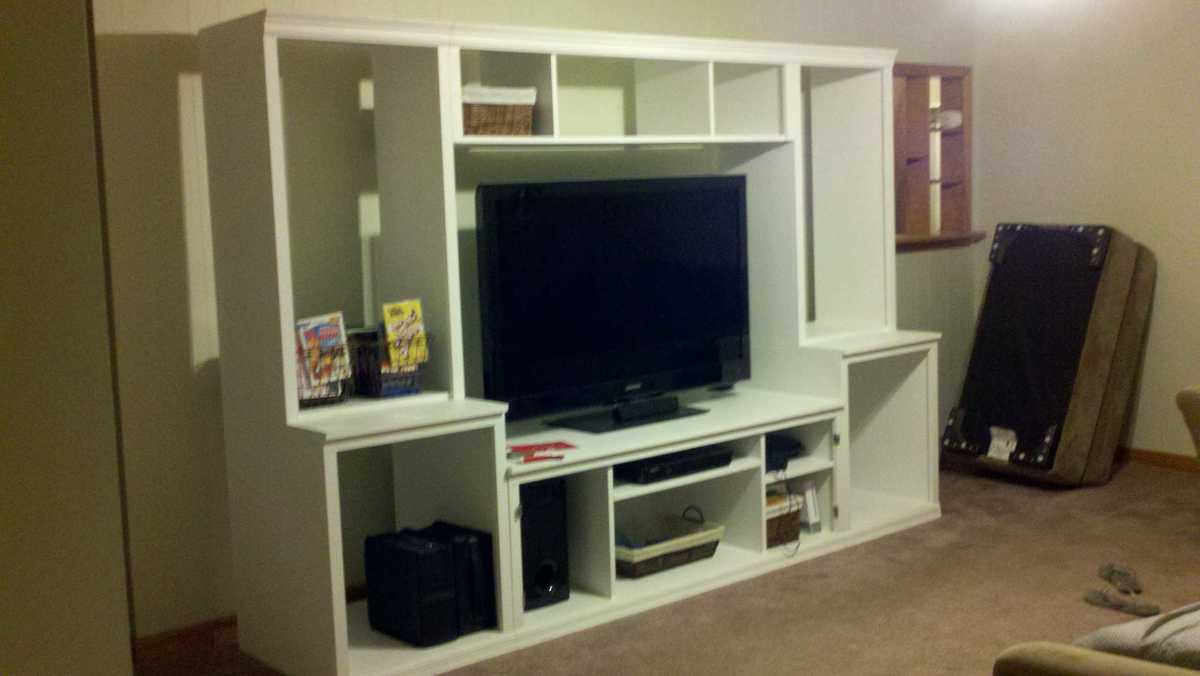
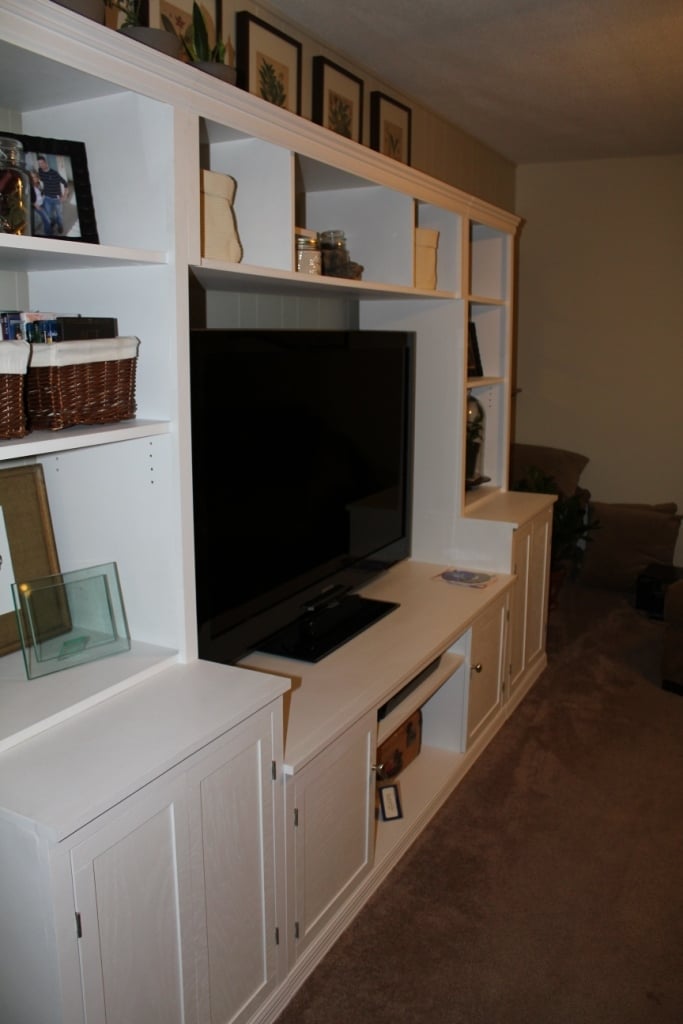
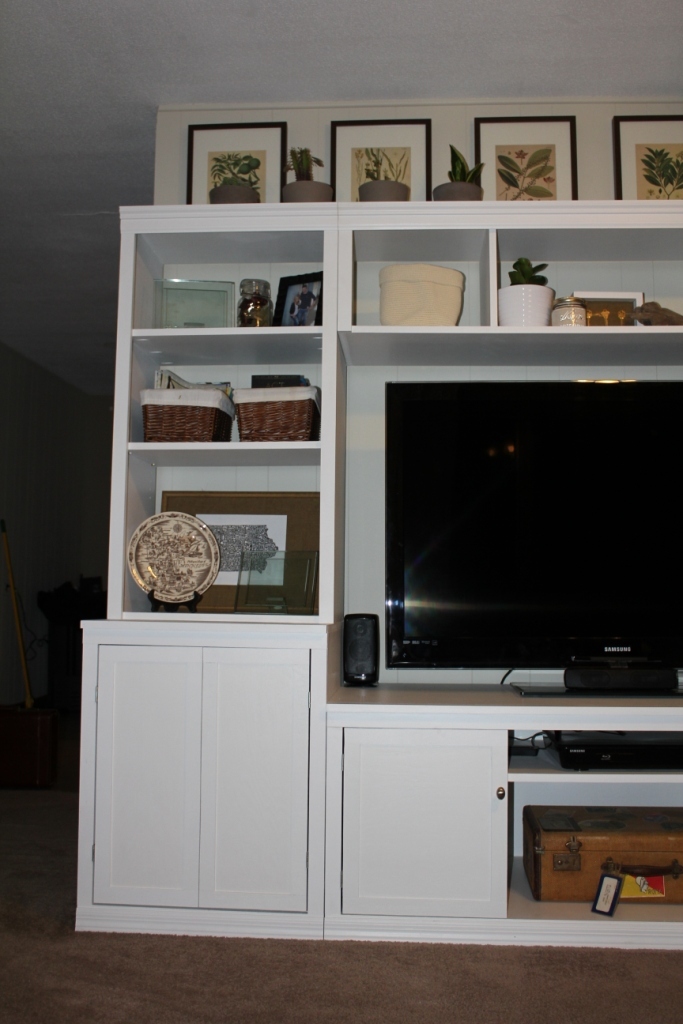
This media center was my hubby and I's very first project! It was definitely a learning experience and its definitely not perfect, but we love it! We love how much it looks like the pottery barn version and that WE MADE IT!!!
This project took us quite some time to complete..... and its still not 100% done as we still need hardware for the 2 outermost doors but are having a hard time finding ones similar to the pottery barn ones that aren’t going to cost us a fortune..... My hubby and I put this together piece by piece as we had time (which seemed to be few and far between). If you had uninterrupted time to work on this , one could probably start and finish it in a weekend. But because of lack of uninterrupted time and the learning curve of this being our first project it took us months to finish.
We got the TV base (the bottom middle piece) done first and we were so excited about it that before attempting the rest of the project, we painted it and set it up in the living room :) We were so excited to get the rest of the media center made but my hubby got busy with work and was unable to help me. I got antsy, so antsy in fact that finished the rest of the project COMPLETELY on my own!! And I am SO PROUD OF IT!!! I made and painted the rest of the media center except for the doors because i (not sure why) was completely intimidated by the doors so I procrastinated making them, so the media center sat in the living room for a month or 2 without doors or the adjustable shelves on the towers lol. Last week I finally got up the courage to make the doors and they (to my surprise!) really weren’t that bad!! I painted them and the adjustable shelves and finished assembling the media center. Its now finished and decorated except for some of the door hardware!!! SO EXCITED!!!
Since this was our first project we hadn’t bought a Kreg Jig jet (we have since bought one) and I HIGHLY recommend getting yourself one. It would have made this project so much easier.
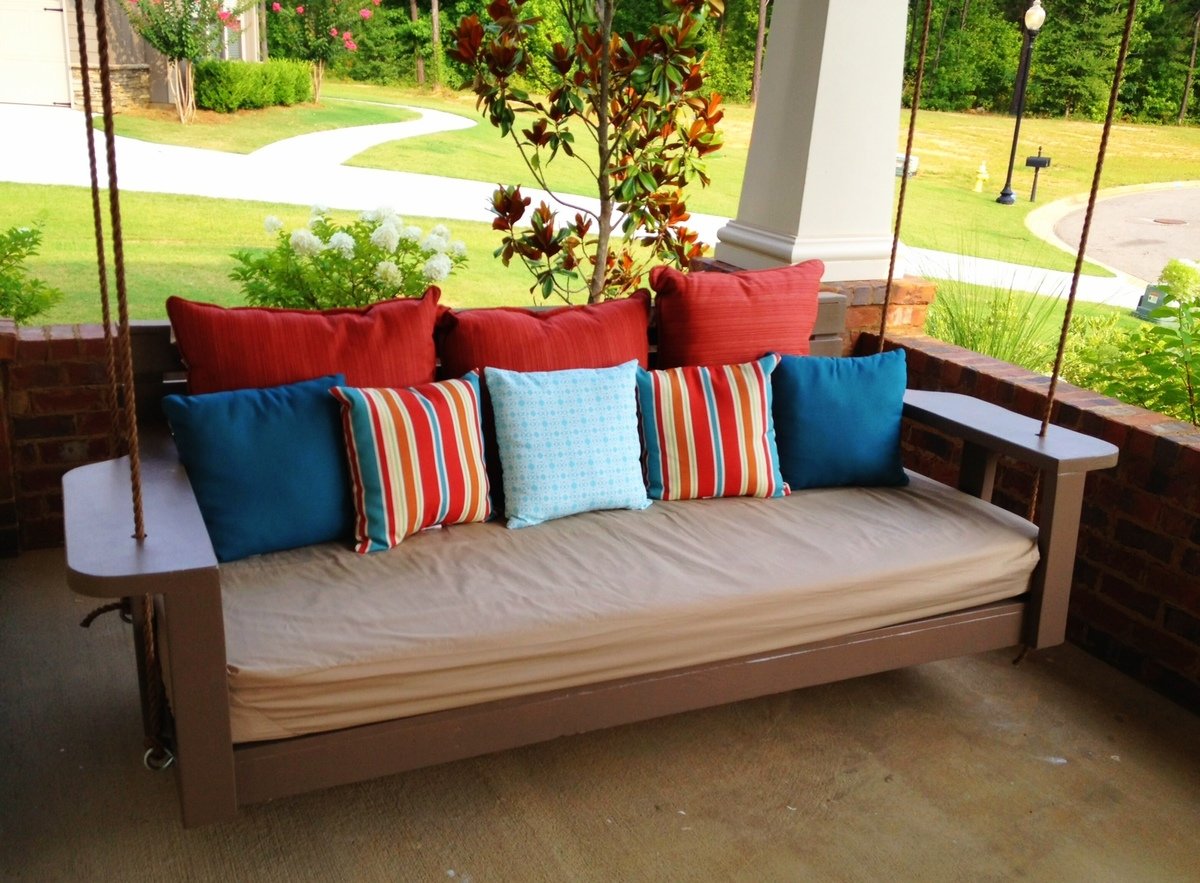
A few years ago our family vacationed in Watercolor, on the northwest Florida coast. We loved the house we stayed in so much when we returned home we put our house up for sale so we could build a home similar to the one we stayed in. One of the features we loved so much was the large covered front porch and most of all the swing bed it showcased. My wife spent every morning and night that week relaxing in that swing. I promised my wife then that I would make sure got her own swing. Thanks to Ana White, she was back in her (new) swing last night.
I began with the "Large Modern Porch Swing" plan and made some changes. I wanted to use a twin size mattress so I increased the size of the swing's base. Also, because the mattress was 6" I lifted the arms and back. The arms are the biggest and best change I think. I had seen someone else do similar arms, but I they used an 1x12 I think. I wanted a heavier look, so I used a 2x10.
Wed, 07/17/2013 - 13:56
Do you use a regular twin mattress? What do you do when it rains?
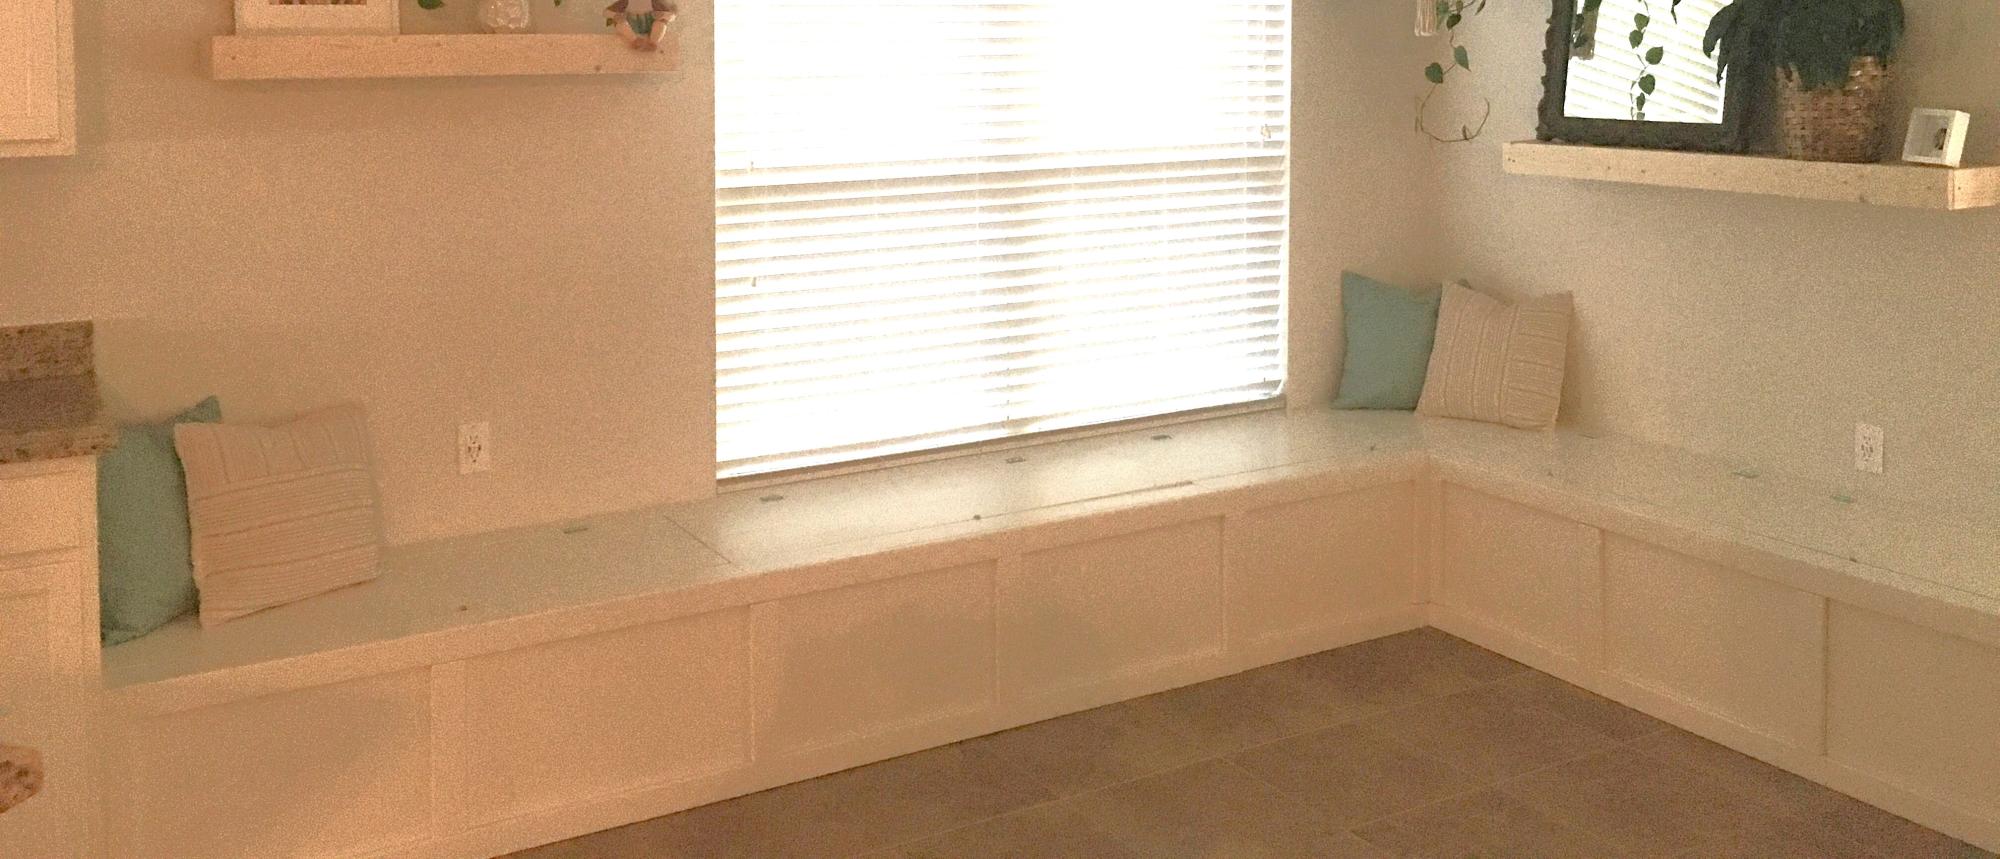
Large Banquette Bench with Storage (12’x7’)
Anna from Louisiana
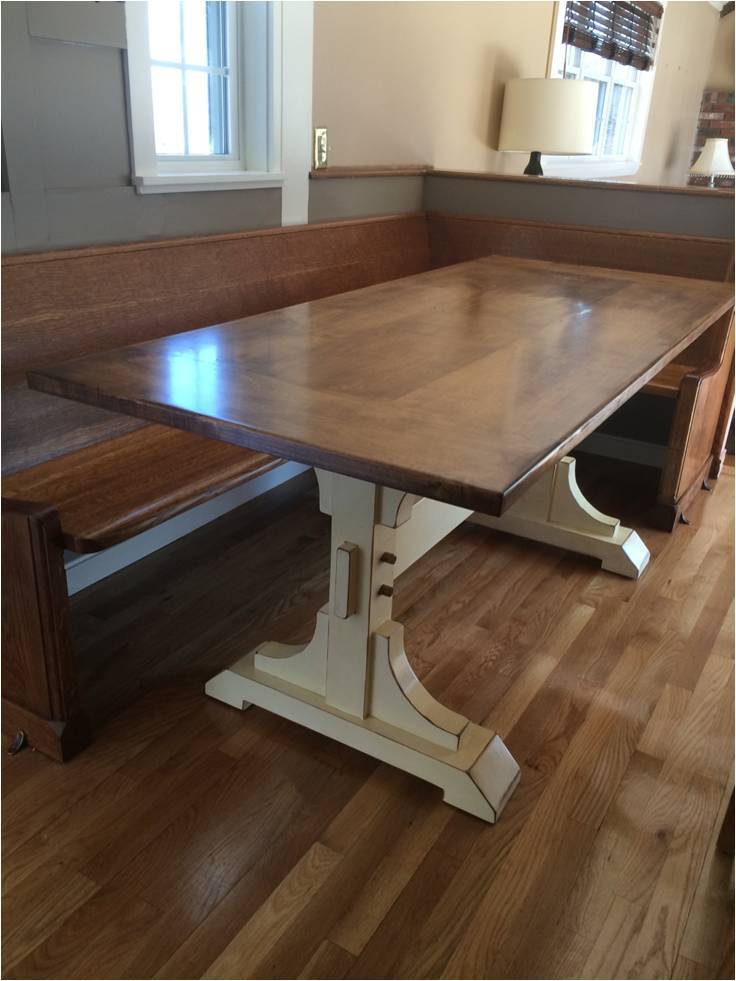
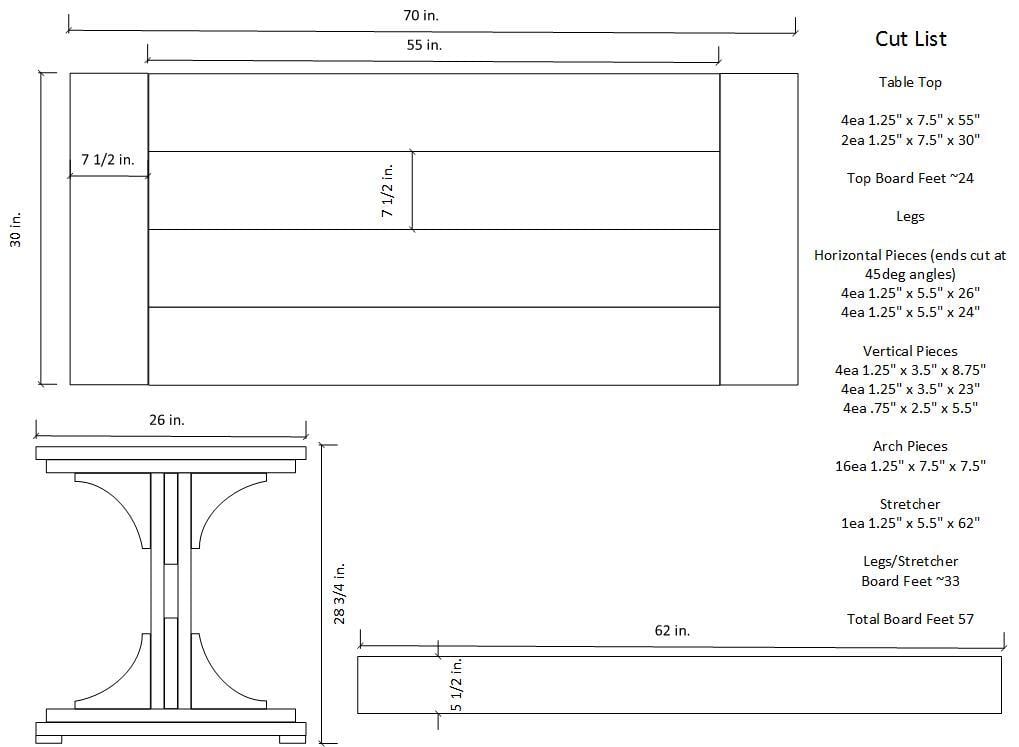
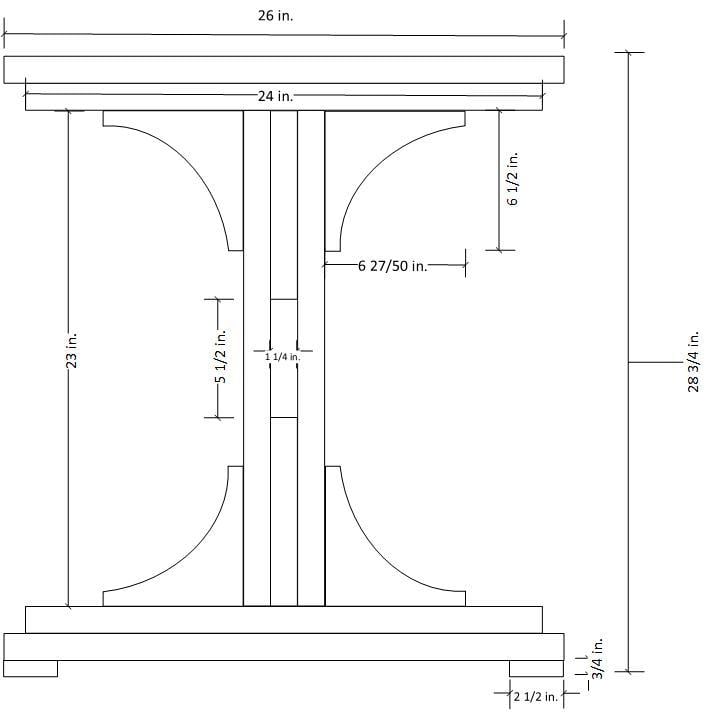
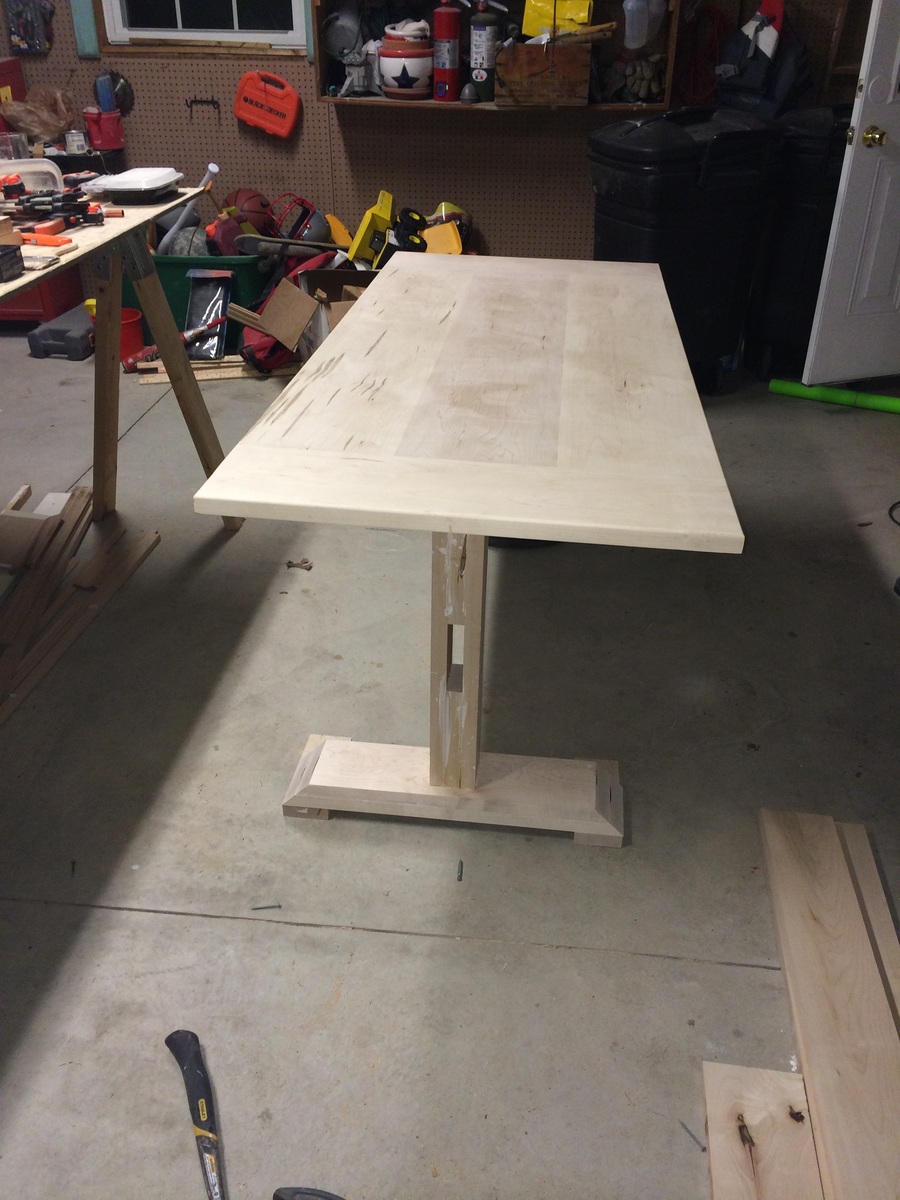
Farmhouse table made from distressed (worm hole) maple.
My neighbor was able to get me the 5/4 distressed maple for about $2/bd ft - I ended up buying 100 board feet and had plenty leftover. The finished board feet for this project was about 60 if I remember correctly. So the $200 was the bulk of the expense. The only other costs were sand paper, I bought a Kreg Jig, screws, Minwax Marker, paint, stain and urethane (much of which I already had).
It came out better than I anticipated. The antique white finish was not difficult at all.
Tip - When following the instructions for the finish here, I applied the first coat of urethane with a brush almost immediately after applying the Minwax marker to all of the sanded edges. I did this in haste, but ended up with some unexpected results that really added a nice touch. The stain from the marker incorporated a bit into the urethane as I brushed it giving it an antique, yellow hue. At first I thought I made a big mistake, but it turned out to add a really nice look.
Mon, 05/19/2014 - 07:29
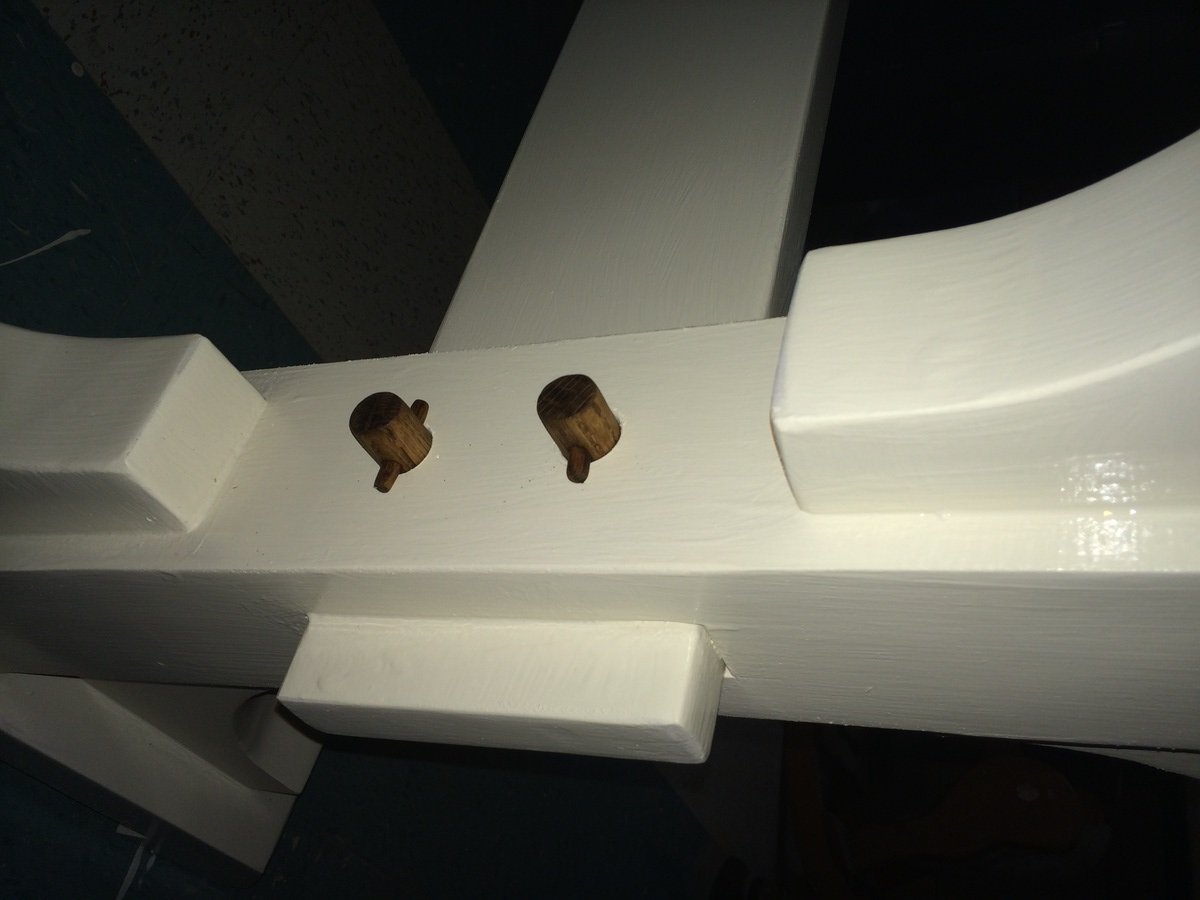
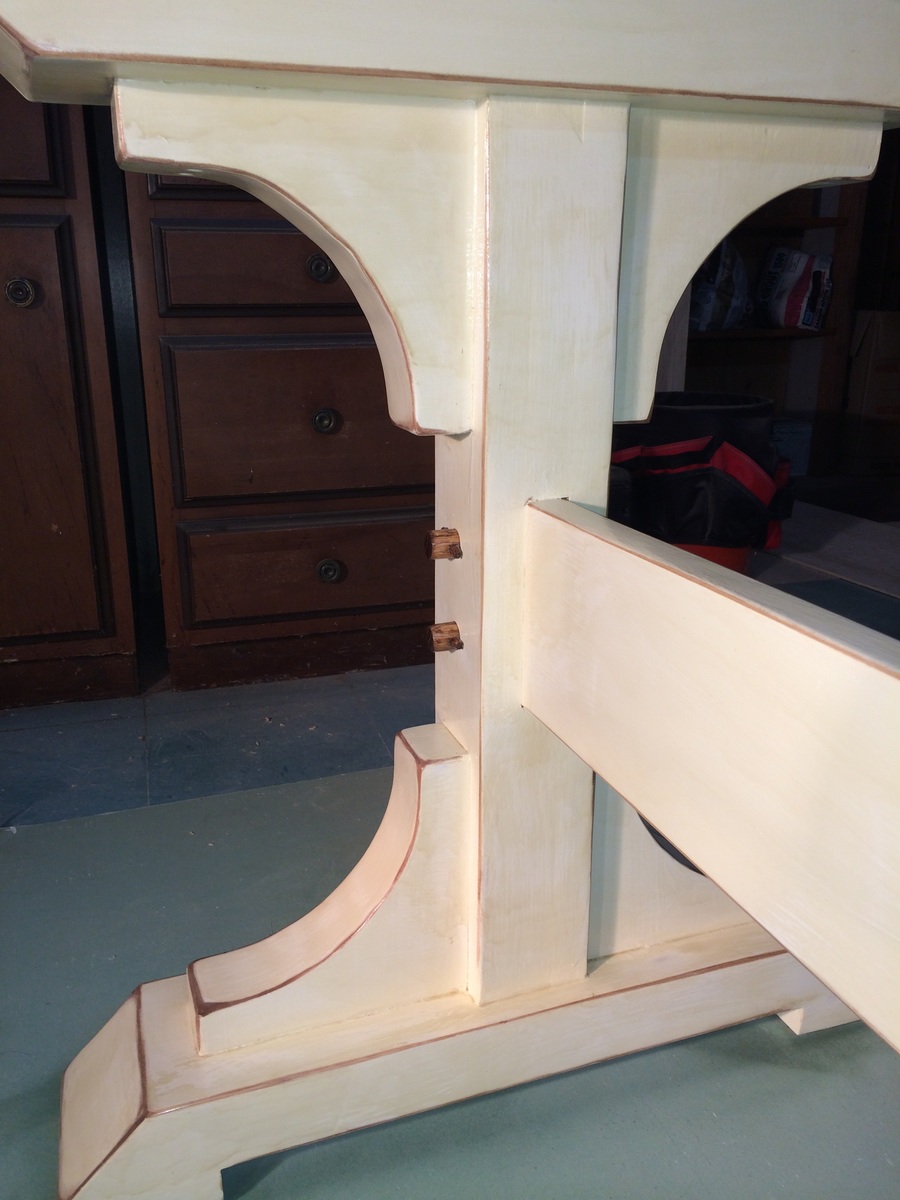
CSaintD - The top can be removed as I did not glue it. I set 3 dowels on top of each of the 2 legs so that the top would always lign up correctly if disassembled and reasembled. The stretcher could be removed, but would probably cause some damage to the finish as it was a tight fight when I finished it. The stretcher would be removed by removing the dowel pegs that I fabricated on each leg.
In reply to Disassembly by g82martin
Mon, 05/19/2014 - 08:21
Thanks. I really like the dowel pegs on the legs/stretcher. Very nice top finishing as well. Did you square the boards to get them to be so smooth when joined?
Mon, 05/19/2014 - 08:26
I cheated a bit on the top. My neighbor who got me the wood works in a furniture reupholsery shop. He planed and joined the boards for me, which saved me a good amount of time. I'm confident I could have done this at home with my table saw, miter saw and hand plane, but what he did in 2 hours probably would have taken me 10.
Fri, 08/05/2016 - 20:35
Love the dowels you added! Planning on building this exact table pretty close to your dimensions and have a very long church pew as well! Trying to decide between L-ing my pew and cutting to straigjy 6'. Do you mind sharing the dimensions of your pew? And how did you miter the pew?
Tue, 01/21/2020 - 09:40
Beautiful table. I love the pegs added to the legs and stretcher, they add a historic detail lost in a lot of today's building techniques
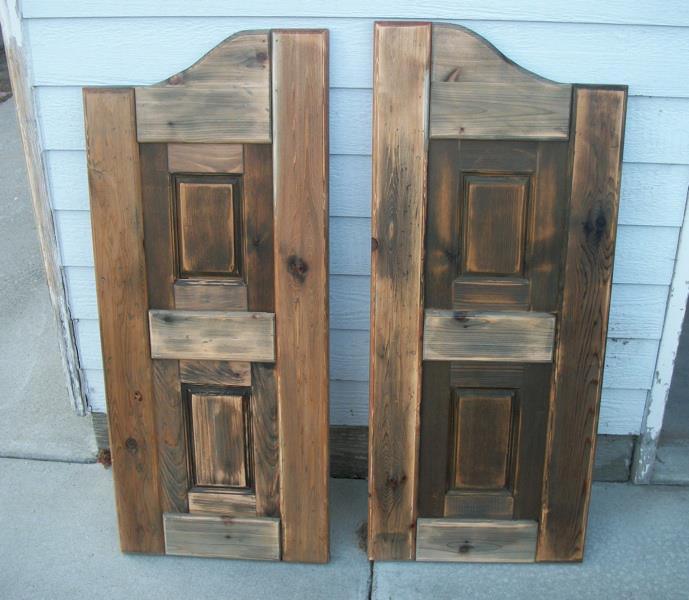
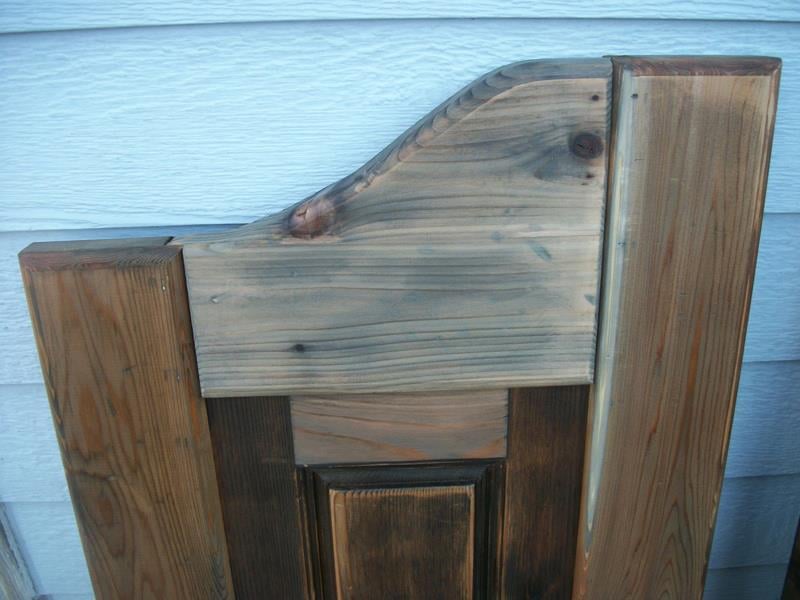
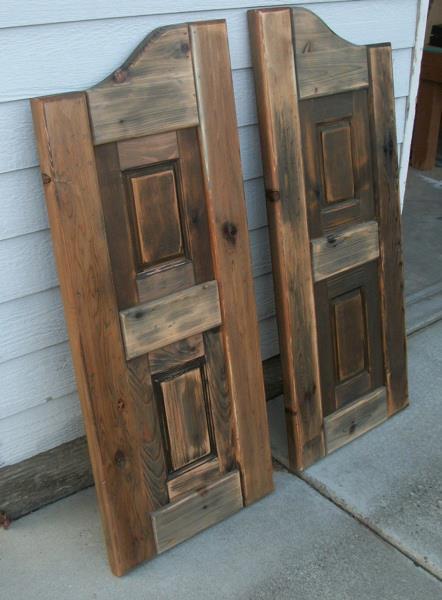
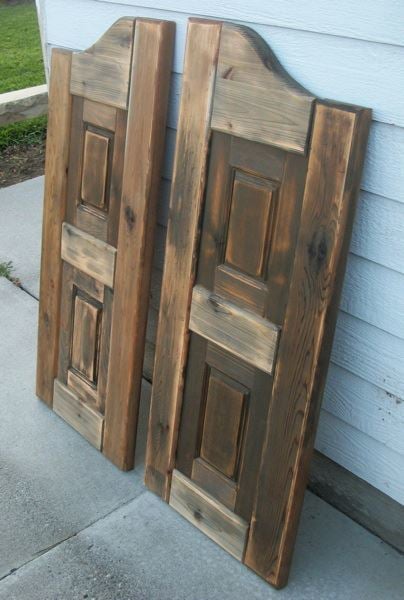
I built these doors for a very good friend of mine who actually helped me get started turning my new love for building (after finding Ana's site) into a way for our family to make some extra money.
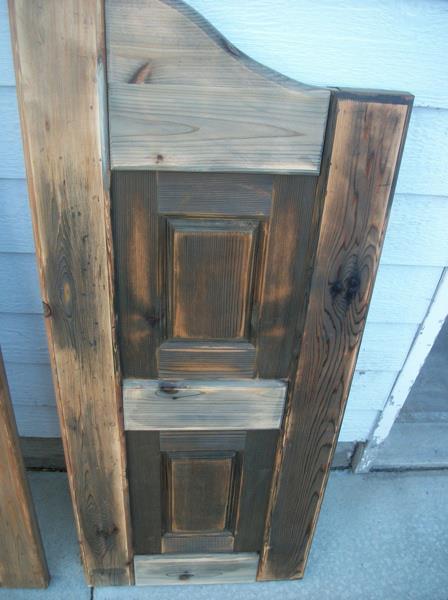
It took me a little while to wrap my brain around building something without using my Kreg Jig. I used a router table set up with some raised panels bits and put the whole thing together with glue and nails! Wonderful experience!
For the finish, I used a vinegar solution to give the cedar wood an old barn look. I think the final result turned out great and the final step was a clear coat sprayed on out of a rattle can.
Thu, 08/02/2012 - 10:51
These turned out great! I haven't seen this style of door in forever! They used to be really popular, I remember my Aunt and Uncle having these in the entry to their kitchen. They were the coolest thing ever when I was a kid! Maybe they are a making a comeback?
I'm really impressed with your routing skills, that's a task I have yet to tackle, but I've got the bits laying around waiting.
Nice job!
Thu, 08/02/2012 - 21:10
Thanks a bunch! My friend is replacing an old set of louvered doors that went into her laundry room. Her family are farmers and rodeo people so the western decor really fits in their house. Great western stuff there. They made a chandelier out of a wagon wheel! Really cool!
This was my first attempt at routing so I really appreciate your compliment! It's really simple if you can get the basics of it. I'm sure you'll do just fine when you get to that point. If I can do it, anyone can do it! Thanks again!!
Mon, 01/23/2017 - 09:32
I really want to try and build this for a closet. Are there any instructions for this? This is the first door of this style that I have come across that I absolutely love.
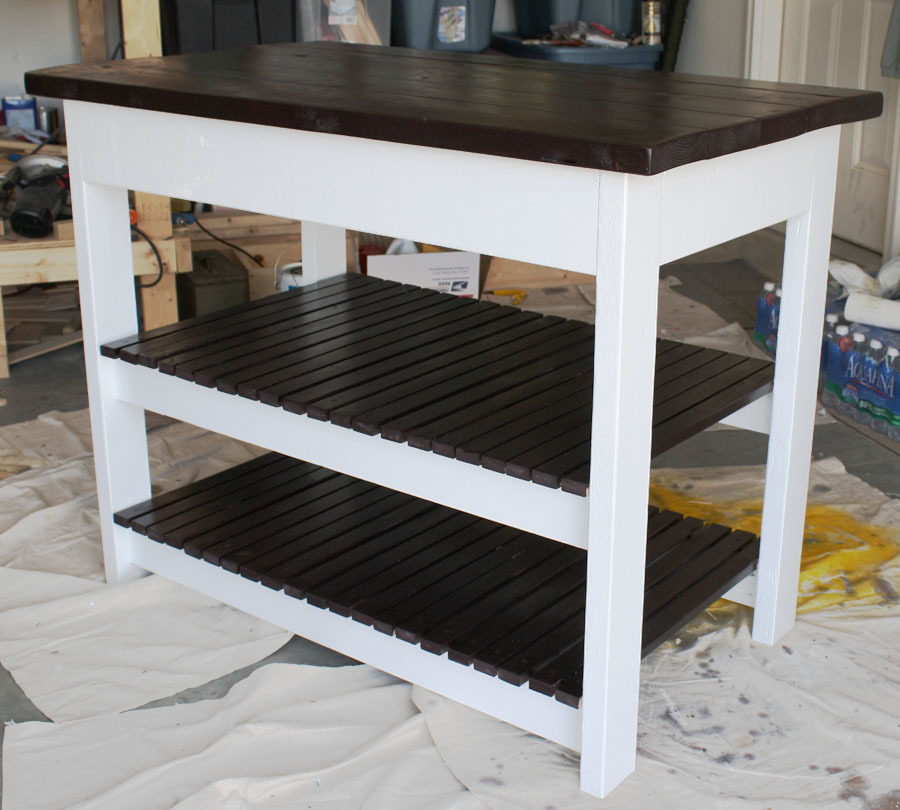
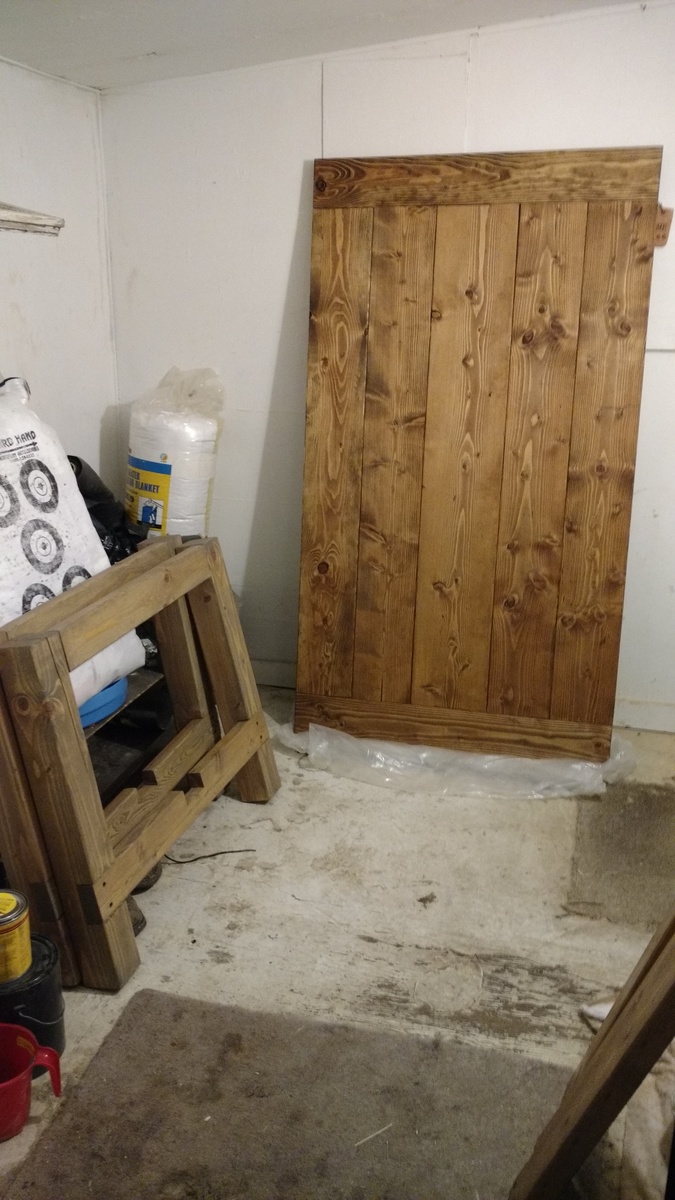
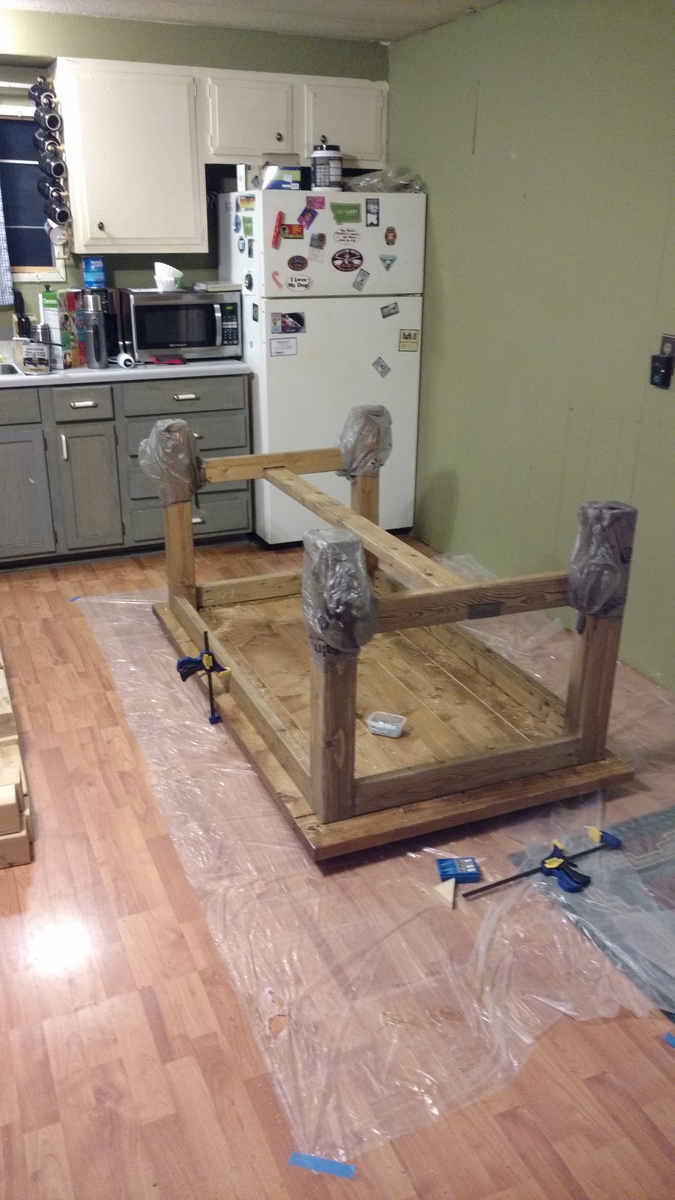
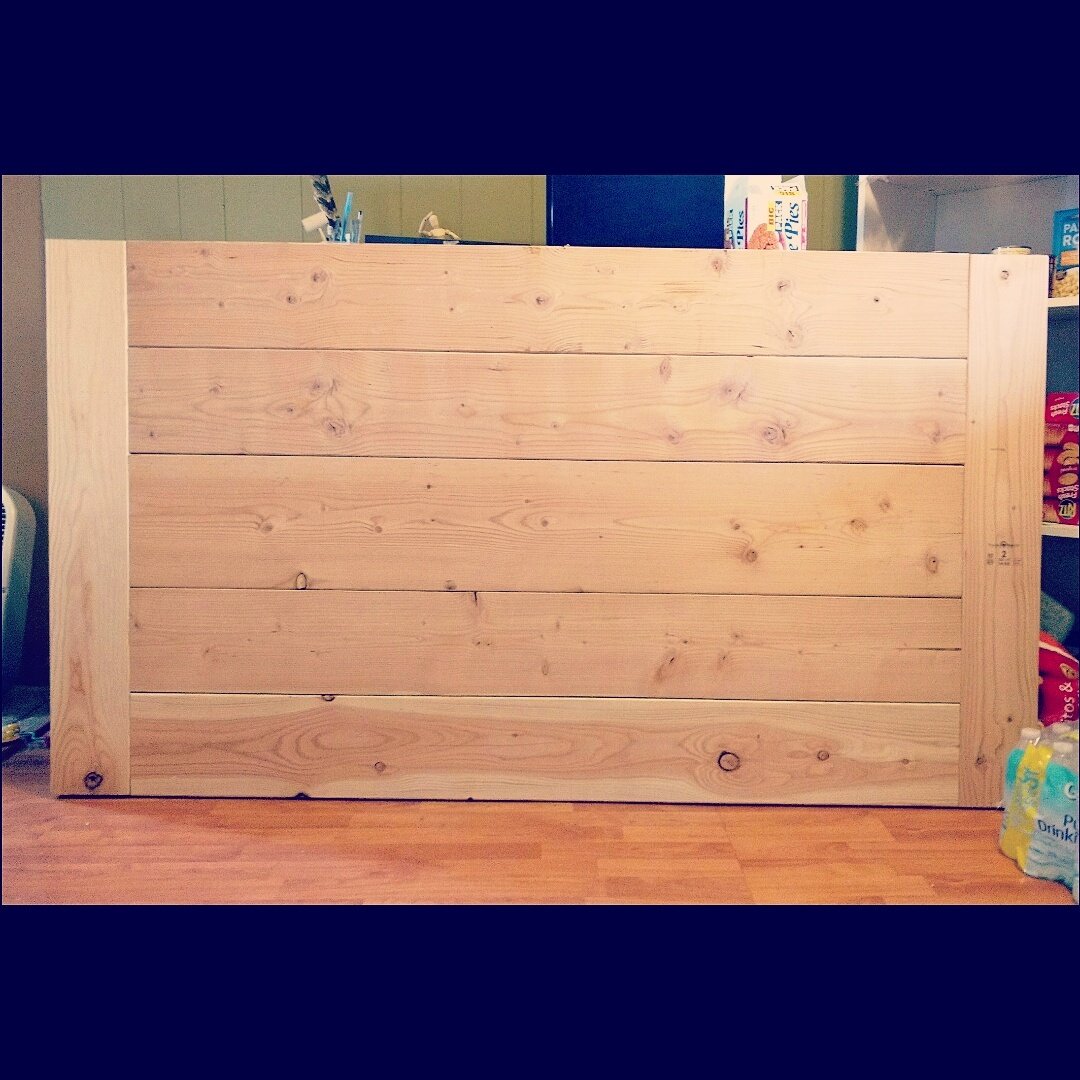
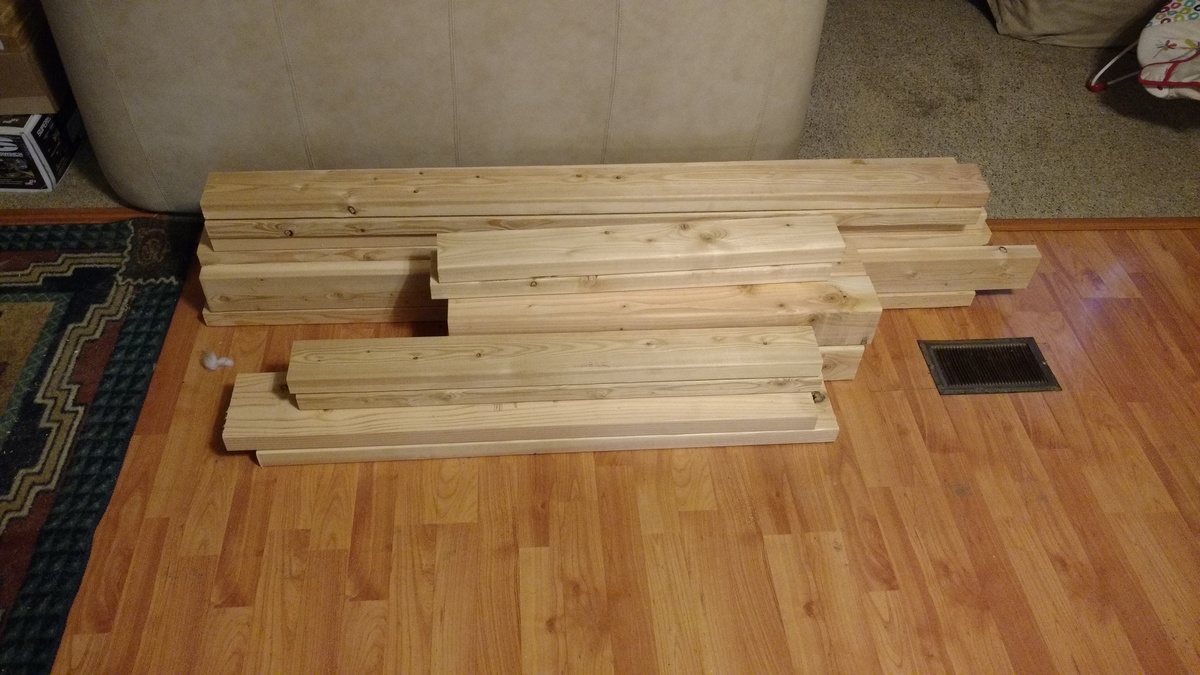
I built this table for my friend who is moving away in a couple days :( She's going to use it as a coffee bar in her new home. Visit my blog link for the complete play-by-play!
