Community Brag Posts

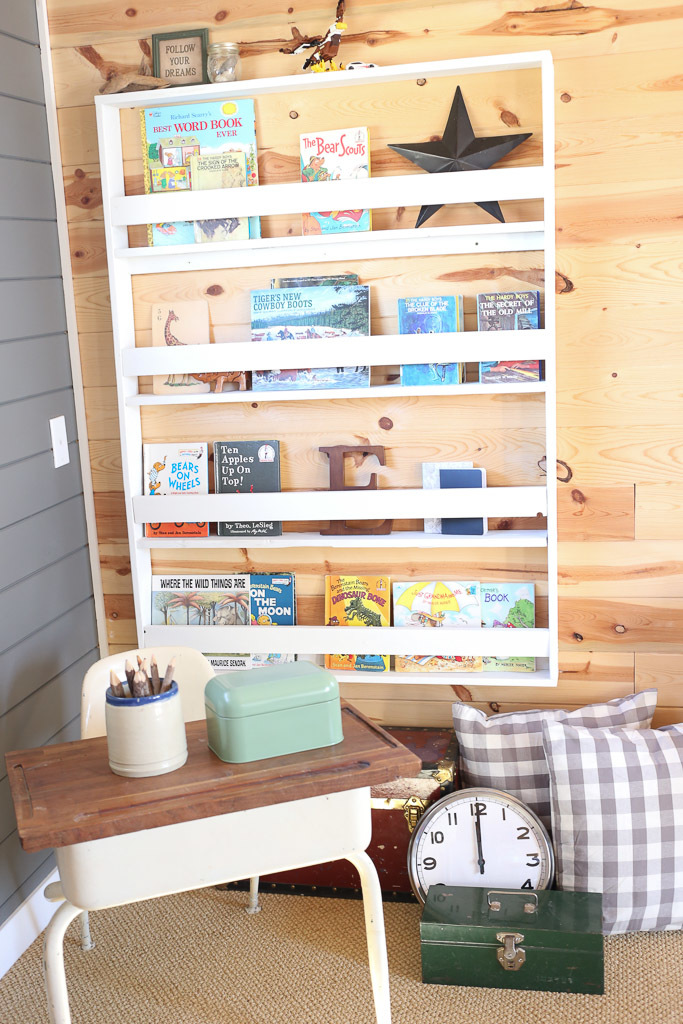
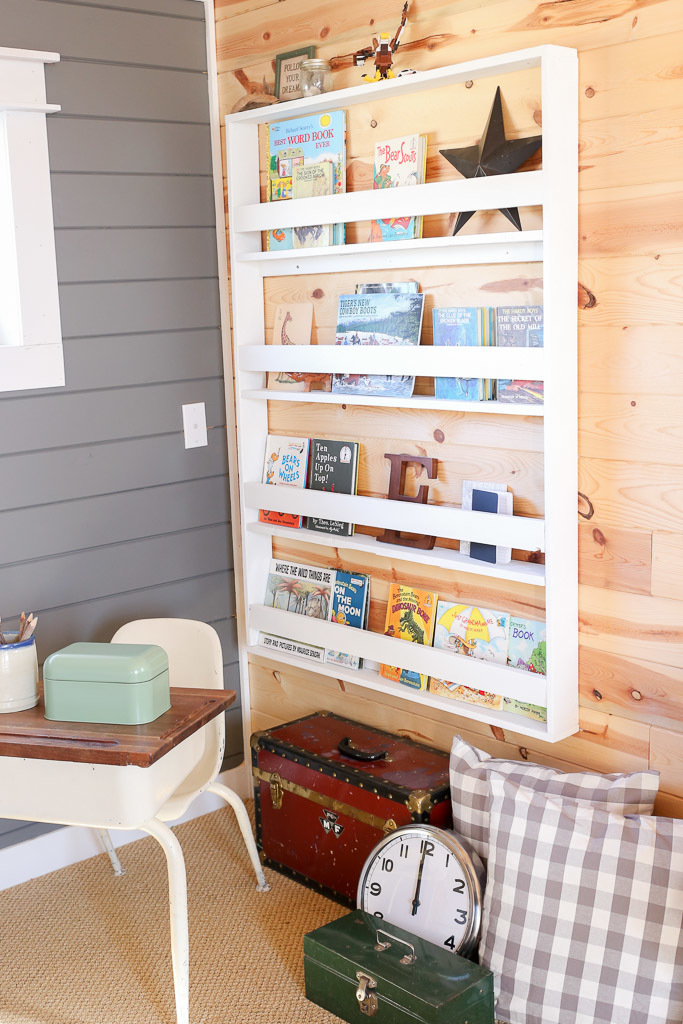
Book Rack

Submitted by Anonymous (not verified) on Fri, 04/22/2016 - 11:08

I built this book rack using scrap wood and modified plans from the Full Length Plate Rack. It was a really straightforward build, and functions very well as vertical storage that takes up little space. I predrilled, screwed and glued all of the joints, vs. stapling.

Built from Plan(s)
Estimated Time Investment
Afternoon Project (3-6 Hours)
Finish Used
2 coats of "Simplicity" country chic chalk paint.
Recommended Skill Level
Beginner

Comments

Sandbox with built in seats/lid

6'x6' with 12'' Treated Sides, 1x4 and 1x6 SPF tops/seats and 2x4 Brace under Seats to accommodate the 6 foot span. Sanded and Painted.

Completed in 2 days, couple hours each day, sanded/painted all boards before assembly.

Built from Plan(s)
Estimated Time Investment
Day Project (6-9 Hours)
Finish Used
Exterior Grade Paint.
Recommended Skill Level
Beginner

Cedar planter for $20

Submitted by aimercruz on Tue, 03/17/2020 - 14:45

This was my first project using my circular saw and Kreg jig, so I wanted to try something that was not too difficult. It probably took me longer than most as I had to read all the directions on my saw and Kreg jig. Both are super fun to use.  Ana’s plans made it super easy! After assembly, I decided to paint it as it needed to be weather/waterproof. I used Behr waterproofing stain &sealer in slate. Love how it turned out! Thanks for the easy to follow plans. 

Estimated Cost
$20
Estimated Time Investment
An Hour or Two (0-2 Hours)
Finish Used
Behr Waterproof & Stain sealer. Color: Slate
Recommended Skill Level
Beginner

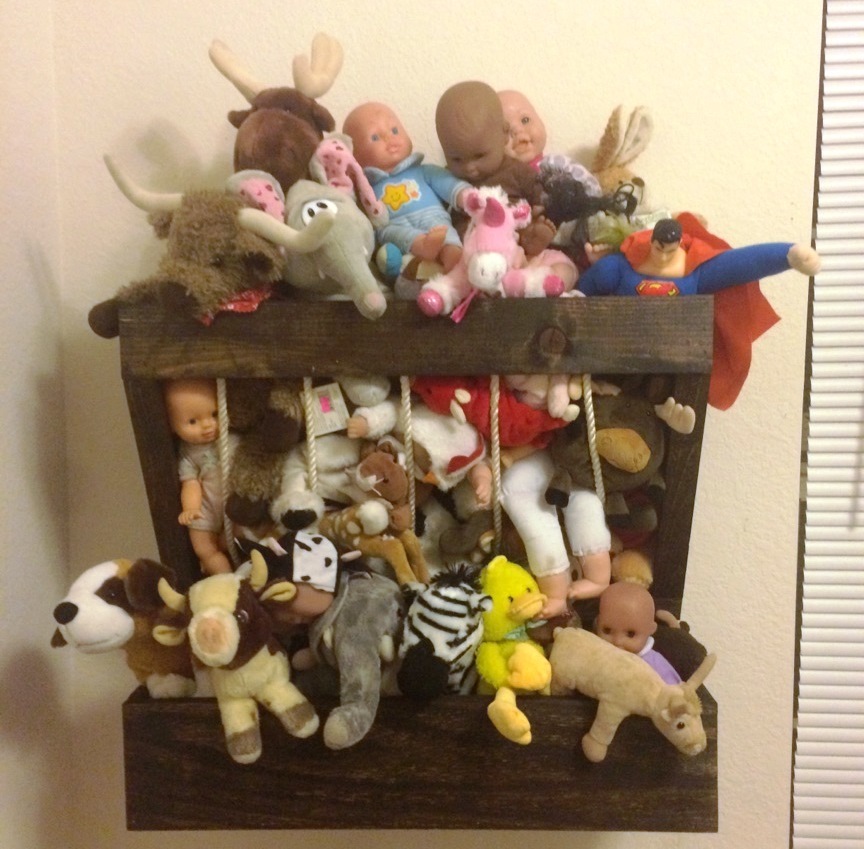
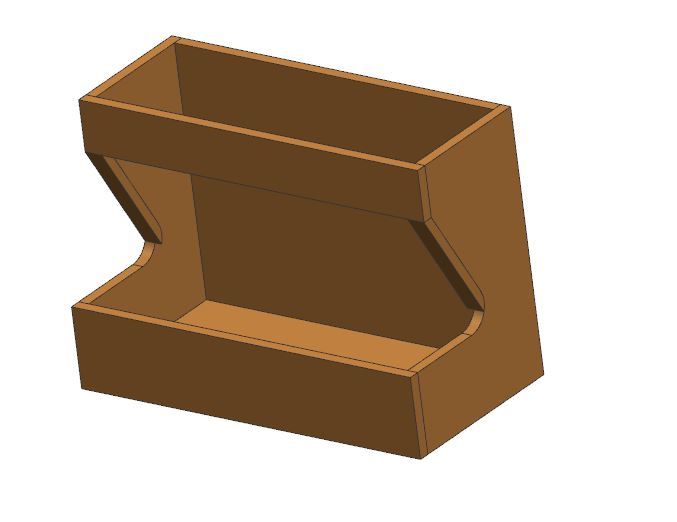
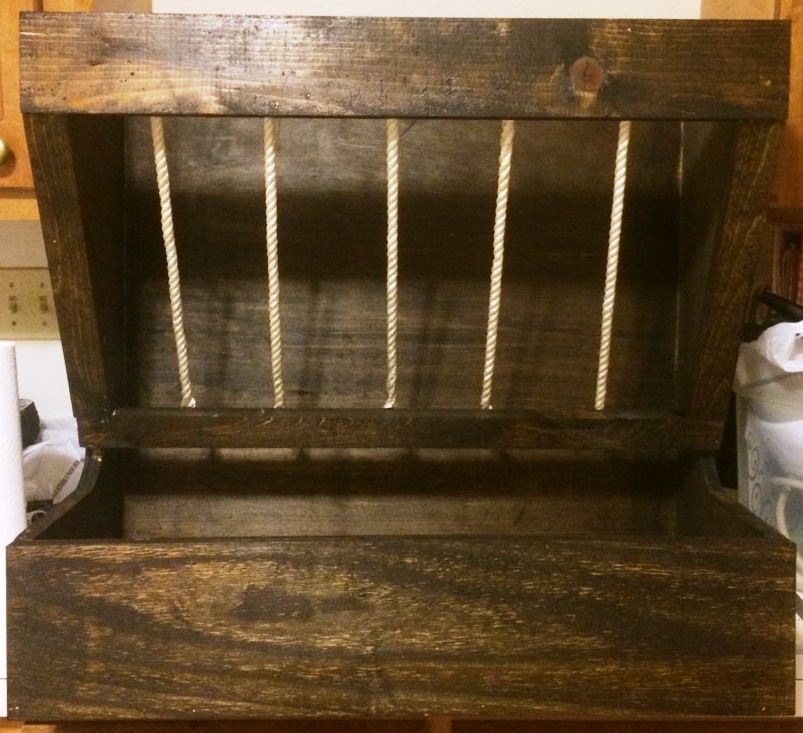
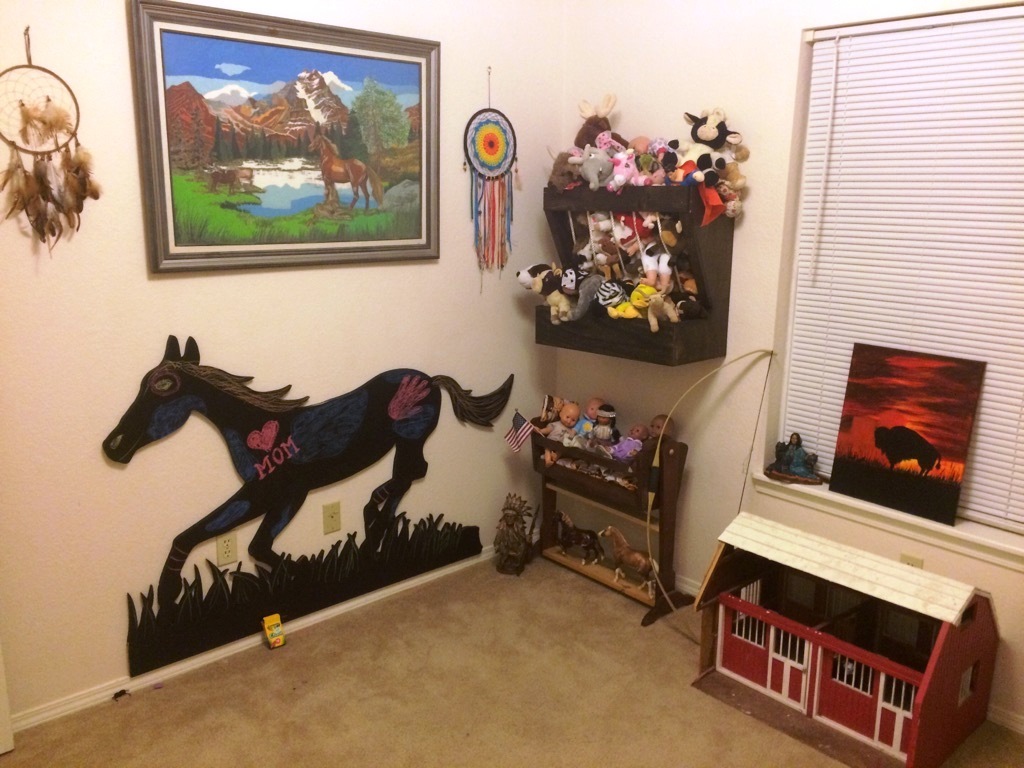
DIY Hay feeder Stuffed Animal Storage

Submitted by SweetAsh on Mon, 08/29/2016 - 08:12

All scrap lumber was used on this, cost was $0

3/4 plywood 2'x4'

1x6x24"

1x4x24"

1x2x13" front trim

Estimated Cost
$0-$10
Estimated Time Investment
Afternoon Project (3-6 Hours)
Finish Used
Minwax Dark Walnut
Recommended Skill Level
Beginner

Comments

SweetAsh

Mon, 08/29/2016 - 08:29

My son loves horses, so I made him this Horse Wall Hay Feeder to keep with the theme but where he would have a place to put his babies! :)

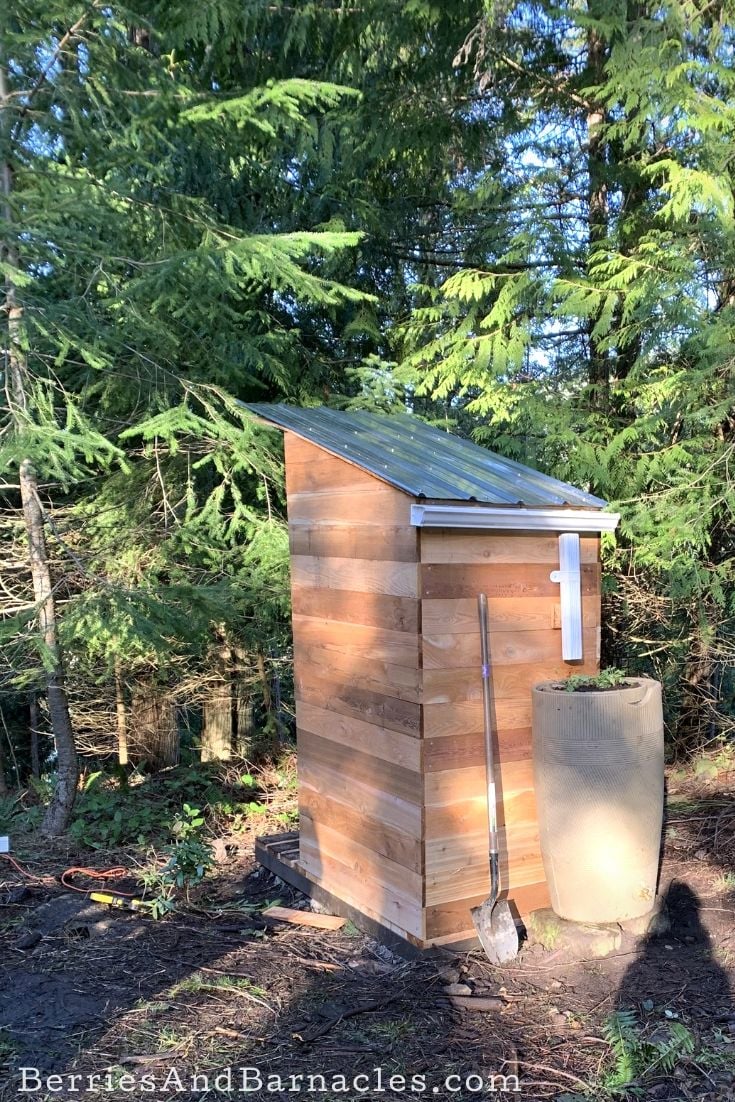
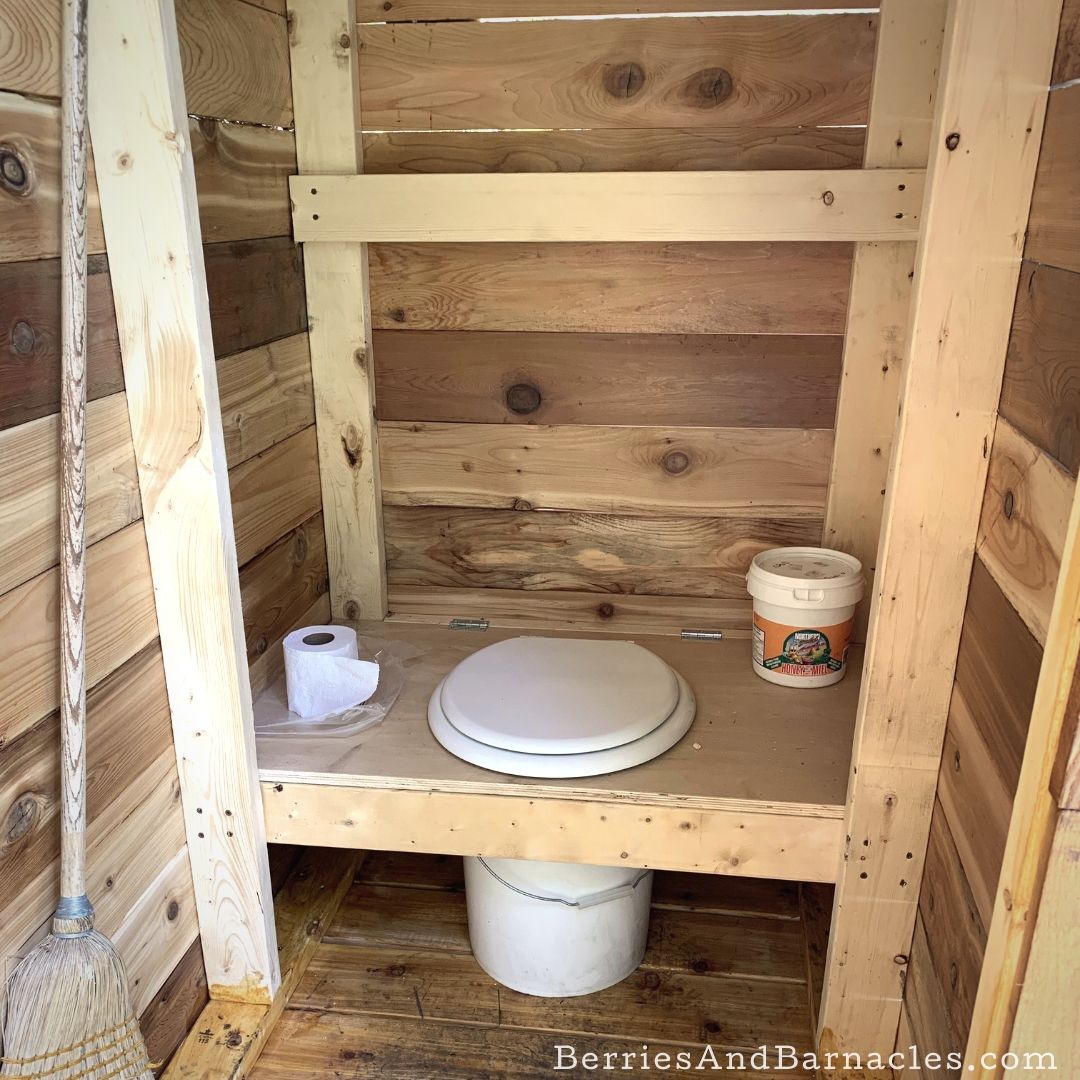
Simple Composting Toilet Outhouse

Submitted by Emillie on Thu, 06/18/2020 - 13:36

We built this composting toilet as one of the first things we did on our piece of vacant land. (How can you build anything else without somewhere to go when nature calls?)

An eco-friendly design was important to us, so we used cedar fencing instead of plywood. Otherwise, we followed Ana White's simple outhouse plans. It came out perfectly! It even has a rain barrel for hand washing.

Estimated Cost
800
Estimated Time Investment
Weekend Project (10-20 Hours)
Finish Used
We stained the outside with a semi-transparent stain and varnished the inside with an outdoor varnish.
Recommended Skill Level
Beginner

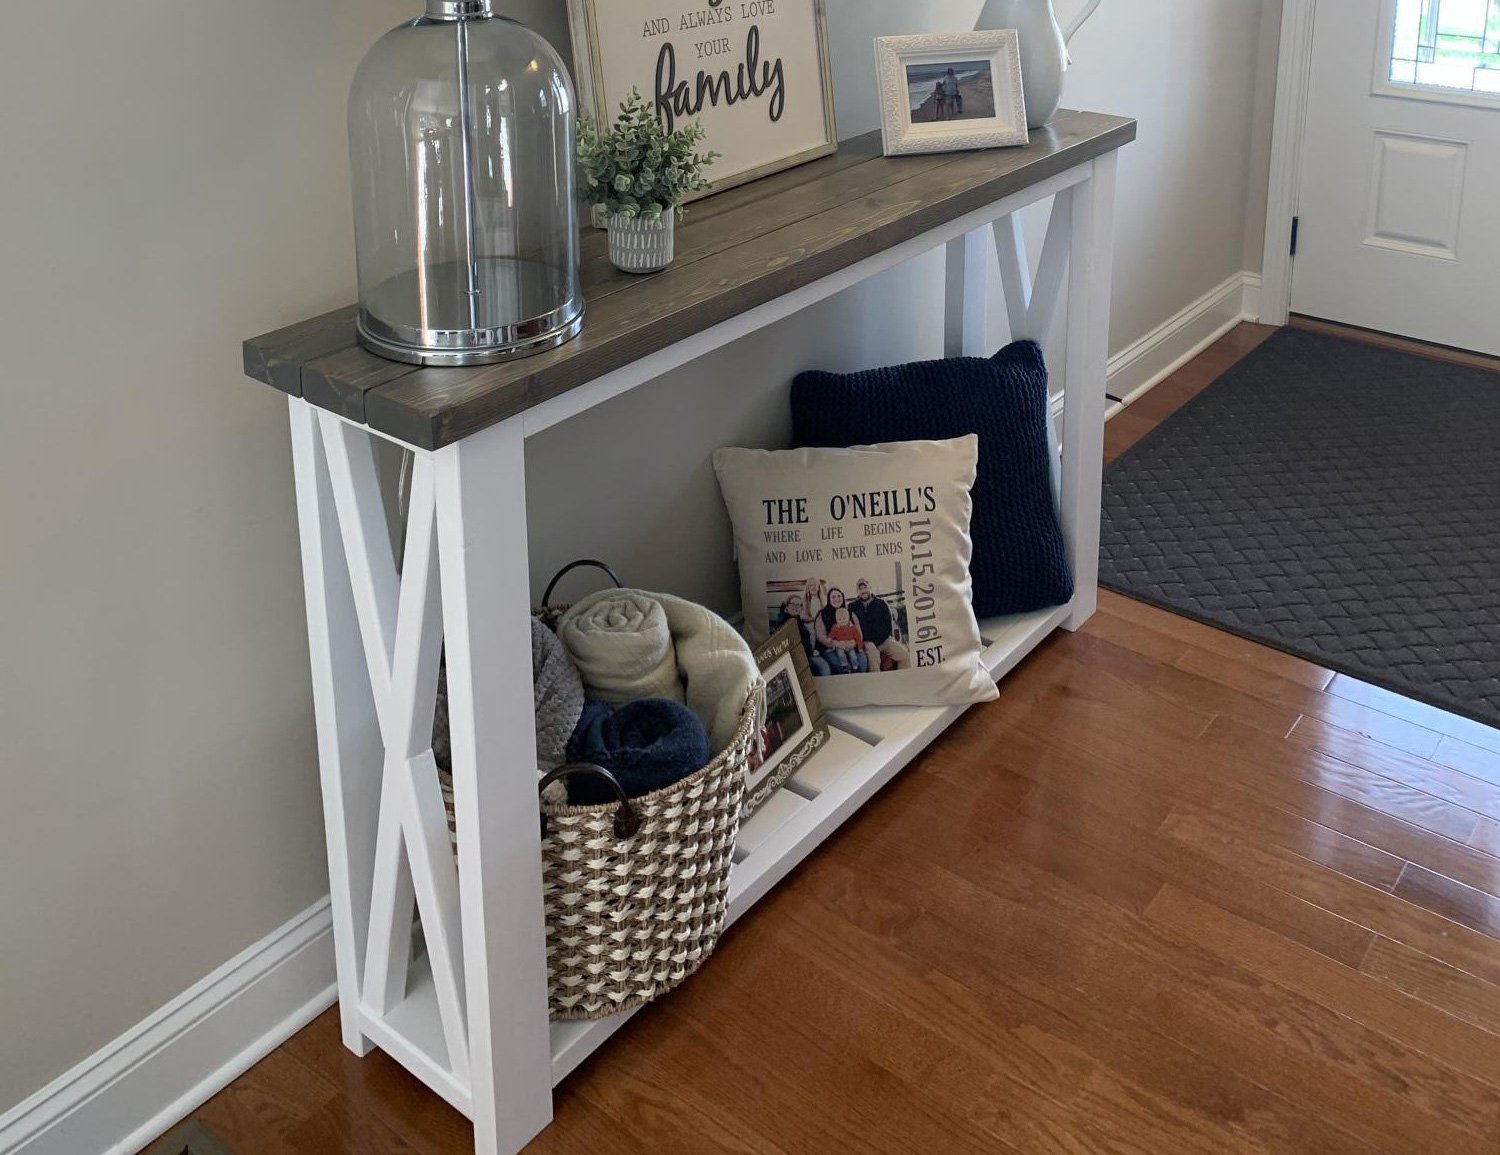
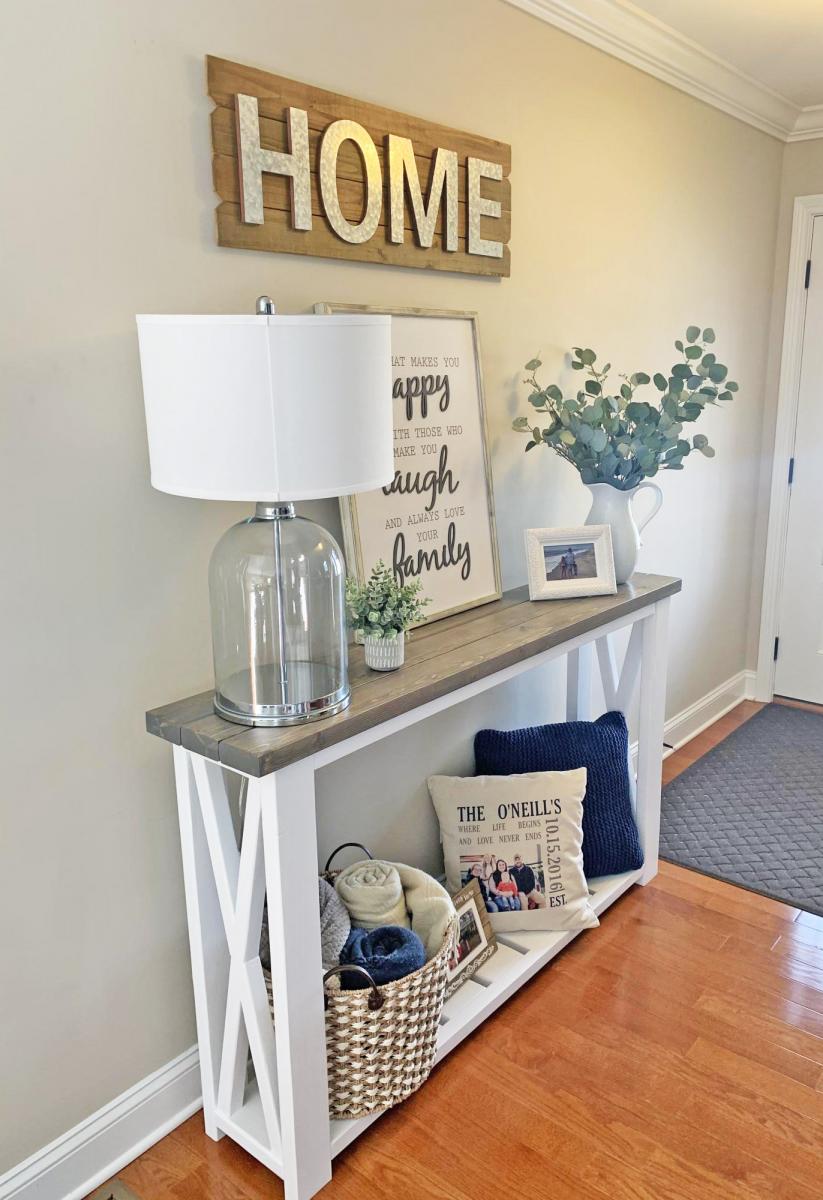
Farmhouse Console Table

Submitted by boneill on Mon, 07/06/2020 - 20:31

Modified the size to 60” length , 12” depth , 36” height . Went with satin white frame , Minwax classic grey stained top with 3 coats of poly clear coat satin (quick dry).

Built from Plan(s)
Estimated Cost
$50
Estimated Time Investment
Weekend Project (10-20 Hours)
Finish Used
Minwax classic grey with poly 3 coats quick dry
Recommended Skill Level
Beginner

Comments

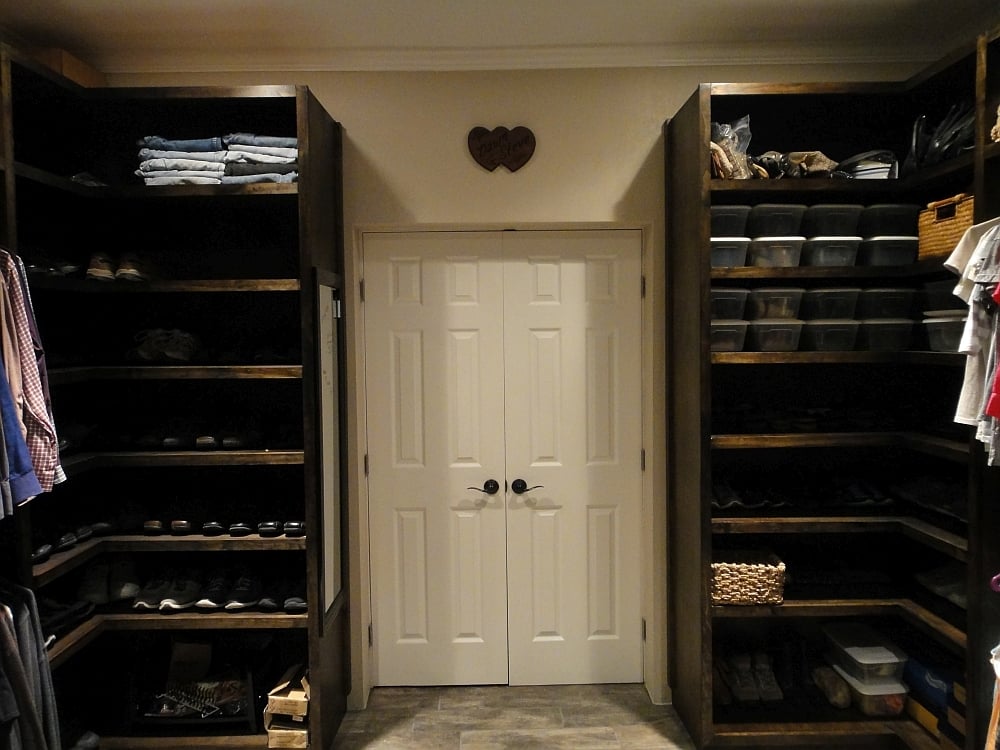
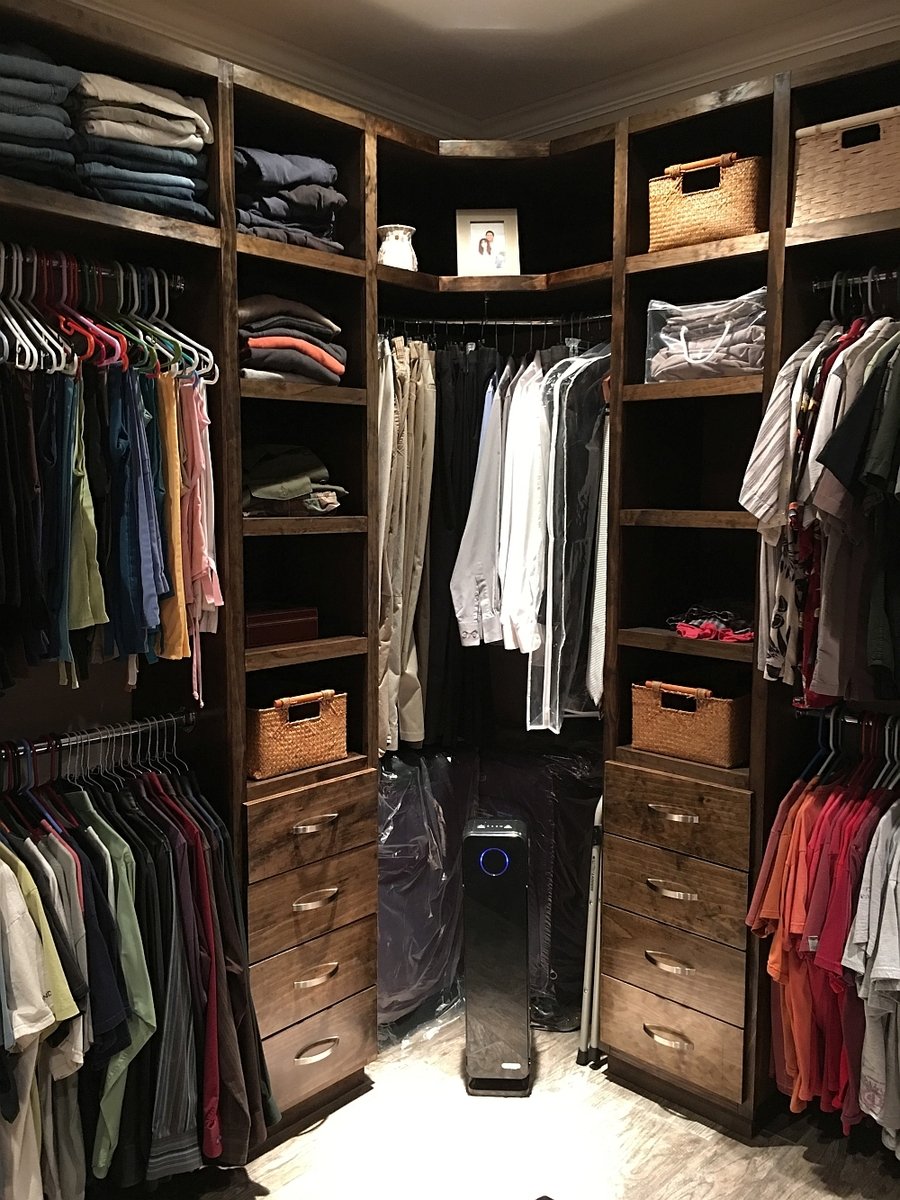
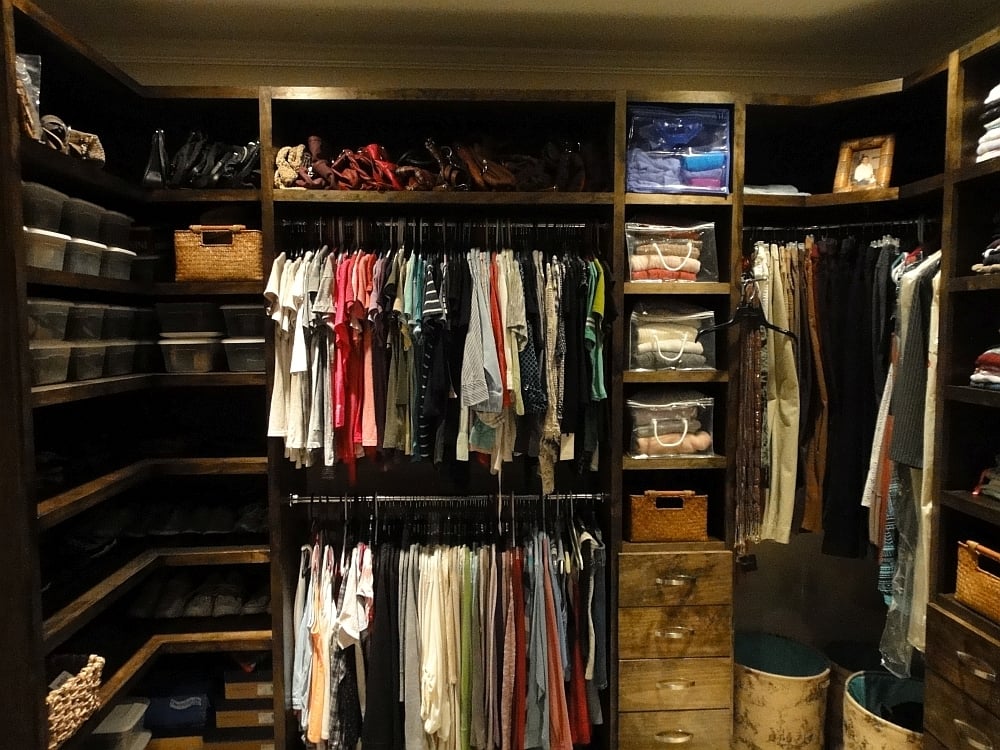
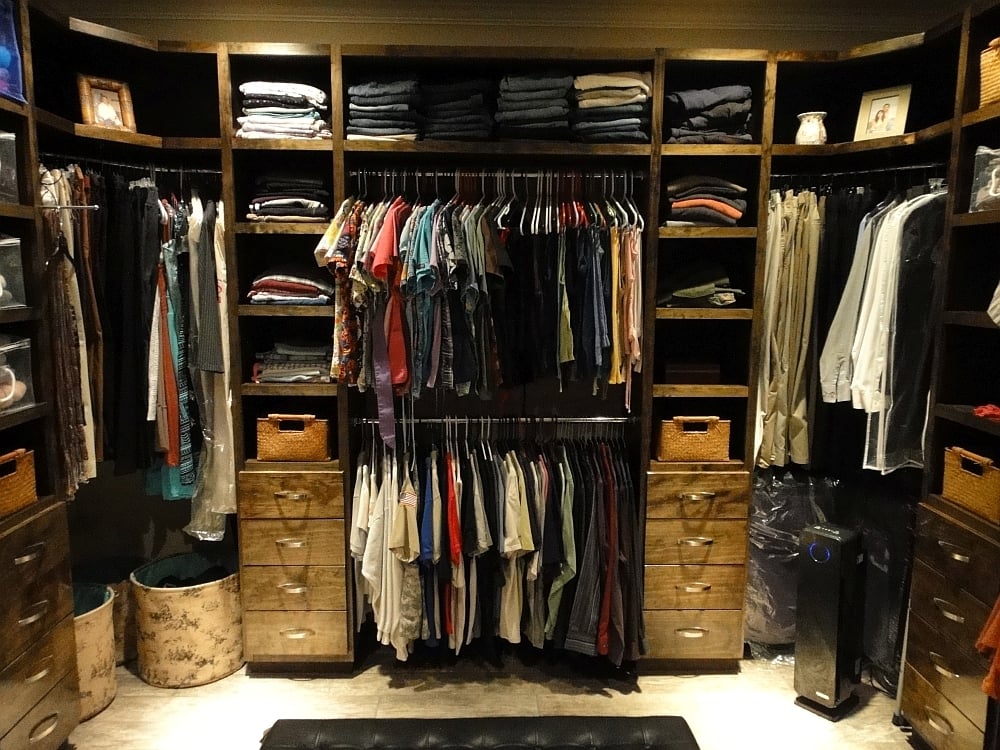
Master Closet For My Wife

Submitted by Indy69 on Mon, 10/17/2016 - 17:10

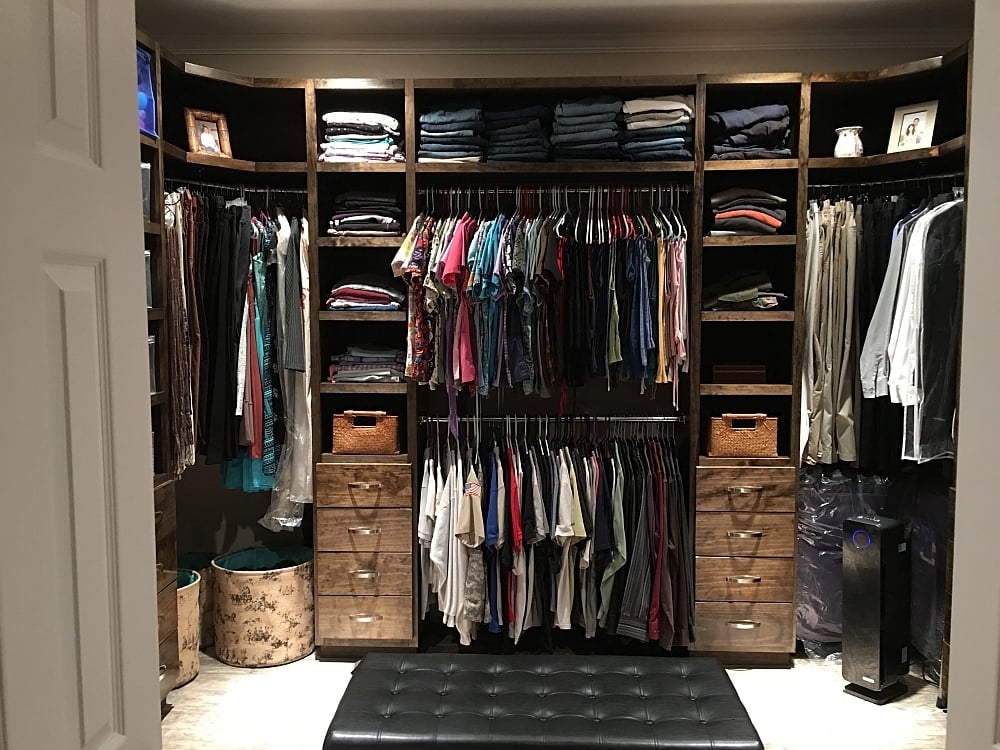
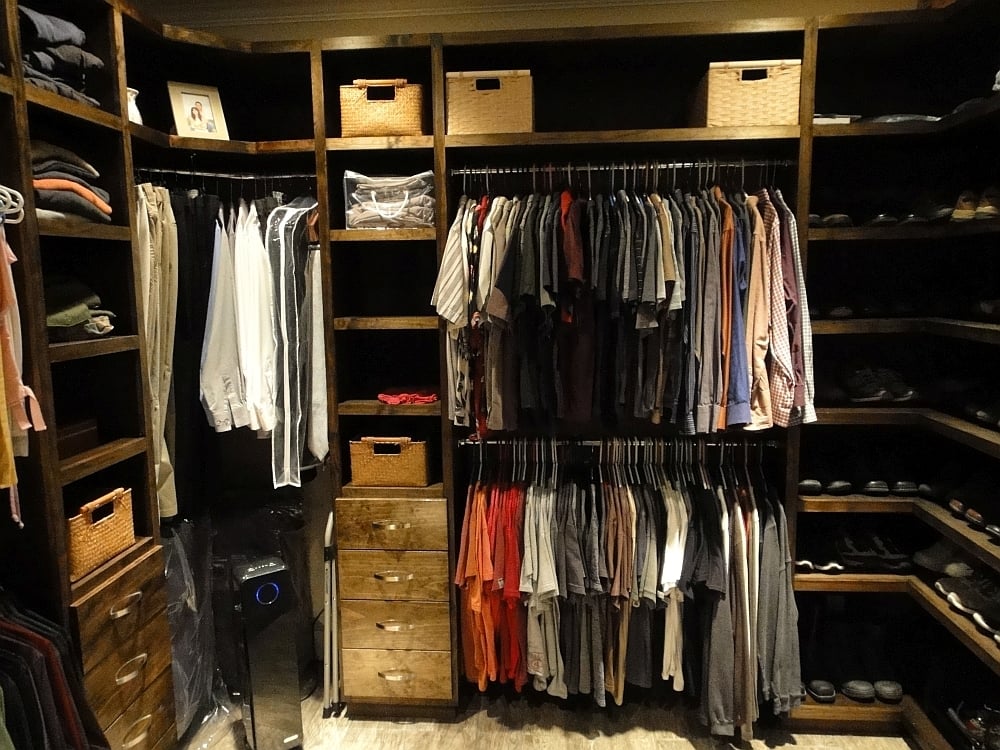
I expanded on the plans I found at Ana White and made this closet.  They are 8' high, and made from Birch plywood and 1x2's from my local Home Depot.  I ended up using 12 sheets of plywood and 18 1x2's.  Sanded and stained with Minwax Jacobean and Satin clear on the unit and semi-gloss on the drawers.  I intalled soft-close drawer slides that I found on Amazon for $120 for 15 pairs which included the rear mounting brackets, which I highly recommend using as they save you a ton of labor and make it much easier to install the slides. 


What I like most about my work, is that I found regular hanging rods that were too expensive or just plain did not fit the end sockets.  I used galvanized fence rod typically used for the top of chain link fences, and simply brushed them with 0000 steel wool and then polished them on my buffing wheel.  If you want the brushed look, simply don't buff them.  What was best about using fencing rods, was that it cost about a dollar a foot and was much stronger than buying the actual chrome rods which were over three times more money.


For the corners, you will see that they are three angled rods, which you can not buy anywhere.  So, I purchased 1" galvanized electrical conduit. and bent it with a tubing bender.  I simply measured what I needed, and put two 45 degree bends in the rod, installed 1" sockets on each end, and a center rod support for the middle.  These two were polished with 0000 steel wool and then polished to a chrome finish.  They look amazing, and the best part is that it cost $6 for a ten foot piece, which was more than enough to do both corners.  You cannot beat the cost of using fence rods and electrical conduit for closet rods. 


I plan to install a small drawer island in the middle later as I require a need for more drawere space. 


Thanks to Ana White for the help.  I already have a few more next projects lined up using her ideas here.
Estimated Cost
Under $1000 for everything
Estimated Time Investment
Week Long Project (20 Hours or More)
Finish Used
Minwax Jacobean with satin and semi-gloss
Recommended Skill Level
Intermediate

Comments

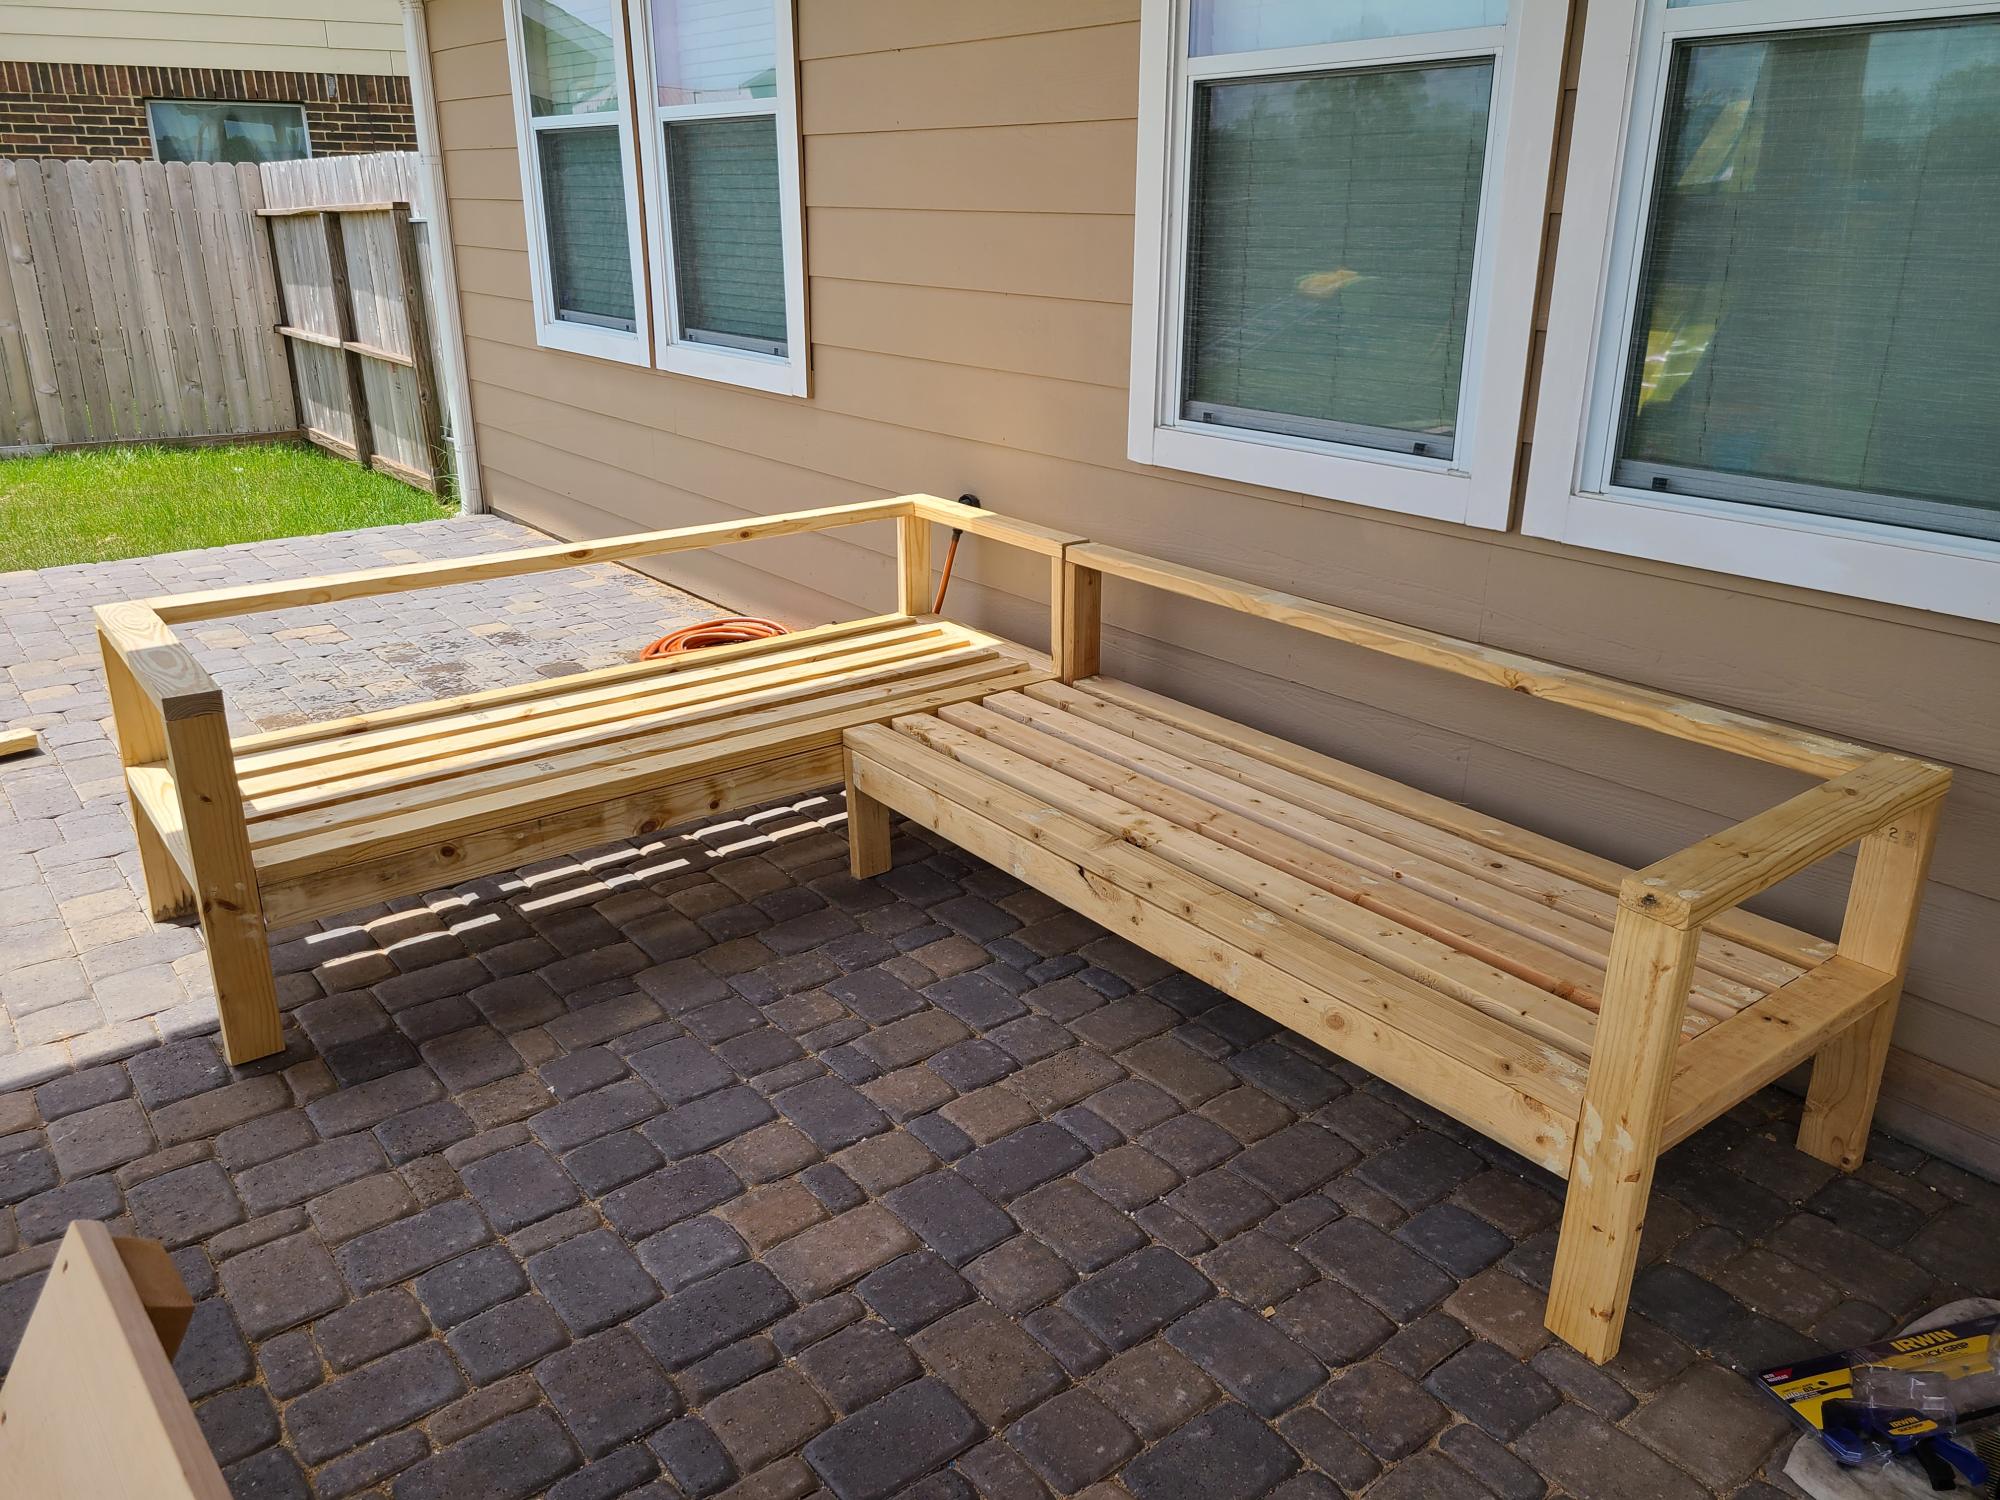
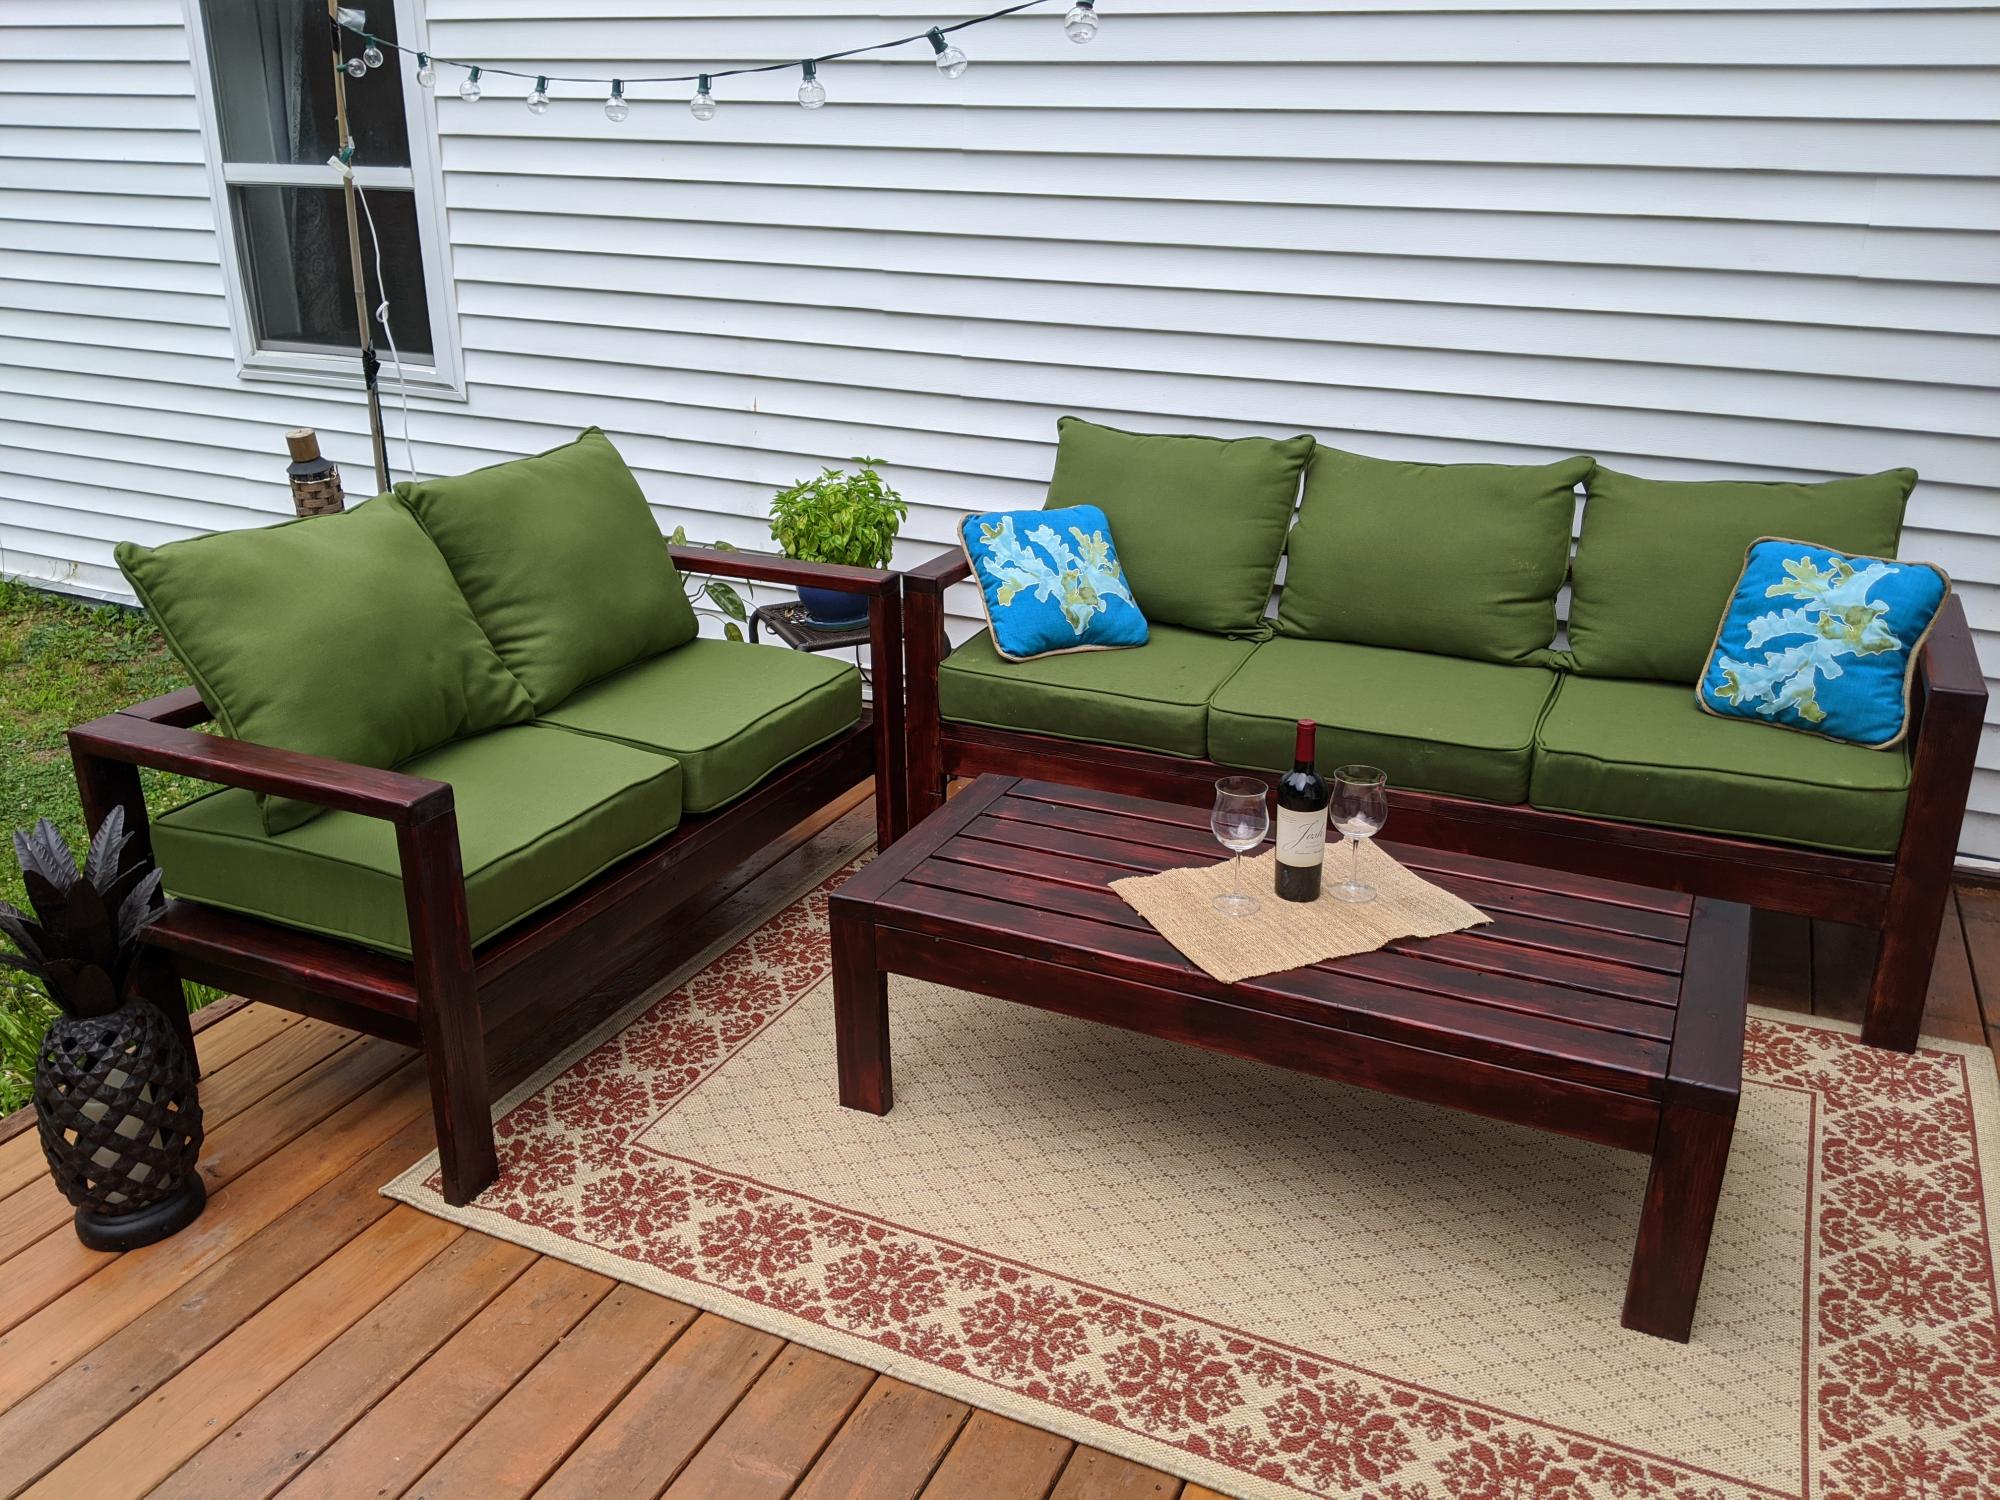
Outdoor patio furniture

Submitted by Anonymous (not verified) on Fri, 07/24/2020 - 12:19

Thanks Ana, for the great plans and inspiration!

Estimated Cost
$450
Estimated Time Investment
Weekend Project (10-20 Hours)
Finish Used
Minwax stain & polyurethane ( Bombay Mahogany)
Recommended Skill Level
Beginner

Porch Swing

Submitted by bbcarey on Tue, 10/23/2012 - 10:12

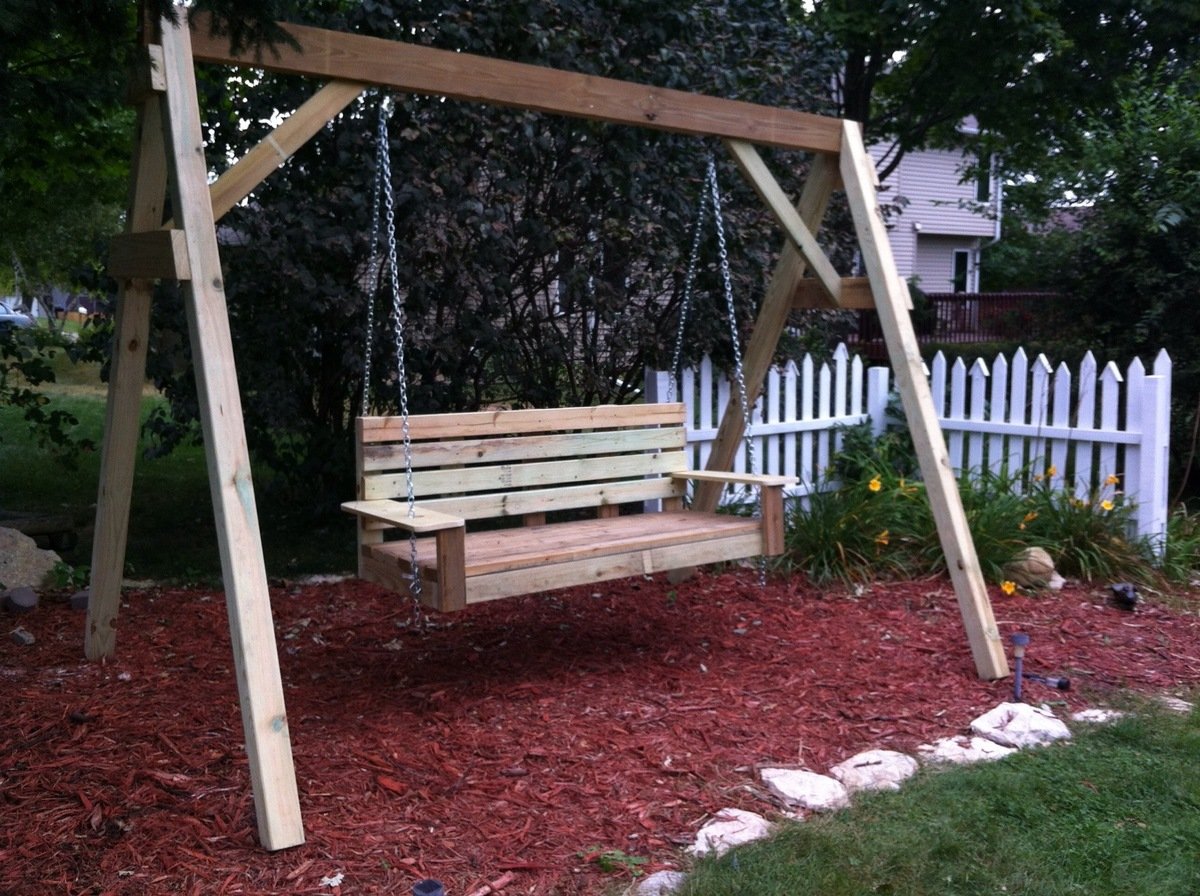
I wanted to make this porch swing ever since seeing it in the plan catalog (Large Modern Porch Swing). Just a matter of setting aside a weekend to get it done and then to find A frame to support it. I made the A-frame from a combination of this post:
http://www.buildeazy.com/newserve/swing_seat_support_dec07_1.html
and this one:
http://www.hgtv.com/home-improvement/custom-a-frame-childrens-swing-set…

I made the back a bit higher on our swing... and not quite as wide.

Reading several other blogs on this- I chose to attach the chains to the top back of the swing to keep it from tipping backwards...

Now just get to enjoy it!!

Built from Plan(s)
Estimated Cost
$50
Estimated Time Investment
Day Project (6-9 Hours)
Finish Used
Exterior Sealer/protector
Recommended Skill Level
Beginner

Comments

Argie Bedside Table (Nightstand)

Submitted by thehallway on Sat, 10/27/2012 - 07:56

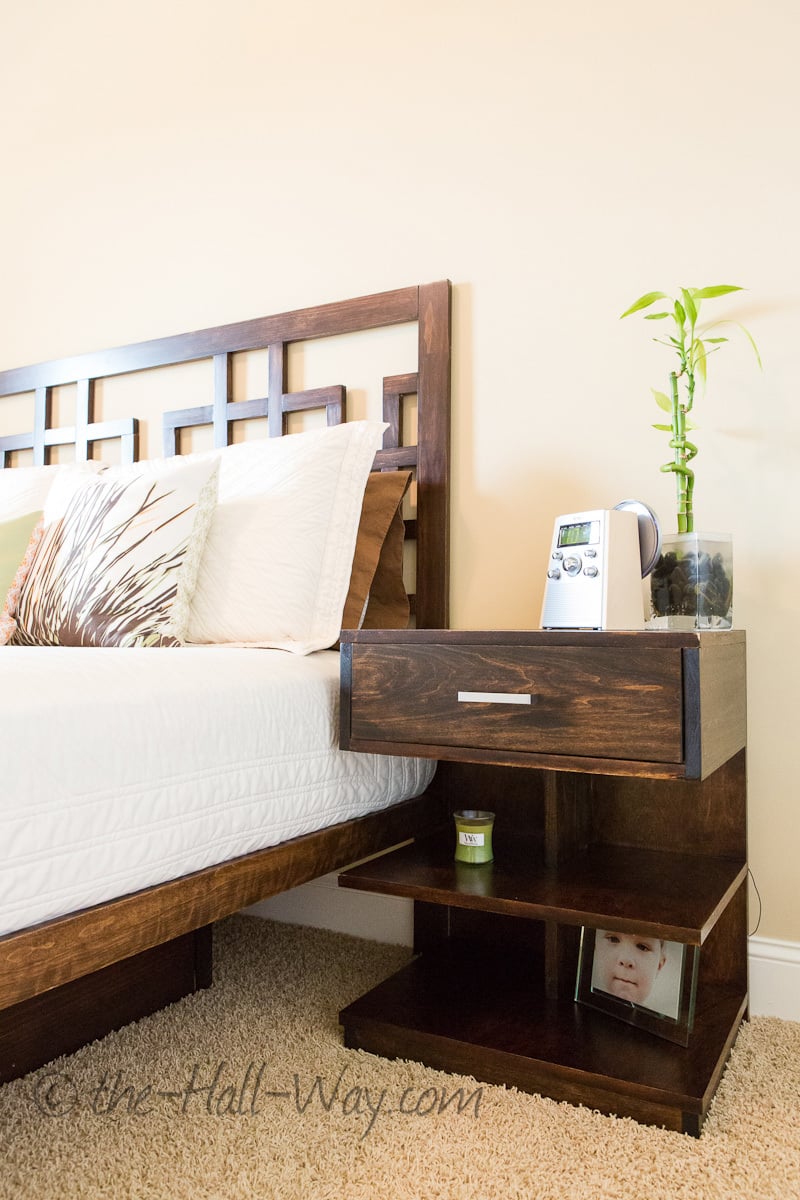
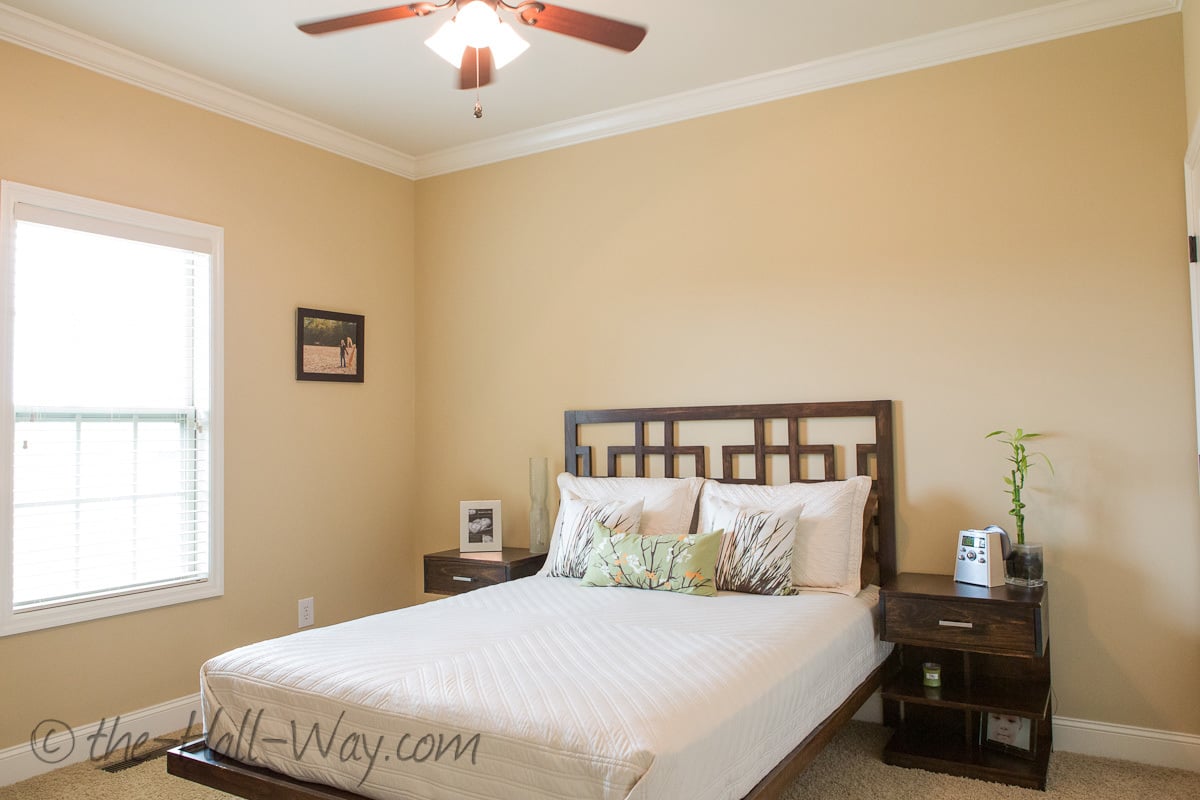
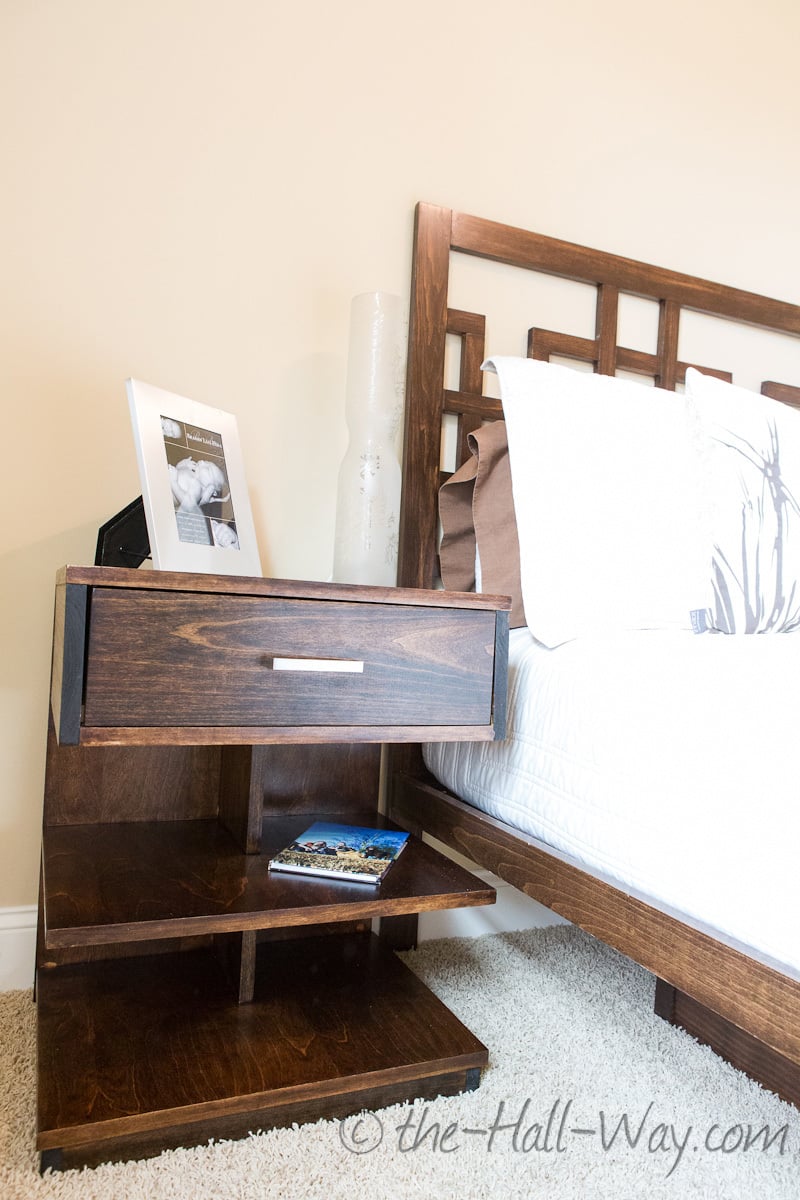
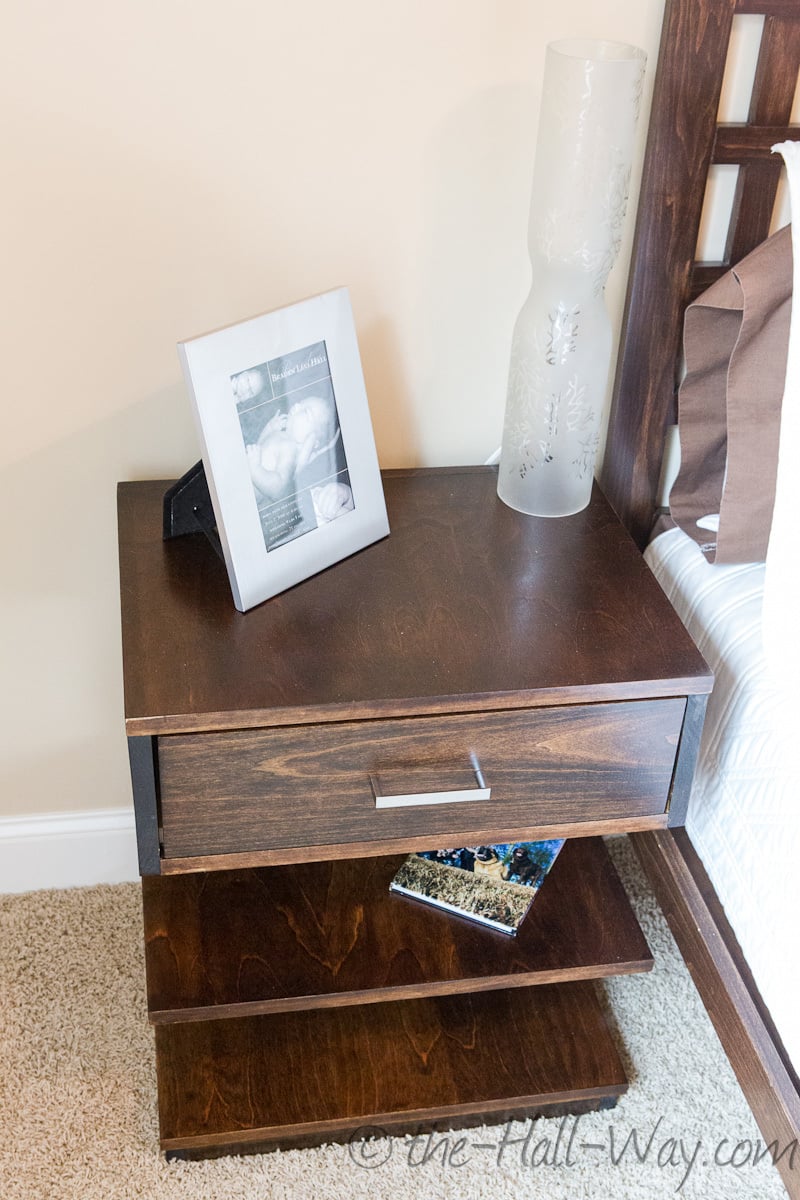
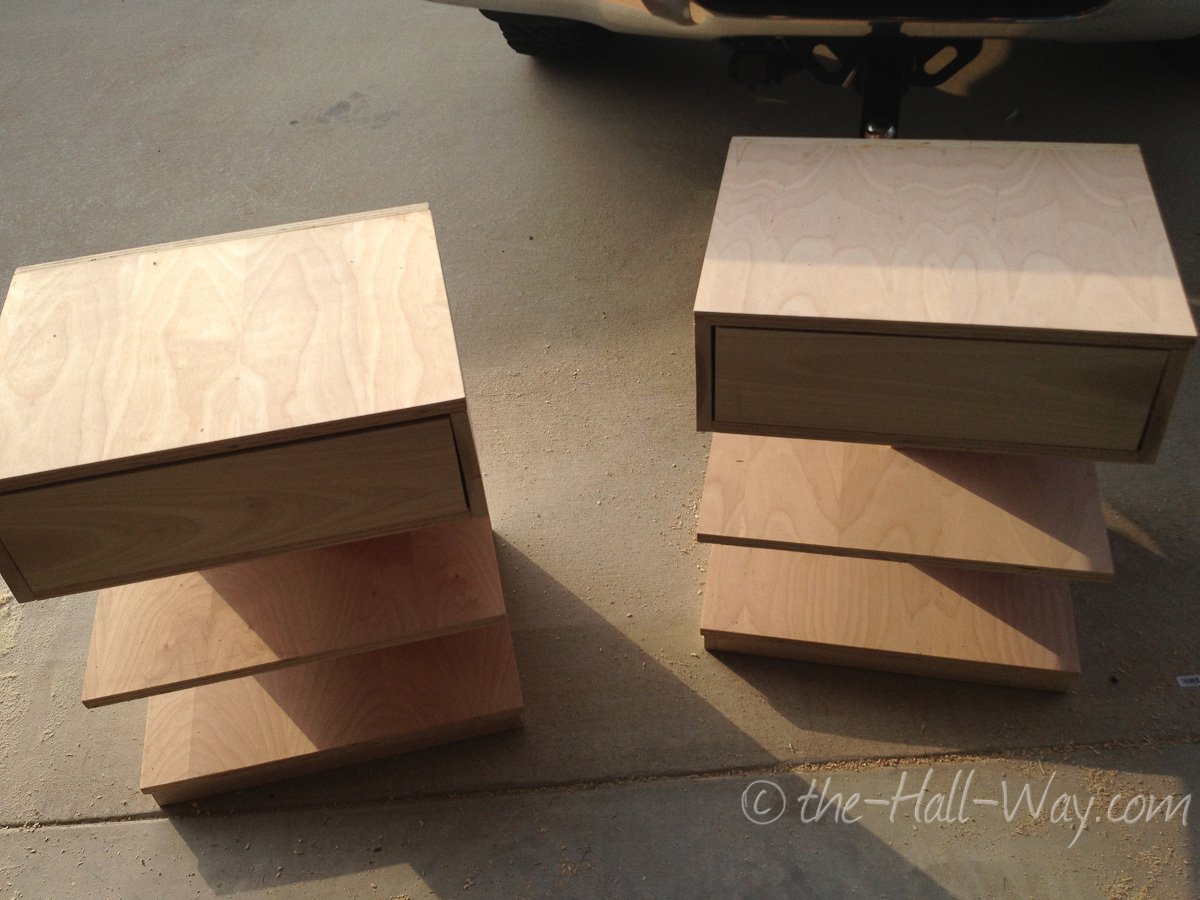
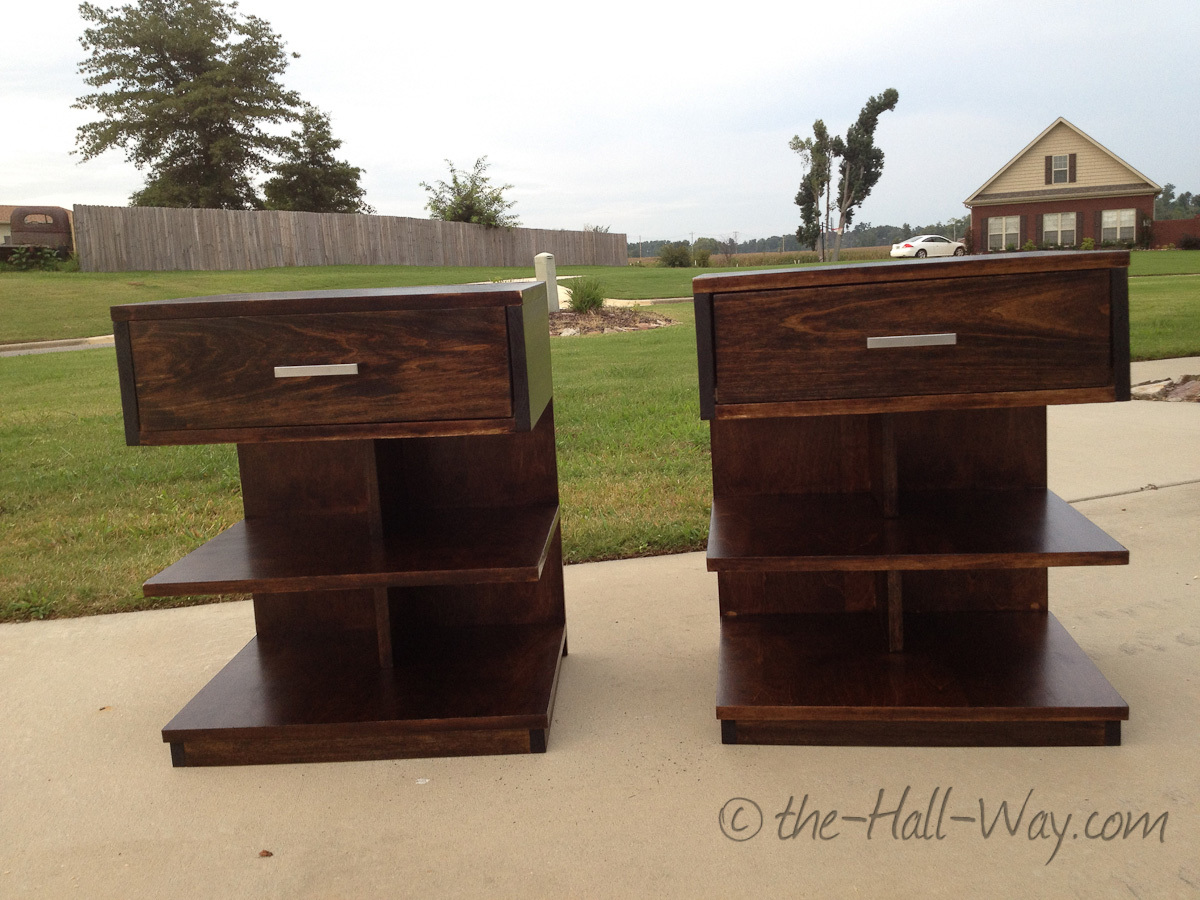
I built this bed for the guest room at our previous house. The room was small, so I made floating shelves for the nightstands to save space. We have since moved and are now renting, so we didn't want to put holes in the walls to hang the shelves. I took the opportunity to build these nightstands instead. The original design was a little too tall and wide, so I reduced those dimensions by 3". This was my first time building drawers, but they went together surprisingly well. I had used a combination of stain on the bed and was worried about matching it, but 2 coats of Minwax Dark Walnut ended up being a pretty close match.

Built from Plan(s)
Estimated Cost
$75
Estimated Time Investment
Day Project (6-9 Hours)
Finish Used
2 coats of Minwax Dark Walnut & Poly
Recommended Skill Level
Intermediate

Comments

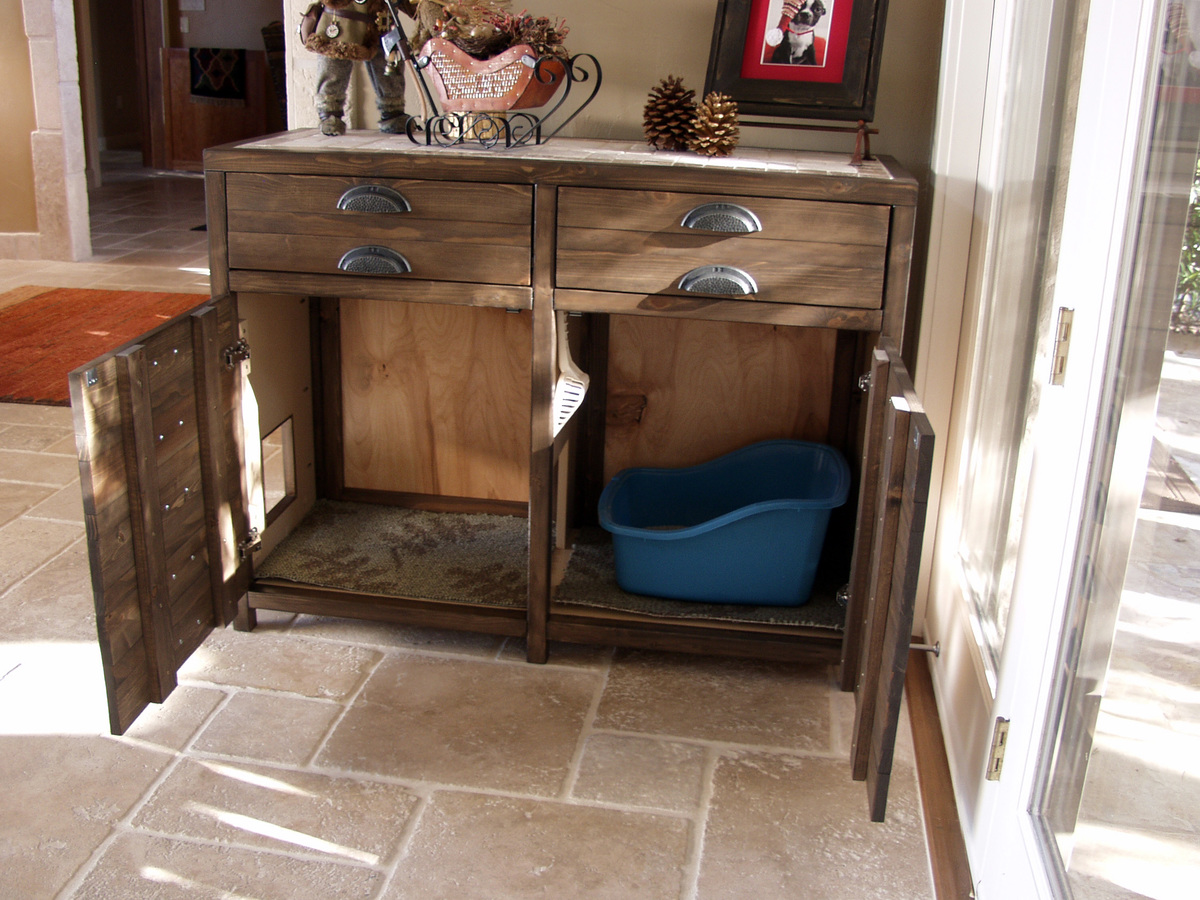
Printer's Console or Sneaky Litterbox Cabinet? Cat Litter Box Cabinet

Submitted by Joni on Sun, 11/25/2012 - 08:12

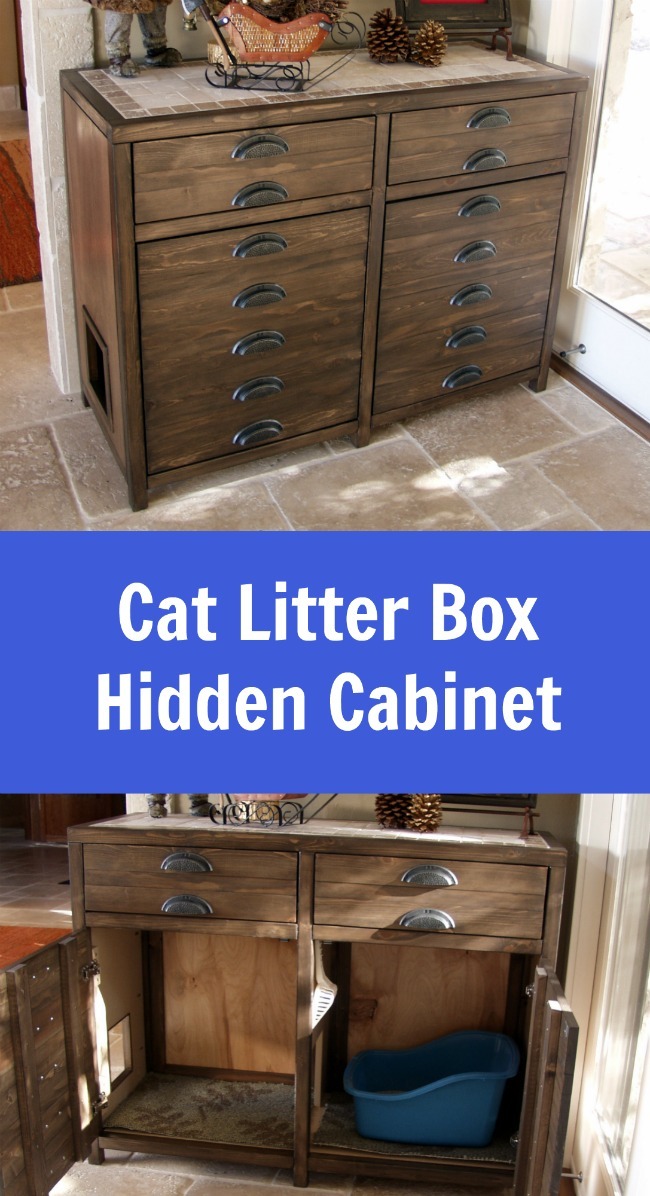
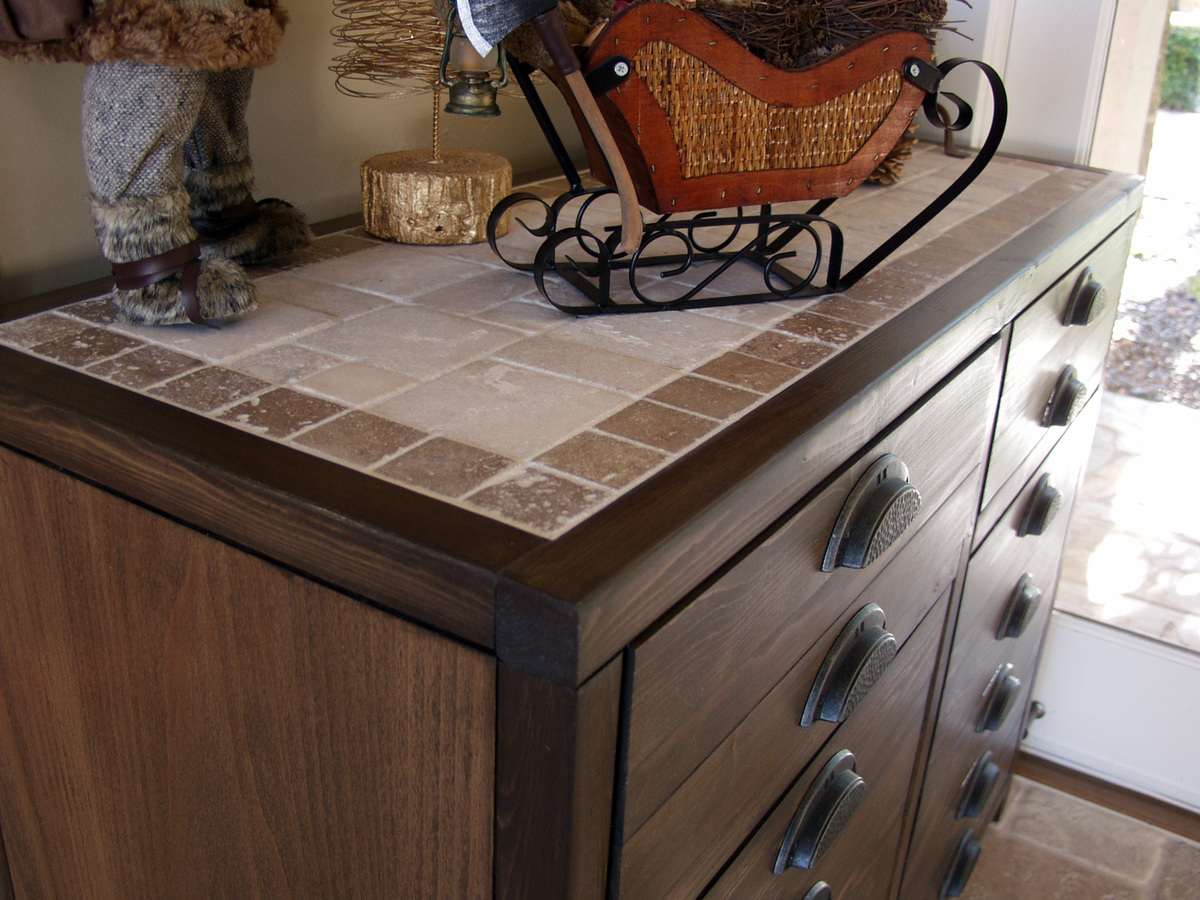
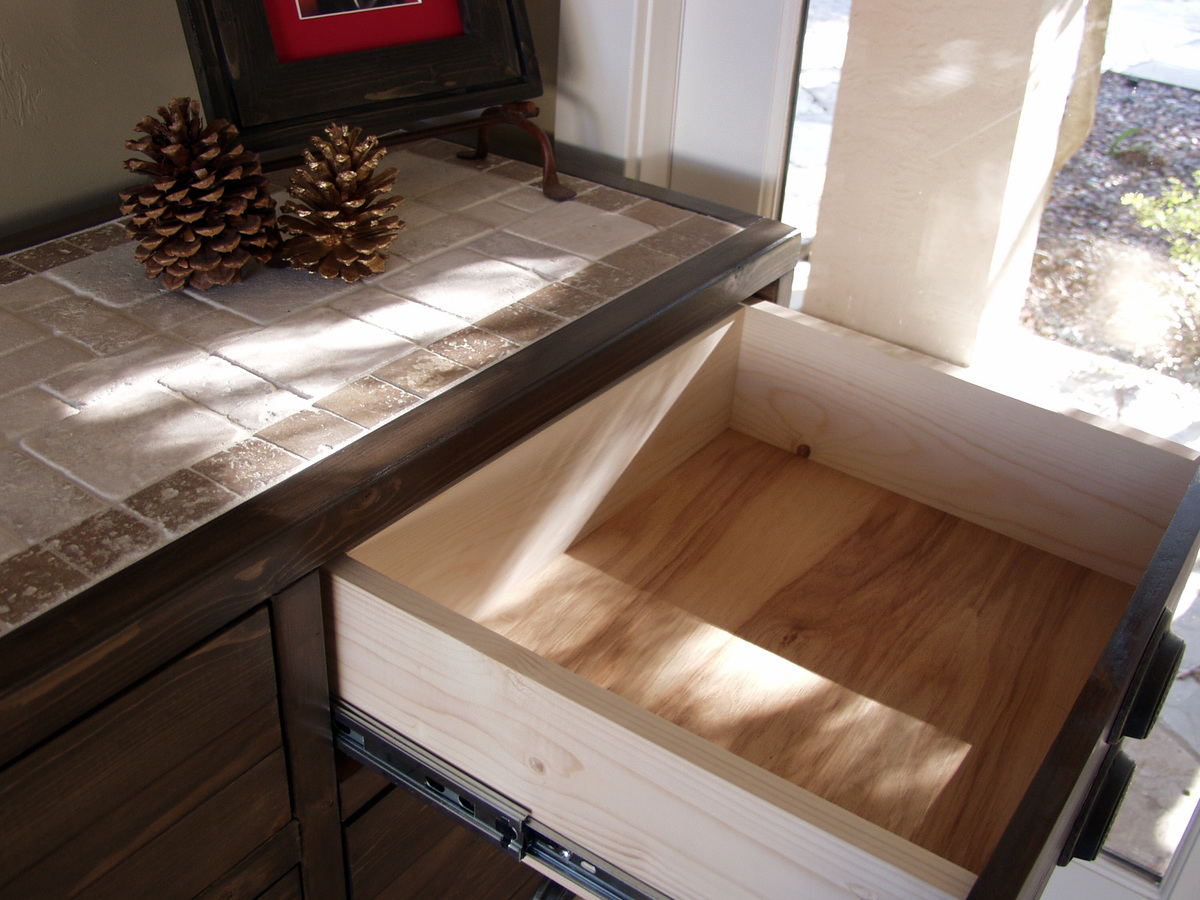
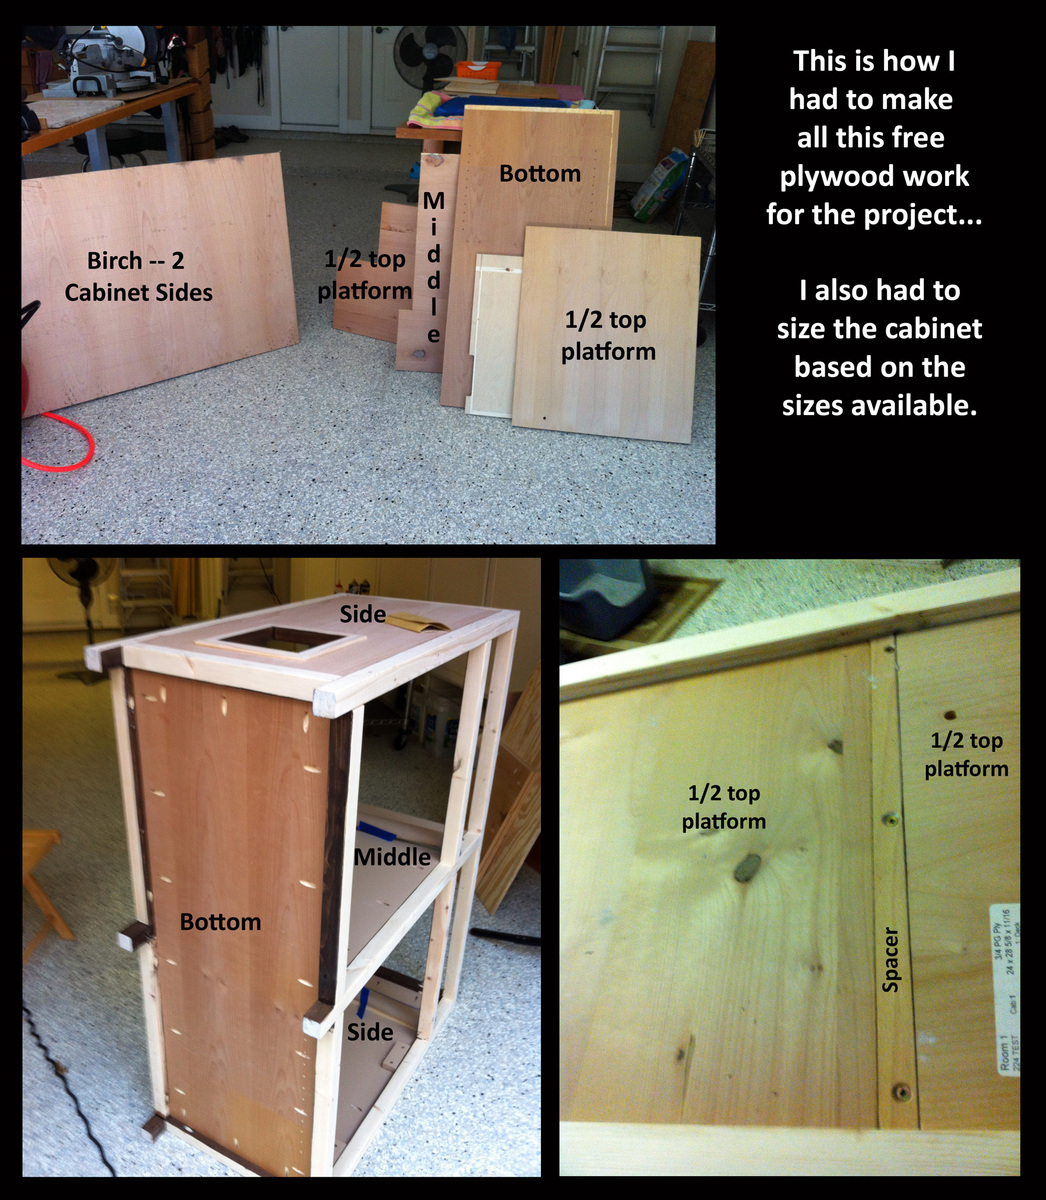
I had been wanting to build something to hide the litterbox for a long time. When I saw the Printer's Console plan, I knew this was the perfect plan for a cat litter box furniture. I loved that Jen Woodhouse's version was completely modified to her bar plan, so I thought I could modify for my litterbox idea. I modified the plans on size, as I was trying to use a bunch of mis-matched plywood. I also modified it to include a cat door, a cat passageway on interior panel, a vent on the back behind one of the drawers, and the stone top. I built a frame on the back to house the backing as an inset piece, as I didn't want it to be seen at all. I learned a very important lesson during this build. Not all 1x3s are created equal. Once I got my doors assembled, they were too big for the opening. I couldn't shave off the tiny amount needed, and couldn't make anything work short of starting over with 1x4s, sawing off a small amount, and cutting down the # of "drawers" (and handles). I wanted the inside to be fully finished (because cat pee on raw wood would not be good!). I had to finish certain "planes" prior to putting the thing together. I used kitchen and bath paint on the inside floor and sides for easy cleanup. The stone was carryover from construction on our house 12 years ago. The handles were an amazing deal @ $1.81/each .


Built from Plan(s)
Estimated Time Investment
Week Long Project (20 Hours or More)
Finish Used
Minwax Wood Conditioner, followed by a mix of American Walnut & Onyx Minwax water-based Stain. 3 Coats of Old Village Gel Varnish. On inside, I used a kitchen/bath paint.
Recommended Skill Level
Intermediate

Comments

blueskiesinNM

Mon, 06/17/2013 - 12:23

Love your use of the buffet. Our family has discussed making a piece of furniture like this for our smaller dog. Nice to see someone has done it! Our big dog has scheduled feedings but our little dog would prefer to be a free feeder. Poor thing chokes down his food in our pantry listening to our big dog breathing under the door waiting for him to finish. When he is done we open the door and the Big, greedy dog bolts in looking for left overs. A family member has to wait patiently for the little dog to finish so he can escape the pantry. I really don't want a doggy door in my pretty swinging bi-fold doors to my pantry which is also access to our kitchen.That would be a pain to have to keep closed all day. But this buffet idea is super cute! Thanks for the inspiration.

wayneled

Fri, 01/09/2015 - 22:01

I know this is an old post, but I'll ask anyway

I love this piece and am in the planning stages for ours. Thank you for sharing!

I am Wondering how you went about the table top. Did you install a 3/4 ply on top but not flush, allowing room for mortar and tile? If so how much room did you allow for the tile/mortar? 1/2 inch? How did you keep the surface of the tile level and uniform? Lastly, did you seal the tile with anything when you finished?

Aesthetically, the tile top really sets this piece off and I really want to make my own.

Thanks

Seasonal And Holiday

Wall mounted can organizer

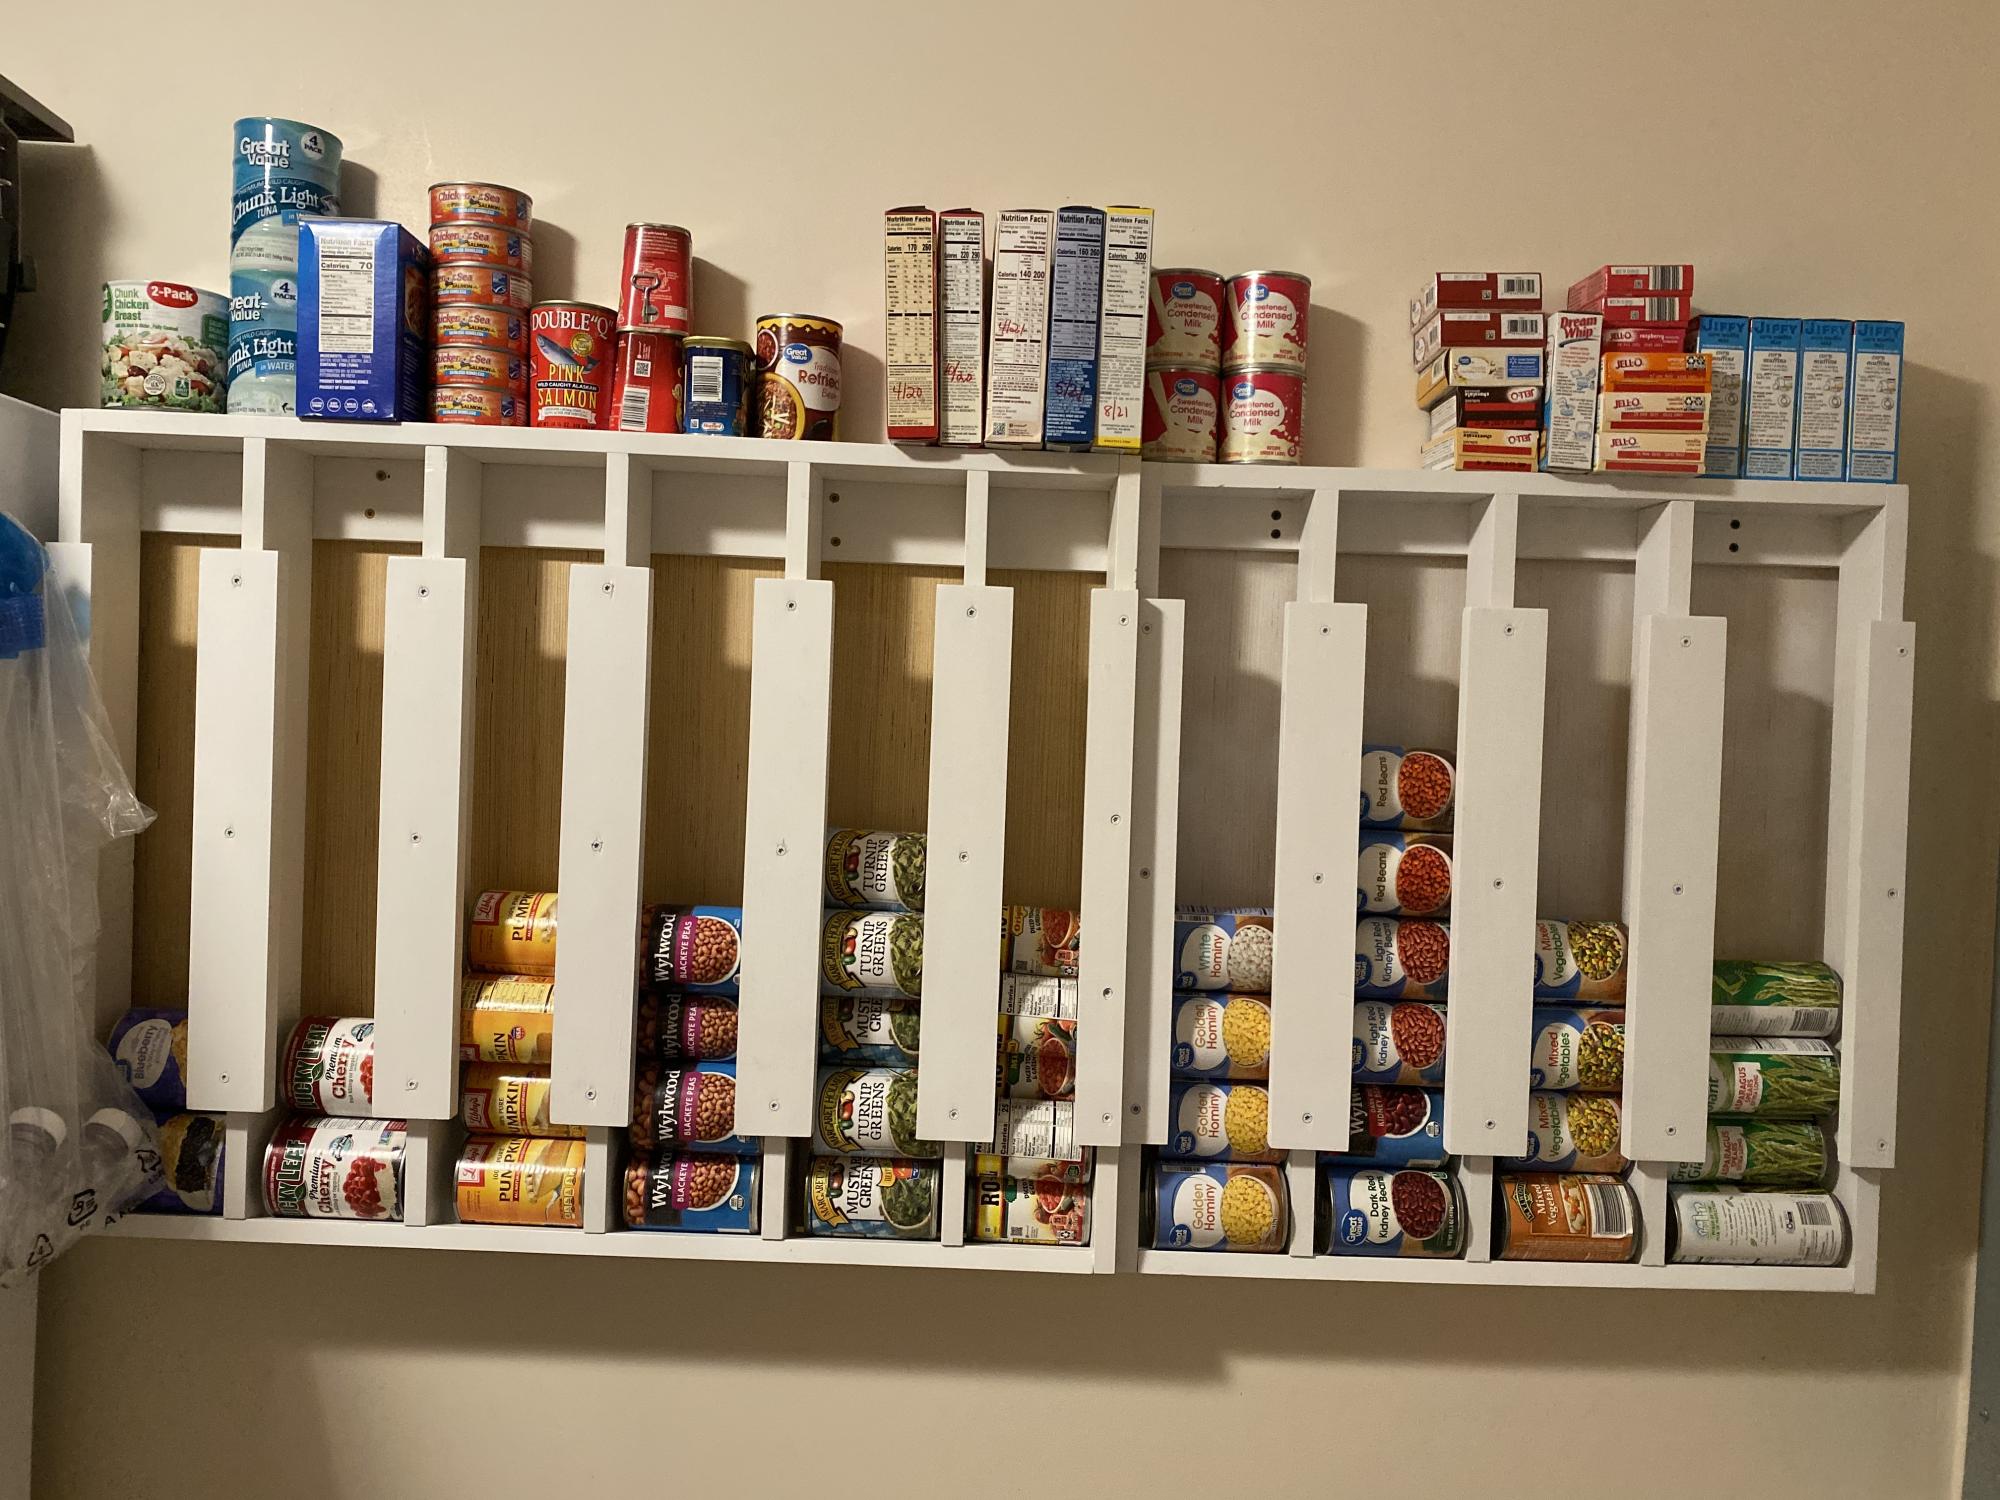
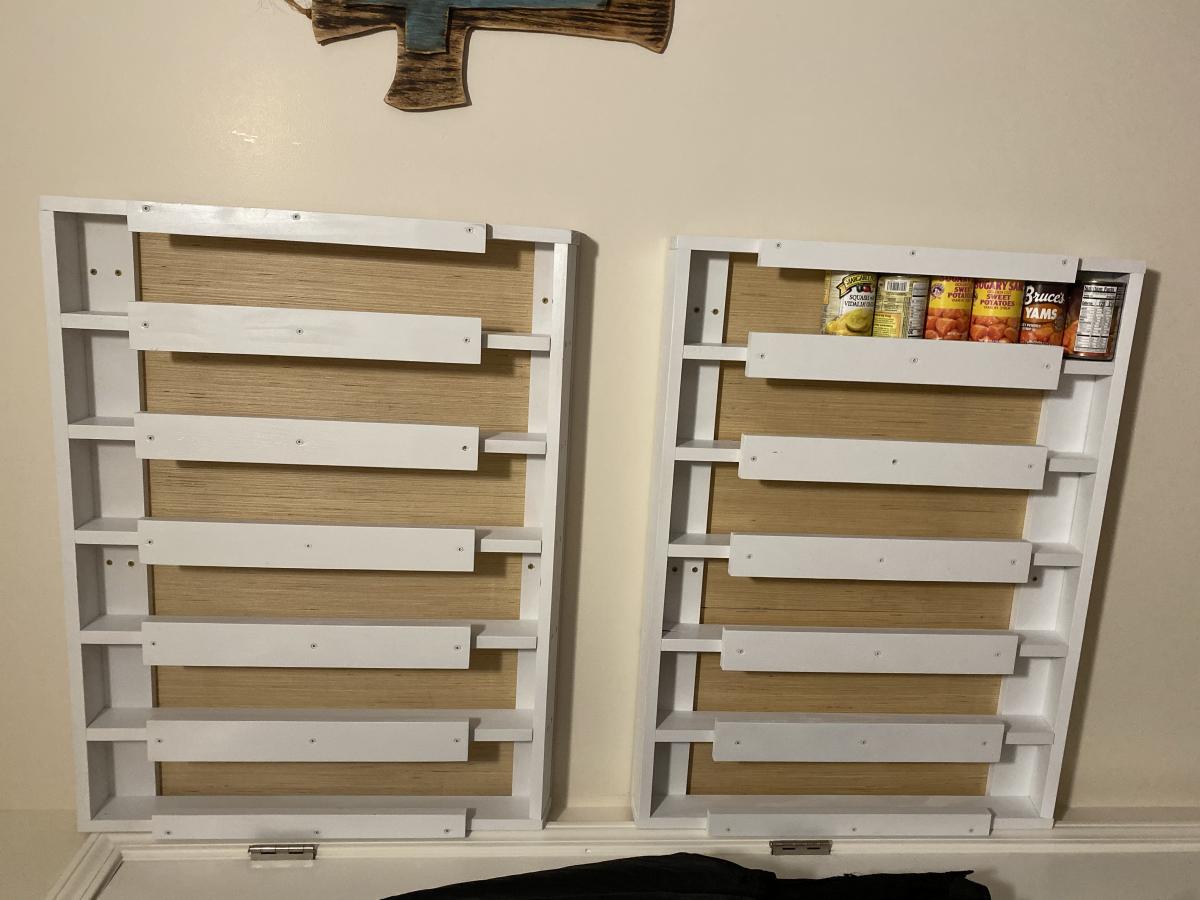
Added a backing of thin plywood to prevent the cans marking up the walls. I knew how many types of canned goods I wanted this to fit and adjusted the width to meet our needs. Love how this is going to save space in the pantry and with just a glance I can see what we have on hand.
Thanks Ana for another great plan!

Built from Plan(s)
Estimated Cost
About $150.
Estimated Time Investment
Day Project (6-9 Hours)
Finish Used
Spray paint
Recommended Skill Level
Beginner

Comments

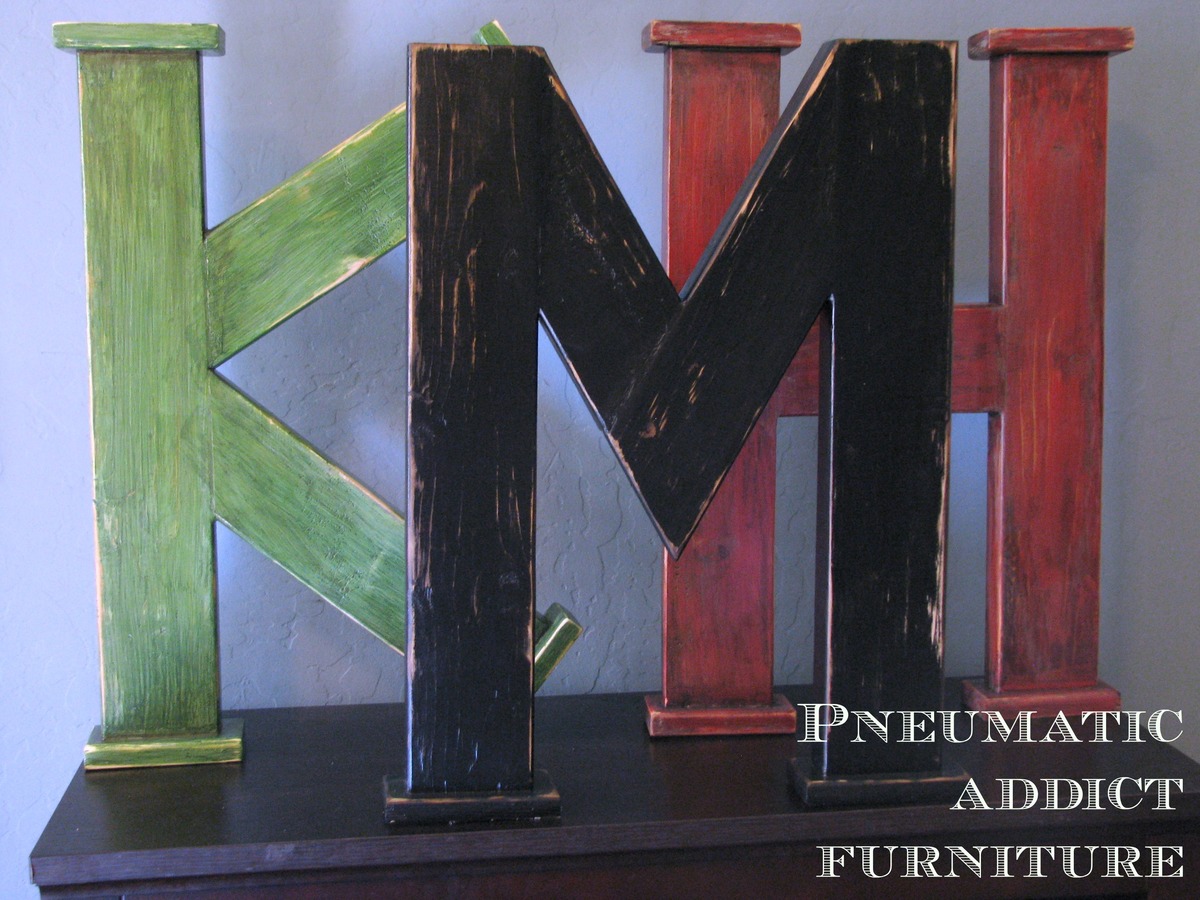
Over-sized 2x4 Letters

Submitted by efmolly on Sat, 01/12/2013 - 09:04

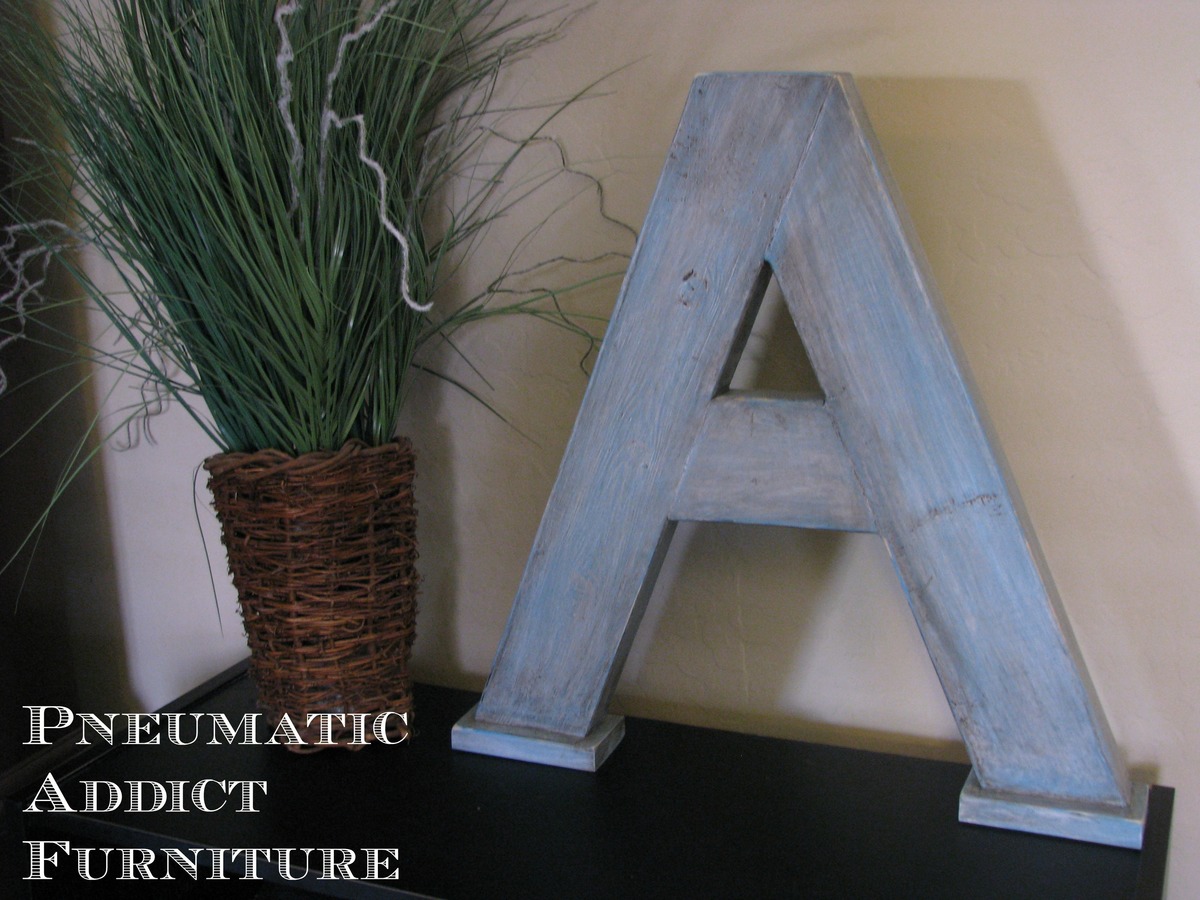
I've done a dozen or more of these letters now. Each letter has to be cut differently, but they are all made from 2x4s and pocket holed together using my Kreg Jig. I have also made some letters with curves (such as R, B, J, etc). I cut the curve out of a 2x10, left over stair stringer and then join it with some 2x4 for the rest of the piece. To make the base plates, I cut small blocks of 1x3 and rounded the edges with a palm sander. I used glue and finish nails to attach them. I have more projects like this on my blog http://pneumaticaddict.blogspot.com .
Estimated Cost
$4
Estimated Time Investment
Afternoon Project (3-6 Hours)
Finish Used
I wanted them to look very rustic, so I purposely didn't sand or use wood filler. First I painted them with 1 coat of acrylic paint a little brighter than my desired shade. I then glazed each letter with a dark brown glaze. Next, I white washed selected areas to add highlights. I distressed the edges with 100 grit sandpaper and sealed the whole thing with 2 coats of Polyacrylic in Satin.
Recommended Skill Level
Intermediate

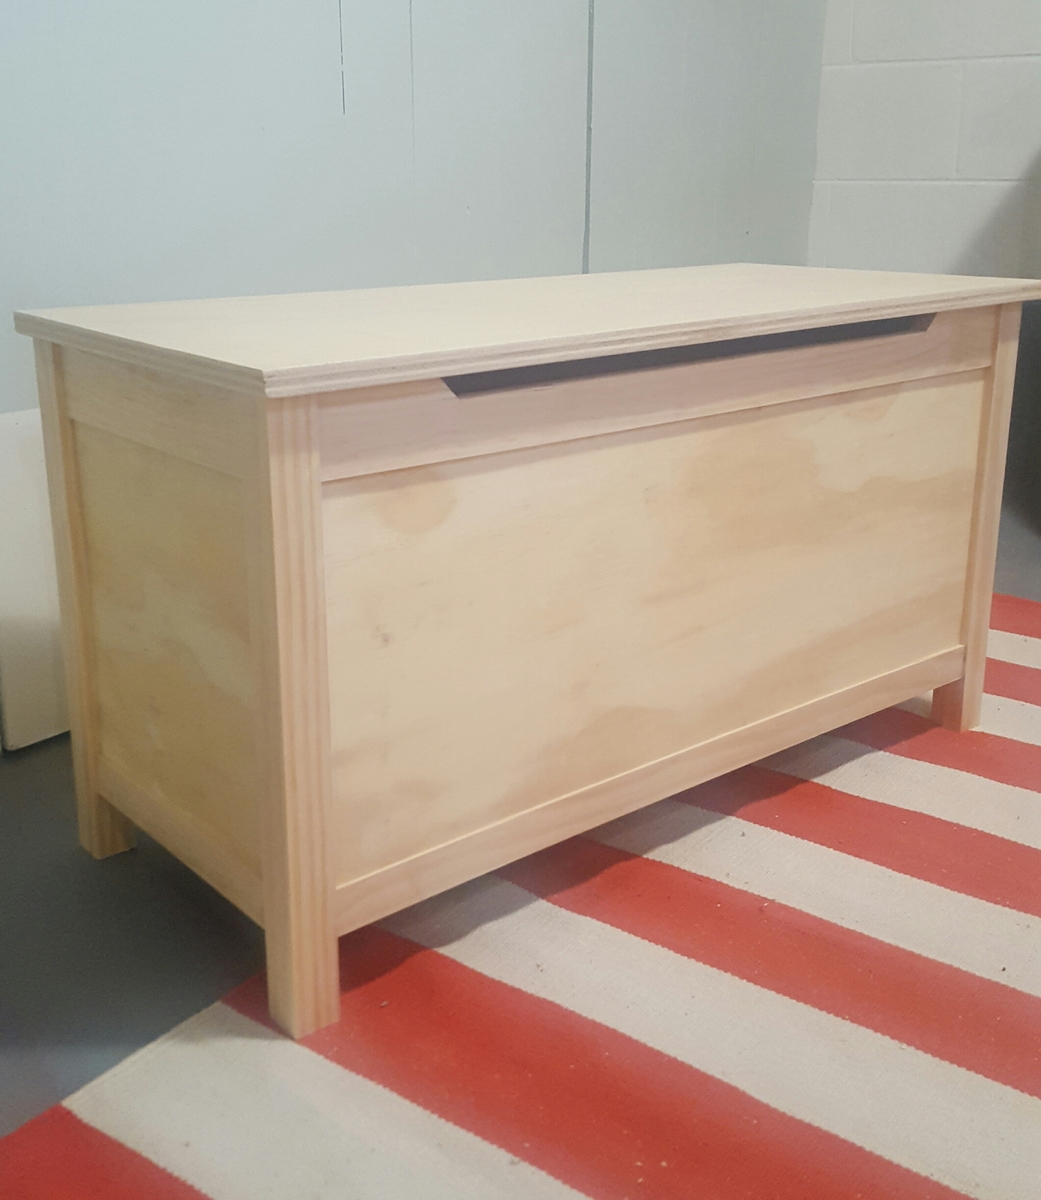
Modern Toy Box

Submitted by Anonymous (not verified) on Sun, 03/19/2017 - 14:32

I had a wonderful time making this toy box and learning new techniques. Having access to a table saw really made this project turn out awesome. I was able to get 1/4" shims made that allowed for easy, precise offsets. The family just loved it!

Built from Plan(s)
Estimated Cost
$100
Estimated Time Investment
Weekend Project (10-20 Hours)
Finish Used
ProClassic white paint
Recommended Skill Level
Intermediate

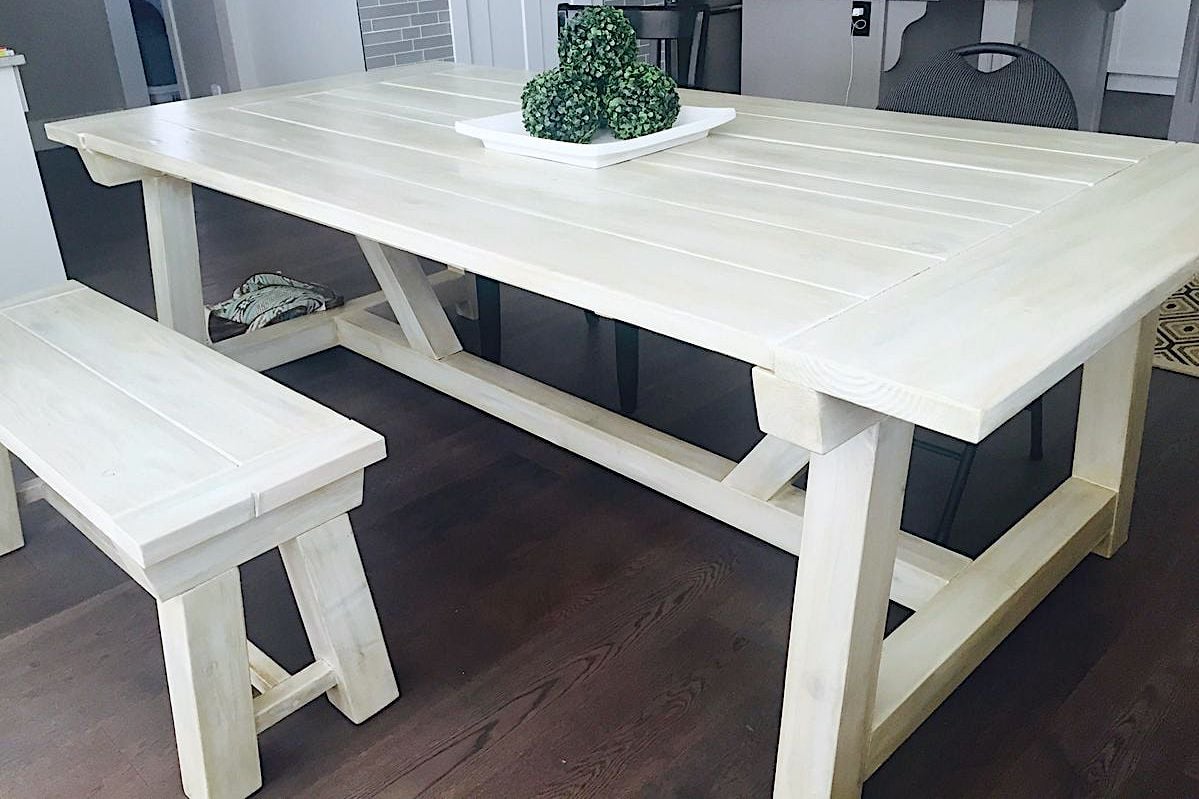
Truss harvest table with white stain

Submitted by Anonymous (not verified) on Fri, 04/07/2017 - 14:30

Absolutely love the finish on this table.

Estimated Time Investment
Weekend Project (10-20 Hours)
Recommended Skill Level
Advanced

Comments

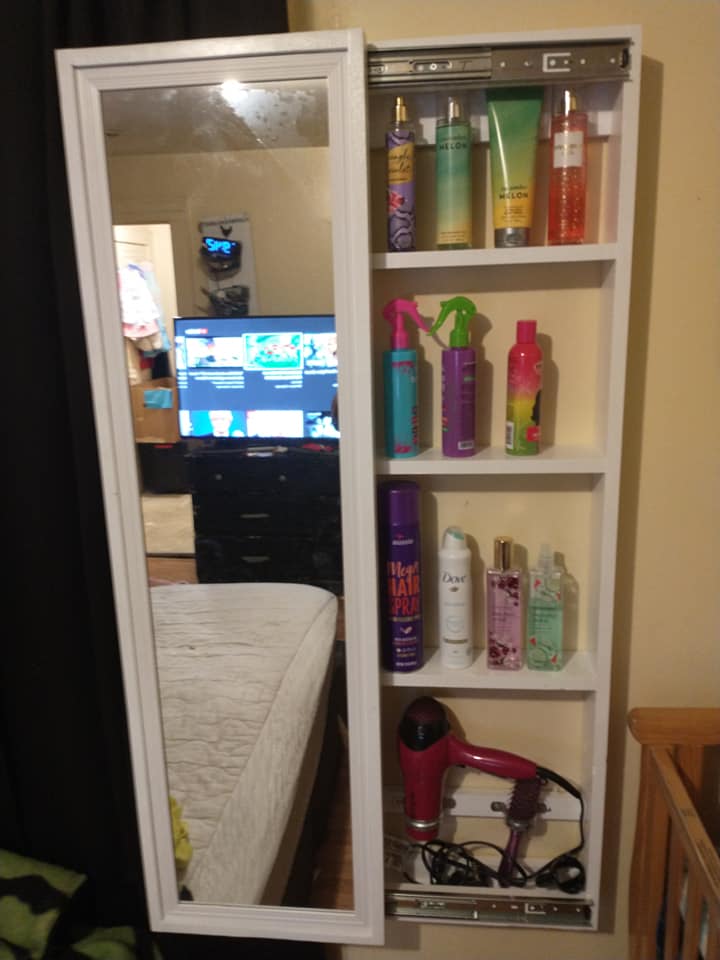
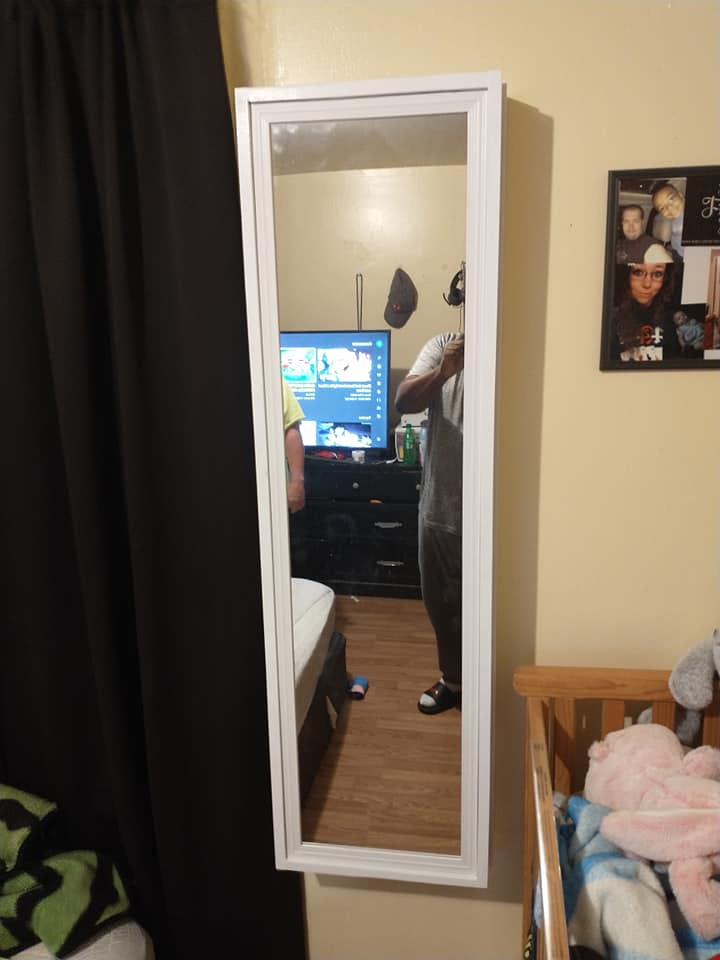
Full Length Mirror Sliding Beauty Storage Cabinet

Submitted by csihoratio on Tue, 07/20/2021 - 07:30

Great idea being my wife is not a hair person she really loves it.

Estimated Cost
$40
Estimated Time Investment
Afternoon Project (3-6 Hours)
Finish Used
primer and white paint
Recommended Skill Level
Beginner

Comments

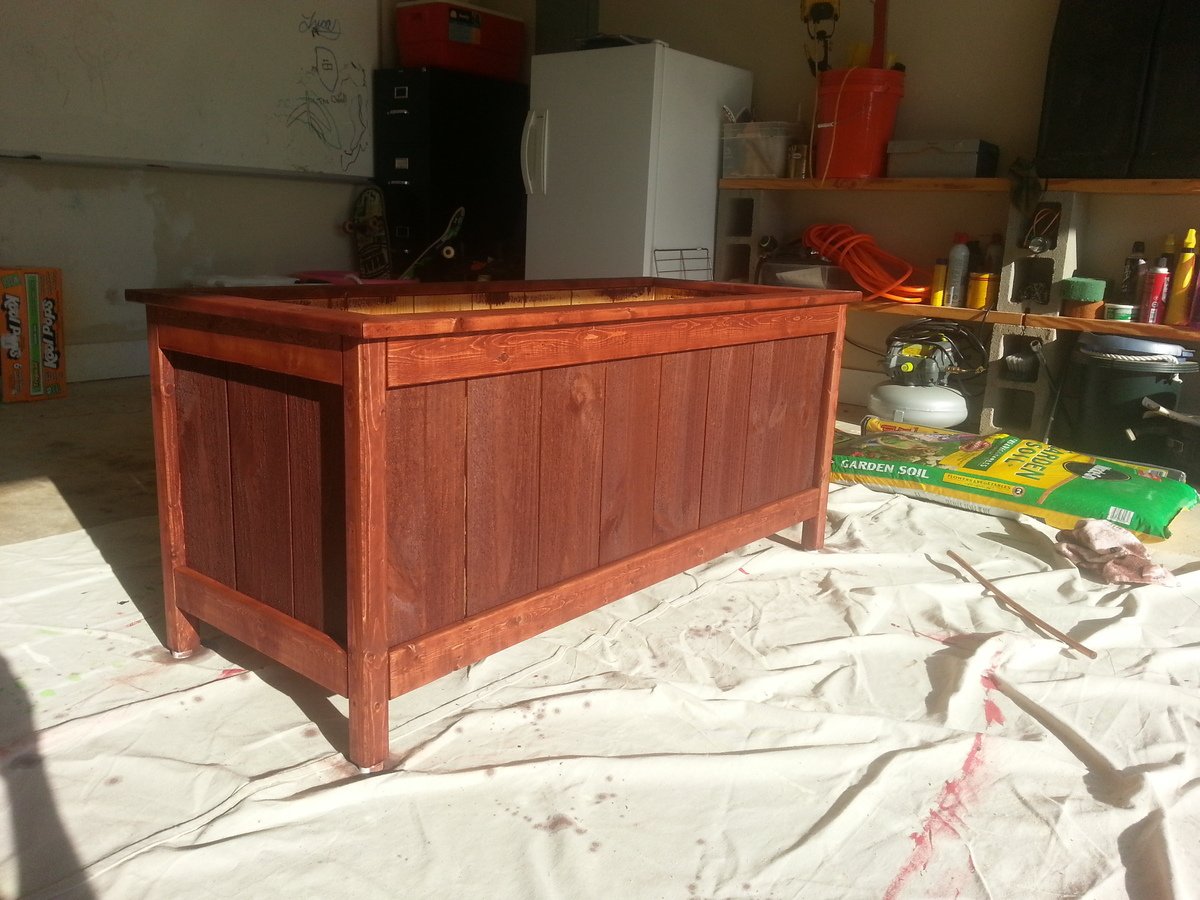
Modified Rectangular Planter

Submitted by Steb-Ban on Wed, 05/22/2013 - 14:24

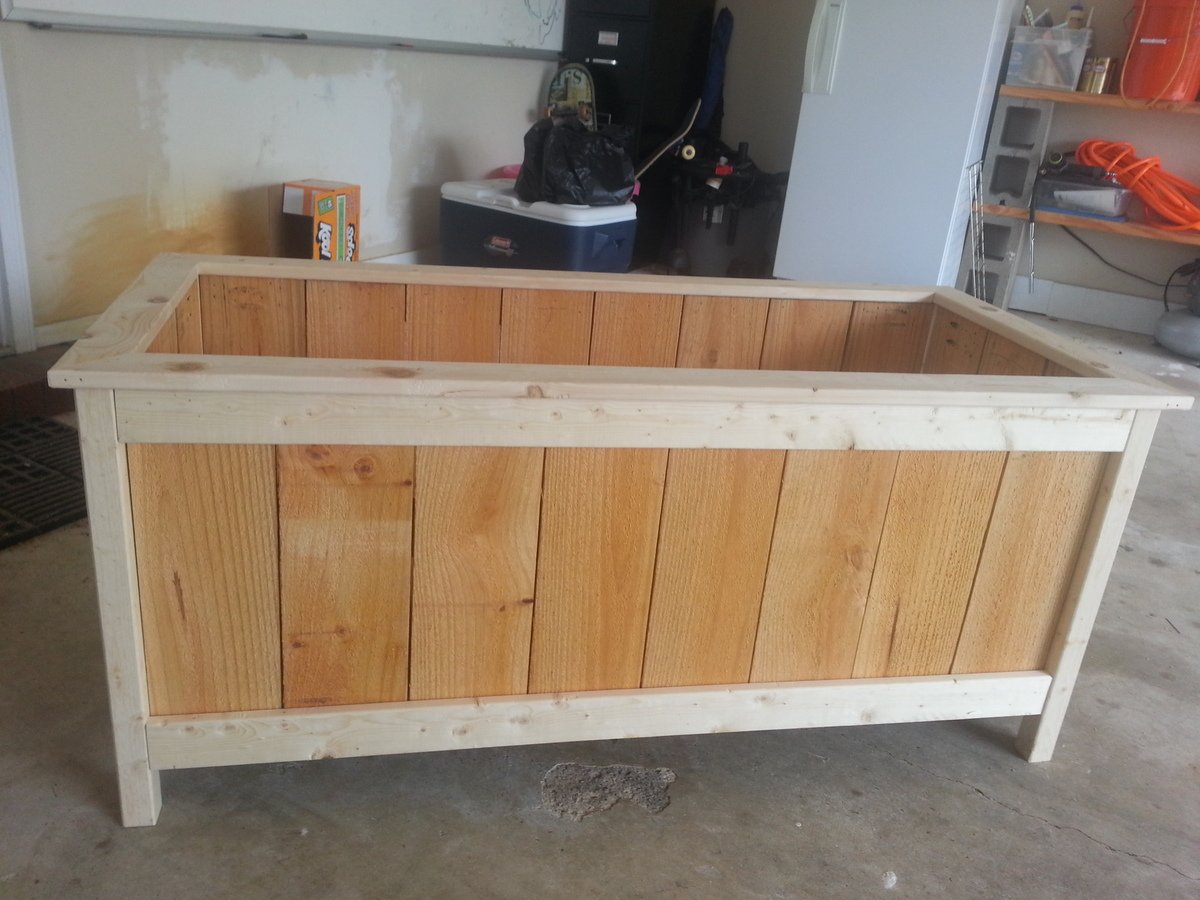
I modified the plan a little to make a rectangular 4 foot long planter and added a top.

Built from Plan(s)
Estimated Cost
$35
Estimated Time Investment
An Hour or Two (0-2 Hours)
Finish Used
Minwax Wood Finish "Red Chestnut" followed by Thompson's Water Seal.
Recommended Skill Level
Beginner

Comments

creativekidd

Sun, 06/26/2016 - 18:25

I know it's been 3 years, but do you recall how many cedar boards you bought? This is the exact size i need. Thanks.

Chair Build with Loveseat Modification

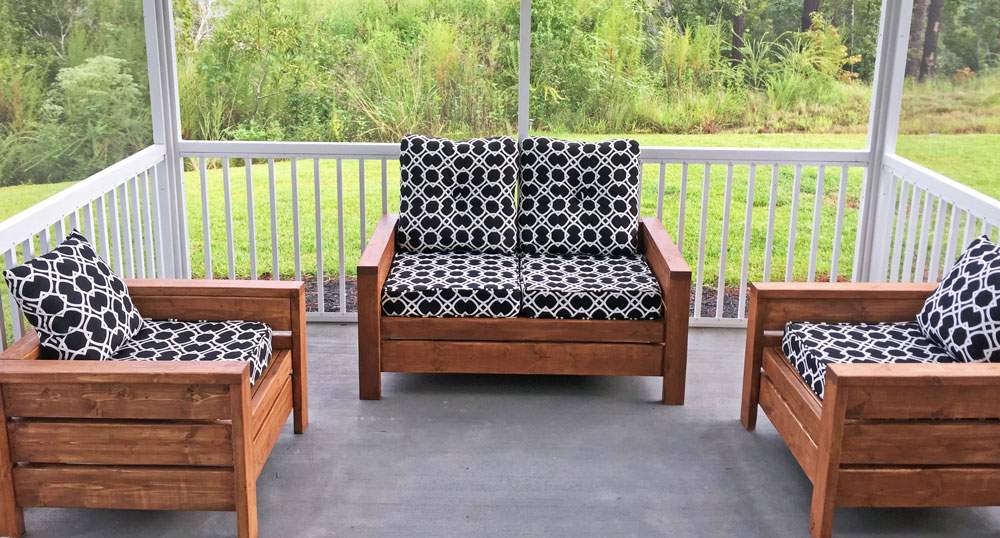
Submitted by Joshh81 on Sat, 09/02/2017 - 12:26

Built the 2 chairs according to the plans, and then modified it for a bench that's 48" (our cushions are 23.5 x 23.5). Worked really well!

Estimated Time Investment
Weekend Project (10-20 Hours)
Recommended Skill Level
Beginner

Comments

Seasonal And Holiday
Back