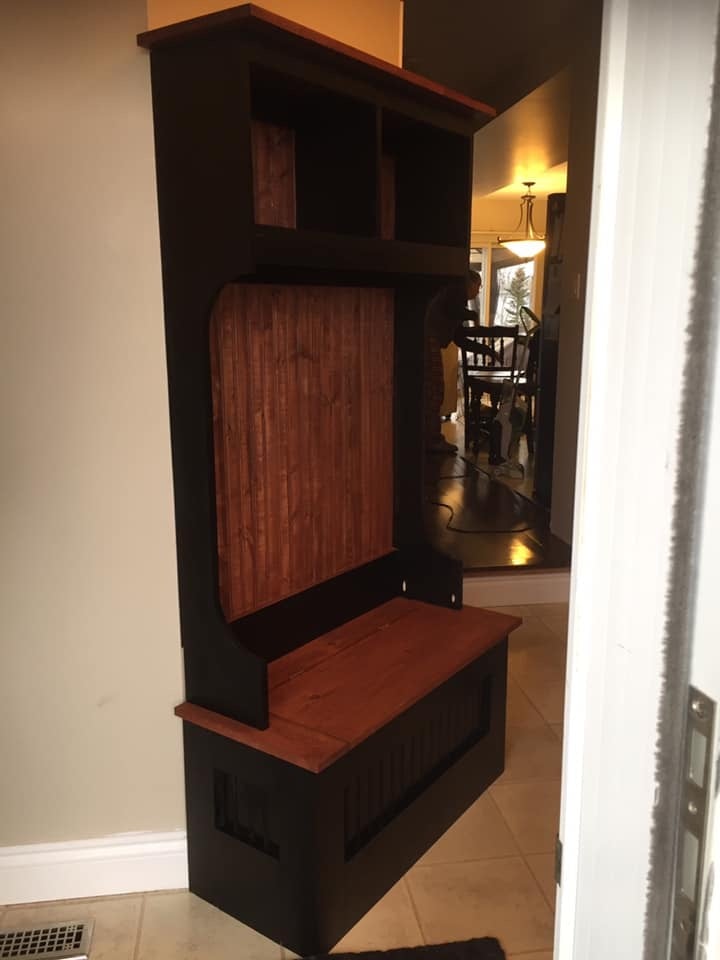
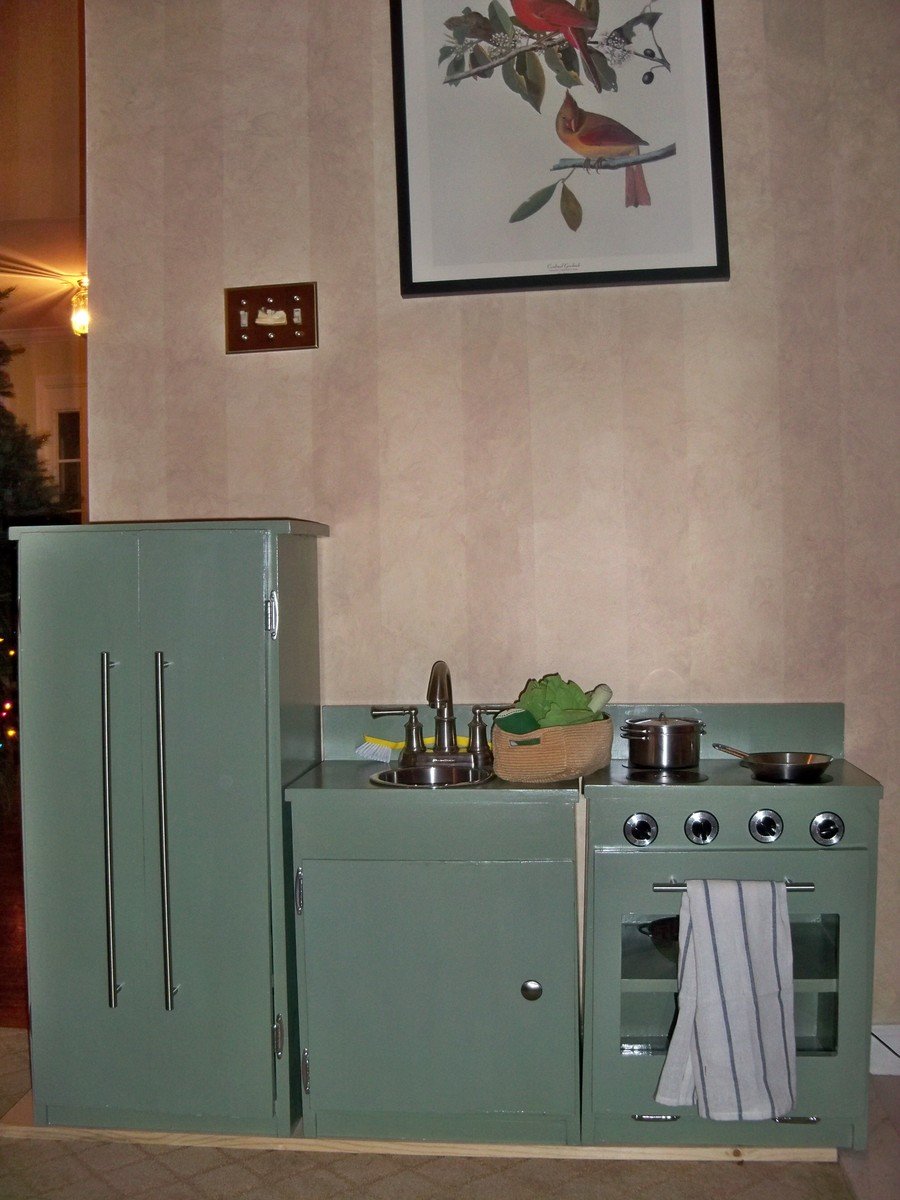
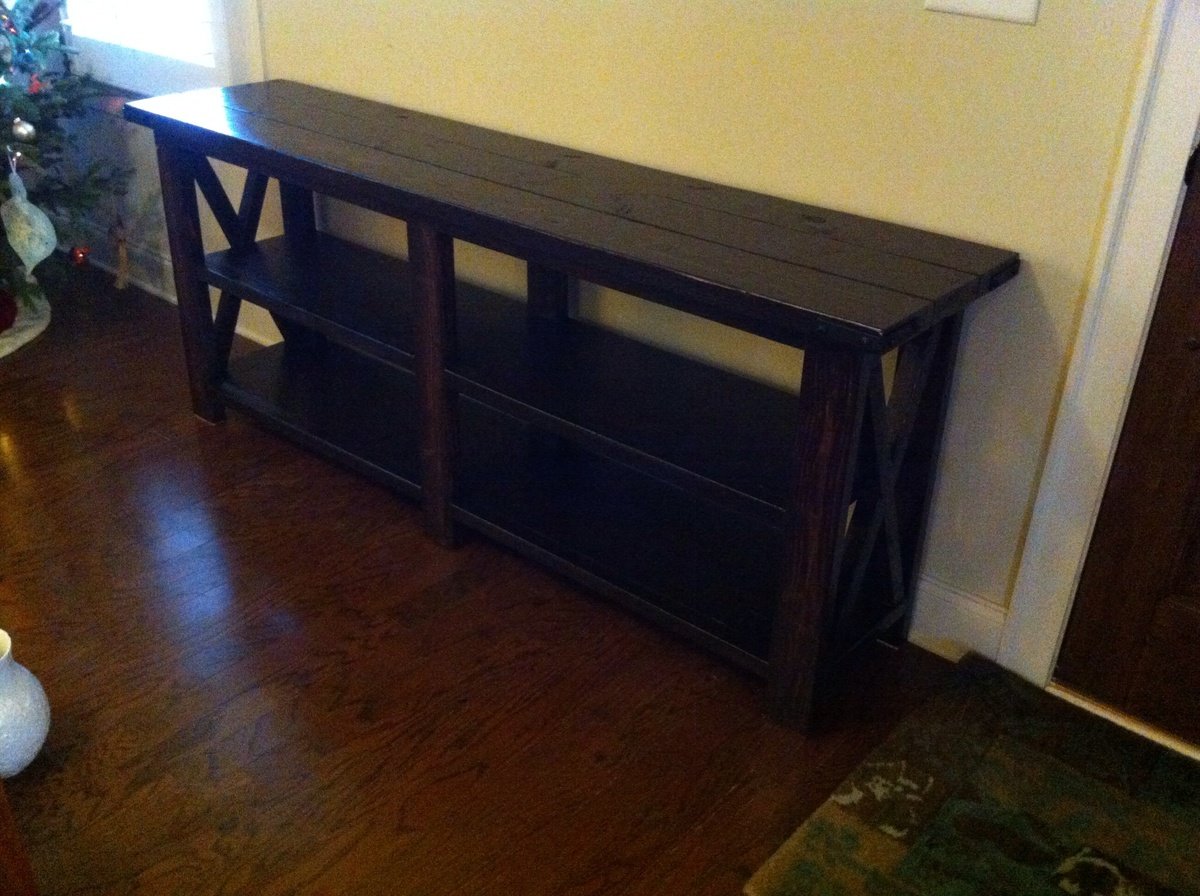
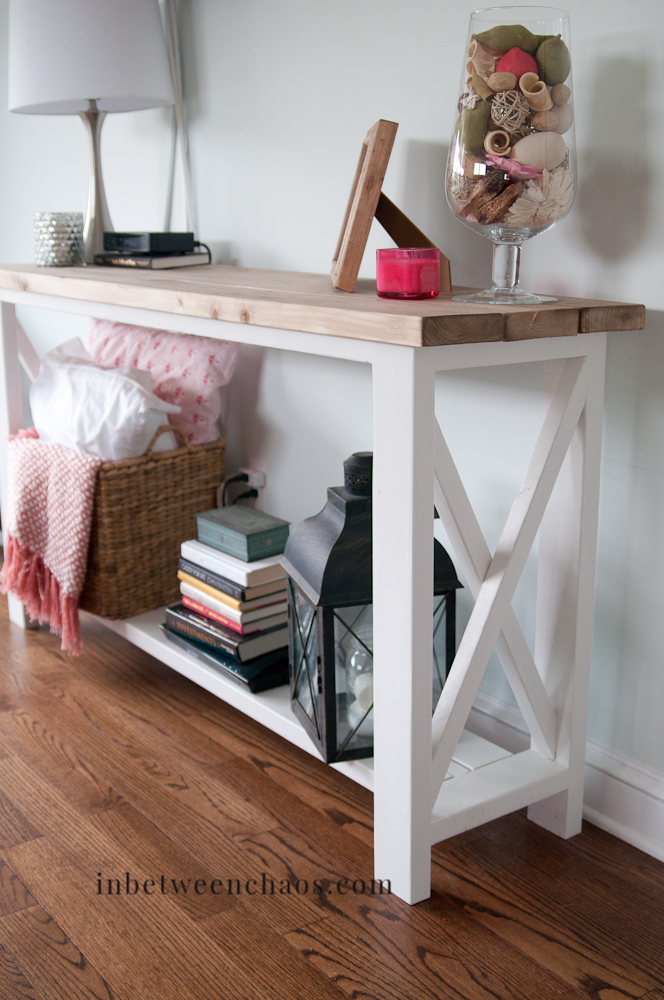
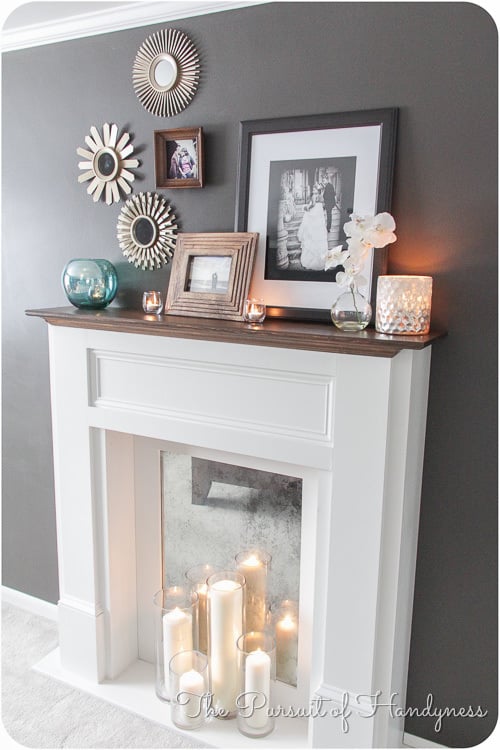
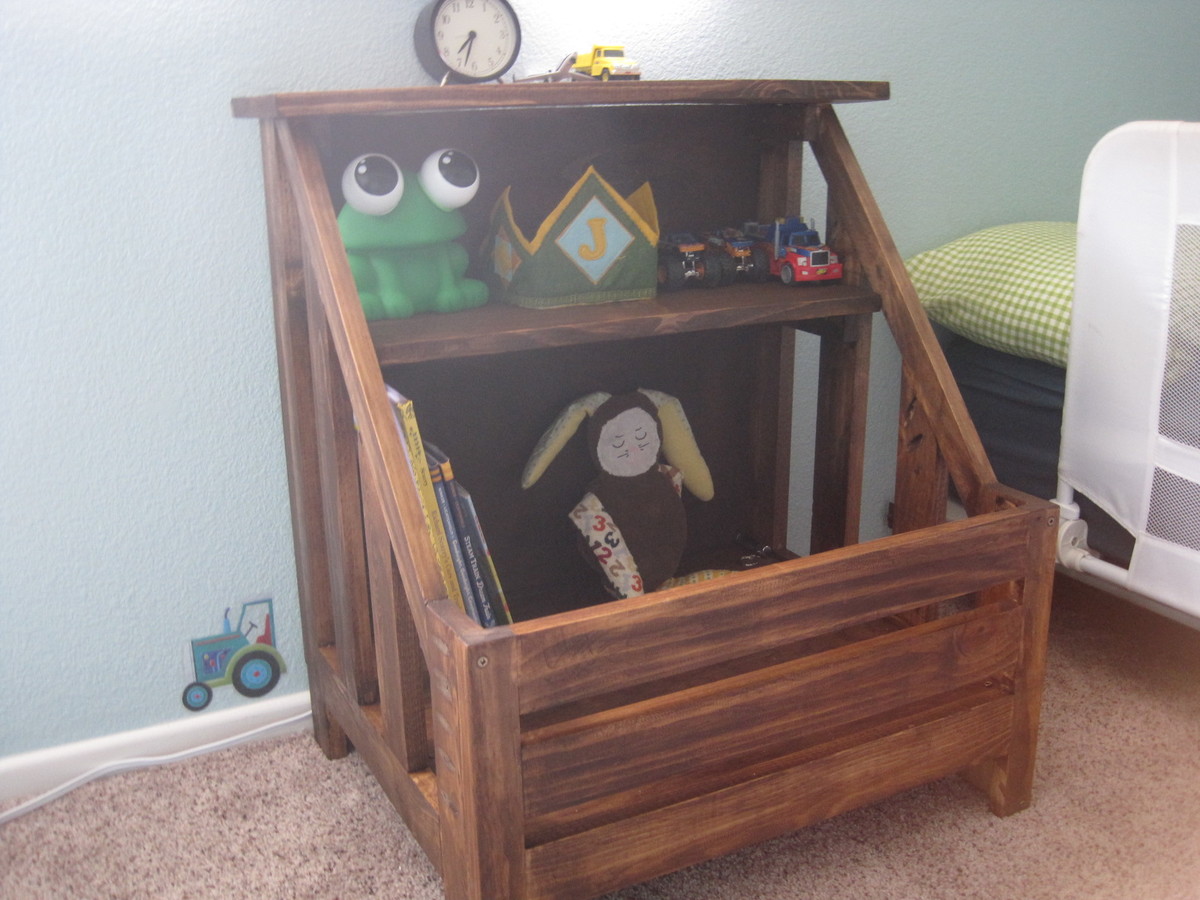
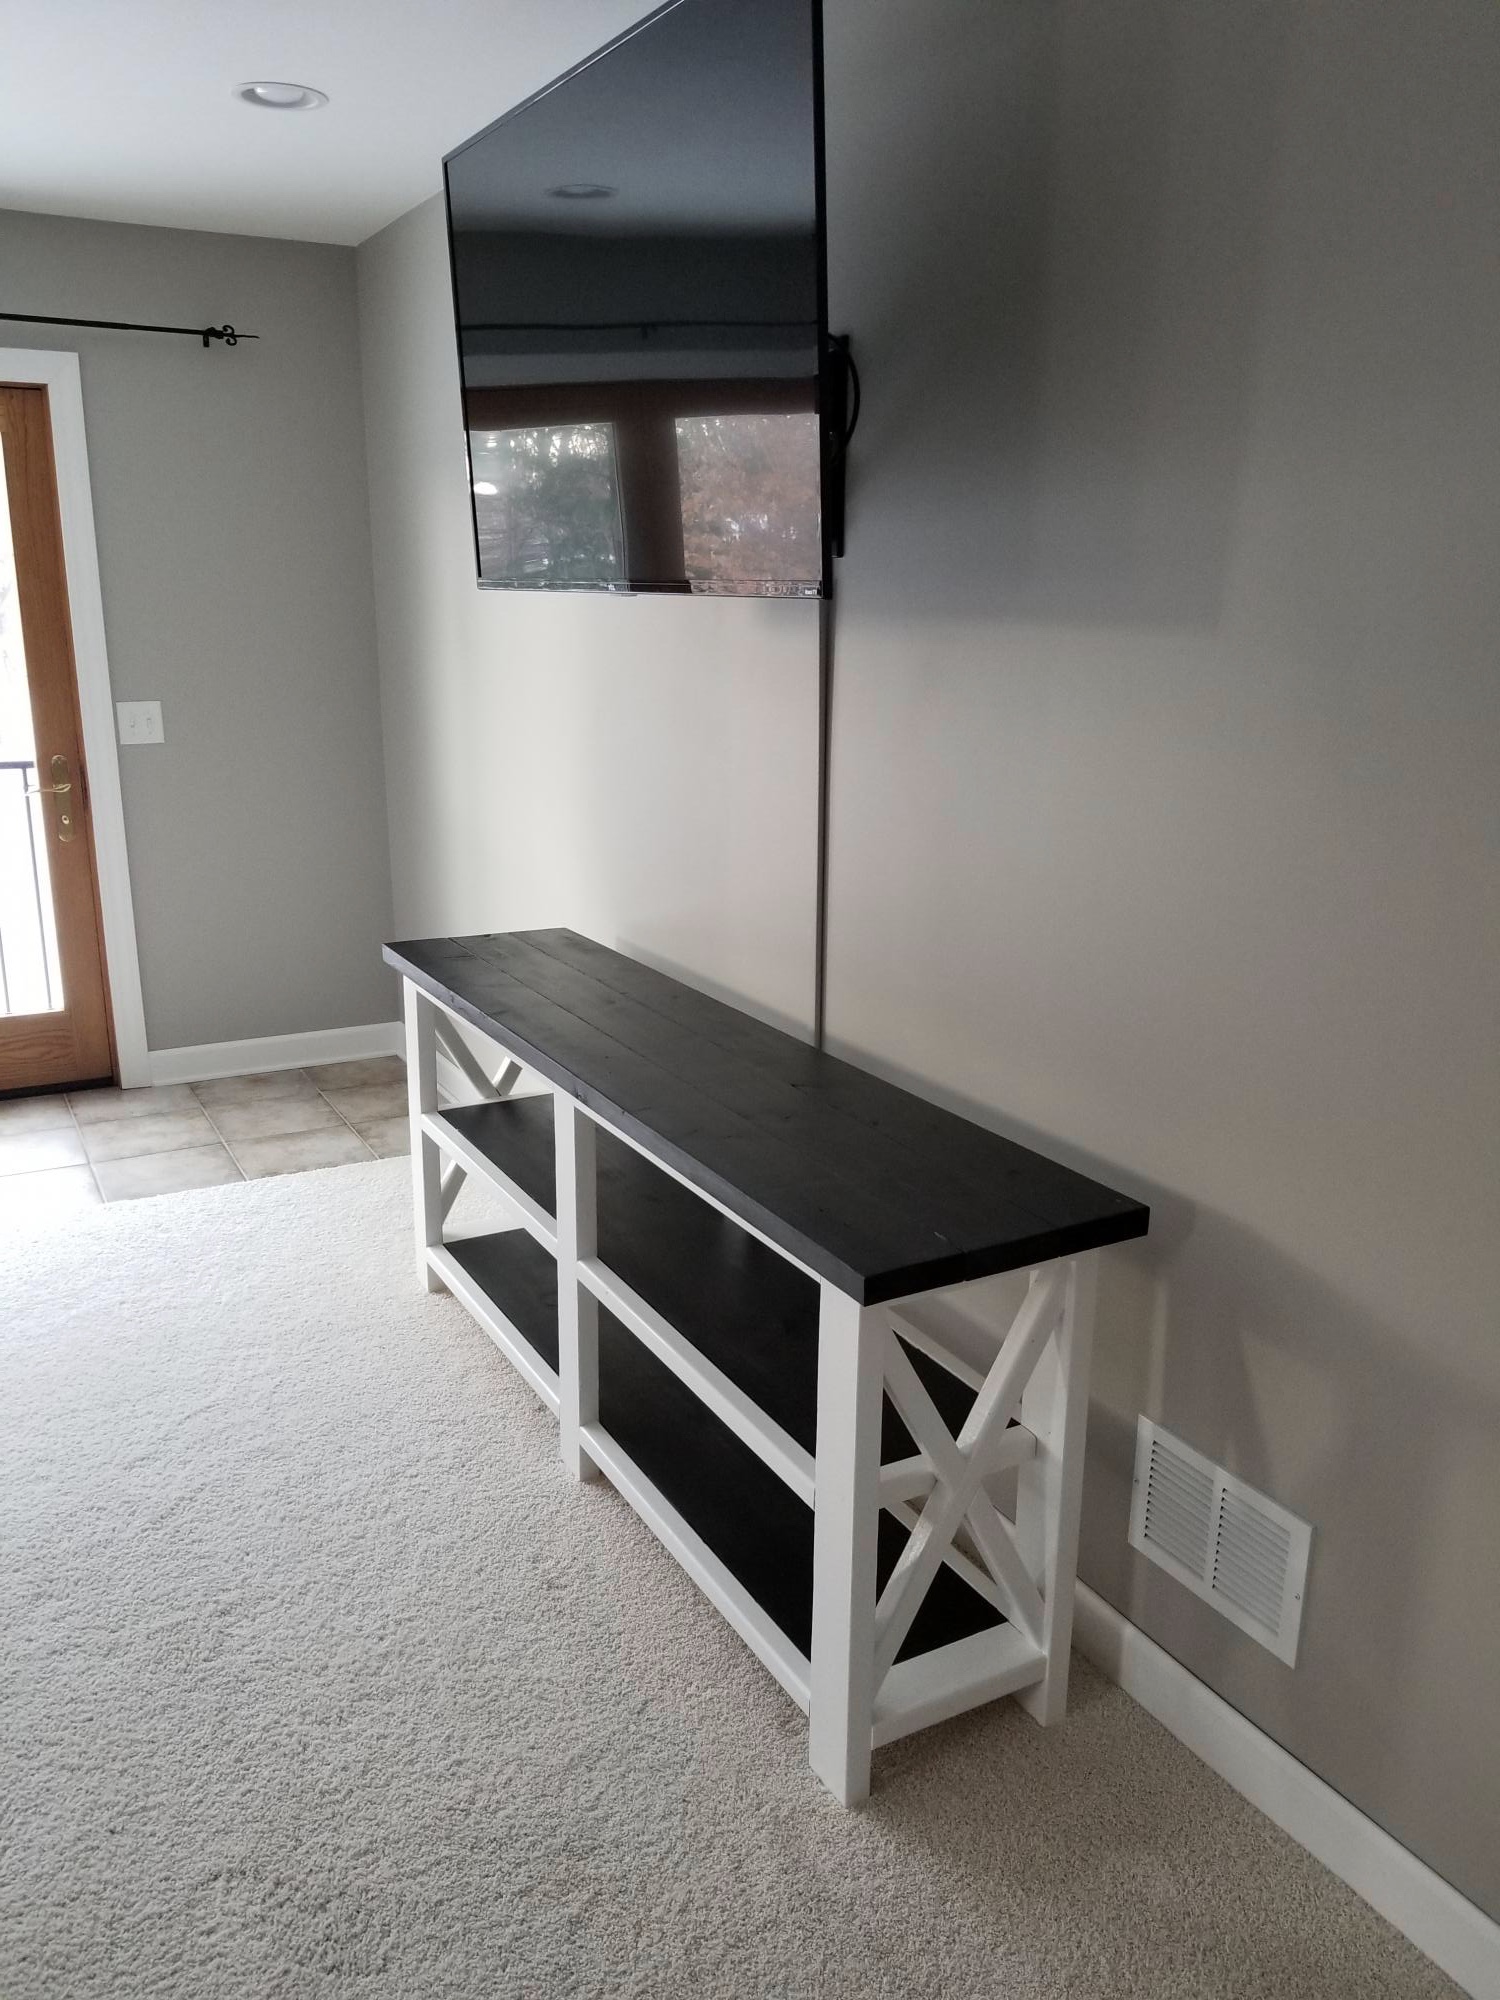
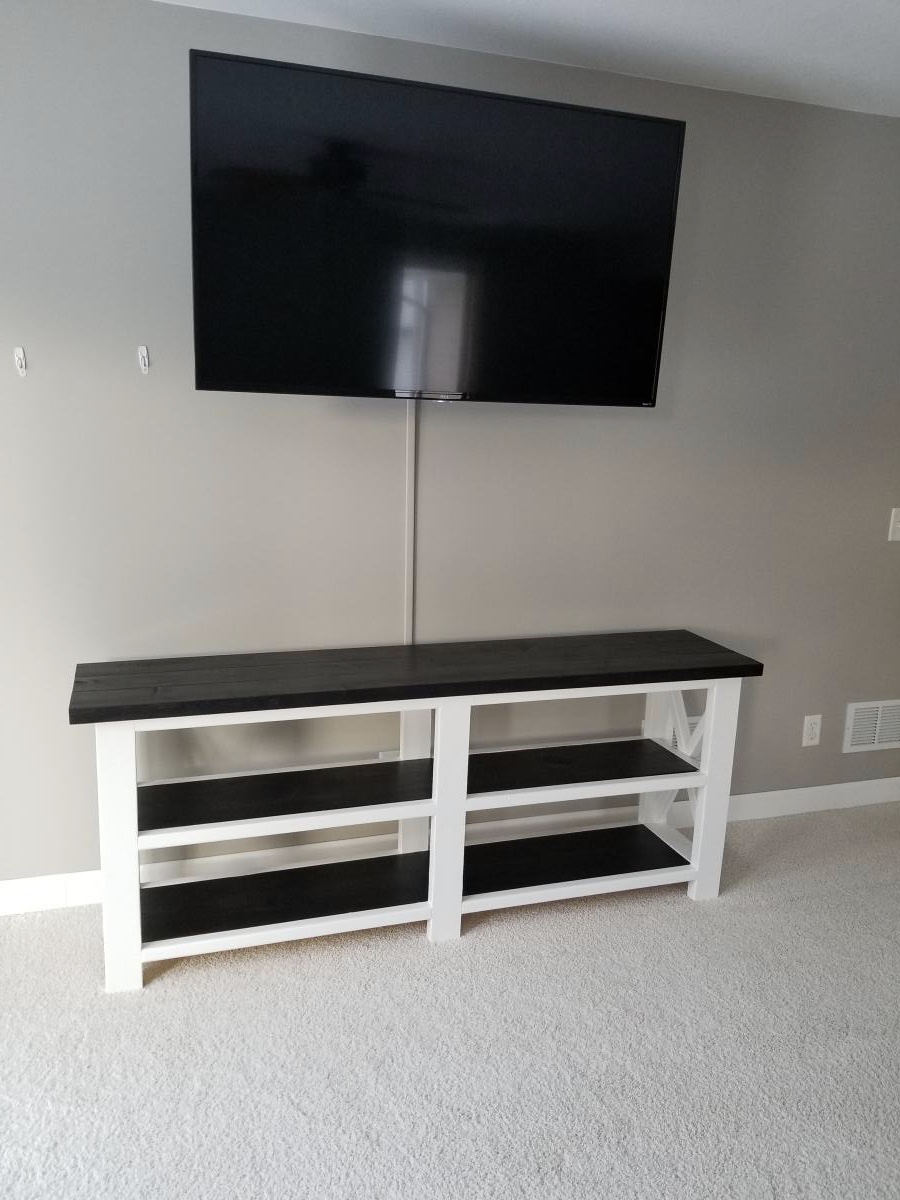
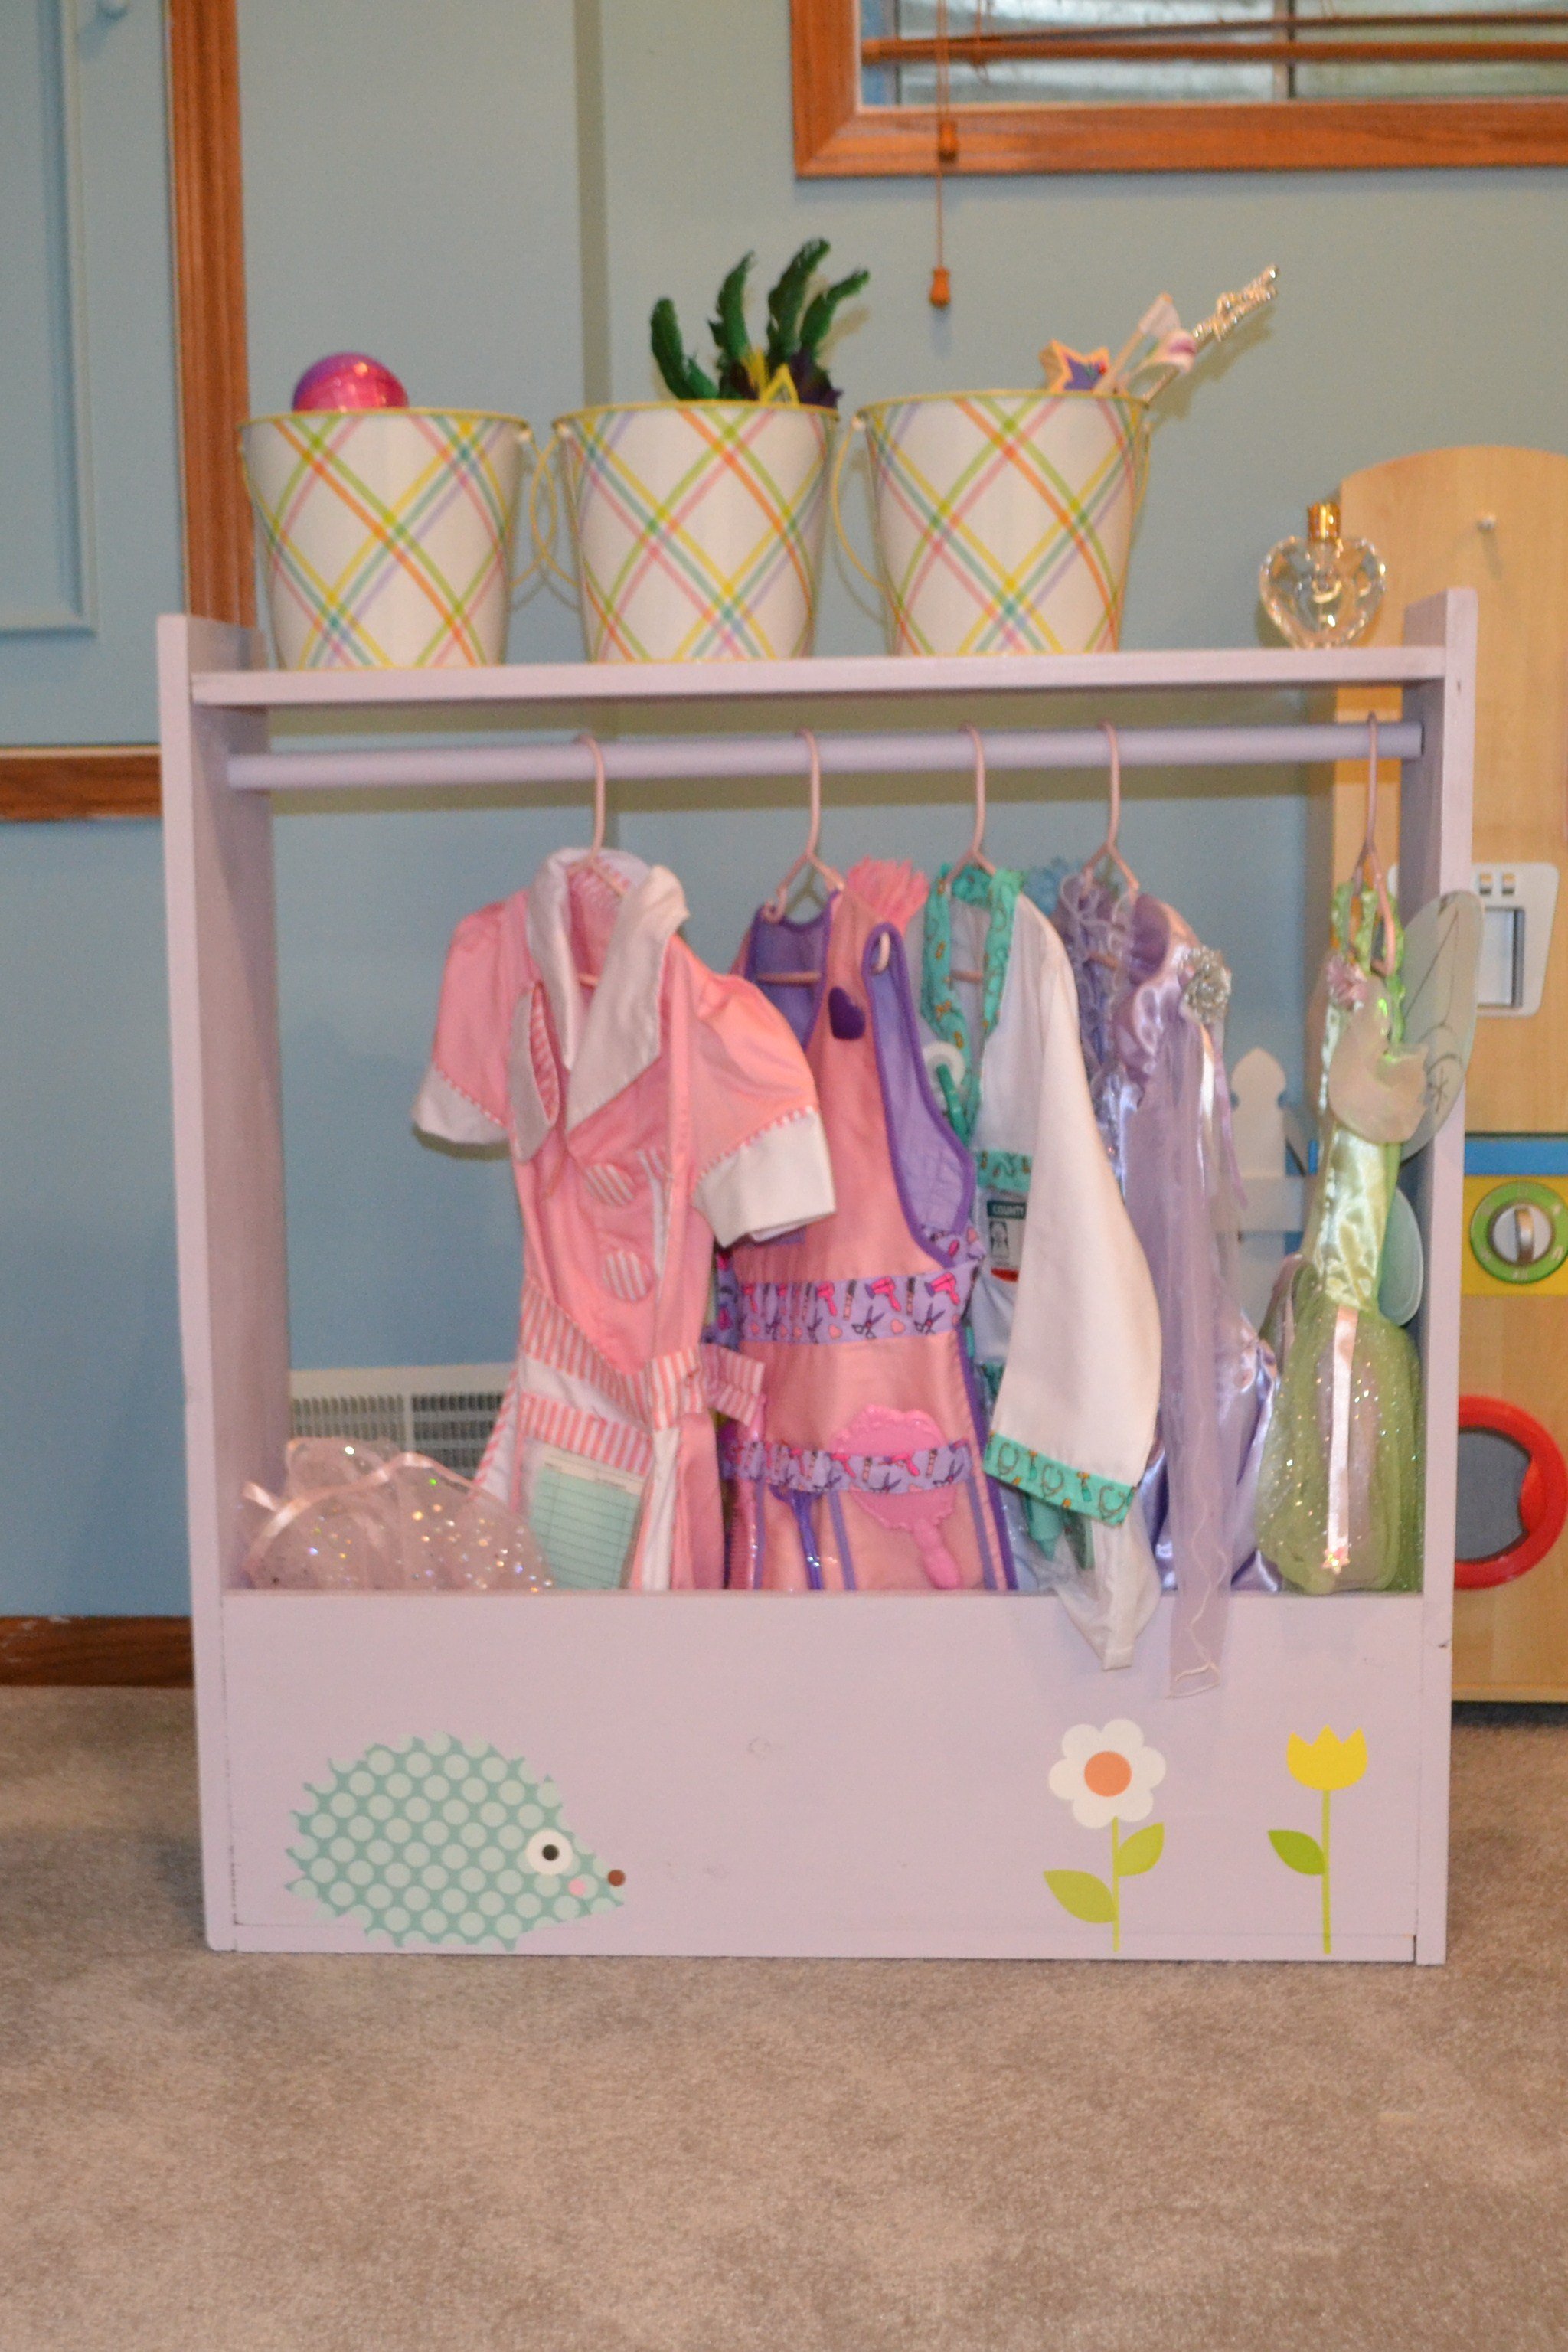
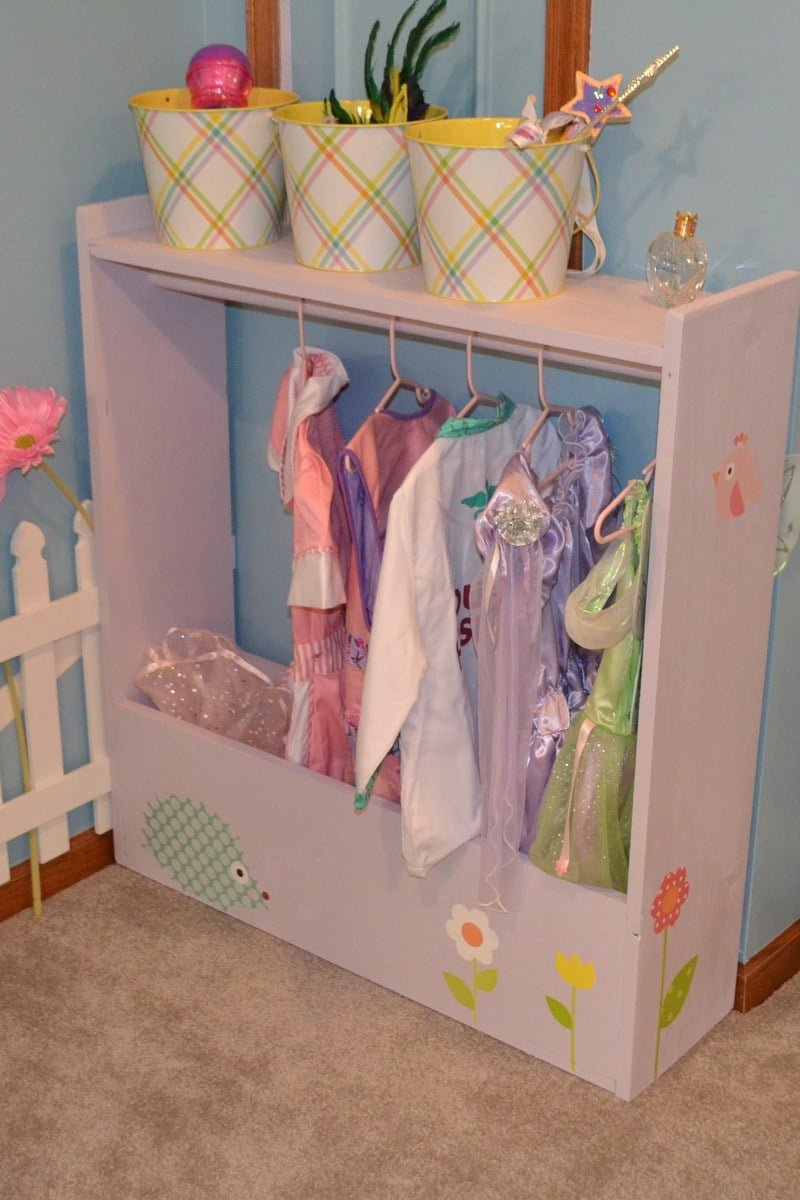
Jelly Cupboard

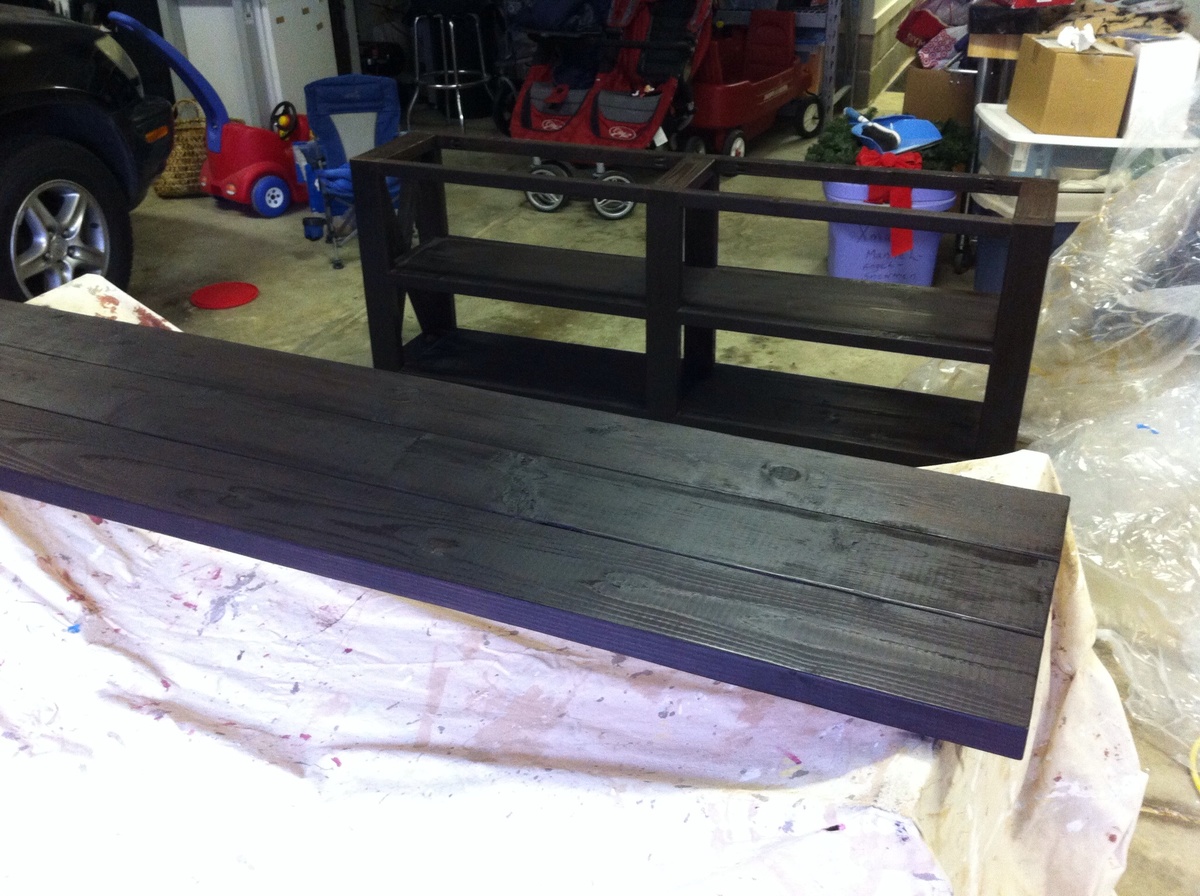
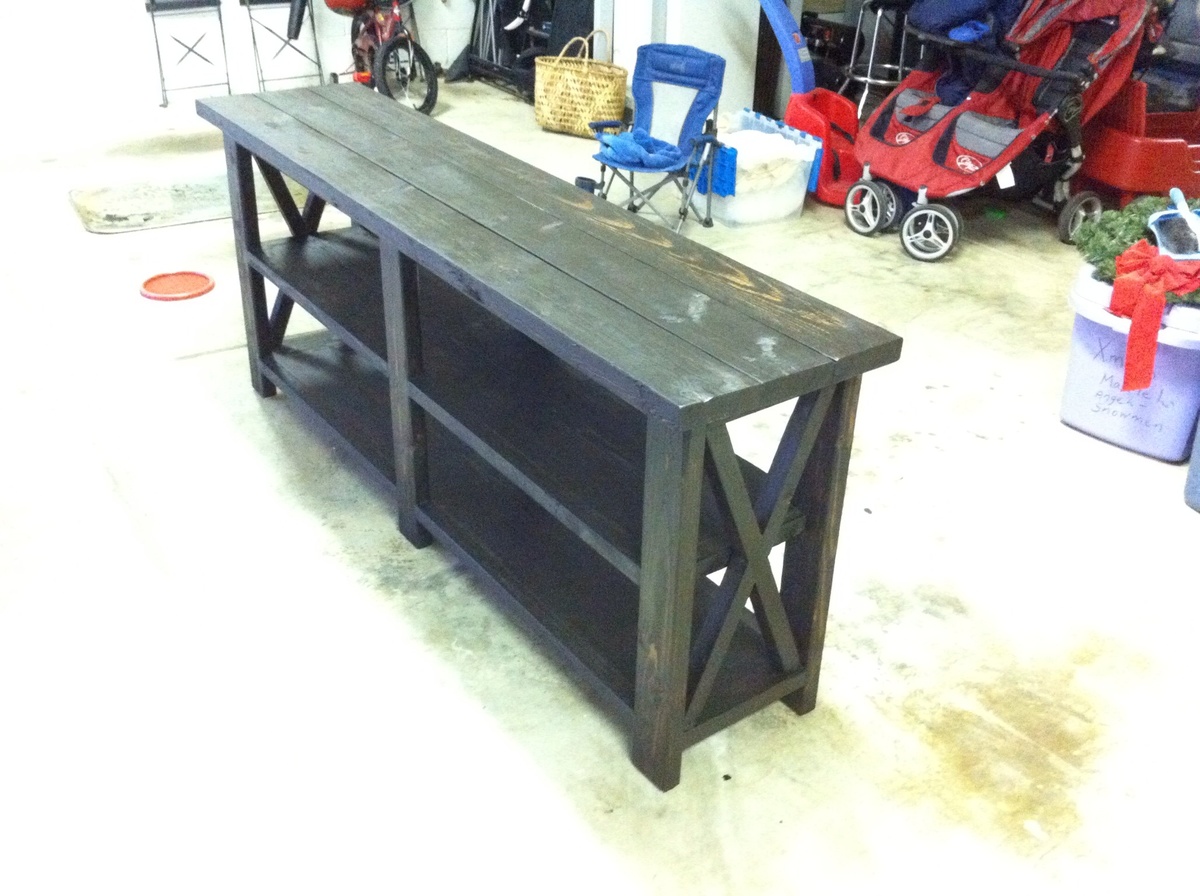
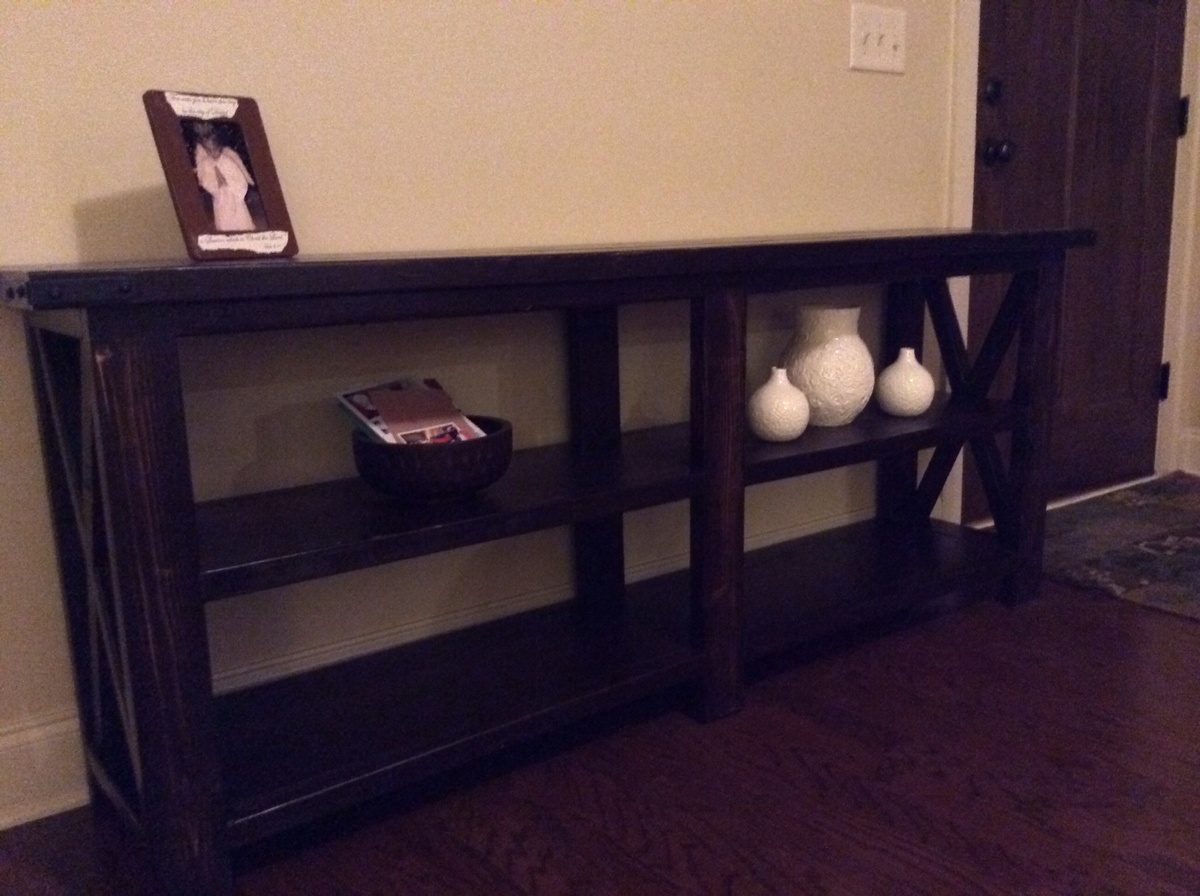
Ever since I saw this cupboard, I wanted it. So when I got a free day I jumped at the chance to build it. I love it! The only problem is trying to figure out where I want to put it.
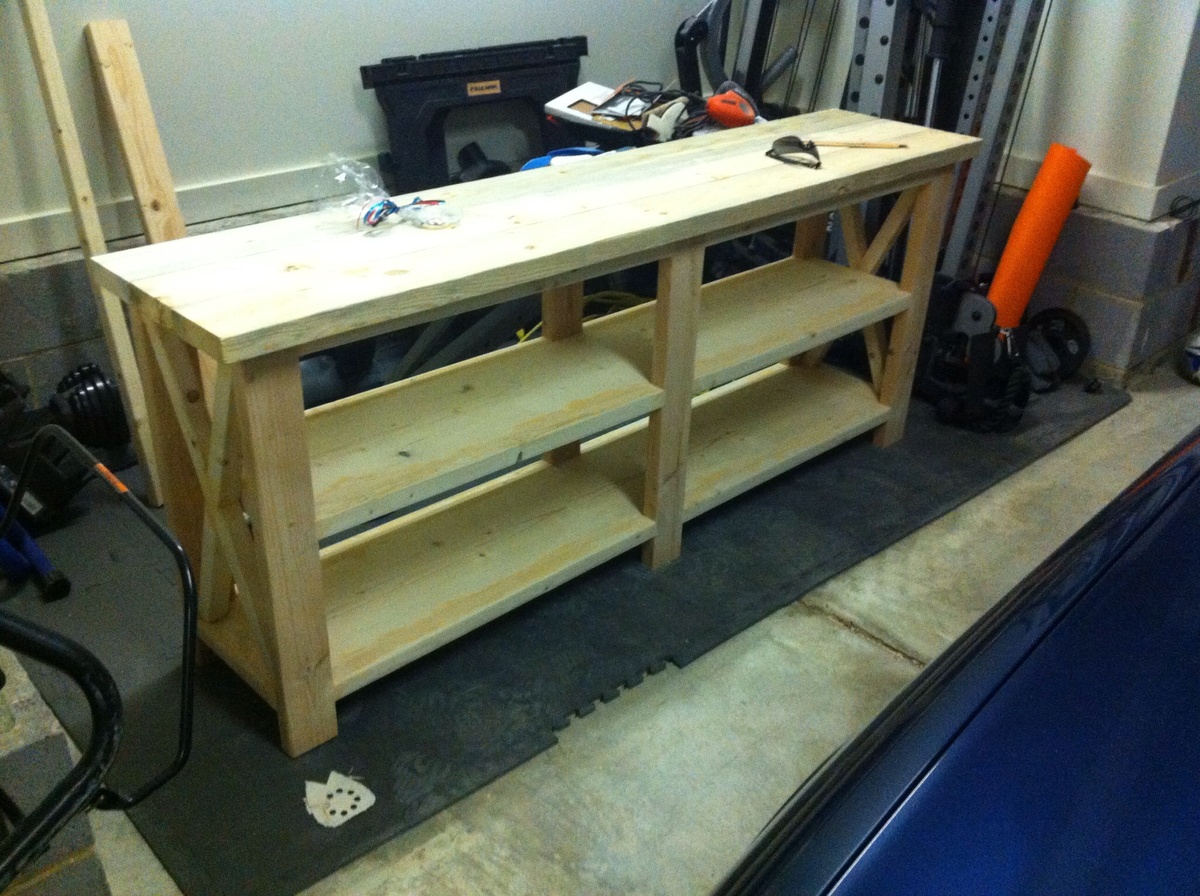
Built from Plan(s)
Estimated Cost
$30-40
Estimated Time Investment
Afternoon Project (3-6 Hours)
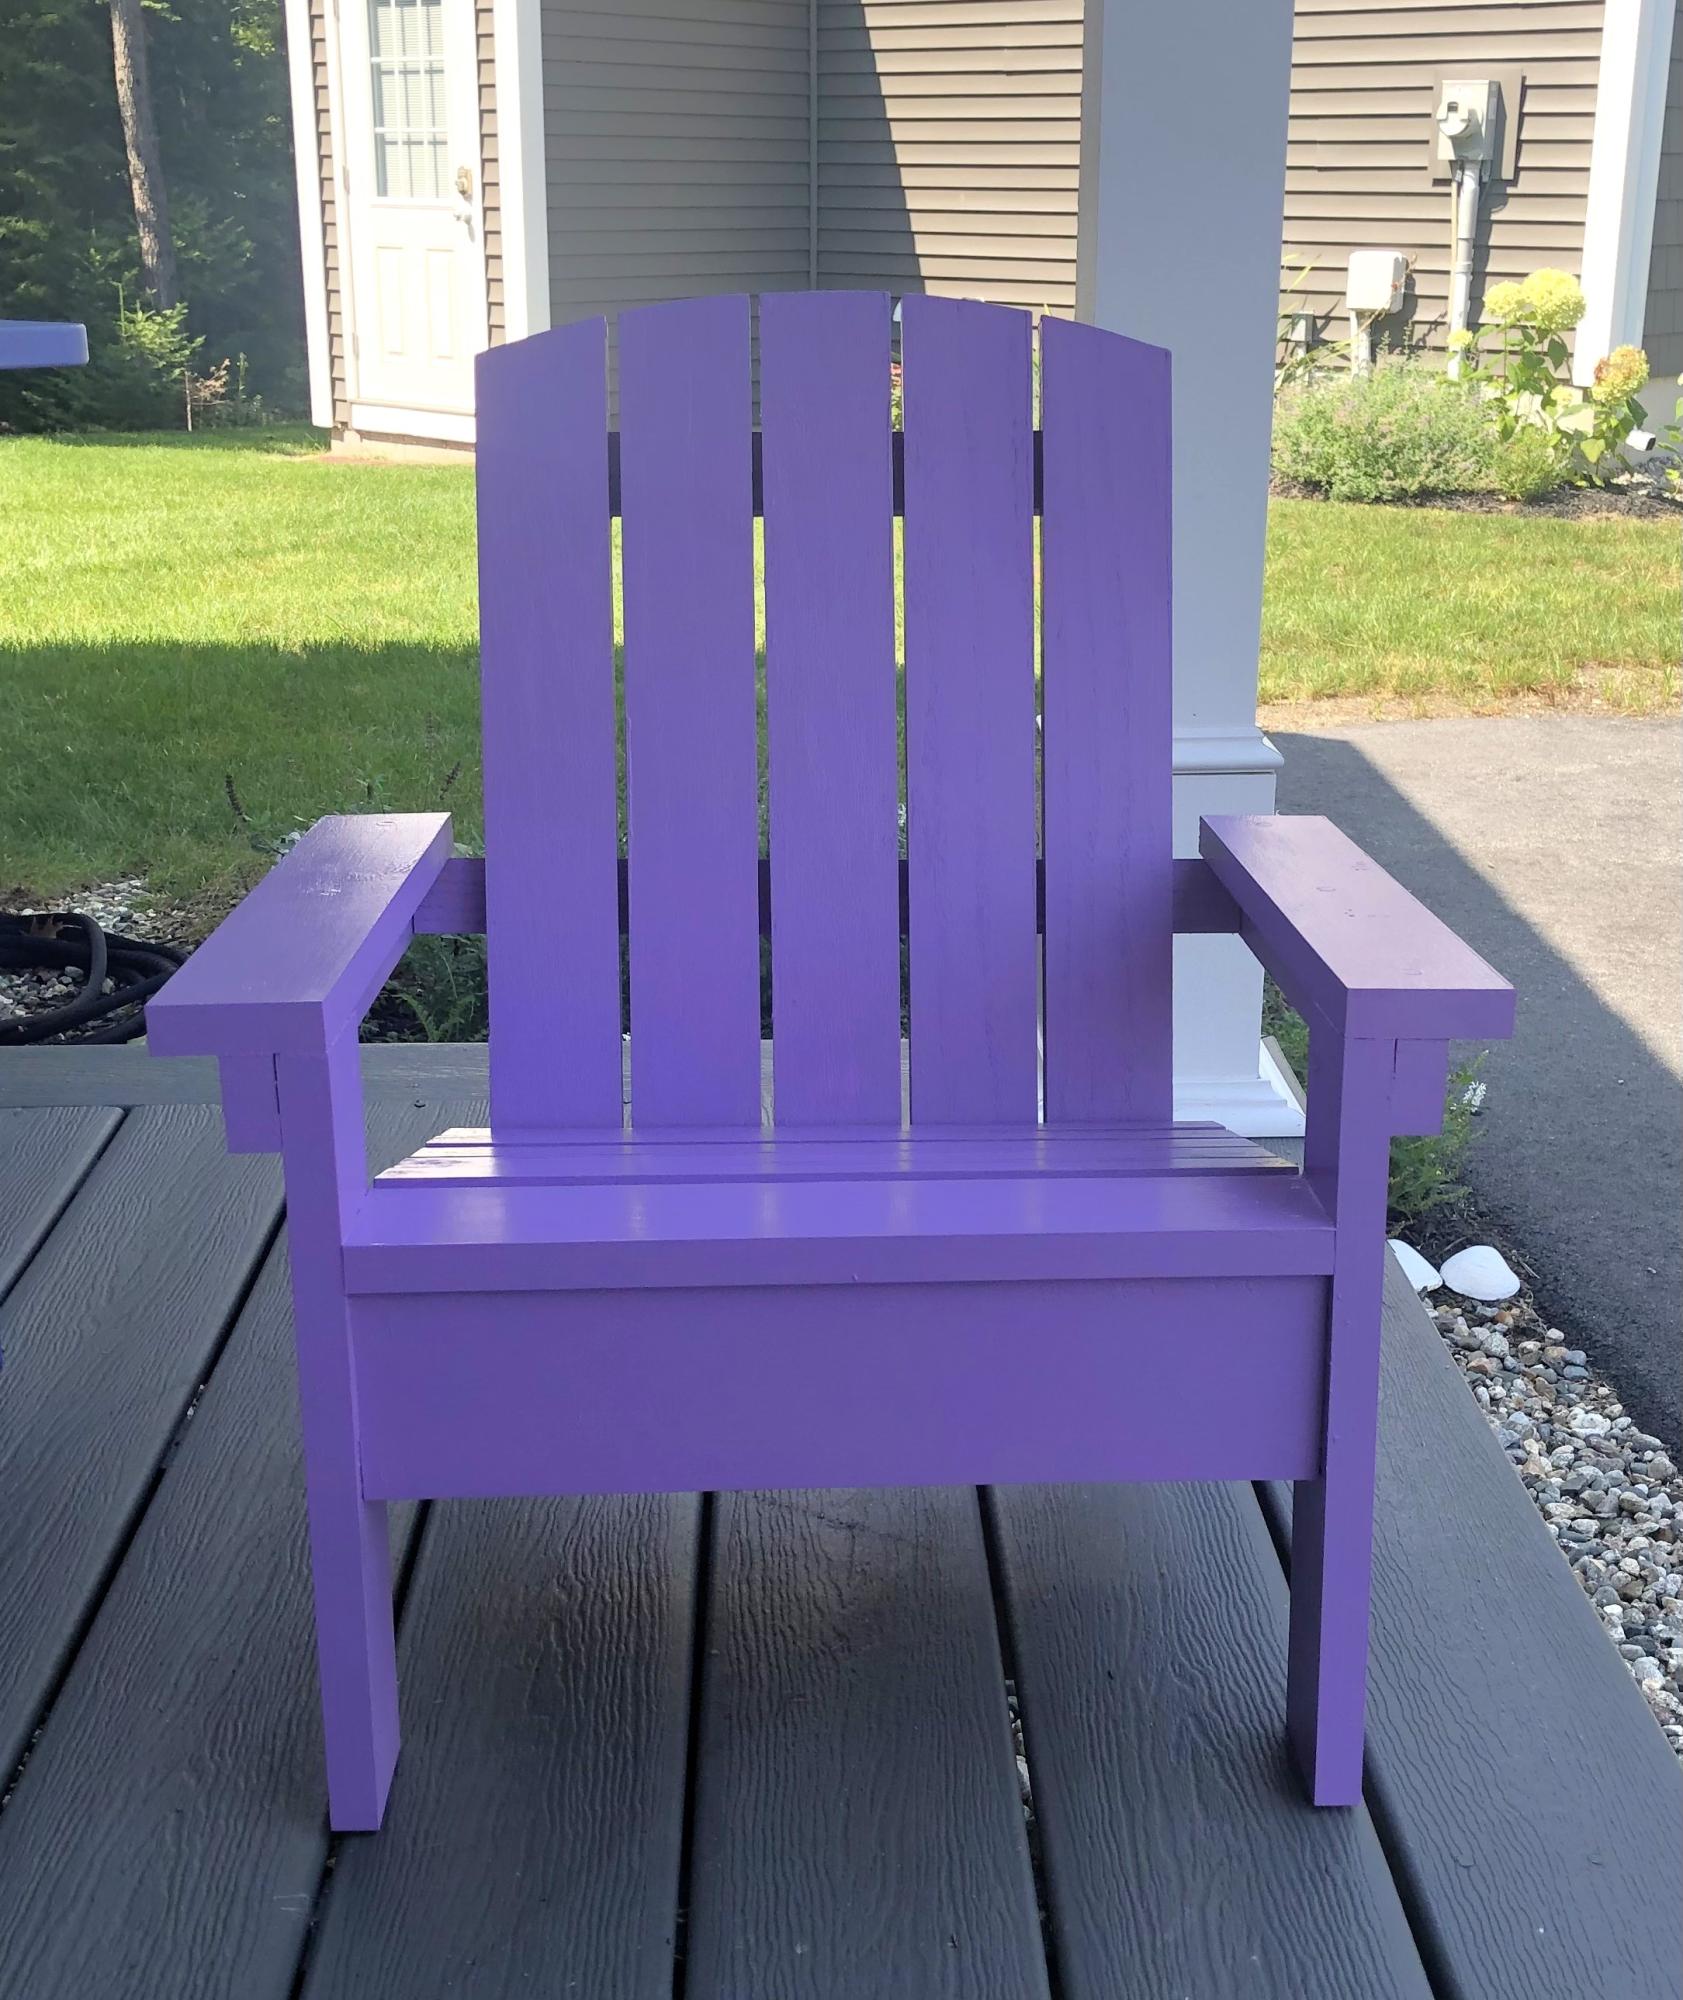
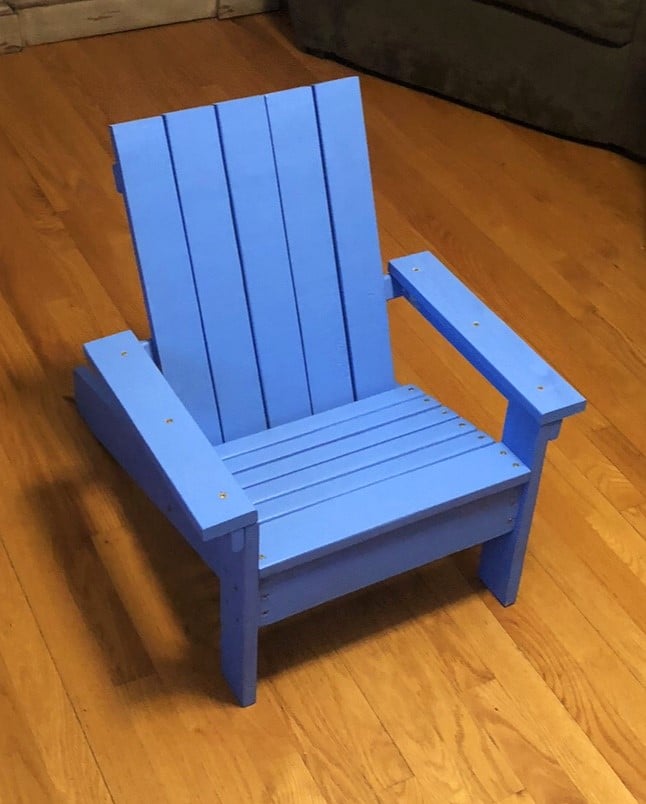
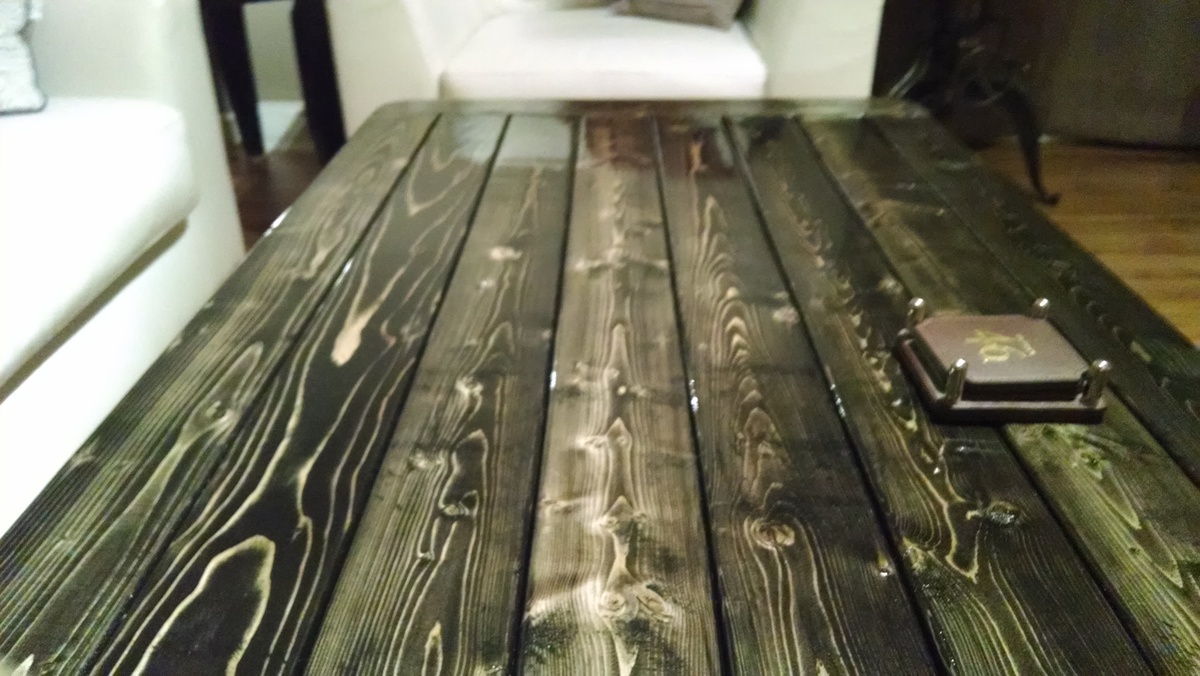
Finish Used
Porter's Prussian Blue and black spray paint
Recommended Skill Level
Beginner


Comments
Ana White
Mon, 04/02/2012 - 18:39
Gorgeous!!! Unbelievable for
Gorgeous!!! Unbelievable for the price too!
Jake
Fri, 11/02/2012 - 19:29
Great Build and So Fast
In an afternoon? I would have taken a couple of days. You did a great job.
tommyc325
Thu, 02/19/2015 - 19:11
Estimated Cost?!
Hi Ana - I dont mean any disrespect but how do you figure this project costs $30-40. I bought just the boards no hardware or plywood and its cost me $60. Pine #2.
Please let me know your thoughts and where you buy your wood from.
Bander
Fri, 02/20/2015 - 12:00
The cost estimate is from
The cost estimate is from emilyr, posted almost three years ago. Lumber prices fluctuate, but $30-40 is still quite low. I estimate about $100 to buy the lumber (pine) on the shopping list from Ana's plan at current prices in my area.