Backyard Patio Set
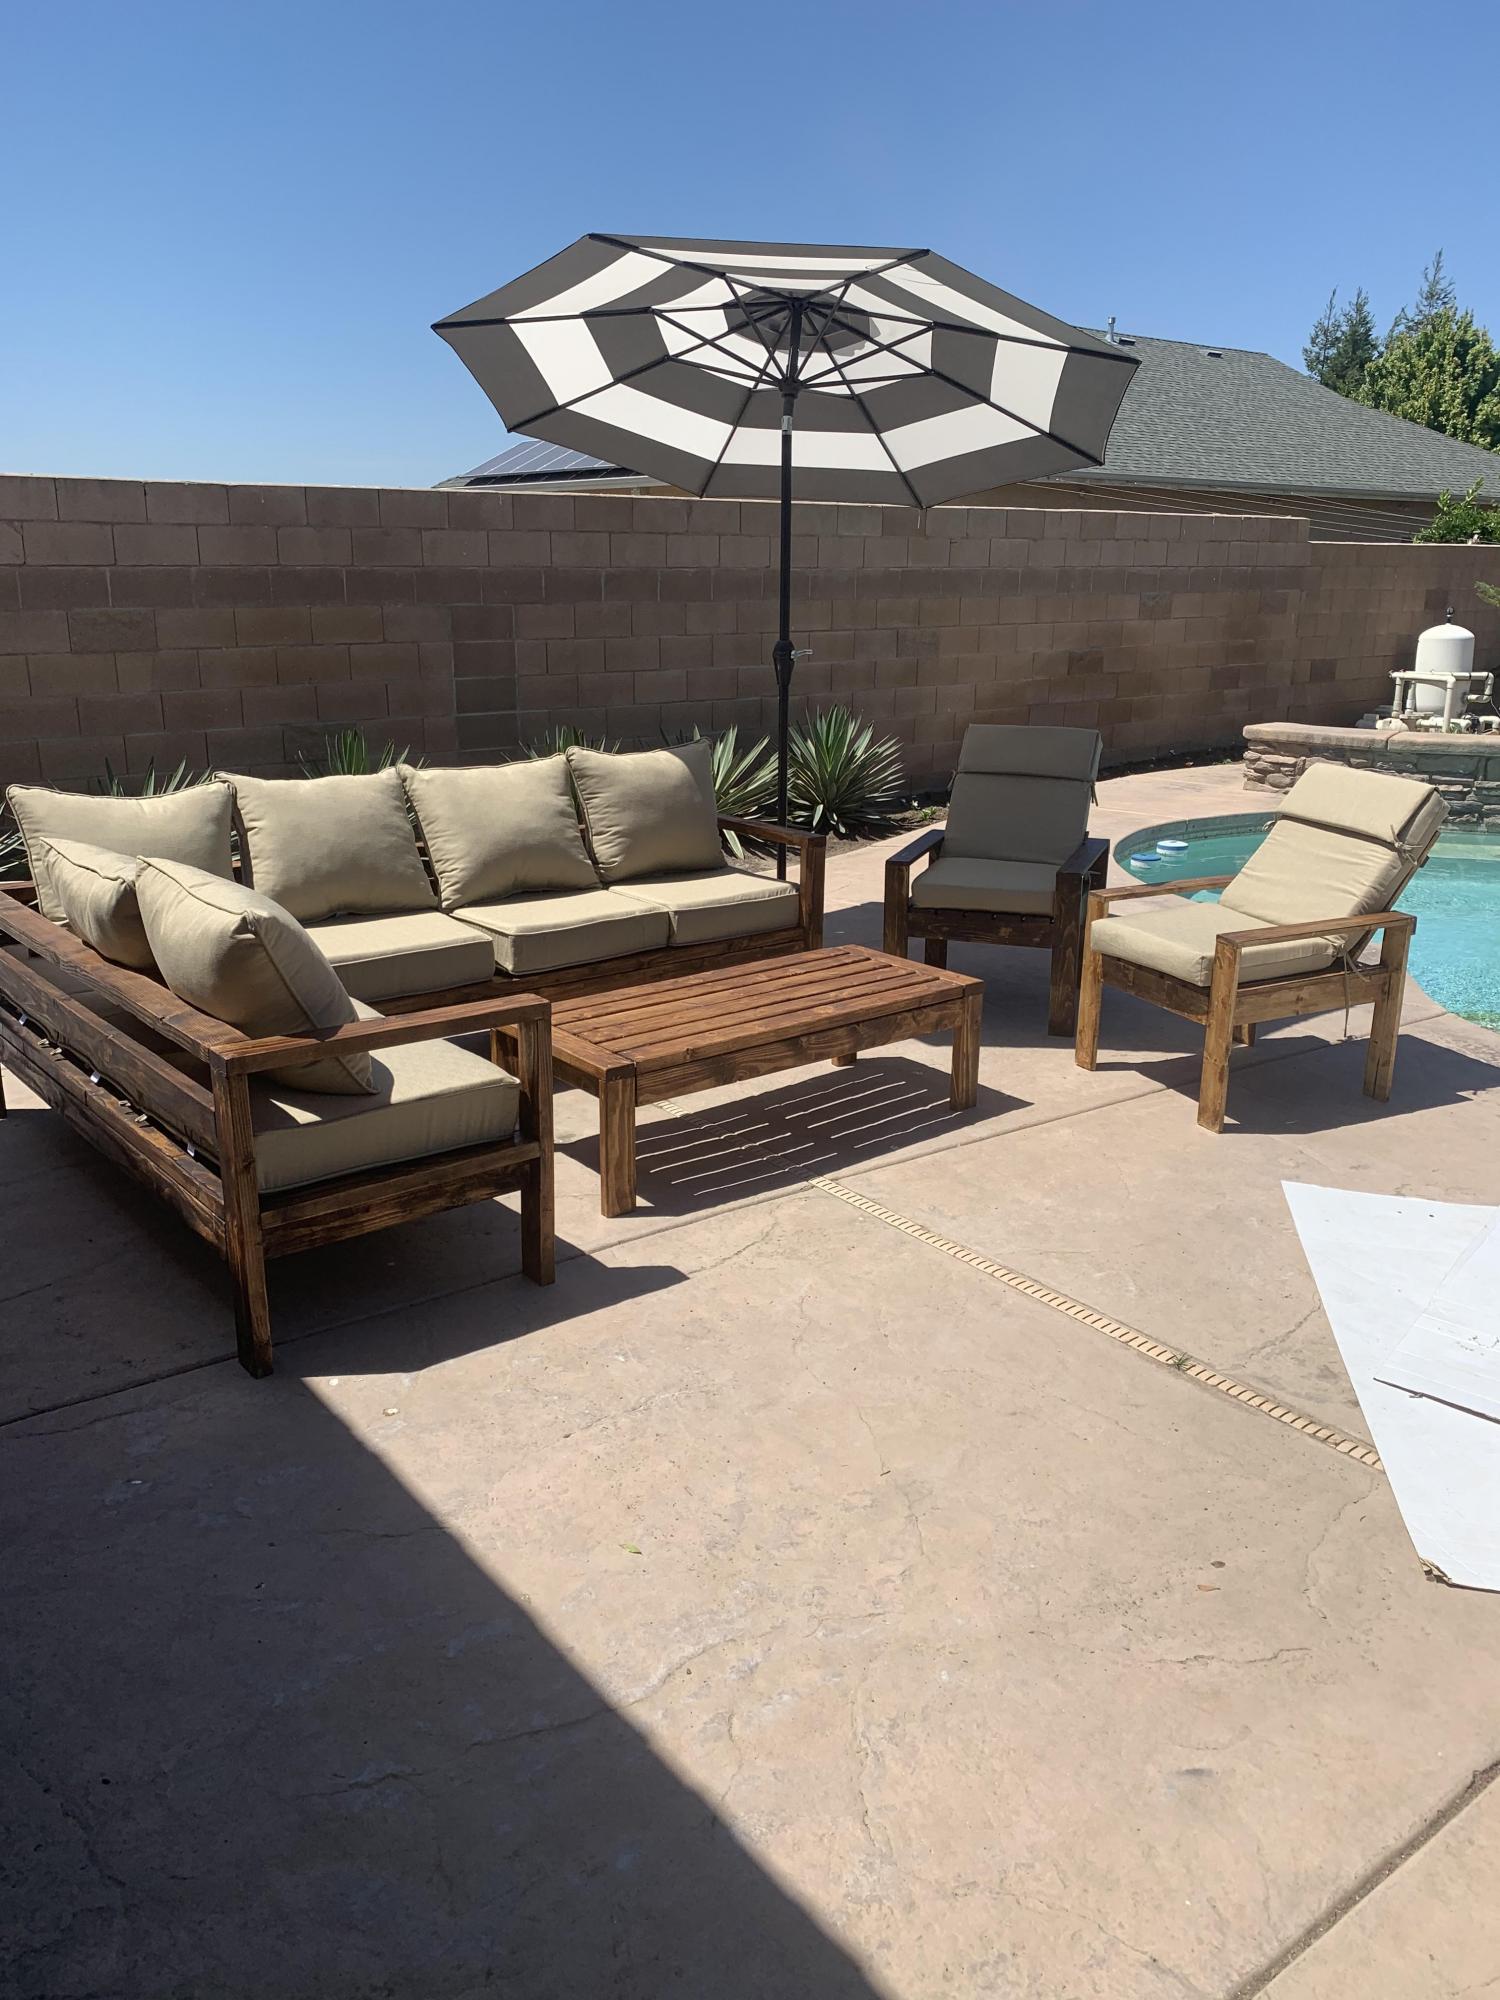
Used Ana's plan for chairs, coffee table, sofa and lounger. Stained and clear coated. Wife is happy. What can be better!

Used Ana's plan for chairs, coffee table, sofa and lounger. Stained and clear coated. Wife is happy. What can be better!
Built the porch swing and was inspired to build the glider frame by another "Brag Post" Looks great and fits perfectly in my back yard!
Fri, 02/18/2022 - 08:20
Are there any dimensions for the glider part? I have first year agriculture students building this, but we are unsure of the cut list for this. I am sure I can figure it out as the teacher, but with 20 students in the class, it would be better to be able to give them instructions to follow on paper. Thank you!!!
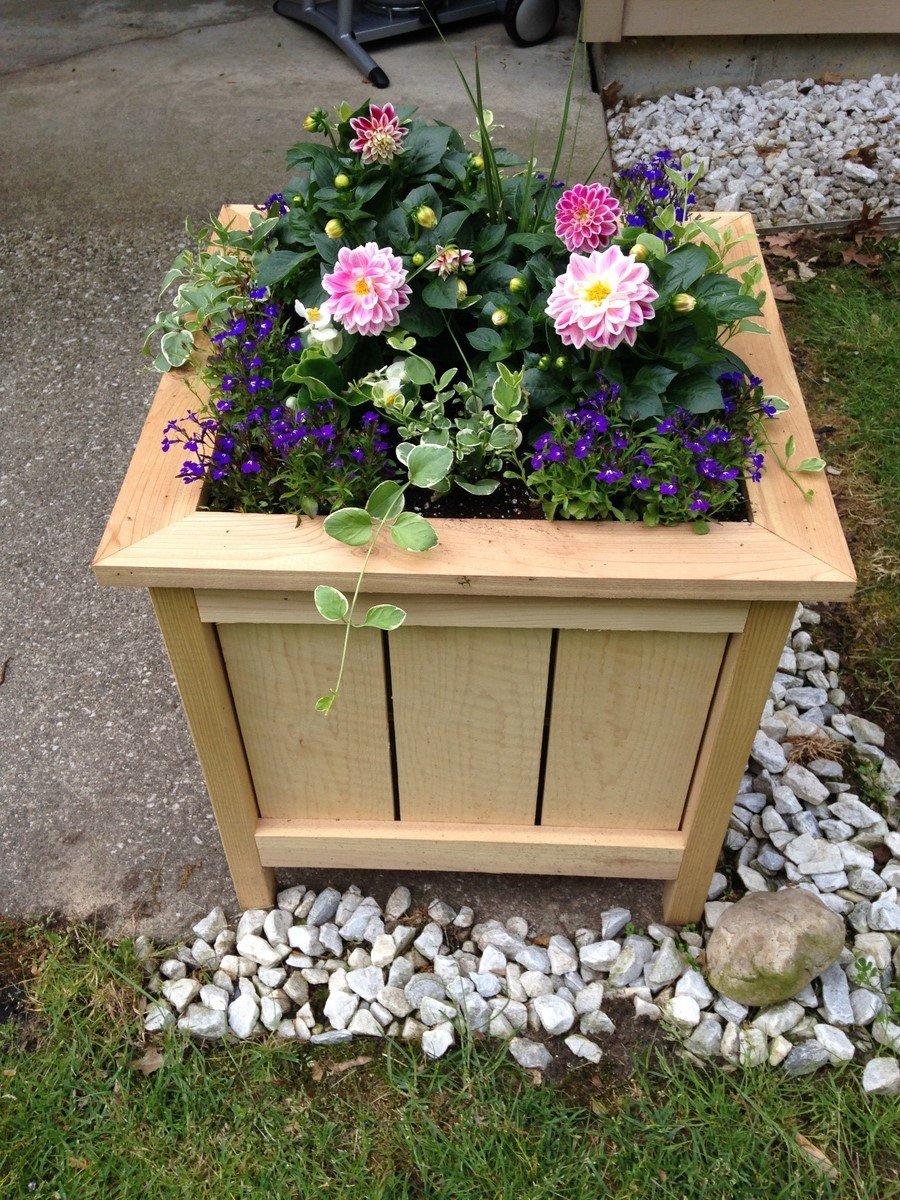
This was a Mothers Day gift for my mom. She absolutely loves it! She lives in a retirement complex and neighbors are complimenting her on it all the time! I did decide to go with all cedar instead of using any pine, so that did increase the cost. I also altered the plan like others and added a trim piece on the top. I think that makes the planter! Thanks Ana for the wonderful plans!
This is our 2nd project - we liked building the bookshelf so much, we decided we're gonna keep going and need a good workbench. Got these plans from the Family Handyman Website (http://www.familyhandyman.com/DIY-Projects/Woodworking/Workbenches/how-…). They claim the cost to be $50, but it was closer to $80 for us - still a GREAT project and easy to put together with the nail gun.

Sat, 04/16/2022 - 07:29
No working link. Cannot find this or the plans.
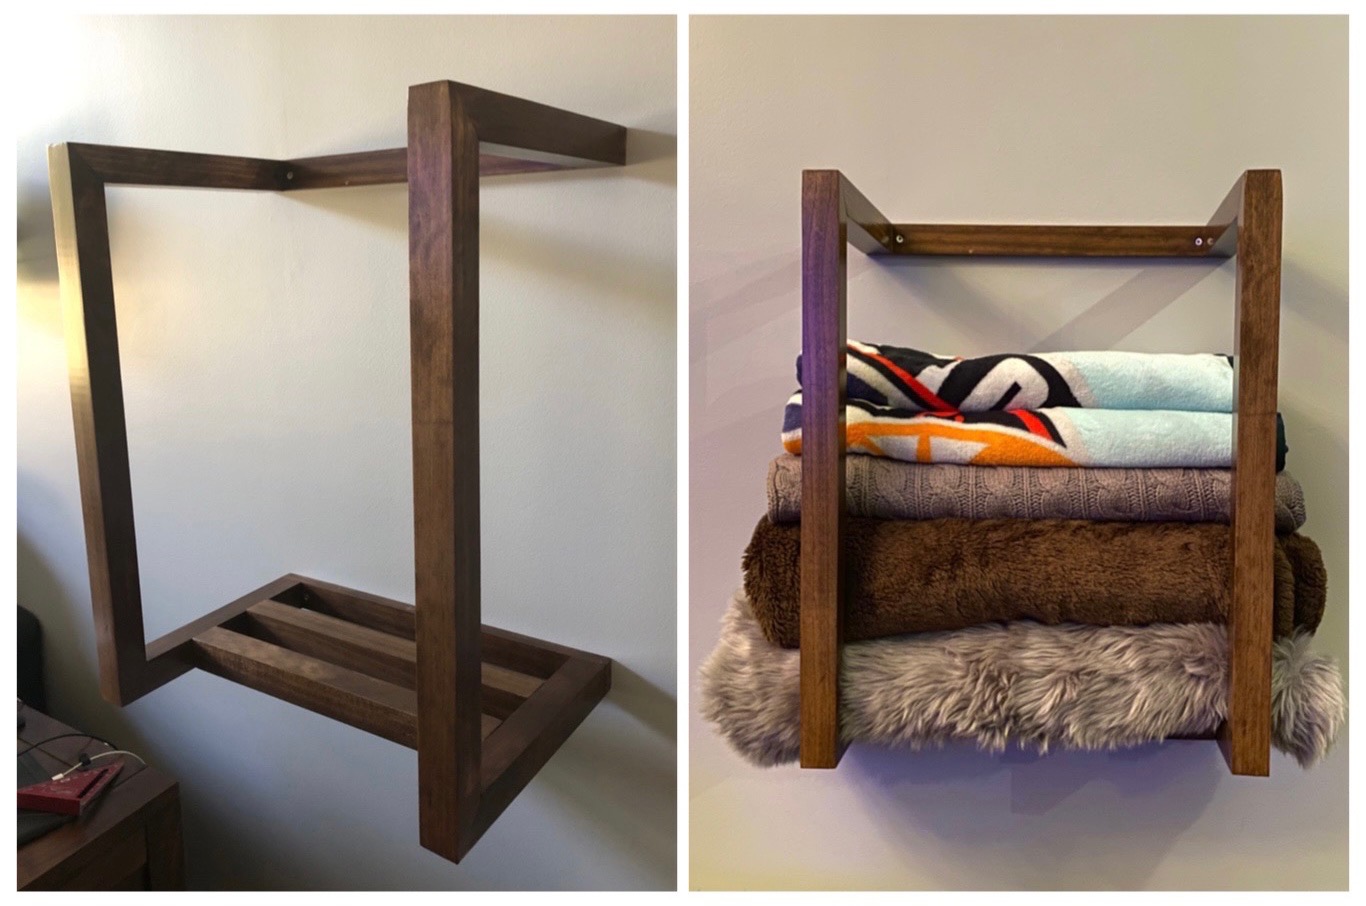
A modern twist on storing throw blankets. It was made out pine, stained, and three coats of polyurethane.

My boyfriend and I wanted a calm relaxing beach feel at our Florida vacation home, however with kids in college and two getting married, we were on a tight budget. We found these plans on Ana White's website. He made the headboard and bench and I distressed it to make it look weathered. We used Minwax Dark Walnut as a base, let it dry over night, and lightly wiped it down in the morning. We then used Rustoleum "Chalked" in White Linen and applied it with a large stencil brush we found at Michaels craftstore. We applied it almost haphazardly, purposely making it look rough. The chalk paint dries quickly. We then brushed on some clear Americana creme wax. We are very happy with the end result, it was our first project build, and we nailed it. Thanks. Ana!!!


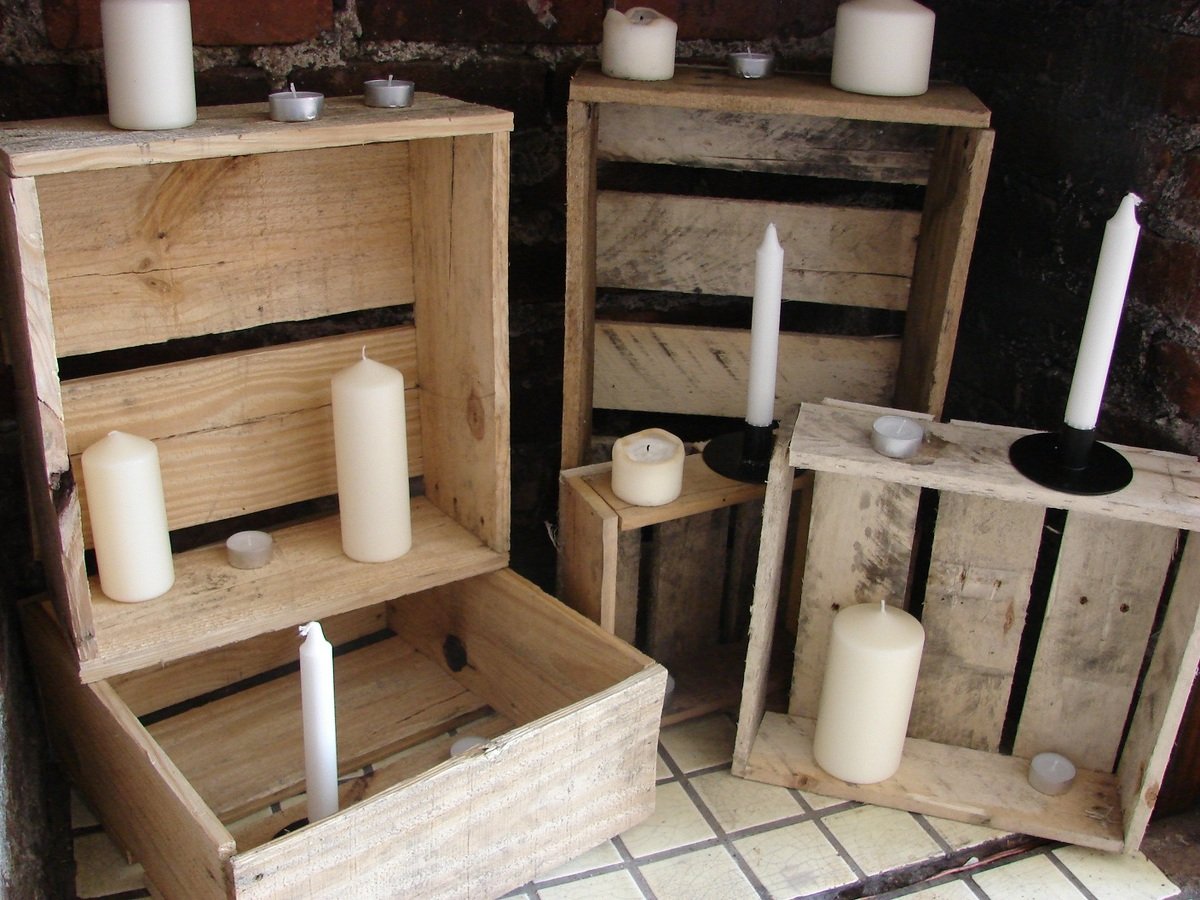
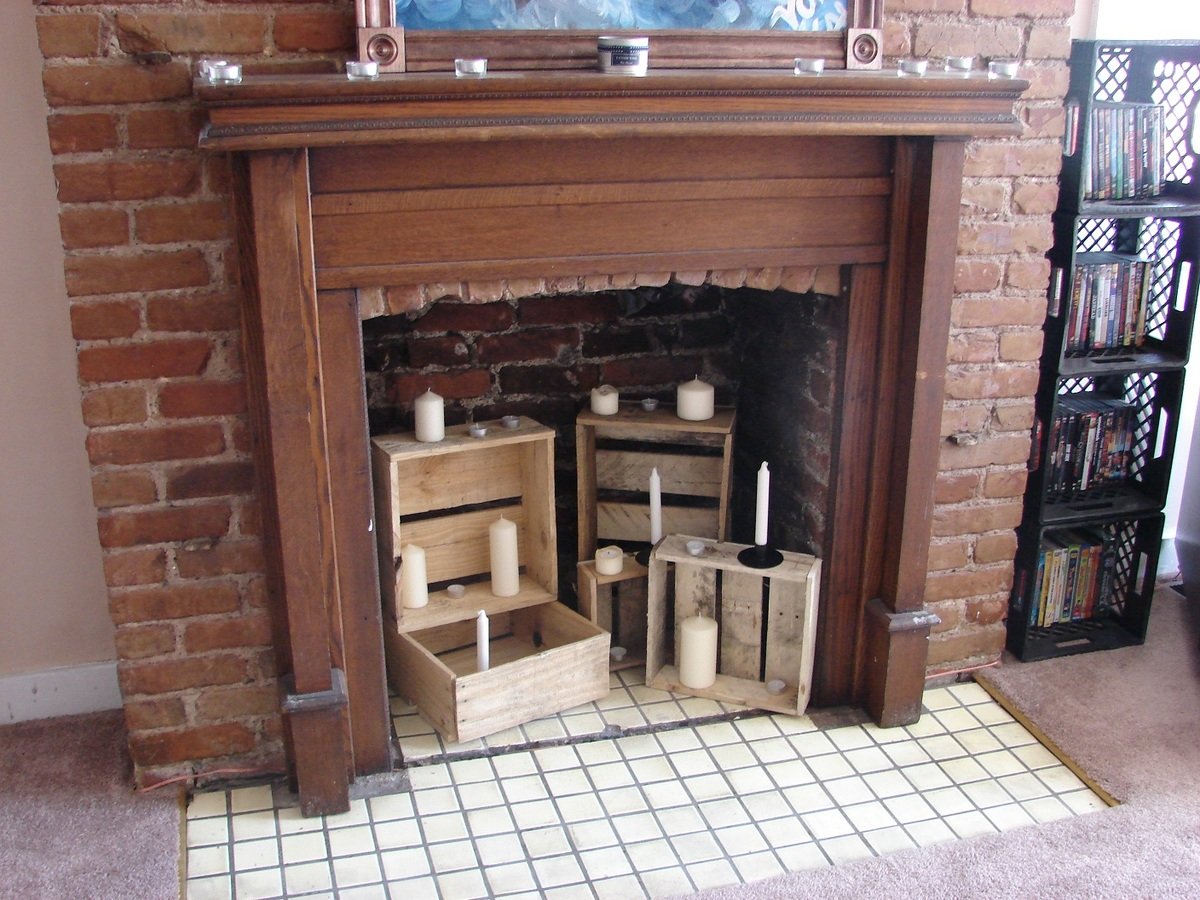
The apartment we're in has a non working fireplace so we needed something to stack candles on in there. I just went to my free pallet wood pile and started cutting and nailing. They roughly follow the planes of the Little Crates, or maybe the free floating nightstand. I'm still debating whether or not to put any sort of finish on it, for now here they are without any sanding or anything.
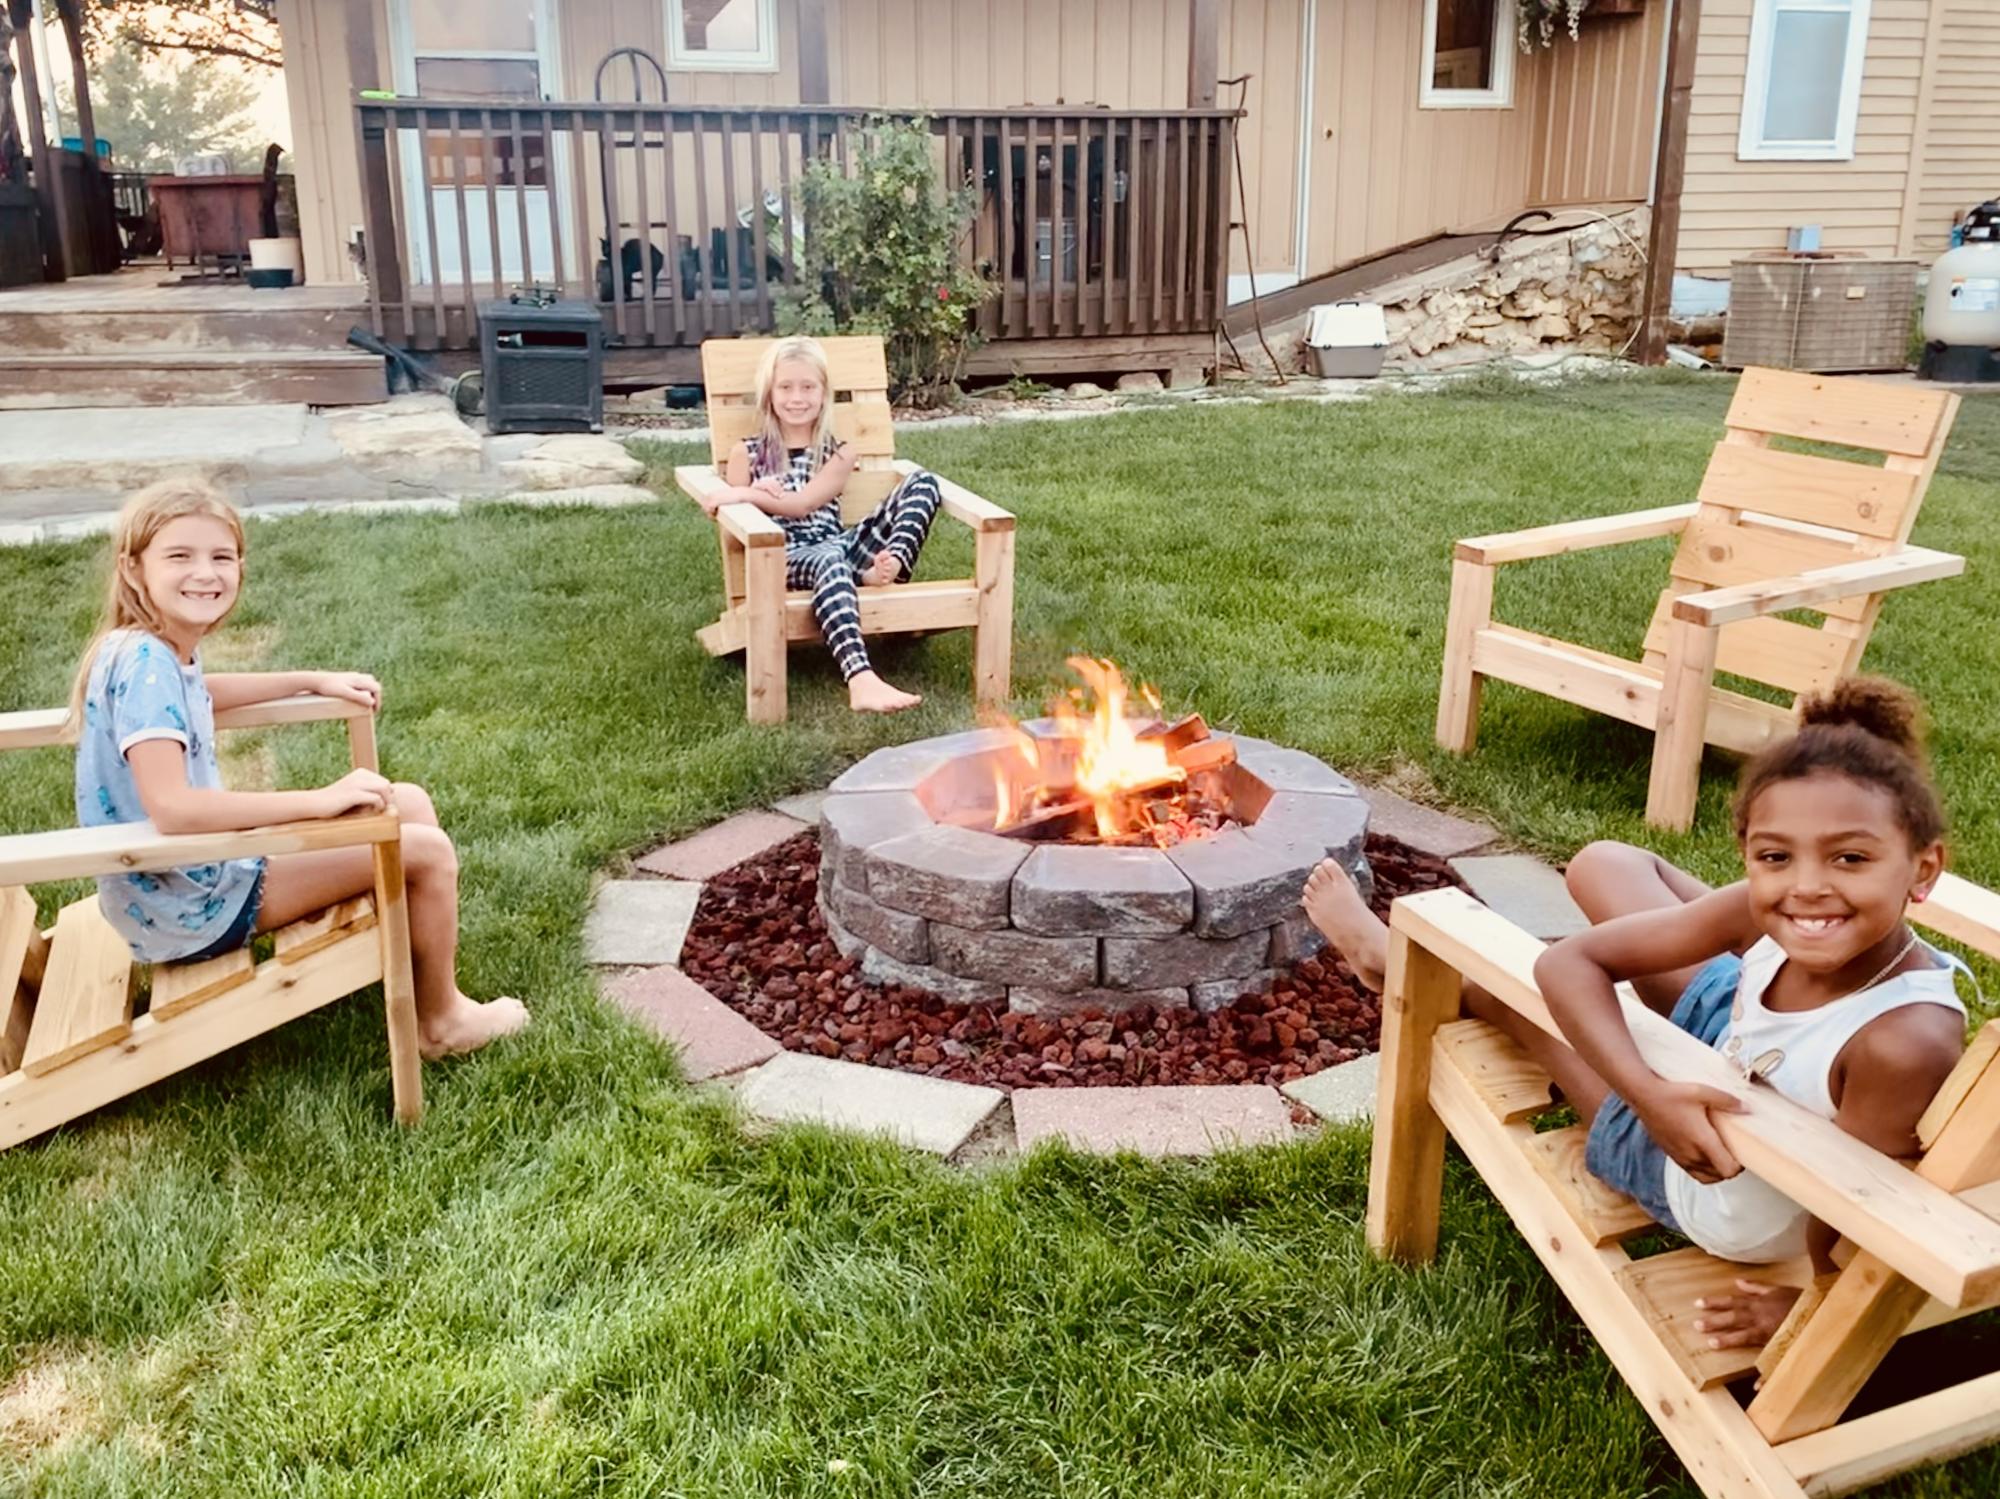
My mom and I made these together as our first Ana White project! So much fun making both these chairs and memories! Next up is the three pedestal farm table and bench!
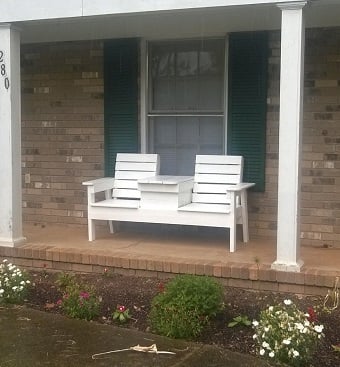
I made a few changes. I added walls and a hinge to the table to allow for a cooler to fit inside. I also decided to paint mine. The was a fun project and I love how it turned out.
Mon, 06/08/2015 - 09:20
How did you go about adding walls and a bottom to the middle? I was thinking about doing this, it seems that the seat slats would need to be shorter to accommodate this, is that what you did? Any information would be very helpful. Looks great!
Wed, 07/01/2015 - 05:08
I wanted to add an ice chest to mine as well. Was thinking to close the sides but leave the facade. slip in a couple cross boards at the bottom and that should suffice. Add some hinges on the back end and you should be set.... that's my thought process for how i may make my next one. Would love to know how they did this
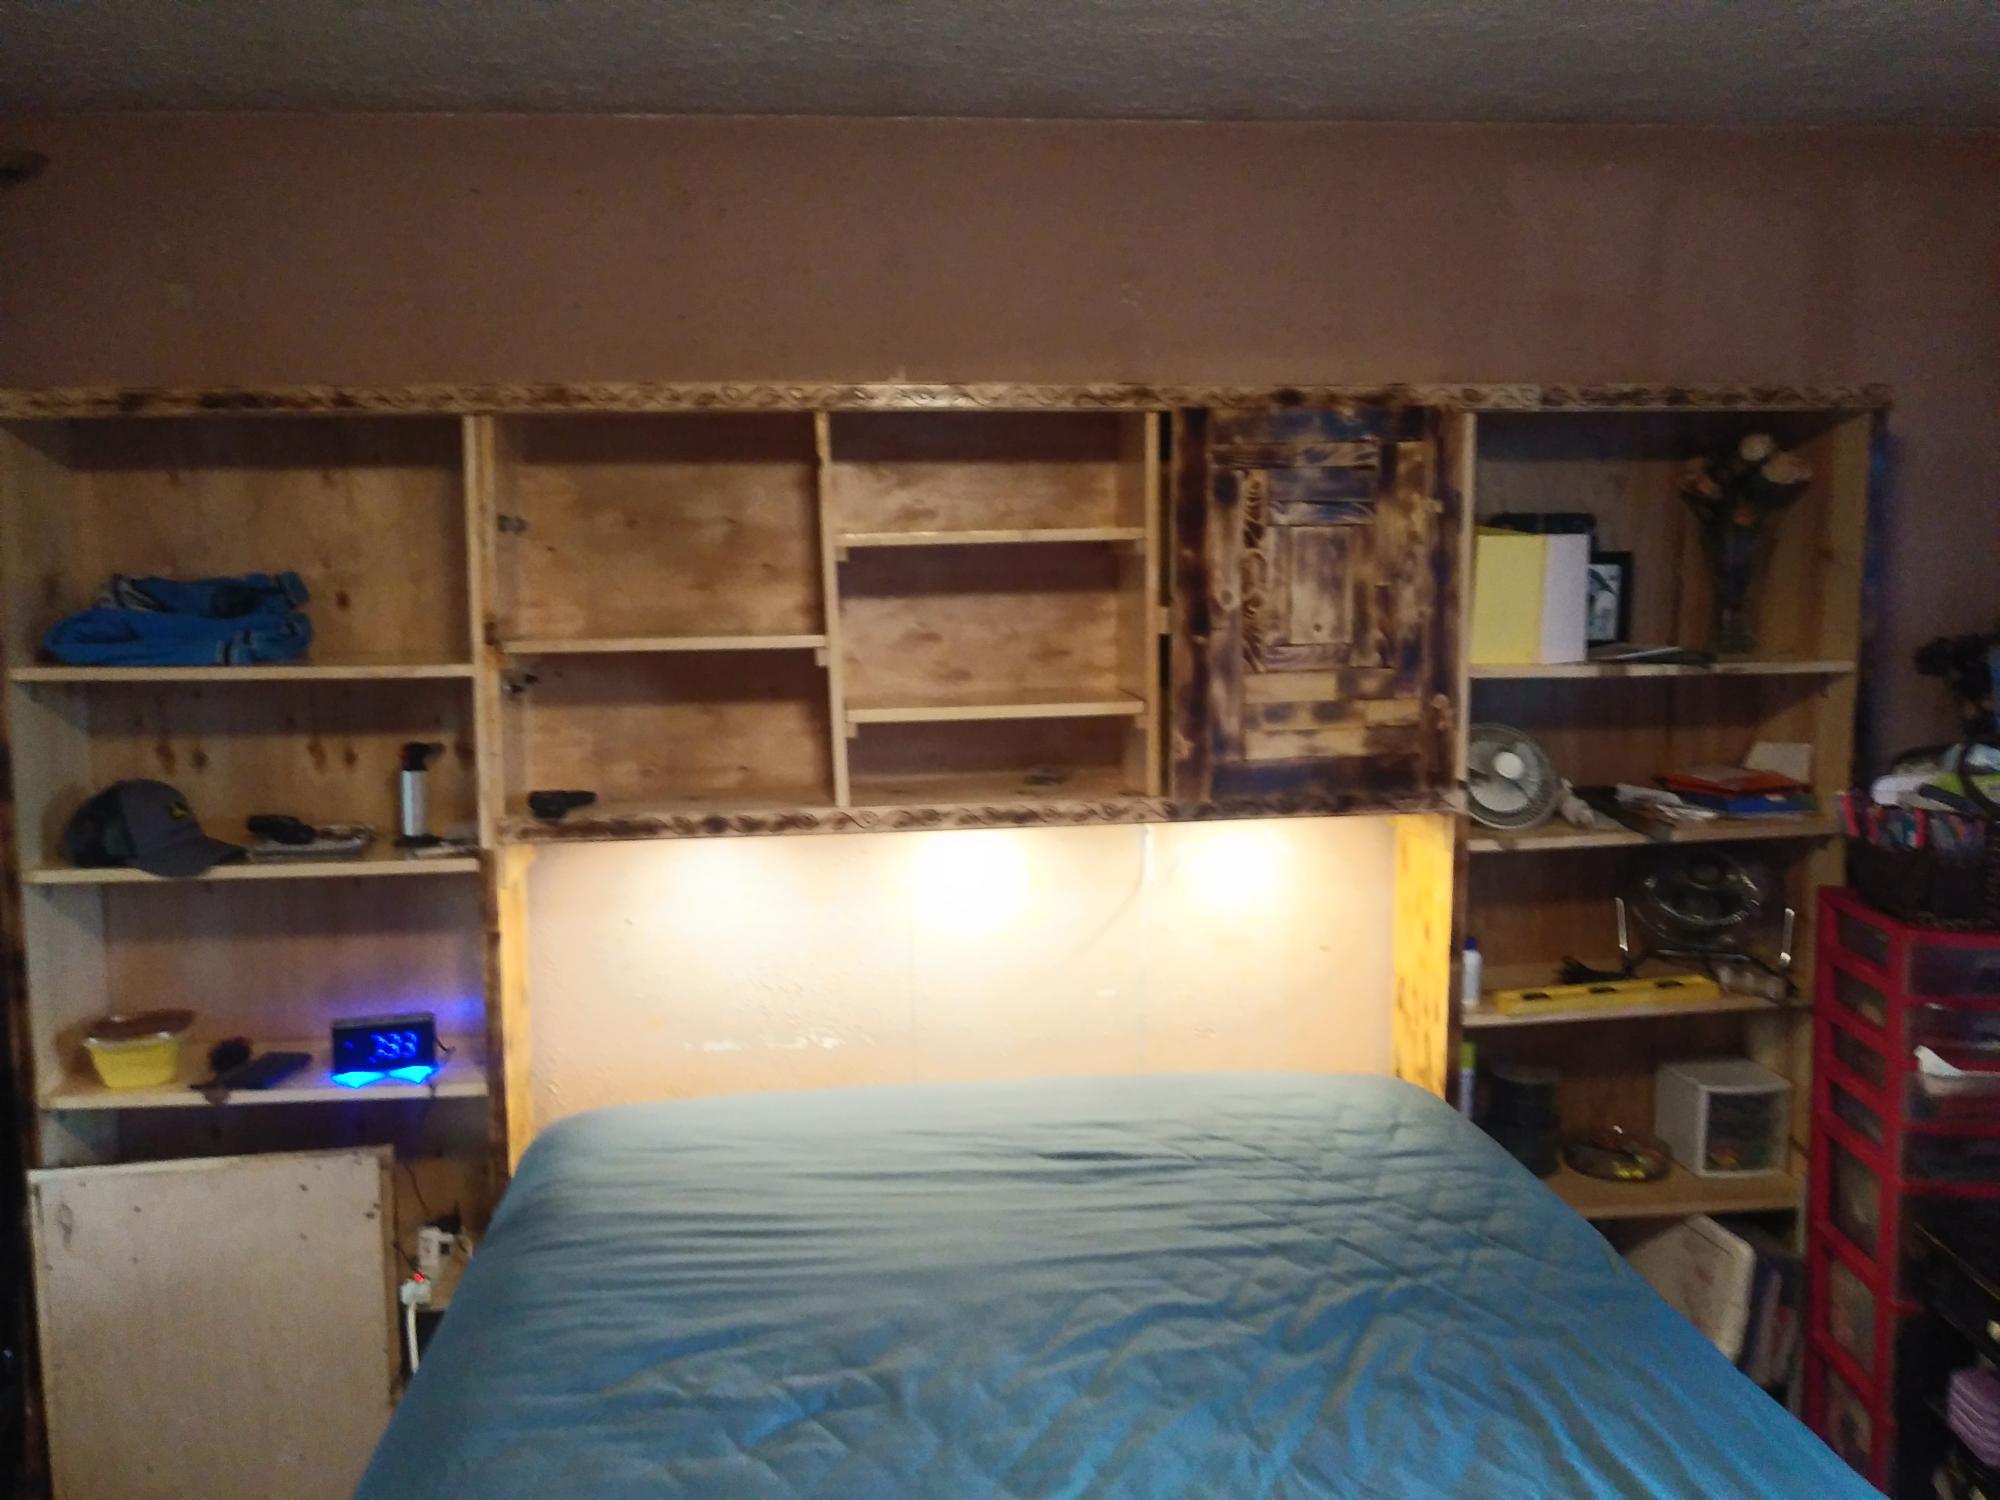
This is your storage bed and entertainment o r media center flipped upside down. I am self taught thanks to you. Thank you for making it easy to do and follow!
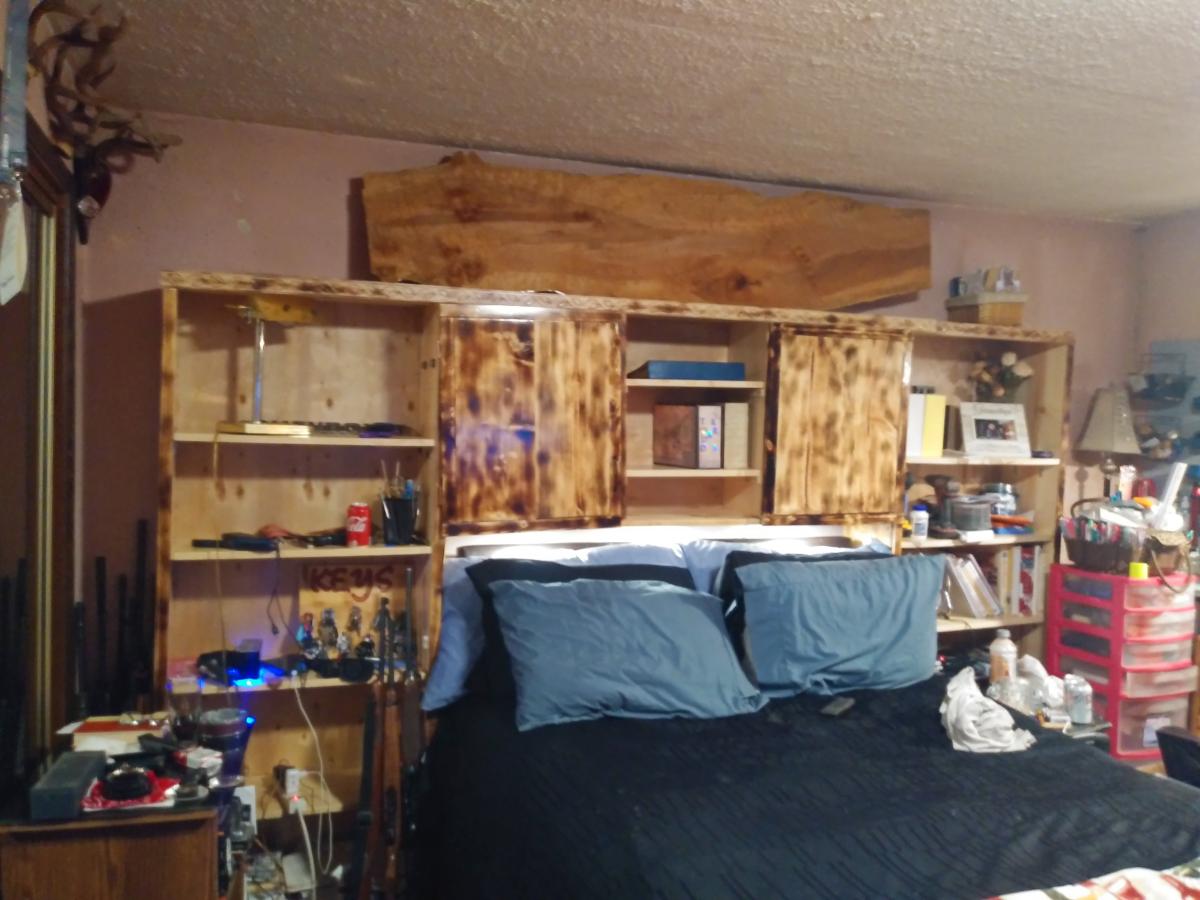
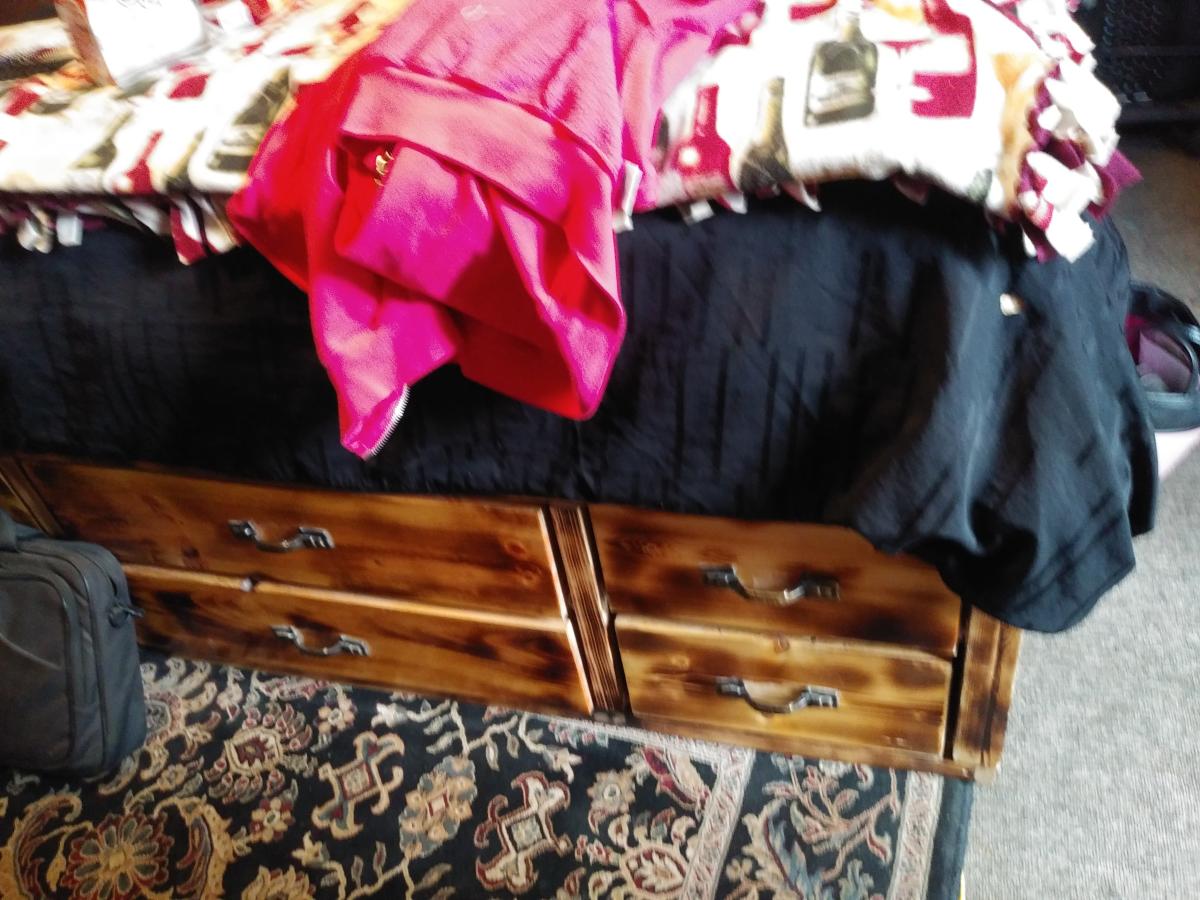
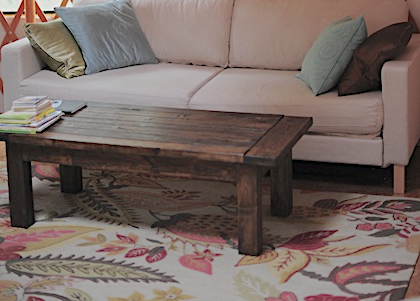
We made the Tryde Coffe table using 100% reclaimed wood
Sun, 06/26/2011 - 13:38
Also wanted to say I LOVE YURTS!!!! I want one! :) Fantastic idea for accomodation.
Mon, 06/27/2011 - 19:25
How do you like the yurt??? The table looks terrific!
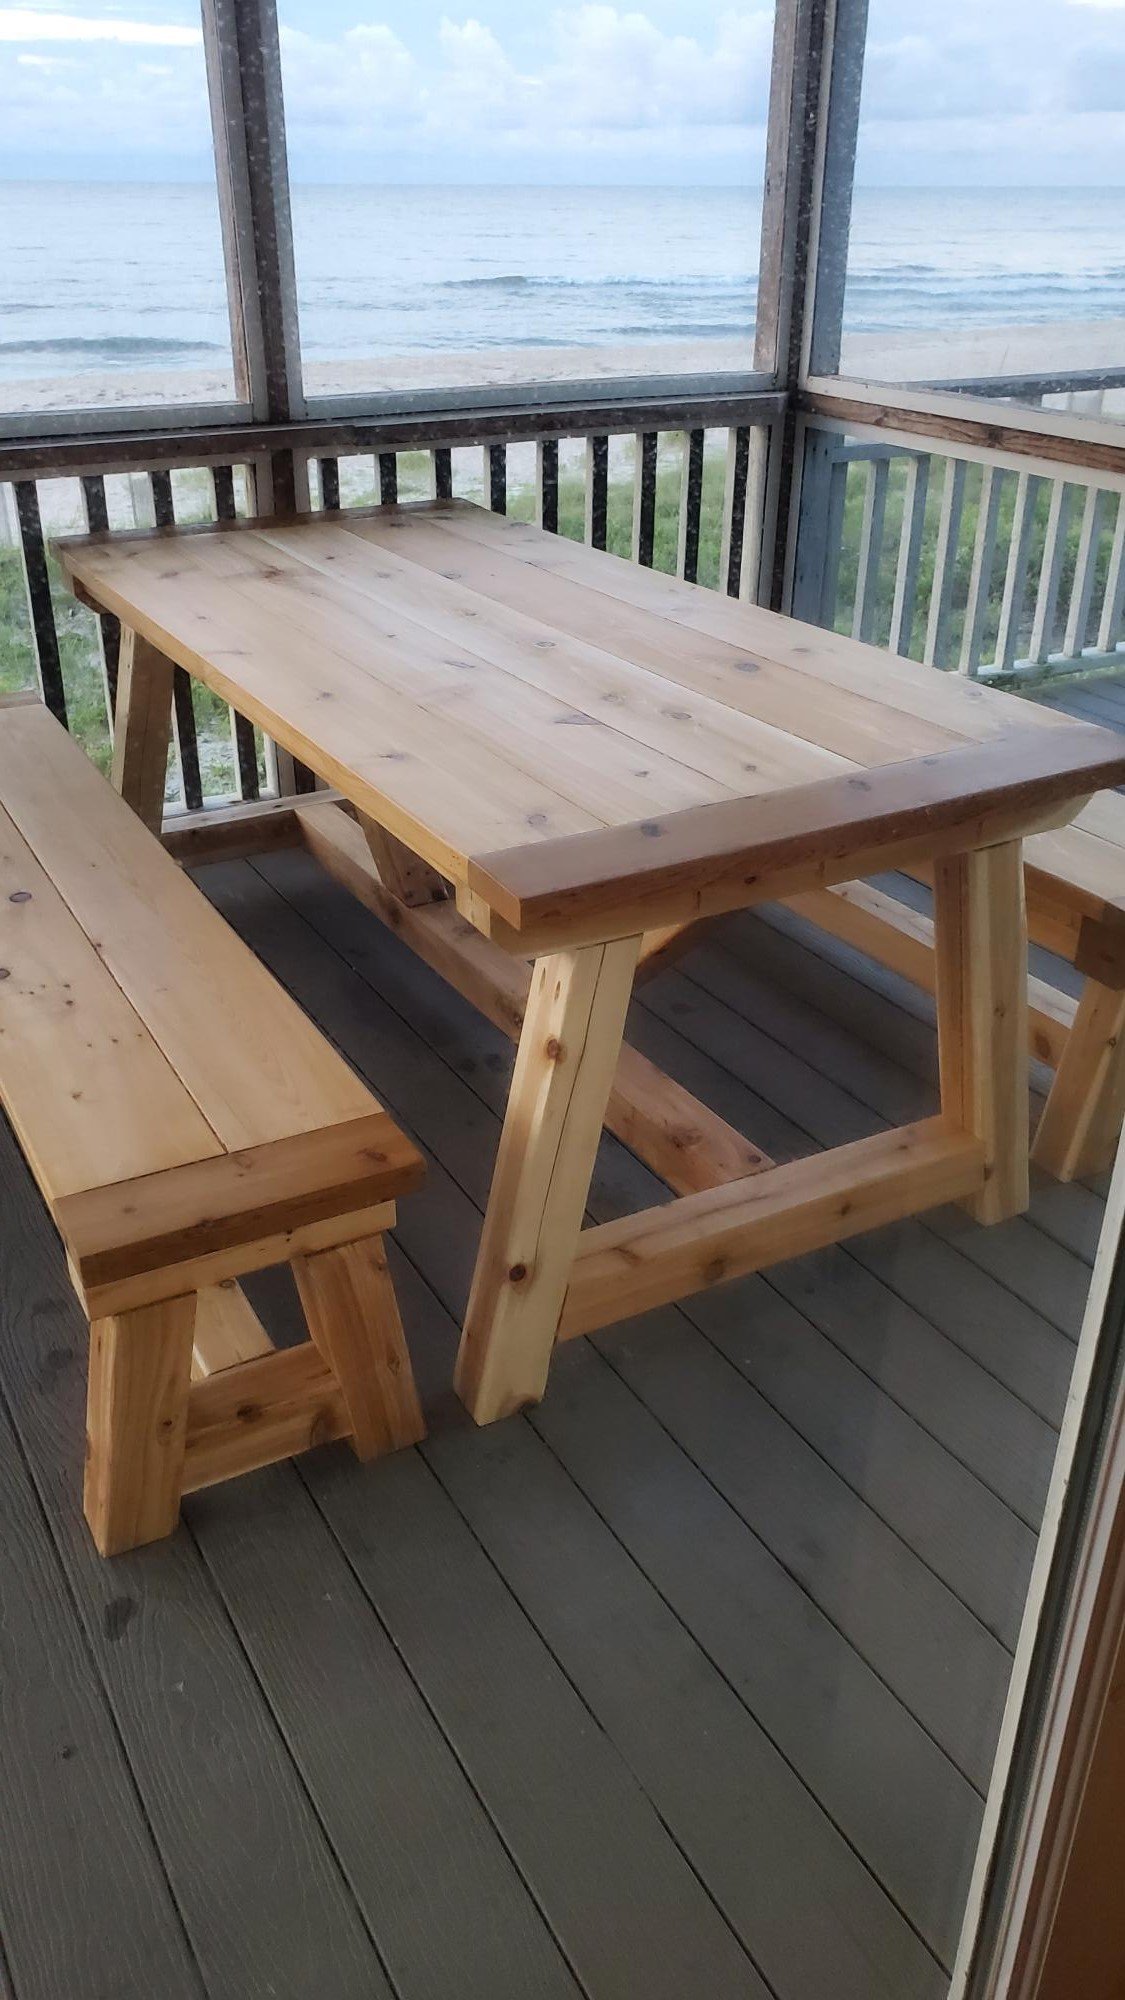
I used the trestle table and benches plans to make a cedar picnic table...
by Joe
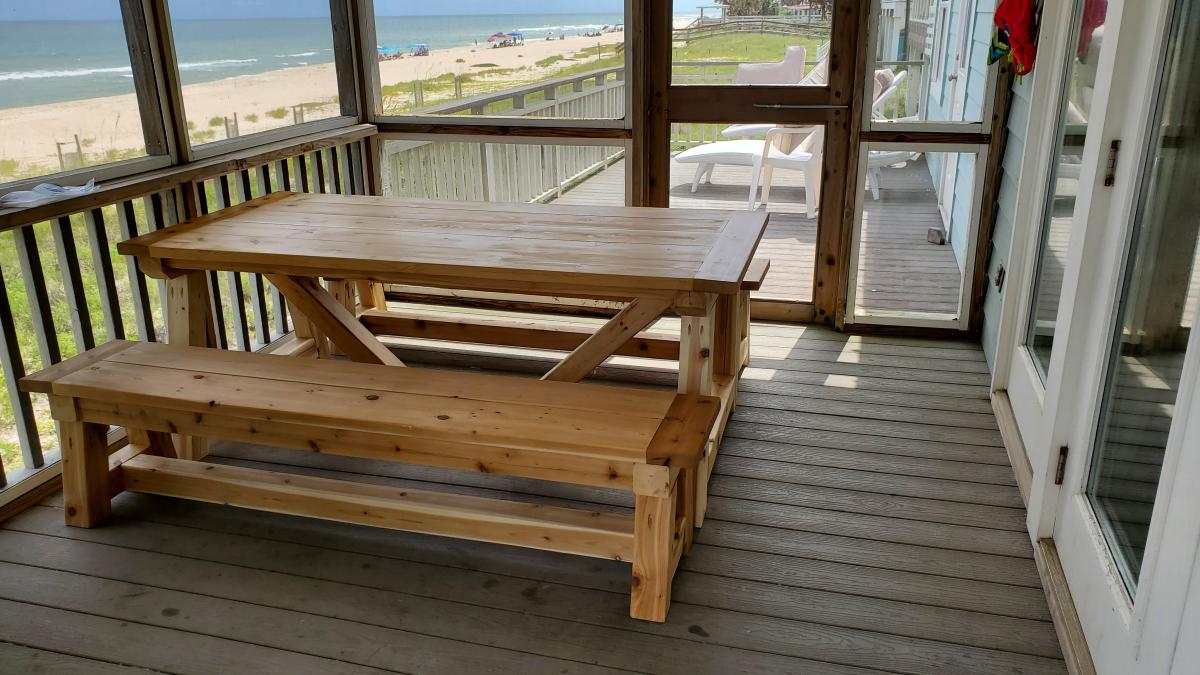
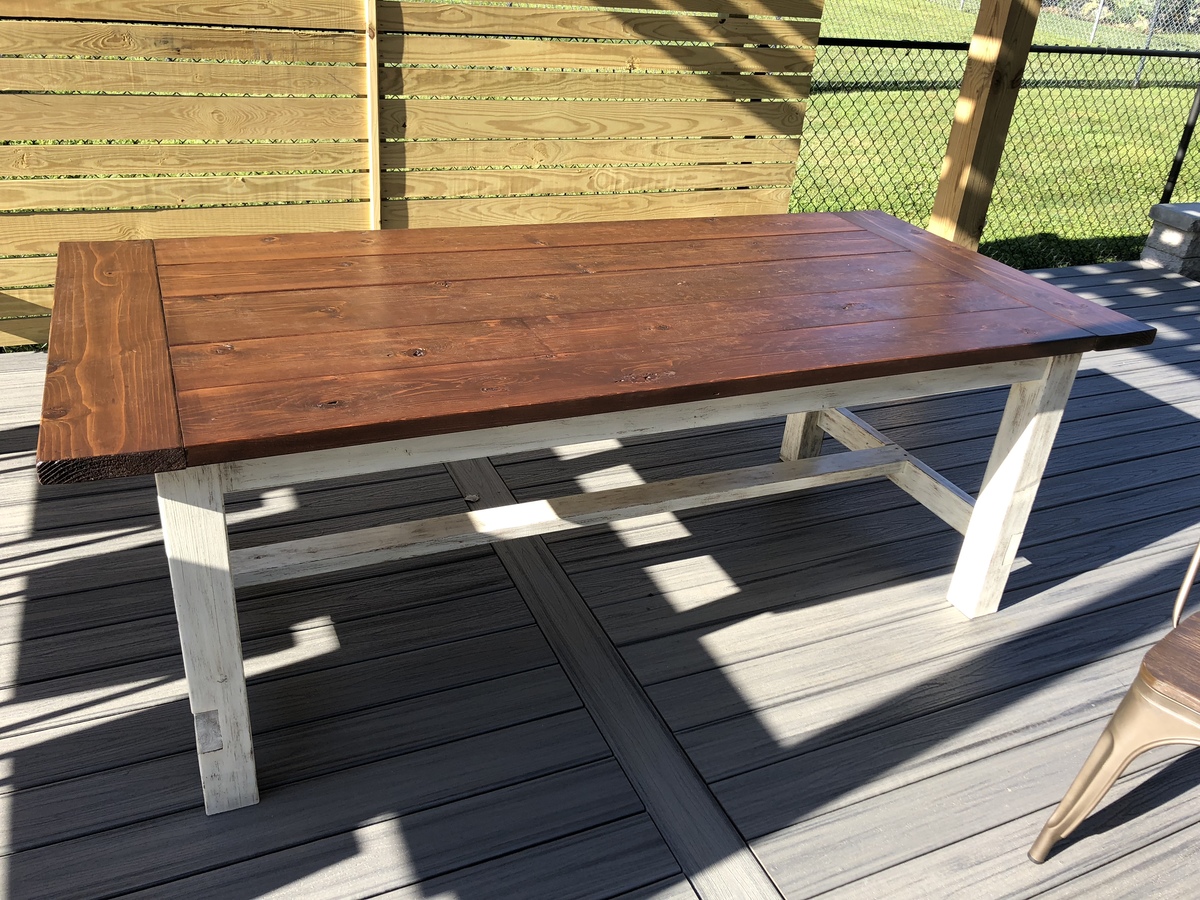
My husband and I built this table from the farmhouse table plans (Kreg-jig). I wanted a farmhouse table for our new patio and couldn’t quit find one to buy-so we made it! We used red cedar because it is an outdoor table and we wanted it weather resistant.
Been a while since I had time to actually build anything worth posting about! My wife wanted some items for her Kindergarten classroom this year, so built several items, most inspired by the Farmhouse family.
Sat, 06/29/2019 - 05:47
I love this! Can you give me the plans and list of materials for constructing it?
Sun, 06/30/2019 - 12:33
I am also a teacher and would love to build this desk for my reading class. Do you have plans?
Mon, 07/01/2019 - 18:05
I love this table for my classroom. Can you share the plans or the dimensions?
-Stephanie
Sun, 07/07/2019 - 09:46
I would love plans/dimensions for this! I was thinking I could also paint the top with wipe off board paint.
Sun, 07/07/2019 - 14:59
I would love to make one for my classroom. Can you share the plans and materials list for this table?? Thanks!!
Mon, 07/08/2019 - 19:11
I am looking to make this for my fourth grade classroom - can you provide the dimensions you used? Thank you so much.
Wed, 07/10/2019 - 11:59
Love this!
I would love this for my classroom! Can you share the plans and materials.
Thank You!
Mon, 07/22/2019 - 18:25
Anyone have any luck with figuring out the dimensions??
Thu, 07/25/2019 - 17:20
Has anyone gotten the plans for this table? I have contacted Ana White and tried other ways also. I would love for someone to share.
Thank you
Teri
Mon, 08/19/2019 - 12:09
I am guessing the corner posts are 2 x 4s, the top is 2 x 10s. It looks like the width is 6’ (looking at the floor carpet tiles being 24” square). So 2 - 2 x 10s side by side for the main part of the desk top and 2 - 2 x10s perpendicular on each side of the chair. I guess the height is subject to choice and the length of each side would also be subject to choice or to the length of the 2 x 10s to be economical.
an educated guess would be 4 - 8’ 2x10s for the top and 6 - 6’ 2 x 4s for the legs?
Anyone else have any input here? Open to suggestions.....
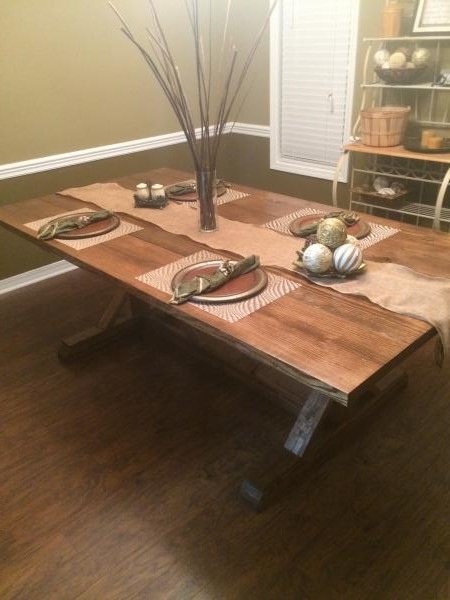
7ft Fancy X farmhouse table
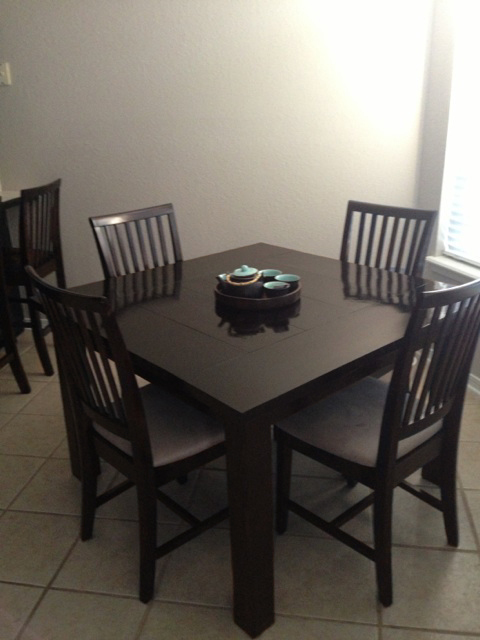
This was my first project! We just bought a house and have no furniture except a mattress on the floor! But soon, we will have a home full of custom built furniture :)
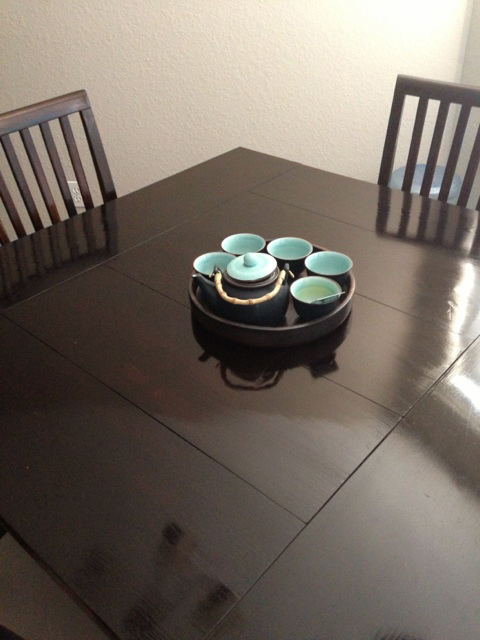
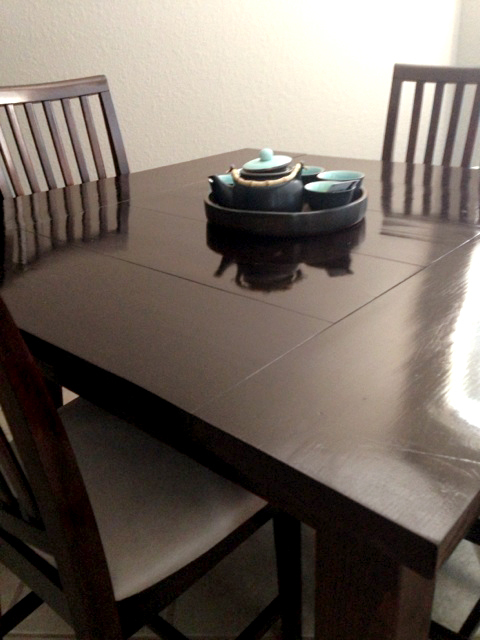
I modified this plan quite a bit so it would fit in my space better. My husband really wanted a square table, so I came up with this one based on the farmhouse table. I changed the table top pieces to 2x10’s simply because I like how they look. It took me quite a while because I wanted the top to be super smooth with minimal gaps between the boards, so I ran the boards through a planer quite a few times until they were perfectly flat. Also, since it is square and smaller, we didn’t need the support beam along the middle.
I really wanted chairs that matched the table, so I ordered chairs that were unfinished and stained them to match the table. This took FOREVER and they were a little expensive, but they turned out great! We also got 2 barstools that match.
Like any other project, the finishing took the longest. I sanded for what felt like 20 years, then stained and poly’d for another 10. I am pretty happy with it considering it was my first try!
Thu, 08/22/2013 - 11:21
I ordered them from a manufacturer in California called Maywood Shops, LLC. The chairs weren’t that expensive themselves because they are a wholesaler, but I had to pay around $175.00 to ship them!! After that, they were comparable to store-bought chairs.
Mon, 08/26/2013 - 11:39
Not exactly what I was going for, but it turned out pretty good!!
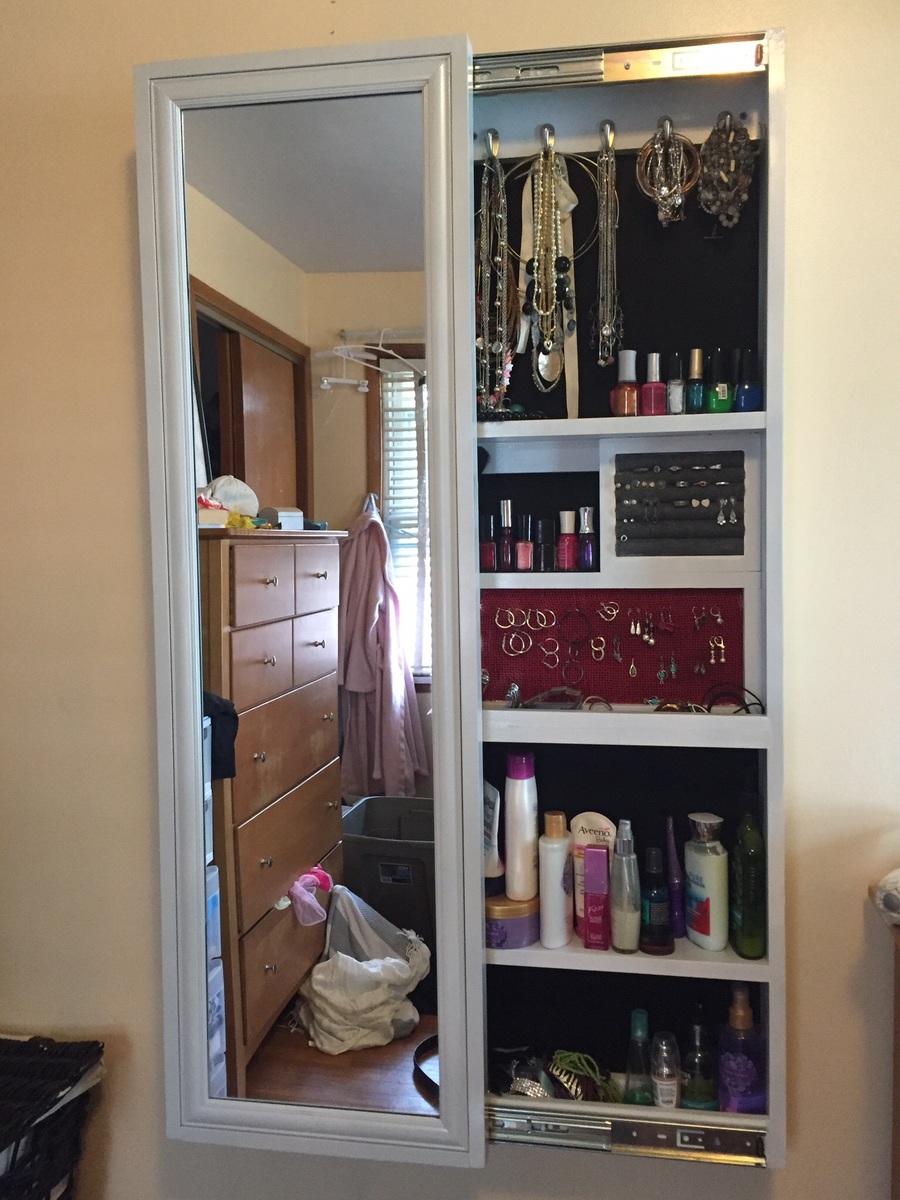
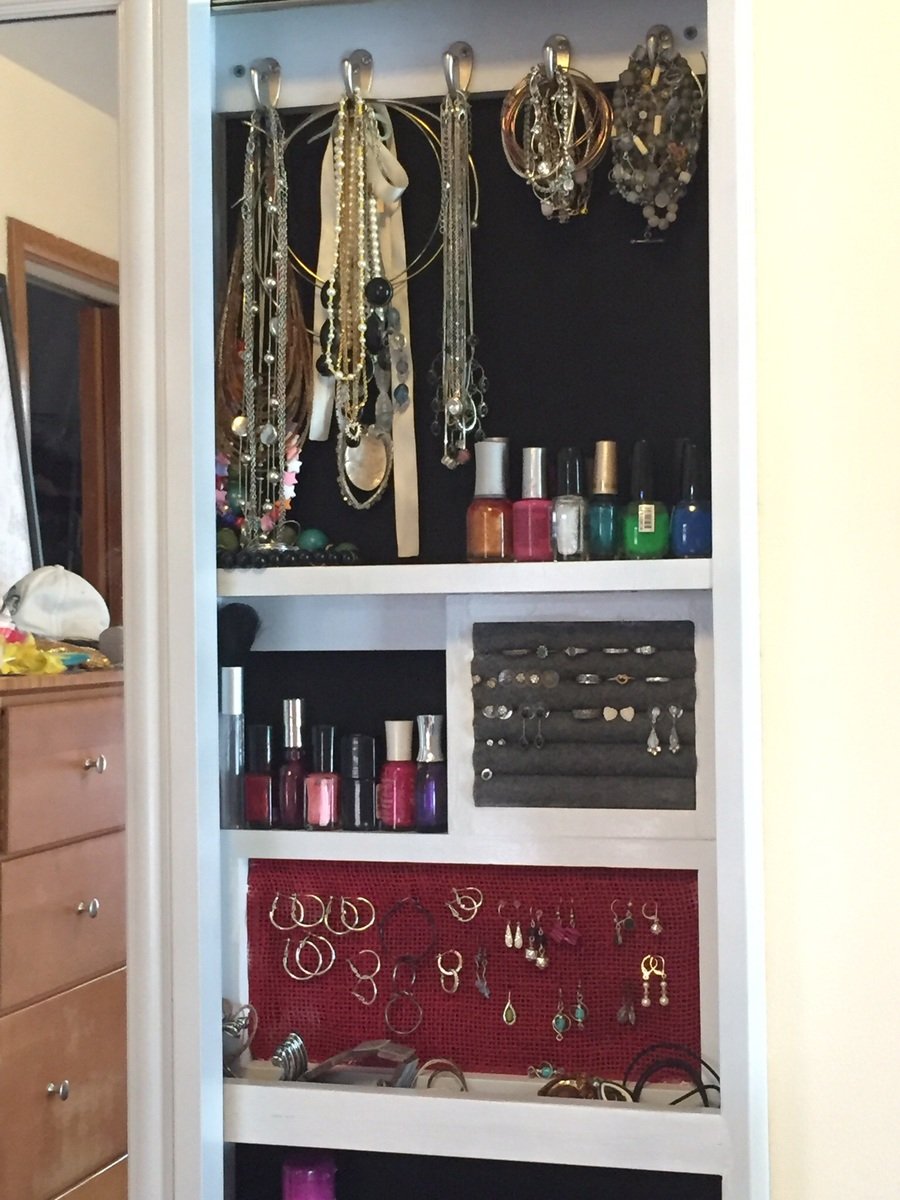
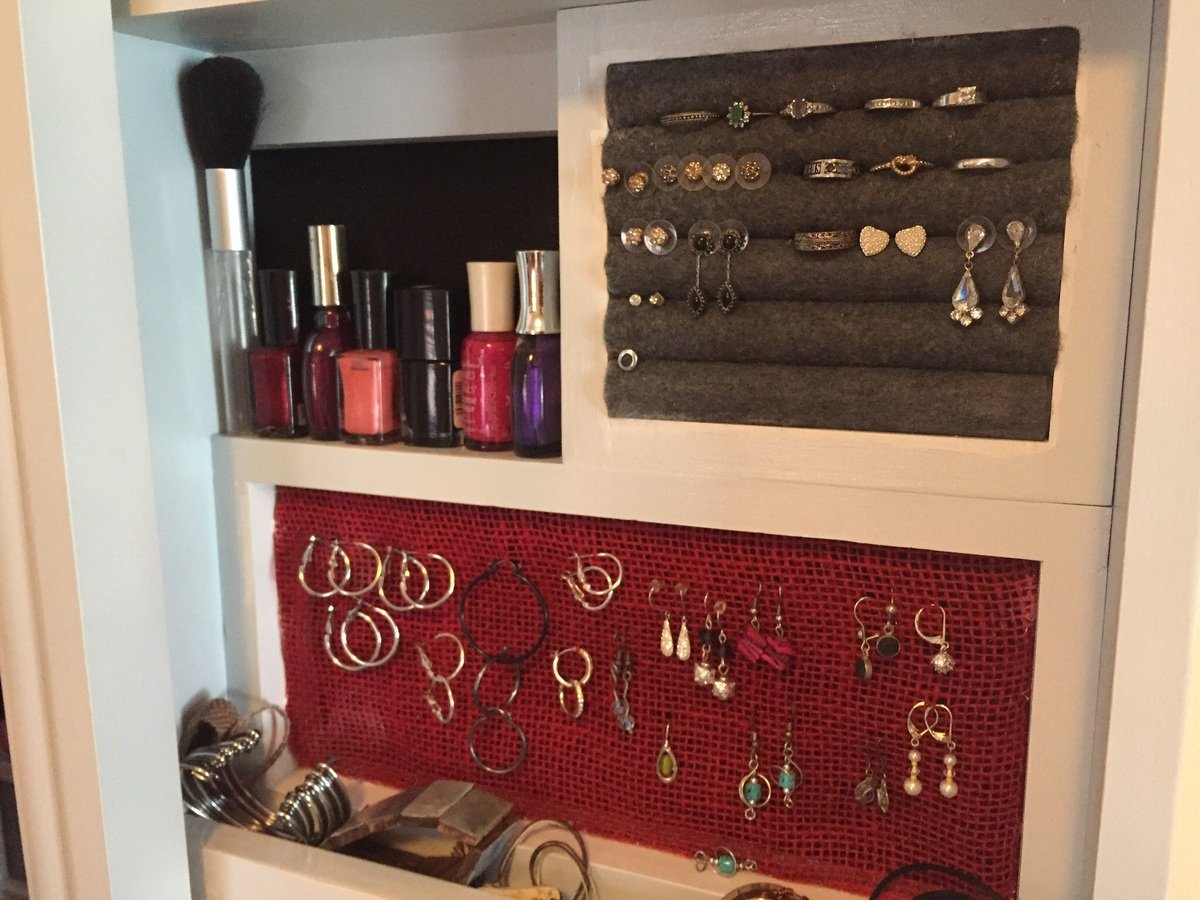
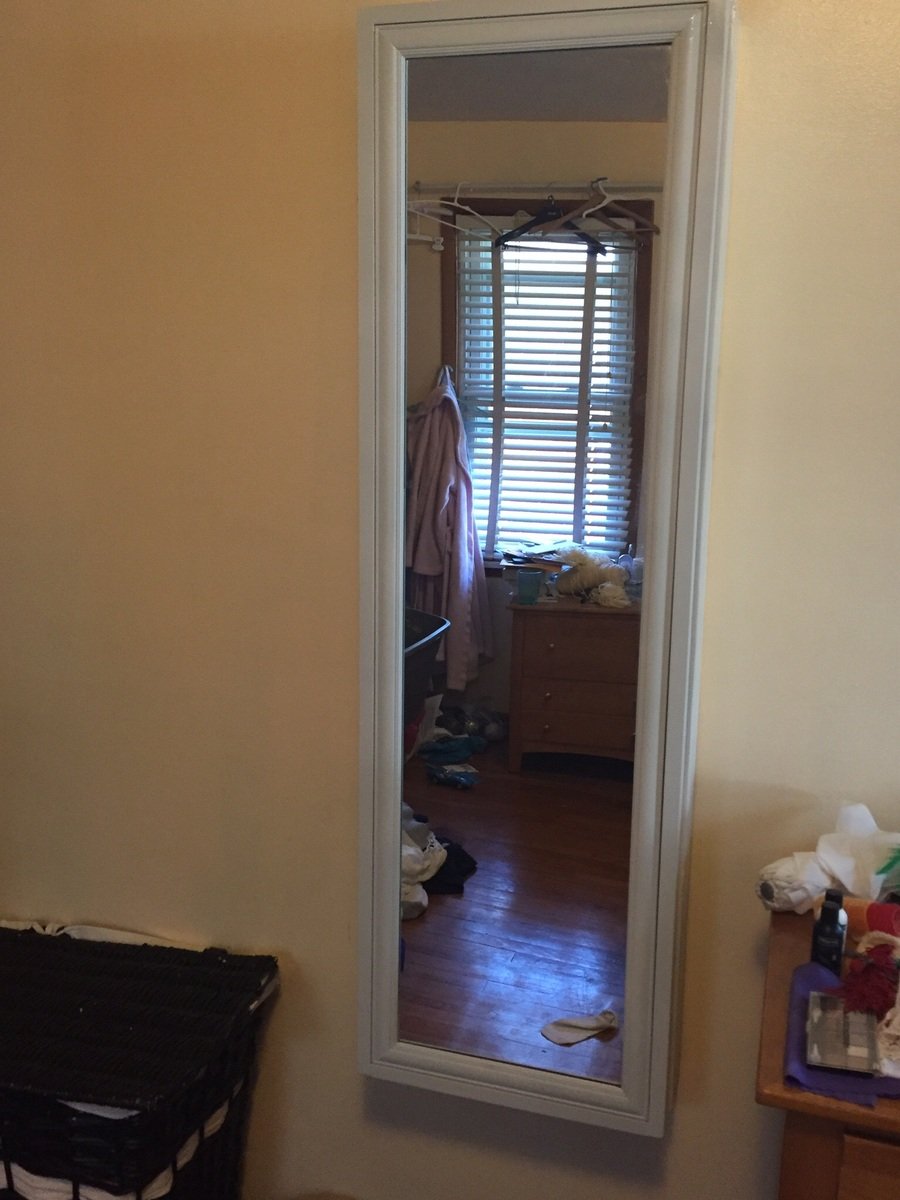
Thank you Anna for providing the template plans for this project. My wife had a mirror leaning on the wall in our bedroom that rarely got used and jewelry all over the dresser. So thanks to you I was able to turn this cheap mirror into useful storage and organize her jewelry. Thanks!
Wed, 10/07/2015 - 10:18
Thank you for building!!! Your post just made my day, I'm so happy to see your build! I love the customization with the jewerly holders too! Thank you so much for sharing!
Sun, 09/17/2017 - 20:49
How did you attach rails? I still cannot figure out the best way to do it...
Thank you!
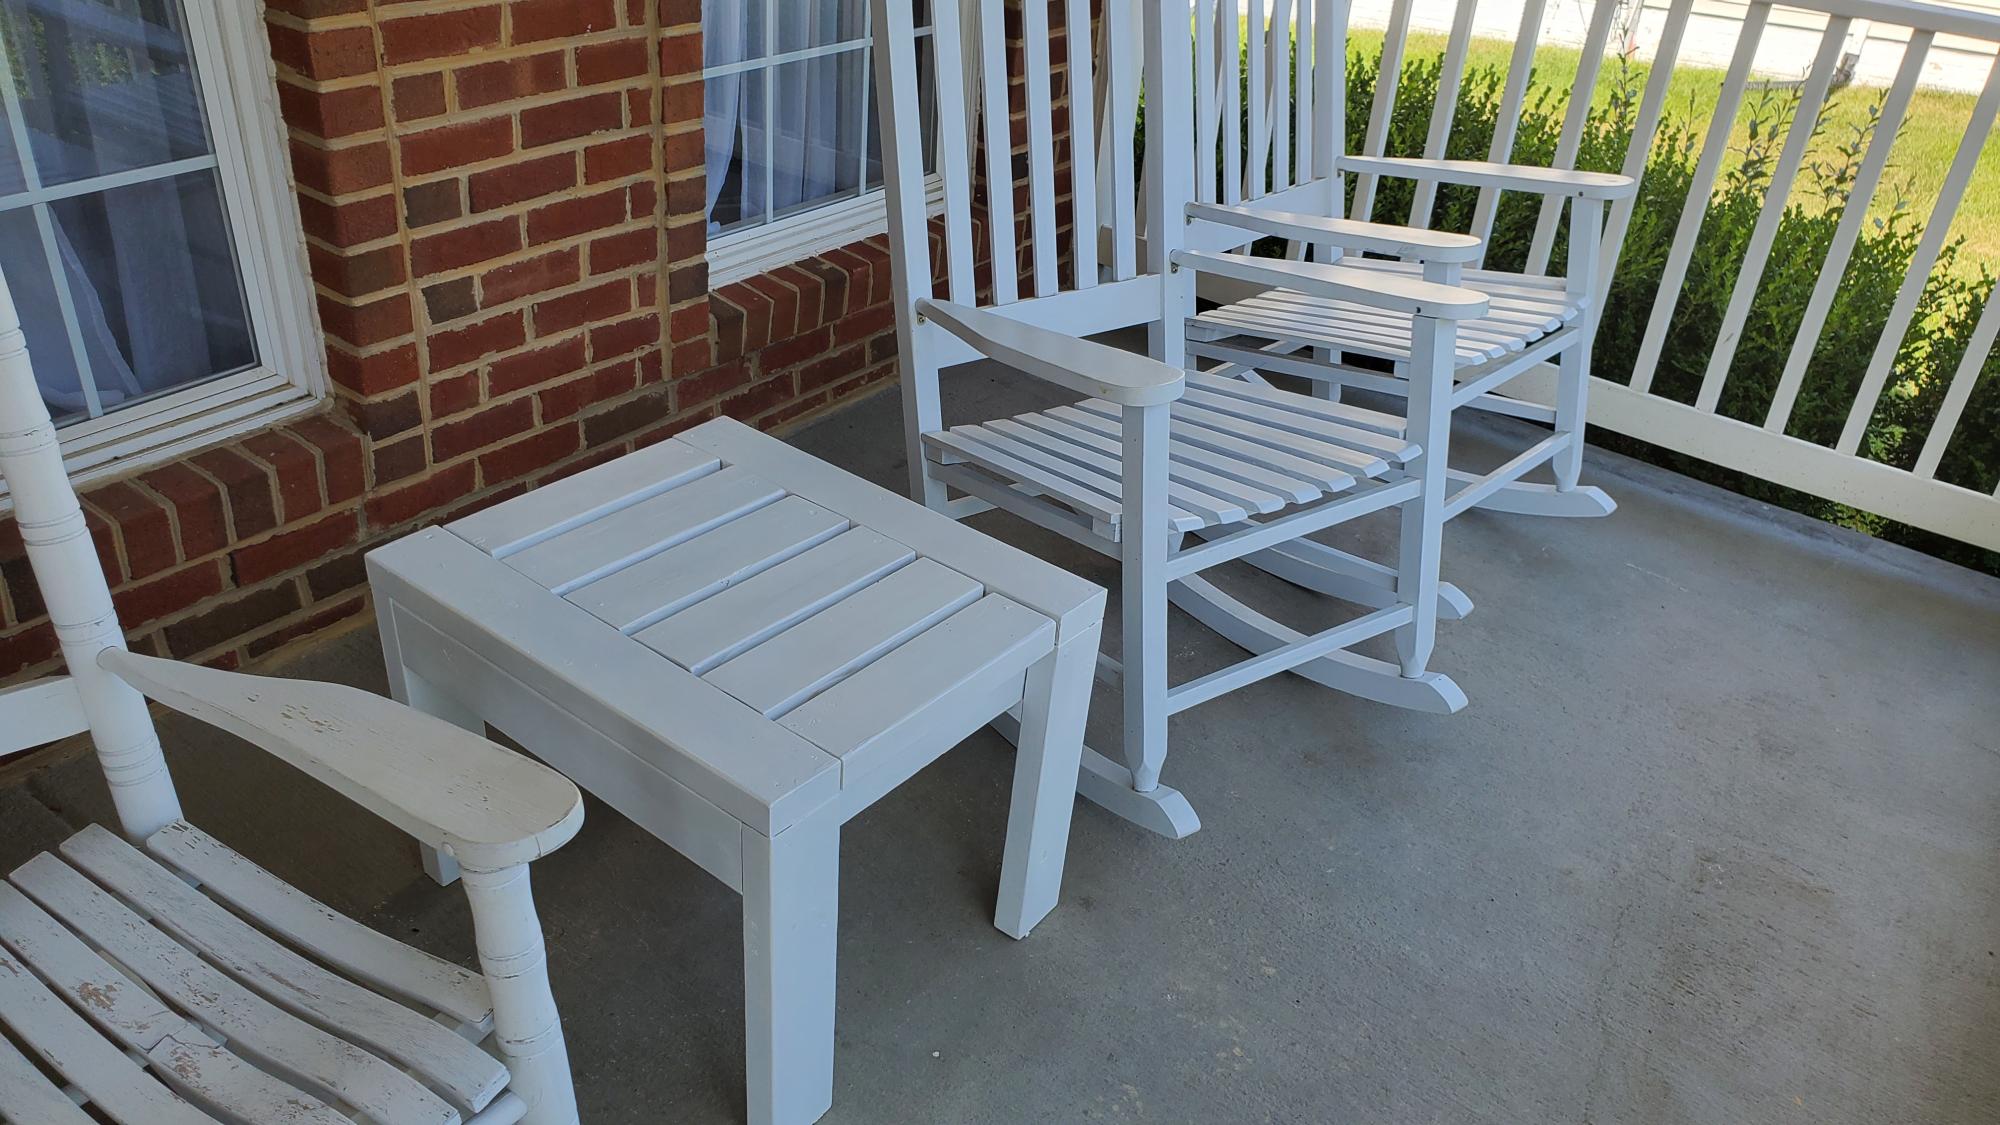
Thank you the inspiration!
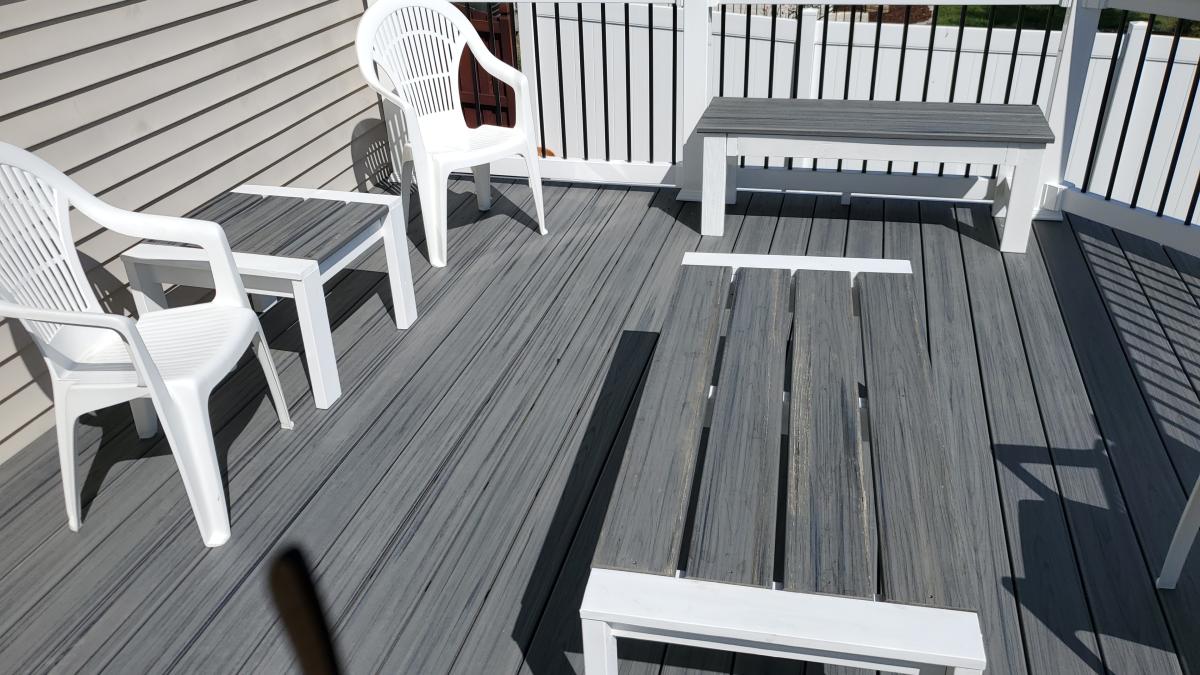
I'm a retiree and beginner woodworker, through your videos I used leftover lumber and Trex decking from new deck to make two side tables, coffee table, and a bench.
Thank you so very much!
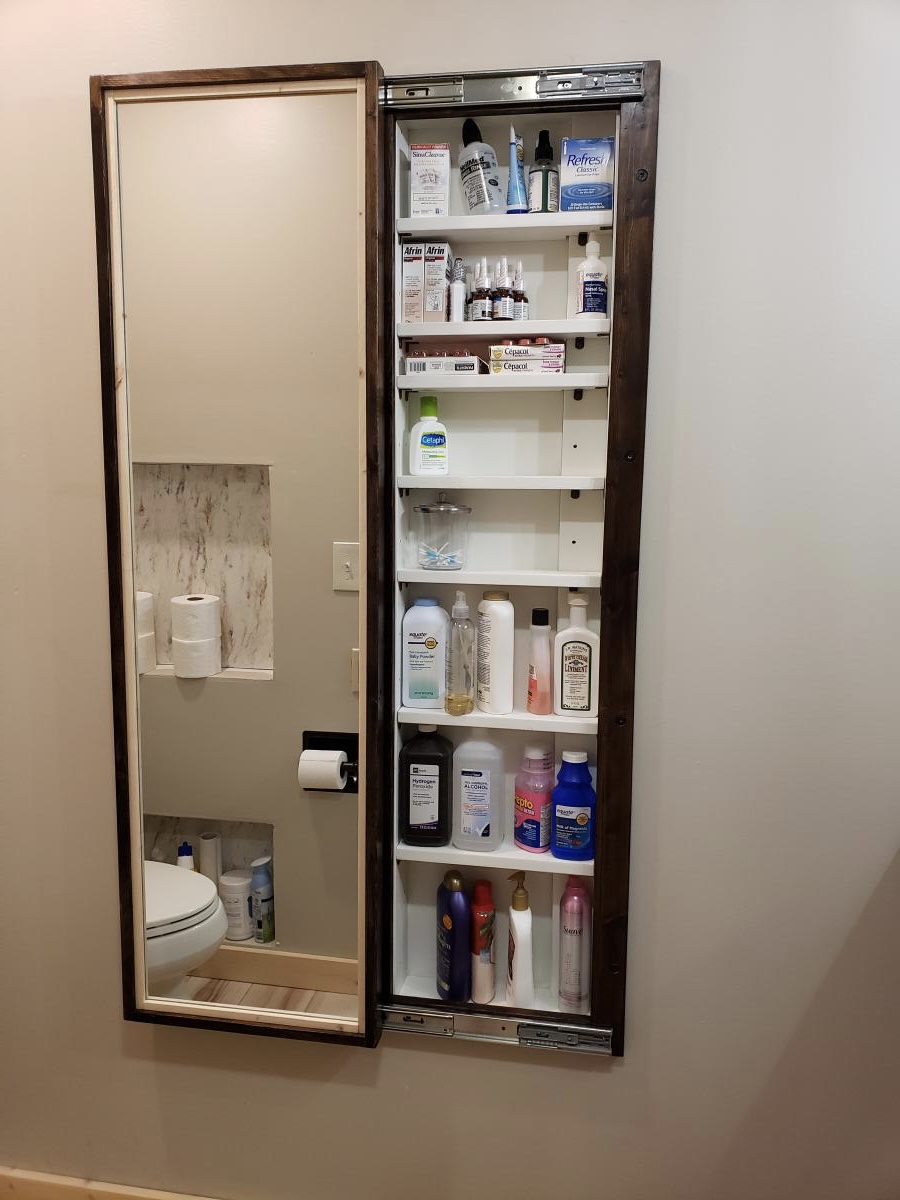
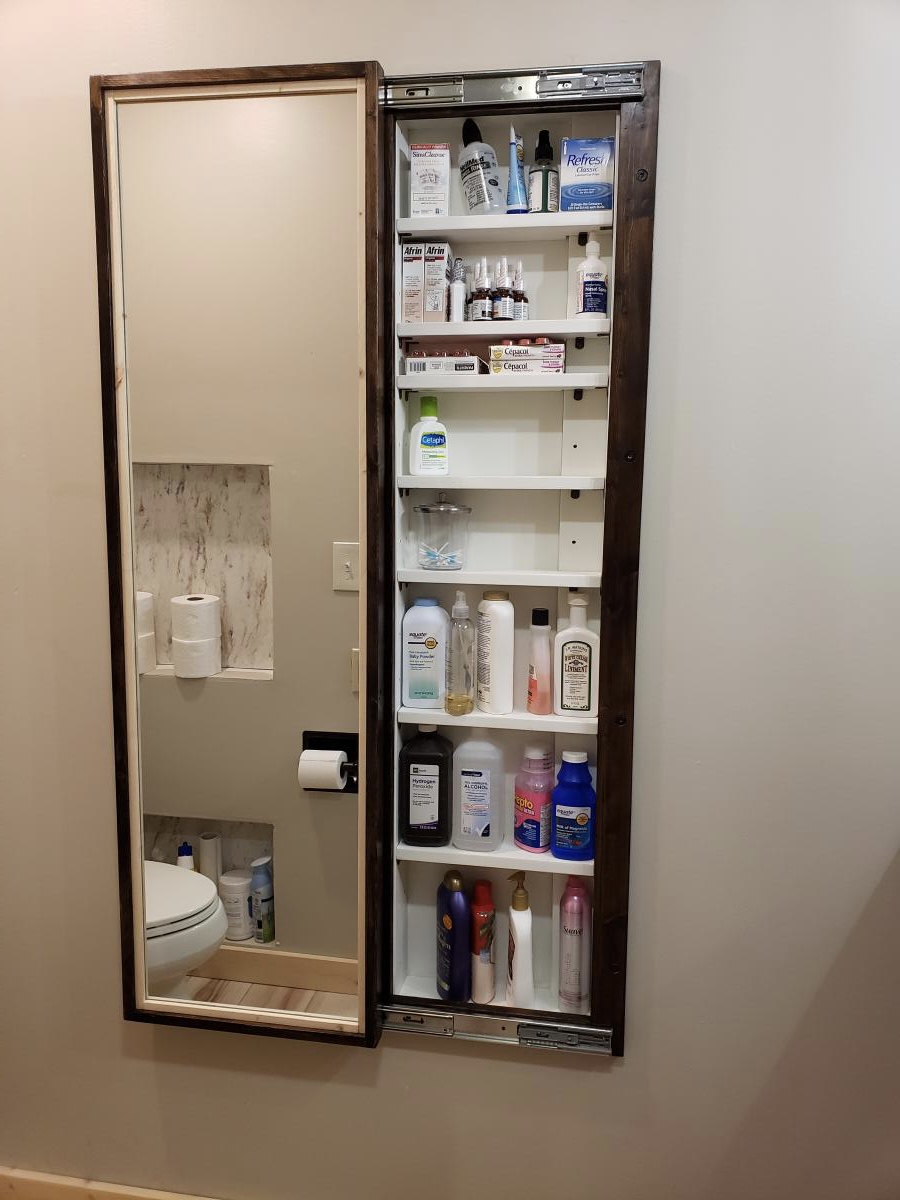
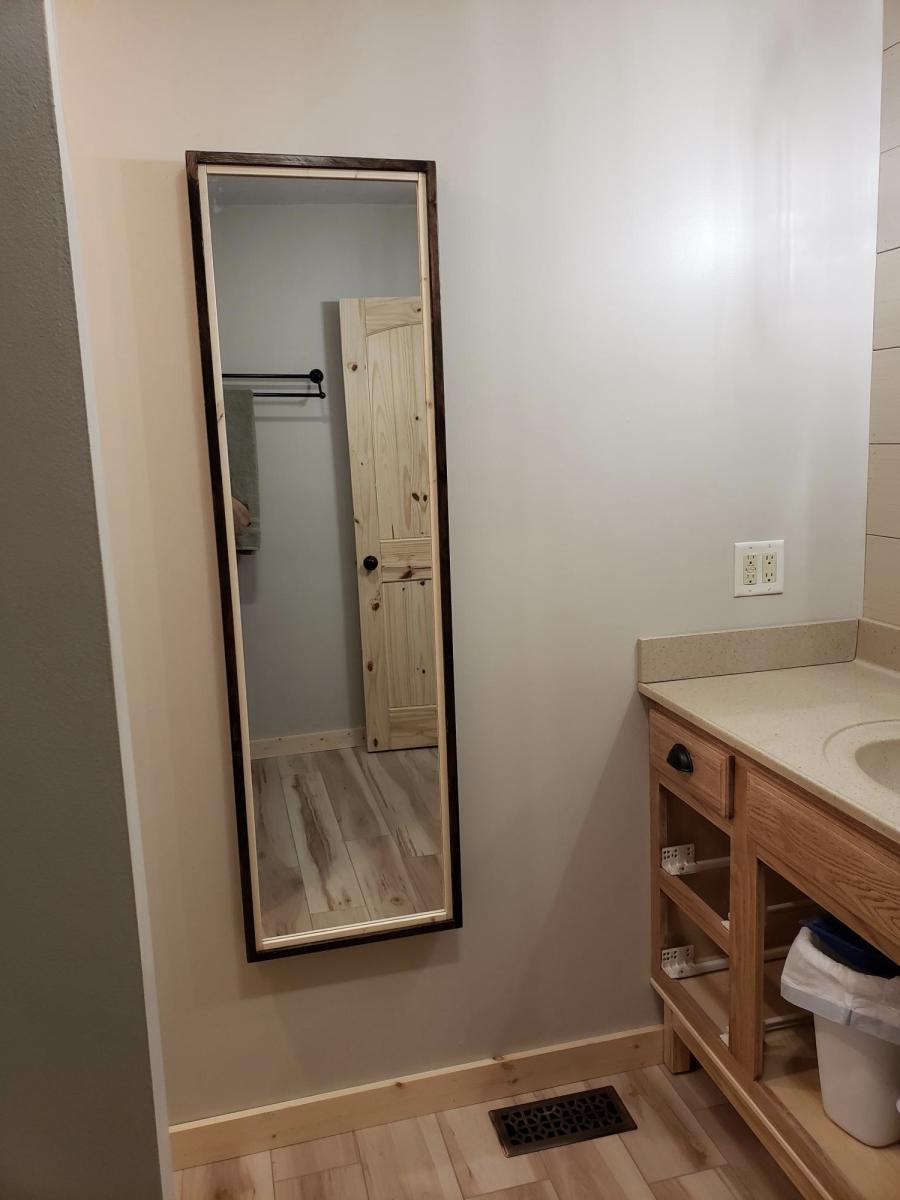
My bathroom has very little storage space. So during our recent remodeling of the room, I decided to add this cabinet. Changed the plan a little to make it recessed in the wall. I love how it turned out!
Sat, 09/03/2022 - 13:28
This looks amazing, love how it's recessed! Thankyou for sharing.
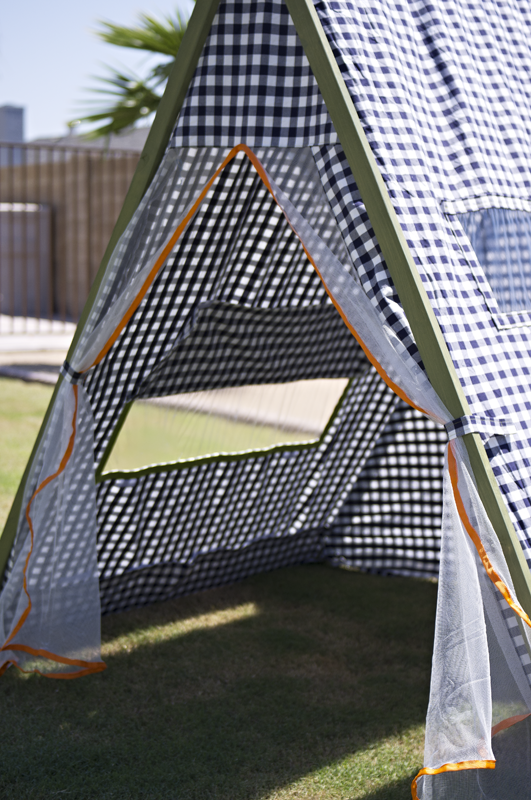
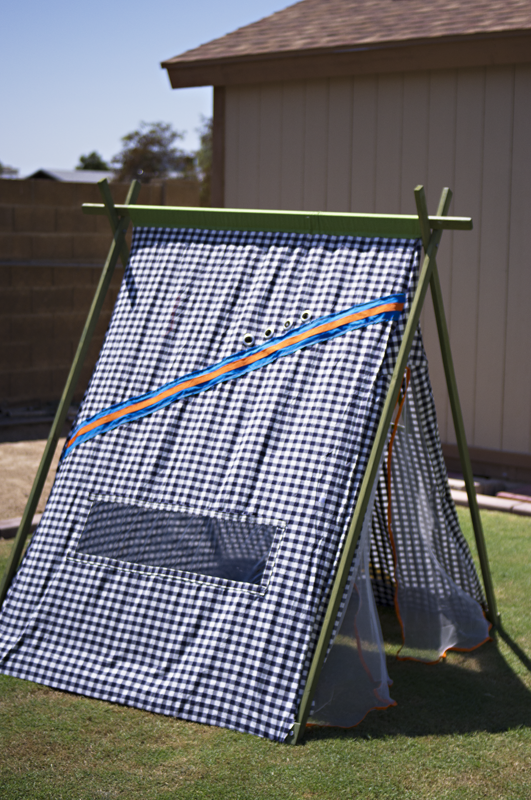
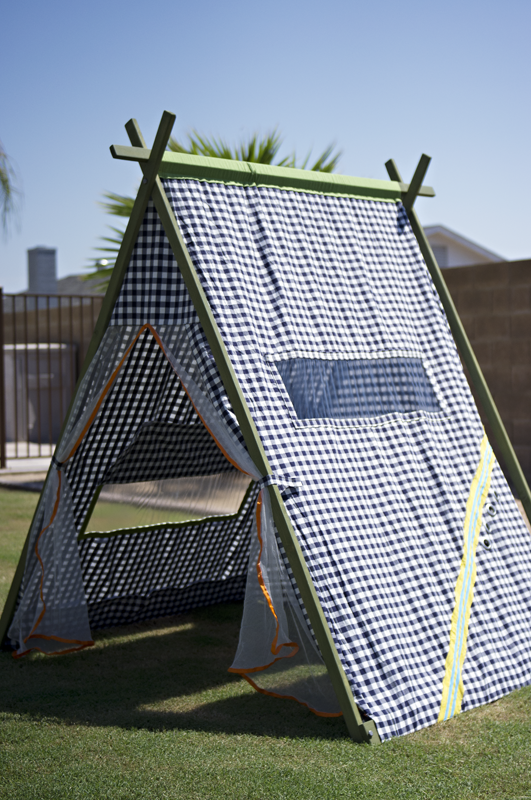
I made this for my boy who's turning four tomorrow! (Sep 1st) He loves building forts and I don't mind rearranging the furniture, but set up and clean up is so time consuming, we'd both rather spend more time playing. This is an indoor tent, but I took it outside for pictures. Aside from the obvious difference of adding doors and a back, the changes I made from the original plans are: using an 8 foot 1x3 so the tent is 4 feet deep instead of 3. Instead of stapling the fabric on the 1x3s at the bottom, I wrapped the fabric around and used velcro so I could remove it for washing. I sewed a tube of fabric and attached it at the top to make removal easier. Time Investment is so long because of the sewing involved for the tent. If you have an Ikea near you, they've got this stuff called glaze paint (more of a stain, I think) in all different colors - it doesn't need a top coat (unless you want it shiny), it's solvent free and, are you ready? $6 for 12.something ounces, MORE than enough for this project. To make it even easier if you're using fabric instead of curtains like me and you've got the room, cut a 8ft 1x3 in half so you've got two 4ft pieces. Most quilting cotton at fabric stores is 44-45 inches wide selvedge to selvedge (the ends that don't fray) and if you follow the plan according to where to drill for the top bolt, you'll need 4-4.25 yards of fabric, depending on whether you are going to use velcro or staple. I would use 4.25 if using velcro, the fabric can go right over the top bar and over the other side if you don't want to sew a tube like I did. If you don't want to sew at all, use iron-on hem tape on the cut edges and iron on velcro. Make sure of placement of the velcro before ironing on. More pictures on my blog =)
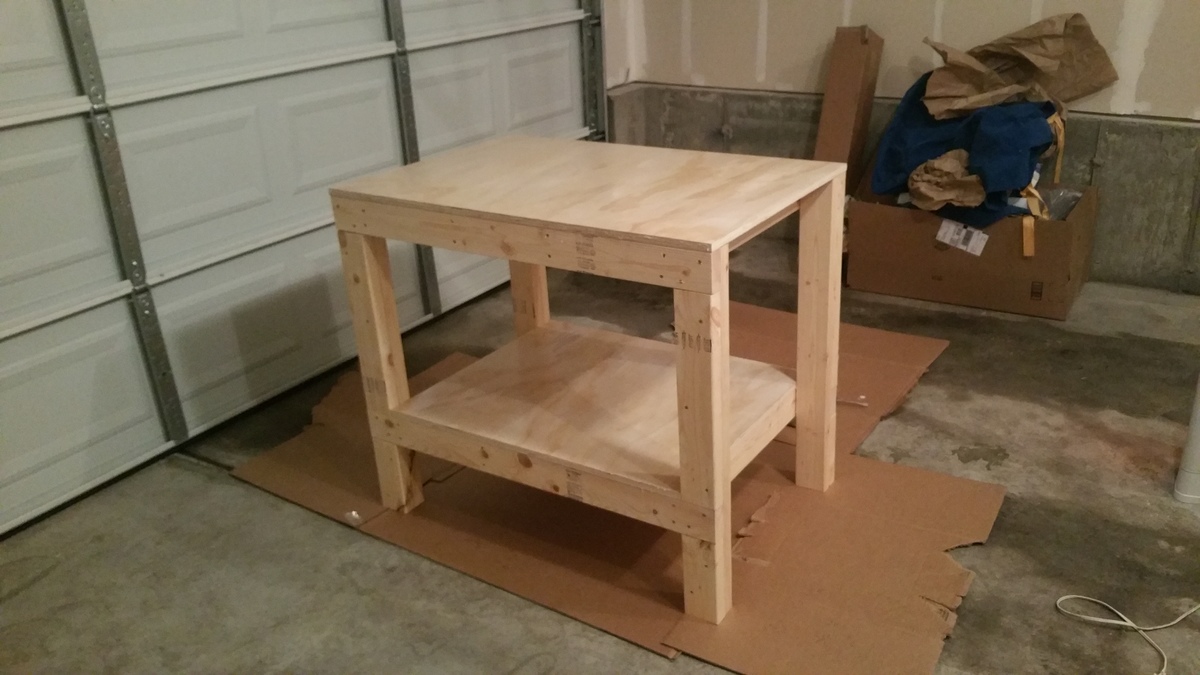
Easy project. I needed this bench a bit smaller due to space constraints so this is 28" x 42". I kept the height the same and finished the surfaces with some thick polyurethane. It should be noted my cost was a bit higher due to buying a sanded plywood, coated self-tapping screws and a more expensive polyurethane. I also went a bit slow on this project and it took about 2.5 hours including application of the single coat of poly.
Sat, 12/19/2015 - 09:10
Very nice job and great looking workbench! Thanks so much for taking the time to share!
Comments
Ana White Admin
Wed, 05/05/2021 - 12:21
What a set!
Thanks for sharing, it all looks amazing!