Community Brag Posts

Farmhouse Bedside Table

Submitted by Amanda G on Sat, 10/19/2013 - 07:39

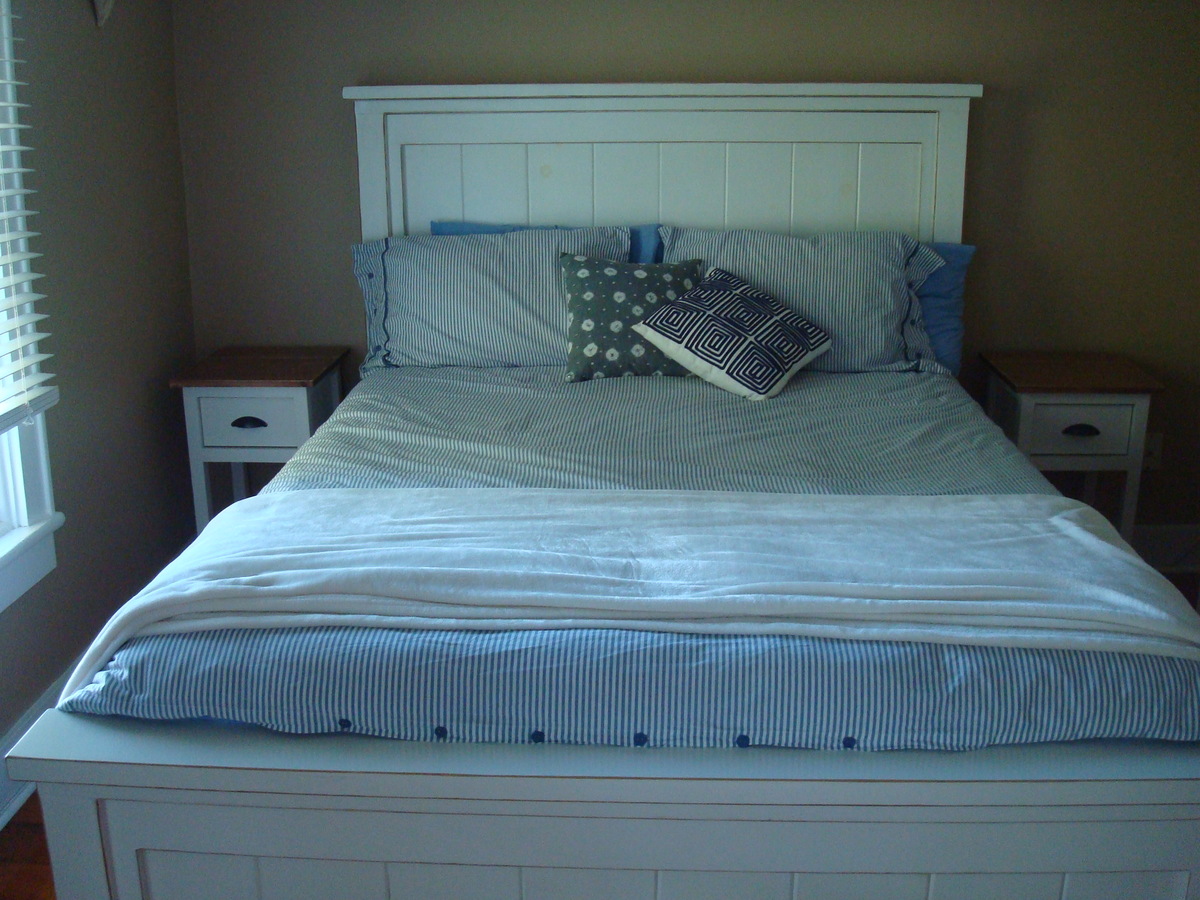
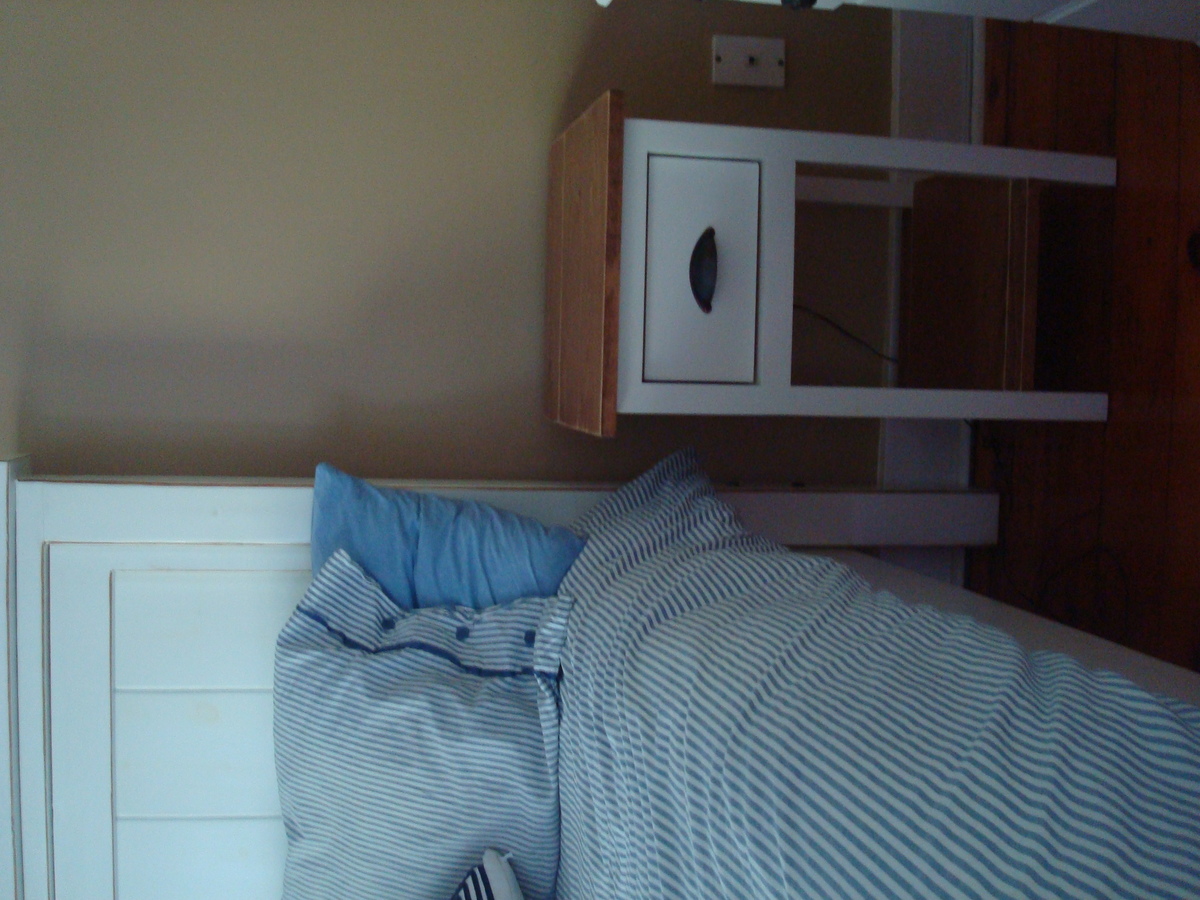
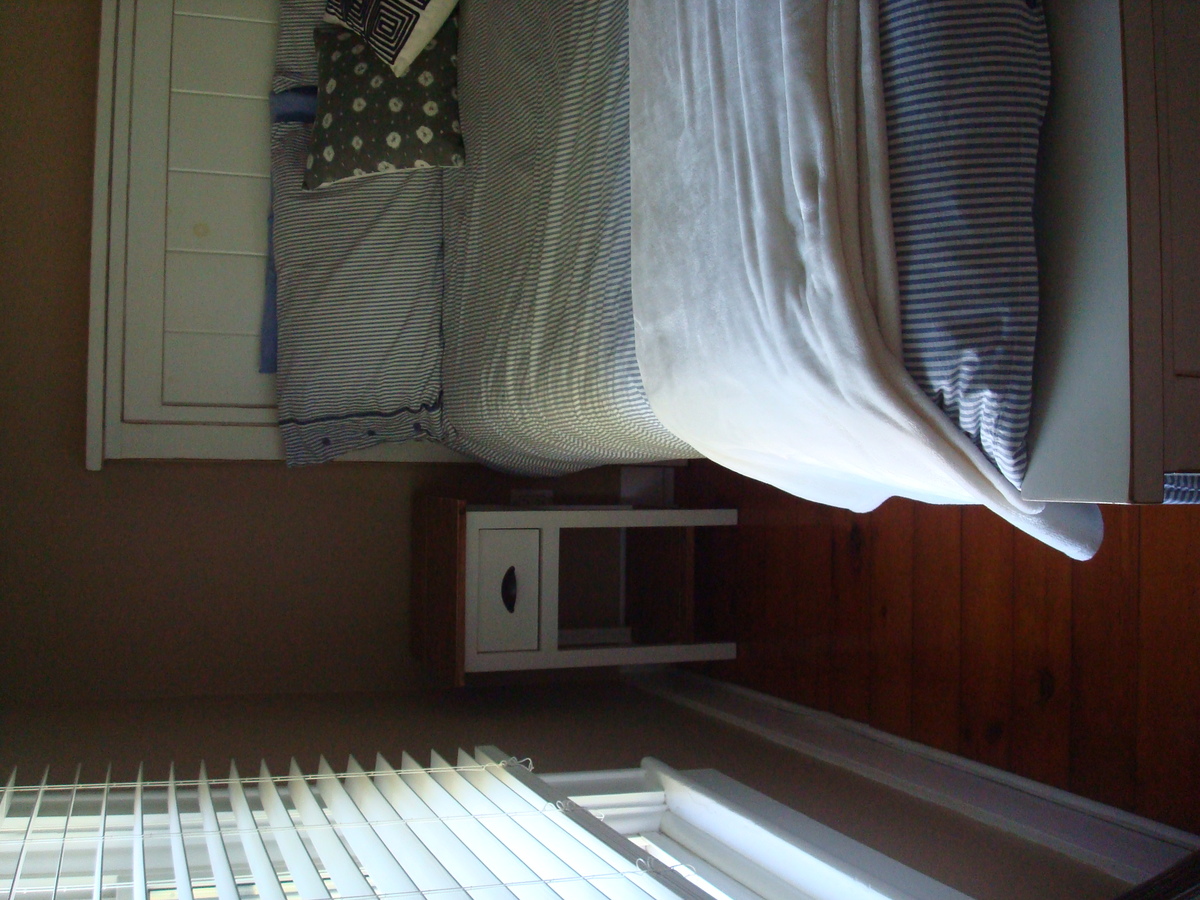
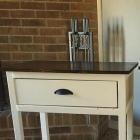
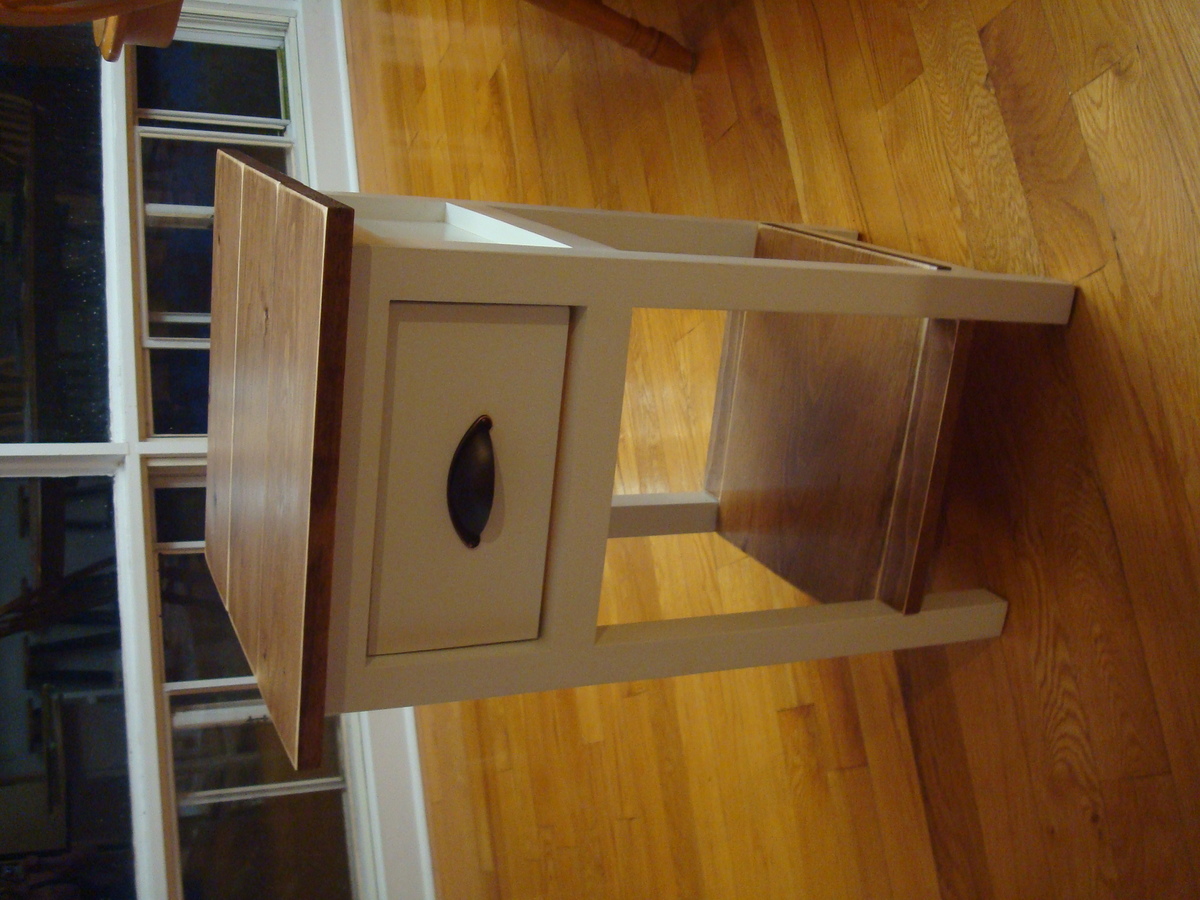
After finishing the farmhouse queen bed, I was eager to start another project. I needed bedside tables and I came across plans for the mini farmhouse bedside tables. After the building the first one, the second one went much quicker. Very happy with the results :)

Estimated Cost
$50.00
Estimated Time Investment
Day Project (6-9 Hours)
Finish Used
White paint, top and bottom shelf are stained with Minwax Special Walnut and sanded edges and corners to look a bit aged. Finished with 3 coats of Minwax polycrylic, sanding between coats.
Recommended Skill Level
Beginner

Comments

mom of 4

Tue, 10/22/2013 - 09:21

Really nice work on the bed and the tables. I love the look with white legs and stained top/shelf.

In reply to by mom of 4

Amanda G

Wed, 10/23/2013 - 19:34

I was very happy with the way they turned out. I just finished a storage bench with the white bottom and stained top, I'll post pictures when I get a chance :)

Farmhouse Bedside Table

Submitted by Anonymous (not verified) on Tue, 01/05/2016 - 07:51

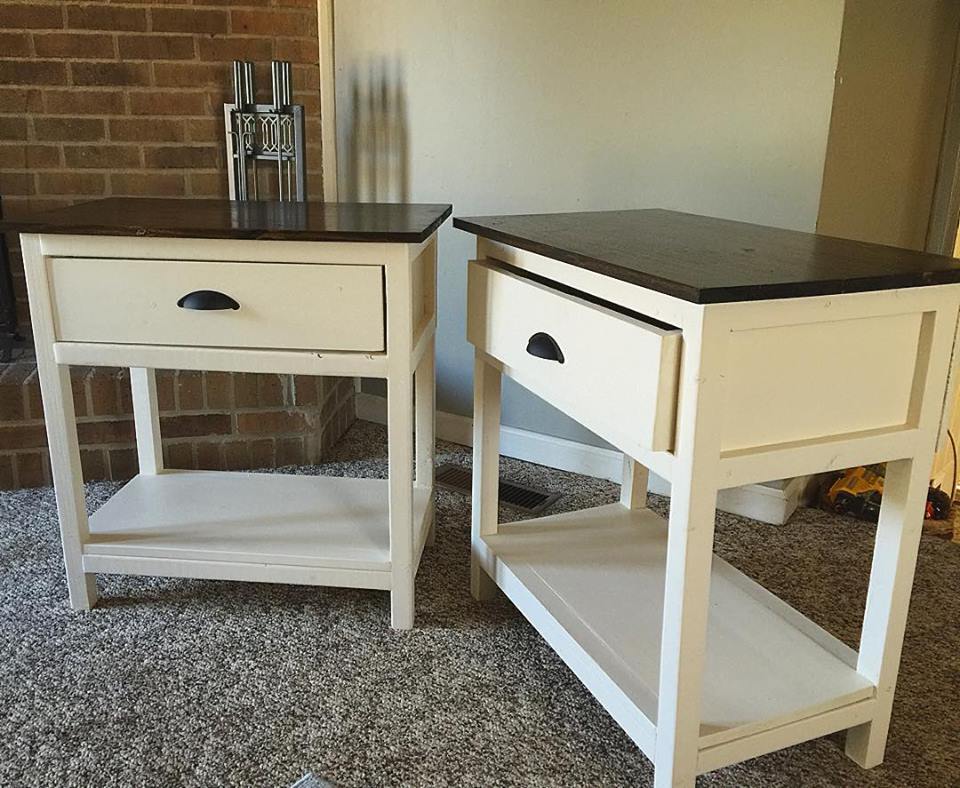
Super easy project. Both tables matched almost identical. Buying wood from Home Cheapo/Nowes makes it a little tougher because they aren't as straight as they should be, but a little sanding never hurt. Plan on making a few more for the other rooms.

Estimated Cost
$50-$55 per table
Estimated Time Investment
Day Project (6-9 Hours)
Finish Used
Jacobean and polyurethane on top with antique white spray paint on bottom.
Recommended Skill Level
Intermediate

Comments

perrybarnett

Tue, 01/05/2016 - 09:17

I forgot to include in the description that the price is assuming you have the tools and screws, might be a little higher if you need to buy the hardware depending on what you buy.

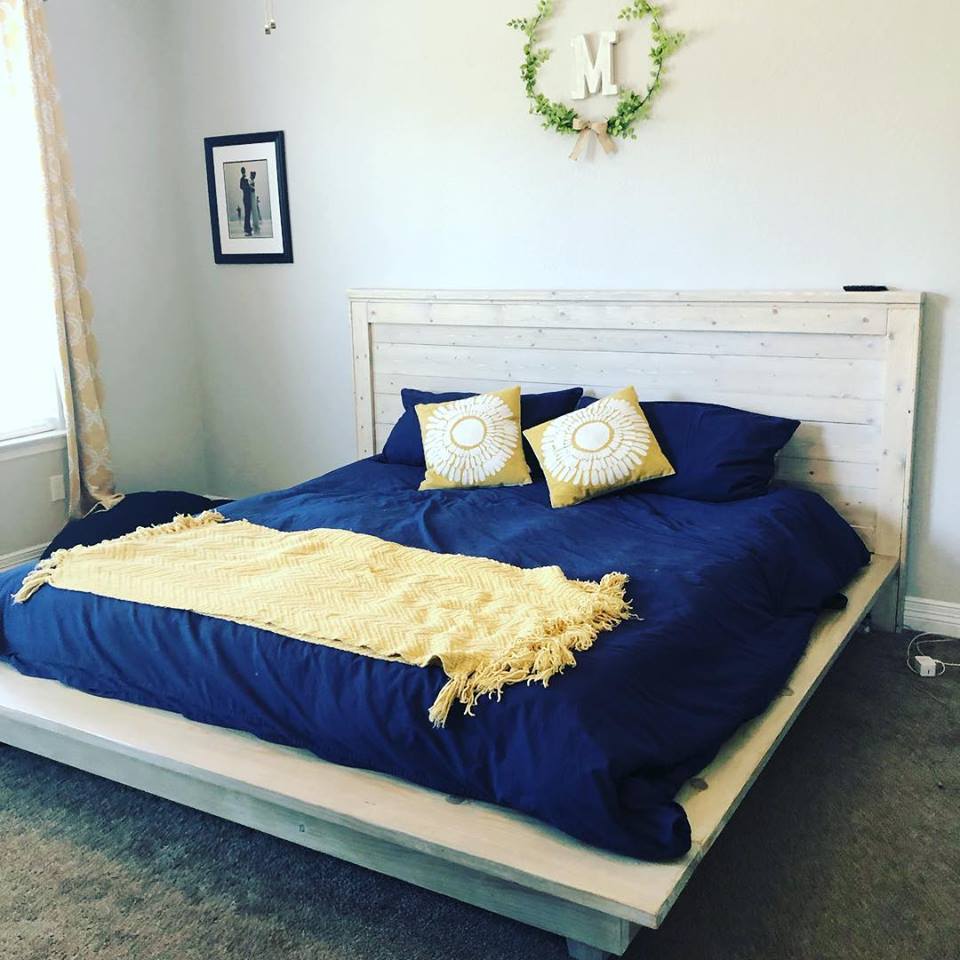
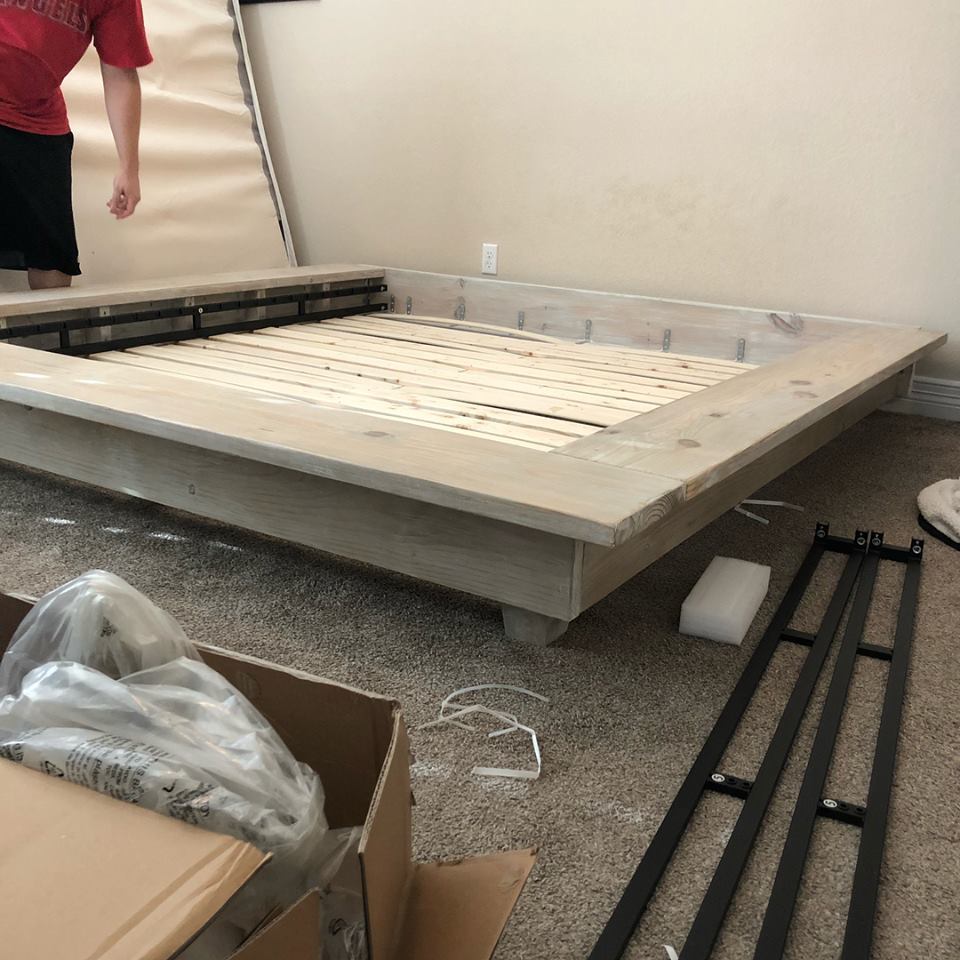
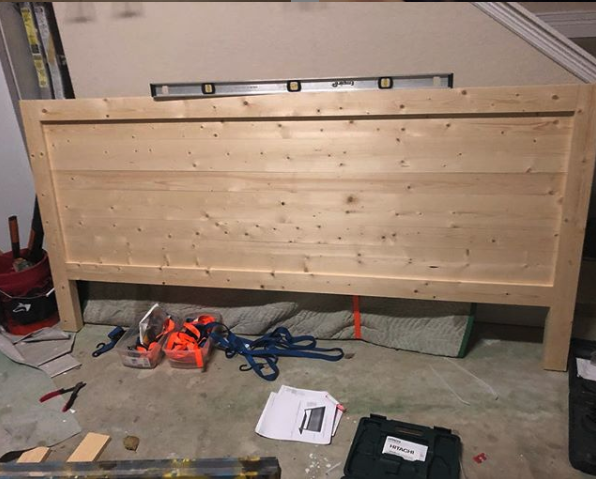
Reclaimed wood - look Headboard and . modified platform bed.

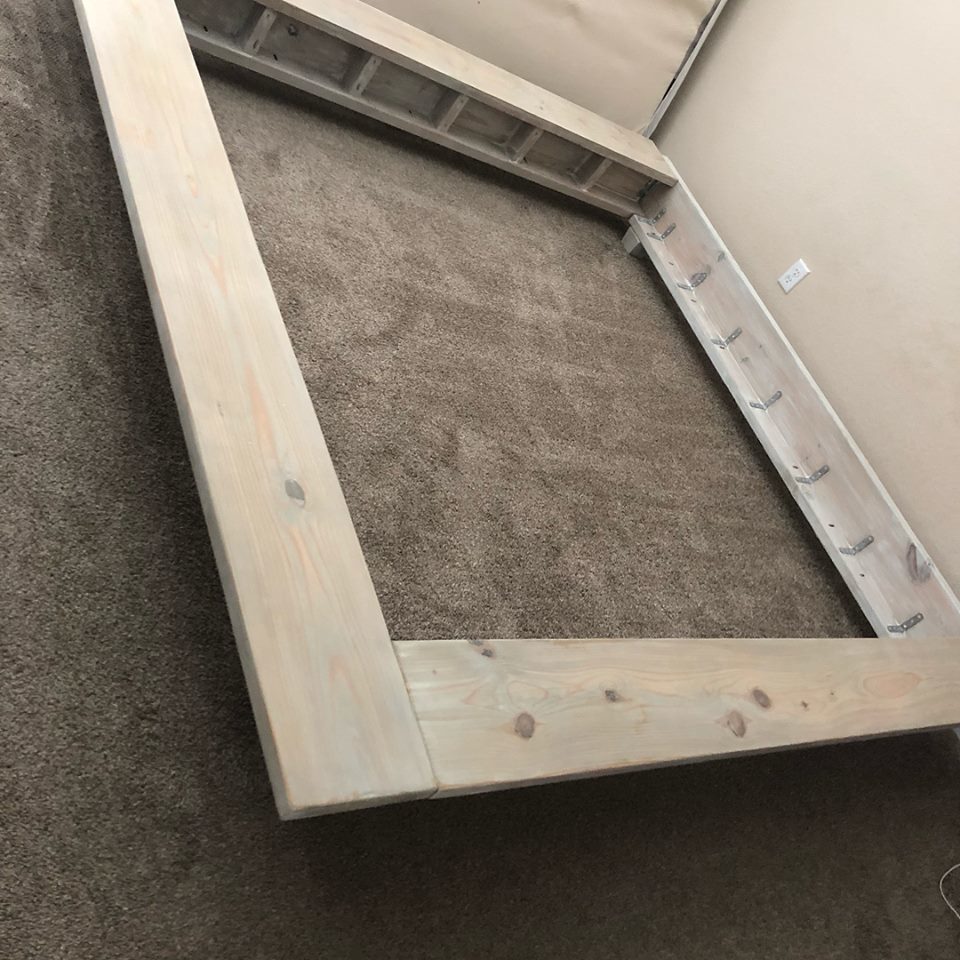
Made wider for a king and modified platform bed. Used a weathered oak stain followed by a 50/50 whitewash.

Estimated Cost
$300 ish
Estimated Time Investment
Week Long Project (20 Hours or More)
Finish Used
Used a weathered oak stain followed by a 50/50 whitewash. Varythaned.
Recommended Skill Level
Intermediate

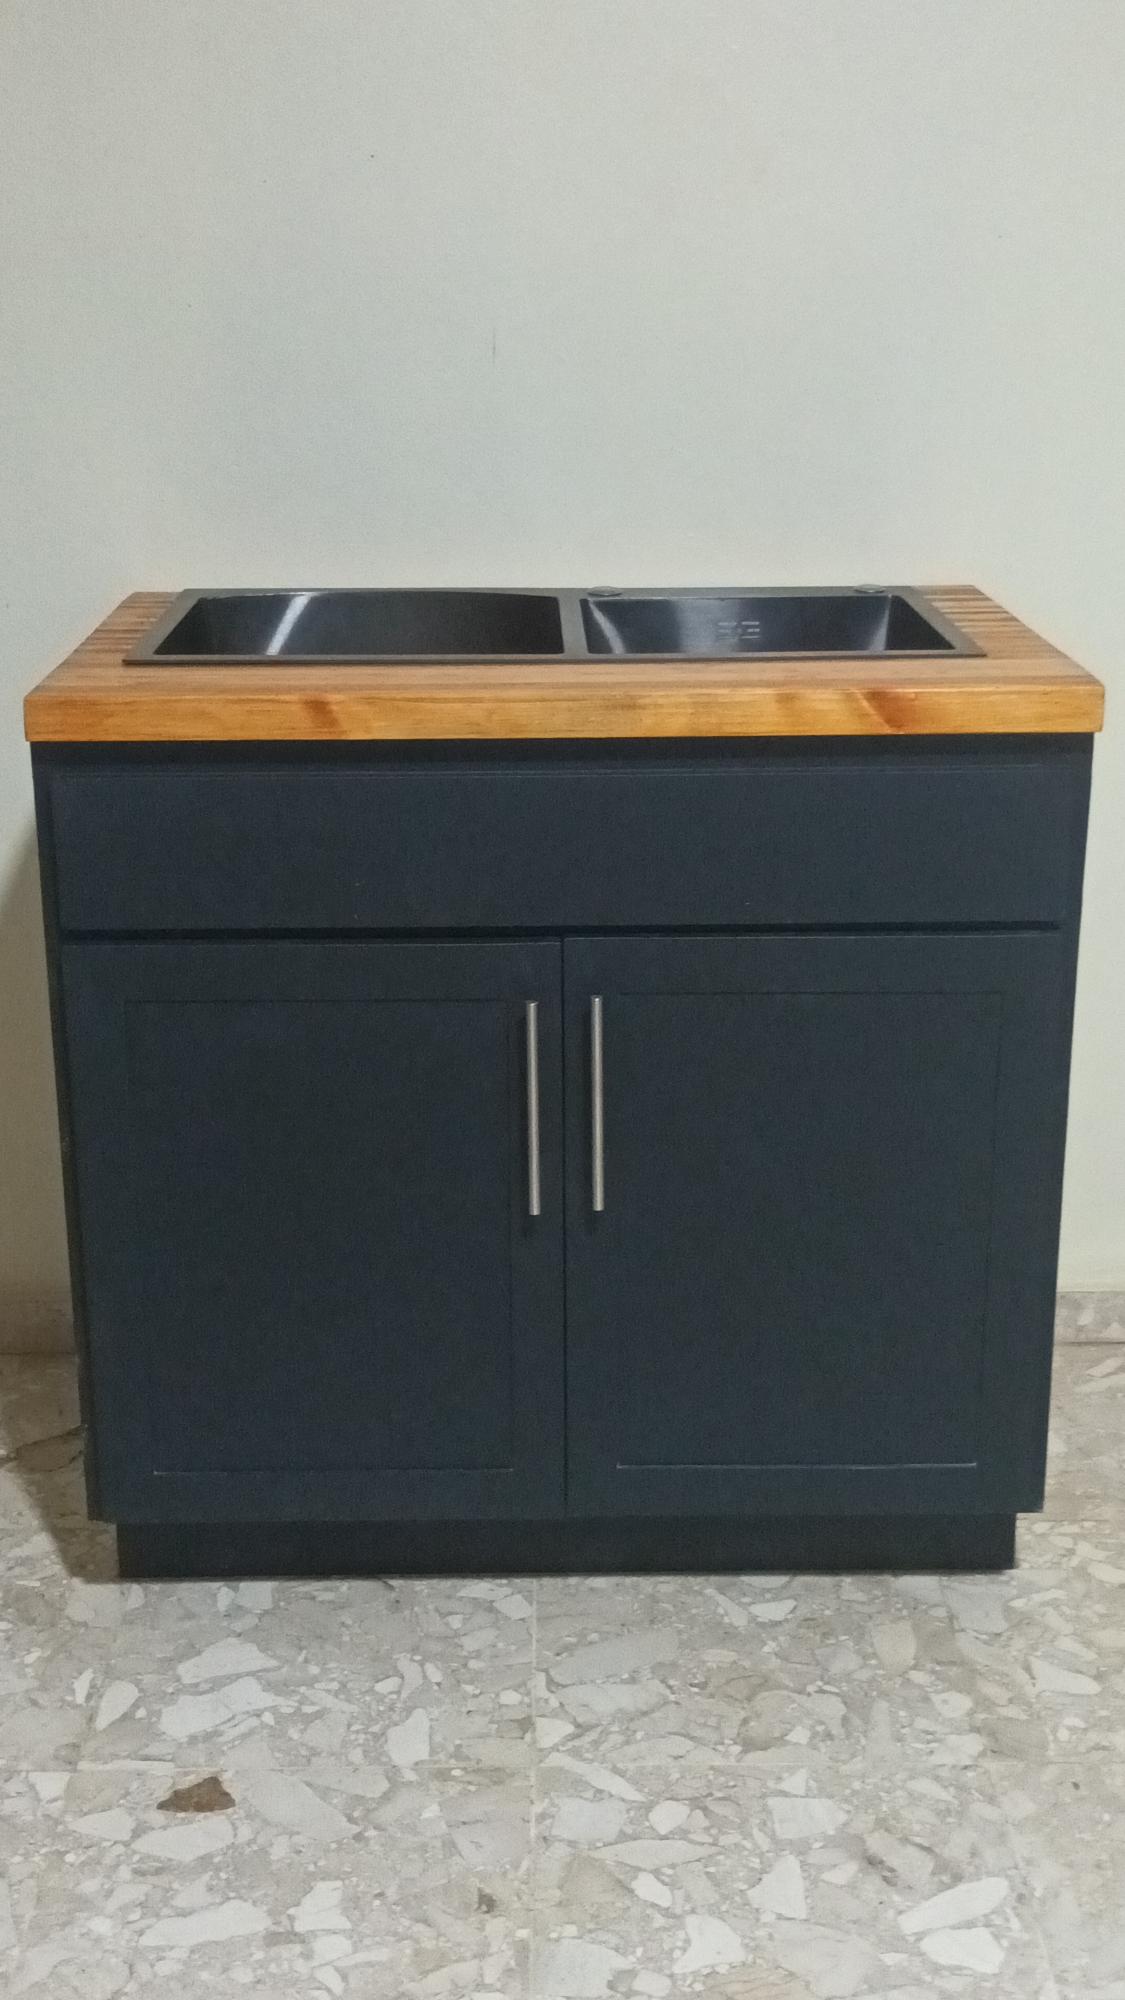
A little take on Ana's sink

Submitted by Anonymous (not verified) on Sun, 02/19/2023 - 21:55

This was a build to convince my wife that I should do the cabinets in our new house...now I have to do them all. I should have just said, Sure, go to Ikea!"

Comments

Princess Pocket Bookshelf

Submitted by Ana White on Tue, 11/01/2011 - 23:15

I pinned, I built and today I post!

 
Last week when I teamed up with Katie, Sherry and Erin 


To host the Pinterest Challenge Fall Edition (not affiliated directly with Pinterest), I joined them to not just challenge myself to complete a project from my pins, but to challenge you as well.


Because who isn't guilty of pinning and pinning ... and never getting around to nailing and cutting and gluing and screwing?  As charged.
 
I love participating in the Pinterest Challenges put on by Sherry of Young House Love and Katie of Bower Power because it's fun, I get to meet great new people, challenge myself, and get super inspired by others projects.  I hope you participated in today's Pinterest Challenge, and will share your project with us today!  I've created a Link party for those of you who blog, and if you don't blog, you can always upload a brag post right here (you have to be a member of our site) and then link the brag post up.  Make sure you let everyone know your project is part of the Pinterest Challenge - you can use the graphics above.  So looking forward to seeing your projects!
 
But first, I'm pretty darn excited to share with you my Pinterest Challenge Project.  This is a first for me, to share the plans, then build and brag afterwards.  It was fun and my project turned out better because I had some time to think of ways to modify the project and read your comments.  
 
So here's my original Pin:


Source: kidsrooms.co.uk via Ana on Pinterest


And then here is the plan I designed


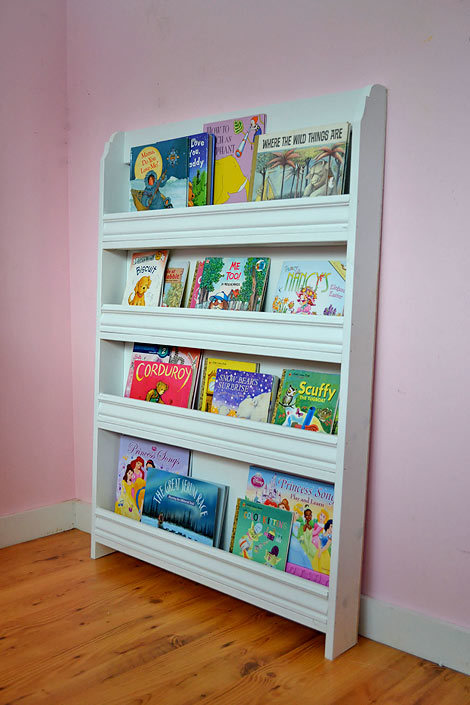
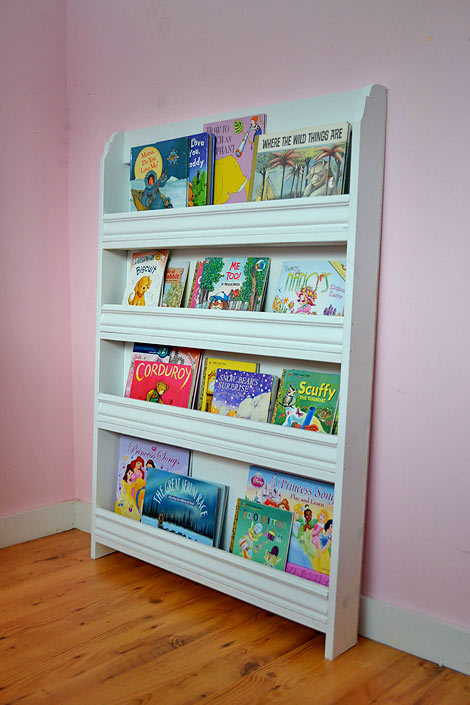
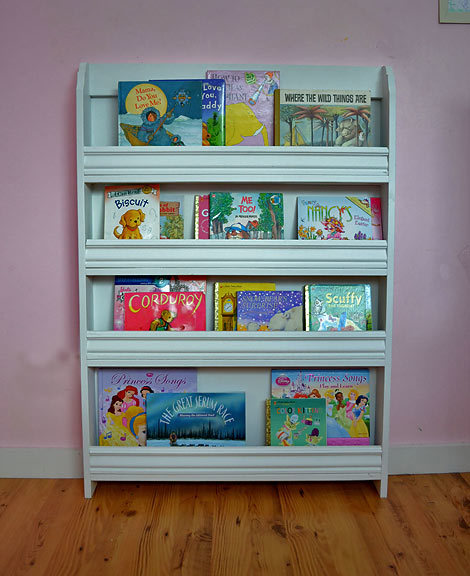
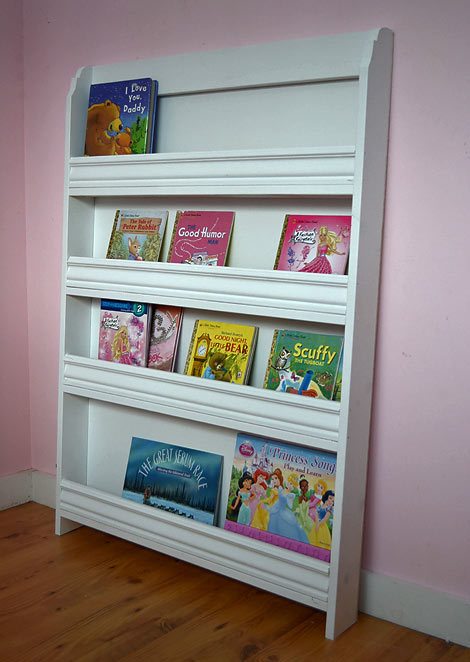
And this is what I built from the plan:
 
 
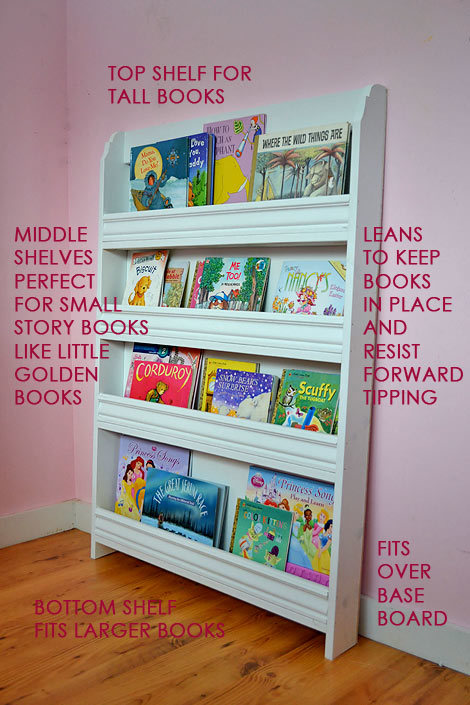
Thank you so much for the Pinterest Challenge - because now my daughter has a beautiful forward facing bookshelf!  
 
 
We especially love this bookshelf because it fits her books just perfect, leans just right over the baseboard, and keeps all the books leaning back and not falling forward.


Modifications

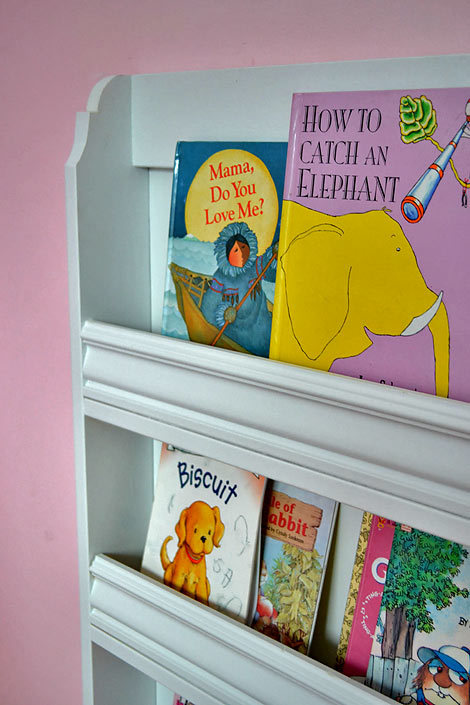
The structure of this bookshelf is the same as the plan.  But I did use 1x4s for the shelves and sides to hold more books, and because I choose to use moulding for the shelves instead of the 1/4" plywood.  I also cut the tops of the sides out with a notched arch shape ... it's the little things that take basic and make them fit for a princess.
 

Materials

We used solid wood for all the components and 1/4" PureBond Plywood for the back - so not only is this bookshelf functional and attractive, but it's also good for the indoor air quality of my home.  
 

Time

Building this bookcase took about an hour, and my husband sprayed it with white primer and paint.  We used a simple handheld sprayer - results are amazing.
 

Cost

The materials cost for this bookshelf run right around $35, not including paint and primer and screws - as I buy them in bulk.  There's definitely room to shave costs if your budget is tighter.
 
 
Well, enough about me - I really am looking forward to seeing your projects!  If you took the Pinterest Challenge (awesome, thanks for joining us!!!) it's time to share.  
 

If you've blogged or bragged, you can simply

  1. Click on the blue “Add Your Link” button at the bottom of the thumbnails
  2. Add a link to this post from your specific blog post about your project in the url field (not your home page)
  3. Give your project and appropriate name cause thumbnails are so tiny, a good name really helps!
  4. And please share the love and quickly link back over to our project posts within your own (here’sKatie’sAna’sErin’s, and ours) – it’s also nice to link to your inspiration project on Pinterest as well as to directly link to the original project/site, just so they get some love too.

Can't wait to see your projects!
 
 
Built from Plan(s)
Estimated Time Investment
An Hour or Two (0-2 Hours)
Finish Used
Primed and painted white with handheld sprayer
Recommended Skill Level
Beginner

Comments

Fiona (not verified)

Wed, 11/02/2011 - 20:20

No tools here, but I love the idea. Bookshelves are not working so well for us right now.

momsthewordus

Sat, 01/21/2012 - 14:15

I can't wait to make this for my girls. I'm planning on two tall, narrow shelves to go on either side of a desk. Thanks for the awesome plans and inspiration!

lankylee76

Wed, 12/10/2014 - 07:50

I love this plan and want to build one for my son's room. Can you tell me how you secured the molding to the sides? also, did you use 5 or 10 degrees for the bottom of the sides? thanks!
lankylee76

Wed, 12/10/2014 - 07:50

I love this plan and want to build one for my son's room. Can you tell me how you secured the molding to the sides? also, did you use 5 or 10 degrees for the bottom of the sides? thanks!
Small Table

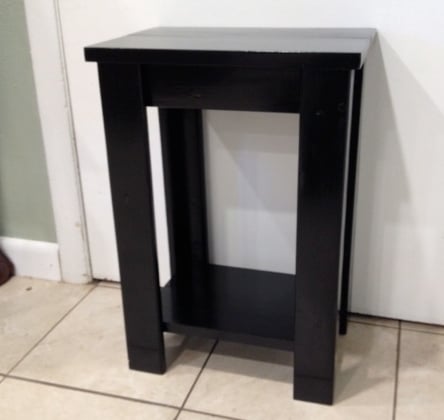
I made this little table for my sister-in-law. She needed a specific size to fit in between some bookshelves. She is going to put a lovely fish bowl on top. It cost me about $10 for the wood and paint. I modified Ana's plans for the "simple, cheap and easy console table" to fit the space.

Estimated Cost
$5 for lumber, about $10 total with other materials.
Estimated Time Investment
Afternoon Project (3-6 Hours)
Finish Used
I used Rustoleum Gloss Black paint/primer in one. Then I used minwax polycrylic.
Recommended Skill Level
Beginner

AG doll couch

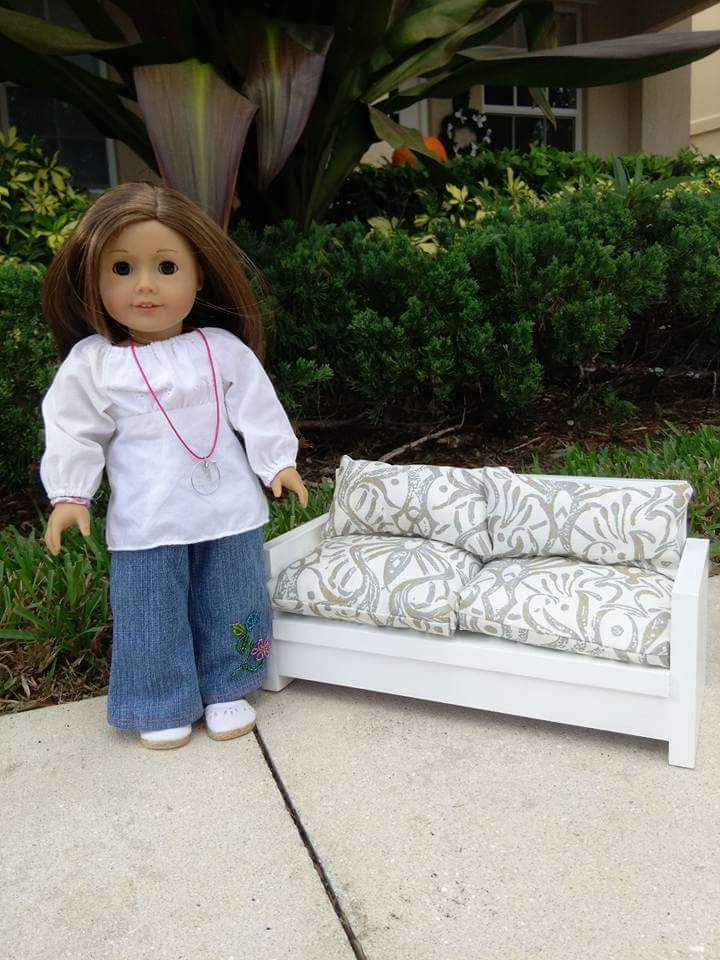
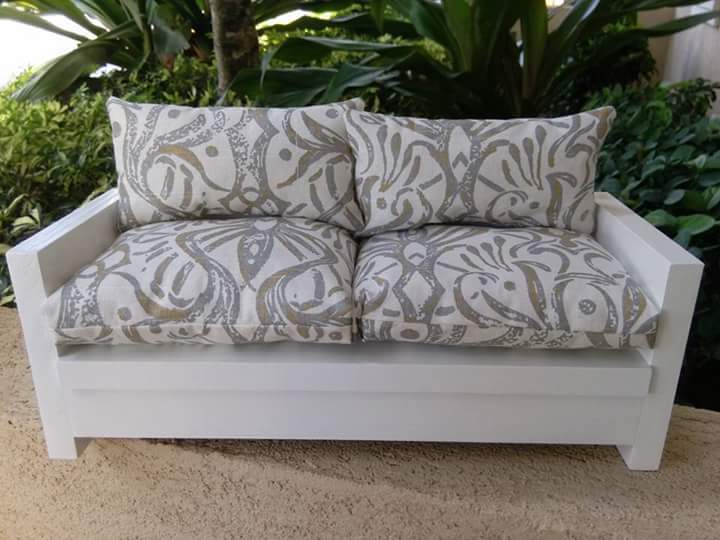
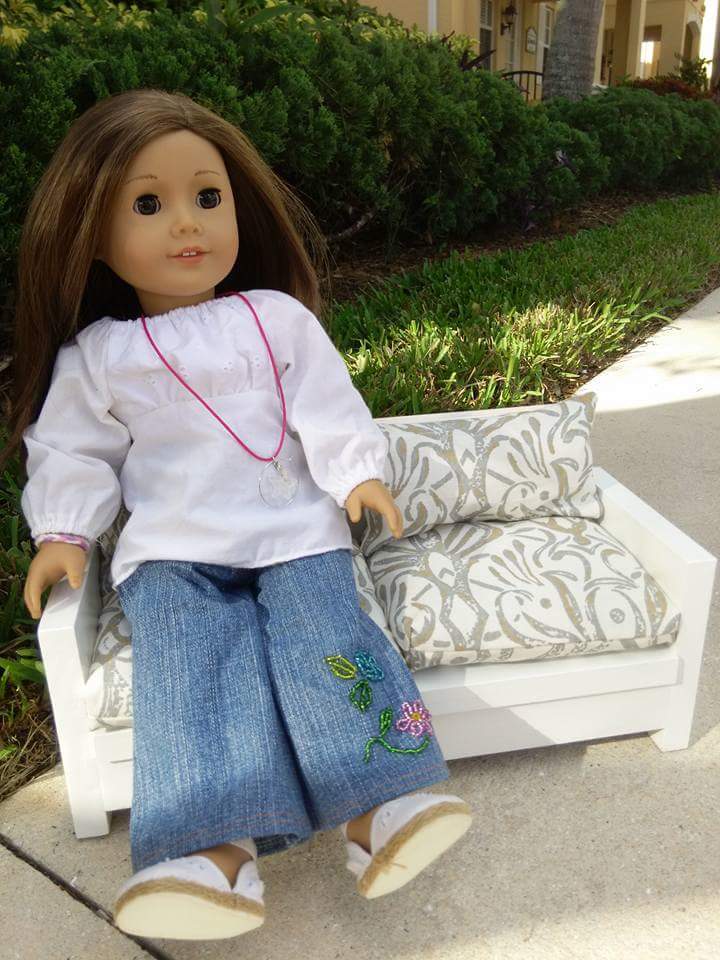
My very first Ana's project, I used the left over baseboards from our house remodel and the extra fabric from our tablecloth for the cushions. And first time using power tools and the kreg-jig I got for my birthday .

Estimated Cost
$0.00 all recycled materials
Finish Used
Semi-gloss white paint
Recommended Skill Level
Beginner

Comments

Modular Corner Office and Craft Desk

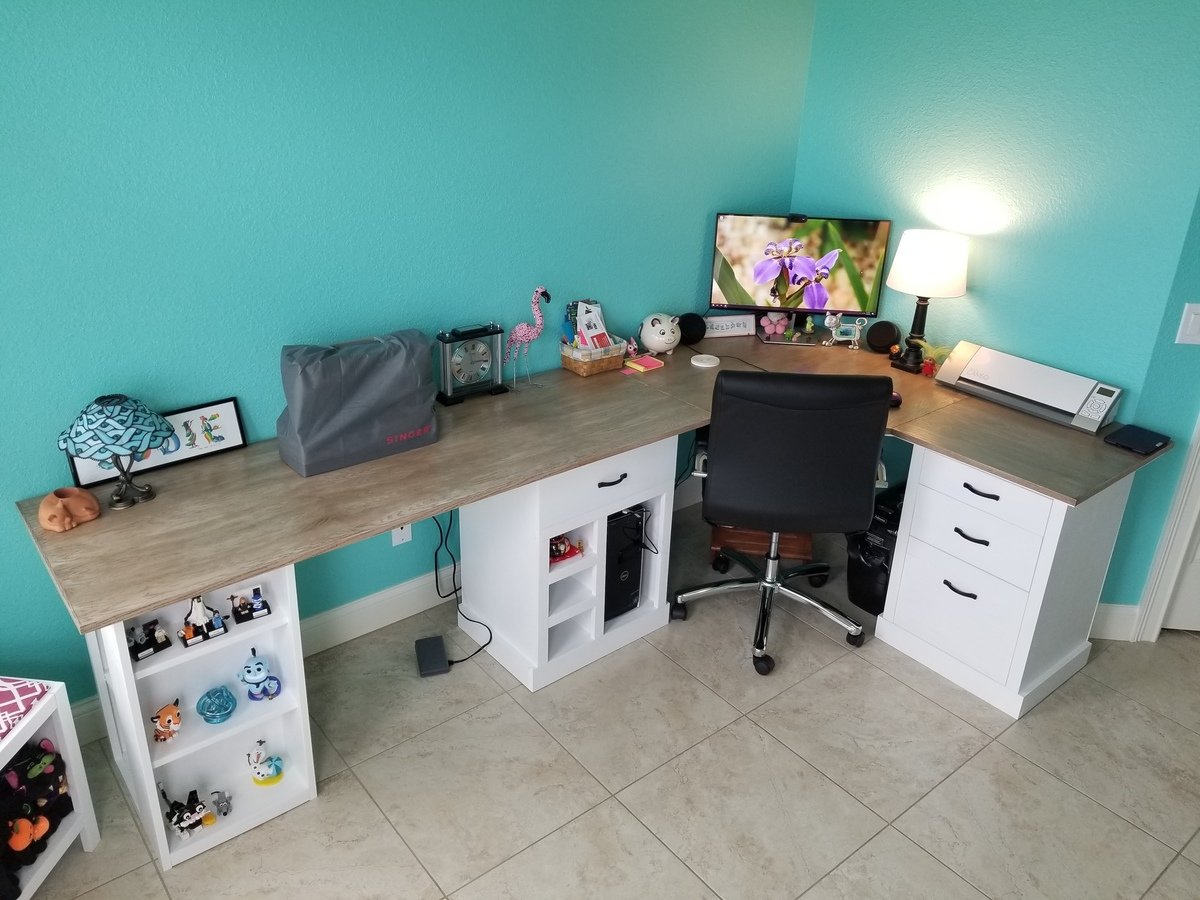
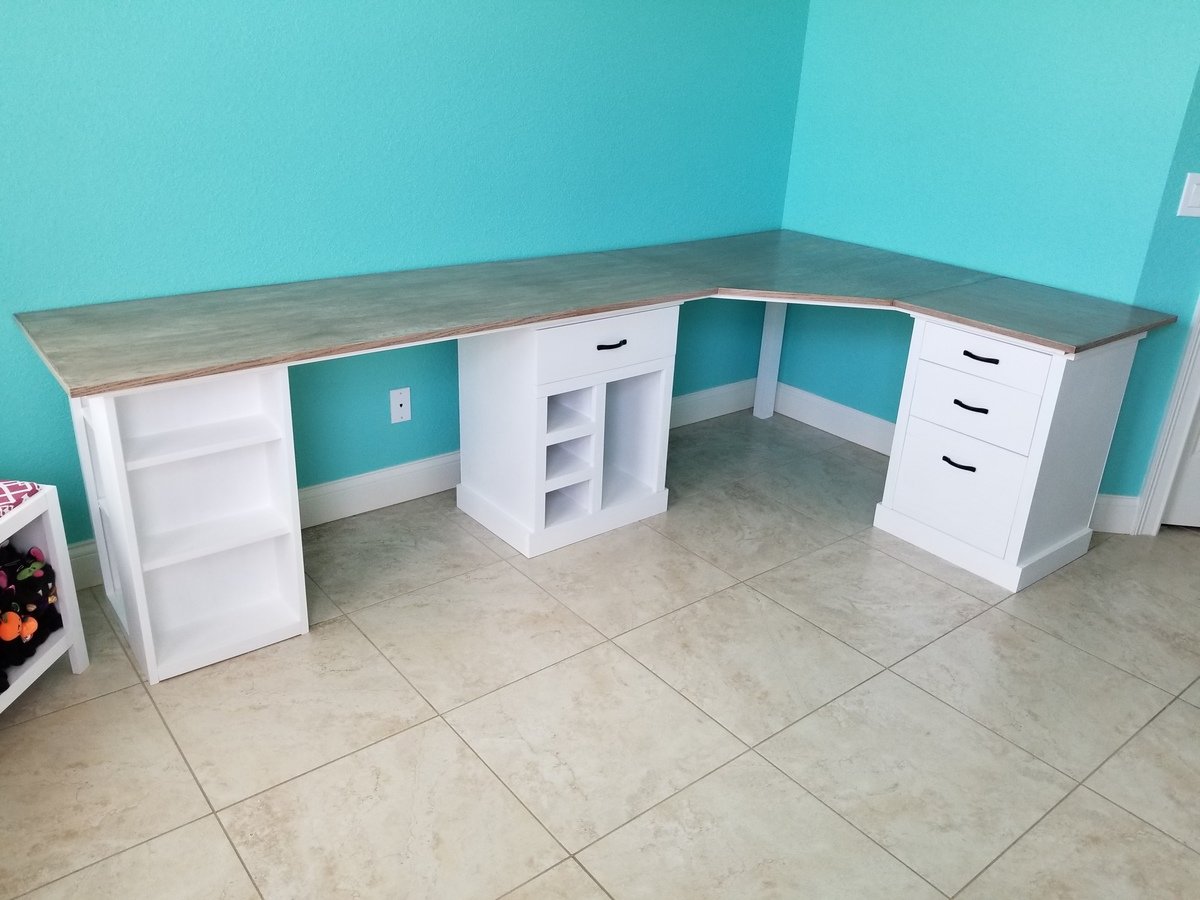
I started creating the furniture for my new craft room by making the Easy Three Cube Benches I found here.  I modified them so that my cats could lay on top and look out the windows.  The cube benches gave me the confidence to design a printer stand.  Using Ana White's technique of "build the box" and then add the rest, I designed a custom printer stand I am so very proud of!  After the printer stand, I moved on to the final piece that would complete my craft room, a modular desk with plenty of workspace to complete any craft I want.  I modified each module a little to keep with the theme design of the room.  I created three modules.  The last one being a bookcase that is a modification of the Modern Craft Table bases.  I used better quality Oak plywood for the desk top, and good pine and whiteboard plywood for the modules.

Estimated Cost
$500
Estimated Time Investment
Week Long Project (20 Hours or More)
Finish Used
For the modules I used Valspar Furniture Paint in ultra white. For the desk top I used Minwax Simply White stain and then Minwax Dark Walnut over that to create the "driftwood" style look. I sealed the desktop with about 5 coats of Minwax wipe-on poly.
Recommended Skill Level
Intermediate

Comments

melkaye

Wed, 02/19/2020 - 13:53

Could you tell me the measurements for the top? I absolutely love your table! 

sukheeso

Wed, 04/07/2021 - 14:07

Hi! This is very similar to what I'm hoping to make. I was wondering what the length of the left side of the desk was?
Thank you!

Rustic Desk

Submitted by Anonymous (not verified) on Fri, 02/24/2023 - 11:04

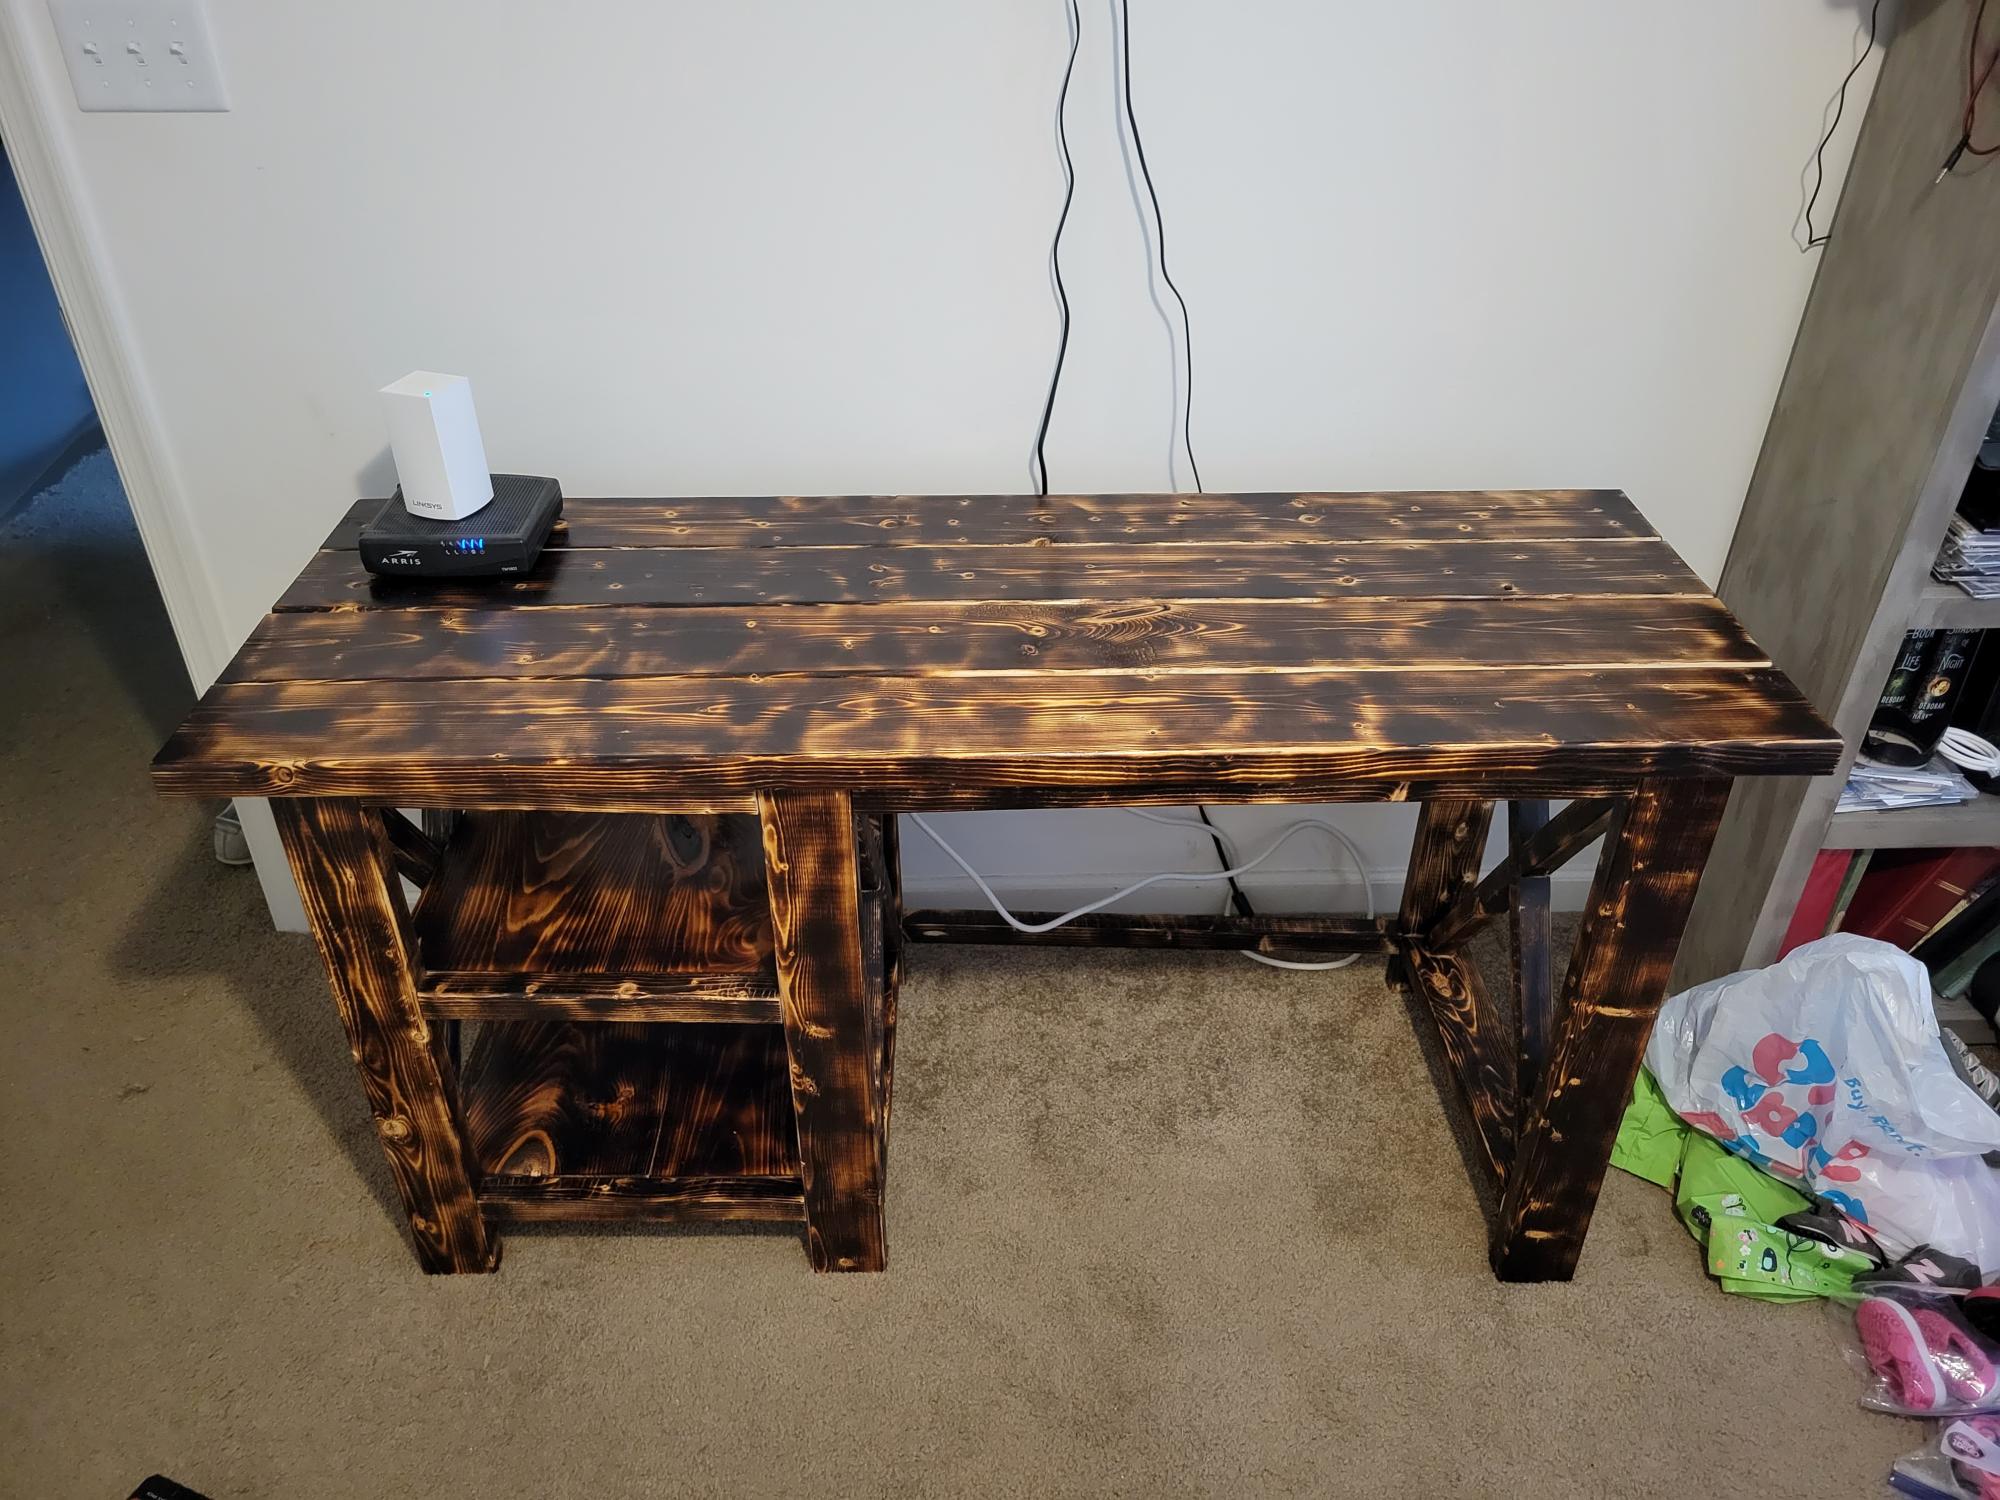
This was an easy project t to build. Decided to go out of my comfort zone and burn all of the wood before adding the finish. I loved the design of these plans and my aunt wants me to build one for her.

Built from Plan(s)

Comments

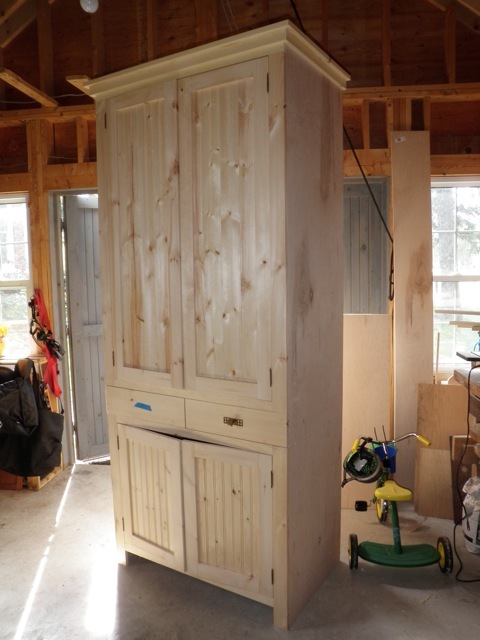
Front Hall Armoire

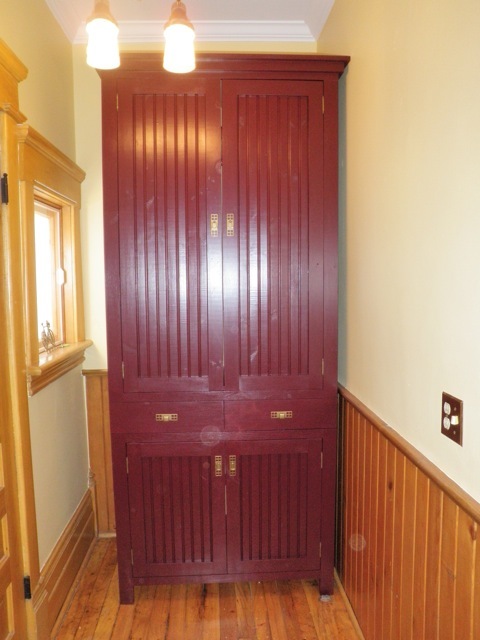
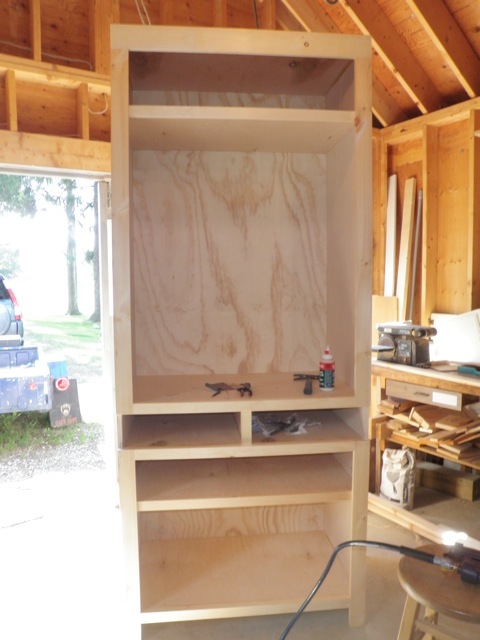
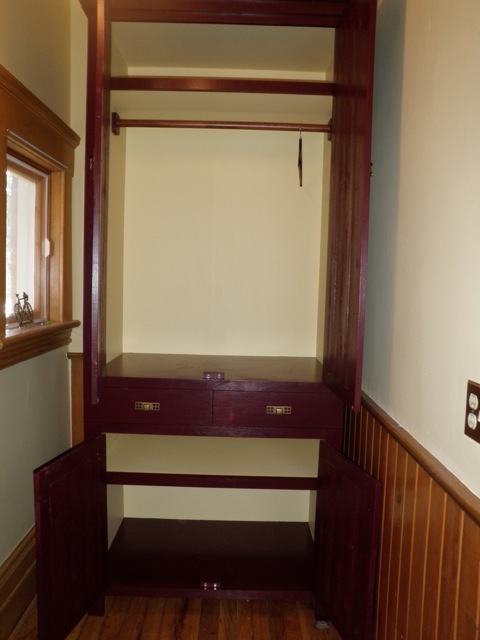
Our big old house doesn't have a front hall closet, so I decided to make the Nursery Armoire for our extra coats and shoes. Since our ceilings are so tall I decided to make it the full 96" that I could get out've the sheet of plywood.
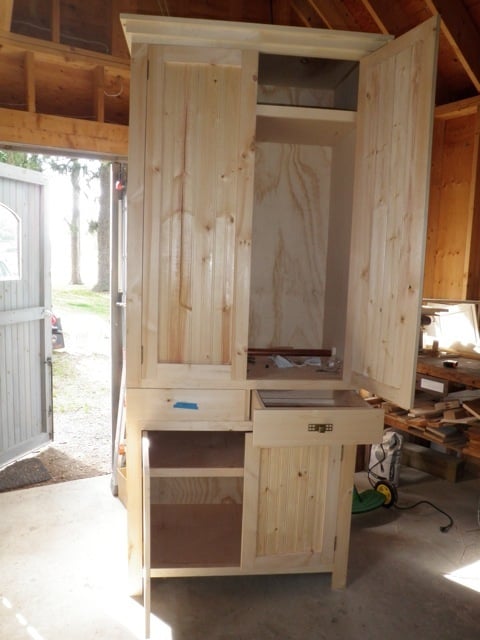
I also modified the plan to adjust the door heights so that the top would make good coat hanging and the bottom can be used for shoes and boots. I also changed the drawers to be on the outside instead of behind the upper doors.
I used 3/4" plywood for the box and pine for the doors and trim.
For the doors I pocket holed the frames and then routed an edge on the backside and stapled pine paneling to fill out the middle. This matches doors I made previously to make cupboards in our full-wall brick fireplace (and the hardware matches too).
I did the top trim as in the plan, and I decided to leave the bottom plain.
It's quite large! But in the space a smaller one would've looked silly, so I'm glad I went with the height.

I decided to paint it so that I didn't have to fuss with staining, but went with the same paint as the walls for the backs and undersides of shelves to lighten it up.

Can't wait to fill it up! ....just have to give the dark paint one more go-over....

Built from Plan(s)
Estimated Cost
$300
Estimated Time Investment
Week Long Project (20 Hours or More)
Finish Used
Paint! "Wine and Dine" Exterior semi-gloss from Canadian Tire! And an interior yellow paint leftover from the walls in the foyer.
Recommended Skill Level
Intermediate

Comments

A Lovely Pair of Planters with Finials

Submitted by Shelly2215 on Fri, 10/25/2013 - 05:46

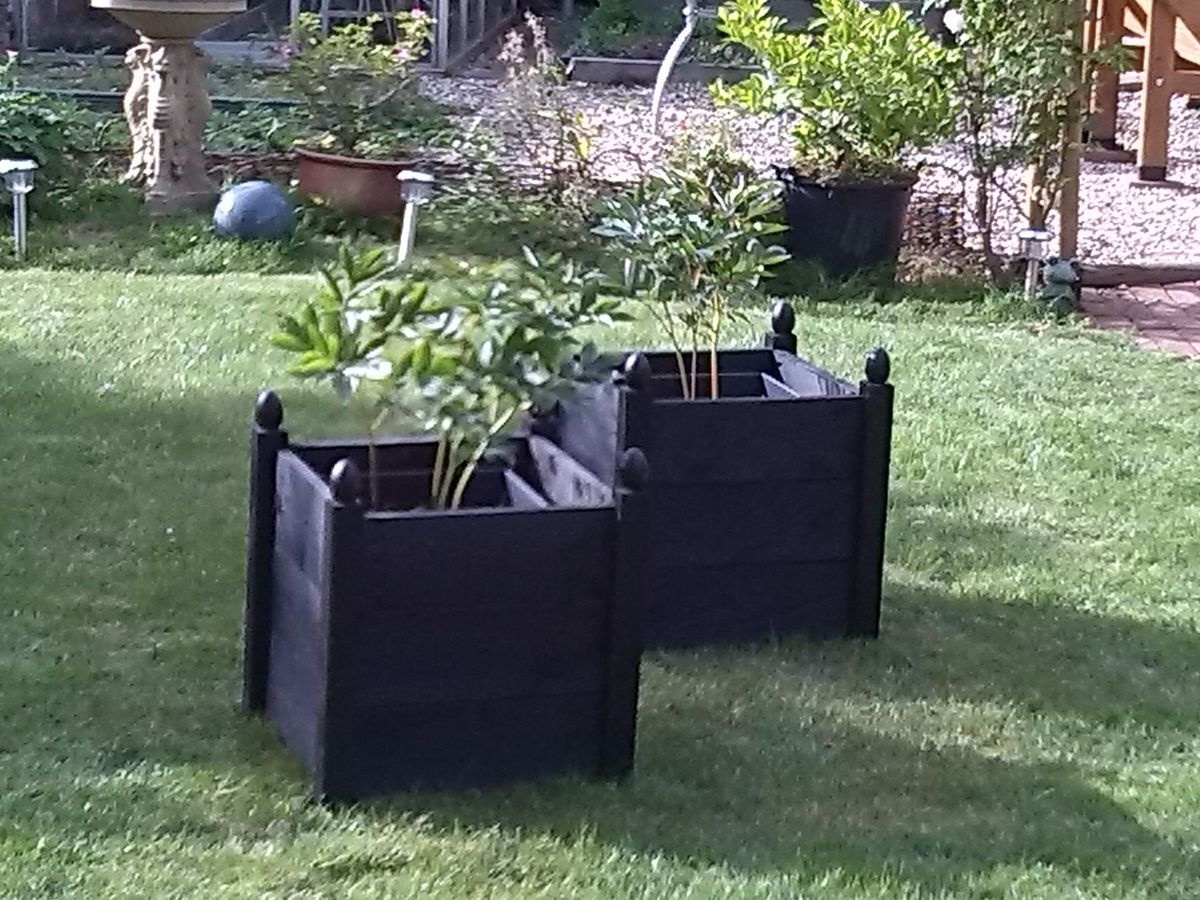
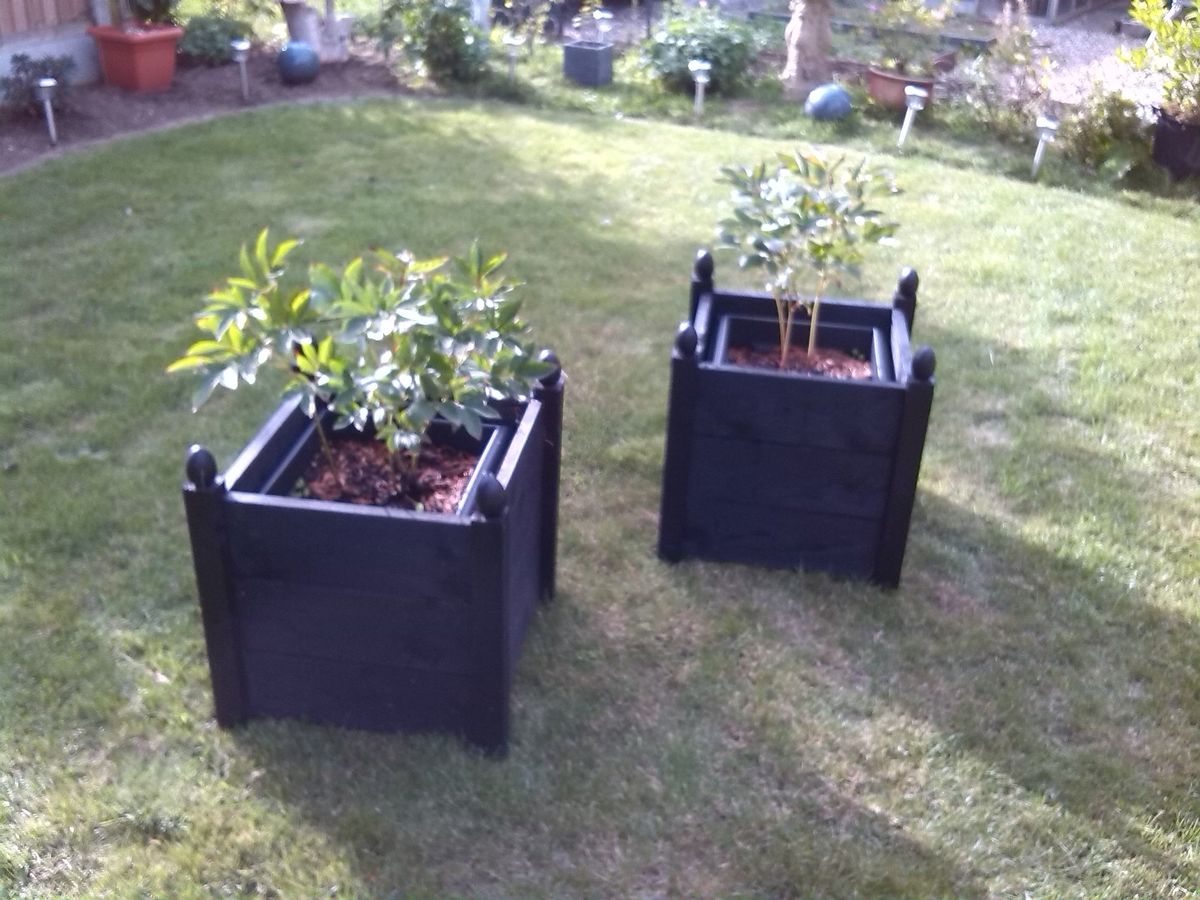
I wanted a fairly simple project to get started with, something I could make use of around my home and to help me get familiar with my new power tools - well, this project did the job nicely!
I'm extremely happy with the way the planters turned out and have already had other people asking me about them as they would like some too.
These planters worked out fairly expensive for me as the materials were extremely good quality and very heavy duty in size, I think I could get away with using slightly less robust materials to bring the costs down next time.
I had difficulty finding finials for the planters so I used some wooden turned eggs that I already had from my collection of pyrography blanks.
I can't wait for my next project now which will be a little more ambitious. I absolutely love Ana's website and can't wait to see what else I can make.

Built from Plan(s)
Estimated Cost
£80 a pair (UK)
Estimated Time Investment
Weekend Project (10-20 Hours)
Finish Used
Black Ash exterior wood paint from Culprinol.
Recommended Skill Level
Beginner

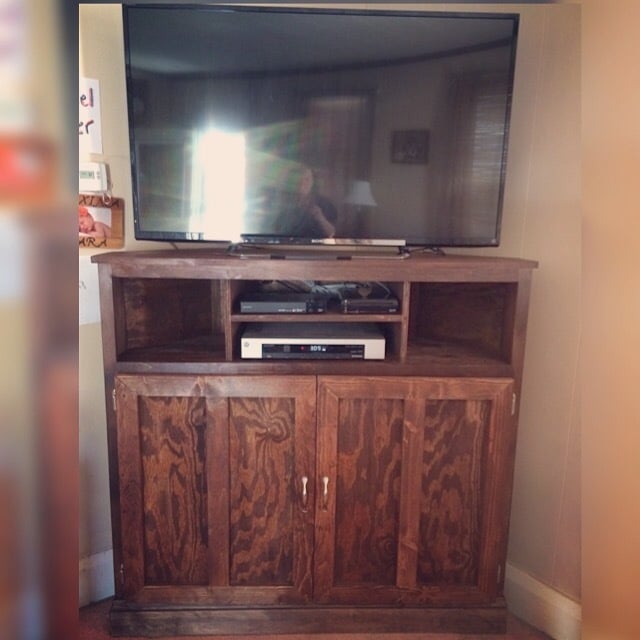
Entertainment Center

Submitted by Anonymous (not verified) on Thu, 01/07/2016 - 21:05

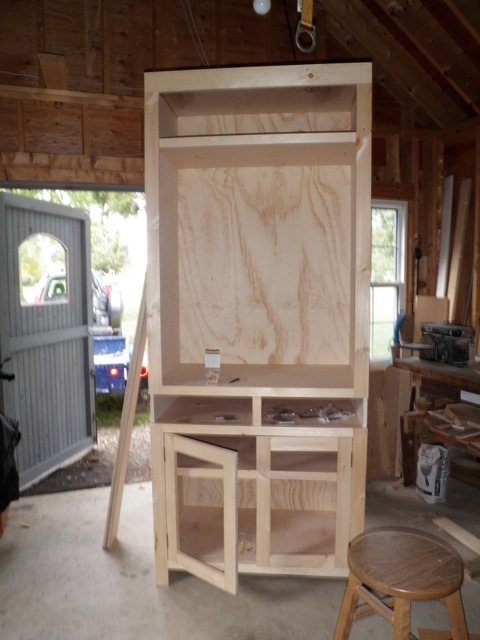
We had an oak armoire for our television and we needed to find something that fit our new 50" tv, an unexpected gift from my brother in law. This was perfect for the size we needed and the small space we had to put the tv.

Built from Plan(s)
Estimated Cost
$140
Estimated Time Investment
Weekend Project (10-20 Hours)
Finish Used
Stain and polyurethane
Recommended Skill Level
Intermediate

Helping "Foster" Care

Submitted by Anonymous (not verified) on Fri, 03/03/2023 - 06:45

We have started a 501 C-3 non-profit manufacturing company making furniture and giving all the proceeds to Foster Care Youths "aging"out" of Foster Care. Foster Care kids are trained on basic woodworking and carpentry skills and assist with the furniture manufacturing.

We are using Ana White's classic Adirondack chair design for our first project, and they are beautiful.

For more info see our website at www.fostercarefurniture.com

Thanks Ana for helping these kids!

Built from Plan(s)

Comments

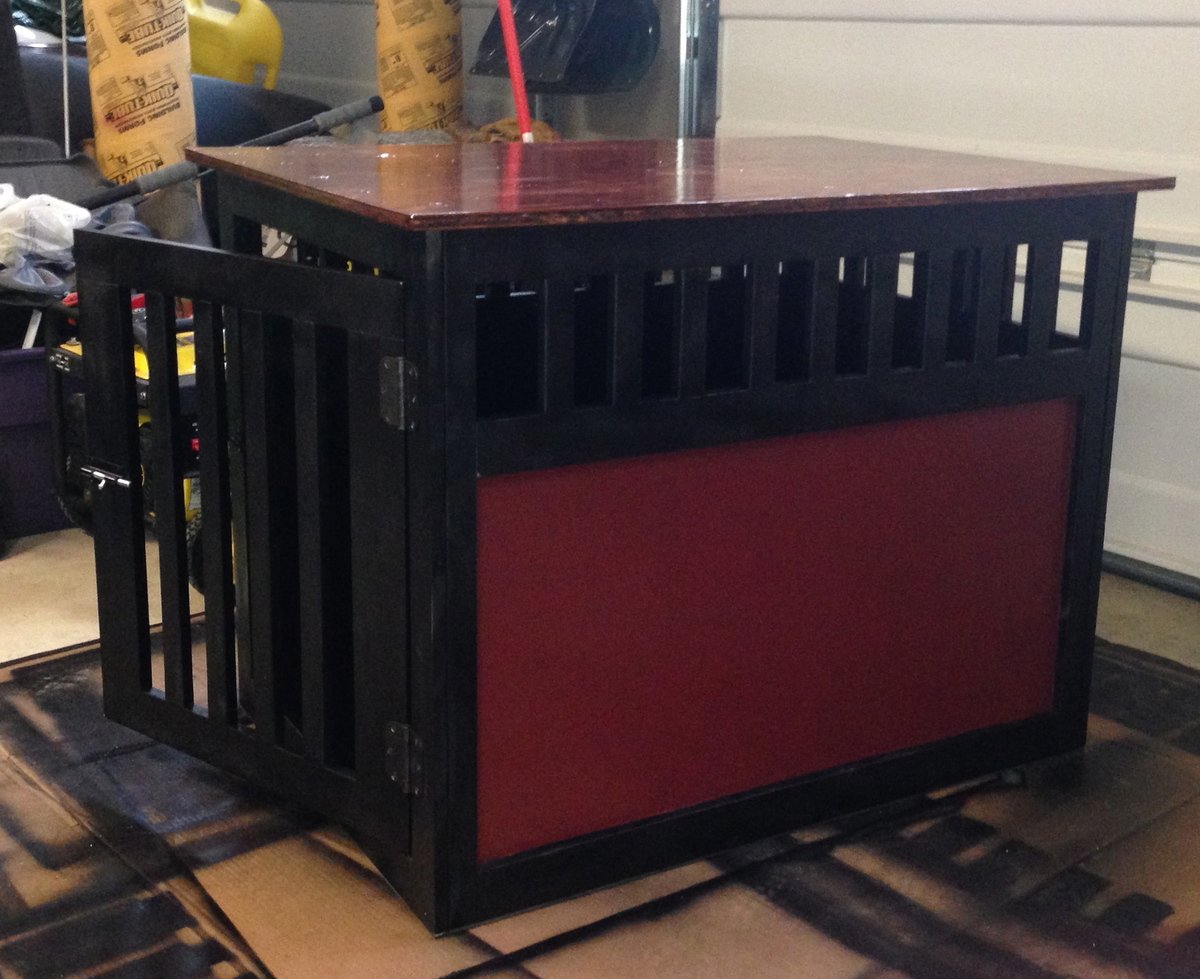
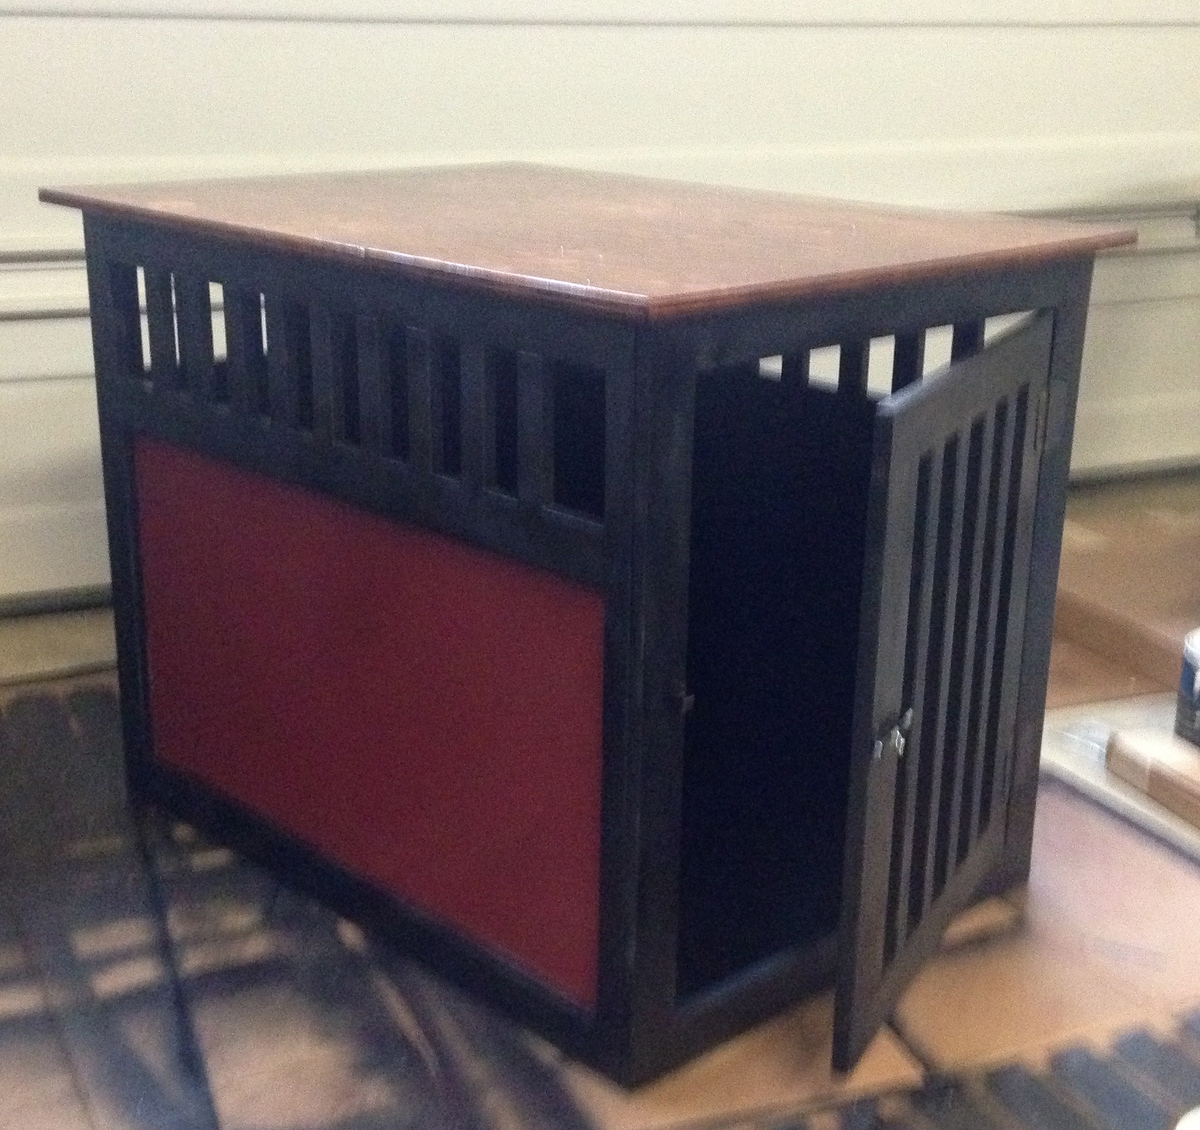
X-Large Dog Crate

Submitted by Sanna on Sat, 10/26/2013 - 21:19

Found these plans for the dog crate and decided to build one for my large Rottweiler. It's large and tall enough for him to stand in (29"W x 41"L x 32.5"H). It didn't take long to cut and put all the pieces together, the longest part was staining the top and putting the urethane coating on it. The cost was really reasonable, I purchased the wood, used paint and stain I already had from previous projects. I plan on building more projects soon.

Built from Plan(s)
Estimated Cost
$50
Estimated Time Investment
Weekend Project (10-20 Hours)
Finish Used
Black spray paint on body and Maroon latex paint for accent panels. Stained the top.
Recommended Skill Level
Beginner

Comments

AllegraYazz

Mon, 12/09/2013 - 03:22

I would like to build the X large kennel for my dog.
is it possible to have the measurements for the X large version.
the large version is not big enough for my sweetie.

thank you so much

AllegraYazz

Mon, 12/09/2013 - 03:22

I would like to build the X large kennel for my dog.
is it possible to have the measurements for the X large version.
the large version is not big enough for my sweetie.

thank you so much

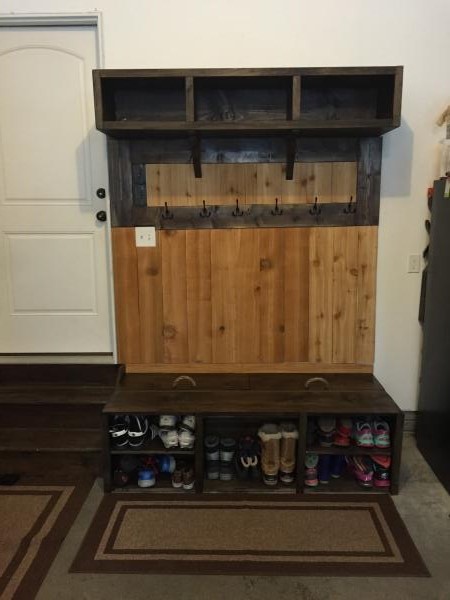
Garage mushroom with hidden storage

Submitted by Anonymous (not verified) on Sun, 01/10/2016 - 19:33

this was my first project this big took me about 15hours and I'm extremely happy at how it turned out 

Estimated Cost
$150
Estimated Time Investment
Weekend Project (10-20 Hours)
Finish Used
Kona sealer ,min wax
Recommended Skill Level
Beginner

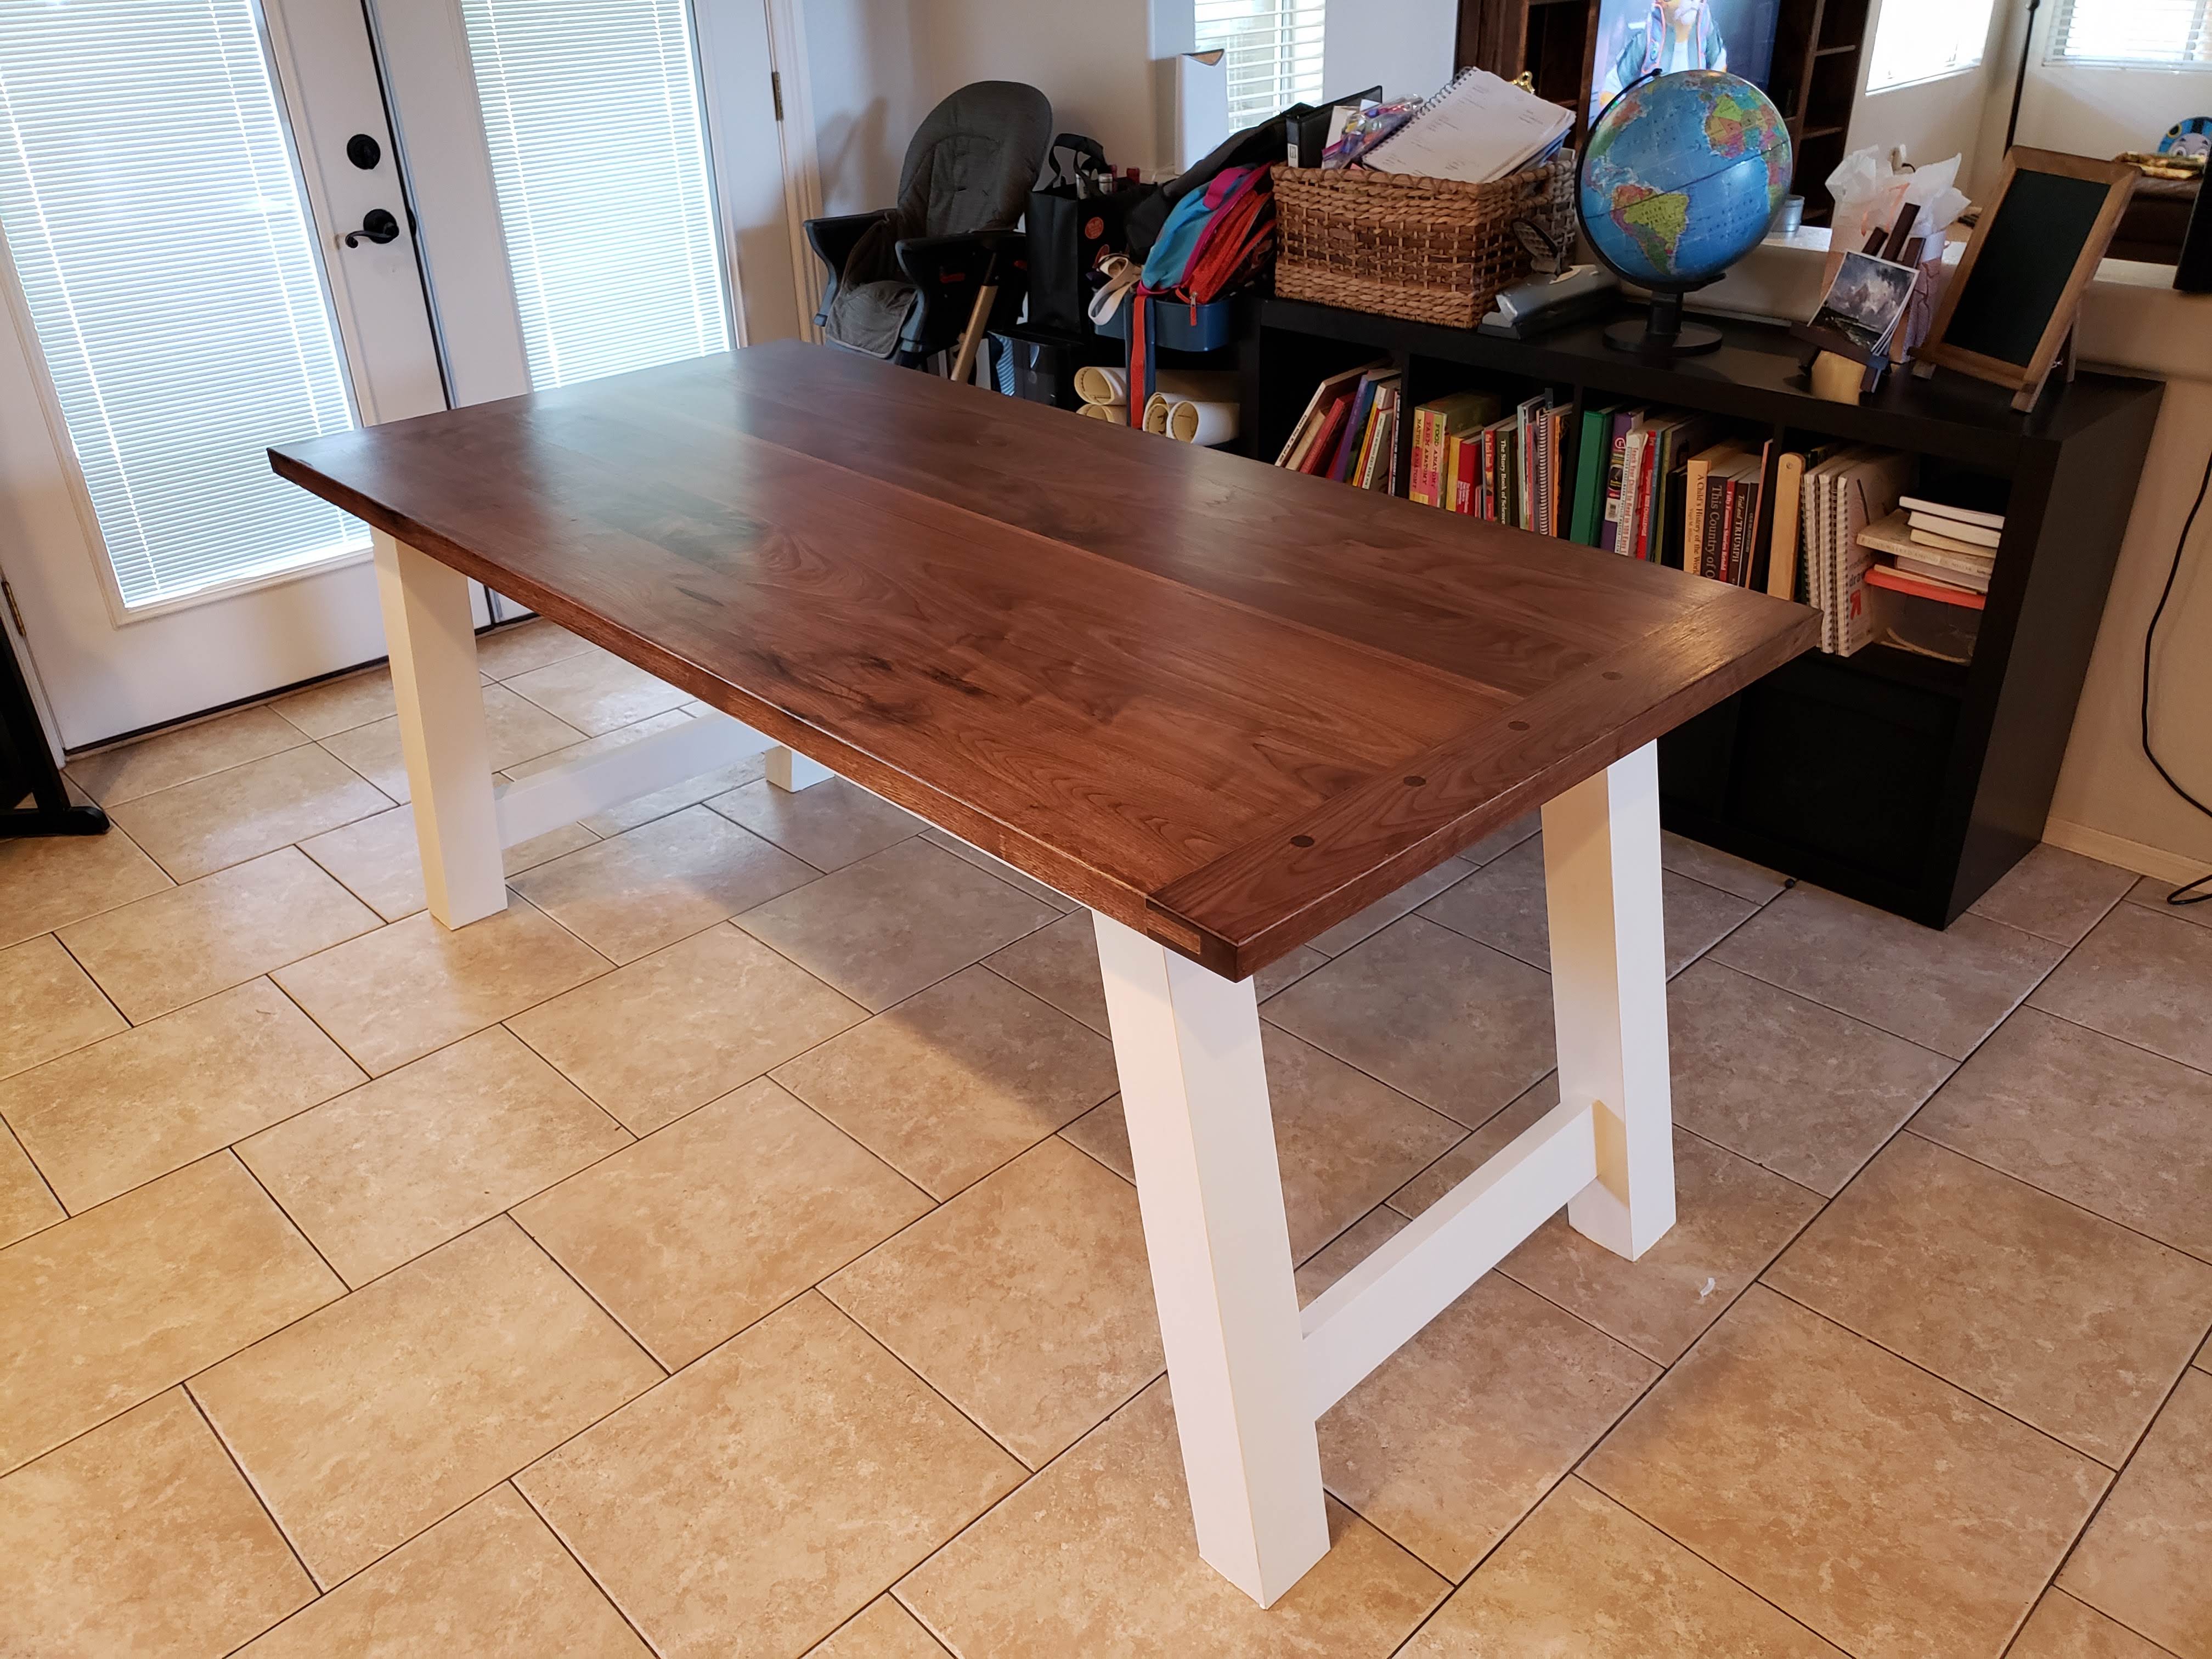
Farmhouse Table

Submitted by Anonymous (not verified) on Sat, 05/18/2019 - 15:40

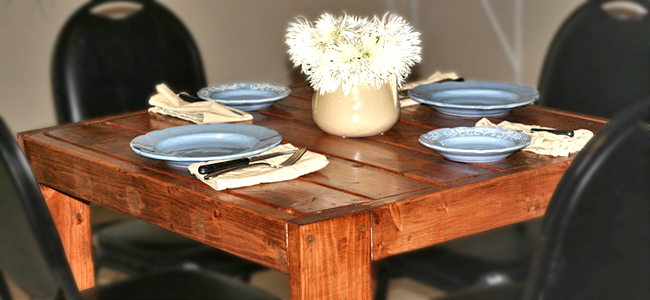
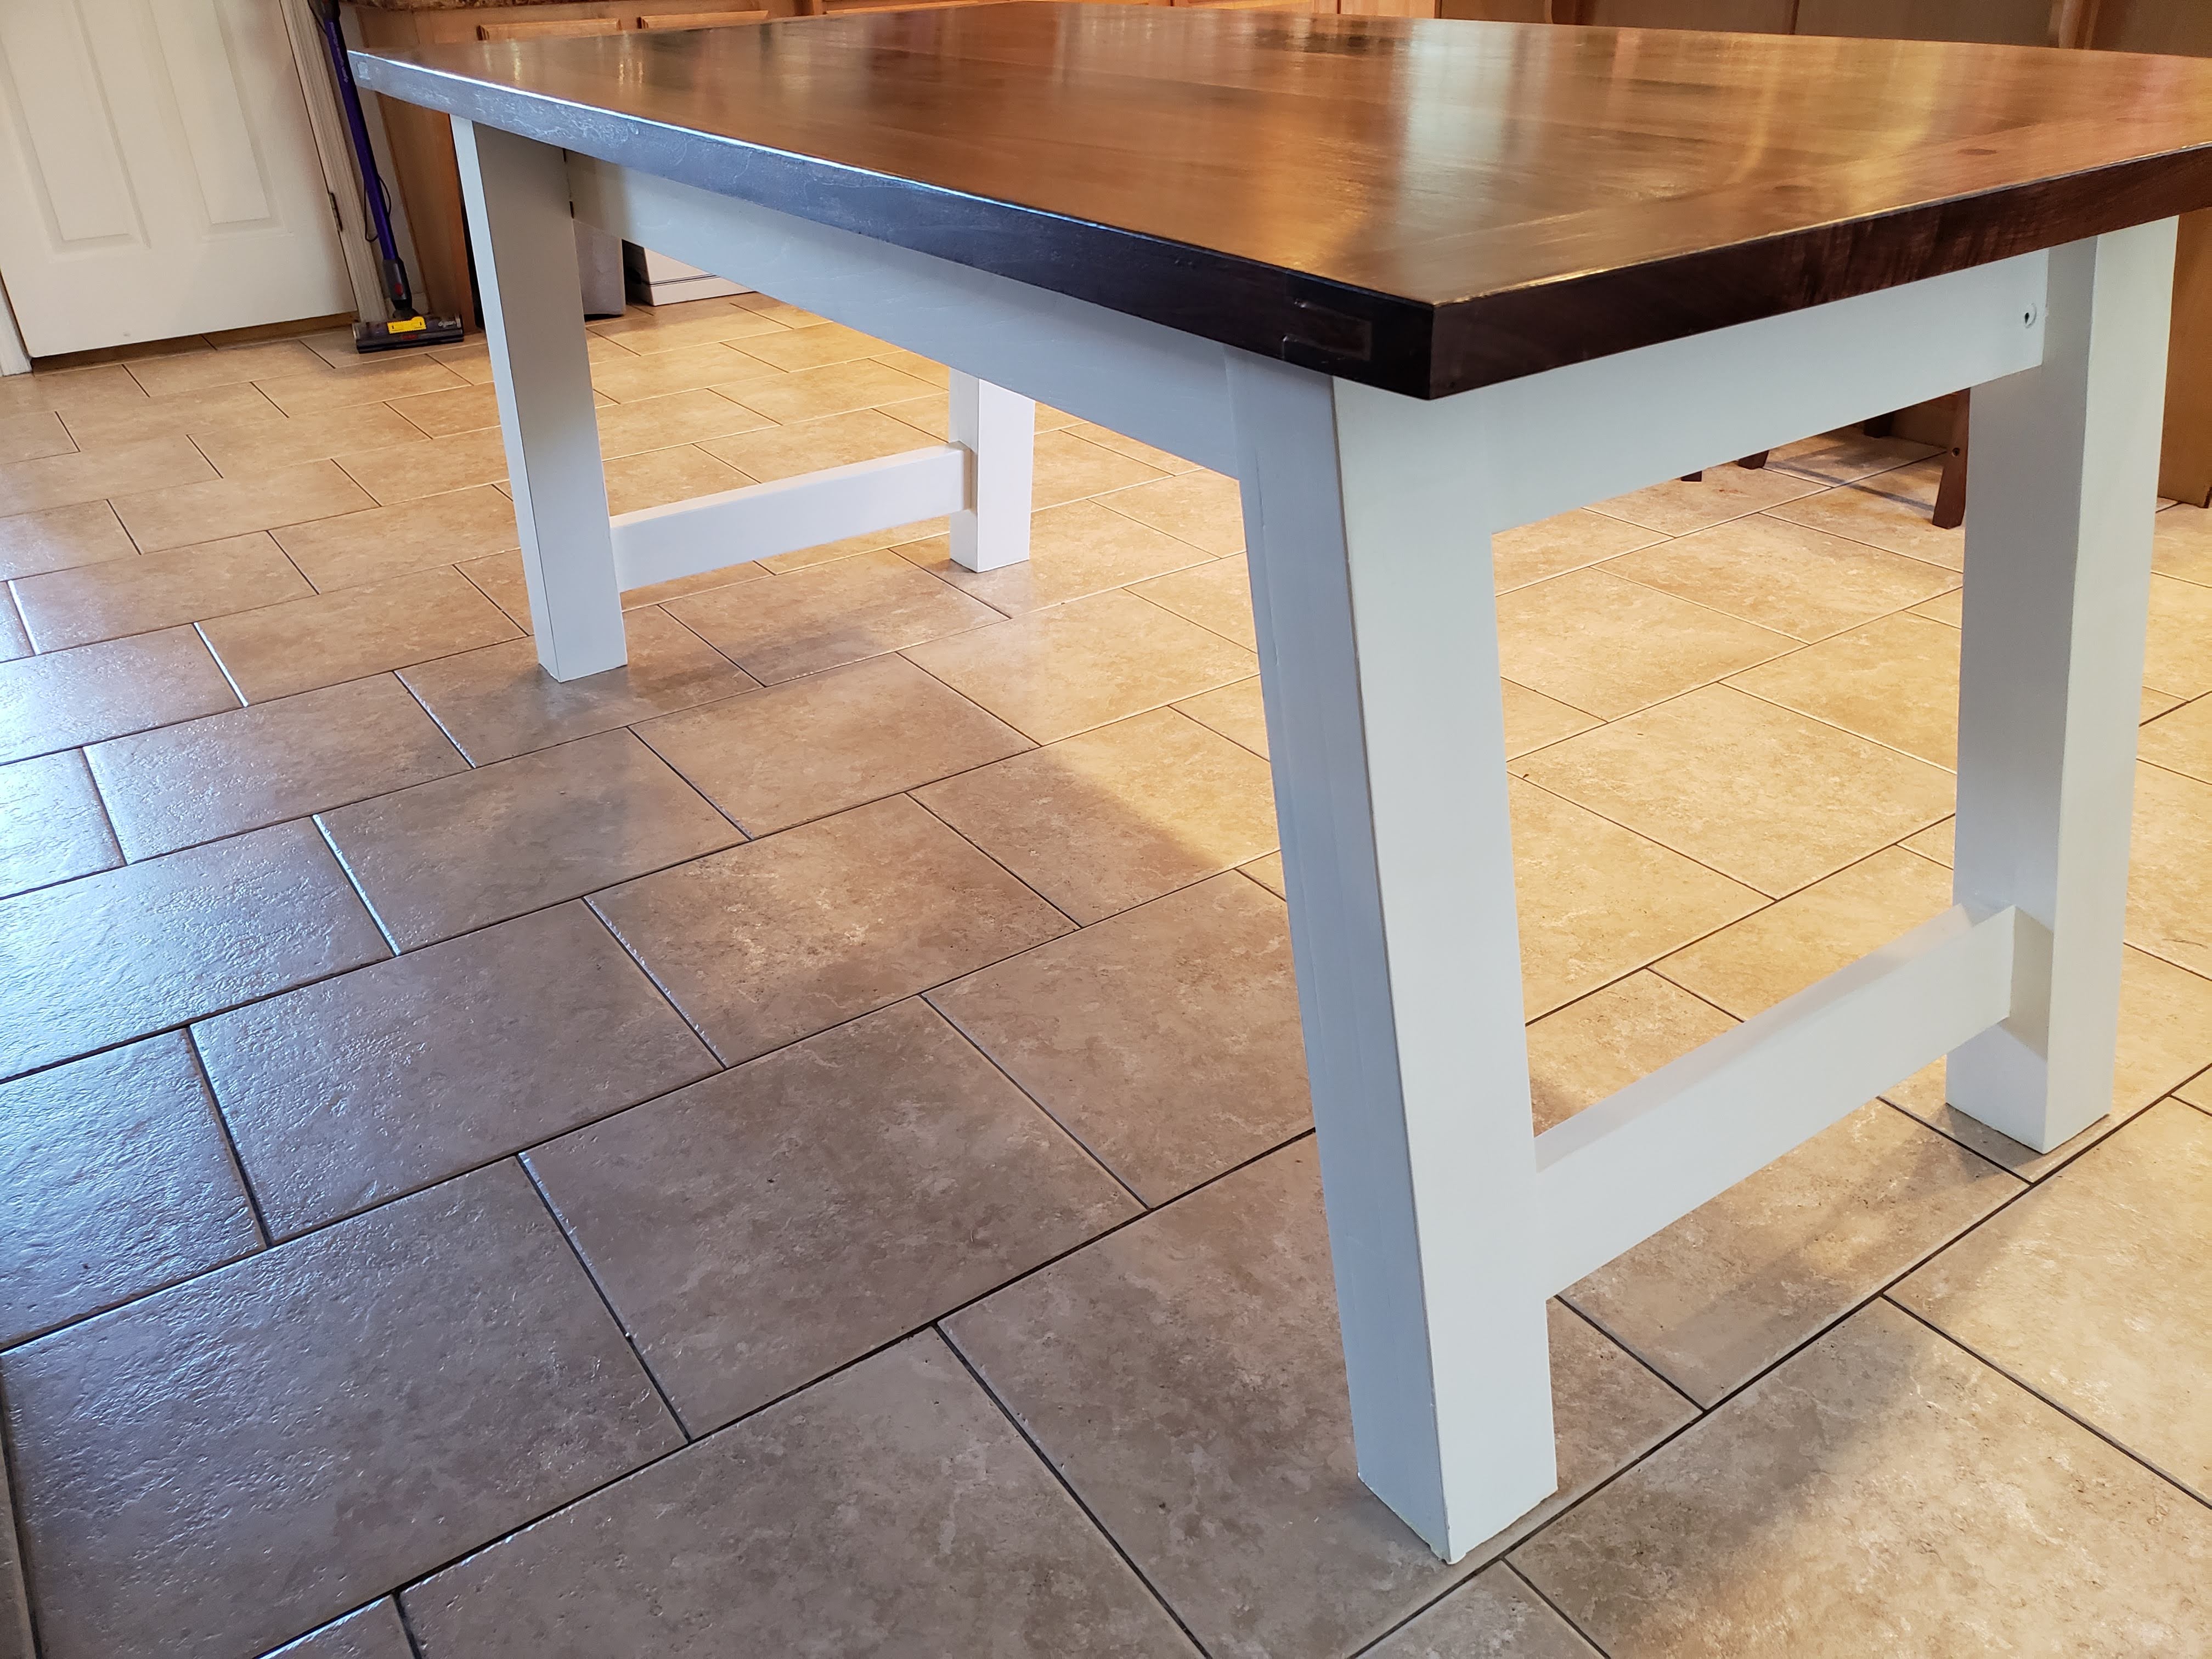
First time major project. My wife wanted a kitchen table. Did tons of research to find the plans I wanted, which is a modified version of the plans on http://image.ana-white.com/2012/05/pottery-barn-benchwright-farmhouse-d… .

Breadbox ends was changed to a tounge and grove ends with wooden dowels as anchors to hold the ends.

Finished with Natural Danish oil, and polyurethane topcoat.
Thanks for Nathan1342 for the advise in getting started.

Estimated Time Investment
Week Long Project (20 Hours or More)
Finish Used
Natural Danish oil
Recommended Skill Level
Intermediate

Custom Blue Bleached Table

Submitted by Rickster on Fri, 03/10/2023 - 12:54

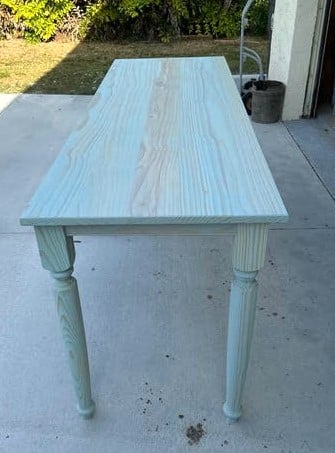
Here is a table I made for a friend. 27.5’’ wide x 78’’ long x 36’’ high. It was custom made for the dimensions he needed to fit in his condo. I used pine boards and legs from Lowes, and Bleached Blue stain. Then put 3 coats of lacquer on it.

Built from Plan(s)

Comments

Ariel's Coffee Table

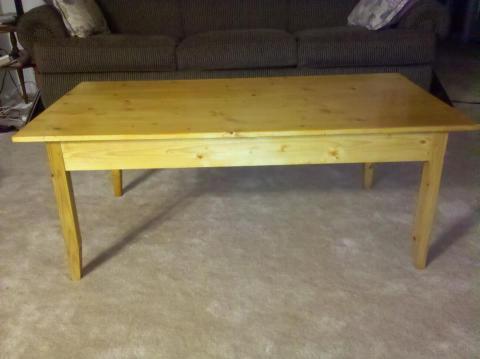
I built that table for a friend using primarily hand tools. The only power tools were a table saw to rip the legs from a scrap 2x12 from another project, and a drill for draw-bore holes.

The table is made from pine, so that it is light enough for a woman of small stature to carry it up to a third-floor apartment. The frame is made with mortise and tenon joinery for strength, and the joints are draw-bored to make sure it doesn't fall apart in our lifetime.

The top is a glued-up panel from five other boards. This was my first panel glue up, so it was a little bit exciting in the same way that a kitchen fire is exciting. The surface has a rustic texture, made by planing it smooth with a cambered jack plane. The texture isn't visible under normal lighting, but with a raking light you can see it. It's very interesting to run your fingers over this table because of the texture from the plane, and the strong grain of the white pine.

Estimated Time Investment
Week Long Project (20 Hours or More)
Finish Used
The finish is amber shellac, with four coats of gloss polyurethane, thinned 1:1 with mineral spirits to improve the flow and help the finish self-level.
Recommended Skill Level
Intermediate

Fireplace Insert

Submitted by SaraLodise on Mon, 10/28/2013 - 14:41

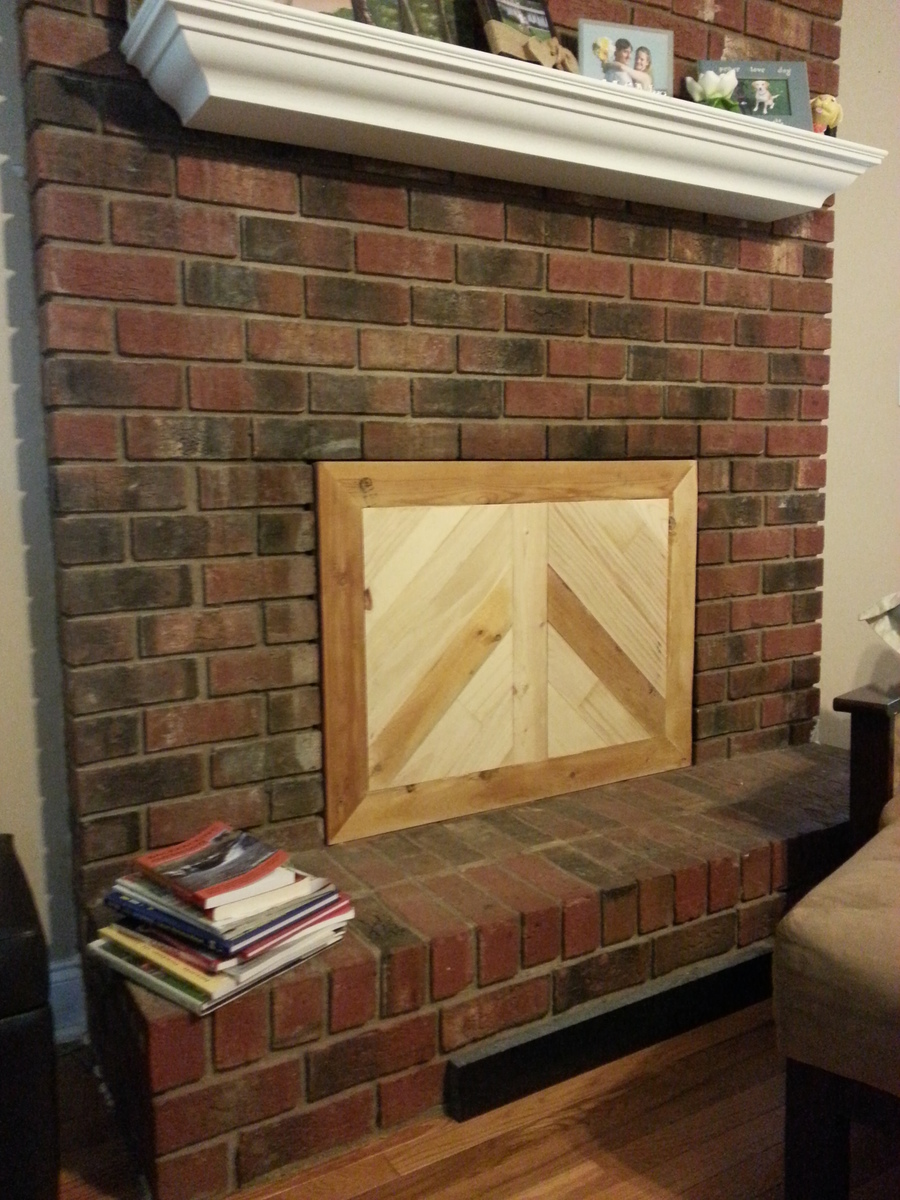
I almost jumped for joy when I ran across this pin on Ana's Pinterest board. Our fireplace is stained black and smells awful during low pressure weather. This project was actually one of my October Scrap Projects, but I felt it deserved it's own post. I had the left over wood and peg board, so all I had to buy was the foam insulation and bumpers.

We are still deciding if it needs stained or not, so let me know if any of you have an opinion. The darker pieces are 2x4 studs we salvaged when we took down our kitchen wall so they have a nice 40 year age to them.

Here is the link to the instructions: http://www.prettyhandygirl.com/2013/10/build-fireplace-insert-draft-sto…

Estimated Cost
$20
Estimated Time Investment
Afternoon Project (3-6 Hours)
Finish Used
none
Recommended Skill Level
Beginner

Comments

Val Manchuk

Mon, 10/28/2013 - 22:54

Hi Brittany,

Nice work! I think a rich stain color similar to the darker bricks would really tie everything together so that the insert and the white shelf don't compete with one another.

Val
artsybuildinglady.blogspot.ca

Tryde Coffee Table

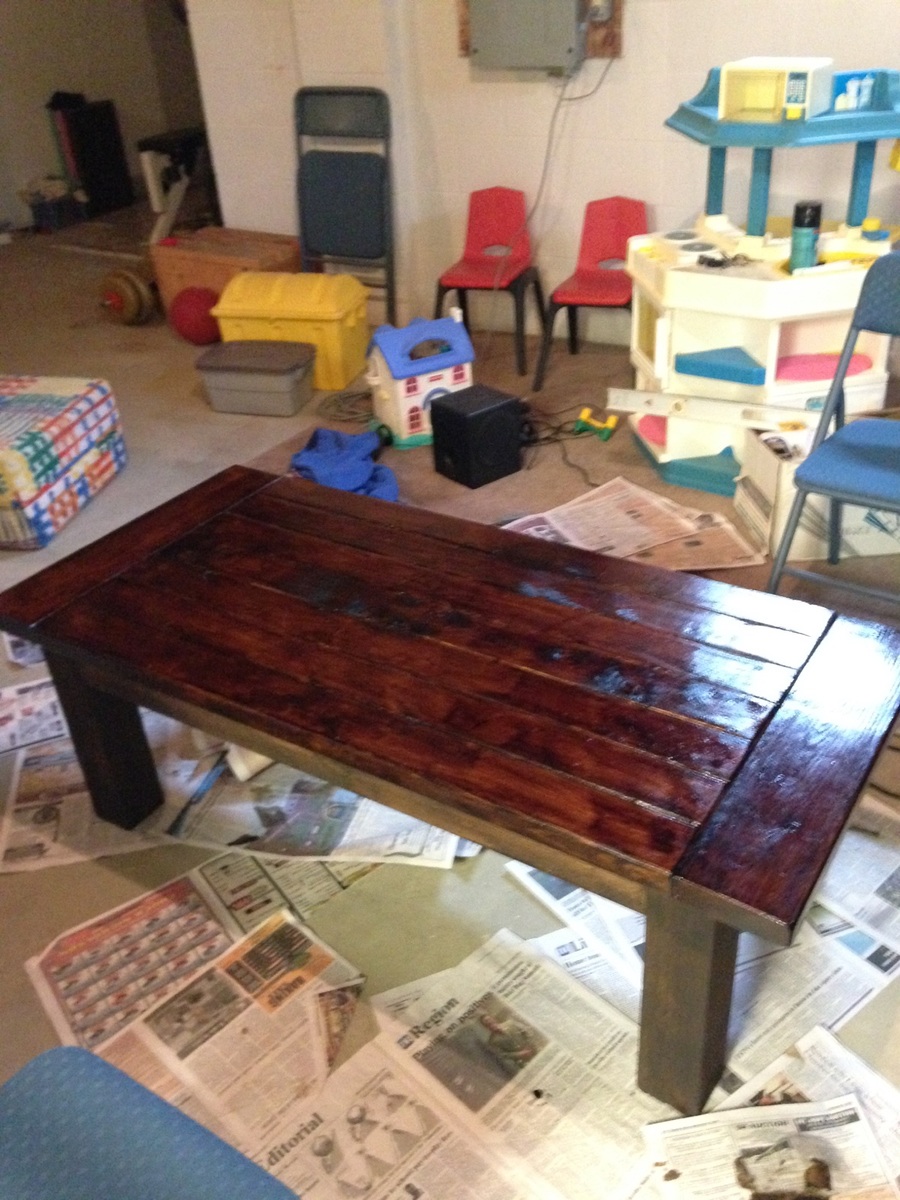
Wife showed me a picture and I found instructions from the projects already on here and did it less than a week. I had the wood part done in about 5 hours and with two coats of staining and a couple of the clear coat and me trying to find some time to do it while working a lot you could probably have this done in a weekend if you were free for the whole weekend. 

Built from Plan(s)
Estimated Cost
$75. This includes brushes and stain. Hardware. Wood. If you need to buy saws or tools, etc. this doesn't include that.
Estimated Time Investment
Weekend Project (10-20 Hours)
Finish Used
Mission Oak and Clear Satin Finish
Recommended Skill Level
Beginner