Community Brag Posts

Octagonal Picnic Table
Submitted by Tbear on Fri, 07/25/2014 - 11:54

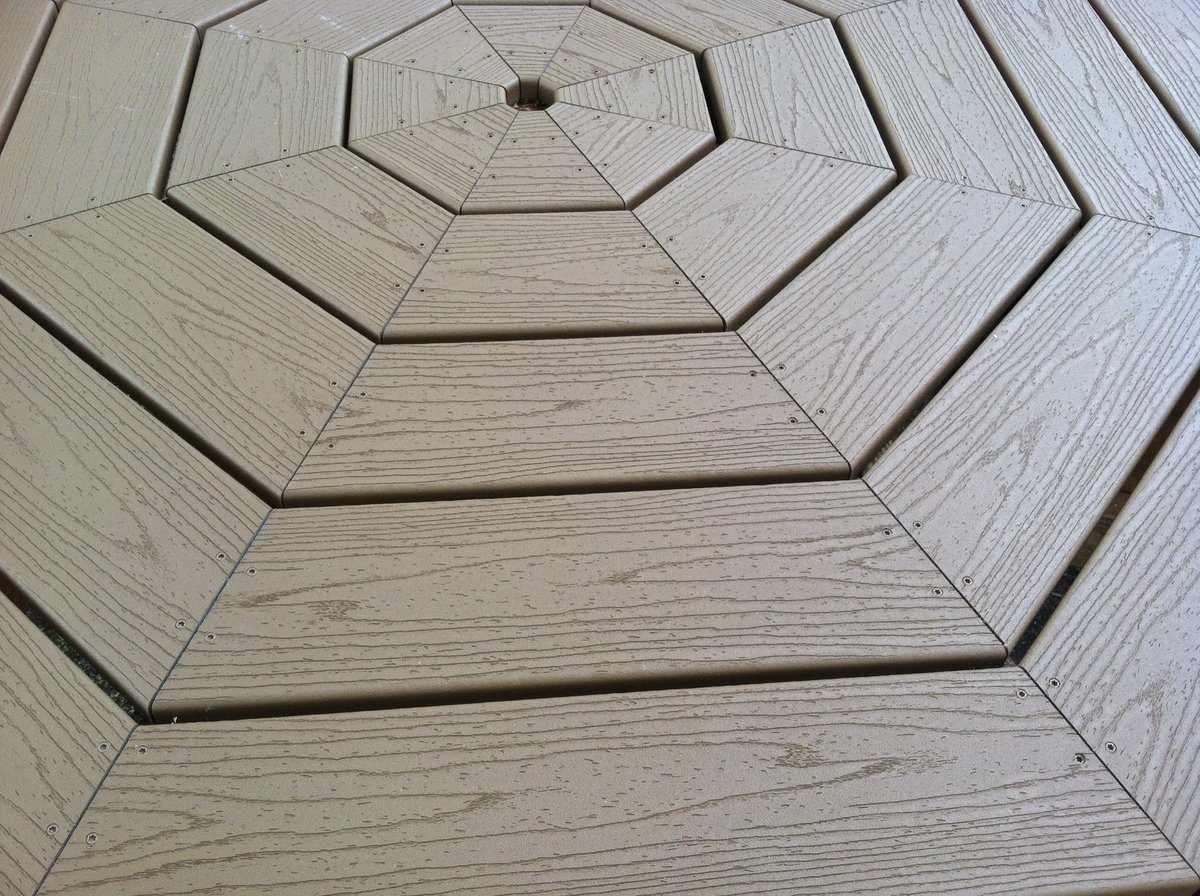
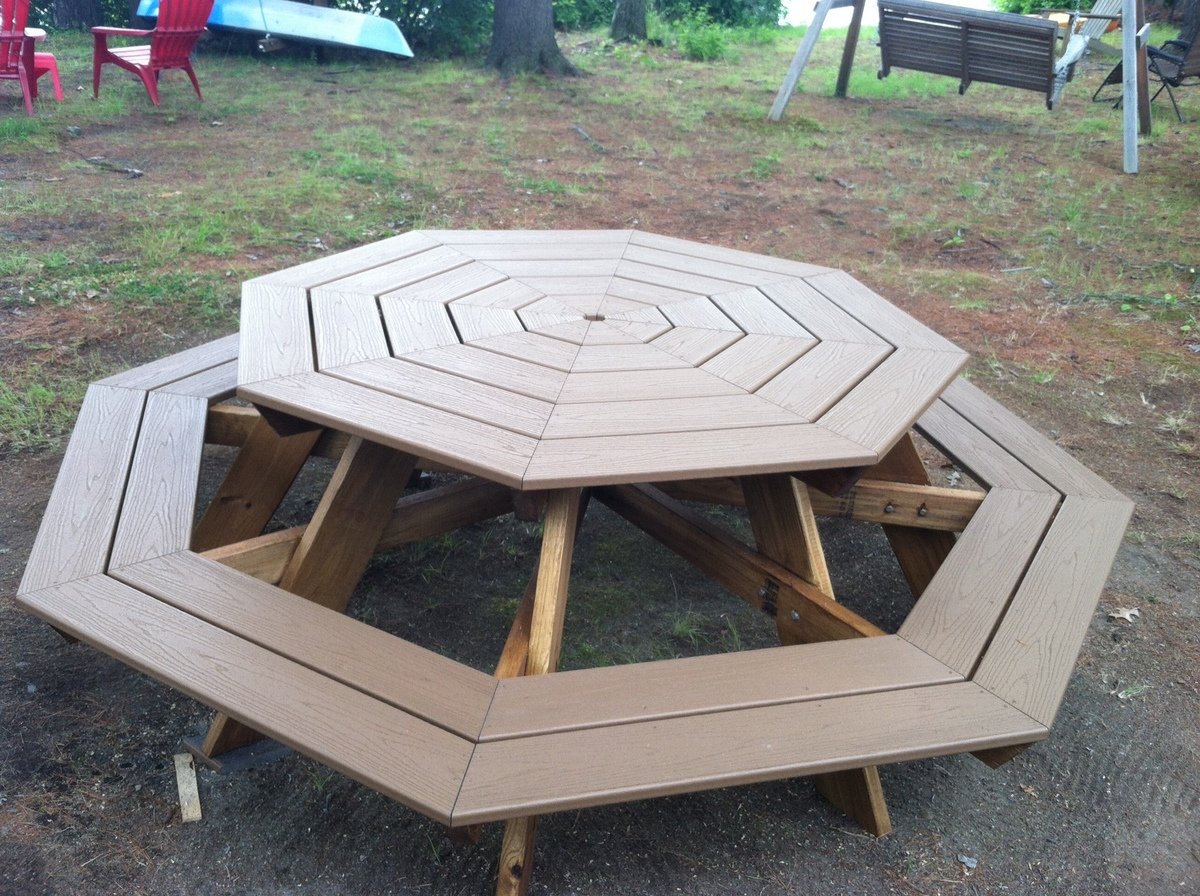
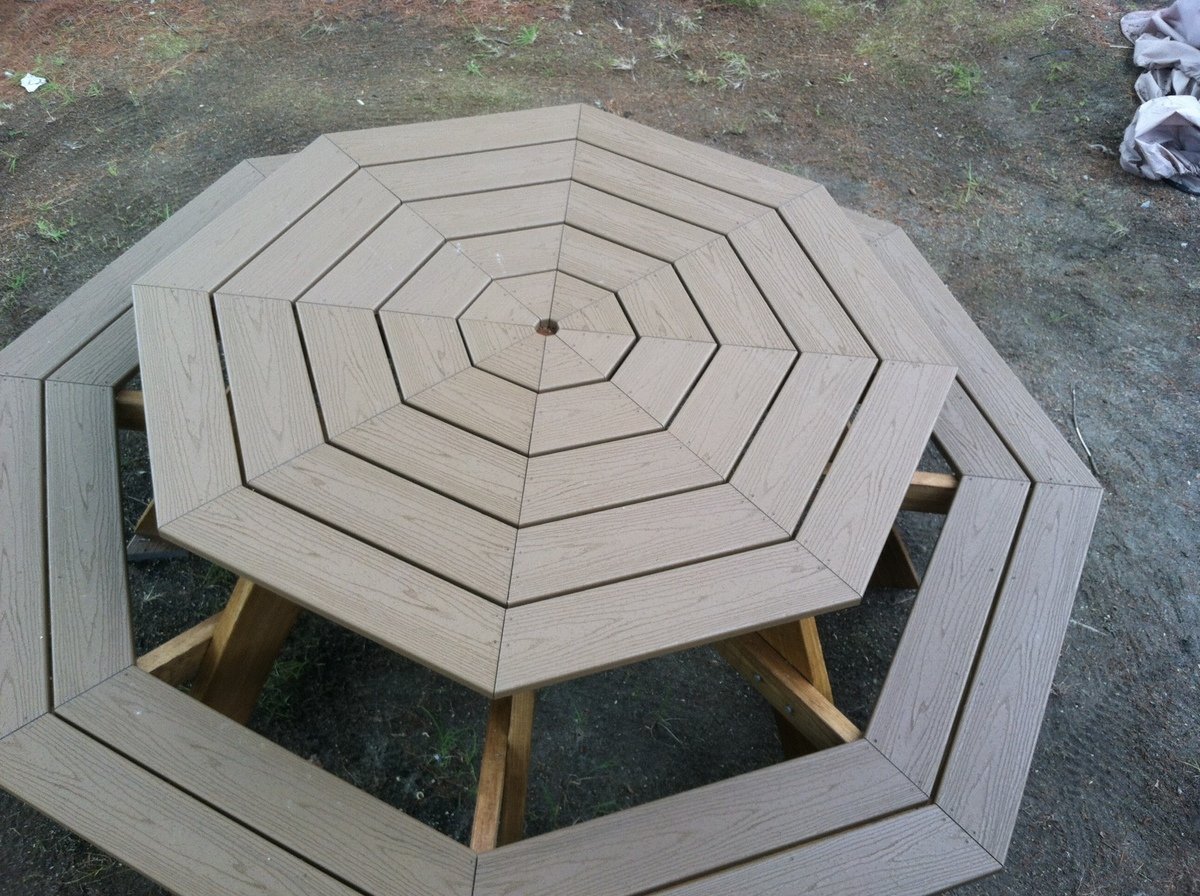
Living in a cottage on a lake during the summers, I needed a picnic table that would take care of a big family so I built the Octagonal picnic table on Ana's site, however with a twist.

Since we are under a bunch of trees, I wanted to be able to scrub the table easily and not have to do any maintenance on it over the long term. So I built the top and the benches using Trex. Yes, it was more expensive but the result (if I do say so myself) was incredible.

Since Trex isn't as structural as 2 x 6's, I reinforced the seats using 2x4s laid horizontally underneath the seam of each of the two bench pieces. I also drove a few extra screws through the Trex benches along the 2 x 4's to further strengthen seating area.

Aesthetically, I didn't care for the 1/2 inch spacing for the table top and benches so I reduced it to 1/4 inch and cut the length of the Trex accordingly. I used decking screws that exactly matched the color of the Trex.

I did take the advice of one of the former builder's of this table and staggered the legs to make it easier to get in and out. That was a worth while suggestion.

The only 'warning' I was given about using Trex was that it could get 'hot' if in the sun for long periods during the day during the summer. This table is in the shade almost all the time, but having said that I have read that the Trex as decking gets no hotter than treated lumber stained the same color.

This is a great design at it was lots of fun to build.
Built from Plan(s)
Estimated Cost
$500
Estimated Time Investment
Weekend Project (10-20 Hours)
Finish Used
Olympic Maximum Stain and Sealer
Recommended Skill Level
Intermediate

Bedside Tables

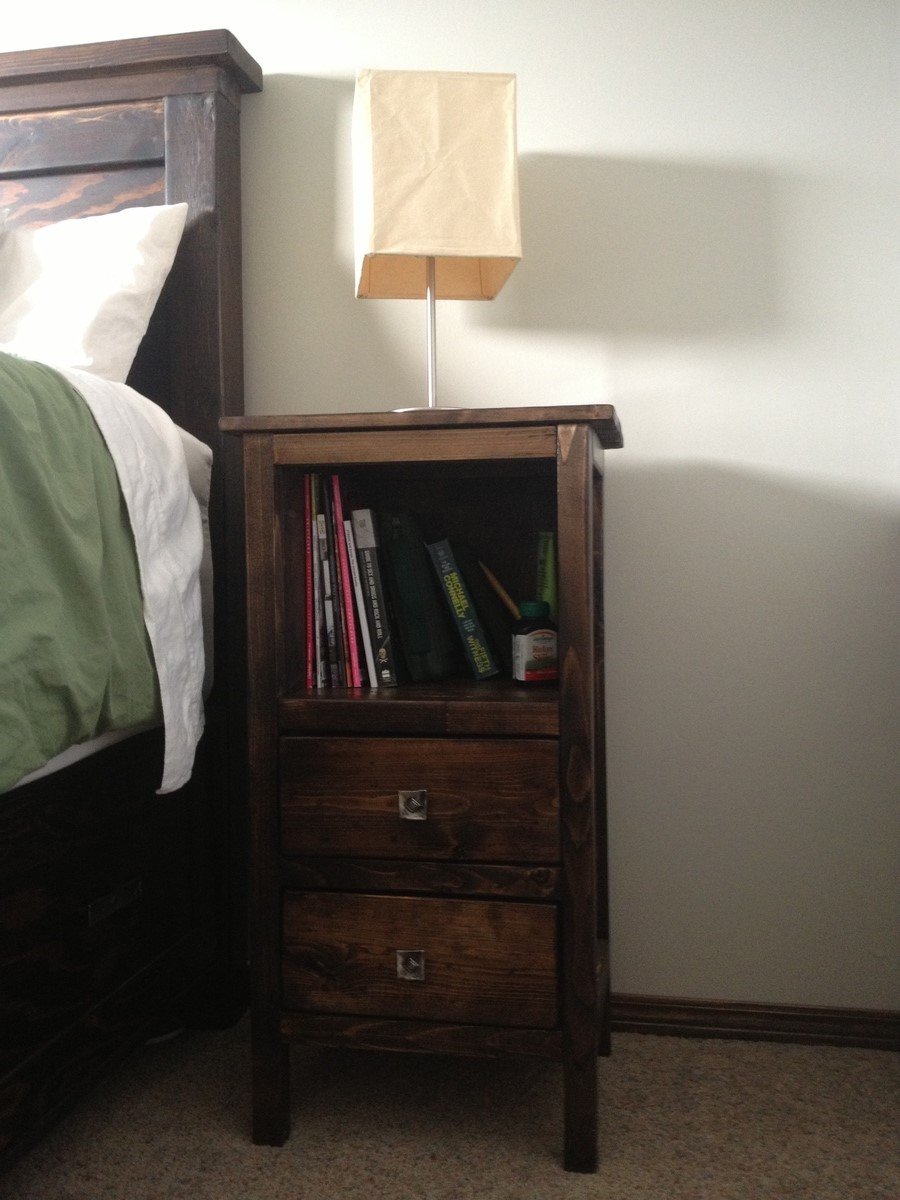
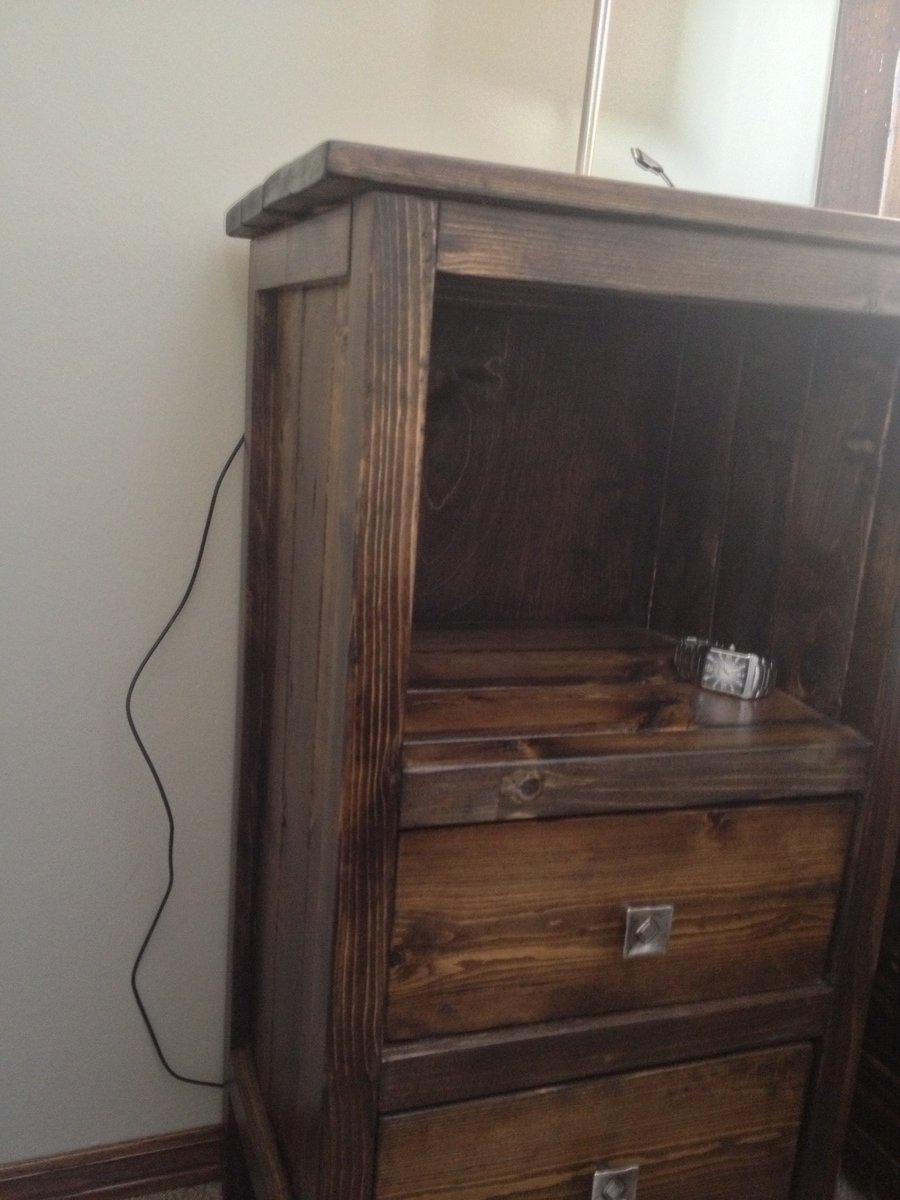
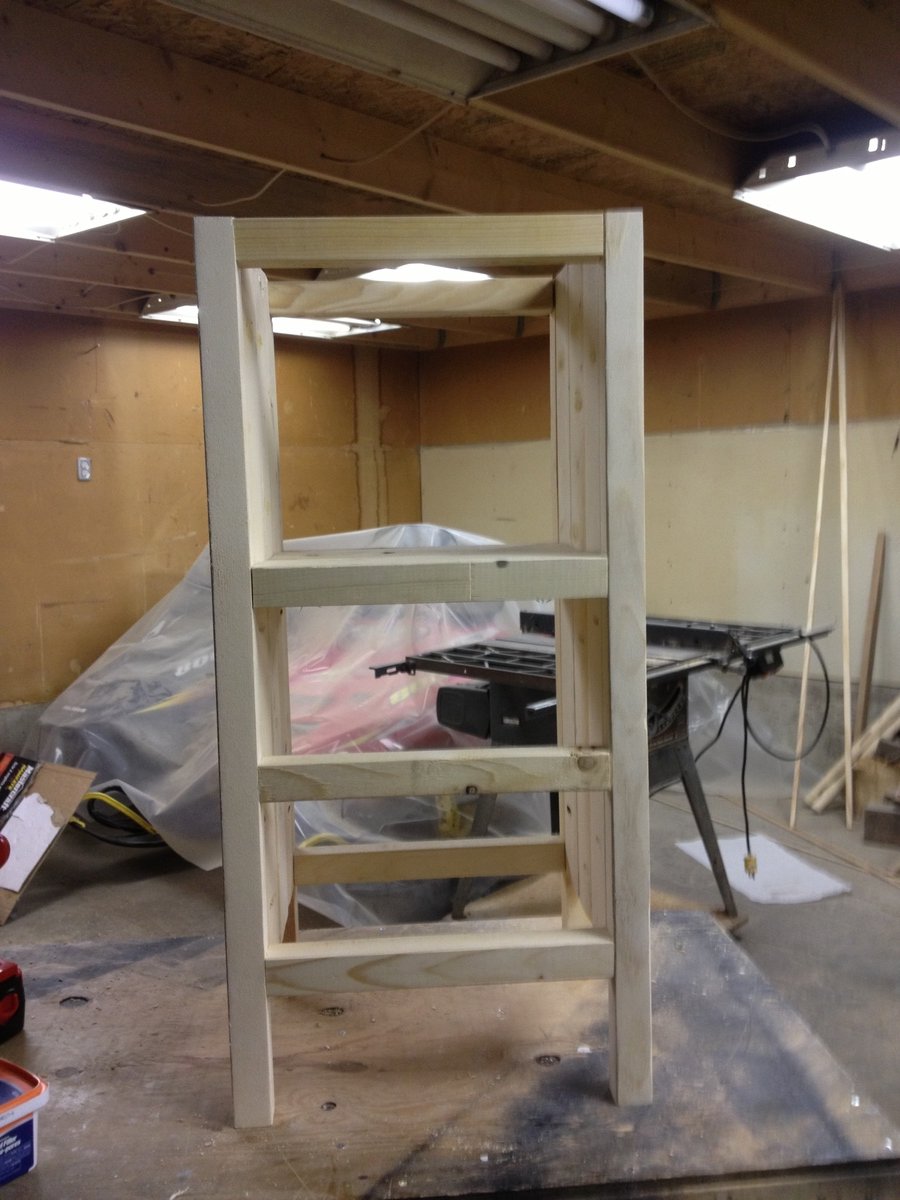
I used the "Reclaimed Wood Look" bedside table plans but altered them to make it taller to go with our bed and to make them less wide and long. The finished product has top dimensions of 14 1/2" by 14 1/2" to fit in our small room. I also removed the top drawer to make a bookshelf. The first table took about 4 hours to build and sand and the second one went a lot quicker. I stained each with one coat of Minwax Dark Walnut and sealed with 3 light coats of polyacrylic. The pulls are from Lee Valley.

Estimated Cost
$40 per table including screws, glue, stain, lumber and hardware.
Estimated Time Investment
Afternoon Project (3-6 Hours)
Recommended Skill Level
Intermediate

Garage Storage

Submitted by jlrd13 on Sun, 11/16/2014 - 11:00

I improvised on this a bit.  I envisioned being able to put small items on the shelves at some point so I made it with solid shelves instead of all 2x4's.  Except the stuff I bought for the shelves was so flimsy I had to add the support pieces. Ahh, well.  I'm learning.  And with the three support pieces (2x4's cut to size) running widthwise, it turned out to be a solid shelf.  LOVE this site!!  Thank you again, Ana!  Next project is a bathroom vanity.


Estimated Time Investment
Afternoon Project (3-6 Hours)
Recommended Skill Level
Starter Project

Comments

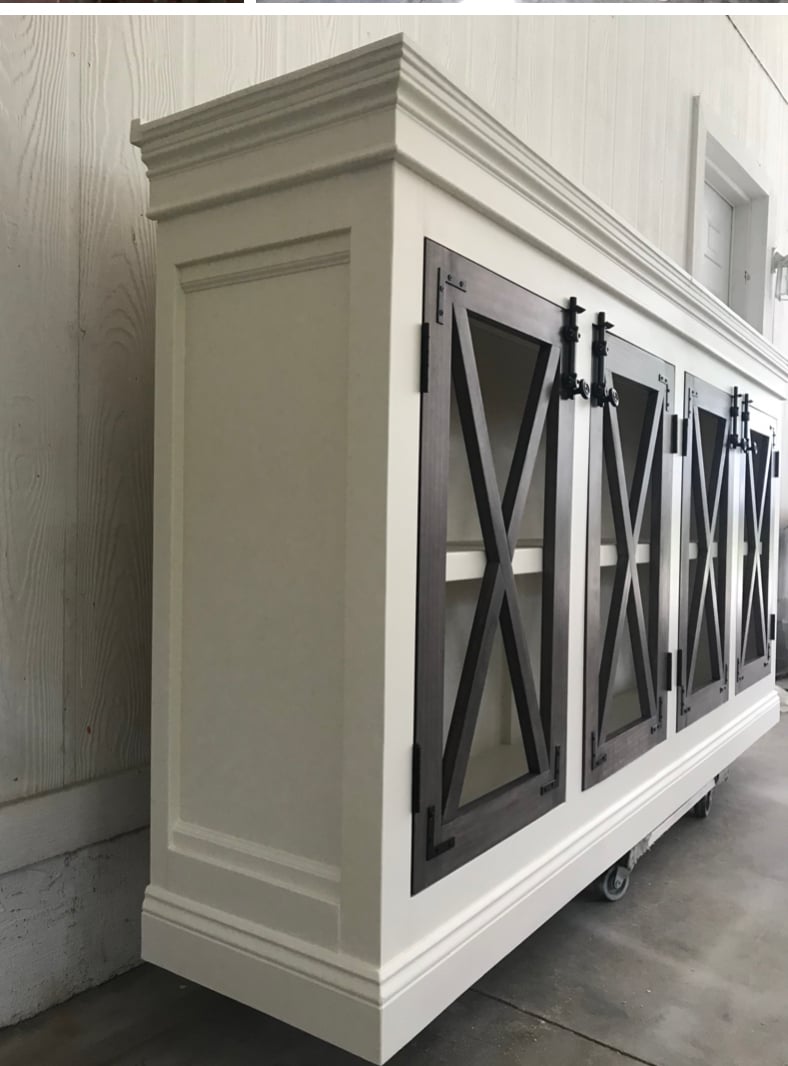
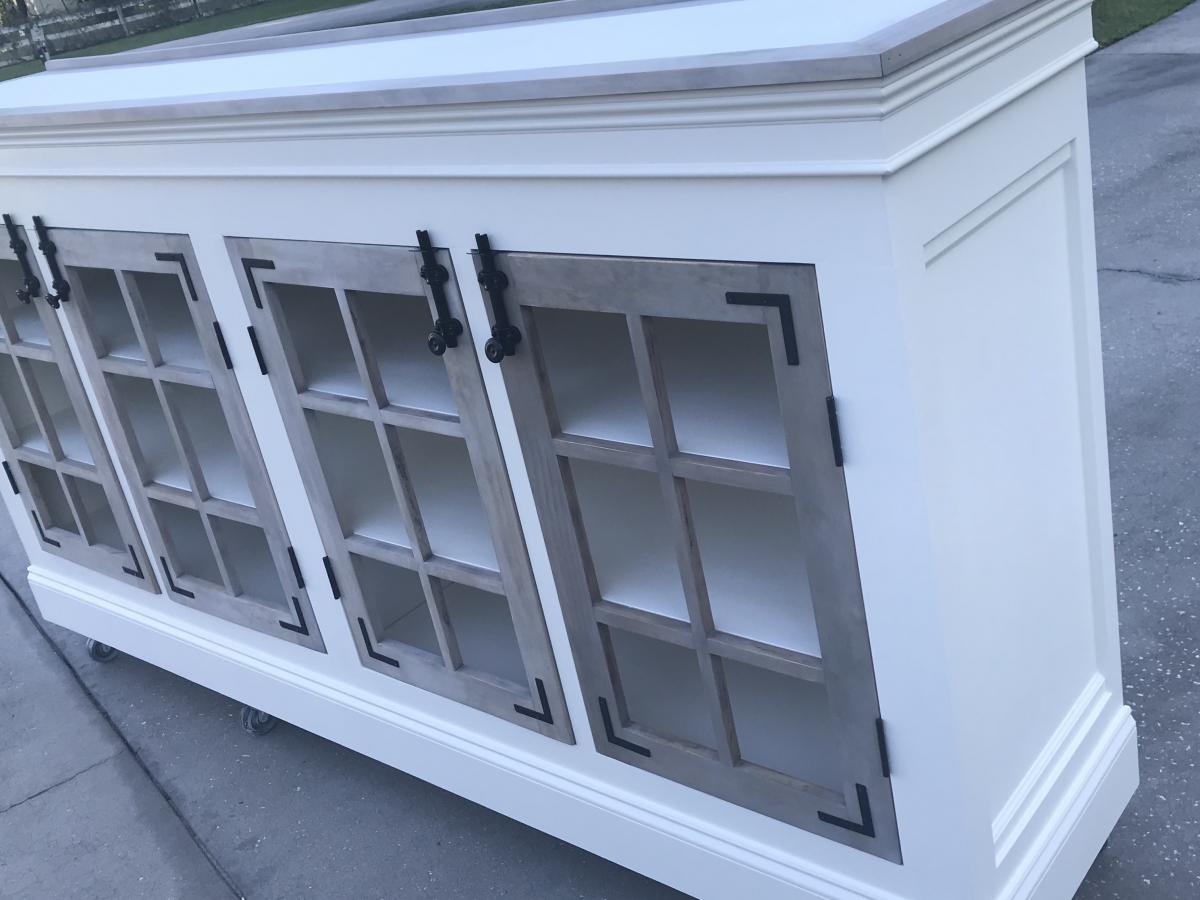
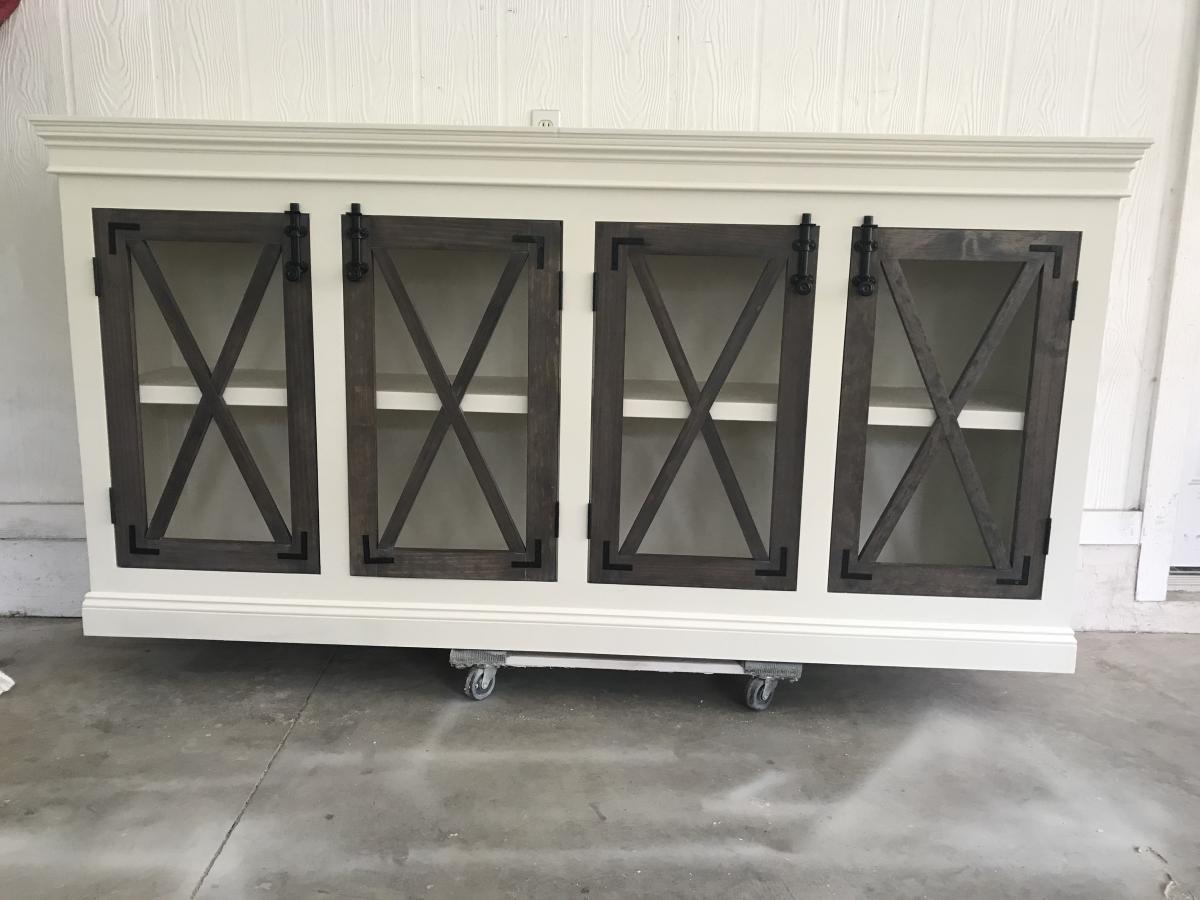
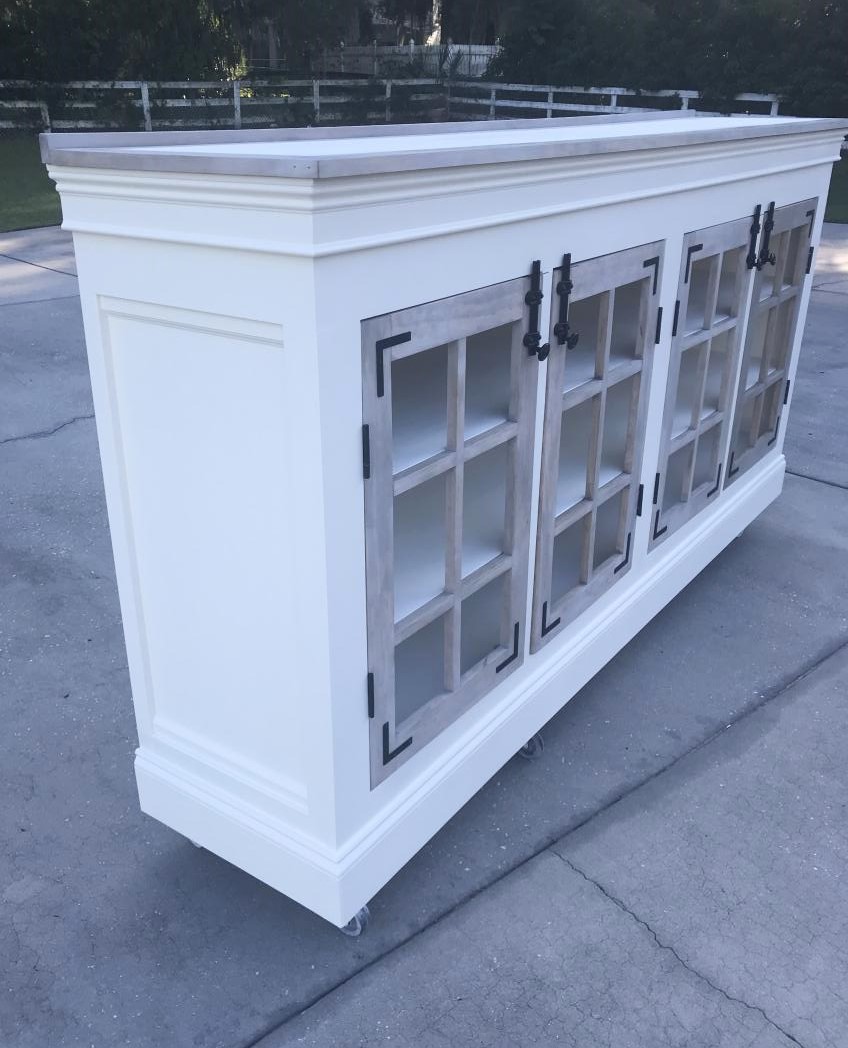
Modified Grandy Console with inset doors

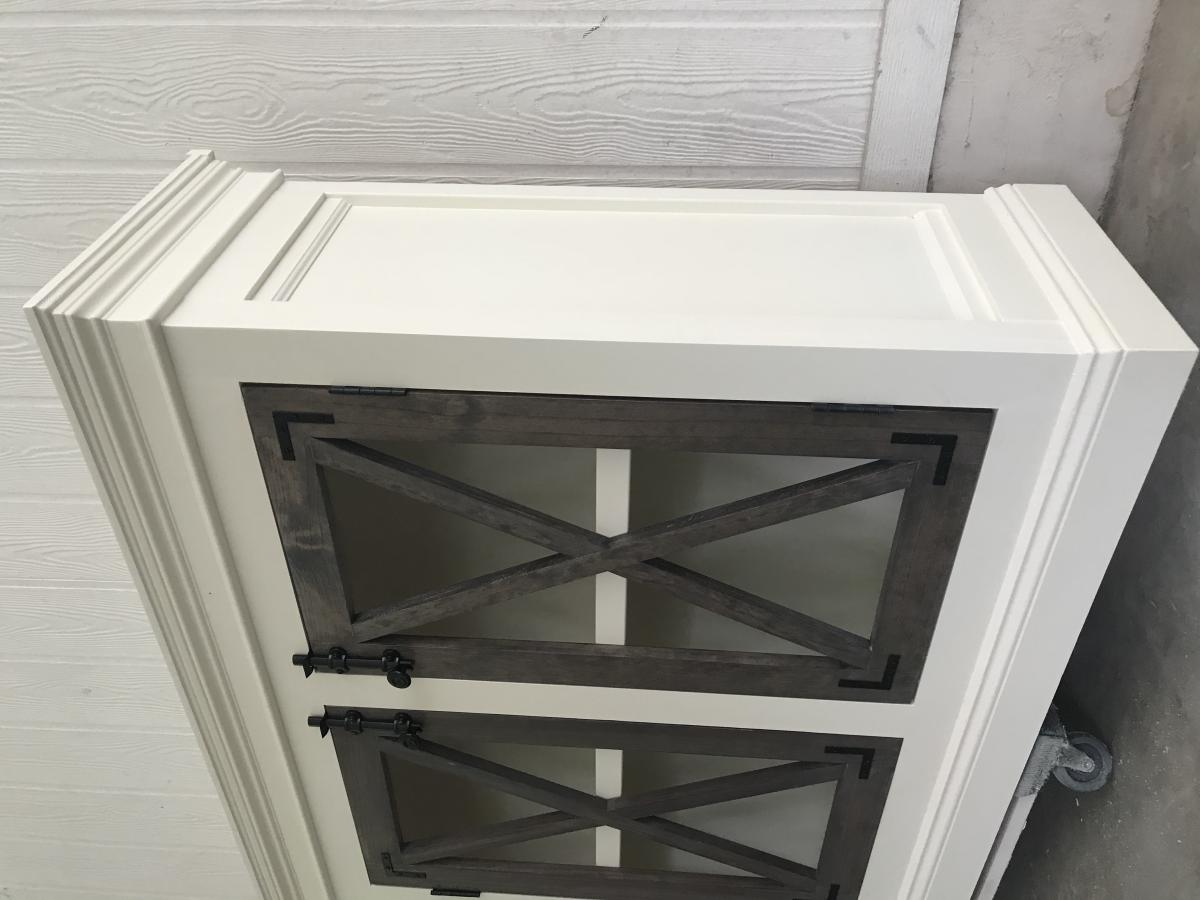
I wanted to switch things up. I have made and sold many of the Grandy consoles with barn doors but my current new (to us) home was more modern traditional, definitely not very farm house. The Grandy plan makes a solid piece of furniture which is exactly what I need for it to survive amongst the giant teenagers that we are raising BUT I wanted to switch up the doors and add some traditional elements with a pop of modernish hardware. Make sure that your face frame openings are square. Add some non-mortise hinges, latch bolts and L brackets and this plan appears transformed!

Built from Plan(s)
Estimated Time Investment
Weekend Project (10-20 Hours)
Finish Used
Kilz primer, sw Dover white with a poly clear coat for added durability. Sand between all coats (time consuming but it adds a professional edge to your finishes).I use a critter sprayer from Amazon for the exterior and for poly. Foam rollers for the inside. Stain color for X doors was kona and lighter toned doors was a process (see Instagram post) but involved white wax.
Recommended Skill Level
Intermediate

Comments

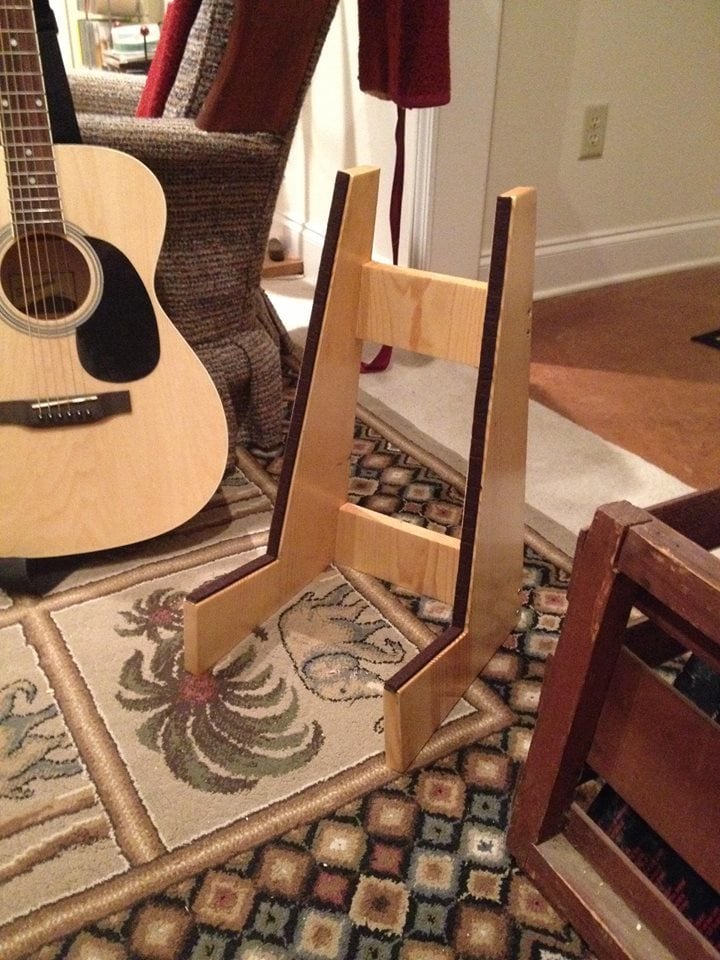
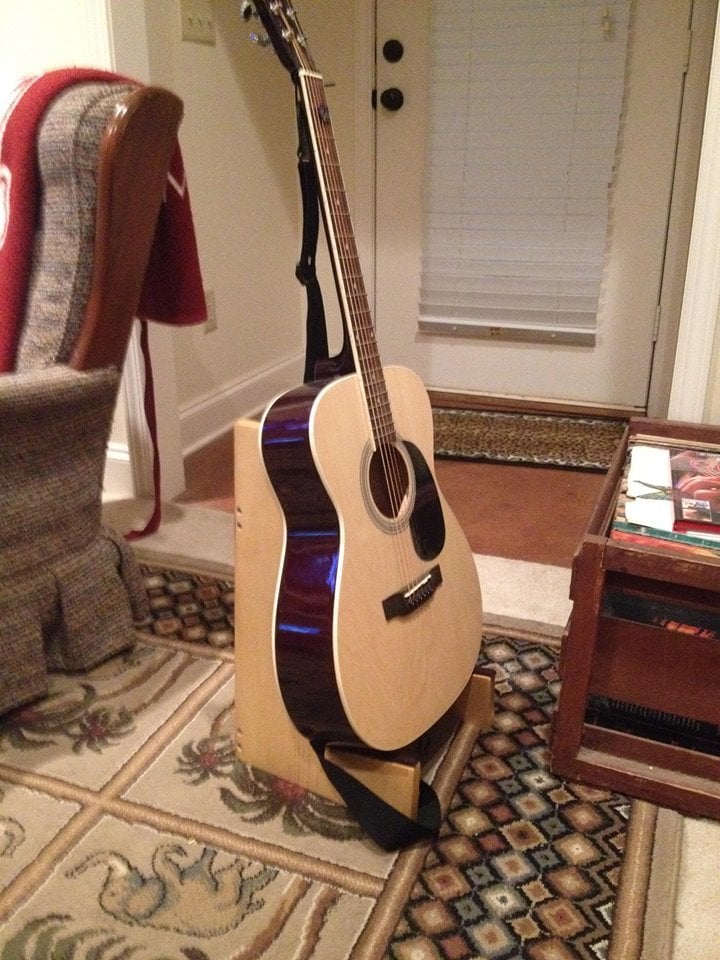
Guitar Stand

Submitted by Eddie K on Thu, 03/02/2017 - 13:49

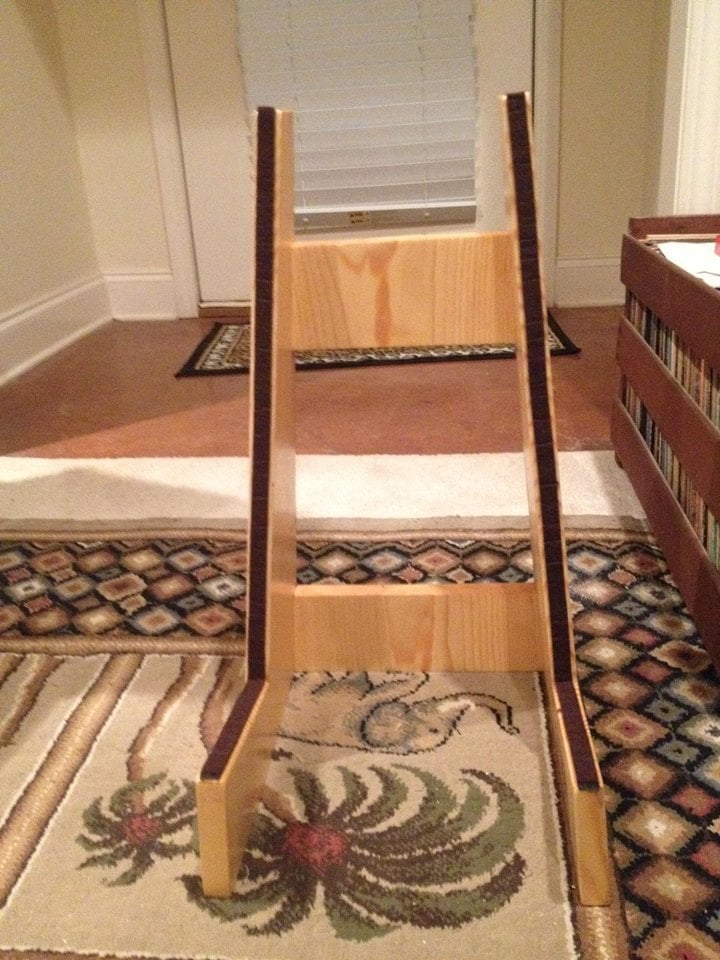
Built this guitar stand basically by using on-hand materials left over from another project.  Used 1x12's; 18" tall fir for sides and back braces (cut at 5 degrees on each side).  Added felt strips to protect the instrument.

Estimated Cost
Probably around $20-25. Need about 4' of 1x12 fir and Minwax Polyshades in Classic Oak. All materials were on hand except the roll felt, so hard to pinpoint.
Estimated Time Investment
Afternoon Project (3-6 Hours)
Finish Used
Minwax Polyshades in Classic Oak.
Recommended Skill Level
Beginner

Comments

Custom Industrial Style Closet

Submitted by slug on Tue, 12/09/2014 - 09:03

We remodeled our house and now had a new 9x6 master closet to fill. During construction I saw this design on ana-white.com and liked the style, but wanted to customize the layout. I found an online closet designer and played around until I found something my wife and I liked. We ended up with a 9 foot long his/hers double hanging on the ends and a long hanging section in the middle. And on the other side 8 feet of shelving (leaving about a foot for other storage).

I bought the pipe as a 10 foot pipe to be cut and threaded (for free by the store). I did have to change the design a little because the store cannot thread pipe less than 14 inches. So I ended up replacing the short pipes and T's with 2x4s. That made it a little cheaper and I still like the end result.

We stained all the wood using Minwax "Early American". This probably accounts for most of the build time.

Then I put together the supports and brought them into the closet to add all the pipes and slats. I started with the wall for hanging. And later did the shelving.


Here's another forum with more pictures of this project:

http://woodworking.formeremortals.net/me-mo-community/#/discussion/866/…

Built from Plan(s)
Estimated Cost
<$400 for whole closet.
Estimated Time Investment
Weekend Project (10-20 Hours)
Finish Used
Minwax "Early American"
Recommended Skill Level
Beginner

Comments

Ana's Loft bed w/o the stairs

Submitted by Anonymous (not verified) on Tue, 04/18/2017 - 12:38

I fell in love with the loft bed but thought the stairs stuck out too far for my daughter's room so I revampd the plan just a bit to add three 'stairs' in the platform rather than the standard stairs in the plan.

I got started on the project on a Friday night, got my cuts made, my pocket holes drilled and pieces sanded for an early start Saturday morning, everything went together like a dream - though it would have gone MUCH faster if I had had a second set of hands; I had to balance all of the long peices on other peices to try and get them attached and it took much longer than it had too! 

It was all together, the holes filled and first coat of primer on by Saturday afternoon - I used Zinsser primer so the knot's did not bleed through. Sunday morning I was painting and it was in place and decorated by Sunday night!

Great, easy to follow plans (as always) Ana - thank you, I have one VERY happy daughter!

Estimated Cost
Approx $150
Estimated Time Investment
Weekend Project (10-20 Hours)
Finish Used
paint
Recommended Skill Level
Beginner

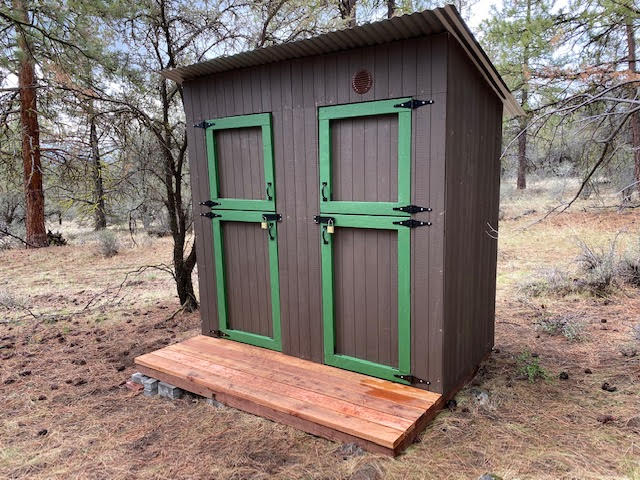
Outhouse Plan for Camping Property

Submitted by UncleMike on Wed, 04/28/2021 - 10:50

I built an an outhouse for my camping property in the PNW. The plans were great and easy to follow.

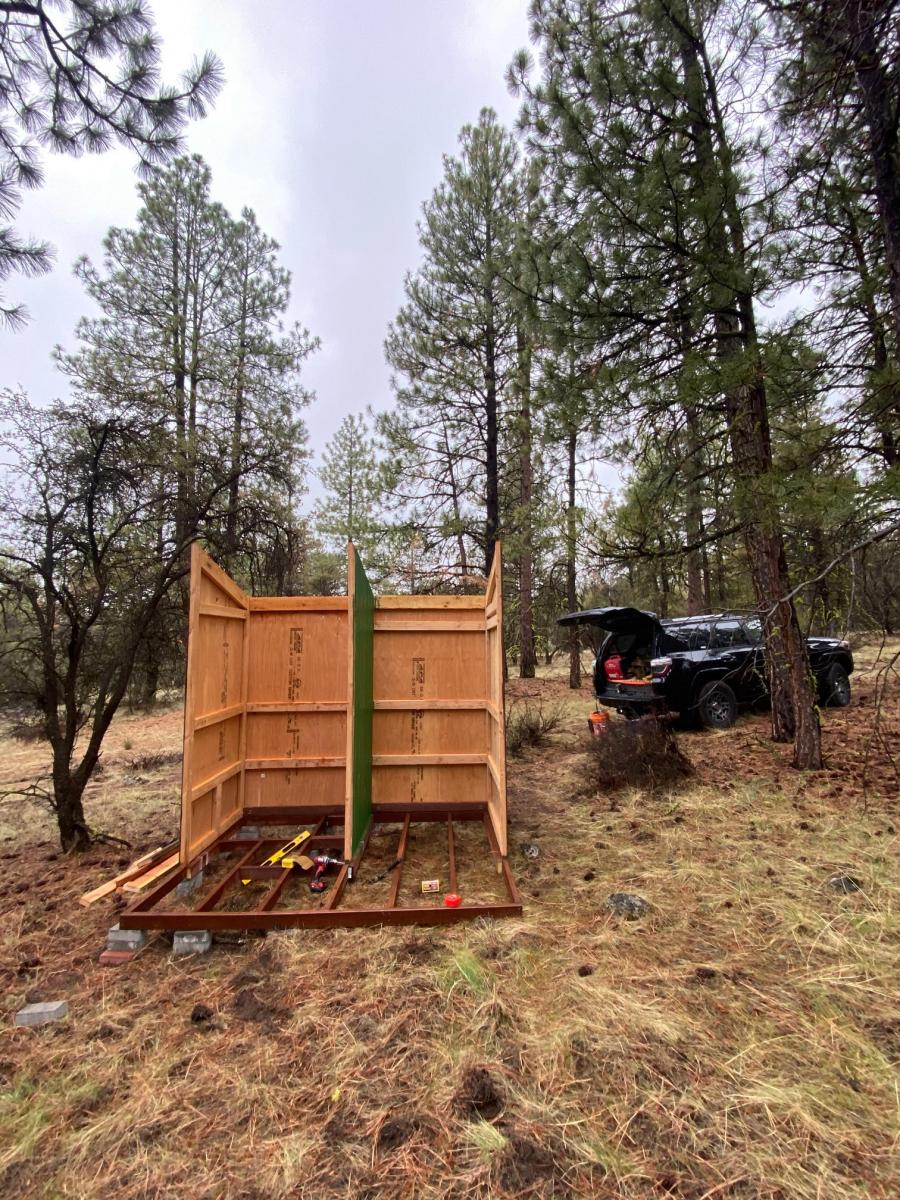
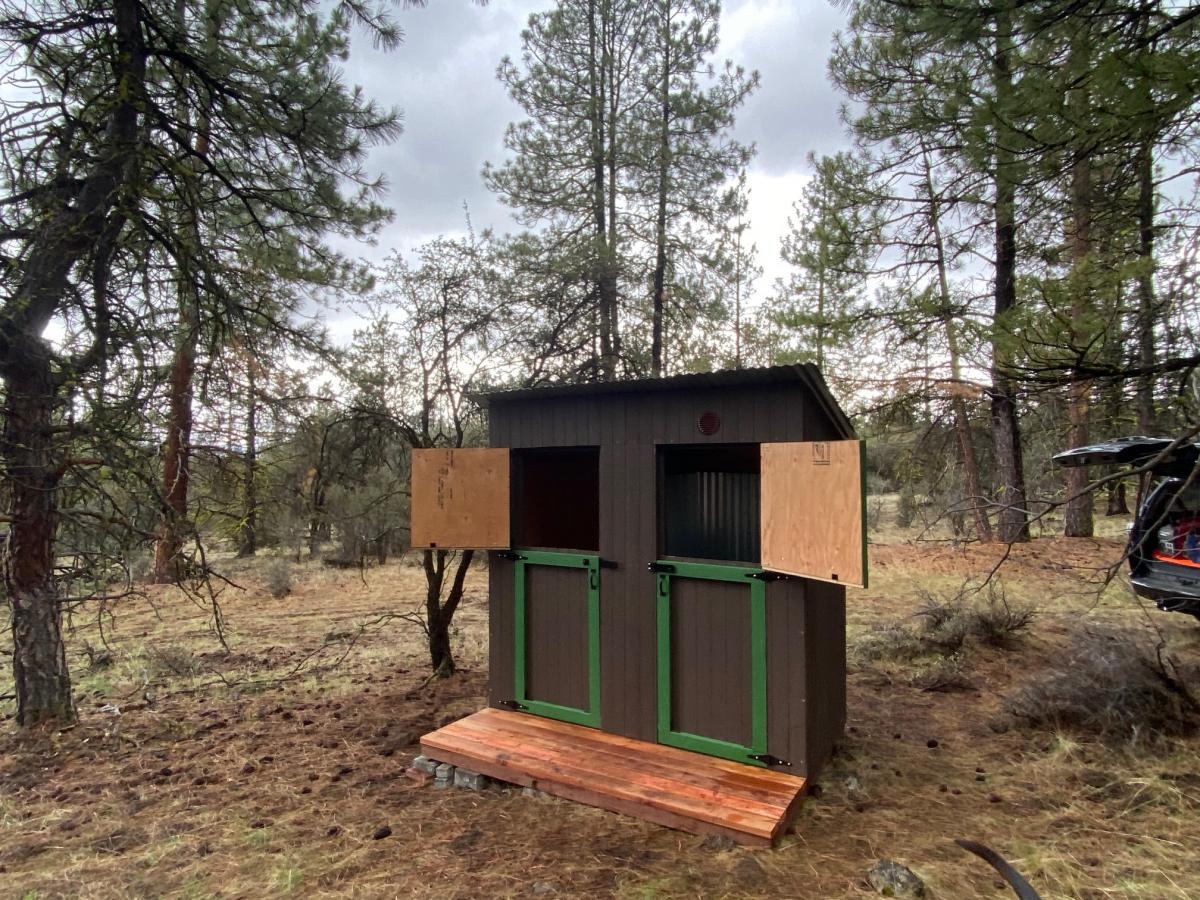
I did take the liberty of extending the the front wall to 8' still using the 15 degree roof line. I also wanted the option to shower during extending camping trips so I extended the floor and added one more back and side wall to create a shower house. With this design, I basically duplicated the side and back wall. Since I am in the middle of the woods, the Dutch doors were a last minute embellishment that I'm glad that I implemented in order to take advantage of the view!

For the shower, I used composite decking with 1/2" gaps for drainage and lined the inside with 6' lengths of corrugated metal roofing.

One additional note: I did build this on my back patio over a couple of weekends since my property is a fairly long drive from my home and about 2 hours round trip from the nearest hardware store. It broke down easily in about 30 minutes with 2 people and fit perfectly in the back of a full size pick up truck for the trip.

In summary, great plans and I love this site. Much appreciated and happy building!

Built from Plan(s)
Estimated Cost
1200.00
Estimated Time Investment
Week Long Project (20 Hours or More)
Finish Used
I used primed T-111 siding and finished with PPG "Cabin in the Woods" base (PPG1021-7) with "Mountain Forest" trim (PPG1130-7). For the redwood decking, I just used a Behr clear protectant and hit it with 2 coats.
Recommended Skill Level
Intermediate

Comments

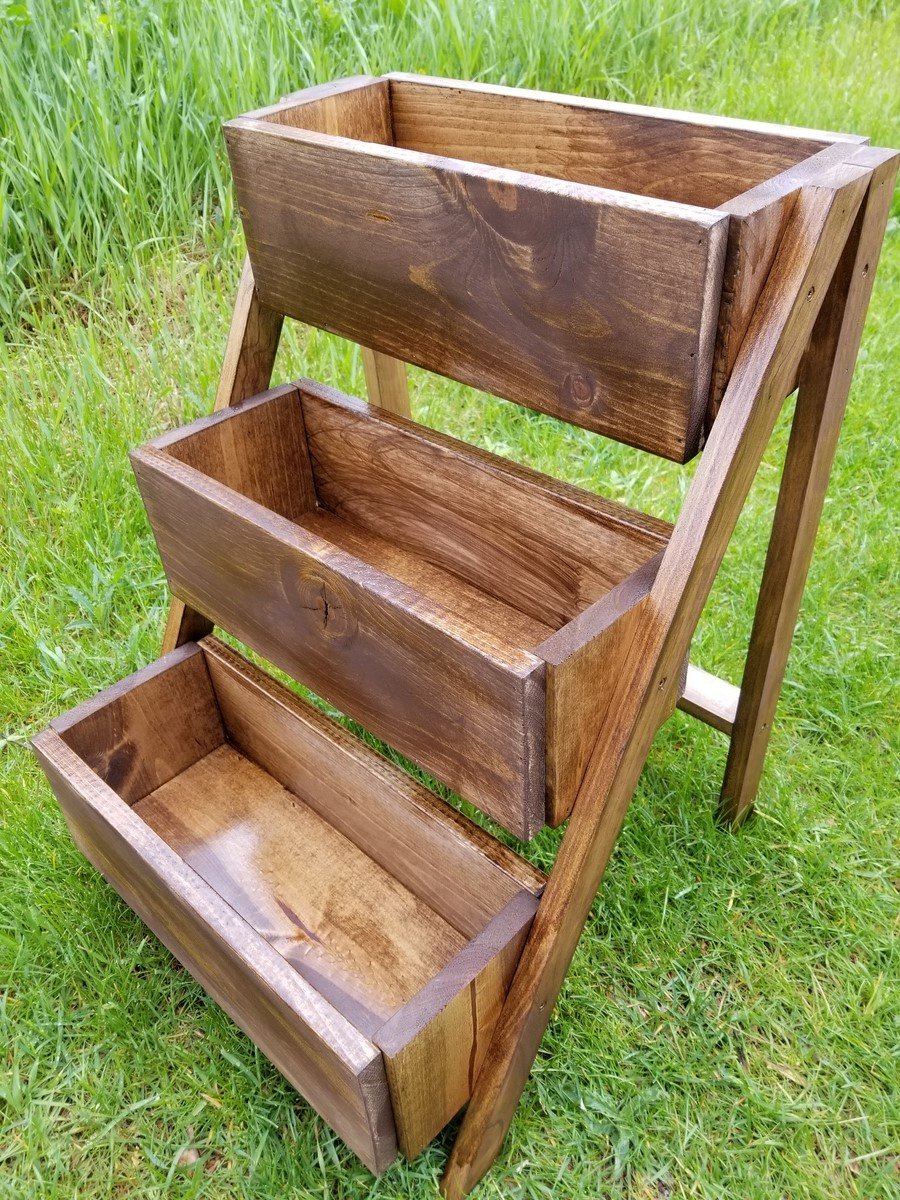
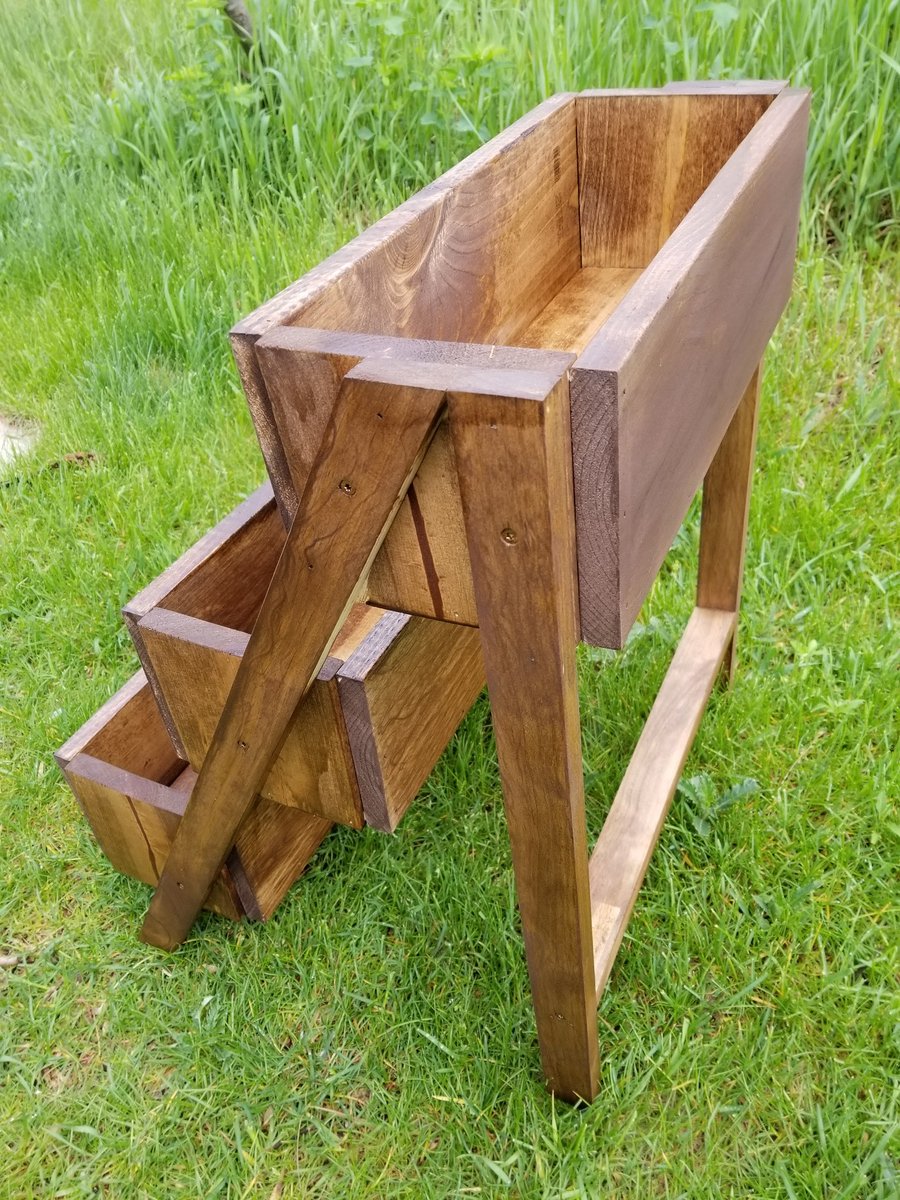
3 Tier Planter

Submitted by ranlim on Thu, 05/18/2017 - 21:24

Love this planter. Used quality pine. Perfect size for the balcony! I use it for fresh herbs... i have have other people wanting one too!

Estimated Cost
17
Estimated Time Investment
An Hour or Two (0-2 Hours)
Finish Used
Special walnut
Recommended Skill Level
Beginner

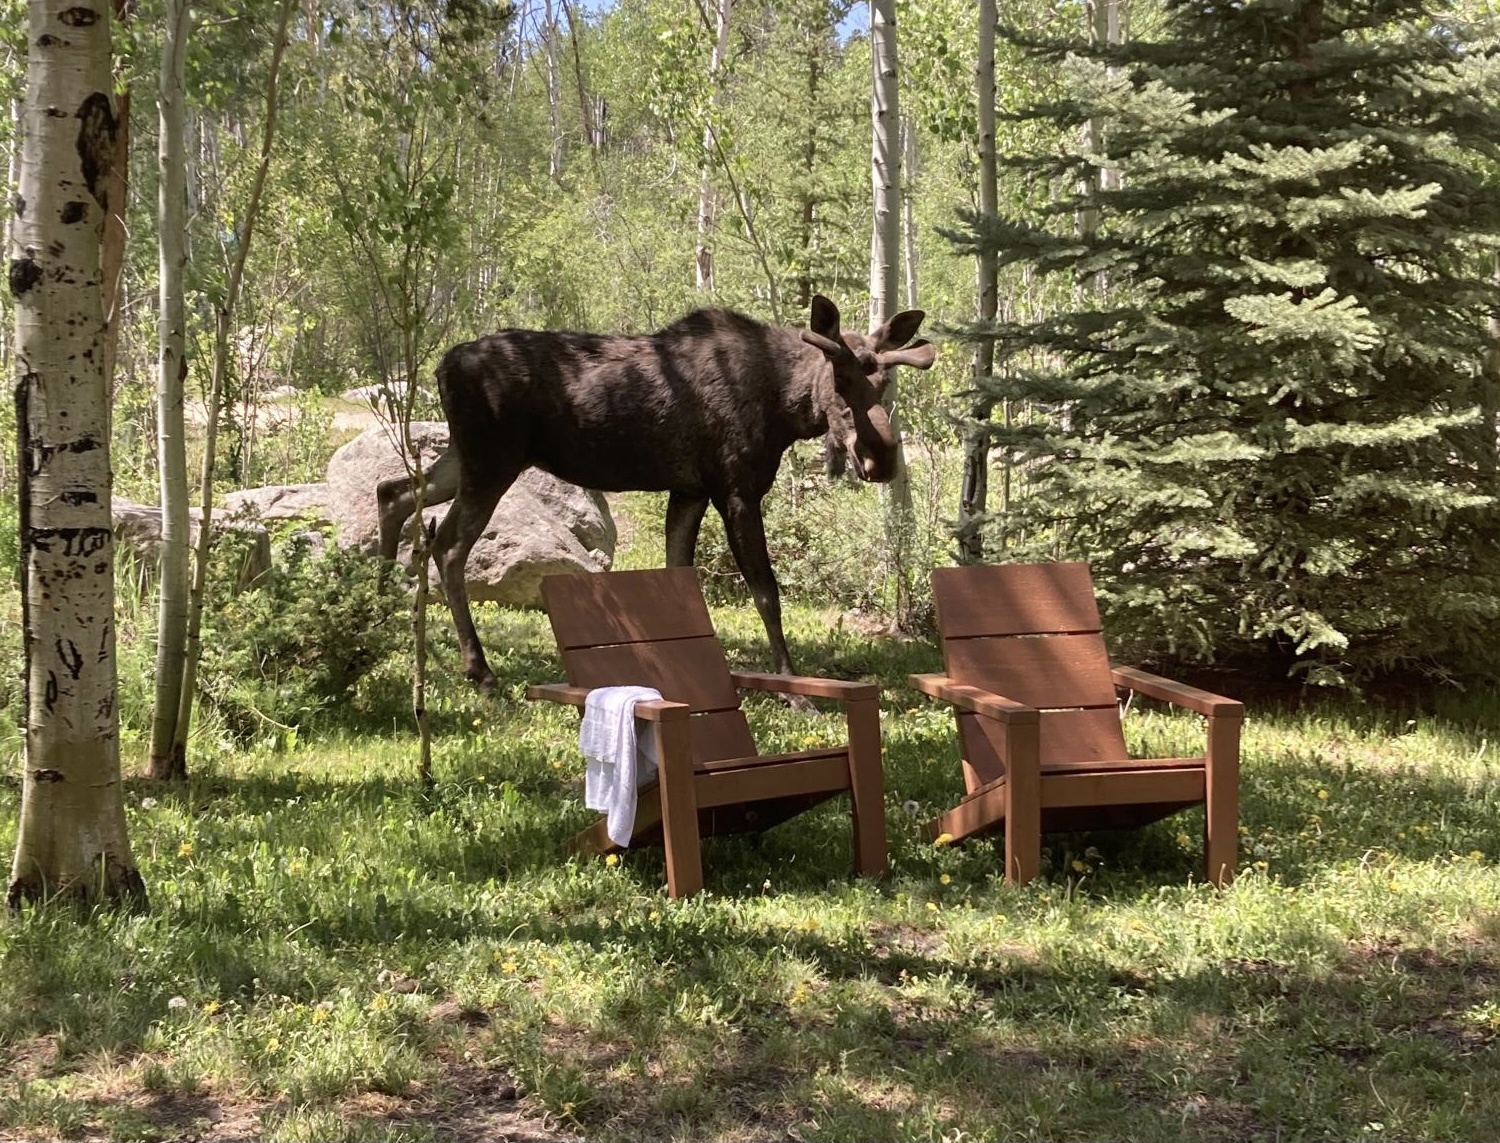
Relax at Moose Manor

Submitted by jendon on Tue, 07/06/2021 - 08:04

We have a wonderful rental cabin in Grand Lake, CO. I wanted to add some special seating outside. These chairs are perfect, comfortable, and even the moose came by to see them. They agree too that Ana’s design is wonderful. My daughter and I worked on these together, from beginning to end. We cut, sanded, stained, and finally put it all together. These are so comfortable, even my husband agrees!! Thank you Ana for the plans and video. I will be adding the table to go with them too. Jennifer

Estimated Time Investment
Day Project (6-9 Hours)
Finish Used
Semi transparent deck stain that lasts 8 years outside. This stain is hard to work with. Lines and color variances. Next time I will just use an oil based stain with outdoor poly with several coats. Much easier with the time I put into this stain process.
Recommended Skill Level
Intermediate

Comments

Custom Dog Bath

Submitted by dananicb on Thu, 07/22/2021 - 07:21

Tego needed a raised dog bath. No, I needed a raised dog bath. Specifically, my knees needed a raised dog bath for Tego. So, after looking at Pinterest and Ana's plans, I decided what I really wanted to do was customize something to fit my needs (and knees) and build it myself. Overly ambitious for a first-time woodworking project, but hey, raise the bar.

I started by reading and rereading Ana's beginner's woodworking guide (very informative). I also learned so many other things along the way. There's a reason, besides looks, you need flat boards (they need to screw together tightly). Unfinished basement floors are so not level (especially near the walls). Screw lengths matter (need shorter ones for thinner boards). The big-box store doesn't make precise cuts (but they can make a lot). Planning for the finishes will save you time (know your basket sizes). Just to name a few.

It's going in an unfinished basement, so I wasn't going to tile and add glass doors. I wanted to keep it relatively simple, basic.

The stairs were the hardest to measure and build (math matters) - and I might re-do. I made the steps smaller, dog-sized, but she finds them awkward. I'd stick with typical riser heights, but it depends on the size of your dog.

Plumbing to link the tub drain to the utility sink drain was the most expensive. Probably I could have done it myself, but I decided not to learn both plumbing and woodworking for one project.

Overall, I'm pleased with the result - and Tego is learning to love it.

Estimated Cost
$250 in supplies (plus plumbing)
Estimated Time Investment
Week Long Project (20 Hours or More)
Finish Used
Exterior paint in semi gloss
Recommended Skill Level
Beginner

Comments

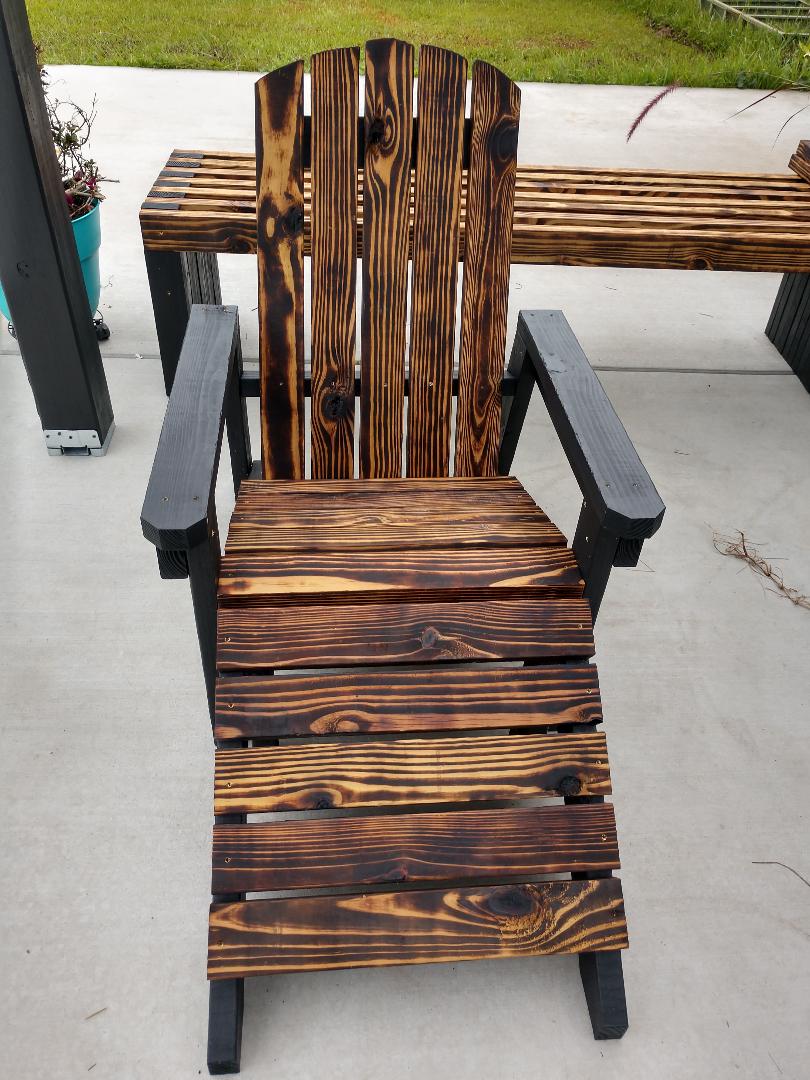
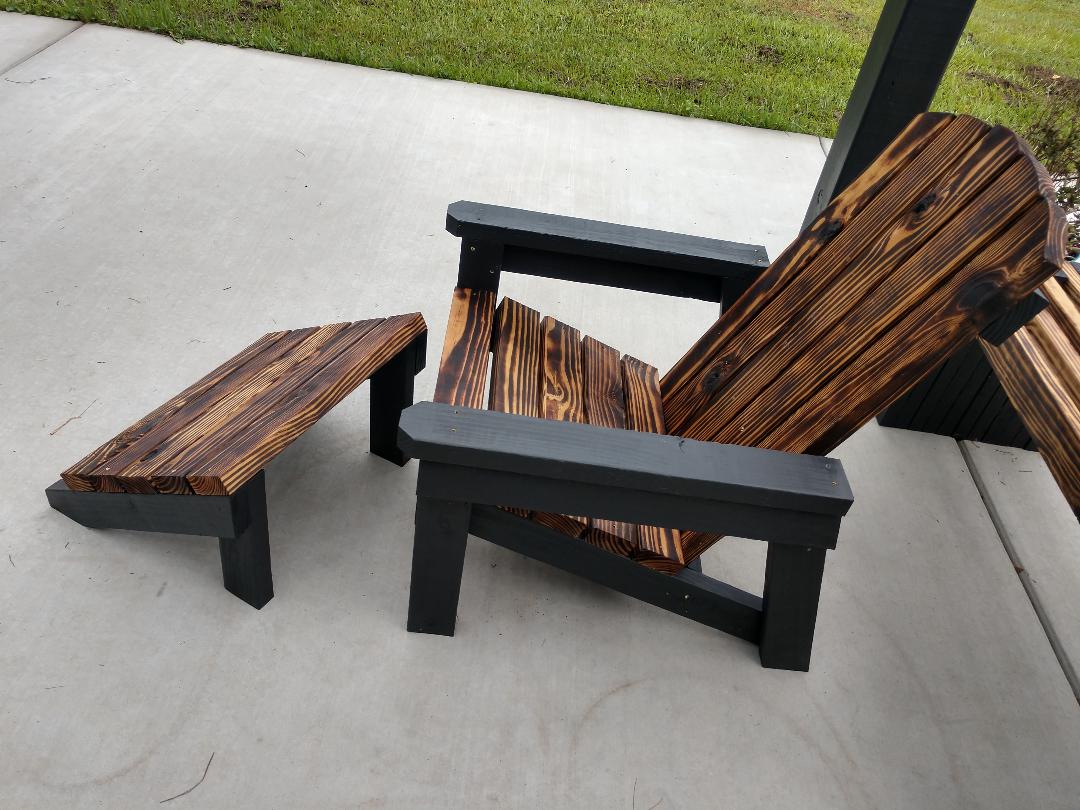
2x4 Adirondack Chair

Submitted by Anonymous (not verified) on Tue, 08/03/2021 - 06:27

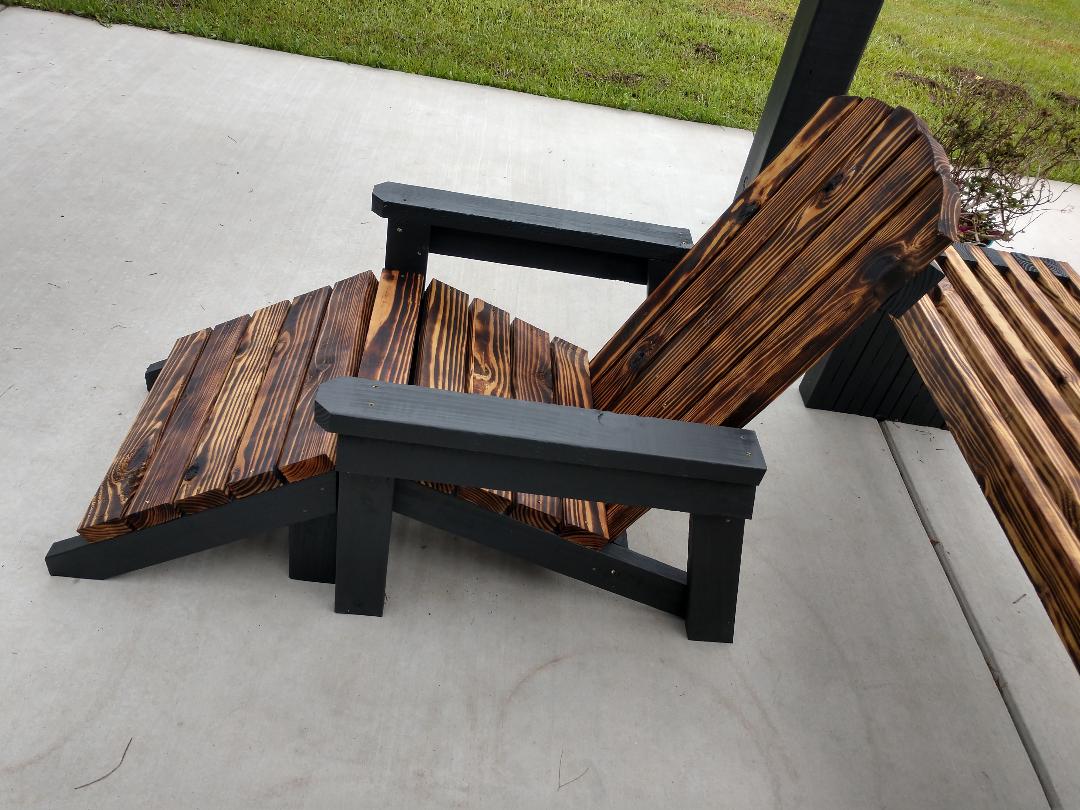
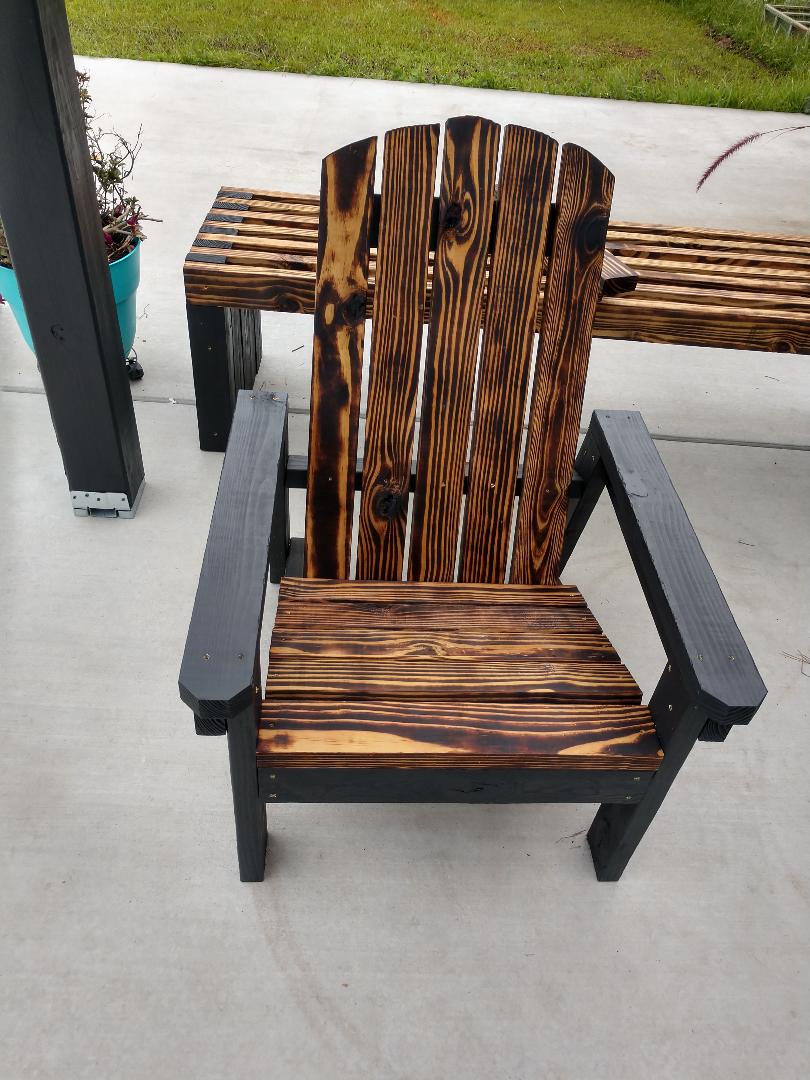
Very easy instructions. I love the way they turned out. I used all 2x4's that I had left over from another project. I burned the top pieces and painted all other pieces. Love your easy instructions. My first time making furniture.
Thanks
Yvette

Recommended Skill Level
Beginner

Modern Deck Chairs and Loveseat

Submitted by c.winks on Mon, 10/04/2021 - 12:59

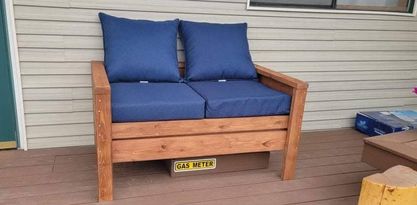
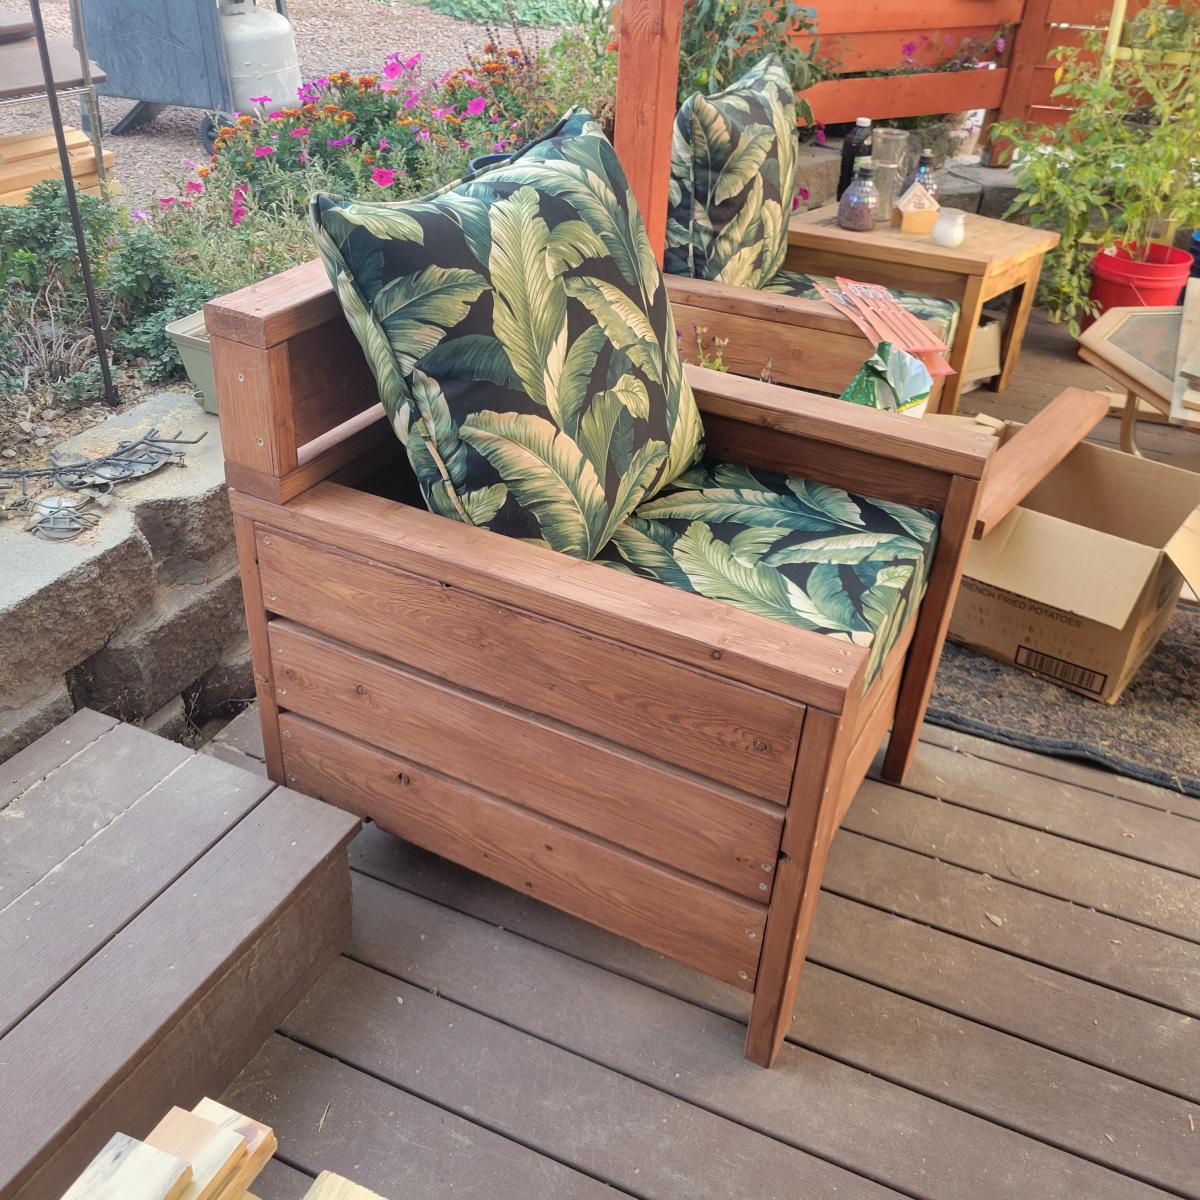
Love, love, love your projects and plans! I have made 3 of the Modern Outdoor Chairs so far, as well as the Modern Outdoor Loveseat and they are amazing. I purchased both the seat and back cushions for my chairs before realizing that the back cushion had nothing to lean against, so I modified the design and gave the chairs alittle more personality. Keep those plans coming, I can't wait to try more.

Comments

Planters

Submitted by Anonymous (not verified) on Mon, 10/04/2021 - 13:22

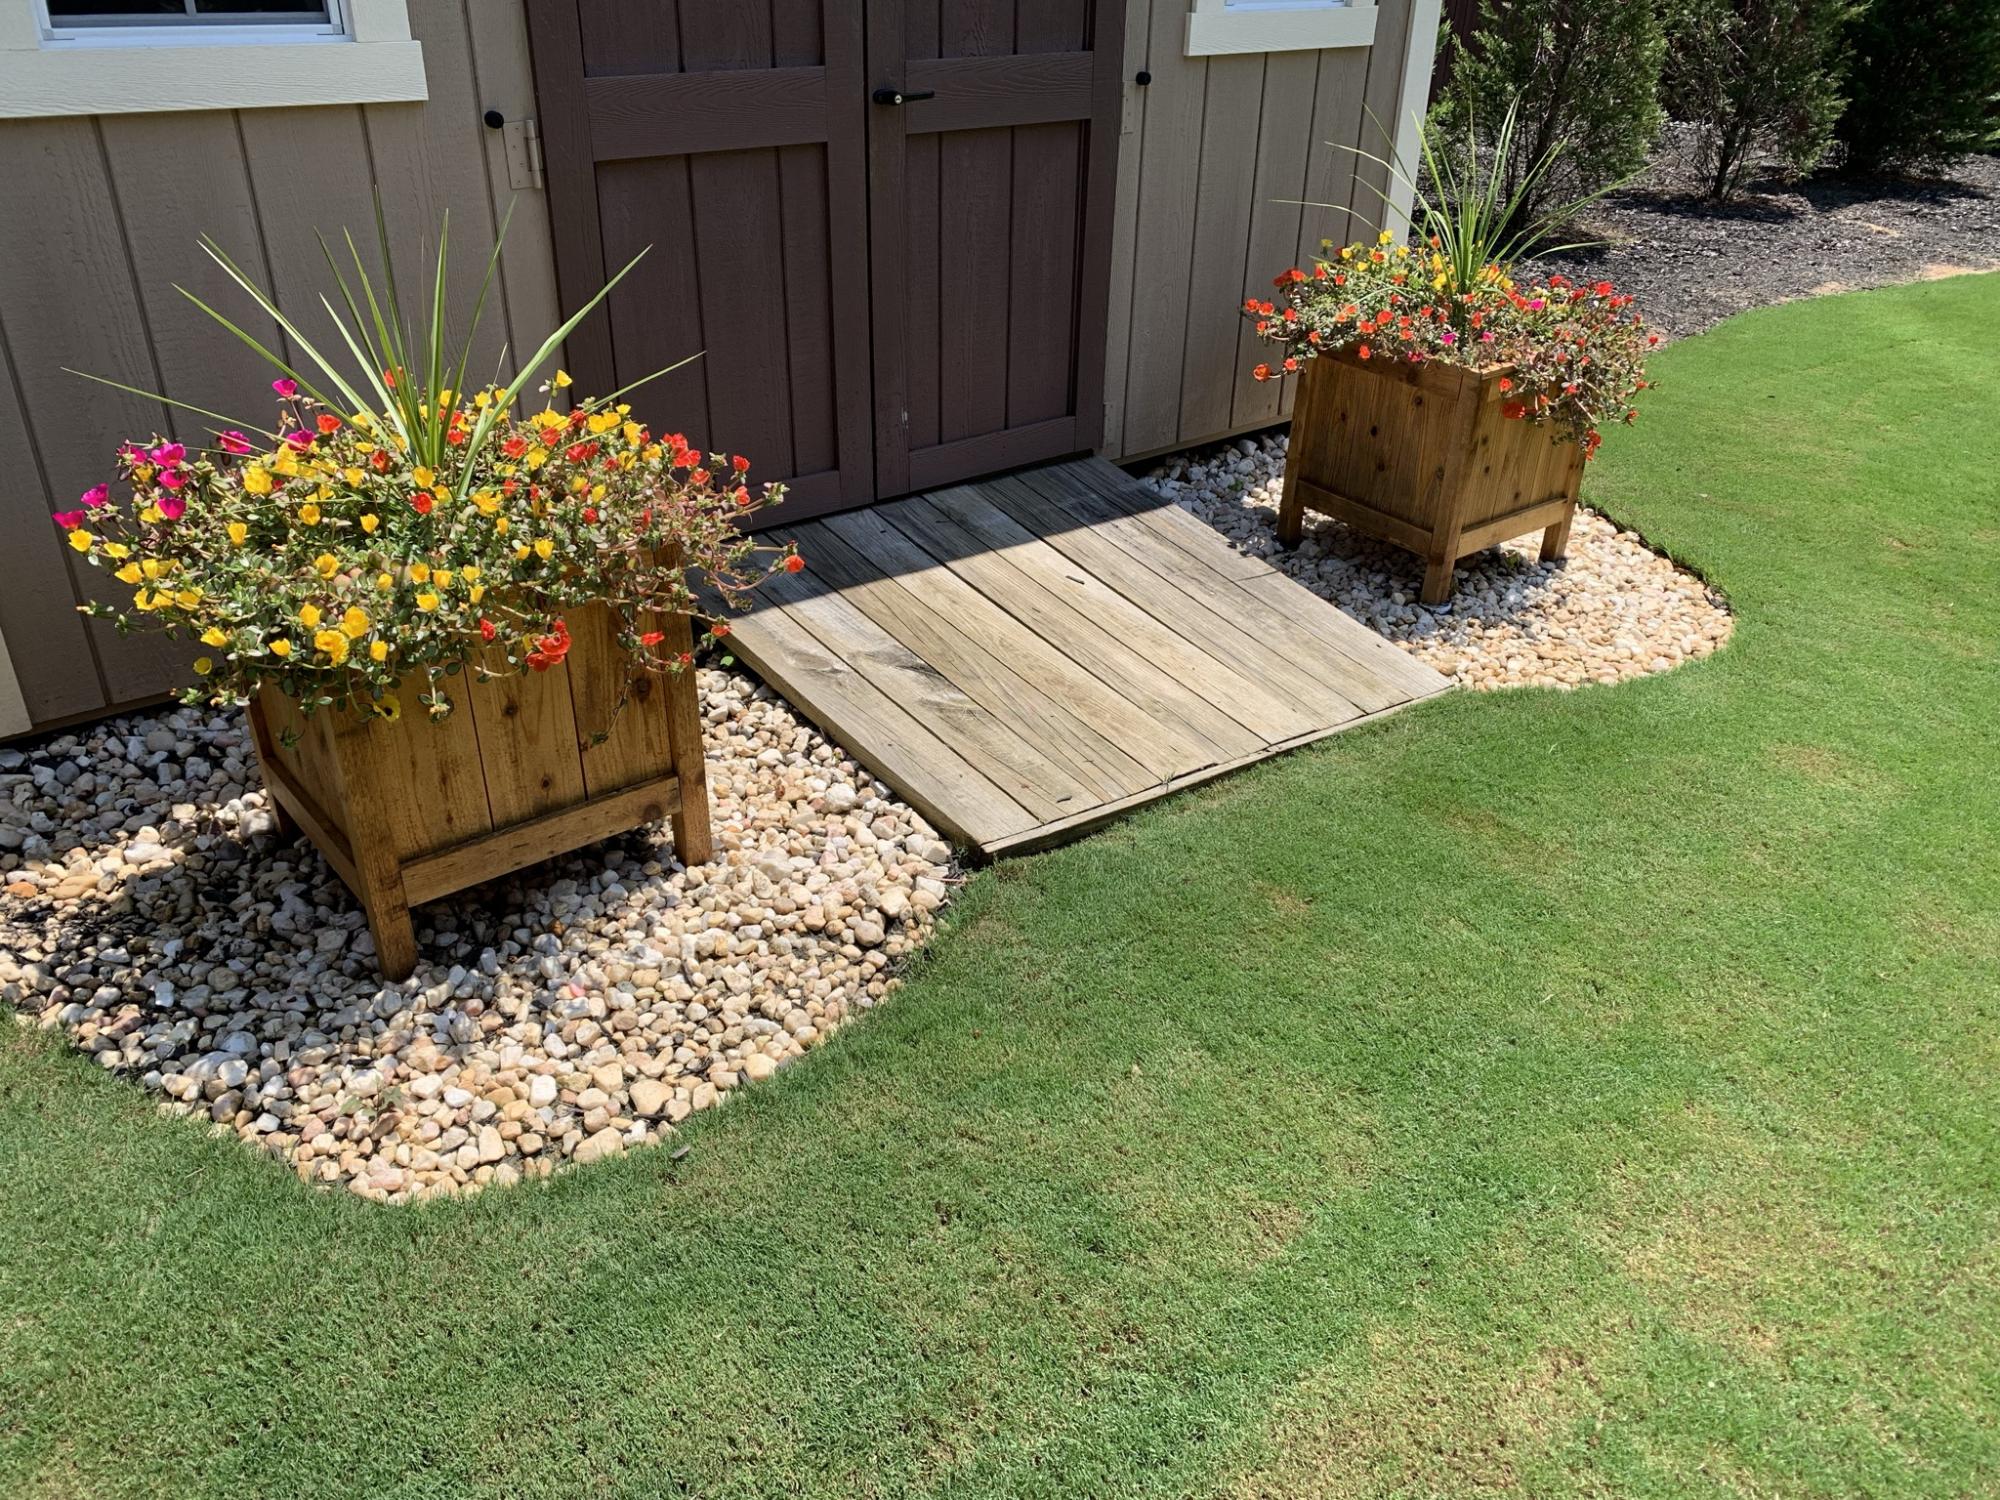
Cedar planter boxes made largely from fence pickets.

Built from Plan(s)

Comments

Cedar Raised Garden Planter

Submitted by Tamila on Wed, 03/09/2011 - 21:48

This was my first building project ever! It was so easy to do...the only problem was that we didn't have enough room for all the veggies we wanted to plant in our garden because we only built two! The plan is to build at least two more this summer!

Estimated Time Investment
An Hour or Two (0-2 Hours)
Recommended Skill Level
Starter Project

kids bench

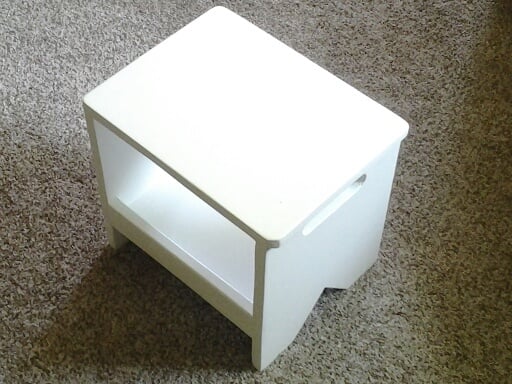
I built this bench for my niece on her birthday. It as easy and fun to build. My niece and everybody at the party loved it.

Estimated Cost
$12
Estimated Time Investment
Afternoon Project (3-6 Hours)
Finish Used
Valspar Simi-gloss white
Recommended Skill Level
Starter Project

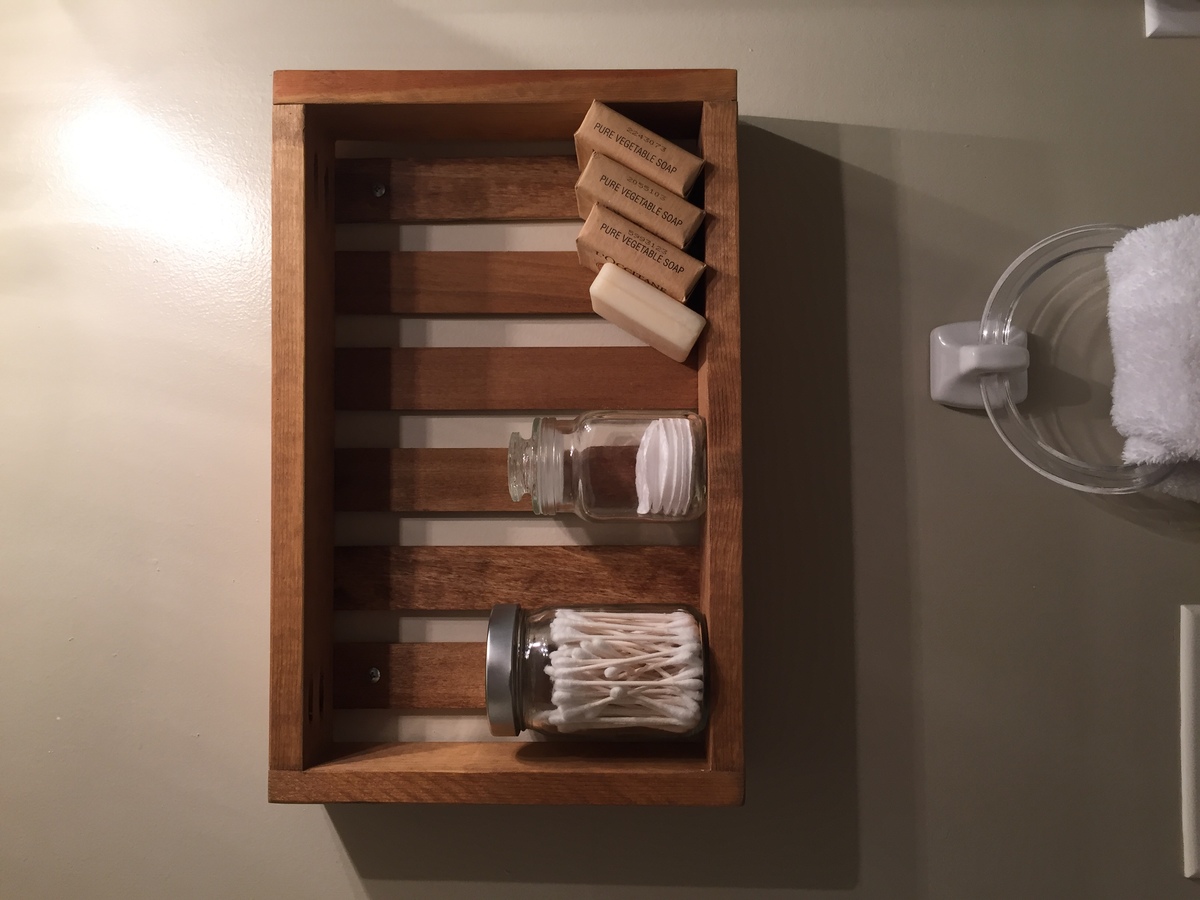
Wall Crates

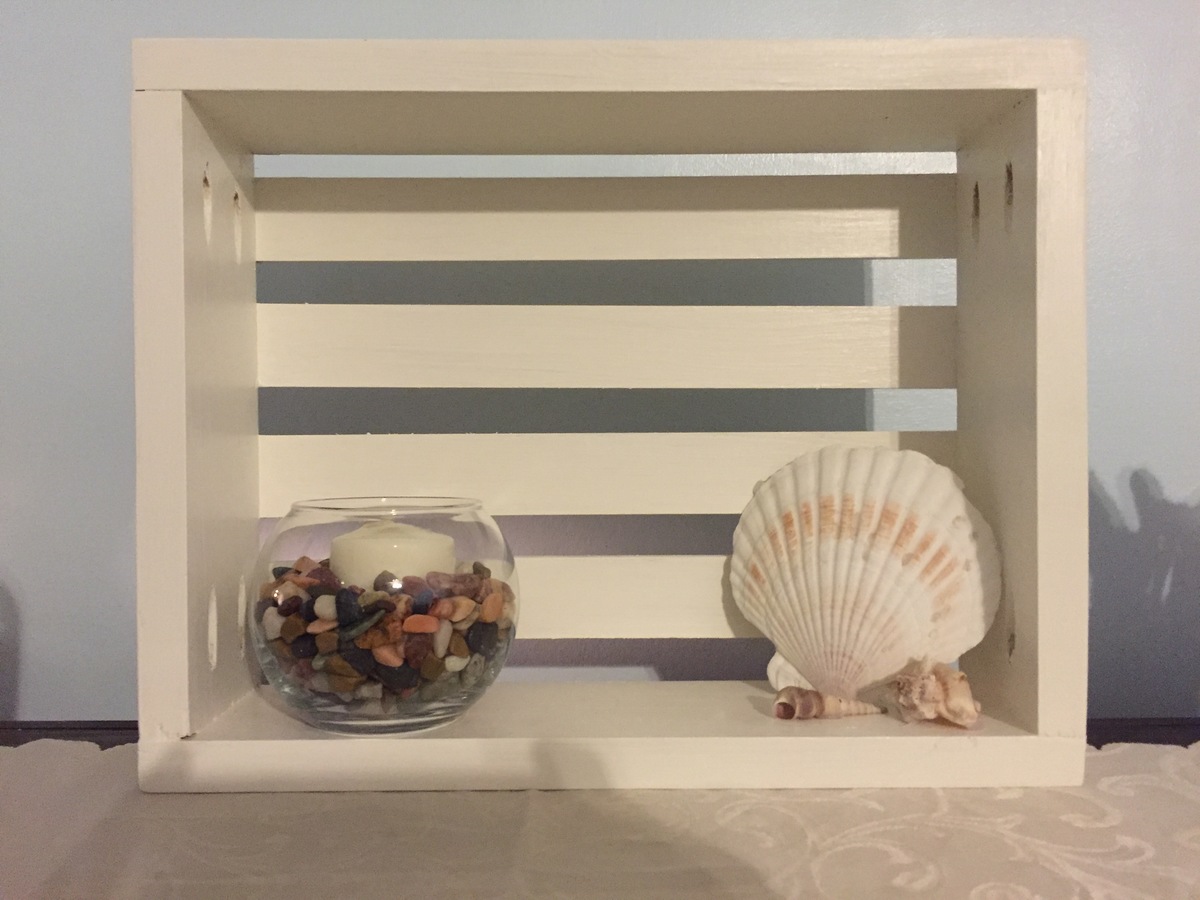
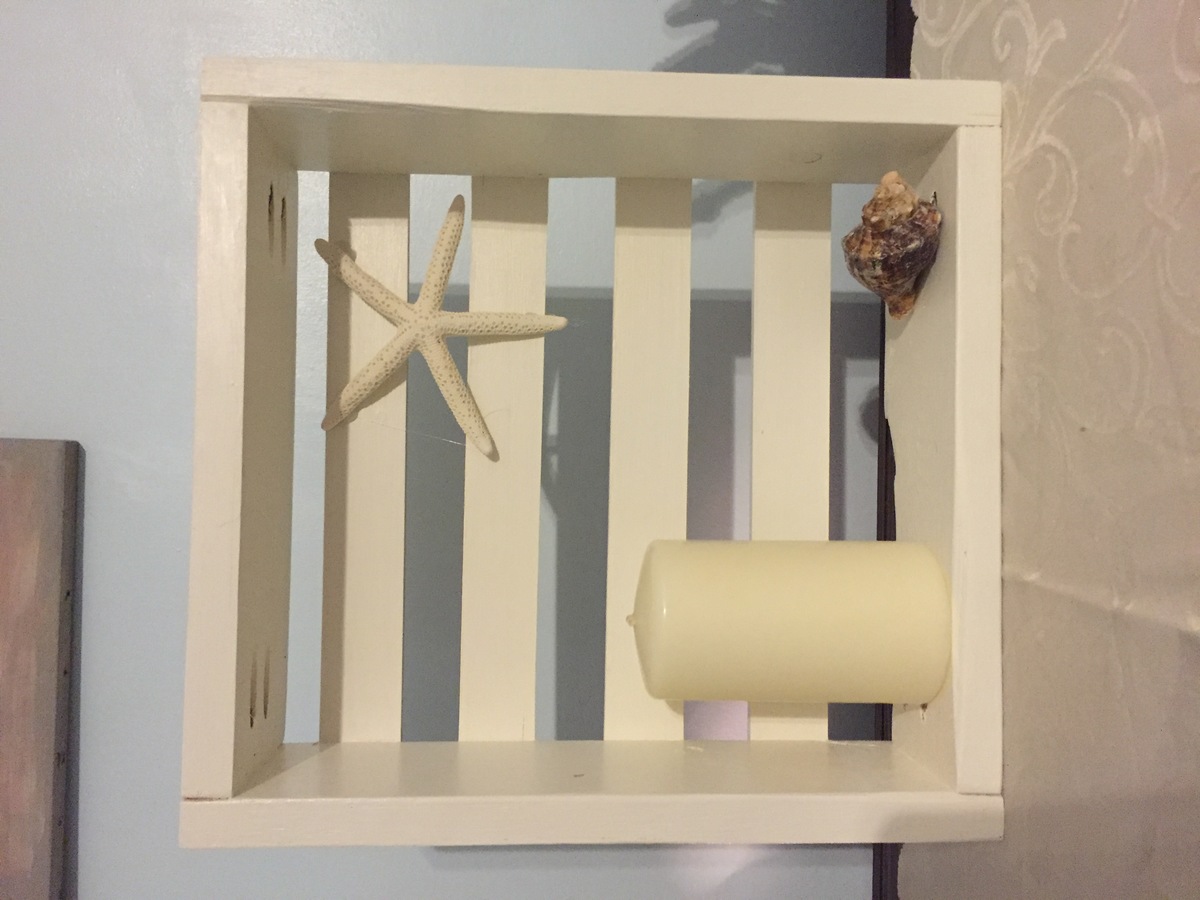
Really cute and simple project. I left one stained for the rustic bathroom and painted two white for the beach themed living room.

Built from Plan(s)
Estimated Time Investment
An Hour or Two (0-2 Hours)
Finish Used
painted two in white dove by valspar and stained one in oak with Minwax
Recommended Skill Level
Starter Project

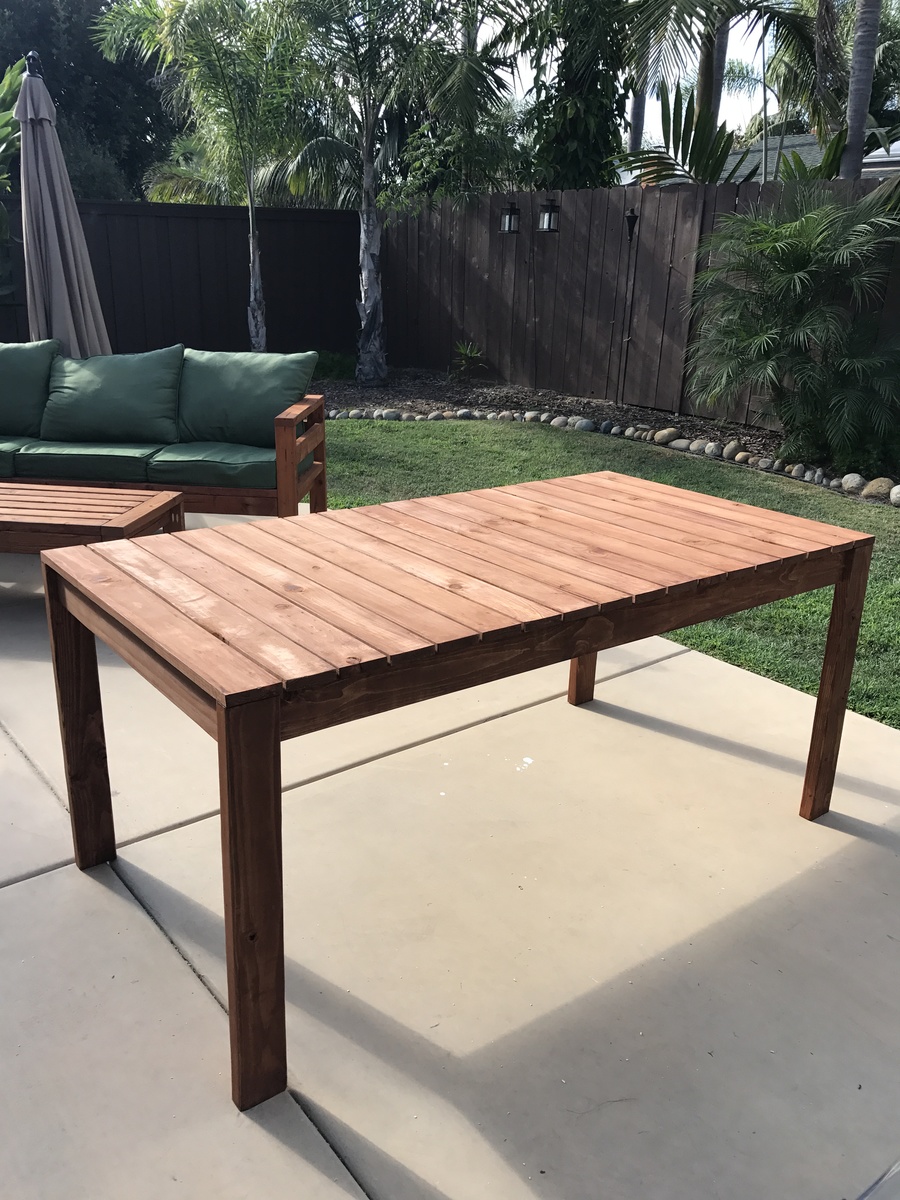
Simple Outdoor Dining Table - Kreg Jig Version

Submitted by mstephe7 on Mon, 09/18/2017 - 10:57

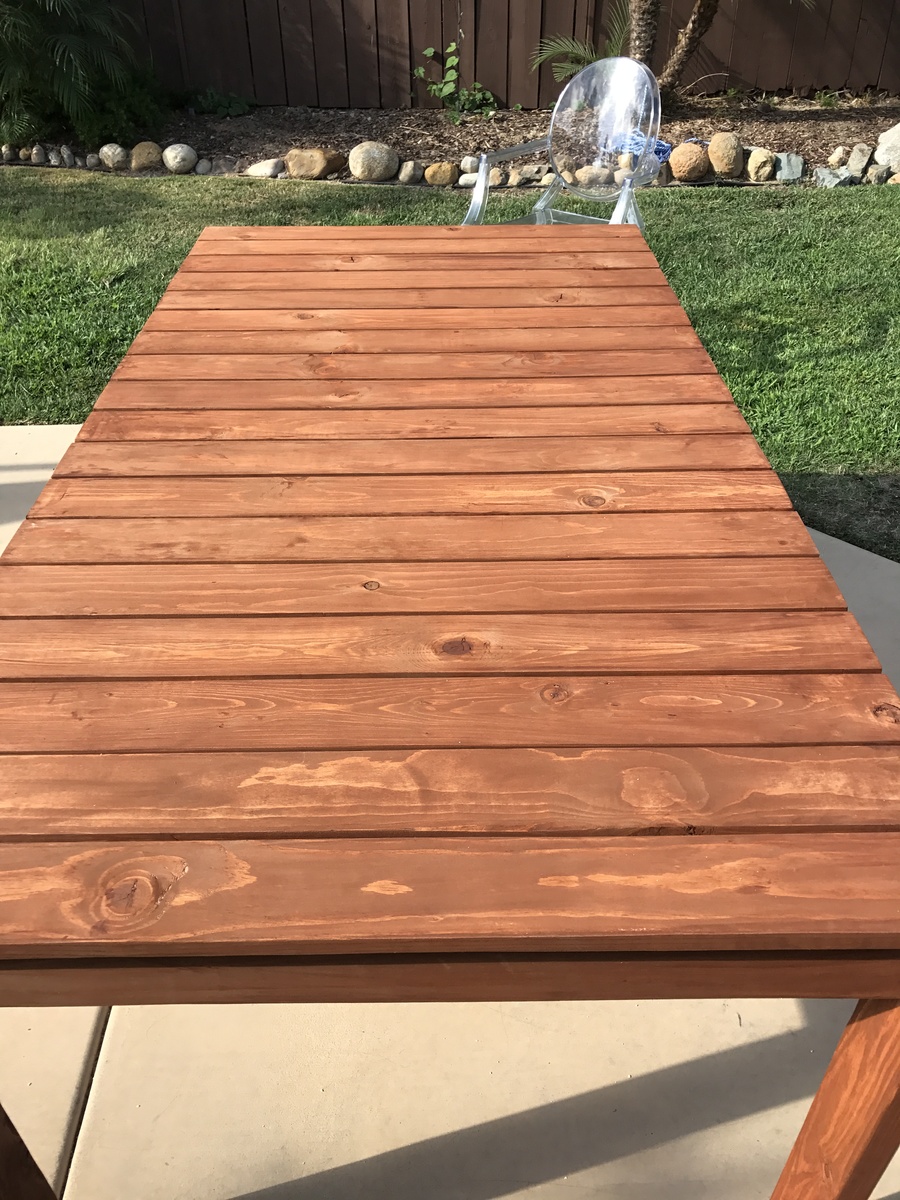
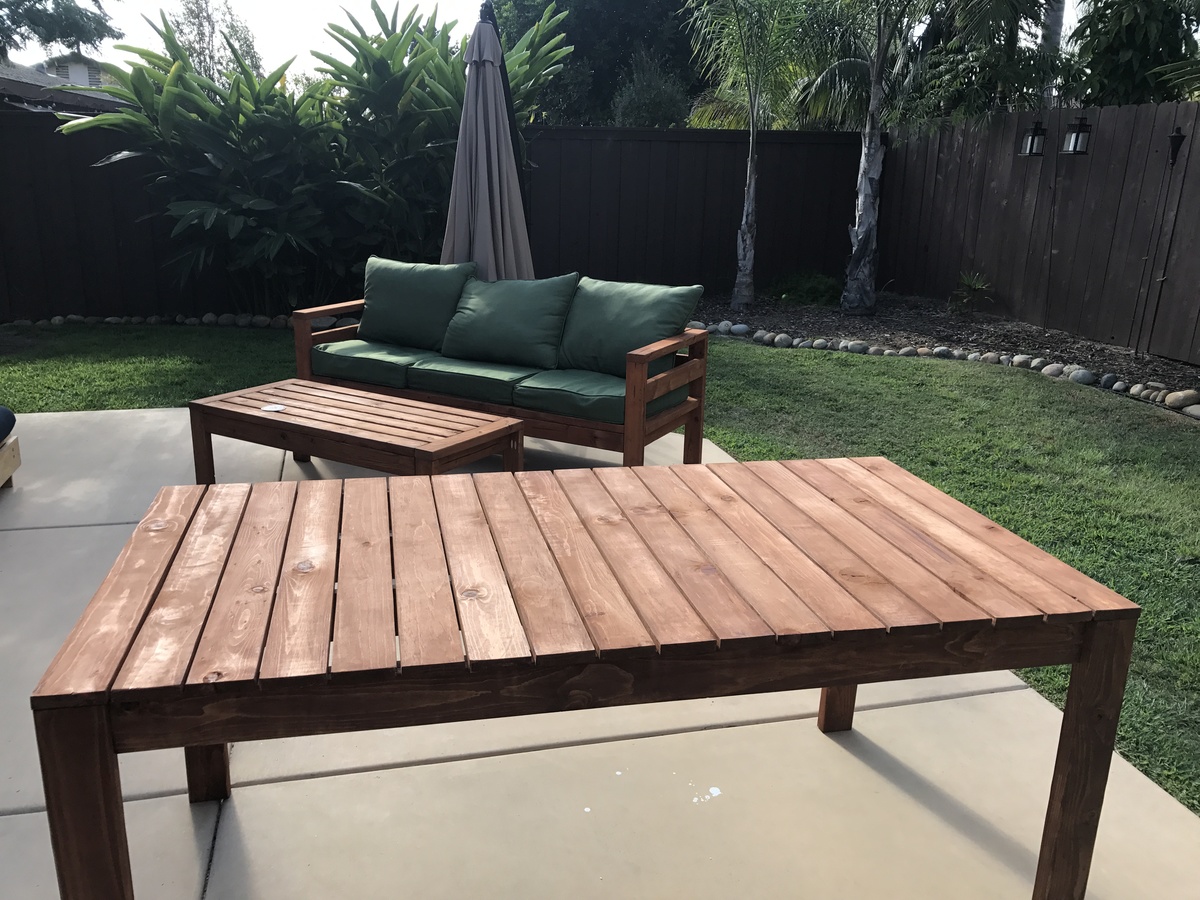
I followed the plans to the dining table with the suggested 1/4" spacing and extra slat so that this table will match the bench I will be making next.  I used the kreg jig for everything so that there are no visible screws.  This table is relatively simple to assemble and seems sturdy yet not too heavy.

Built from Plan(s)
Estimated Time Investment
Weekend Project (10-20 Hours)
Finish Used
Semi-transparent deck stain
Recommended Skill Level
Intermediate

Church Pulpit

Submitted by BBLinda on Sat, 06/08/2013 - 10:34

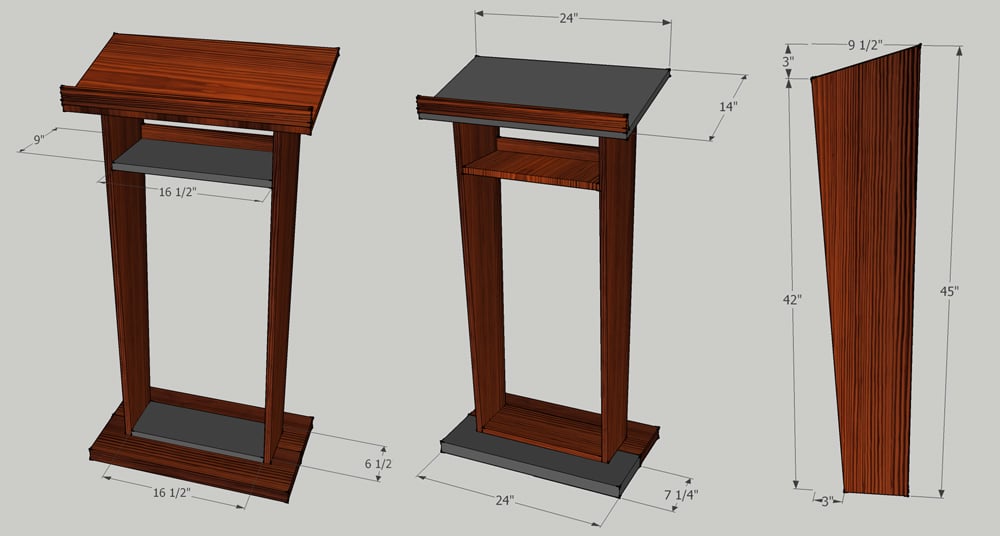
A good friend of mine, a pastor of a local church, asked me to build a pulpit for their recently finished church up in the countryside of Grenada. She showed me a picture of what she had in mind and based on that, I drew my own plan in SketchUp, and then built it out of Yellow Pine boards and Plywood.
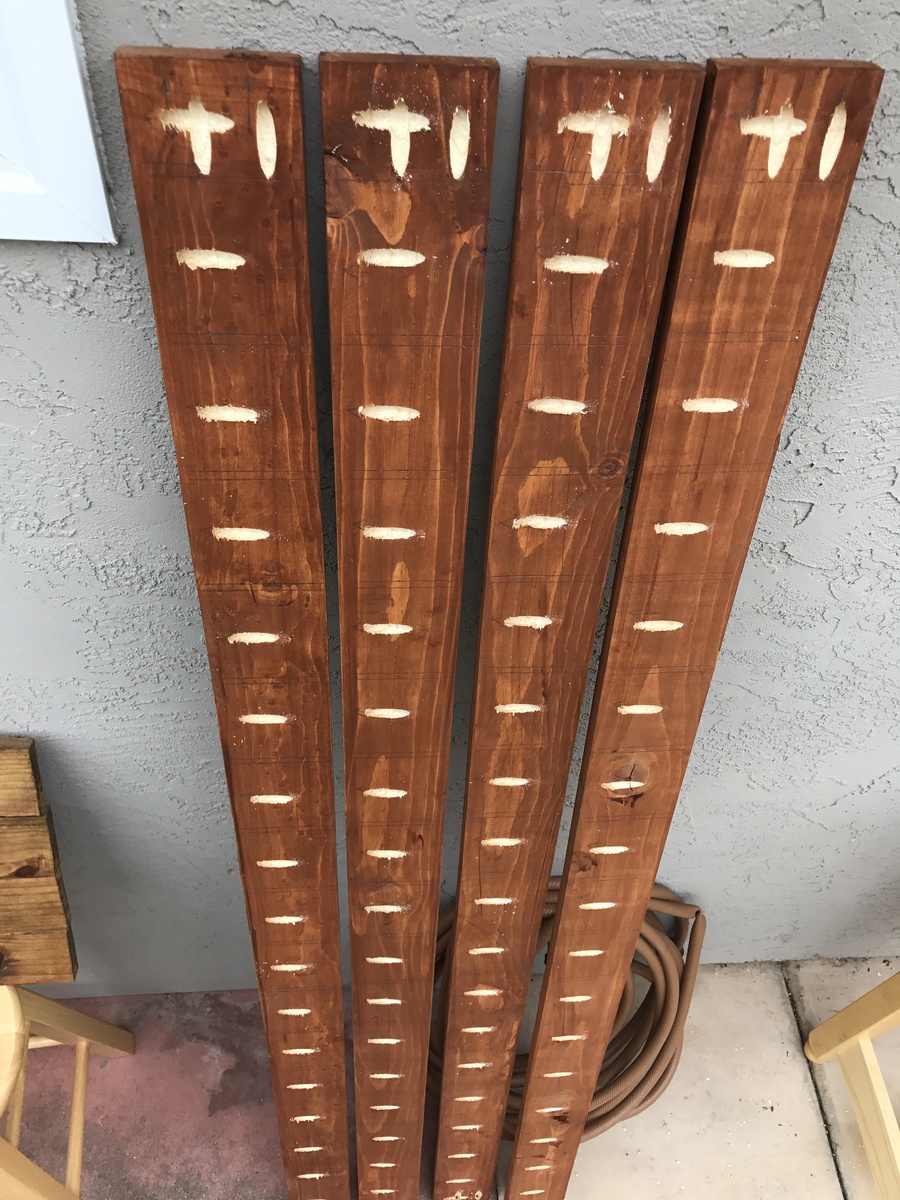
Note to the dimensions:
After I drew the plan, and just when I was at the lumberyard to have the plywood and boards cut, I thought I might have had it estimated not wide enough, so I decided on the spot to make it 2" wider and the top panel 2" wider and deeper too. So if you'd like to build based on my plans, please consider if it's wide enough for your purposes.
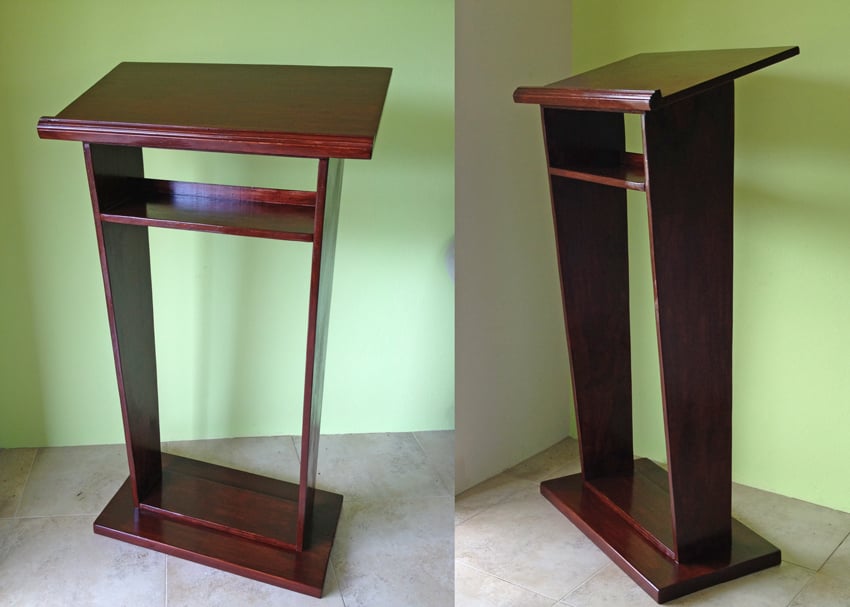
This is what I used (corrected measurements here):

2x 2x8 26" long YP Boards (Base)
1x 18 1/2" x 6 1/2" Plywood (Base Support Panel)
1x 26" x 16" Plywood (Top)
1x 18 1/2" x 9" Plywood (Shelf Panel)
2x 45" x 9 1/2" Plywood (Side Panels ) - these are cut angled, see plans
1x 44 1/2" Wood Moulding (for the "stopper" on the top panel, and the "back" of the top shelf.

Estimated Cost
~ US$ 115 (material is very expensive here on the island, and I guess you could build it for about half or 2/3 of this in the USA)
Estimated Time Investment
Weekend Project (10-20 Hours)
Finish Used
MINWAX Polyshades / American Chestnut Satin (375)
Recommended Skill Level
Beginner

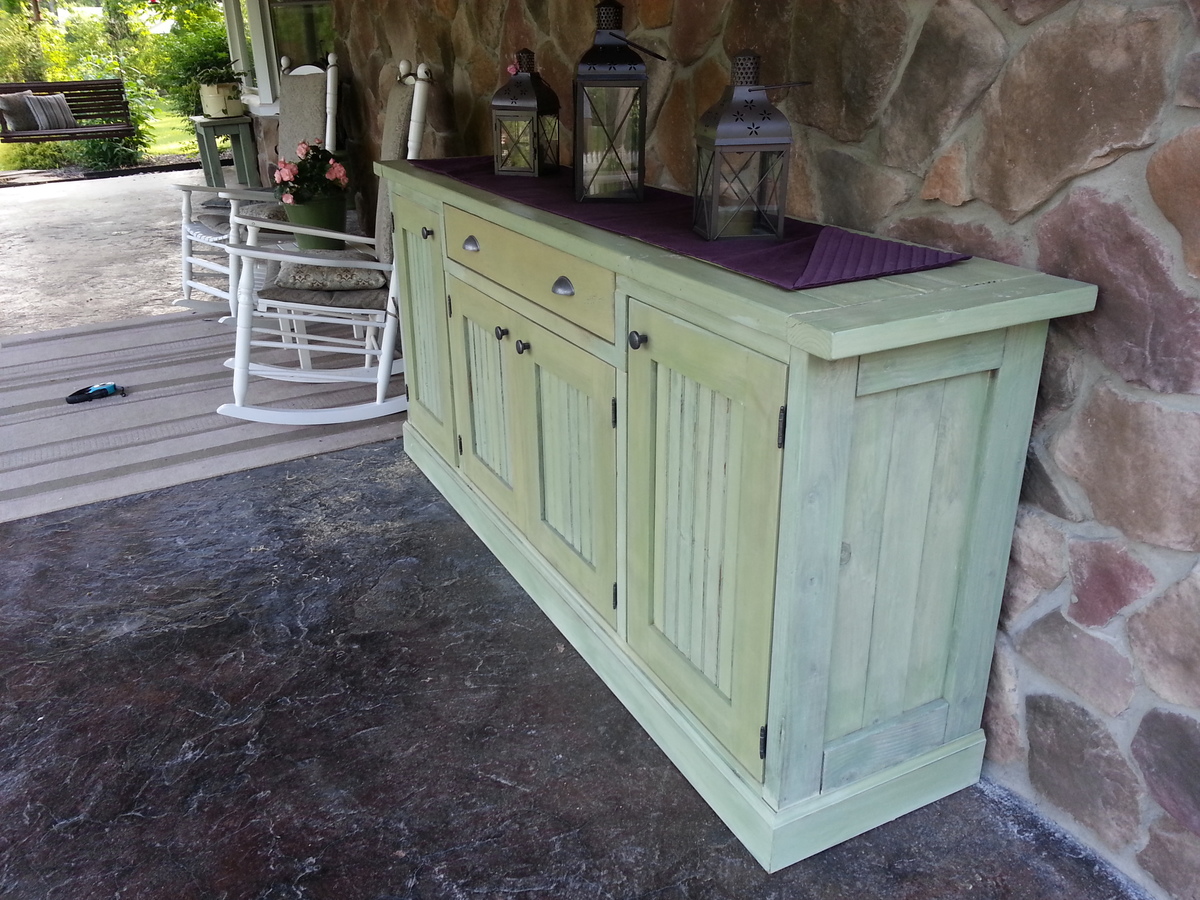
Rustic Sideboard

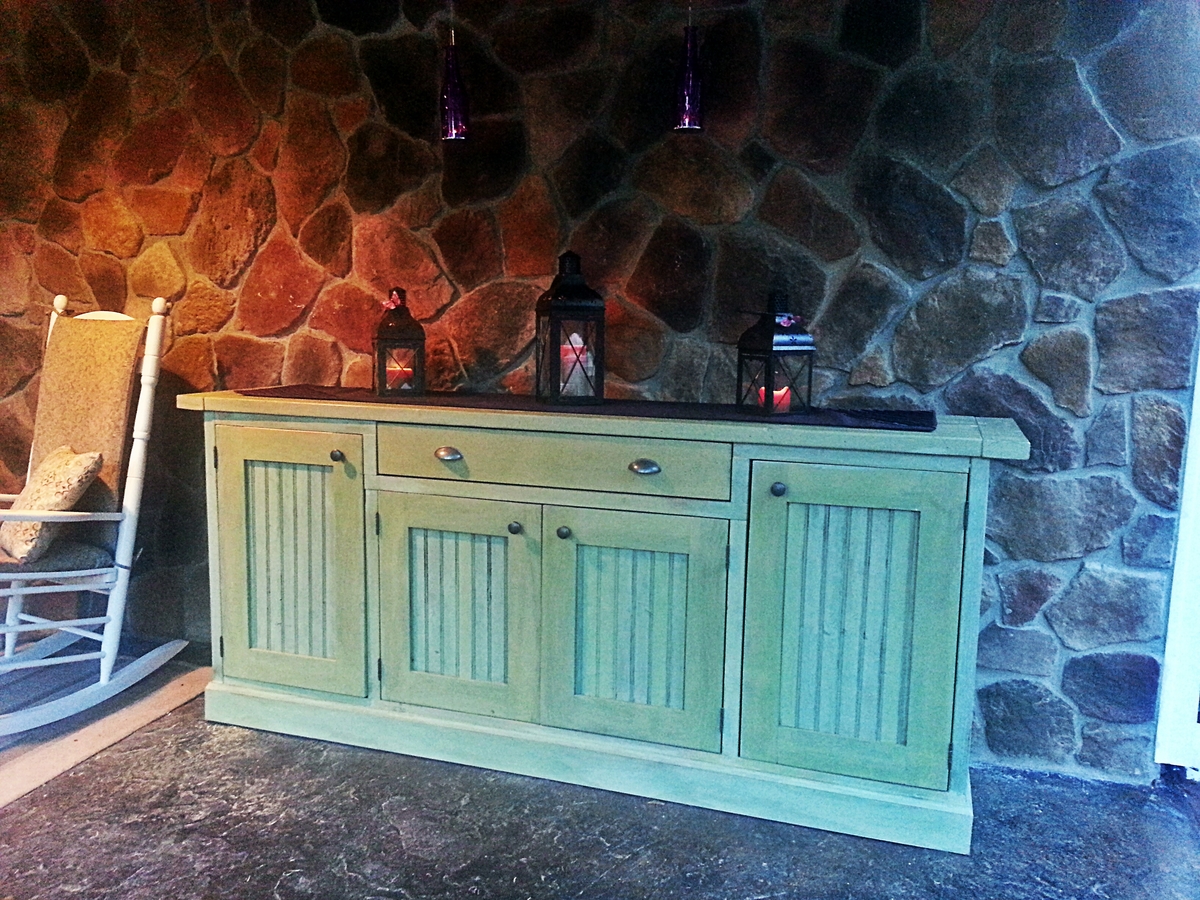
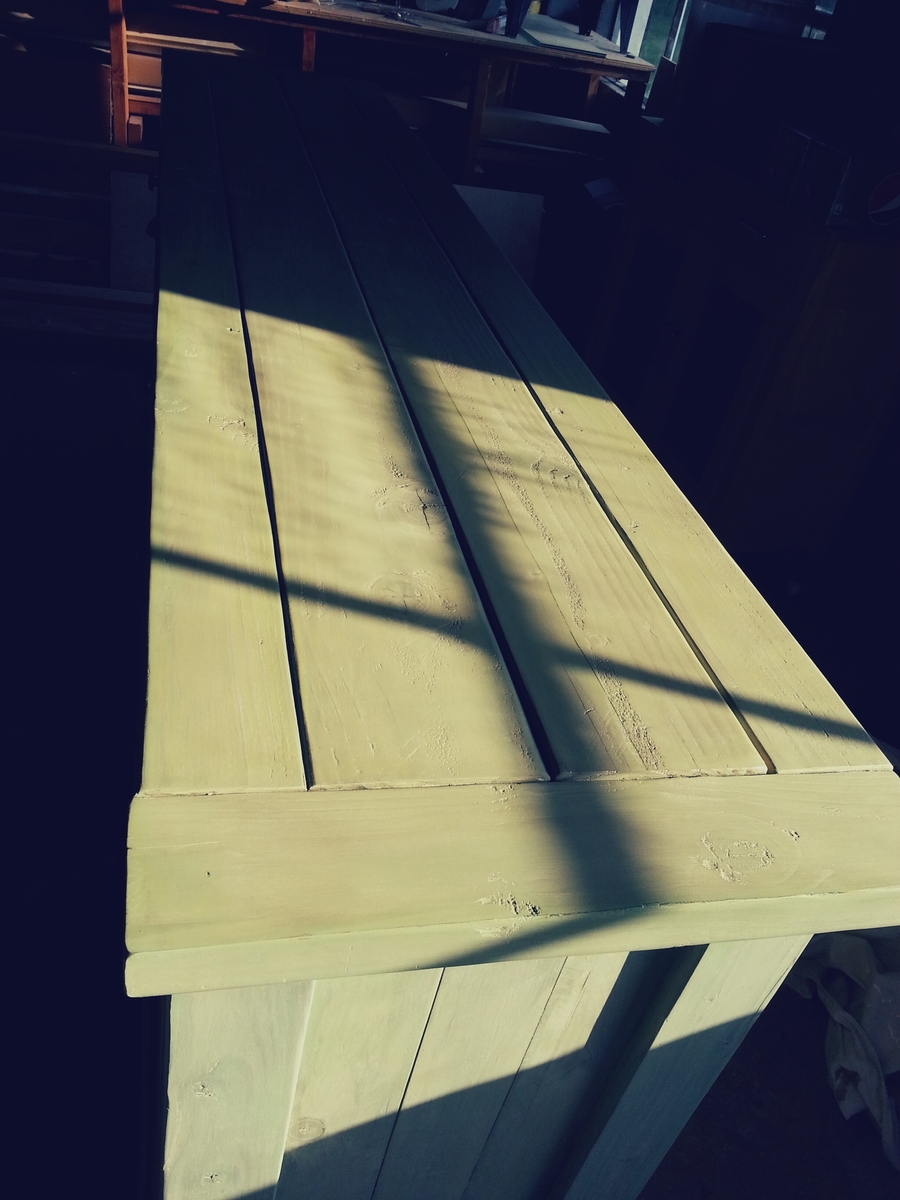
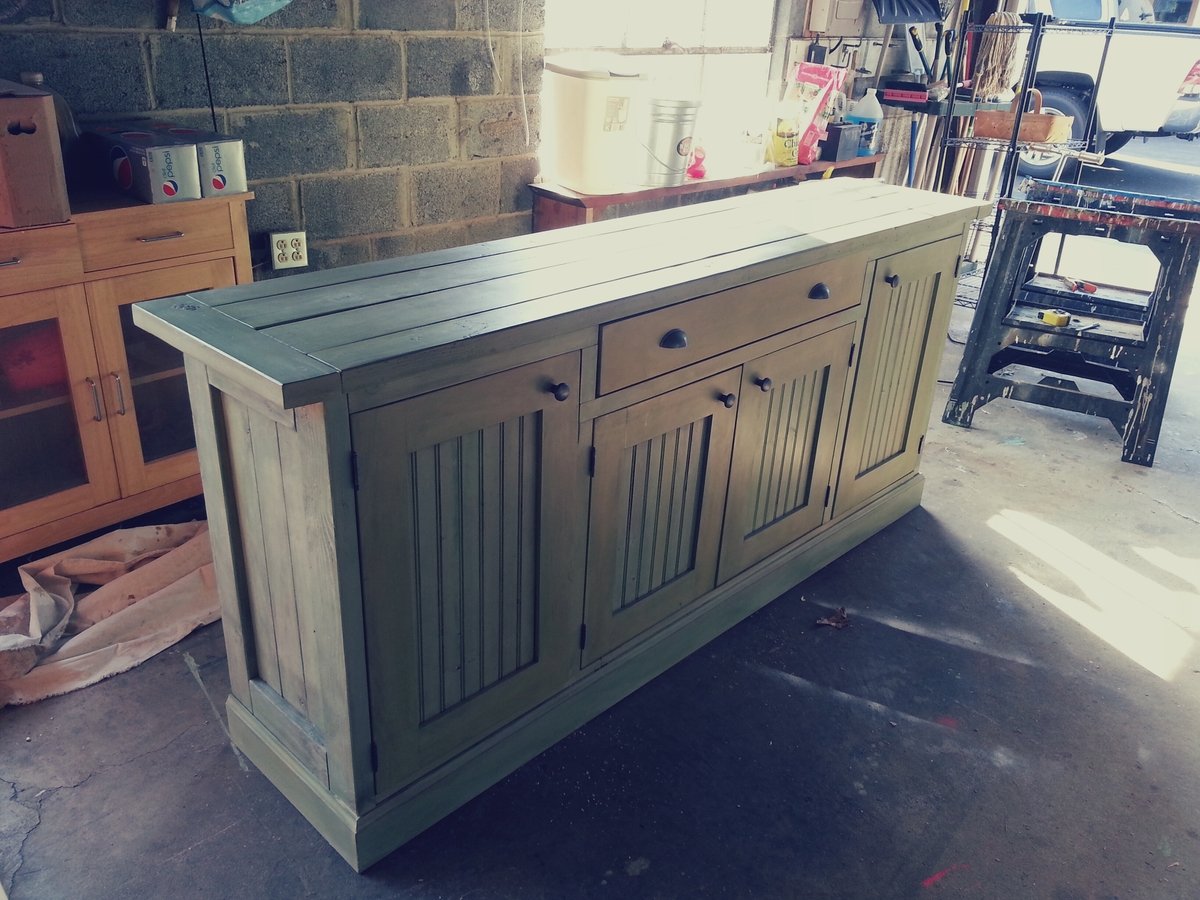
Submitted by Chopper on Sun, 06/09/2013 - 18:59

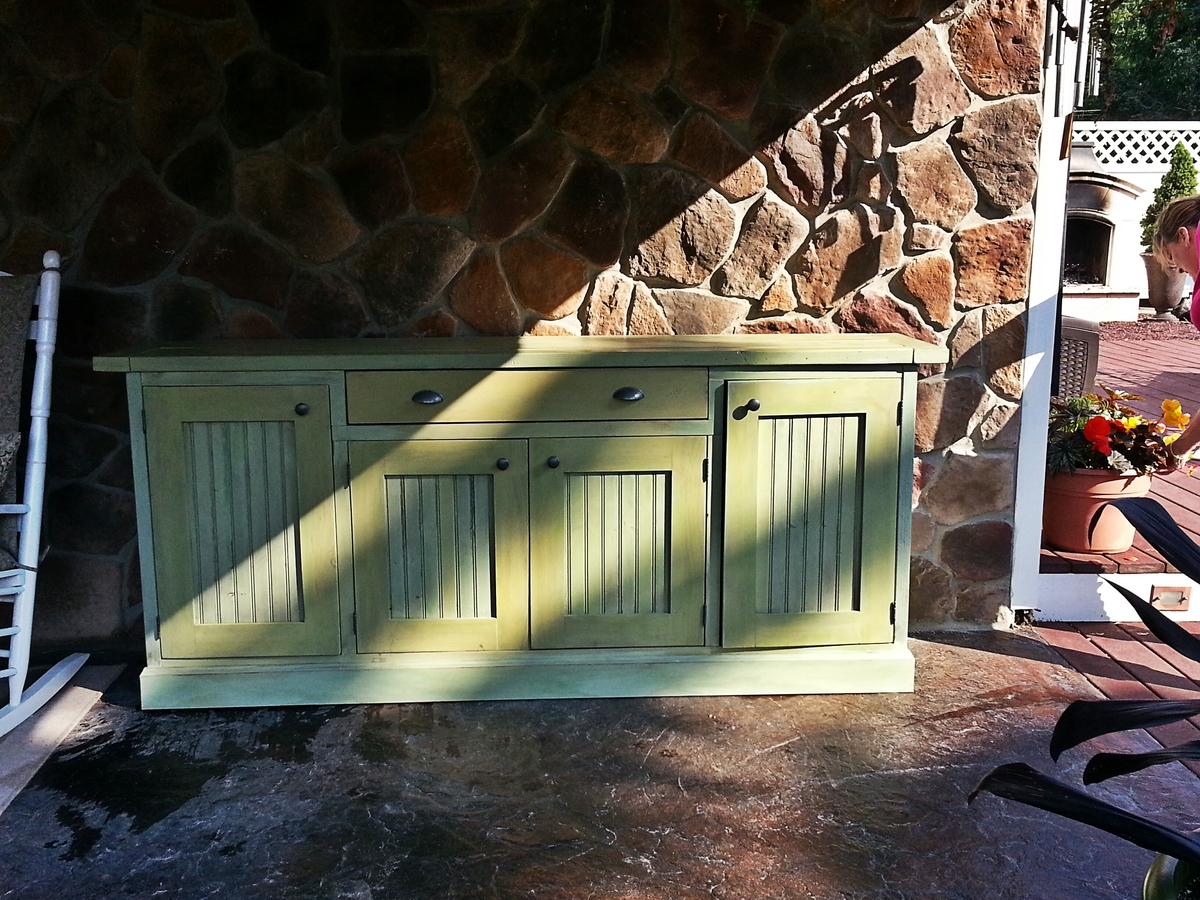
Rustic Sideboard Project.

We had so much fun doing this! Took about 3 weeks with significant effort.

We only made it with the center drawer. The cabinets were enlarged on the outside to account for this.

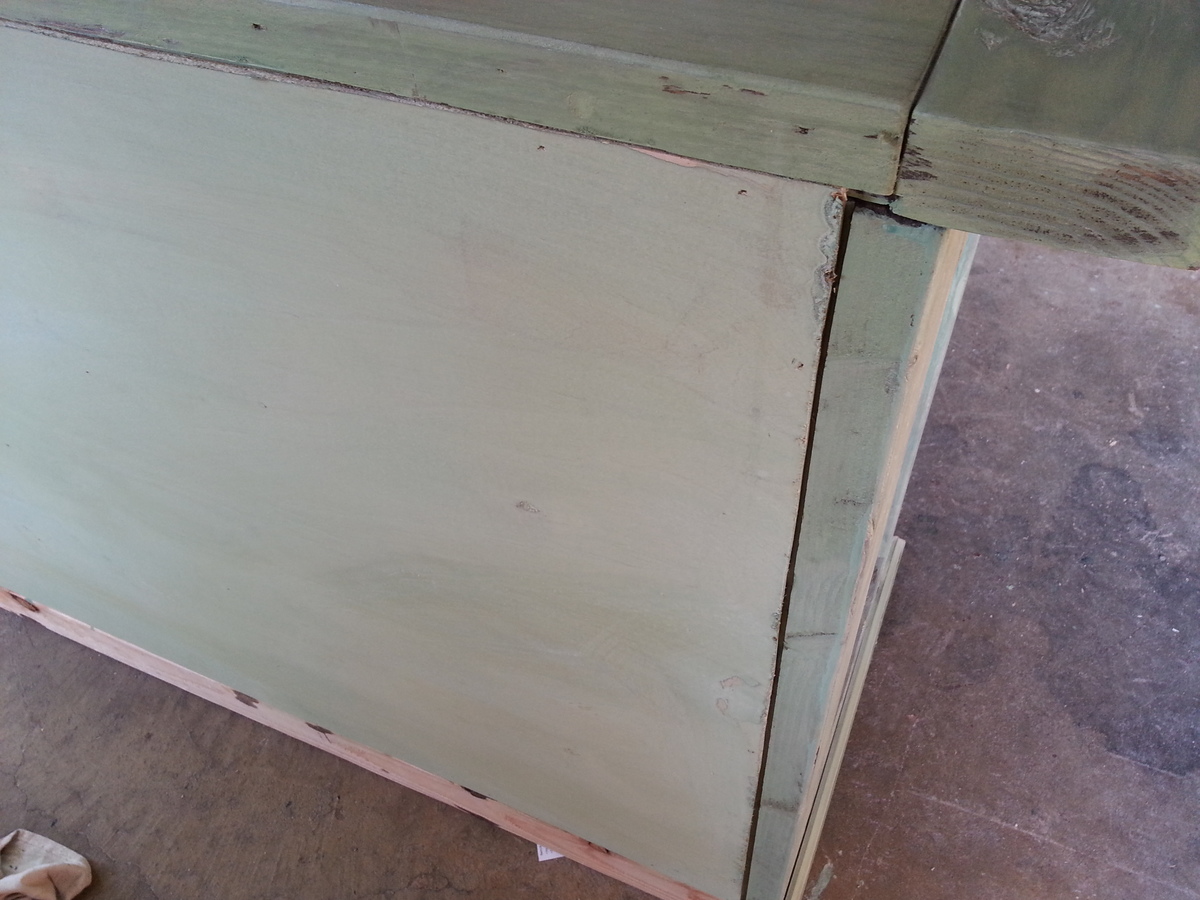
We didn't tack the backing on. We routed in 1/4 inch in the back to inset the entire back. Very simple and easy.

The finish was fantastic. We did the following (Sanding heavily between each step):
-Minwax Provincial Stain
-Miss Mustard Seed Luckets Green (1 coat)
-Minwax Furniture wax.

We used the same hardware as on the website. Lowe's and Home Depot don't care a lot of inset hinges and I was concerned about ordering on line.

The plans were great and the project came out fantastic. Thanks for the plans and guidance!

Estimated Cost
400
Estimated Time Investment
Week Long Project (20 Hours or More)
Finish Used
-Minwax Provincial Stain
-Miss Mustard Seed Luckets Green (1 coat)
-Minwax Furniture wax.
Recommended Skill Level
Intermediate

Comments

Swing and arbor

Weekend swing project

Recommended Skill Level
Beginner

Comments

Ana White

Tue, 05/07/2019 - 10:42

We don't currently have this plan available, although I'd be happy to draw it with the author's permission.

I have linked a few plans above that could be used to create this plan.  Just make sure you bury the arbor uprights underground on concrete pier posts or similar (like building a fence)