Community Brag Posts

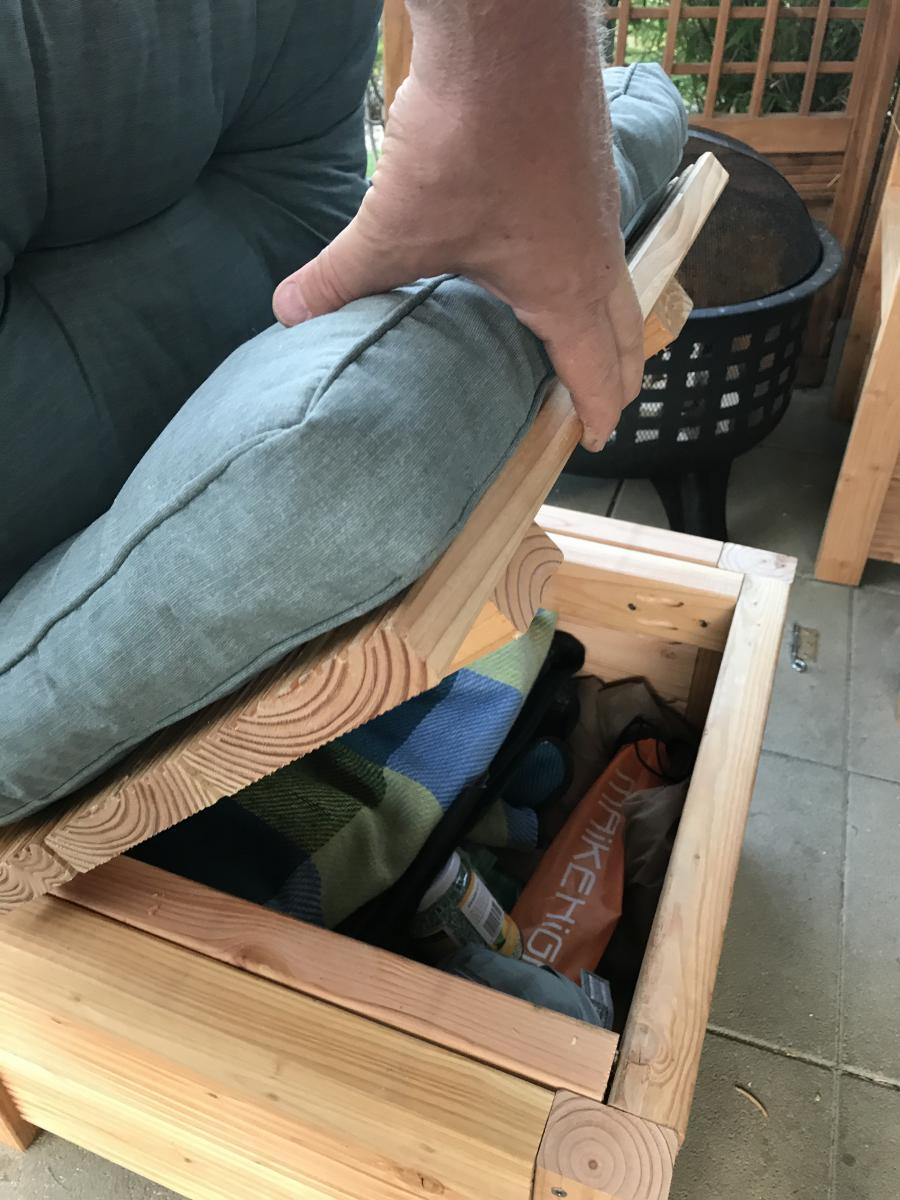
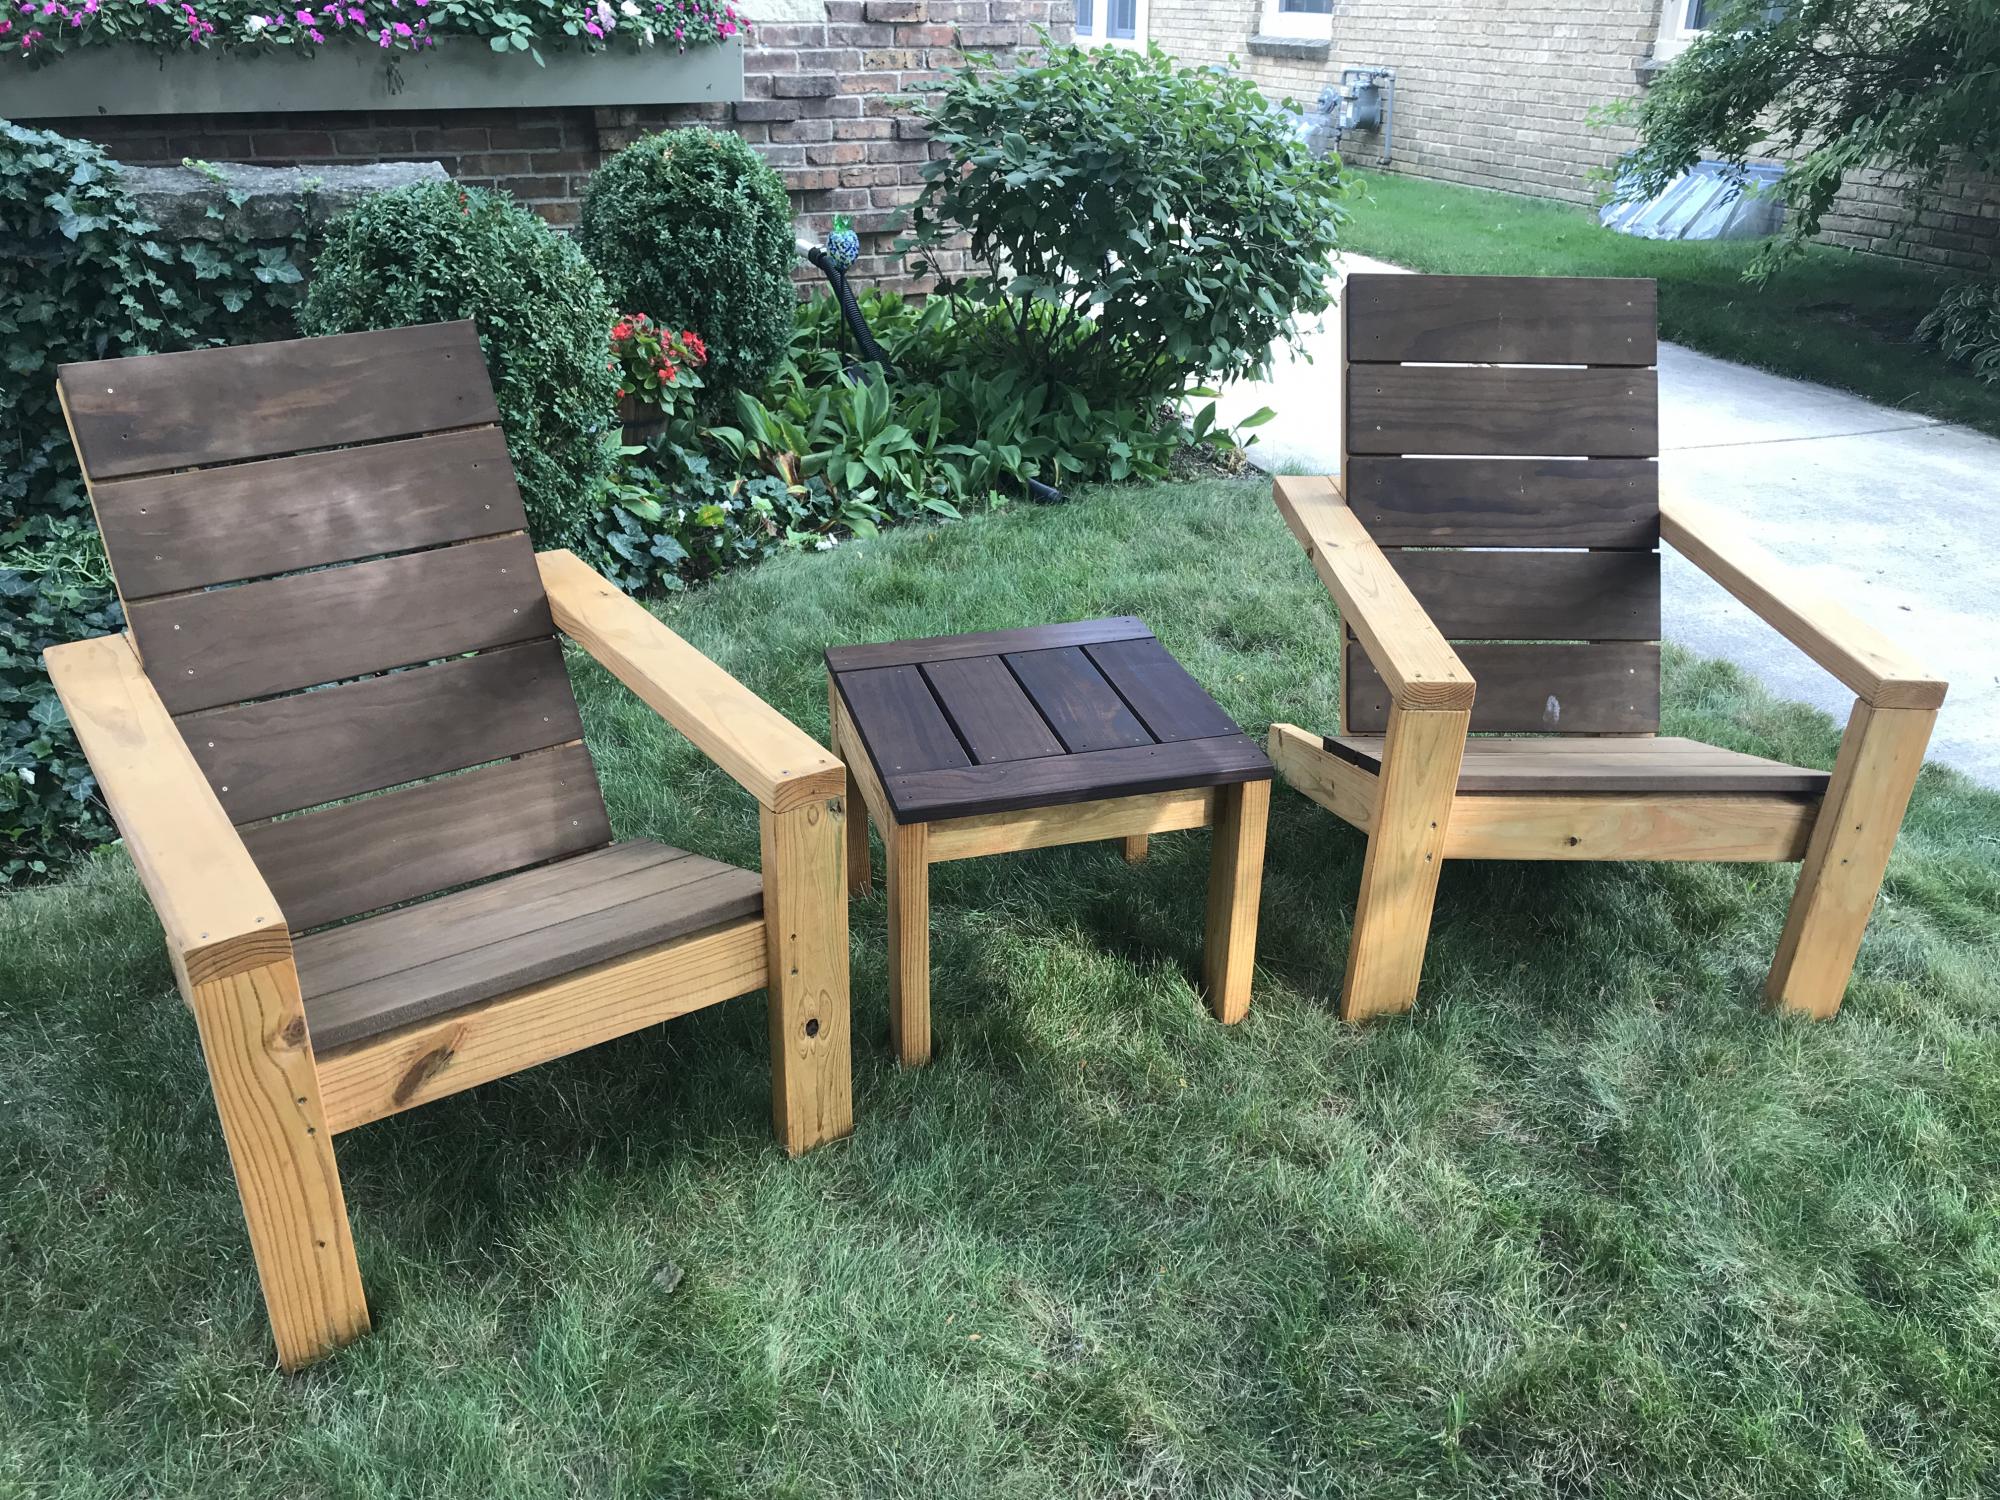
Modified Adirondack Chairs and Coffee Table

Submitted by carvern on Mon, 10/04/2021 - 14:16

I had some Kebony deck boards left over from another project and thought they would work well. I think they did! Kebony is pine that is soaked in an alcohol and then heated up. It has a 30 year warranty and requires no care. I used a Penofin oil on the 2x4s and Cutek oil on the Kebony

Comments

Ana White Admin

Tue, 10/05/2021 - 09:53

Kebony sounds like a great material for outdoor builds, very pretty too! Well done, thank you for sharing!

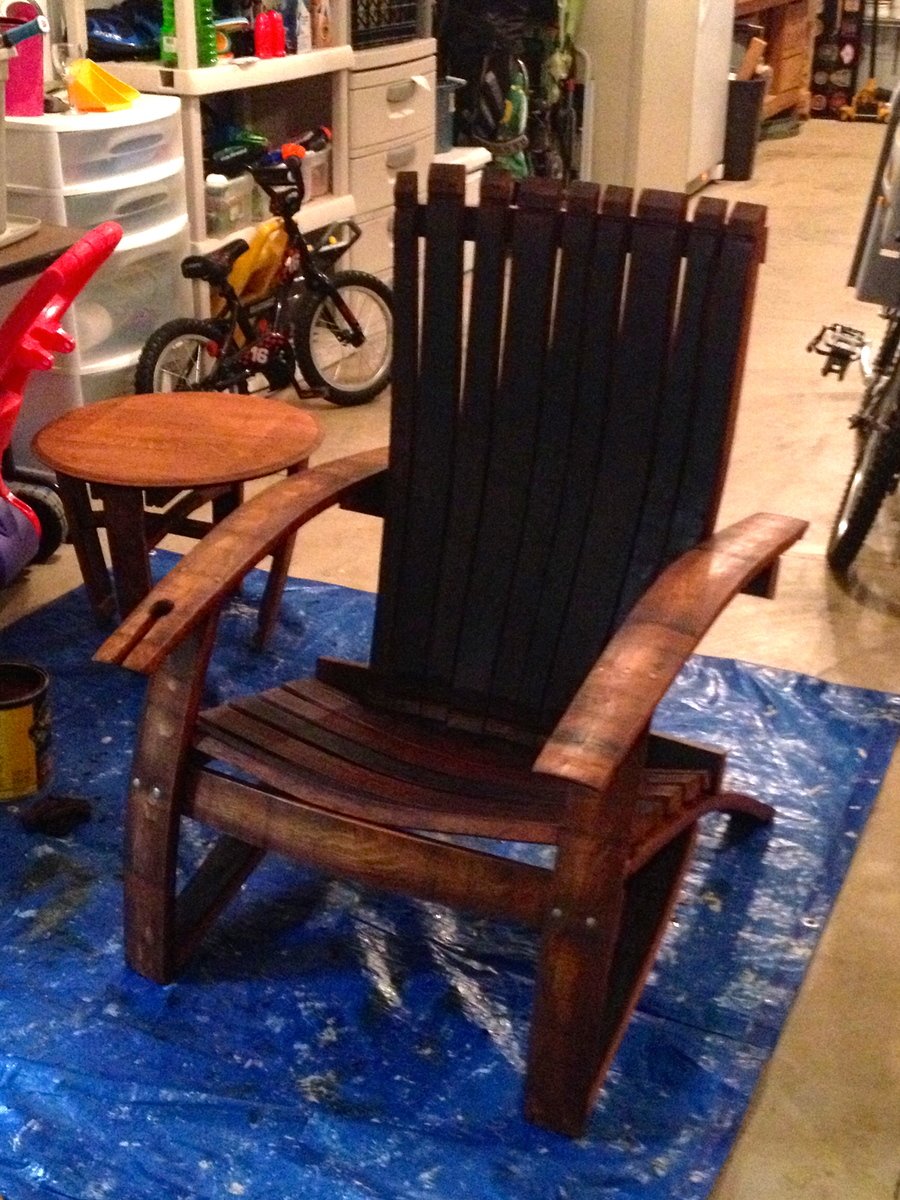
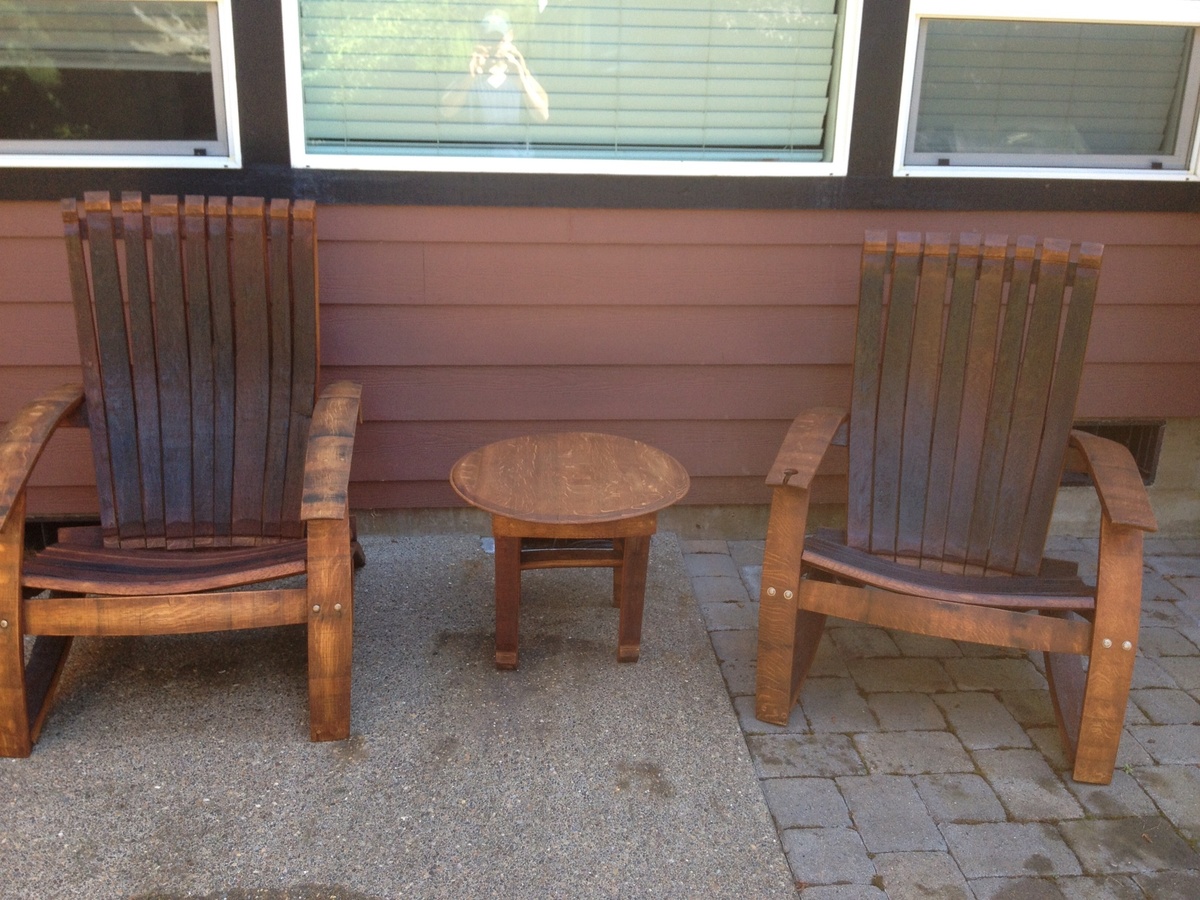
Wine oak barrel Adirondack chair

Submitted by Medickep on Thu, 05/30/2013 - 12:11

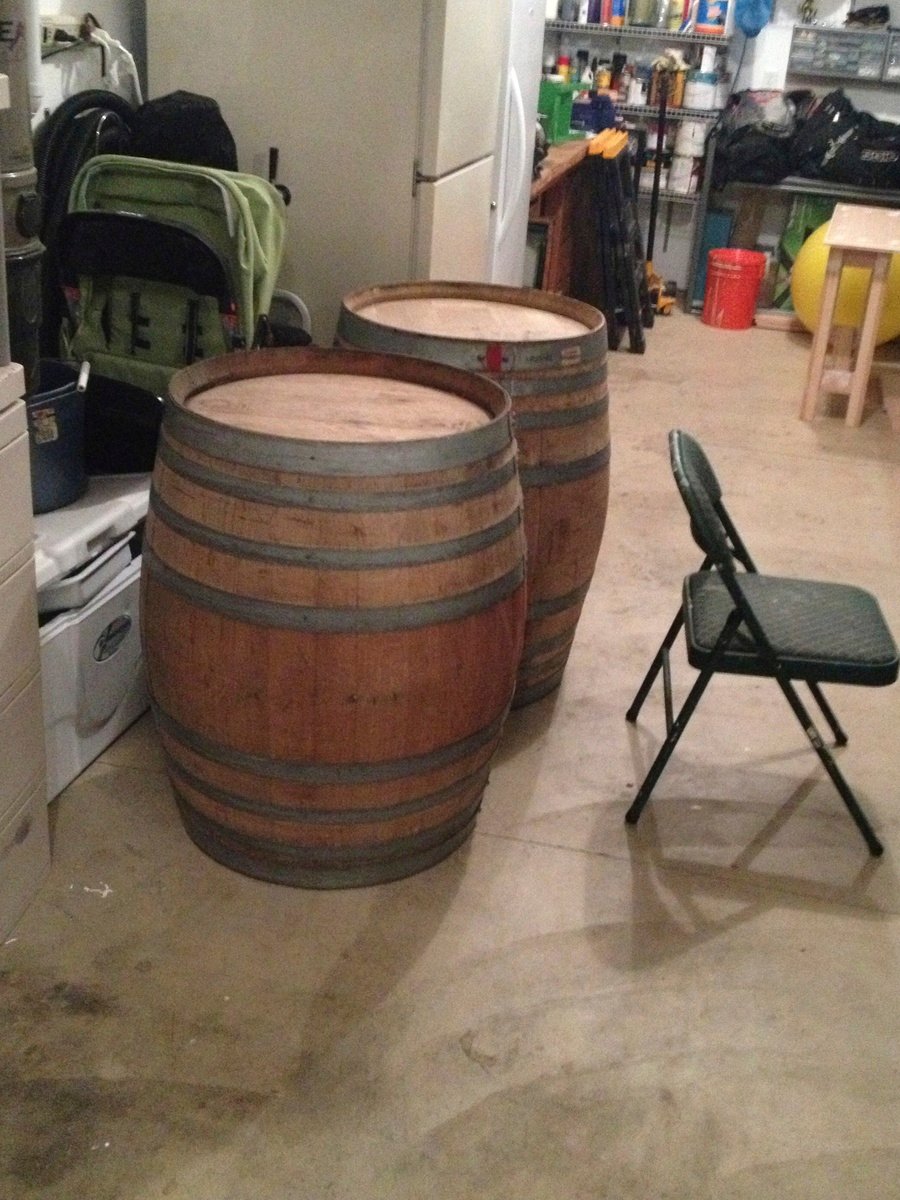
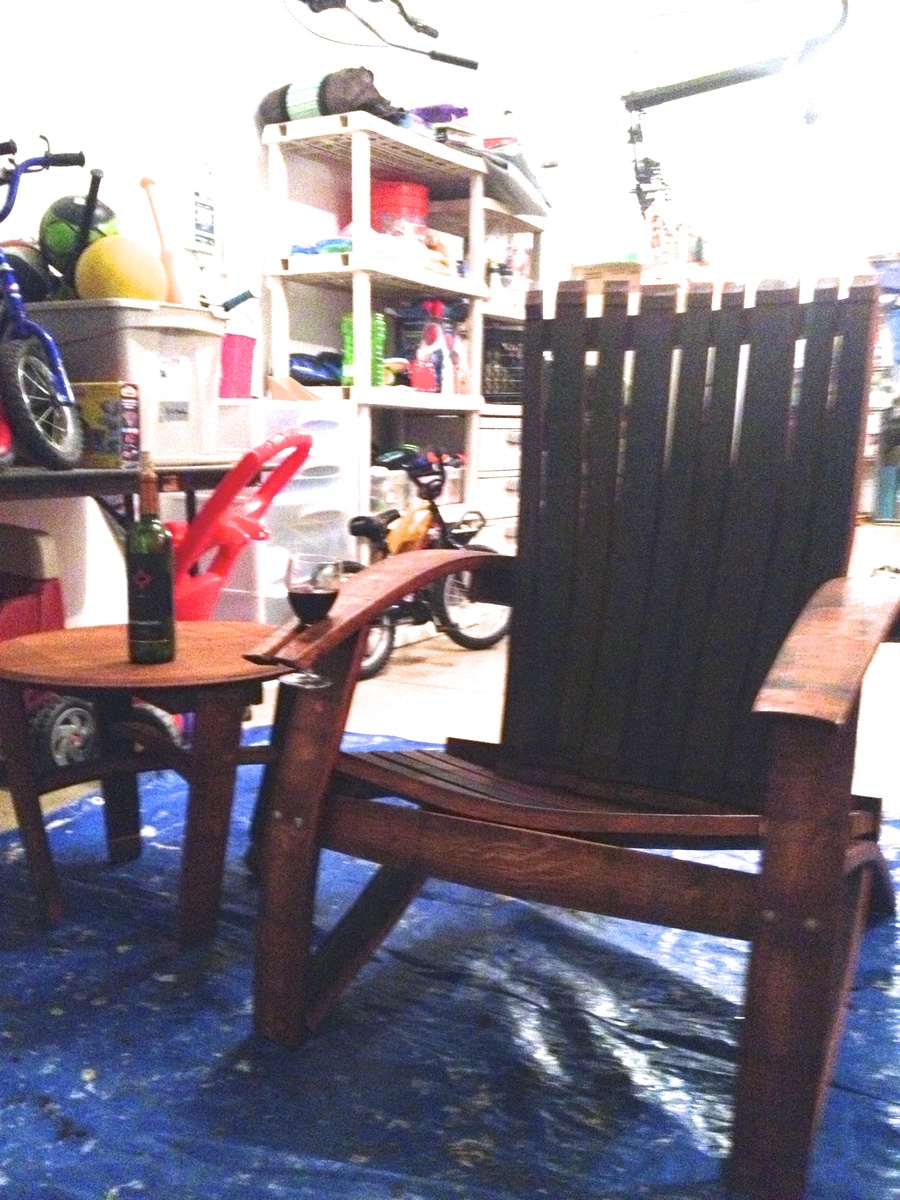
I got some oak barrels from a local vineyard and decided to try making some adirondack chairs. It was harder than I thought it would be, but well worth it!! The stain was a little darker than I thought it be, but it's rubbing off on me!

predrill, predrill, predrill, and learned a valuable lesson in predrilling, as solid wood under strain cracks easy when using 2 1/2" deck screws!

I need to whip out the nice camera and stop using my cell phone for finished products!

Estimated Cost
Around 100.00 dollars per chair (depends on cost of barrel!)
Estimated Time Investment
Weekend Project (10-20 Hours)
Finish Used
I used Cabot's Australian timber oil. Not the cheapest product out there, but they actually recommend one coat only and no sanding necessary for future coats. Once it stops beading water, just clean the chair and than reapply! It penetrates deep and forms a wax protective layer that repels water! This is why I chose not to varnish the item!!
Recommended Skill Level
Intermediate

Comments

spiceylg

Fri, 05/31/2013 - 05:16

I never heard of using wine barrels in this way! I love it. It came out fabulous!

Medickep

Fri, 05/31/2013 - 05:34

Thanks you. People make a lot of stuff out of wine barrels. Chairs, stools, Tables, candle holders, and even serving platters!

Joni

Fri, 05/31/2013 - 06:57

This is awesome! Very cool design. It looks very comfortable! Thanks for the tip on the Australian timber oil; I never knew what would be the best finish for an outdoor piece.

Joni

Fri, 05/31/2013 - 07:03

This is awesome! Very cool design. It looks very comfortable! Thanks for the tip on the Australian timber oil; I never knew what would be the best finish for an outdoor piece.

Medickep

Sat, 06/01/2013 - 11:38

It is very comfortable, especially with a glass of wine. I chose the finisher I did because I live in Oregon with a lot of rain!!

Why does everyone's post, including my own show up as duplicate?

Medickep

Sat, 06/01/2013 - 11:38

It is very comfortable, especially with a glass of wine. I chose the finisher I did because I live in Oregon with a lot of rain!!

Why does everyone's post, including my own show up as duplicate?

acd4476

Sun, 07/21/2013 - 17:05

Awesome chairs! Beginning to think I need to make some as well. Did you have plans for this project or follow a generic adirondack chair plan?

Cedar Boxes made with Pallet Wood

Submitted by flashfire on Fri, 09/15/2017 - 22:19

Thanks for the plans, I was able to make this for a friend's birthday. I made it from pallet wood and it was so easy, I did a mitred top though because I wanted it to look neat and trim. .

Built from Plan(s)
Estimated Cost
Nil
I used pallet wood
Wood glue & screws I already had
Estimated Time Investment
Week Long Project (20 Hours or More)
Finish Used
Linseed oil
Recommended Skill Level
Beginner
Seasonal And Holiday

Outdoor 2x2 end table

Submitted by Anonymous (not verified) on Sun, 11/07/2021 - 04:19

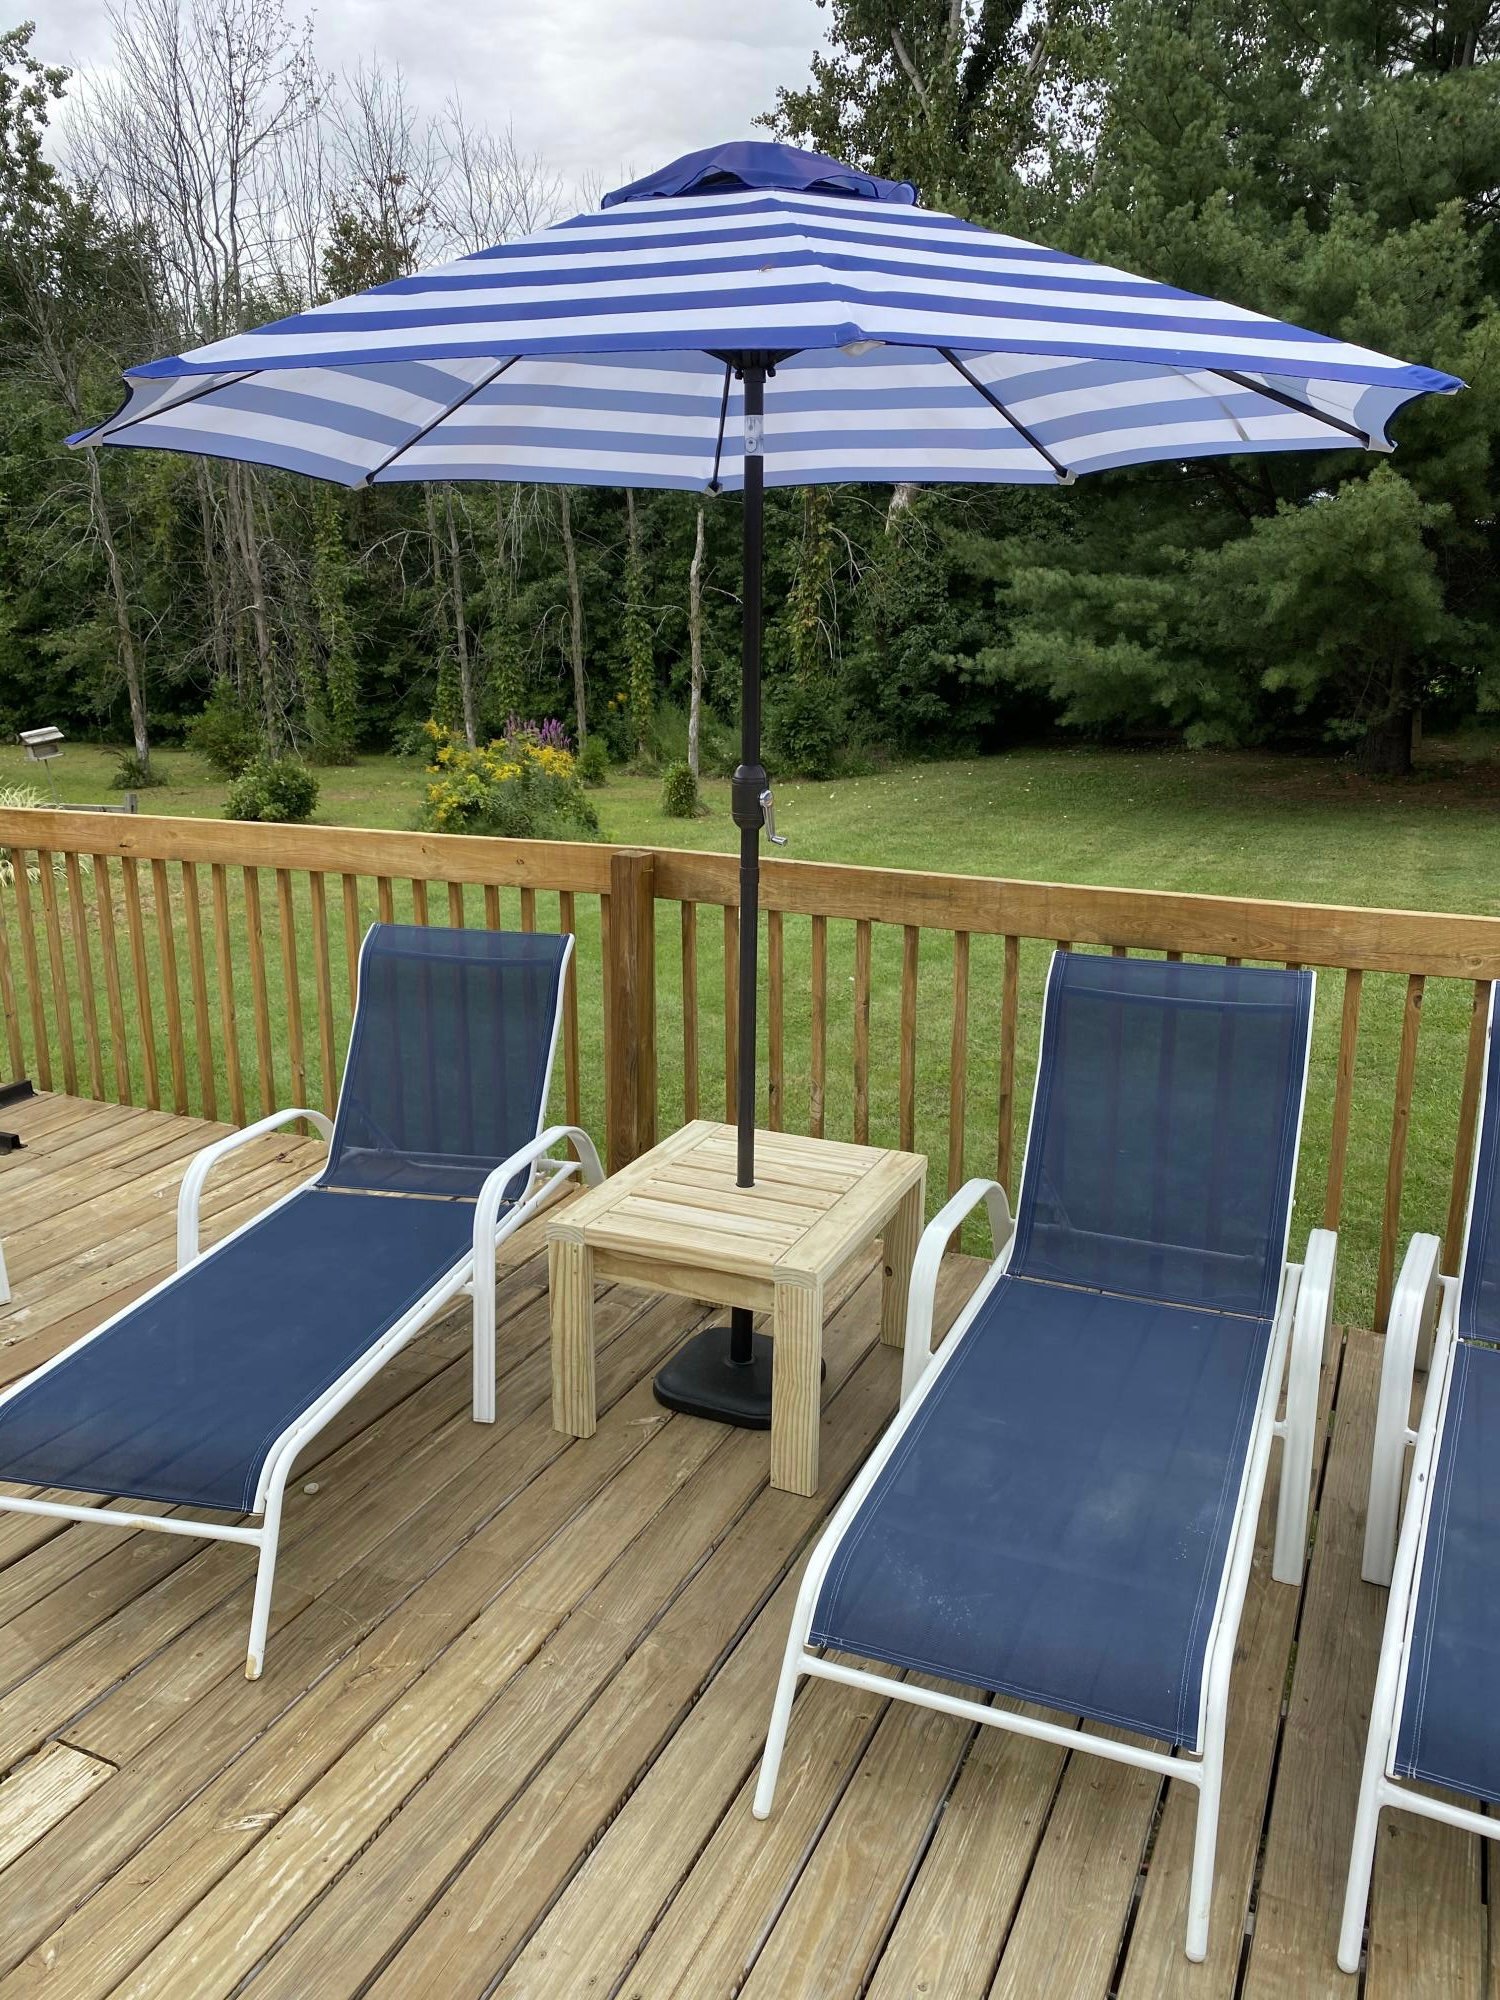
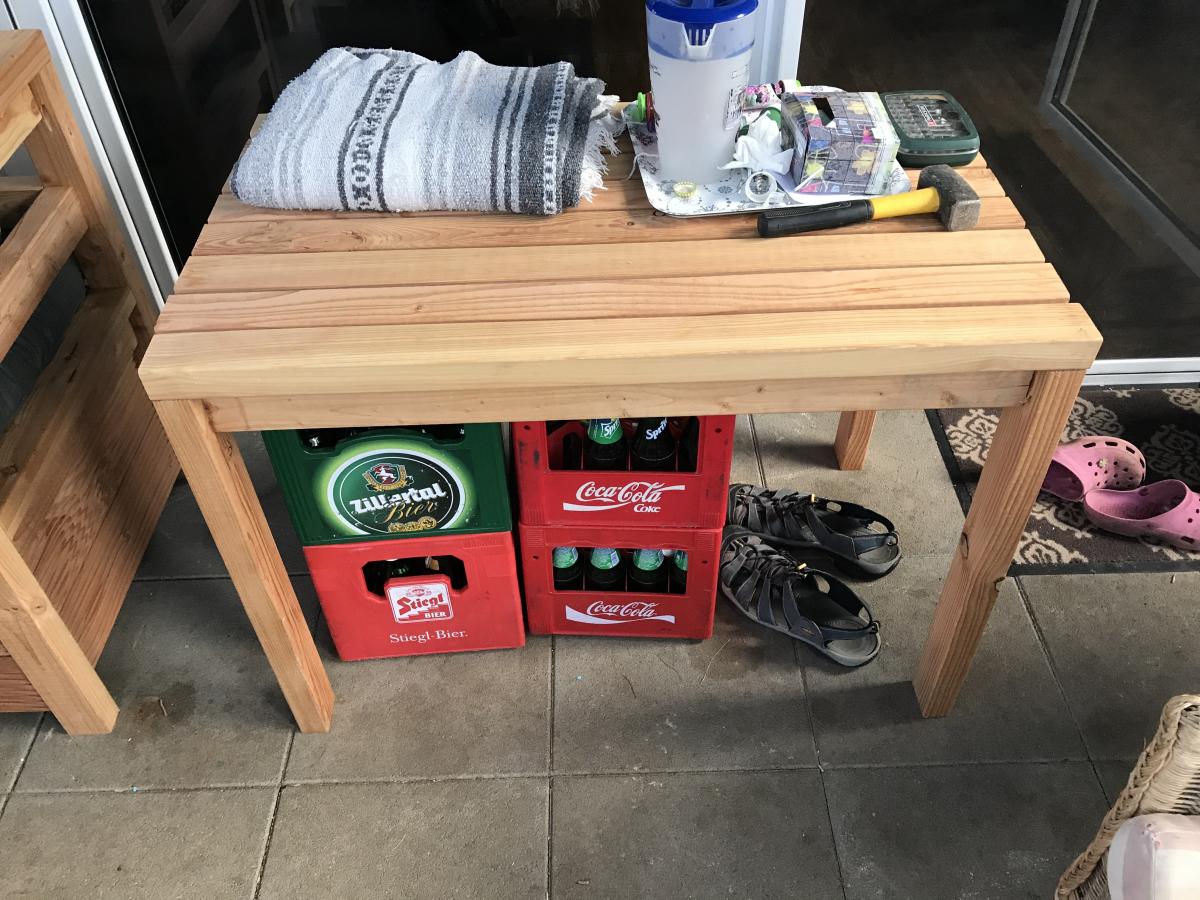
I made the end table a little taller than the instructions and the top boards further apart for rain to fall thru, then drilled a hole so it can be used as an umbrella stand too!

Built from Plan(s)

Comments

Hall Tree Storage Bench

Submitted by ScottyG on Sat, 12/02/2017 - 14:46

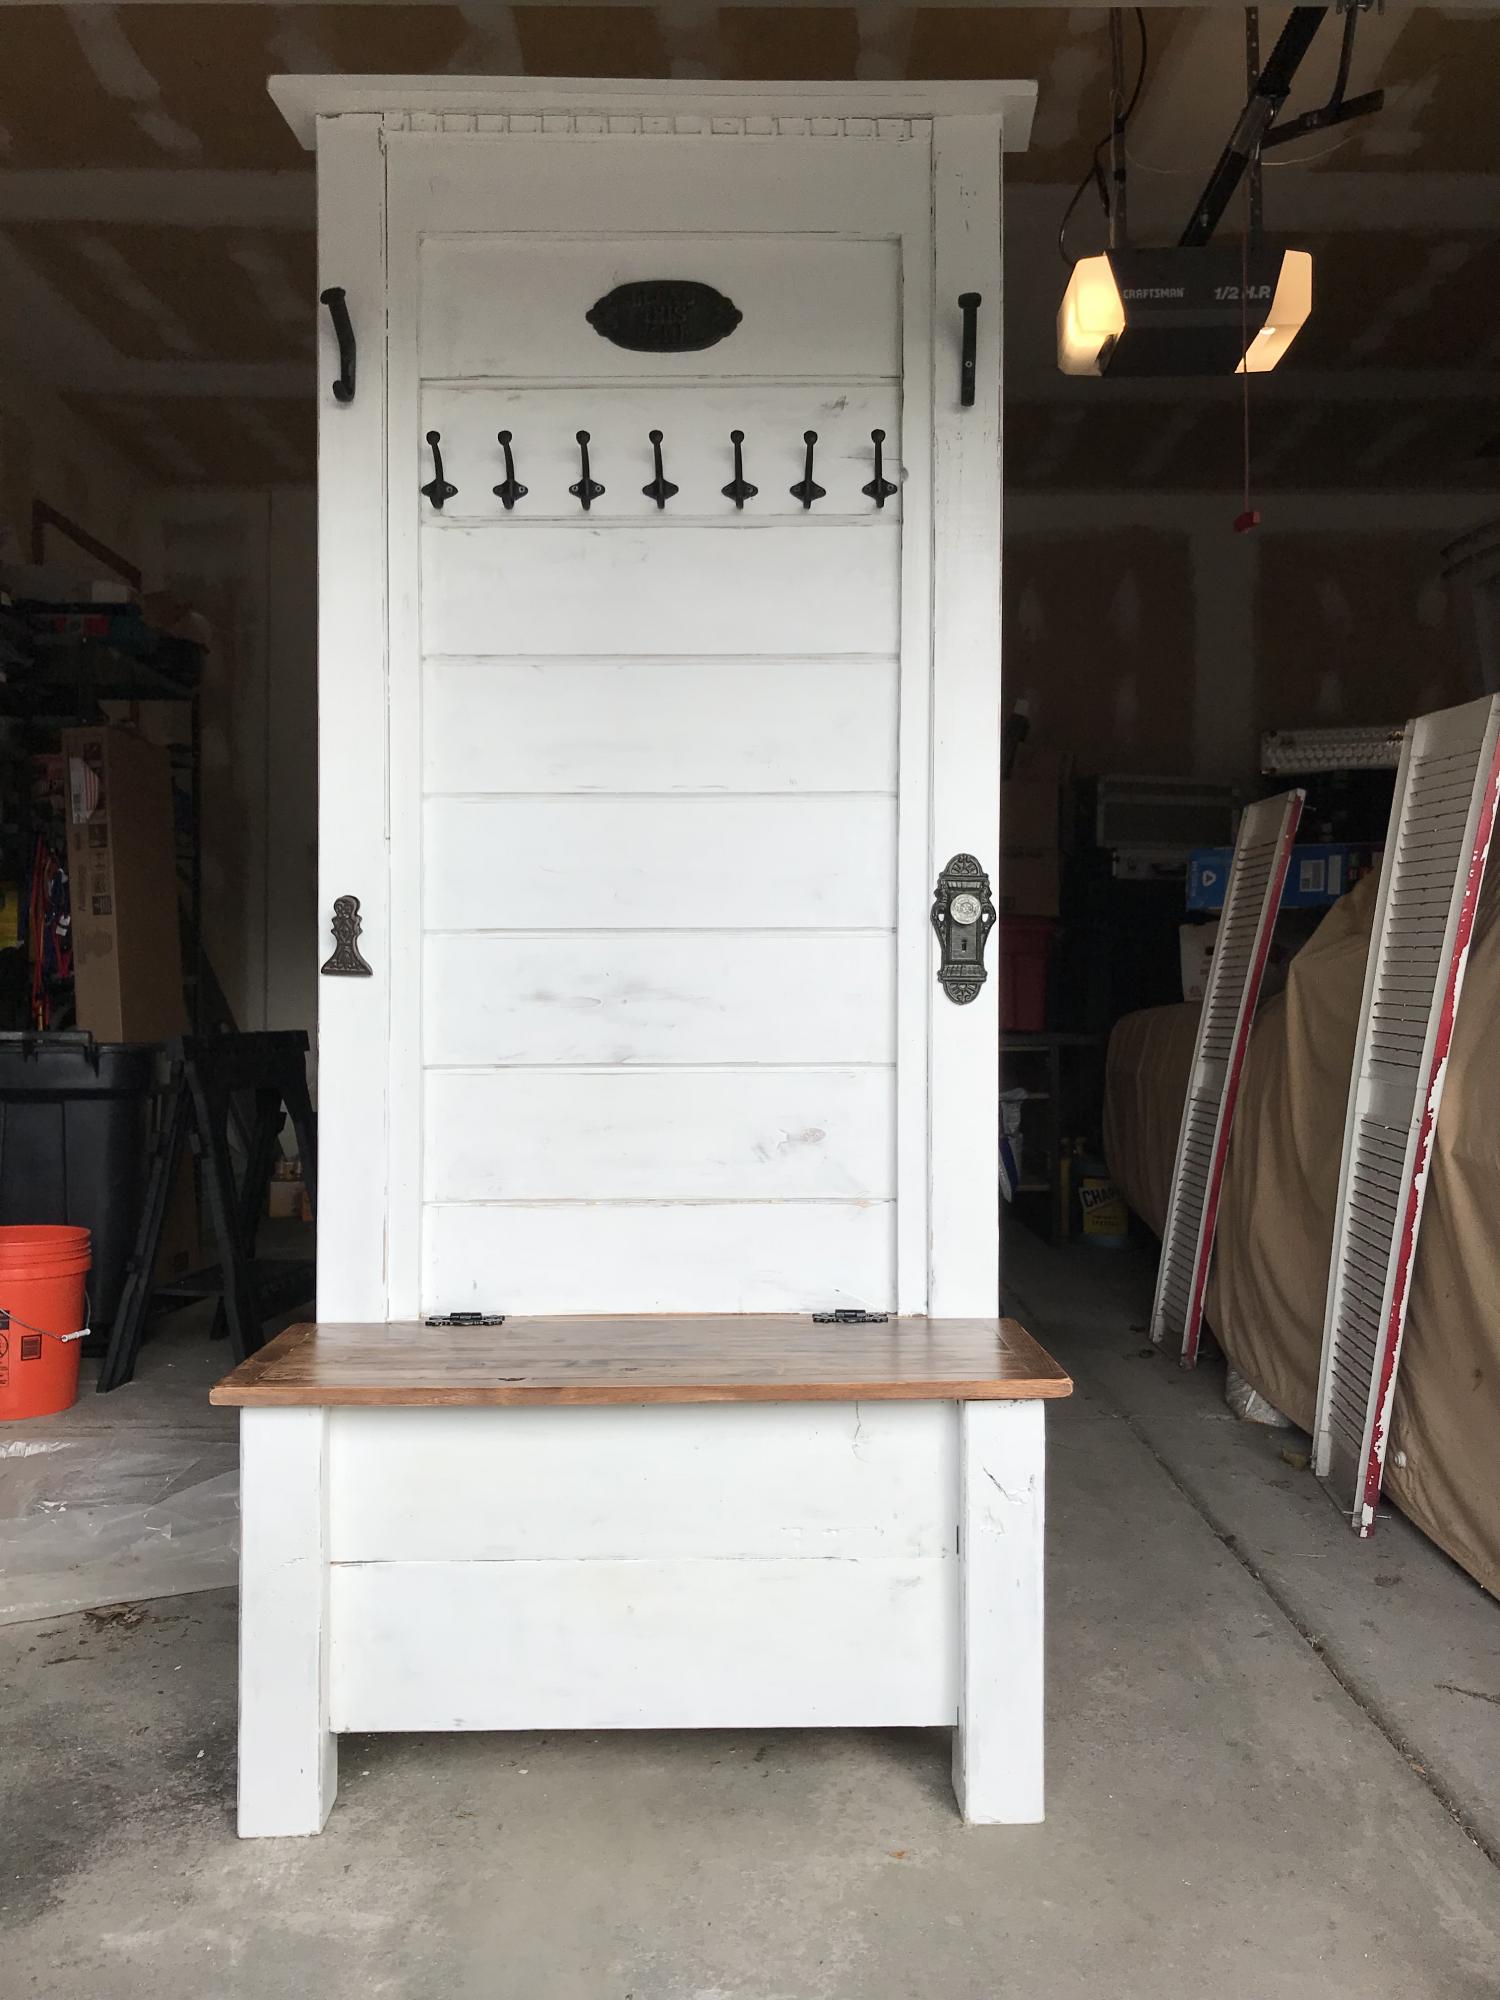
Hi Ana!  This project was pretty much inspired by ALL the great things you build on this site, as well as from watching a 'Fixer Upper' marathon (hence, the white color and shiplap).  Last Christmas, I promised my sister that I'd build her a hall tree since she's now up to 10 grandkids and needed more hooks for all those coats and hats.  Unfortunately, I also came down with a WICKED case of vertigo, so no power tools for yours truly. : (

Well...  The vertigo finally cleared up, so it was time to get out my trusty ol' Kreg Jig and fire up the tools.

This project started with 2 4x4s.  I cut 17 1/2" off each, then used the long pieces as the back and the sort pieces as the front legs.  Then I built a rectangle (shored up by some cross supports) out of 2x3s and used those to attach the back legs together with pocket holes.  I did the same thing with the 2 front legs, then attached the 2 sets of legs together with shorter pieces of 2x3s that framed up the side.

Next, I added a front to back support to the underside, and then attached the bottom of the seat on top of that.  I built the front, back, and side pieces of the bench section by cutting a couple of 8' x 8" x .5" planks to size, and attached 2 pieces to each side by gluing and nailing them to the frame.   Then, I rans some shiplap up the back (glued and nailed to the back frame) and topped it all off with a mantle.

For the seat, I used a 12" project board ($11 at Lowes for a 6 foot section) because I love all the knotty details and nail marks.  I framed it out with 1x1 and attached with pocket screws on the underside.  I finished that piece by staining it in Rustoleum Dark Walnut.

As for the rest, I just framed the shiplap section with leftover 1x1s, then sanded and stained the whole piece with the same Dark Walnut stain (so that something would show through after distressing).  Finally, I applied 2 coats of Rustoleum Linen White Chalk Paint (LOVE that stuff!), distressed it, and topped with one coat of Minwax 1 Coat Poly (ALSO love that stuff), and added some hardware and country do dads from Hobby Lobby (Rustic Hooks, 'Bless This Home' Sign, Decorative Doorknob, and "Mitten Clip" for wet mittens and gloves coming off little hands) .  What do you think?  ヅ
Estimated Cost
About $100
Estimated Time Investment
Weekend Project (10-20 Hours)
Finish Used
Rustoleum Dark Walnut Stain (Bench Seat), Rustoleum Linen White Chalk Paint (Rest of project), sealed with Minwax 1 coat poly.
Recommended Skill Level
Intermediate

Ana's ultimate workbench (Ryobi)

Submitted by CABANE on Fri, 01/12/2018 - 13:38

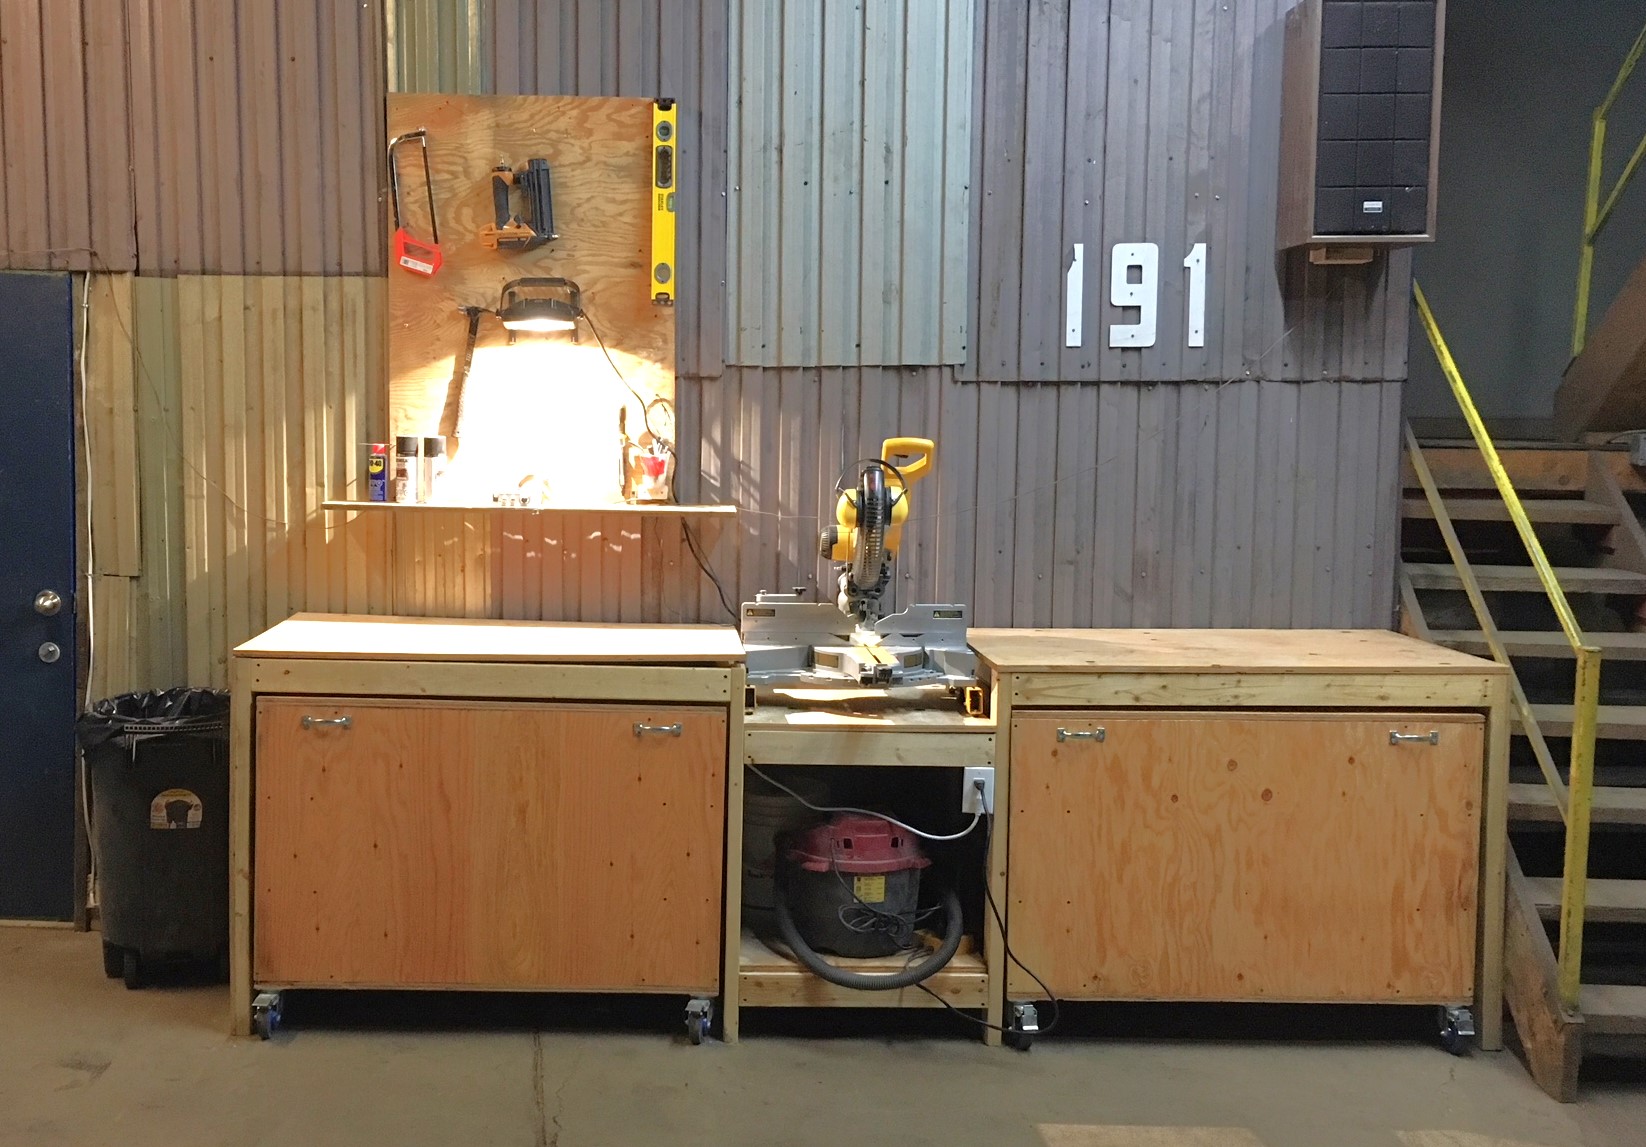
This is the perfect workbench for my needs.

I upgraded the casters to bigger ones as my shop's floor is in rough shape.

I also added storage under the two work surface next to the miter saw. This was just a matter of closing under the 2X4 frame and making the two sections on casters a little shorter. The only downside for that mod is that the plywood can bend a bit since it is not screwed to the frame. I don't mind since it falls flat as soon as there is weight on it. Also, this mod makes it hard to include fence system (it would need to be removable, like fixed with dowels only, no glue) and almost impossible to include a precise fence system since it would need to be removable. In my case, I do rough, non-repetitive cuts, so there is no need. 

TIP : Pay a little extra for smooth plywood. I lost a lot of time sanding mine :(

Estimated Cost
$150 CAD
Estimated Time Investment
Weekend Project (10-20 Hours)
Finish Used
Linseed oil
Recommended Skill Level
Beginner

Comments

groche

Tue, 02/04/2020 - 08:21

Awesome! Do you have pictures/info for the cart that has the Dewalt table saw? I have the same one and would love to build the cart for it.

Stratton Daybeds times Two

Submitted by karahart on Wed, 05/11/2011 - 08:25

I built my first daybed in May of 2010, and my second one in August of 2010. I've since moved one of the daybeds to my new nursery I'm creating. These beds are so versitle, so sturdy, and can be moved anywhere and 'go' with whatever decor. I love both of them!

Built from Plan(s)
Estimated Cost
$450 for BOTH beds
Estimated Time Investment
Week Long Project (20 Hours or More)
Finish Used
I primed the beds with Kilz oil based primer, then added a bunch of ultra white paint by Behr. I finished with sanding down the edges and staining them, before applying a top coat of polycrylic. Only use polycrilic, not polyurethane for white painted furniture!
Recommended Skill Level
Intermediate

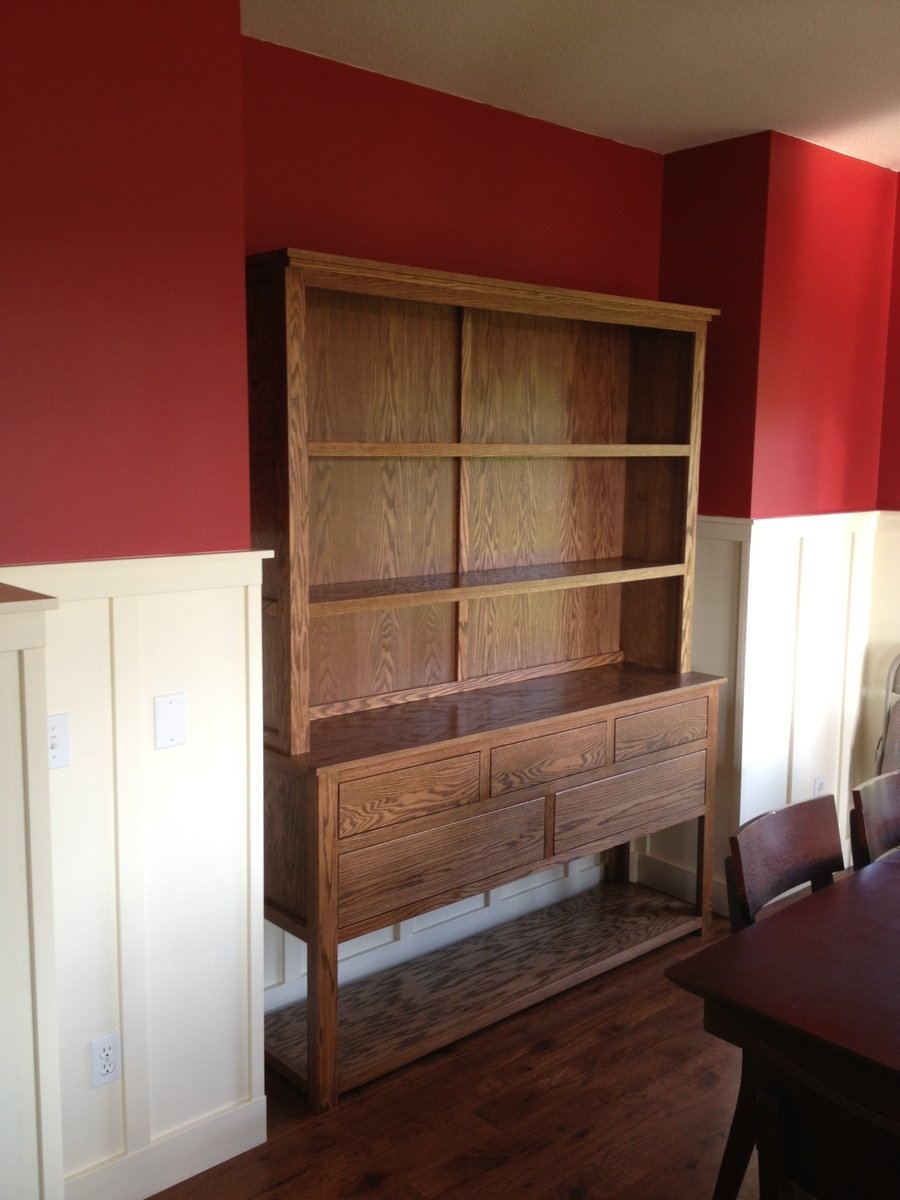
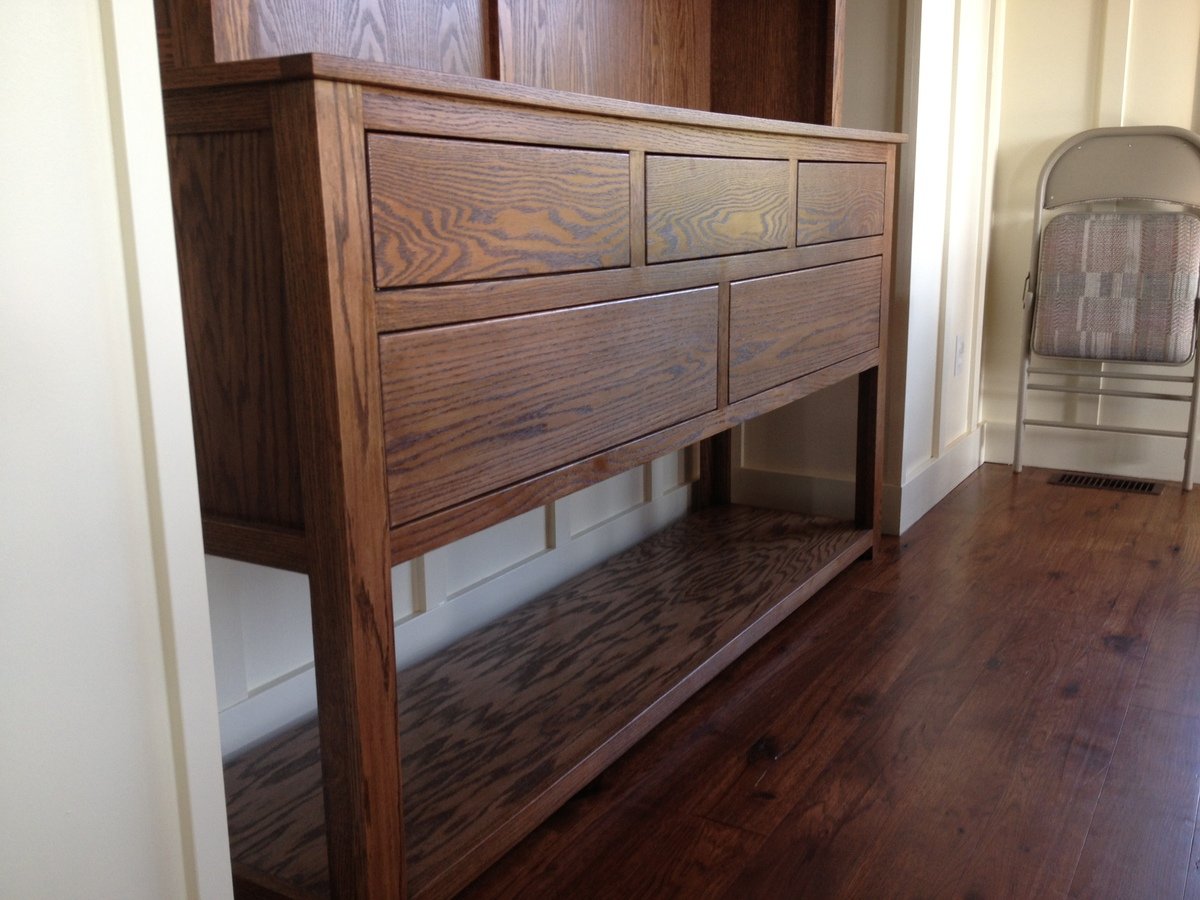
Oak - Hutch And Buffet

Submitted by UeckerFan on Tue, 07/16/2013 - 17:43

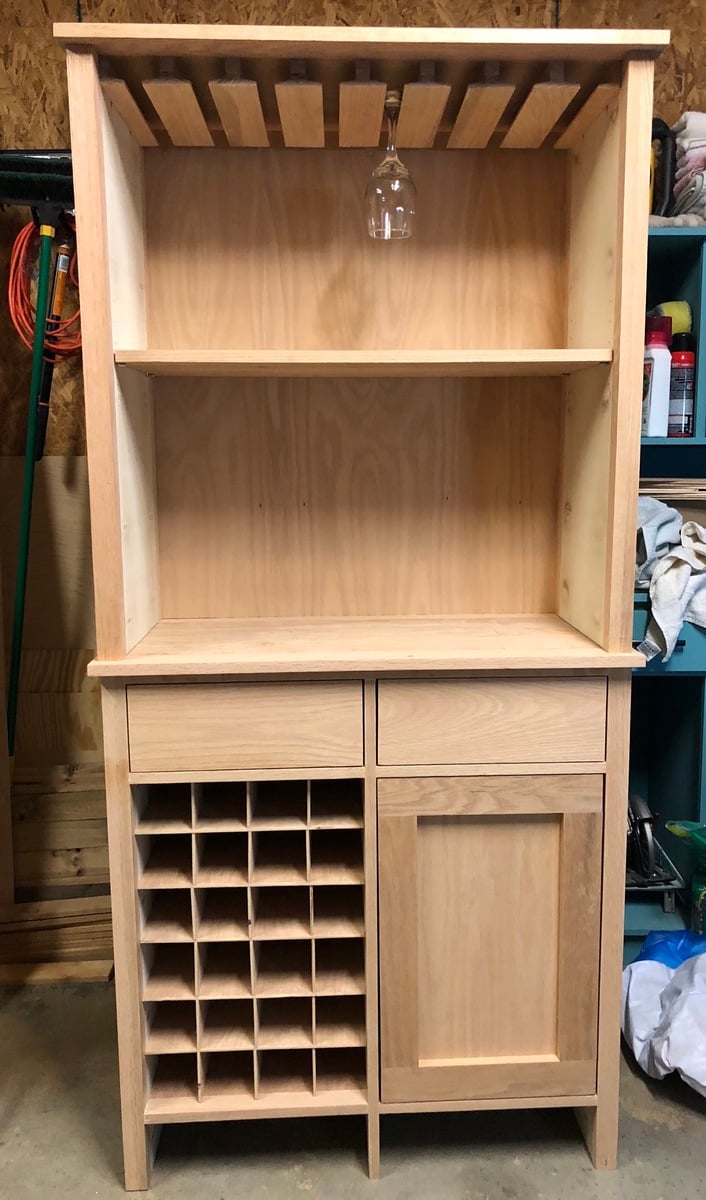
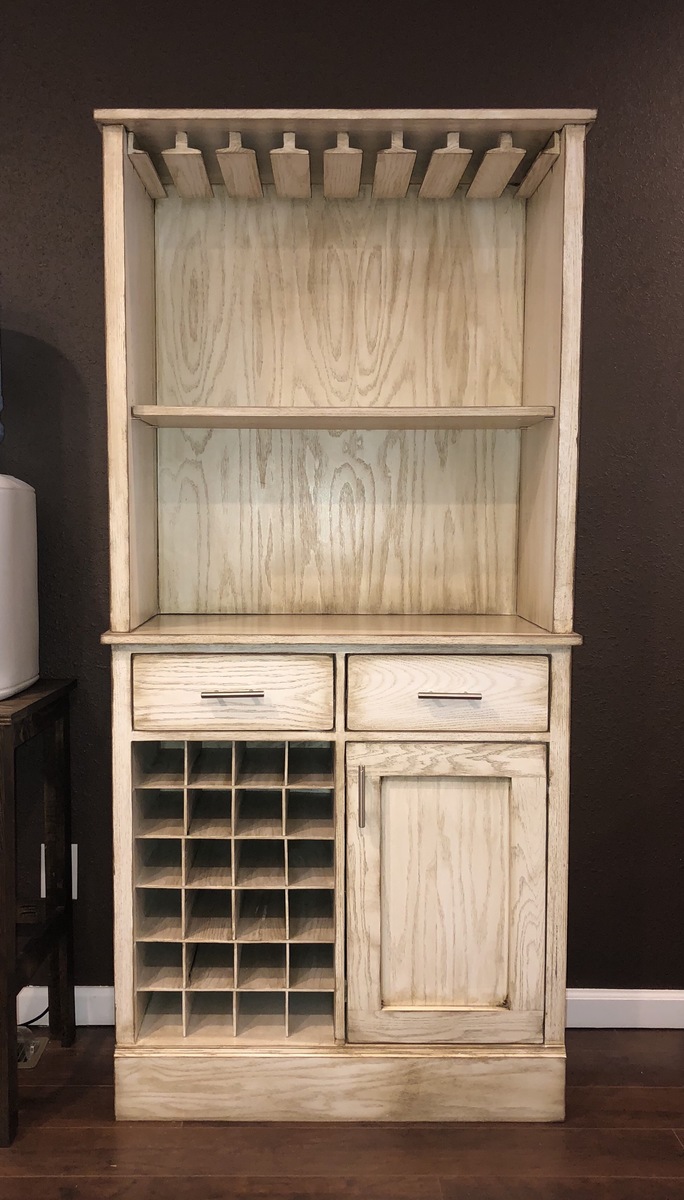
This project was on the honey-do list. My wife was looking for antiques and had a pretty specific look she wanted this one fit. It was a fun and relatively fast build. I choose Oak as that is the most regular wood I use and had some on hand.

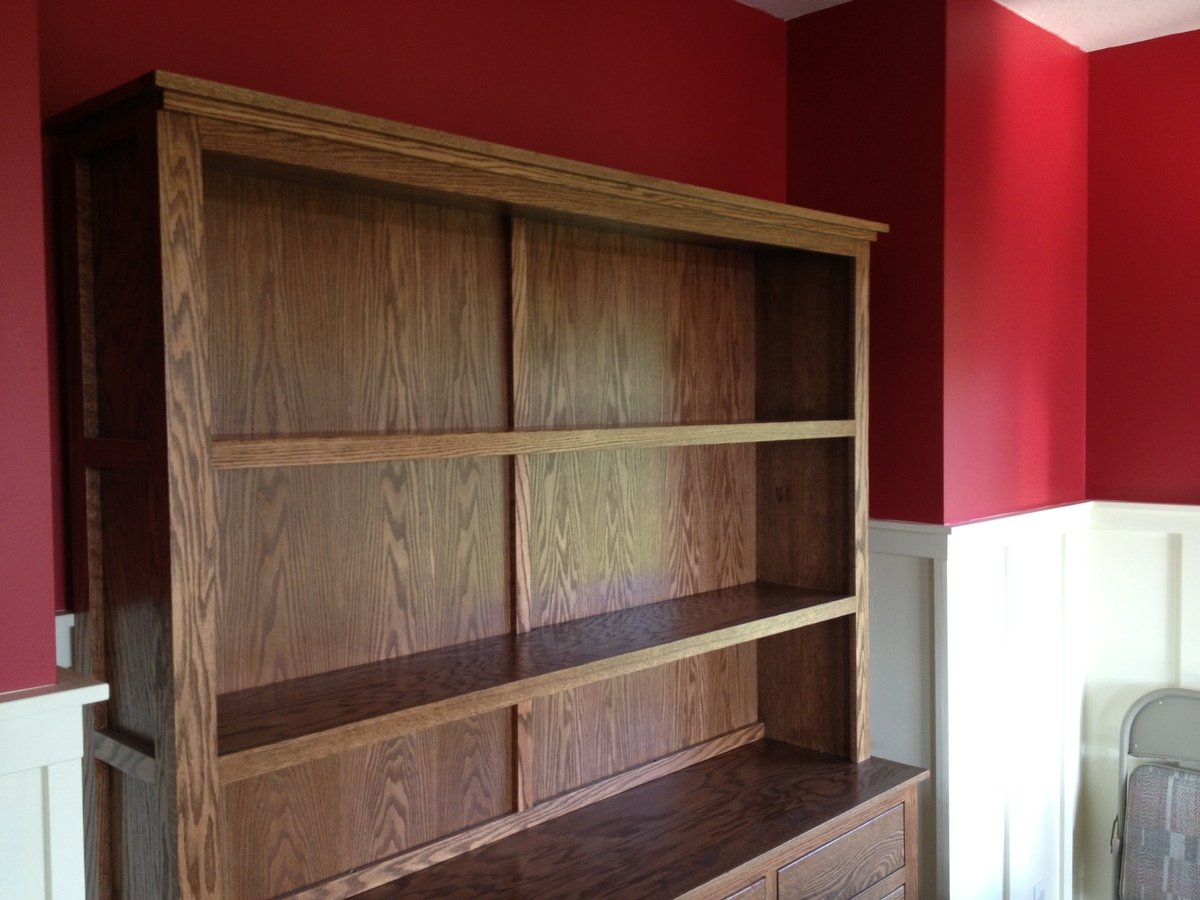
I modified the dimensions a bit making the hutch a foot taller and the buffet a little larger in width and smaller in depth. I used full extension ball bearing drawer slides for the drawers.

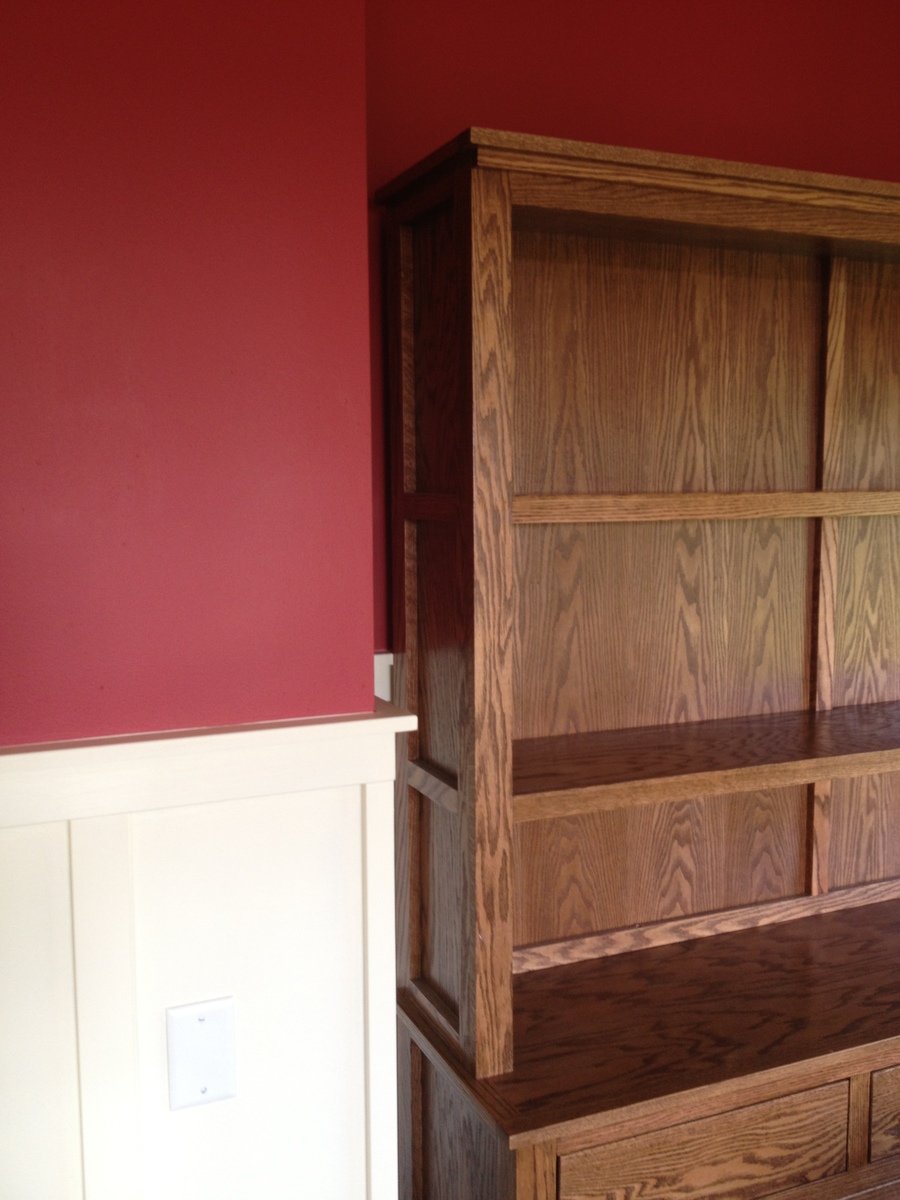
I rabbeted the back in and put a middle brace in for support and so that I could hide the back seam. I don't like to face nail face frames, but for this it turned out pretty nice nonetheless.

Estimated Cost
$125
Estimated Time Investment
Weekend Project (10-20 Hours)
Finish Used
I used min-wax pre-stain conditioner, followed by special walnut stain, then 1 coat of satin pre-catalyzed lacquer, then 320 sand paper, then a second coat of lacquer.
Recommended Skill Level
Intermediate

Comments

Lasso the Moon

Fri, 07/19/2013 - 11:52

Oh, man could I use one of those in my house. At some point I'd like to flank a doorway with two "half versions" of a hutch like this one. Yours is beautiful. Love the oak!
Btw--combining those two plans--brilliant!

Anna

hanging bed

I saw this bed and just had to have it for my daughter. She loves it so much and it looks great in her room. It was easy to make, but very heavy. We were very meticulous to hang, we might have spent more time hanging it than building it :) There is more info on my blog.

Built from Plan(s)
Estimated Cost
35, but we had some extra lumber and screws we used
Estimated Time Investment
Afternoon Project (3-6 Hours)
Finish Used
primed then painted
Recommended Skill Level
Starter Project

Comments

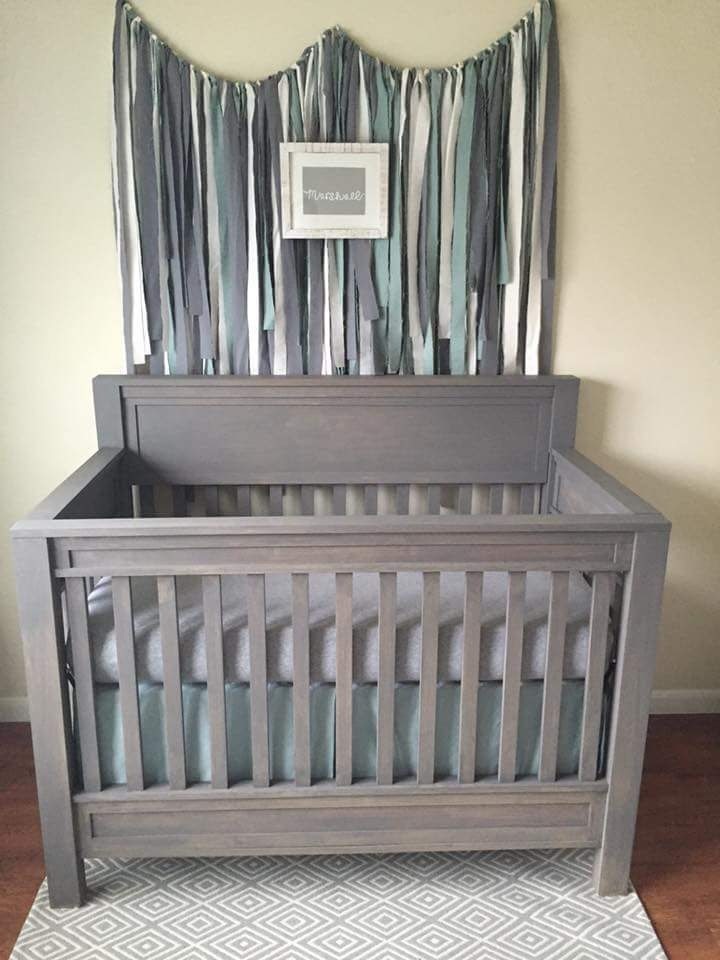
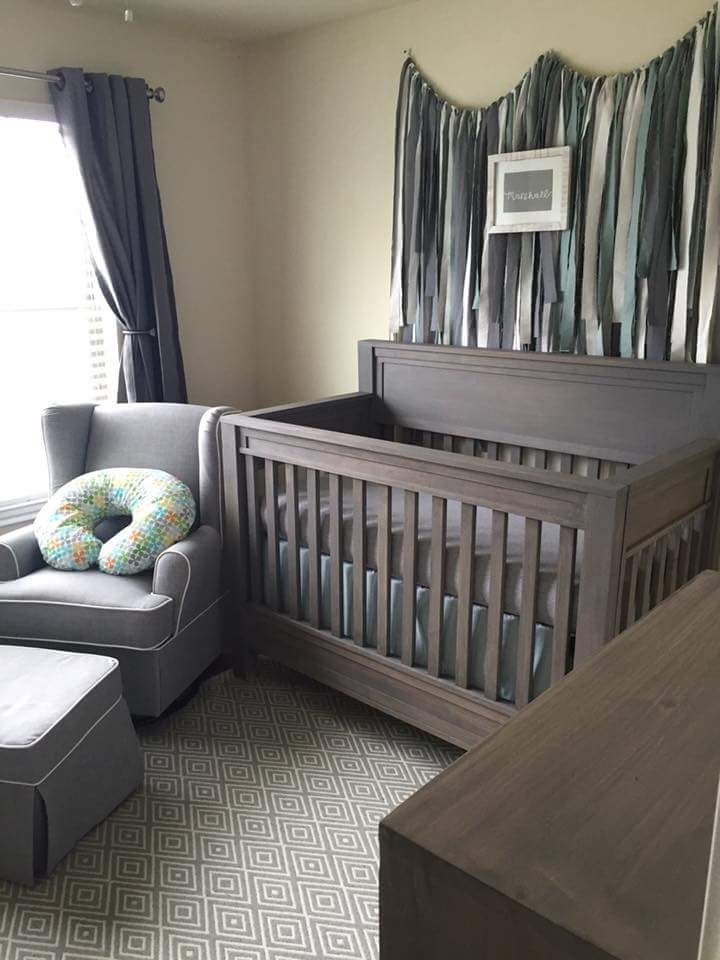
Marshall's Crib Grandad's First

Submitted by pondrider on Thu, 12/03/2015 - 14:57

Delivered the nursury Furniture and have a very satisfied daughter preparing to bring our Grandchild into the world.

From Ariel "My sweet baby boy has the most beautiful nursery I've ever seen! I am so thankful for my father who hand built this furniture. It is definitely made with love and it's everything I dreamed of. I'm also thankful for my husband and brother in law who set up this entire nursery for me this morning. Thank you" 
I started with plans and inspiration and then added some creativity. For the legs on this crib I laminated three 1x4 poplar and used threaded inserts. #anawhite

Estimated Cost
between special hardware, screws and lumber $400. The picture that my daughter gave me a disired end product had a retail of $975.
Estimated Time Investment
Week Long Project (20 Hours or More)
Finish Used
Actually used Sherwin Williams exterior Stain custom
Recommended Skill Level
Intermediate

Comments

light02

Sat, 02/06/2016 - 03:53

Can you tell me the color stain you used its beautiful!! I can't seem to get this color quite right and I've tried many times.

Ckendall

Fri, 03/11/2016 - 09:20

My husband would like to build our son a crib and I love this one! Is there a way to get the plans?? 

daf3000

Mon, 11/07/2016 - 19:14

I like your husband really like and want to build this crib. However pondrider hasn't replied so i was wondering if he/she sent them to you by chance. 

niter

Thu, 06/30/2016 - 16:33

I love this crib and was wondering if there is plans for this.  I would love to build it for my sister!

pondrider

Tue, 10/18/2016 - 18:51

Folks I am going to tell you to suggest you get the frame and hardware at place called products america .They have a link to plans that were on a magazine web site for sale.  I got the plans but the crib you see only used those plans to get started. If you look at each side independently you will notice that you can build this with Free and better written plans for Ana-White farmhouse bed.  yes, you'll do a little modifying for the sides but as we build that is beauty of everything we build in that we build for the size we need.   The plans from build America will help with dimensions. The other key with a crib safety and the fact that it must be assembled and disassembled in the room.   The plans from build america will attempt to show how to install threaded inserts.  I found Youtube and other instructions to be much better. My build has fixed sides meaning the front and the back do not come down. And I did not set it up to be convertable.

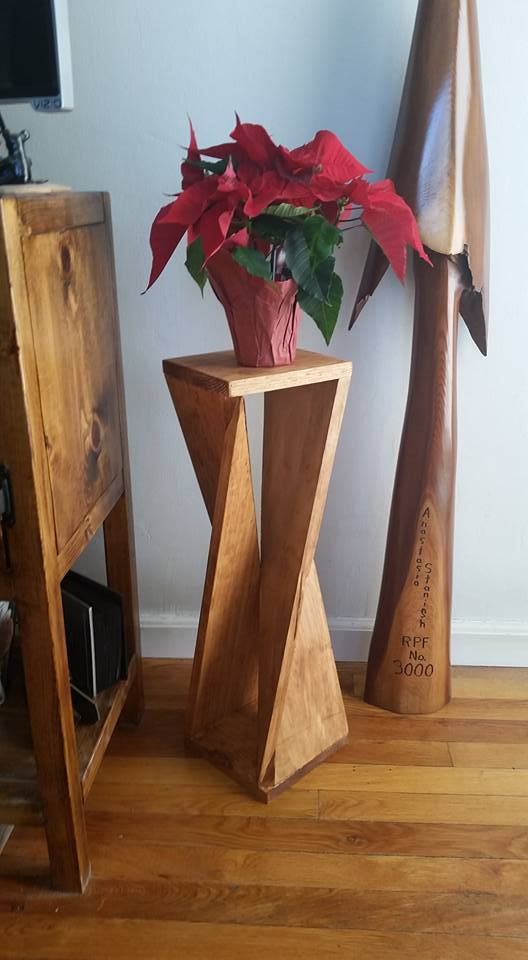
Twisty Table

Submitted by stacynabby on Sun, 12/20/2015 - 11:48

Saw this clever side table on Pinterest. It's made out of 1 1x8x8. I was able to figure out how to build a jig for the table saw to suit the project and then it was easy peasy lemon squeezy from there.

Estimated Cost
$20
Estimated Time Investment
An Hour or Two (0-2 Hours)
Finish Used
Minwax Light Walnut
Recommended Skill Level
Intermediate

Comments

Seal

Fri, 10/28/2016 - 08:40

I would love to build this unique table, but can't seem to find some actual plans with dimensions and jigs


Seal

Fri, 10/28/2016 - 08:45

Would you please email me the plans for this table. Thanks so much

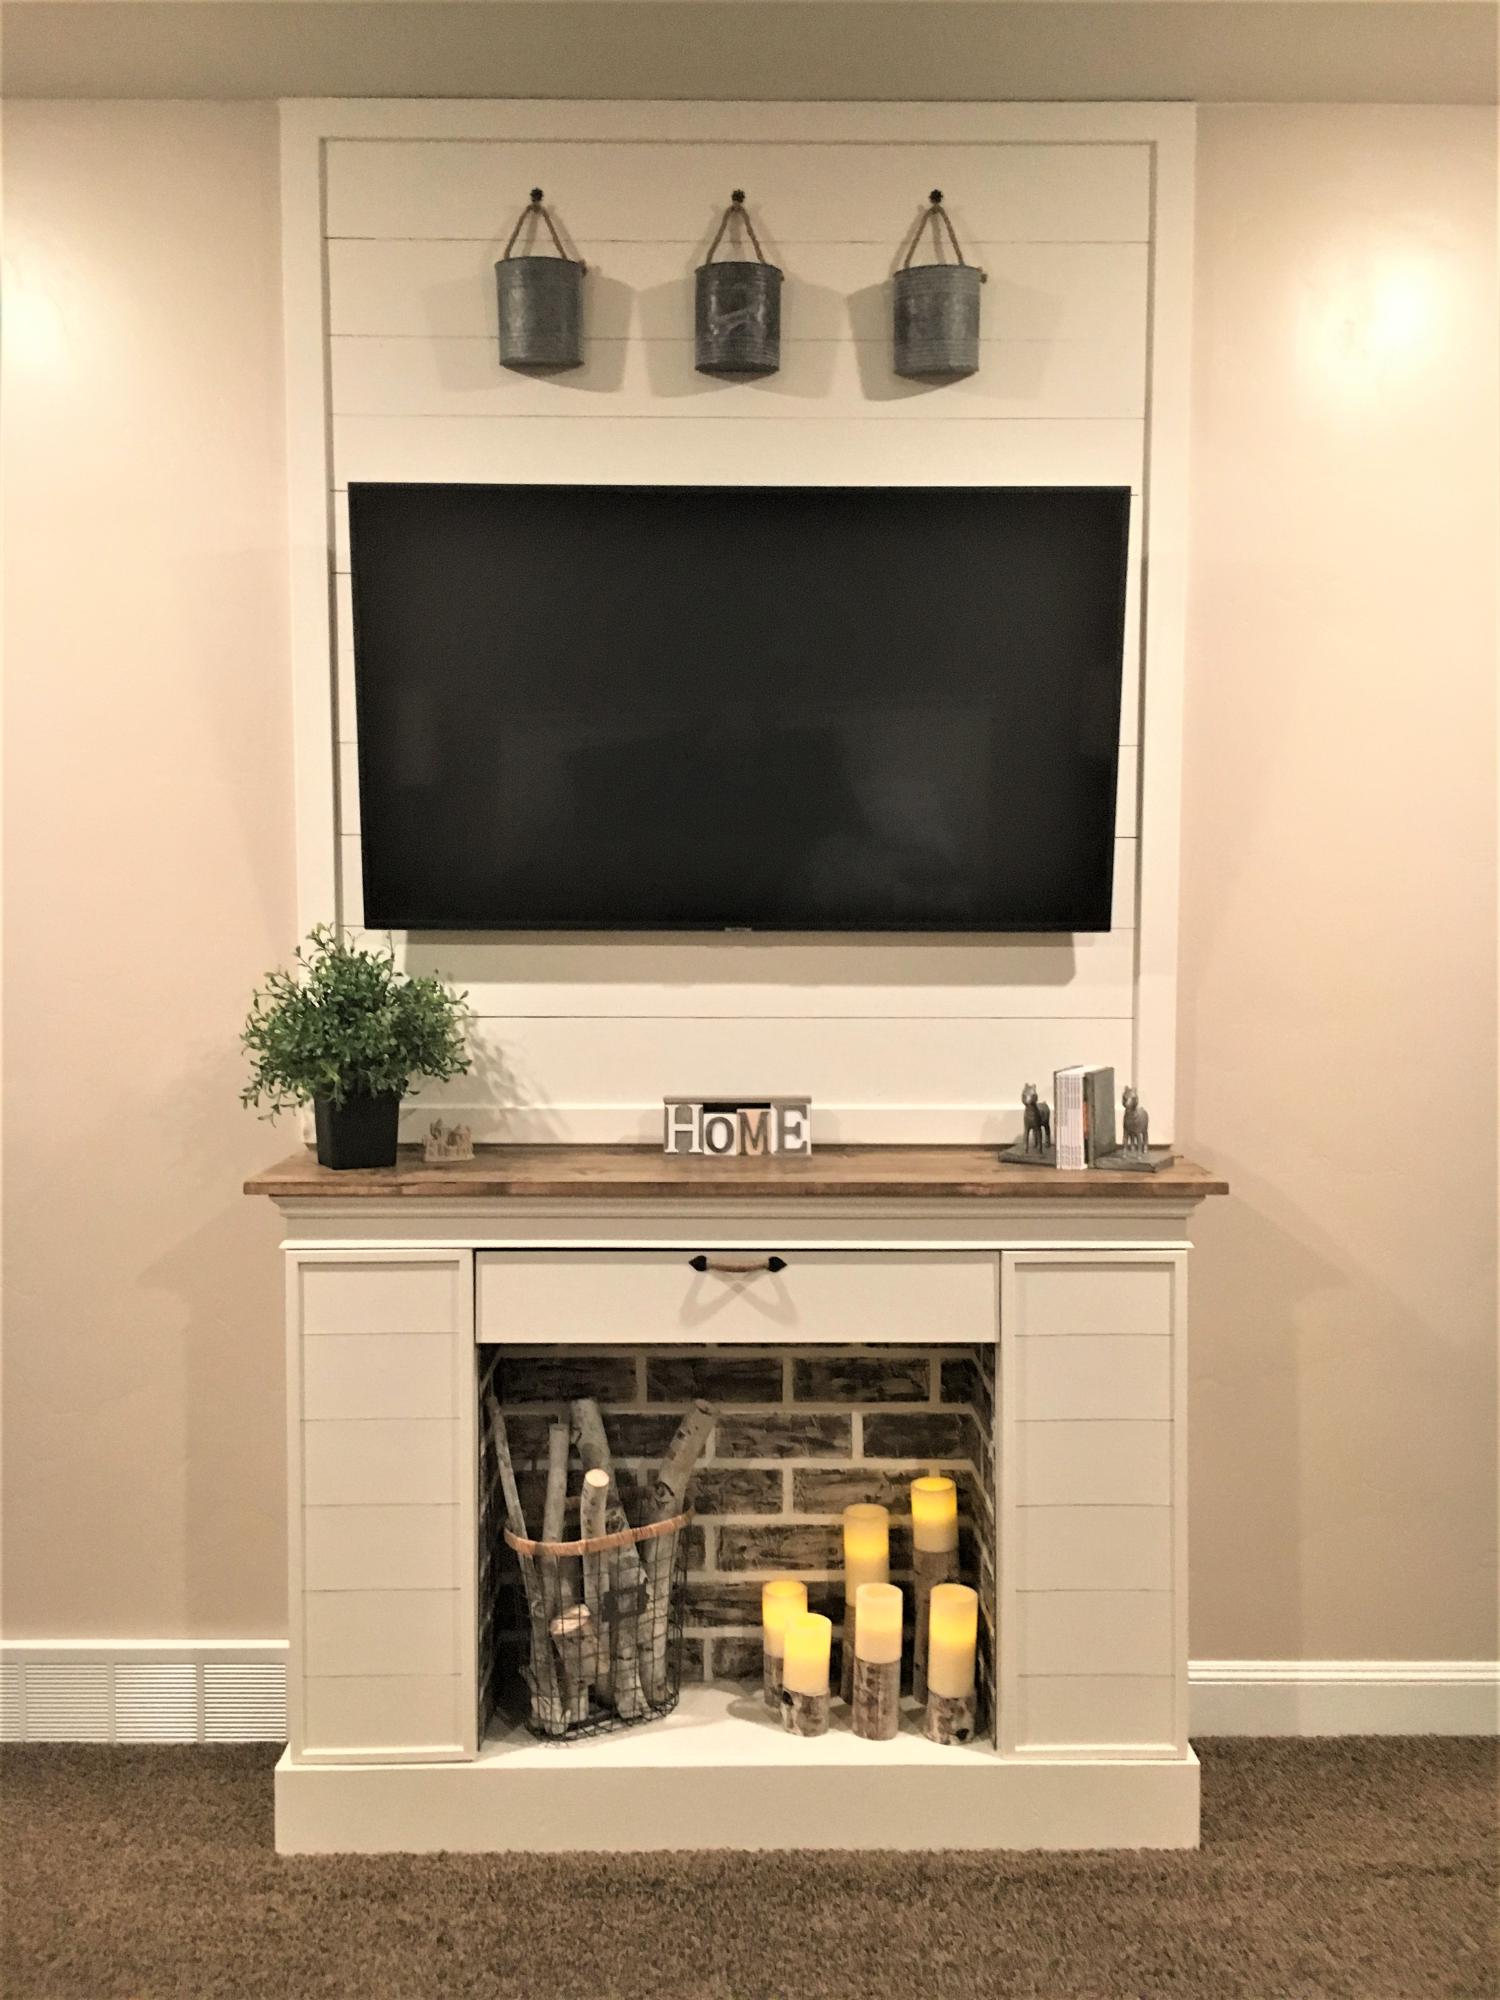
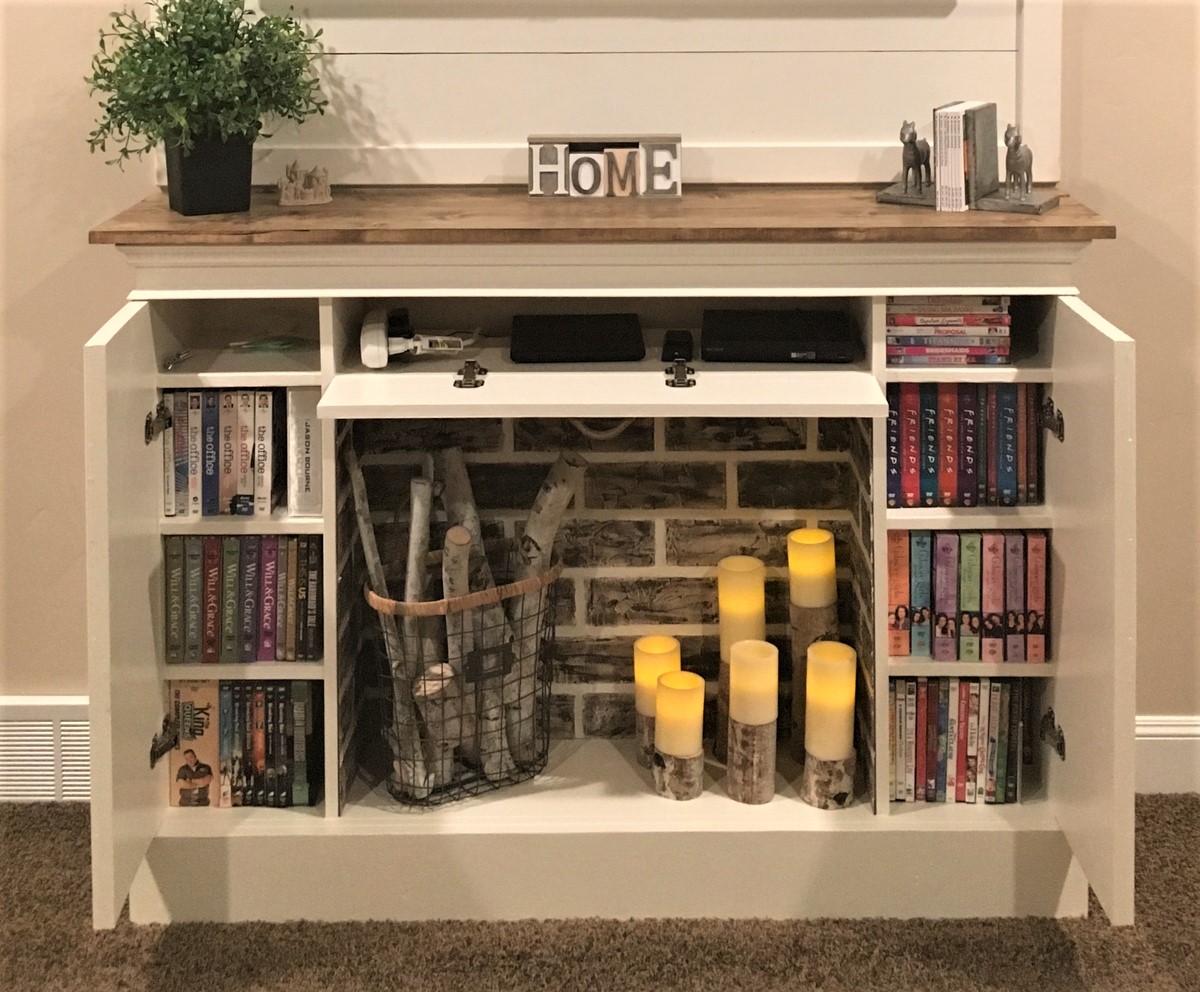
Faux fireplace with hidden storage

Submitted by Anonymous (not verified) on Sun, 03/10/2019 - 22:32

I slightly modified my build. I kept the same dimensions as the plans, but made the top shelf 7” from the top to allow for a bigger firebox. I added faux brick made from masking tape, joint compound and chalk paint. I changed the molding a bit and used 3” pine slats for the top. Inside I added 3 shelves, attached with pocket hole screws, to fit in as many DVD’s as possible. Overall this was an easy build. It took me almost as long to paint it, as to build it. Thank you Ana for the plans!

Estimated Cost
$200.00
Estimated Time Investment
Weekend Project (10-20 Hours)
Finish Used
Painted with Sherwin Williams Alabaster. Faux brick is chalk paint from Waverly.
Recommended Skill Level
Beginner

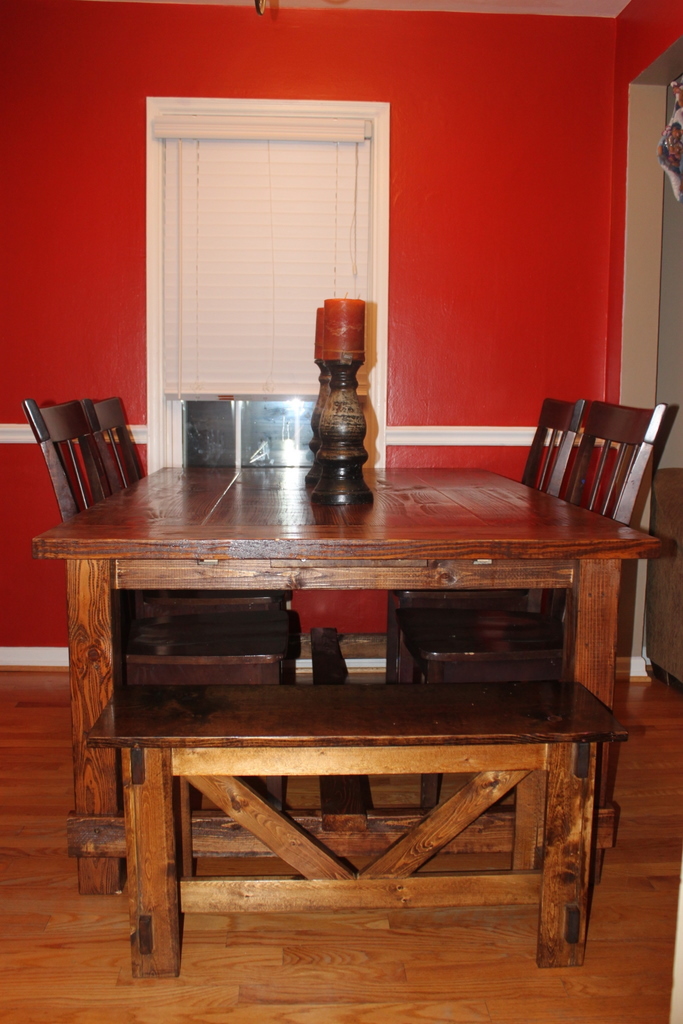
Rustic X Bench

Submitted by jont on Fri, 12/09/2011 - 18:51

Simple x bench followed the plans posted below except I shortened it to fit our old table.

Estimated Cost
$35
Estimated Time Investment
Weekend Project (10-20 Hours)
Finish Used
English Chestnut Minwax stain with 2 coats minwax polyurethane
Recommended Skill Level
Intermediate

Comments

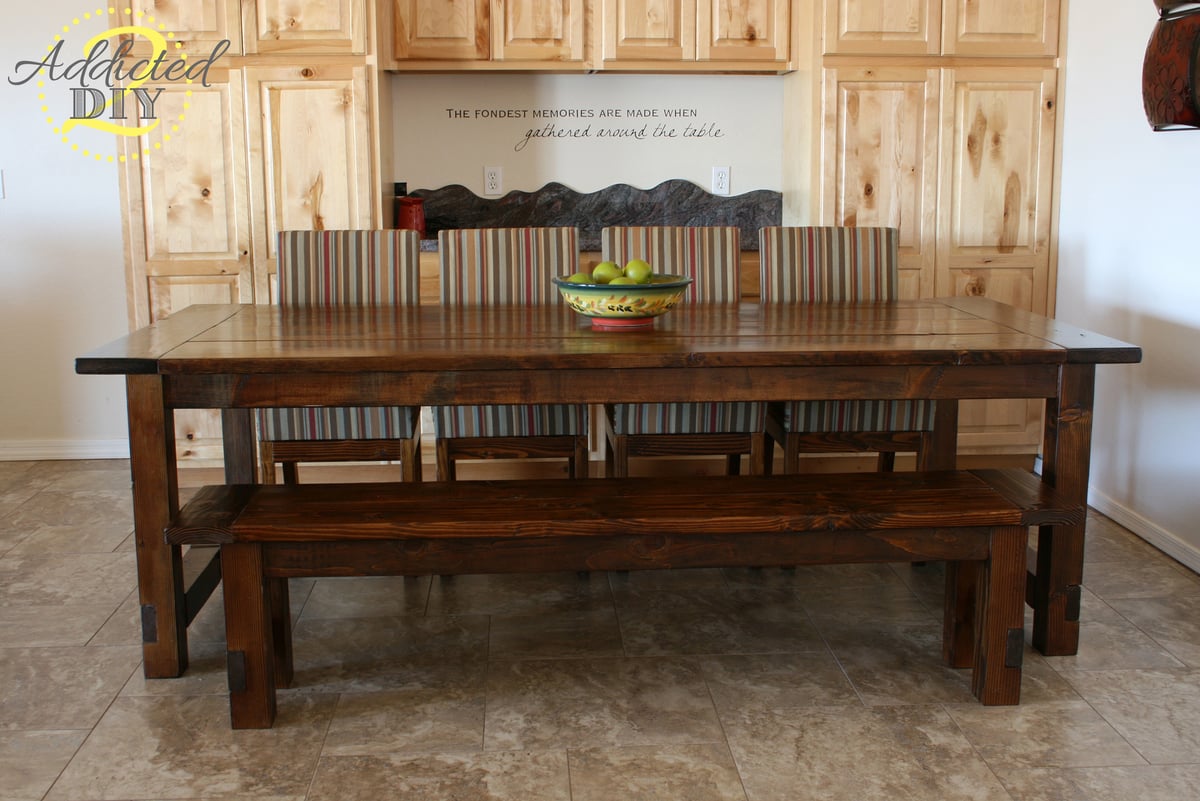
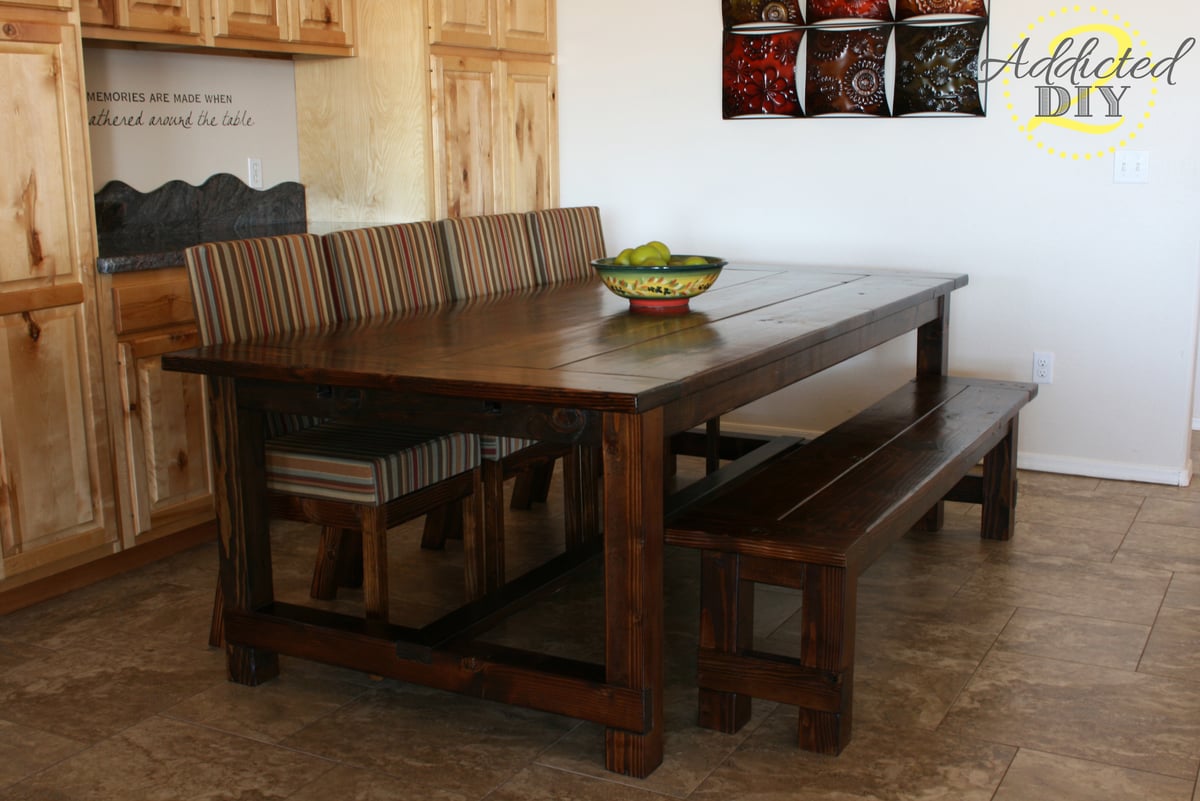
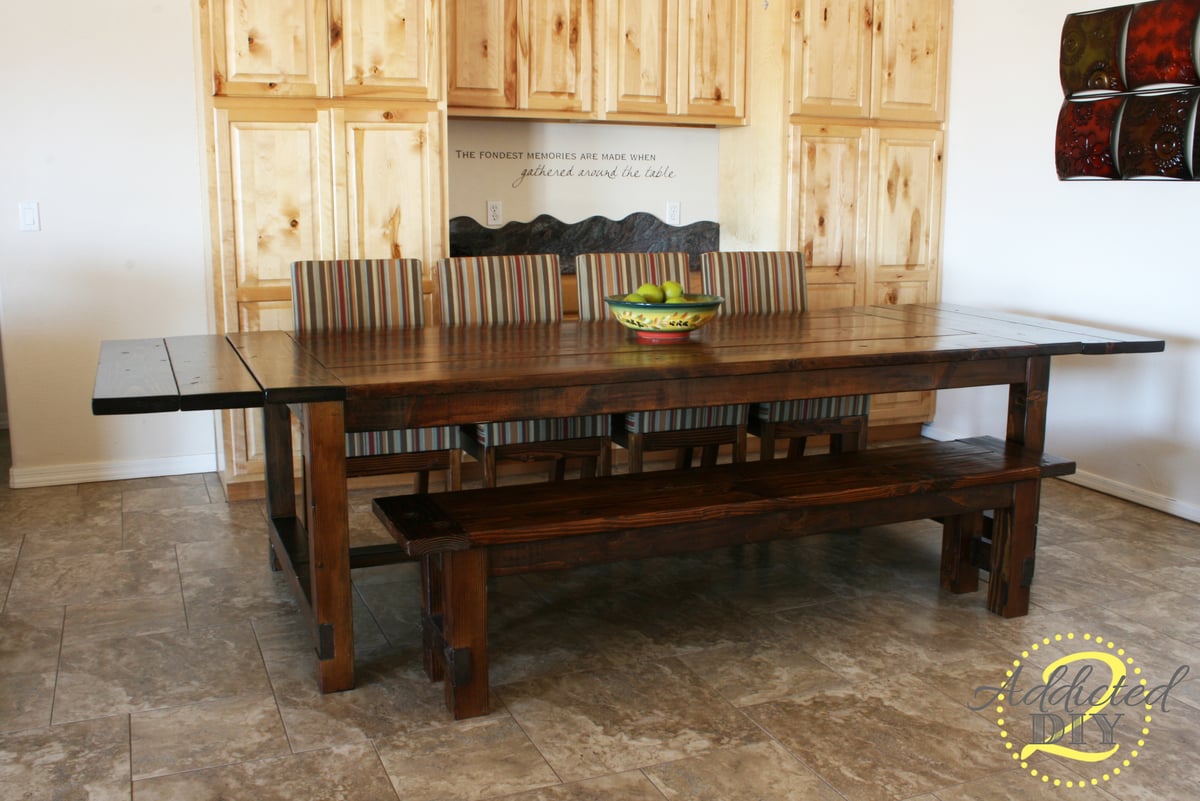
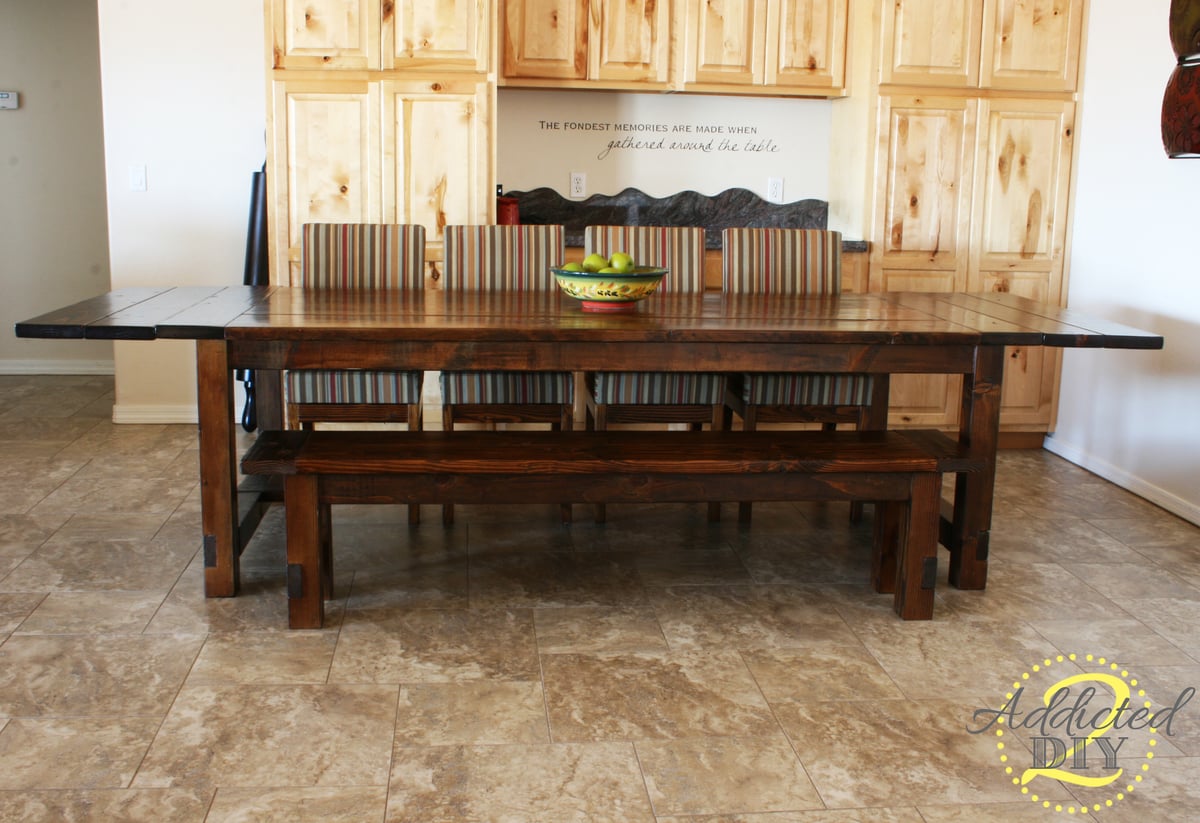
DIY Farmhouse Table with Extensions

Submitted by katie0910 on Tue, 11/05/2013 - 06:03

We built this farmhouse table a few months ago and absolutely love it. We modified the plans a bit based on another brag post and went with a replica of the Restoration Hardware table. I also built the chairs for the table based on the Parsons chair plans

Estimated Cost
$300+
Estimated Time Investment
Week Long Project (20 Hours or More)
Finish Used
Minwax Provincial
Minwax Polycrylic in Satin
Recommended Skill Level
Intermediate

Comments

Joni

Tue, 11/05/2013 - 17:59

Really nice job! This was quite an accomplishment, especially given that you guys did additional chairs (that look fantastic). Also, great job documenting on your blog.

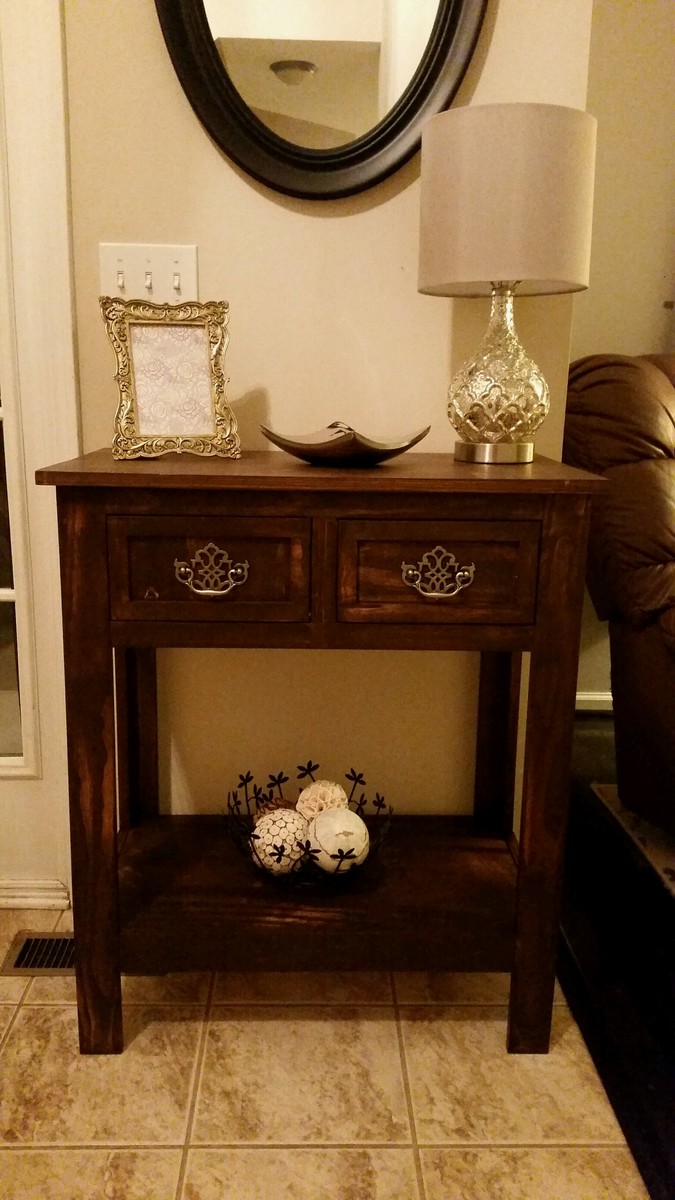
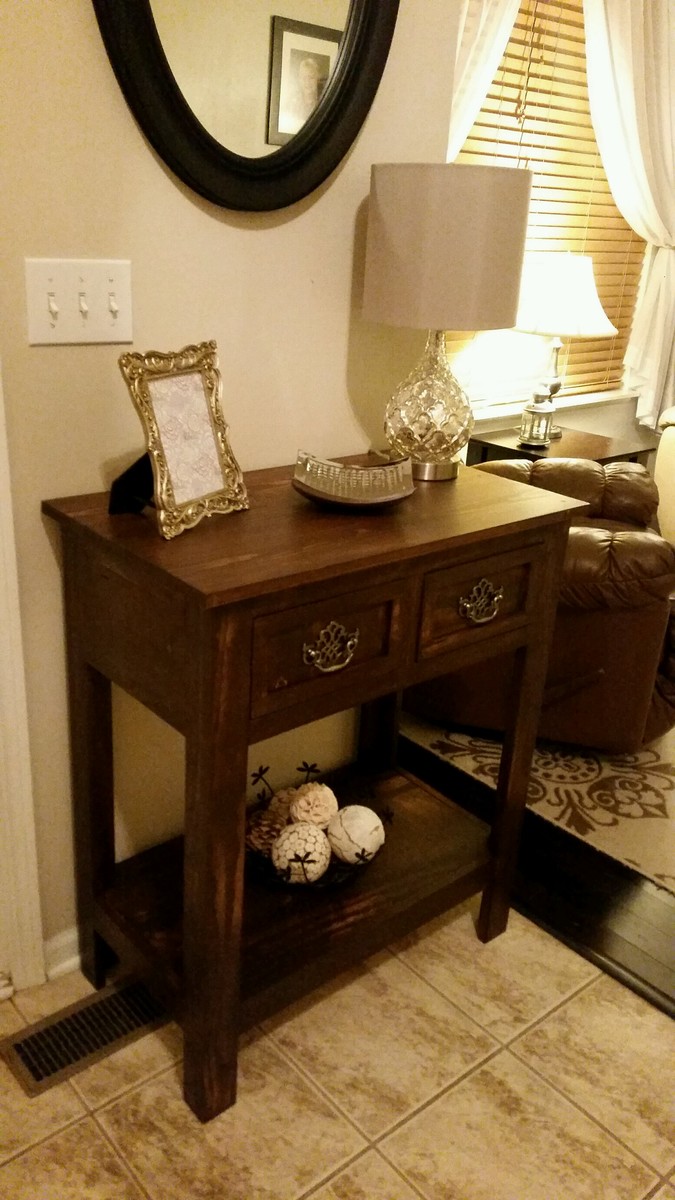
Shirley Console Table - Modified

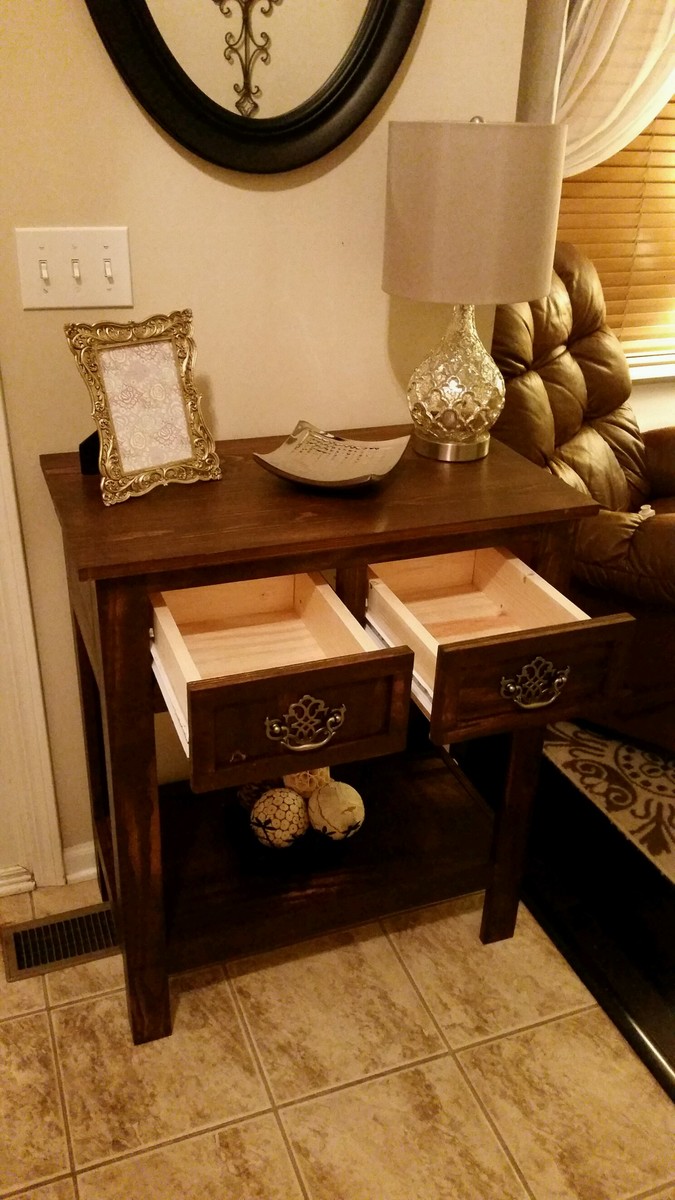
Absolutely loved this table when I saw the plans and knew it was exactly what we were looking for near our front entrance.  I got the wonderful idea from another builder on here (Kiely54, thanks!) who modified the drawer faces and used the amazing drawer pulls. My wife loved the drawer pulls so much we hunted them down at our local Menards.  This is the first time I have ever built a piece with drawers.  I was absolutely terrified about making and fitting the drawers, but it wasn't nearly as bad as I thought.  I have now learned how to do it and now I don't feel so limited about the pieces I build.  We modified the size to fit our area and we absolutely love the finished product!

Built from Plan(s)
Estimated Cost
$100
Estimated Time Investment
Weekend Project (10-20 Hours)
Finish Used
Varathane Dark Walnut
Recommended Skill Level
Intermediate

Comments