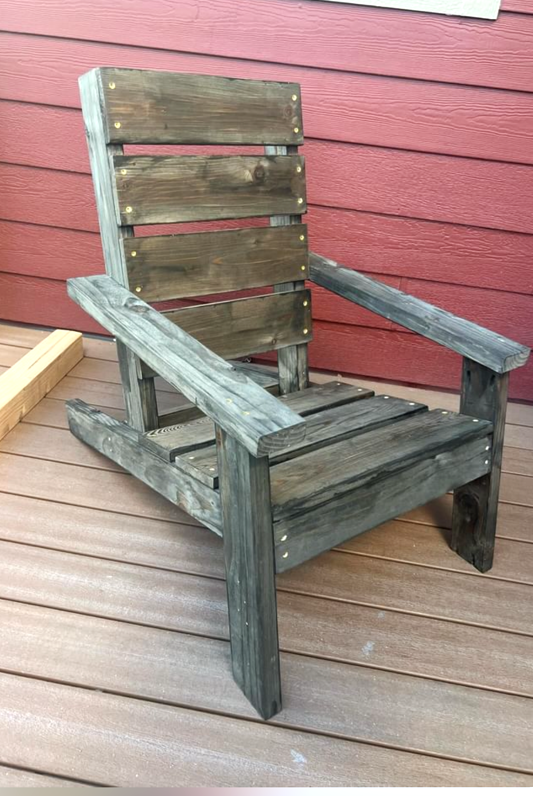
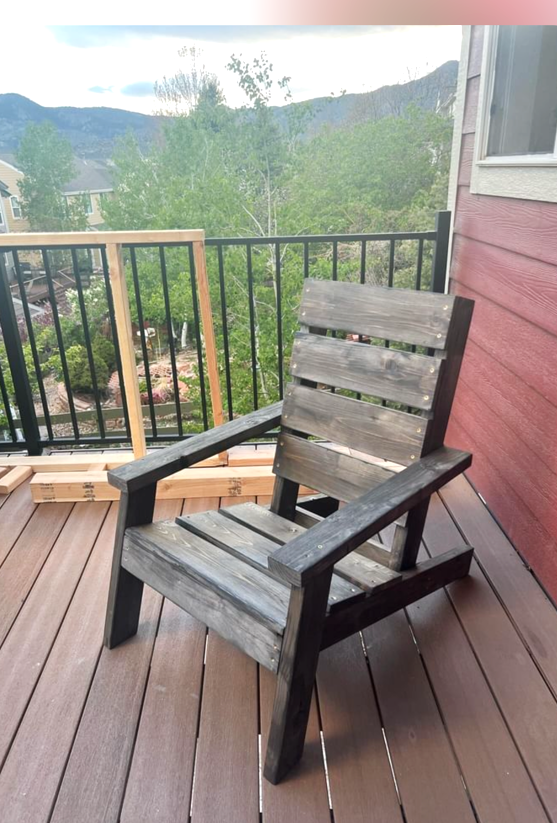
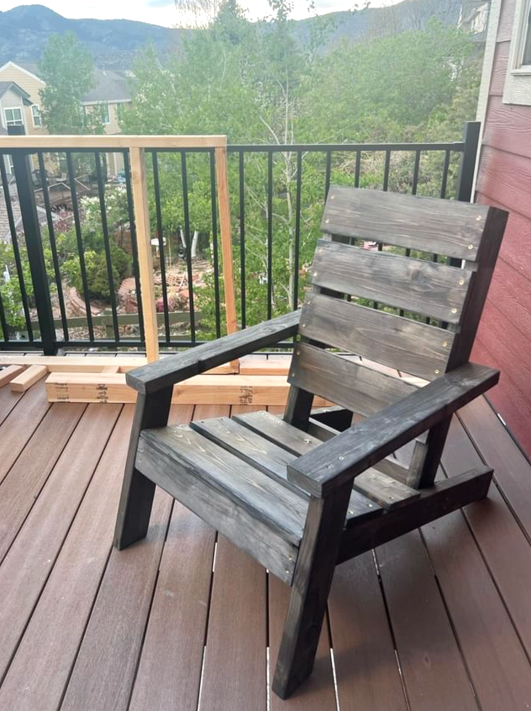
Easy Build Adirondack Chair
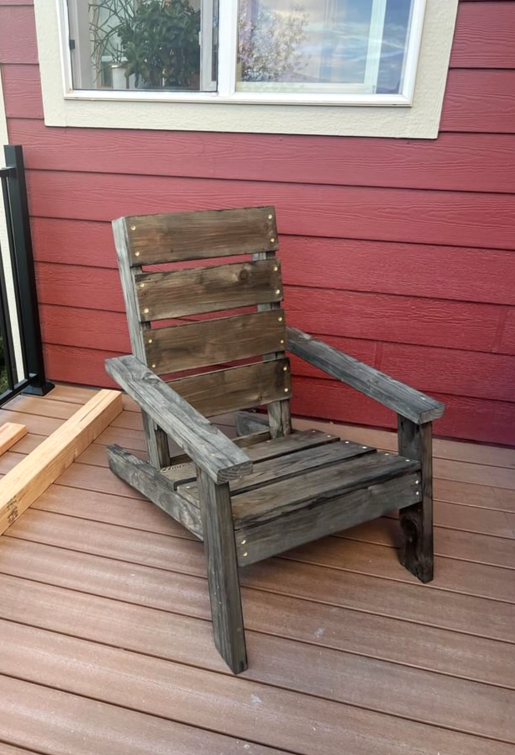
DIY Adirondack Chair
Built from Plan(s)
DIY Adirondack Chair
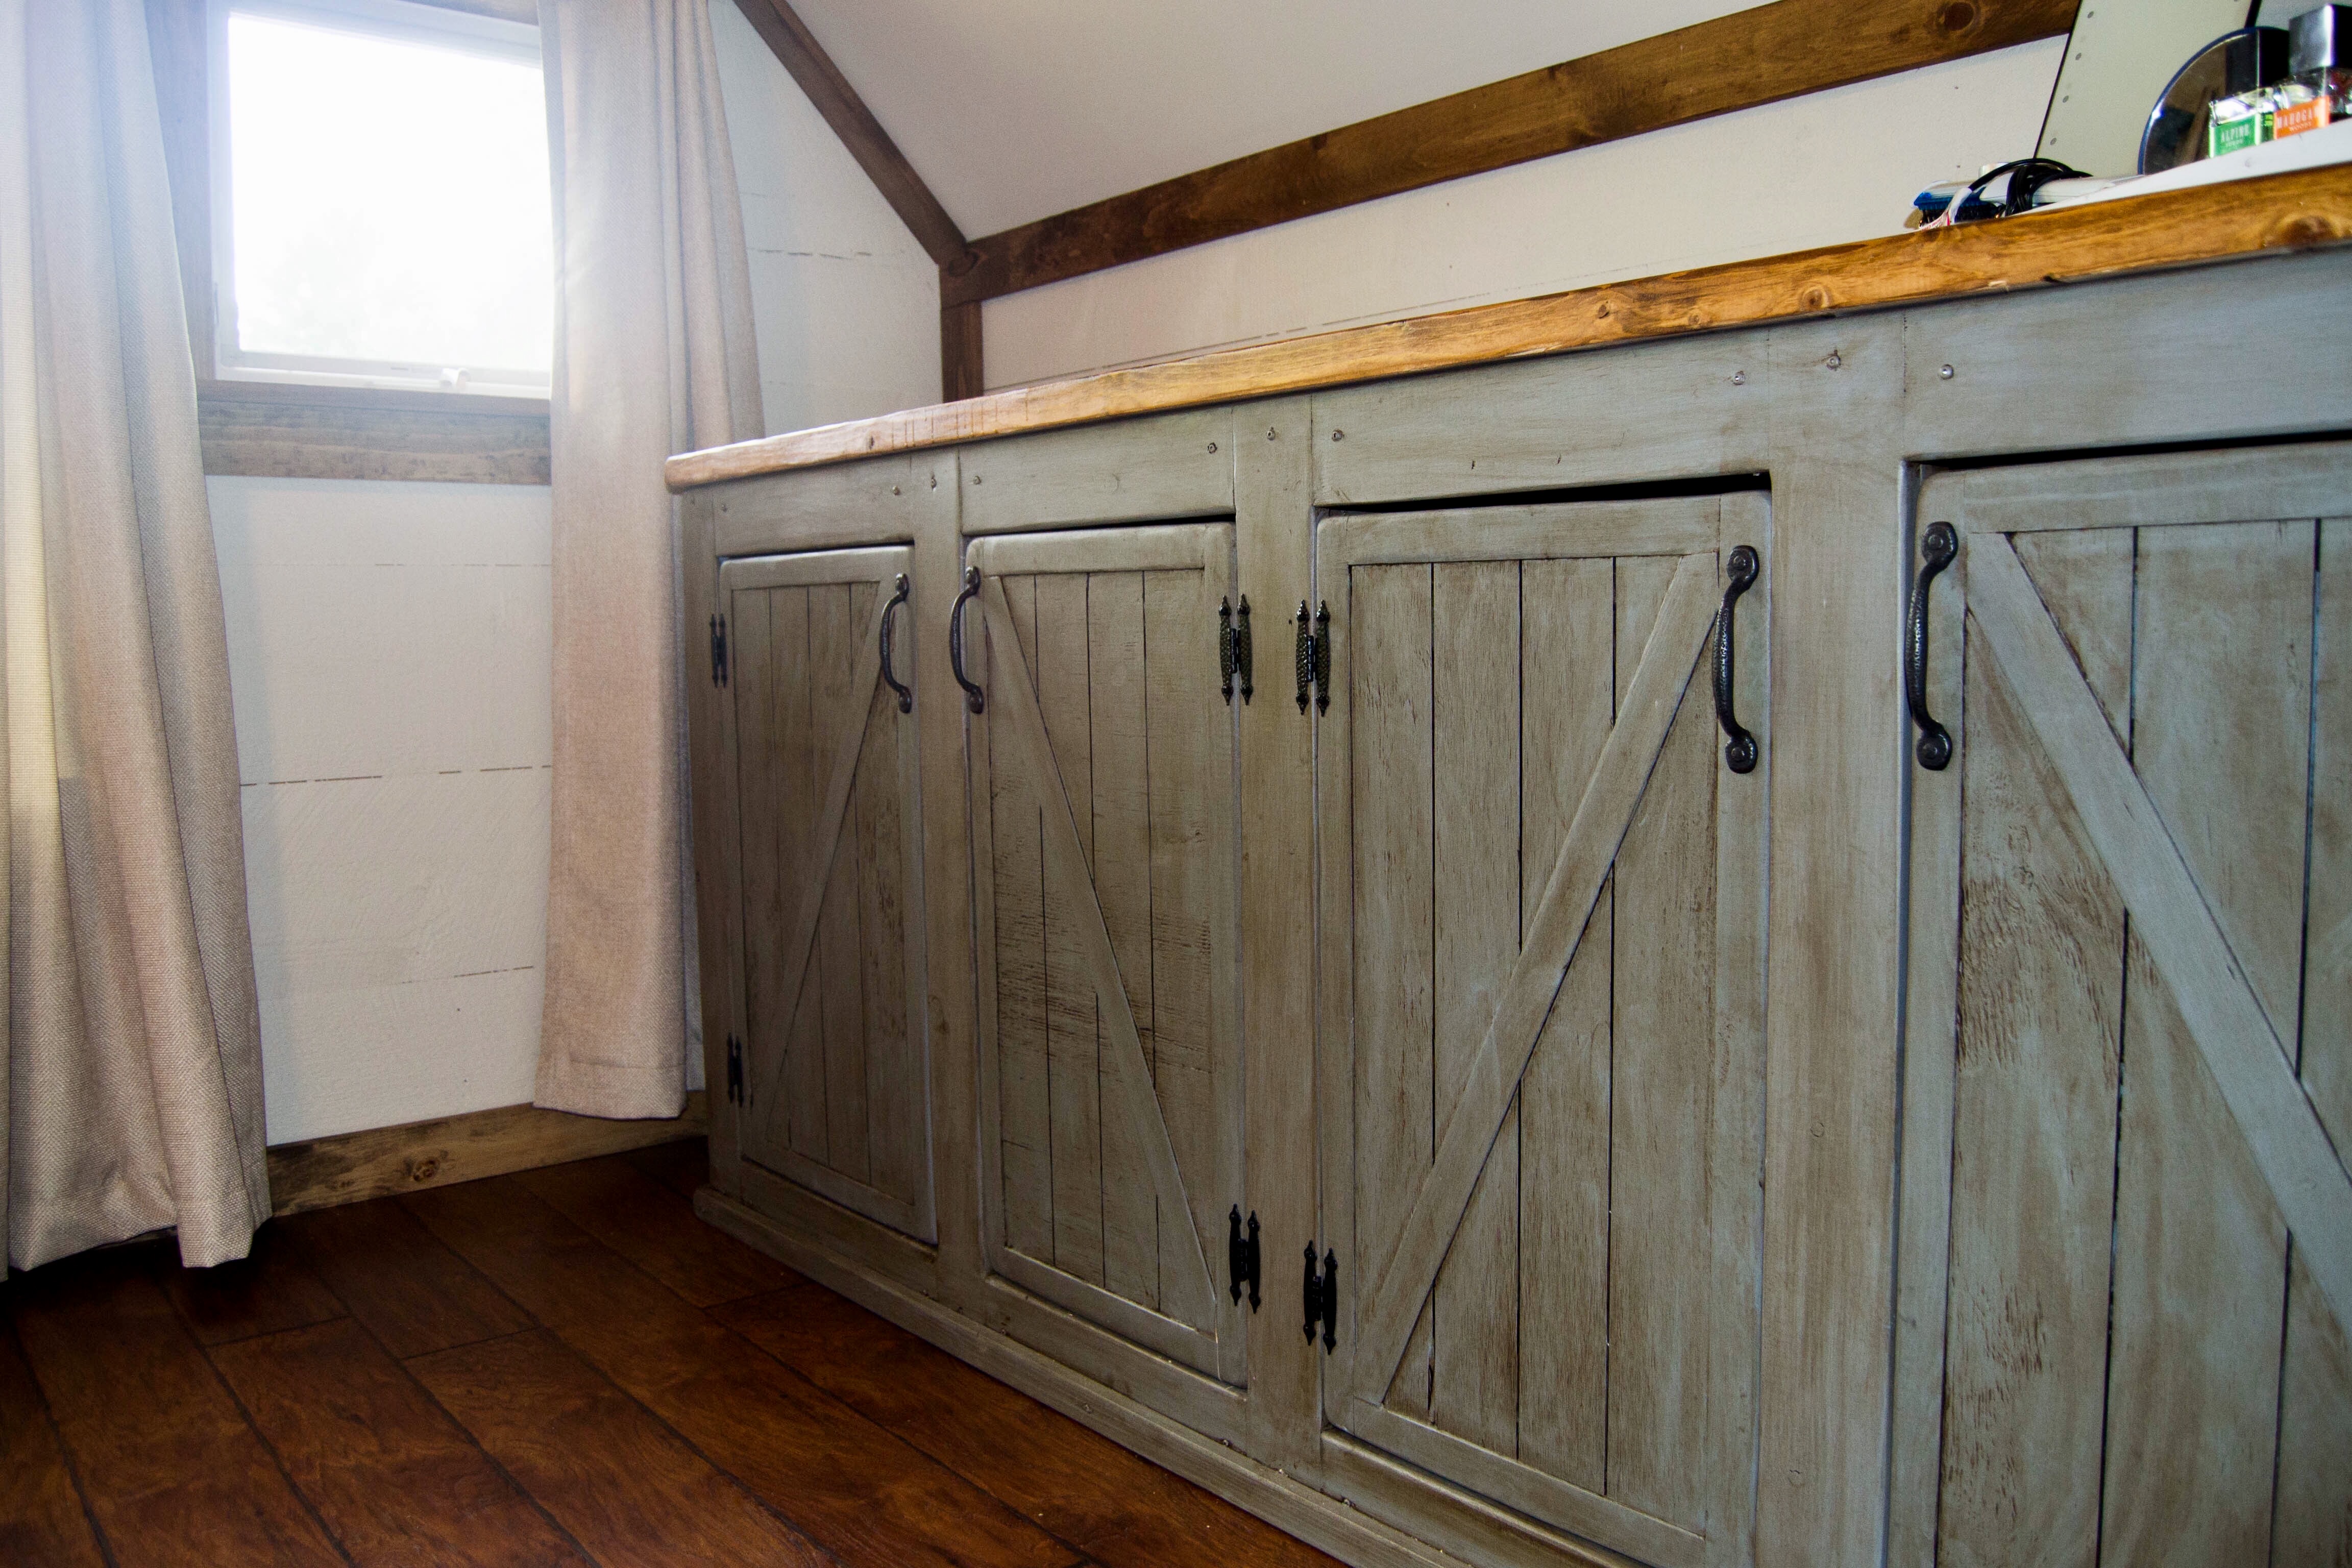
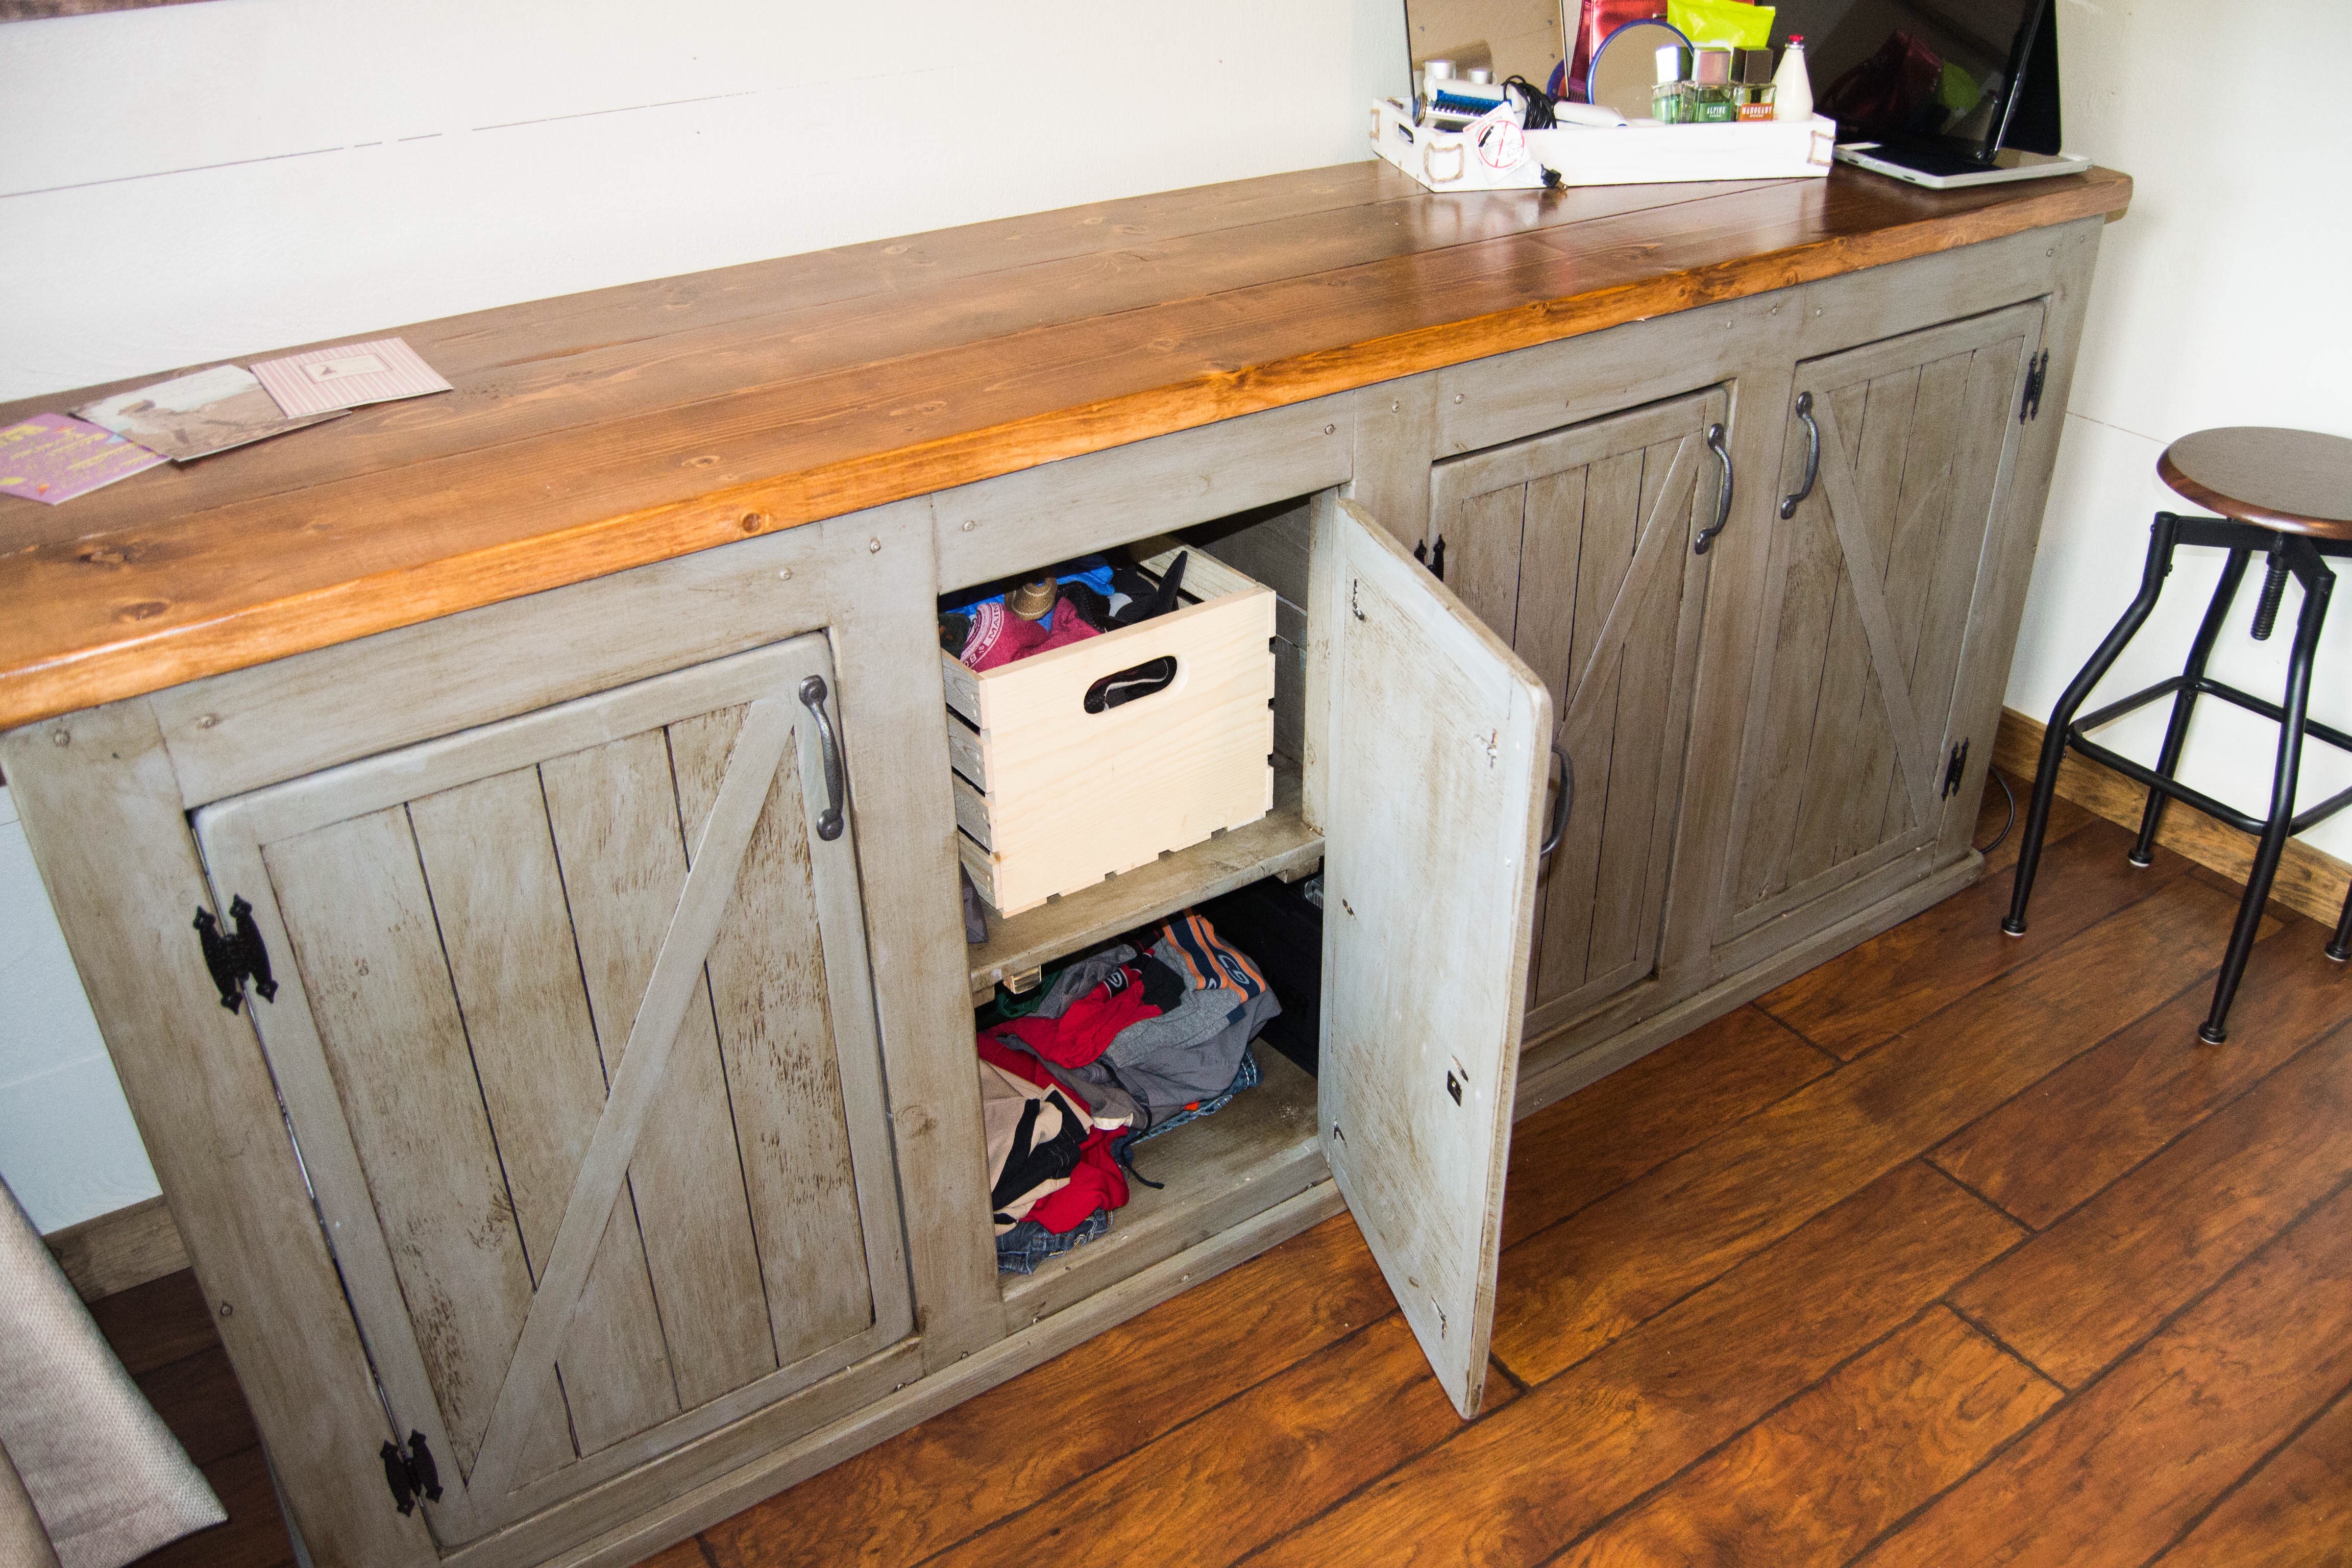
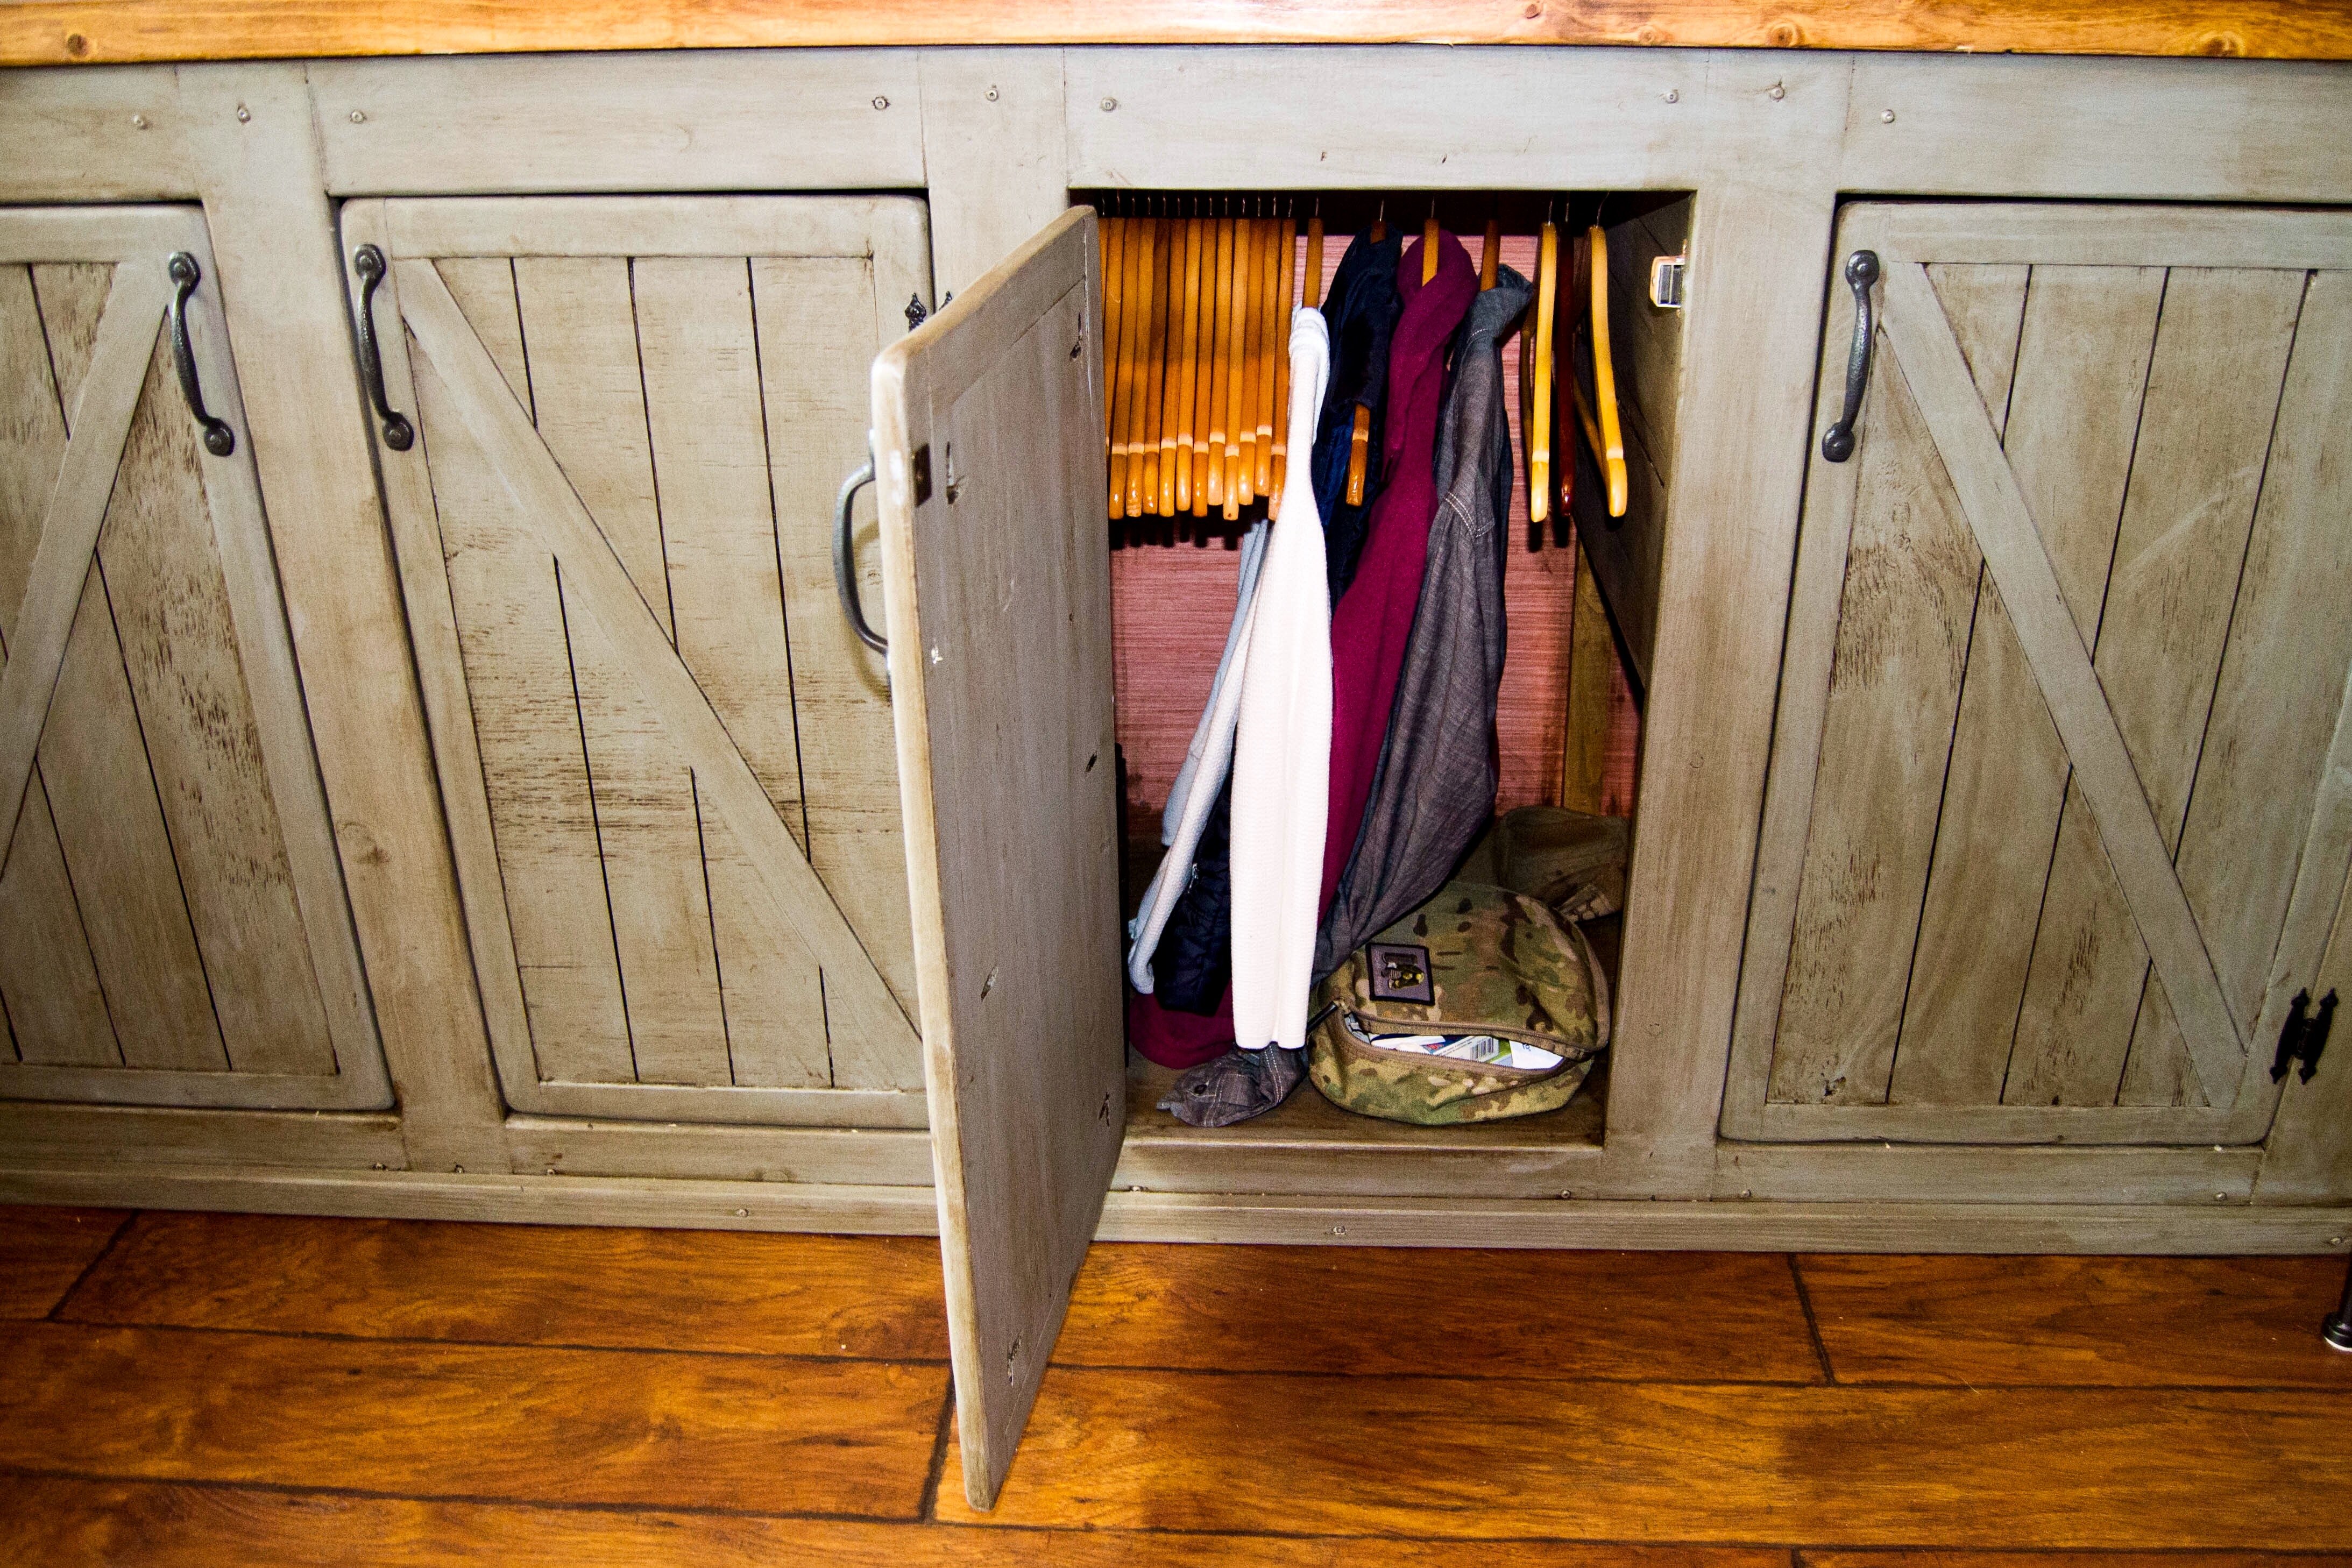
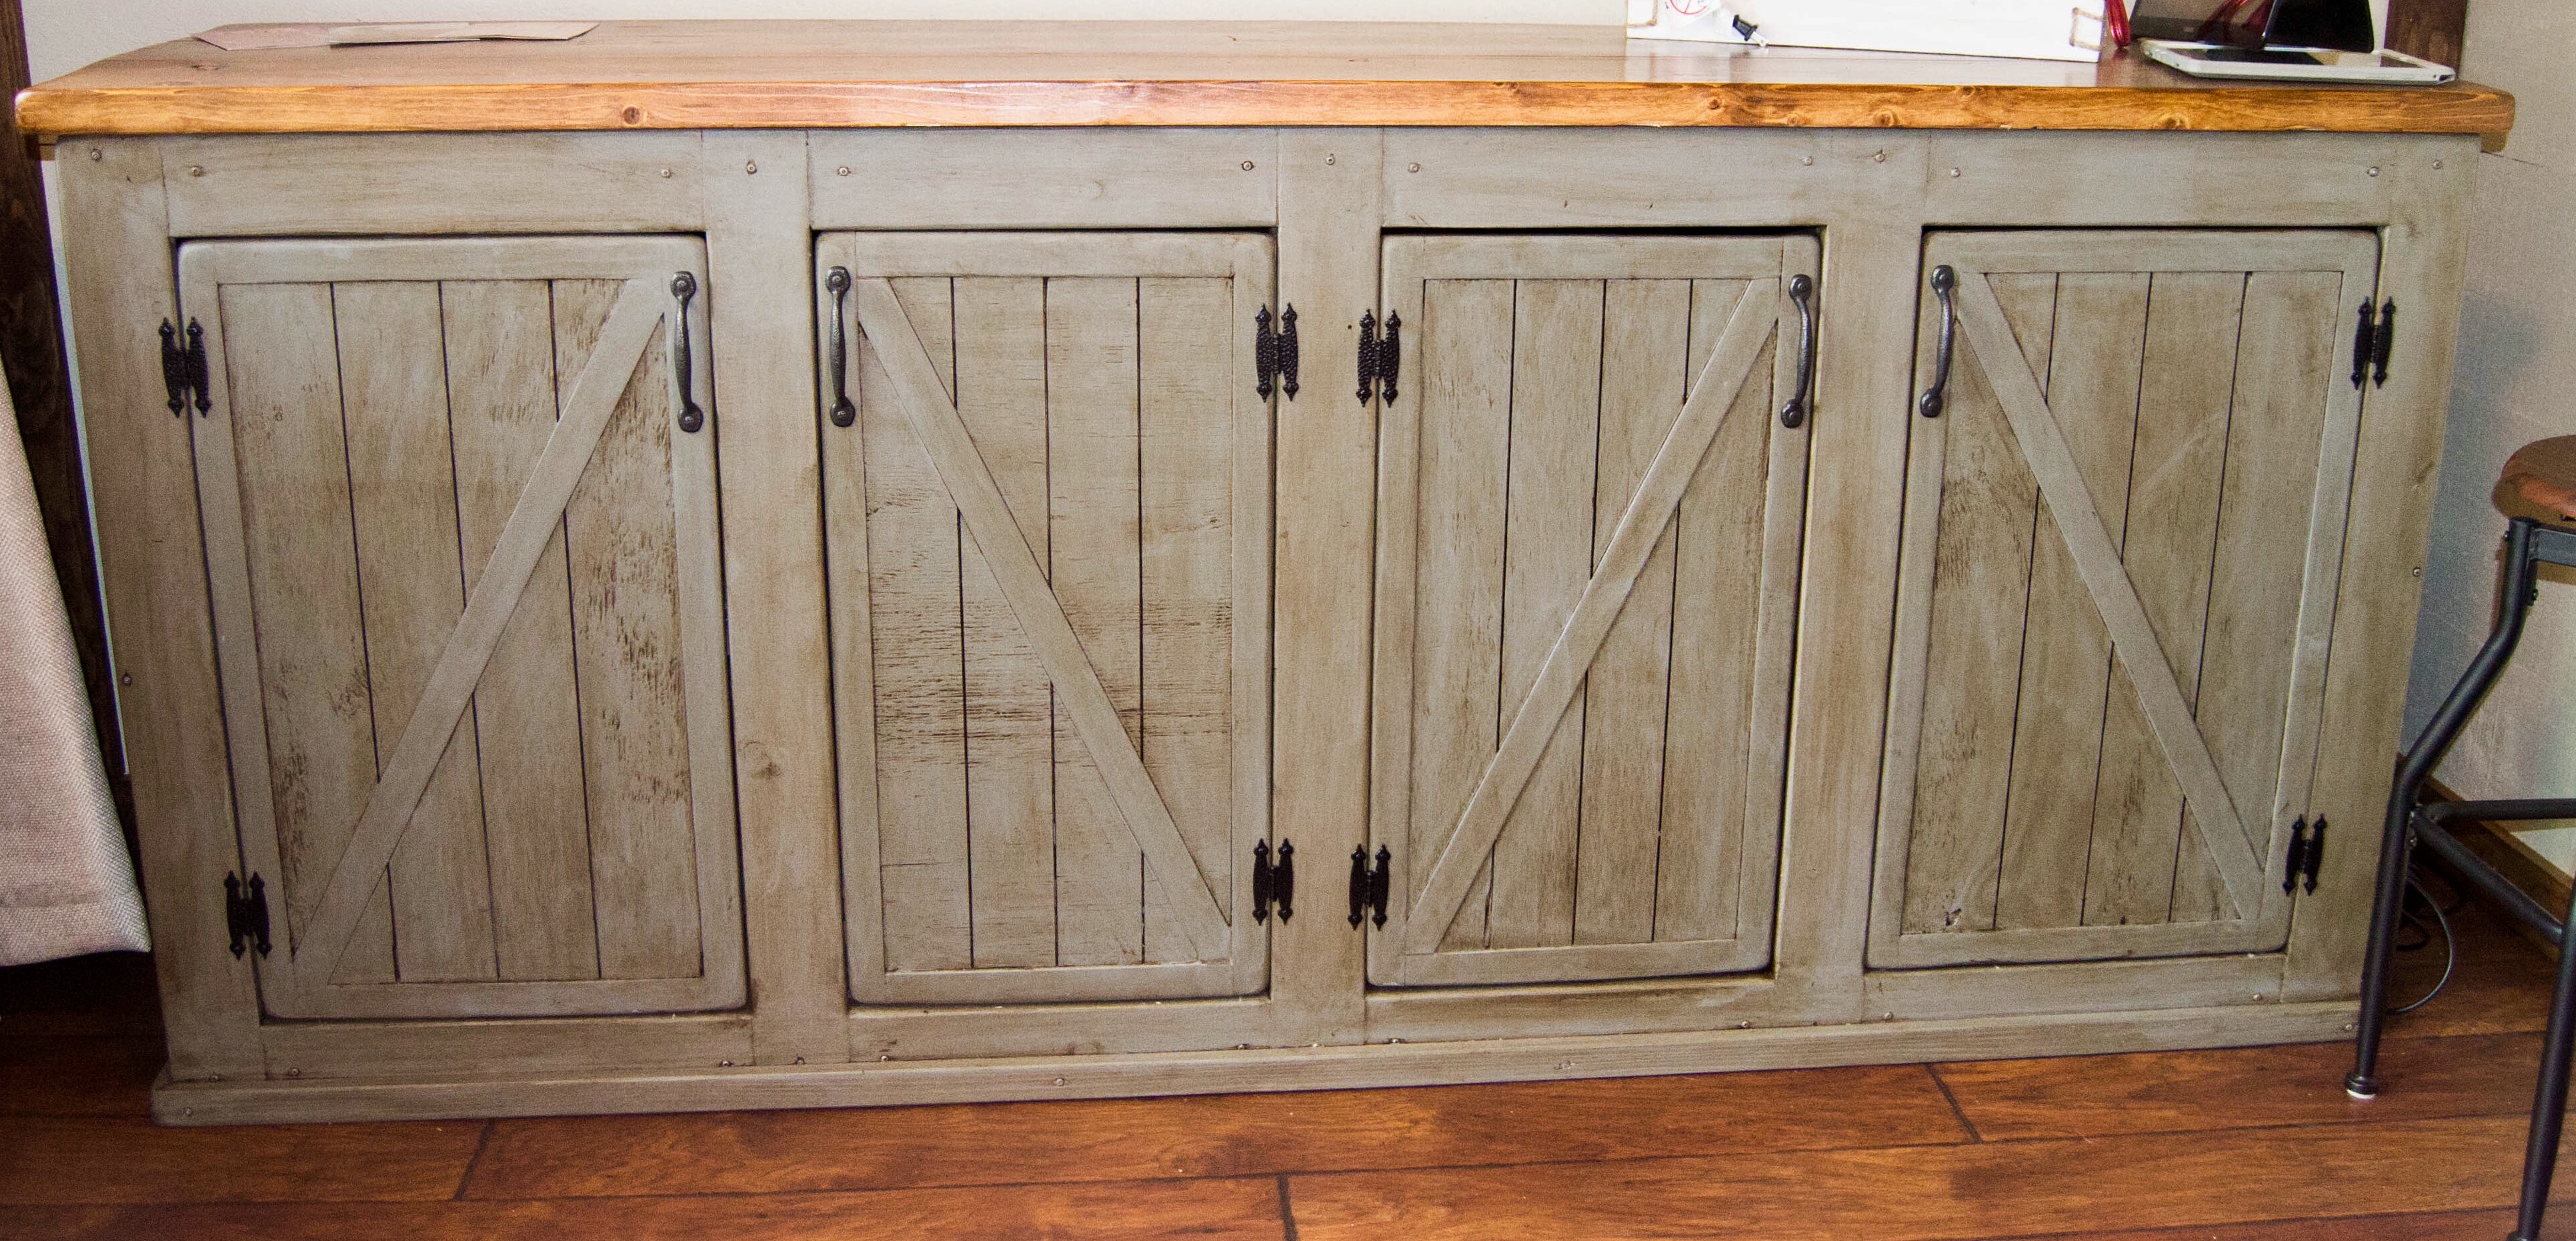
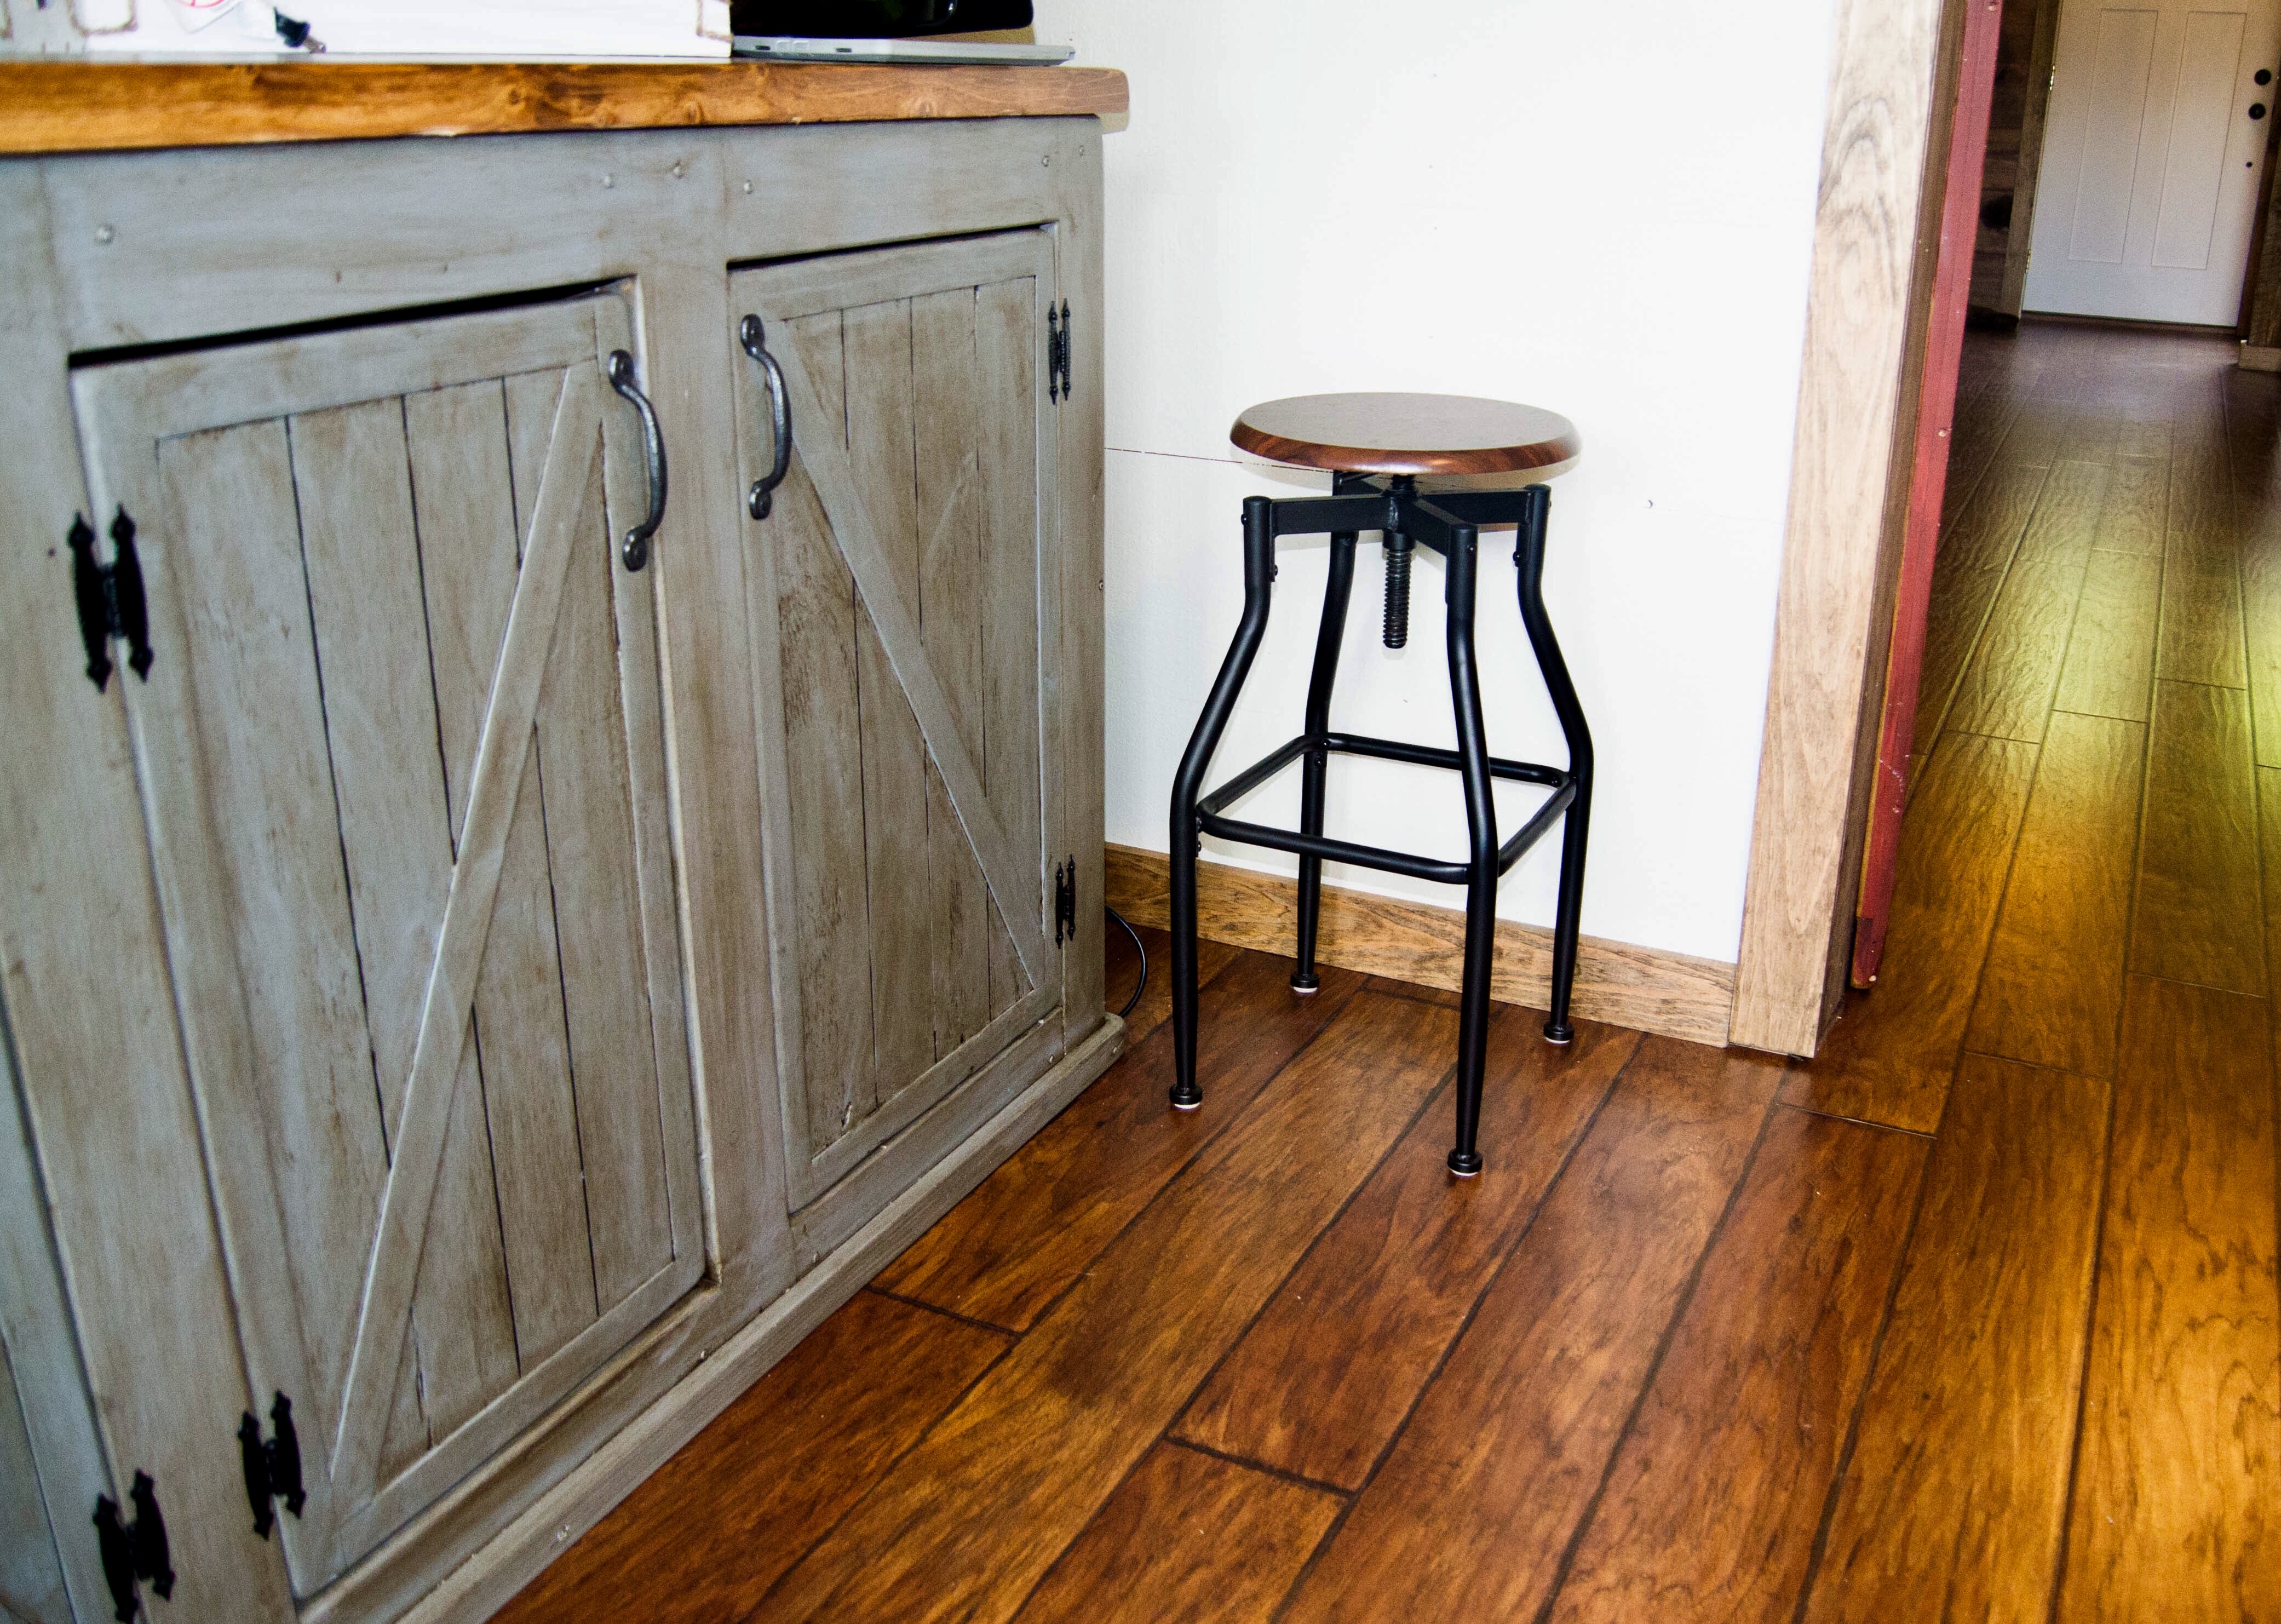
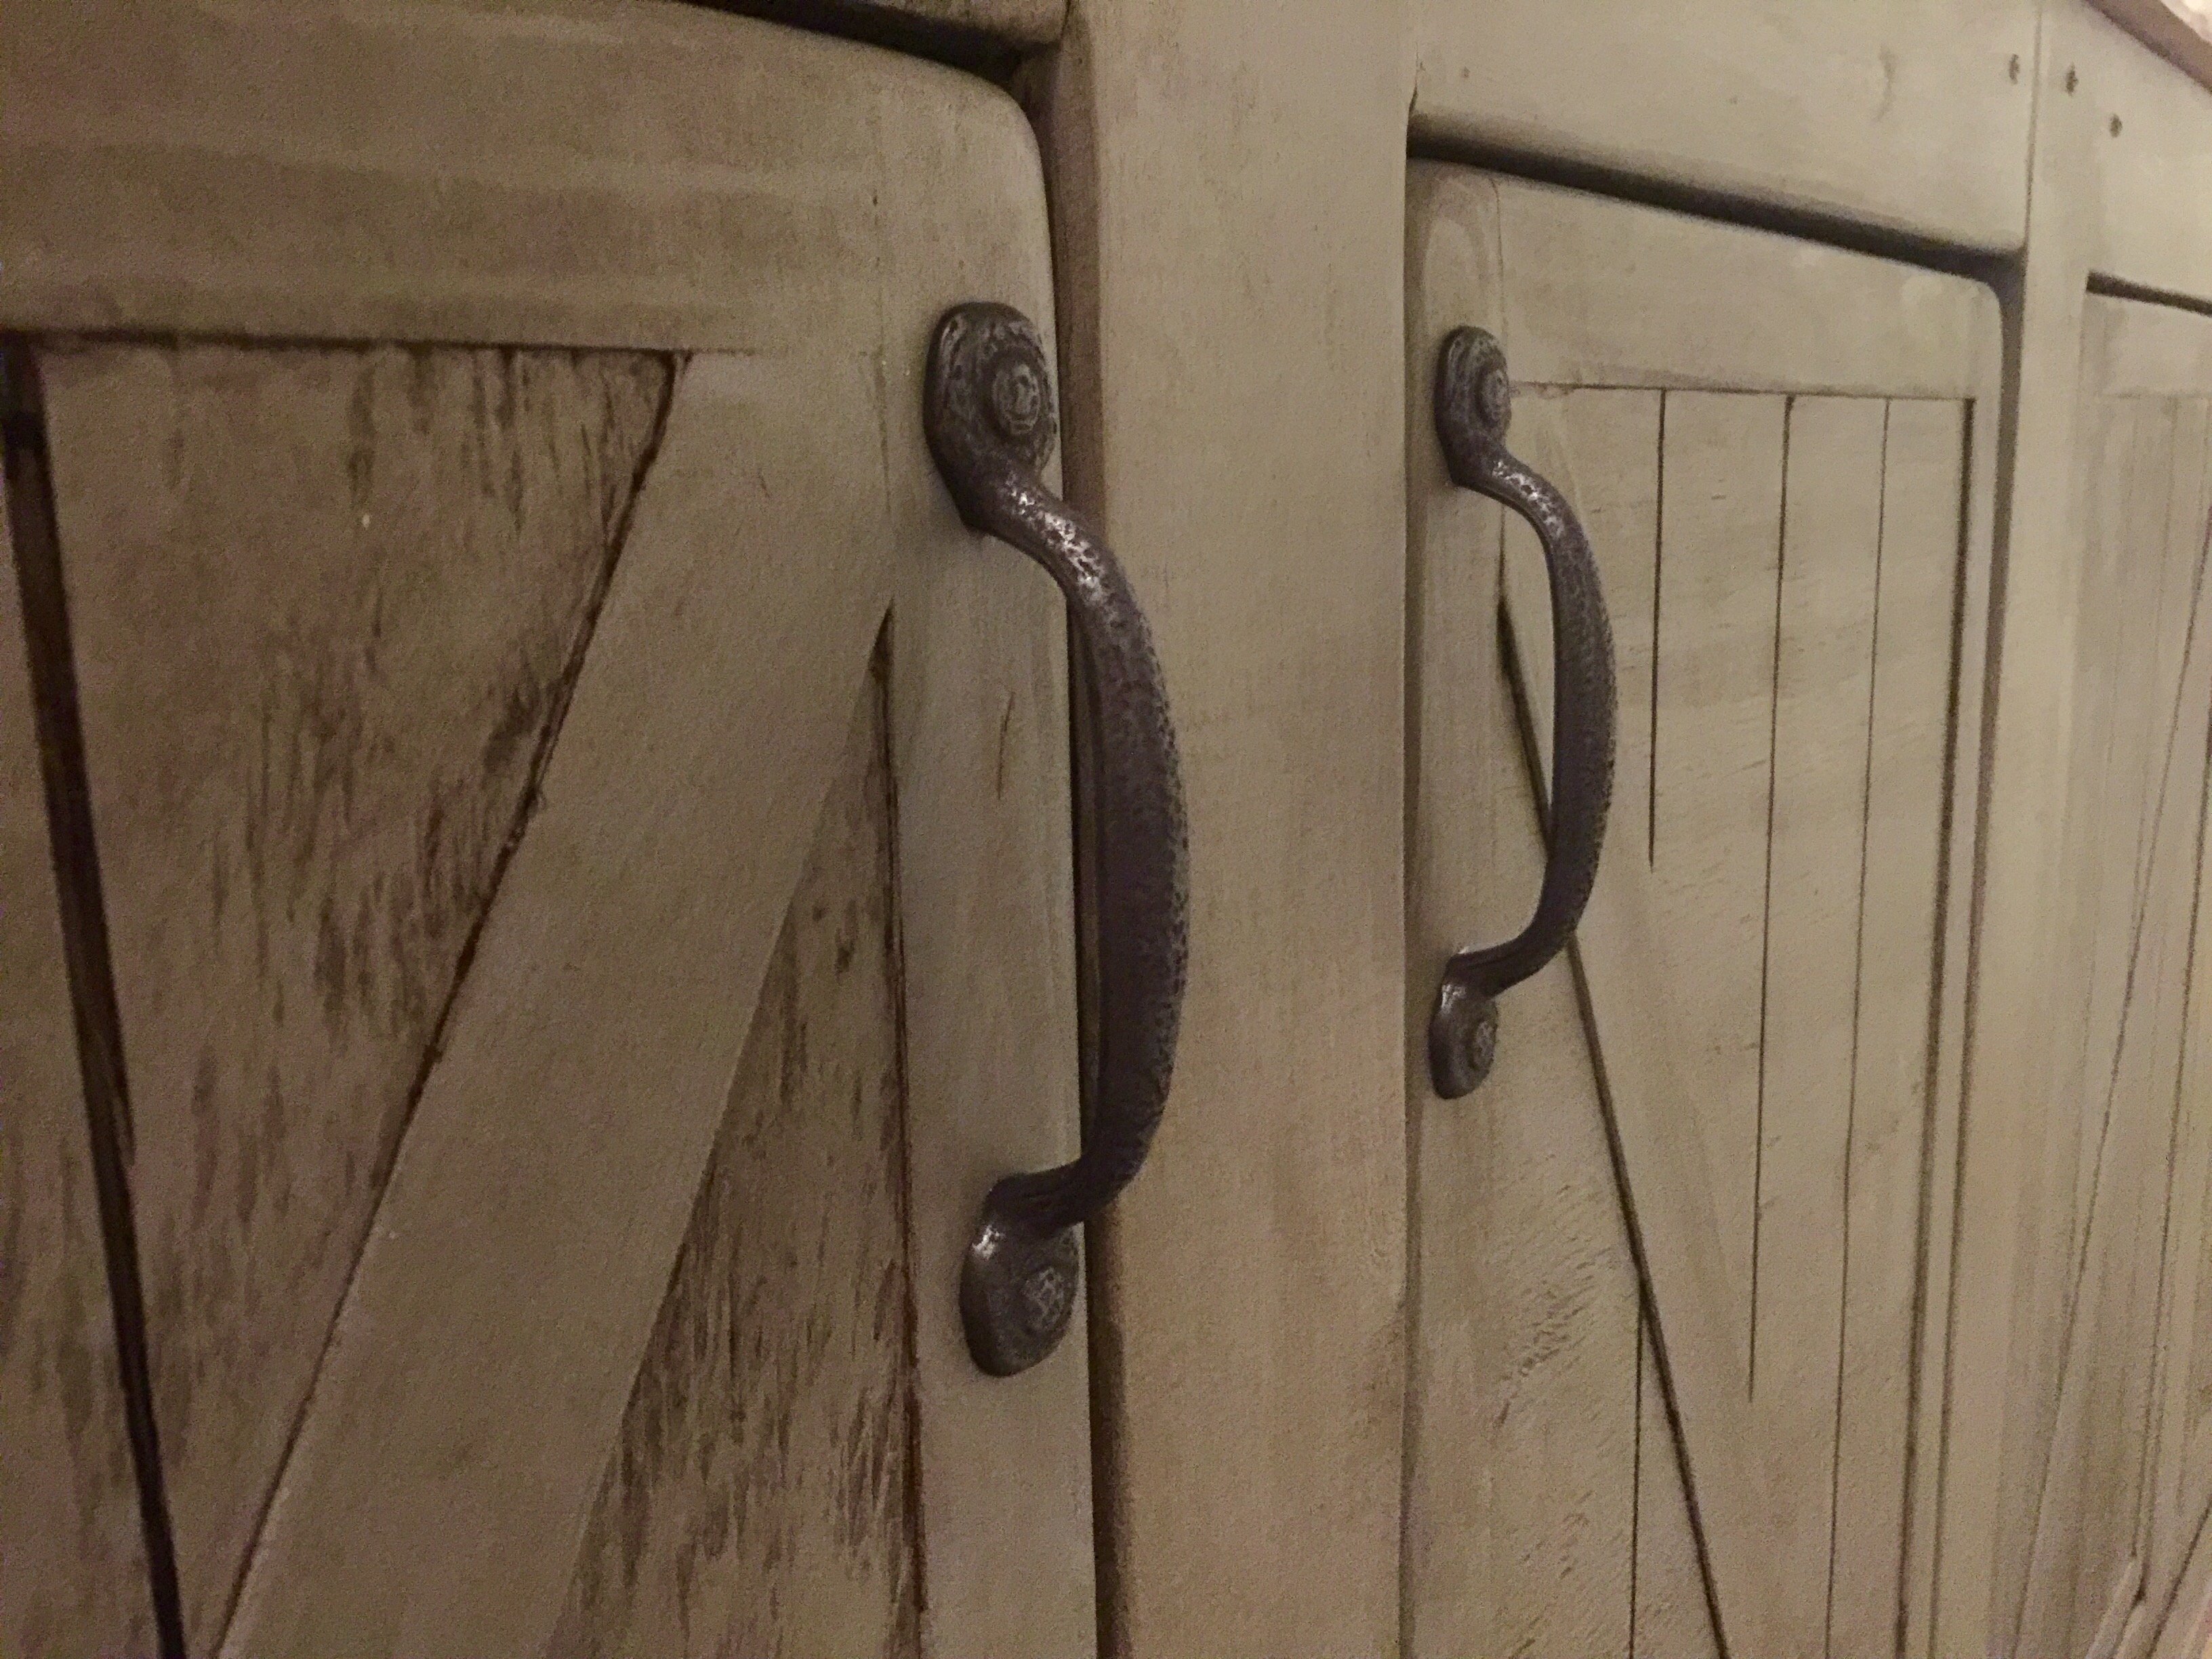
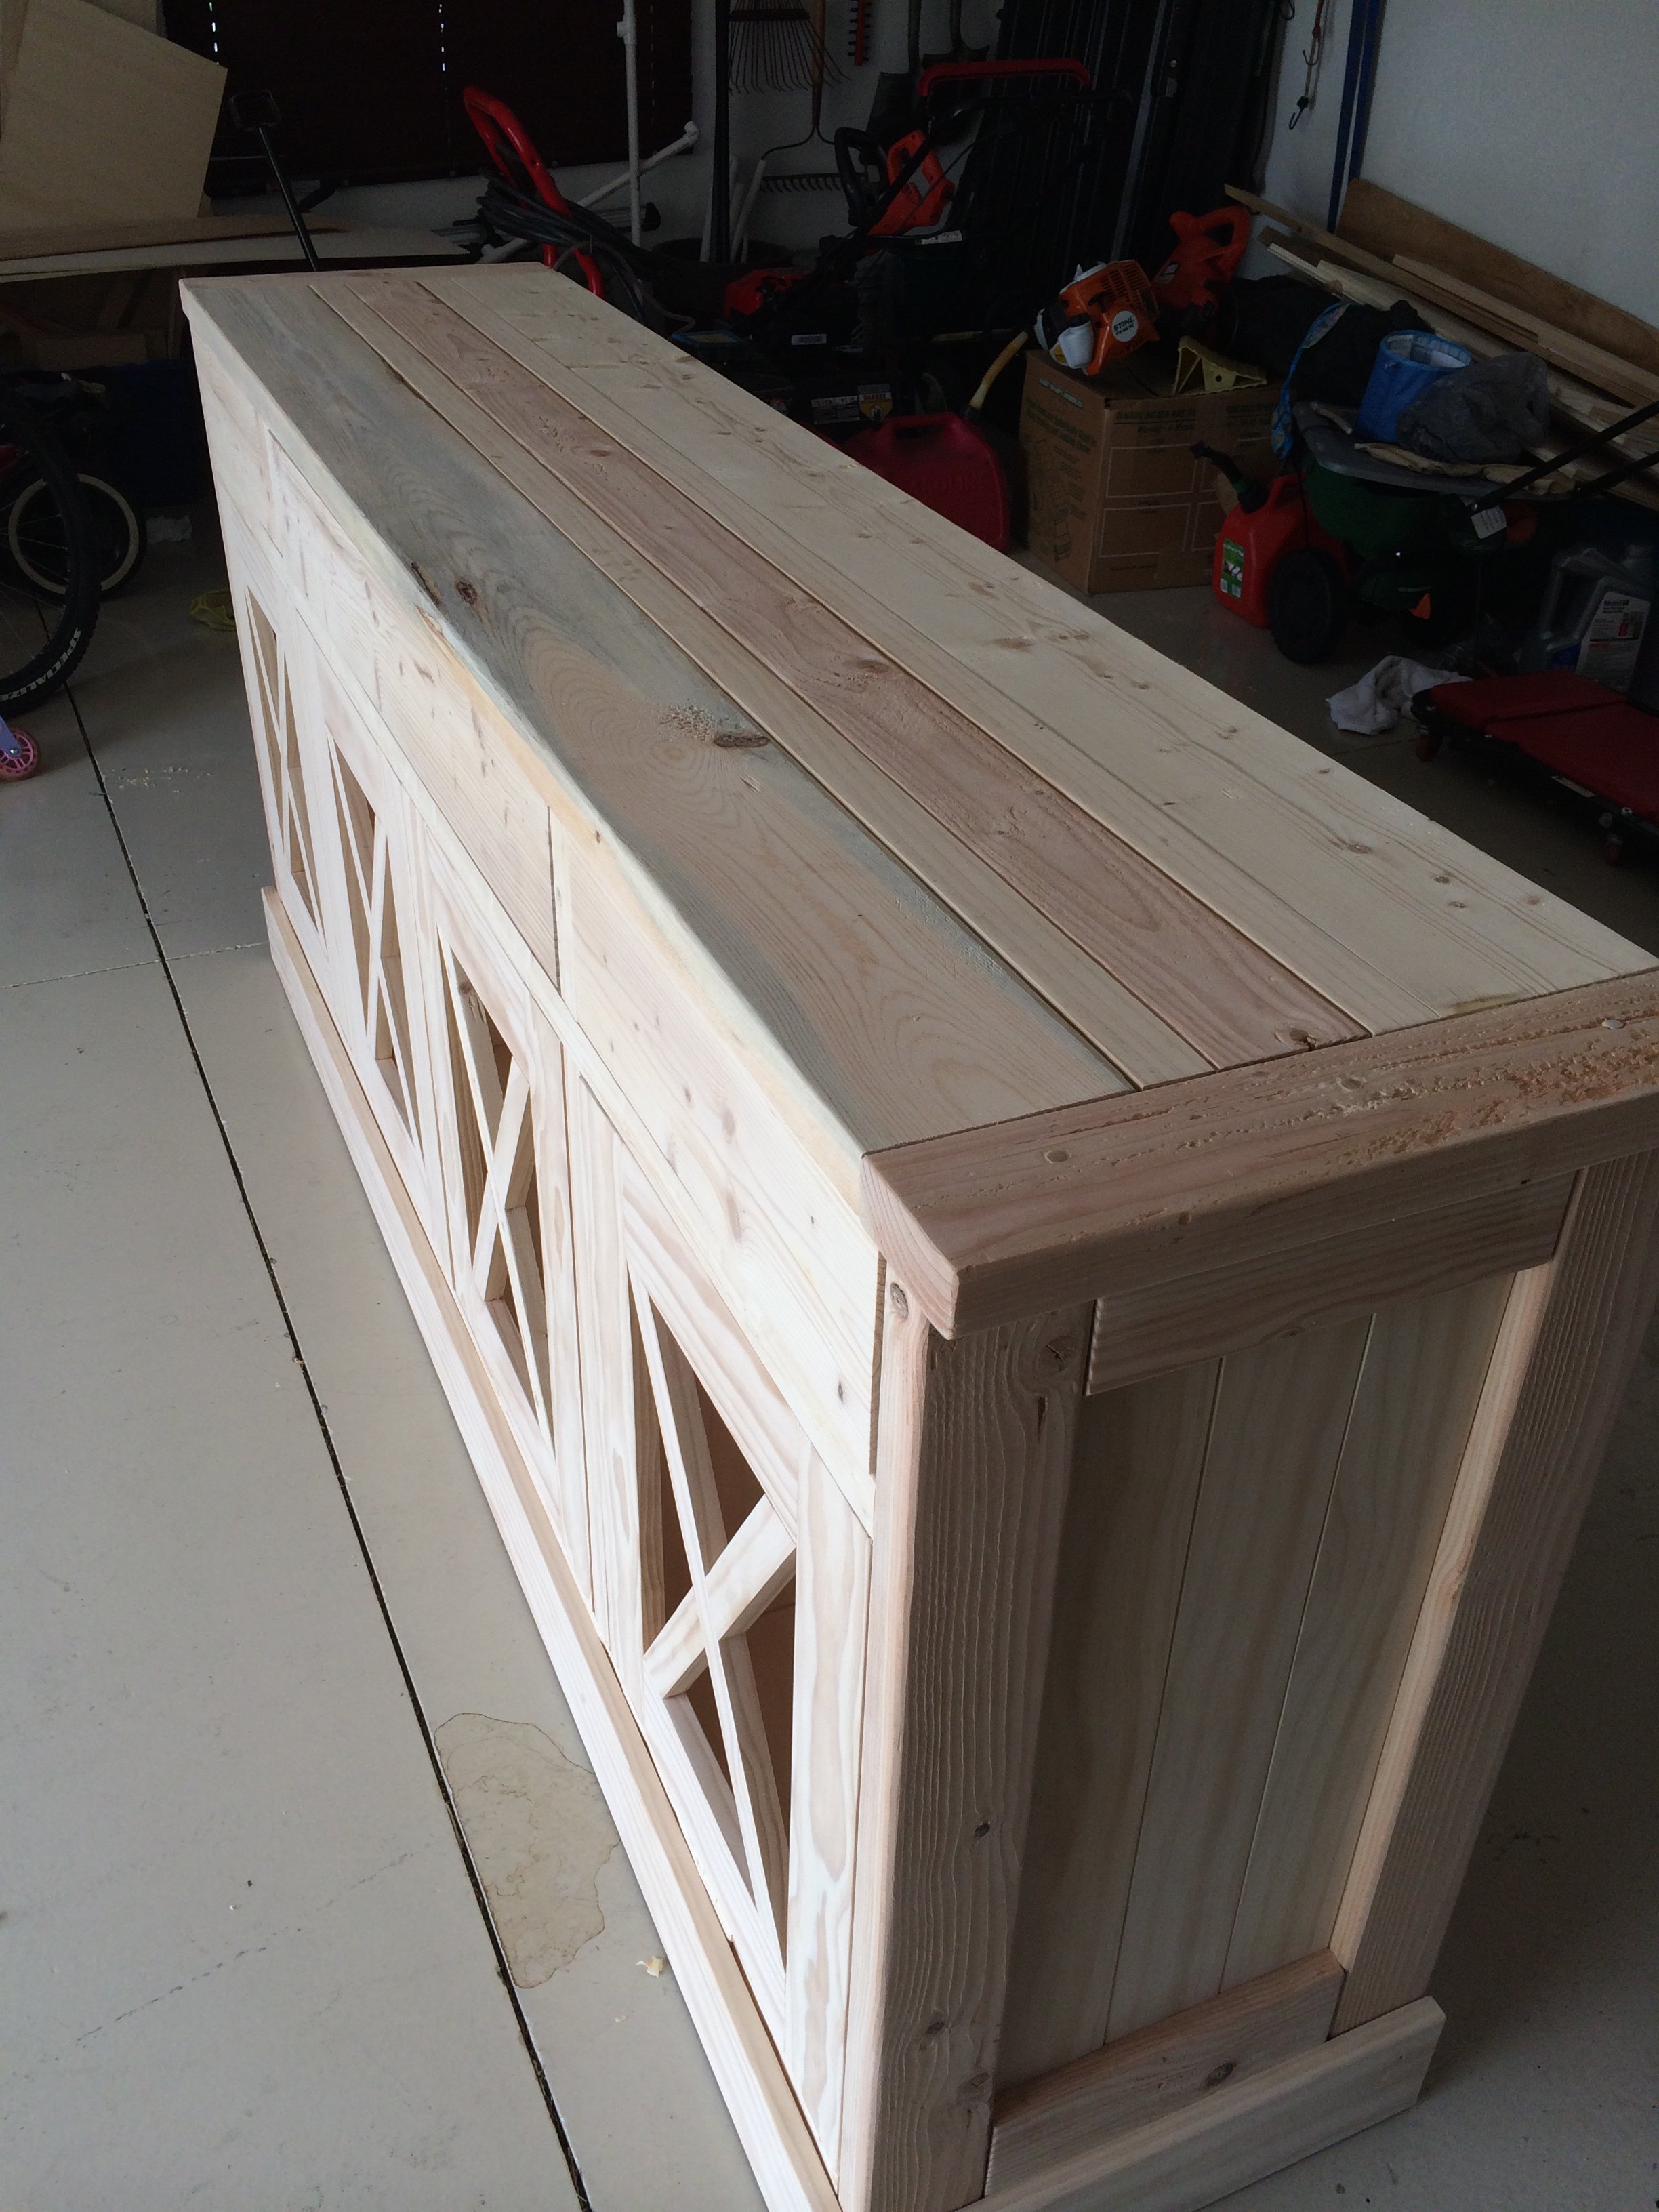
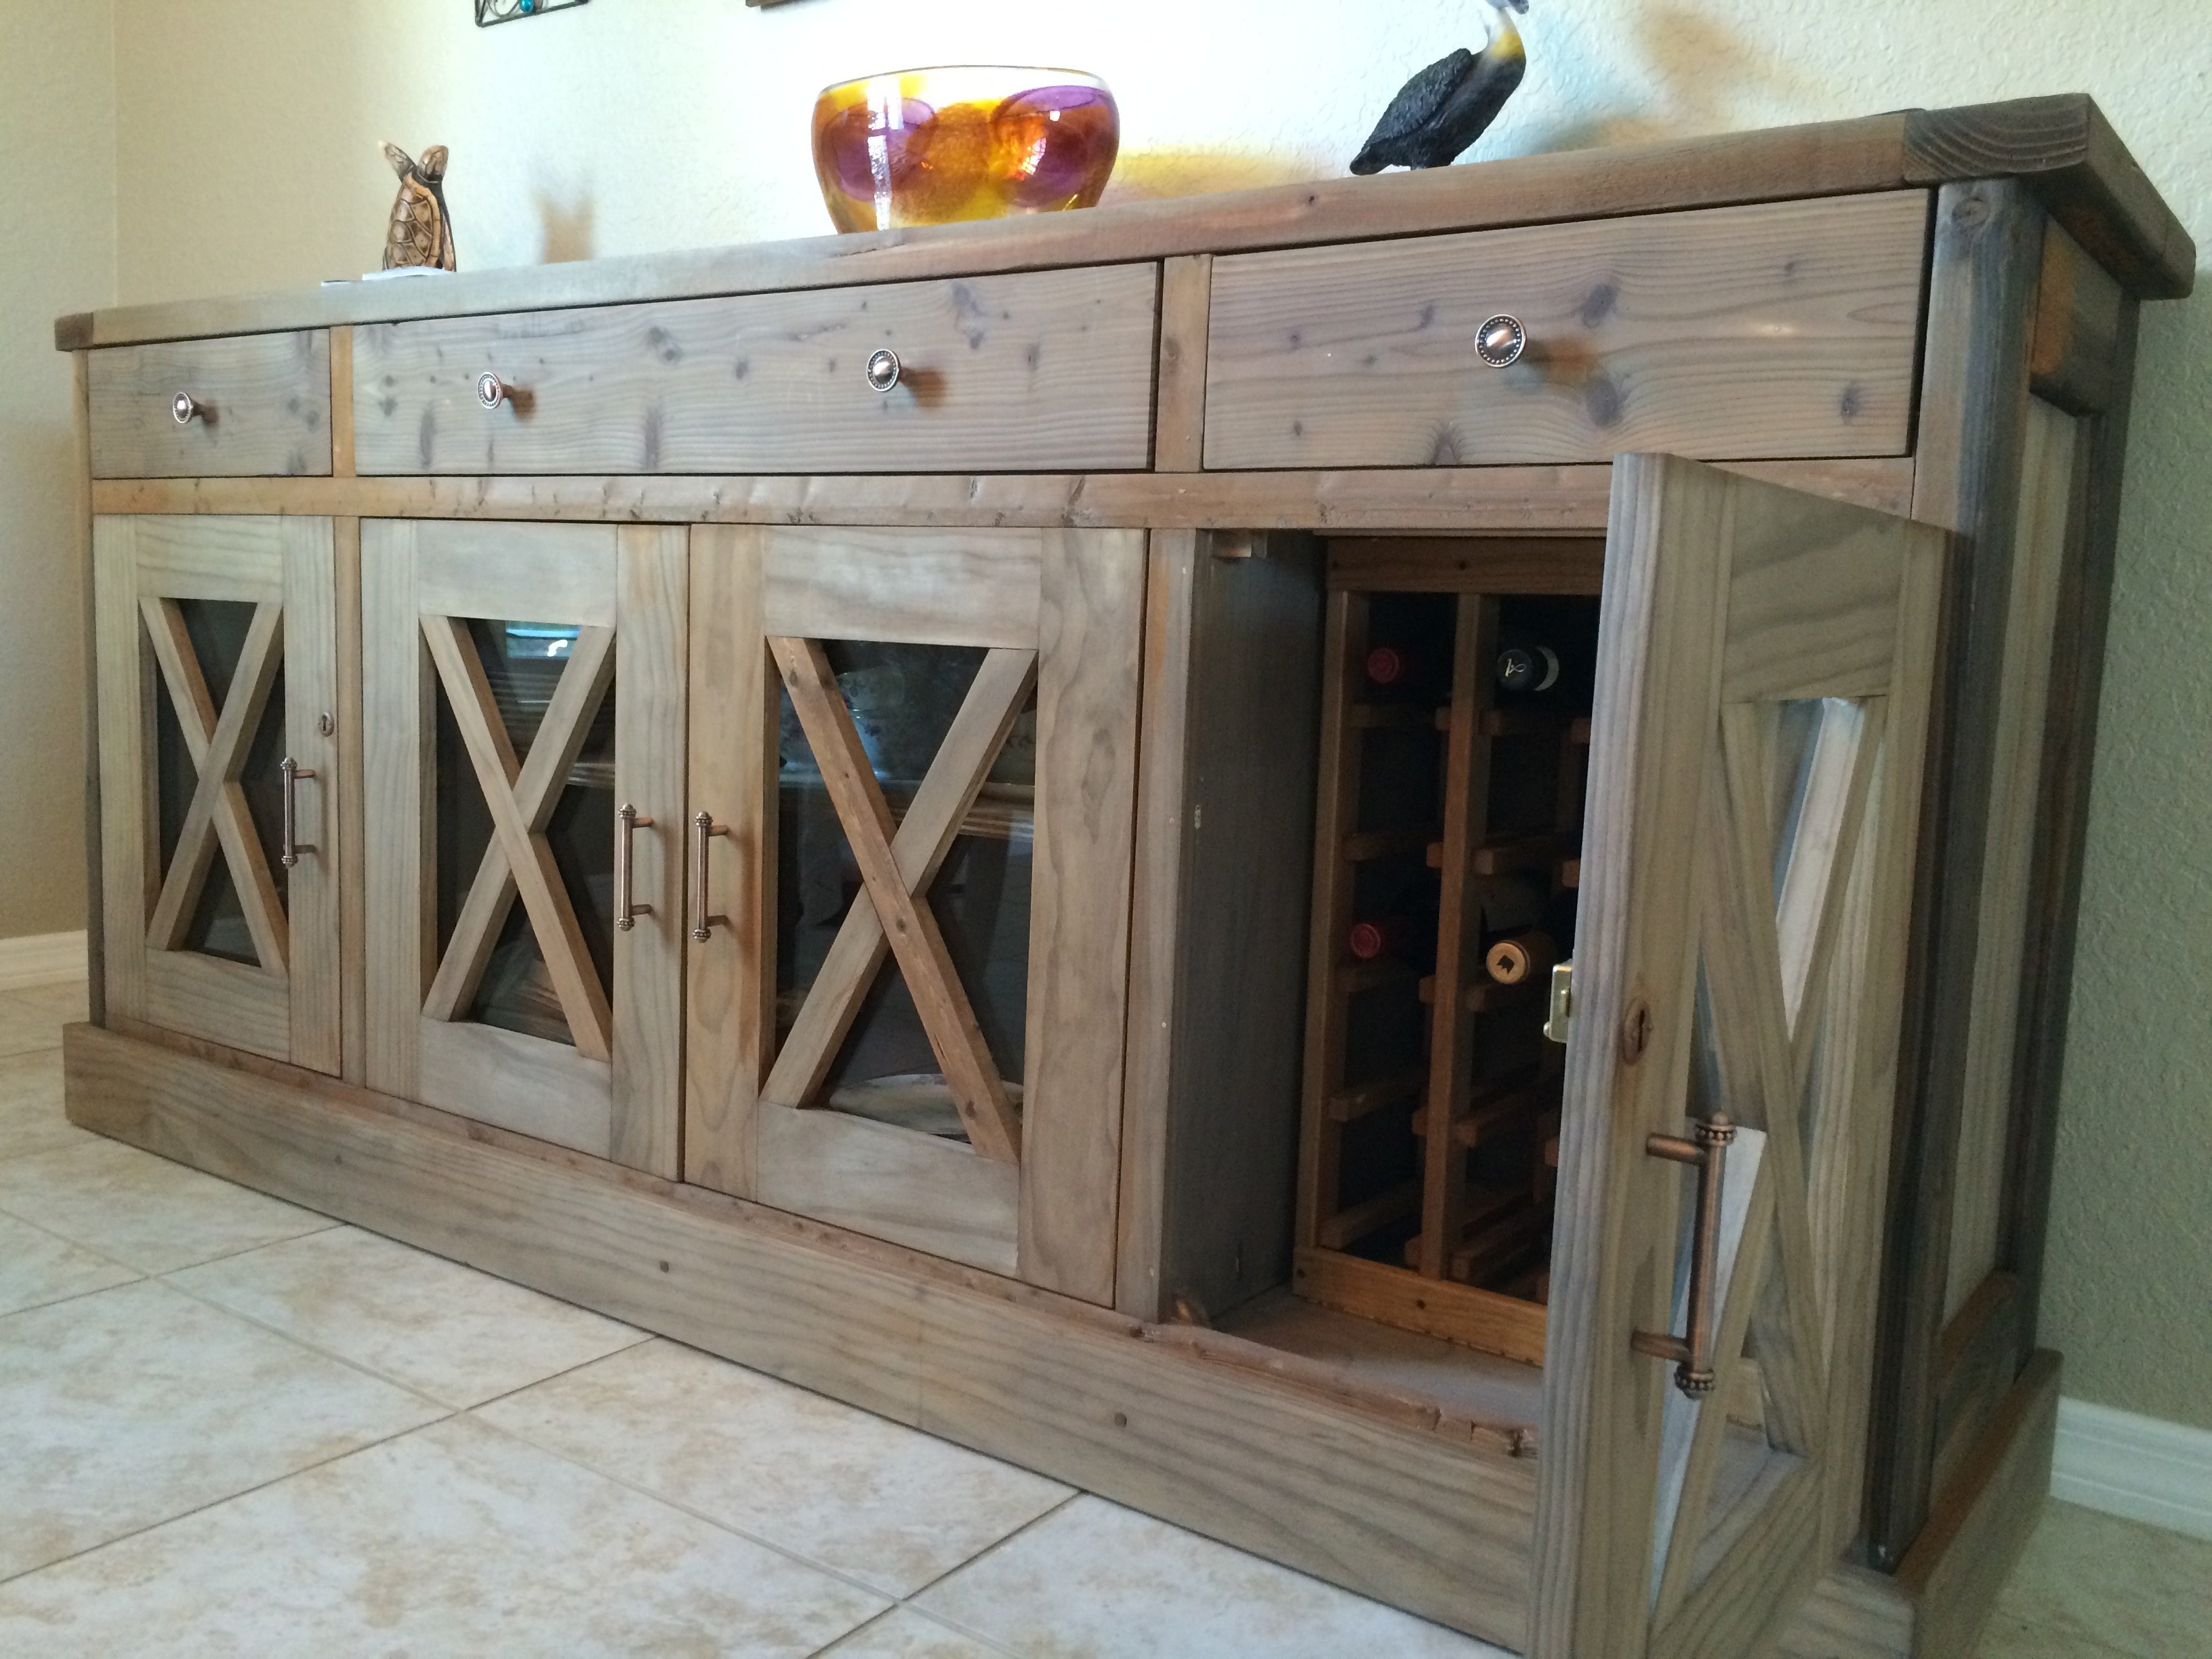
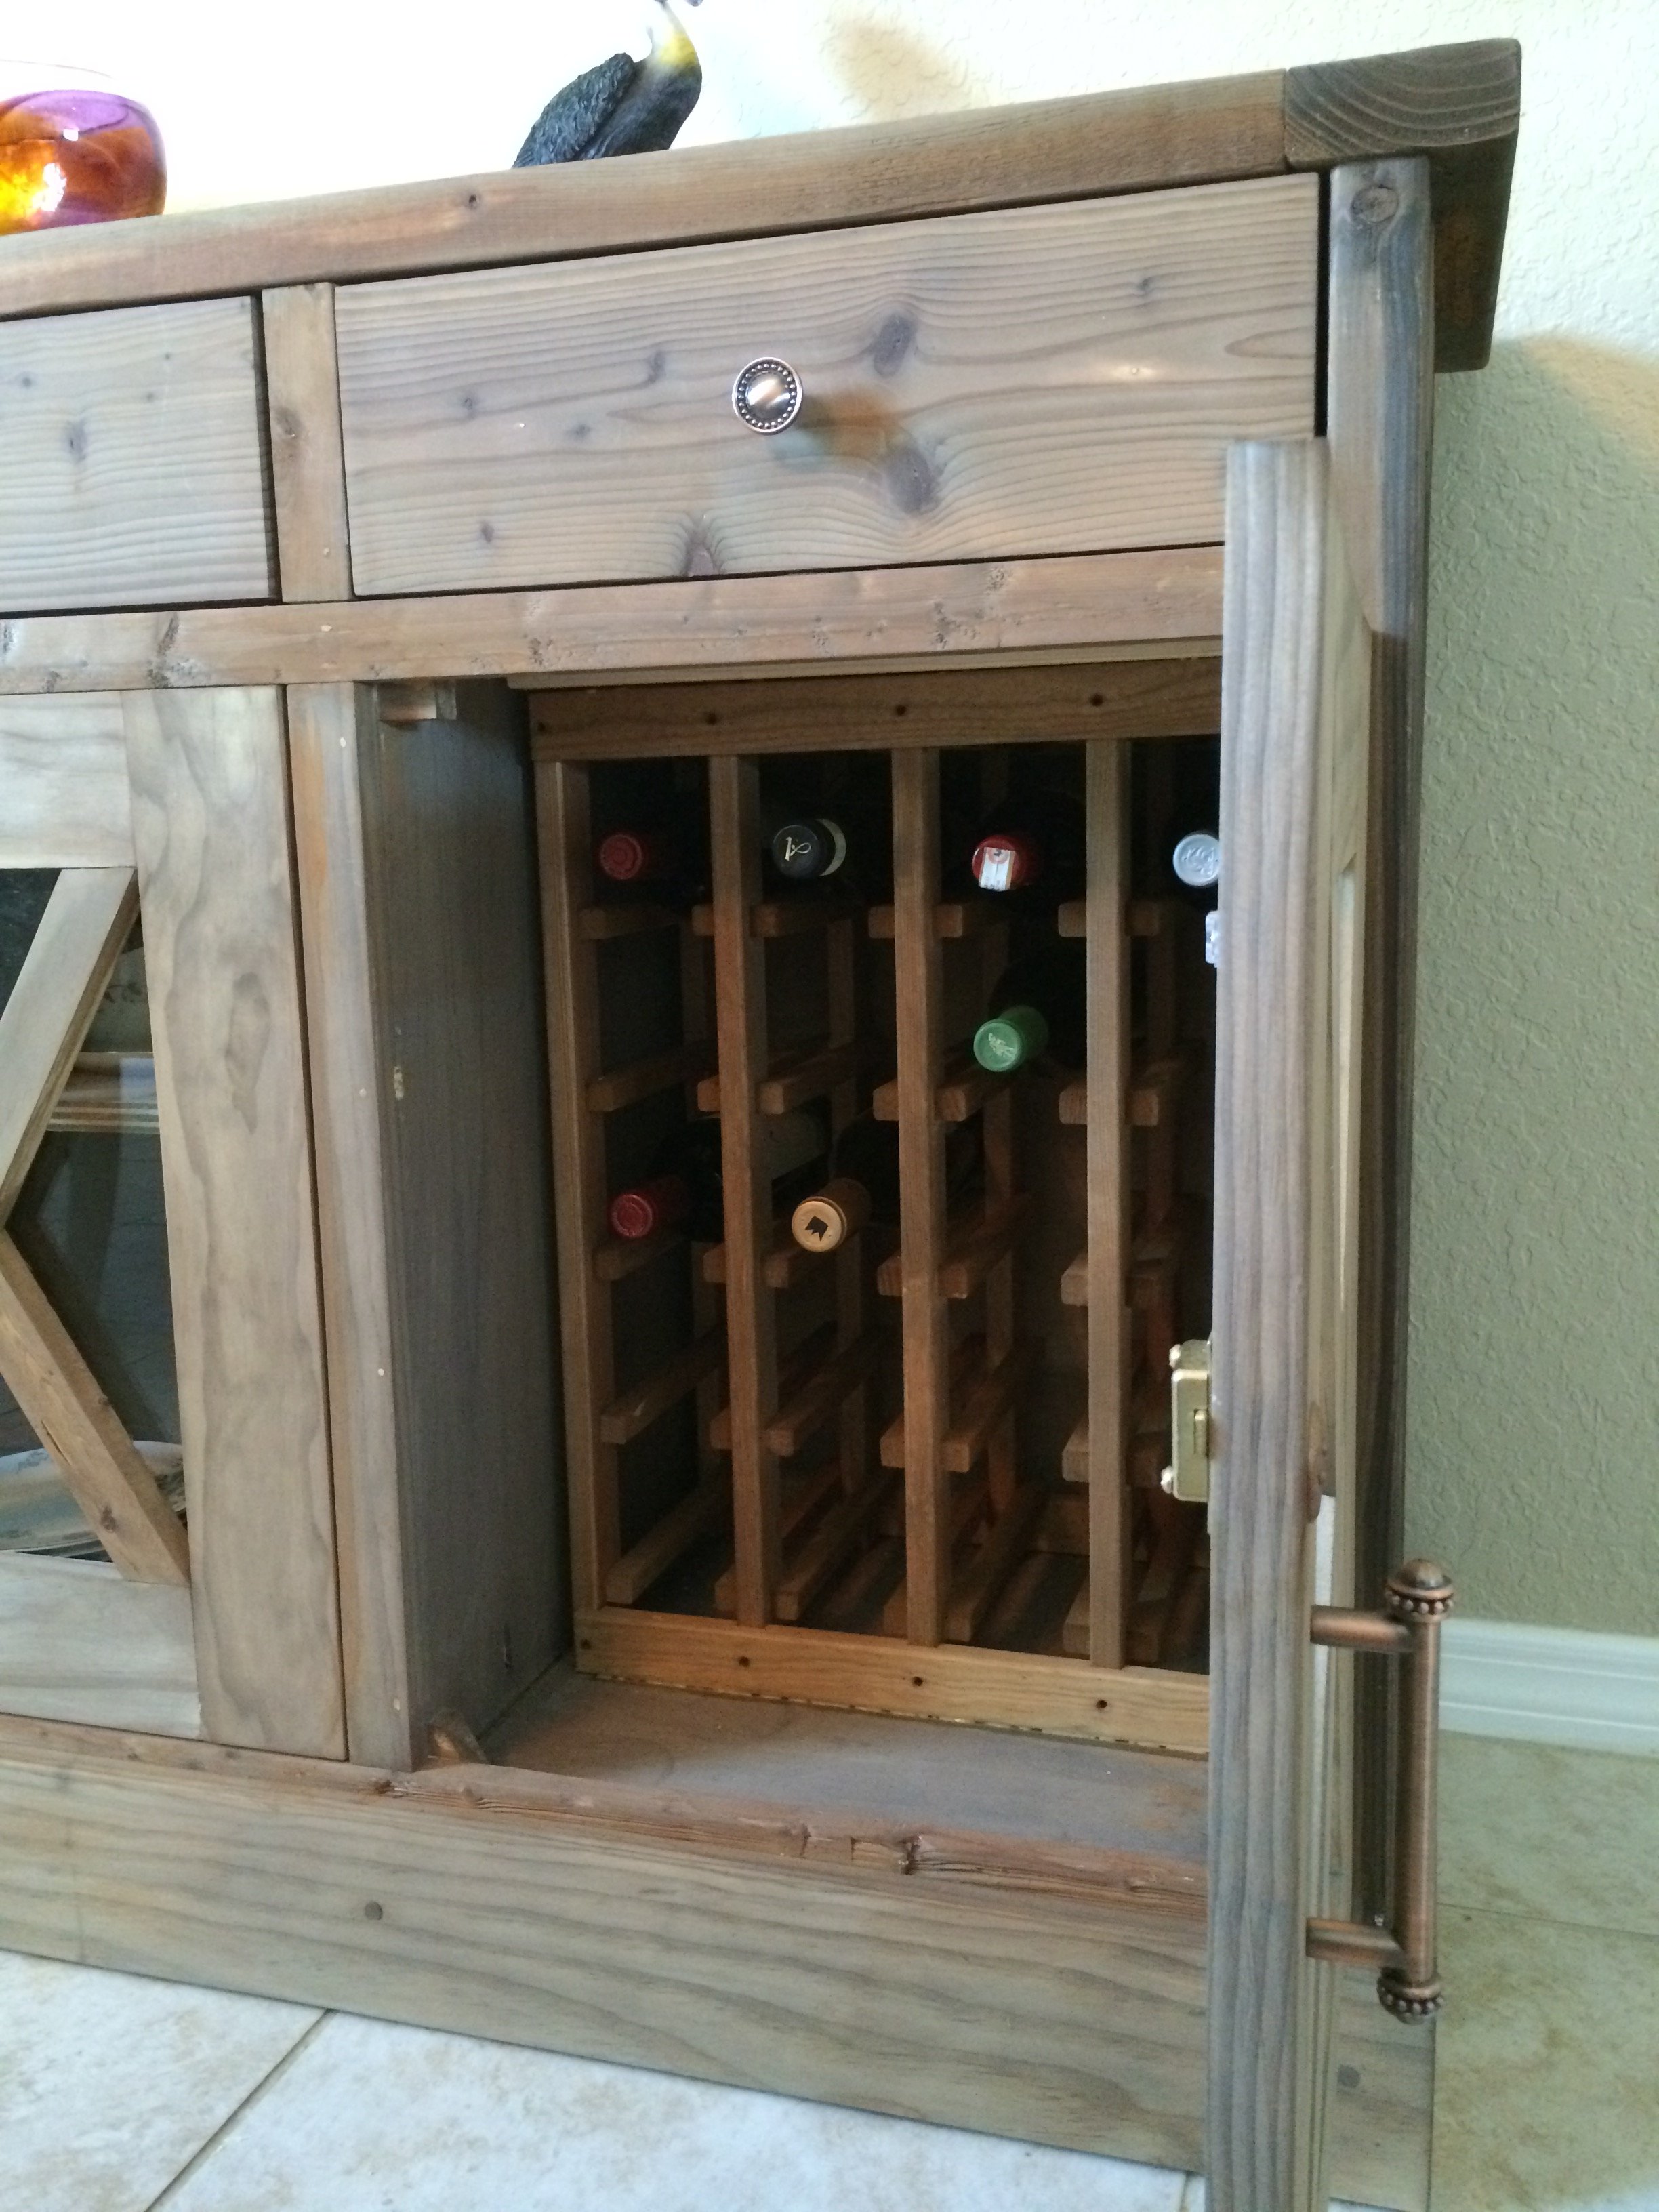
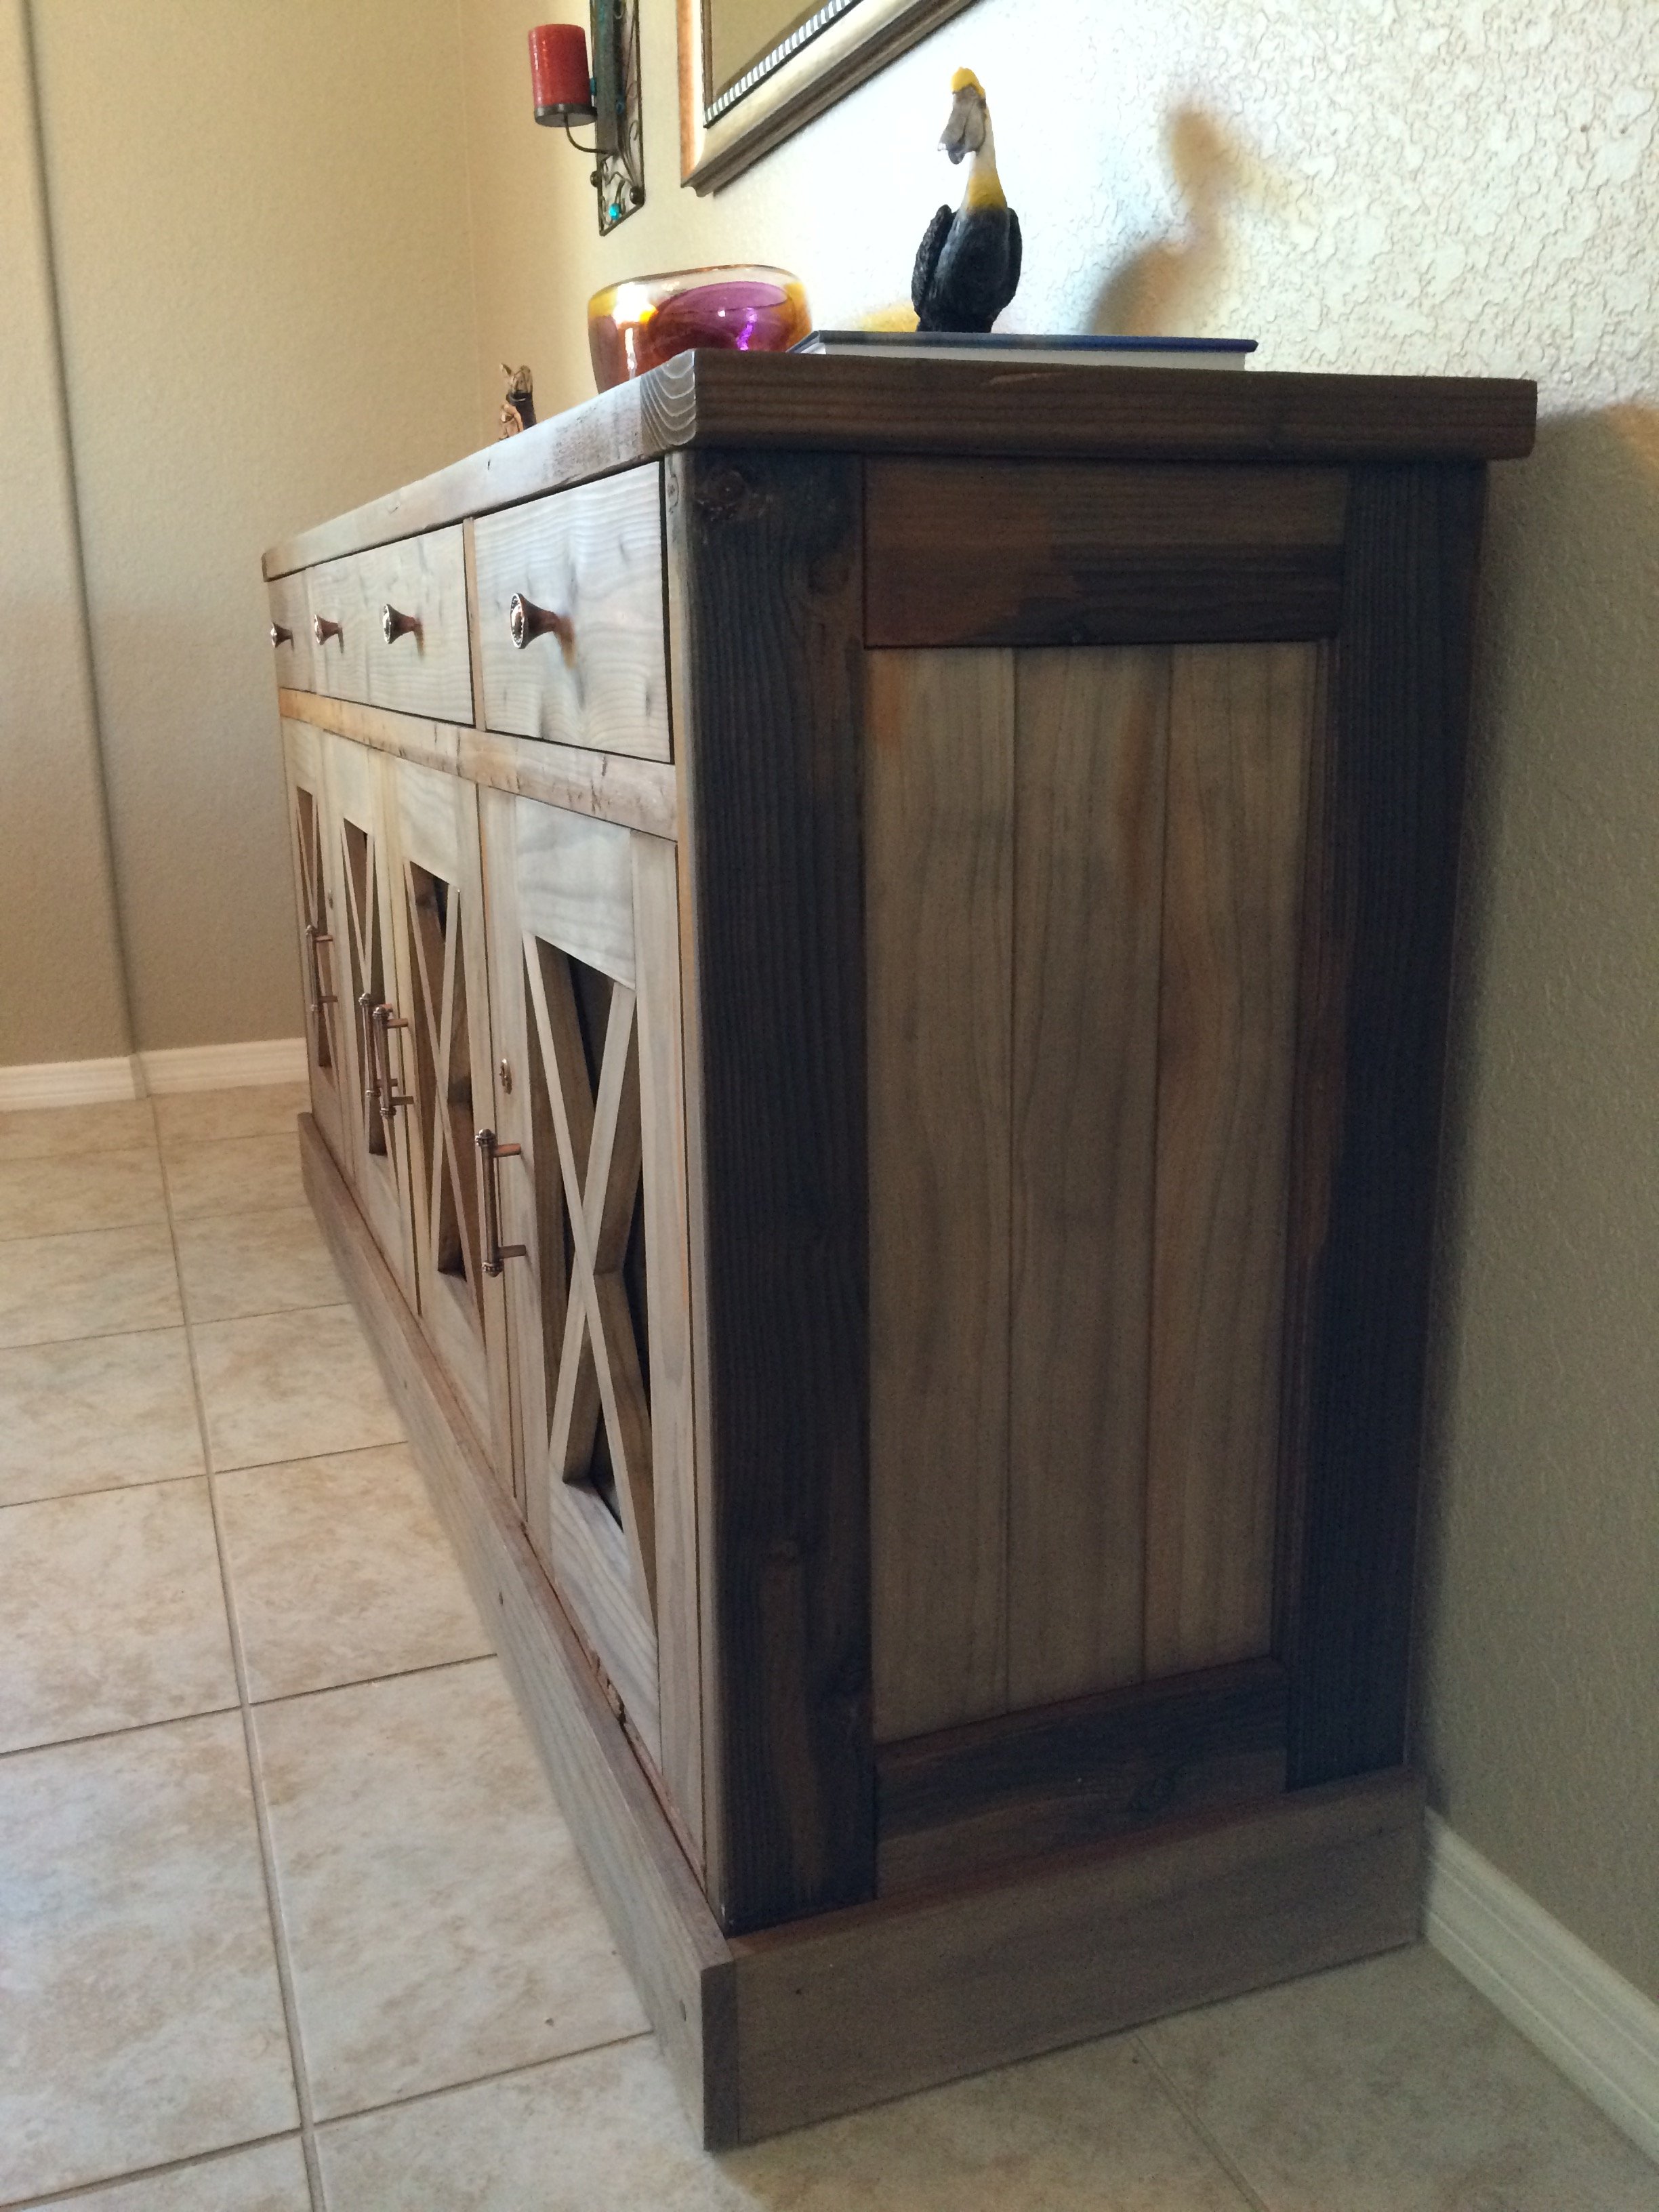
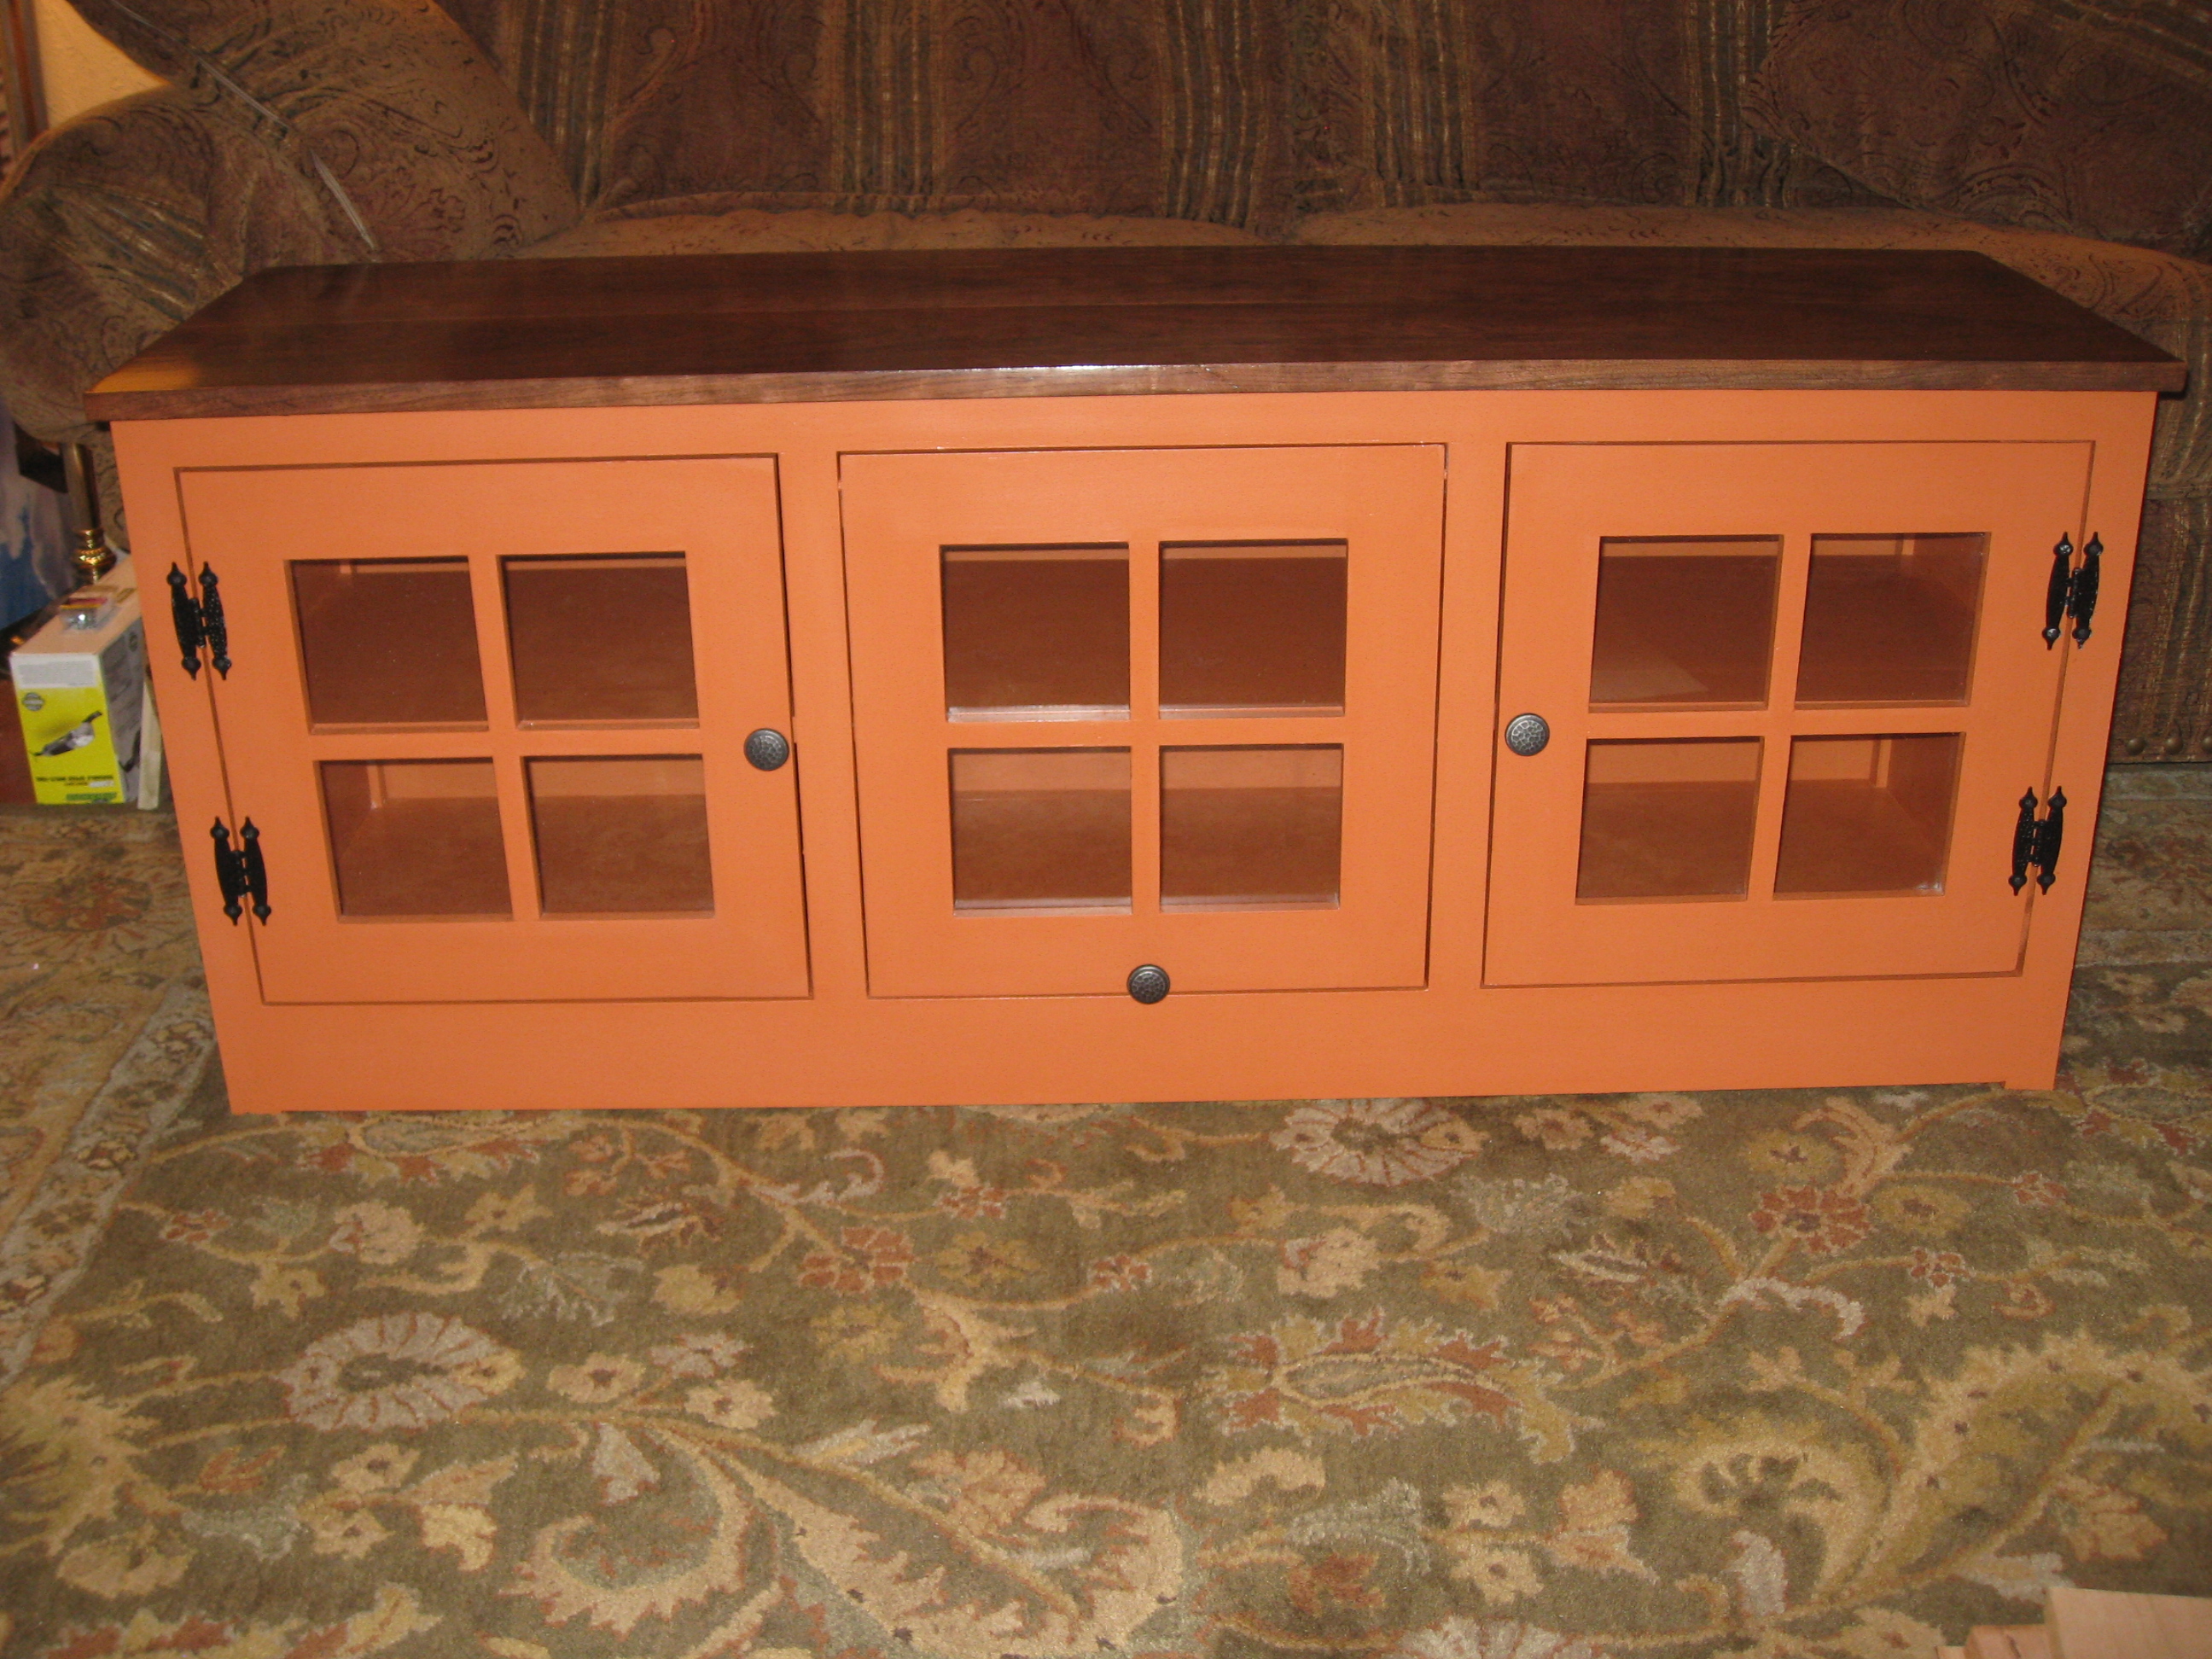
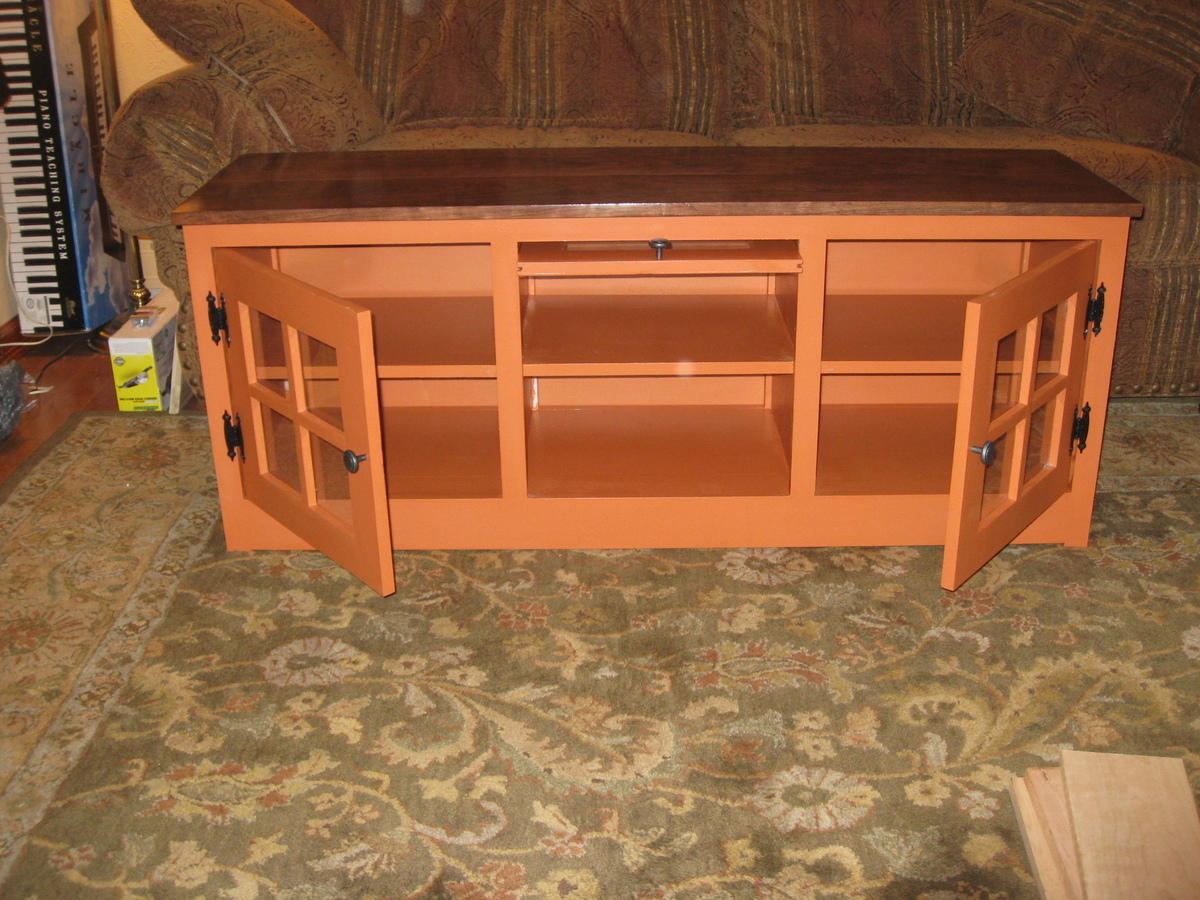
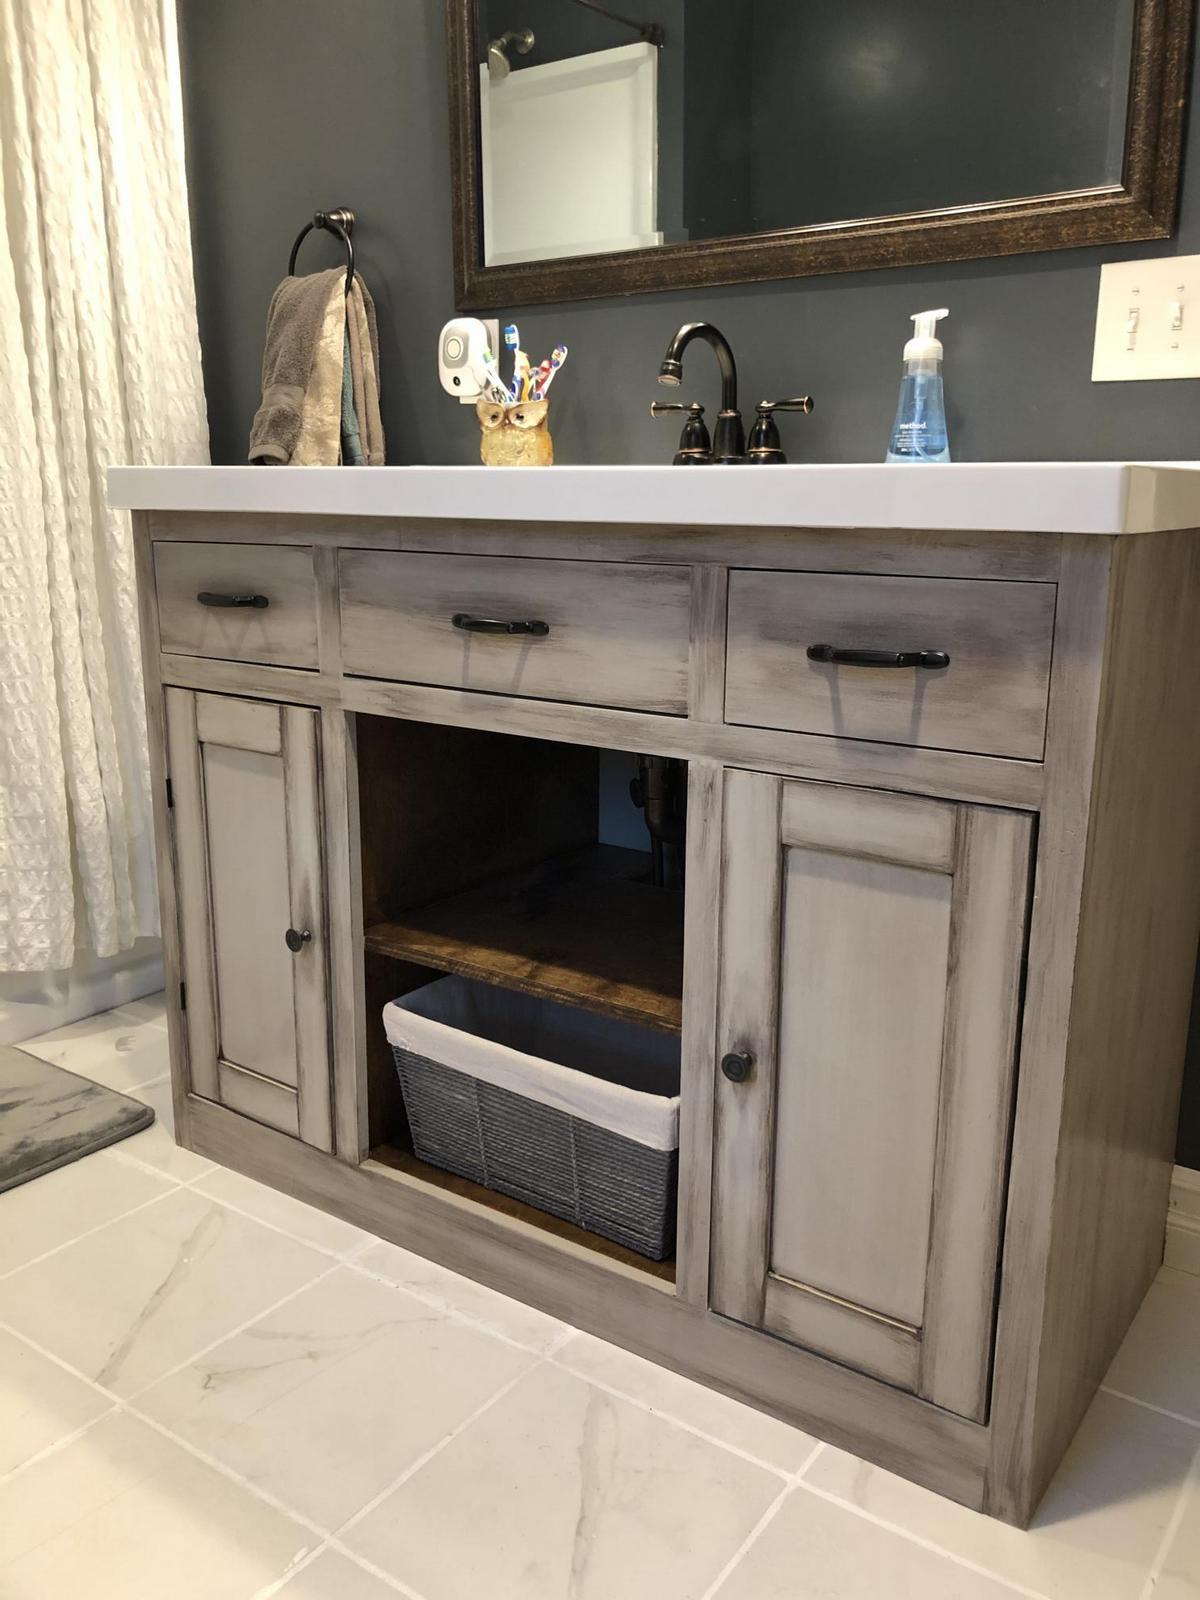
Changed up the plan a little, shortened the overall length, which changed the size of the door openings, but the biggest change was making four cabinet doors instead of two exposed sections and two sliding barn doors. Used Lowe's chalk paint products. Made this a dresser for our cabin in Maine.
Tue, 12/29/2020 - 19:01
I like it! Wondering what you used for the doors; did you use paneling or did you cut lines in 1/4" plywood to make it look like boards?
Fun to build
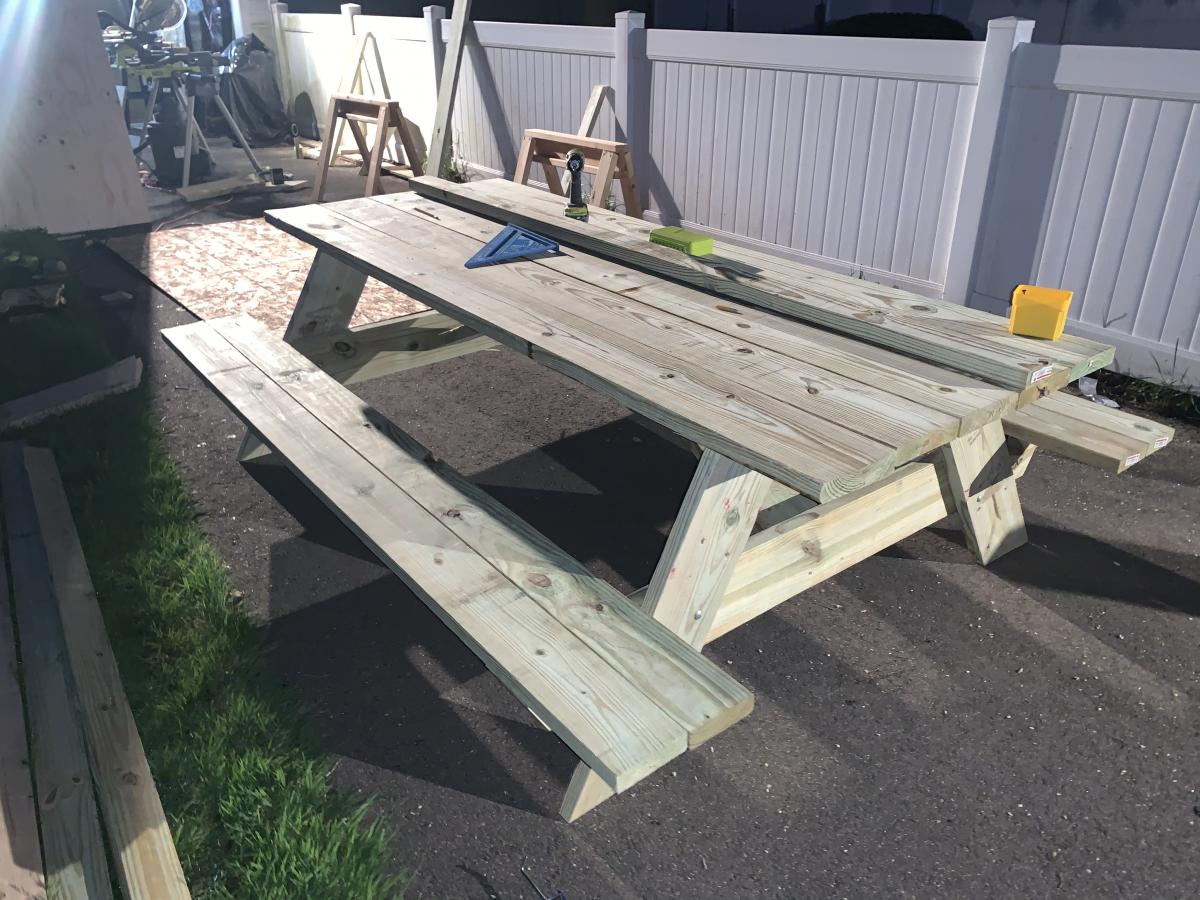
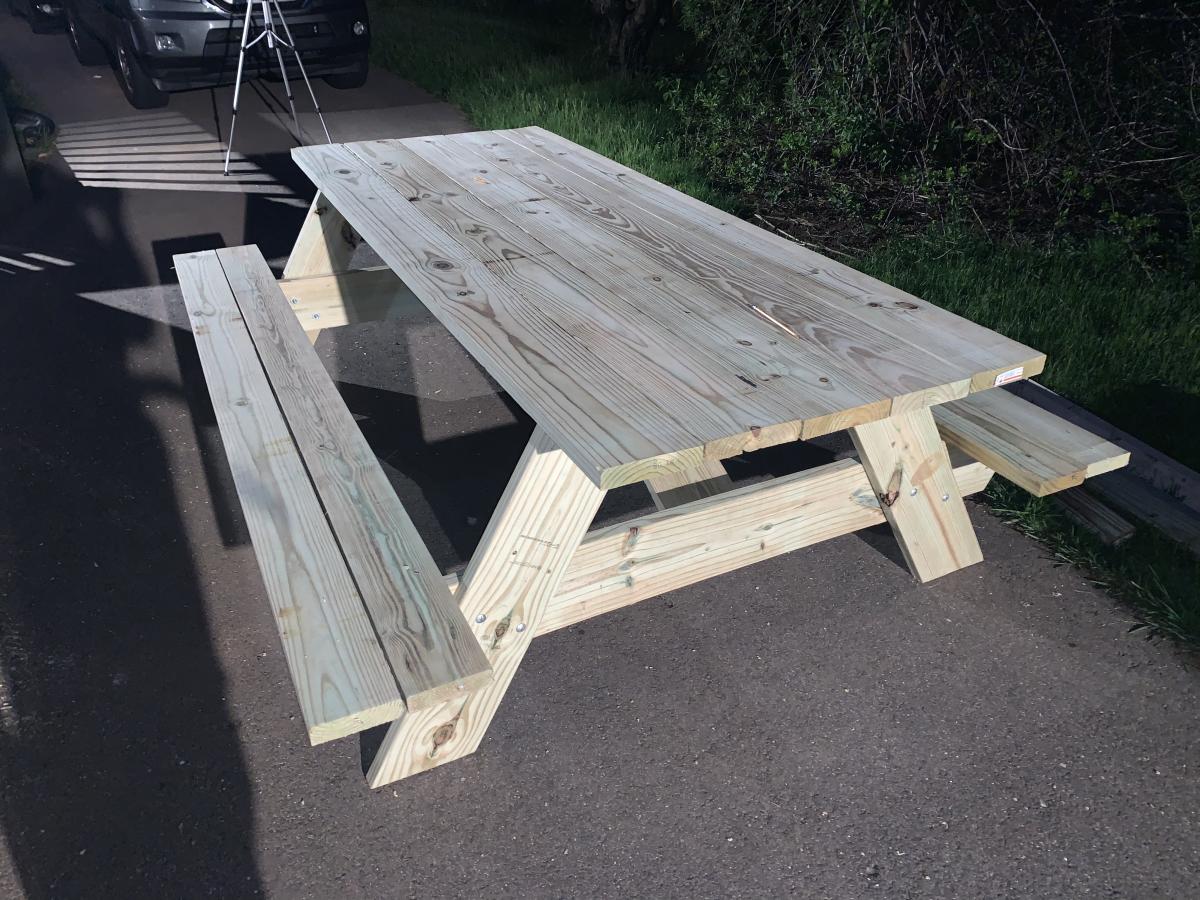
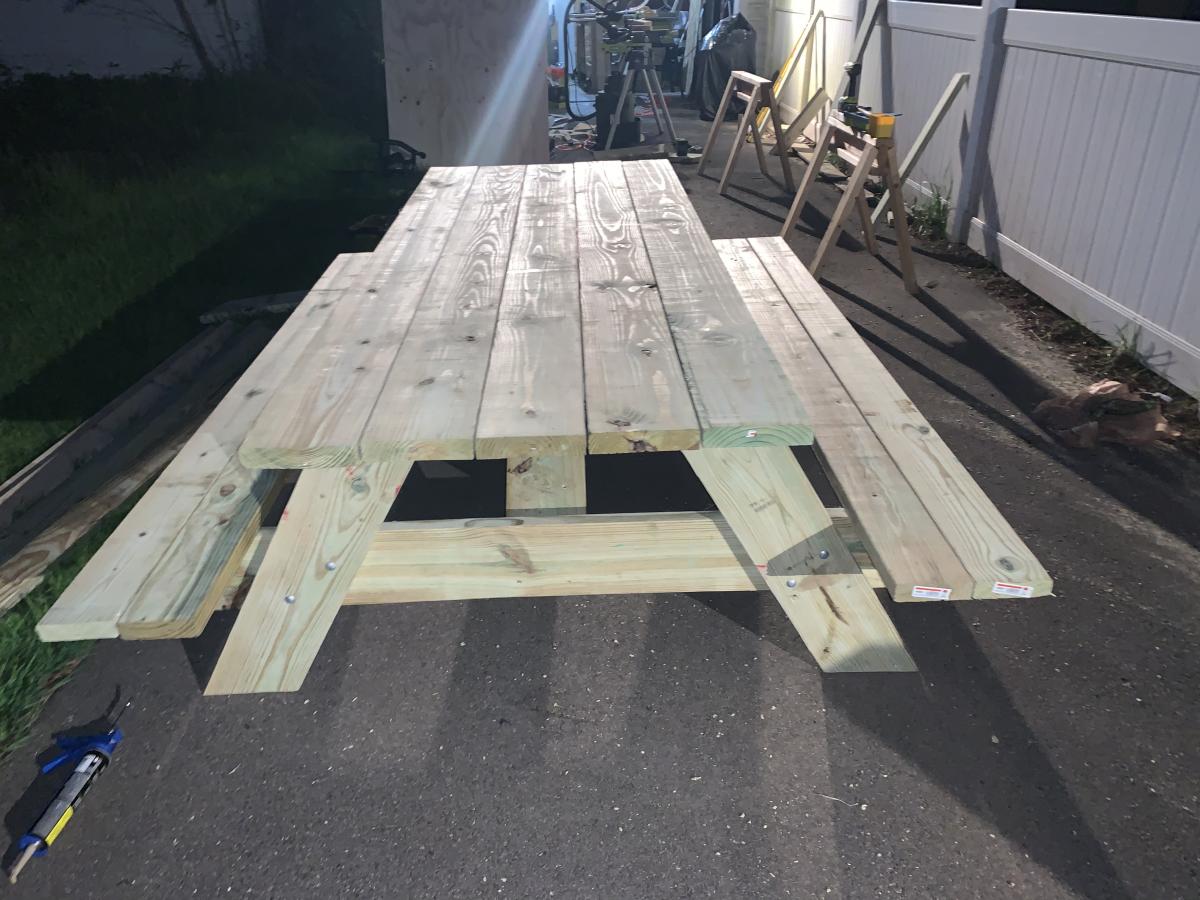
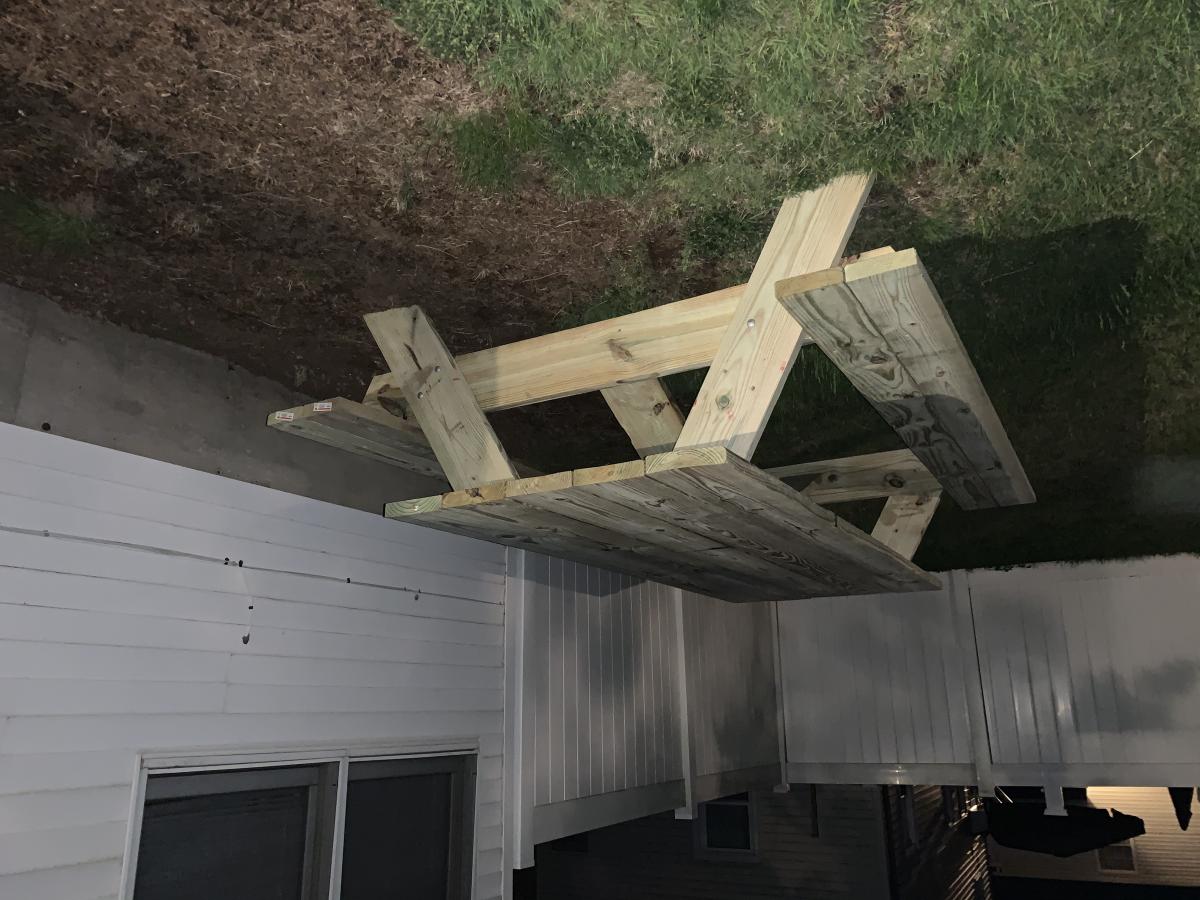
8’ x 3’ Table
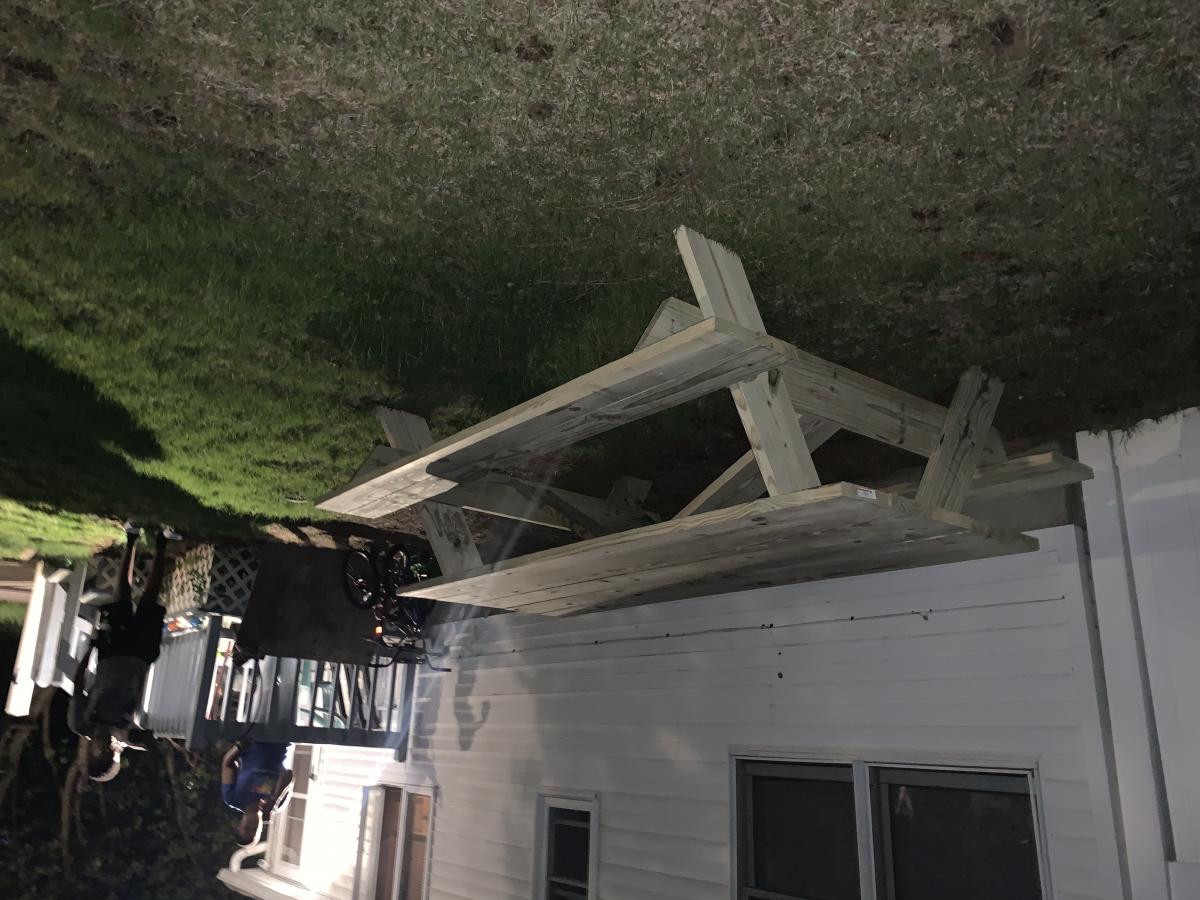
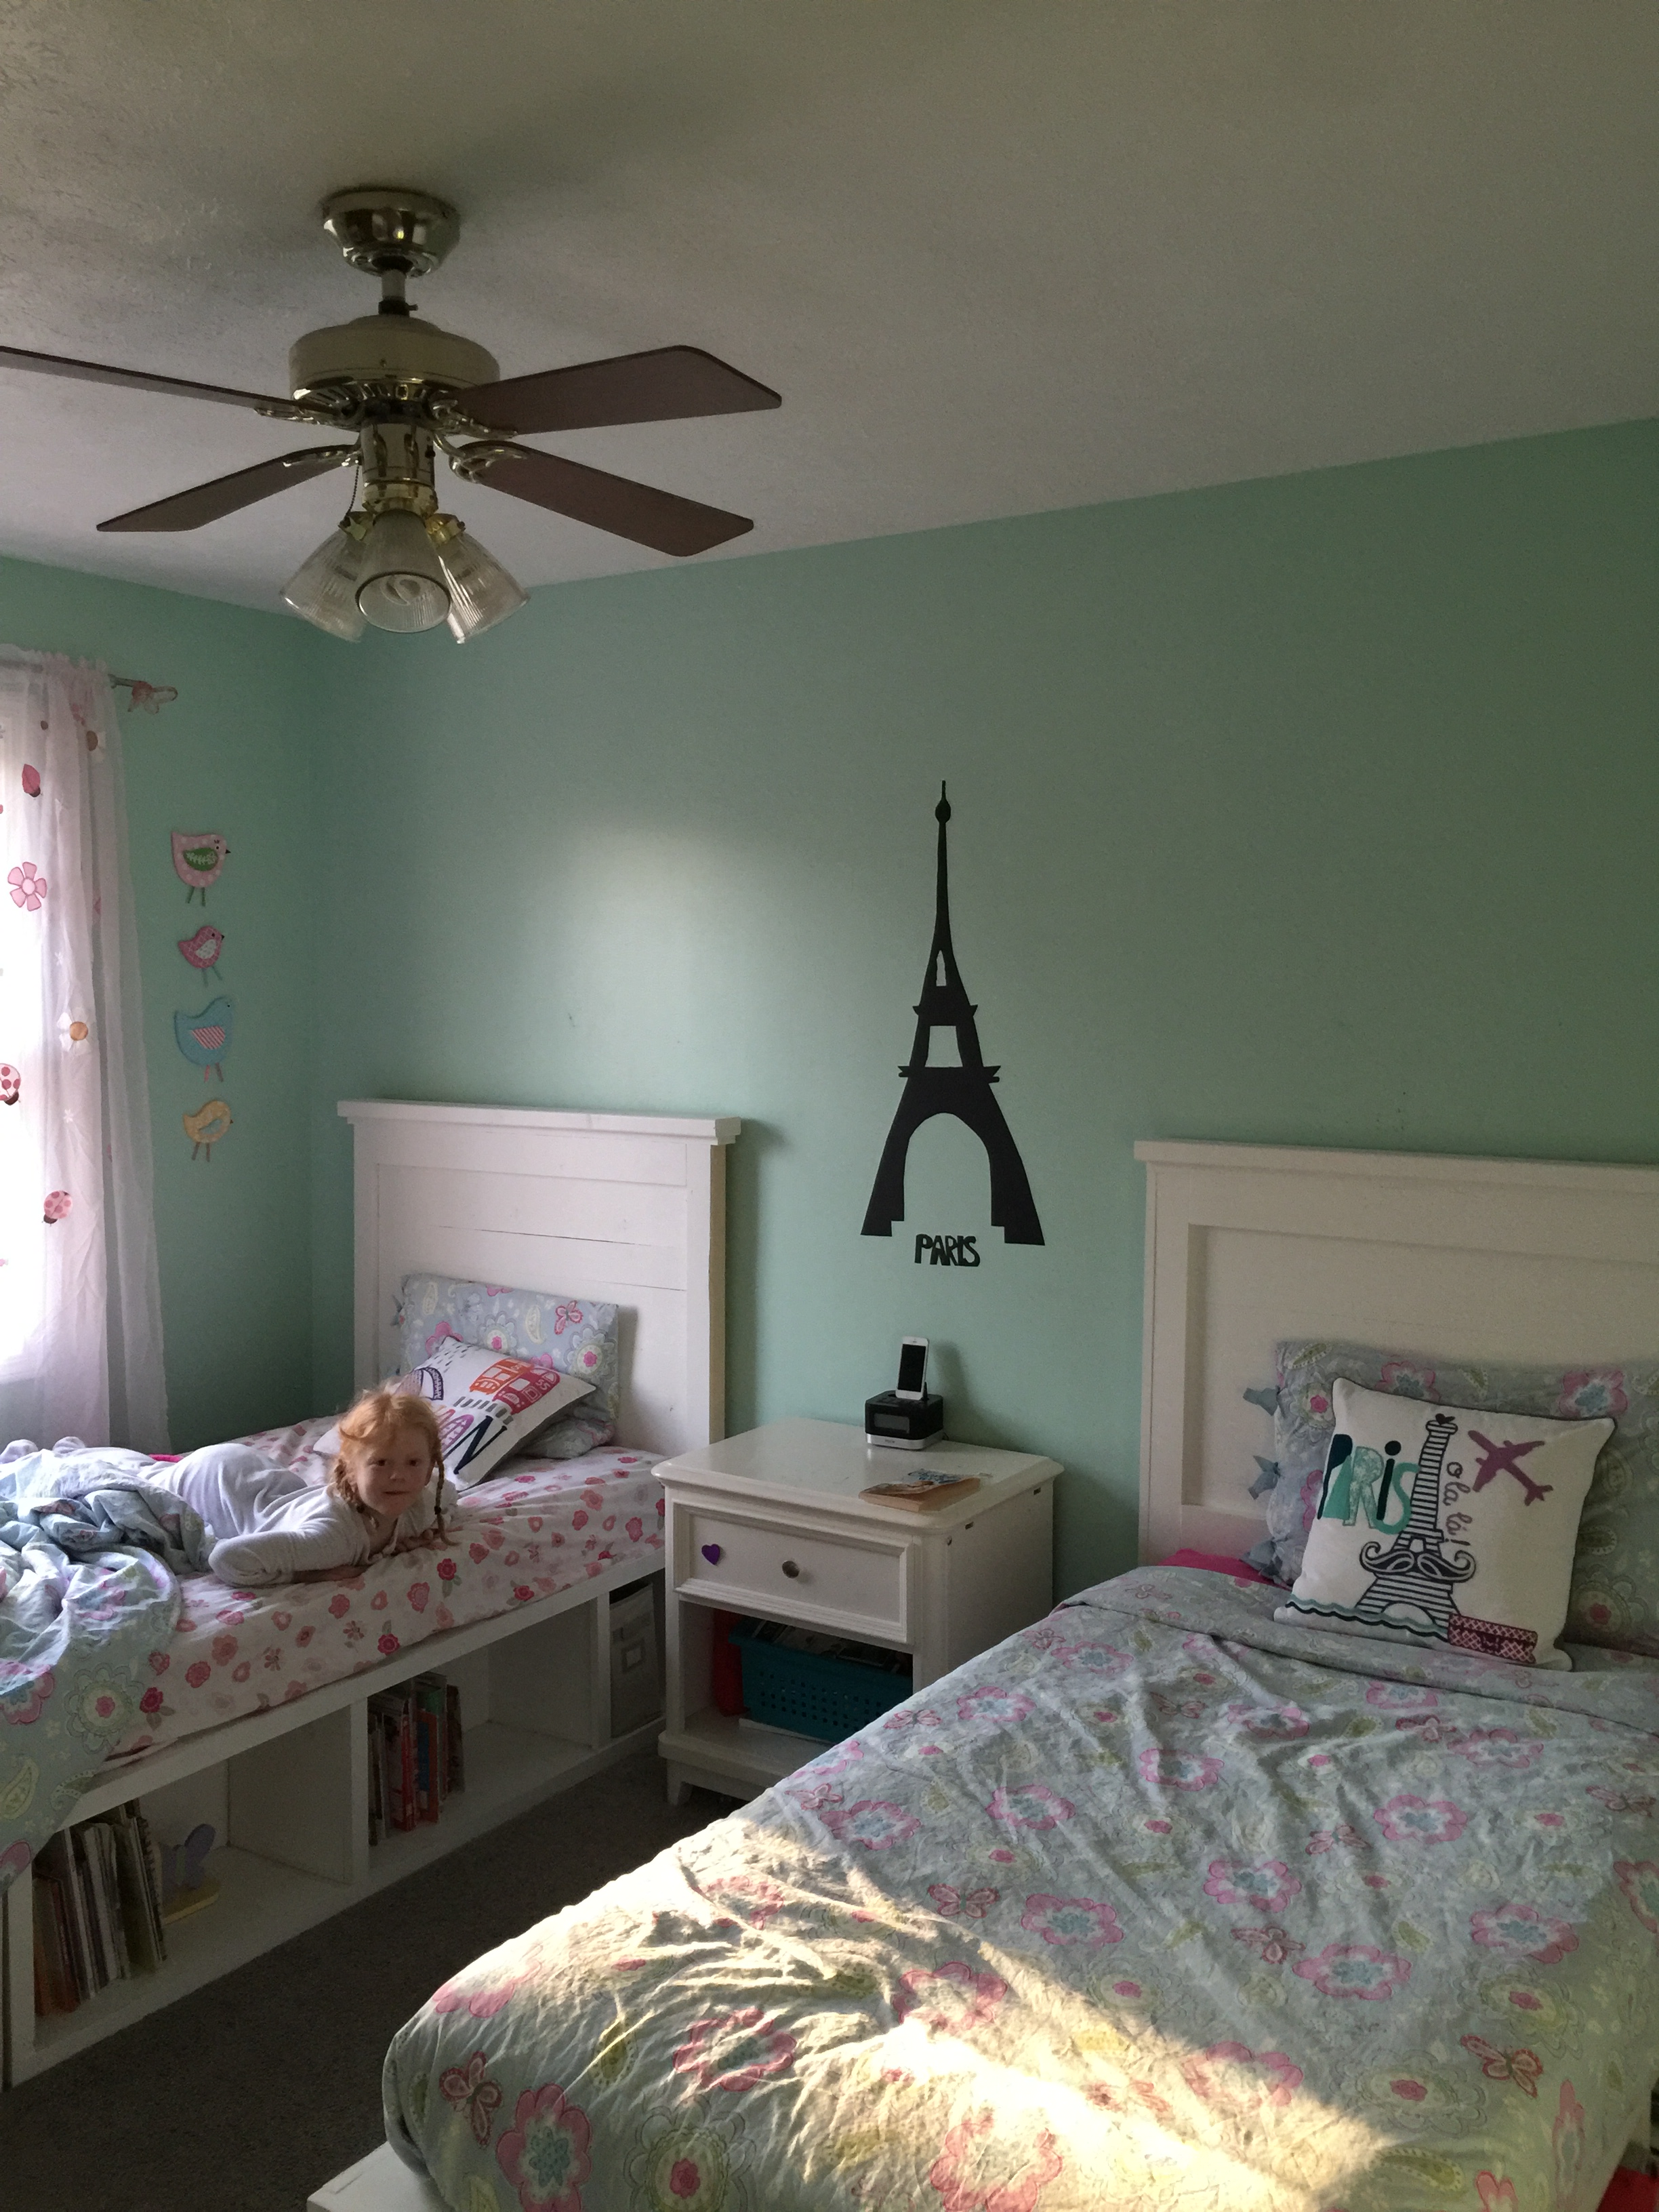
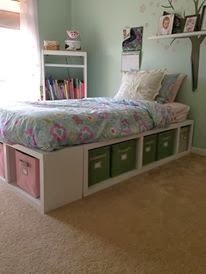
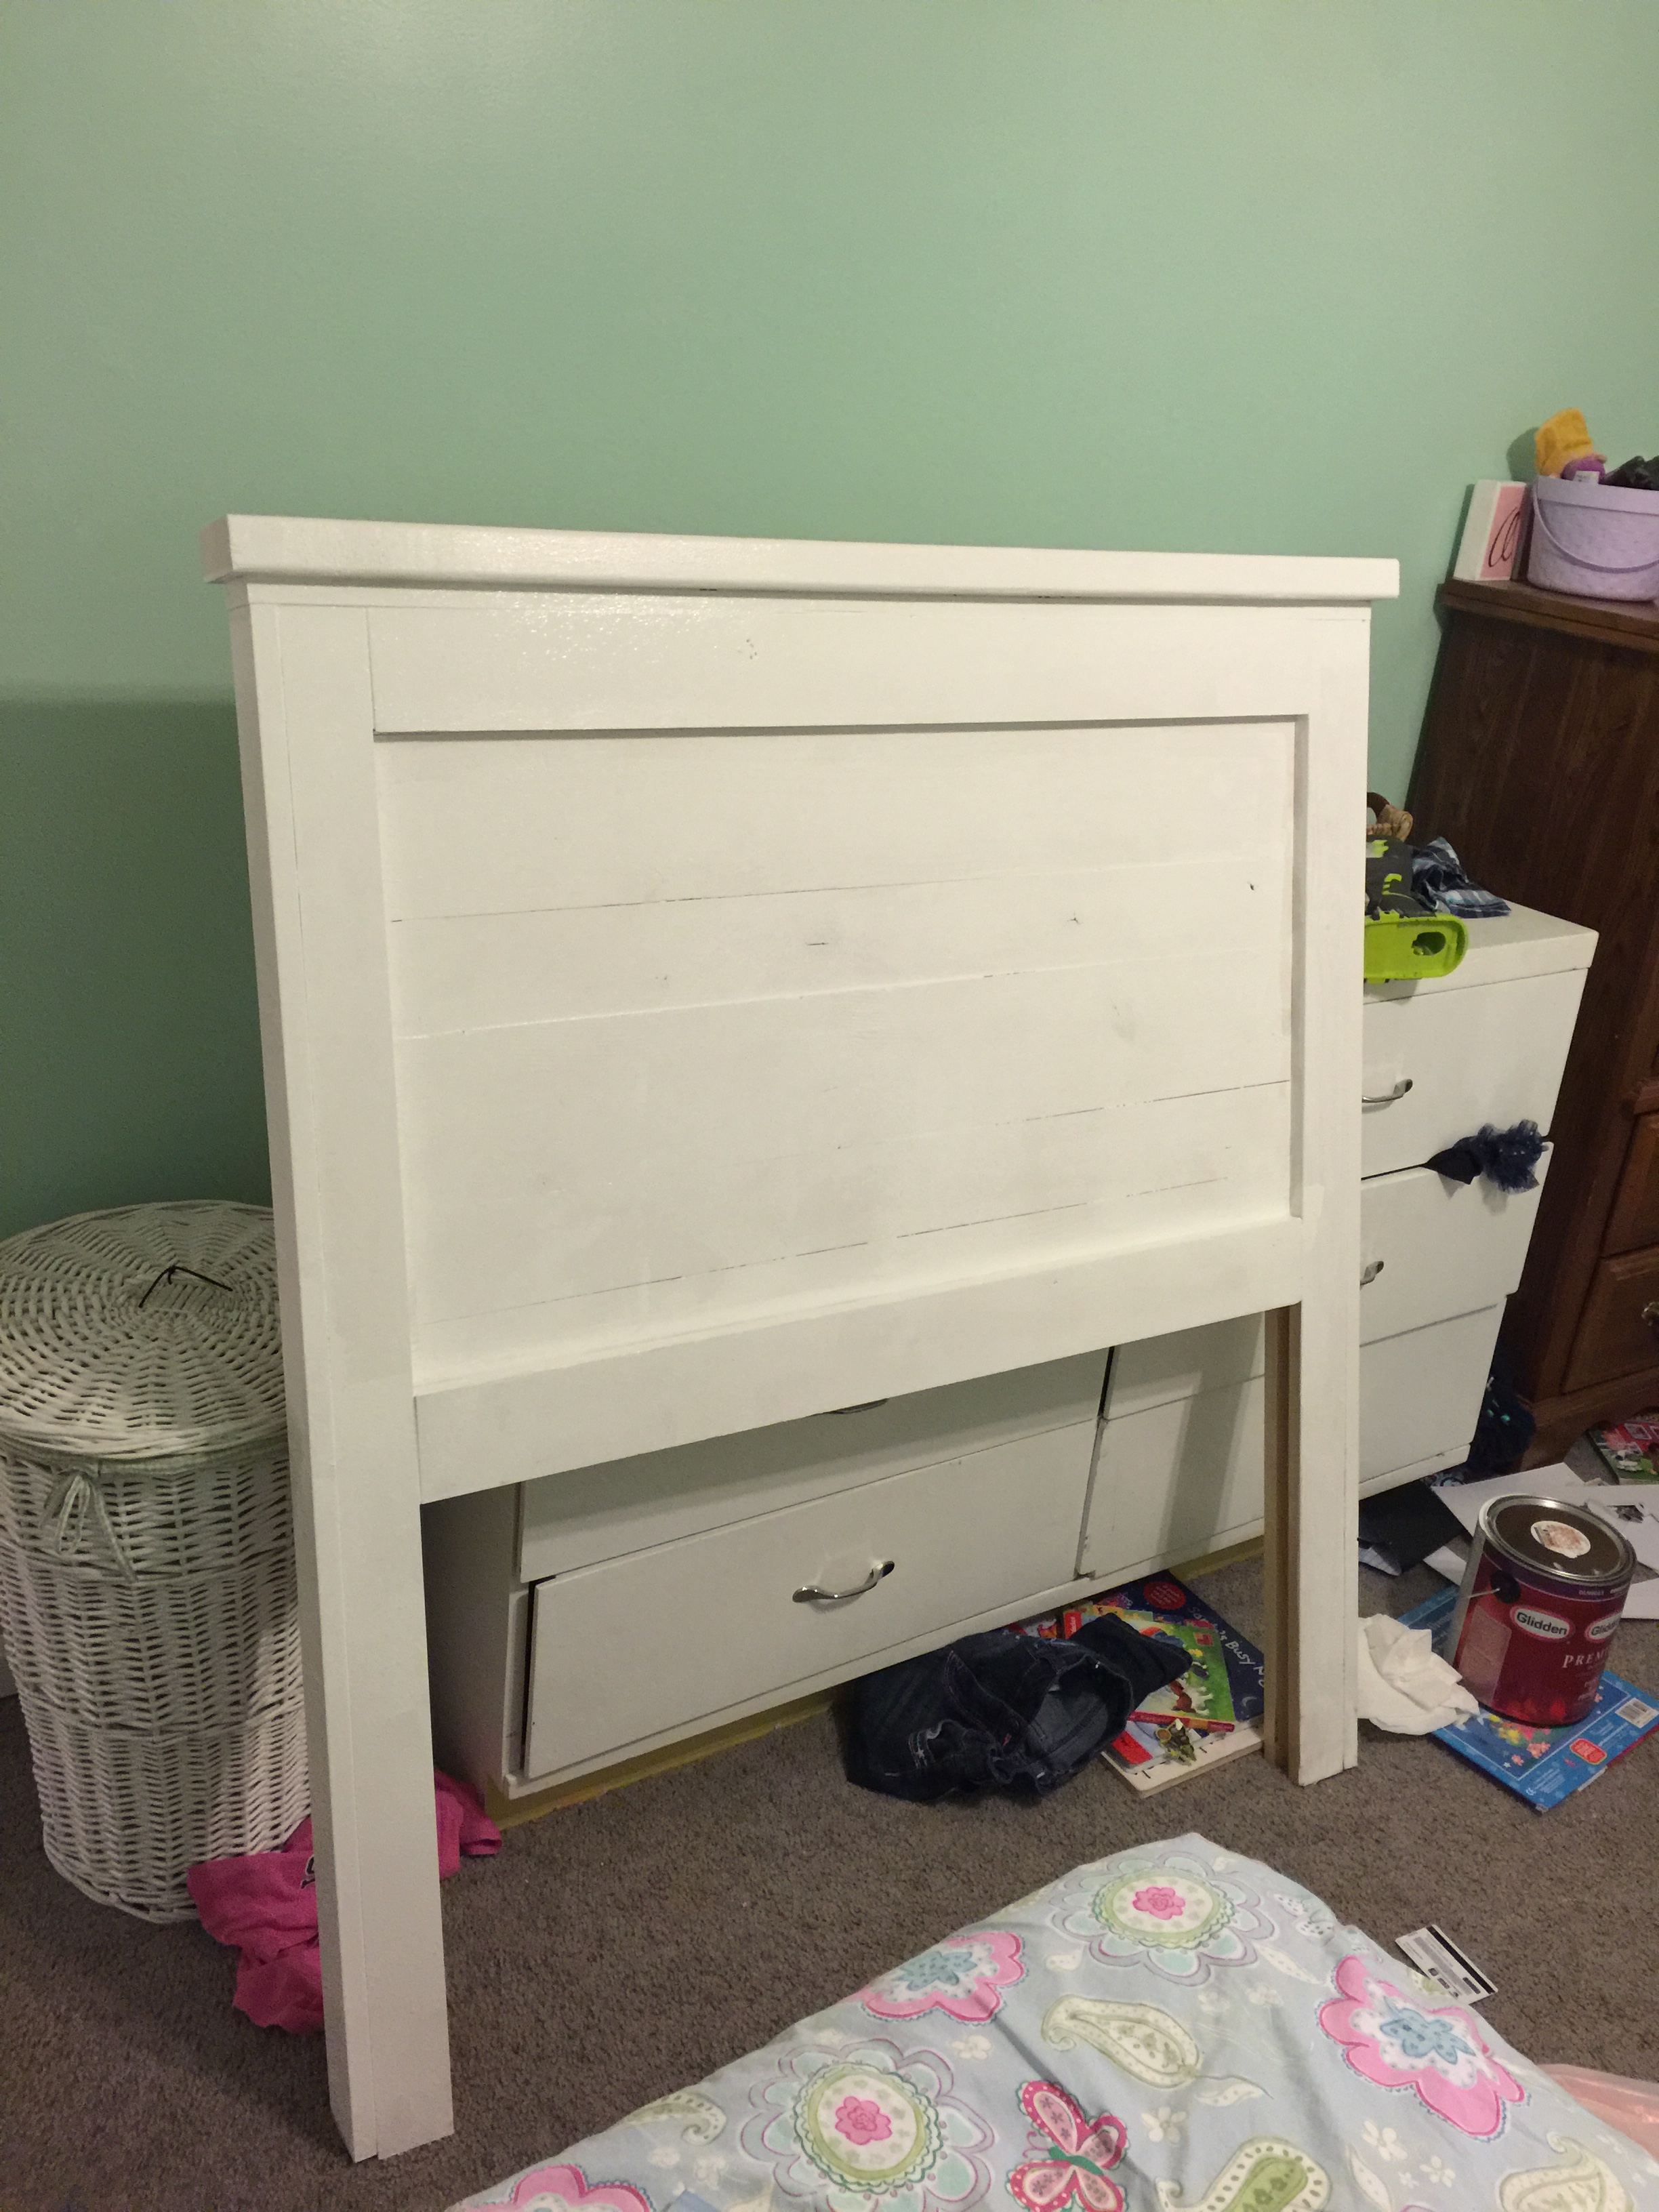
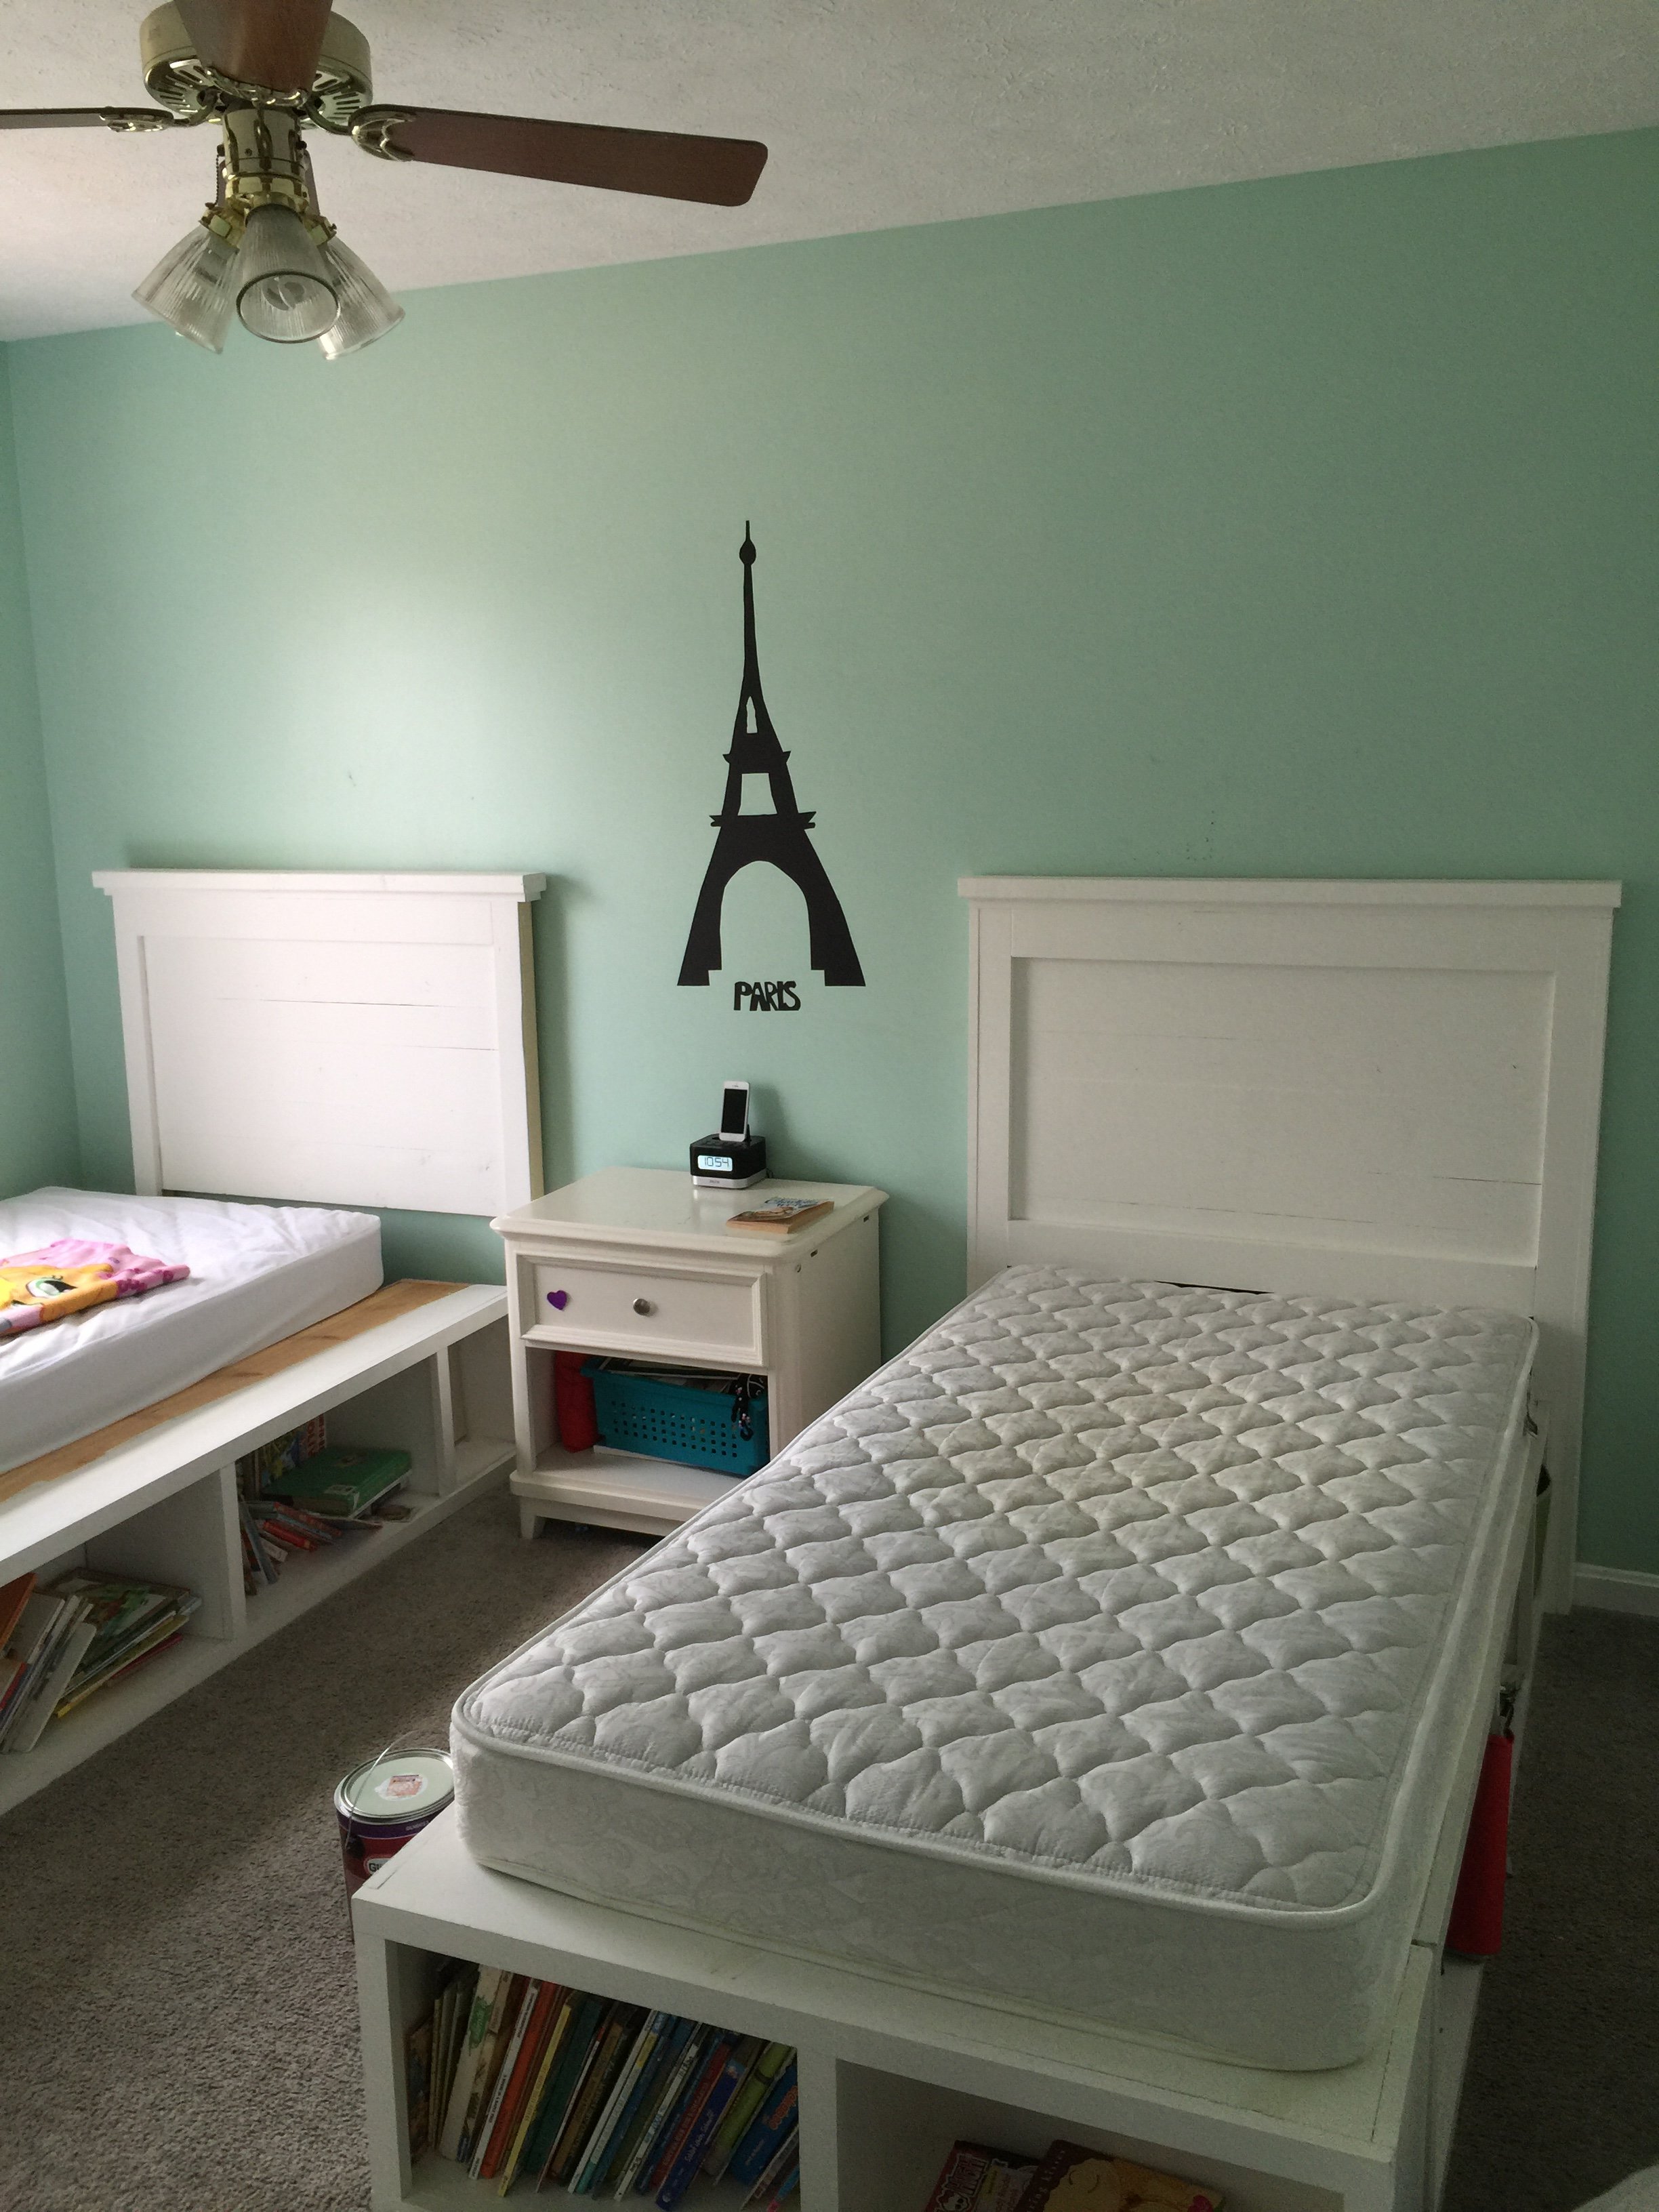
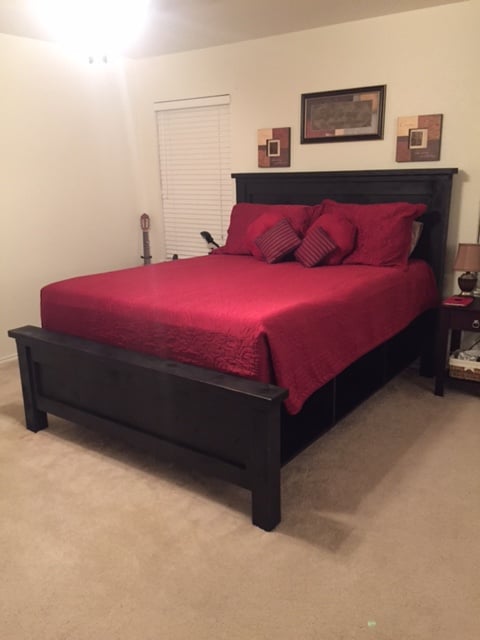
This was really my first build and it stemmed from not being able to find the kind of beds I wanted for my girls. My brother helped me cut the wood and assemble the first one and my husband and I did the second together. It was so rewarding to make them and I love how they turned out! You can store so much and they are sturdy pieces. My girls love them too. (bedding is from Pottery Barn) I would stay this is a beginner's project. You don't need any specialized tools. it was a lot of fun and now I'm it itching to buy a Kreg Jig so I can complete many more projects!
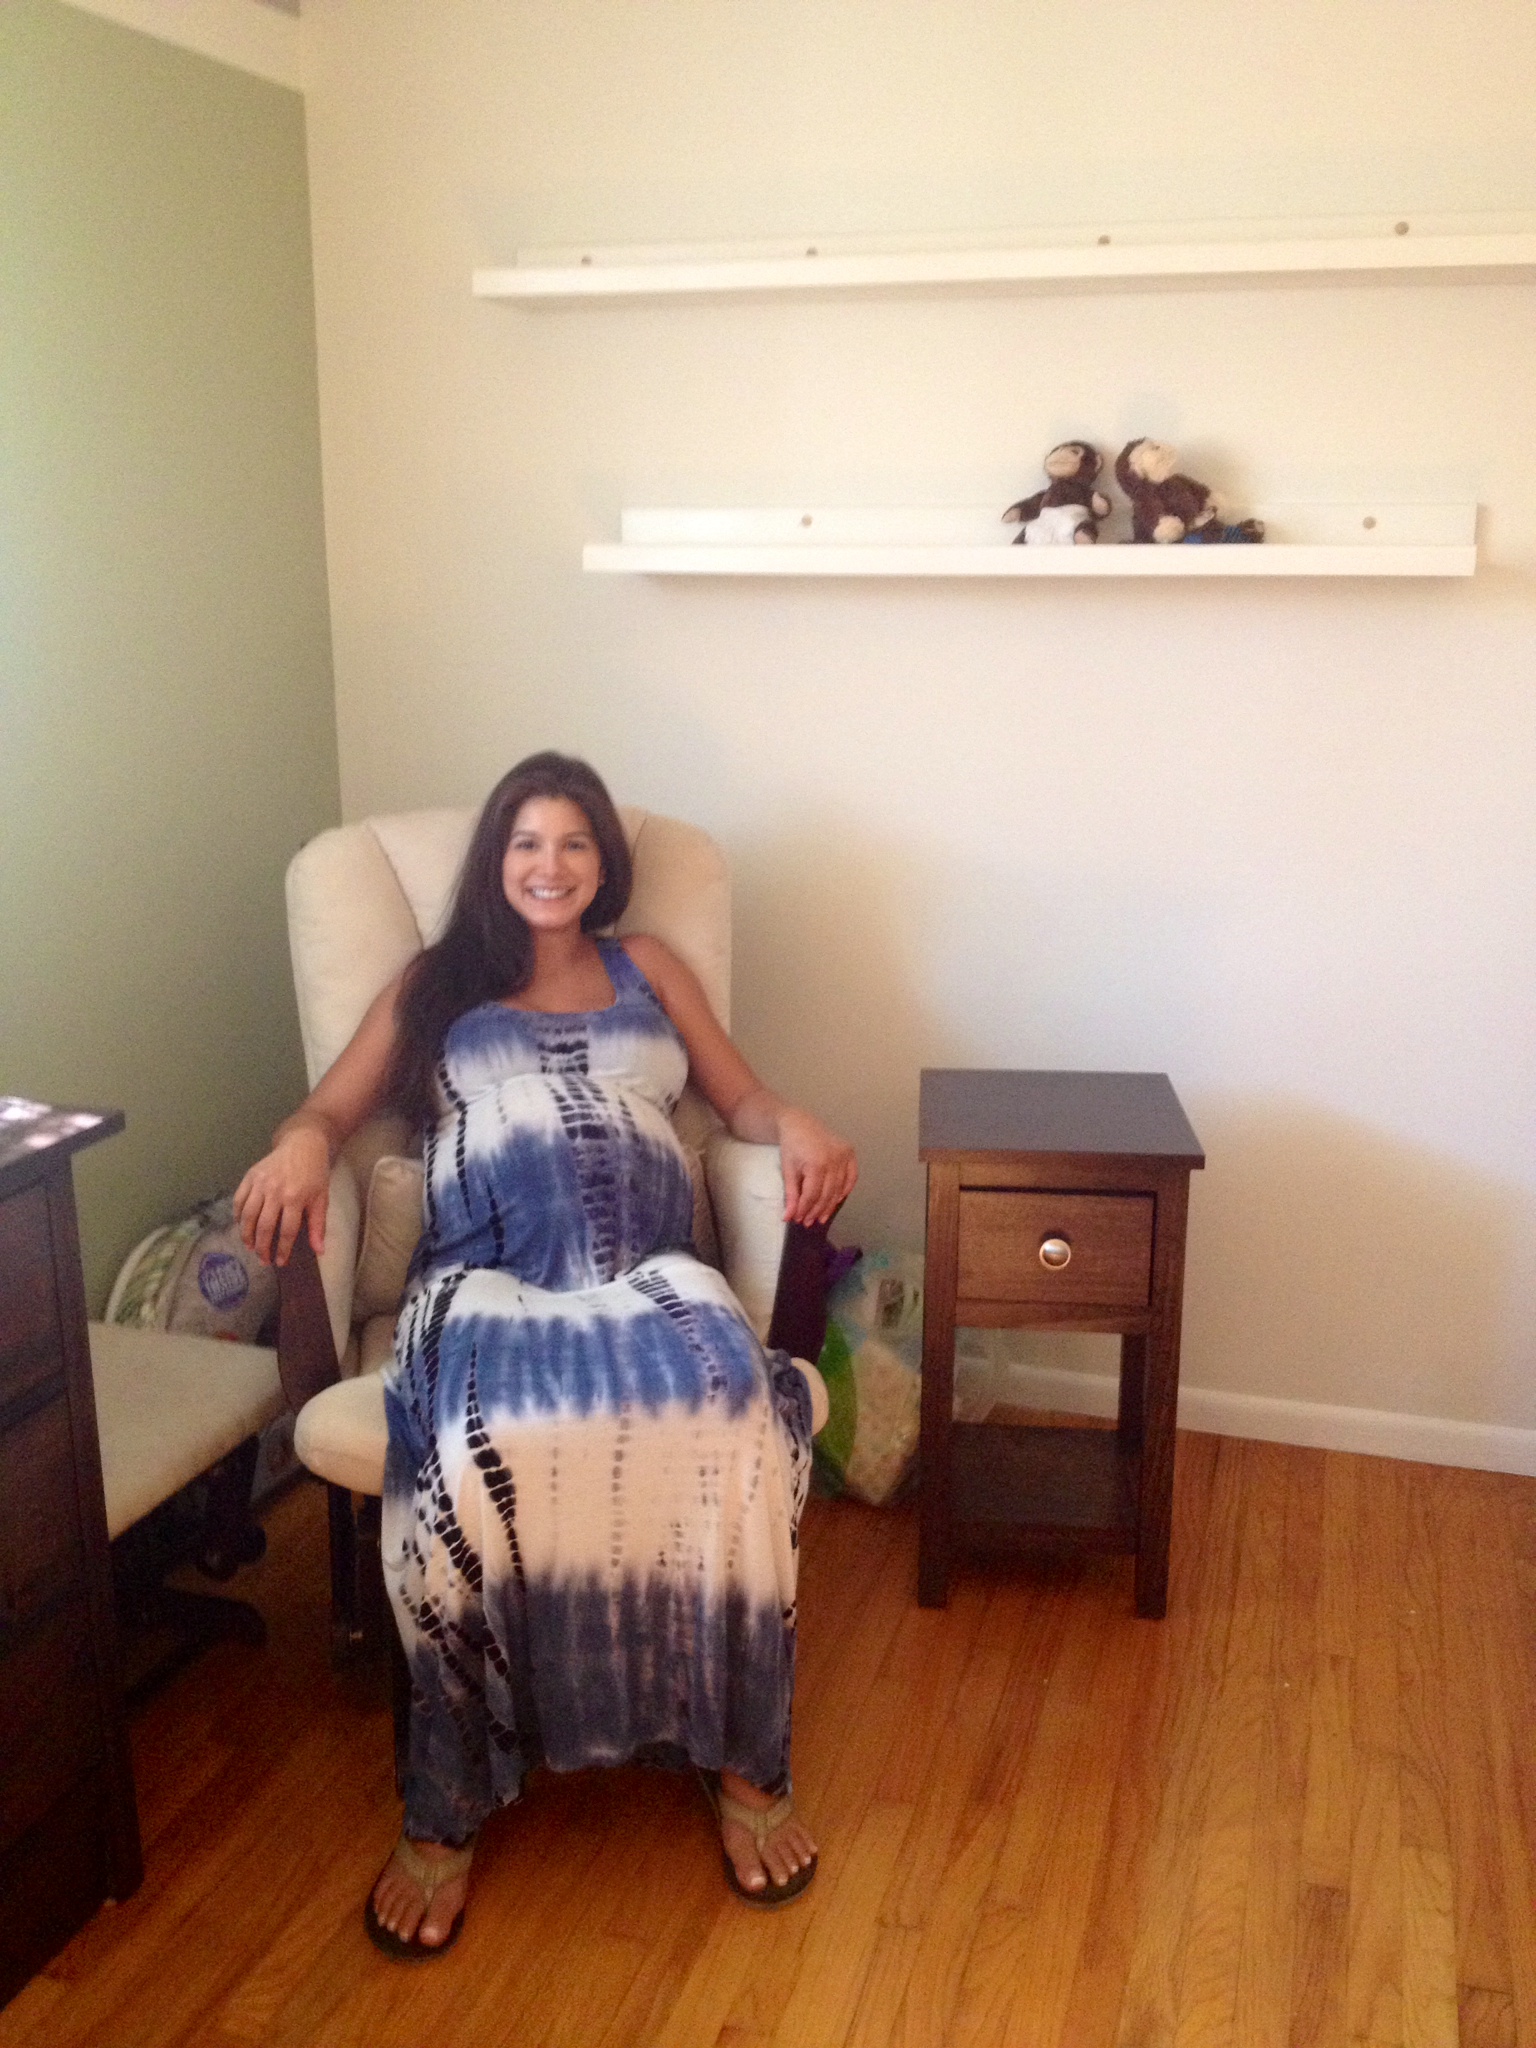
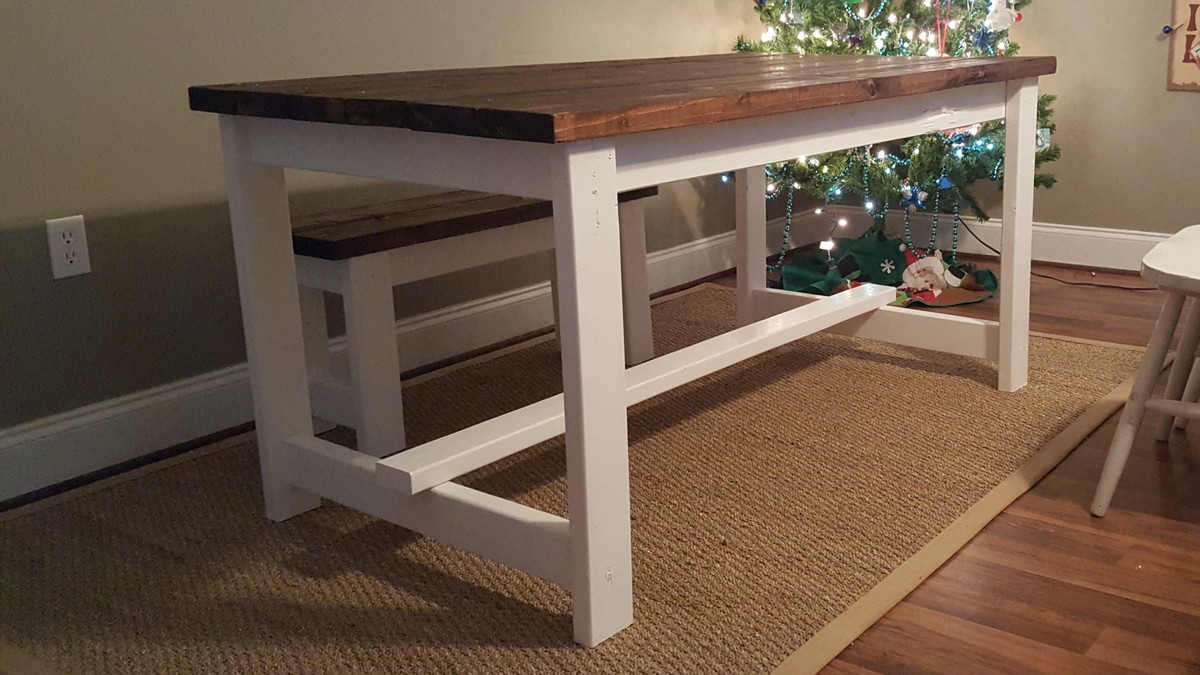
After making the Kendal dresser for my cousin, she ask me to build her the small farmhouse table to put next to her glider. I had to make it smaller to fit her space but the plans were so easy to follow and just as easy to make the adjustments. Ana's plans are user friendly like that.
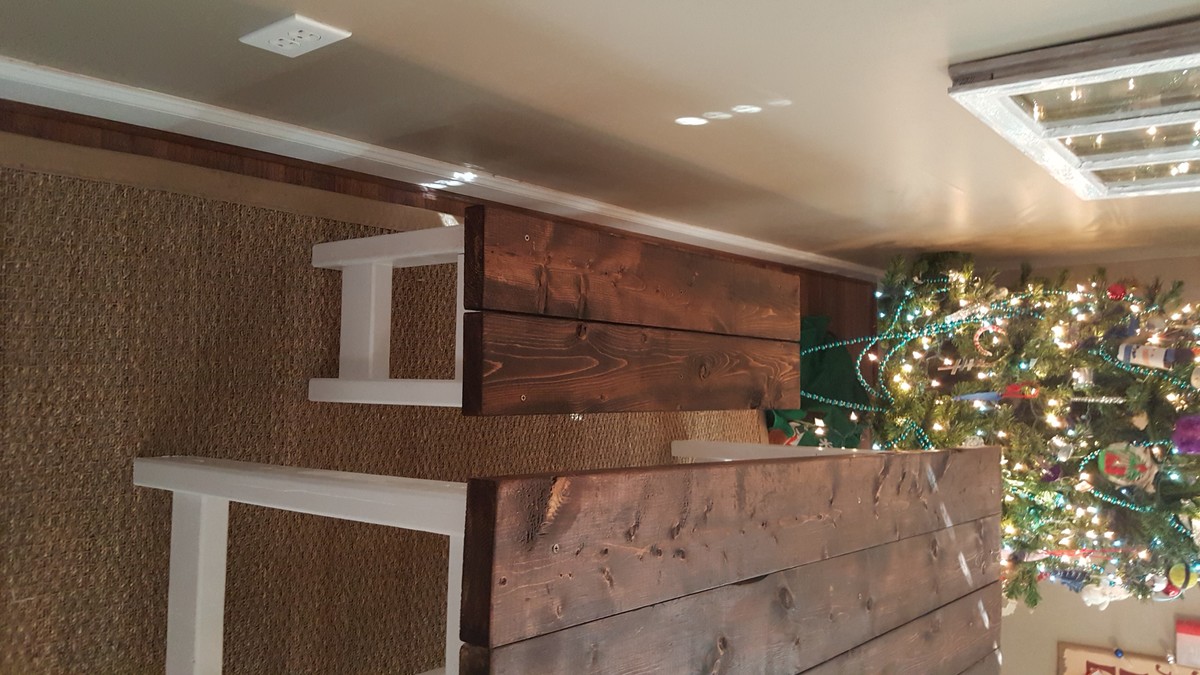
I also made the $10.00 ledges so the little guy can have a place for his stuffed animals and books.
The stain I used was the same as the Kendal dresser so it all matched beautifully in the room. I think this is about the 40th piece I've made from Ana's website since discovering it in January of this year. Am I hooked? I'd say so! Great plans!
My next project will be the toddler seats painted like animals from Killer B Designs that were featured today. I love them!
bonjour j'ai réaliser ce projet avec du bois de charpente (récupération) , projet très facile à réaliser avec peut de matériel, le plus compliquer à été de transposer les dimensions de pouces en cm. est-il possible de recevoir des plans en cm ????
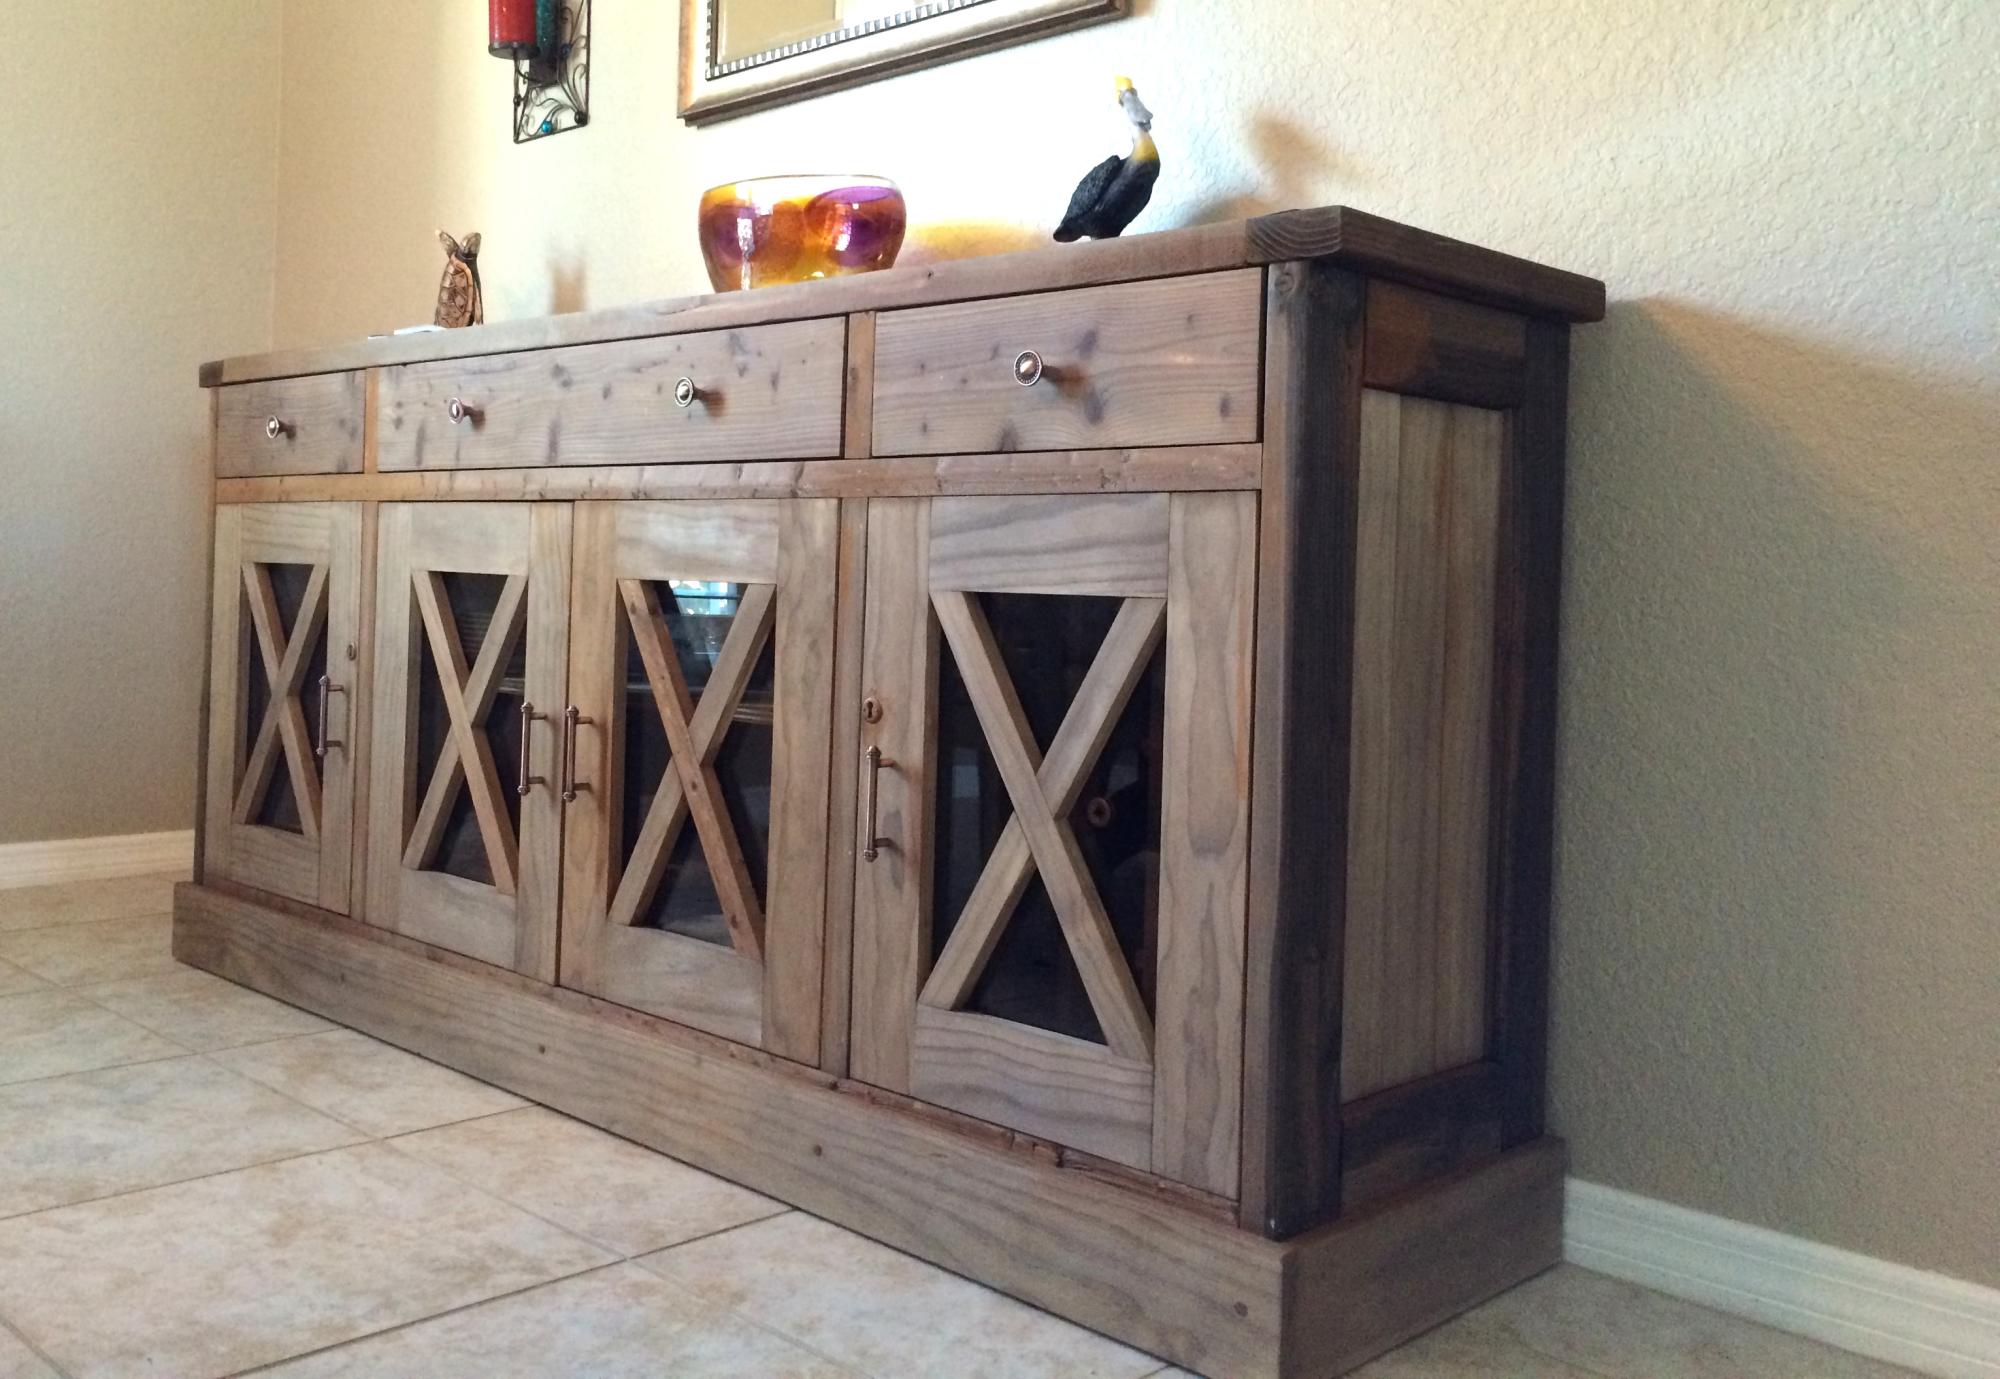
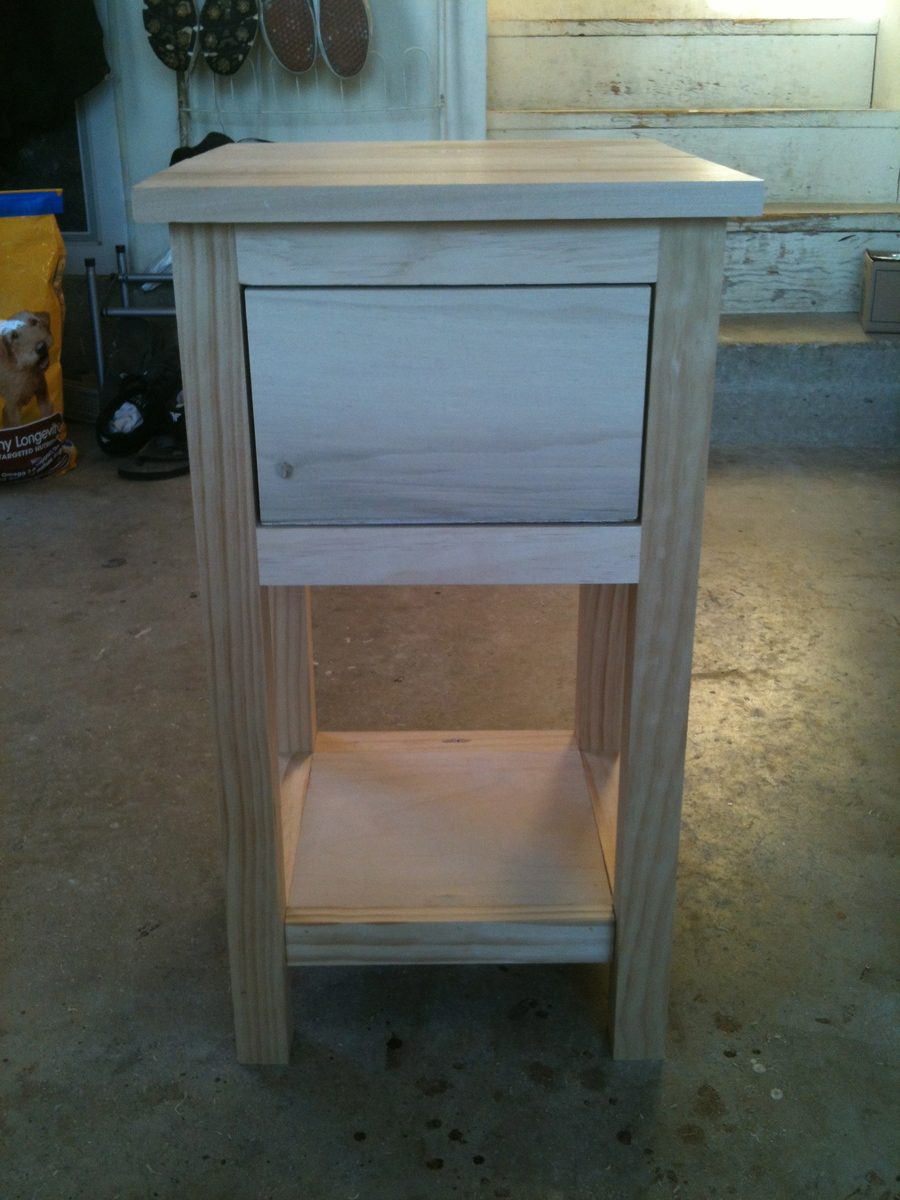
I made a few modifications from the original plans as I wanted to have some visibility into the cabinets. I used natural pine and finished with a tea, vinegar/steel wool solution to give it the reclaimed wood look.
Wed, 08/17/2016 - 23:42
Would you have plans available for the modifications that you made? This is beautiful!!
Mon, 07/22/2019 - 10:52
Do you have plans for the modifications you made on the doors? Thank you
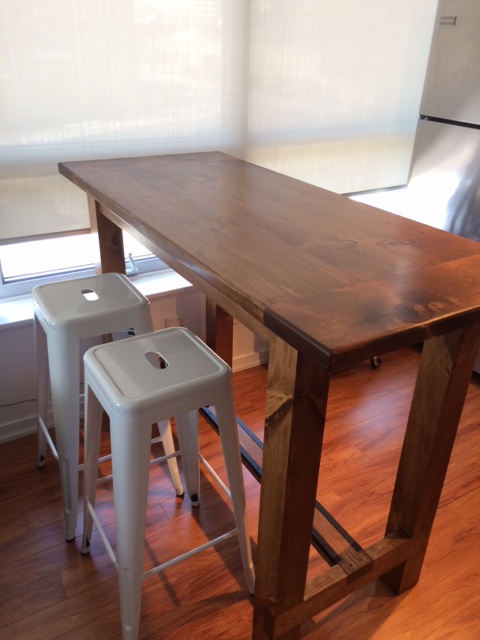
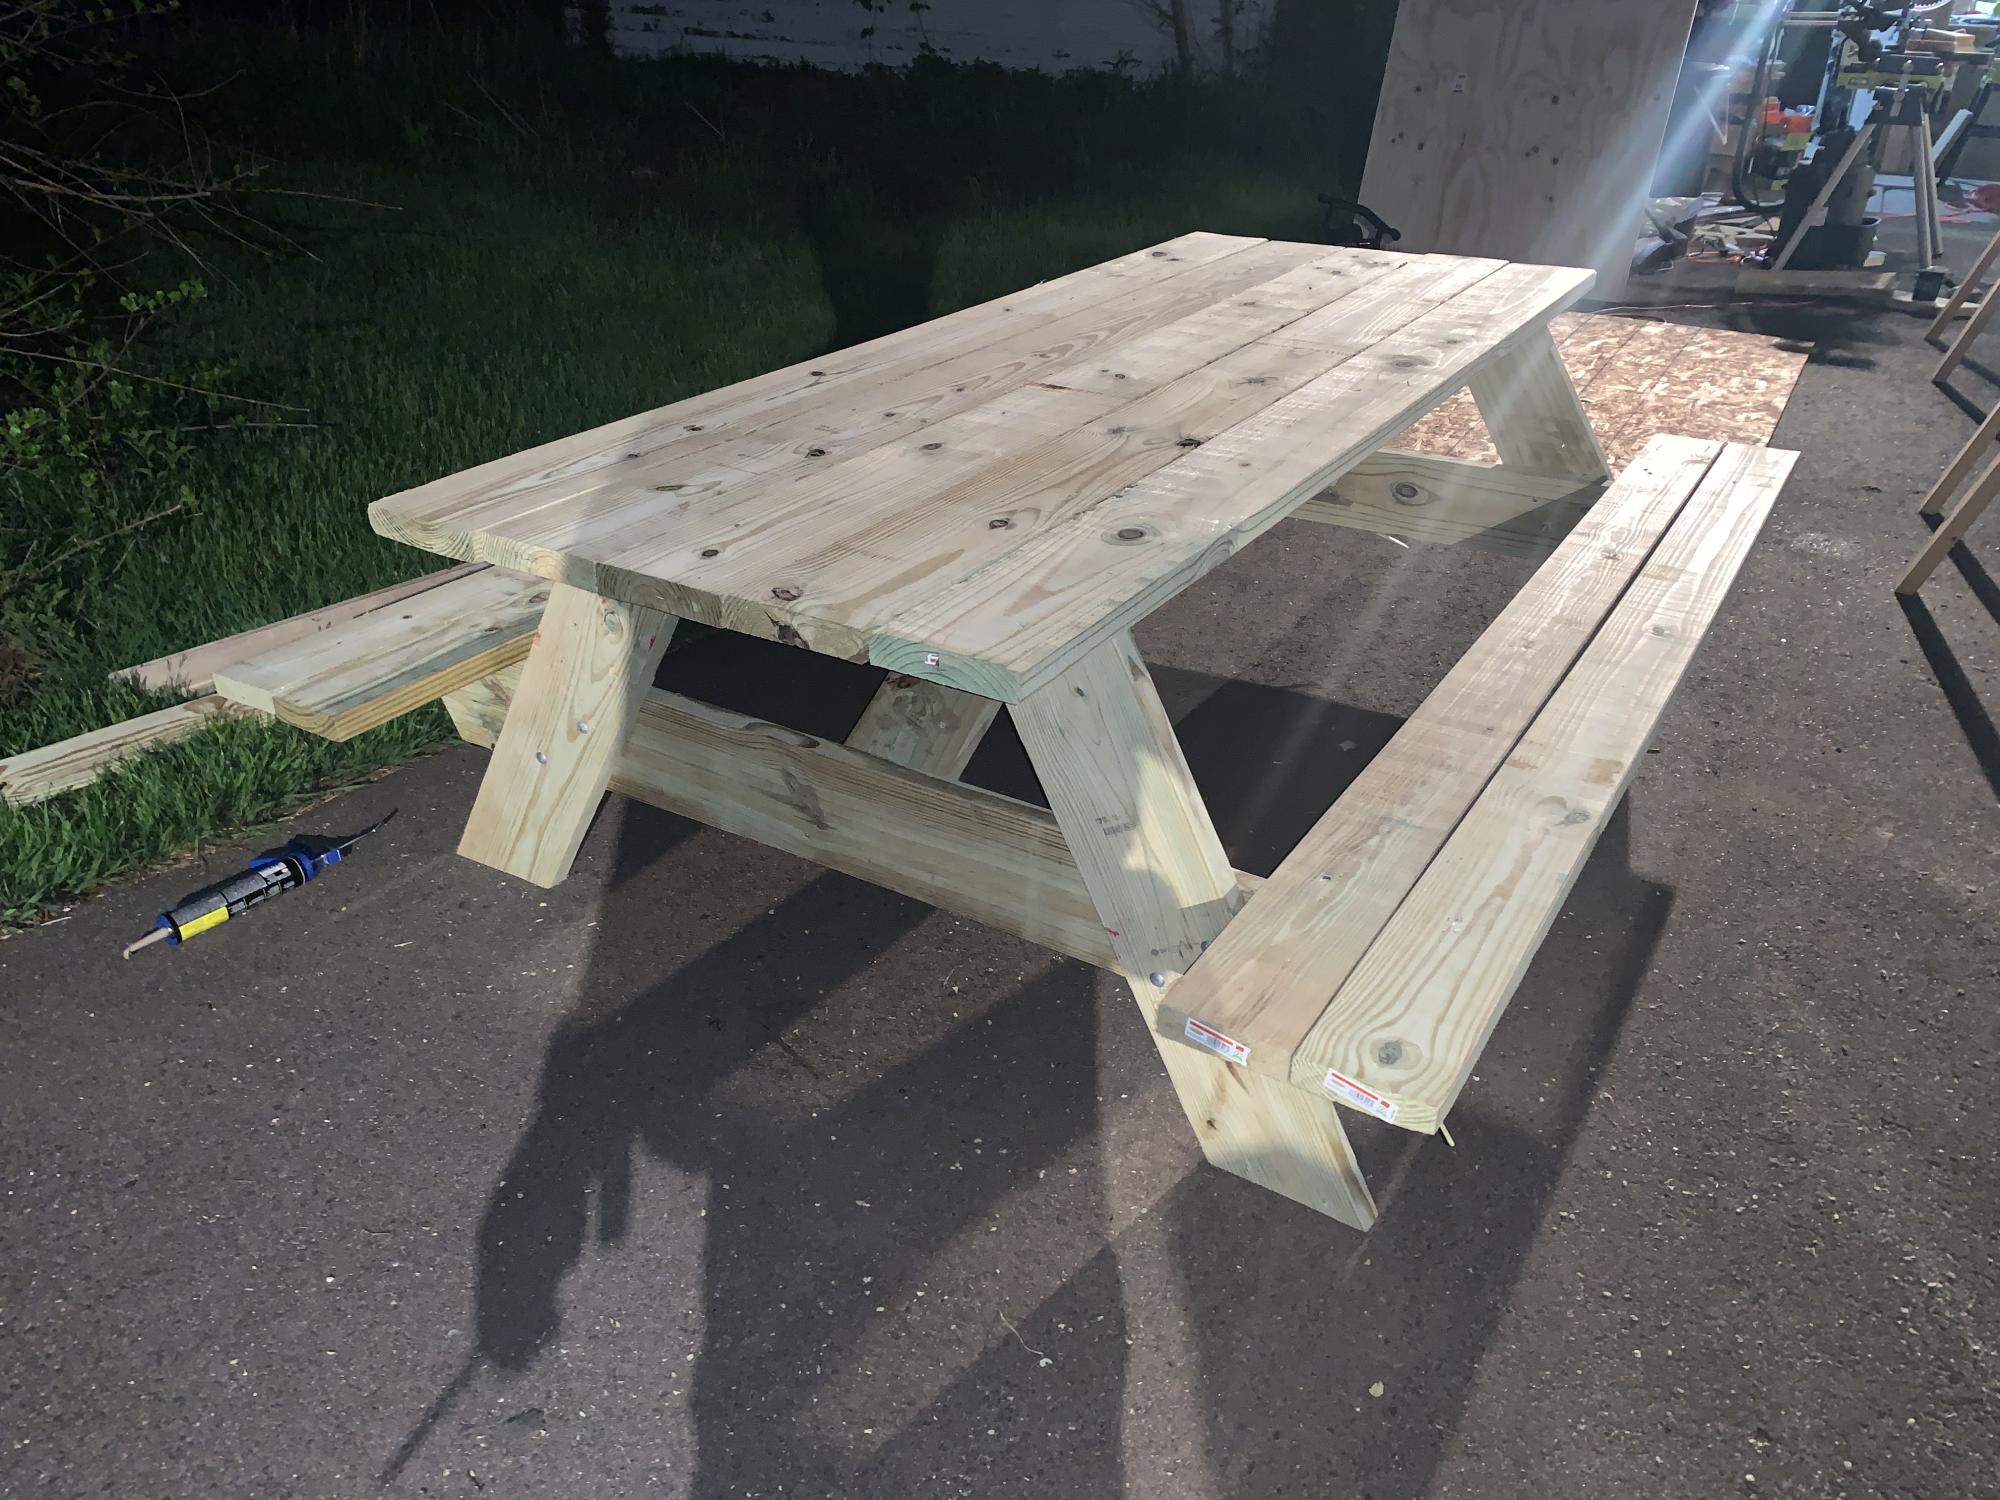
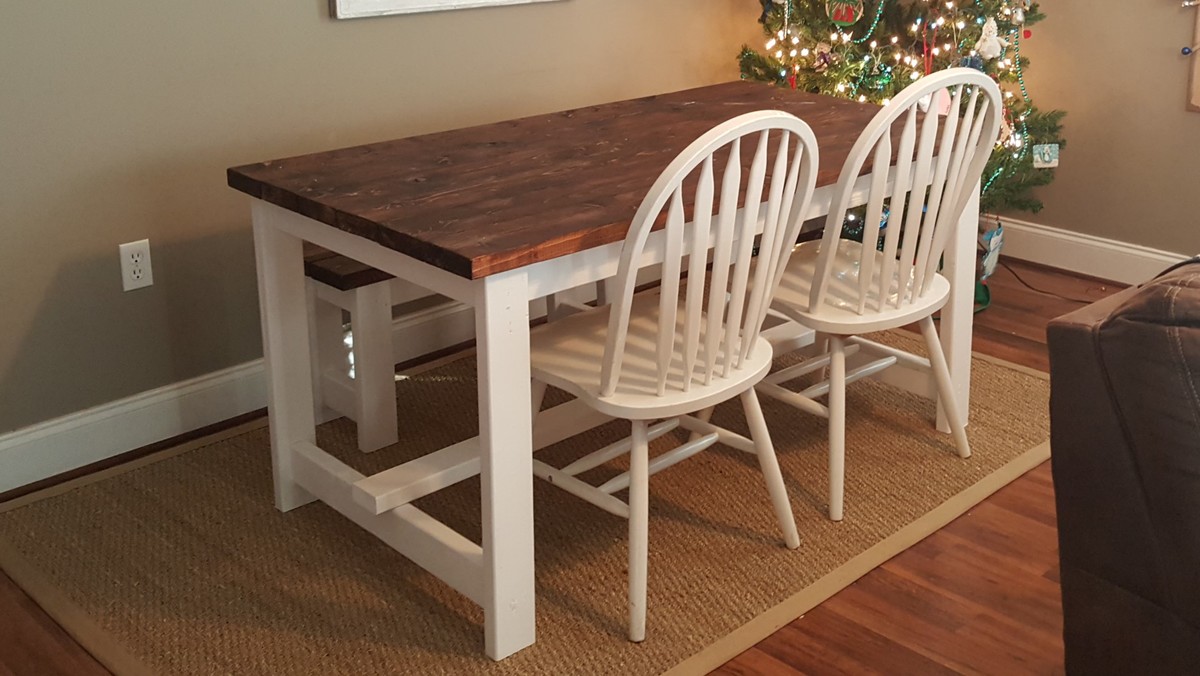
Variation on the Farmhouse Table plans. Built from knotty pine and finished with Minwax Early American stain.
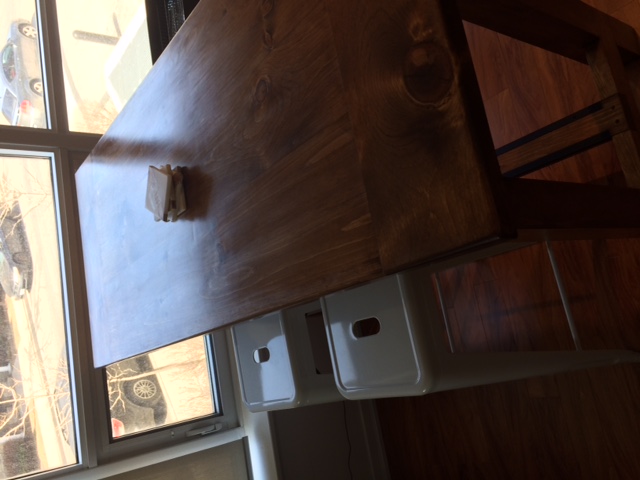
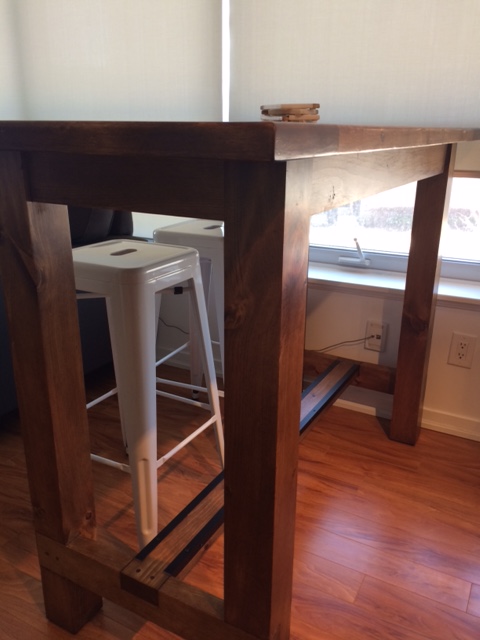
Followed the plans on the site but made it 3" wider to better fit our electronics.
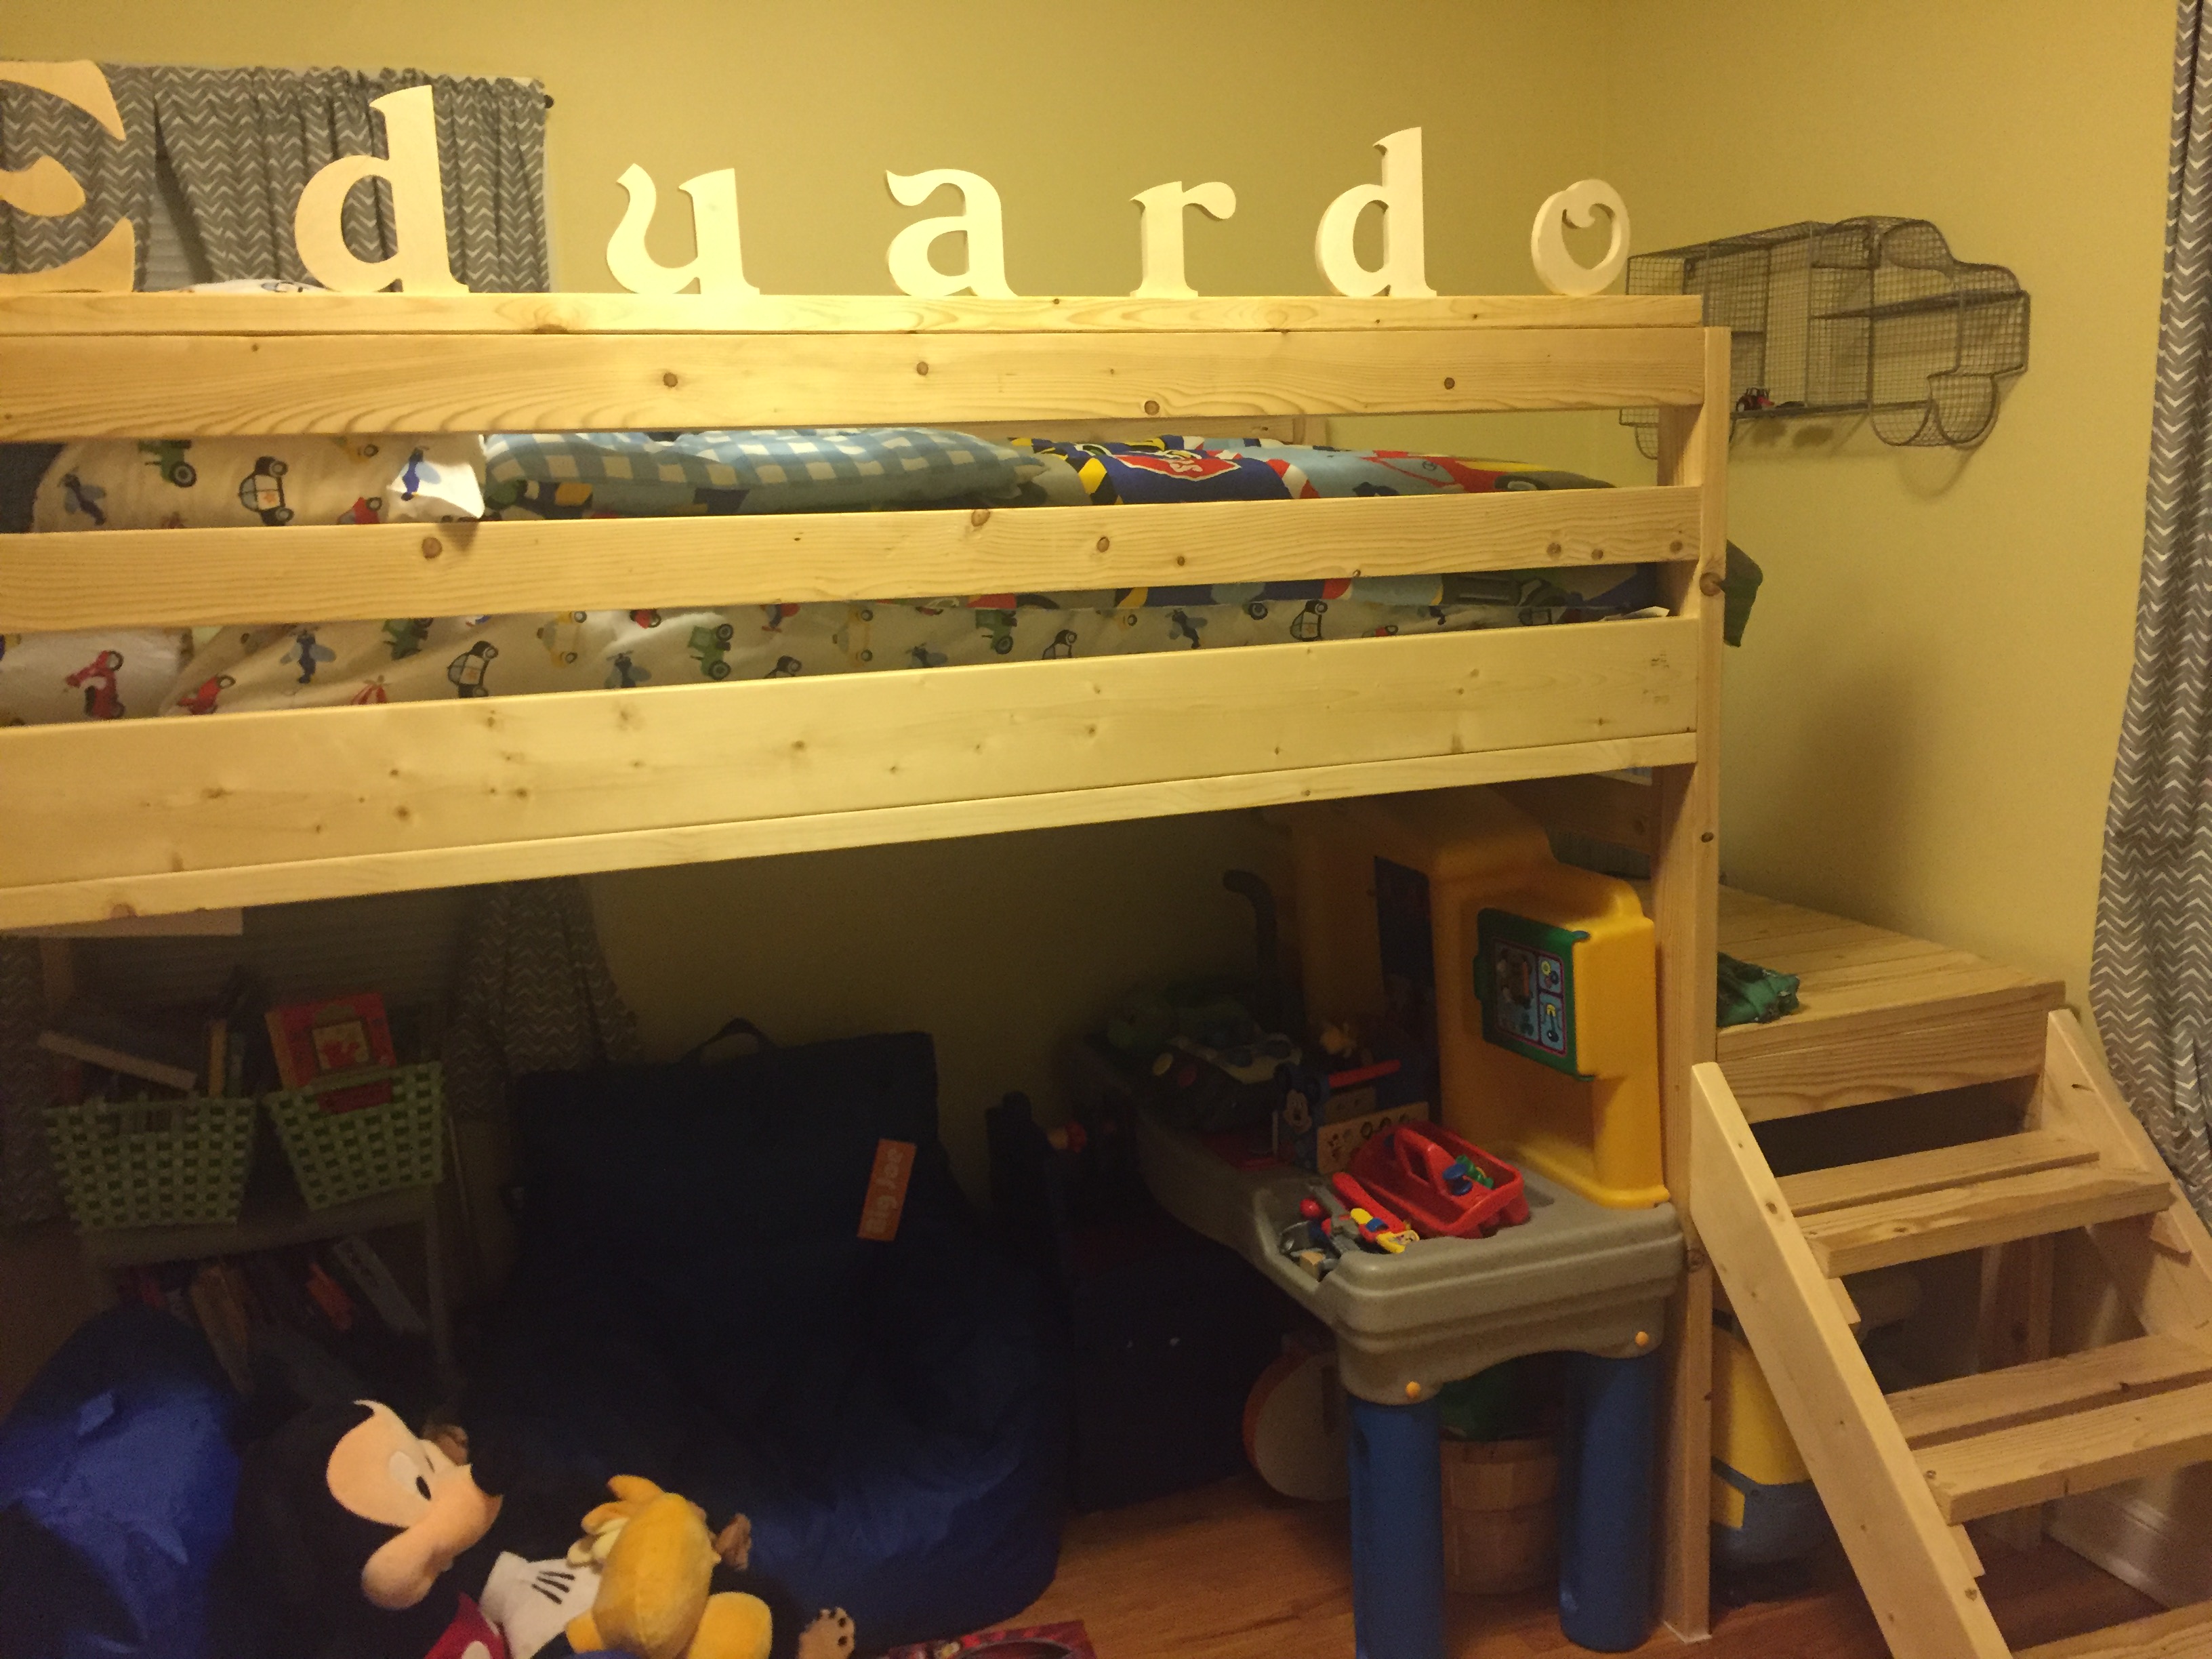
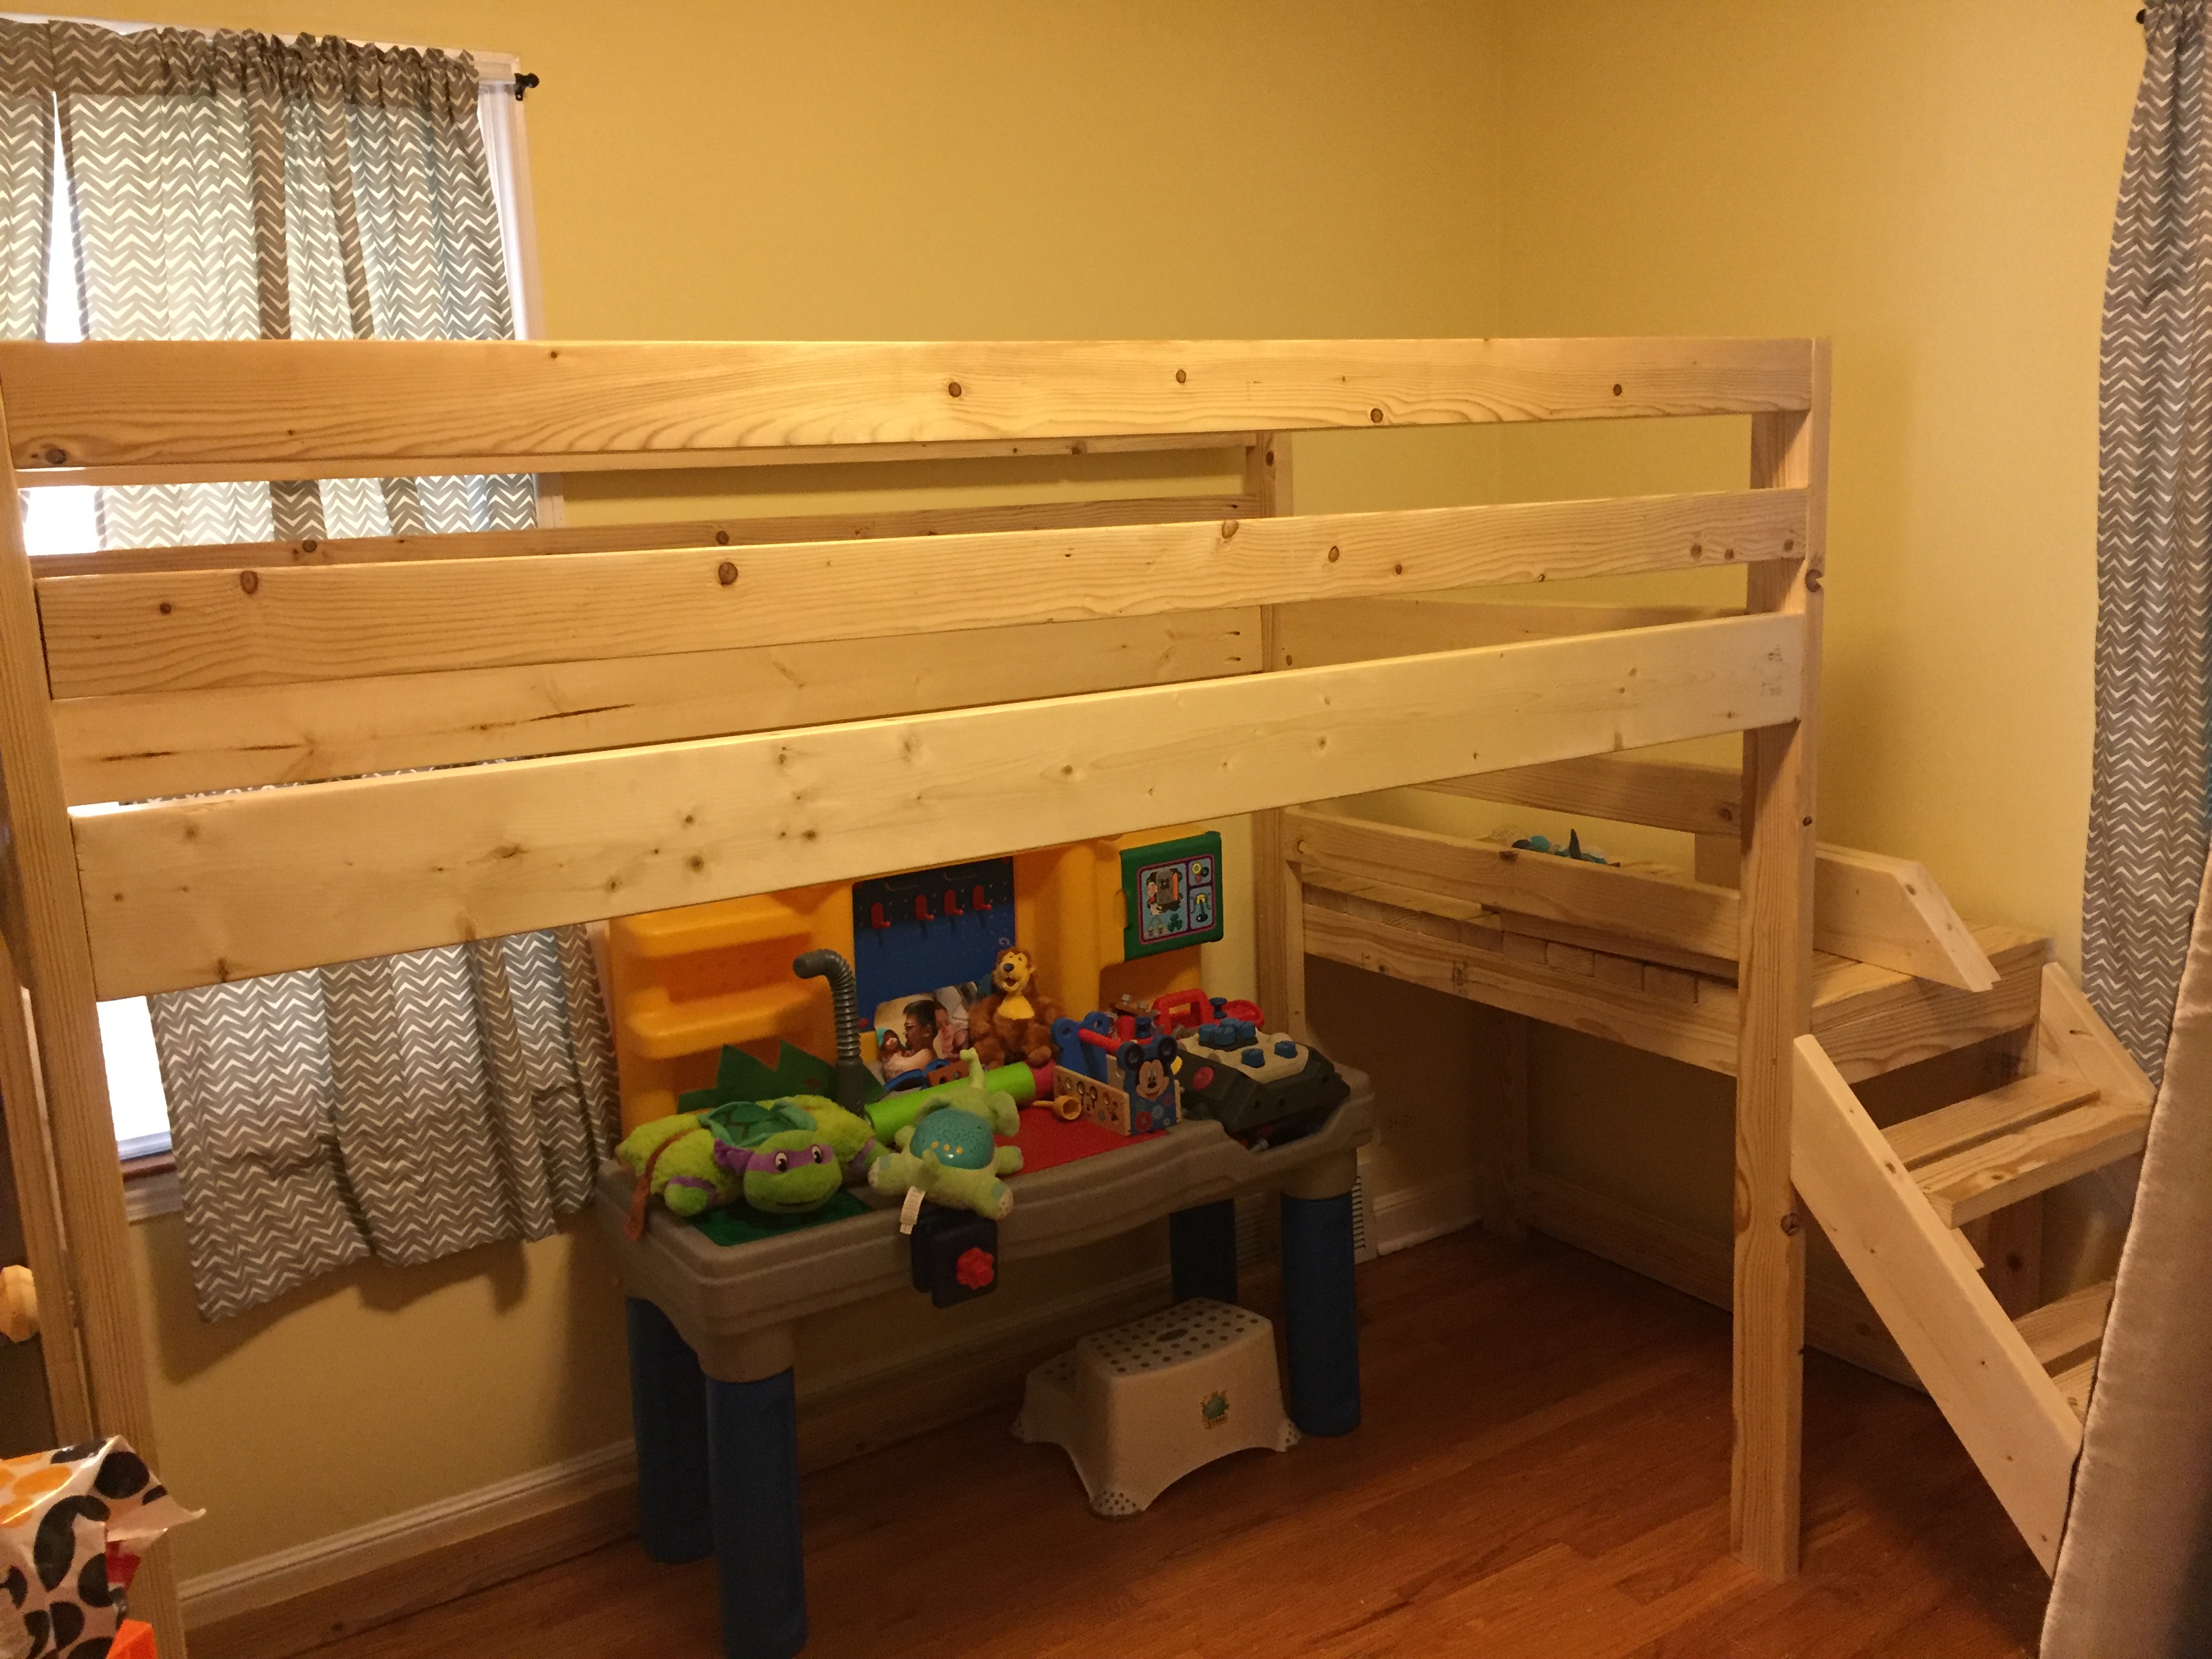
I loved the junior loft bed plan and it was customizable and much cheaper than at the furniture store.
We ended up buying a thicker mattress than expected and adding an extra 2x2 with wood letters we got on sale at the craft store. Originally their was about a 5 inch rail over the height of the mattress and the letters made it more around 9-10 inches. We attached the letters to the wood first with glue and nails through the bottom and then screwed the board to the bed rail.
My 3 year old loves it!

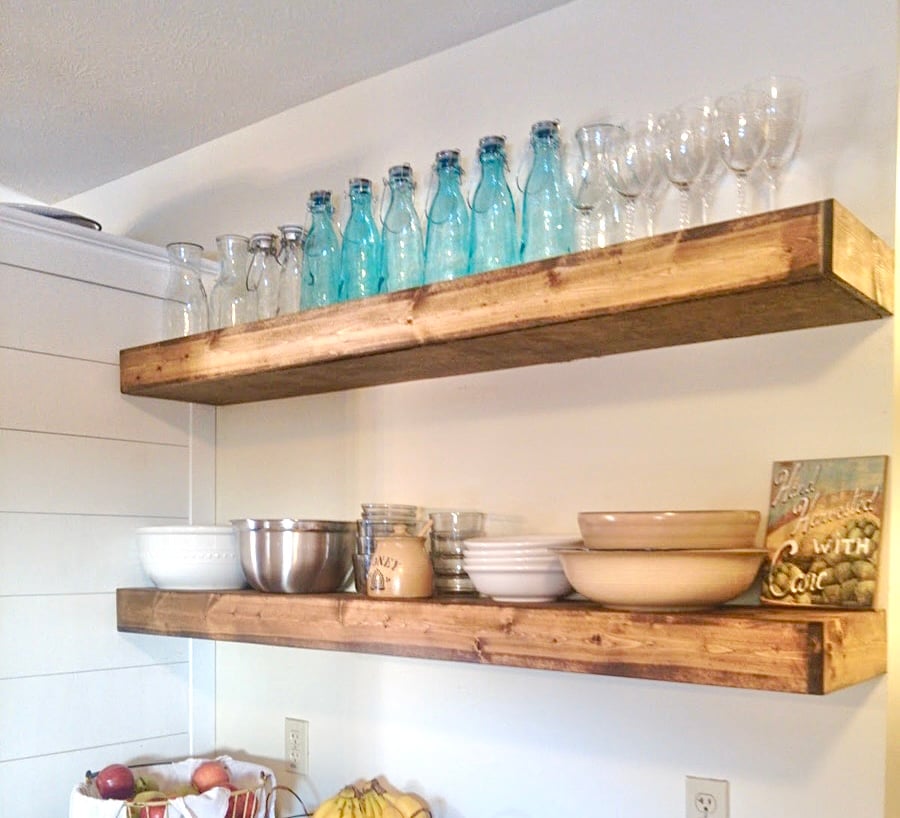
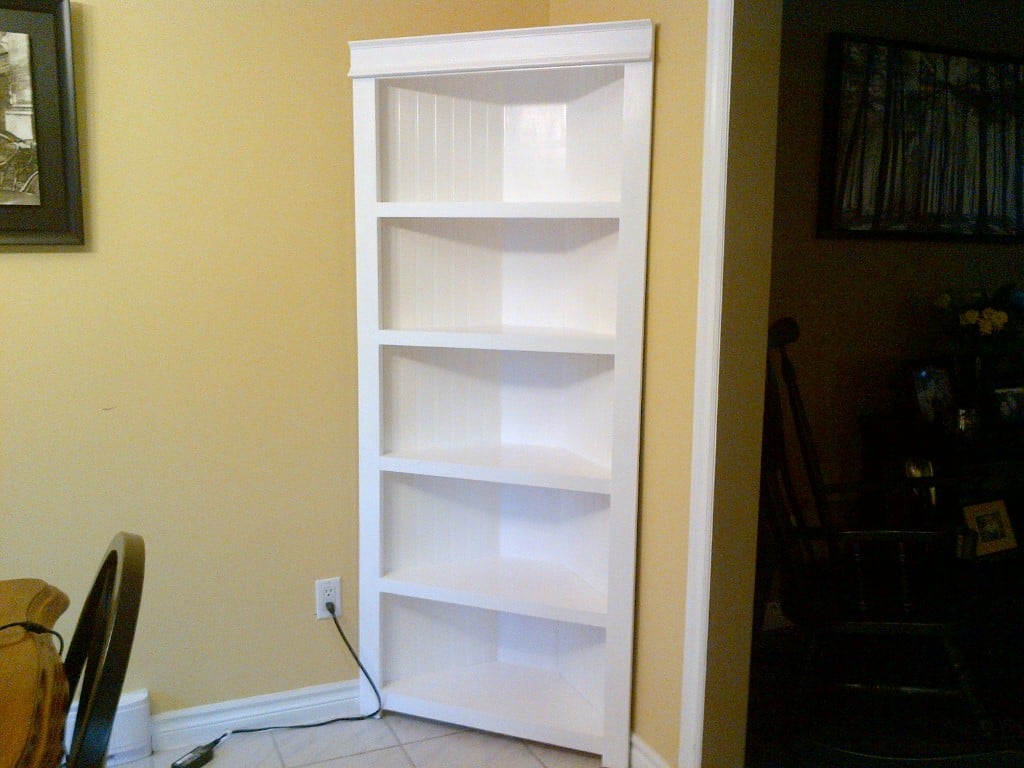
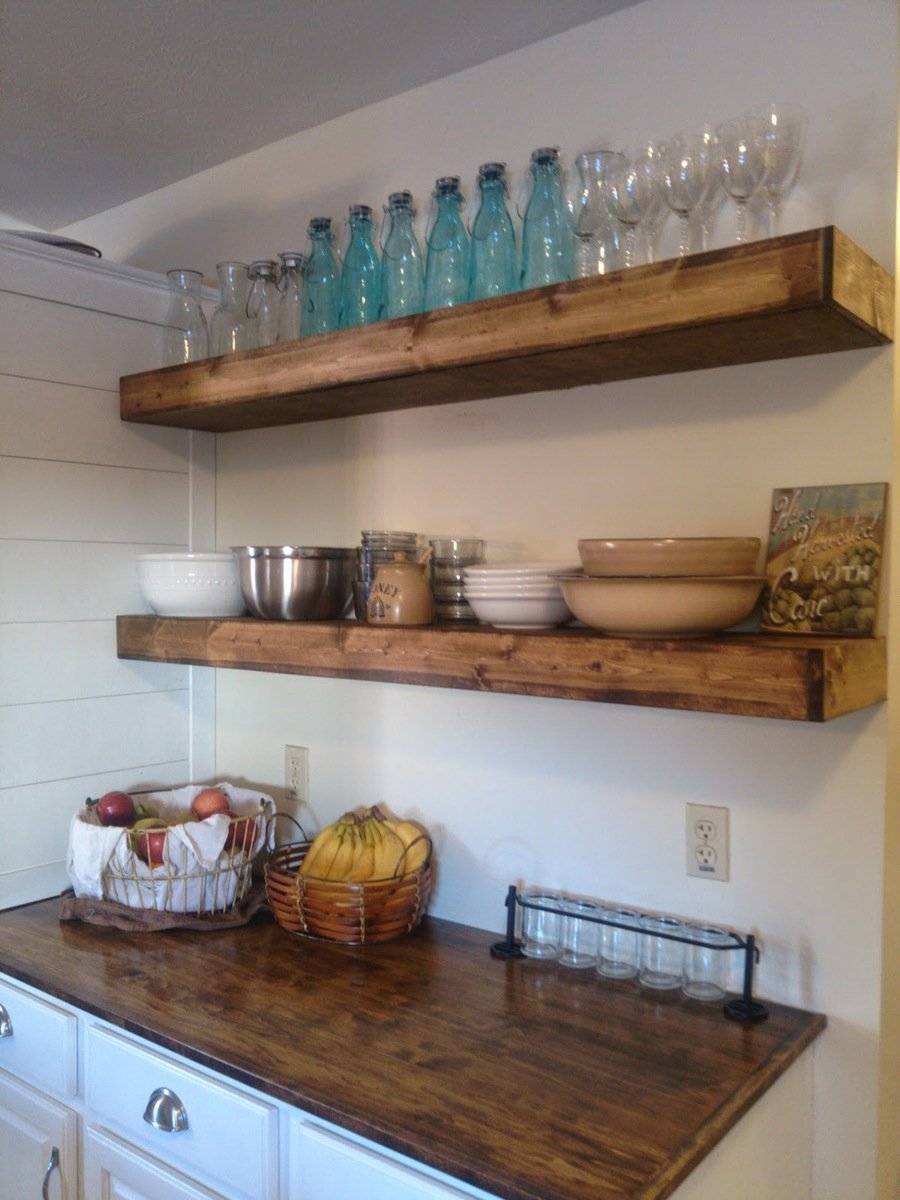
I built these shelves in an afternoon and they were really simple. I'm fairly new to building and using powertools so these are quite an accomplishement!

Mon, 01/19/2015 - 17:13
Gorgeous! I love the stain! This is a beautiful project!

In reply to Gorgeous! I love the stain! by Ana White
Wed, 01/21/2015 - 06:04
Thanks so much! The hard part is picking the next project!
loved building this ! plans very easy to follow
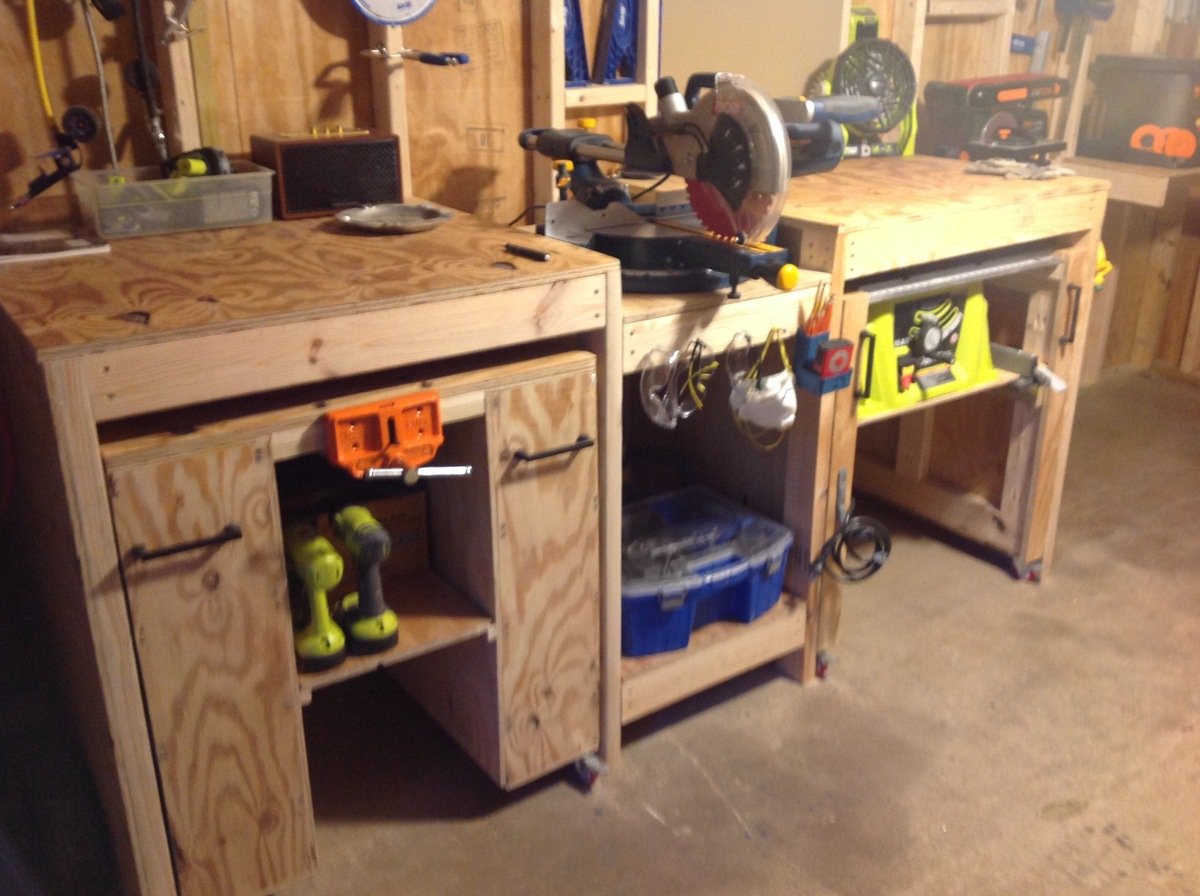
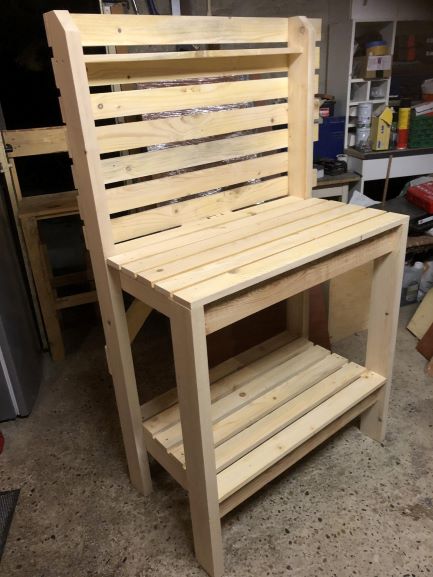
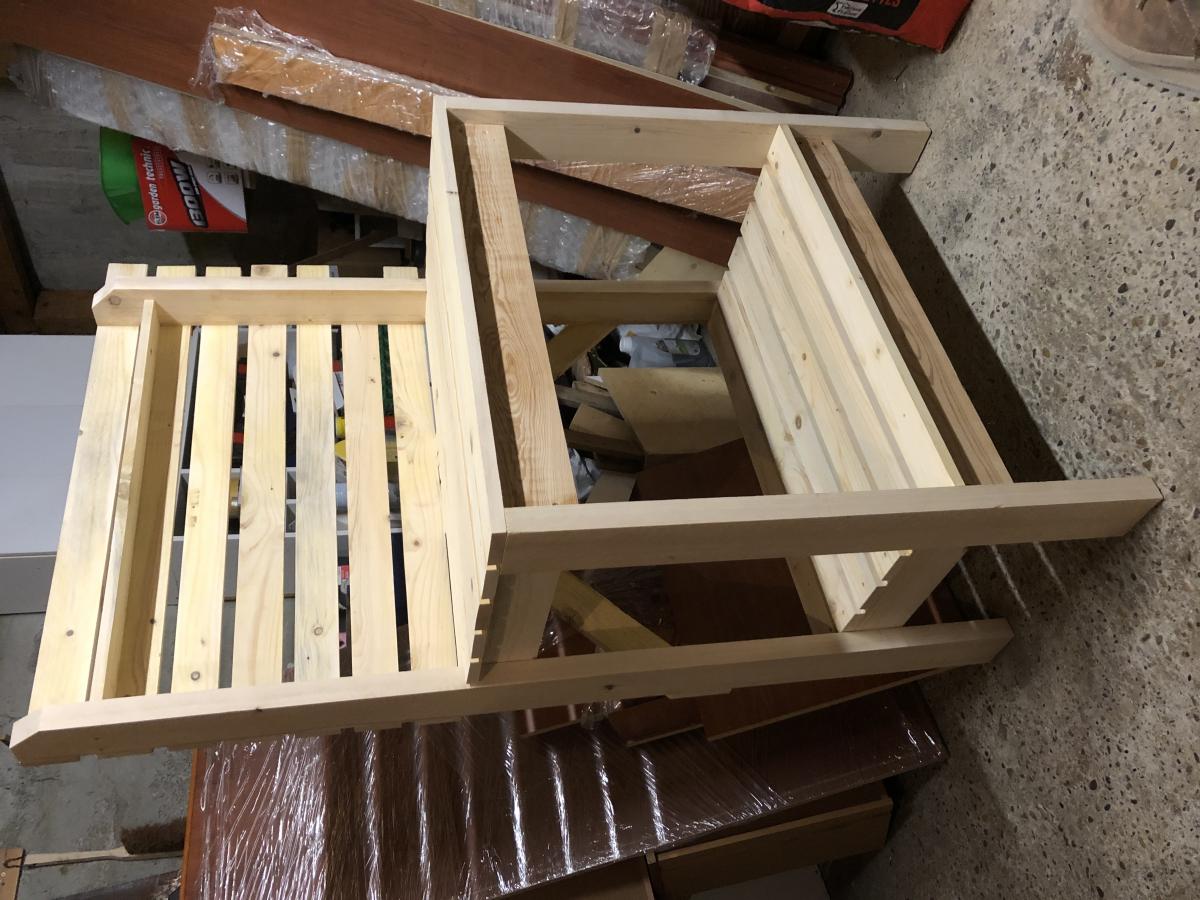
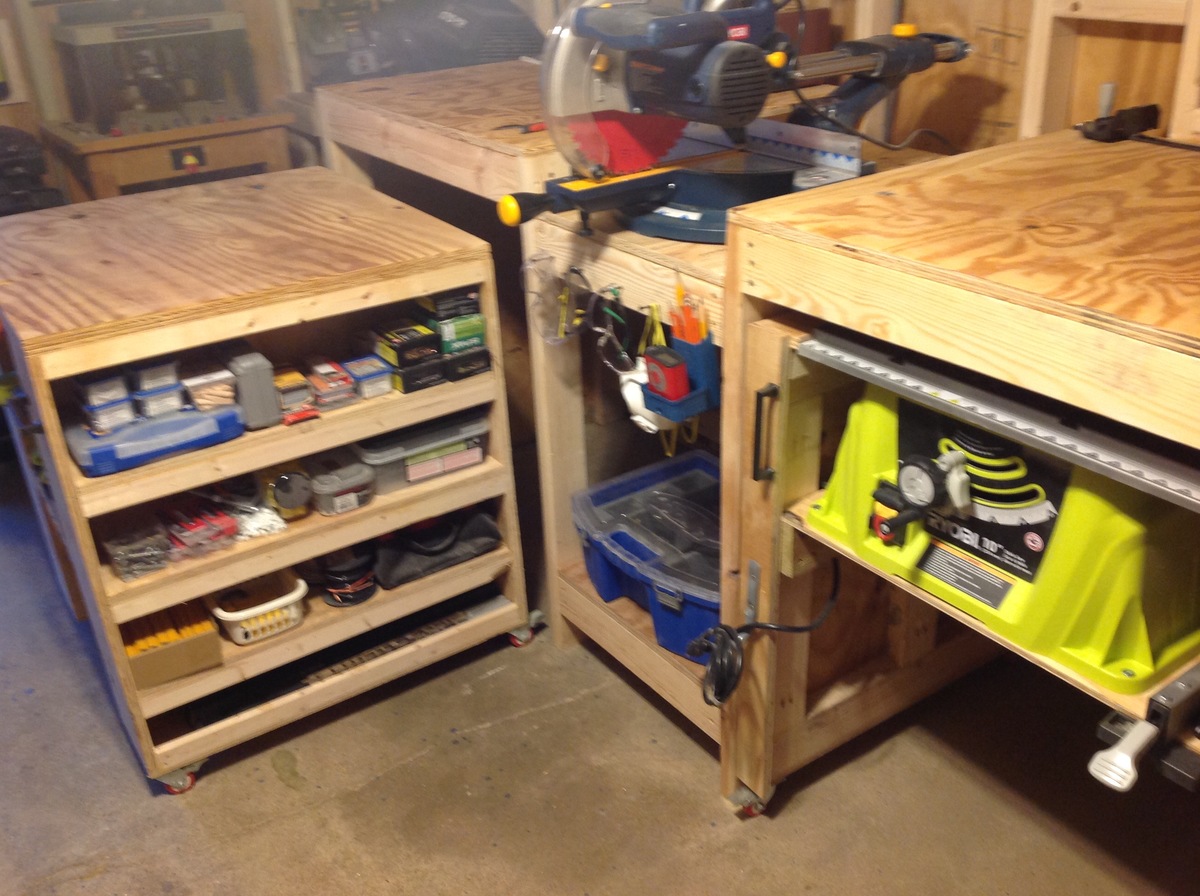
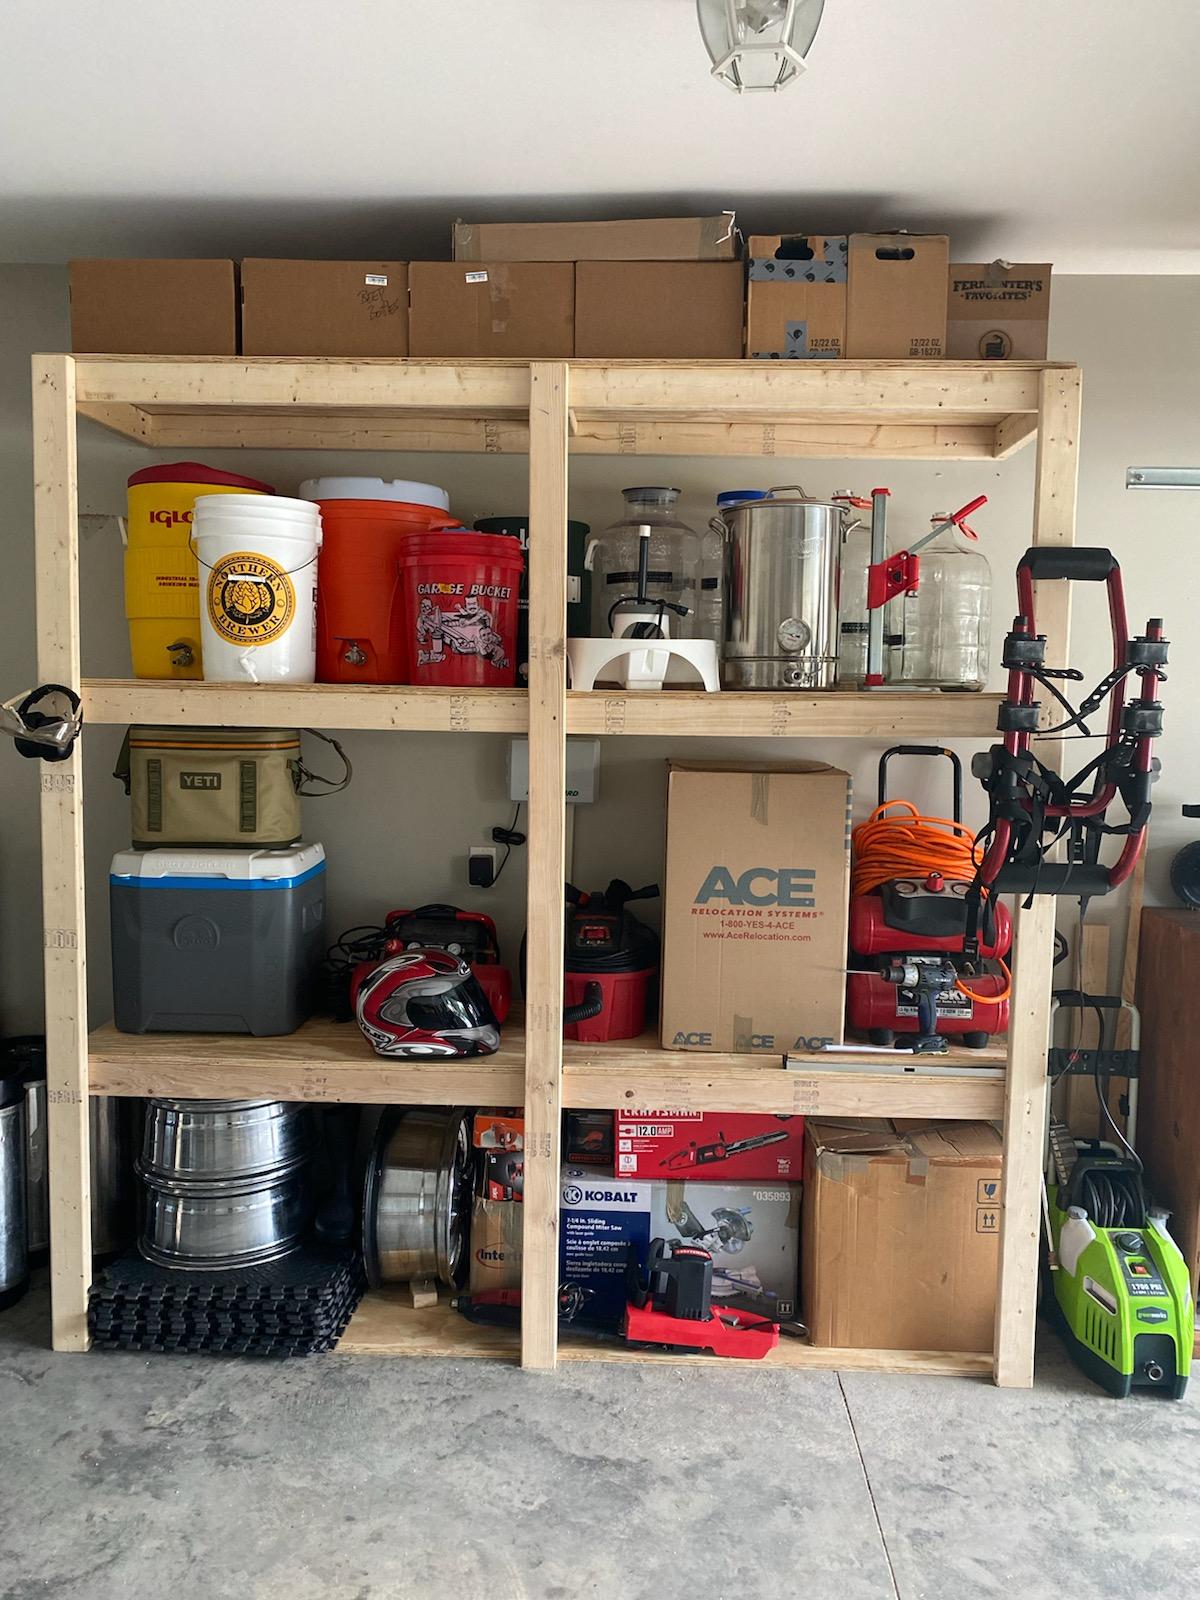
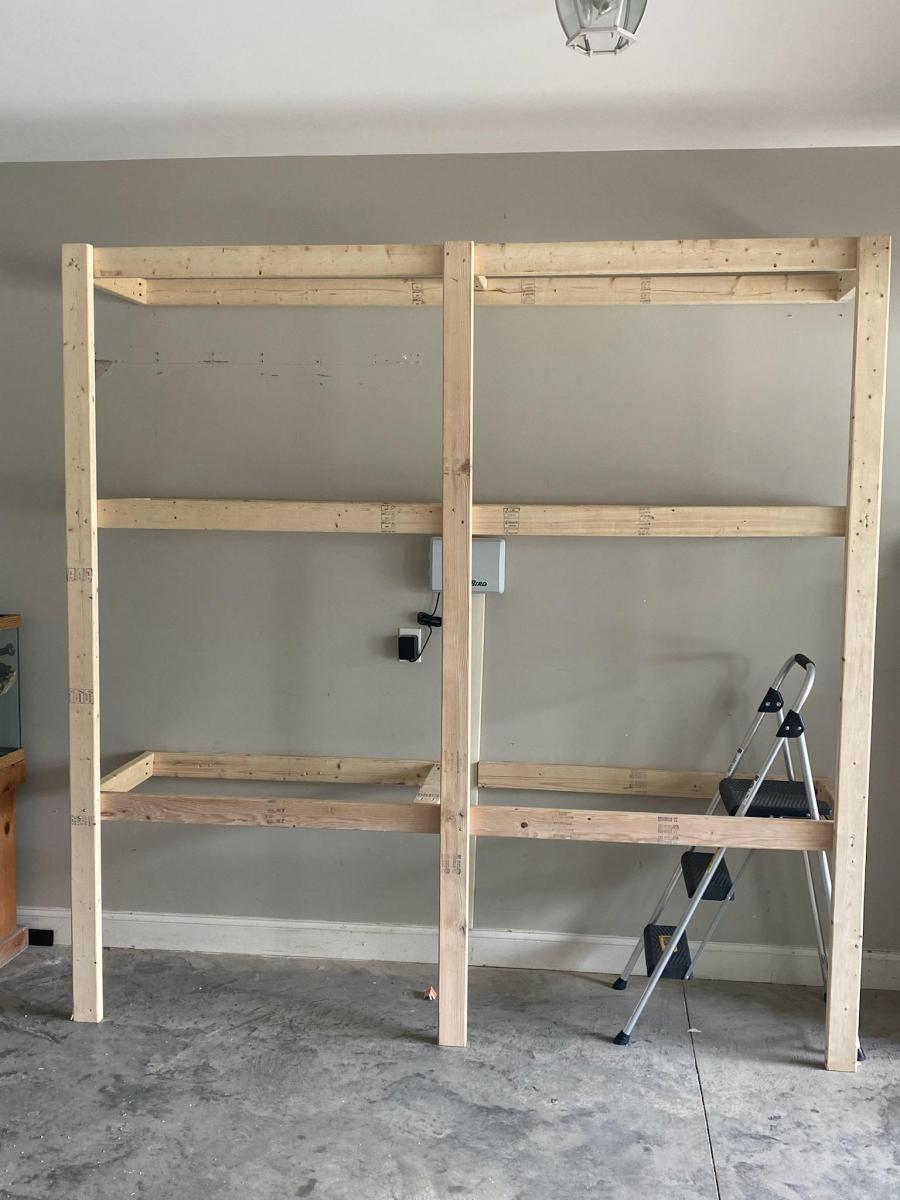
I built this new workbench for my garage to accomodate my table and miter saw and to add some stowaway storage and I cant tell you how much I love it, especially with being able to pull the tables out to make an outfeed for the tablesaw. I altered theplans a bit to shorten the entire length by nearly 1.5 feet and instead of the board mounted tool space I added my bench vise to this gap and use shelved underneath for storage. The plan was simple to follow and allowed me to build a bench that all of my neighbors talk about now! Thanks so much Ana!
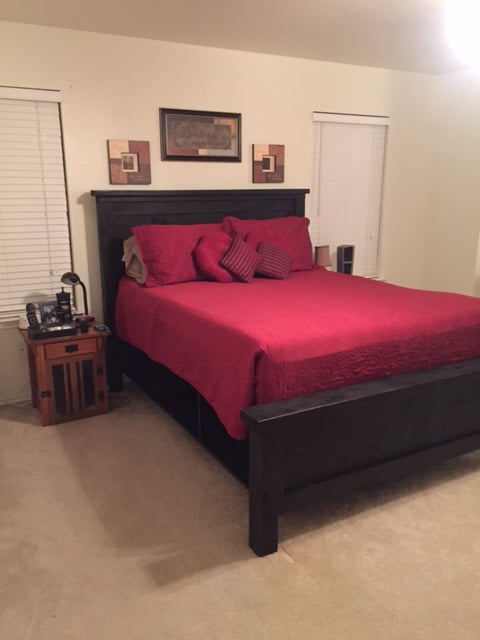
We LOVE our finished bed. We started out to make the Farmhouse Queen Bed but decided after completing the headboard and footboard that we wanted some storage with it. We made the frame from the Farmhouse Storage Bed plans without the actual drawers. We wanted a more open look to the storage. We are pleased with the way it turned out and love that Ana shares these wonderful plans online. Thanks again Ana!
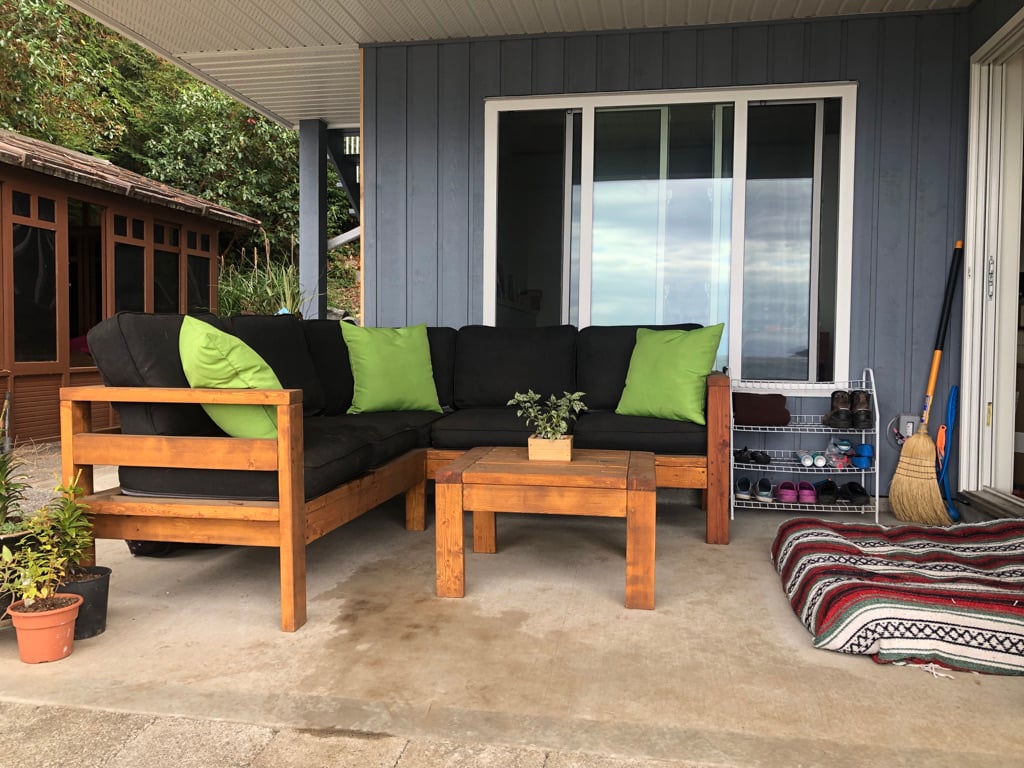
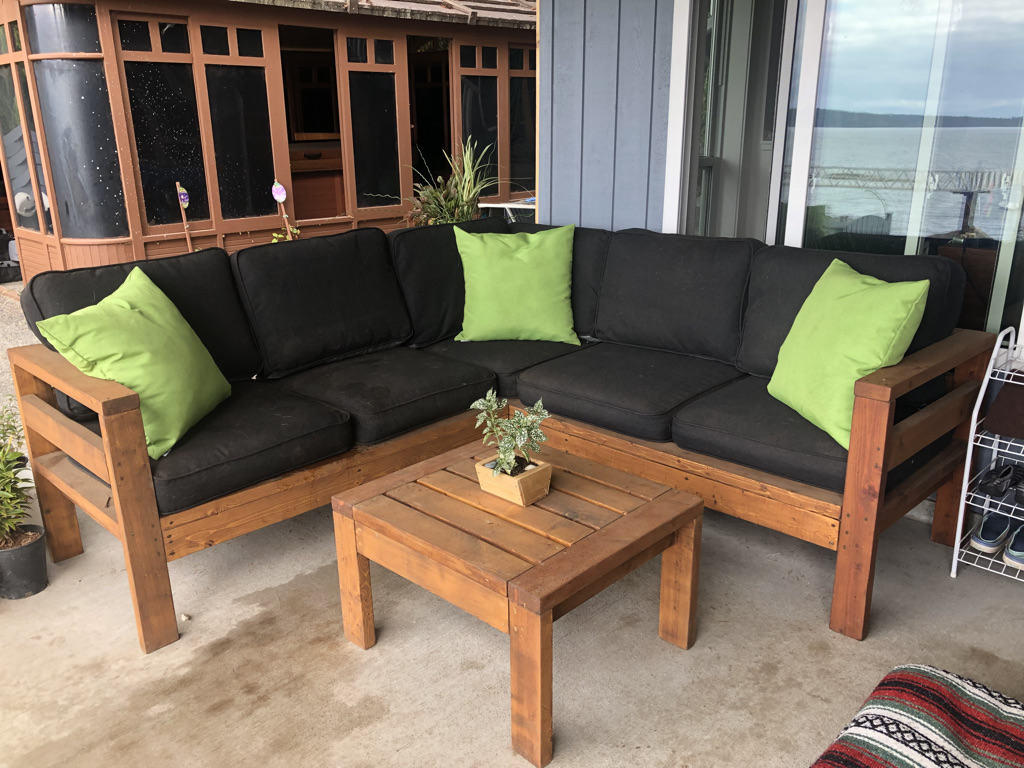
My daughter and I built this out of the old framing that was pulled out of the house (fir) and some leftover wood from a friend's house build a few years back. If the cushions are lifted up you will see the old electrical wire holes! I shortened the set by one seat so it would fit the patio space. The cushions are from Ikea and fit perfectly. I also modified the coffee table so it was the similar proportion to the full sized set. Thanks for the very approachable plans Ana! Excuse the water all over the area in the pics. We have water dogs and they seem to like the sectional too!
Very easy. Thank you!!

Ripped a 2x4 down the middle for the legs and bottom rungs, so custom 2x2s. 1x2s for the mid and top. Biscuit jointed and edge glued 12x12 Hard Maple Top. Glue and pocket hole joinery.
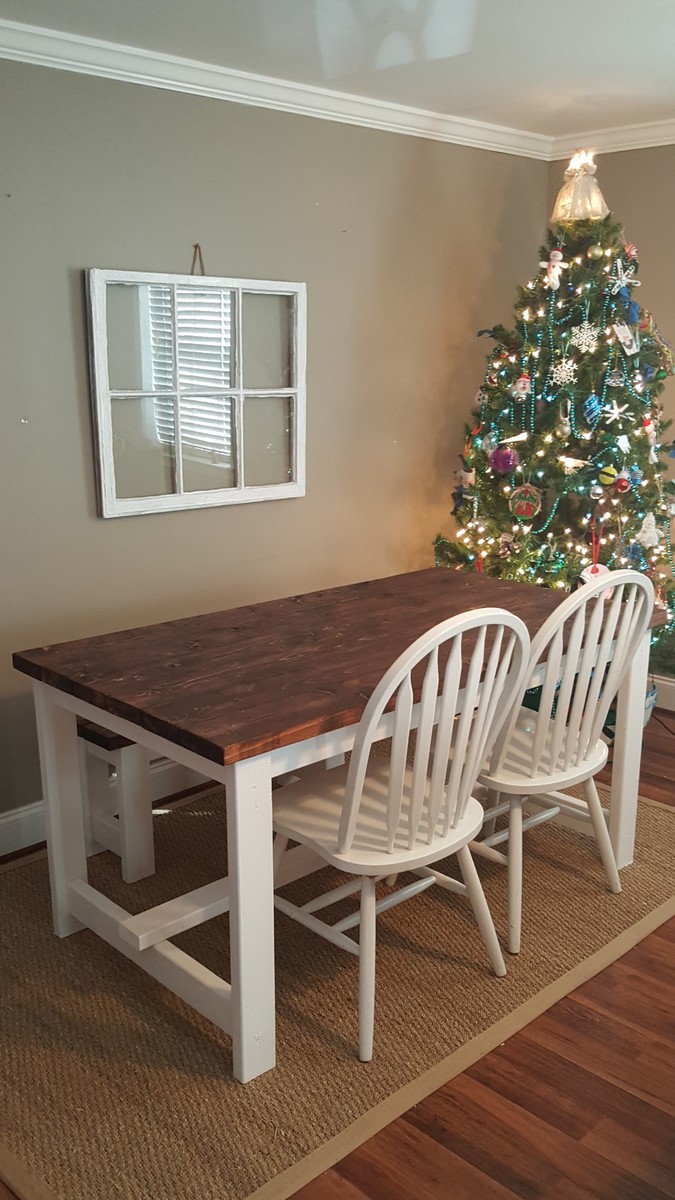
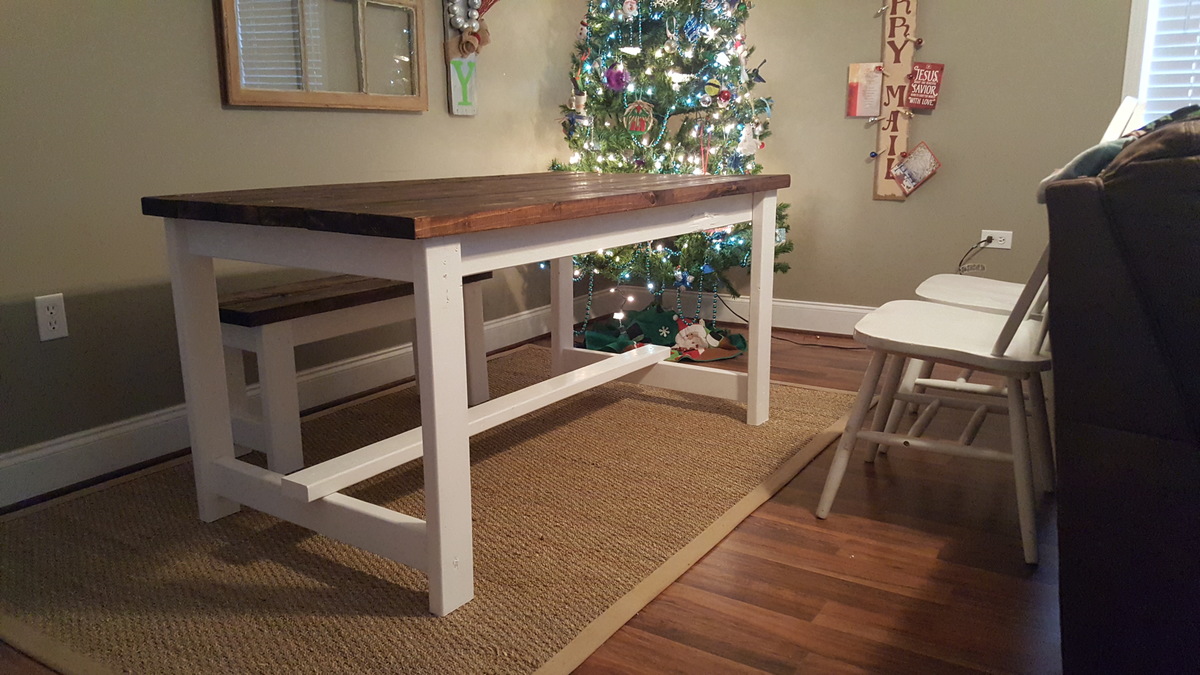
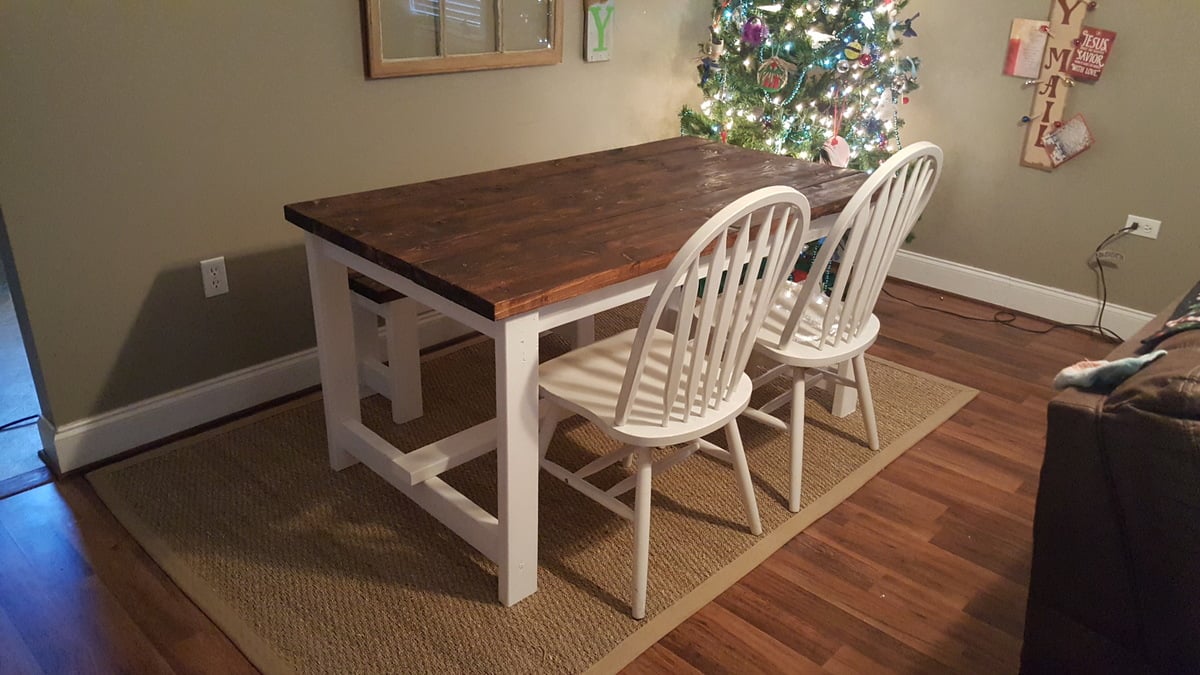
I got the plans from Anna White $50 beginner farmhouse table build. Changed from a 6 ft table to a 5 ft. Built in a few hours but took longer to paint than anything because it took 2 coats.
Thu, 12/28/2017 - 16:23
Hi,
I really like the colour you chose! Did you use "SPF" lumber or something else? I am using SPF, so I am curious to see what the stain will look like once dried, etc.
Thanks again,
- Mike
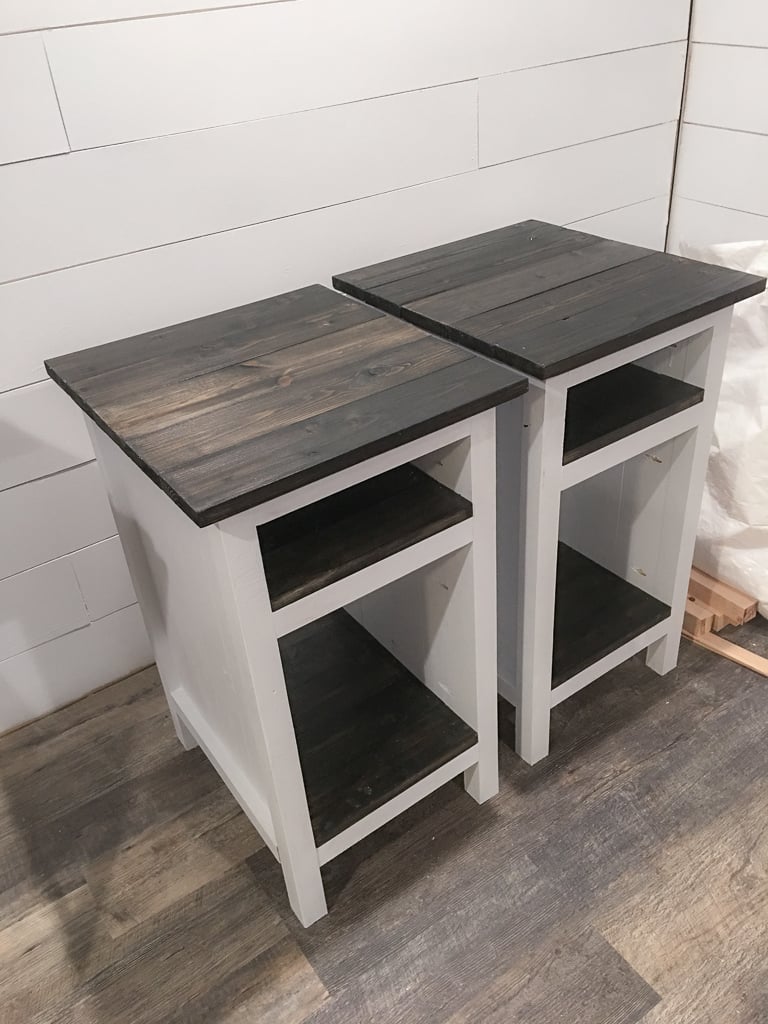
These are made from the three drawer plans but modified the size to meet our needs and used planks for shelves instead of drawers. Painted white and black gel stain.
UPDATE FROM ANA - We have received MANY requests for this plan and have created a plan inspired by this post here.
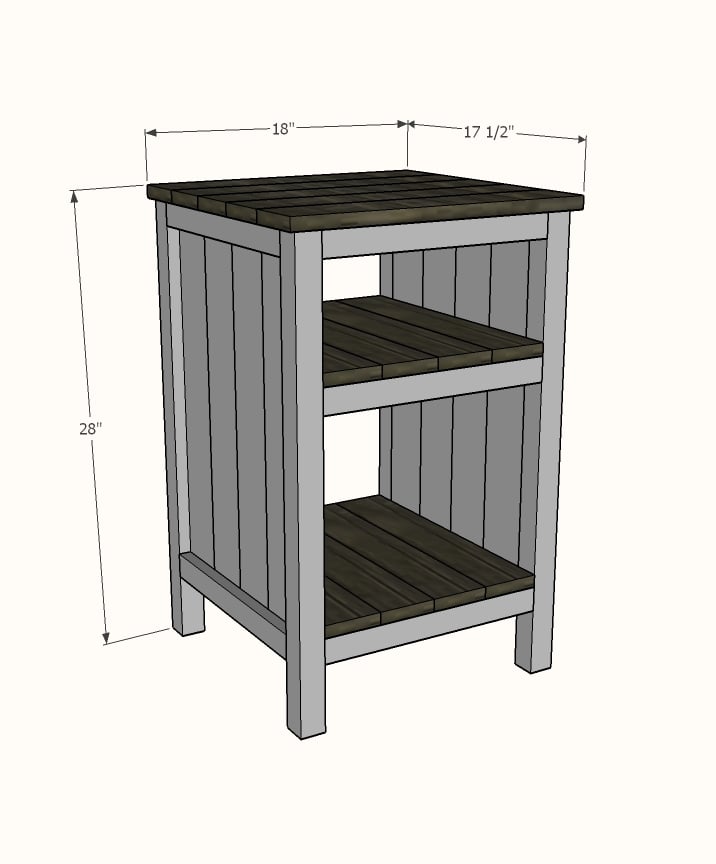
Shopping List (for ONE bedside table) + Tools
Cut List (for ONE bedside table)
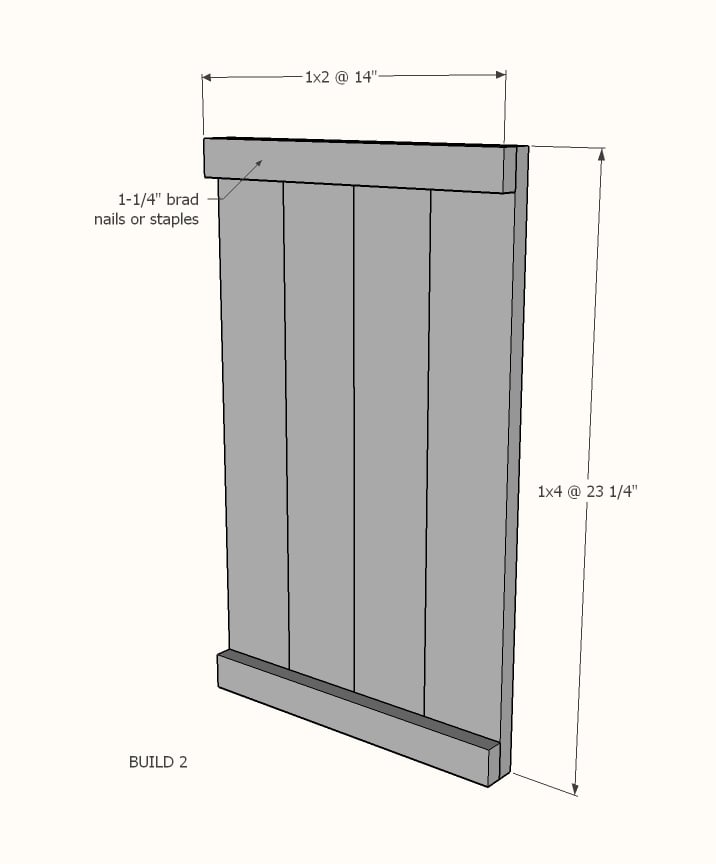
Cut 1x4s and 1x2s with miter saw. Layout side panel 1x4s as shown above. Measure and cut 1x2 to length. Nail the 1x2 to the 1x4s, two nails per overlap with glue. Make sure your side panels are square. Build two.
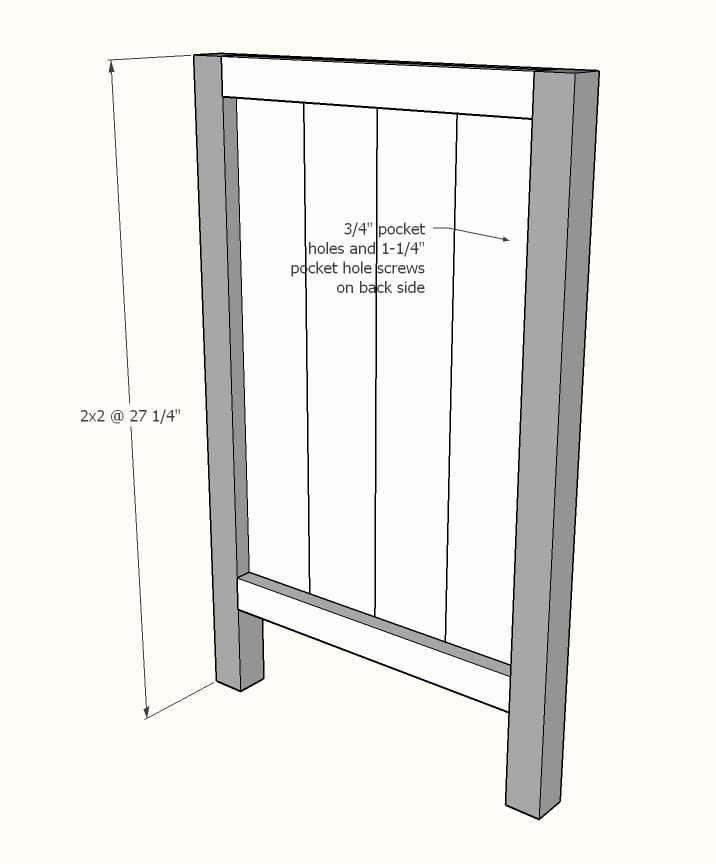
Drill 3/4" pocket holes on inside edge of 1x4 ends as shown above. Cut 2x2s with compound miter saw. Attach to the 2x2 legs with 1-1/4" pocket hole screws.
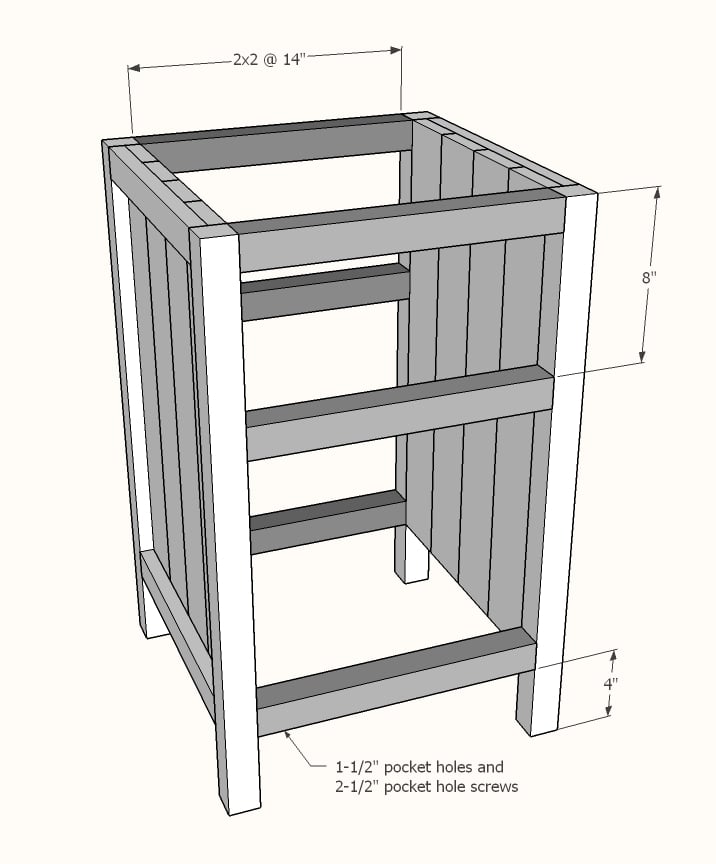
Set Kreg Jig to 1-1/2" setting. Drill 1-1/2" pocket holes on end of each 2x2, one per end. Attach to 2x2s with wood glue as shown above.
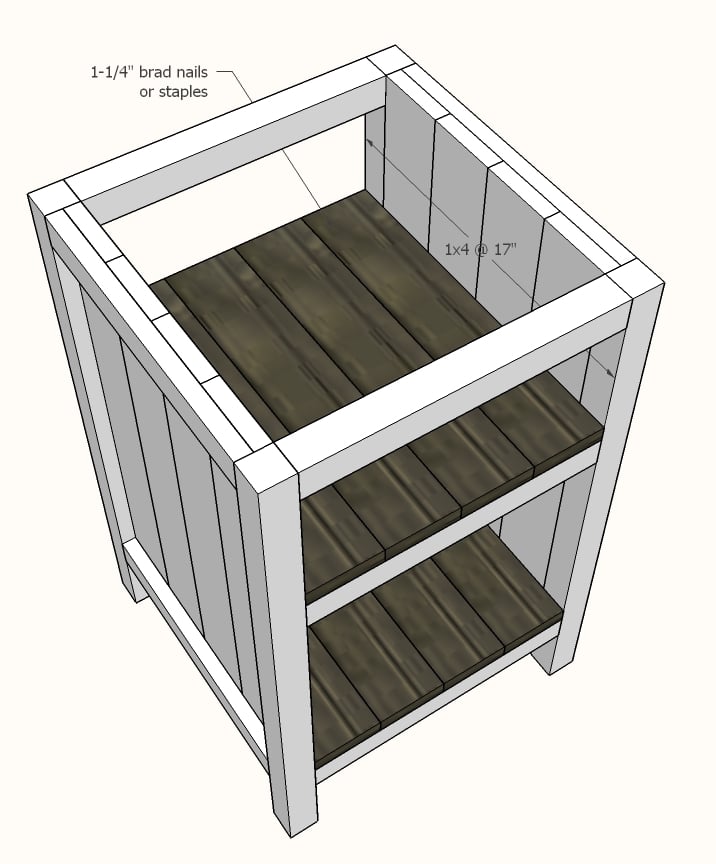
Cut 1x4 shelf boards with compound miter saw. Nail and glue to the inside of the project as shown above.
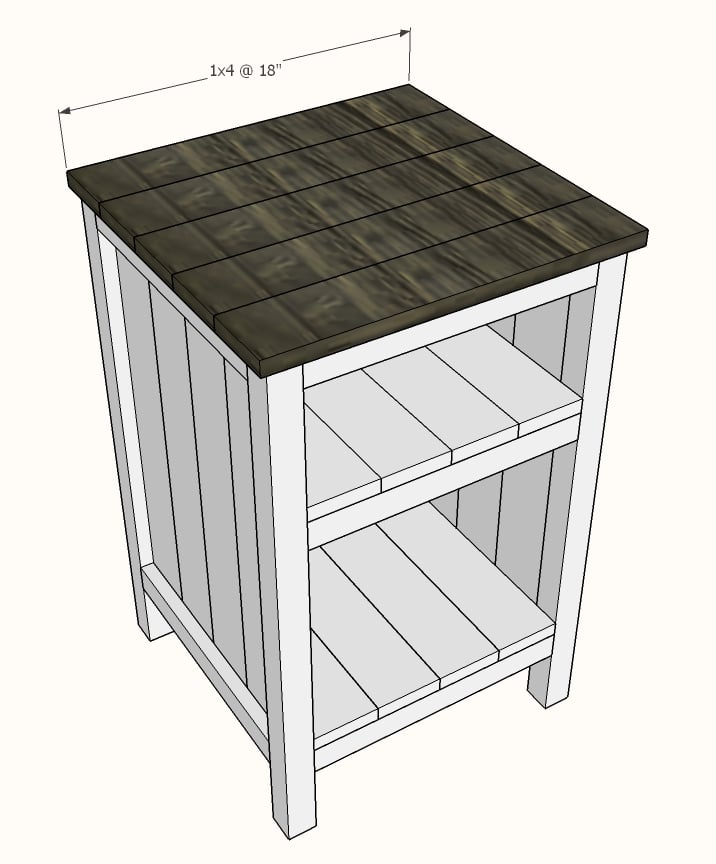
Cut 1x4 top boards with compound miter saw. Nail and glue to top with 1-1/4" nails and wood glue.
If you wish to add a back, measure and cut from 1/4" plywood and attach with 3/4" brad nails.
Mon, 02/12/2018 - 16:24
Is there plans for this one? Its gorgeous and I'd love to build it!
In reply to Is there plans for this one? by laurahamer07
Thu, 06/07/2018 - 15:37
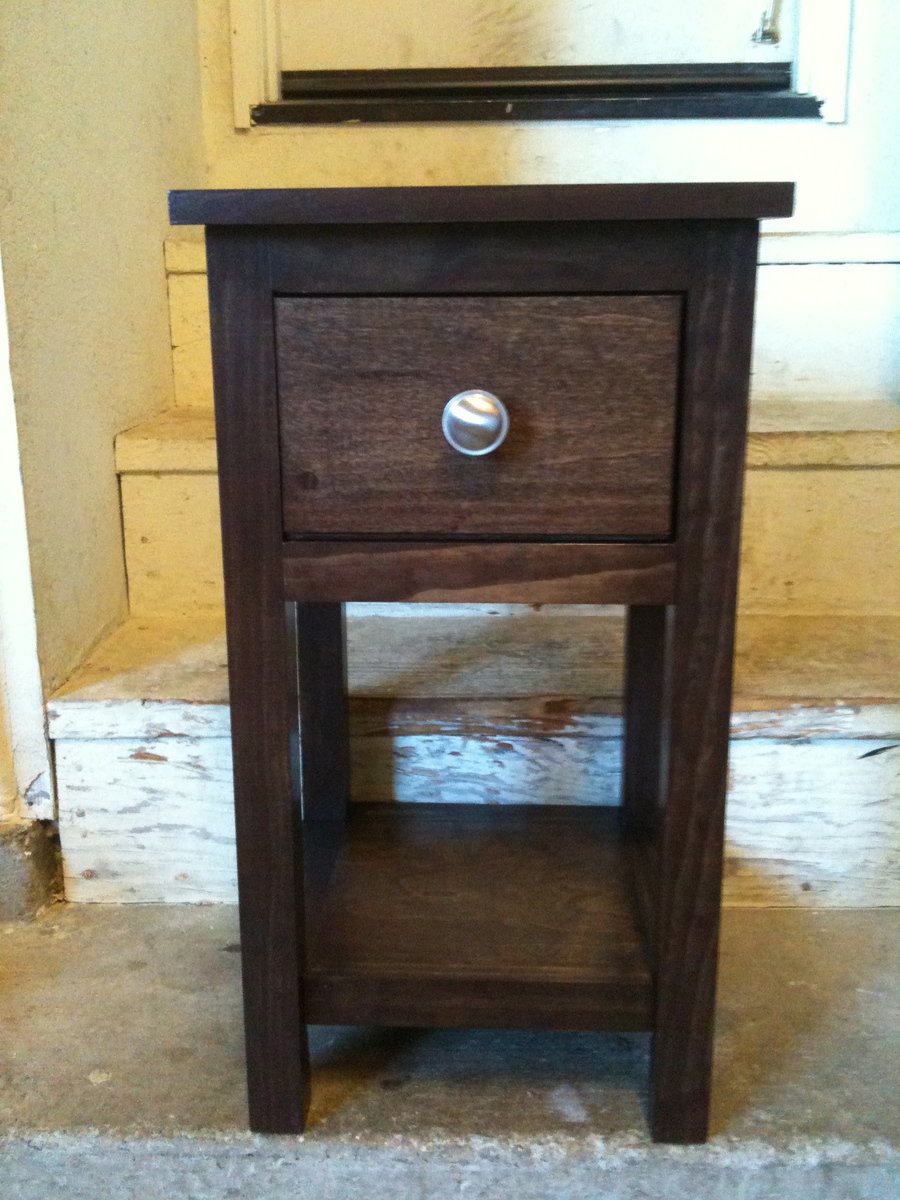
Hello, this nightstand was built using these plans http://www.ana-white.com/2011/06/reclaimed-wood-look-bedside-table instead of adding drawers the builder added shelves. The shelves can be 3/4" plywood or 1x boards.
In reply to bedside end tables by karenlouder
Thu, 06/07/2018 - 15:40
Hello, this nightstand was built using this plan, but instead of drawers, simply measure and cut shelves to fit from 3/4" plywood. http://www.ana-white.com/2011/06/reclaimed-wood-look-bedside-table

Wed, 07/24/2019 - 09:24
It's taken us a couple of weekends, but we finished our bedside table. We made two, but one still needs painting.
Thank you for the plans. We had a great deal of fun and learning experience making these.
Want to see it? https://www.facebook.com/photo.php?fbid=2830583376957272&set=pcb.283058…
Hi friends!
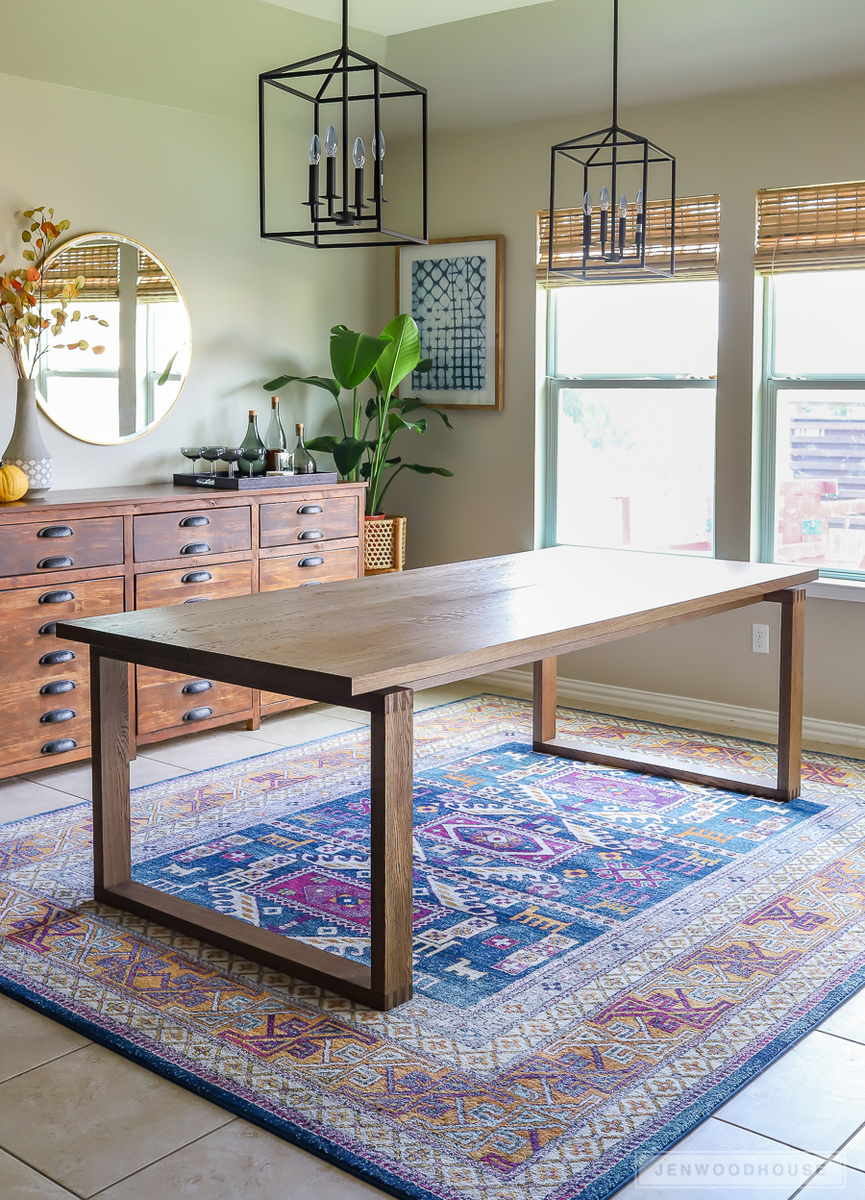
Jen Woodhouse from The House of Wood here.
After sharing my new dining room, I got a lot of requests for plans for my dining table, so I’m thrilled to finally deliver. The box joints on the legs add just the right amount of detail to this dining table, don’t you think?
Be sure to tag me @jenwoodhouse if you share photos of your build on social media. I'd love to see it!
You can get all the details for this build on my website jenwoodhouse.com
