Community Brag Posts

Rolling saw horses

Submitted by Craig P on Mon, 07/04/2016 - 07:26

Your saw horse plan worked great for a wooden boat project I'm doing -- the 3" wheels (with one locking) enable me to move the boat around the workshop or even outdoors for heavy duty sanding. 

I added blocks of 2x4 to the legs for more surface for the wheels and I extended the cross pieces to 4-feet long as the old AuSable River (MI) guide boat is about 40" wide.

Built from Plan(s)
Estimated Cost
$60.00 (a lot of the cost is in the 3" wheels..)
Estimated Time Investment
Afternoon Project (3-6 Hours)
Finish Used
None, though thinking about putting some finish on them as they'll be getting wet when I wash down the boat...
Recommended Skill Level
Starter Project

Comments

Shirley Modified

Submitted by Kiely54 on Tue, 04/29/2014 - 08:33

My husband and I built this together. Well, I helped! It was my first time using power tools. I'm the one who designs and picks out themes/colors and he does the manual labor but I wanted to learn a few things this time.
We modified the Shirley Console table and combined a few features from some of the other console tables. As you can see we modified the front of the drawers. We wanted the table to match our decor but also wanted some of the wood to show. I said, "I wish they made gray stain!" Miniwax does! This was our first experience. It was challenging because it dries so quickly and you are threatened with an uneven look but we love the way it turned out. We also bought pine instead of plywood so i cost a bit more but it was worth it! It also took us a bit longer because this was our first project and we modified the measurements to fit our entryway.
I chose these drawer pulls to match my gray and white damask curtains that hang nearby. I purchased them in brushed nickel from Home Depot for ~$3 each and spray painted them white. When I told people what I was doing I got negative feedback but I think they turned out great! Now to decorate it and make a matching entertainment center!
Also the Kreg Jig was a HUGE help...it really makes the piece look professionally made!! Thanks ana-white.com!!

Built from Plan(s)
Estimated Cost
$150
Estimated Time Investment
Week Long Project (20 Hours or More)
Finish Used
Minwax Water based stain in Slate. We chose this because our living room has a lot of gray but also slate and blue mixed in and we thought this shade might be slightly blue tinted but it is not. It is a true, cool-toned gray.
It has 3 coats of stain each left on for 5 minutes and then wiped off with a clean rag. We lightly sanded between each coat and then applied 3 coats of satin polycrylic clear finish, sanding between those coats as well. We prefer the satin look which matches our hardwood floor that we sanded down to the original wood and applied a satin clear coat as well.
My husband did all of the staining and it is very time consuming especially with the water based stain because it dries so quickly you really have to move fast. An oil or gel based stain would be easier but we were not fond of any gray colors offered in either of those. My husband is requesting I stain the entertainment center that we plan on making otherwise it will be painted!
Recommended Skill Level
Beginner

Comments

freefromburdens

Tue, 04/29/2014 - 08:44

That looks great. I understand getting negative feedback. Most people think you have to have special training to build. I used to be skeptical until I began building. I hope your build let them know they can do it also. Keep it up...

justindalby

Tue, 10/14/2014 - 09:35

I love your modified version.  I am going to build this as well.  I absolutely love the modification that you made on the drawer faces.  Can you provide any instructions/hints to help me achieve the same look on the drawer faces?  Thanks!

Kiely54

Thu, 10/30/2014 - 15:32

I know that some of the wood measurements were not available at our local hardware store, which resulted in the sides being "trimmed out," so we decided to make the drawers match. We built the drawers like the plan, except we subtracted 1/4" from the depth of the drawers. We made the drawers (minus the trim pieces), slid them in the table, and while in place, nailed 1-1/2" x 1/4" trim pieces around the perimeter of the drawer faces using a finishing nail gun. This made the trim pieces flush with the face of the table. 

Not sure if that made sense or not...I'm not good at explaining things in writing. If it doesn't, just let me know and I'll try again. And thanks for the compliment on the table!

justindalby

Wed, 01/20/2016 - 08:59

Thanks for your feedback on my post a while ago.  I finally build this piece and are absolutely happy with it.  We used your technique for the drawer faces, and my wife was so obssessed with your drawer pulls, that she tracked them down and special ordered them from our local Menards.  I have uploaded a Brag and gave you credit for the idea.  Thanks for the inspiration!

Wood Headboard, Queen Size

Submitted by Anonymous (not verified) on Mon, 08/08/2016 - 08:11

This was my first building project. It was a easy build even for a beginner. Make sure you measure your bed frame and that it will fit into your headboard. 

Estimated Cost
75-100
Estimated Time Investment
Afternoon Project (3-6 Hours)
Finish Used
Minwax Dark Walnut
Recommended Skill Level
Beginner

Modern Adirondack Chair Set

Submitted by Anonymous (not verified) on Wed, 06/10/2020 - 17:25

I used 5 5/8 fence pickets I had in the scrap box to give the chairs a wider arm rest. I wanted something wide enough to safely hold a paper plate and drinks.
I planned them, routered the edges and put a coat of oil based polyurethane on them.
The table is just something I put together and the top is a 1.5 inch thick 16x16 concrete paver.
If you like the wide arms, use wood glue and clamps, not nails or screws. Saves you from having to fill them and it looks better too.
Enjoy
And thank you Anna for a great build!

Estimated Cost
$60
Estimated Time Investment
Day Project (6-9 Hours)
Finish Used
Exterior paint and oil based polyurethane
Recommended Skill Level
Intermediate
Seasonal And Holiday

Farmhouse Bench in 1 day

Submitted by vickitee on Wed, 06/25/2014 - 08:27

This was my first build from your site! Farmhouse bench.
I was a little confused with the miter saw instructions "bevel cut at a 10 degree angle off center". I had to google to figure out what you meant. In the end the bench looks awsome and I feel very empowered with my tools.
(still need to stain the finished project, bought all the wood and built in 1 day)
Thank you Ana for sharing your plans!! I love your site and I love my Kreg Jig!
Vicki
(Canada)

Estimated Time Investment
Day Project (6-9 Hours)
Finish Used
going to use walnut stain.
Recommended Skill Level
Beginner

Comments

Full sized and off the ground

Submitted by Kayusiwok on Fri, 07/25/2014 - 13:19

I followed most of the measurements with the Murphy bed with added dimensions for a full sized bed. I also added a shelf to provide support while the bed is down since I brought the platform off the floor. The table is also hinged to the bed platform so that it folds up and locks in place for a center support for the bed.

Estimated Cost
300
Estimated Time Investment
Week Long Project (20 Hours or More)
Finish Used
Cal spar gypsy teal, shark fin grey, and oyster all in satin finish.
Recommended Skill Level
Beginner

Comments

JoanneS

Fri, 07/25/2014 - 16:52

What an awesome project! Love how the added shelf at the top creates the "legs" at the end of the bed when it is lowered (looks like it keeps the bed about 4" off the floor?). Are those window sash locks for closure? Those will keep it in place nice and tight when it's closed. The fold down desk is brilliant also, and love the legs and the colors!

Shoe Dresser

I had this space in my mudroom that was a perfect spot to make a custom shoe dresser. I adjusted the plans I found on this website to custom make storage for shoes. Now this weird little space is functional.

Built from Plan(s)
Estimated Cost
80
Estimated Time Investment
Day Project (6-9 Hours)
Finish Used
Rustoleum chalk paint Serenity Blue, classic grey and special walnut Minwax
Recommended Skill Level
Intermediate

Comments

My Mudroom Lockers

Turned an entryway closet into these lockers for my kids.  I used the basic ideas in Ana's Smiling Mudroom for my plans. Lockers are just inside the entrance from the garage.   

Built from Plan(s)
Estimated Cost
$200.00
Estimated Time Investment
Week Long Project (20 Hours or More)
Finish Used
Valspar White Interior Satin
Recommended Skill Level
Intermediate

Classic Bunk Beds

Submitted by dwm22 on Tue, 03/26/2013 - 17:16

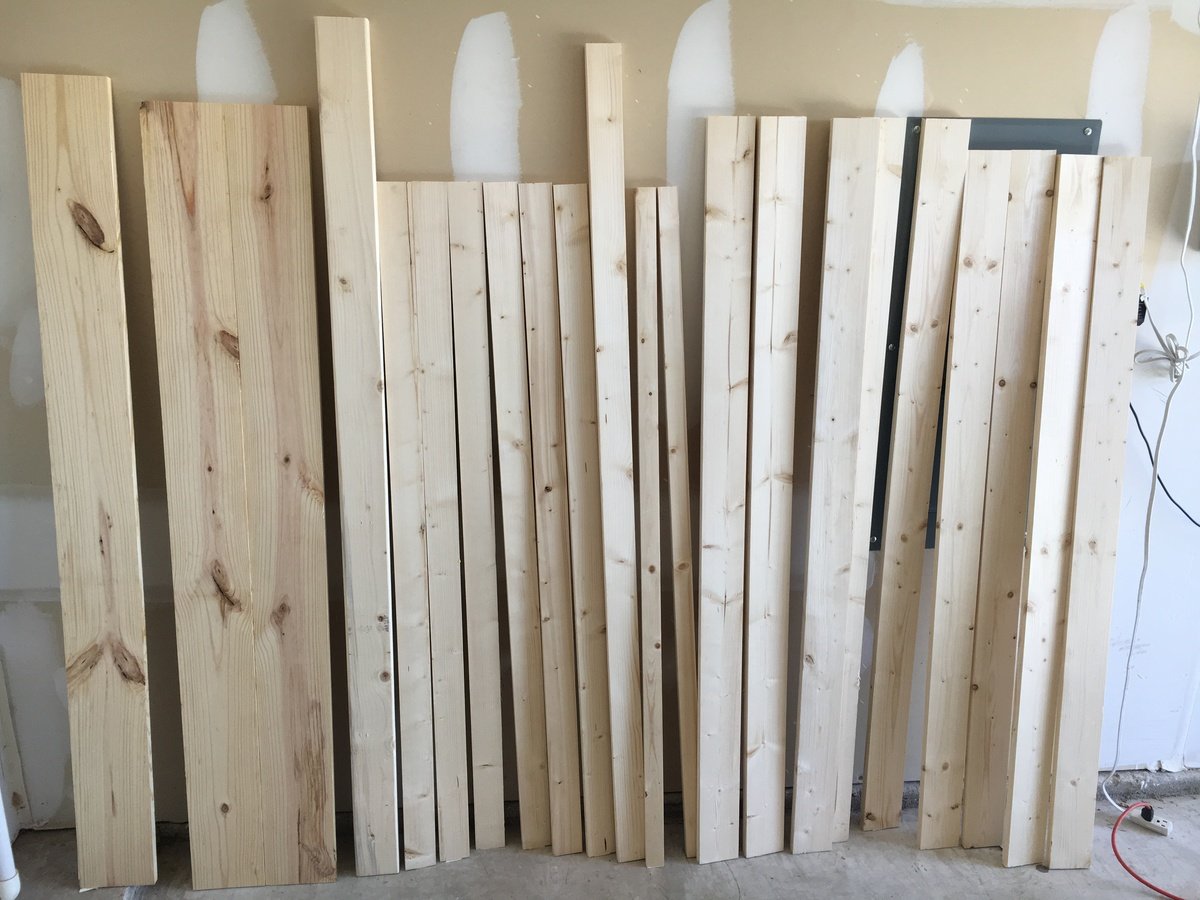
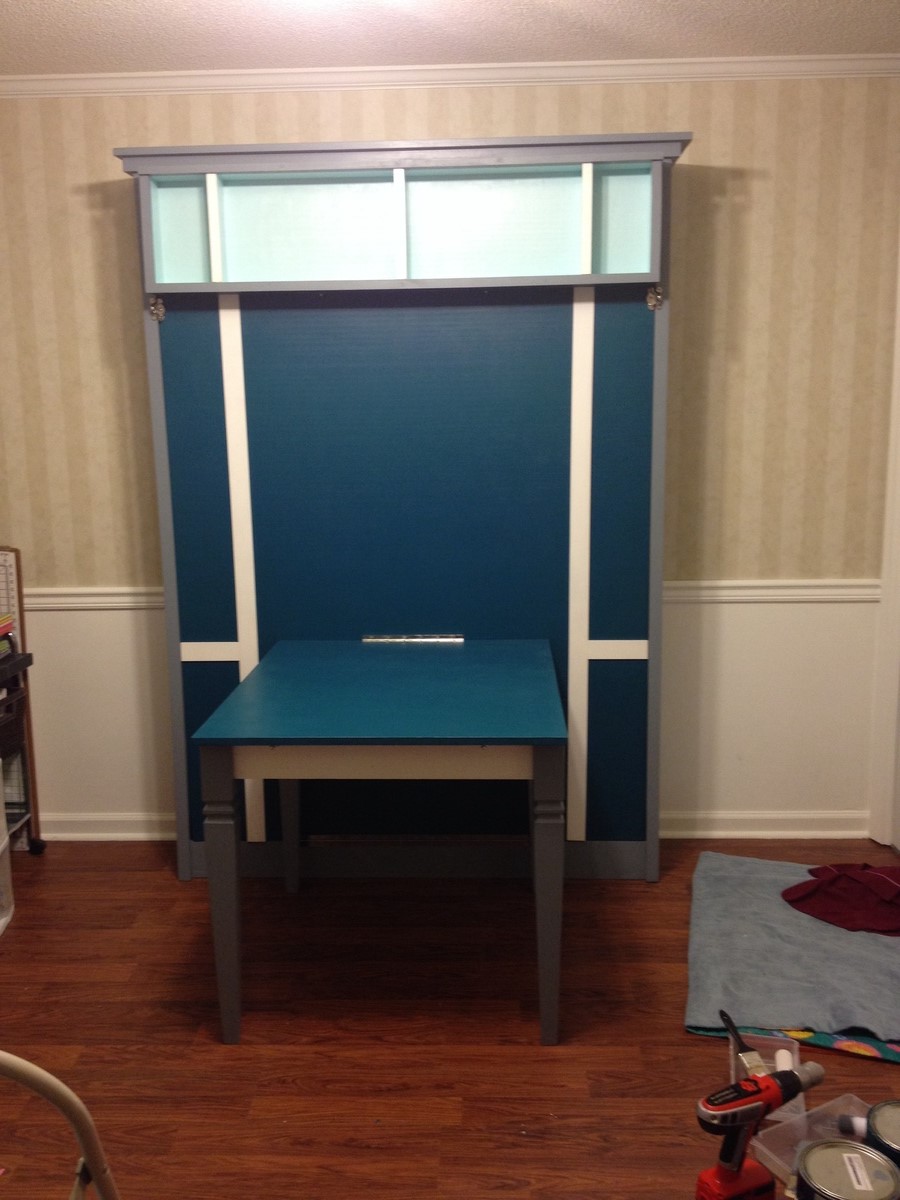
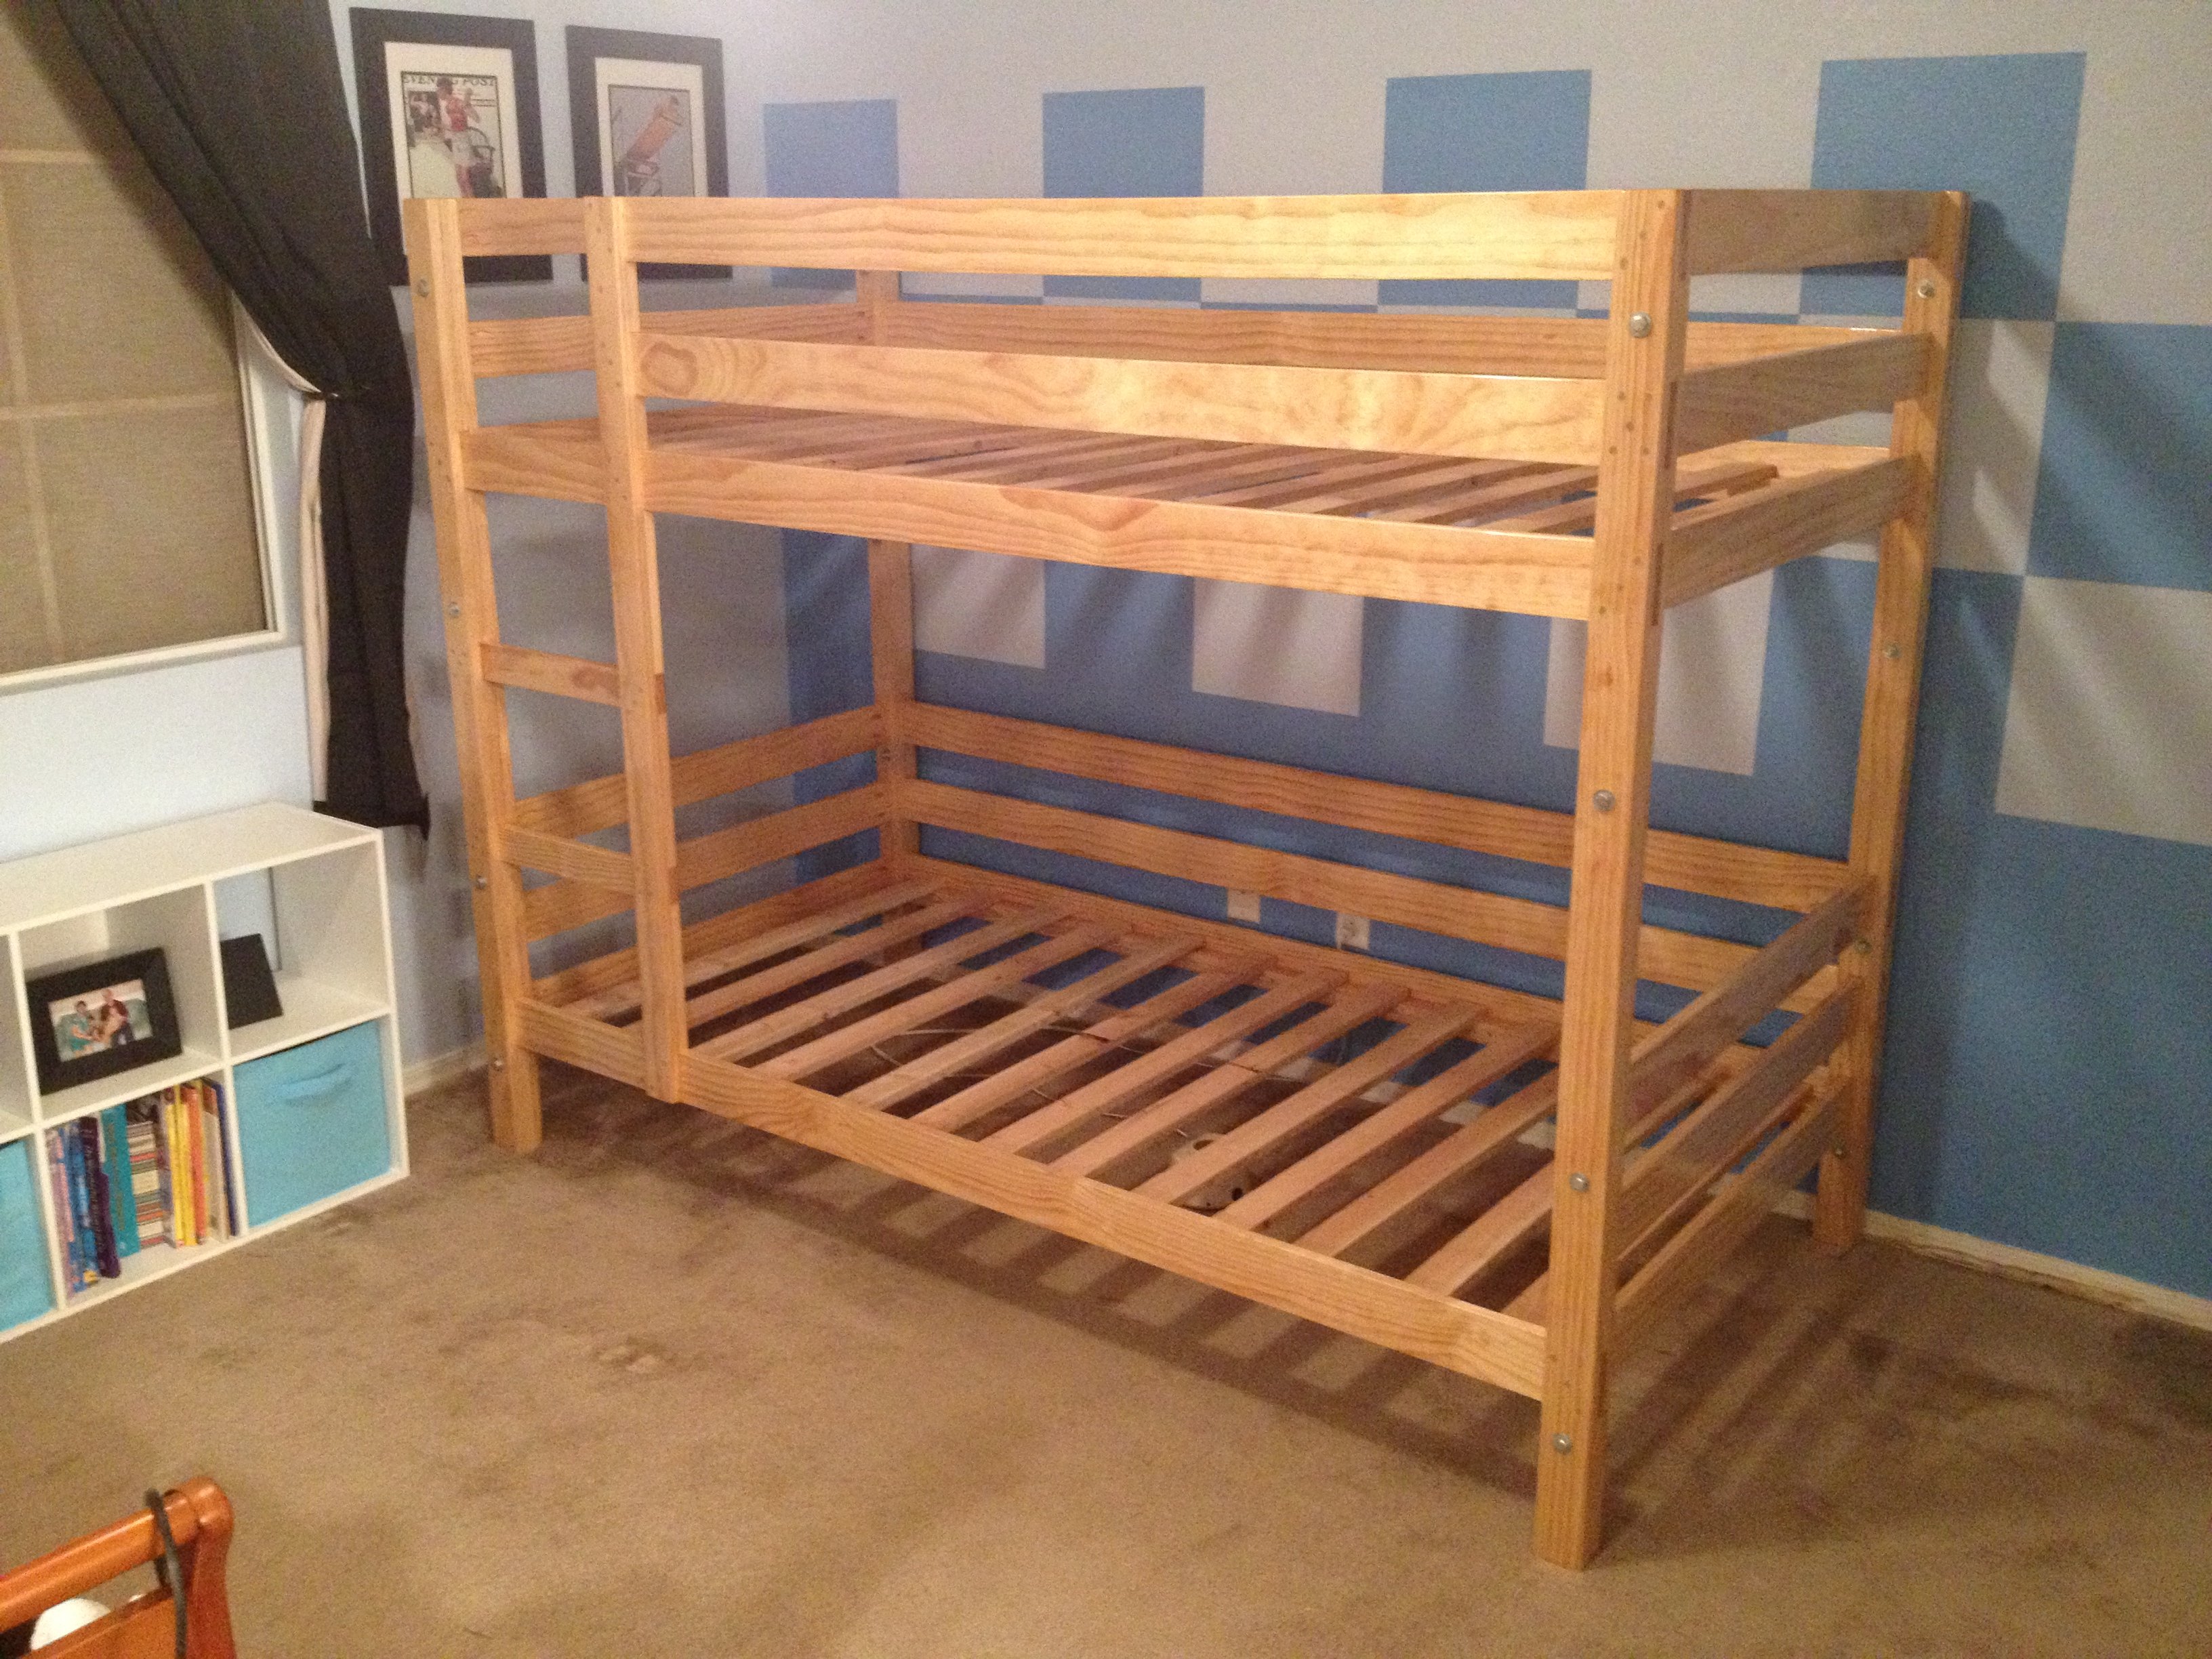
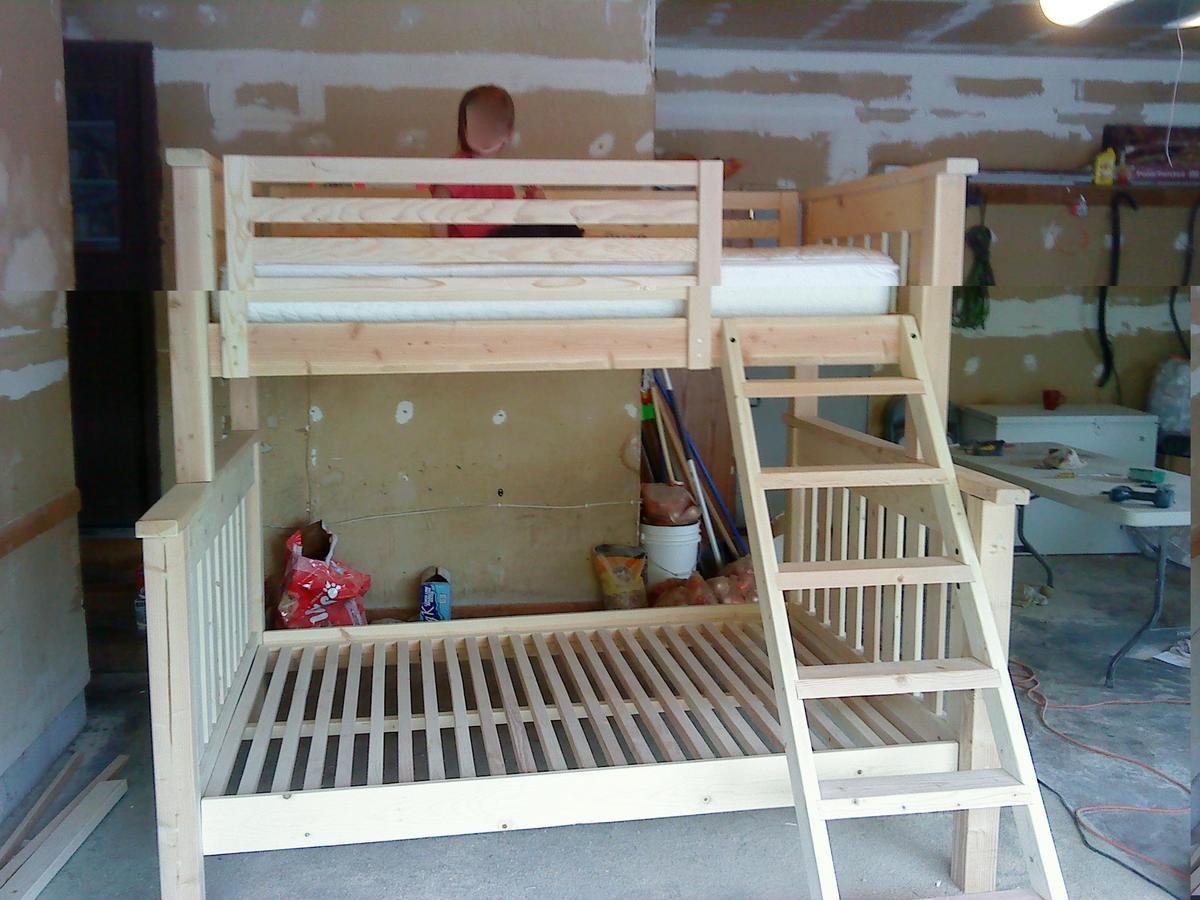
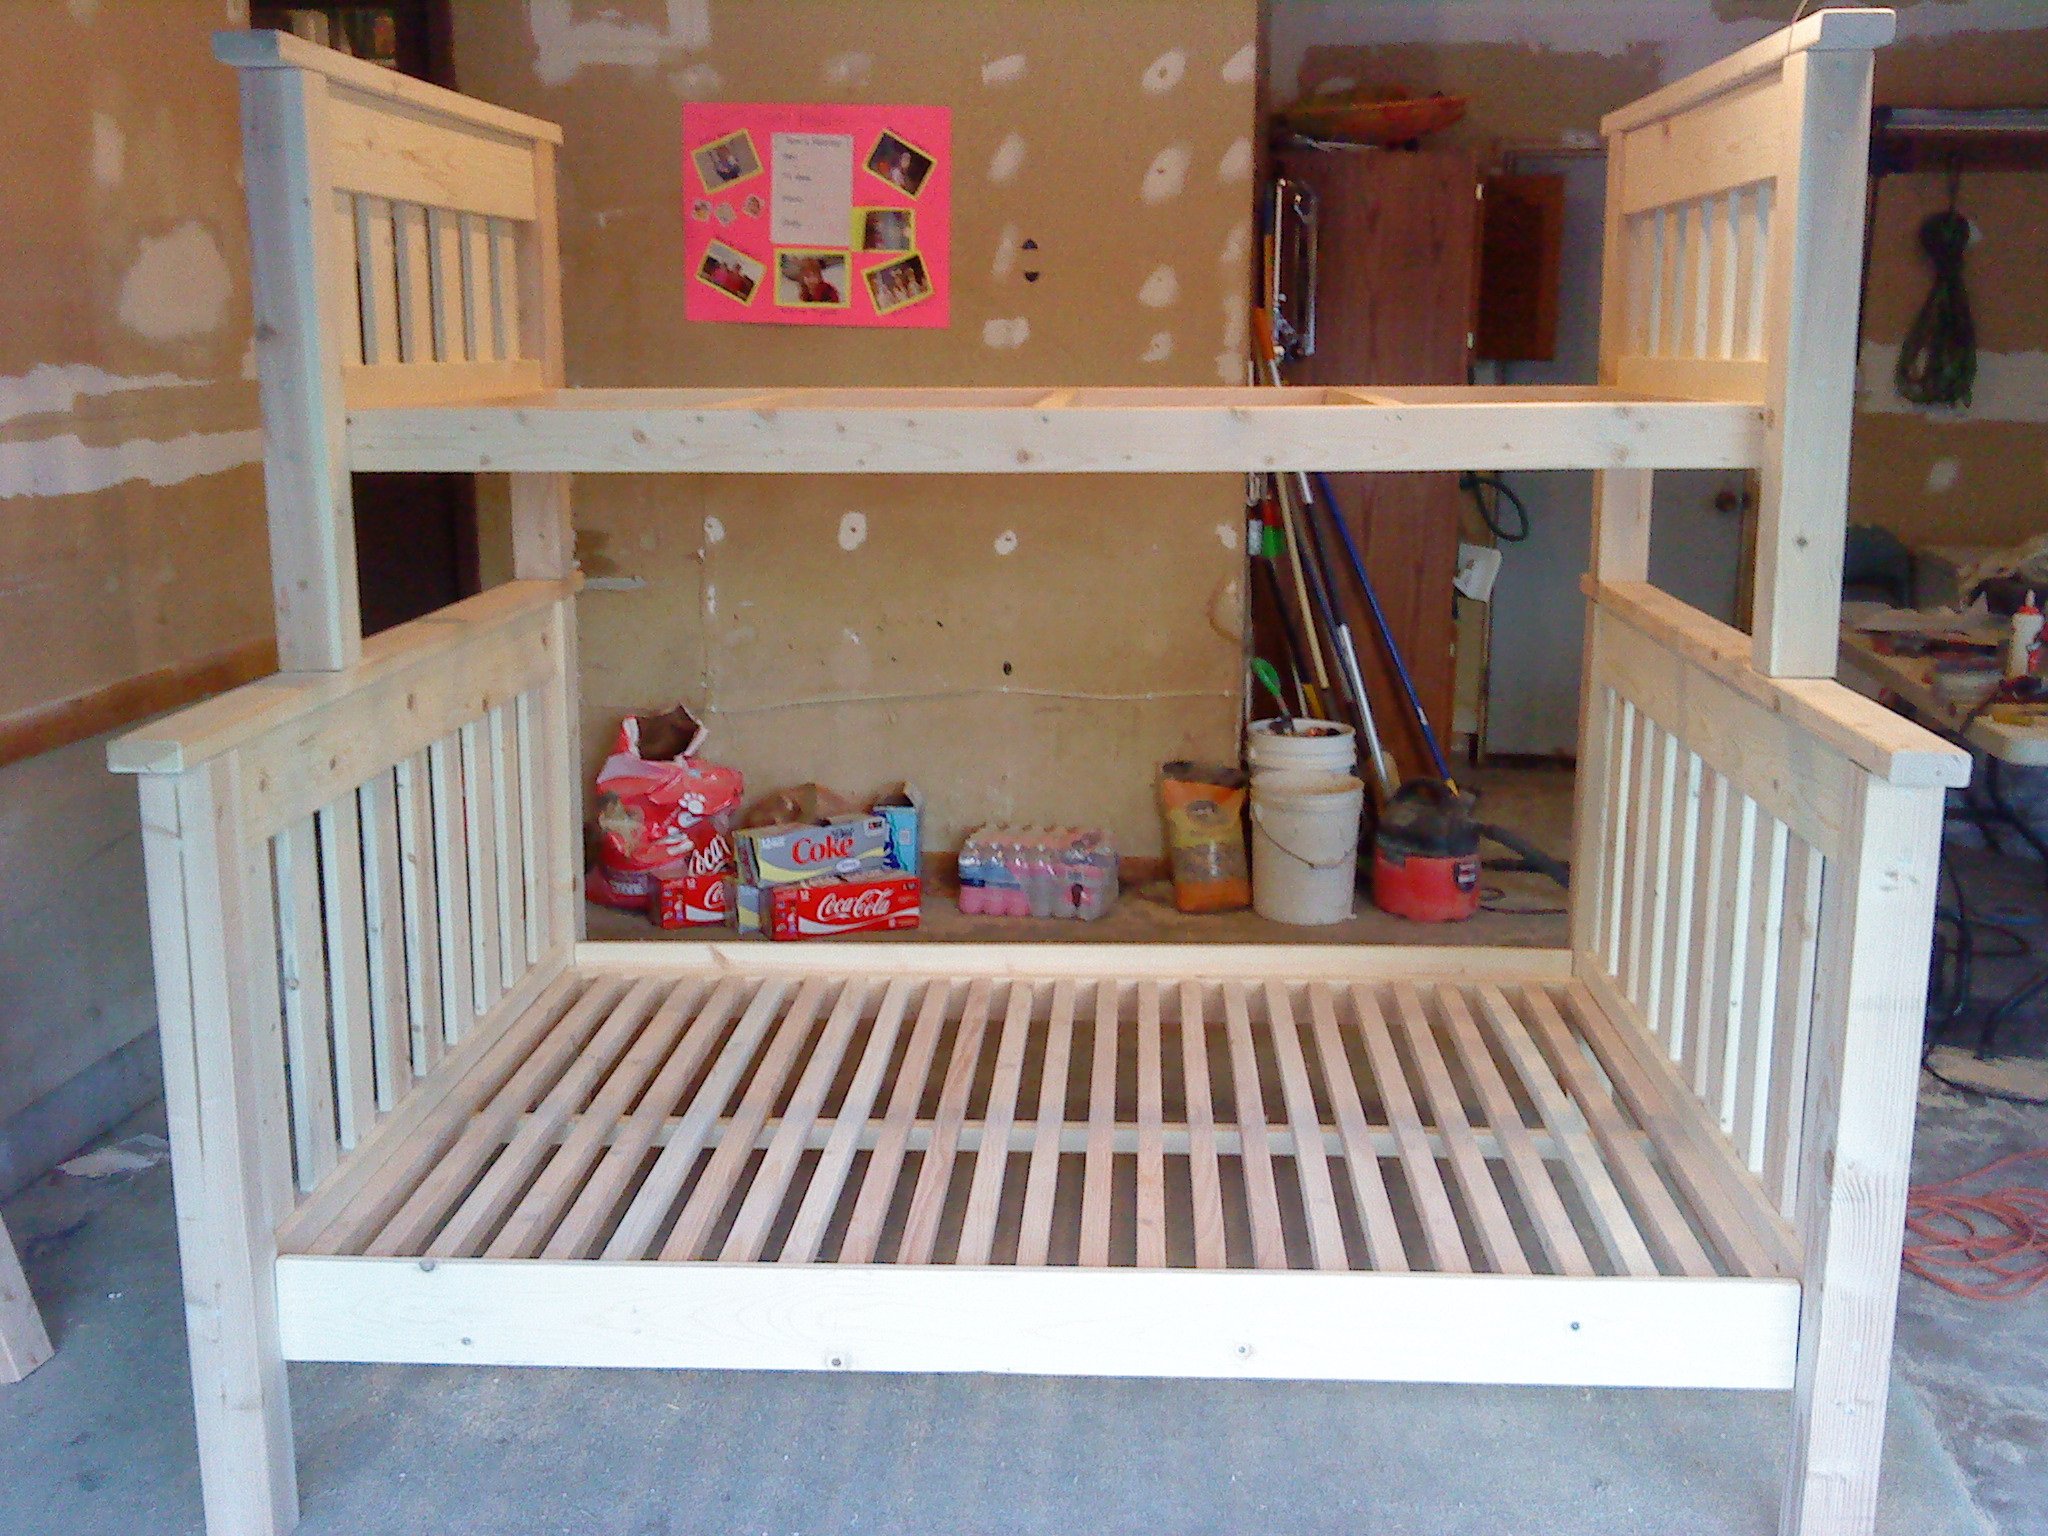
Construction phase of the bunk beds was about a day and a half project...Cutting, assembling, screwing, bolting. Nothing complicated about it at all. Just followed the instructions step by step. I didn't use metal brackets to reinforce the mattress rails (that the slats lay on). I'm a good 250lbs and I laid on them without a problem. Also, similar to the posted Comments, the original materials list is short a little lumber. I followed the advice of some of the Comments that indicate how much additional wood you'll need. I didn't have to make any additional trips for wood.

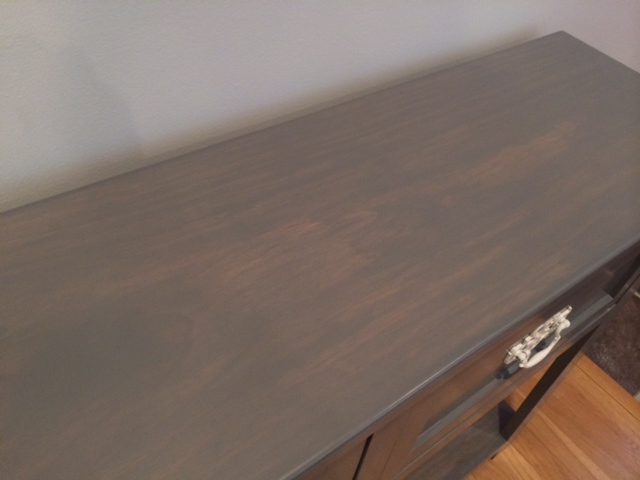
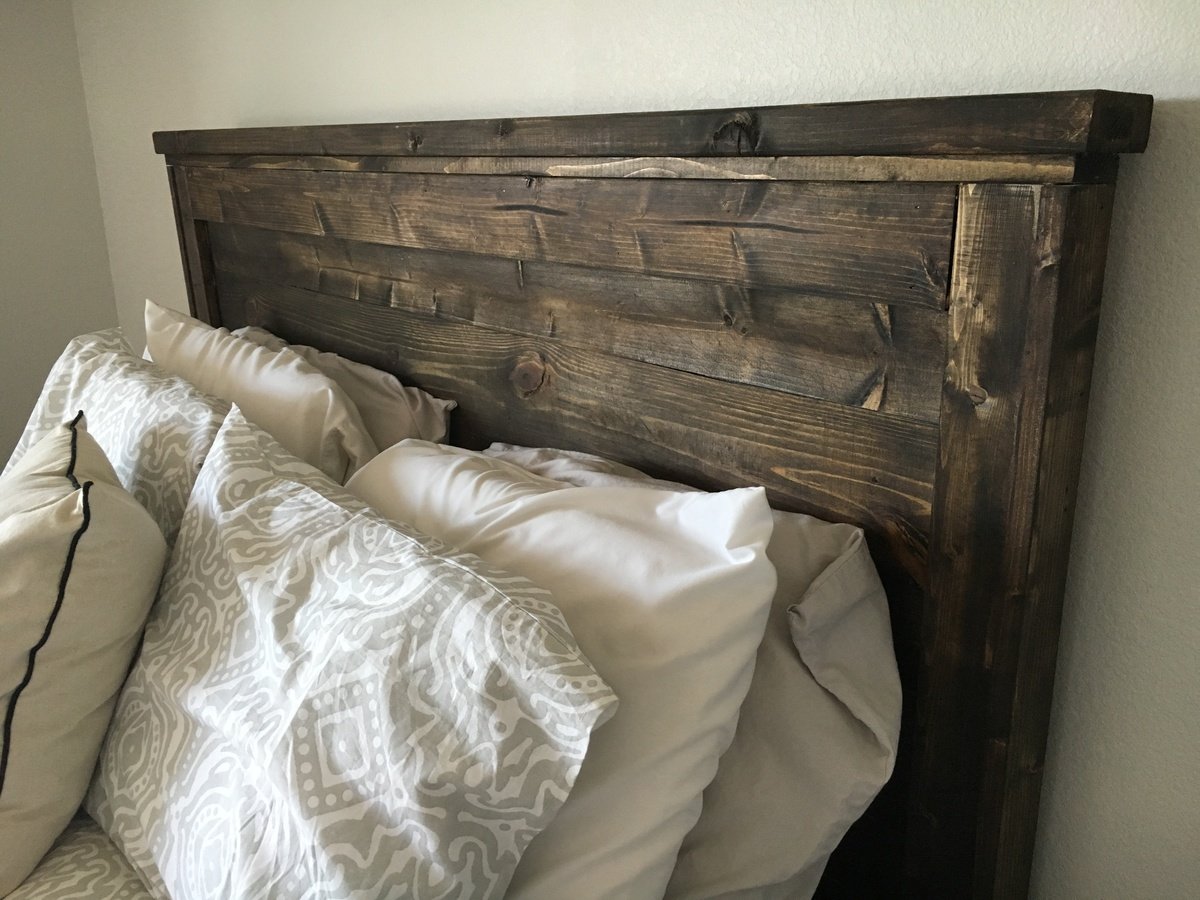
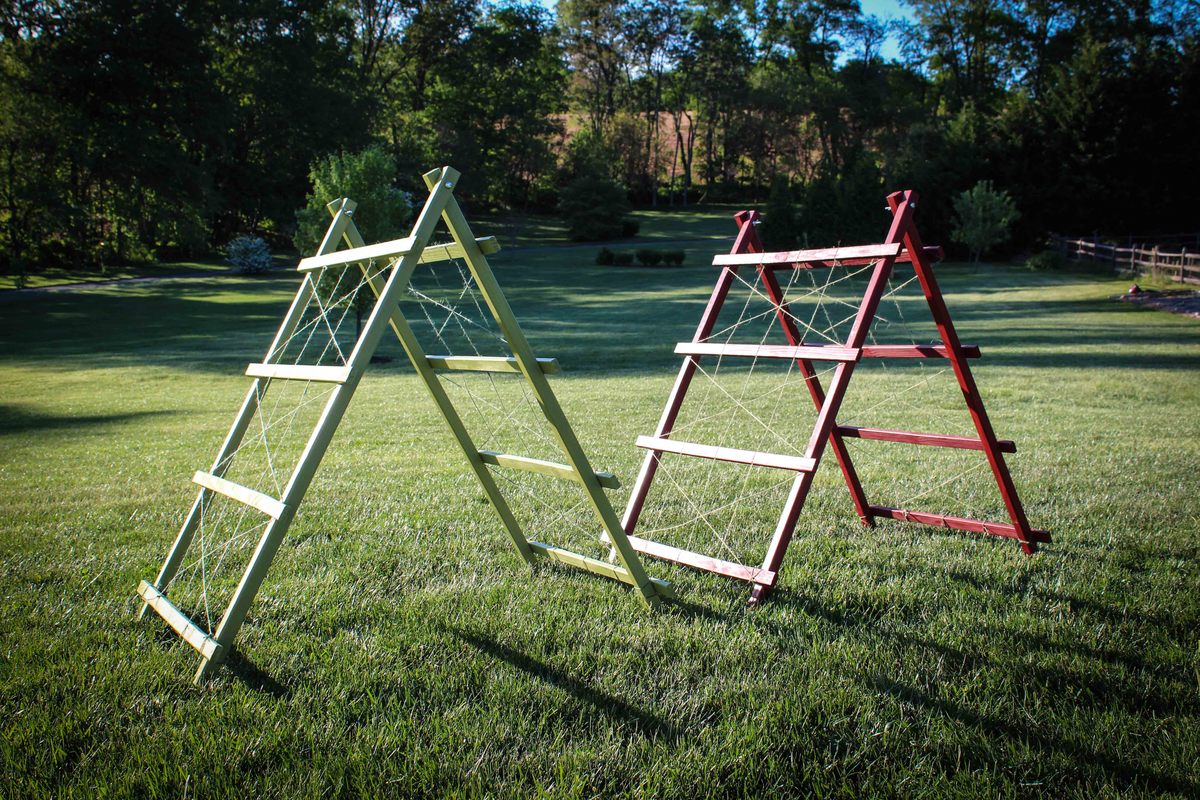
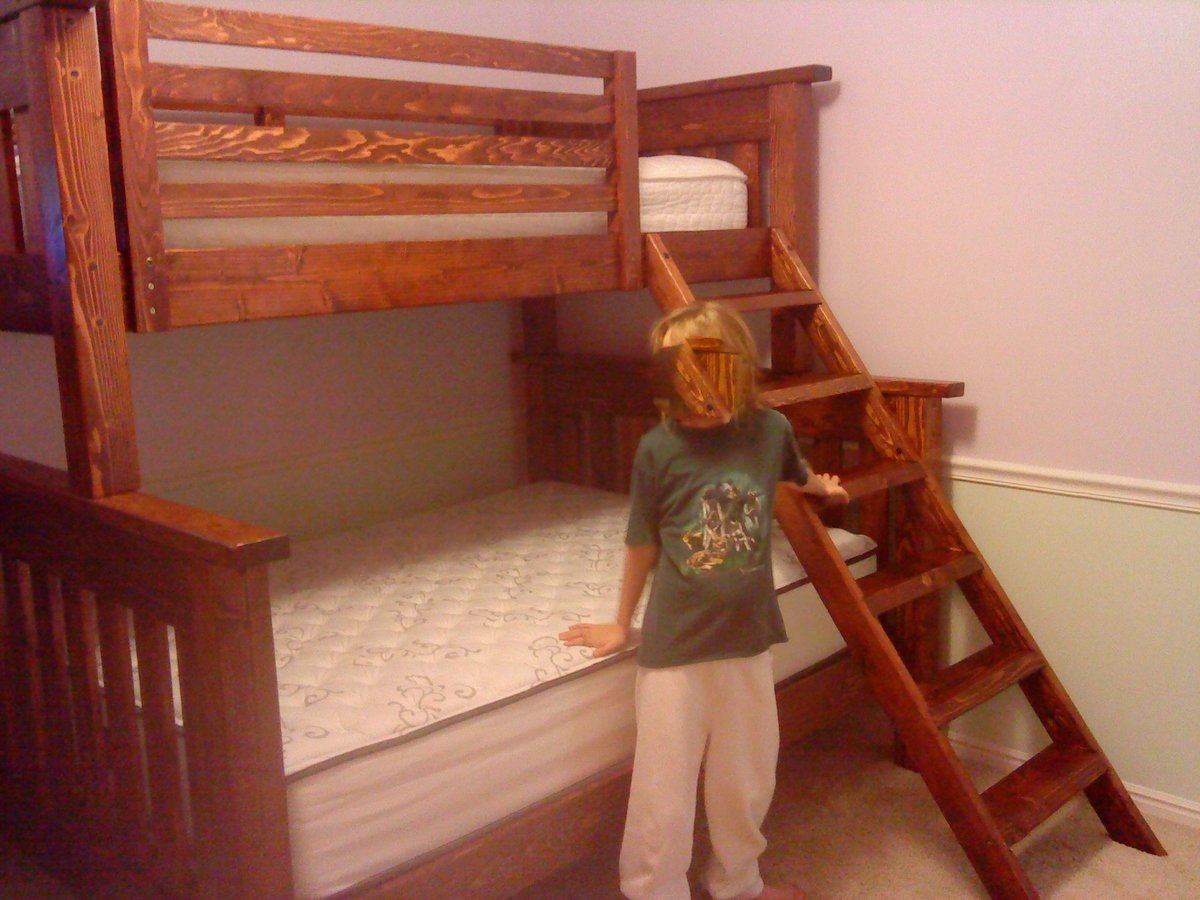
The finish took me another 2-3 days (incl. drying wait-time between stain and polyurethane coats). The sanding (electric hand sander) takes a number of hours to sand all the surface area and all the edges (300 grit). I then I applied 1 coat of pre-stain wood conditioner and then immediately 1 coat of Natural color stain (basically clear oil stain but it brings out the wood grain just a bit), and then 2 coats of semi-gloss polyurethane for a shine / protection. Each of those coats took me 2+ hours as I applied them using a paint brush (vs. spray gun).

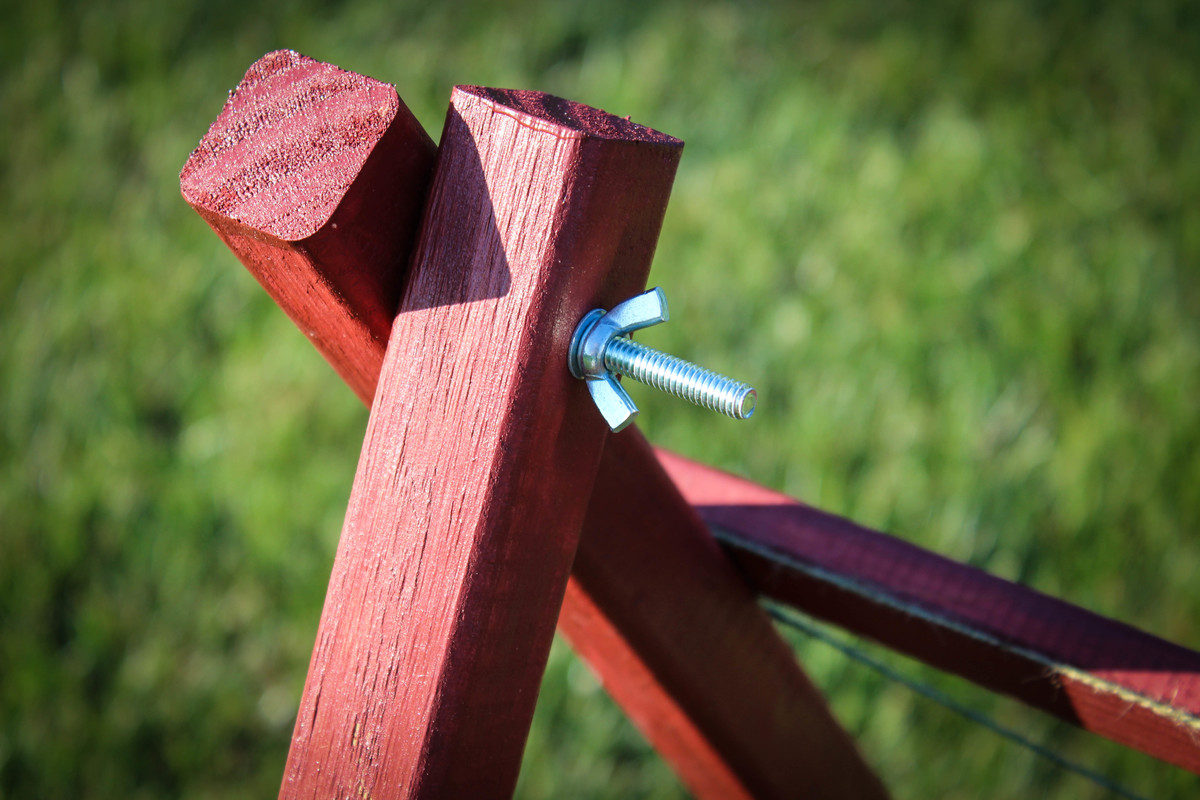
Since I only need to take apart the bunk beds into 4 pieces to carry upstairs(front, back, 2 sides), I simply bolted them together using 3" bolts (with washers / nuts). 4 bolts in each of the 4 corner posts.

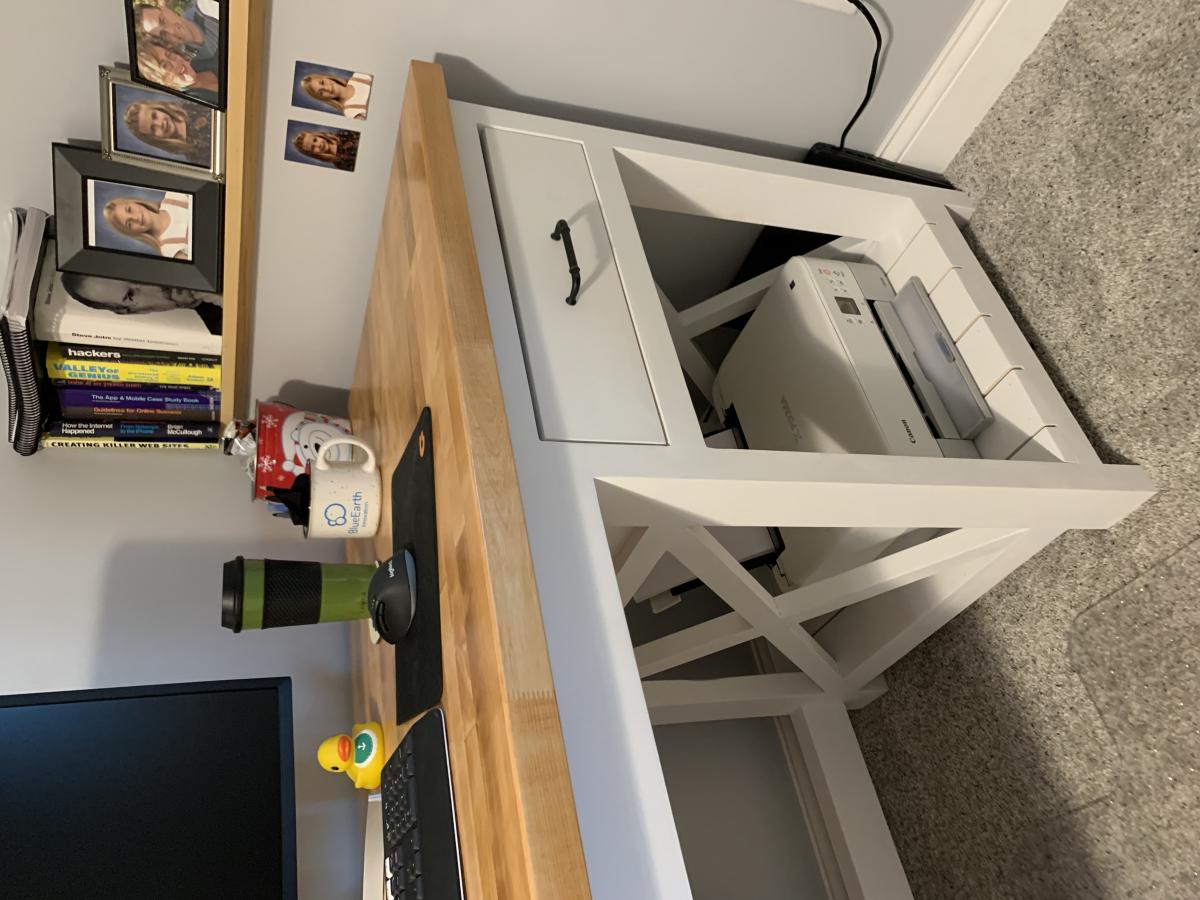
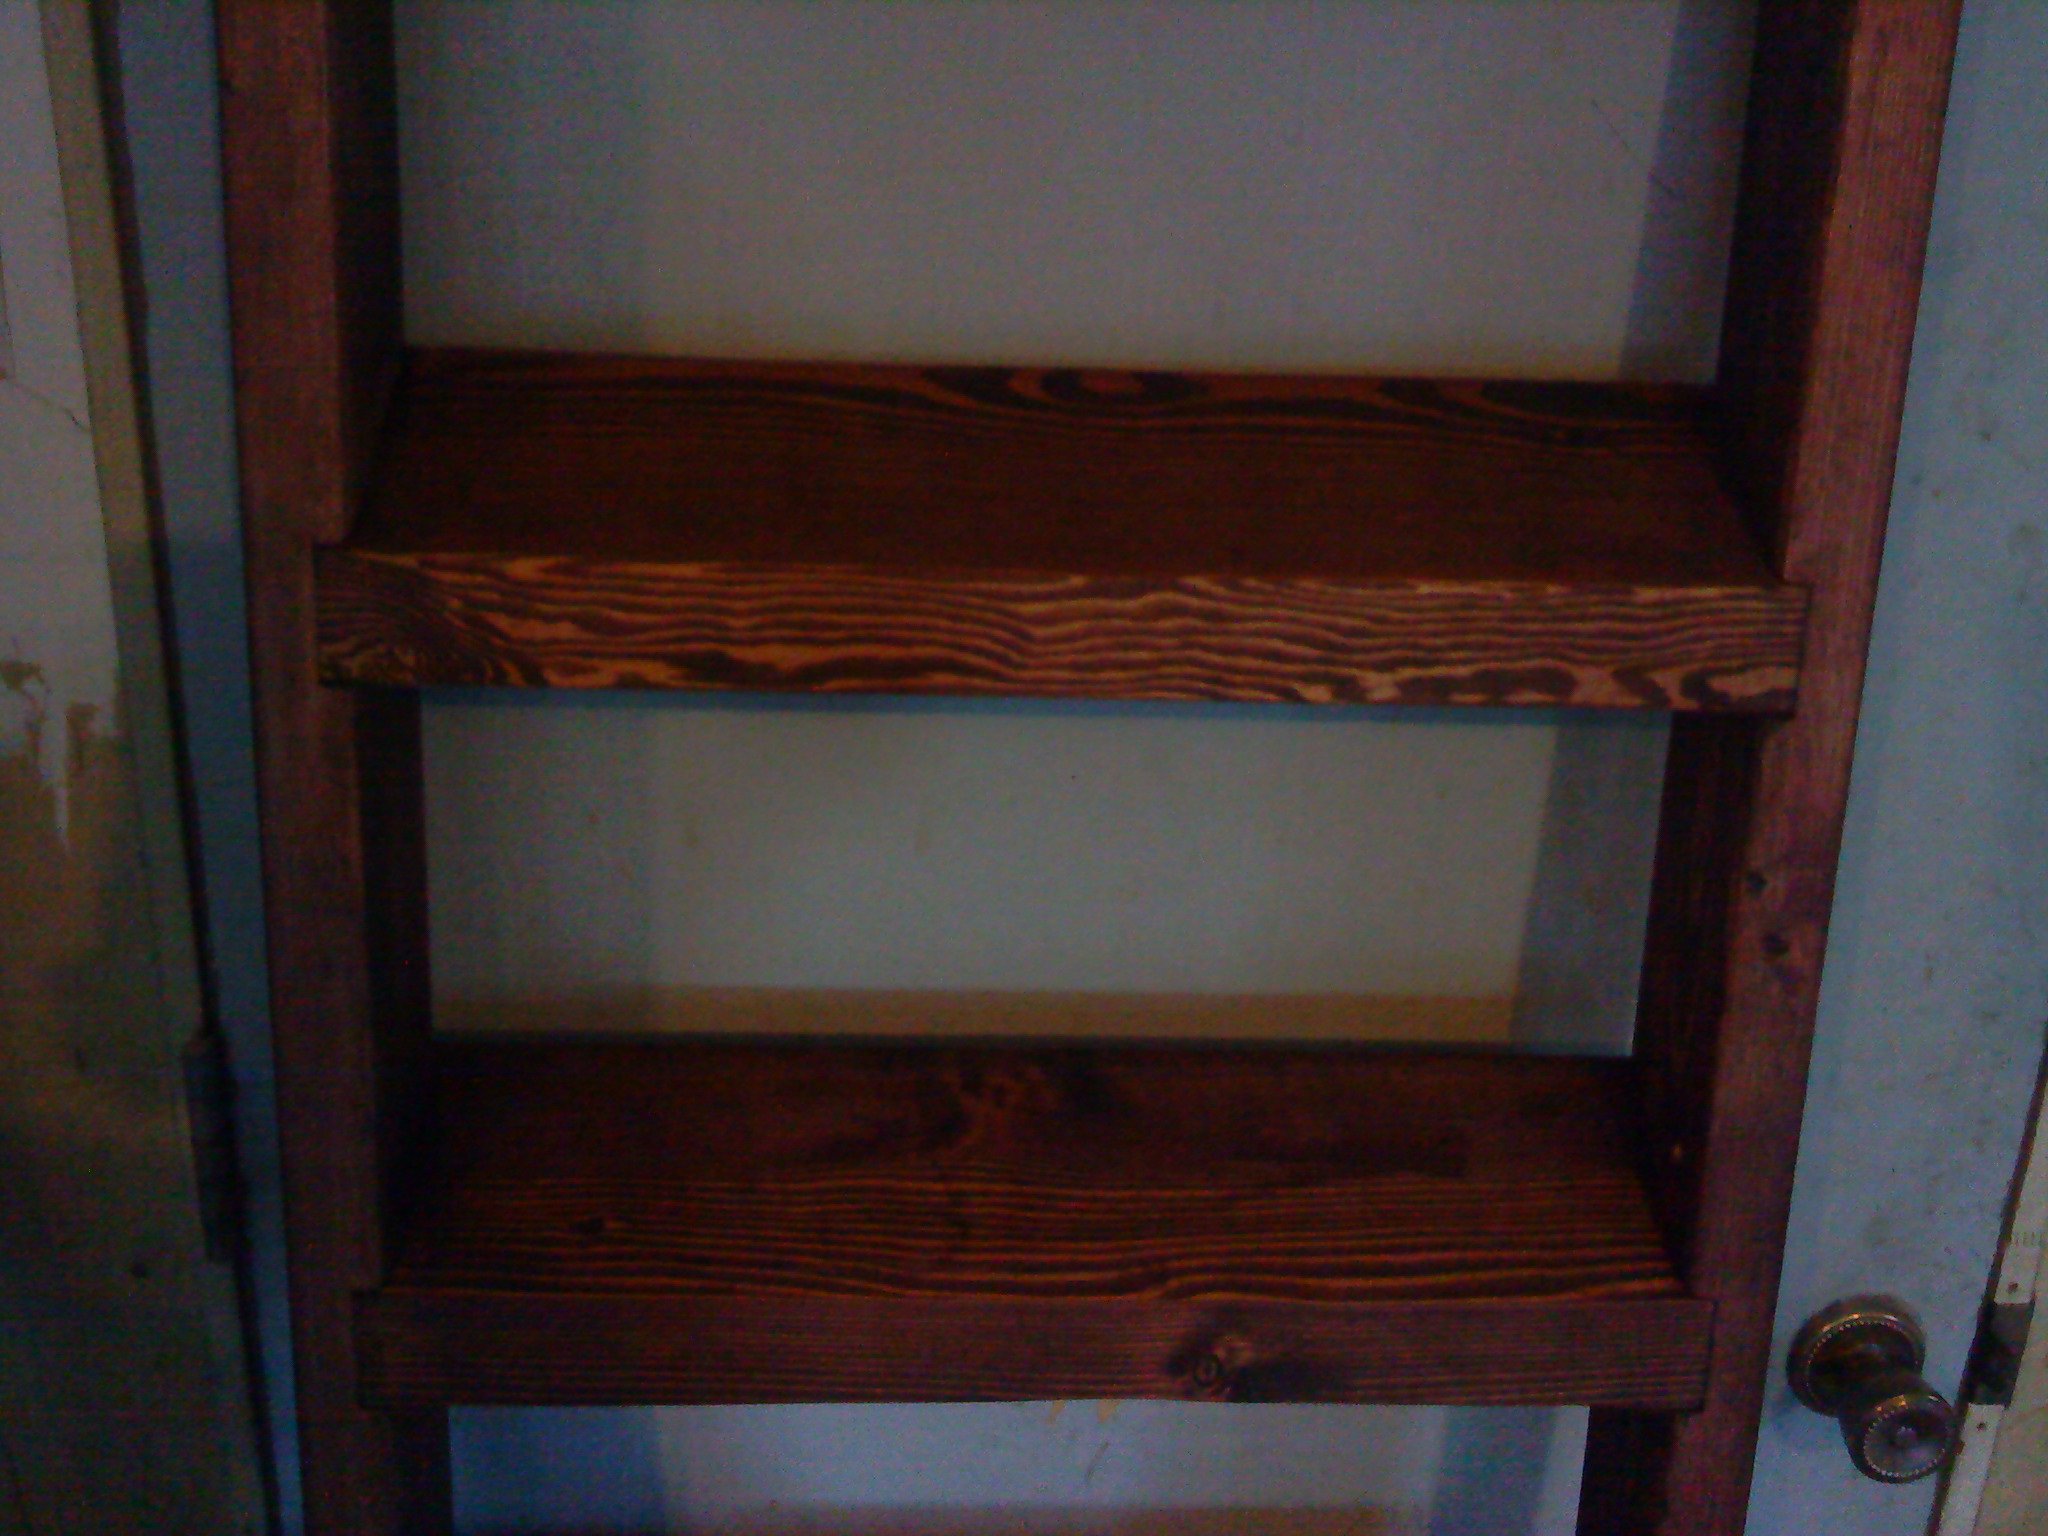
The only real modification I made was moving the ladder to the left-hand side (vs. right-hand side per the instructions). All other measurements were basically the same.

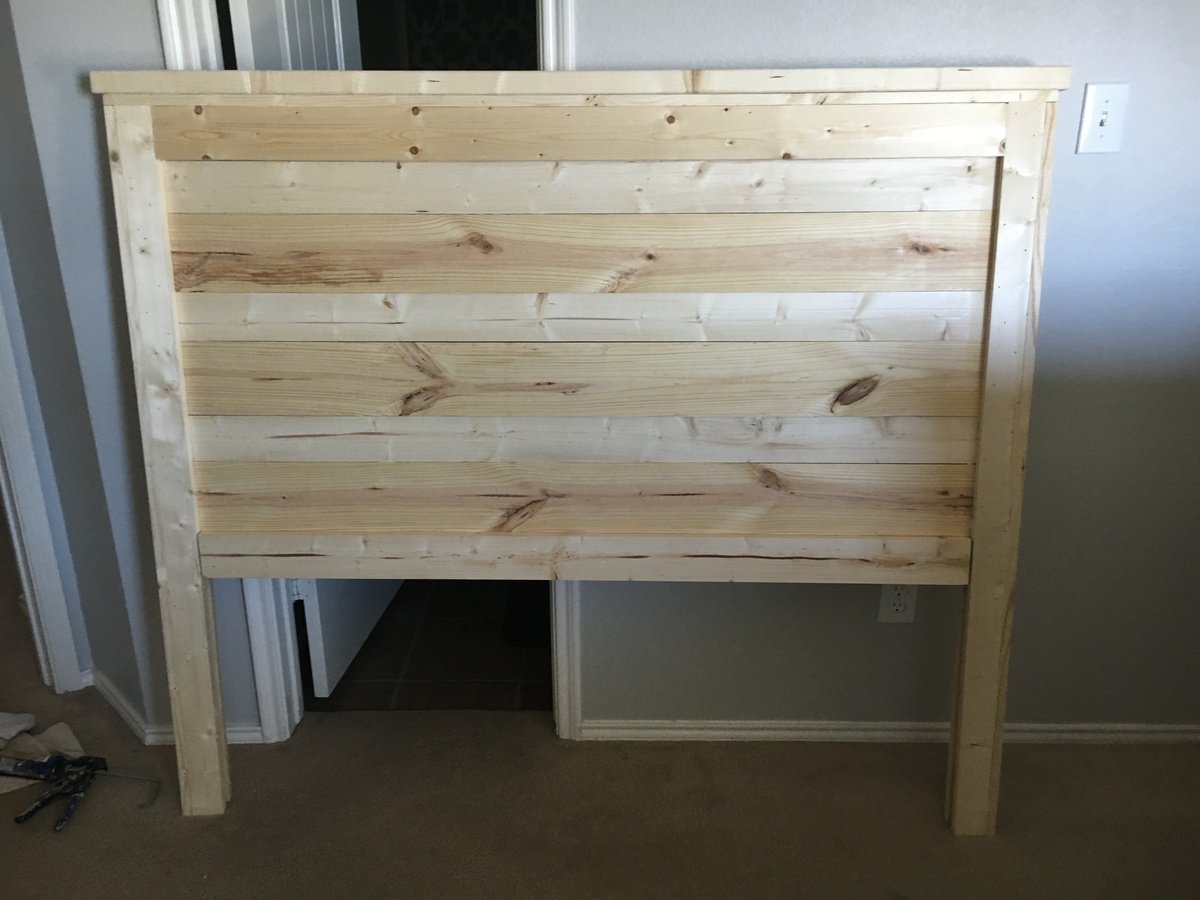
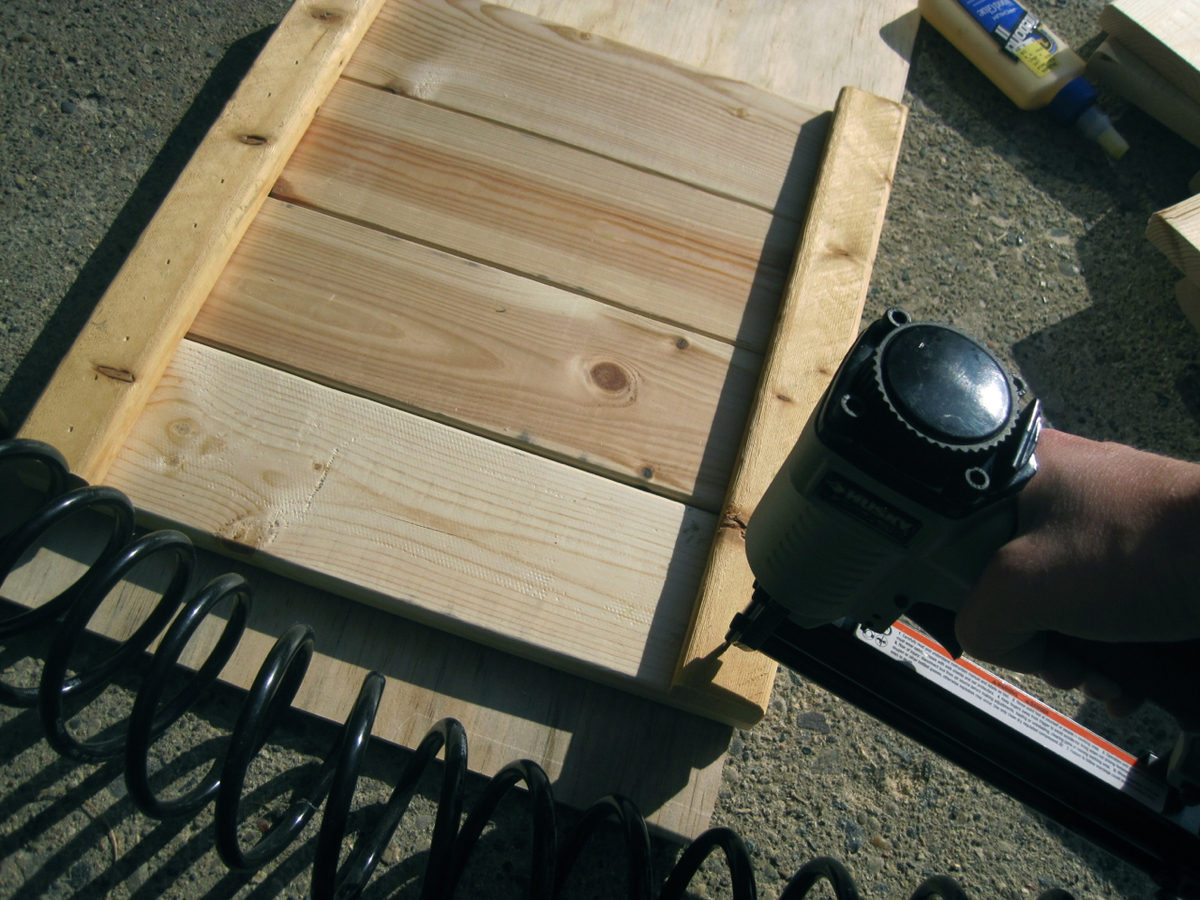
Really happy with the mini Kreg Jig! Simple to use and provides solid joints for the rails of the 2 shorter sides (without showing screw-heads from the exterior).

My toddlers have been sleeping on them for a week now and no squeaking or shaking. They are sturdy. And neadless to say, my boys LOVE having bunk beds.

Sure I could just buy some inexpensive bunk beds for $200-300 but where's the fun in that!?

Let me know if you have questions, happy to help out! Thanks again to Ana and her site.

Built from Plan(s)
Estimated Cost
300 ($220 for pine wood plus 16 bolts, screws, sandpaper, wood conditioner, stain, polyurethane)
Estimated Time Investment
Week Long Project (20 Hours or More)
Finish Used
Minwax Pre-Stain Wood Conditioner, Minwax Oil-Based Natural Wood Interior Finish Stain, Minwax Polyurethane Clear Semi-Gloss
Recommended Skill Level
Beginner

Comments

NimbleShopper

Wed, 03/27/2013 - 09:58

The bunks look really nice. Professional even.

What size bolts did you use?
Where did you purchase them?
And, finally, how much did they cost? Guestimation is fine if you can't remember exactly. :)

dwm22

Wed, 06/12/2013 - 09:55

The bolts I used are 3/8" x 5". I used 16 total bolts to assemble. Each bolt (+2 washers & nut) is maybe $2-$3 at Home Depot. So in total, around $35-$40 for the bolts and hardware.

Kitty Outhouse

My first Ana White project. Built Ana’s awesome small cedar shed as an outhouse for our many cats. The have access to it from inside the house. Great way to keep litter boxes and the mess out of the house. It is stand alone, and attached to the house, in front of a bedroom window. There are two ‘entrances’ as well as two, one-way, escape hatches, if a cat in the outhouse is interrupted by another cat (I.e. a male cat comes in and the female feels trapped) they can exit to the outside (one way so no critters can come inside!). Ana has easy to build plans, great site! I plan on making the square table just posted today for my newly refurbished deck. Keep in mind, my estimated costs and time reflect a LOT of additional features on the inside. The shed itself, very easy, simple, inexpensive. Very little waste with Ana’s projects as well.

Built from Plan(s)
Estimated Cost
$500
Estimated Time Investment
Week Long Project (20 Hours or More)
Finish Used
No finish, at least not yet.
Recommended Skill Level
Intermediate

Comments

Large Wood Storage Chest

Submitted by danicarby on Tue, 05/14/2013 - 07:25

I wanted a large chest to store toys, books or blankets. I wanted it to be cheap to build and be rustic. This project turned out perfectly! I used 2" and 4"-wide furring strips and rope for the hinges and handles. I used 1/4" plywood for the bottom and made a groove with the router for it to slide into while assembling. I helped 16 girls make these who had no previous experience and they loved it!

Estimated Cost
$20-$40
Estimated Time Investment
Afternoon Project (3-6 Hours)
Finish Used
Mixwax Stain and Polyurethane
Recommended Skill Level
Beginner

Comments

benjaminrogers

Fri, 12/27/2013 - 06:21

Can you provide a lumber list for this? I know you said you used 2x4 but the lumber I see in the photo doesn't look like 2x4.

Thanks,

Ben

danicarby

Fri, 12/27/2013 - 07:17

Hi Ben!

I used 1x4's and 1x2's. I have a shopping list and cutting list on my blog. I can't post the link here but you can click on the link where it says "Blog Link" under "About This Project"

Let me know if you have any other questions!

Desk / nightstand combo

I took the plans for the Farmhouse X Desk and combined it with a (slightly) modified nightstand since I liked the 1x4’s better than the plywood base and also wanted a drawer instead of 2 shelves.

Also, I milled the side and took about 1/8” off the rounded 2x4 edges so that the squared sides fit together MUCH tighter. The joints were a lot easier to sand putty and sand seamlessly flat/smooth.

Very happy with the results and my brother and wife both want me to build them one now!

Built from Plan(s)

Comments

Garden Trellis

Submitted by mtairymd on Tue, 05/12/2015 - 17:38

Video of the Build:
https://www.youtube.com/watch?v=xH3ABM3X3uE

Build Instructions:
http://www.instructables.com/id/Garden-Trellis/

This adjustable garden trellis for cucumber/pea/bean vines is a quick project for the vegetable garden. The trellis gets the vines off the ground and is more productive in less space. No giant rotting cucumbers to find three weeks after the rest have matured. It is made from small lumber and twine. Paint is optional but gives a nice pop of color. Just in time for the rapid growth of summer!

Estimated Cost
$10
Estimated Time Investment
Afternoon Project (3-6 Hours)
Finish Used
Paint
Recommended Skill Level
Starter Project

Loved the Adirondack build

Submitted by Anonymous (not verified) on Sat, 01/29/2022 - 17:00

Thanks so much for these plans. I looked at dozens of Adirondack plans but 99% of them had tricky cuts requiring templates and more perfection than I wanted to give.

These are very straight-forward. I removed an old deck last year and saved all the 2x6 decking. I used those for this build. Ripped some down to 2x4’s but left the rest as-is for wider arm rest and seat/back boards. Everything came together perfect. Took me longer than I’d like to admit on the first, but the second went quick.

Can’t wait to drink a few beers in these chairs.

Thanks again,
Taylor Jones
Memphis,TN

Comments

Jewelry/Makeup Storage Cabinet

Thank you Anna for providing the template plans for this project. My wife had a mirror leaning on the wall in our bedroom that rarely got used and jewelry all over the dresser. So thanks to you I was able to turn this cheap mirror into useful storage and organize her jewelry.  Thanks! 

Estimated Cost
$80
Estimated Time Investment
Weekend Project (10-20 Hours)
Finish Used
Glossy spray paint
Recommended Skill Level
Beginner

Comments

Ana White

Wed, 10/07/2015 - 10:18

Thank you for building!!!  Your post just made my day, I'm so happy to see your build! I love the customization with the jewerly holders too!  Thank you so much for sharing!

Cedar deck box

Submitted by JMG on Wed, 07/06/2022 - 19:47

I had to modify these plans to use what I had on hand. I used left over cedar fence pickets (planed down and sealed) and adjusted the size to fit all my outdoor cushions. Overall dimensions are 49" wide x 28" deep x 26" high. I also used 2x4's instead of 2x2's because that is what I had in my shop. I added 1x3's around the top to fit snugly instead of using hinges (again trying to use what I had on hand). We get A LOT of rain in the summer so hopefully the cushions will stay dry. I also added some screen left over from the screened in porch to the bottom before adding the "floor" to keep bugs out. I just stapled it to the frame before adding the floor boards. I did add a piece of treated 1/4" plywood under the top in hopes of keeping the rain out.

Built from Plan(s)

Comments

custom cedar bench for deck

Submitted by canyadigit on Sun, 03/06/2016 - 15:14

Standard cedar deck, as you can see not complete, . However the benches are complete. Seen a picture in a book and custom cut and fit peices on my own

Estimated Time Investment
Day Project (6-9 Hours)
Recommended Skill Level
Intermediate

twin over full bunkbed

Submitted by sjknecht on Sun, 02/26/2012 - 14:38

This project was so much easier than I thought it would be when we started. If you follow ana's plans your bunkbed will be much stronger than anything you can buy for a fraction of the price. I would never do it but I honestly think I could park my truck on these beds. The finish is red mahogany stain with a couple coats of polyurethane over it. They say not to use dark stain over pine because of the uneven coat but i like the way it striped the grain. Not everyone's cup of tea but we love it.
We've all heard the saying "give a man a fish and you feed him for a day, teach a man to fish and you feed him for life. Thank You Ana for teaching me to fish. This was the first, but will not be the last project i do from your site.

Estimated Cost
about 200
Estimated Time Investment
Week Long Project (20 Hours or More)
Finish Used
minwax red mahogany stain, and 3 coats of minwax polyurethane
Recommended Skill Level
Beginner

Comments

Back