Community Brag Posts

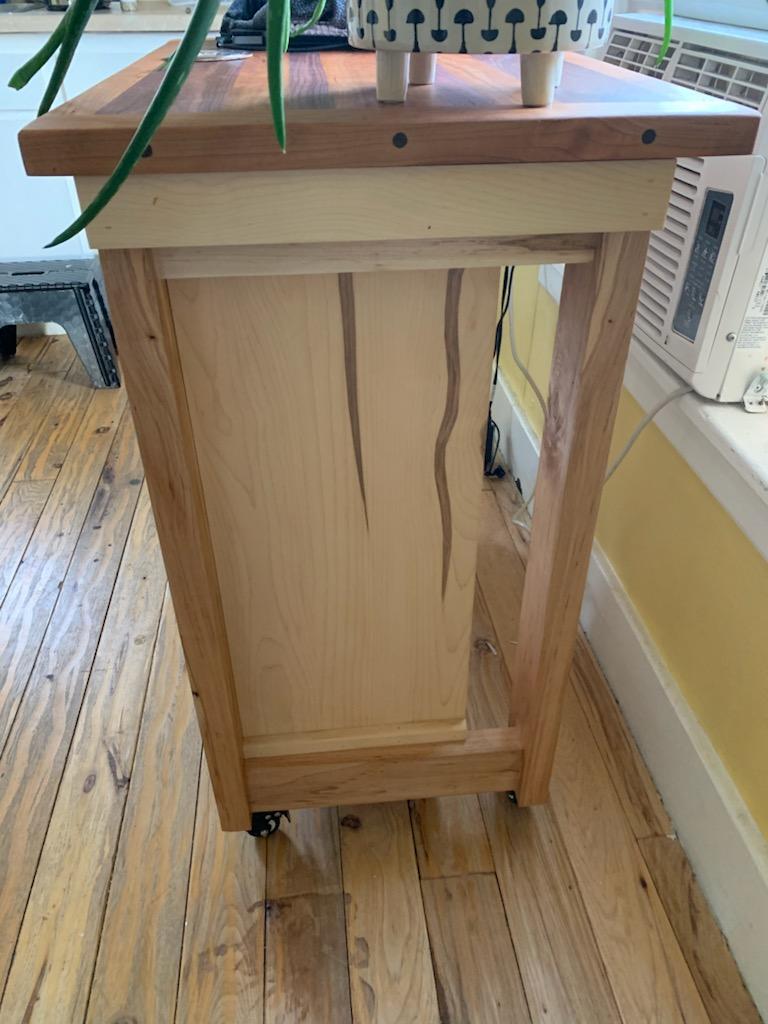
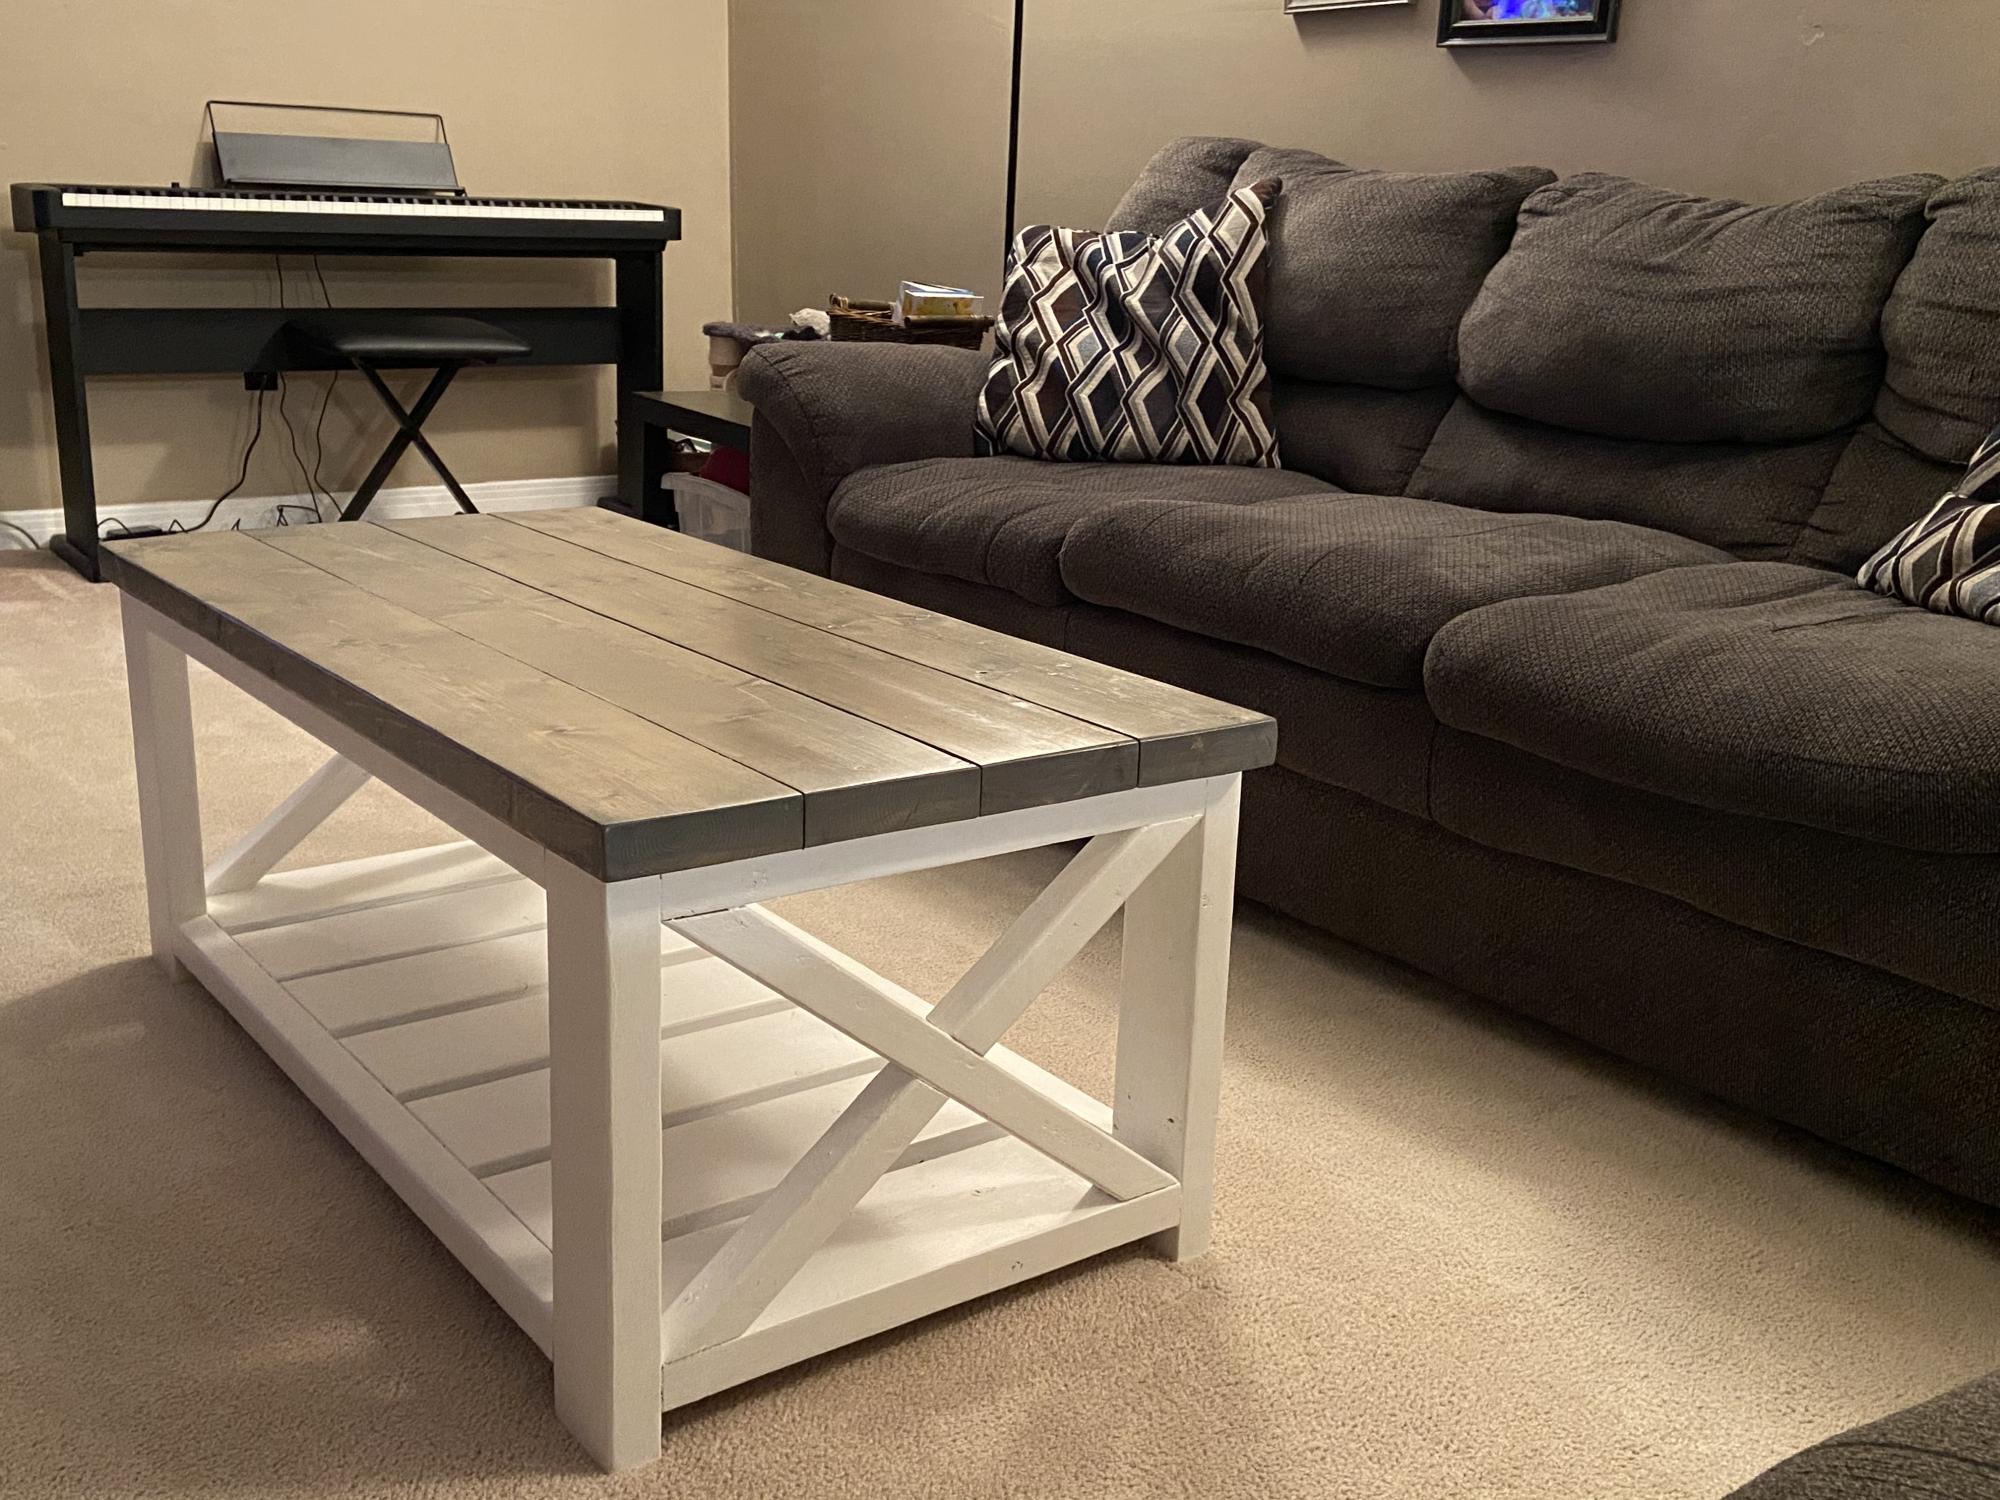
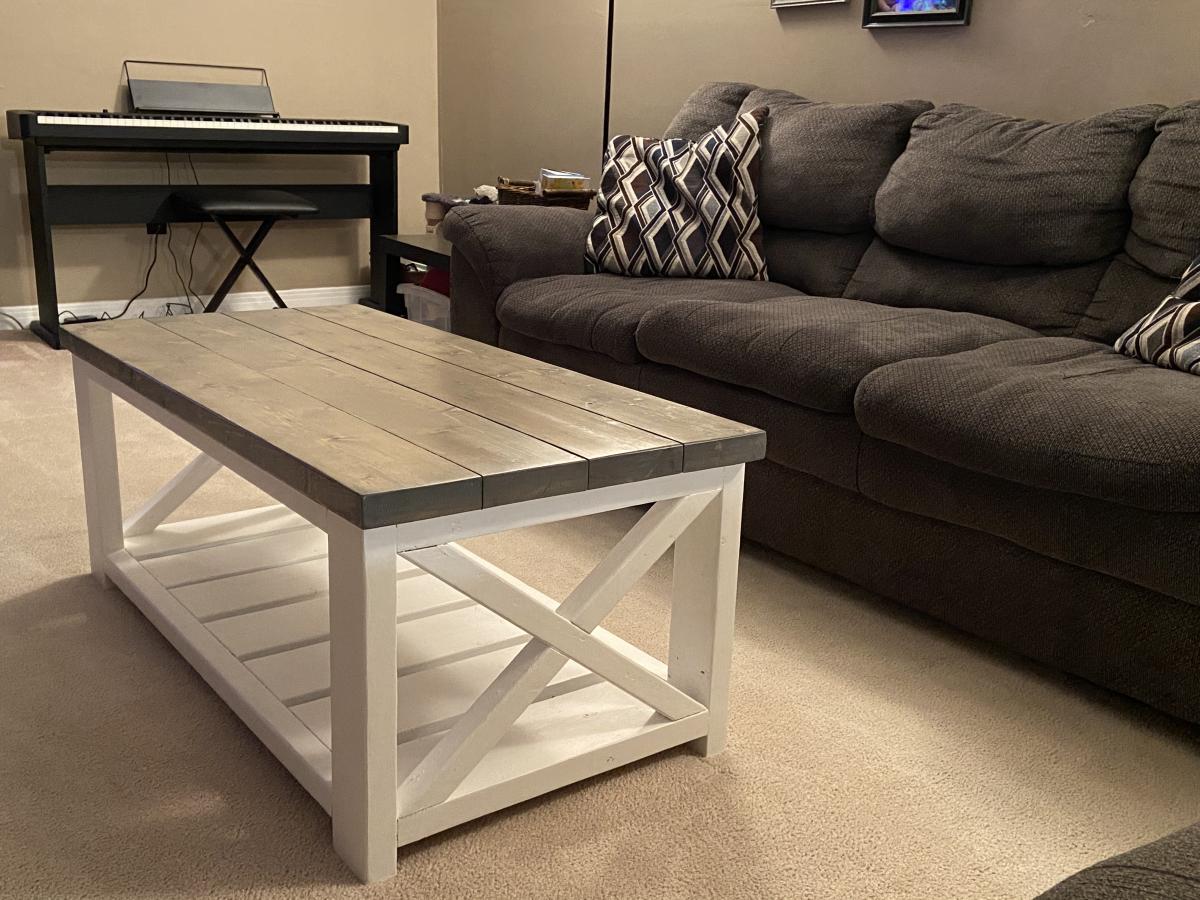
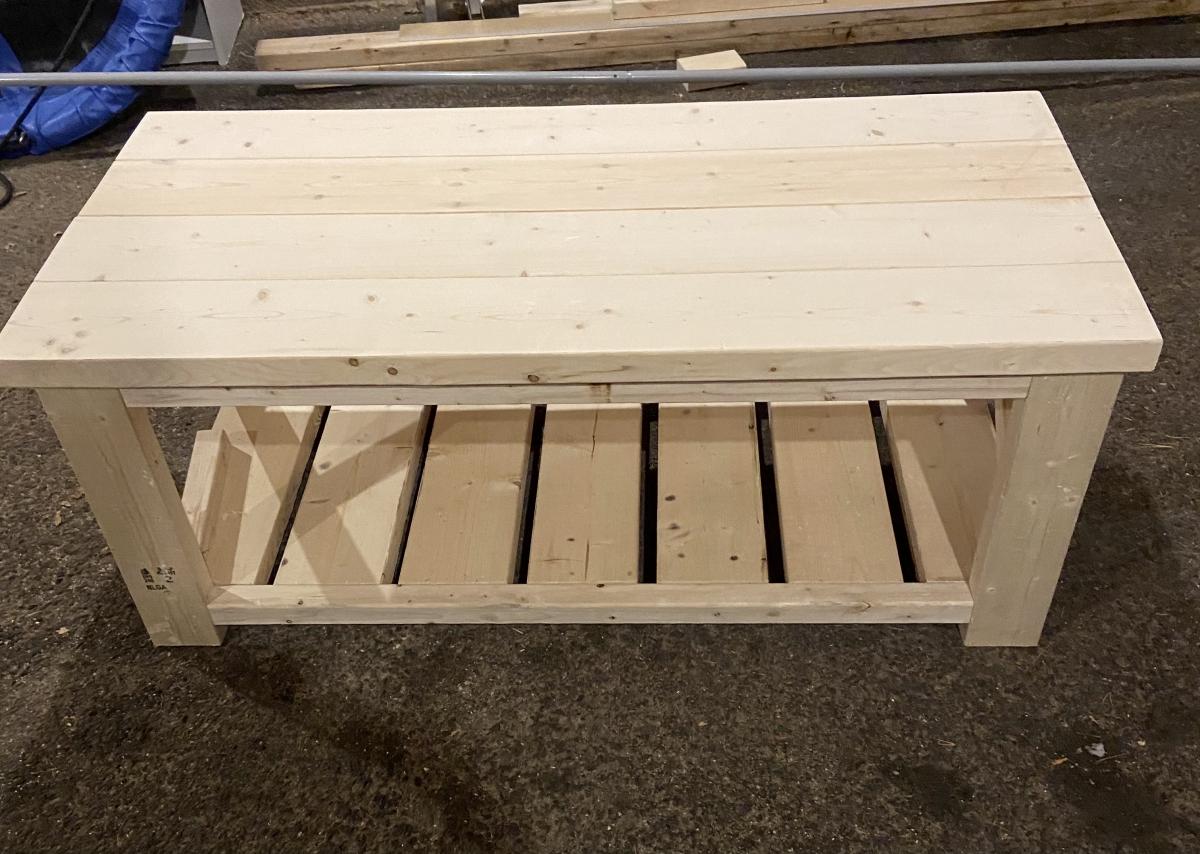
Modern take on the Rustic X Small Rolling Kitchen Island

Submitted by bsstrong on Wed, 01/27/2021 - 11:13

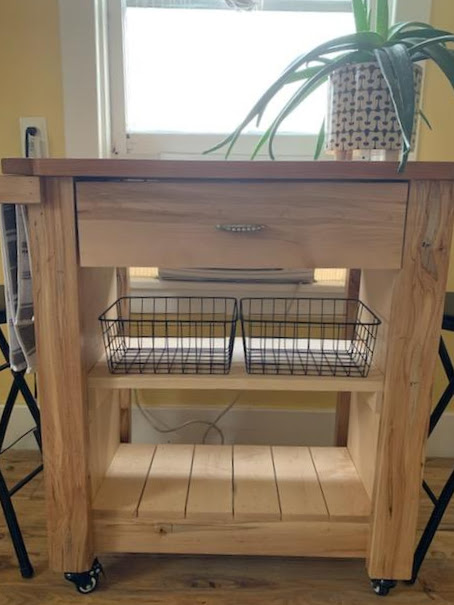
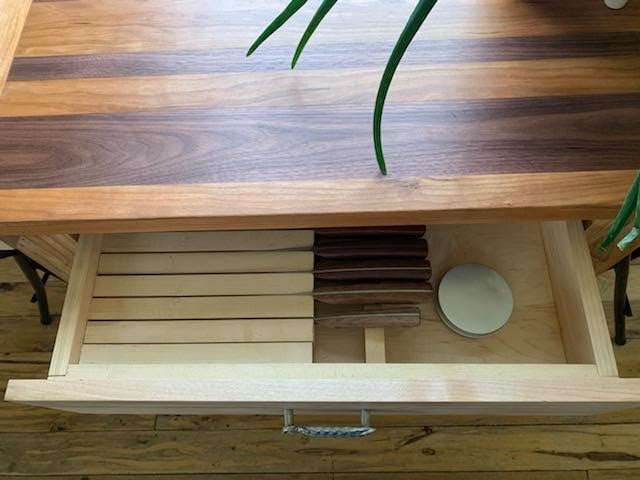
Used your plan as a base to make this kitchen island for my daughter. It is made from ambrosia maple and soft maple, has an integrated knife block in the drawer (also from one of your plans), and has a cutting board top made out of cherry and black walnut.

Comments

Heavy duty log peeling stations

Submitted by Anonymous (not verified) on Sat, 04/01/2017 - 18:03

I modified Anna's plans to make these heavy duty saw horses.

Estimated Cost
$120
Estimated Time Investment
Day Project (6-9 Hours)
Finish Used
2 of these sawhorses can support 2 1500lb logs, I can peel the bark off then rotate the logs. I added vertical removable supports to support the logs when they are on the sawhorses. Thanks for the ideas.
Recommended Skill Level
Beginner

Farmhouse coffee table under 40 - ( 65 dollars Canadian)

Submitted by Anonymous (not verified) on Wed, 02/17/2021 - 15:50

This was my first project and had tons of fun building it. Can’t wait to build to end tables to match.
The plans are so easy to understand. The only change I made was instead of exposed screws I used the pocket hole method

Estimated Cost
65 dollars ( Canadian)
Estimated Time Investment
Weekend Project (10-20 Hours)
Finish Used
Minwax pre- stain wood conditioner, minwax classic grey ( 2 coats) minwax clear satin poly urethane.
Recommended Skill Level
Beginner

Comments

mh6558

Fri, 01/12/2024 - 08:33

This is beautiful and just the look I'm going for with the color scheme. I am wondering if it would be easier to paint the wood before constructing it? Also, what is the pocket hole technique? I think I would like the screws hidden too.

DARE bookshelves letters

Submitted by Anonymous (not verified) on Mon, 03/15/2021 - 10:10

We built the letters bookshelves for our kids' room. First, we wanted to write READ on the wall, but in the end, we arranged them as DARE. We hope it will be a motivational message for our kids to have the courage to make the impossible possible.

The letters are built entirely out of MDF. The hardest thing was to make the curved walls. We cut a lot of curved MDF strips and glued them together to get the rounded shapes.

We described better the process on our blog!

Hope you like them as much as we do!

Estimated Cost
600
Estimated Time Investment
Week Long Project (20 Hours or More)
Finish Used
Polyurethane primer and white paint
Recommended Skill Level
Intermediate

Comments

grace1wilson

Sat, 04/23/2022 - 09:59

Congrats! I am so proud of them. I wish I also could write good essays, but it is very difficult for me to express myself and organize my thoughts and ideas. This is why it takes me a lot of time to write a good essay. So, sometimes I pay for paper writing because I like it when everything is done at the highest level. However, I really hope that these essays will help me to achieve my goals especially since I feel very motivated right now. Wish me good luck!

My First Project

Submitted by sbonander on Thu, 03/18/2021 - 08:16

I learned so much for this first project. I used redwood instead of cedar and finished it to match our fence. I coated the inside with flex seal. Next time, I'll drill drain holes nearer to the front edge of each box so they drain into the box below a bit better. I angled the bottoms of each box with a band saw on a 15 degree tilted platform. They fit like a glove! Thanks for a great plan.

Comments

Seasonal And Holiday

Modern Adirondack Chairs & Outdoor Side Table

Submitted by j_bowman on Sun, 04/11/2021 - 11:35

These modern Adirondack chairs were my first wood working project ever and they turned out awesome! I wanted to build a small table to complete the set and Ana’s new side table plans were exactly what I was looking for. I am truly amazed at how easy these projects were to make and how great they look on our front patio. Ana’s step-by-step plans make it so simple. My wife and I can’t wait to build some more of these projects for our backyard lanai and pool area.

Finish Used
General Finishes Red Mahogany stain
Spar Urethane

Comments

Seasonal And Holiday

My Extra Wide Simple Dresser

Submitted by adpeters on Thu, 02/05/2015 - 18:35

This is the first dresser that I have ever made. There was a learning curve, but not much. It was a lot of fun and I hope you enjoy it!

Built from Plan(s)
Estimated Time Investment
Weekend Project (10-20 Hours)
Finish Used
Egg White Paint with Minwax® Polycrylic® Protective Finish on top
Recommended Skill Level
Beginner

Comments

nvadrevu432

Tue, 02/16/2016 - 10:40

what kind of wood did you use to build the drawers? i have used 1X6 and 1X8 as per the plan and the drawers dont fit in the frame. sliding doesnt work properly. plewase let me know, thnks 


We love the skylights in our version of your greenhouse!

Submitted by Anonymous (not verified) on Tue, 08/31/2021 - 08:23

This was the perfect post-retirement project for me. It was a lot of work, but very rewarding.
I documented most of it on my blog.

We sure love this greenhouse!

Built from Plan(s)

Comments

rick1956

Wed, 09/01/2021 - 05:37

Thank you! They definitely added a LOT more work, but we've already used them a lot. The plants are sure glad for them. I'll post pictures of the finished greenhouse when it's finally there.

Fancy X Desk L Desk

Submitted by Anonymous (not verified) on Tue, 06/27/2017 - 21:12

 Added an L section to the Fancy Desk to increase usable space  So far it still stands strong for me.  Thanks Ana

Recommended Skill Level
Beginner

Comments

Fancy X table and bench

Submitted by Lukilla on Tue, 11/16/2021 - 16:44

Put a fancy twist in this tabletop and bench top. We like the 45 degree angles that the top and legs both have to compliment each other. The top is stained with minwax special walnut.

Comments

L-shape Modern plywood desk

I constructed this desk all from birch plywood. It features a pull out keyboard tray, modern drawer finger pulls, and full extension drawer slides. The plywood was finished with a hand-rubbed danish oil for a natural wood appearance.

Estimated Cost
$150.00
Estimated Time Investment
Afternoon Project (3-6 Hours)
Finish Used
danish oil
Recommended Skill Level
Starter Project

Kids table and chairs

Great little project. Finished just in time for Thanksgiving.

Andy

Estimated Cost
50
Estimated Time Investment
Day Project (6-9 Hours)
Finish Used
Mirrowax, polyurethane semi gloss
Recommended Skill Level
Beginner

Comments

JoanneS

Thu, 11/26/2015 - 07:14

You did a super job!  These are absolutely adorable!  Happy Thanksgiving!

Cedar Slat Top Bench

Submitted by Anonymous (not verified) on Tue, 01/15/2019 - 21:48

I really enjoy making this bench. I build them out of cedar and vary from 4’-6’. My customers love them. Simple prep work consisting of planing all boards to same dimensions can save a lot of time in sanding. Building 3 more this week. 

Estimated Time Investment
An Hour or Two (0-2 Hours)
Recommended Skill Level
Beginner

Comments

Farmhouse Table - Thanks Ana!!

I tackled the Farmhouse Table over a long weekend while my boyfriend was away - he was surprised needless to say!
I have not attempted any woodwork projects since grade 8, but this was alot of fun - I did not find it very difficult and loove using power tools :)
I made the matching bench, however I guess I did not stir the bottom of the can well enough and my bench is now red :/ soo I am going to either stain it dark or paint it white and use it as a mudroom seat!

*I also made mine shorter - 7ft long to fit in our dining room and adjusted the bench to fit.

Estimated Cost
$160 for table & bench inc. wood, screws, stain, sand paper
Estimated Time Investment
Weekend Project (10-20 Hours)
Finish Used
I sanded it until I was pretty sure the risk of splinters was eliminated. After pre-stain conditioner, it got a coat of Minwax 'Ipswitch Pine'. The result was perfect on the table (two coats), however I must not have stirred the can well enough as my bench turned out dark red :/ I wanted it to look like it's 100 years old.
Recommended Skill Level
Beginner

Comments

Maggie Jaye

Fri, 10/07/2011 - 17:15

Thank you so much Ana! We are in the process of renovating our house and your website has inspired me to take on so many more projects now!! :)

Margaret Kubiszyn (not verified)

Sat, 10/08/2011 - 19:46

I love your choice of stain - it is beautiful!

Guest (not verified)

Wed, 11/02/2011 - 04:52

I built a similar table and I am having problems with my kids getting food in between the pieces of wood. Do you have this same problem, is anyone having this same problem? Does anyone have any suggestion as to how to fix it, how to keep food and other particles from getting trapped between the cracks? Thanks! You did a great job!!

Guest (not verified)

Wed, 11/23/2011 - 15:00

I am building this table as we speak. The thought occurred to me as well concerning the cracks attracting crumbs. I believe using clamps to make the fit as tight as possible will help. Also some poly finishes may be appropriate with children which may even seal the cracks... if sanded and clamped well.

Maggie Jaye

Wed, 11/23/2011 - 15:11

I did try my best to clamp the wood together as tight as possible - due to the pieces of wood not being completely straight, they are there.

I haven't had this problem yet. I do use place mats when eating at the table, that generally stops any crumbs etc.That's probably the easiest way to avoid it :)

Thank you for your comments!

Farmhouse Bed King

Submitted by moldah on Wed, 01/11/2012 - 15:15

This was the plan that started my addiction! We had just gotten new mattresses, and we needed a new bed frame. All of the furniture stores have dark stains, and we wanted something natural and bright. I was searching one night found your site, and that was it. A few changes, increased the height of the headboard and footboard, wanted a slight overhang on the top of each as well. Also added an additional 2x4 between the legs of the headboard for support.

Estimated Time Investment
Week Long Project (20 Hours or More)
Finish Used
Natural
Recommended Skill Level
Beginner

Comments

Kate (not verified)

Wed, 01/11/2012 - 17:15

That looks great! The natural finish looks really great with your bedding. I love the higher headboard - we're planning to do the same with the farmhouse bed I'm planning so that my husband will be able to sit up in bed without hitting the back.

Did you end up using the boxspring, or is the mattress just in slats? I couldn't tell from your picture.

moldah

Wed, 01/11/2012 - 18:23

Hi, thanks for the positive response :) The mattress and box spring both are on here. In fact, I kept the bed itself on the original metal frame below, and added the side rails to hide it. Purchased the hardware for the side rails from Rockler

MichaelAndMelissa

Fri, 01/13/2012 - 08:42

All I can say is wow. Definitely showing this to my wife today. We had plans to do something like this but yours is up up and away! Excellent job!

moldah

Fri, 01/13/2012 - 15:48

I'm glad you like the lights. I go back and forth on them. I hated that I had to drill holes into the wood to run the cord, as it does not give us the option to remove later on. Also, if you go with the lights, you might want to put some double sided tape on the back. Thanks!

RyanJ (not verified)

Tue, 01/17/2012 - 11:15

The bed looks great. The routered edges are a nice touch.

Did you attach the bed to the original metal bed frame at all?

moldah

Tue, 01/17/2012 - 14:20

Yes, the 2x4 I put between the headboard legs for support, I did drill a hole on each side, and attached the top of the bed frame to that with bolts.

Szetoklin (not verified)

Tue, 04/03/2012 - 09:41

My husband just forwarded me a link of your bed.
It is SO SO beautiful!!! Love the reading light. Where did you get that by the way?
The bed is so pretty. Love the natural wood look and the knots.
We too have mostly dark wood stain in the house and love this light color look. Did you stain it or coat it with something?

igapo

Sat, 04/28/2012 - 15:26

Hi Moldah,

Very impressive and great addition with the lights. Can you tell me how tall your final headboard and footboard are? Thanks.

Elizabeth "Lizzie" (not verified)

Sat, 06/16/2012 - 04:46

LOVE IT! I love doing things like this and I am inspired by seeing your pictures!! I am especially impressed with the Star Wars case noted on your endtable LOL Right there I know you have great taste in films, too!!! I am going to do this project! Great job!

Usmc3mama

Fri, 08/09/2013 - 20:35

Since there were no plans we are making one similar. Thanks for sharing

Marybaileycole

Wed, 09/04/2013 - 17:10

Wow, this is so beautiful! Great Job! We are very amateur builders and I had a couple questions. Do you have a blog with more details? How did you achieve the routered edges? And also, do you mind sharing the cost of the project? Thanks!

rangers_31

Sun, 11/03/2013 - 08:44

By how many inches did you increase the height of the headboard and footboard? I am thinking about doing the same when I build this bed and was hoping for some guidance.

Modified Essential Entryway Bench

Submitted by Anonymous (not verified) on Mon, 06/05/2023 - 13:56

Worked with a client to create a boot bench with adjustable shelves. The Essential Entryway Bench was a perfect starting point! I extended the top trim to home the 4” cushion. I love Ana’s plans! Thank you!!!

Built from Plan(s)

Comments

Doll bed factory

Submitted by sgilly on Mon, 02/20/2012 - 15:22

I fell in love with the darling bunk bed built by so many of Ana's readers. Since seeing it I've made several for my granddaughter, neighbors, and friends. What I've learned is that although they're cute, they take almost as much time as a full sized bed!

Estimated Cost
$20-30 (less if I used scraps!), another $10 for bedding materials
Estimated Time Investment
Afternoon Project (3-6 Hours)
Finish Used
I left most of the bunks natural. Filled, sanded and sprayed with 2 coats of clear poly. Others were painted white (after filling and sanding).
Recommended Skill Level
Beginner

Comments

Nora E. McClure (not verified)

Mon, 02/20/2012 - 18:54

I love the beds. My child wants one so badly. I like yours better then the one American Girl makes.

sgilly02 (not verified)

Fri, 02/24/2012 - 20:48

That's a sweet thing to say. Evidently, others feel the same; I can't make enough of them! They're really pretty easy to make, I hope you try your hand at it!

Andrea Franklin (not verified)

Mon, 05/28/2012 - 17:27

Hi, I see you've made the Ana-White doll cradle from this post. The link to the pattern for the doll cradle appears to be missing as it is a dead link now. Do you know how I might obtain the pattern? Thanks so much