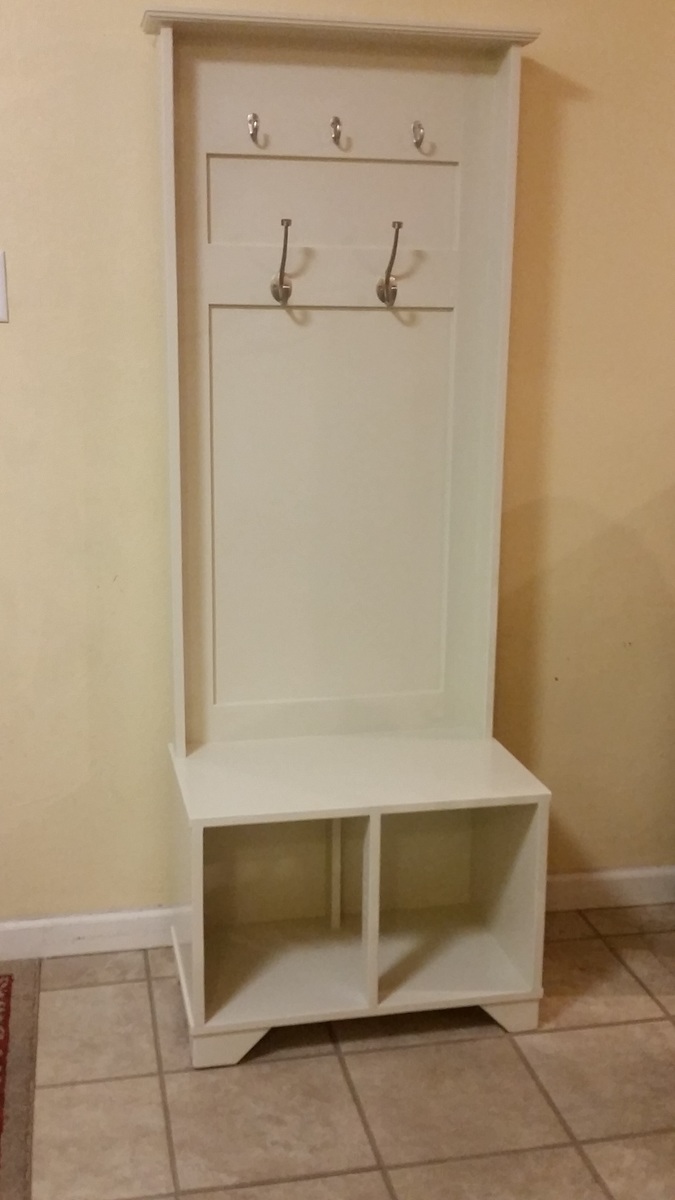
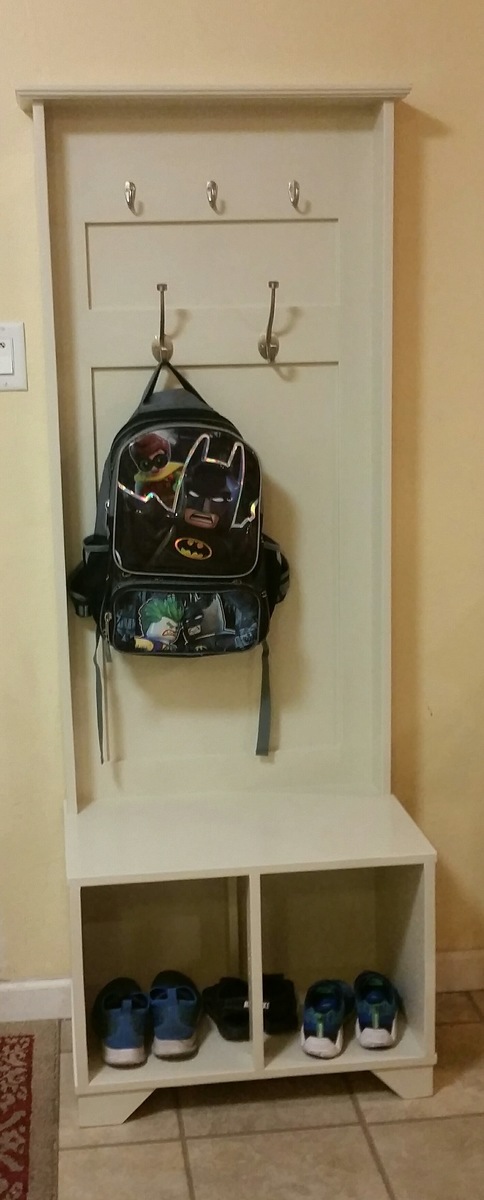
Hall Tree for Mudroom

I made this to fit the room and to help organize and cleanup the laundry / mud room. After searching for plans online I just sat down with pencil and paper and drew up my own plans, cut sheets and design from a combo of numerous projects I found in Pinterest.

Estimated Cost
500.00
Estimated Time Investment
Week Long Project (20 Hours or More)
Finish Used
All wood primed with Sherwin Williams Preprite Problock Primer and finish painting with SW ProClassic Waterbased Acrylic-Alkyd Satin finish in Dover White
Recommended Skill Level
Intermediate


Comments
Ana White Admin
Thu, 02/18/2021 - 15:43
Very cool design and build!
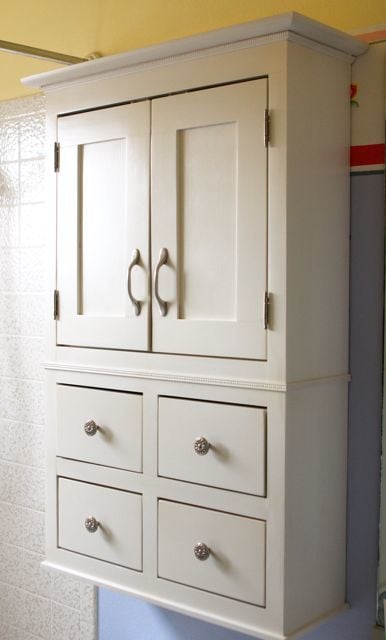
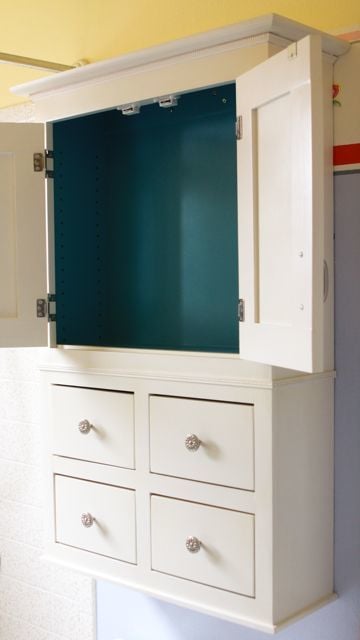
Love the option of open and closed storage, it looks amazing!
In reply to Very cool design and build! by Ana White Admin
PopWoodworks
Fri, 02/19/2021 - 08:44
Thanks! We have some items…
Thanks! We have some items like a steam mop and electric broom that go in one of the enclosed storage areas. I can post plans, construction pics and cut sheet if there is a place to do that.