Three story doll house
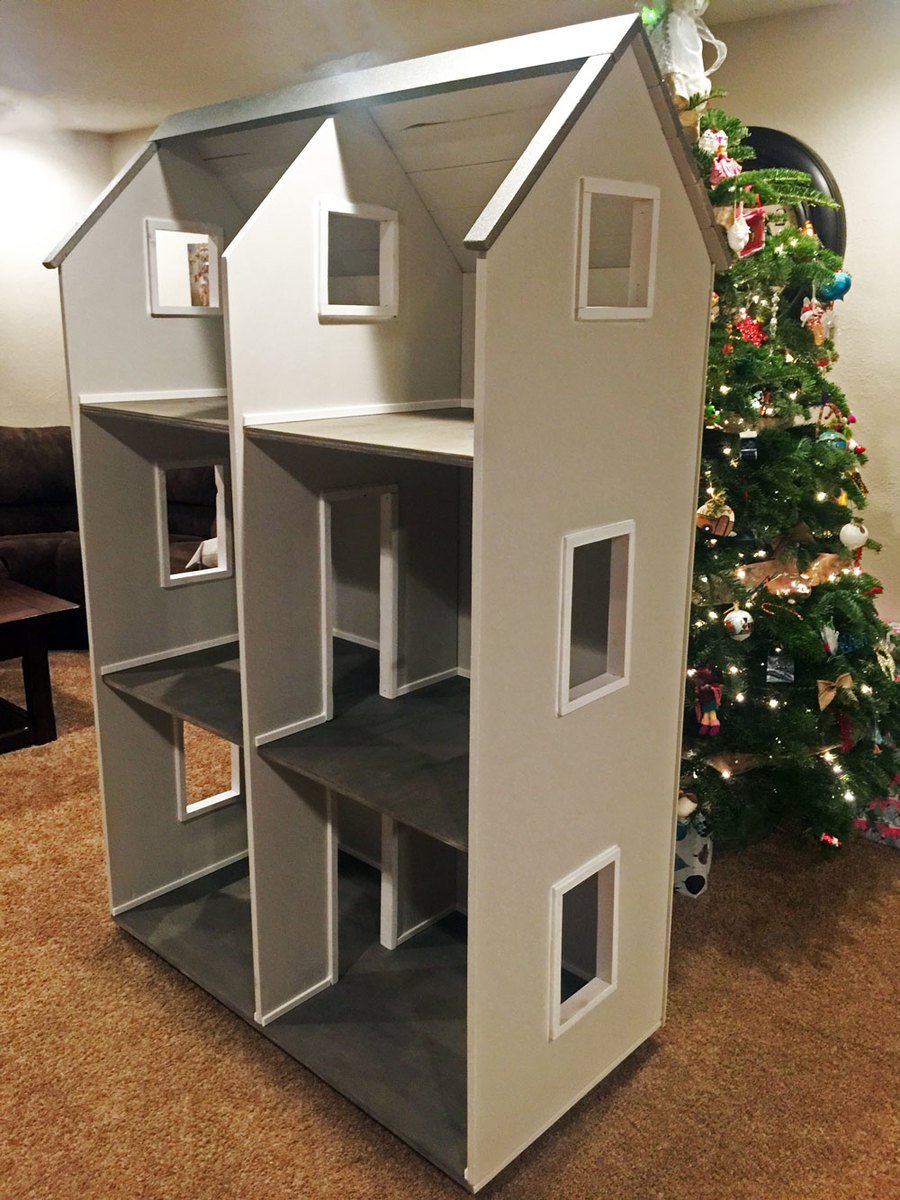
I built this American girl doll house for my daughter. I wanted to give her something to keep her youth alive!
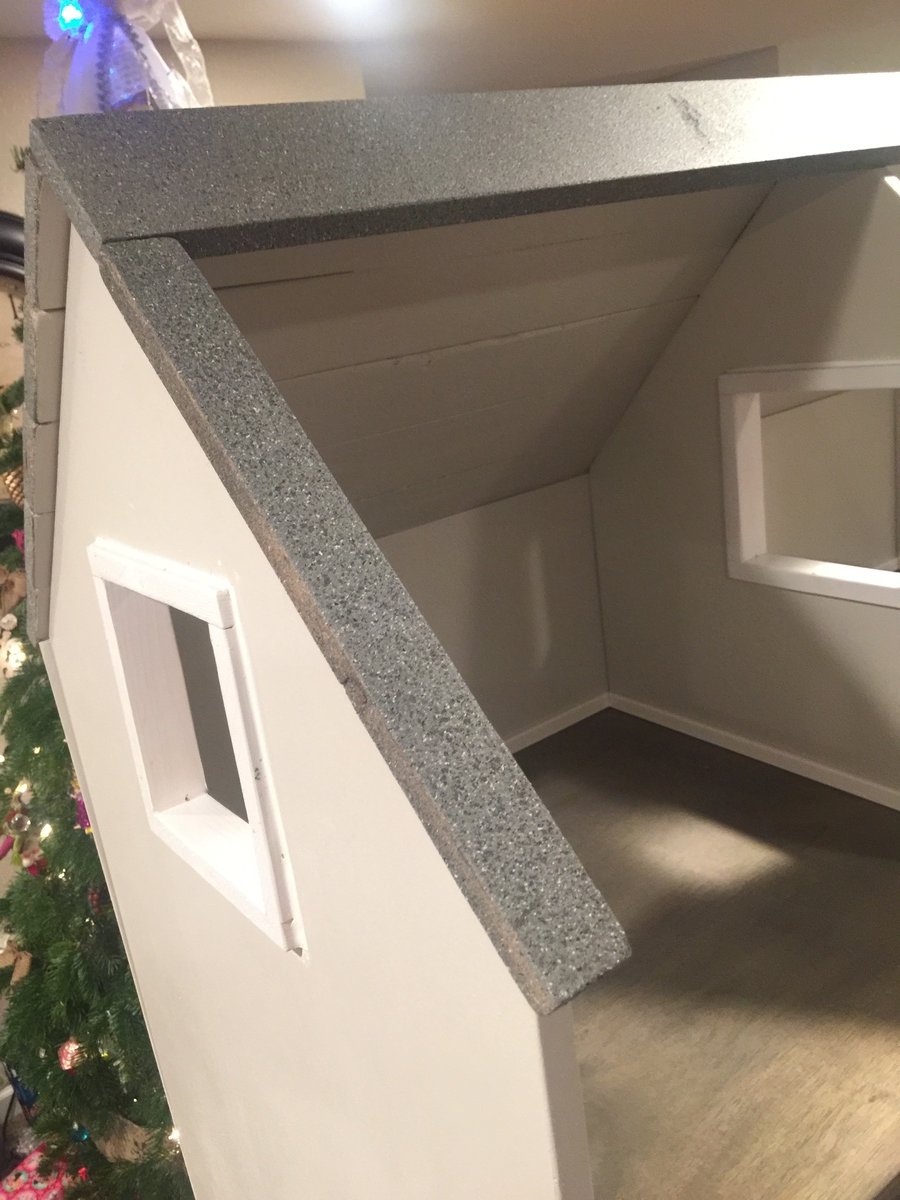
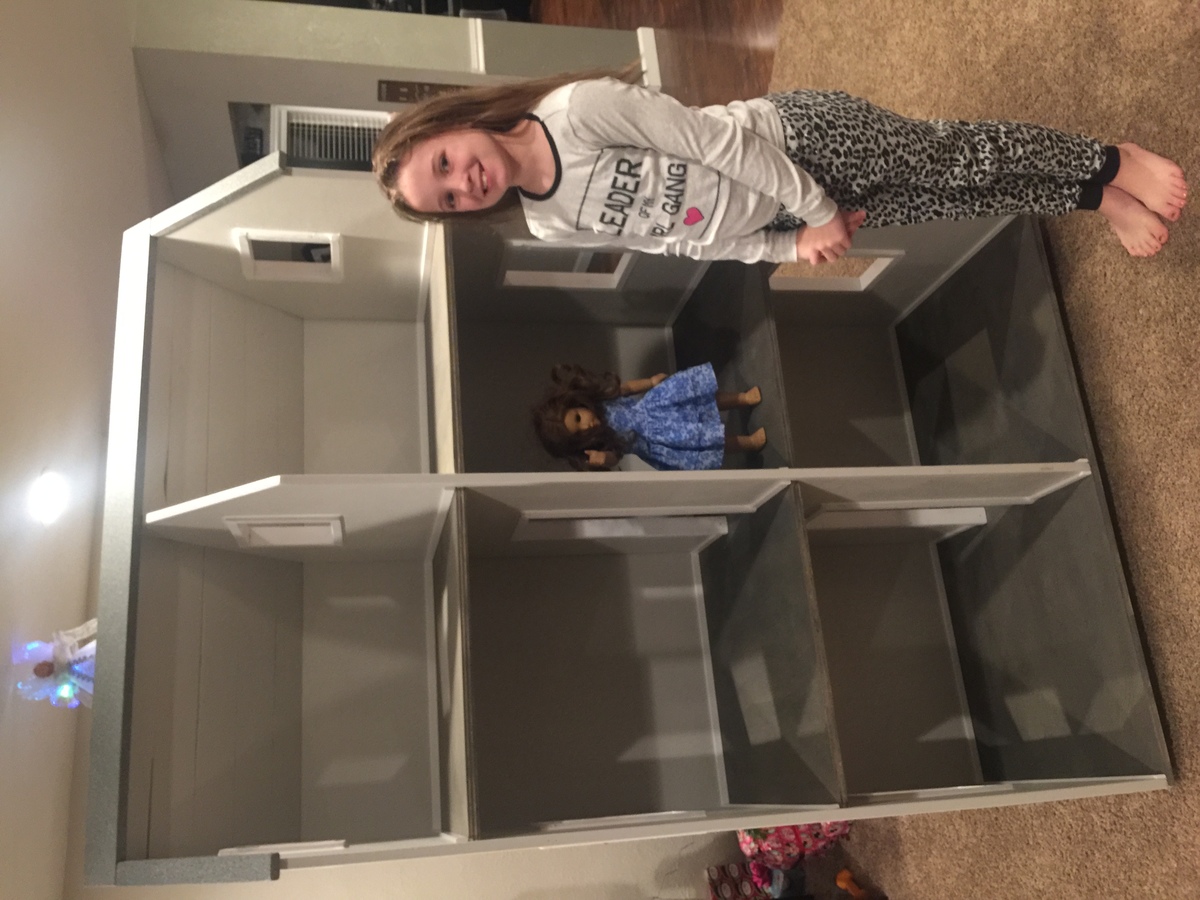
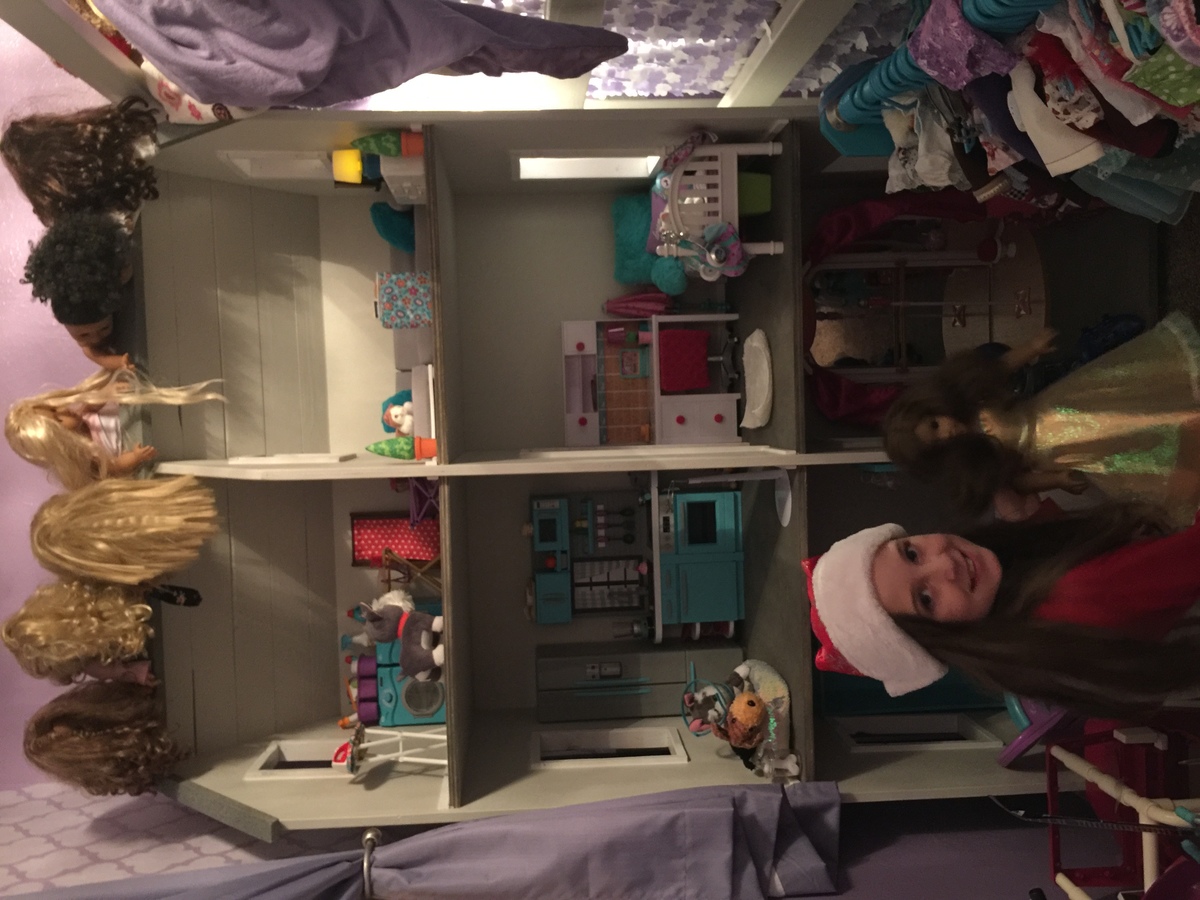
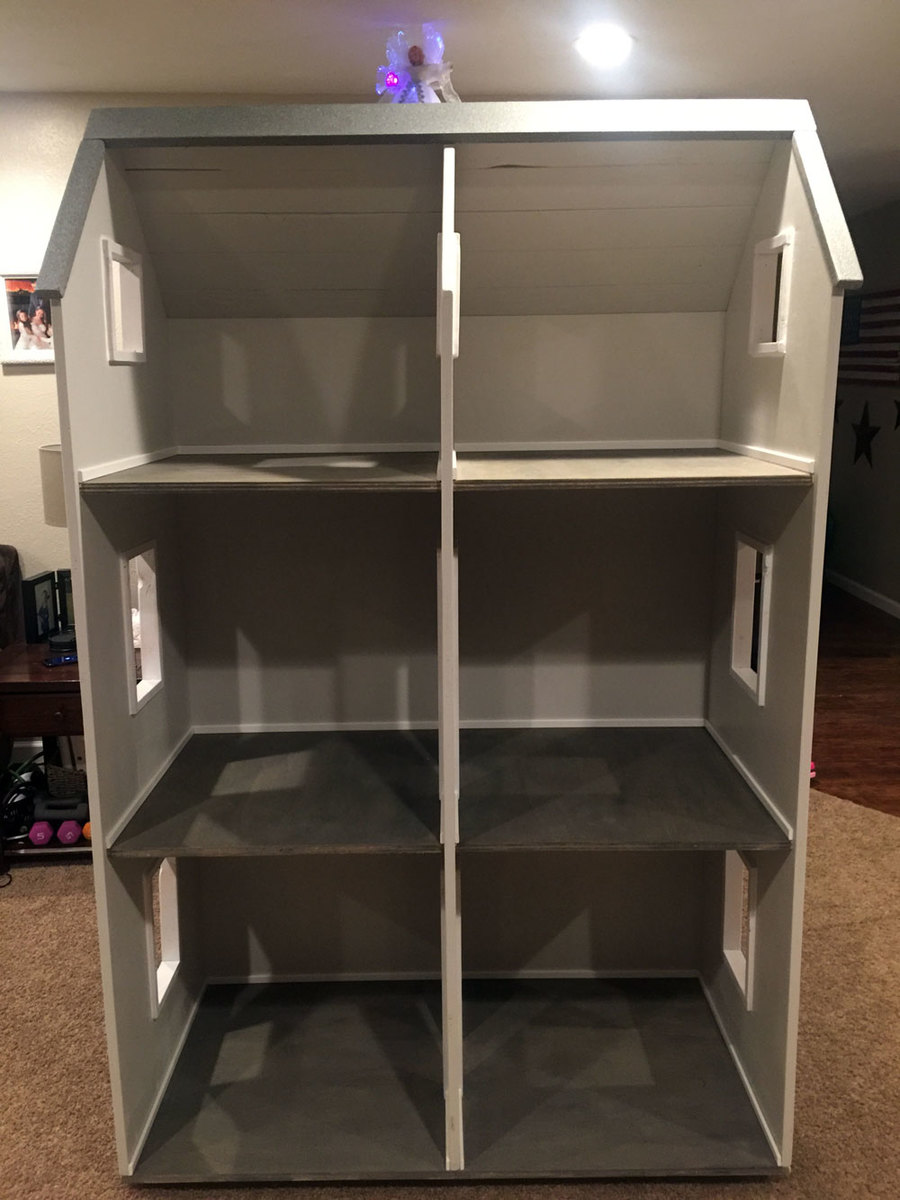

I built this American girl doll house for my daughter. I wanted to give her something to keep her youth alive!


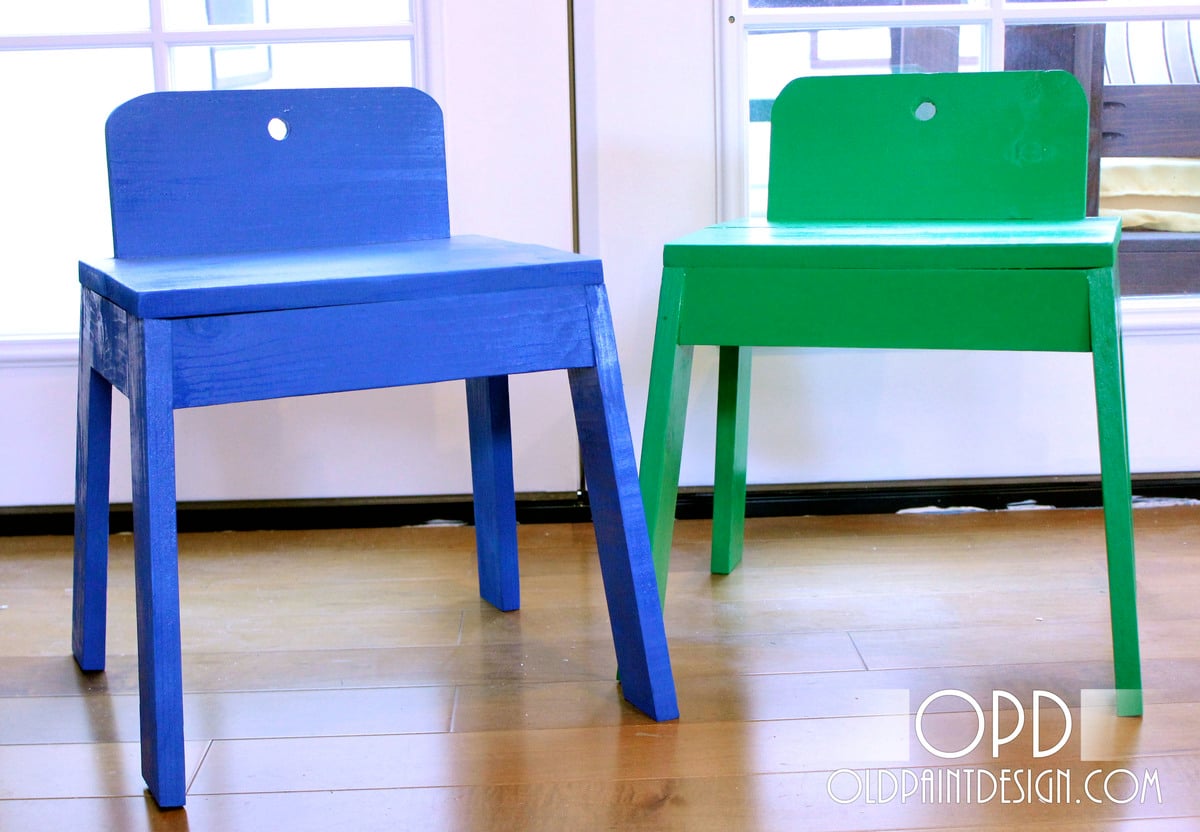
This is seriously the easiest plan ever - great job, Ana! I needed a gift for some children on my husband's side of the family (2 boys, ages 2 and 7), and as I was desperately trying to figure out what to make/give to them Ana posted these amazing plans. I saw them and instantly knew they were perfect! I made them entirely out of scraps from a daybed I had made the previous weekend. The only thing I purchased was the green spray paint - $5 for two great gifts! And, it took me less than 2 hours to build them after work. We gave them to the children last weekend and they LOVED them. They couldn't stop carrying them around with them at the party, and their parents were so touched that I made them a home made gift. PS - As I was getting ready to paint the chairs, I had the blue spray paint leftover from another project and my husband suggested that the other one should be green. I had completely forgotten that Ana painted hers the exact same color! I guess it's a popular color combo, huh?
I built six armless and two corner sections of the outdoor sectional but now I need to paint it and make cushions. For more details: http://www.homeandawaywithlisa.com/blog/2012/1/5/patio-furniture-in-pro…

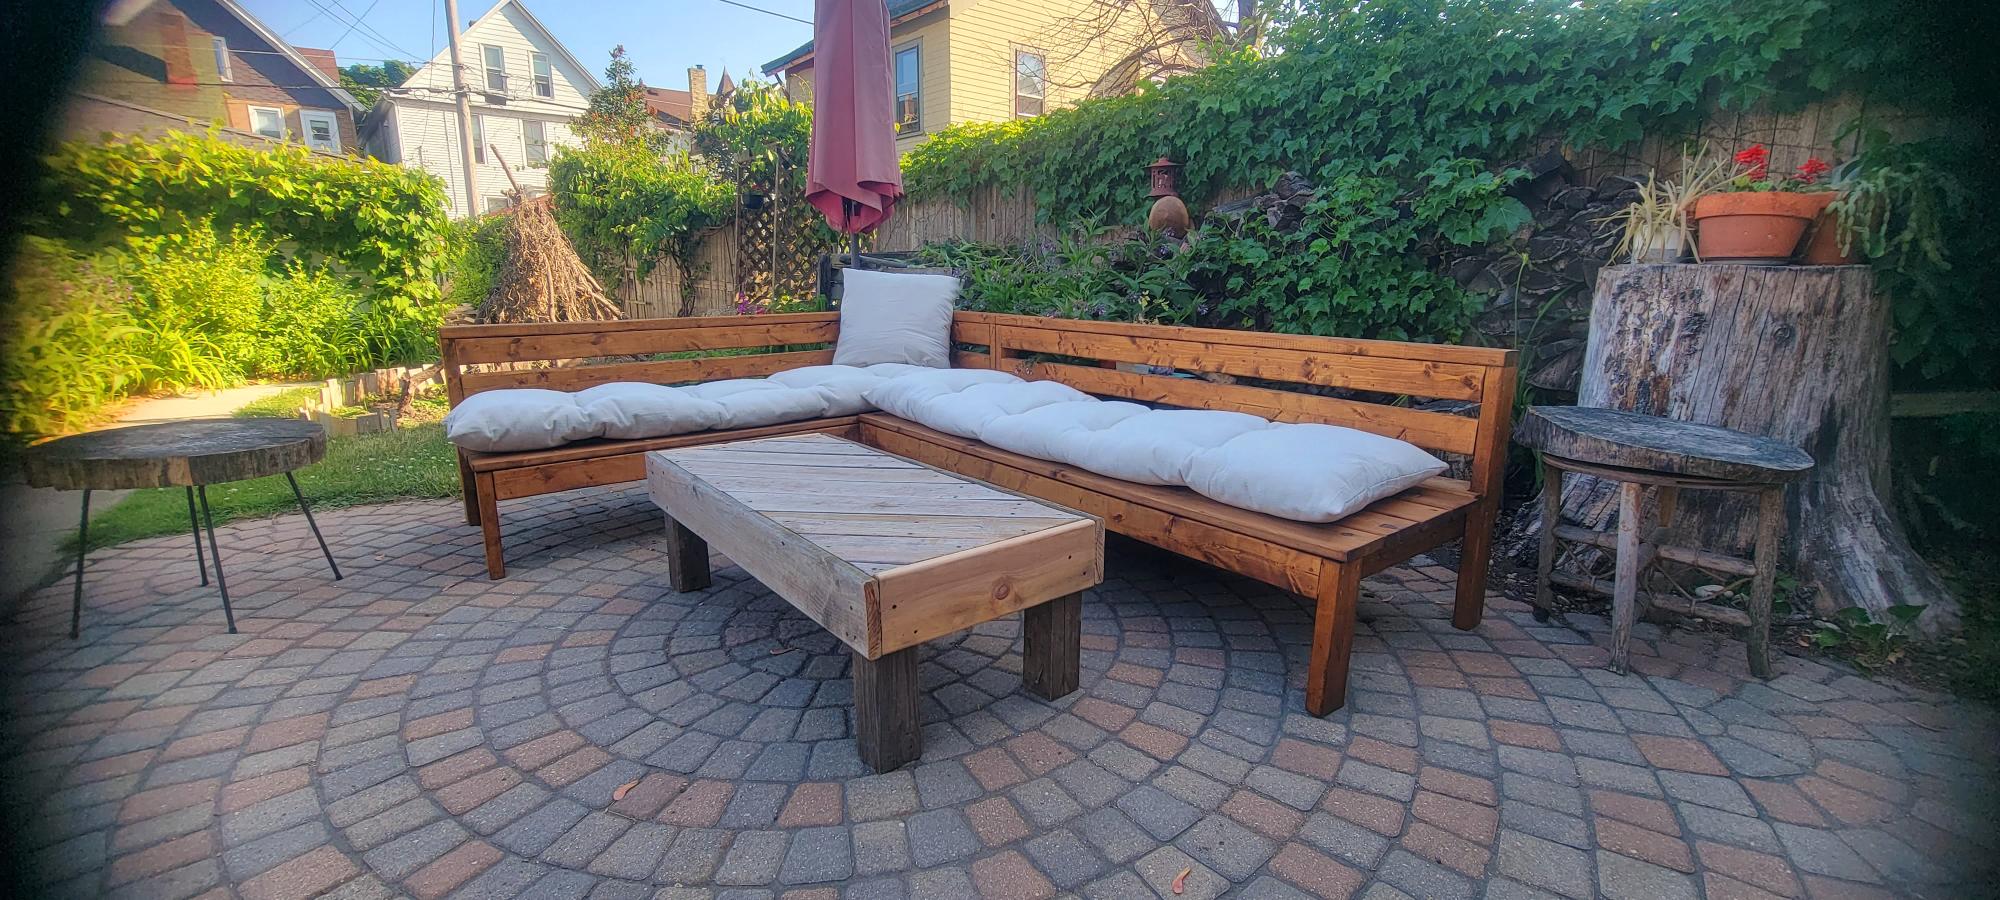
Slight mod, table added from wood picnic table that the sectional replaced.
For our first Easter, my wife wanted to bring both our families together to celebrate in our new home. I've never done any woodworking before but the plans from Ana and Shanty2Chic allowed me to stretch my creativity. I got some awesome power tools from my father and started cutting away. 2 weeks later we were eating, drinking, and laughing over a 106" farmhouse style dining table. The materials were from the local home store and it was untreated lumber. Because of my inexperience I bought Prime Douglas Fir. The table took 4 of us to move from the detached garage to the living room. Who knew that wood was so heavy!!! Thanks to Ana and the girls at Shanty2Chic for some great tips. I relied on the pocket holes to attach the top boards but added a 4x4 in the middle for a feature piece to the table. The table top support beams are through tenon and mortise (I researched this on YouTube) but shimmed a bit since I didn't make them 100% perfect. The bottom 4x4 support is laid into the 4x4 on the leg support. Such fun, and am definitely looking to start more (perhaps with a lighter wood) projects soon. I'll continue to post any/all future projects.
Sat, 04/02/2016 - 16:18
...because these "first build" posts are amazing!! Great job!! Goes beautifully with your gorgeous home!
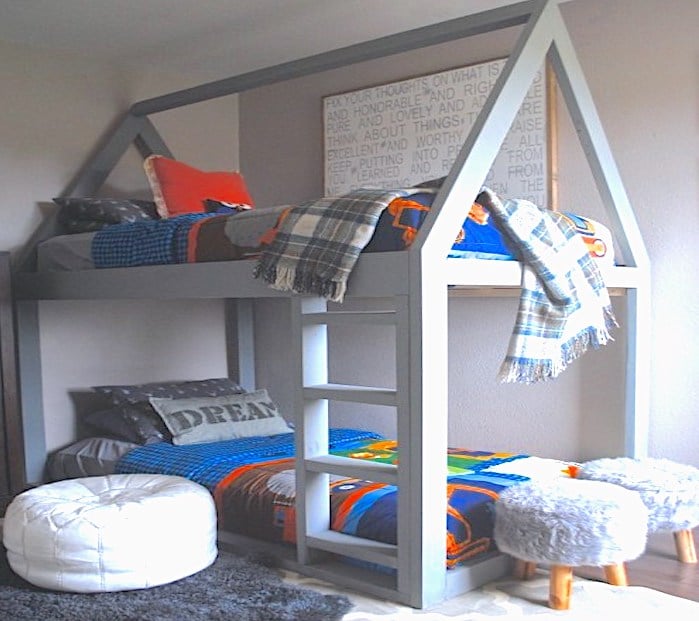
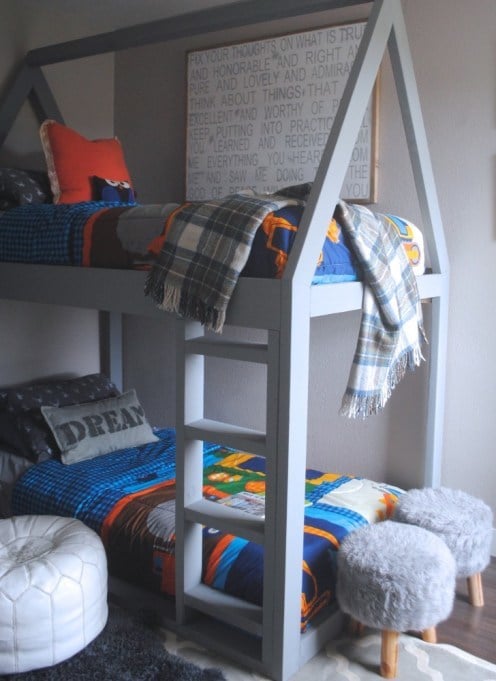
House Beds are a huge trend right now. I saw my first house bed over a year ago and I fell in love and I swore that as soon as we built our daughter a toddler bed someday, I would make a super cute pink house bed, decorated in cute pom pom buntings and it would be perfect. Well, fast forward a year, and she’s only 16 months, still a ways away from being in a toddler bed. Then I had a idea! We are in the process of decorating our boys bedroom. and we needed to build them a new bunk bed set as their old set was massive and took up half their room. Click link below to view the full tutorial!
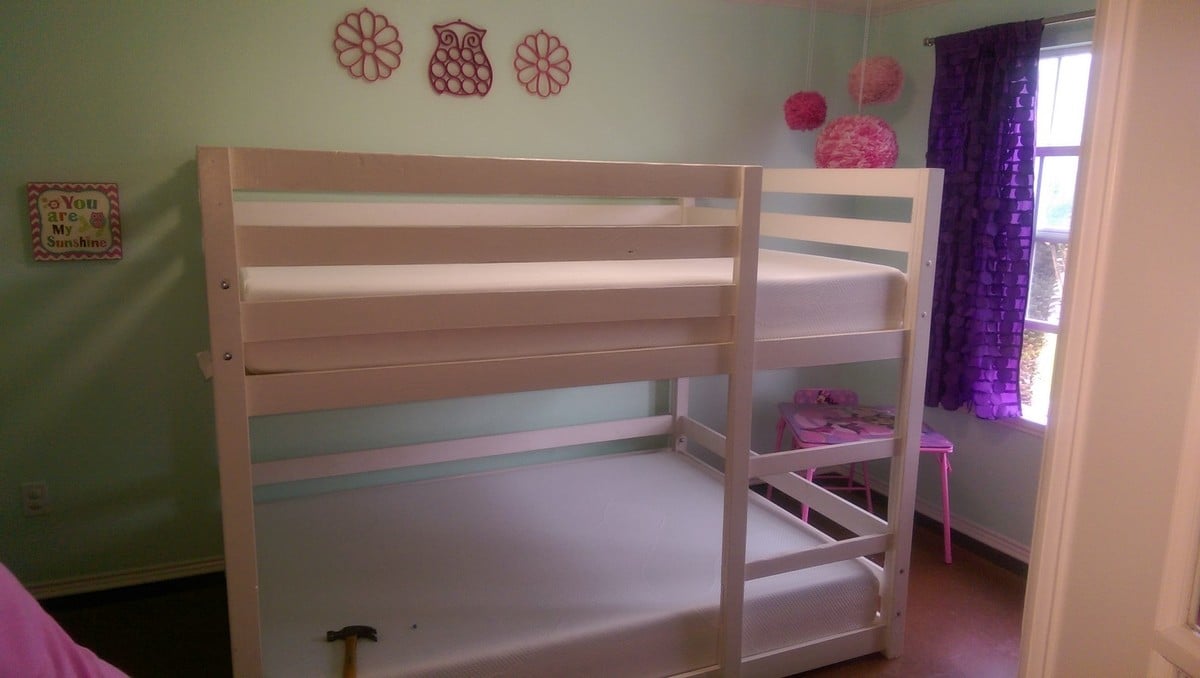
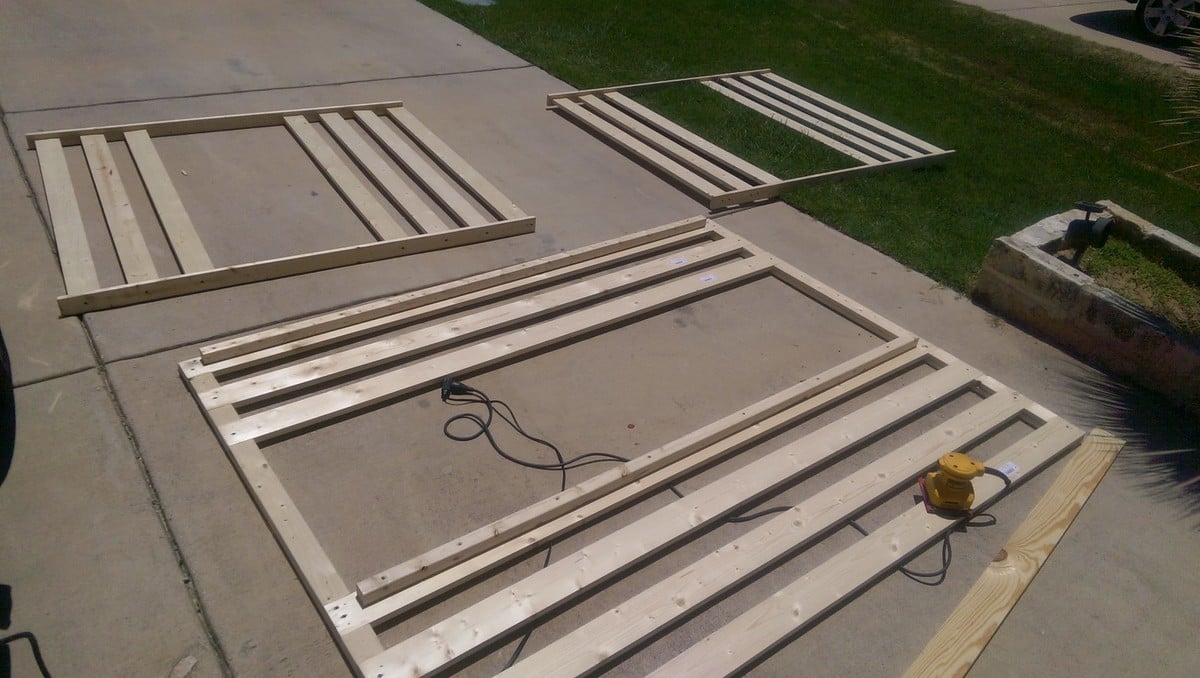
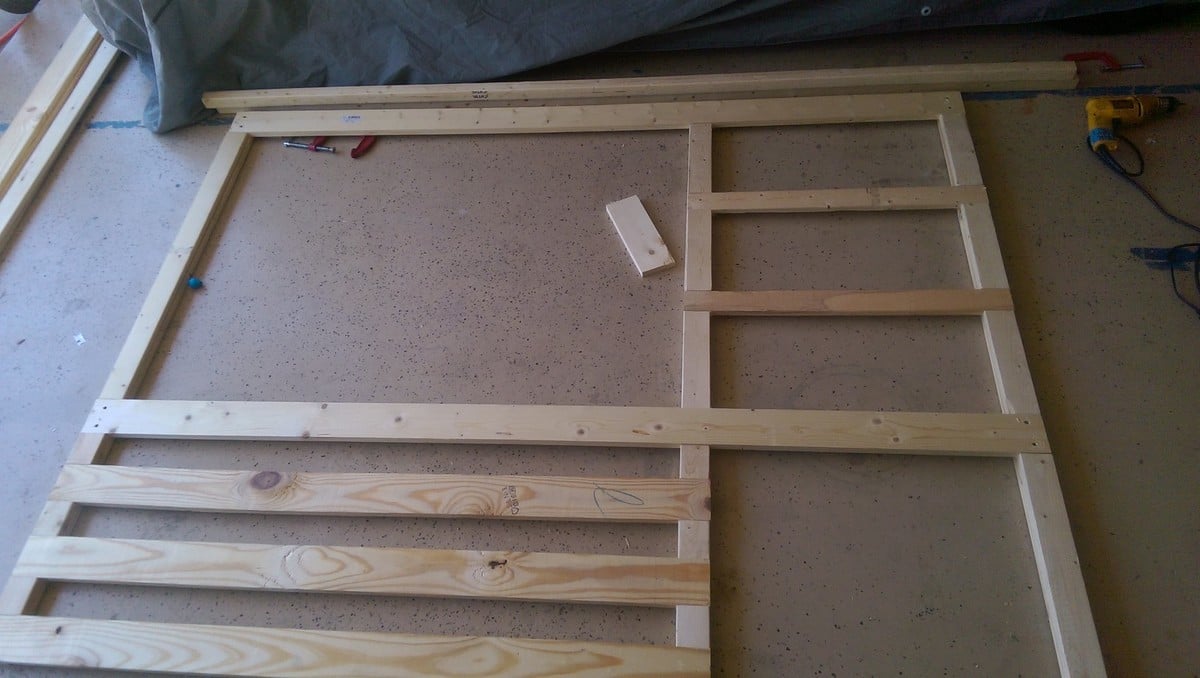
Full over Full bunk beds. Adjusted for Full from a twin measurement. only 1" off floor for more head room.extra rail bar coverage upstairs for my daughter who rolls out of bed regularly.
Wed, 12/30/2020 - 12:15
Would also love to know dimensions used for the full! Thanks for sharing your amazing talent!
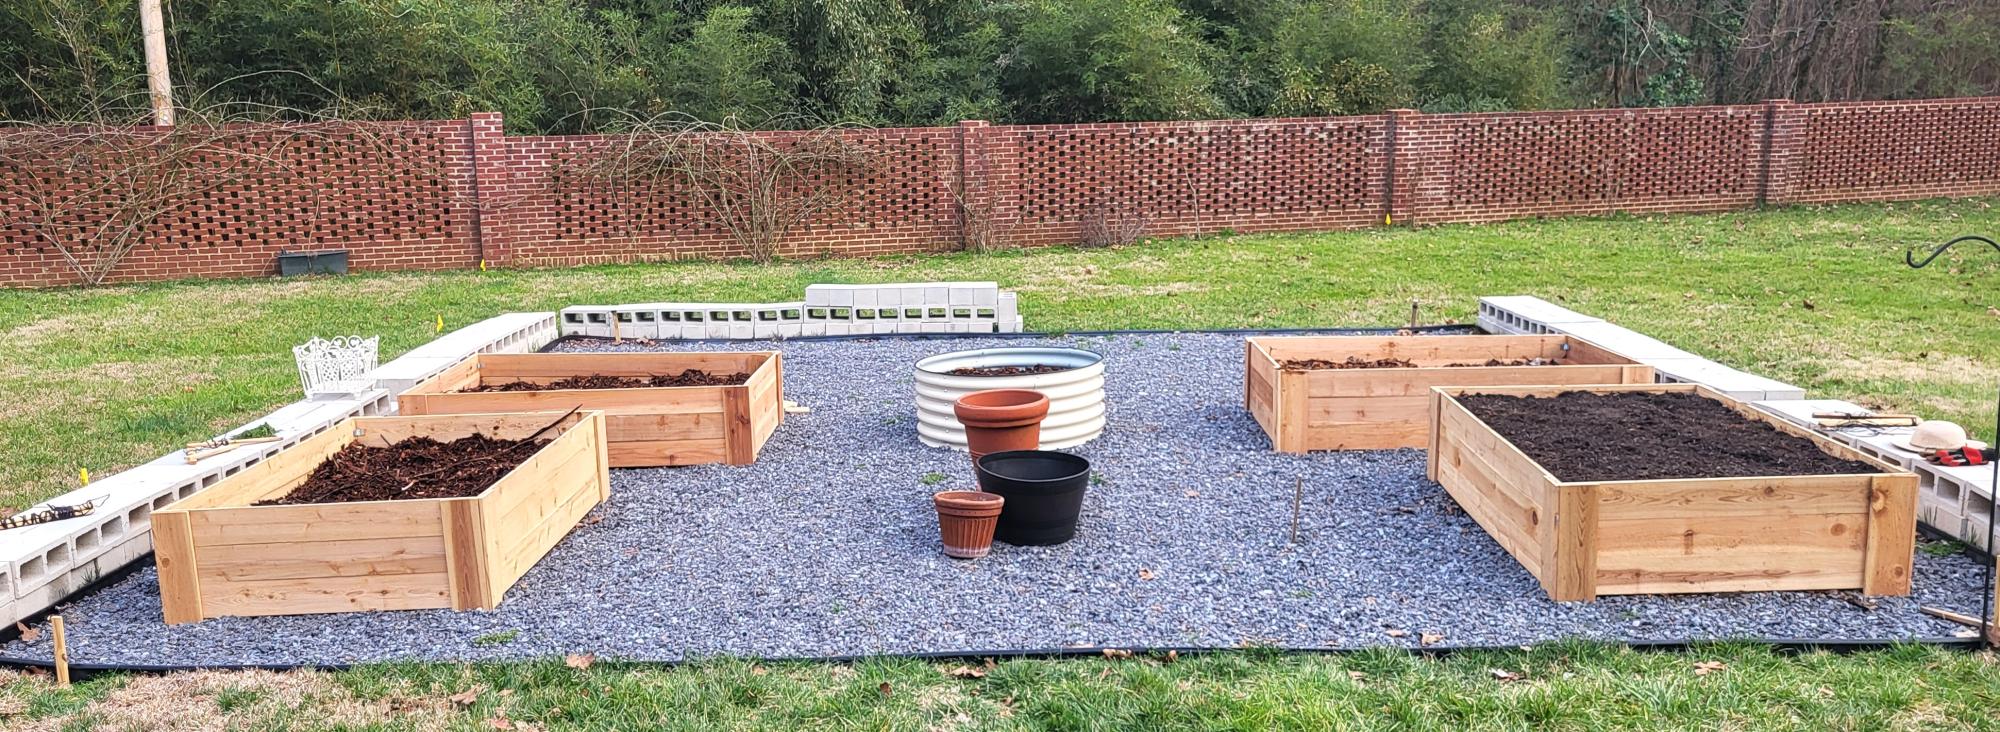
These four raised beds are just the beginning!!!!
Amarilys Flores
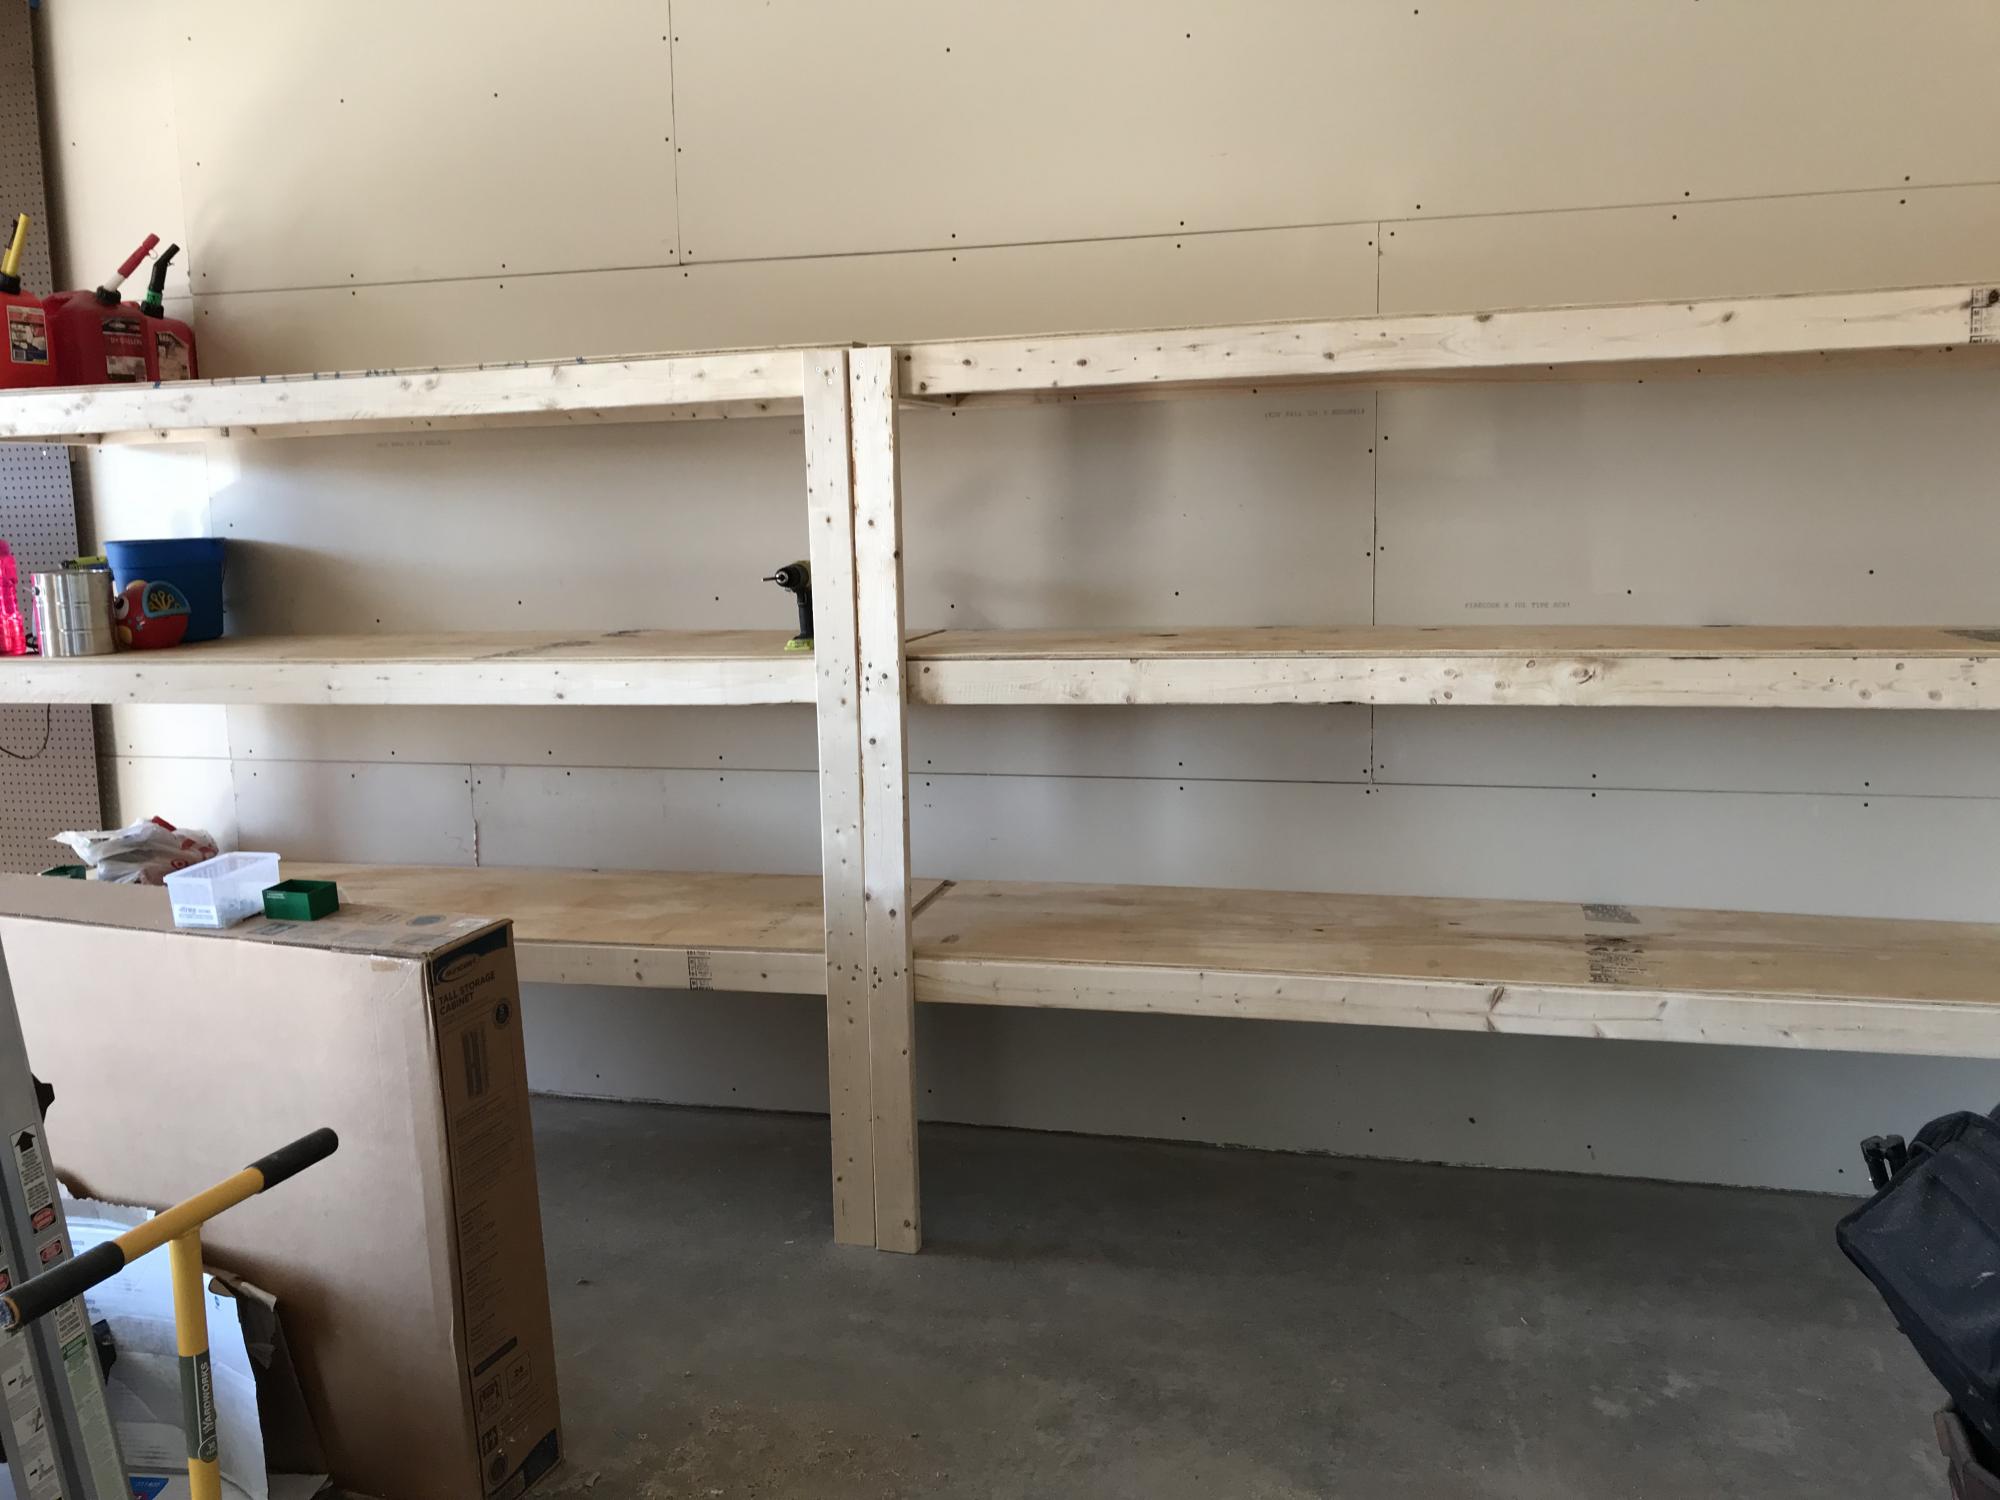
Easy, quick garage shelves!
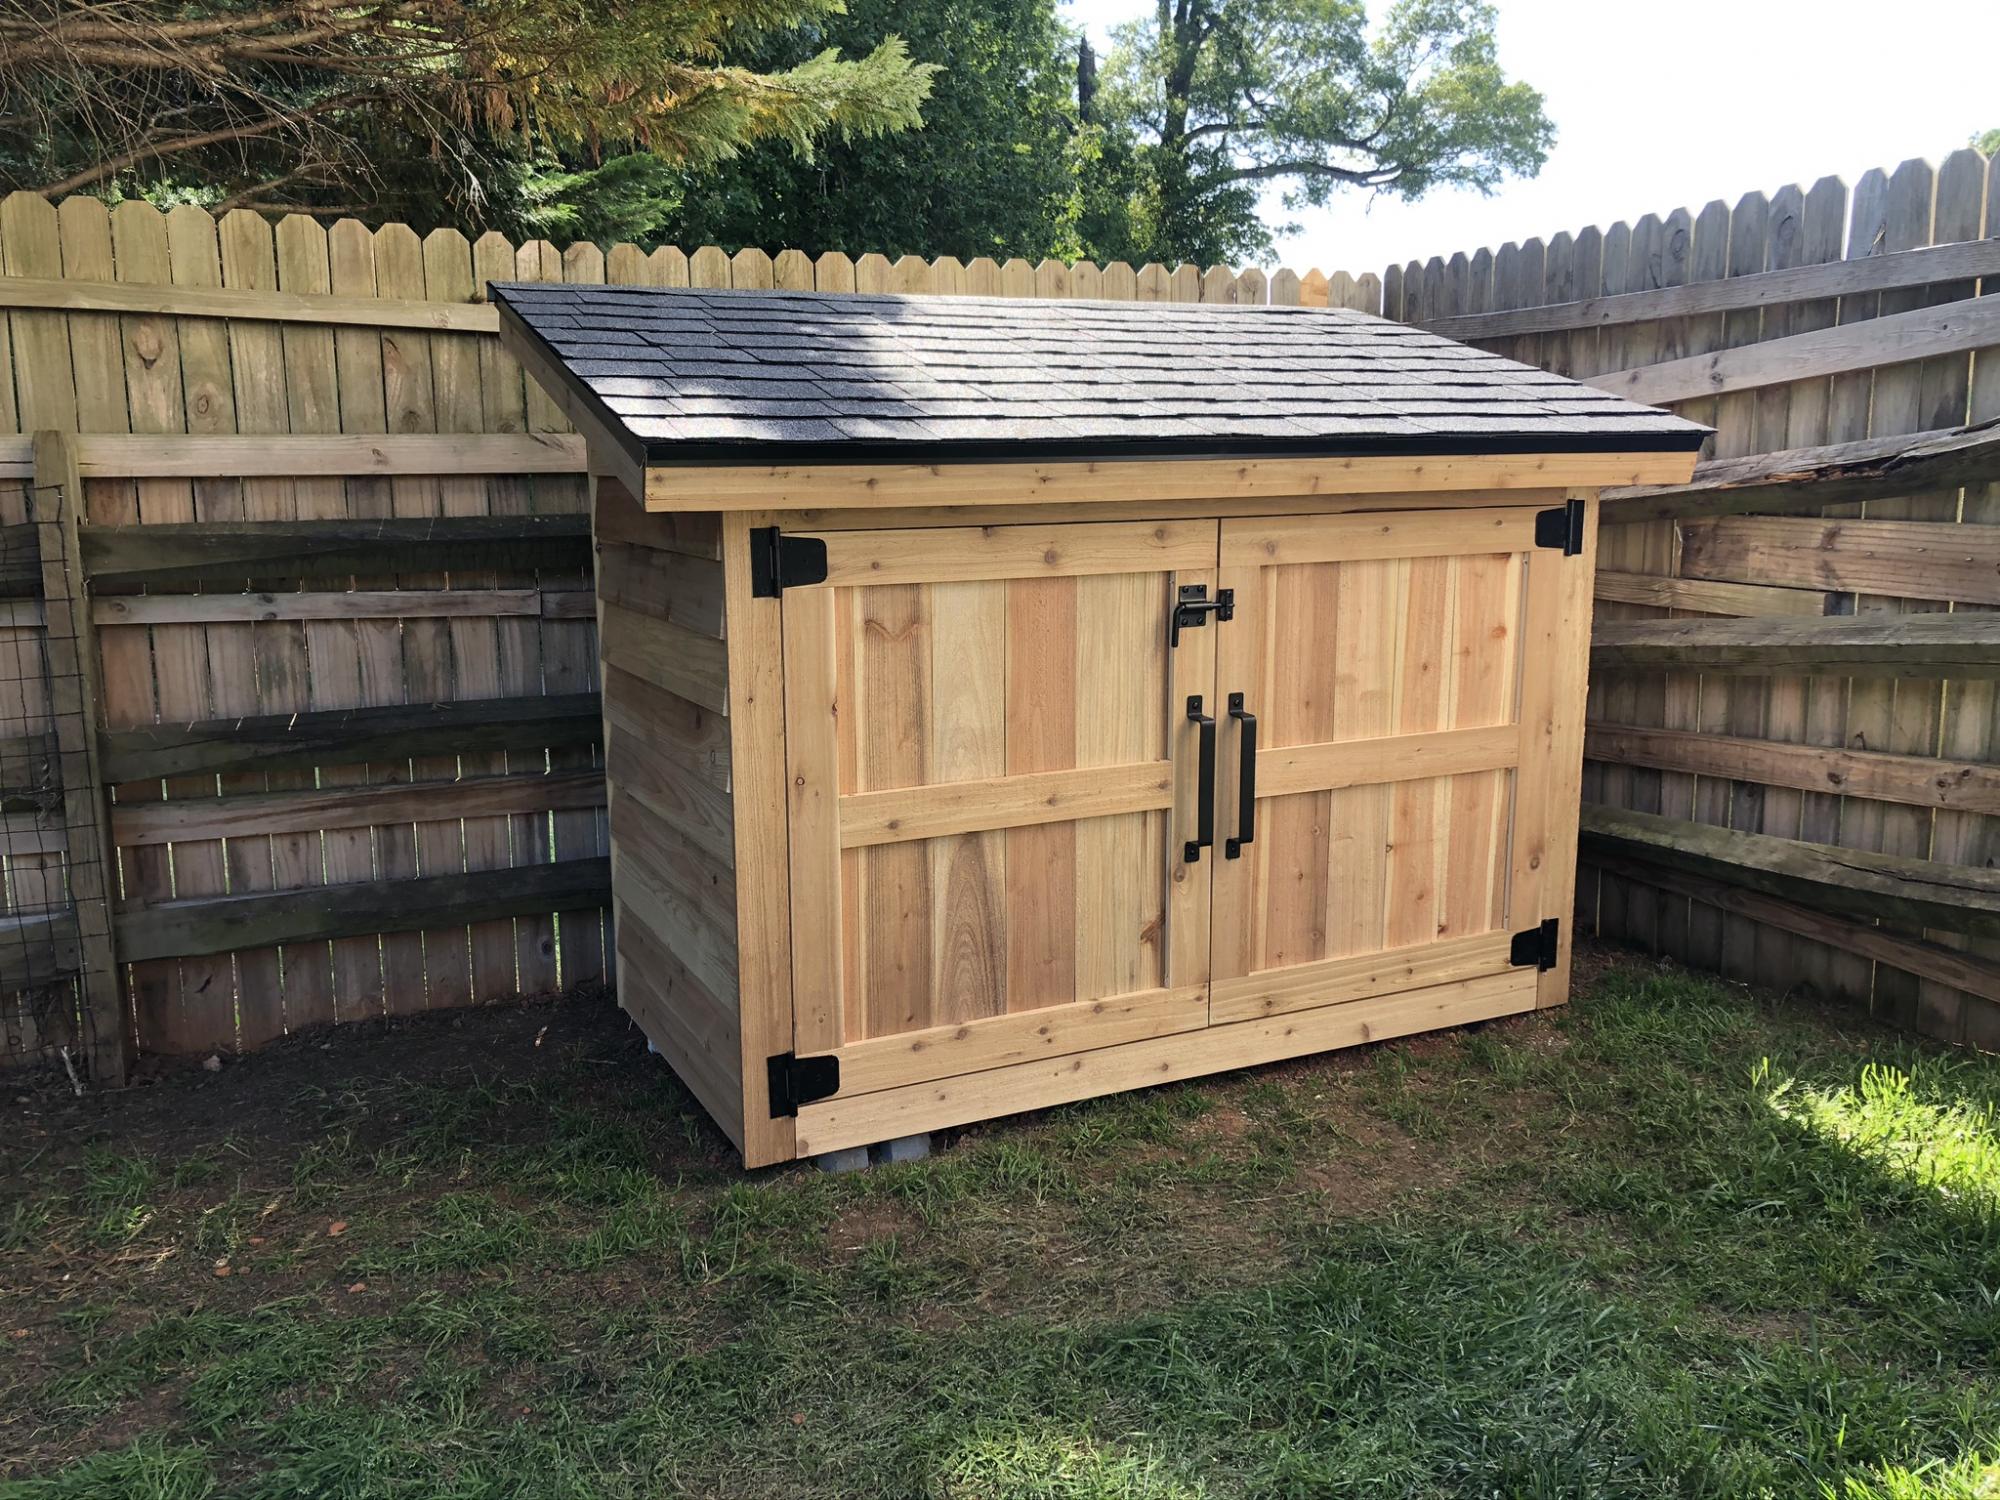
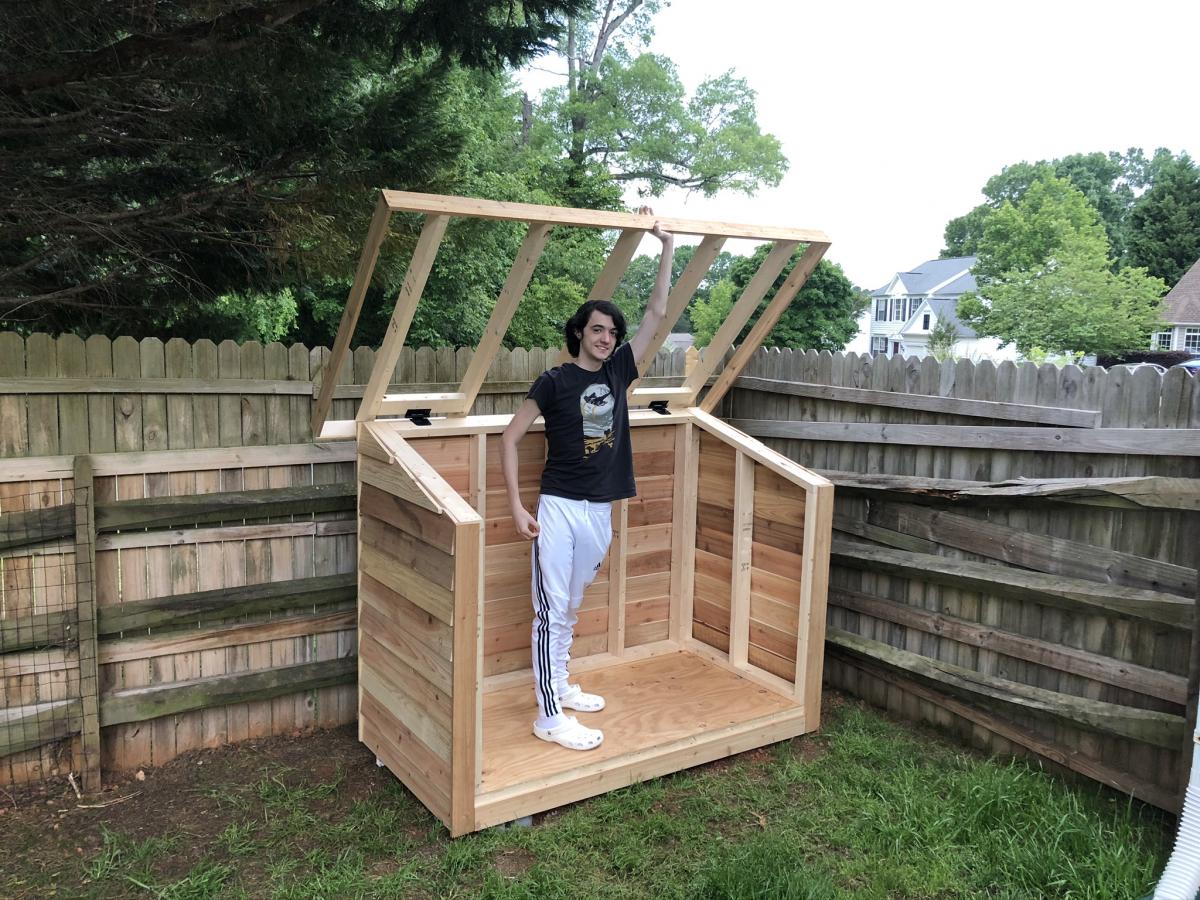
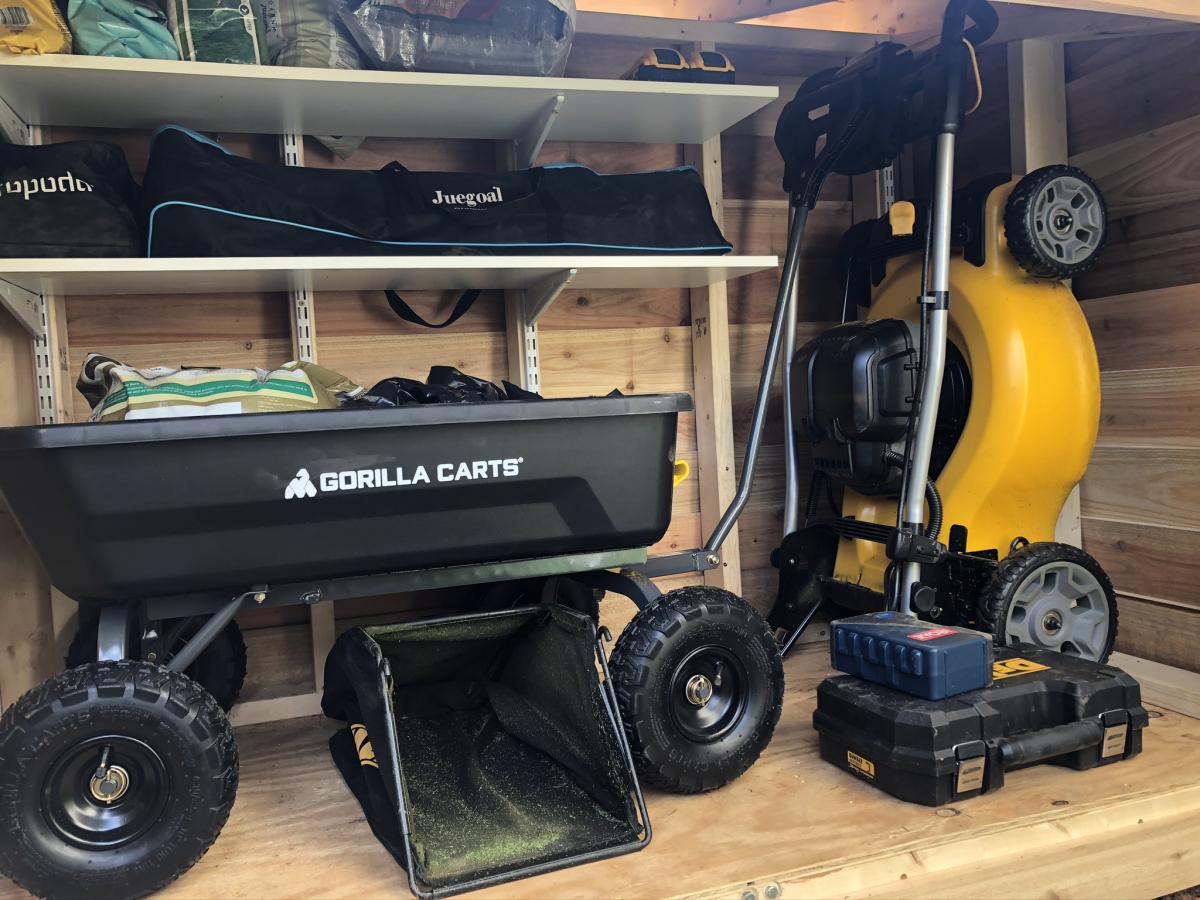
We wanted a shorter version, so that it would hide behind this fence. I just needed somewhere to store lawnmower, wheelbarrow, and a few yard supplies. I started putting the roof on hinges, but the gas struts couldn't support the 170 pound roof. So it's fixed in place (stronger structure anyway). That's why I went with 2x4's for the framed walls instead of 2x2's.
Thu, 06/11/2020 - 17:15
Very Nice modification. Two thumbs up! May I please ask you for the dimensions of the shed?
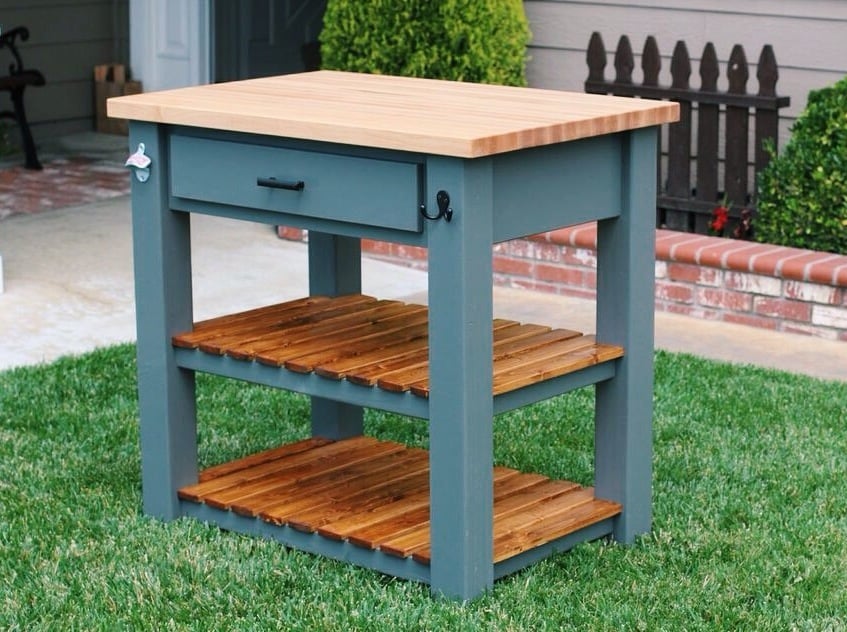
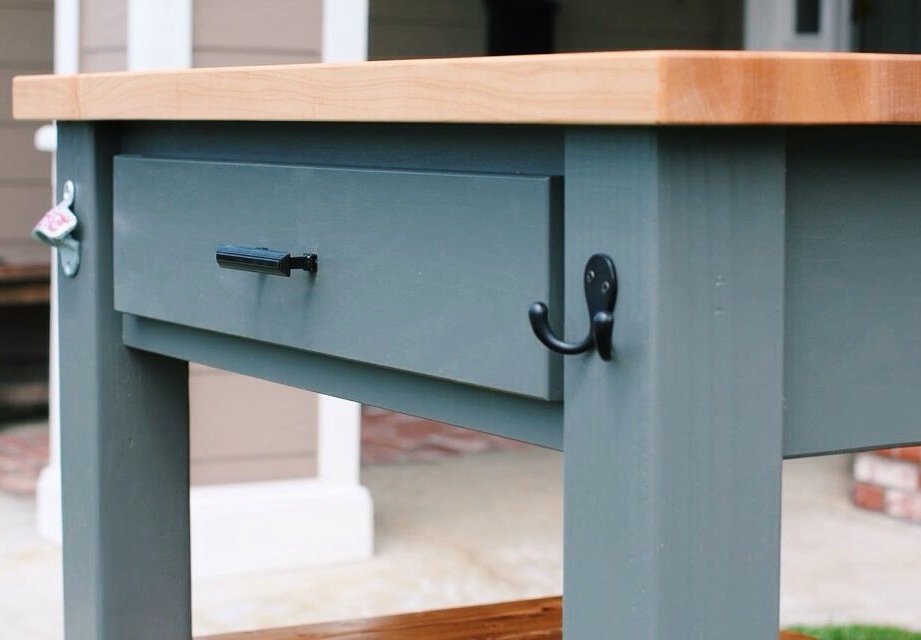
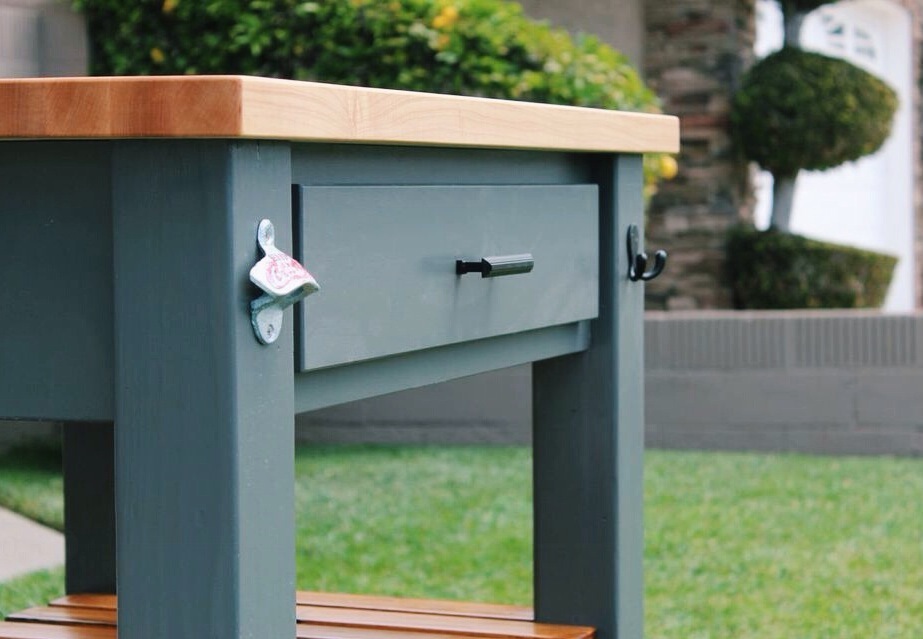
This is a modified butcher block kitchen island built from ana white's plan. Instead of using doug fir (2x4) material for the top, I used hard maple to build an edge grain butcher block top that if knife friendly and food safe. I also altered the dimensions to fit my space.
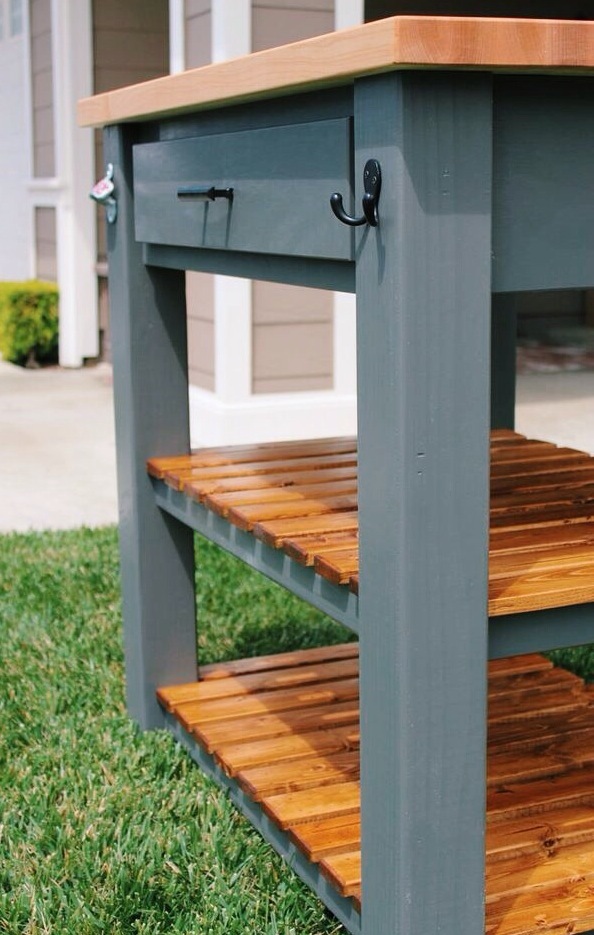
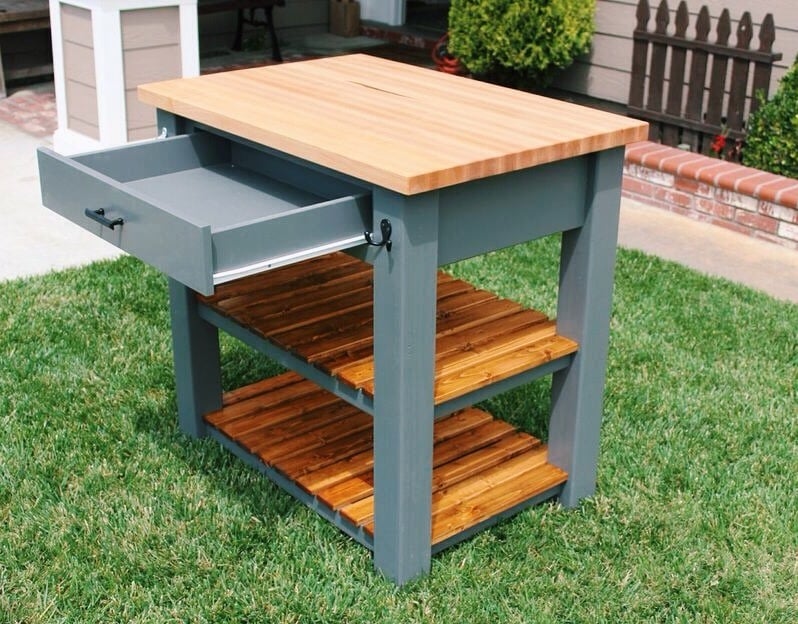
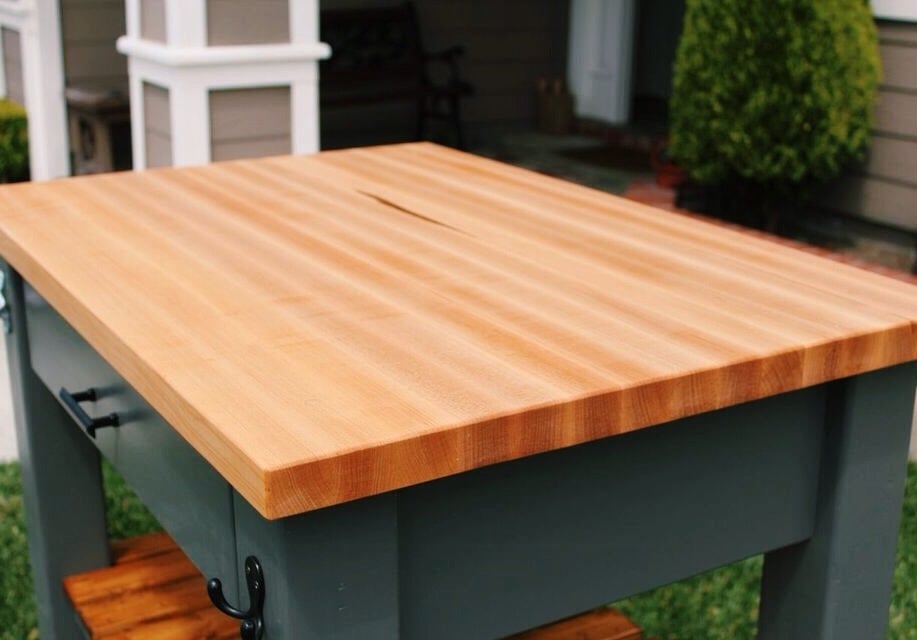
Sat, 05/10/2014 - 11:05
Yet another beautiful kitchen island. Love the finish and butcher block top on this one! Thanks for sharing!
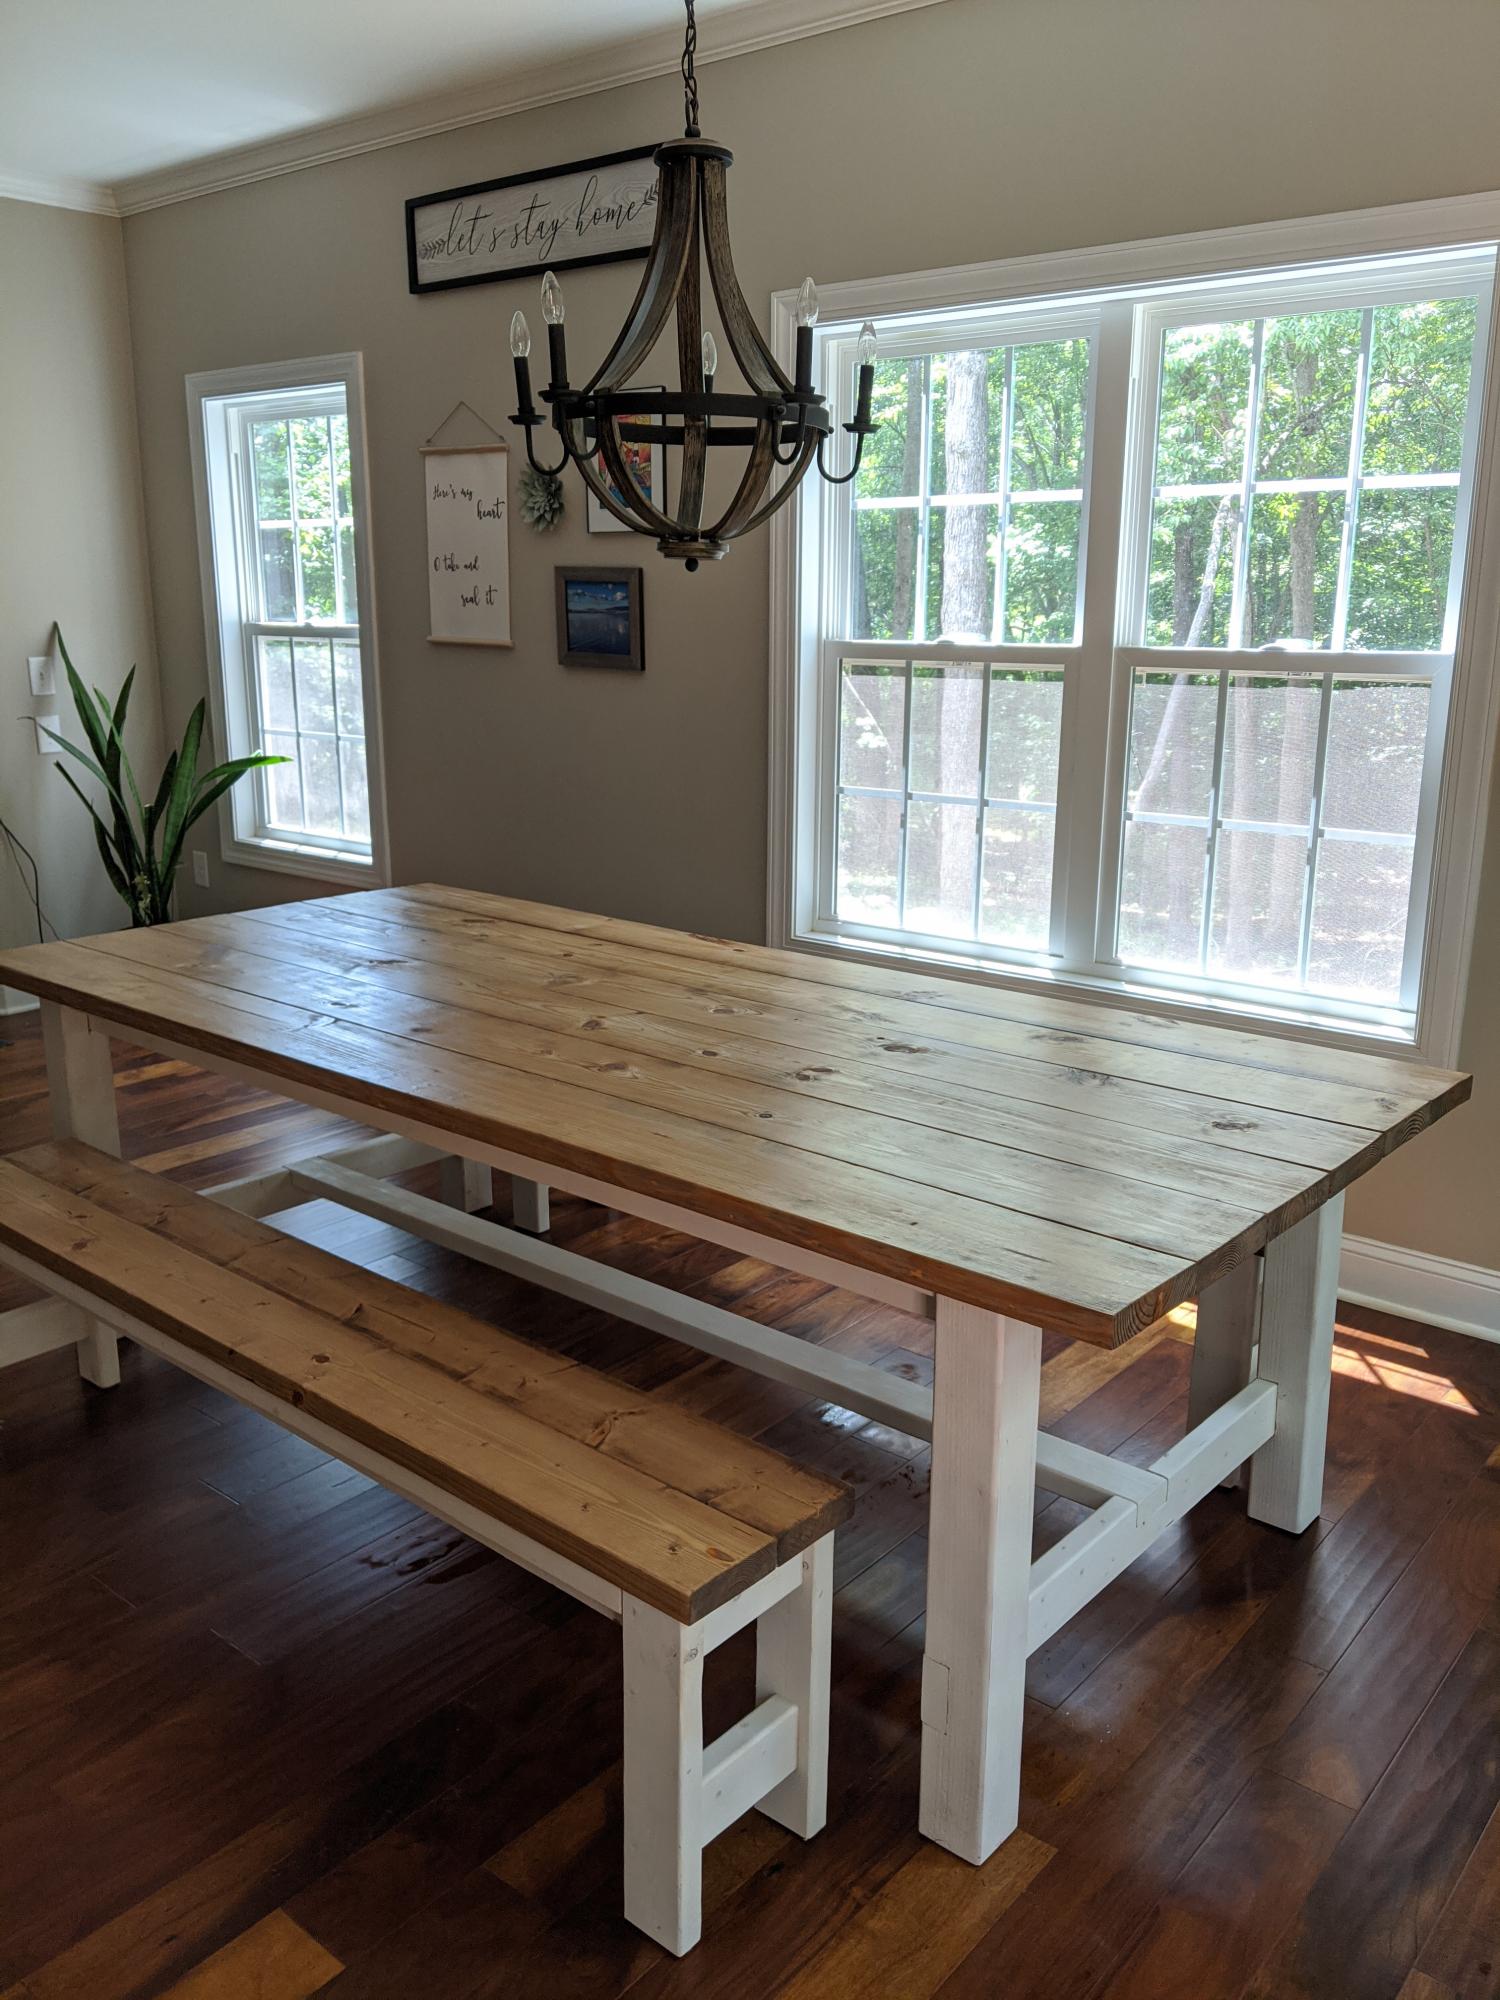
First table build! We modified the plans with no breadboard ends since we live with lots of humidity and wanted to allow the wood movement. We also used 4x4s for the legs. White chalk spray paint legs and custom mix of special walnut and weathered oak stains. We LOVE it!!

Simply fun project, and so Nice in USE! Used pine all the way!
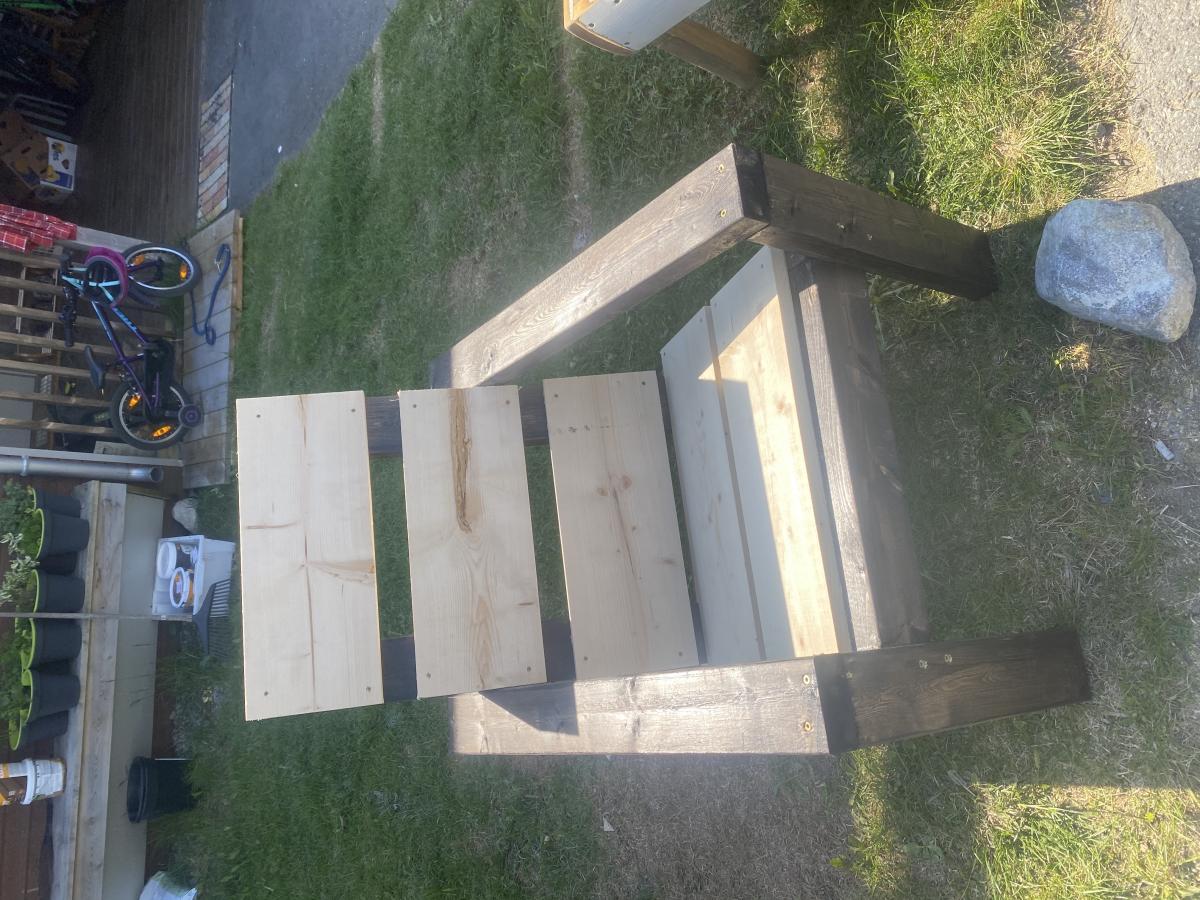
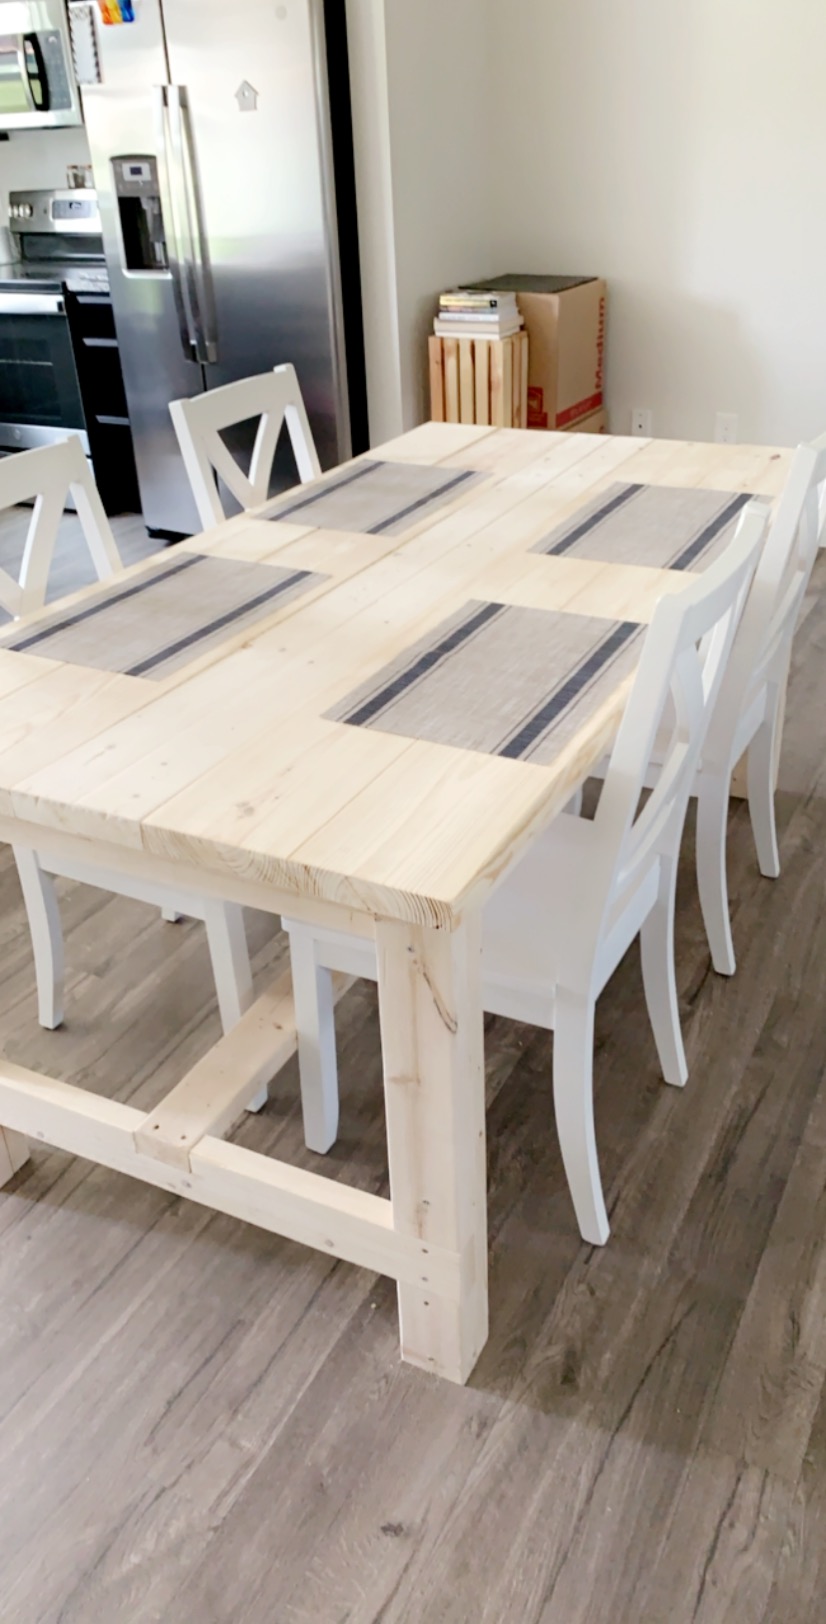
Had to make modifications for size, errors, and personal preference, but we love this table! Still deciding on all white paint or a 2-tone finish. Also- first time using a Kreg jig. What an amazing tool.
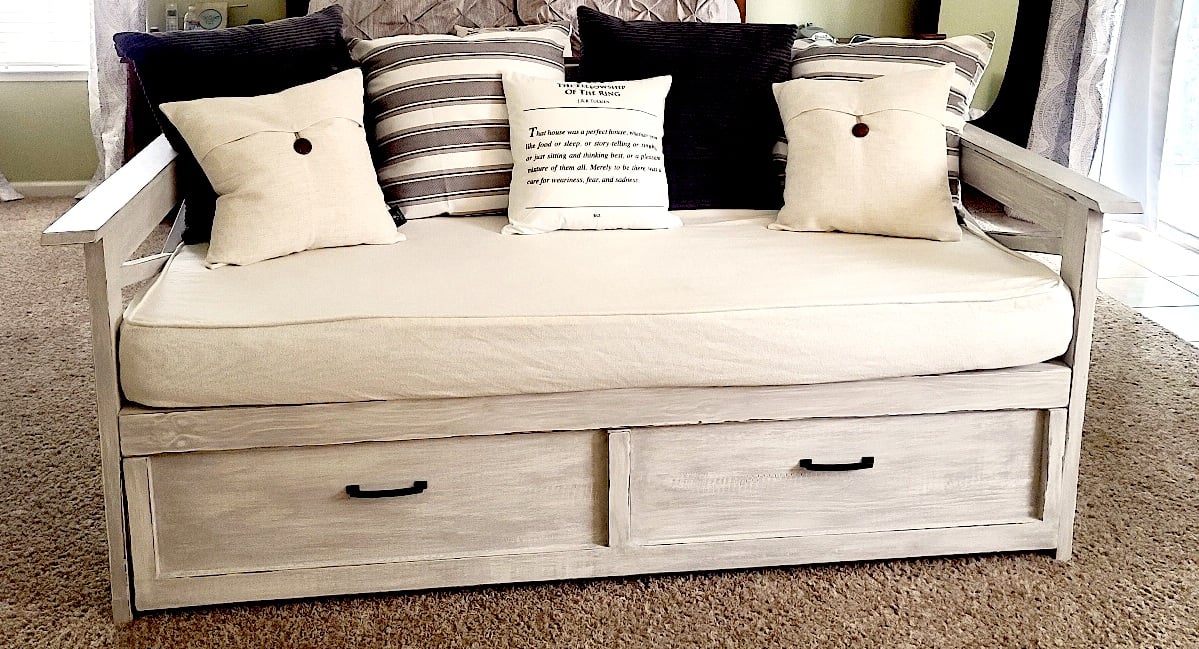
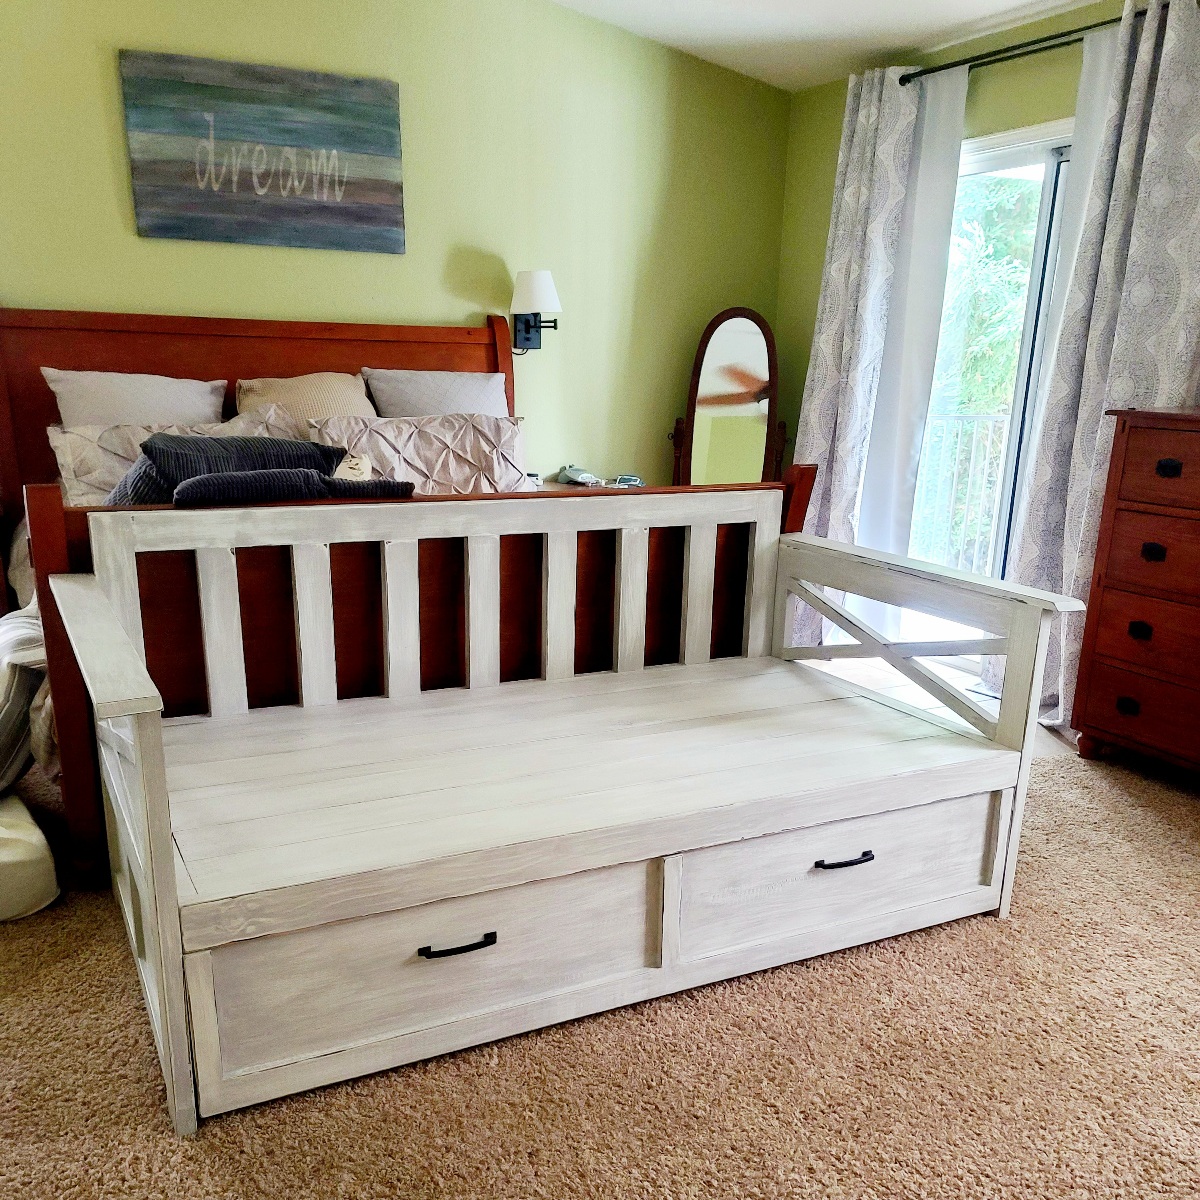
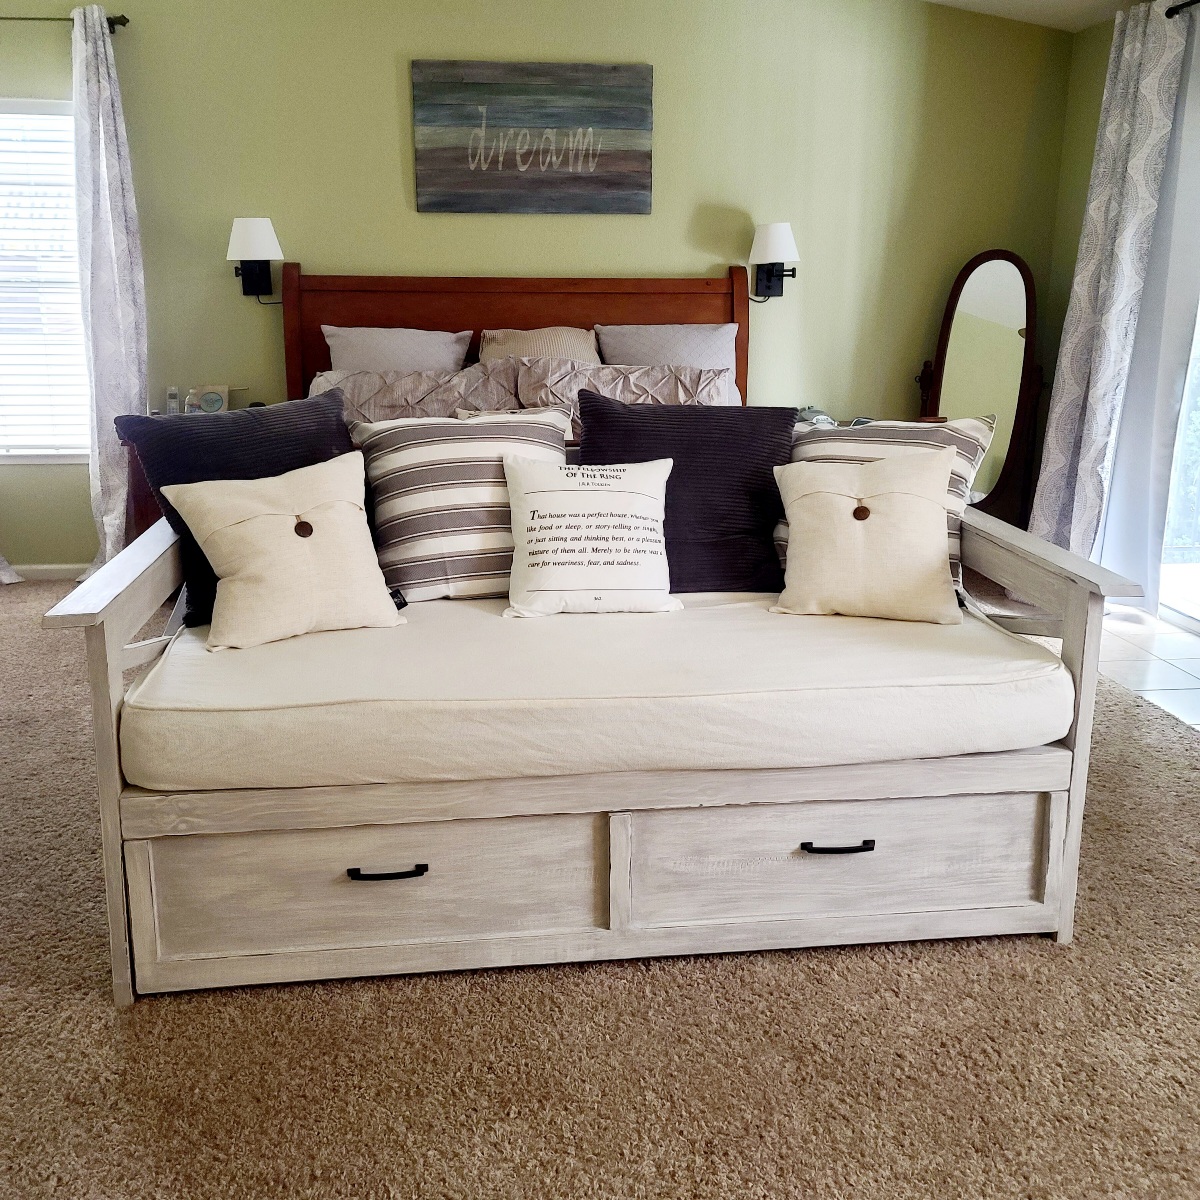
Great plans for a really useful storage daybed! I modified the plans to include a slat back and rustic x sides, as well as changing the Trundle drawers to a single drawer to fit my exercise equipment. I finished the daybed with stain and chalk paint in old white and Paris Grey distressed for the perfect shabby chic look!
modified a bit to add 2 drawers and only 1 shelf, also make with 6" overhang around for stools or chairs.
Sun, 10/05/2014 - 08:51
Isn't that the best plan? So versatile. I love the look - would love to see a picture after you have the island as part of a kitchen scheme.
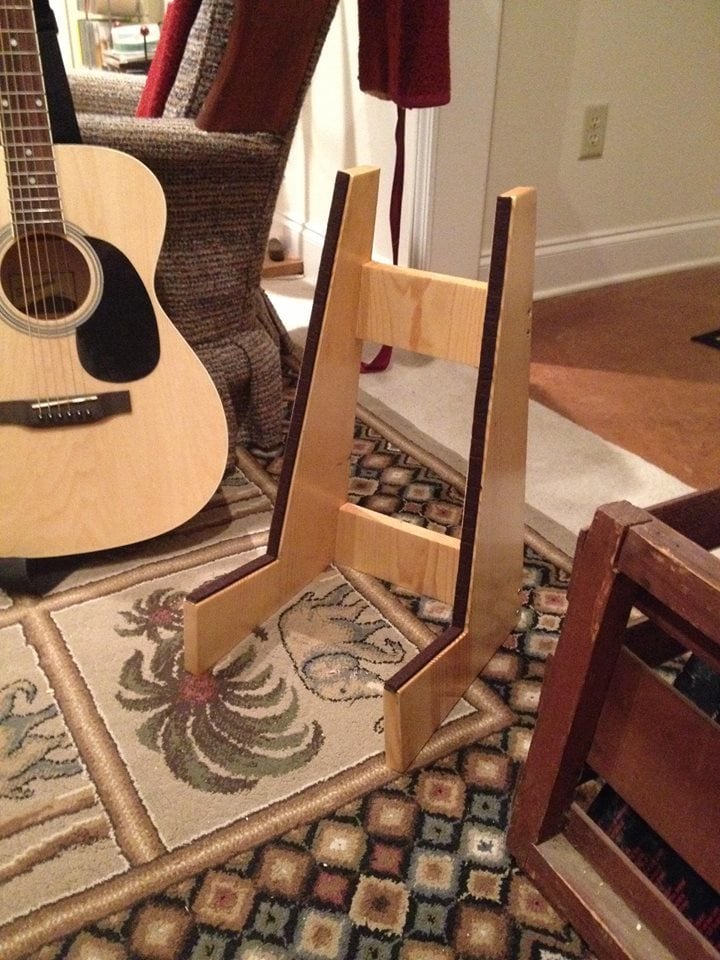
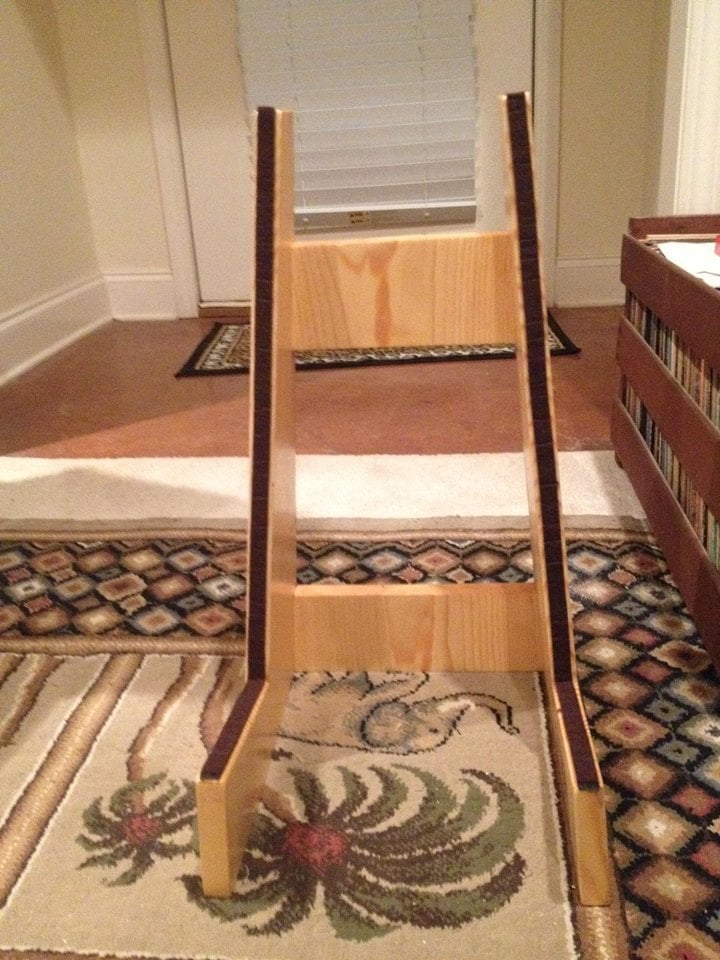
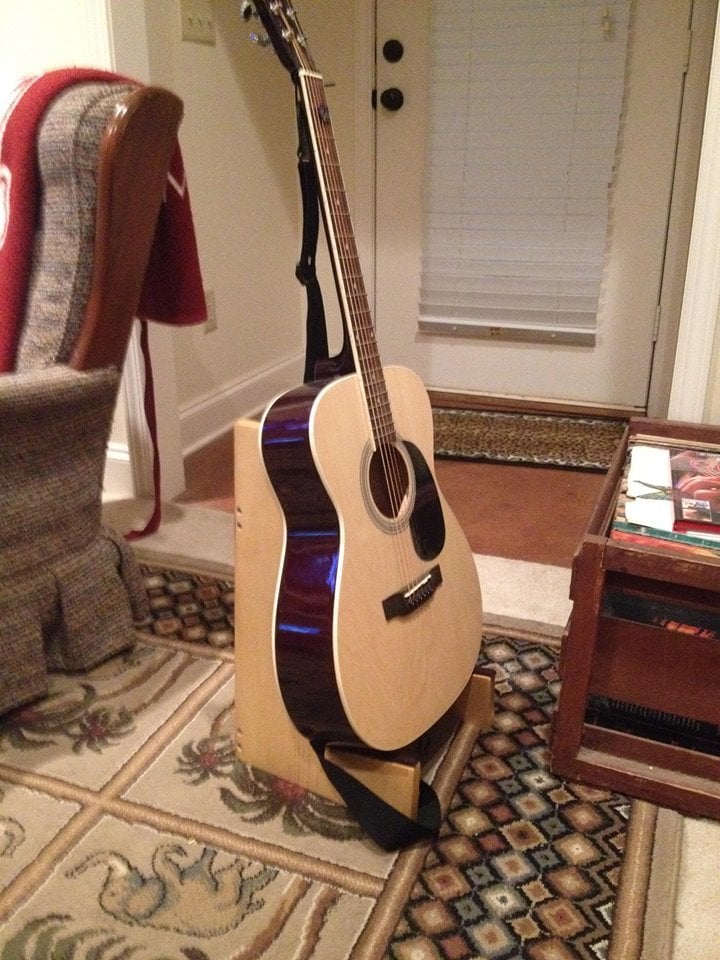
Built this guitar stand basically by using on-hand materials left over from another project. Used 1x12's; 18" tall fir for sides and back braces (cut at 5 degrees on each side). Added felt strips to protect the instrument.
Thu, 05/28/2020 - 17:37
Very nice and well designed. Thanks for some ideas!
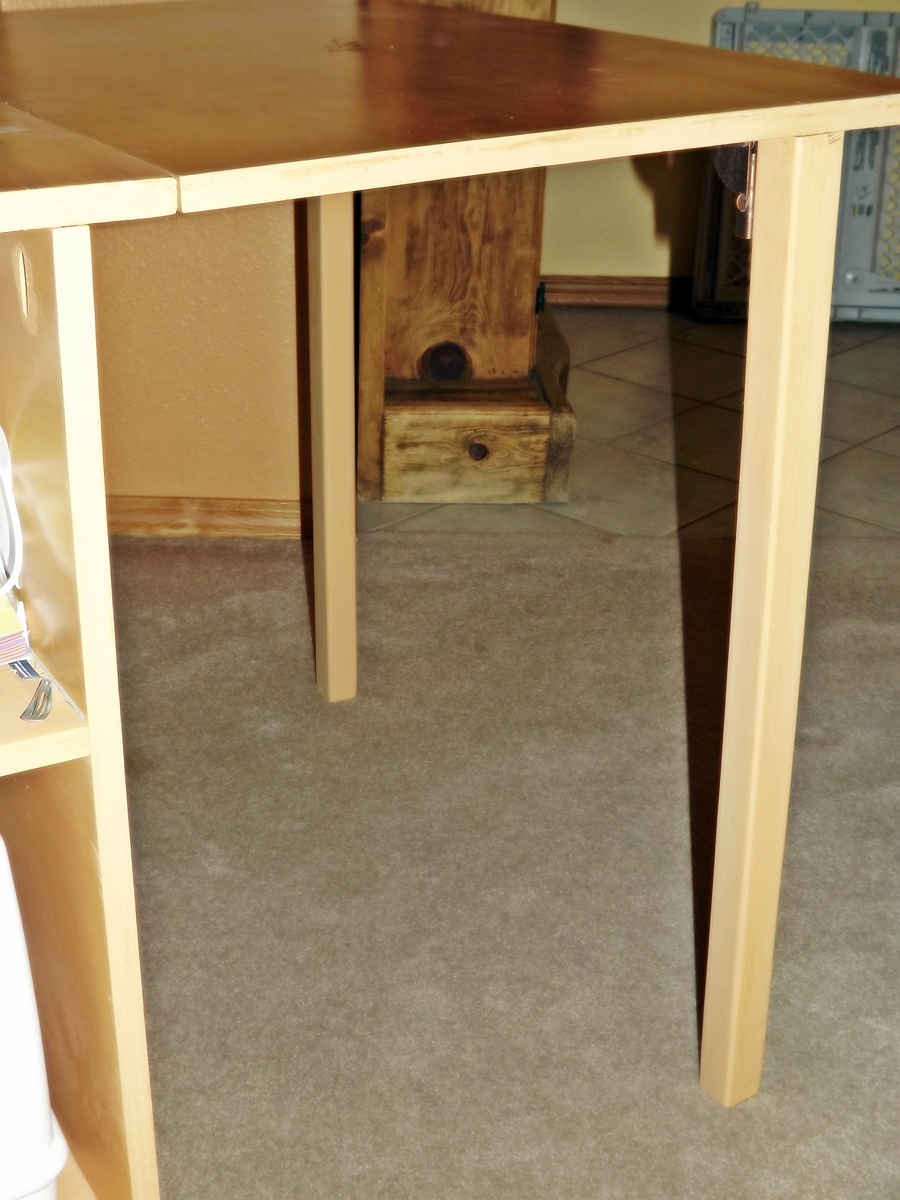
My daughter-in-law needed a compact sewing table, and this plan fit the bill perfectly! I did use 2 x 2 legs instead of 1 x 2s. This makes the table considerably more stable if you plan to use this table with your machine. If you do use the 2 x 2s for legs, you will need to widen your table top dimensions from 15 1/2" to 17" to accommodate the larger diameter of the legs. I also used a piano hinge for each drop leaf. They weren't much more expensive than the hinges listed in the plans, but again, they provide more stability (imho).
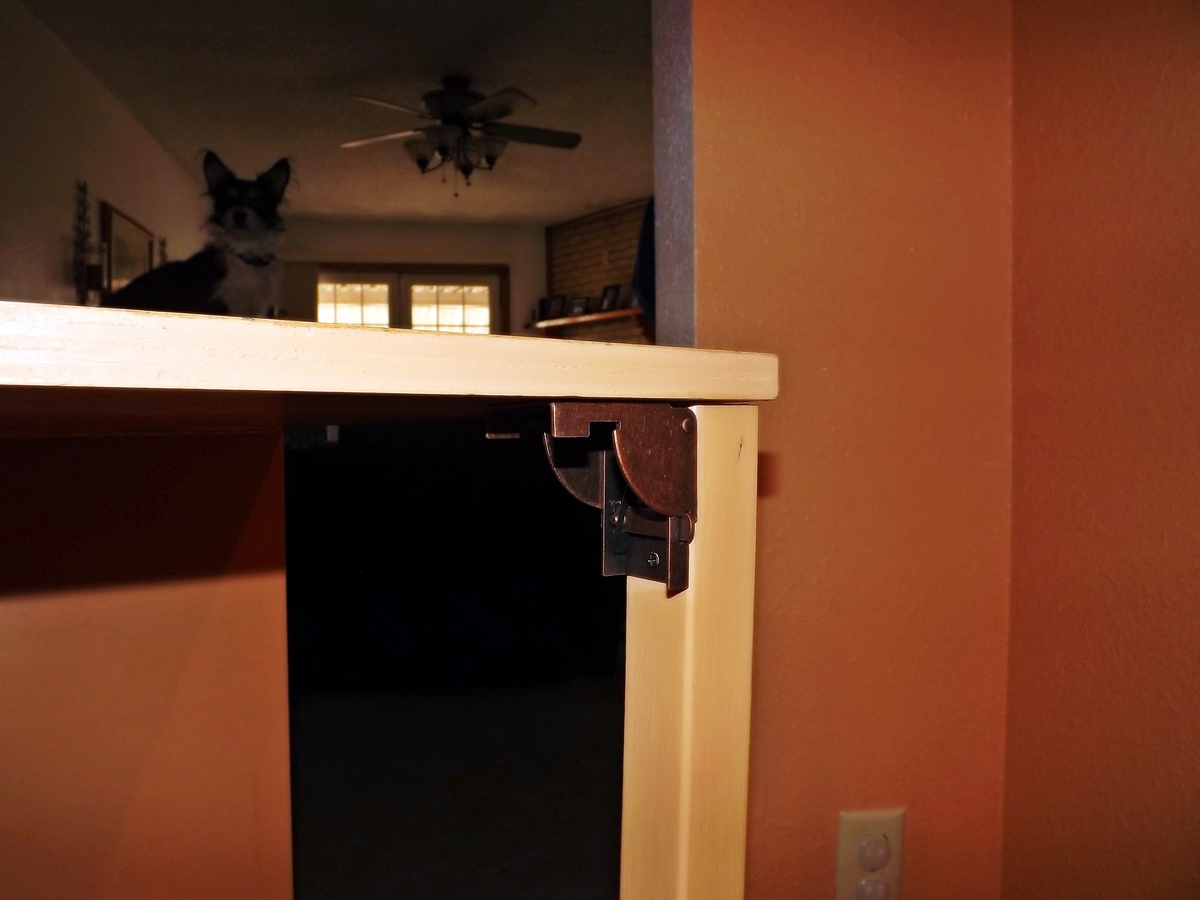
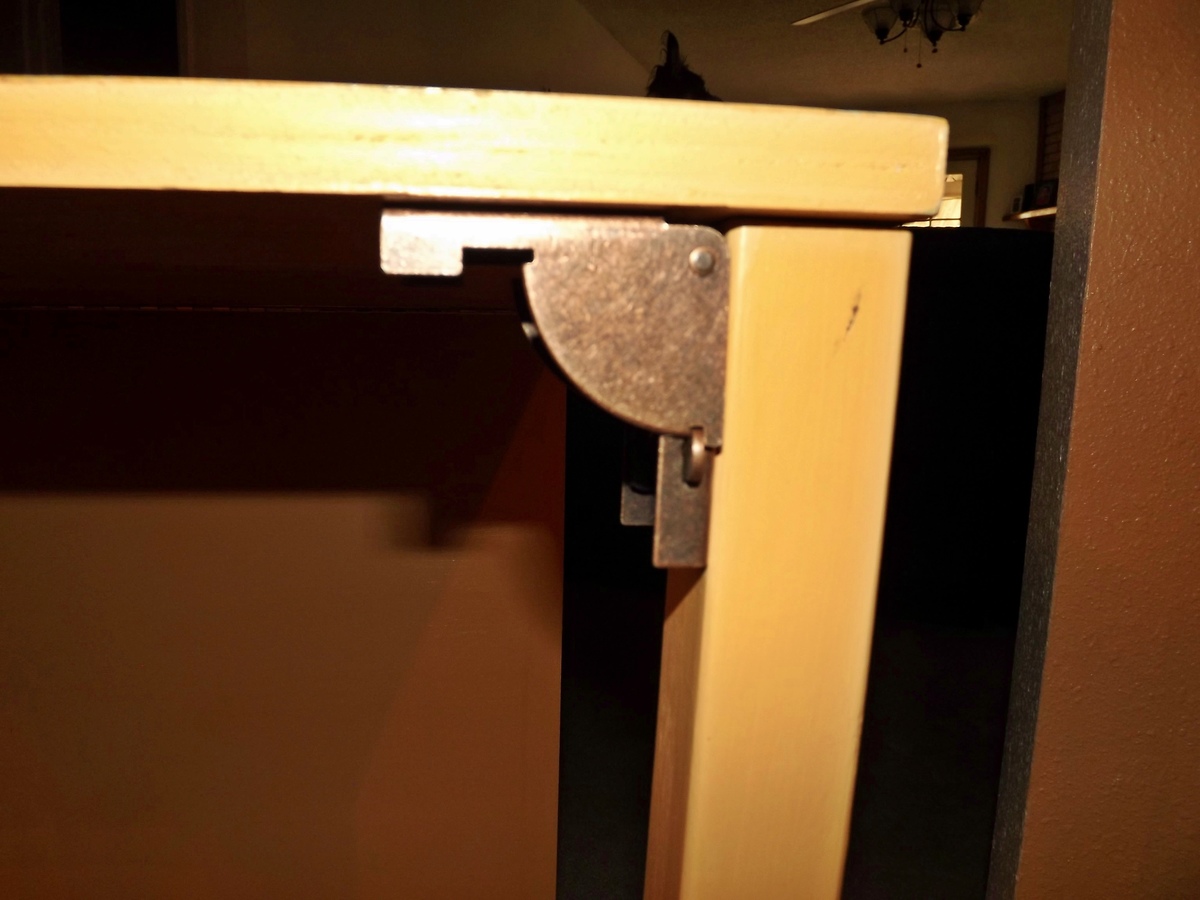
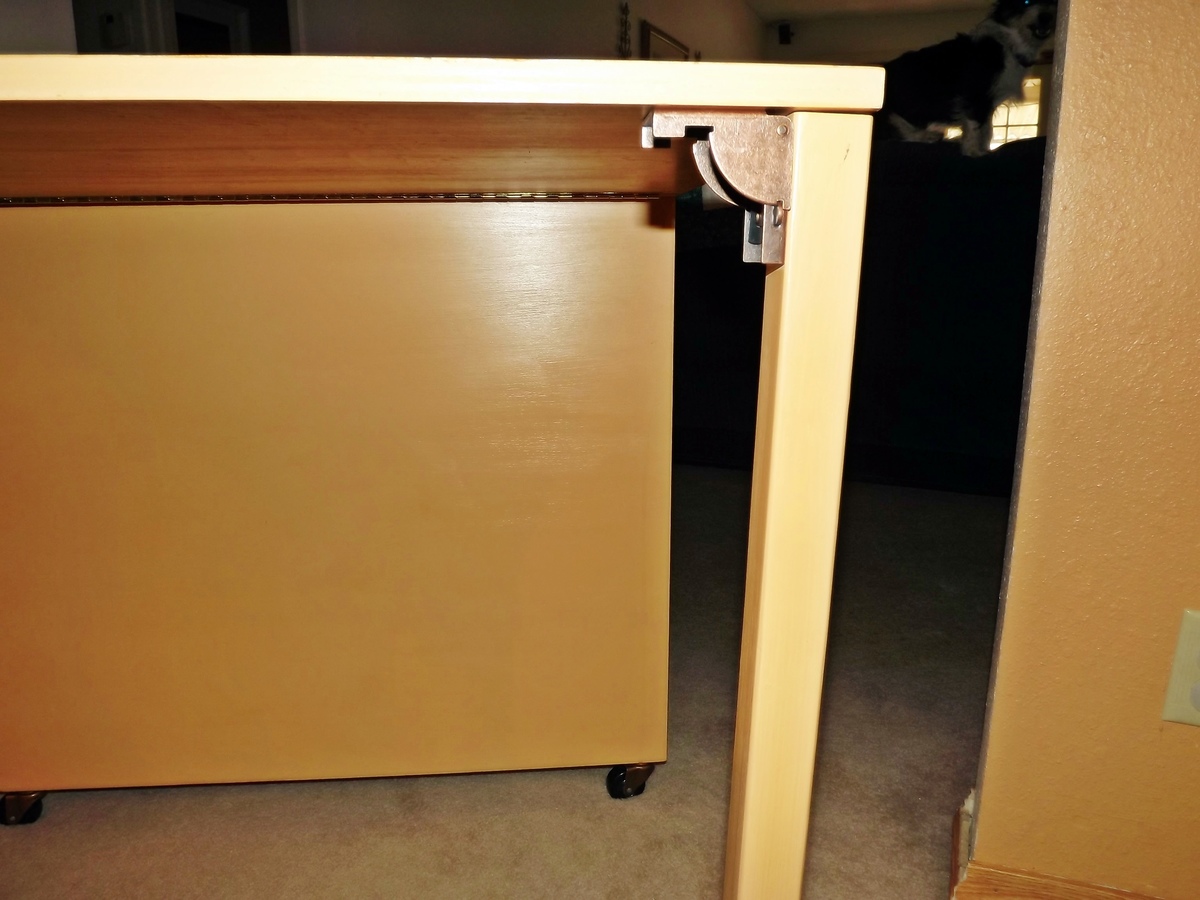
I wanted to show the locking mechanism for the legs in detail. I love these as they hold the legs in place when the drop leaf is down, and they pop into place when the leaf is in use. Called "folding leg fitting" it is part S-149L at $3.65 each at the following link:
http://www.hardwaretree.com/proddetail.php?prod=S-149L
When my daughter-in-law received her gift on Christmas Eve, she wouldn't even let me keep it for another day or two so I could touch-uppaint some spots...she loves it.
Thank you, Ana, for the wonderful plans!!
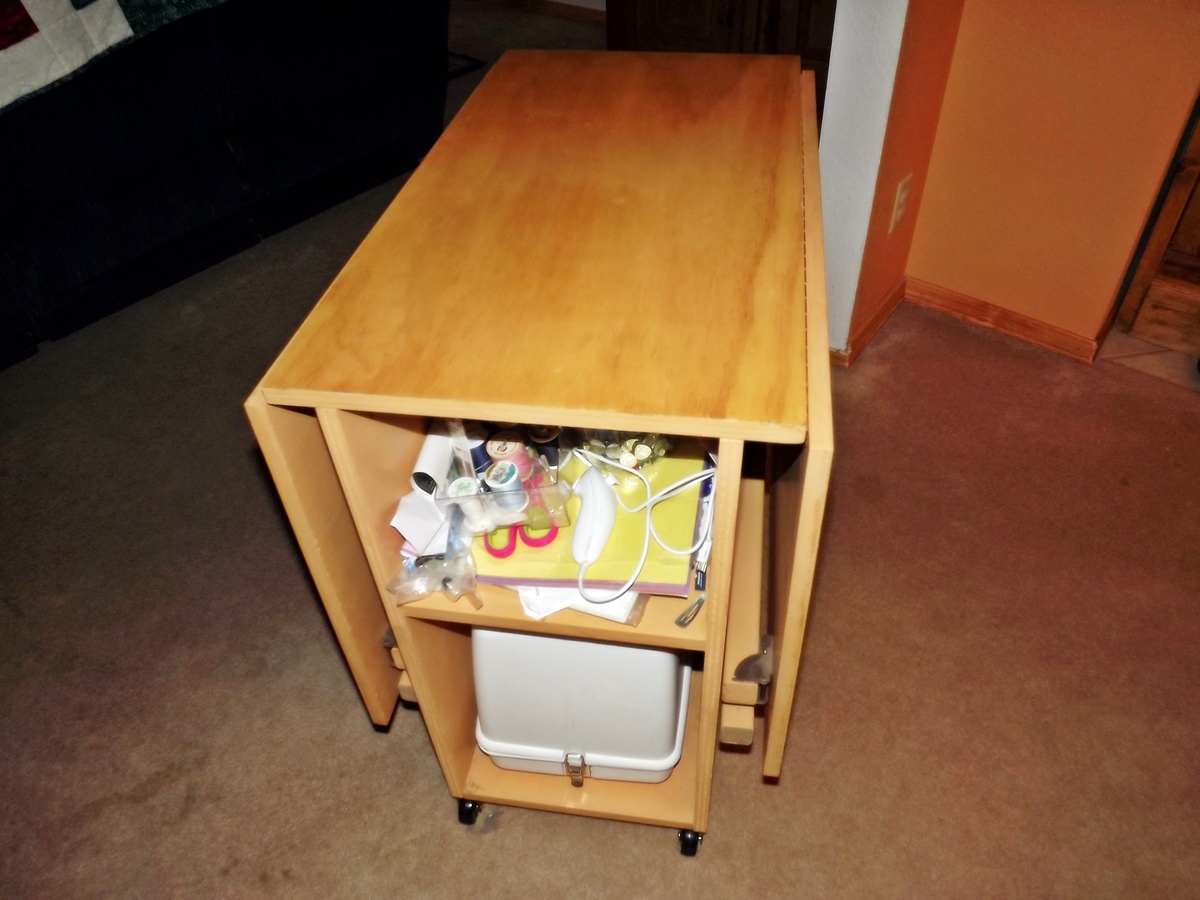
Sun, 02/03/2013 - 17:45
Great job! I can understand your DIL's unwillingness to part with it even for a short amount of time!
Mon, 02/04/2013 - 07:49
The table for my sewing machine costs almost as much as the machine did! This is a wonderful build. You have a very luck daughter-in-law.
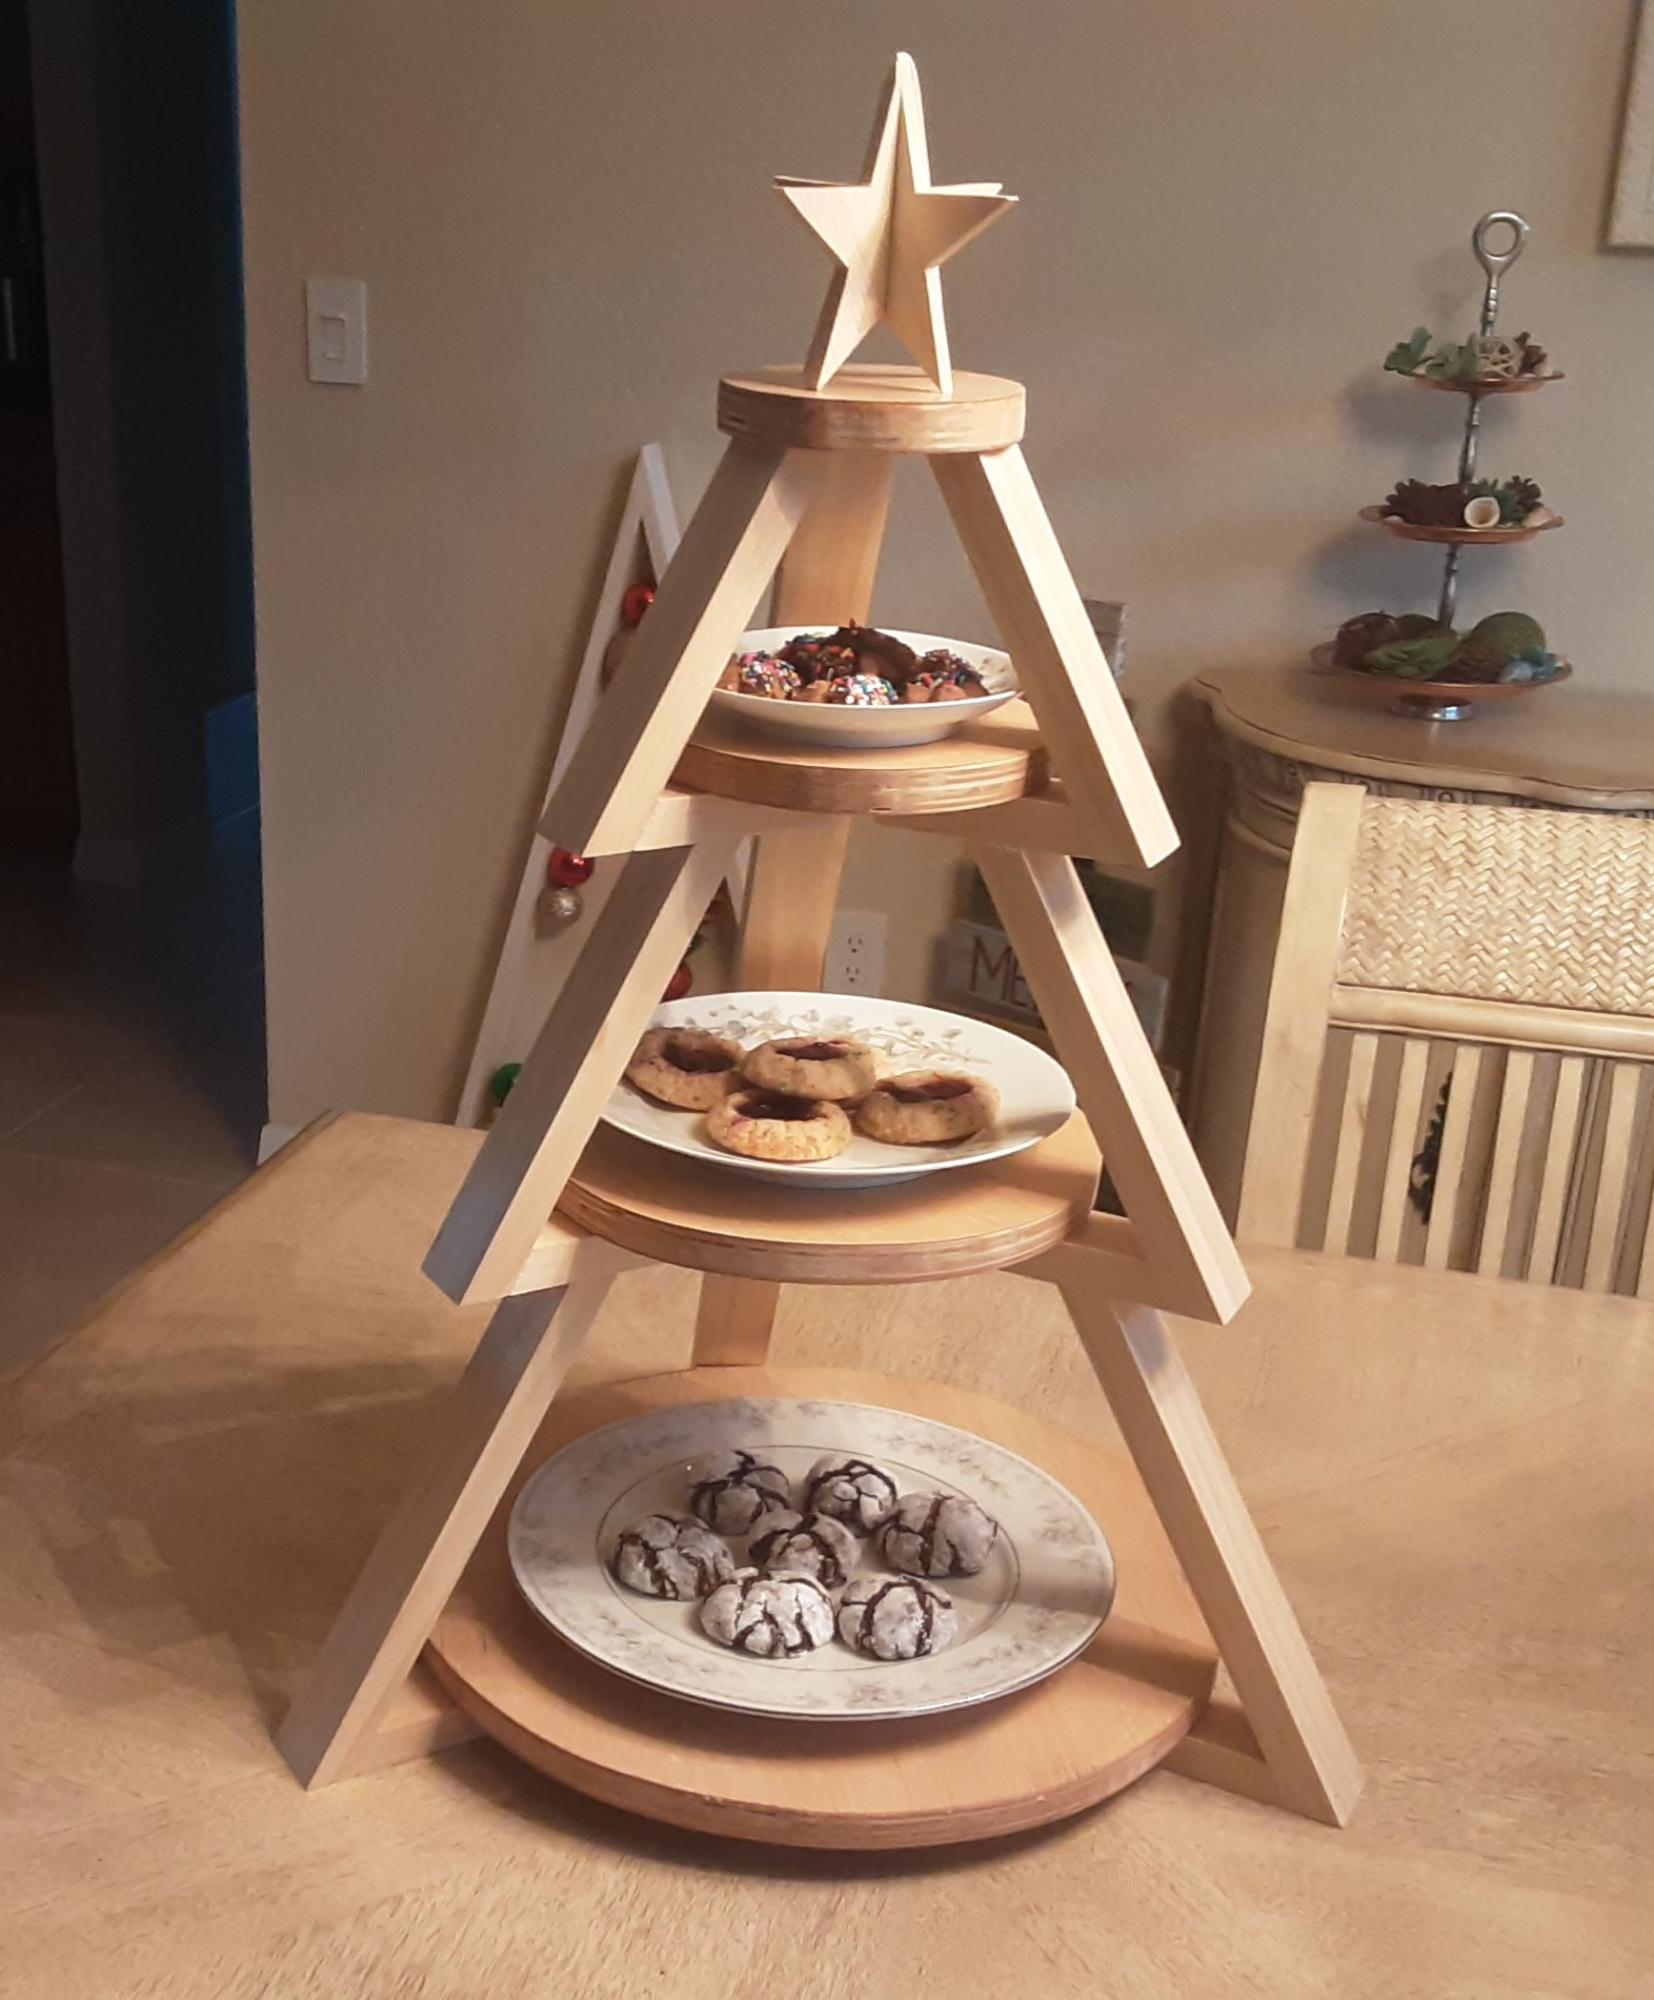
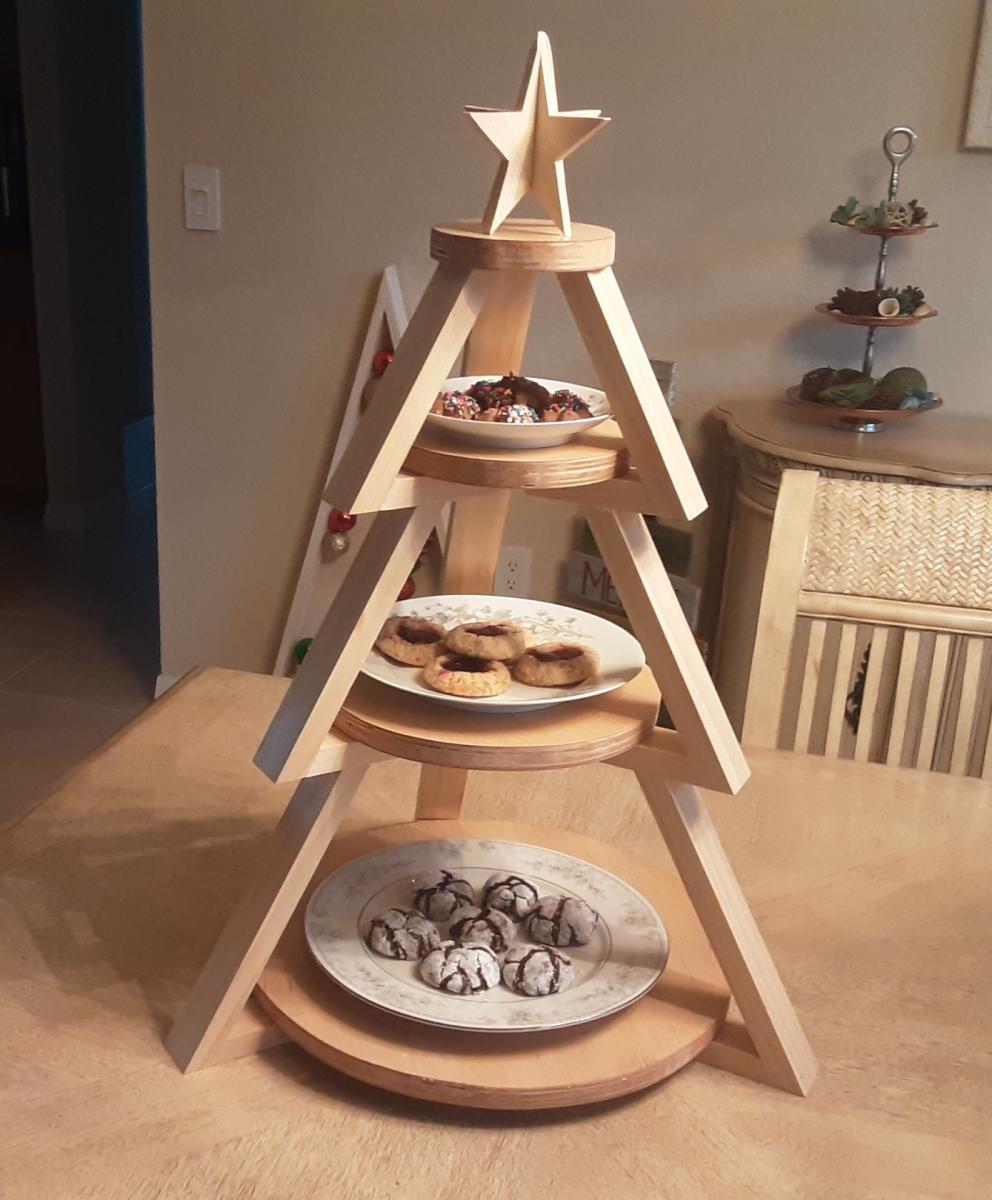
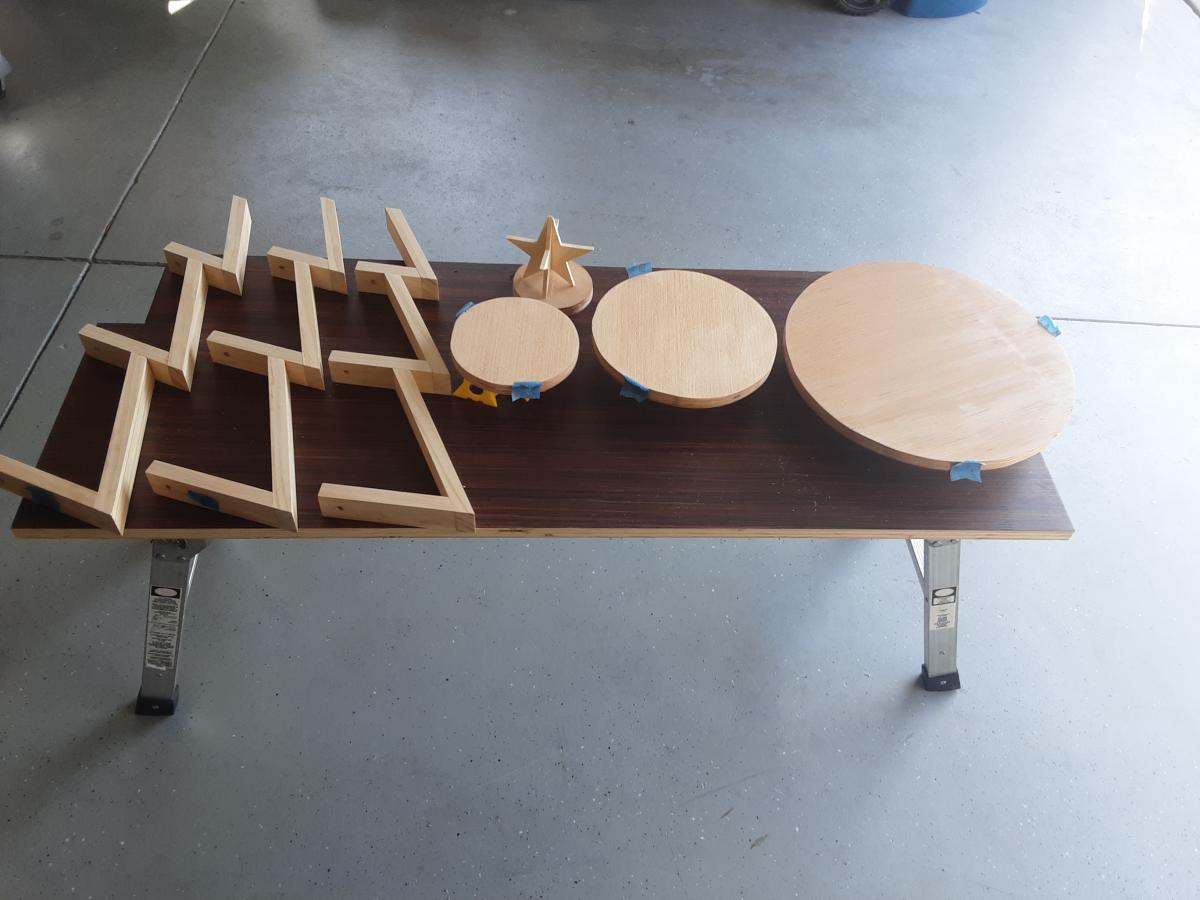
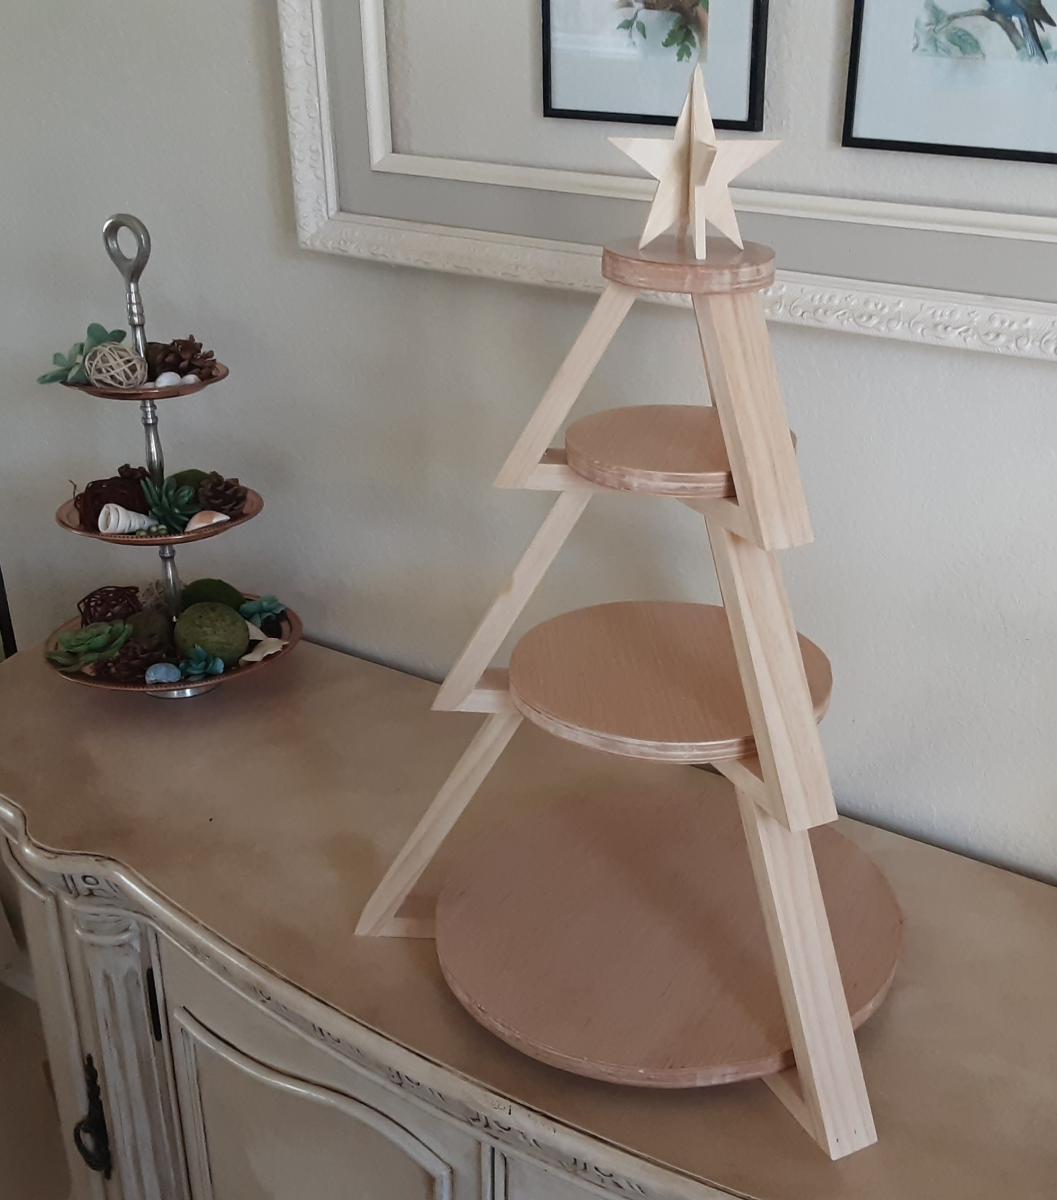
Inspired by Shara of Woodshop Diaries, created this 3 tier tray for displaying cookies for Santa. Added a 3 dimensional star as the topper and simply followed the excellent photos and schematics on Shara's website.
We remodeled our house and now had a new 9x6 master closet to fill. During construction I saw this design on ana-white.com and liked the style, but wanted to customize the layout. I found an online closet designer and played around until I found something my wife and I liked. We ended up with a 9 foot long his/hers double hanging on the ends and a long hanging section in the middle. And on the other side 8 feet of shelving (leaving about a foot for other storage).
I bought the pipe as a 10 foot pipe to be cut and threaded (for free by the store). I did have to change the design a little because the store cannot thread pipe less than 14 inches. So I ended up replacing the short pipes and T's with 2x4s. That made it a little cheaper and I still like the end result.
We stained all the wood using Minwax "Early American". This probably accounts for most of the build time.
Then I put together the supports and brought them into the closet to add all the pipes and slats. I started with the wall for hanging. And later did the shelving.
Here's another forum with more pictures of this project:
http://woodworking.formeremortals.net/me-mo-community/#/discussion/866/…
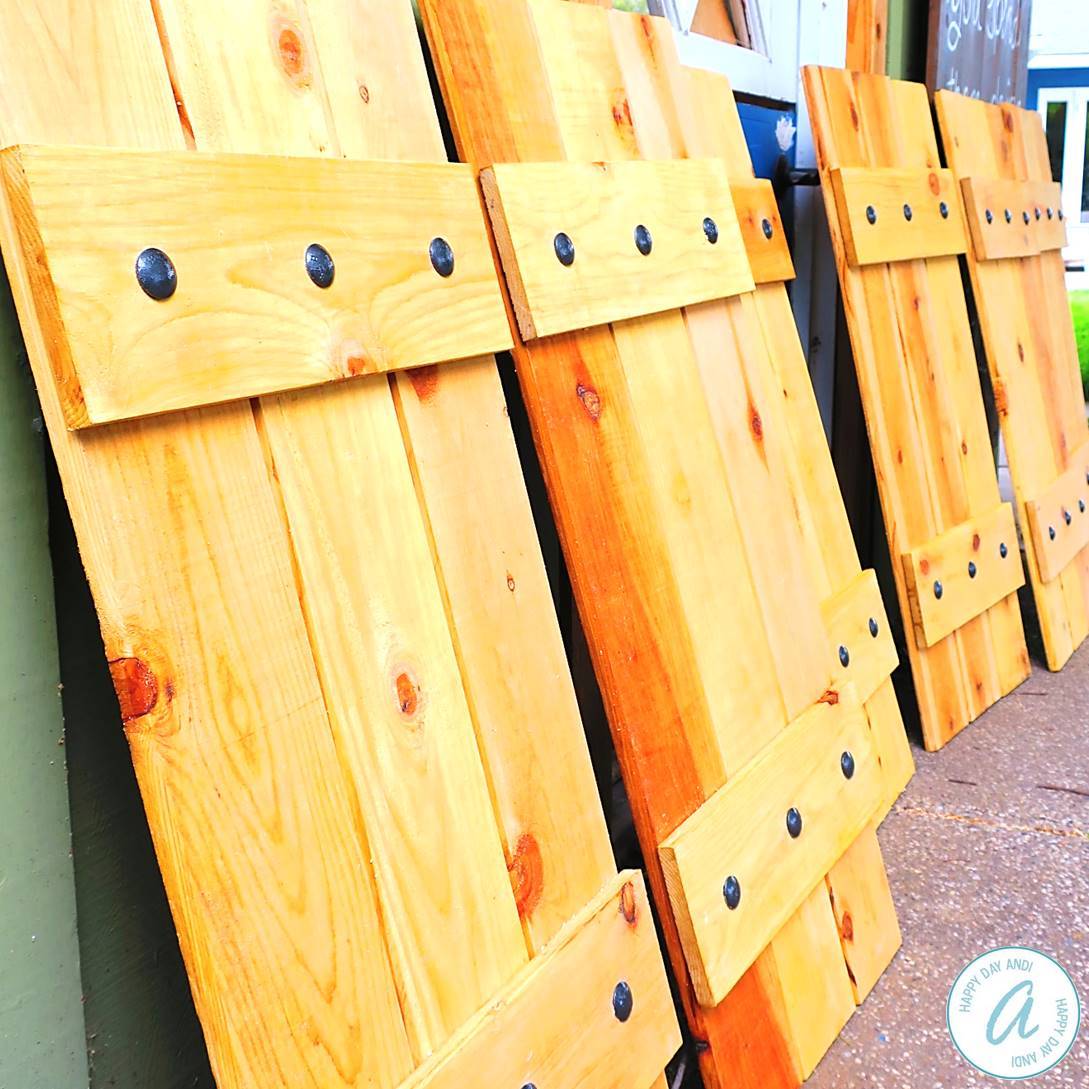
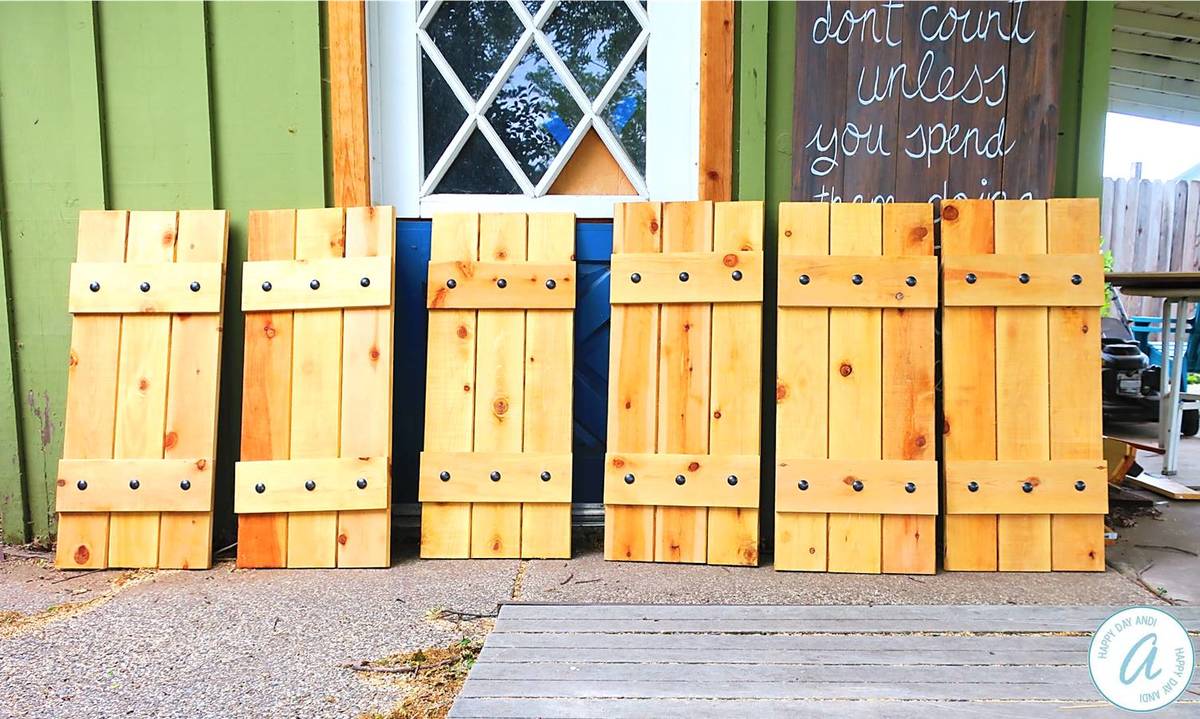
I really wanted to add a layer of depth to the front of our house, and my favorite option was adding new shutters! I used fence boards to keep cost low and to be sure that the wood would stand up to all weather conditions. I protected the wood with an oil-based sealant made for exterior use. I attached the cross braces with chunky screws and painted those black. I love how they turned out!
Comments
Ana White
Sun, 01/06/2019 - 16:43
What an amazing Christmas
What an amazing Christmas gift! Super dad! Thanks so much for sharing a photo and building! Ana
Tessa2009
Sun, 01/06/2019 - 21:46
Thanks Ana! This is her momma
Thanks Ana! This is her momma that built it for her. I wanted to tackle something on my own and challenge myself. Your plans were amazing to work with. Thanks for taking the time to make these plans so easy to understand and follow. She is very happy with the doll house! Happy New Year! -Abbey