Picnic Table
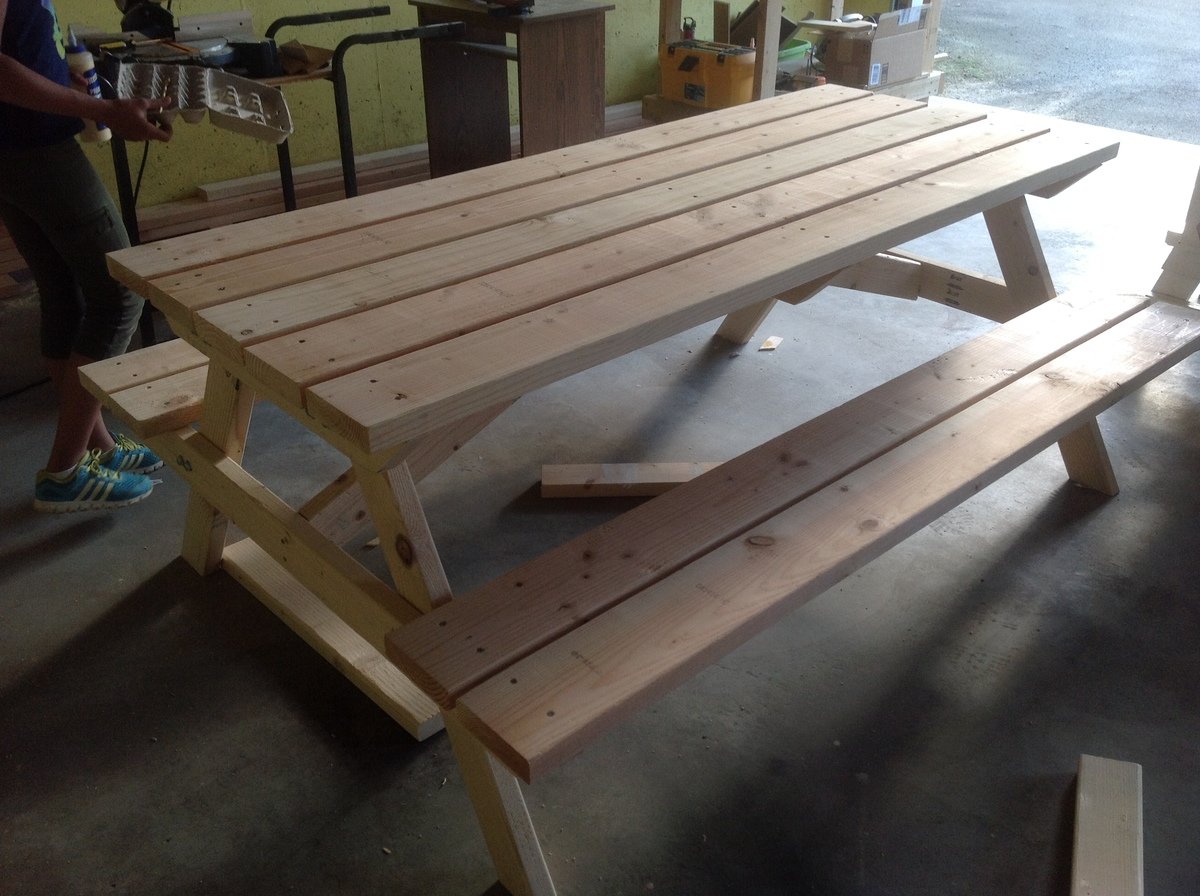
Wanted to kick start my summer projects with something that would not take too long. So I built this picnic bench for a friend over the last weekend. Thank you Ana for the plans.
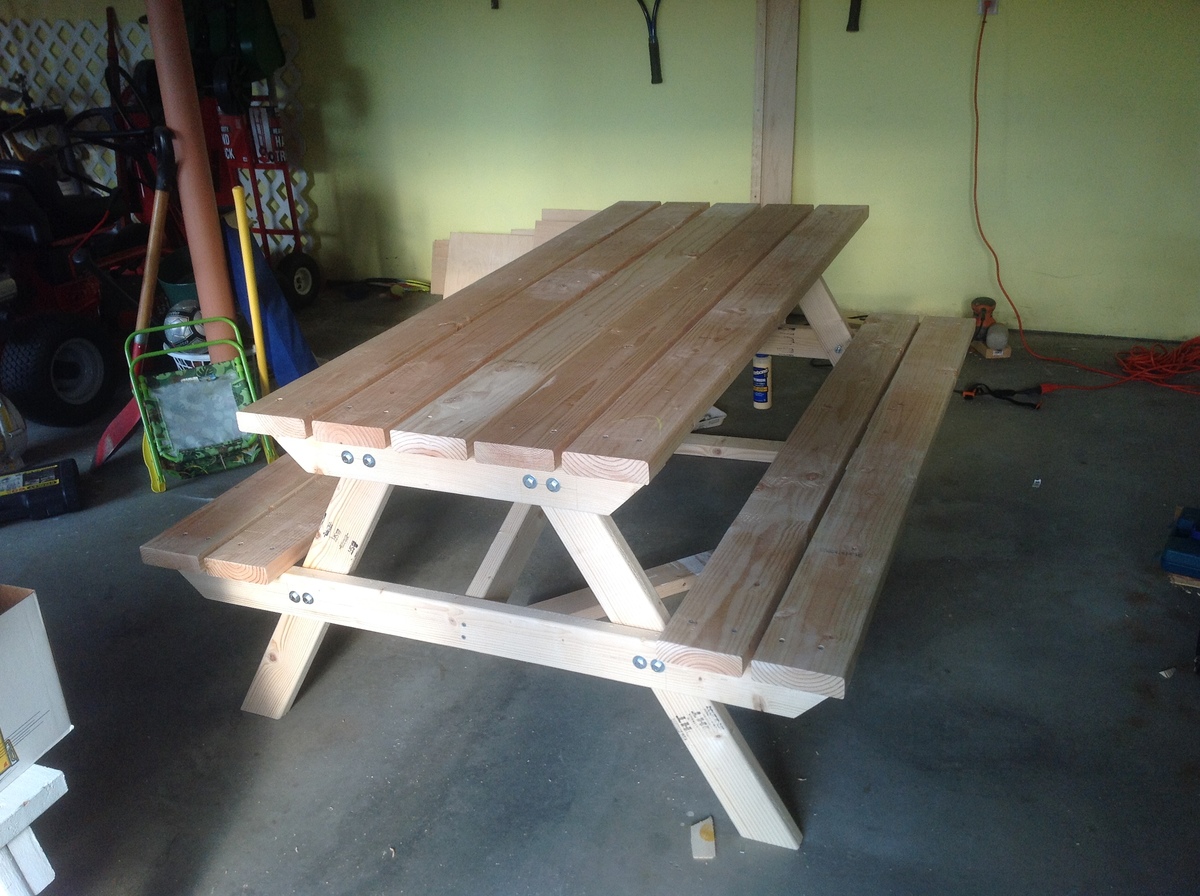
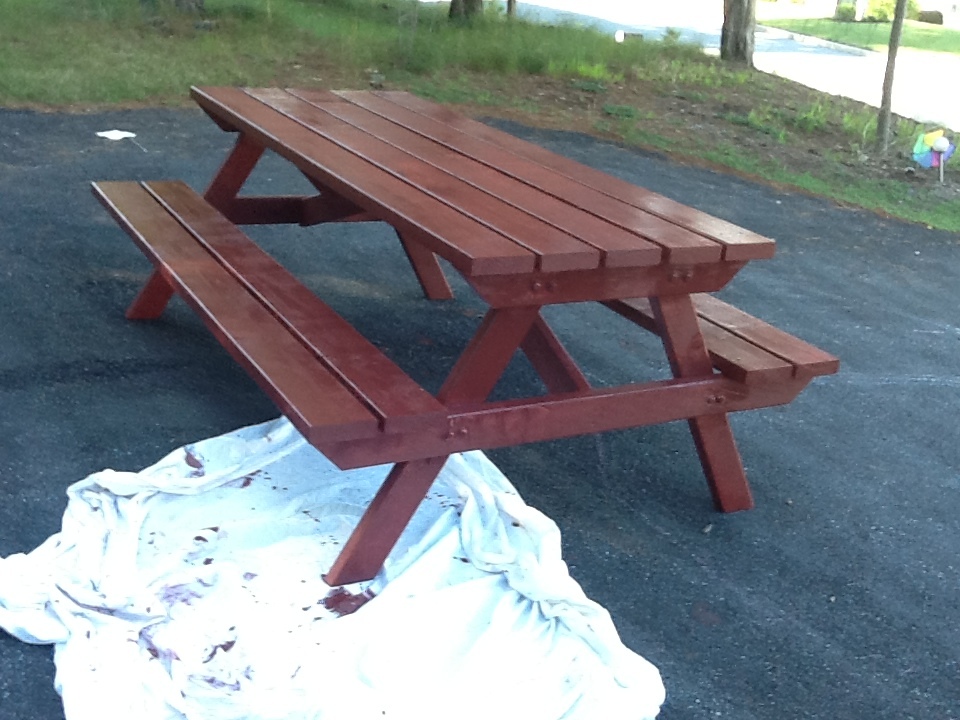

Wanted to kick start my summer projects with something that would not take too long. So I built this picnic bench for a friend over the last weekend. Thank you Ana for the plans.


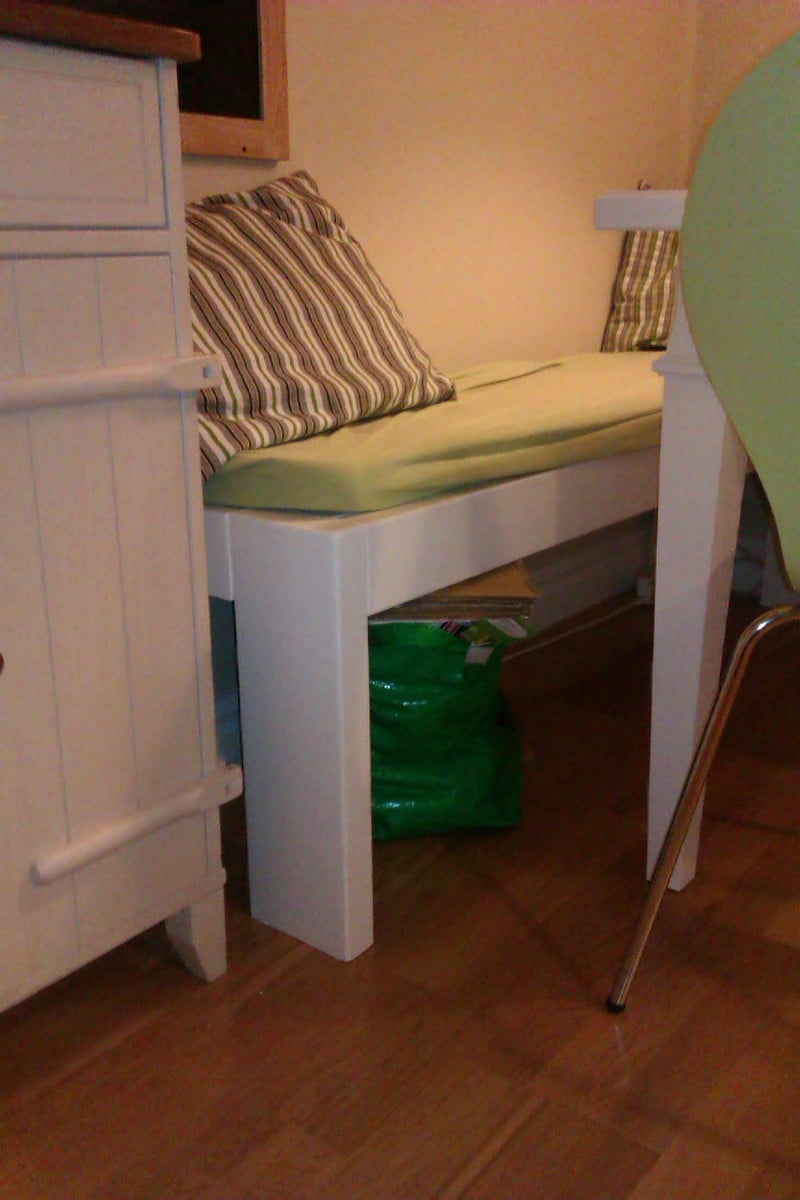
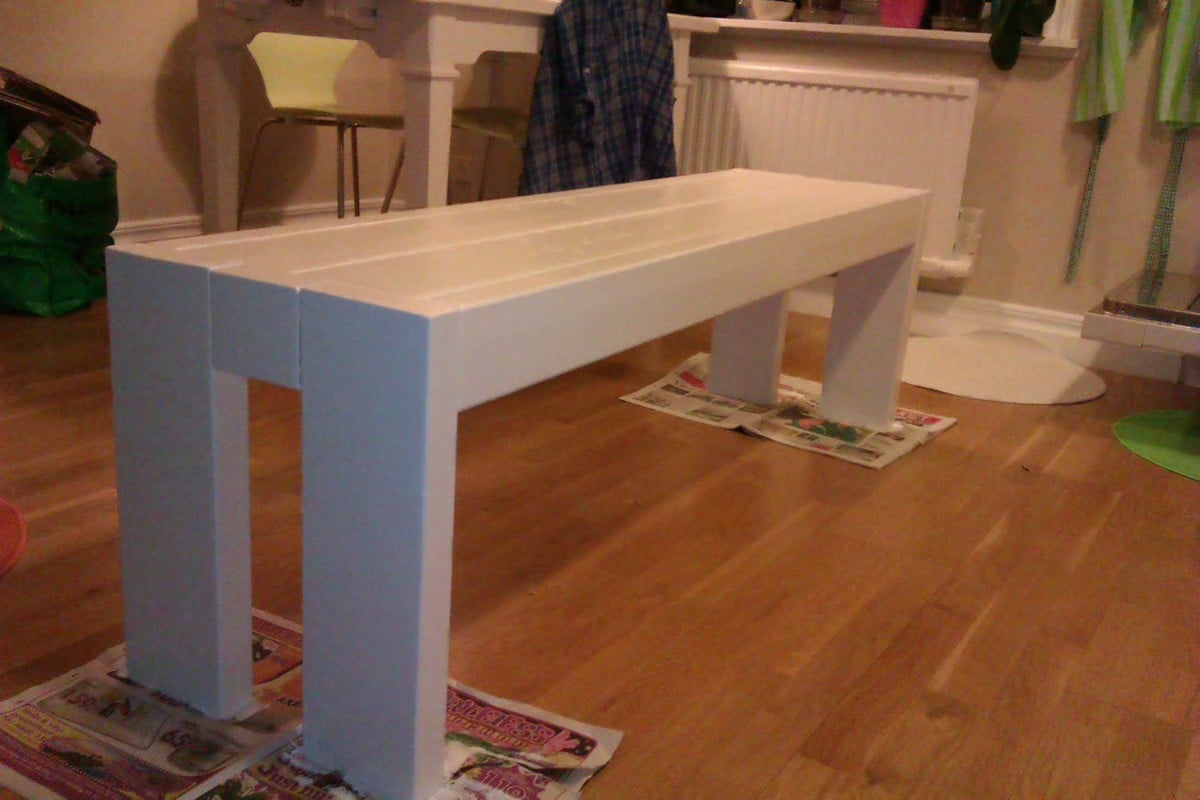
My 8 year old daughter and I decided we wanted a bench to the kitchen. Found this plan here and went to the local lumber yard. My daughter drilled and screwed about half of the bench. So much fun doing this together.
I wanted to say thank you for the inspiration.
I took the general idea, made it bar height and my own preferred size and beefed it up by doweling together the top pieces.
Given the size, I made the top removable with threaded inserts as well as the removable support beams below.
For the benches, I wanted something sturdy and a look that was similar to the table. I added in a nickel support rod for the foot rest for both strength and a nice look.
All in all this project took a lot of time, probably more so with my perfectionist ways and wanting to make the finish perfectly smooth. It's like glass, which I just love against the dents and dings of the wood.
Some of the challenges were wood that warped. After putting together the bench tops, the wood warped quite a bit, nothing that a few clamps couldn't undo but a pain nonetheless.
Using black stain really brought out a nice look and I'm taking that same look to the new trim and door that are going into the dining area as well.
I've not seen a bar height (not counter height) table in a full dining table size before, it's what I wanted and I couldn't be happier with the results. Was it worth all of the time? That's hard to say, I really love it, but it took a long time to get it to be exactly what I wanted it to be.
Thanks!
We needed something to hold our garbage cans and recycling.
We made this little shed with fence board floor and fence board roof a lot shorter in depth and height - We also used 2x4's as we already had them - fits perfect and was amazingly easy to do.
Looks fantastic in our yard - we are still working on the yard so ignore the extra fence boards and 2*4s laying next to it.
Thanks so much for the great plans.
We built this as a birthday gift for family members and boy were they excited. We, though, were not excited to let it go. So happy with how it turned out. The plans are good for reference but make sure to make your own measurements when using milled lumber from a big box store. Some of the the changes we had to make on the fly were to the back and front panels having to use a different combination of board sizes to fill it in without massive gaps. Its recommended that you lay them out first before attaching them to the frames. Also the measurements on the cooler lid were smaller by 1/4" to 1/2" of what's listed in order to get a snug fit. The shelf on ours is two 1x6's cut to the width of the whole project (around 16.5") and then the shelf brackets were also 1x6's cut to a length of 10". Brackets are mounted inside the legs using wood glue and three 2.5" screws through the backside/inside of the cooler box to hide (obviously done before the cooler was inserted). For drainage we attached a 2" piece of 1/2" inside diameter clear tubing that was fed/jammed through the cooler drain and pulled through the other side and then a 1/2" push on adapter, threaded on the other end screwed unto a 1/2" faucet head. Drilled a 3/4" hole about 2.5" (center mass) from the 2x4 cooler base through the middle piece on the side. We placed the cooler in first and used a pair of pliers to grab the clear tube and line it up with the hole and then pushed a long screw driver through the tube from inside the cooler in order to guide the faucet head/adapter combo into the tube and stiffening the tube so it didn't collapse when pushing it on. We couldn't decide what do to with the center display piece and then remembered we had a can of chalkboard spray paint left over from another project. We spray painted the whole menu board and then painted the "logo" at the top before clear-coating it with a protective enamel. Its a snug fit so the pressure holds it in place but you could also use velcro strips on the back if that tickles your fancy. We took the snug fit route that way if they didn't want the menu board in. A 1/2' hole was drilled towards the top so they can use a finger to pull the board out.
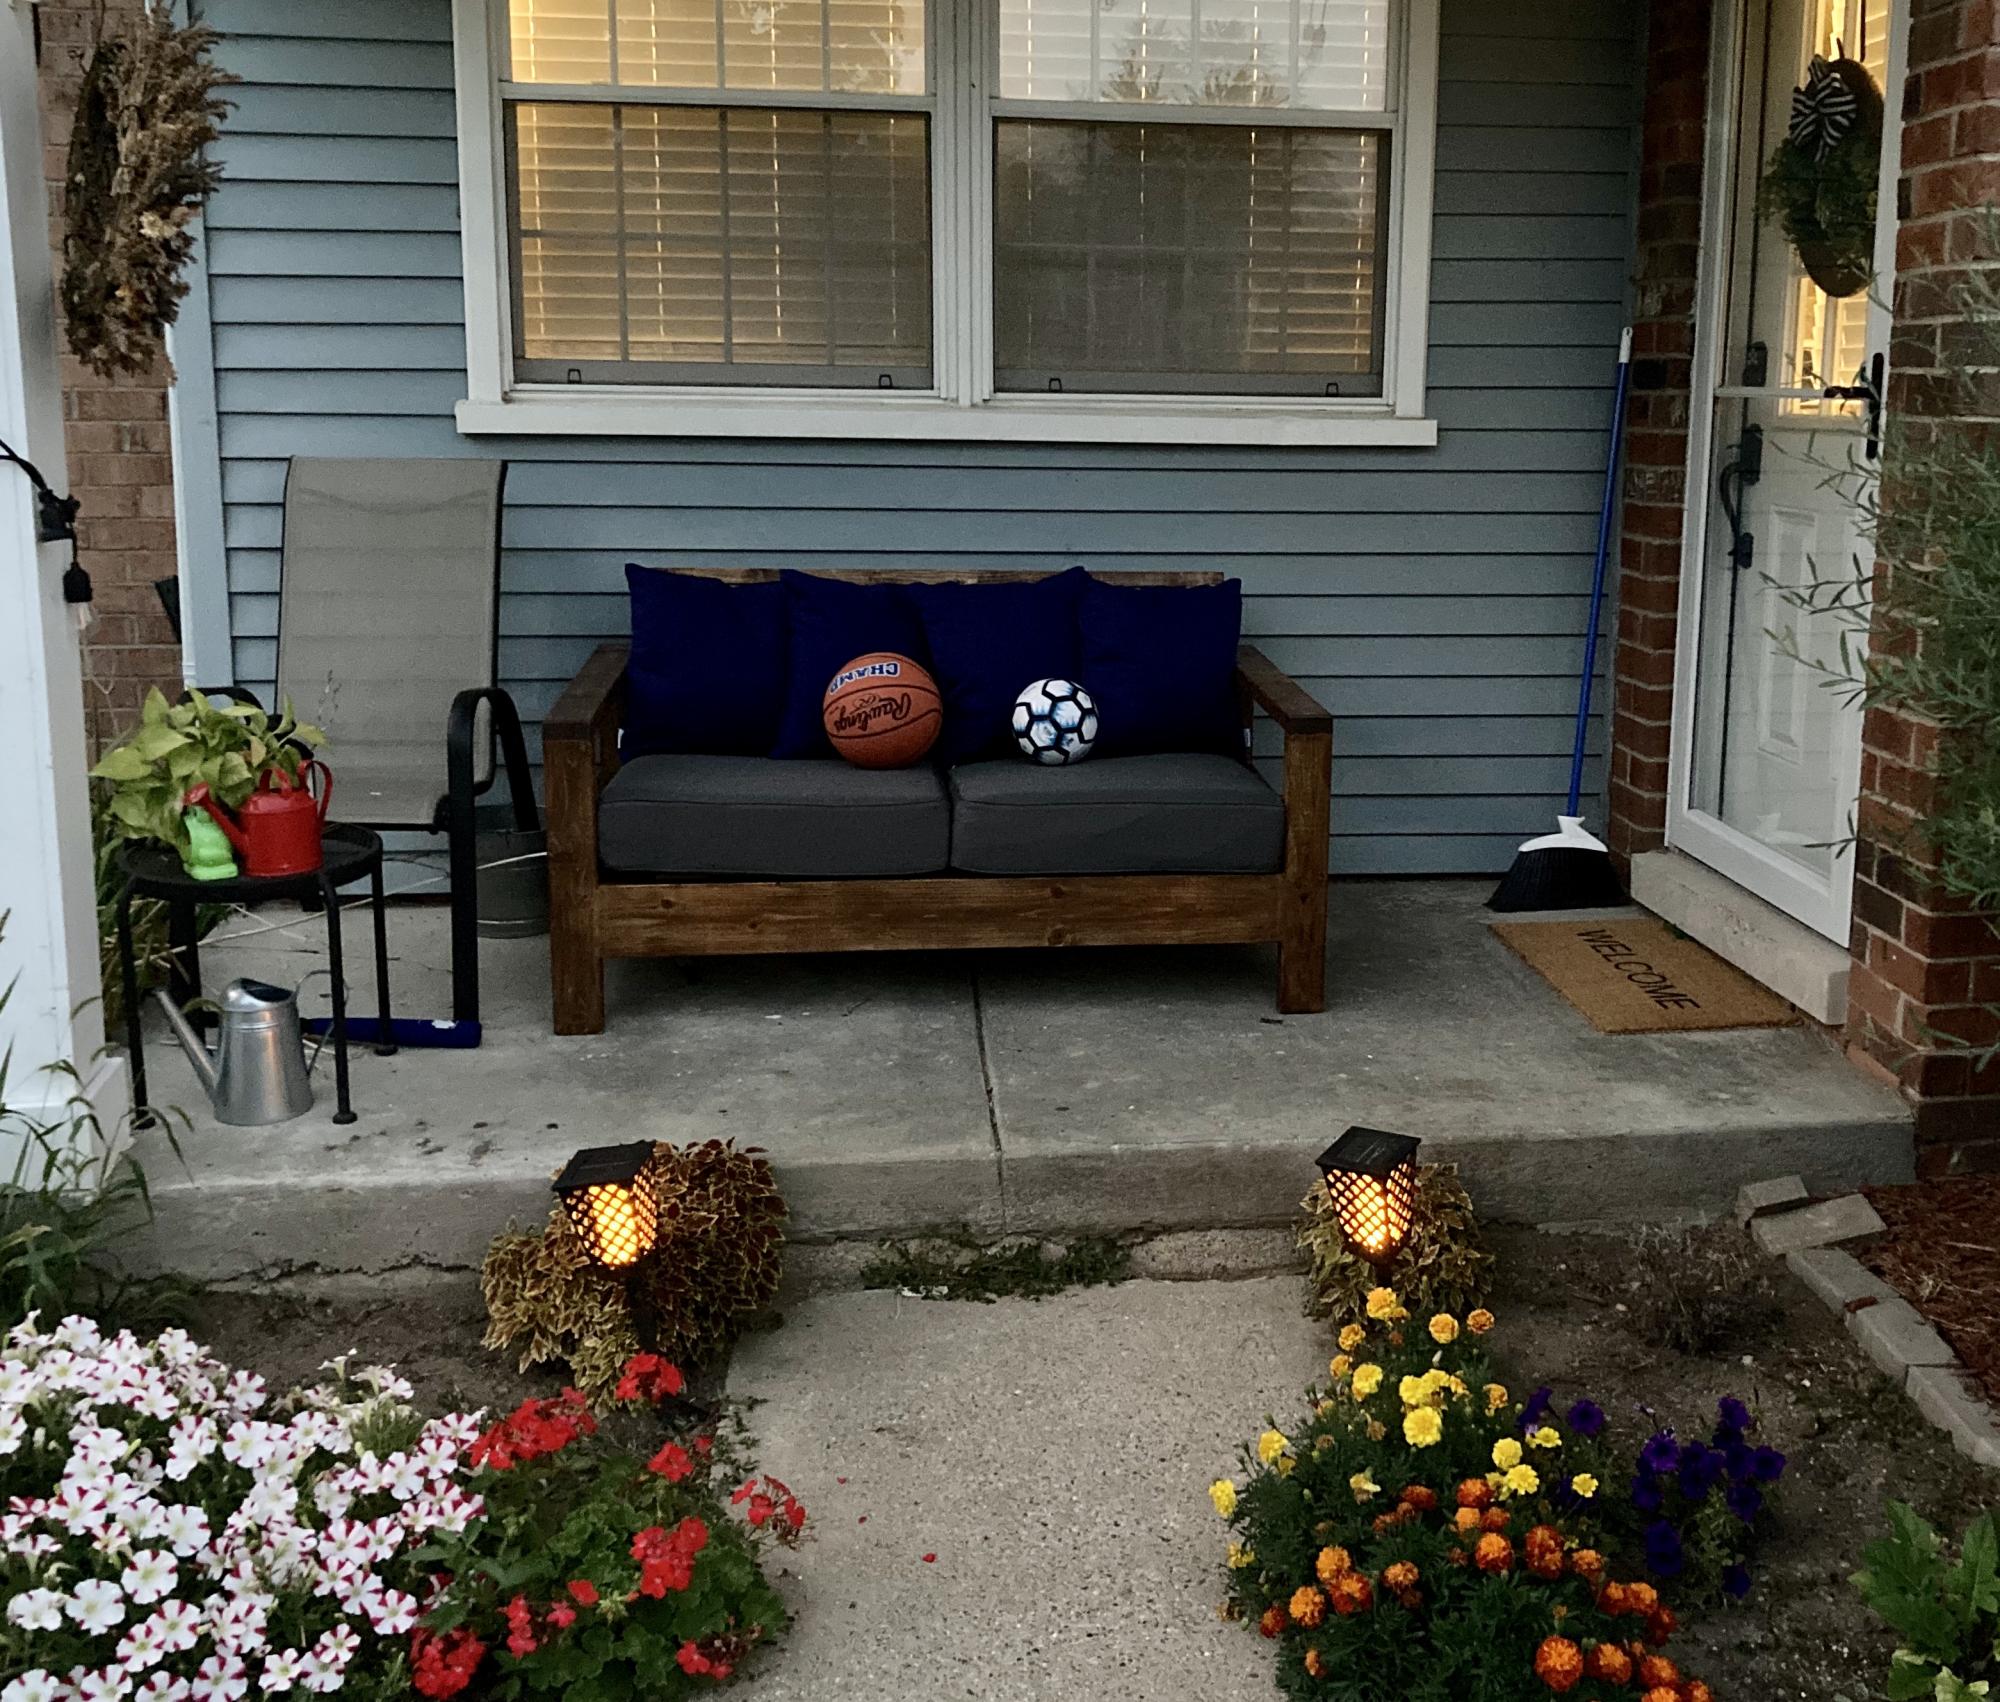
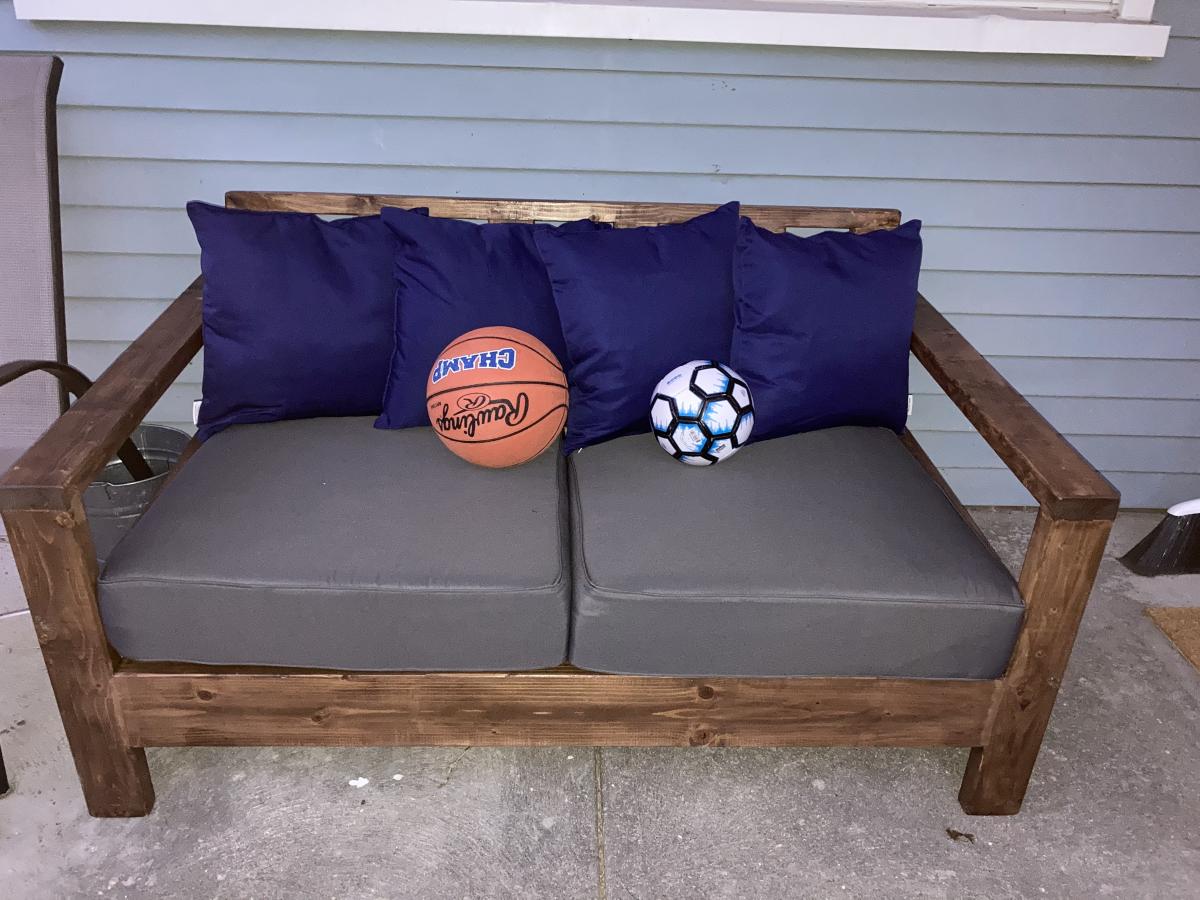
Just wanted a nice looking bench to seat at the porch! This turned out great!
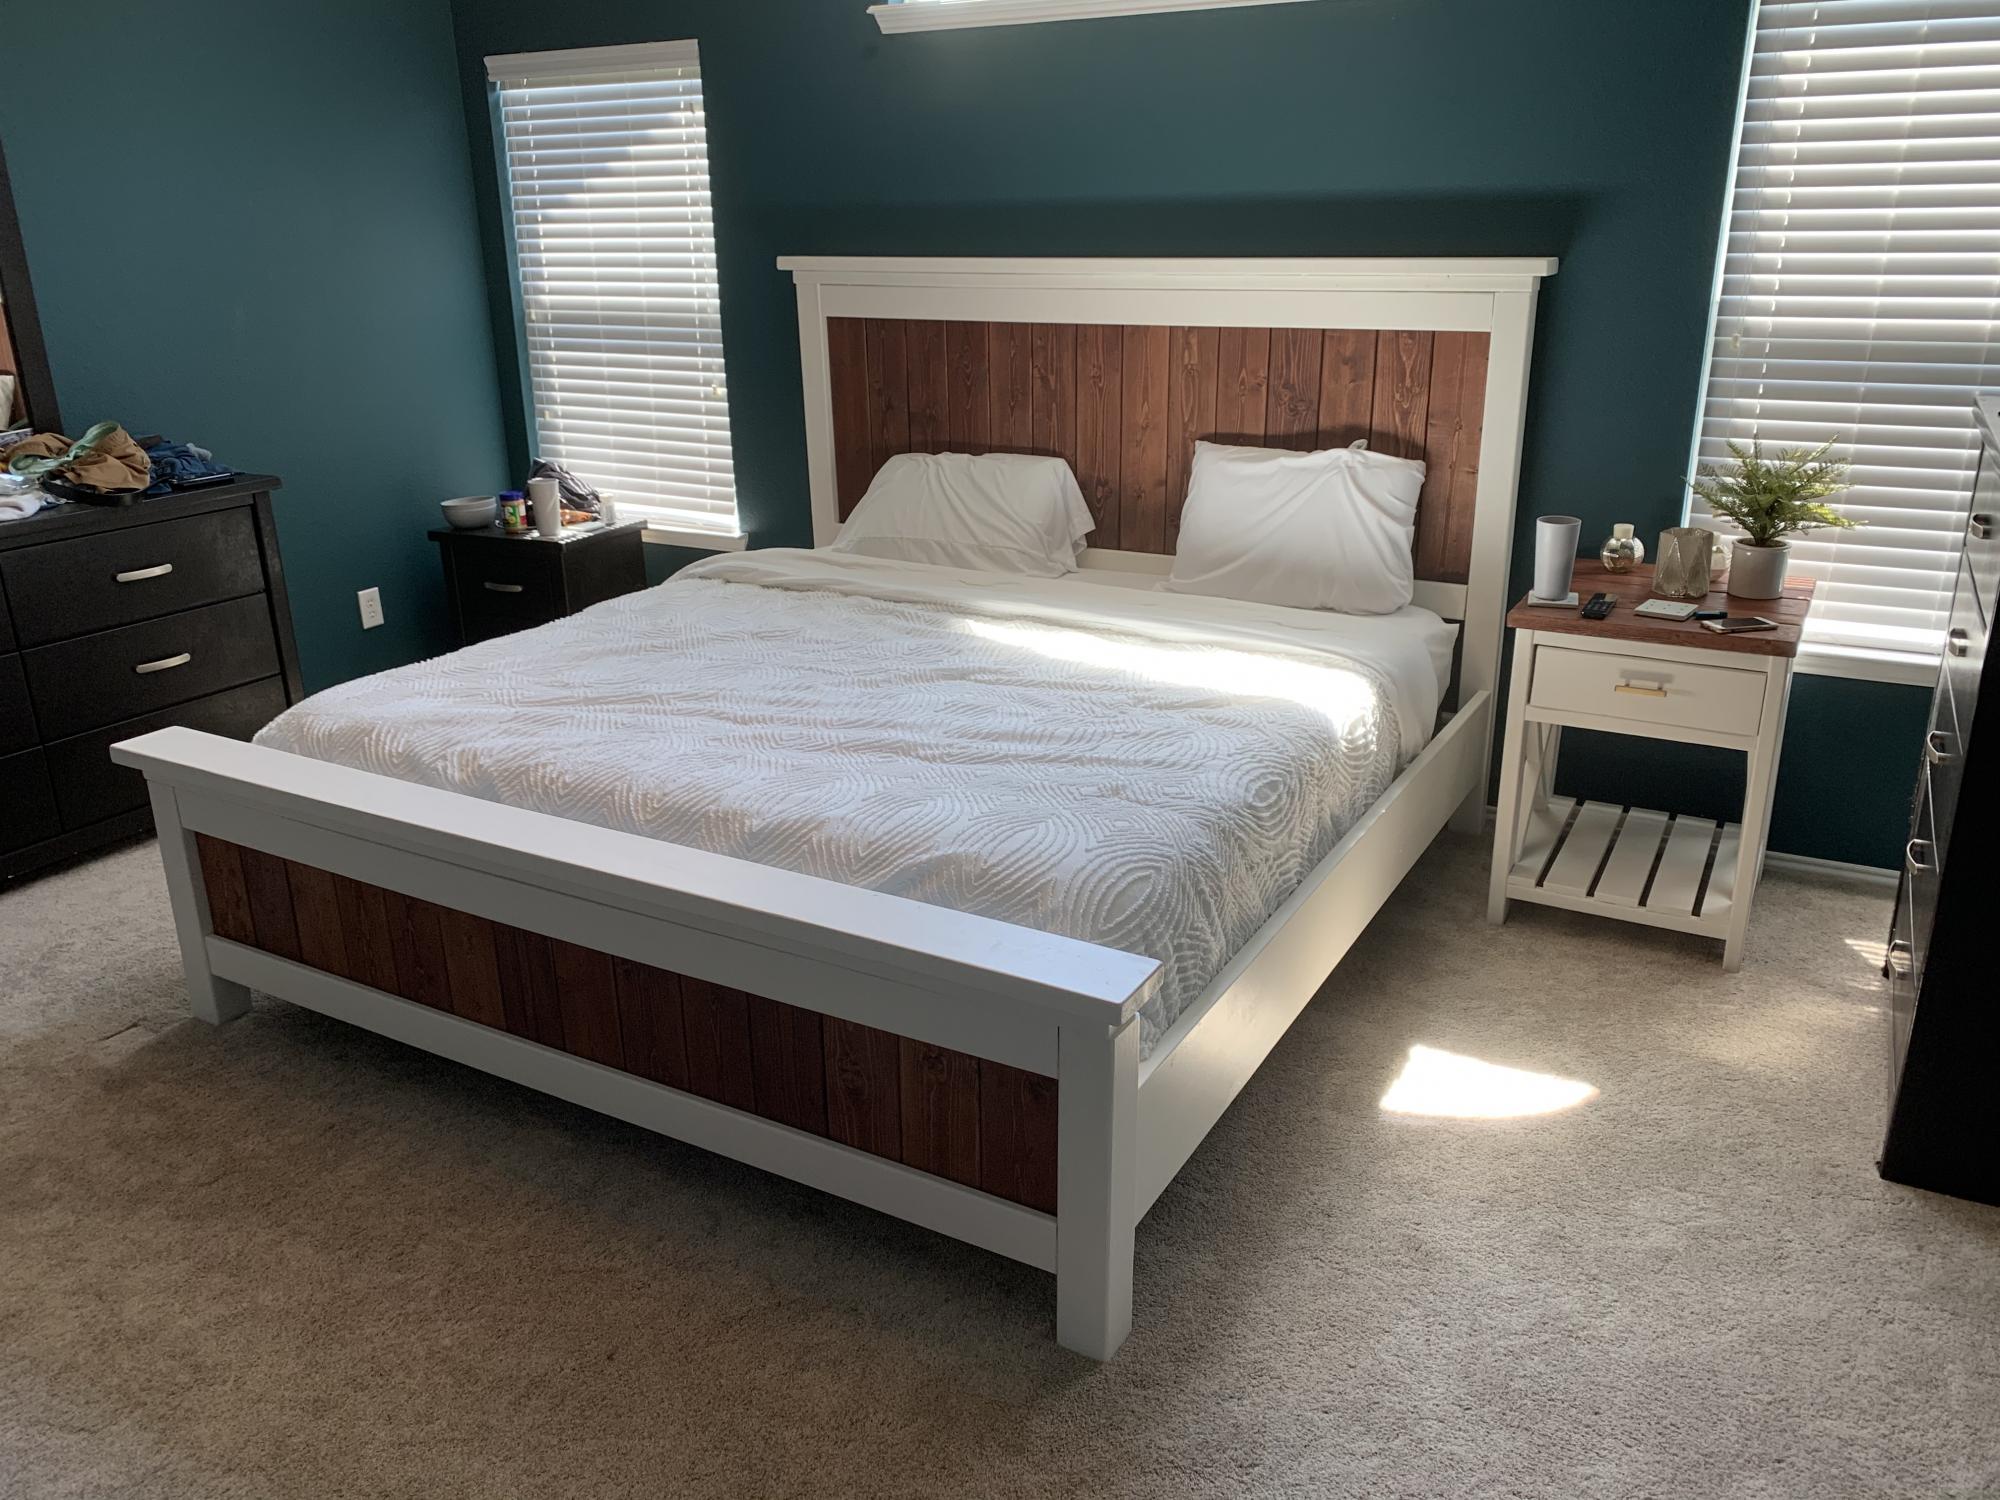
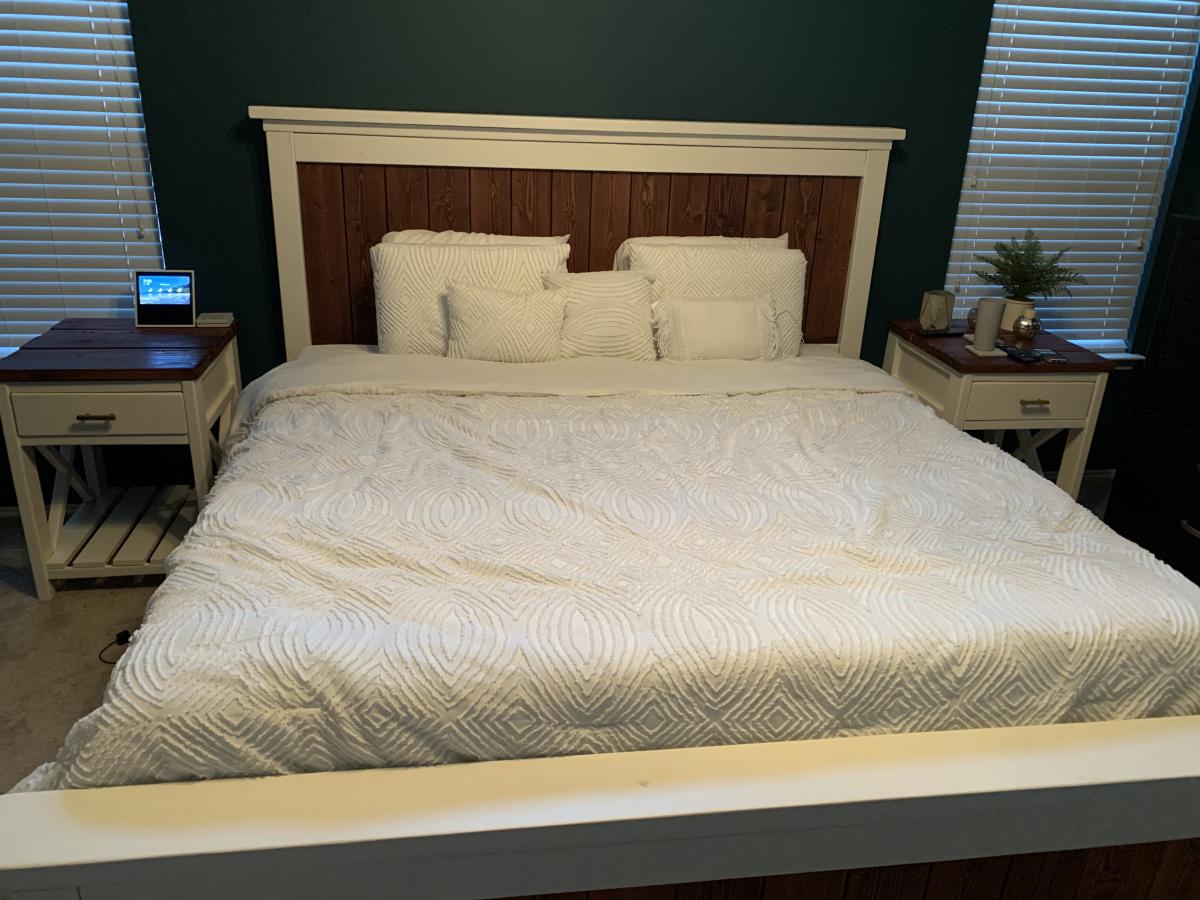
The bed frame was actually pretty easy. I had an adjustable bed frame so I actually need to make the connecting pieces a little bigger so the frame could go up and down. It’s actually extremely sturdy so I’m happy with it. Anyone can build the bed frame.
The bedside table was way harder. The 1x2s were super frustrating and the drawers were annoying. I’m about to finish a second one and I wasn’t nearly as particular about the measurements and I think it looks just as good and I got way less frustrated. This was tougher than the frame for sure.
Cost and time are including the stain. I built the white furniture, plan on eventually building stuff to replace all the black furniture.
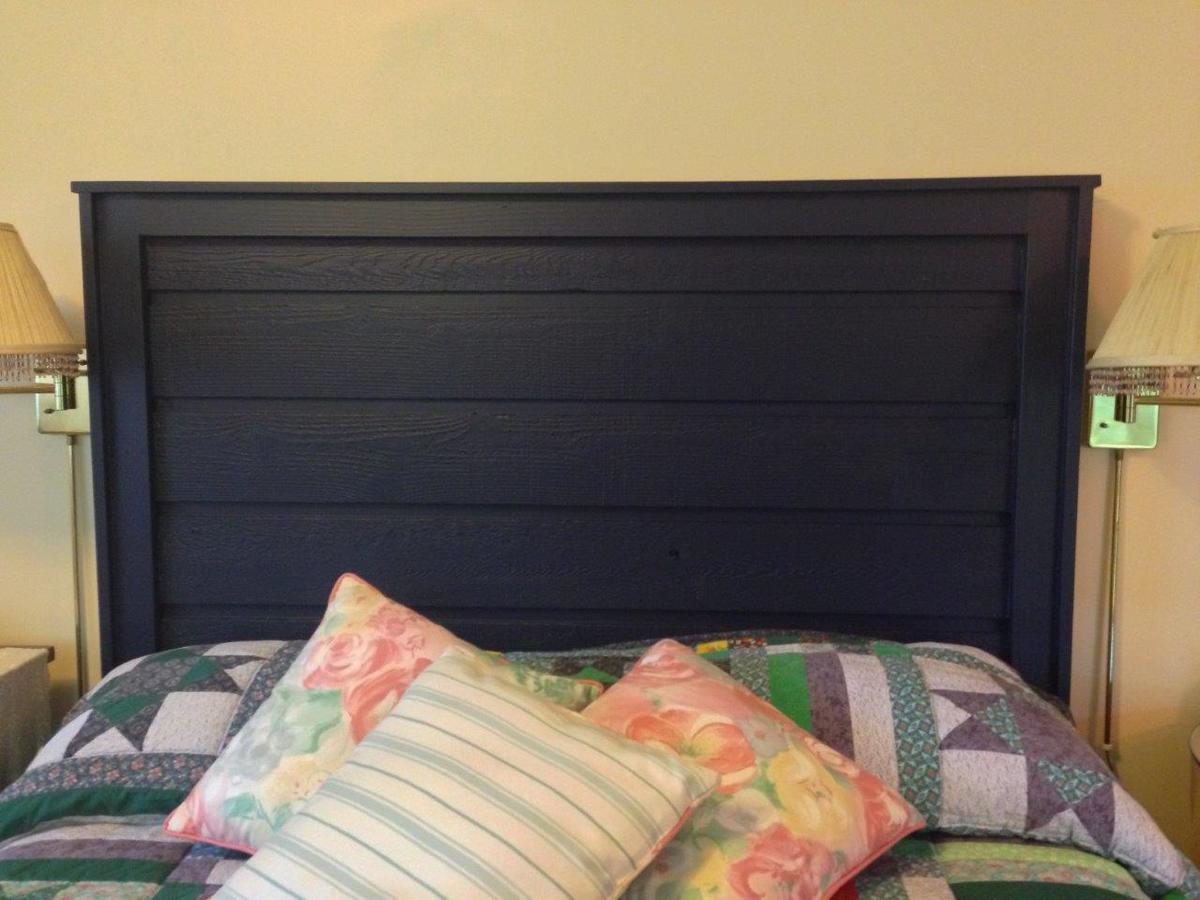
Made with leftover lapped cedar siding from our woodshed, plus a few pieces of reclaimed 1x4 and some new 1x3. Wanted it to be navy, and it is.
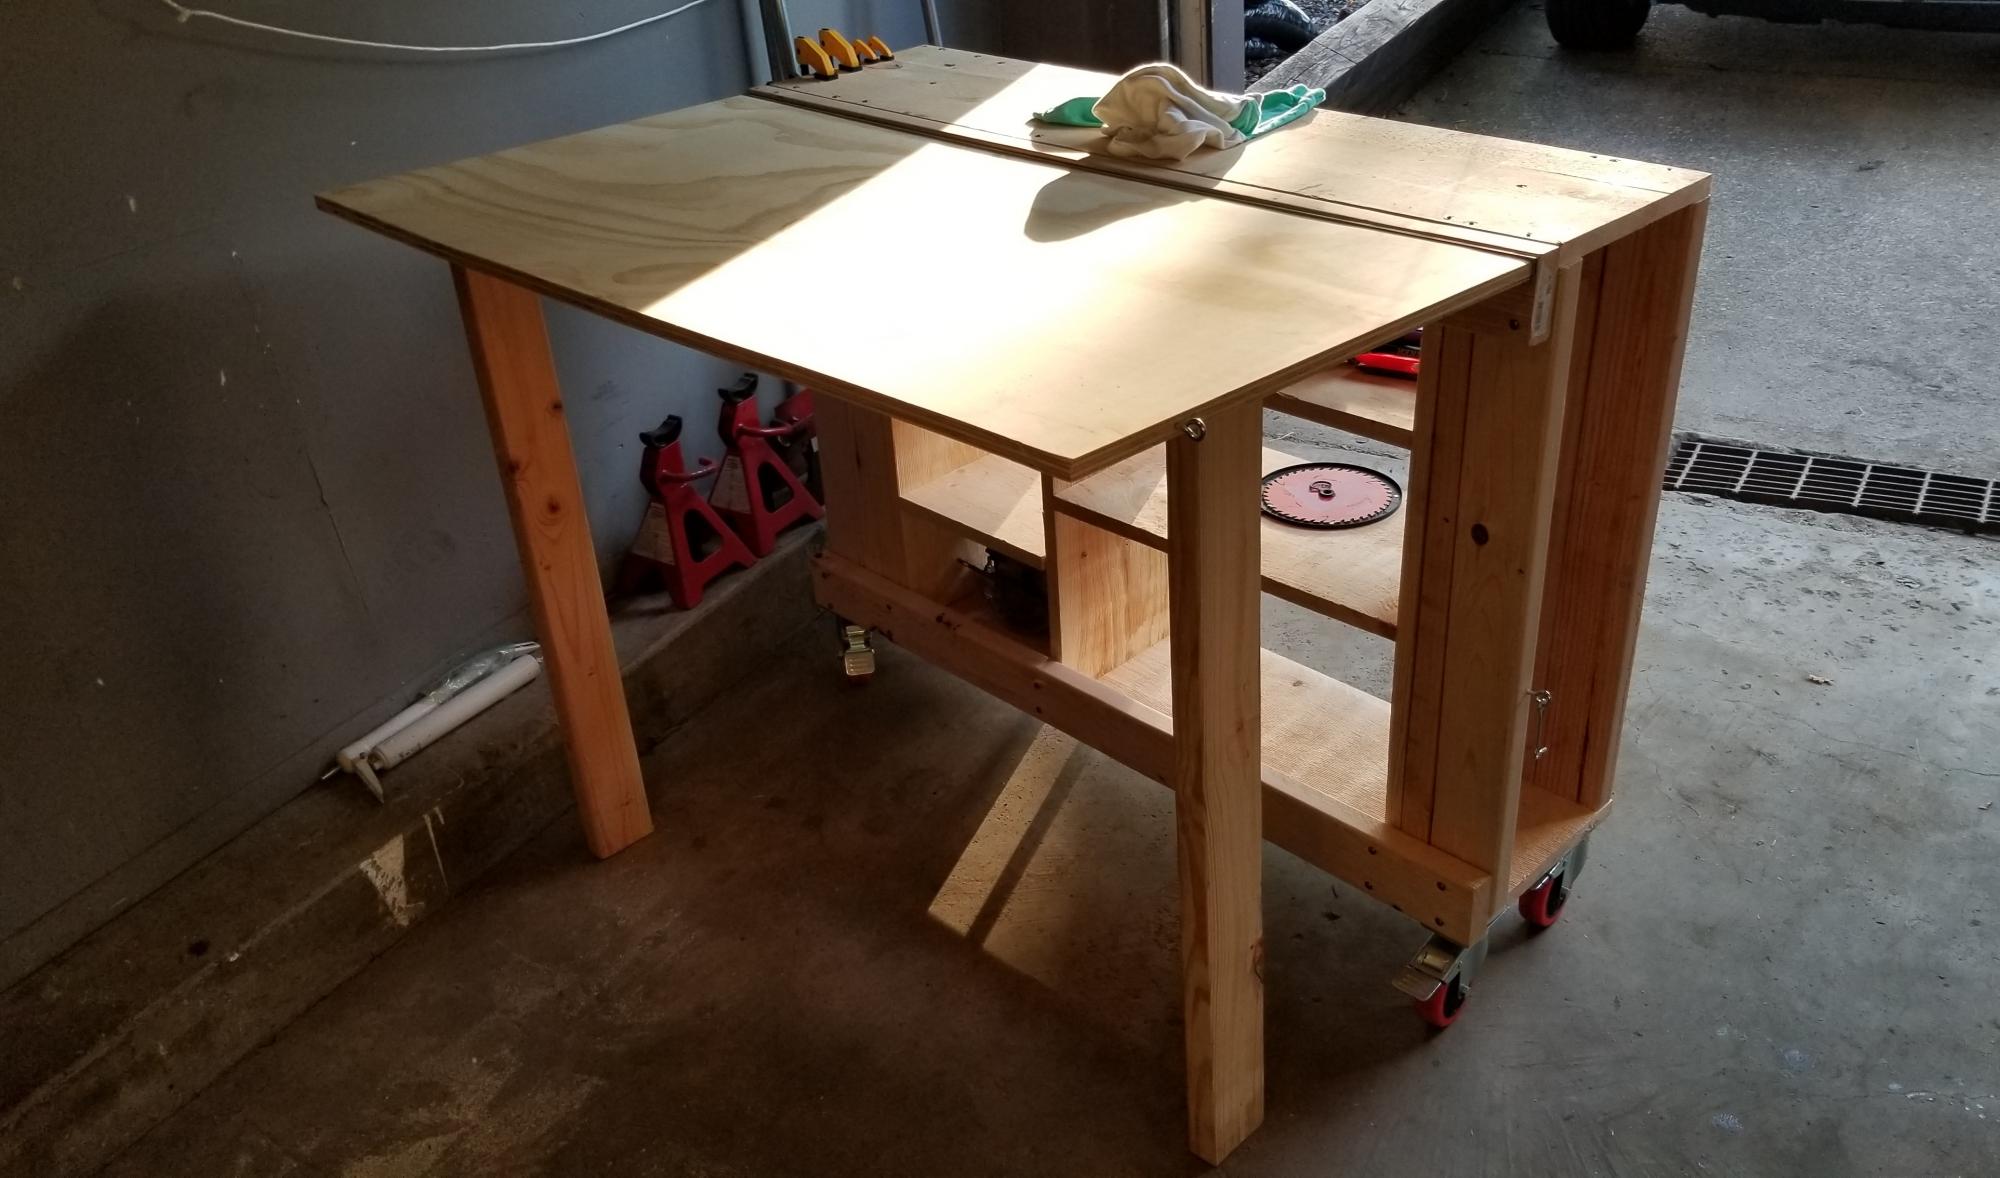
First build of my woodworking journey
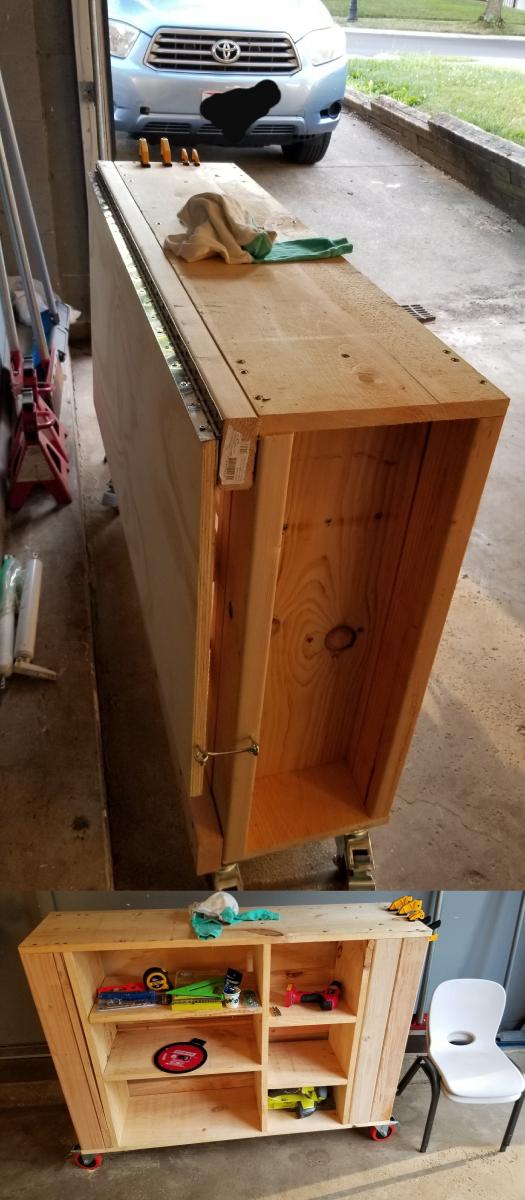
Thu, 09/17/2020 - 10:50
Workbench is a great place to start, I can't wait to see all the projects that are built on it!

Modified the end table to fit my dimensions. This was project number two of three so $ estimate may not be accurate
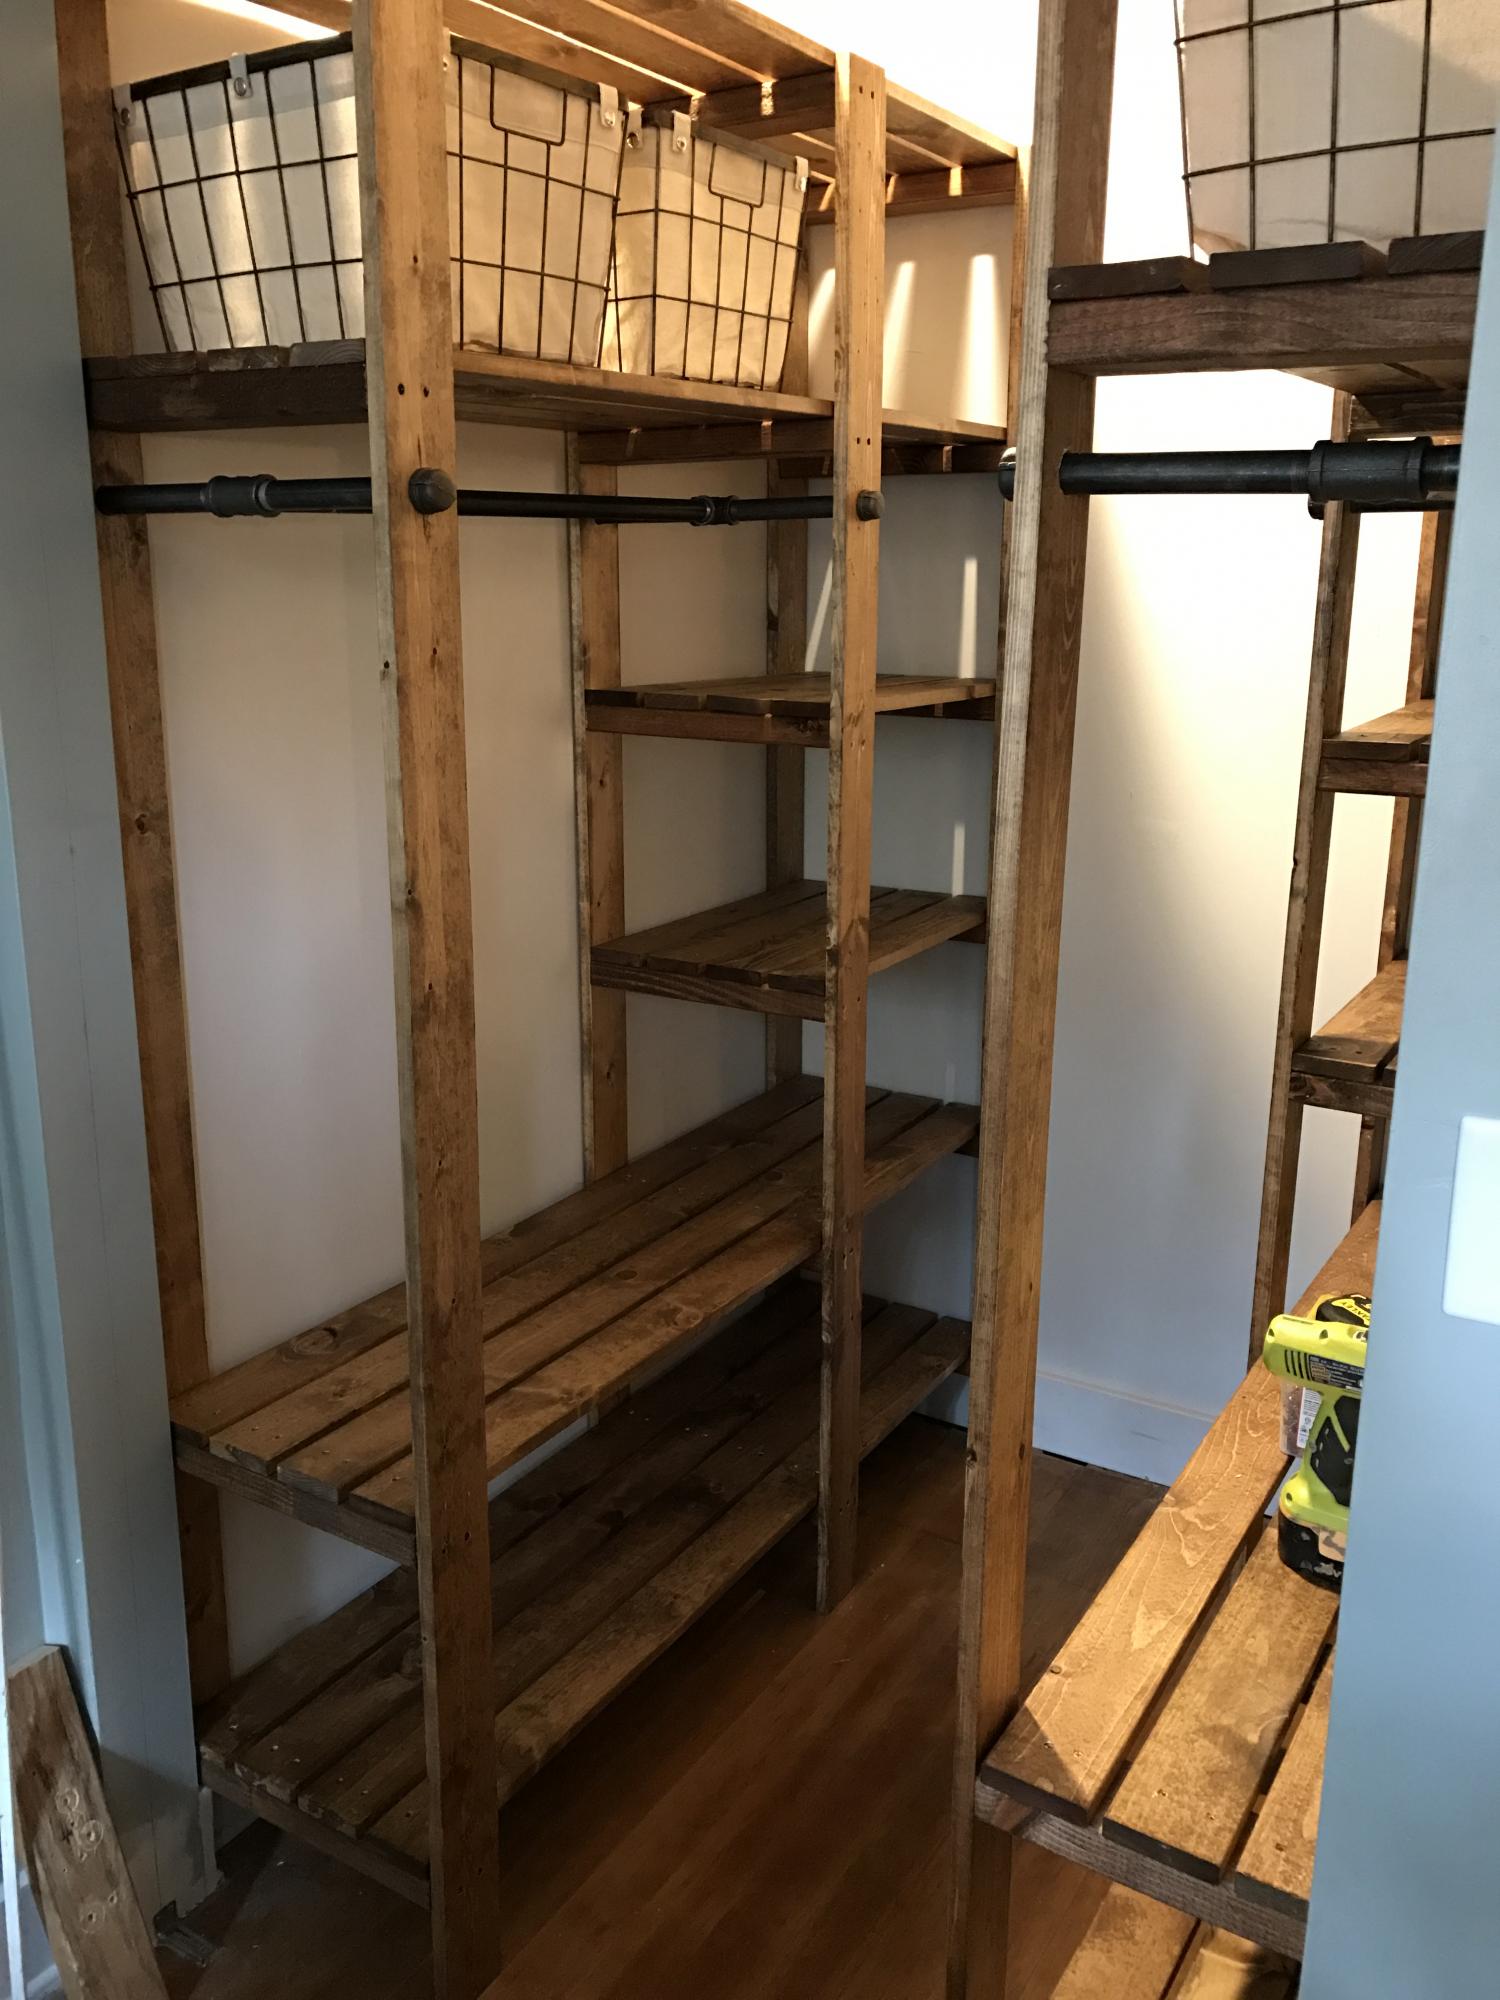
We made smaller ones for each side of the closet. Love it!
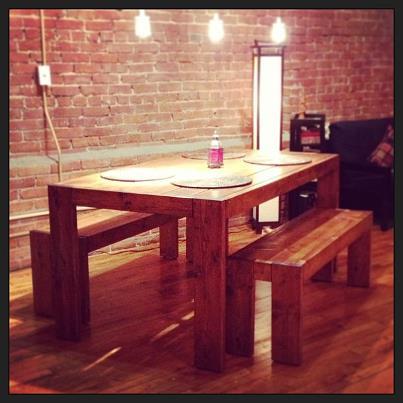
My ex-marine uncle helped me build the modern farm table and benches. We bought pine from Lowe's. Not all of the pre-cut pine slabs fit the exact dimensions from the modern farm table and benches plans. We knew some of the wood would have to be cut again. A Lowe's worker was kind enough to use the store saw to cut some of the wood into the dimensions needed for the table and benches. He measured and remeasured.
Once in my uncle's garage, we first dry fit the furniture. My uncle started with the table. We dry fit the table on its back (in other words - we assembled the table upside down without drilling the table together). He then remeasured all of the wood for the table (while on its back). He wanted to be sure that all pieces would fit, once we started to actually assemble the table with drills. We did the same for each of the two benches.
Then we buffed out any dark marks or stamps on the individual pieces of wood. We did this by hand and not with an automatic tool. That part was BRUTAL.
Next we conditioned the wood. Wood conditioning is necessary, because pine stains unevenly. We waited 3 hours before applying the first coat of stain.
We applied the first coat of stain. Our stain was a mix of early american and golden oak. I did not intend for the table to come out as dark as it did. We mixed more of the early American stain than I had intended, because the table came out darker than I expected.
We waited in beween coats and we assembled the table and benches in between the first and second coat of stain.
We applied a second coat of stain to the assembled table and benches.
Then we applied polyurethane to seal and protect the stain.
After the polyurethane, we used wool to sand out any bubbles.
After the table and benches were assembled and everything drilled in place, we put wood putty in the places where holes were drilled.
Then, we stained the wood putty. The wood putty accepted the stain very well.
Duration
We built this table during the second week of August 2011. The project lasted between 28-30 hours over 5 days.
Make sure your boards of wood are fairly free from cracks. After inspecting them we put several boards back.
I love my table! I'm always complimented on its beauty. My materials cost around $230.00. I built this table, because the farm table and matching benches I wished to purchase totaled $2,000.00. Thanks to my ex-marine uncle, I have a fabulous table to last a lifetime. I mention his ex-marine status, because the military taught him perfectionism. Building a table with in 100 degree heat with a perfectionist was tedious and hard work. However, it clearly paid off in the end! Thank you Uncle!
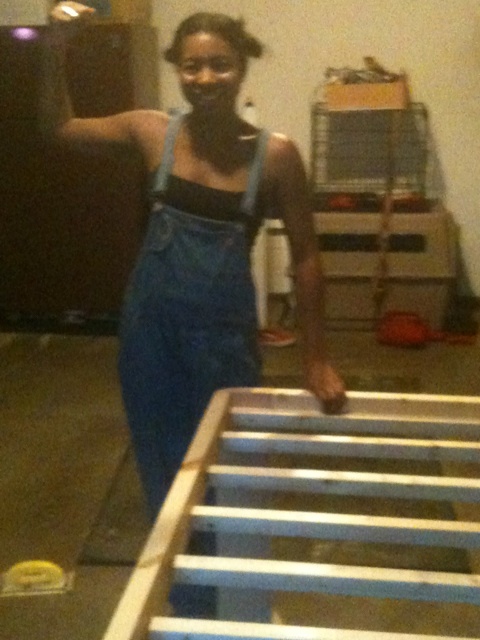
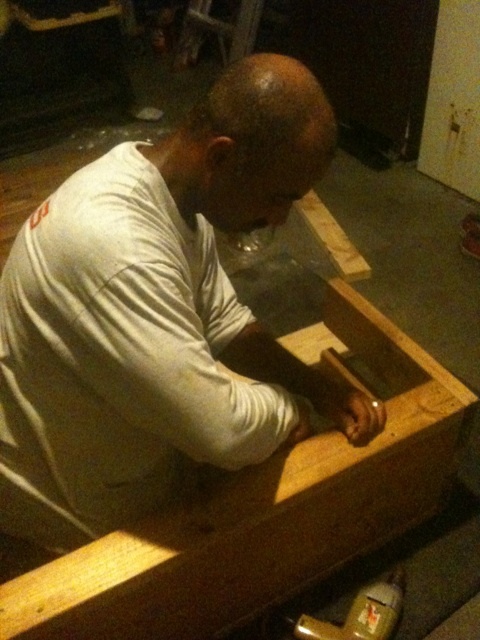
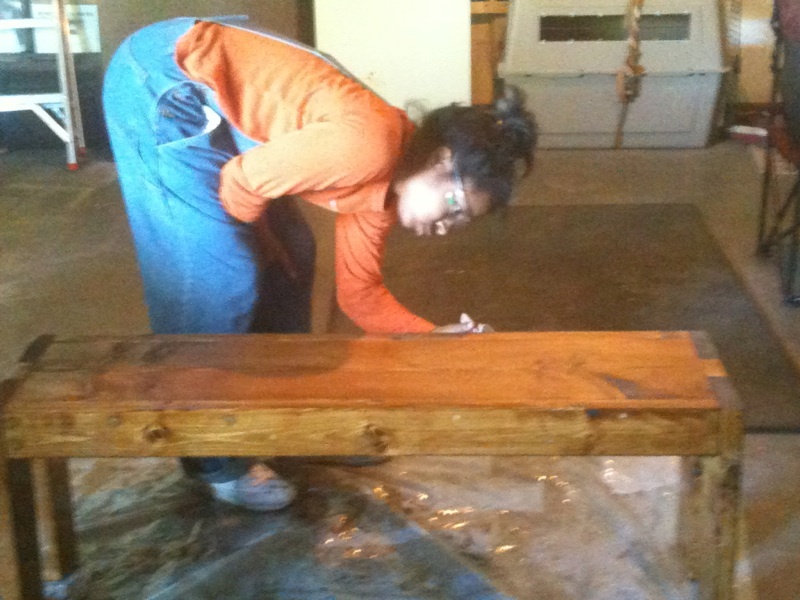
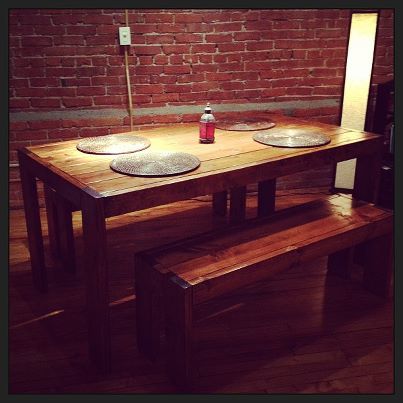
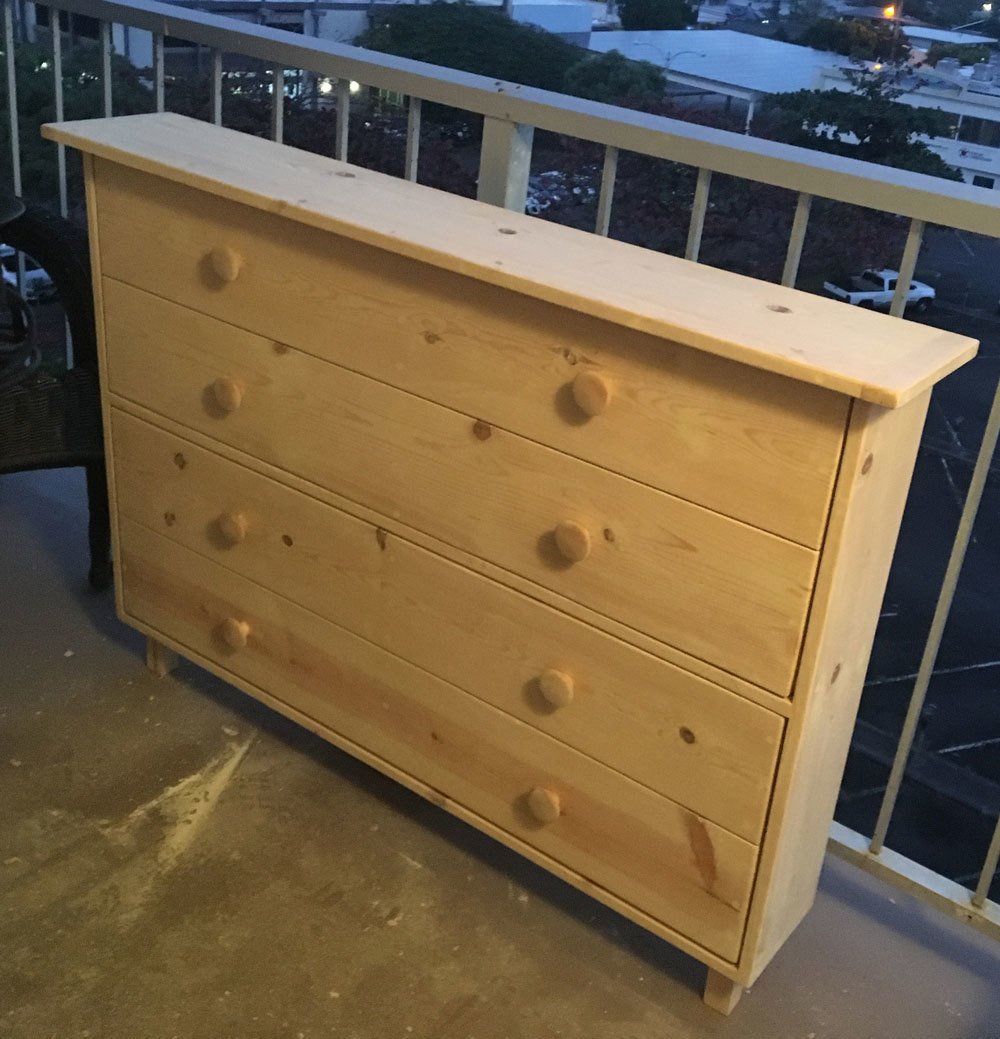
Created my own version out this plan.

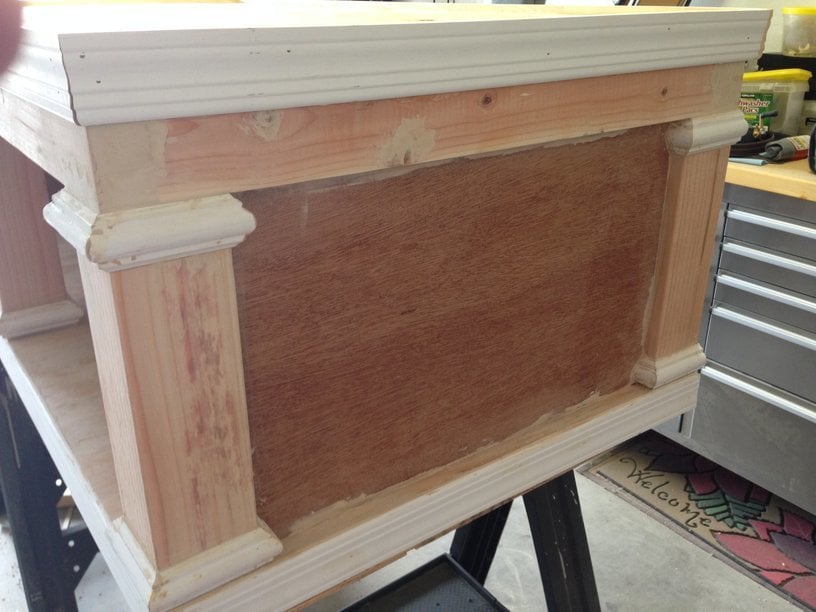
I loved this design. I couldn't believe that they wanted to charge me almost $600 for the pedestals for the washer/dryer set that I bought on black friday, so I decided to give this project a go. I basically used the same construction plans from Sausha's project, but I dressed mine up a bit. First, I chose a bit larger trim for the tops and bottoms of the posts. Then, I bought some 2" baseboards and did the top and bottom with baseboards. On the bottom, I had to use my tablesaw to trim off about 1/2" because I used 1x1" boards on the bottom so that I could have more space for baskets. Then, on the top, I inverted the baseboard and allowed it to overlap a bit so that if it were to vibrate, the washer/dryer could not fall off the edge. I also added some fabric on the top (stuff that I use to cover the bunk boards on my boat trailer...kind of like a very thick and durable felt material) to cut down on vibration and also keep the units in place. Finally, I added sides by using wedge trusses on the inside of my side posts and then I put a 1/8" piece of plywood over top and nailed/glued it to the trusses.
It turned out great. Thanks for the plans Sausha!



In reply to Nice Detail by earthbybike
Mon, 12/08/2014 - 11:42
Thanks. Yeah, I thought that it did really dress things up. I really like the way it turned out.
Mon, 12/21/2015 - 17:38
Did you use sanded plywood? Did you use any veneers for the exposed 2x4's to get a smooth finish or did you paint right on it?
lastly, what is the name of the trim you put on the 4x4s? I've hard a hard time finding it. Thank you!
Mon, 12/21/2015 - 17:44
Did you plane the 2x4s? Because they look really straight.
In reply to Question... by Zlk200
Wed, 06/29/2016 - 13:59
Sorry for the super delayed response. I didn't realize this question was here. I did not plane anything. I did sand the surfaces a bit, but I didn't get too crazy. I put 3 thick coats of paint on it which made it pretty smooth. If you look very closely in person, you can still see a bit of wood grain, but it is only noticable if you really get down and look. I did use a lot of wood putty to fill all of the gaps and crevaces and then I sanded those parts pretty well.
With regard to the trim, the top literally just standard baseboard material turned upside down, and then the little trim on the tops and bottoms of the 4x4s is just another standard strip of moulding that I got from Lowes. I think they call it "Chair Rail" moulding. Its the stuff that you put down if you are doing some sort of paint separation or wainscoting.
http://www.lowes.com/pd/1-625-in-x-12-ft-Mdf-Chair-Rail/3403018
I used woodglue on all of the moulding and tacked it on with a nail gun. Then I filled all of the nail holes with wood putty and also use the putty to fill gaps where the corners came together to make that look smooth.
I hope that helps...you are probably already done with your project by now, but I figured that I would answer anyway. :)
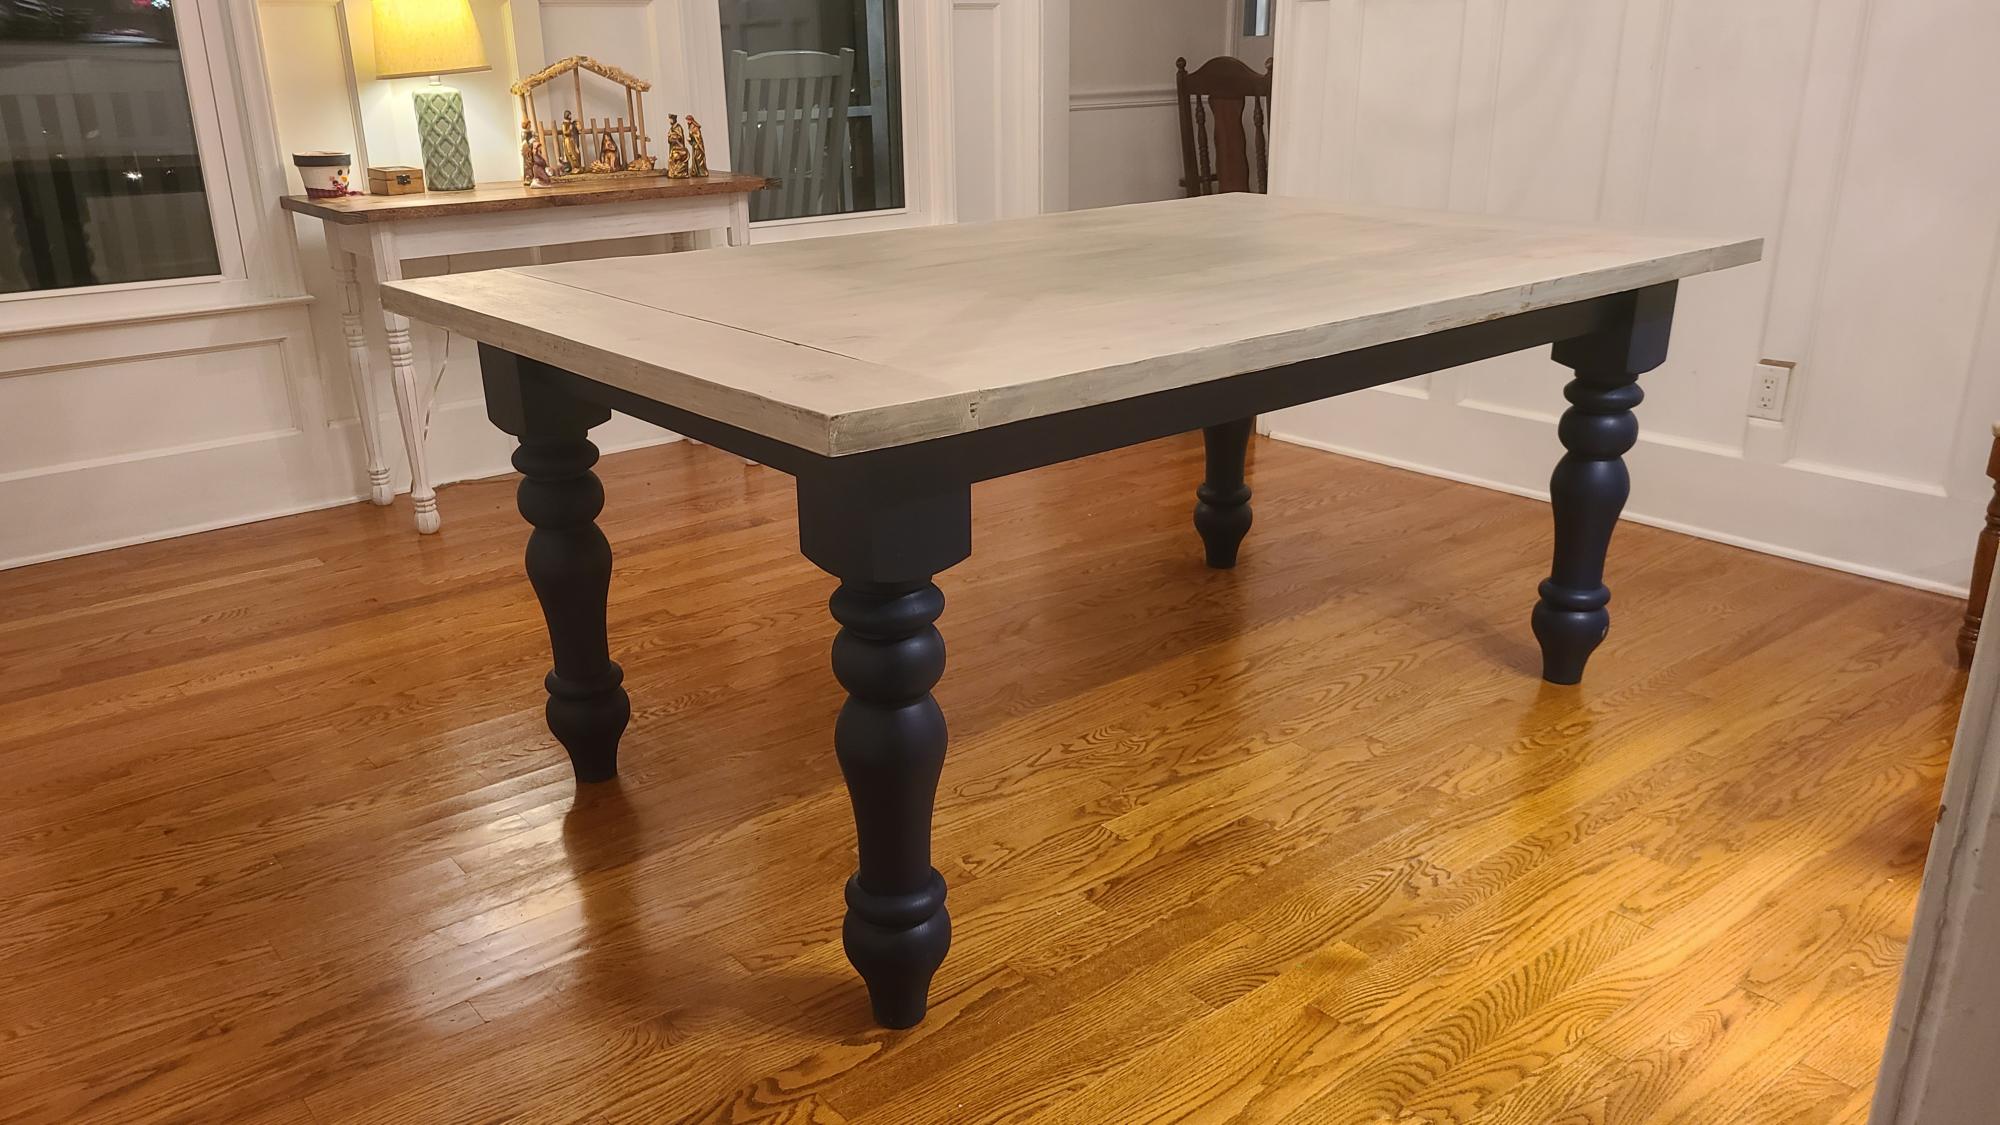
This is a chunky leg farmhouse table I just finished. We wanted to do something a little different with the color scheme, so we did something a little more colonial with a custom stain and paint blended grey top, and painted the legs a deep navy blue.
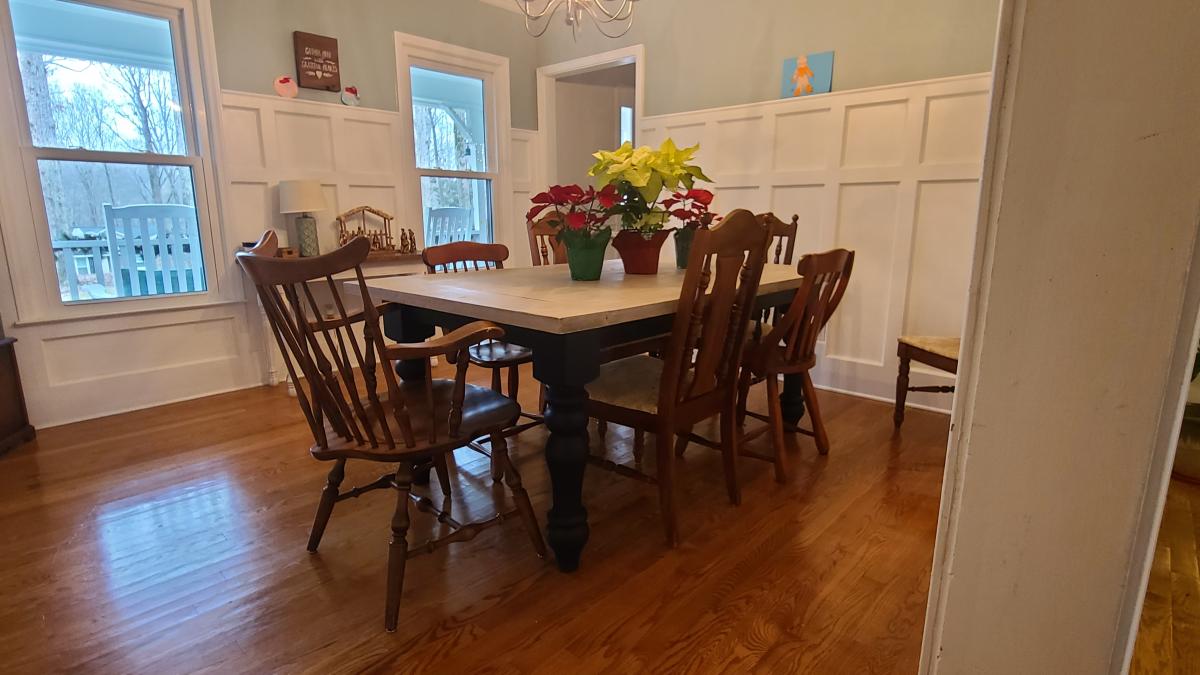
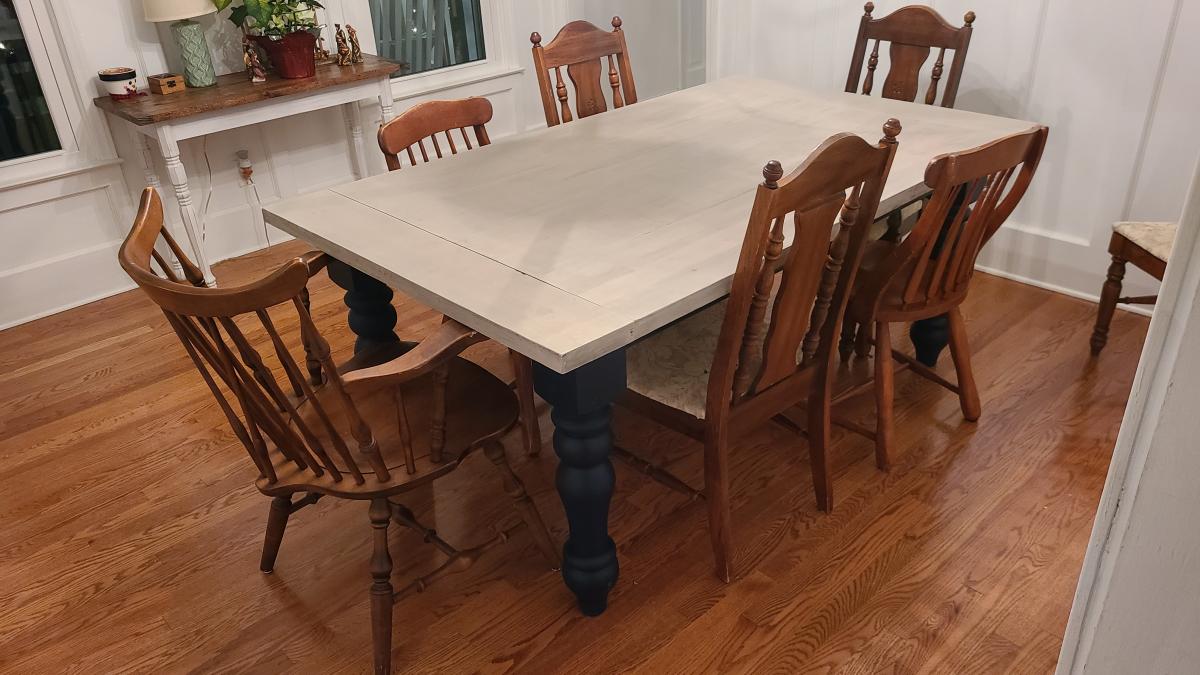
Putting this table together was a lot of fun! We knocked off about two feet from the plan so that it fit in our modest dining area. Many of my saw blades were replaced at some point during this project in favor of sharper and cleaner-cutting replacements, so we spent quite a lot making sure we didn't end up with a giant splinter of a table. You can see from one of the photos how poorly I chose some of the wood (the 2x2 is like a cork screw), so I had to replace a few pieces. Still, I think I could have replaced all of those tools altogether and still spent less than this table would have cost at the store.
Something I learned during finishing: I knew beforehand that wood glue didn't stain, but I didn't realize that even the residue of wiped-up glue will keep the wood from taking stain. When the matching bench is made later on I'll be sure to sand all of the places where glue might be hiding, invisible. The stain color generally wasn't quite what we imagined and the legs seem to have taken it differently than the top, but when the word "Farmhouse" appears in the table style, you can chalk all of those imperfections up to its "rustic" style. For that I am grateful.
The poly dried a bit rough, but a fine sanding sponge smoothed it out and also gave it a little bit of that greywashed RH look. Win-win. We wound up putting "Flor" tiles underneath the table to give it some contrast since it ended up resembling our floor color a bit too closely. Now we actually have a dining area, instead of just a table.
It took about a week and a day (I started Saturday morning and we finished it the following Saturday night). Fortunately our ten-month-old can sleep through just about anything. I'm glad it's done now and we can enjoy it!
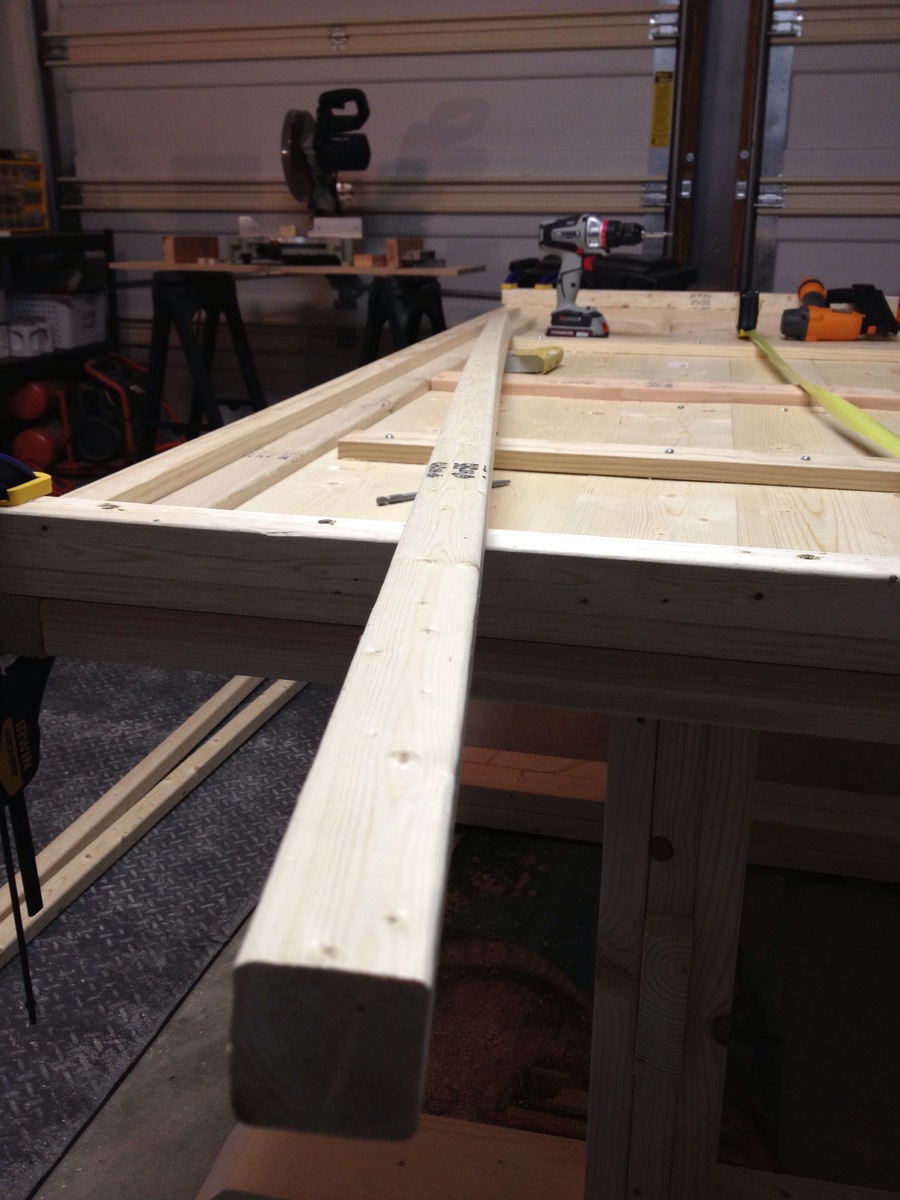
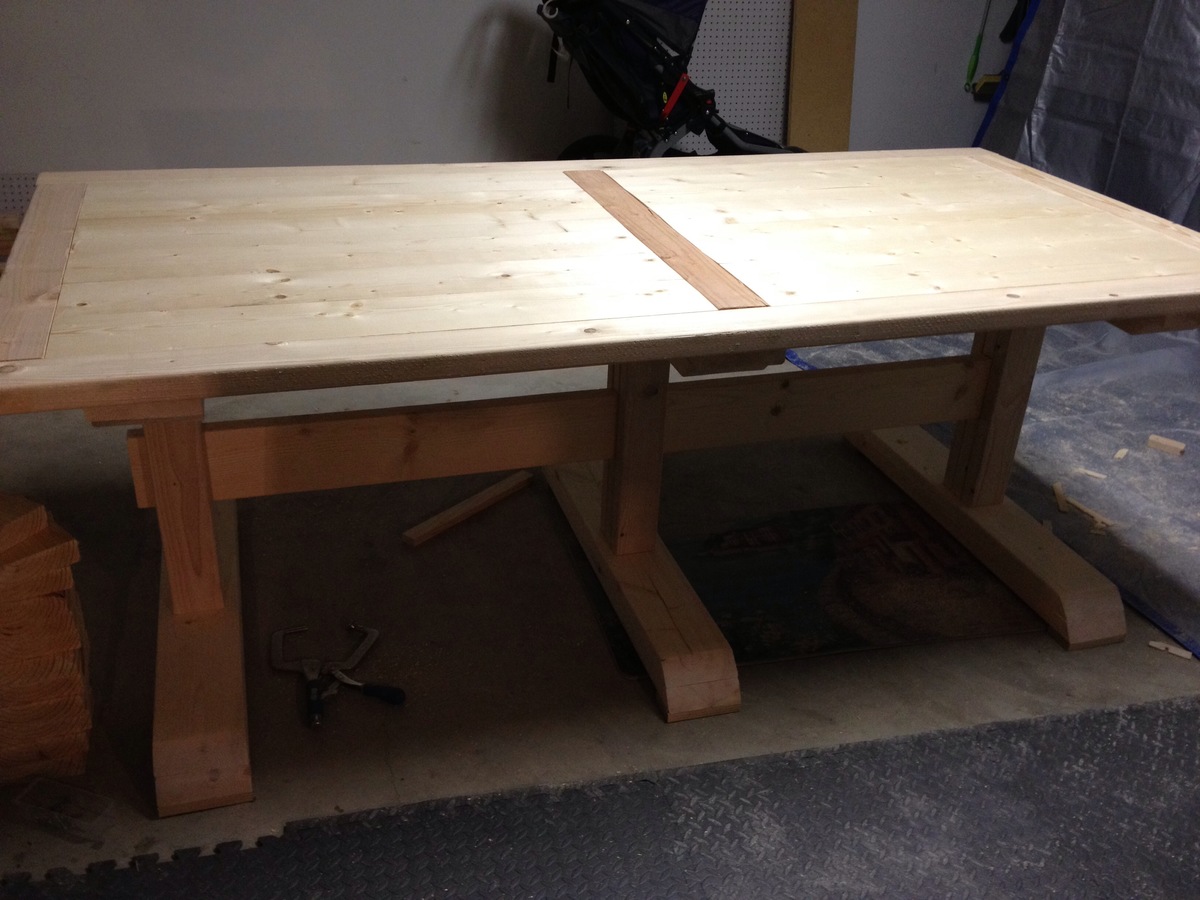
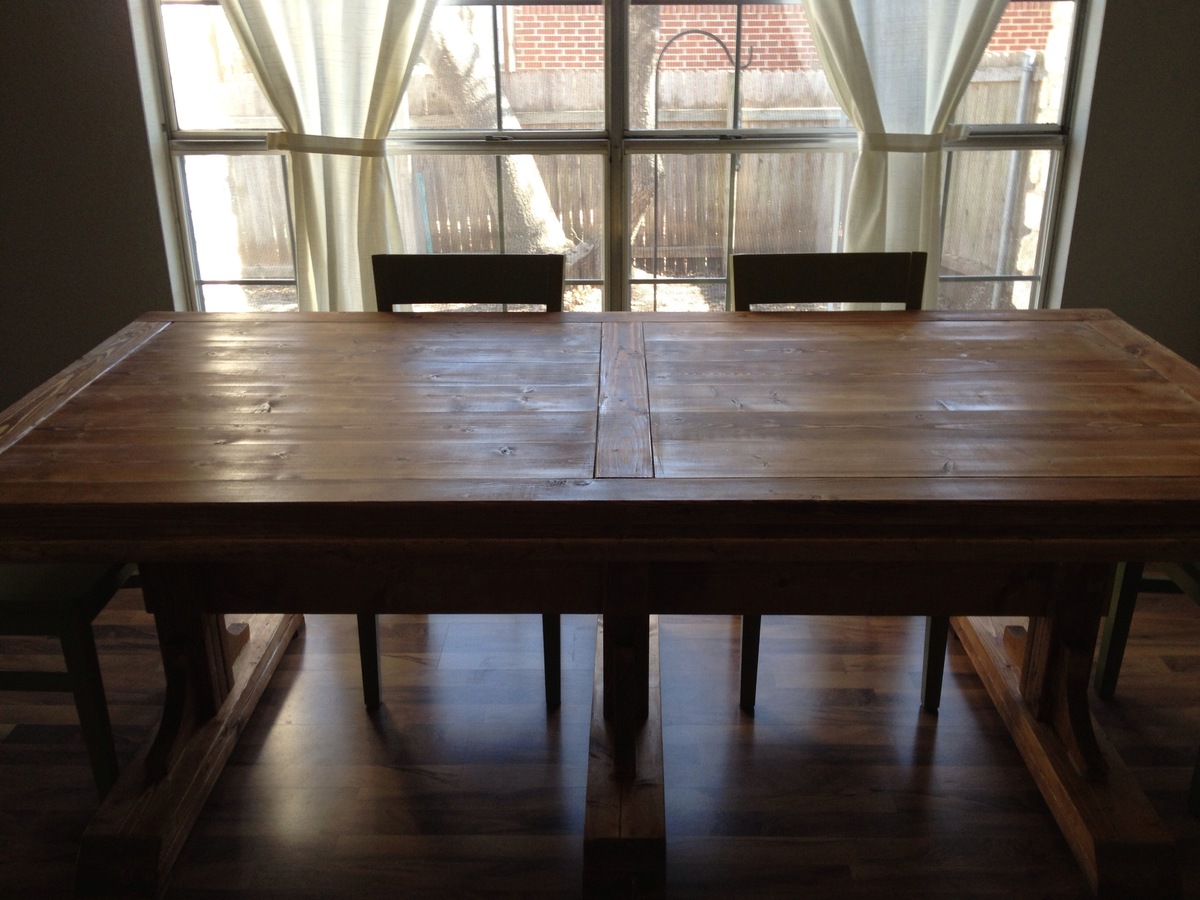
This is my first full sized table project. I wanted to make an inexpensive dining table with nice looks and this one fit the criteria. I deviated from the plans by making the legs frames and the middle truss using rabbit and dado joinery. As a result the middle truss and leg frames did not have to be fastened together with any screws. This design modification made it easier to build in the garage and be able to move easily into the house for final assembly. Top is made of SPF lumber stained to match the natural colour of the cedar legs and truss frame. Thanks Ana for the inspiration to build this beutiful piece.
Thu, 12/11/2014 - 17:11
Love how you rounded the edges of the 4x4s and taylored the cross beam underneath. Just simply fabulous
Fri, 12/12/2014 - 11:07
Great job on this build, looks fabulous! Thanks for sharing!
Mon, 07/24/2017 - 05:24
Hey Dangerdad! Wife and I bought cedar for the base and have all sanded, but are torn on how to stain. I liked your table, and was reading your description of your finish. Did you stain your cedar? You say you stained the top to match the natural cedar, so am thinking maybe you just sealed it without any stain?
Could you clarify? Thanks so much!
Thu, 11/02/2017 - 11:39
sorry for the late response. I didn't have to stain the cedar at all. Just applied a natural satin poly finish. Hope yours turns(ed) out good!
Mon, 07/24/2017 - 05:25
Hey Dangerdad! Wife and I bought cedar for our table base and were discussing how to finish it. Did you stain your cedar? Your write up seems like you may have just finished it and not stained at all, and only stained the top? Just curious
Thanks so much!
I saw http://www.ana-white.com/2013/02/plans/wall-kitchen-corner-cabinet and knew this was the project I wanted to do in our new home. The side cabients are from http://www.ana-white.com/2013/12/plans/36-wall-cabinet-double-door-momp… project, redesined to fit the wall-kitchen-corner-cabinet plans. This was my first cabient build. Still have to install doors. I am happy way it came out and so is wife.
Thanks Ana for your great site and plans. My next project is the storage sofa :D
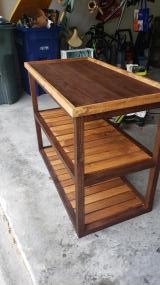
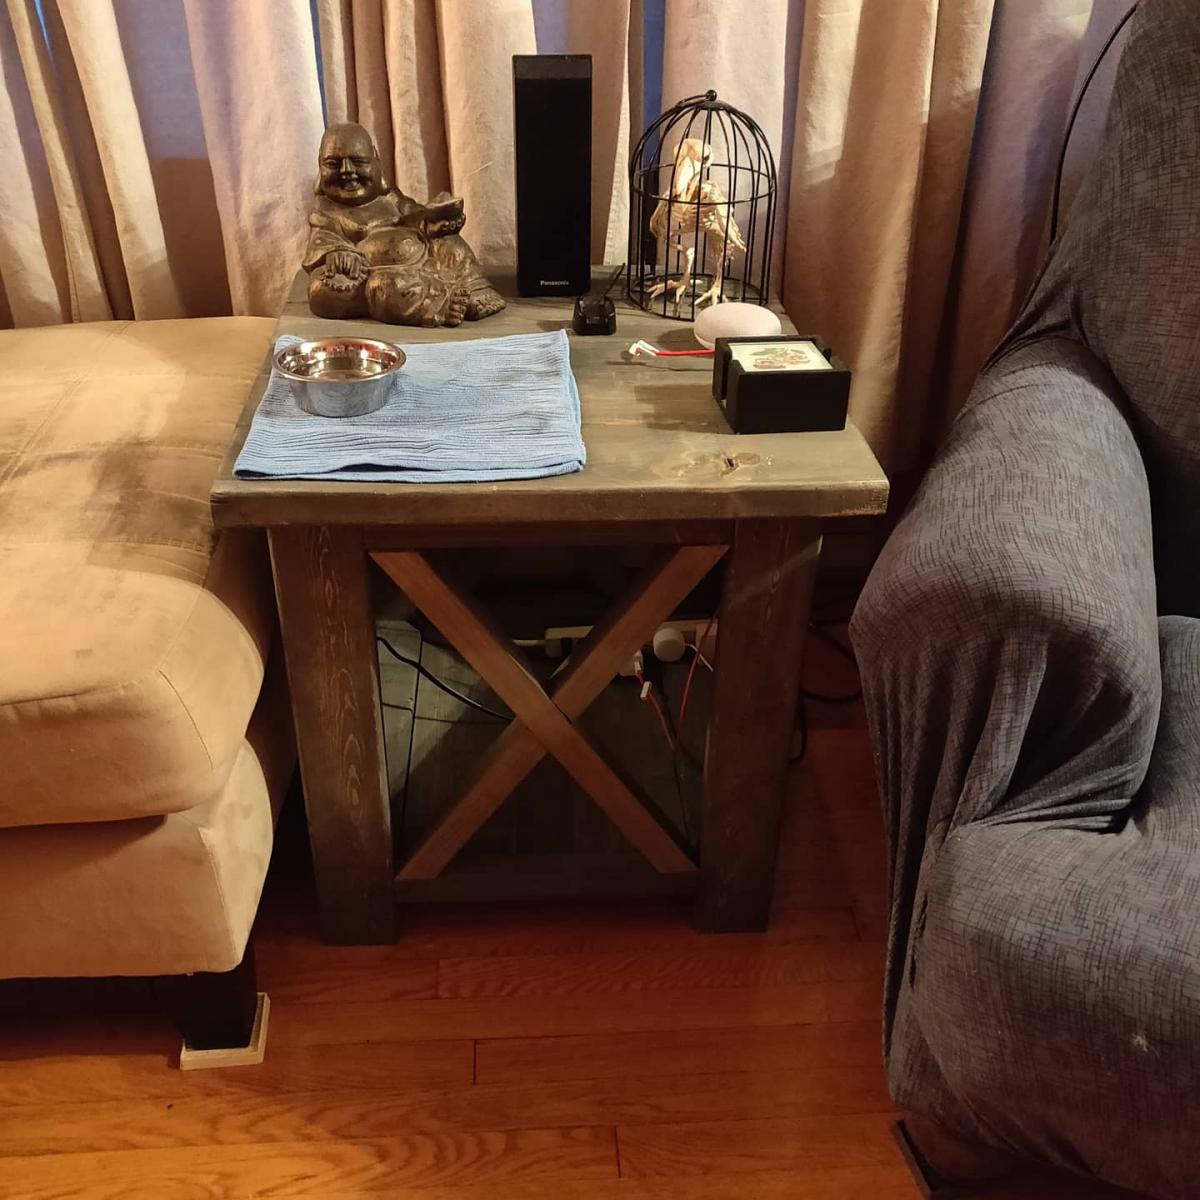
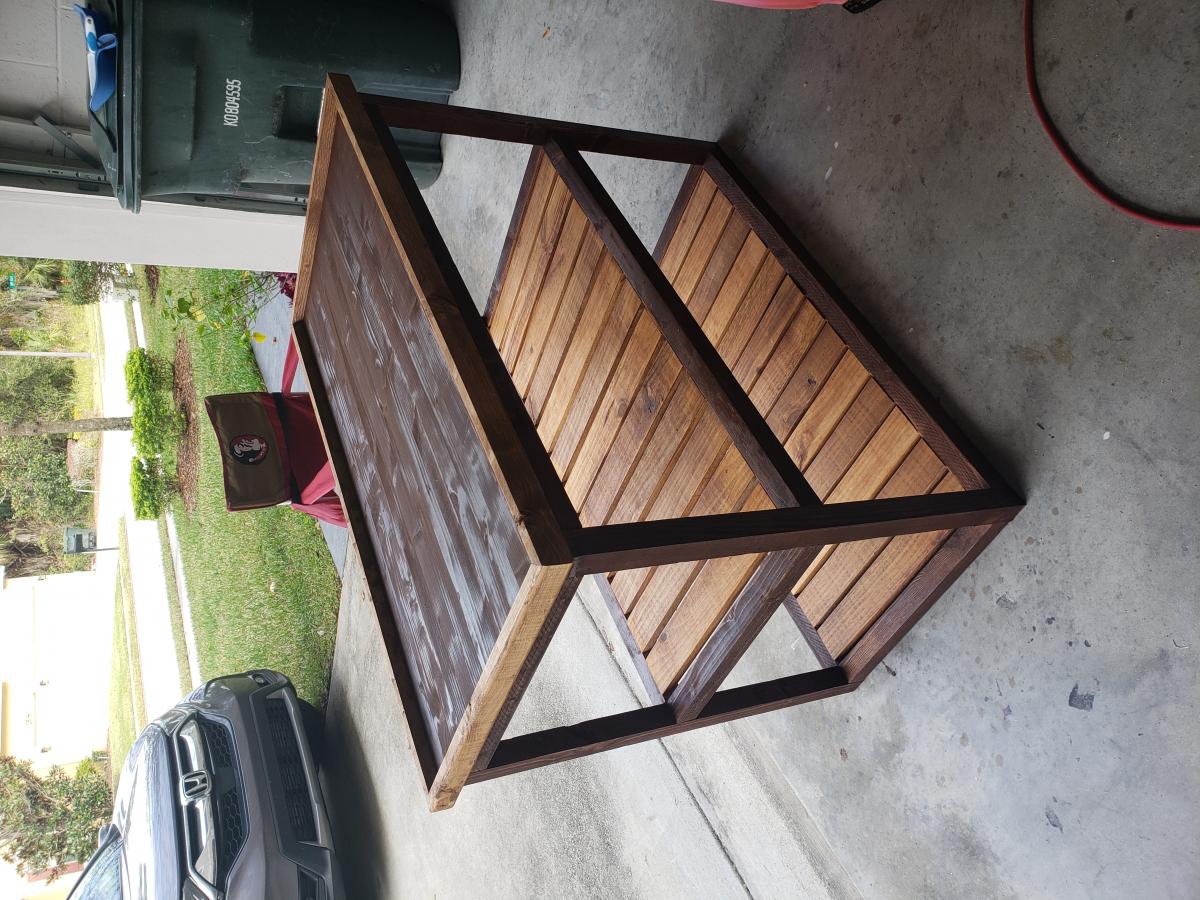
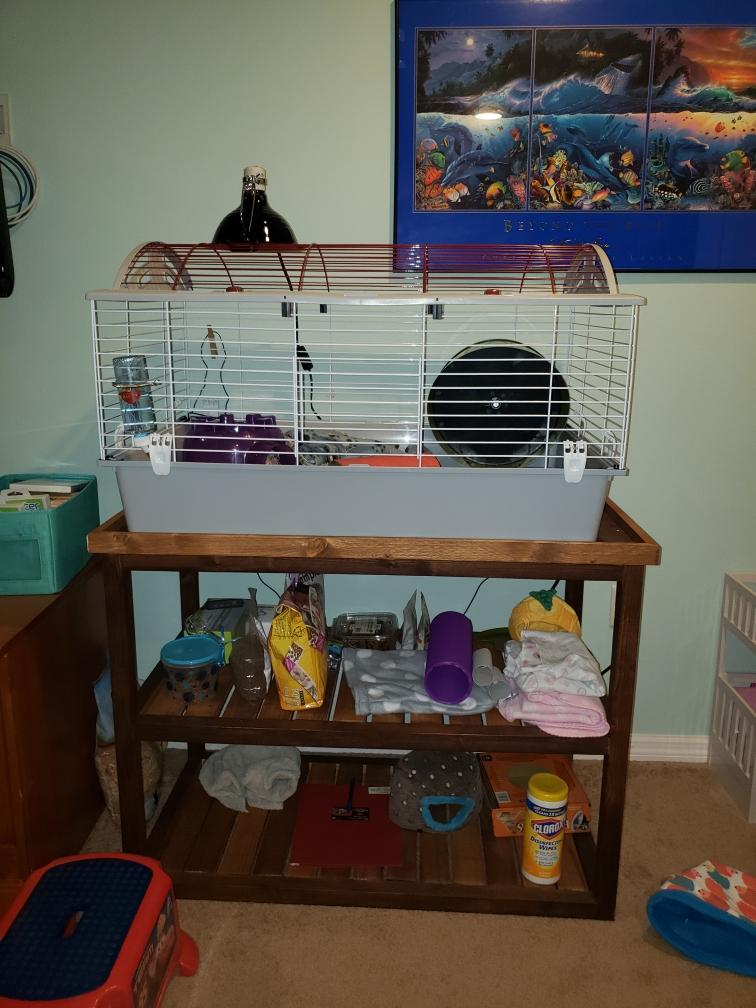
Sorry, the pictures are on their side. I used the Rustic X console table plans, but left out the X and made it taller and wider. I didnt have a stripper nor enough skinny wood to lay the slats on the shelf like that did in the video, so each of those slats are held up by pocket screws. Whew! Will avoid doing that again if possible! I did, however, stain BEFORE i built and that made all the difference! Also for the top I used a quality piece of compressed wood which bumped the cost $20, but seeing that a cage was going on top, i wanted a solid piece to hold any shavings. I also added a railing so the cage would stay in place. My neighbors LOVE it and I'm just super happy with how the stain job came out. It was actually a fluke, I think I failed to stir it completely on the first coat and when I was touching up it got waaay darker so I just rolled with it and made it two toned. LOVE the result and not sure if I can pull it off again haha
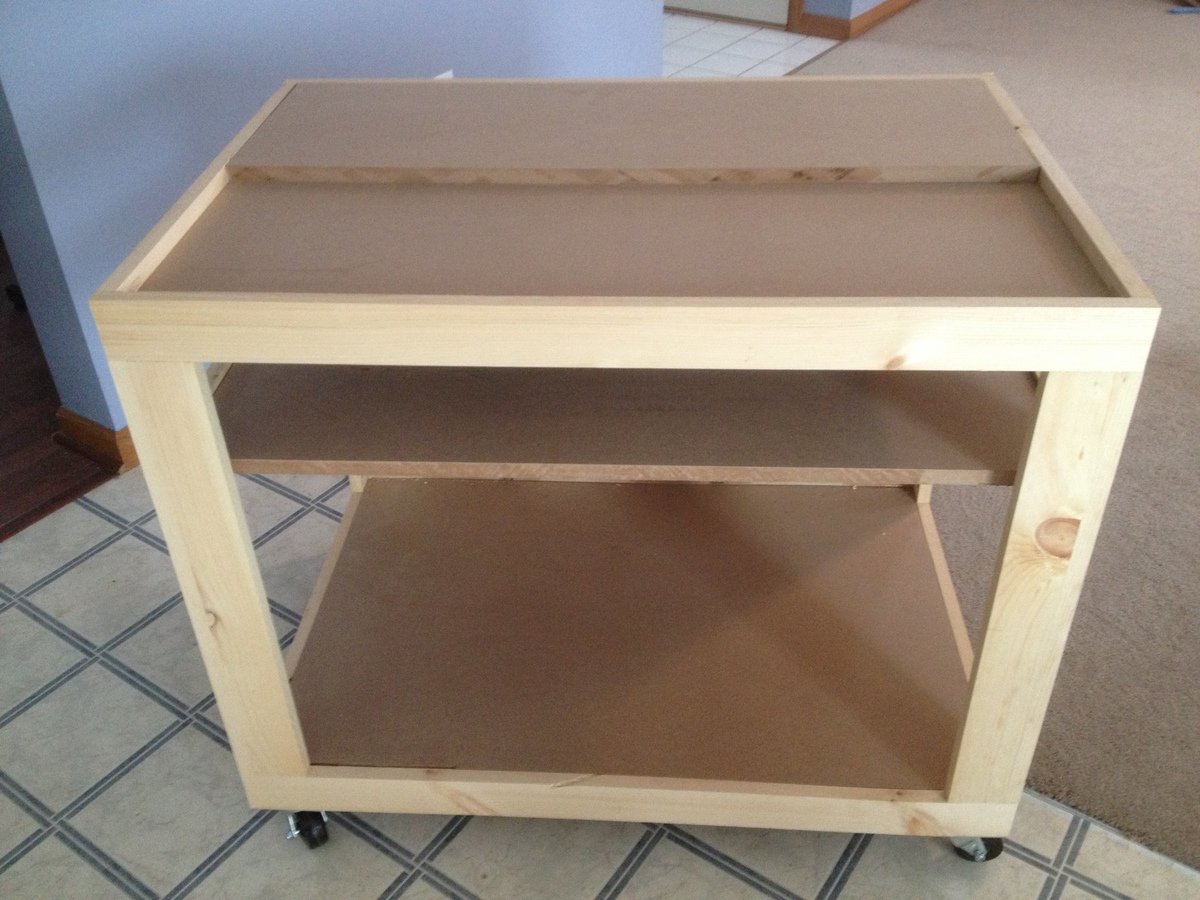
After browsing through forums I came up with this idea...a versatile shop cart that I can insert my kreg jig and miter saw into...a stable base at a great working height.
I created this design in sketchup as well and will work on posting it as a plan if people are interested.
basically, the top is inset 3/4" to make room for the inserts. I created a work table insert (well two I split in half, so the kreg insert can take up the front half if I wanted to insert that.
Then I made the kreg jig insert
and the Miter saw insert
let me tell you...this came in handy right away as each of those inserts I made can be used without the cart as well and both inserts work tremendously!
I am really really happy with this and it is so useful. Started making the loft bed playhouse last night and the miter say and kreg jig were extremely useful at a good working height.
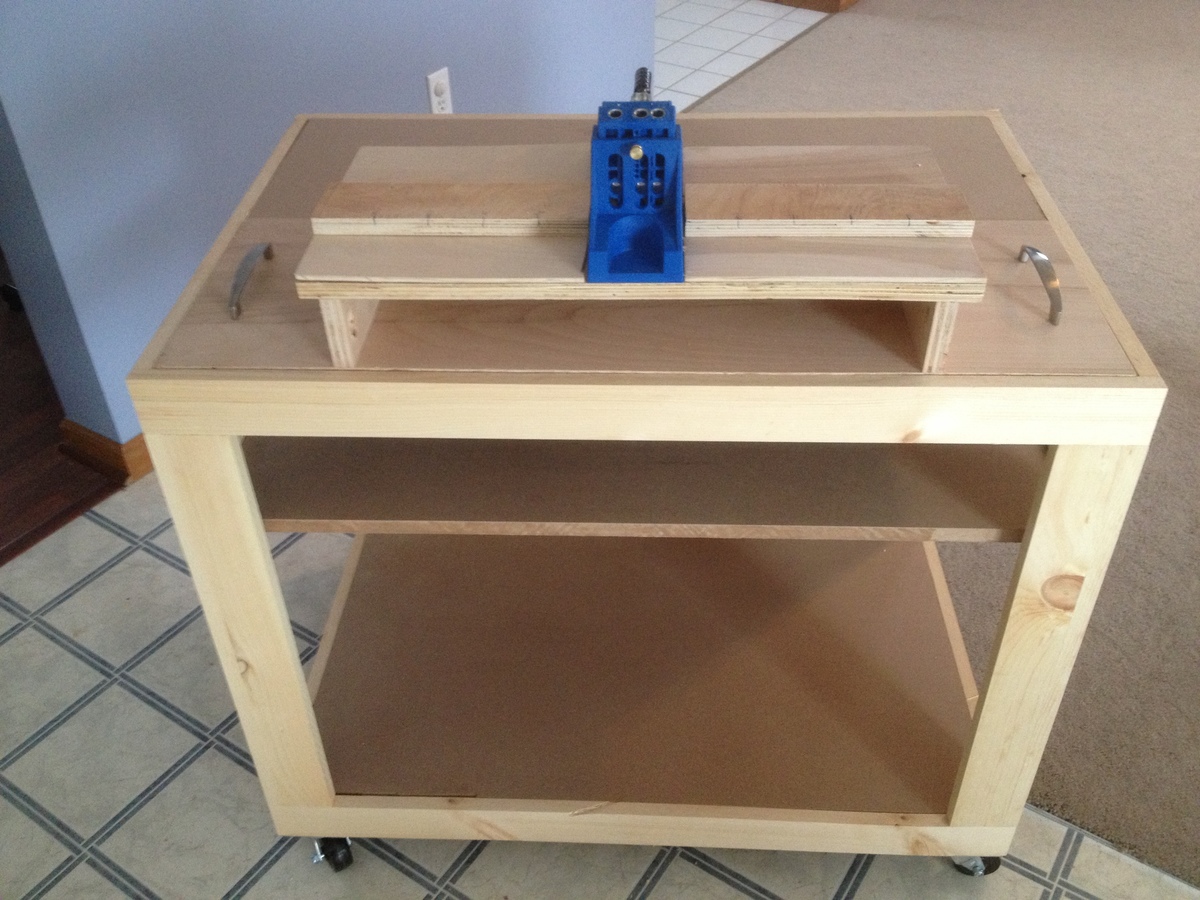
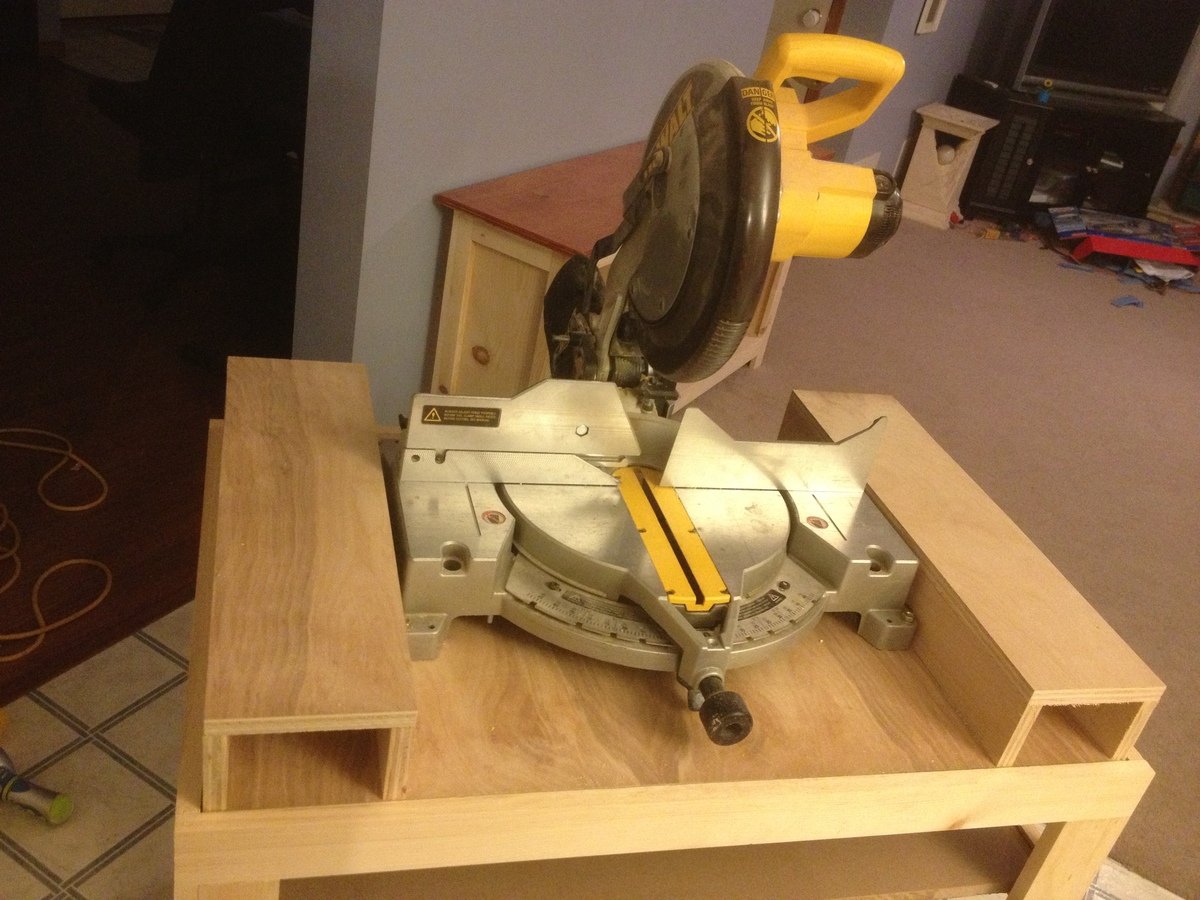
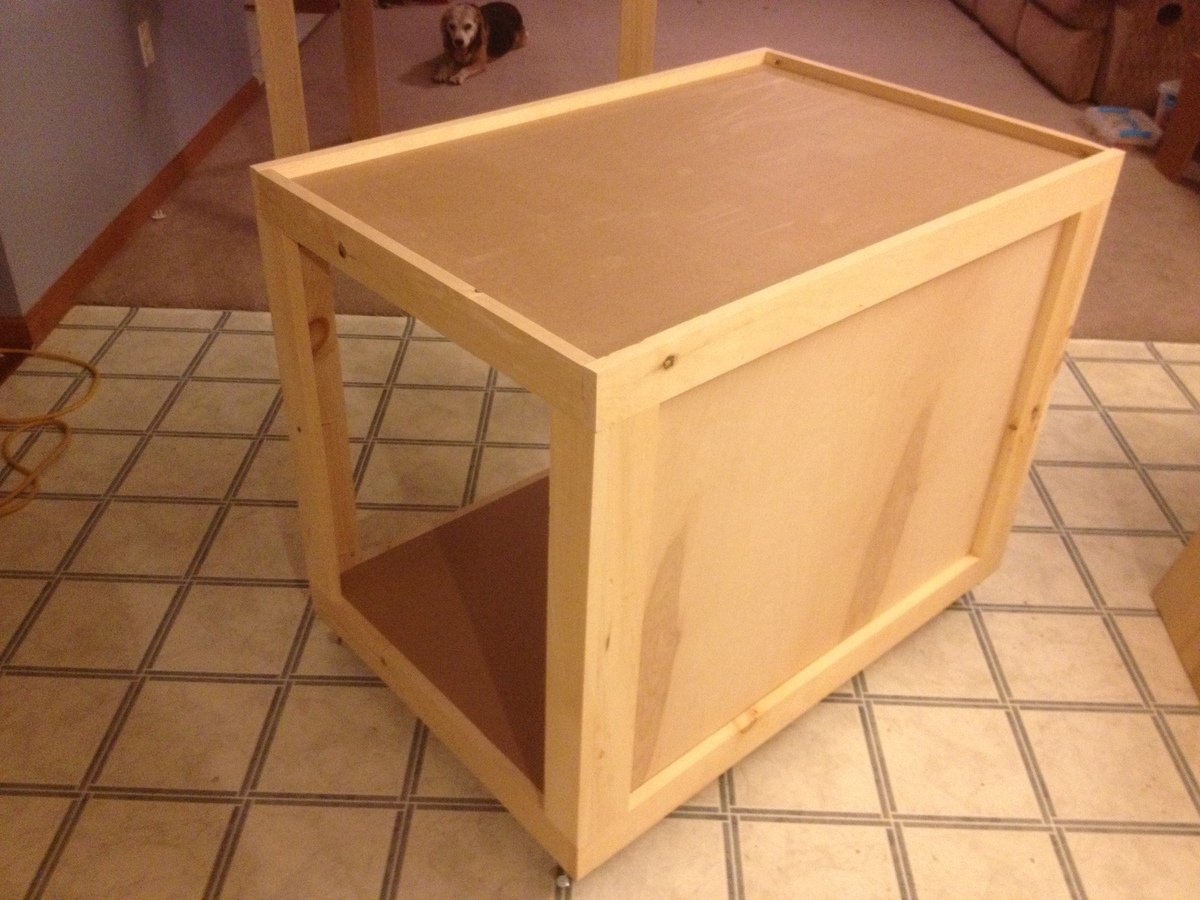
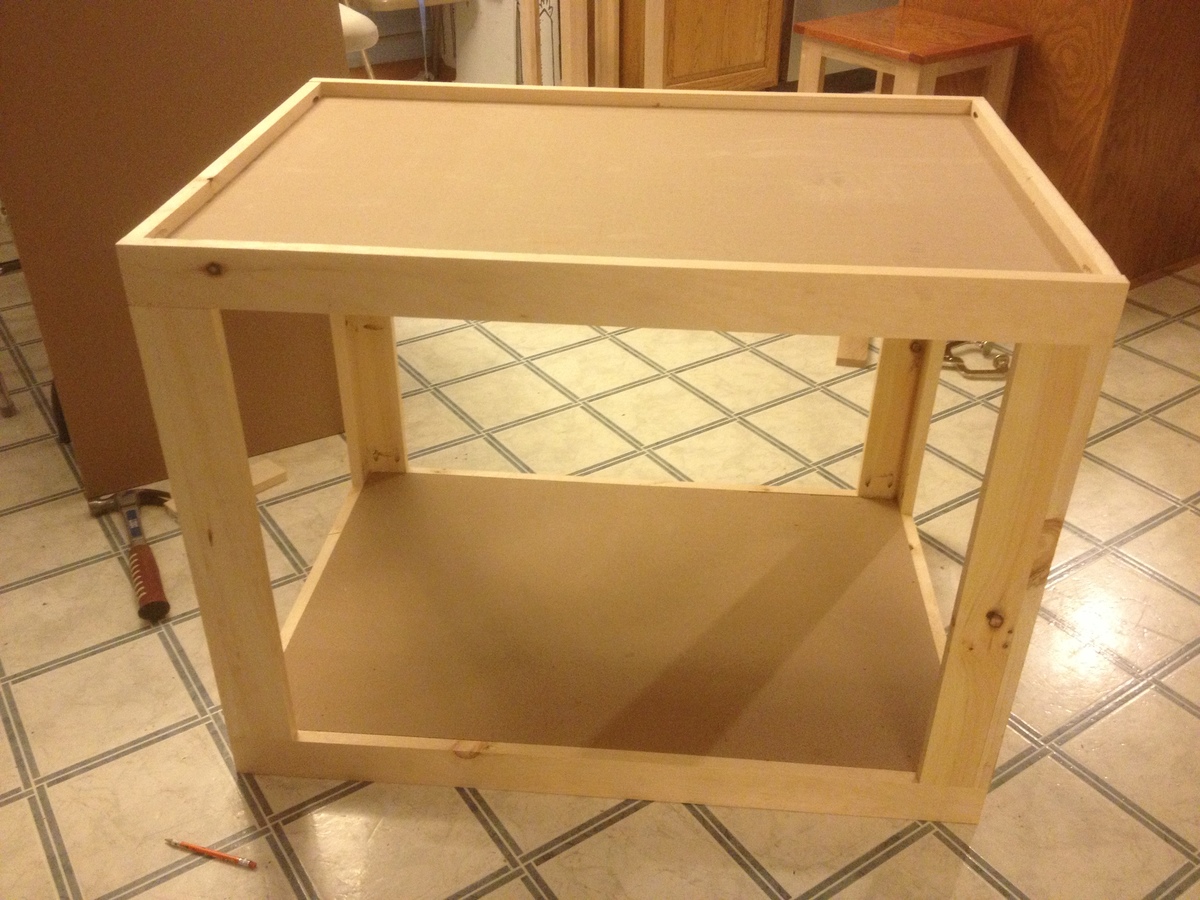
Mon, 02/25/2013 - 08:07
My intention for the top shelf is to hold small tools that I am working with while using the cart and the bottom is to store the cut pieces of lumber I am using for the project
Mon, 02/25/2013 - 10:33
Please post the plans. This thing would make a great shop cart or miter saw stand.
I have one other suggestion: you could also use it as a small assembly table. You have a 3/4" inset. Stick a piece of plywood inside the exactly fits inside. Then screw a larger piece of plywood to that one. (DON"T screw it into the top of the cart.) The larger sheet of plywood would overhand the shop cart edges by maybe a foot on each size, so you'd have a "small" mobile assembly table that might 3x4 feet or 3x5 feet across at the top.
Mon, 02/25/2013 - 11:20
I would also like to see the plans for this cart. It looks nice and compact and versatile.
Mon, 02/25/2013 - 12:10
@ david...I did make a workbench type top for it as well, just didn't post a pic of that.
I will get the plans together for this then and post it for everyone...I enjoy sharing with everyone so we all can learn and make quality things. I'll start working on that tonight.
Tue, 02/26/2013 - 10:55
here is the link to the plans
http://ana-white.com/2013/02/plans/versatile-shop-cart-workbench-inserts

I made this to fit the room and to help organize and cleanup the laundry / mud room. After searching for plans online I just sat down with pencil and paper and drew up my own plans, cut sheets and design from a combo of numerous projects I found in Pinterest.

Thu, 02/18/2021 - 15:43
Love the option of open and closed storage, it looks amazing!
In reply to Very cool design and build! by Ana White Admin
Fri, 02/19/2021 - 08:44
Thanks! We have some items like a steam mop and electric broom that go in one of the enclosed storage areas. I can post plans, construction pics and cut sheet if there is a place to do that.
Comments
gkatie26
Sun, 03/01/2015 - 12:16
Length
I was just wondering if these are 5ft boards from the plan or if you used longer boards? If so what length did you use? Love the way this one looks! :)