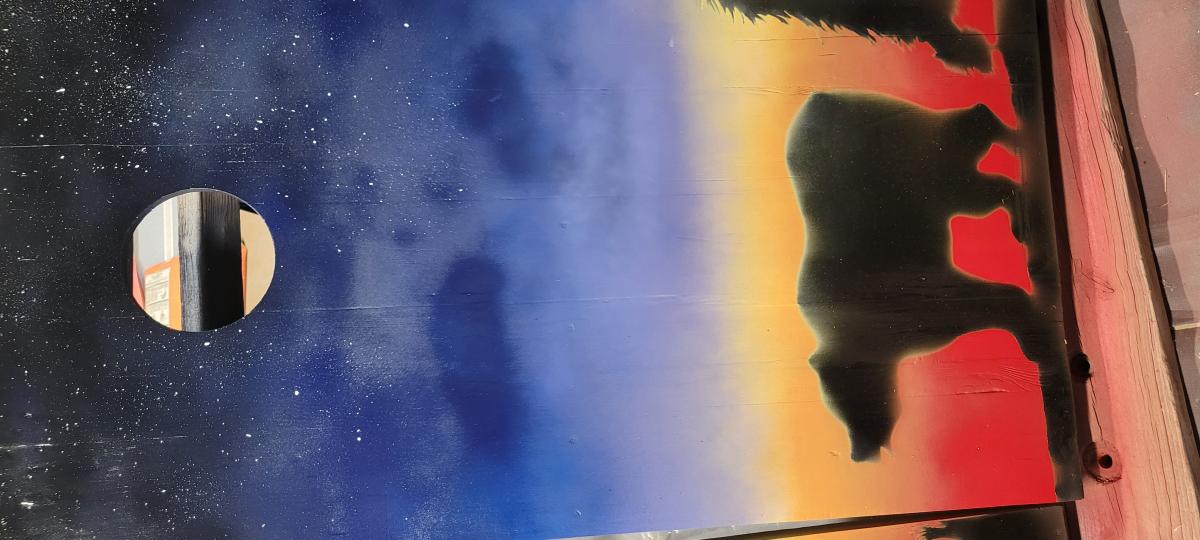
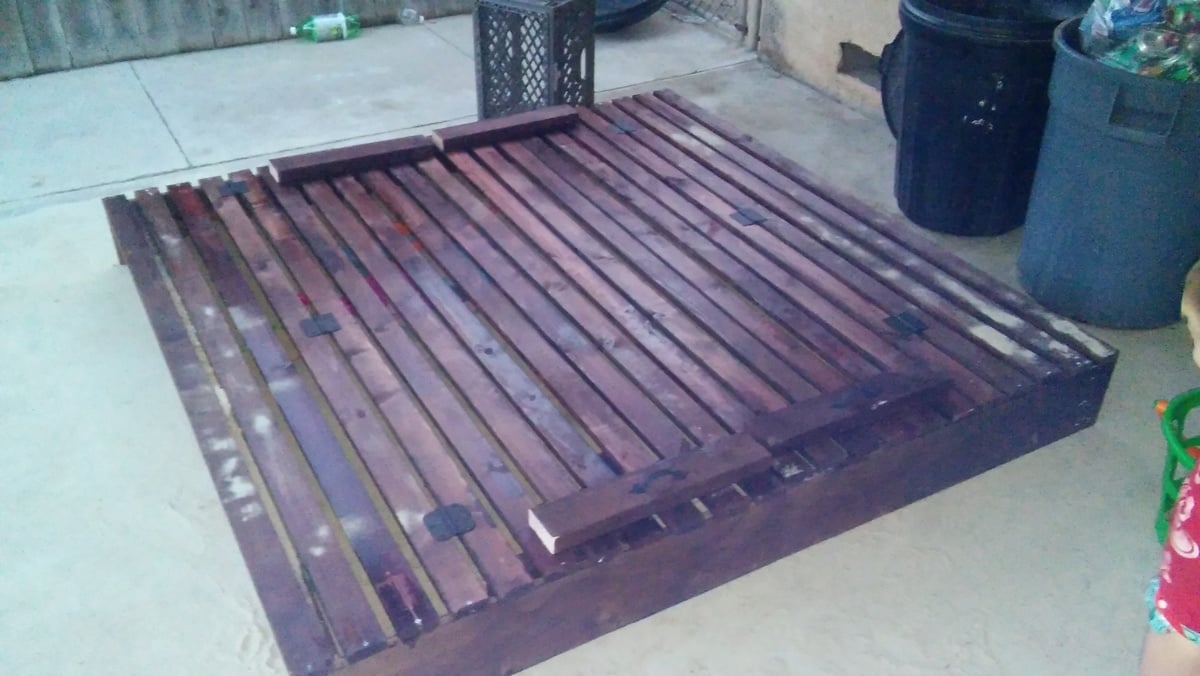
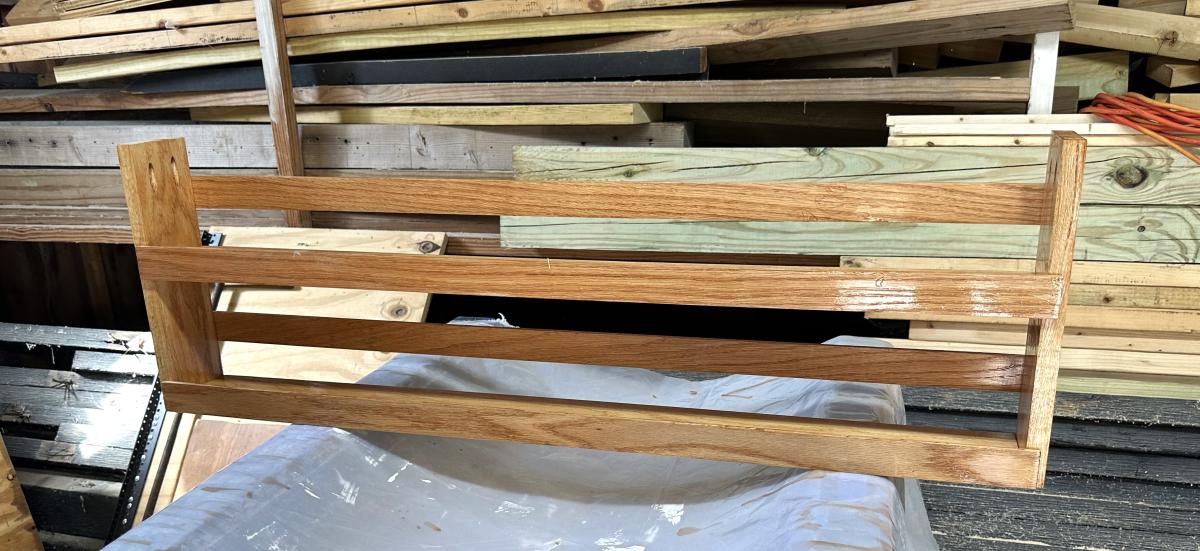
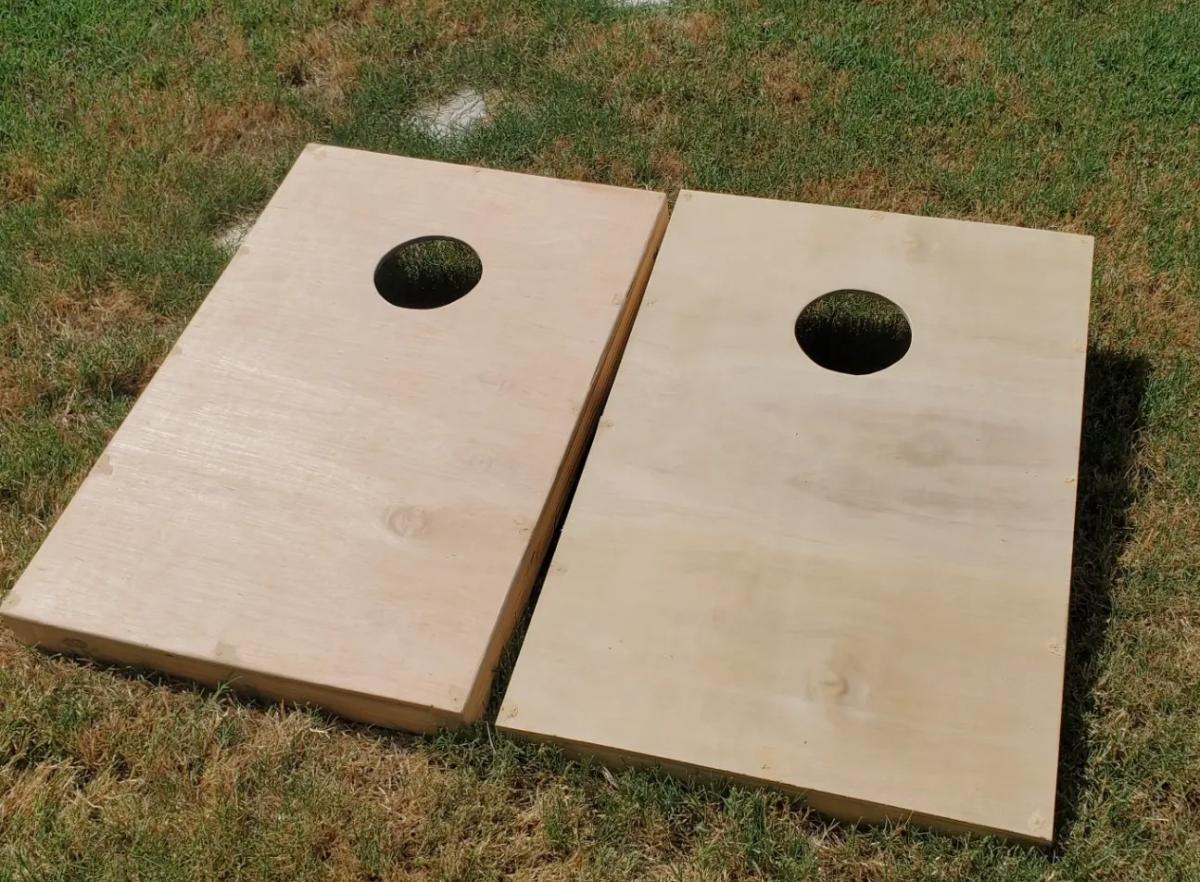
Community Brag Posts

Cornhole Boards #1

Submitted by JLFarquhar on Sun, 12/26/2021 - 17:14

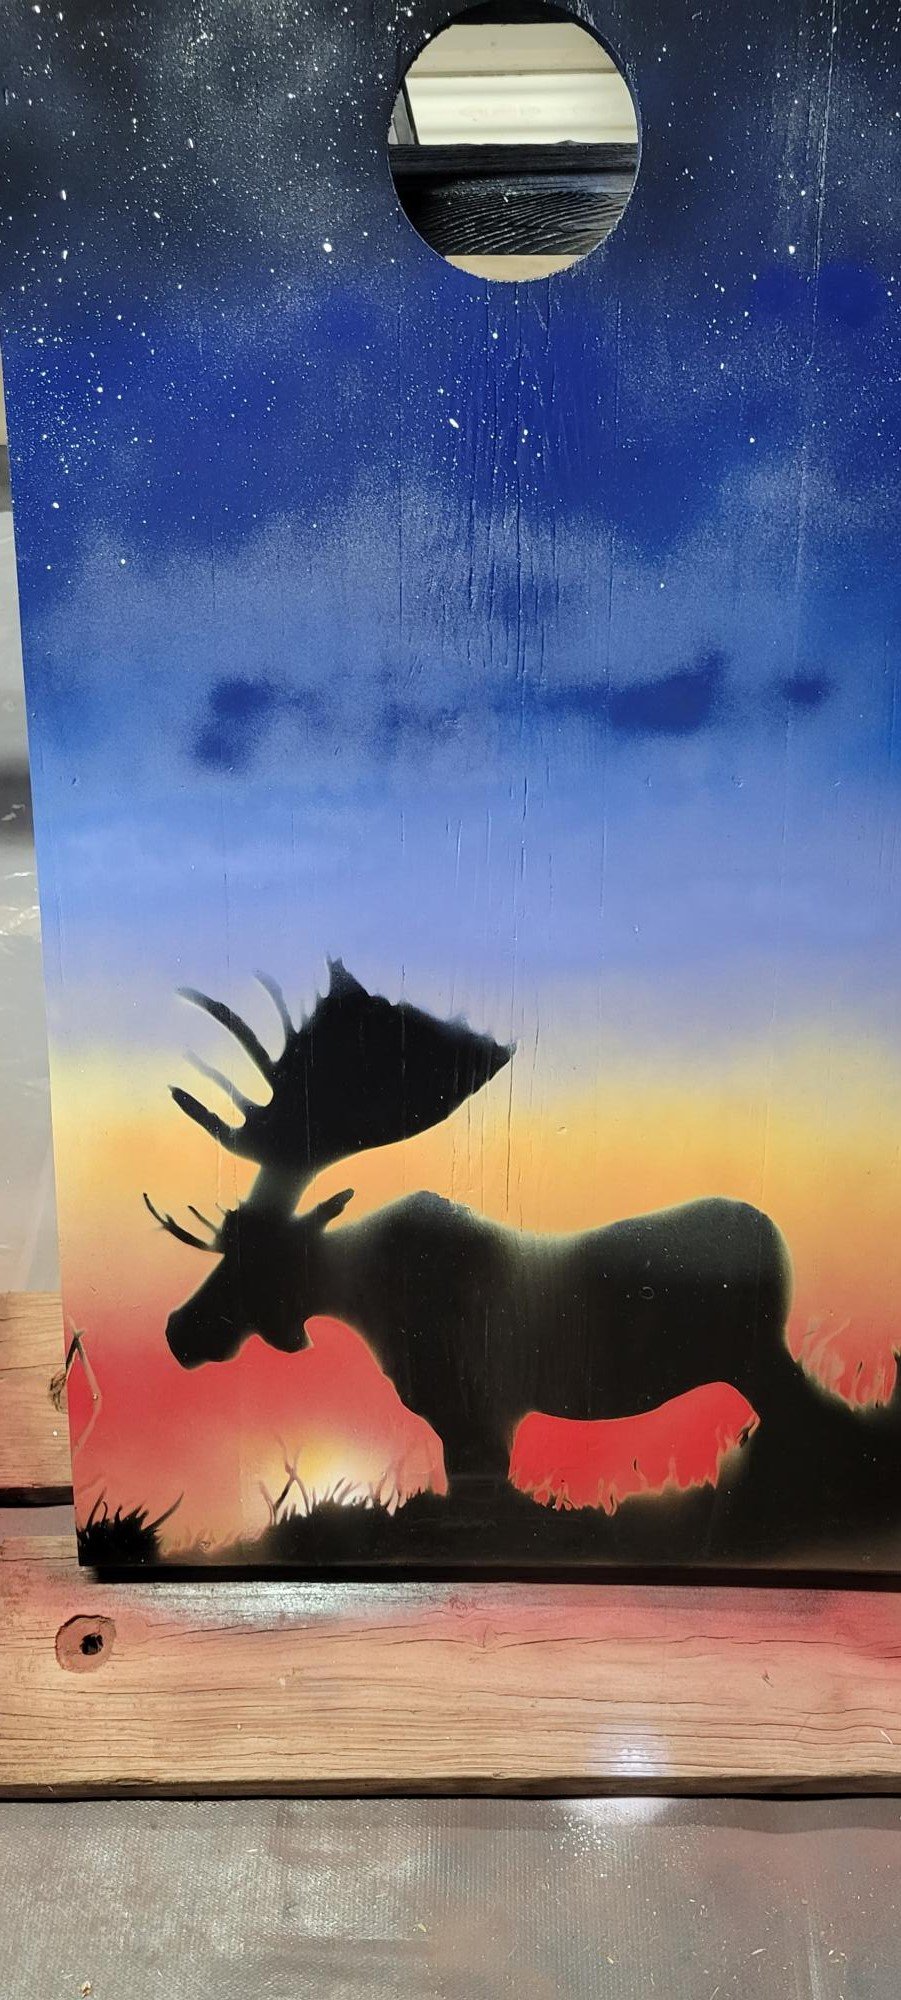
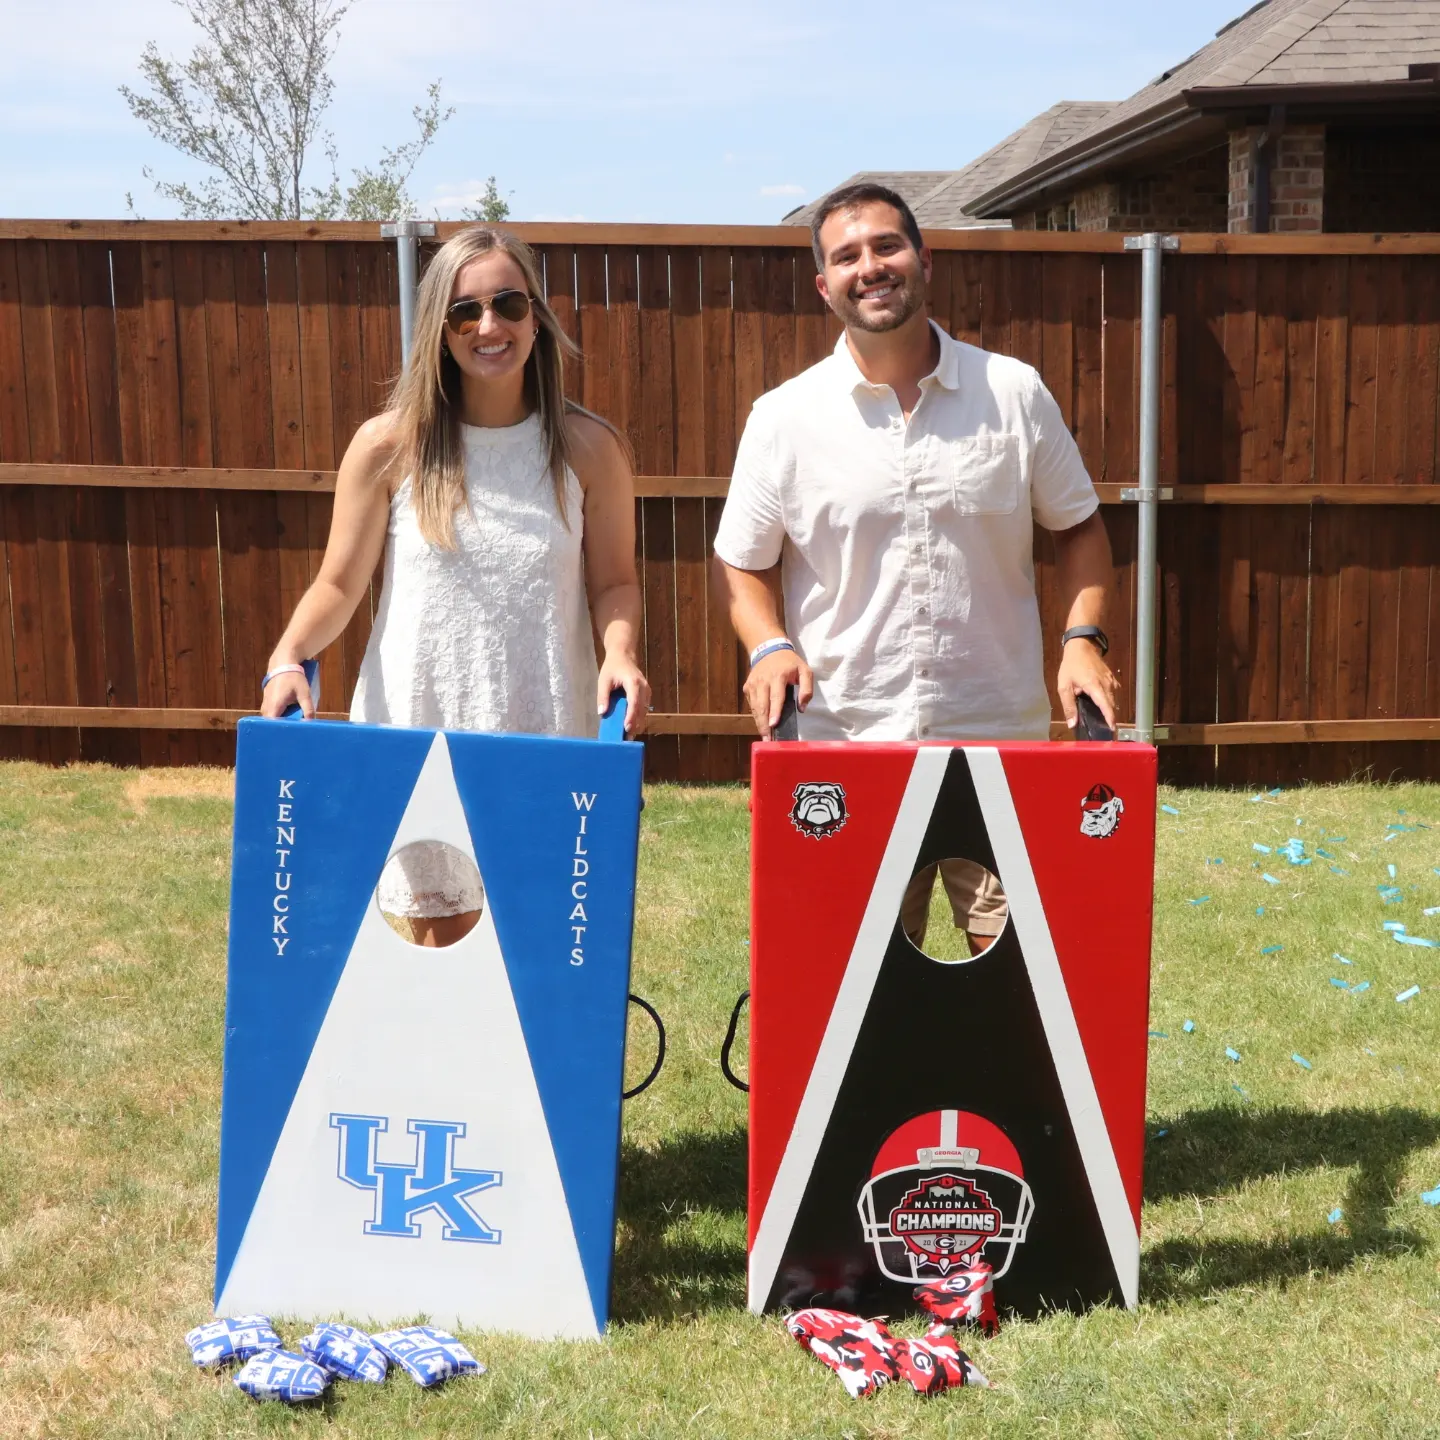
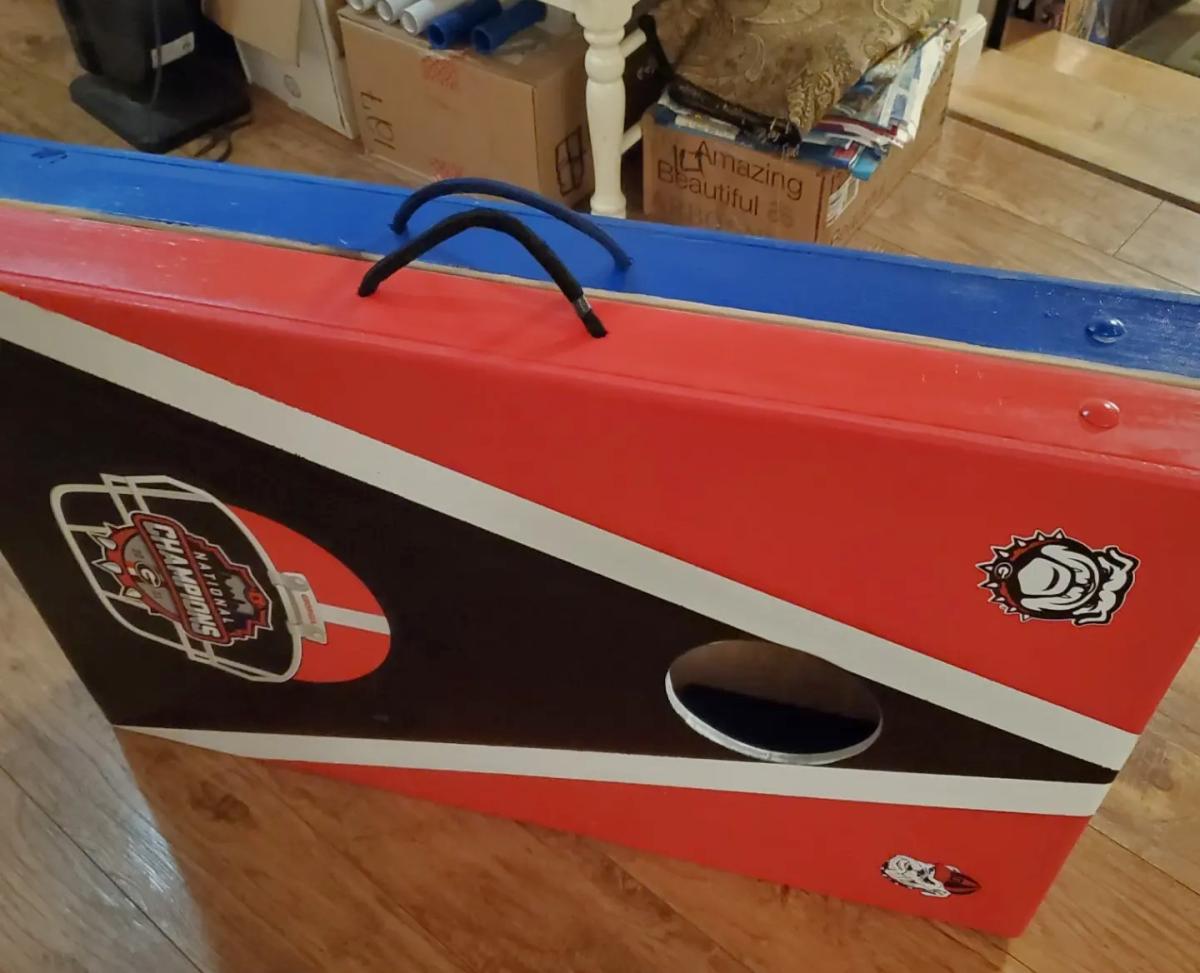
This is the first of the cornhole boards this year. Having never made such before, I learned a lot of the tips and tricks in this build. This build begins with cedar 2x4s and cedar fence pickets that I took down this last summer. I began by sanding the boards starting with 60 grit through to 320 grit with a belt sander up to 180 grit and hand sanding through 320 grit. The frame was glued up with Titebond II, then counter-sunk #8 x 1-1/2 screws. Next, we used nine (9) different cans of Rust-Oleum semi-gloss paint to fill in the background and to cover the moose and bear senciles drawn by my wife. The boards were then coated with Minwax Poly-Acrylic (9 coats) and Howard's Bee's Wax (6). The boards are secured with 3-inch toggle fasteners and the handles are Kayak straps with four (4) screw holes; I used the same Torx screws for strength and stability.

Comments

Washer/Dryer Pedestal

This was an easy build and after 2 months I am still in LOVE with it:)

Estimated Cost
$80
Estimated Time Investment
Day Project (6-9 Hours)
Finish Used
Behr paint
Recommended Skill Level
Beginner

Comments

Guest (not verified)

Wed, 06/15/2011 - 05:30

This makes me feel so dumb for buying my pedestals for my washer and dryer... I spent $250 EACH!!! and my detergent and fabric softener don't fit in there!!

JSSB (not verified)

Fri, 12/16/2011 - 10:59

We have a HE front-loading washer and because of the power of the spin cycle, it vibrates/moves a lot. Anyone who has these pedestals have problems with that? I don't want a very expensive washer to take a tumble. :)

NB (not verified)

Fri, 01/20/2012 - 21:15

Not speaking from experience because I haven't built this YET, but... I believe I saw on someone's post that built these that they put some brackets on there to help keep the washer in place.

Camp Loft Bed with Matching Doll Sized Loft Bed

Submitted by lisatw on Tue, 08/20/2013 - 17:20

We made this loft bed for my daughter's 4th birthday. I did all of the cuts, sanding, and painting on my own, and had my husband help me with the assembly of the bed. It took us 2 full days to complete this build. The sanding and painting was the most tedious part of the project. I think it cost us about $150 for all of the lumber, paint, screws, etc.

My daughter's really into playing with 18" dolls right now, so I decided to make a mini version of her loft bed for her dolls. I think it turned out really well and she absolutely loves it! The doll sized loft bed only cost about $15 to make (including wood, foam for the mattress and fabric). You can't beat that price for a wooden doll bed...and what little girl wouldn't love a matching bed for her dolls?!?!

I'm so happy with how both beds turned out!

Estimated Cost
$150
Estimated Time Investment
Weekend Project (10-20 Hours)
Finish Used
Semi-gloss paint
Recommended Skill Level
Beginner

Comments

JoanneS

Tue, 08/20/2013 - 18:32

This looks awesome! Love the pink on the steps. And the matching doll bed, how cute is that?! :) Great job!

Lean-To Shed

Submitted by Anonymous (not verified) on Fri, 03/24/2023 - 13:17

I’m a first year teacher of construction class at Waterloo High School in Illinois. We recently used your Small Cedar shed instructions with some modifications for a class project. It’s a bear getting cedar right now, so we used T1-11 for the outside and 2x4 for the frame.

Built from Plan(s)

Comments

Raised Planter Stand

Submitted by Anonymous (not verified) on Sun, 04/30/2023 - 13:02

Created the stand for the raised planter using 2X2 assembled using dowels. Painted the stand mixing black with a bit of white to simulate metal. The actually plastic window box fits within a wood open box with mitered corners fir clean log. Bottom of the stand provides a shelf using (9) 2X2s with a dado placed on either end to fit on the runners of the stand.

Built from Plan(s)

Comments

MINI FARMHOUSE BEDSIDE TABLE

Submitted by blacorc on Mon, 11/25/2013 - 05:44

I made the mini farmhouse bedside table as my first attempt at wood-working! It was really fun, and turned out pretty good for my first shot. I need to learn how to cut more consistently and get better at making things square. Thanks for the plan!

Built from Plan(s)
Estimated Time Investment
Afternoon Project (3-6 Hours)
Finish Used
White enamel spray paint and Rust-Oleum stain (Kona color) plus polyurethane coat over the stain.
Recommended Skill Level
Starter Project

6 x 6 Sandbox

Submitted by Anonymous (not verified) on Wed, 03/23/2016 - 20:54

This was our first attempt at making a woodworking project but knew it had to be done to save our plants from our son digging in them. It took us all weekend (mostly because of the staining) but we completed the project in 2 days. We went a little bigger (made a 6 x 6 box) to give our son some room and allow for friends. I loved putting the project together and look forward to many years of use from this box. Thank you for such simple plans!

Built from Plan(s)
Estimated Time Investment
Weekend Project (10-20 Hours)
Recommended Skill Level
Beginner

Wooden patio Cooler by DIY Pete

This was my very first project I did. Very proud of how this turned out. Now my sister has one and I am building another one with Mickey Mouse on it for my other sister. I build it in a day with lots of breaks due to 4 teenagers.

Built from Plan(s)
Estimated Time Investment
Day Project (6-9 Hours)
Recommended Skill Level
Beginner

Ladder planter

Submitted by Anonymous (not verified) on Tue, 04/05/2016 - 15:26

Had a blast building this for my mother. Only problem now is everyone in my family wants one!

Estimated Cost
$20
Estimated Time Investment
Afternoon Project (3-6 Hours)
Recommended Skill Level
Beginner

Bed made to order - Twin XL

Submitted by kjoslyn78 on Sun, 12/22/2019 - 10:40

My daughter has a twin XL bed, which we had been unable to find a frame for since getting it. After 2 years of her mattress and box springs on the floor, this plan came out and a plan was hatched to get it made. The biggest change we needed to do different from the twin plans was to make the side rails and the side rail cleats 5" longer to accommodate the XL length. We also added a middle support to keep the side from bowing out, and the cleats are at the bottom of the siderails, as we are using a boxpsring and mattress. 

Estimated Cost
$110
Estimated Time Investment
Weekend Project (10-20 Hours)
Finish Used
I dont remember what we finished with, but the kid spilled half the can in the grass :)Photo is after sanding, and before finish
Recommended Skill Level
Beginner

Comments

amymarie02

Mon, 03/28/2022 - 09:47

Hi do you have the measurements and what to buy for this bed frame? We also have a twin xl mattess and cannot find a frame anywhere

Under Cabinet Spice Rack

Submitted by Anonymous (not verified) on Mon, 09/11/2023 - 13:06

I needed to clear out a shelf in my cabinet and add a spice rack so I could actually see everything. This came out perfect! Made of Oak and stained with classic oak. Very simple to build and hung with pocket screws

James Breadbox

Built from Plan(s)

DIY Chicken Coop

Submitted by Anonymous (not verified) on Mon, 10/30/2023 - 17:55

As a first time chicken farmer, I have four chickens now fully grown. It was 29 degrees in Iowa this morning, wondering if I should wrap the lower portion of the coop on three sides with visqueen, and should the roost windows be covered? I have straw bales to roost on and add where needed . I don’t plan to heat the coop . Any help will be appreciated.

[email protected]

Seasonal And Holiday

Basement Sofa Table Bar

Submitted by advanlente on Sat, 03/28/2020 - 12:04

My husband and I had been looking at many different stores to try and find a bar table for behind our new couch in our basement. We wanted something that people could eat and drink at when we entertained and/or be able to sit at and play video games. I should have known we were better off to build our own rather than look in a store. It was only $30 in lumber and took 3 hours to build. And another project in the books!

Estimated Cost
$30
Estimated Time Investment
Afternoon Project (3-6 Hours)

Comments

megs502

Fri, 04/03/2020 - 11:03

do you have the plans for this? i've been looking and looking for what i needed and this is it!!

mferrara

Sat, 04/04/2020 - 05:39

Hi - exactly what I've been searching for....do you have plans available? Please and thank you!

beckaroo

Tue, 06/02/2020 - 23:04

Hello,
I would also love to see the plans for this sofa bar table.
Thank you
Becky

Middle School Class Builds Picnic Tables for School Grounds

Submitted by Anonymous (not verified) on Sat, 11/18/2023 - 12:59

Ana,

Thanks so much for your octagon picnic tables plans. I teach a Life Skills Class at Russell Christian Academy for middle school. This class of 18 students completed the build of 4 of these tables (with a little assistance from me) and are now being used as an outside dining area for all grades K-12. It was a great experience for the kids and I have received many positive comments about these tables.

Thanks again…


Dewayne Knight of Meridian, Mississippi

Comments

Stackable fruit and veggie crates

Submitted by Anonymous (not verified) on Sat, 06/25/2016 - 23:31

 Love all of the projects on this website. I am just getting in to woodworking but am loving learning all of things that I can do with these wonderful plans. I used all 1x2s for my fruit and veggie crates since they didn't have what I was looking for here at my lowes. Kind of limited on lumber around these parts unless I drive an hour away. A good sanding and these crates came out great. Smooth and stylish!

Estimated Time Investment
Afternoon Project (3-6 Hours)
Finish Used
No stain, just a good sanding.
Recommended Skill Level
Starter Project
Back