Christmas Kitchen
Made a few mods. Super fun...
Made a few mods. Super fun...
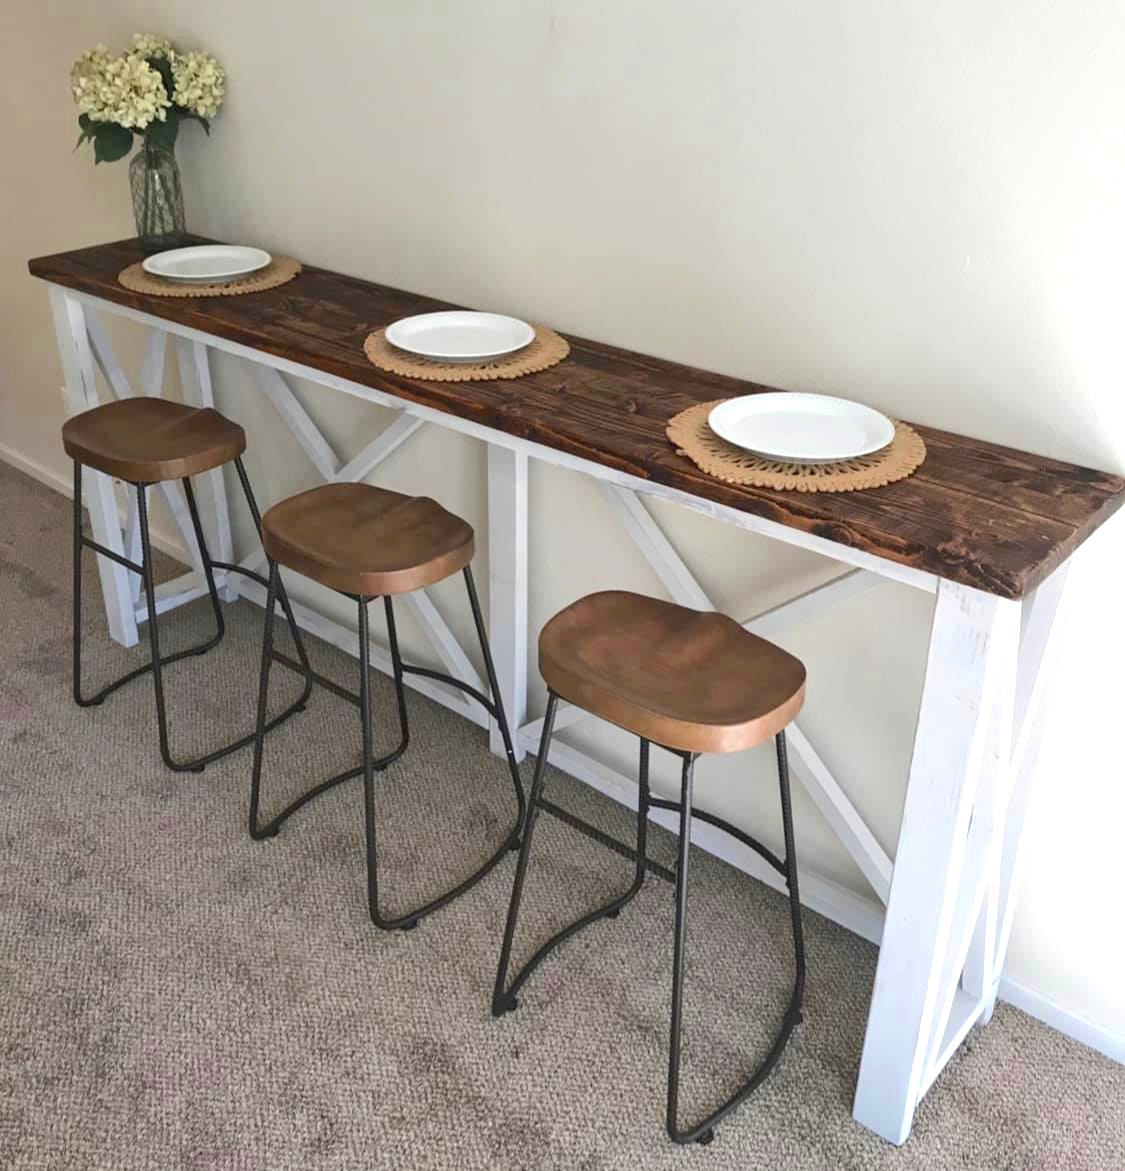
Hand made breakfast bar check us out on Facebook marney Marie
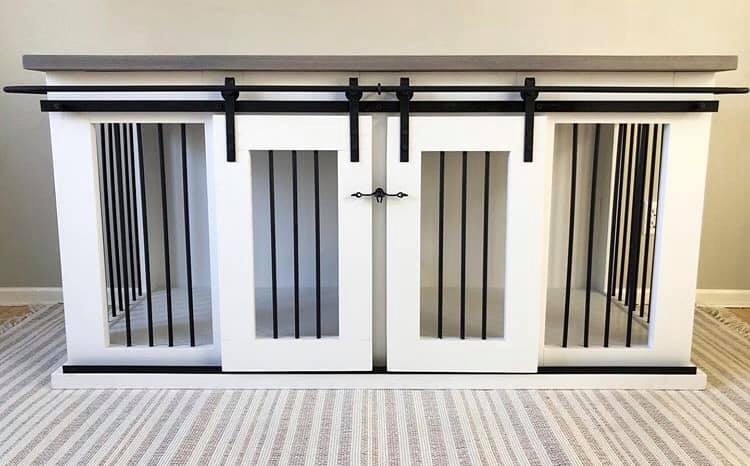
Built by Holli Peterson
Fri, 04/17/2020 - 09:30
Can someone post plans for this? Materials? Cost?
I love it!!!
Thanks!!
Thu, 08/31/2023 - 21:23
I’m looking to make one similar to this but looking to make it a little bigger for two Great Danes. Do you still have the plans and or cut list for this project to help me out. I’d greatly appreciate it if so.
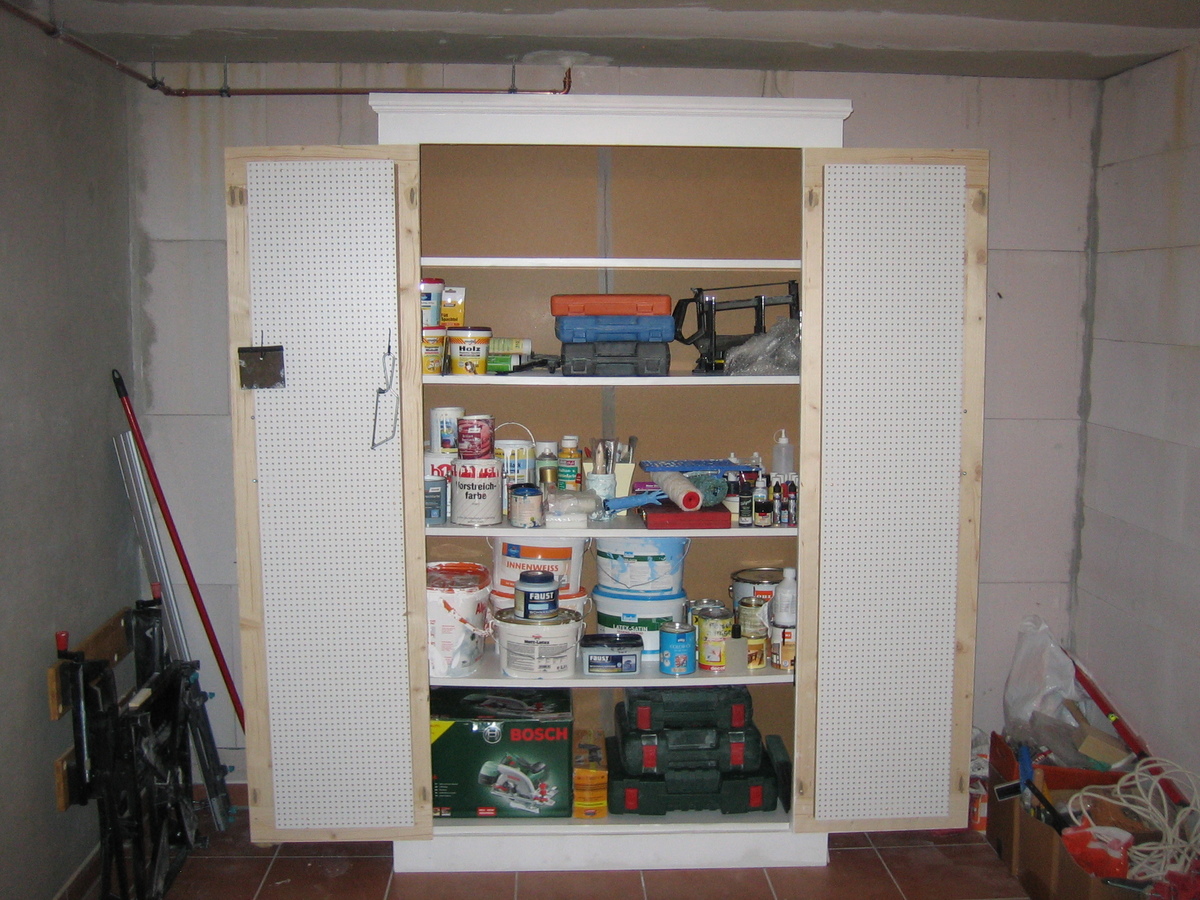
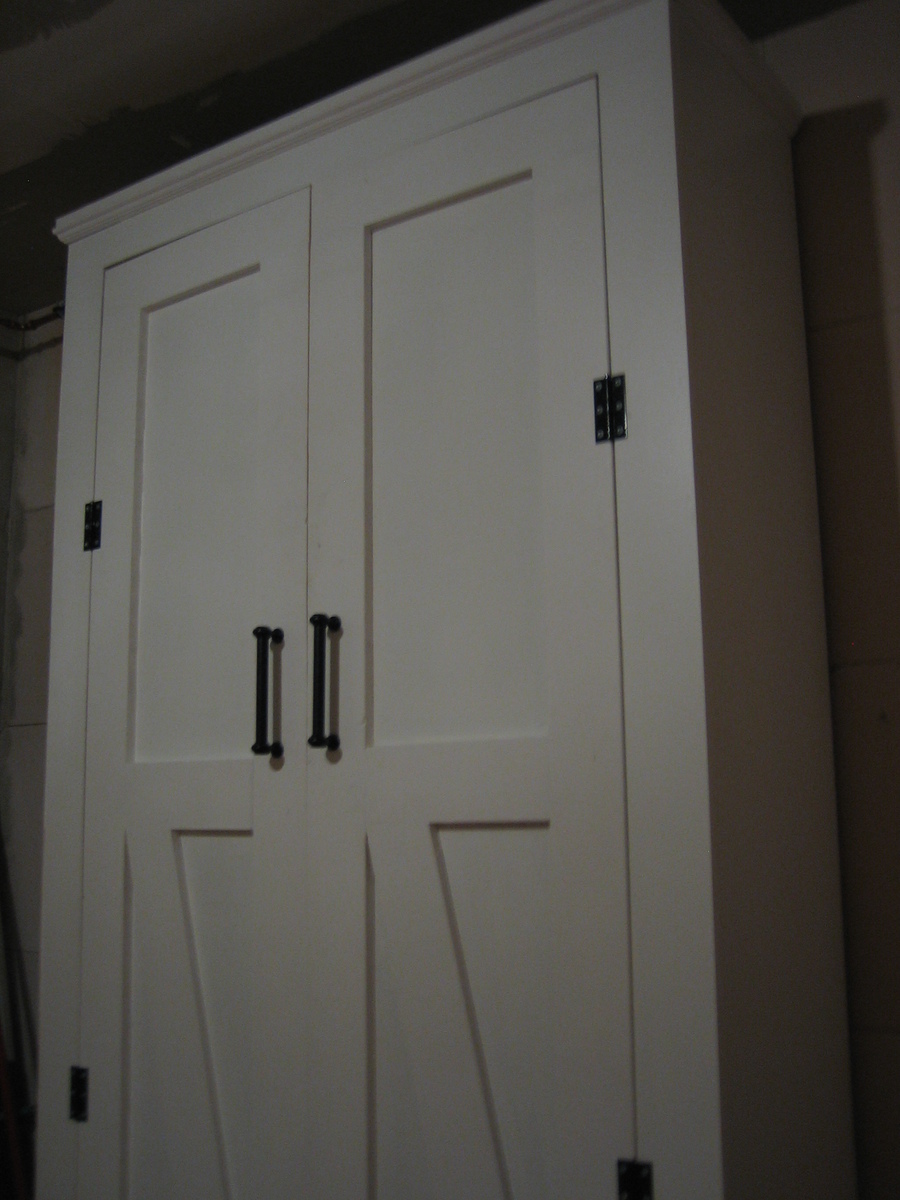
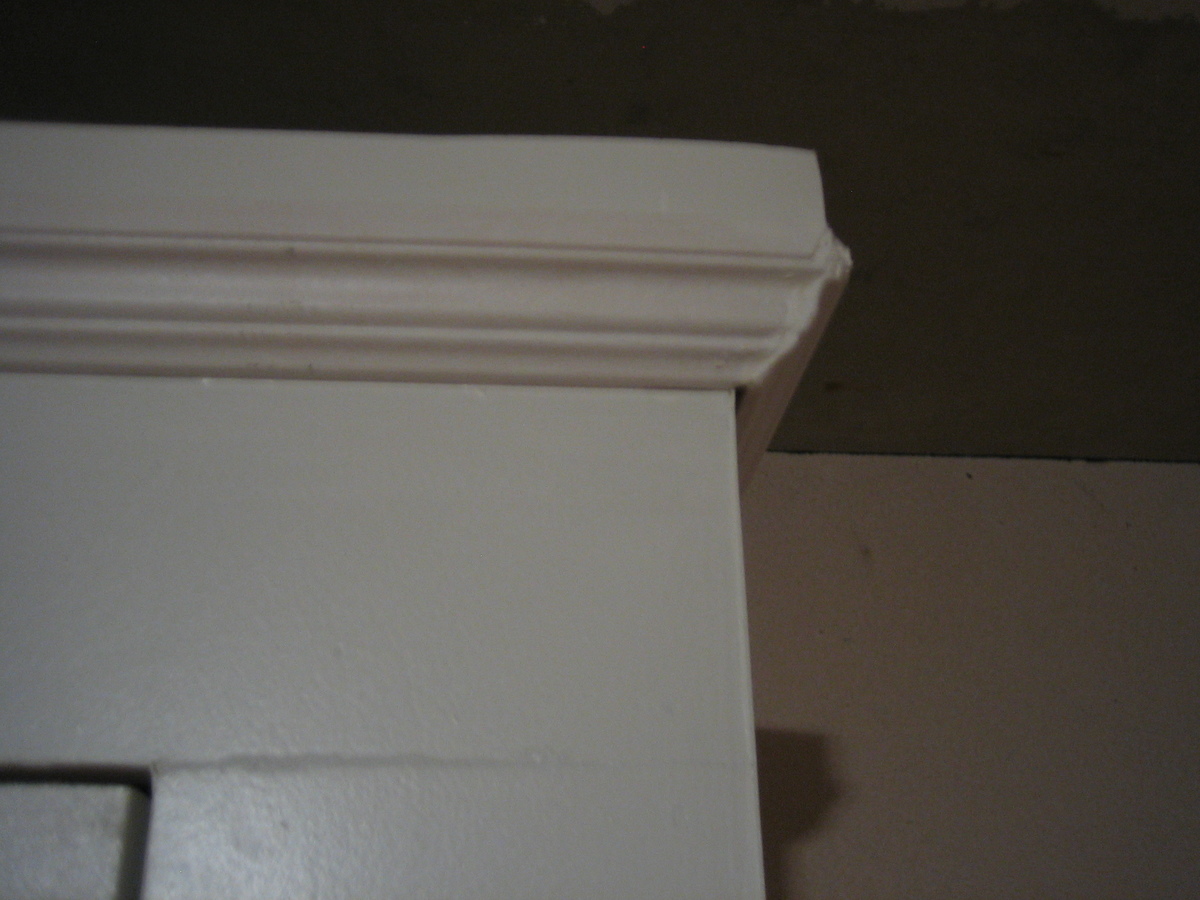
My cupboard is quite a lot bigger than the one in the original post but is super sturdy.
It was a relatively easy project to build. My main issue was that I used chipboard for most of the cupboard and ironed on veneer on the cut sections which threw my door frame measurements out of whack and I had to shave a bit of my door off with a plane to get it to fit in neatly.
Sun, 08/12/2012 - 11:47
Hi there. I love this!!! I was wondering if you remembered the dimensions of wood used or what not? I want to make one or two of these for my basement laundry room for storage but am new to this so not sure how much I would increase all of the wood etc from the original plans. Thanks!
Mon, 08/13/2012 - 02:48
Hi! So glad you like it! I used SketchUp to create my dimensions to fit my space. Have you ever used it before? It's a free designing tool and really helps me to visualise if the wood's all going to fit together or not.
Here are the wood measurements I used:
Chipboard, white, 19mm
Part/Length (mm)/Width (mm)/Amount
Top:1200/436/1
Side x2:2000/400/2
Bottom shelf:1124/350 /1
Shelf x4 :1124/350/4
Frame top & bottom:1162/100 /2
Frame side x2:1800/100/2
Door frame top & bottom:476/100/2
Door frame side x2:1594/100/2
Door backing MDF 3mm
Part/Length (mm)/Width (mm)/Amount
Back:2000/1162/1
Door back:1700 /360/2
If you have any other questions, I'd be happy to help. Good luck!
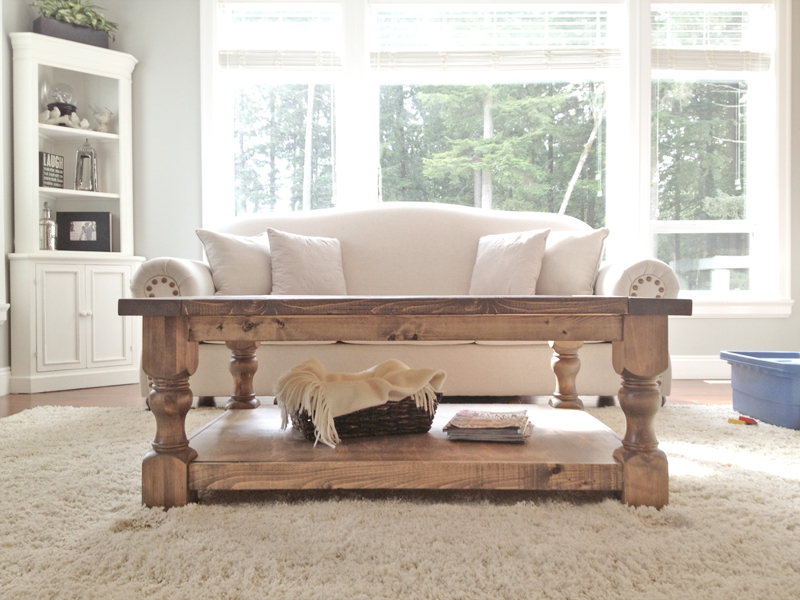
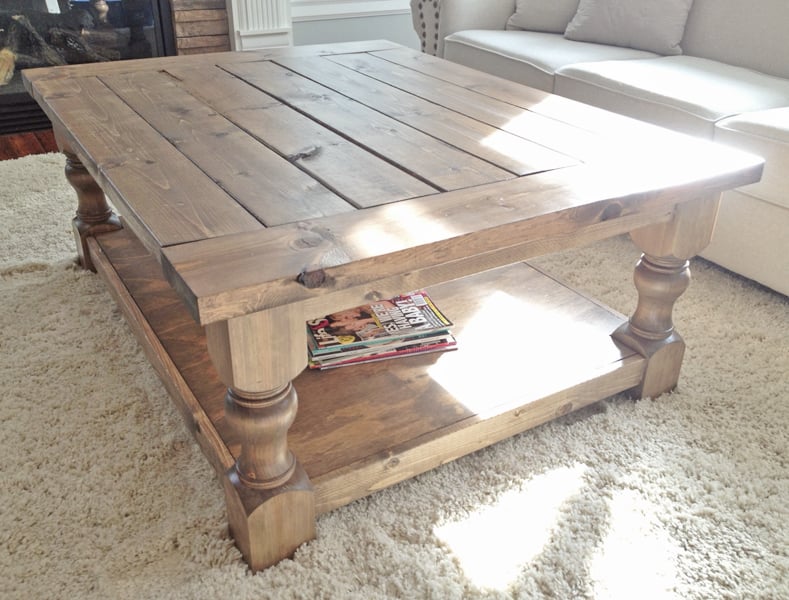
Loved this Coffee Table and wanted to suprise the wife for christmas, so being my first project I got started! had no idea what I was doing but they were great instructions, and the KREG JIG is AMAZING. altered the plans a bit to make it a rectangular coffee table (added 12 inches) instead of square to fit our living room better. Now to tackle the next project!
Wed, 03/19/2014 - 07:39
I absolutely LOVE the finish on this, thank for sharing!!! For the estimated cost you put $100, is that without including the cost of the turned legs? Did you get the legs through Osborne? I think I NEED to make this coffee table and use that finish!
In reply to I absolutely LOVE the finish by MichelleC
Wed, 03/19/2014 - 09:02
Now that you brought it to my attention you are absolutely right, I completely forgot about the cost of the legs. including the cost of those, it does come to $200 dollars, ill change that. I also did get the legs from Osbourne. As for the finish yes do it! I am really happy with how it turned out :) thanks again and let me know when your coffee table is done so i can check it out!
Cheers,
Justin
Wed, 03/19/2014 - 09:55
if you dont mind me asking, in what order did you apply the stains?
In reply to if you dont mind me asking, by 2nervous2build
Wed, 03/19/2014 - 11:47
not at all! here is a link as to what I followed.
http://ana-white.com/2013/05/vintage-graybrown-stain-pine
Ana shows exactly what to do :) mine didnt turn out as dark as her project, but am still lovin the table none the less. :)
Cheers,
Justin
Wed, 03/19/2014 - 09:55
if you dont mind me asking, in what order did you apply the stains?
Sat, 04/26/2014 - 17:54
Wow, congrats on your first build! It turned out amazing! And that finish? OMGosh, so incredibly beautiful! I love it! Thanks for sharing!
Tue, 05/20/2014 - 13:32
Thank you Jen for checking out the coffee table! thanks for the compliment as well!
Tue, 05/20/2014 - 13:32
Thank you Jen for checking out the coffee table! thanks for the compliment as well!
In reply to AWESOME 1st Build by RE
Fri, 01/02/2015 - 09:48
Thank you!
Cheers,
Justin
Fri, 01/02/2015 - 09:47
Sorry for such a late response! incase you still needed to know, I made a typo and I did mean special walnut.
Thanks!
Cheers,
Justin
Fri, 07/17/2015 - 12:59
Being as yours is much lighter (and i like it more than the darker). Did you use the wood conditioner and how long did you leave the stain on for? it almost looks like once it was on you were wiping it off. Love it well done :)
Also, do any of you guys use the paste wax when finished? I was thinking about following the stain with some poly to seal it. any suggestions?
Wed, 08/19/2015 - 09:47
An excellent finished project. Did you use 2x6 for the top as your wood looks a tad thinner?
Wed, 08/19/2015 - 09:47
An excellent finished project. Did you use 2x6 for the top as your wood looks a tad thinner?
Wed, 08/19/2015 - 13:58
Can you tell which legs and size you used from osborne?
Project looks amazing!

Our old pantry had bi-fold doors and four wire shelves. The pantry was functional enough, but I felt it could be more functional (and prettier) with a facelift. Going into it I knew I wanted white shelves, more storage, a counter for a coffee pot and most importantly, a home for the kegorator. I didn't really know where to start with the base cabinets until I found Ana's plans. I used her plans and modified them to fit what we needed. Thank you for the plans!


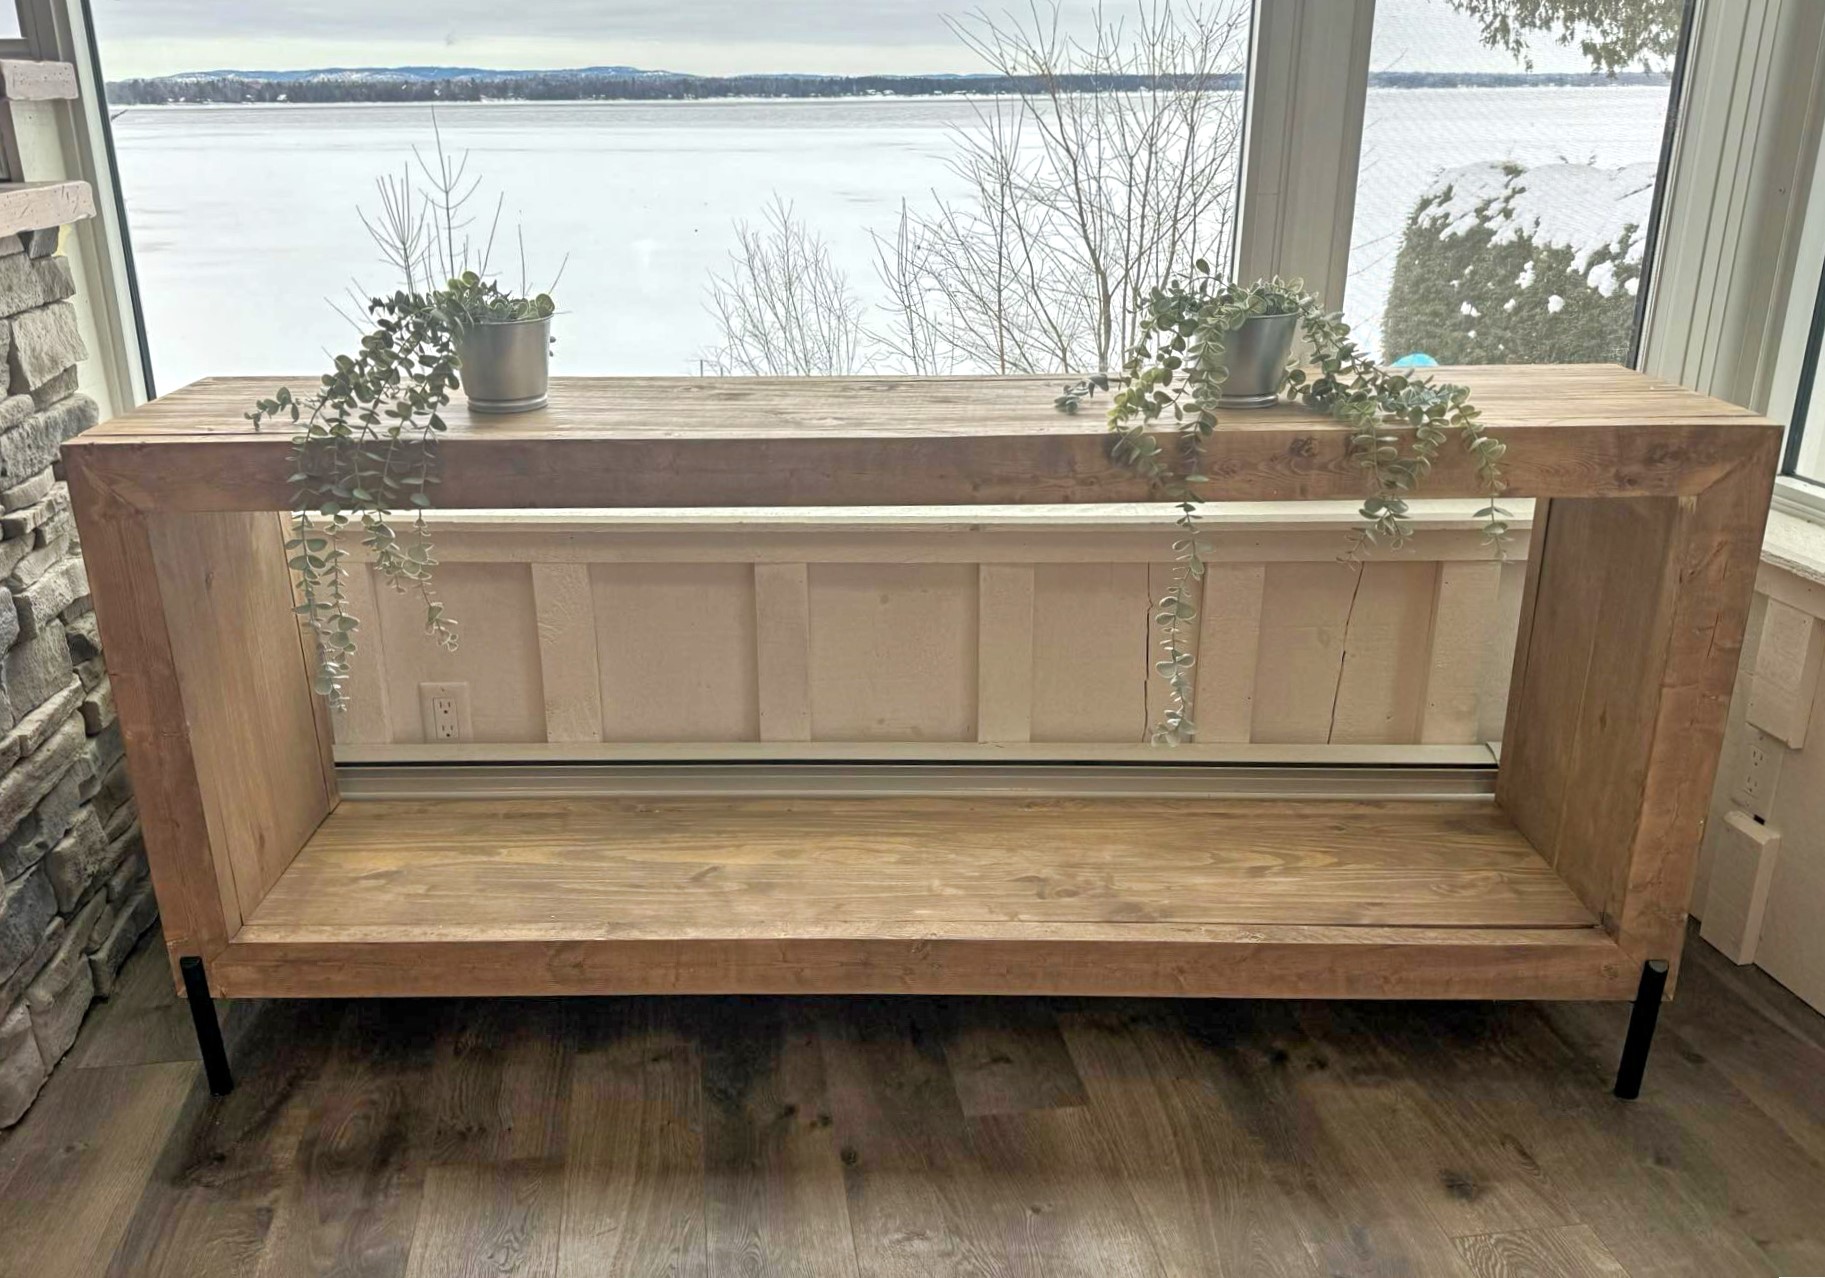
Waterfall console with industrial legs!

After falling in love with the Newport Vanity from Pottery Barn, I knew we would have to DIY it, since the original was not in our budget. I came across the plans from Ana, and off we went! We modified the plans a bit to fit our existing granite countertop- we didn't have space for the drawers, unfortunately. However, we used our Kreg Jig whenever possible, and it made the project very easy!
http://www.everydayenchanting.com/diy-pottery-barn-inspired-sink-consol…


Wed, 11/08/2017 - 05:25
Fair question. Especially when it costs over $25 for Osborne to ship the legs to me via UPS ground.
This is our second time building the Rustic X Console Table. It is such a fun project! I have all the details and more pictures on my blog.
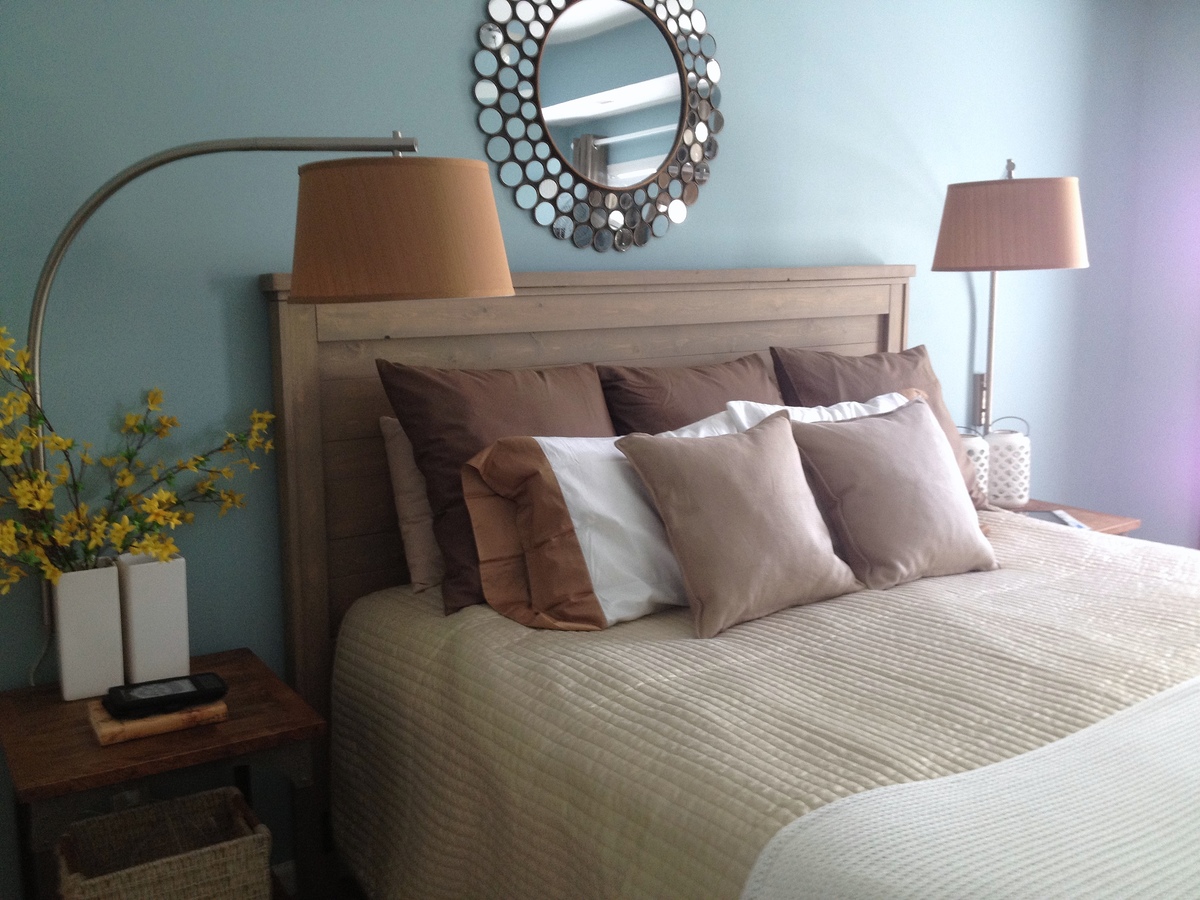
My Awesome husband made this great bed from one of Ana's plan and I stained it!!
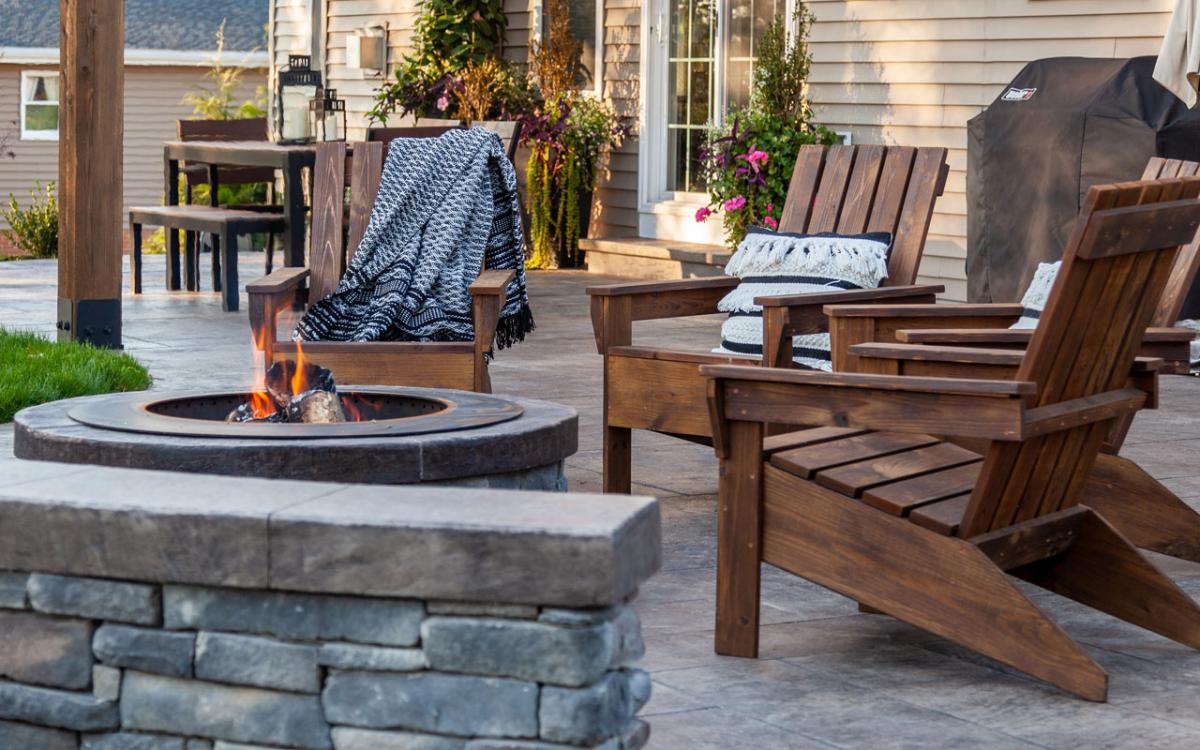
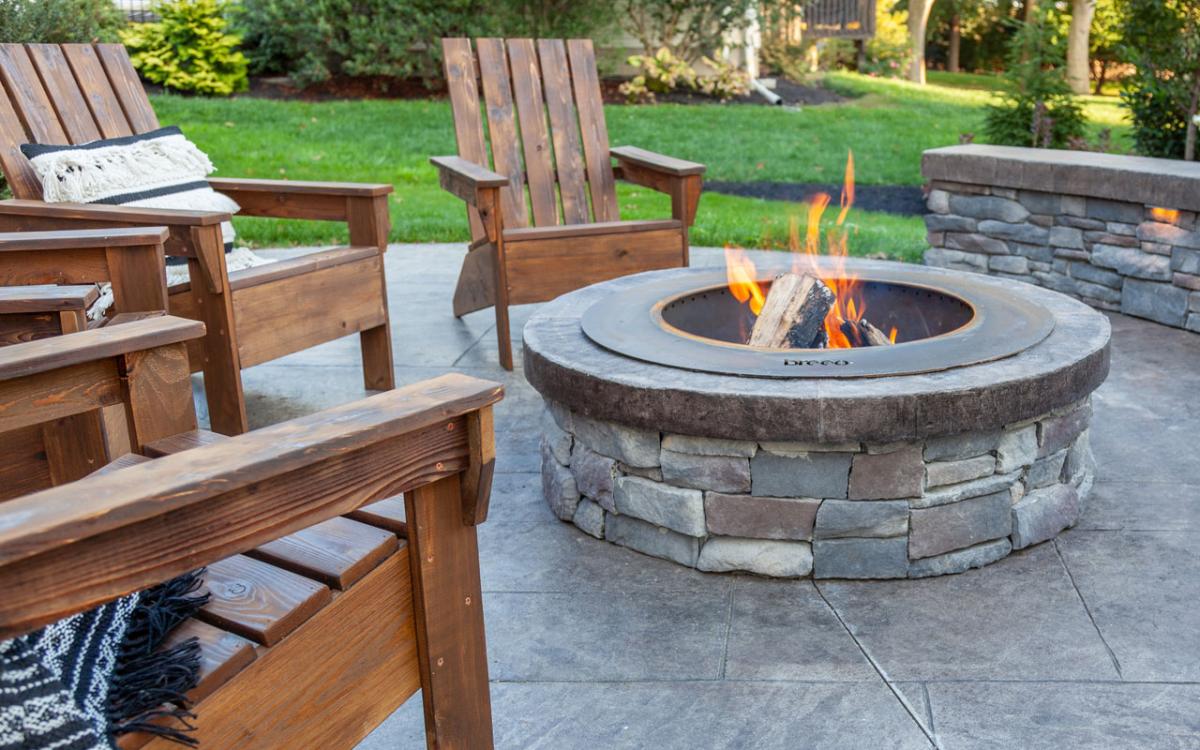
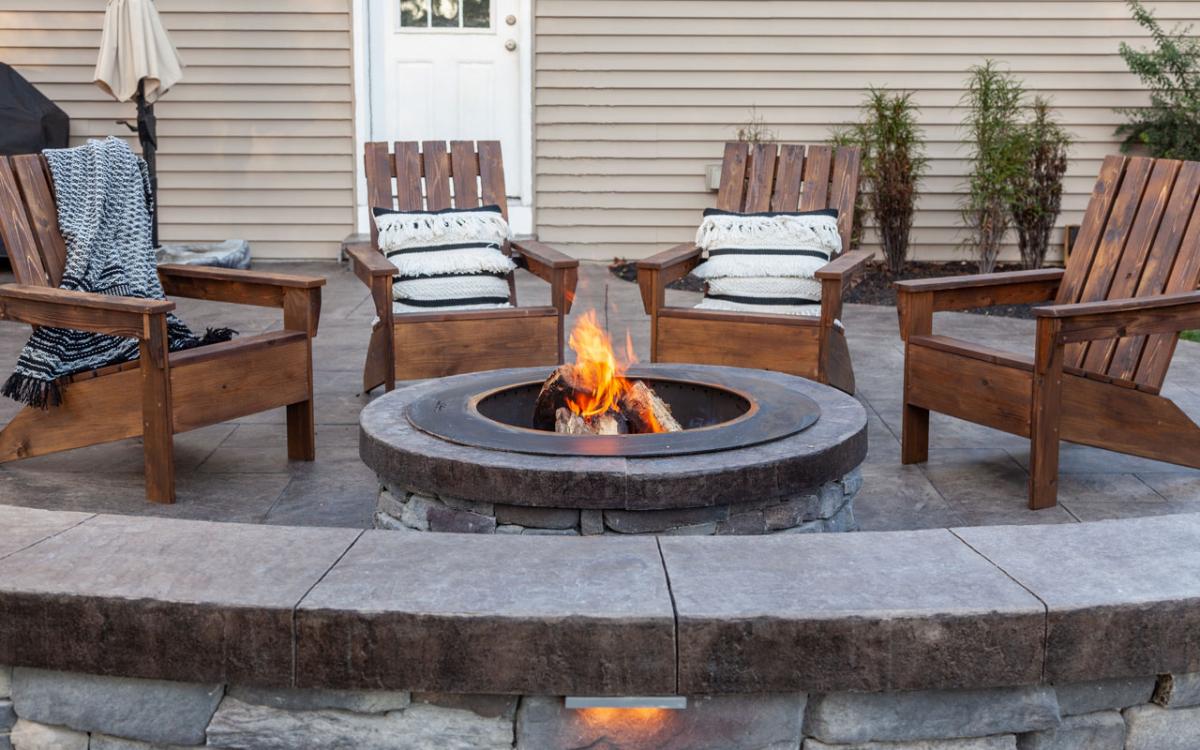
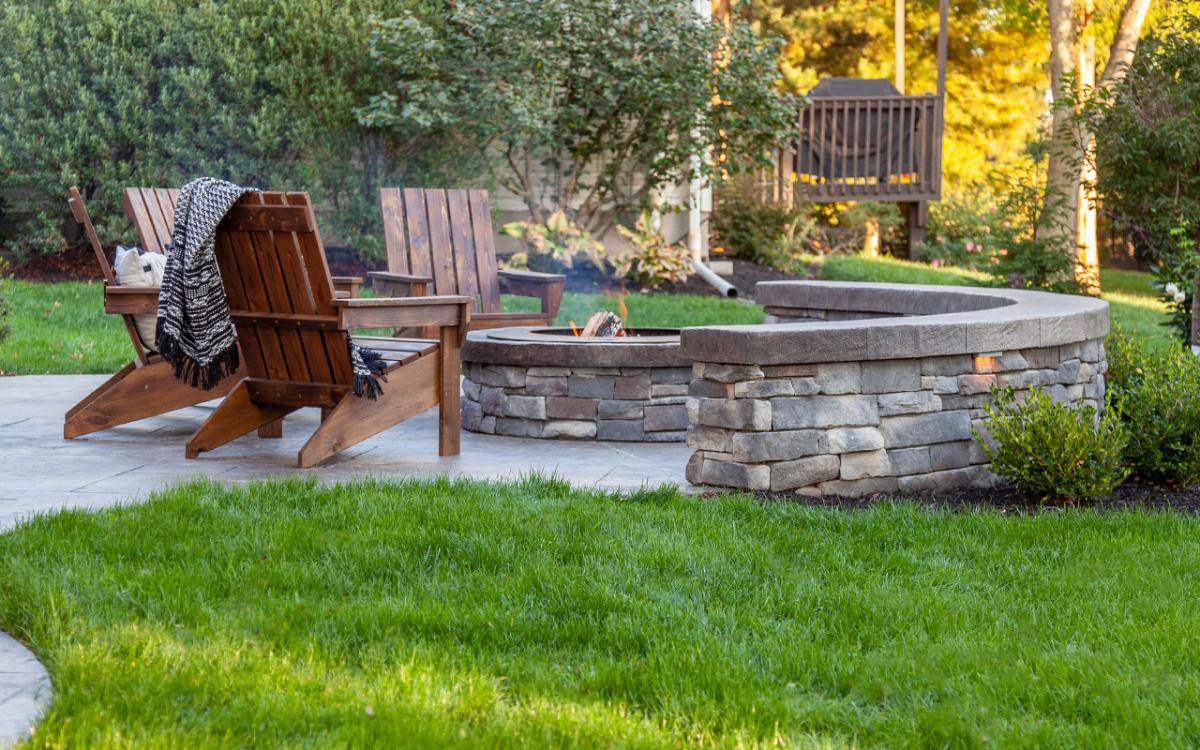
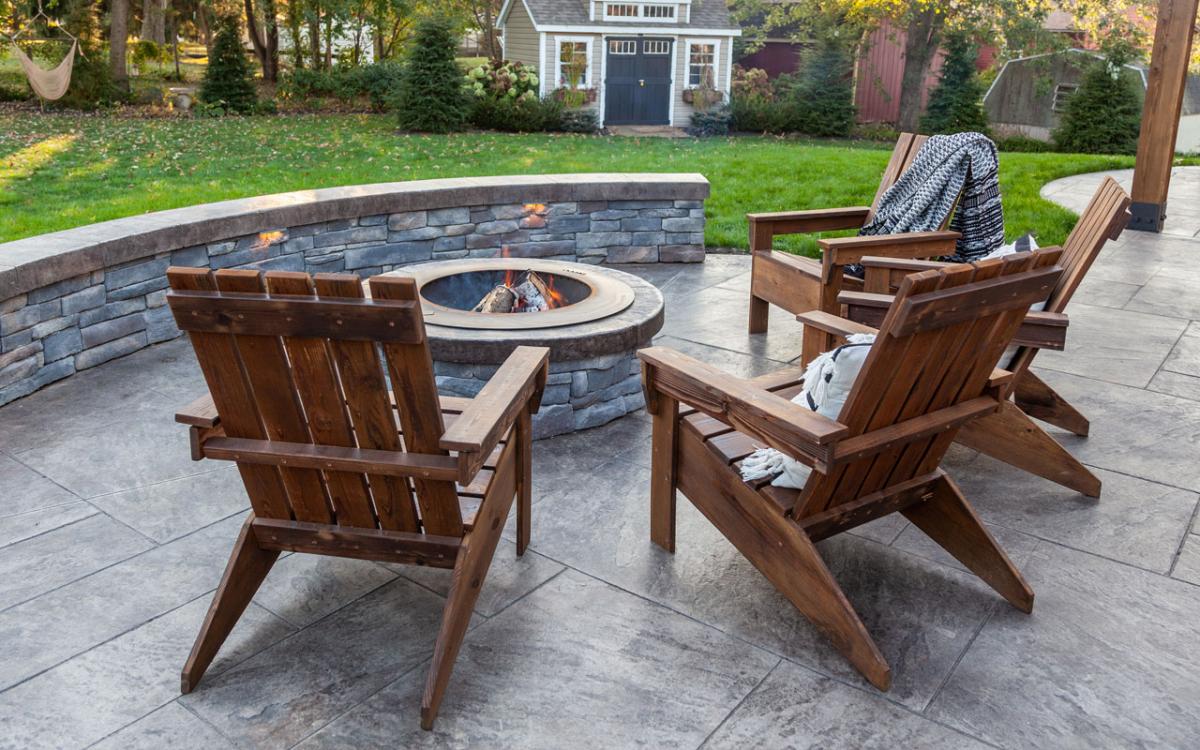
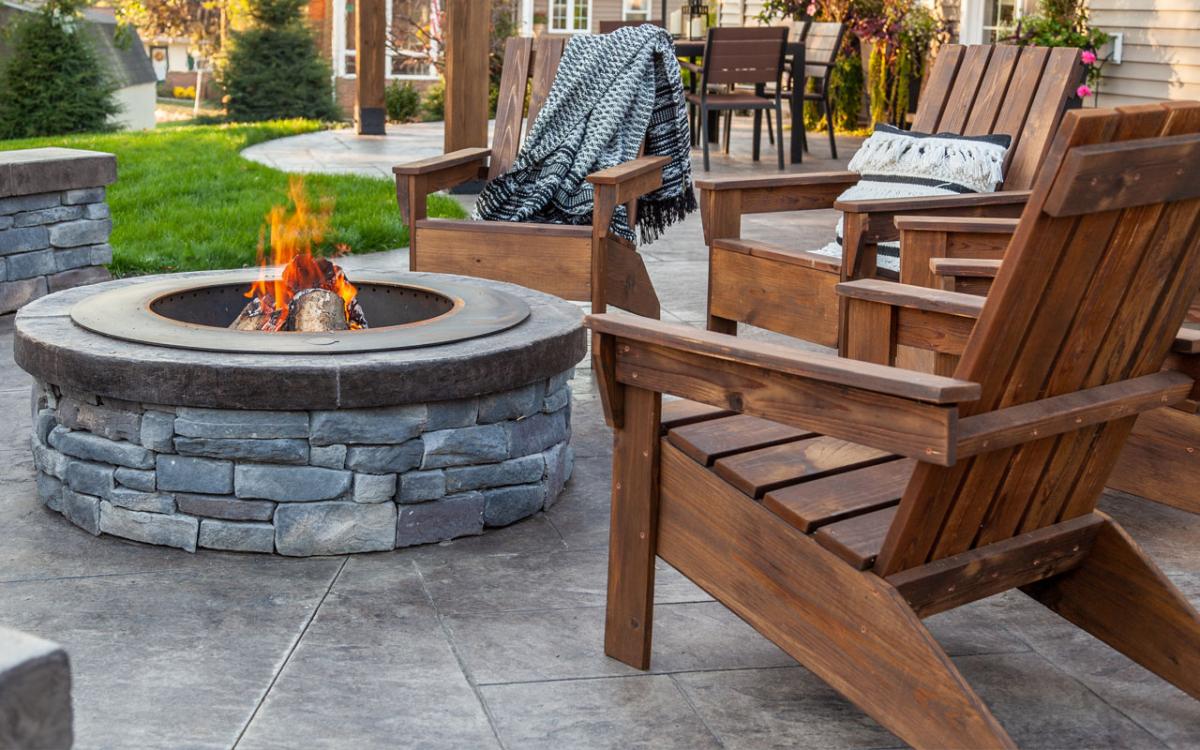
I am long overdue to share these Adirondack chairs that I made last fall. I followed the exact plans for Ana’s Adirondack Chair to make my own. These chairs have such a simple, clean, modern style that I love. Adirondack chairs, no matter what style, are just an all-around classic!
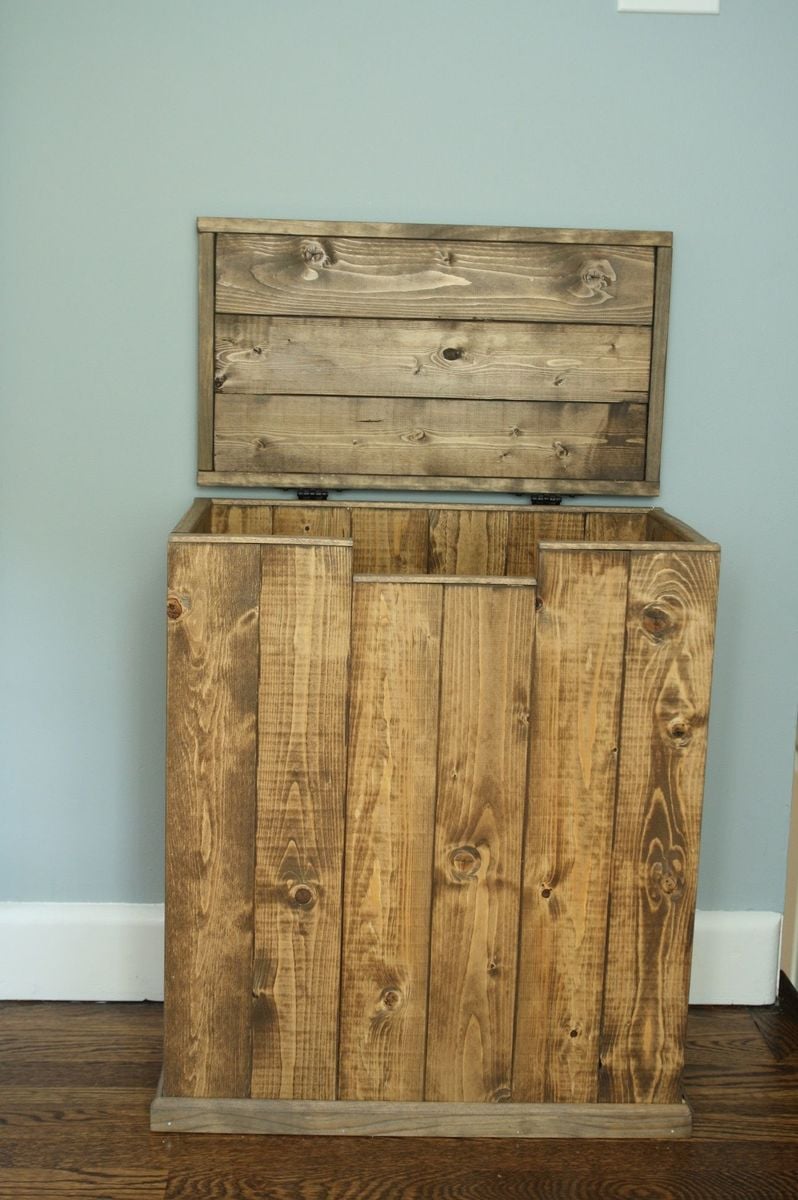
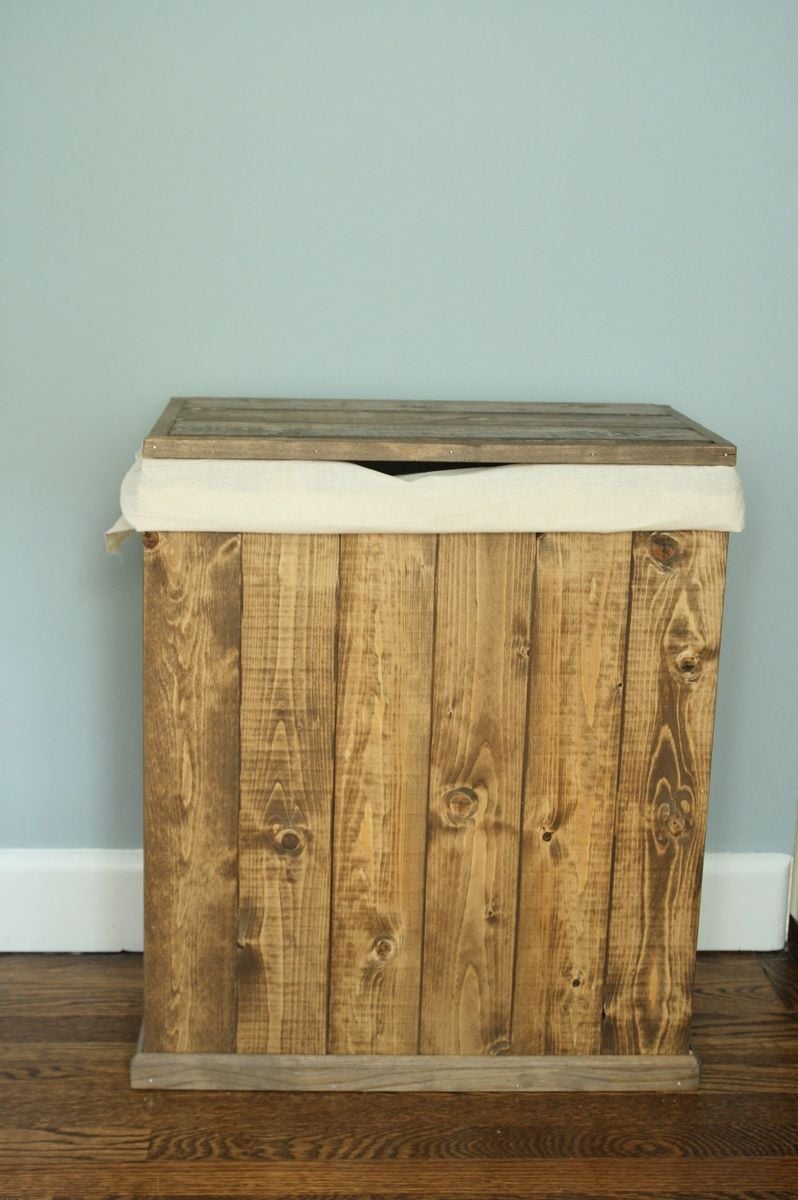
My family is expanding, which means more laundry! (I am 39 weeks pregnant now) So I decided to build a big enough hamper for us (two adults, one toddler who constantly dirties his clothes). For finish, I tried to mix two stains "weathered oak" and "dark walnut" and I think it came out really nice! I must admit I love my new hamper!
Tue, 07/16/2013 - 12:54
I would love to replicate!! It is beautiful :)
Wed, 04/01/2015 - 05:00
I liked this design of hamper you made. After looking at your photo and doing some figuring I started working on my own yesterday. So far I like it, although I think mine maybe taller. Again I really like your idea here.
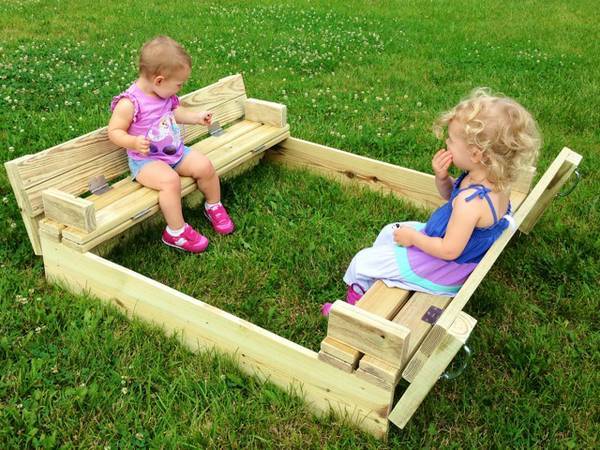
I make and sell kids picnic tables on craigslist and a buyer asked about making one of these. I took it on and found the plans on here very easy! I now list these on craigslist also and hope to sell more before the summer is over.
Thanks to inspiration from Ana's post on the Sand Box with Built-in seats, I've retrofit our Jungle Fort (http://www.detailedplay.com/Jungle-Fort-Swingset.htm) with the sandbox cover/bench system. I've upgraded the lumber dimensions to 2x4s and 2x6 to accommodate the increased 67.5" span.
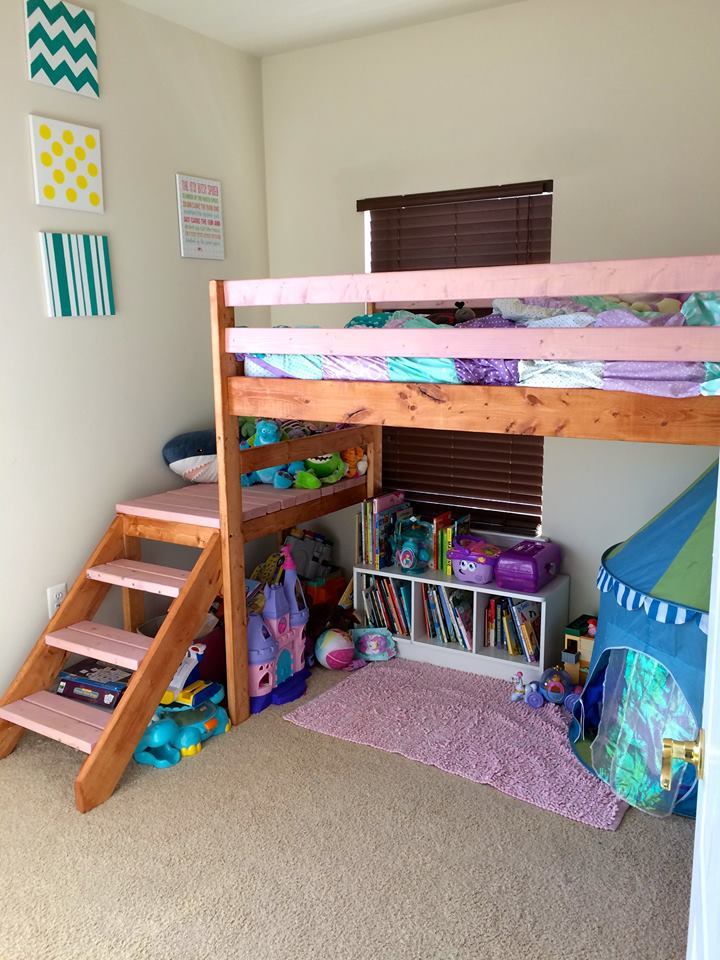
I built this for my niece and she loves it. I followed the plans with very few tweaks, but used custom pink stain as an accent.
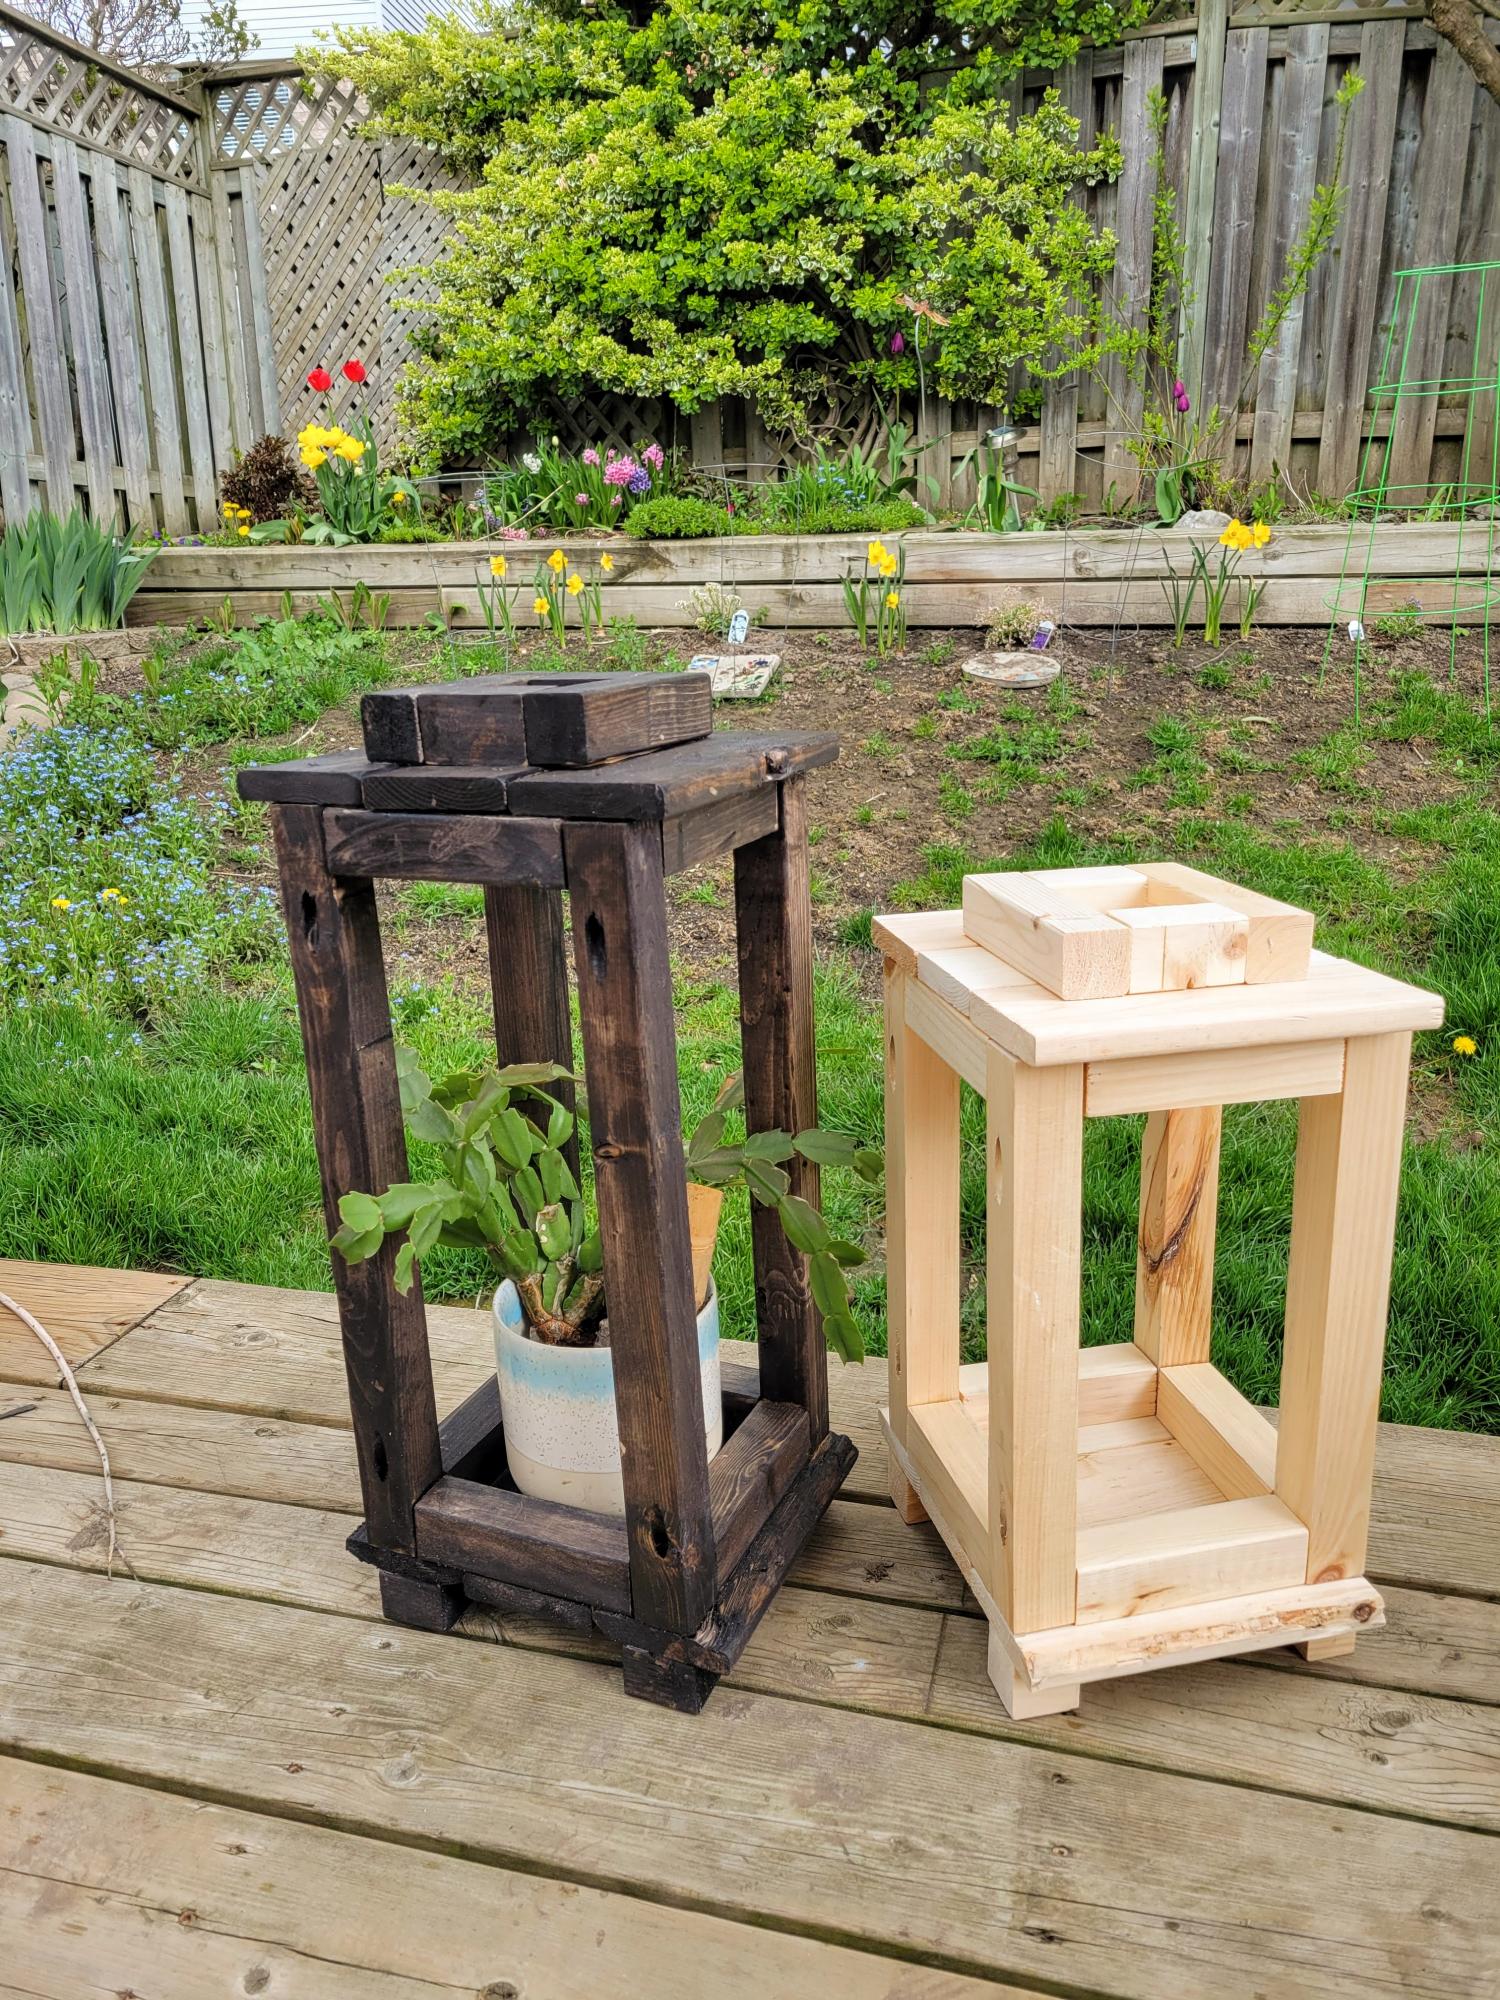
I made 7 lanterns - 6 with 18" uprights and 1 with 13". They were originally just for my daughter's backyard wedding. They aren't decorated yet because she's going to use them on the patio now and is waiting for the solar lights and LED candles to arrive. They were too nice not to use them right away!

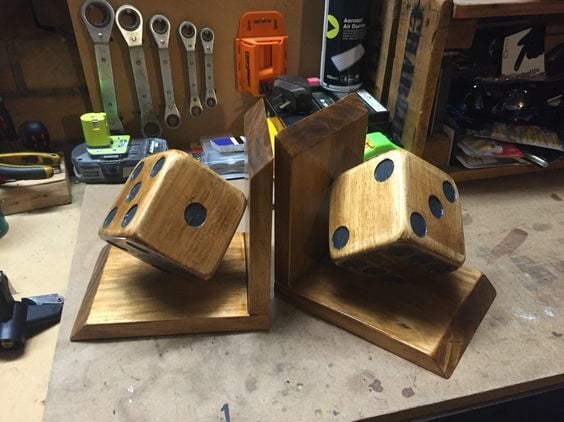
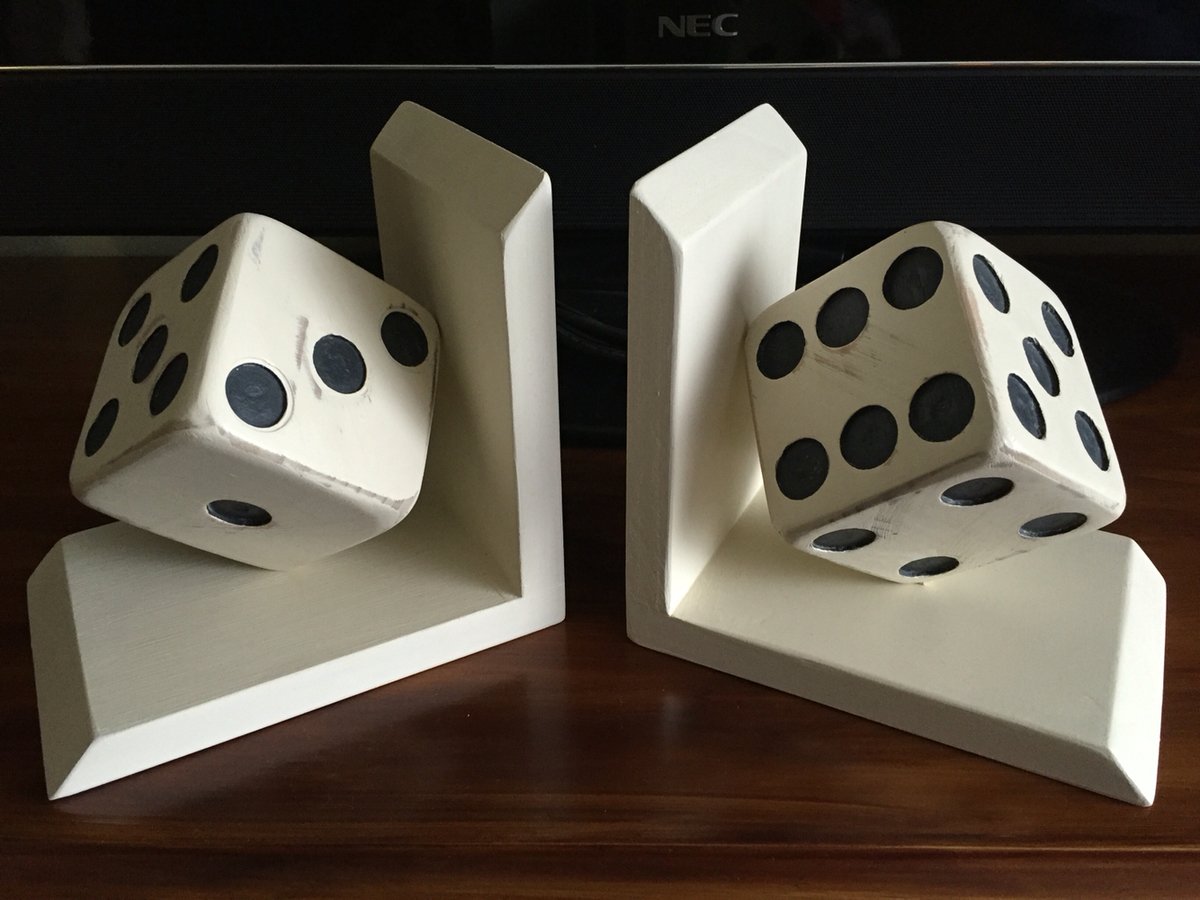
I made these bookends with 4x4 offcuts and pine scraps.
I couldn't decide what colour I wanted so I made 3 sets. White, charcoal and stained timber.
I think I like the charcoal best.
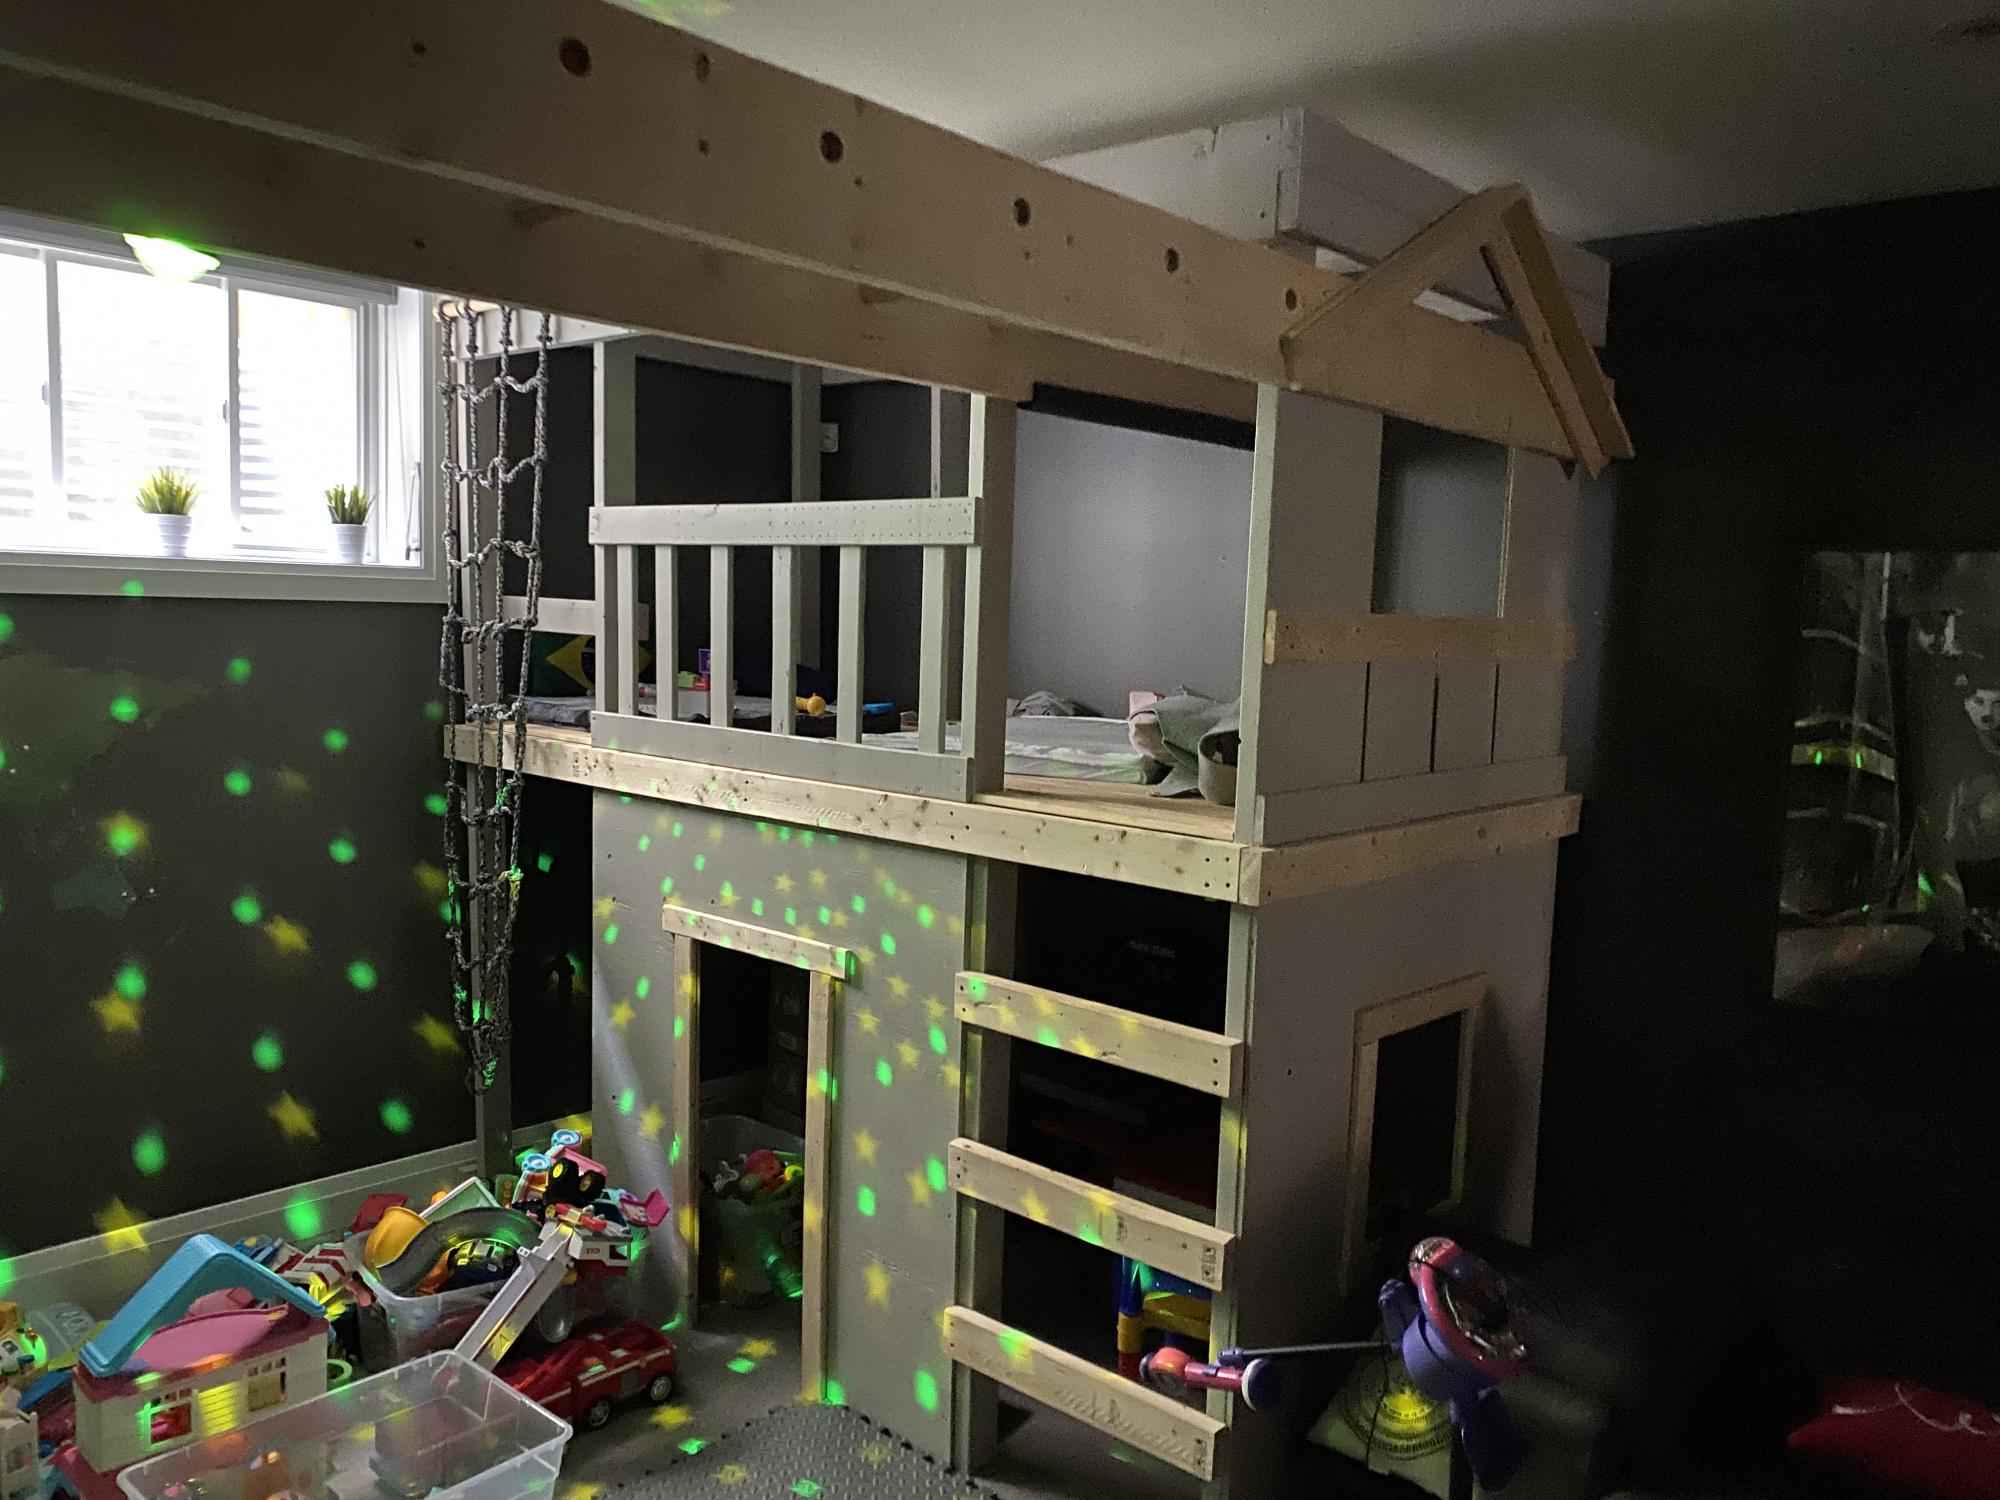
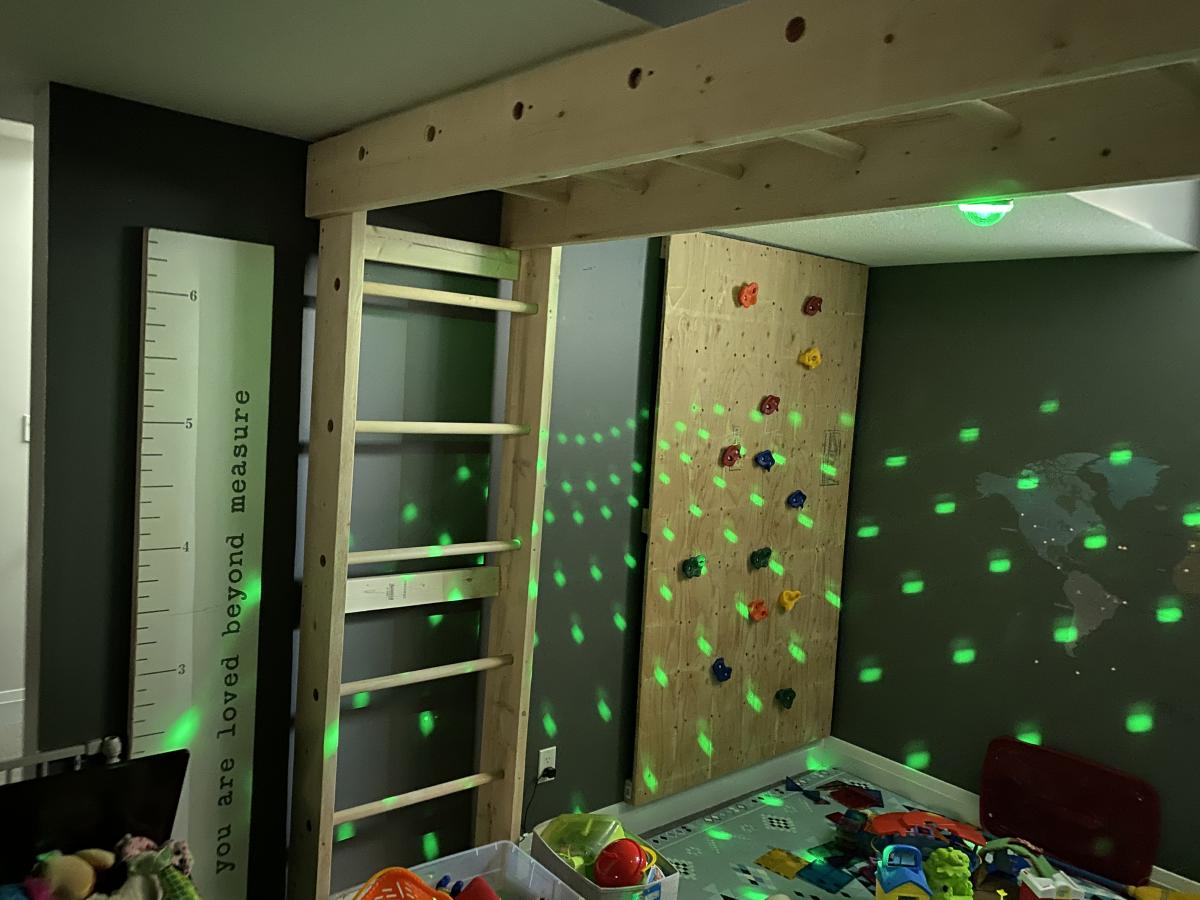
Inspired in one of your projects this was my first project with wood and turned out a go to place for the kids and guests to play all the time.
Thank you for the plan. Kids appreciate it too.
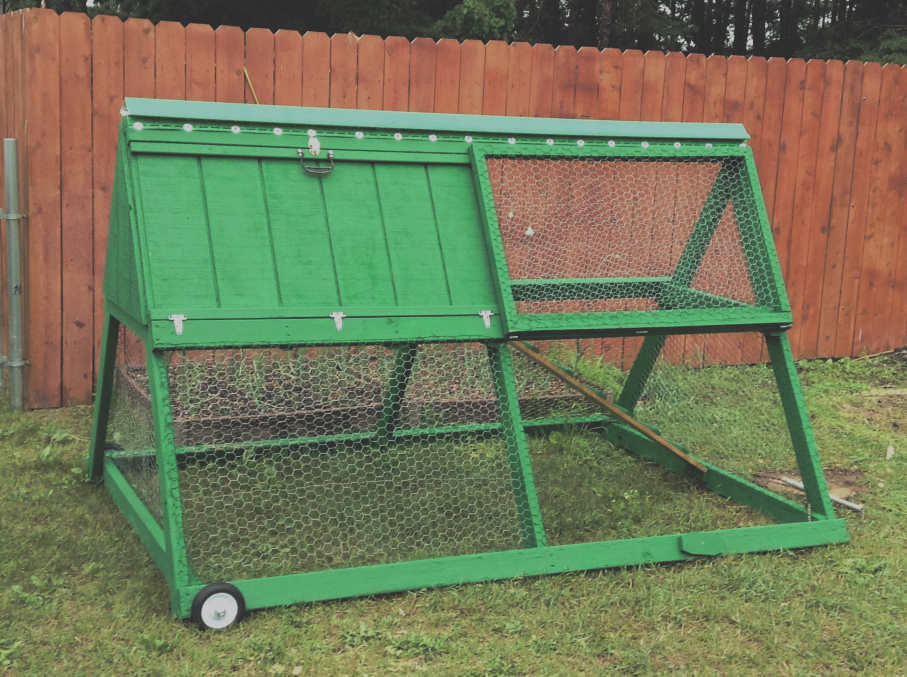
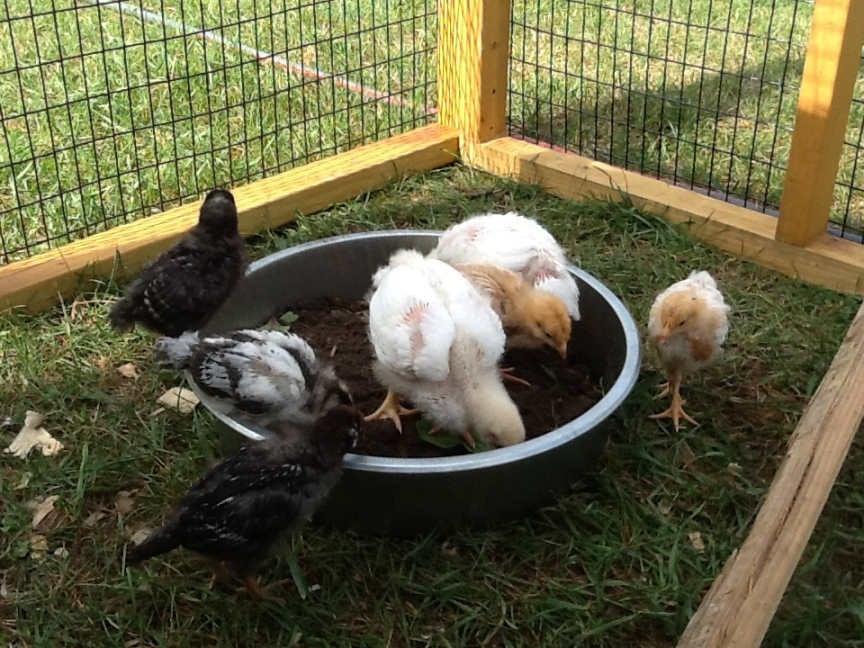
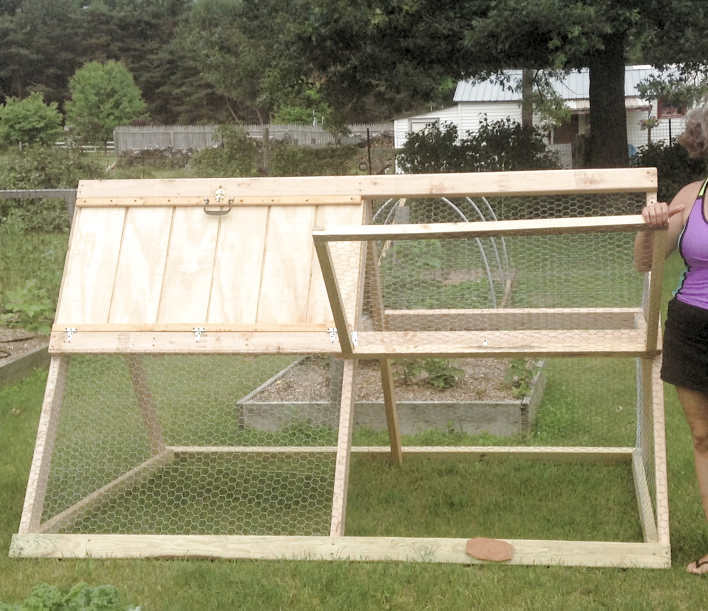
New to raising chickens, but eager to jump right in to it.
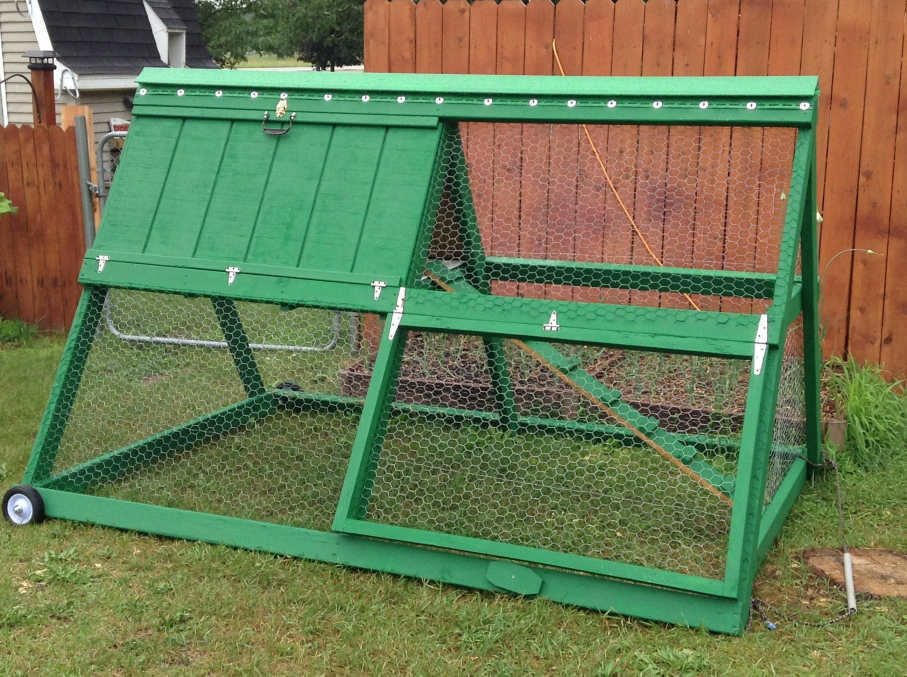
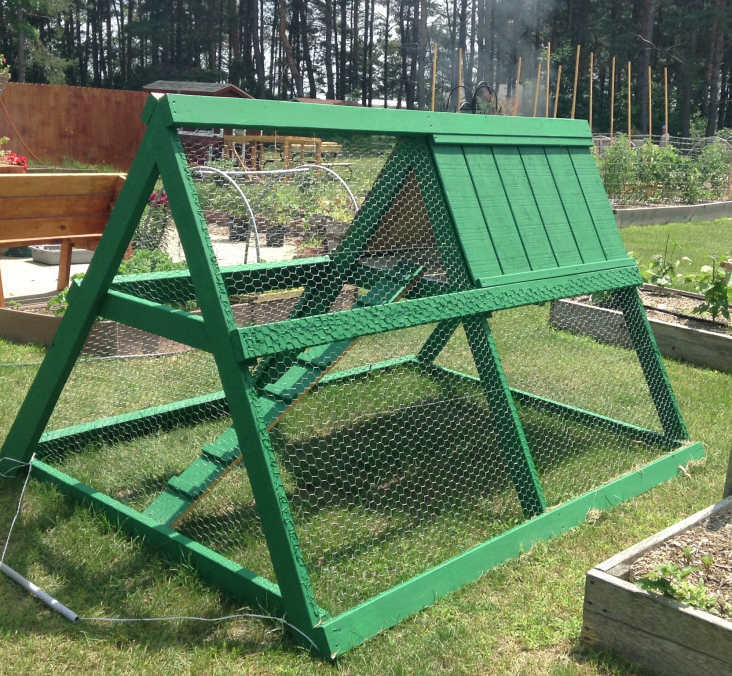
We bought a pre-made coop for the main home for our new chicks and it's very nice, not something I could do myself since I'm not yet at that level, but I saw this chicken tractor and thought it would come in handy for what I have in mind so I made up my mind to build it.
The lumber, chicken wire, staples, and wheels are all store bought new and came to about $75. The materials we had on hand were the screws, hinges, plastic coated metal shelving (used in the nesting area, I thought that would make it easy to clean), paint, and the corner piece of vinyl siding for the roof cap (hubby's brilliant idea, and I painted it green with spray paint for vinyl).
I did not try to build it quickly, I don't really know how much time it took me, but if I had to guess I'd guess total time would amount to about 3 afternoons, by myself.
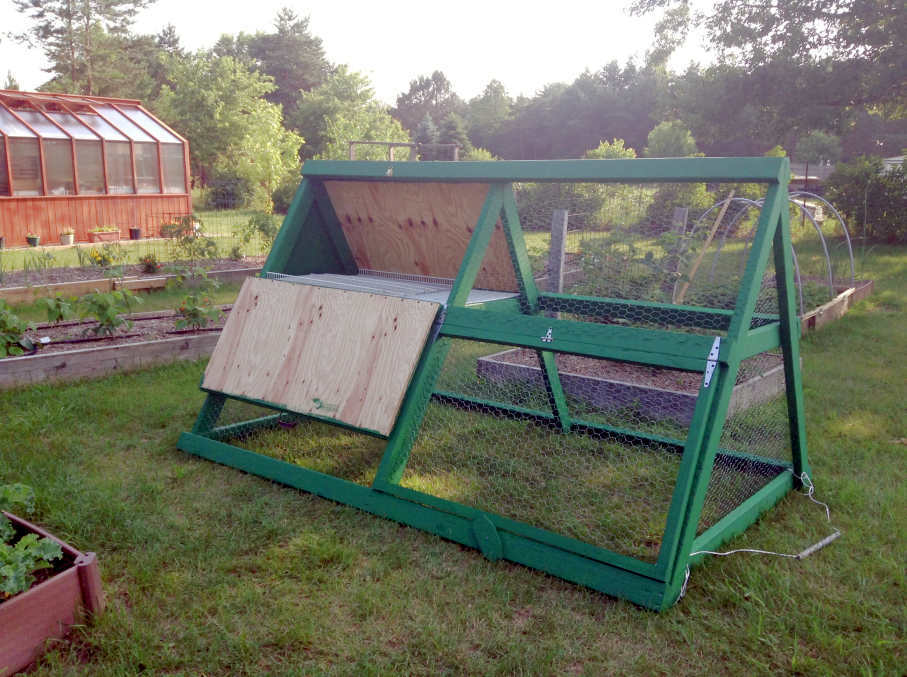
I wanted to leave the top on the one side open with the option to slap on the other boards if/when the need arises. I have the other t1-11 panels that can sit right in those areas because I stapled the chicken wire in a way that would allow it.
I also added a flip up panel as seen in the pictures for access. I didn't want a small door that I would have a hard time getting to things in there. I'm so glad I added this feature, it sure gives plenty of room for me to maintain the food and water dispensers as well as get in there and catch the little chickies :)
I wanted it green to blend into the wooded background in our backyard. I didn't want to take any beauty away from the cedar greenhouse and fencing we added last year, and this tractor would be moved from time to time and I felt this green that we had on hand was perfect to help it blend in rather than stand out.
This thing is heavy! I have a hard time moving it around and usually need my husband to move it so I won't hurt myself. I am considering some options... I don't like the rope I have on it to pull it, any suggestions would be appreciated.
As with the other items I've made with Ana's plans, this was fun and pretty easy to make. I love this site! Soon I will take on my next project, I've bought and gathered the materials, I'm anxious to get started :)
Thank you for looking :)
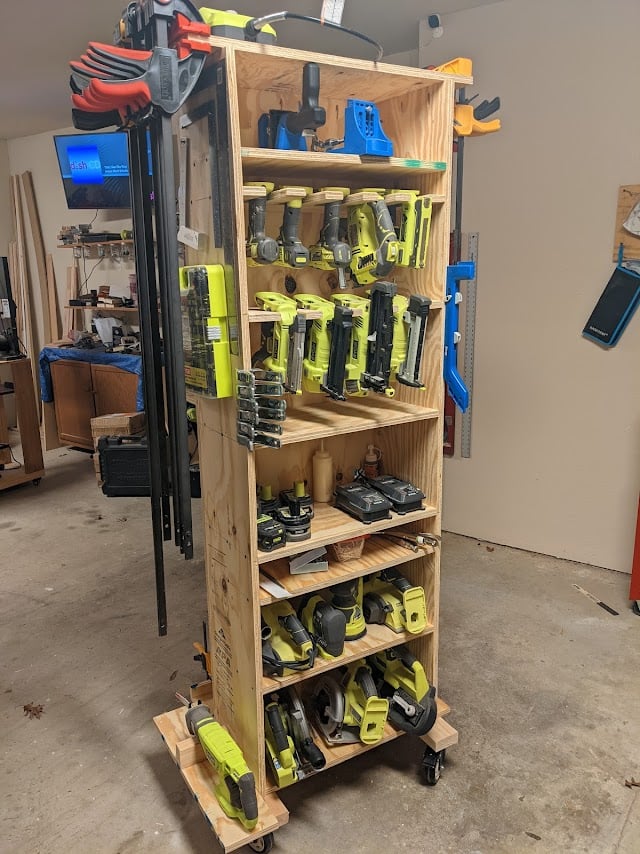
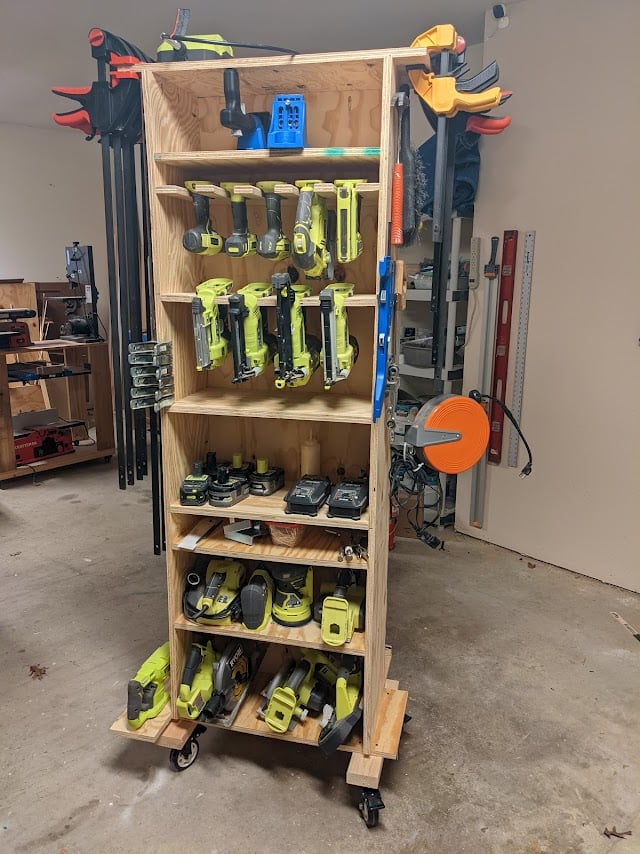
I repurpose furniture as a hobby and I got tired of having my tools hanging on a wall on the other side of the garage so I bult this rolling tool caddy. It is made out of 3/4" plywood, a couple of 2x4's and some heavy-duty casters. I built one about 3 years ago and realized that there were some things I wanted to do differently so I sold it and bult this one. My wife gave me a subscription to SketchUp and I had fun drawing it up and tweaking it. I left an over hang of 3" on both sides so I could store my clamps. I also attached an electrical cord reel on the right side and reversed the ends so the male end can plug into the wall and I can roll the unit across the room allowing me to be able to charge my batteries. The back side has a 44 drawer storage organizer and also a few shelves for additional tools like a router and a multi-tool. I'm not nearly the craftsman many of you are and I'm sure you could do a much better job. I didn't build it to look pretty but to be functional and it works for me.
Fri, 01/21/2022 - 08:28
This is EXACTLY what my husband needs!! Are you willing to share your plans so I can build it for him?
Fri, 01/21/2022 - 09:16
I really like this idea. I have my tools hung up neat all around the garage, but I keep walking back and forth for tools and batteries. It would be great to roll this over to a project and have everything you need right there. Nice work. I will modify one for my needs.
Fri, 01/21/2022 - 10:06
there are some very thoughtful features on this, notably the wings at the top and the bottom for clamps and extra tools and the different shelf heights. Well done! I'm going to build one just like it and a power strip for battery storage.
Fri, 01/21/2022 - 11:25
This is awesome - great job.
please post plans!
Fri, 01/21/2022 - 14:21
Very cool!!! I would appreciate it if you would share your plans…so that I could attempt to make me one.
open toy boxes with personalization
In reply to *sigh* by brookifer86
Mon, 06/06/2011 - 14:10
I actually recognize your wedding guestbook bench from all the linky parties but I had no idea you were also a builder over here at Ana's place. Nice to have fellow buildy gals.
Tue, 08/30/2011 - 18:30
I agree with the others, your builds are always so beautiful. Question on cost: I noticed Lily's toy box cost you $50 and these cost you $35. Was it because these weren't cabinet grade. My co-worker wants me to make one for her daughter for Christmas and I'd like to keep the cost down while still having a nice product, of course!
Wed, 08/31/2011 - 03:36
because I was able to use some scraps for the sides and short molding pieces. They are still cabinet grade, I wouldn't recommend using regular 3/4" plywood - it's too rough even with sanding it would be very rustic. One sheet of cabinet grade 3/4" plywood costs $29 at my HD, you can definitely get all your pieces from one sheet. Plus to keep costs down make the base molding out of plywood scraps rather than buying new especially if you are painting. I guess if you have to buy everything: 3/4 ply, 1 x 2s and cove molding it would be closer to $40 plus paint and primer. Good luck, such a nice sizable, sturdy, functional gift.
Wed, 08/31/2011 - 03:35
because I was able to use some scraps for the sides and short molding pieces. They are still cabinet grade, I wouldn't recommend using regular 3/4" plywood - it's too rough even with sanding it would be very rustic. One sheet of cabinet grade 3/4" plywood costs $29 at my HD, you can definitely get all your pieces from one sheet. Plus to keep costs down make the base molding out of plywood scraps rather than buying new especially if you are painting. I guess if you have to buy everything: 3/4 ply, 1 x 2s and cove molding it would be closer to $40 plus paint and primer. Good luck, such a nice sizable, sturdy, functional gift.
Sun, 01/01/2012 - 17:41
I really like the look of this toy box! Would it be hard to add a lid with hinges ? Thanks
In reply to Lid w/ hinges by Brad chunn (not verified)
Sat, 01/07/2012 - 12:27
Brad I don't think a lid with hinges would be hard. Watch out for pinched fingers on those little ones - it inevitably always happens! Go for the slow closing hinge.
In reply to Footer by Guest (not verified)
Tue, 03/13/2012 - 14:14
with 1 1/4" wood screws. Considering this is the support for the box unit I definitely recommend screws, 3 per long sides.
Good luck.
Tue, 03/13/2012 - 20:35
Thanks a bunch! One more question, I have the same base moulding you chose, how did you get the top corners to line up so seamlessly? When I put mine together as a sample they don't fit well at the top
In reply to Footer corners by Guest (not verified)
Wed, 03/14/2012 - 04:35
I used 3/4" plywood and cut out the arch with a jig saw. The corners should line up fine if your box is square. Once you attach the footer piece then miter cut the cove moulding and it should sit perfectly on the ledge of that footer. You can see more process picks in my posts here:
http://thatsmyletter.blogspot.com/2011/11/t-is-for-toy-box-4.html
http://thatsmyletter.blogspot.com/2011/05/t-is-for-toy-box.html
Wed, 02/28/2018 - 05:25
hi Ana, love your plans. Made the toddler helper in a folding style now have to make another by request. I have a question on the cutting measurements for the open toy box. The side says cut 15 1/2 inche wide yet the bottom is 16 inch wide.Is that correcgt as would have the bottom stgicking out past the ends?? Could just adjust the base size just not sure if there is reaason for the difference am i missing something.