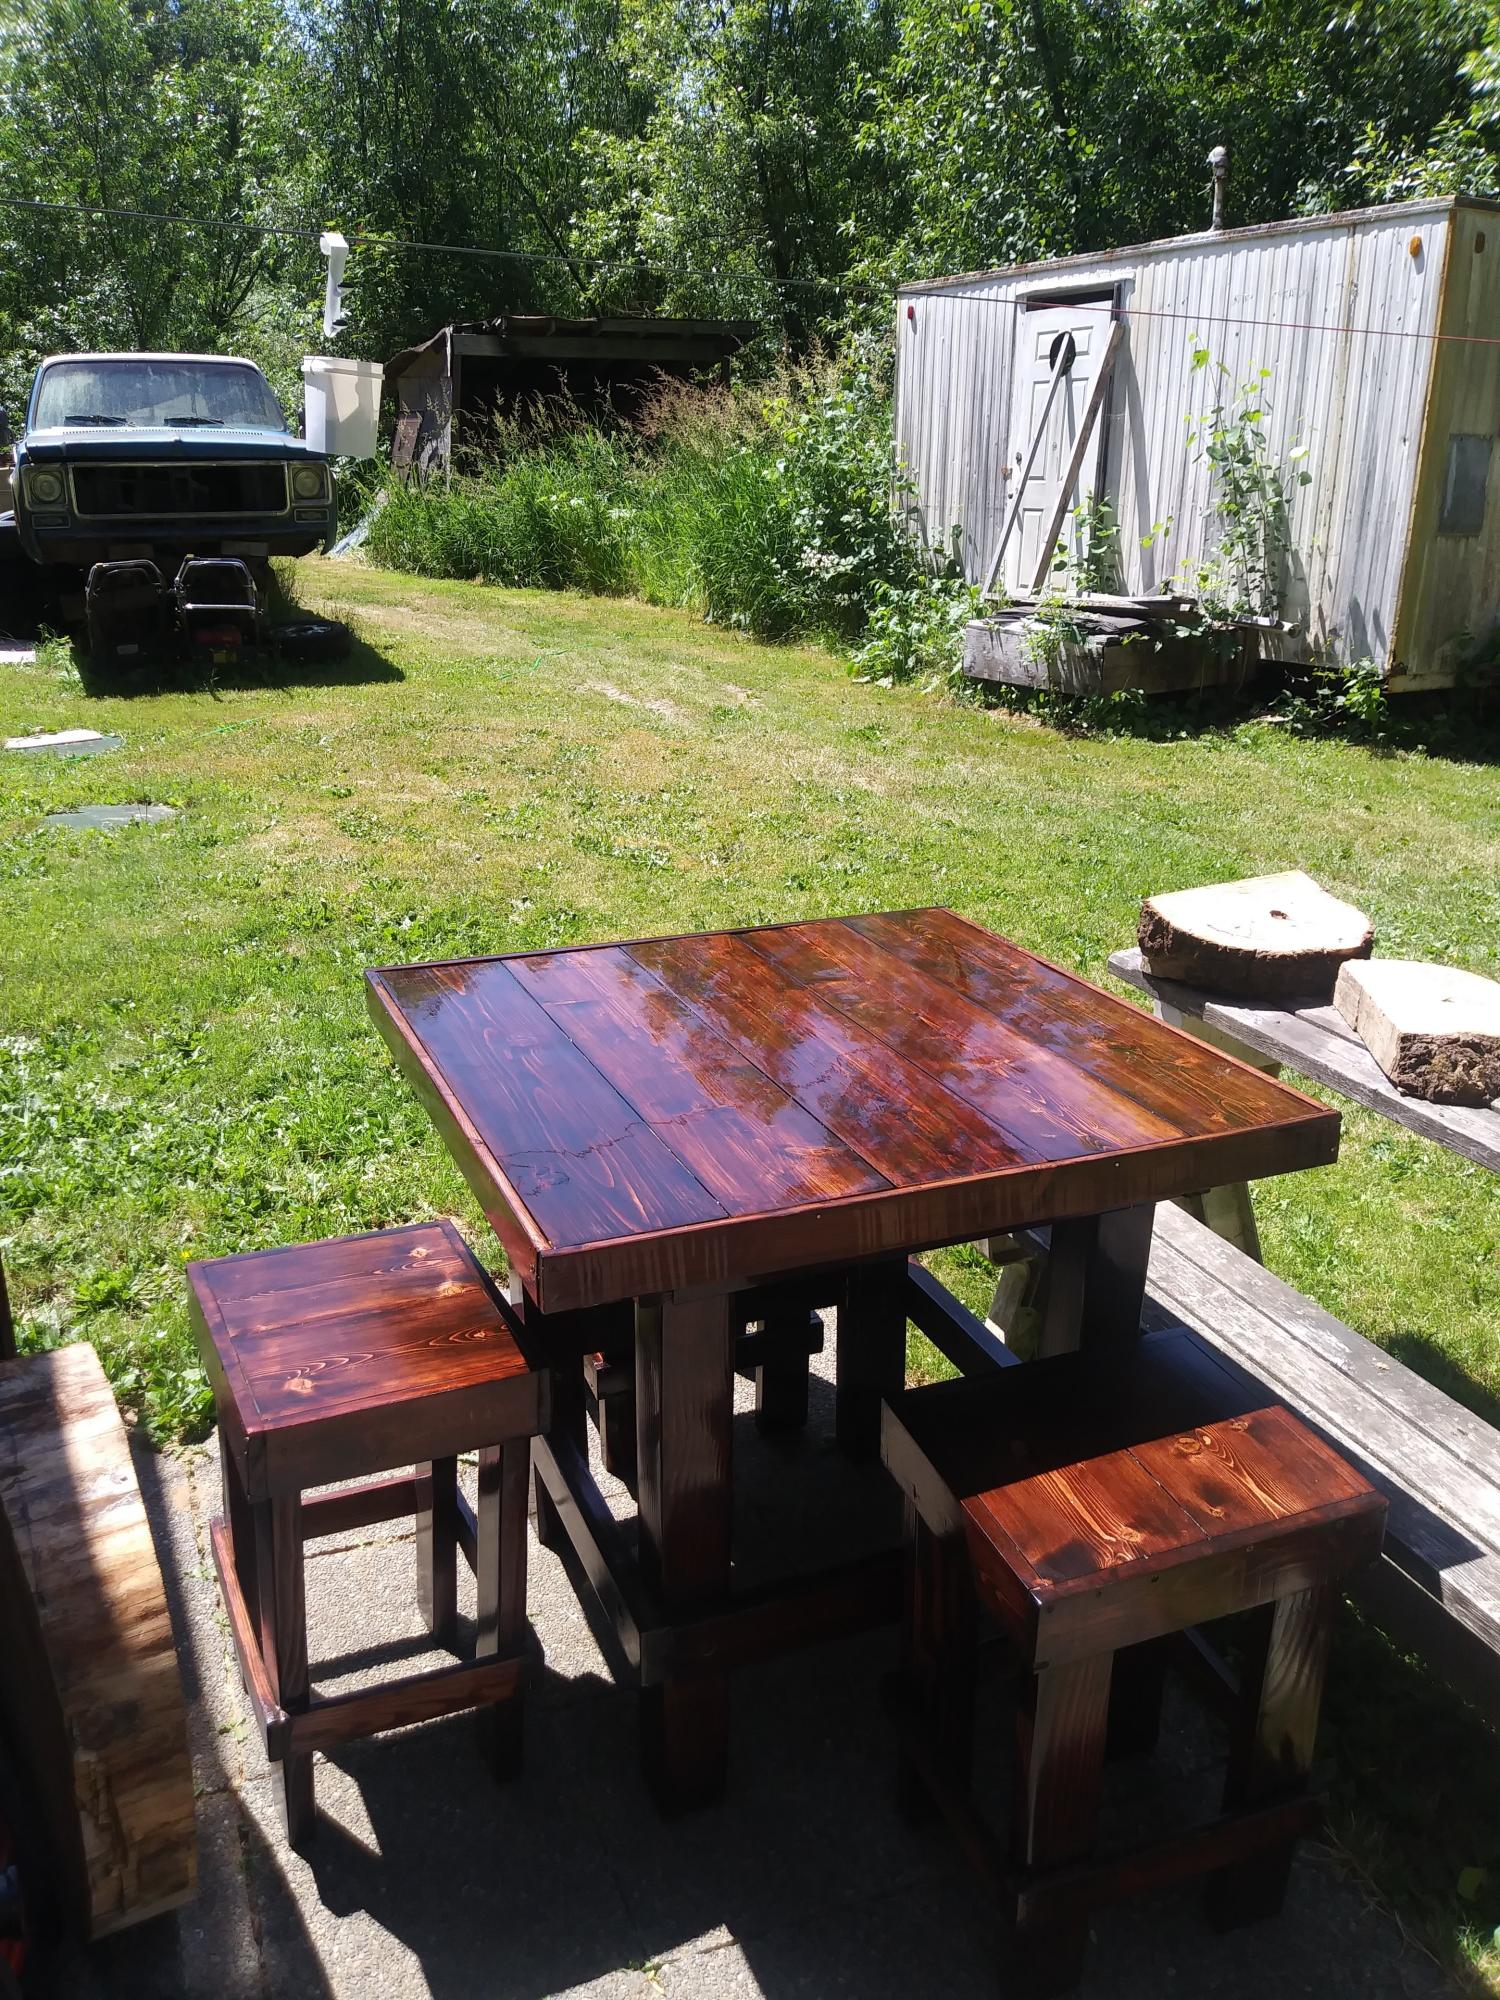
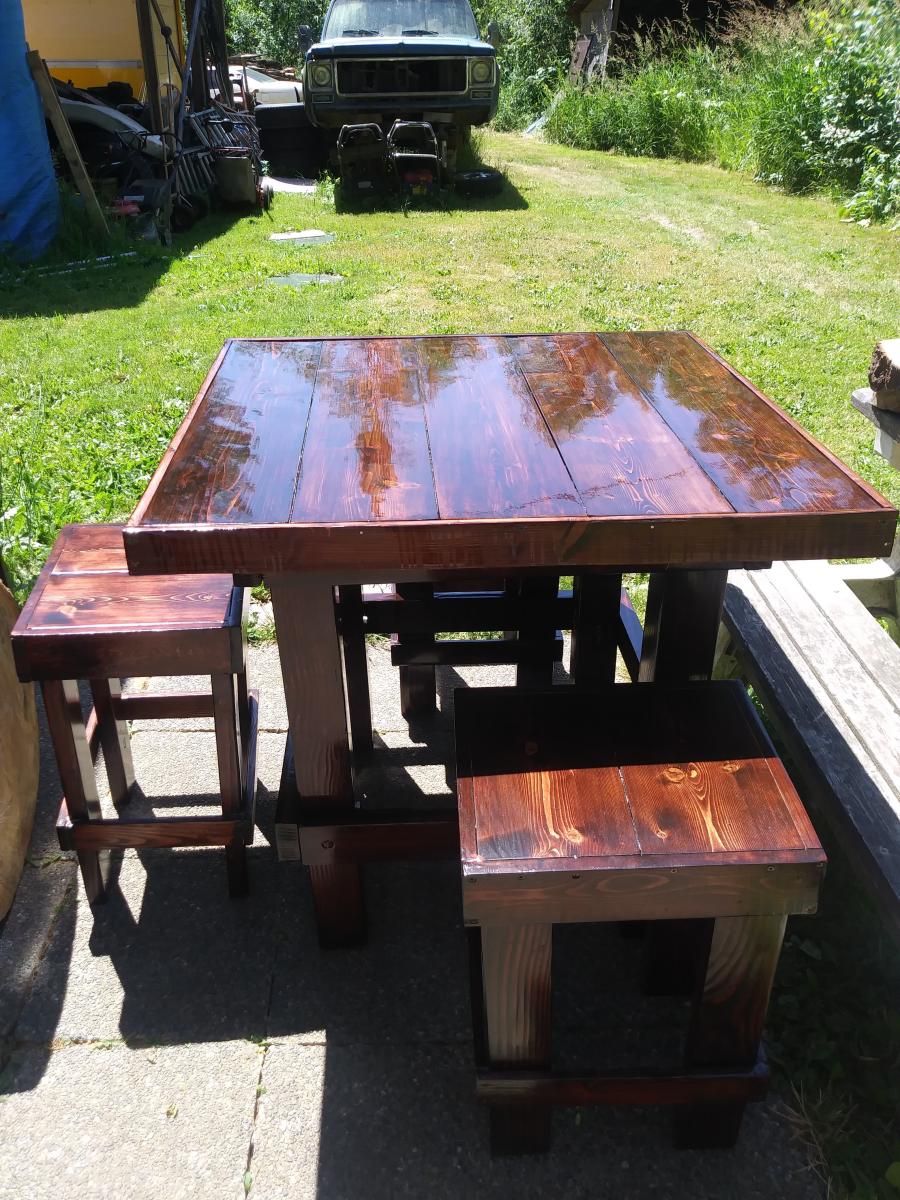
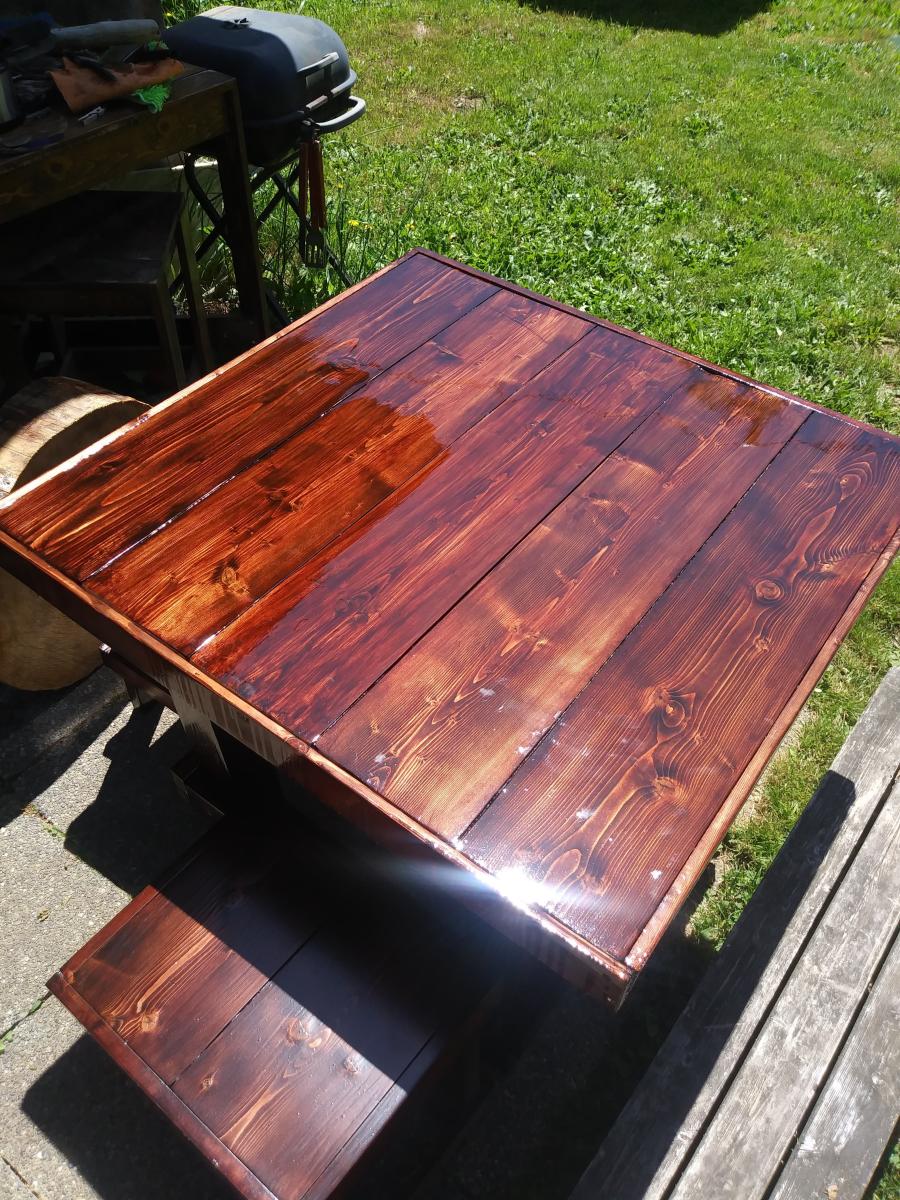
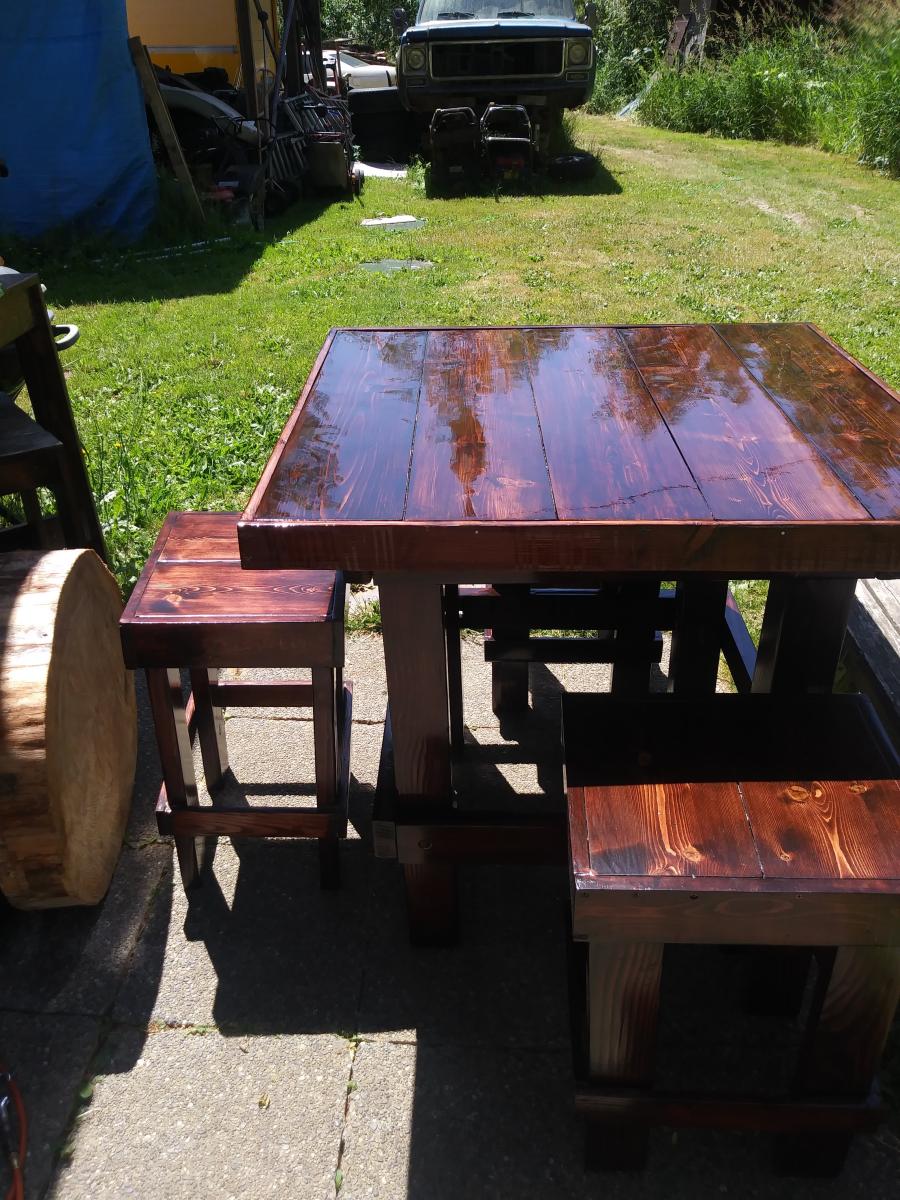
2x10 Step Stools
My kids needed a step stool and I had some scrap wood (2x10) left over from a previous project
Minwax polycrylic protective finish
My kids needed a step stool and I had some scrap wood (2x10) left over from a previous project
Directions were perfect! This is my 3rd project and I really enjoyed it! Fast and easy.
Love this little planter. Already have ideas for anew version. Need to work that out, but that’s another brag. Thanks for the easy planter plans.
I really wanted a built in unit for toy storage for our kids toy room but truth be told couldn't afford what I wanted ie pretty and solid. So while searching on refinishing furniture I came across this site. Thanks a bunch Ana. You've inspired me to create things I didn't think possible, all on a modest budget - diy. This was my first woodworking project. It was actually easy to me because it follows the same principles as sewing in which the depth of the wood is like the seam allowance. I really liked the 6 cubby plan but wanted it horizontal. I had to replan this piece as the plan dimensions changed when I changed the orientation of it. I also added crown moulding (but this was kind of a ledger style that rested ontop of the 1x2 - they use it as a door headers). I initially intended to paint this white but decided that it would have got lost in the white wood panelling. (DH even commented that i was taking way to long on this project but after seeing the finished results said it looked amazing.) So I painted it a grey blue, distressed the edges and then used a stain that I bought from benjamin moore's mis-tint section for $5.00 which says it's a danish walnut based but seems to have a slight purple huge to it. thanks again Ana, its because of you I don't have to stare at a messy toyroom any longer!
This was really my first build and it stemmed from not being able to find the kind of beds I wanted for my girls. My brother helped me cut the wood and assemble the first one and my husband and I did the second together. It was so rewarding to make them and I love how they turned out! You can store so much and they are sturdy pieces. My girls love them too. (bedding is from Pottery Barn) I would stay this is a beginner's project. You don't need any specialized tools. it was a lot of fun and now I'm it itching to buy a Kreg Jig so I can complete many more projects!
I finally finished my DIY Modern Adirondack Chairs! Frame made with 2x4 cedar lumber and seat and backs with 1x10 pine planks. Stained with Benjamin Moore Aborcoat silver grey semi-transparent stain with a clear coat. Used a free diy plan by Ana White with some slight modifications to make the chair back higher. Cost was a bit higher than expected but lumber has gotten more expensive during the Covid time.
Thanks Ana for the design and the YouTube video. I watched it at least 20 times!
I’ve been searching for a free standing closet for so long!! I stumbled across these plans a few months ago and asked my hubby and brother if they would be up for a little project and boy, did they ever do an amazing job!! I am so happy with this. We ended up making ours a little bit shorter to fit in our room and adjusting some of the other plans. The rods were cut a little short, but everything still worked out beautifully. Thank you for these plans! <3
Sat, 09/12/2020 - 11:14
Thanks for sharing, we chose this as our Brag Post of the Day on Facebook!
we made this for our friends for a housewarming gift. Will definitely make again!
I built a couple benches to go with the reclaimed wood farm table I recently built. They are made out of hard to find 2″ reclaimed rough sawn lumber. The benches would also make a great coffee table or side table. Each bench is 36″ long and 18″ tall and 9″ deep.
I have a 2 1/2 yo daughter and a 2 yo niece, so I make most of Ana's awesome plans in duplicate! These are two versions of her Dress Up console, one was for my niece's 2nd Bday, the other I just had to make for my own little Princess!
Tue, 06/18/2013 - 15:18
Since you've had experience with both, do you like having the cubby's or do you think it is sufficient without? Trying to decide which route to take. Thanks!
Fri, 09/26/2014 - 13:46
Hi! Where can I find the plans for this exact dress up storage?
Fri, 09/26/2014 - 14:00
Hi Rinabeens,
Link to the plans:
http://ana-white.com/2010/11/craftiness-not-optional%E2%80%99s-dress-st…
This is super cute, I hope you post a picture when you build this!
I made a few modifications from the original plans as I wanted to have some visibility into the cabinets. I used natural pine and finished with a tea, vinegar/steel wool solution to give it the reclaimed wood look.
Wed, 08/17/2016 - 23:42
Would you have plans available for the modifications that you made? This is beautiful!!
Mon, 07/22/2019 - 10:52
Do you have plans for the modifications you made on the doors? Thank you
Fri, 05/01/2015 - 10:20
Looks relaxing and wonderful! Thanks for sharing!
Mon, 05/11/2015 - 03:24
Ok, I was thinking of just how great these chairs would look around a fire pit.... and then I seen this. I may have to talk my husband into this for a summer project! Great build. Love the bright colours! And the poochies are cute too :)
A beautiful 6 1/2 foot weather gray farm table. Thanks for the design, Ana!
Very sturdy table and benches!
Used the Garden Enclosure plan as a reference, but wanted a much bigger area to walk through and relax in. Dimensions are about 30'x20'. Took a few months with a break for winter because it was just me working in spare time on weekends, would have gone a lot faster with an extra set of hands. Towards the end realized that drainage in the walk path was going to be an issue so I put in a very basic french drain before I weed fabric and mulched.
Really happy with how it turned out. Cost was pretty high, probably about $1500 all told, between wood, garden soil, etc. But we'll be able to enjoy it for many years.
Great plan and great instructions (especially the cuts). My only two deviations from the original design were to use carriage bolts to secure the long apron pieces to the legs (I like to have the bench frame be more flexible while I add the components and then tighten everything up once all the pieces are in place) and to add adjustable feet (You might have stellar tradesmen up there, but down in the Pennsylvania woods, we tend to get the C & D graduates from Trade School; hence, level, evenness, & square are rare qualities to be celebrated when encountered and not taken for granted). My only other comment regarding the instructions would be to mention in the tools required that either a big honking set of clamps (36" span) or maybe ratcheting straps would be a good thing to hold the shell together while you are trying to screw the cross pieces into the shell. Maybe you are good enough to do it without clamps / straps , but I sure couldn't get the (slippery) glued cross pieces to stay put without some kind of support. Other than that, great design and instructions. Thanks!
This was my husband's first build using Ana White plans. He scaled down the hutch and sideboard to fit our kitchen (42"x80"). It took about 24 hours to complete. We used a Minwax stain in Dark Walnut. I have looked for a piece to replace an ugly old baker's rack for years and hated the junk at places like Target. Everything I liked at Pottery Barn and Restoration Hardware were too expensive. I never found anything old that I liked enough to refinish so having the hubby pull this one out is basically awesome! Yay!
Made this for my daughters family spent hours upon hours on that finish!
This was my husbands's 1st Ana White project
I love my new photo ledges. I had a huge space on my wall and these ledges are perfect. The ledges were so easy to make. I got a kreg jig for my birthday (I never thought I would ask for a tool for a birthday present) and I have gotten so much use out of it. I saw similar ledges at pottery barn for 10 times the cost of this DIY project. I saved so much with these ledges. The kreg jig has already paid for itself. The ledges make it super easy to switch out photos and I love being able to display so many fun photos. Everyone who sees these ledges loves them!! This was my first project. Thanks Ana for the great plans!
Mon, 10/21/2013 - 12:51
I might spray paint all the picture frames white or an oil rubbed bronze in the future...I'm not sure yet. Opinions?
Mon, 10/21/2013 - 18:27
Your gallery looks beautiful! Great job on your first project, congratulations!
(ps- I think the oil rubbed bronze would look super on the picture frames.)
Adirondack chairs from your plans. My husband added some rounding on the arms and back. We wanted them to look like well weathered beach chairs. To get that effect we used milk paint which lets the grain show through.
The best addition are the two wooden wheels on the back leg of the chairs, I can now easily move them around my patio.
Mon, 05/06/2019 - 11:10
What a gorgeous seating area and what a seal! Love the wheels too!
Comments
kristyzed
Wed, 08/17/2016 - 20:40
Nice!
These are great. Can you share dimensions and if there are any angle cuts on the legs?
msyoung22
Thu, 08/18/2016 - 20:12
Thank you! The dimensions are
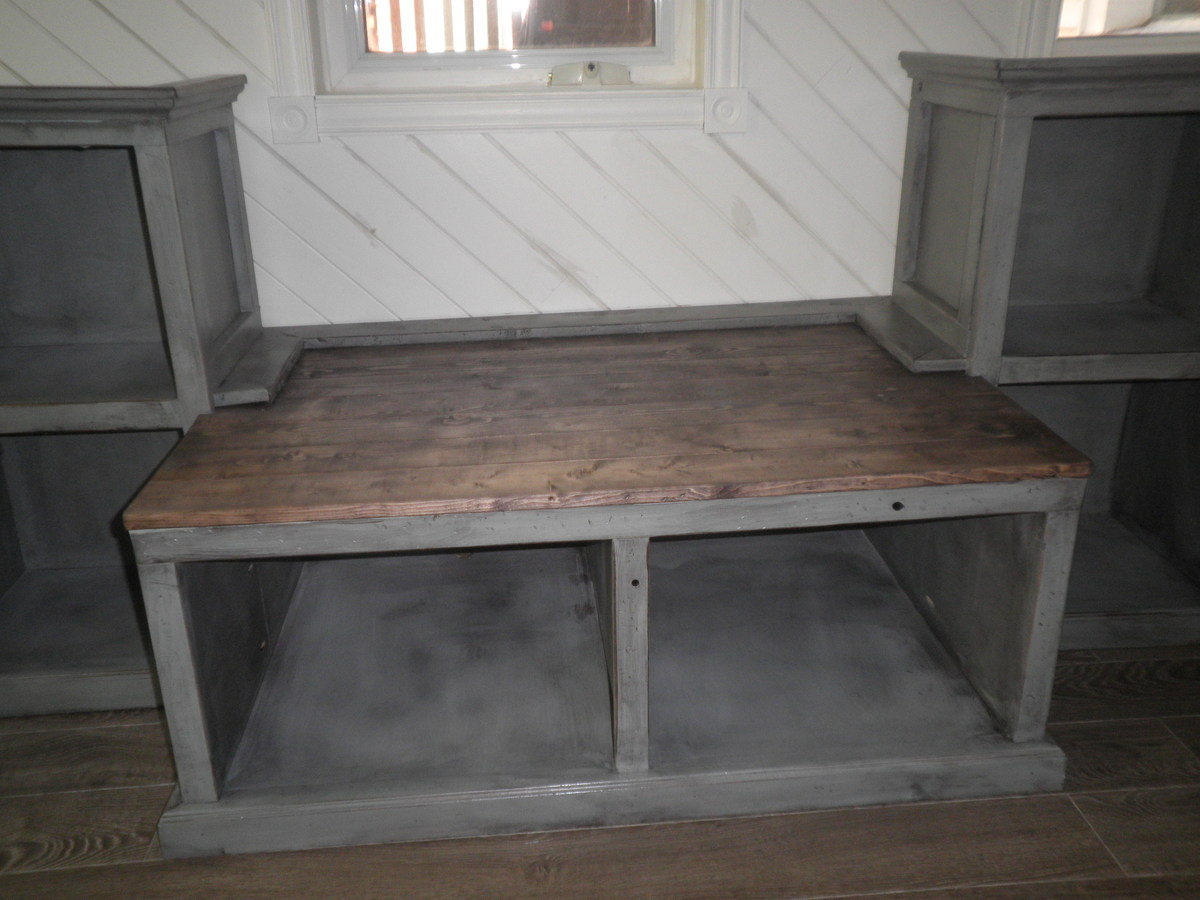
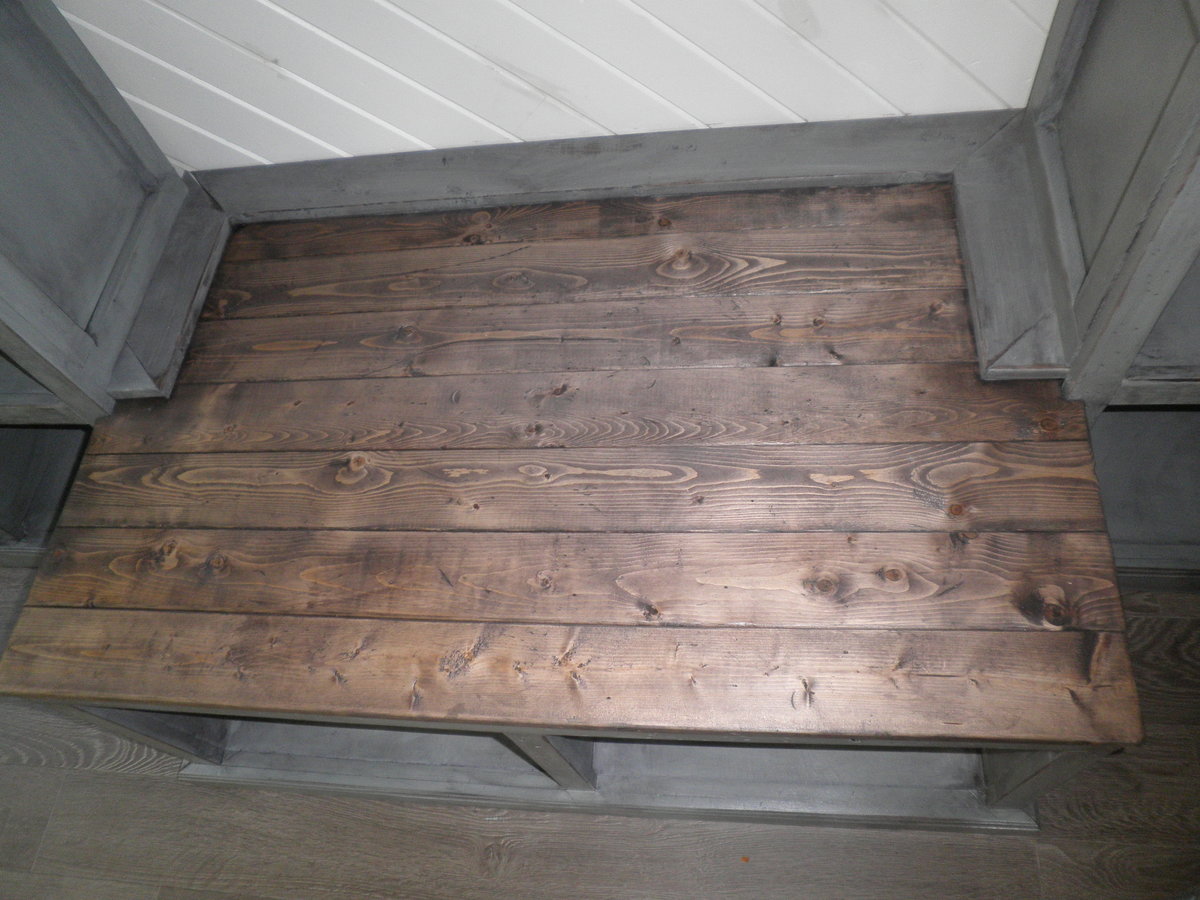
Thank you! The dimensions are the same as the Ana White "Simple 1x10 Single Step Stool" except I used 2x10's instead of 1x10's like the plans called for. I also used some scrap pallet wood to make a design on the top of the stool.
- Stool height: 7 1/2" for legs, 1 1/2" for top, and 1/2" for scrap pallet wood; which gives a total height of 9"
- Stool width: 9 1/4" x 16"
- 5 degree angle cuts were made on the legs
mamasue72
Wed, 04/17/2024 - 09:21
Are the rails a 2x10 cut in…
Are the rails a 2x10 cut in half.? Or is it pallet wood?