Easy DIY Workbench
Ana I’m new to wood working and I really love your plans. They are so much easier to follow than a lot of other plans that I’ve seen. It makes me feel like I can build almost anything. Thank you.
Brandy
Built from Plan(s)
Ana I’m new to wood working and I really love your plans. They are so much easier to follow than a lot of other plans that I’ve seen. It makes me feel like I can build almost anything. Thank you.
Brandy
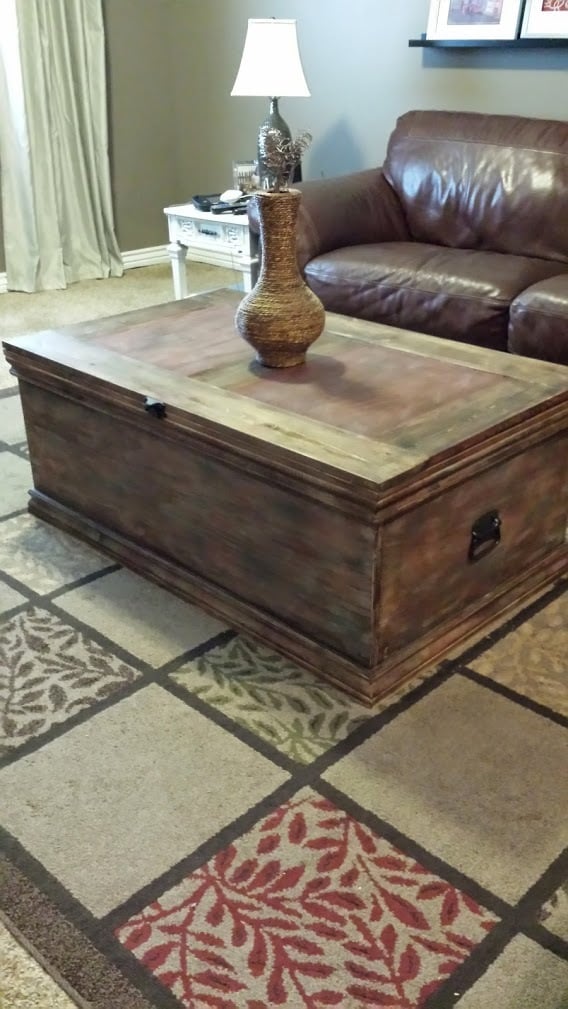
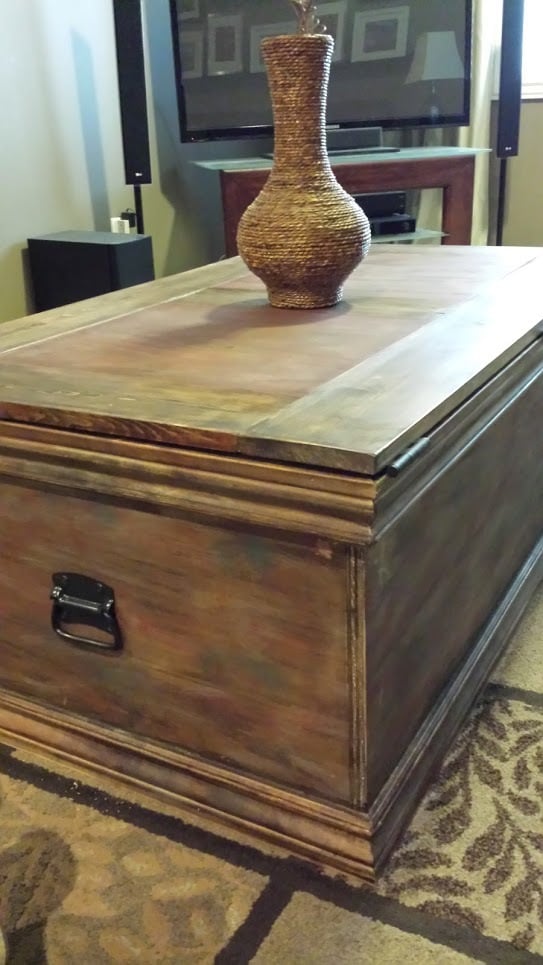
I adjusted the measurements to make it longer and wider. I also looked the original Pottery Barn trunk and tried to copy the multi color finish. I had so much fun building this!


In reply to This is truly gorgeous! by Ana White
Tue, 04/28/2015 - 12:05
Thank you, Ana! Your comment means a lot to me! =-)
Tue, 04/28/2015 - 12:07
The handles are from Ace hardware--I had to spray them antique bronze since they only had them in silver. I stained the trunk is dark walnut from minwax and then used diluted paint in barn red and teal to spread some color here and there. Finished with some polyurethane in satin (spray). That's it!
Tue, 12/25/2018 - 19:42
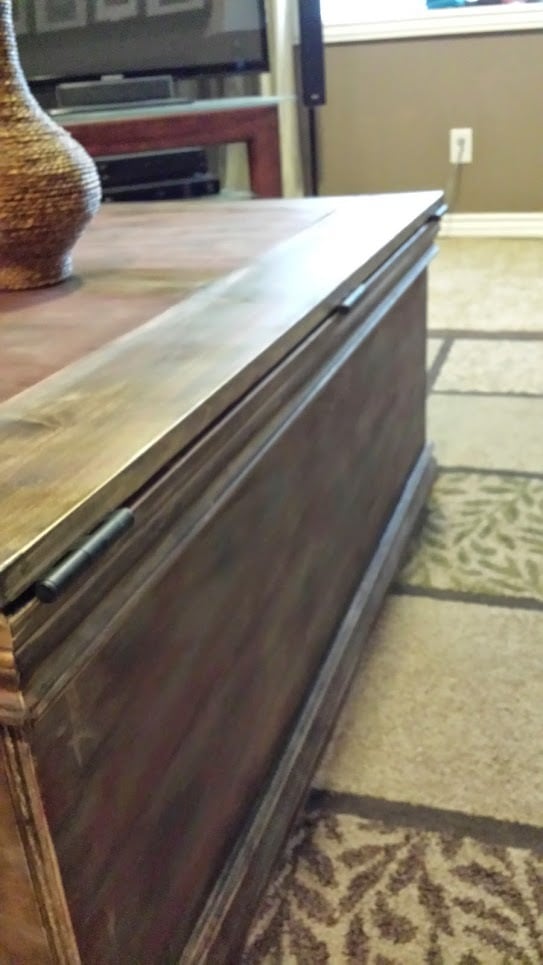
I don't know if you will check the comments on this brag post since you posted almost 3 years ago, but I'm also curious about the hinges to use. I have watched some youtube videos that show how to chisel out a space for the hinge, but I know there must be an easier way and an easier hinge to put on this box.
Thanks so much ,
Apryl

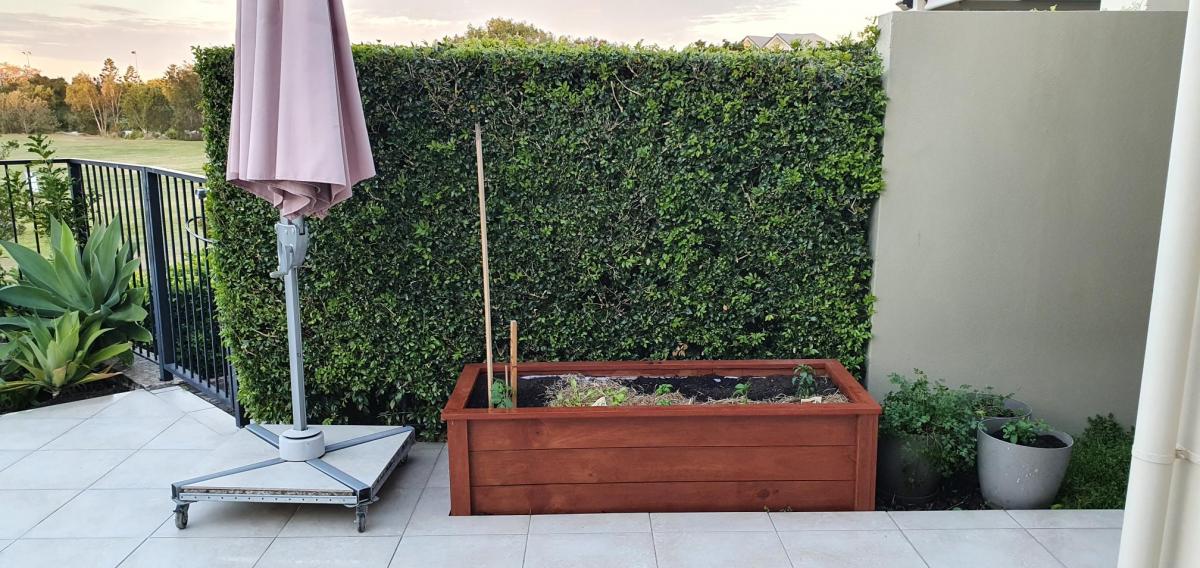
Greeting from from Queensland, Australia.
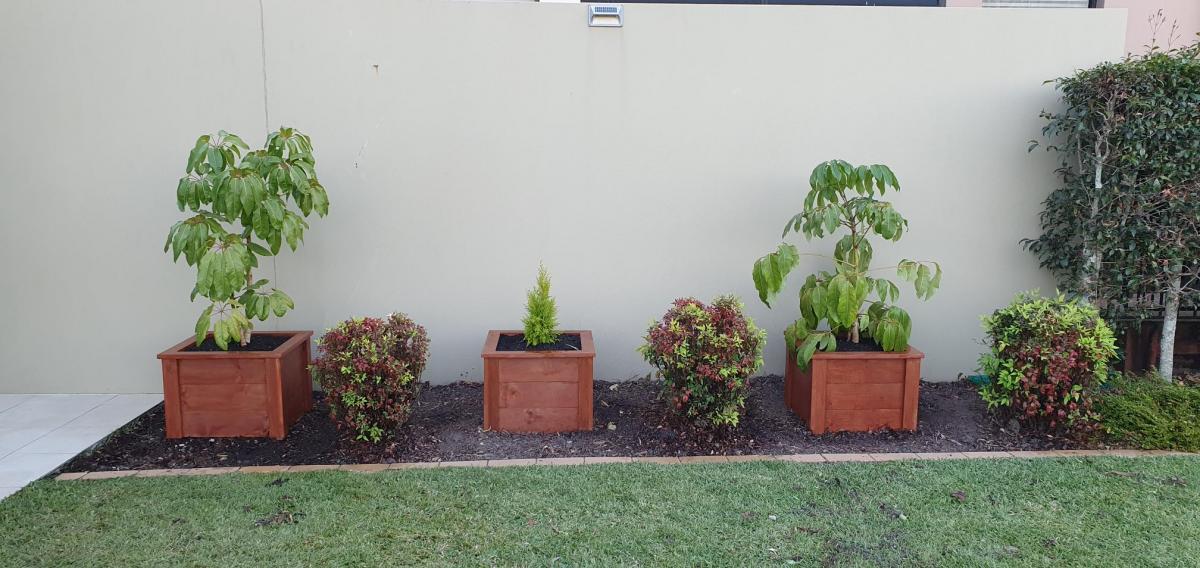
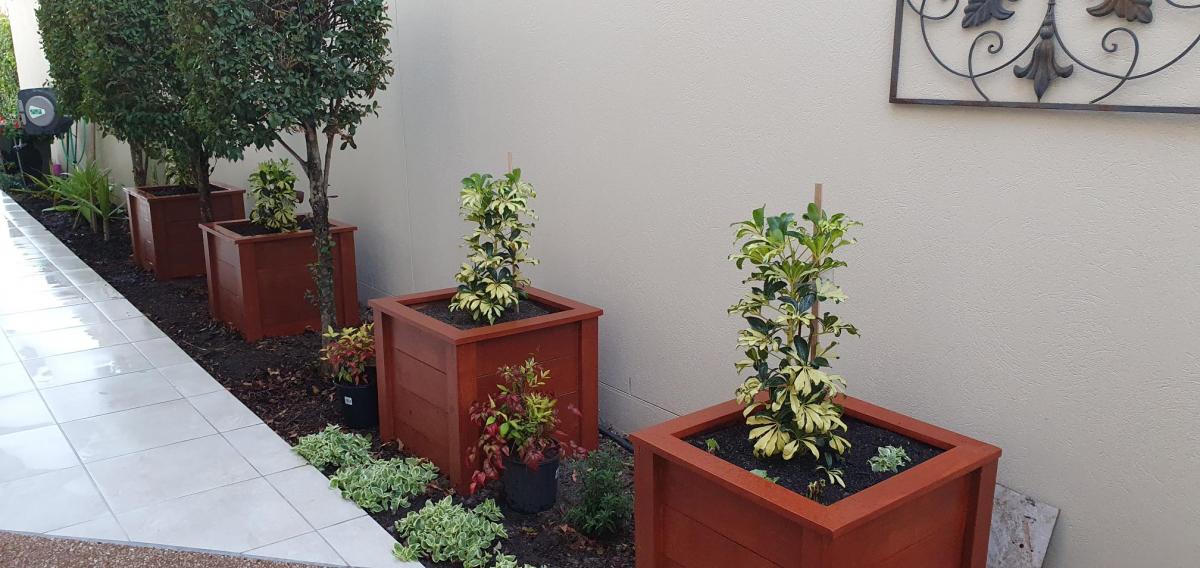
I decided to make a couple of wooden planter boxes for our garden at home, after watching Ana's video on the “Easy Build DIY Planter Box” made from cedar and painted white. I downloaded the plans, and then converted the measurements to metric. I did make a couple of alterations from what was shown in the video. Whilst I do not have a workshop at home, I attend a local "Men's Shed" where there is a large range of woodworking machinery available to use. Firstly, I used rough sawn treated pine 150mm x 25mm boards, which I dressed and cut down to size. The dressed timber looked great once I stained the boxes. Secondly, I have made the boxes without legs, so that they sit directly in the garden, and are filled with potting mix soil.
After making the first 2 planter boxes, my wife asked if I could make another couple. After that we decided another 3 planter boxes in a different part of the garden might be nice, so I made these the same. Then I made a longer planter box of the same style for vegetables and herbs.
Thanks so much, Ana, for the great plans and video, as well as the inspiration. Mind you, my planter boxes took a lot longer to build than the time you indicated in your video, but that is fine.
Cheers Noel
Wed, 10/06/2021 - 10:10
WOW, love them mods and how you were able to convert to metric! Thank you for sharing!

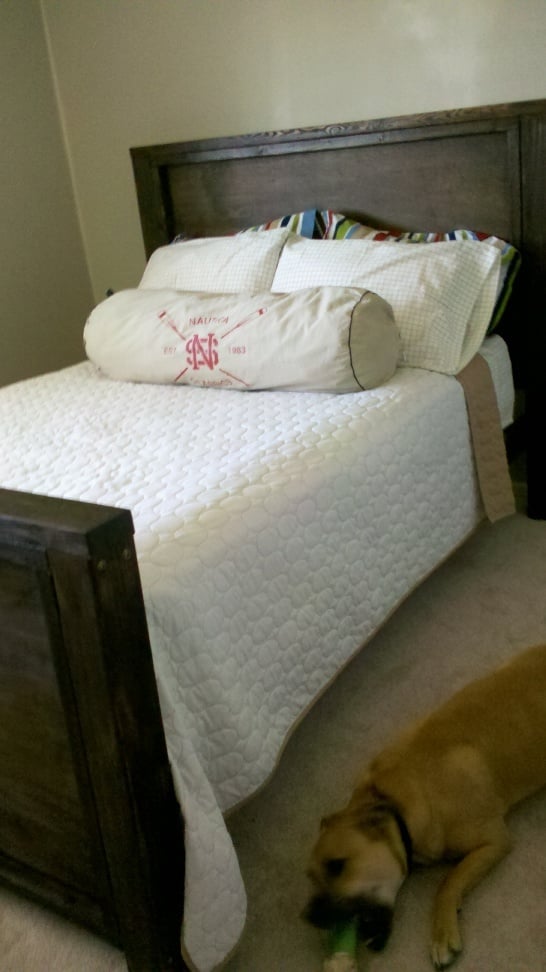
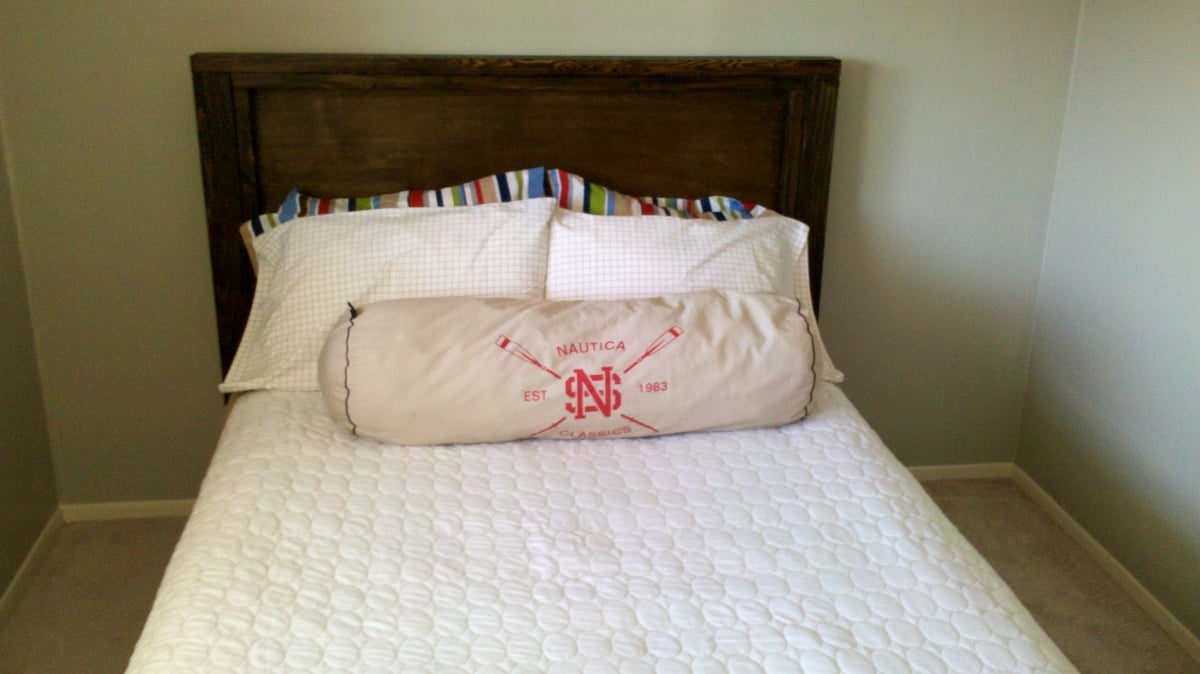
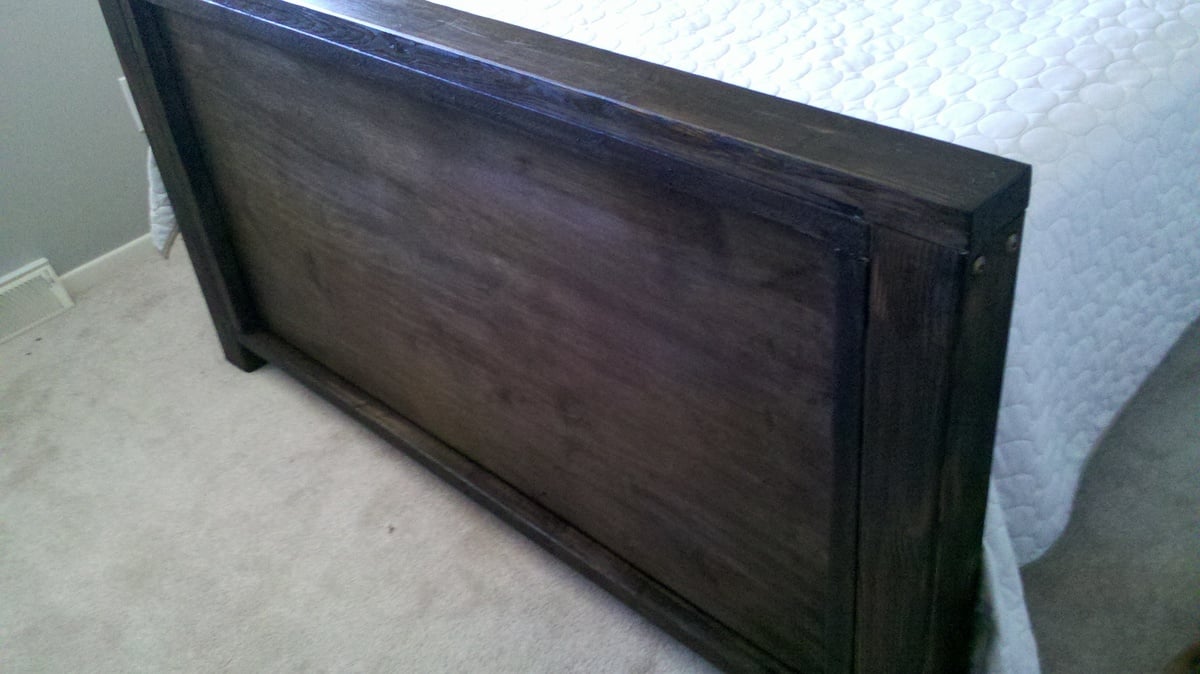
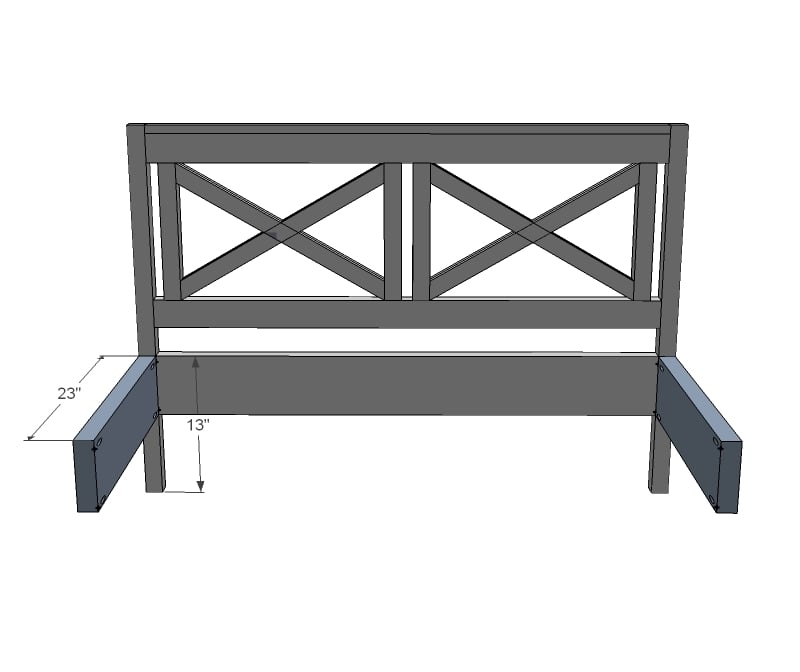
This started out a project driven by inspiration. I wanted a bed similar to the Hampton Bed in the Pottery Barn Teen Catalog, and I wanted a handful of beds from the newest Crate and Barrell Catalog. So, I sat down with a piece of paper, and a felt tip marker, and sketched out the bed. I had just built the farmhouse bed, and knew it was strong, so thats how I designed the frame. Then I used plans from the Simple Bed to get another reference point and for full size dimesniosn. Then I built it. I journaled each step of the way on my blog, if you want more info on how building went, or the learning process. I am truly very proud of this bed. Thank you Ana for giving me the courage to do this one without step by step instruction. You rock.
Submitted by Abigail Marolt on Facebook -
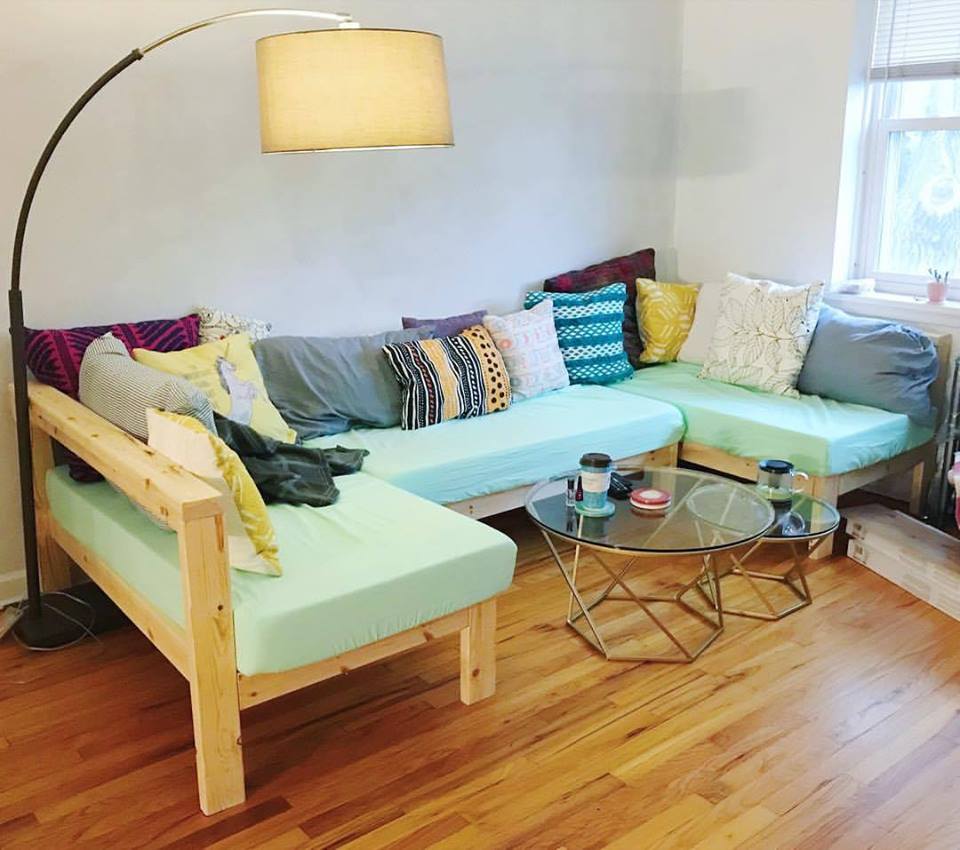
I made a your crib mattress sectional with an extra armless couch to make one large U-shaped design! It was my first project with a kreg jig and a circular saw, but it certainly won't be my last. We love using this couch every day!
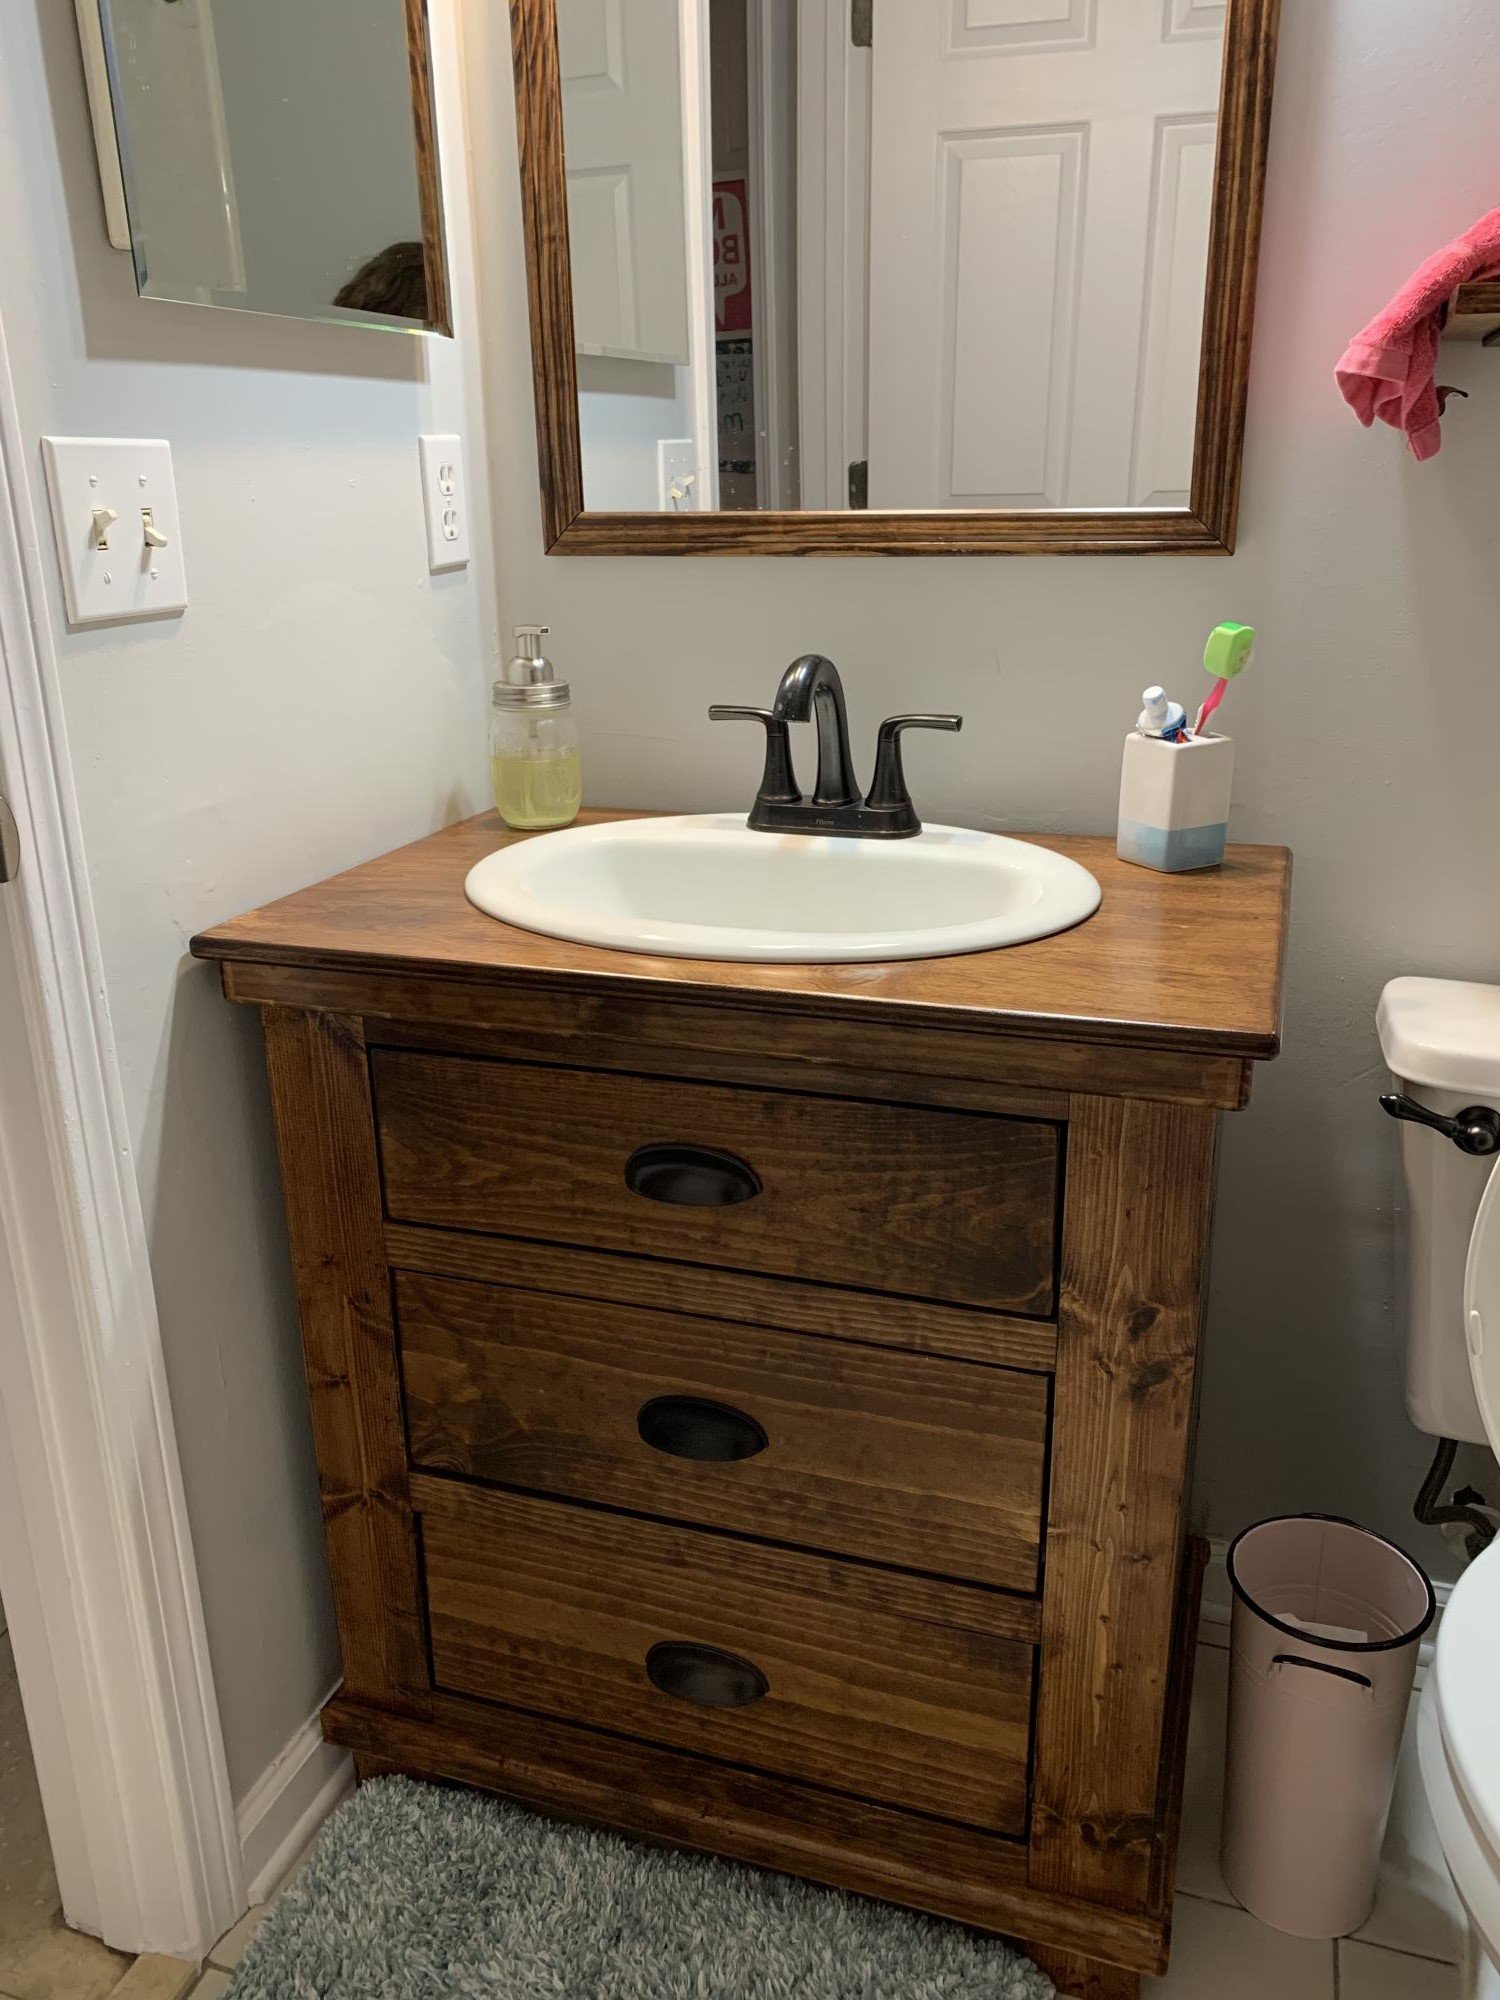
I built Ana Whites Bathroom vanity with drawers. I love how easy the plans are to follow and even adjust. I tweaked the measurements to fit the space I had. After supplies, I spent a bit less than a store bough vanity, and it is solid wood rather than the cheap materials the less expensive store bought one. It turned out beautiful! I also built the mirror frame and the shelves to match. Thank you, Ana, for your amazing website, plans, videos, and confidence to tackle the projects myself. My daughter chose the mahogany stain because she loved the way it sounds..."It's Mahogany!"
Thu, 12/16/2021 - 13:44
Way to go, love the finish and the matching mirror! Thank you for sharing:)
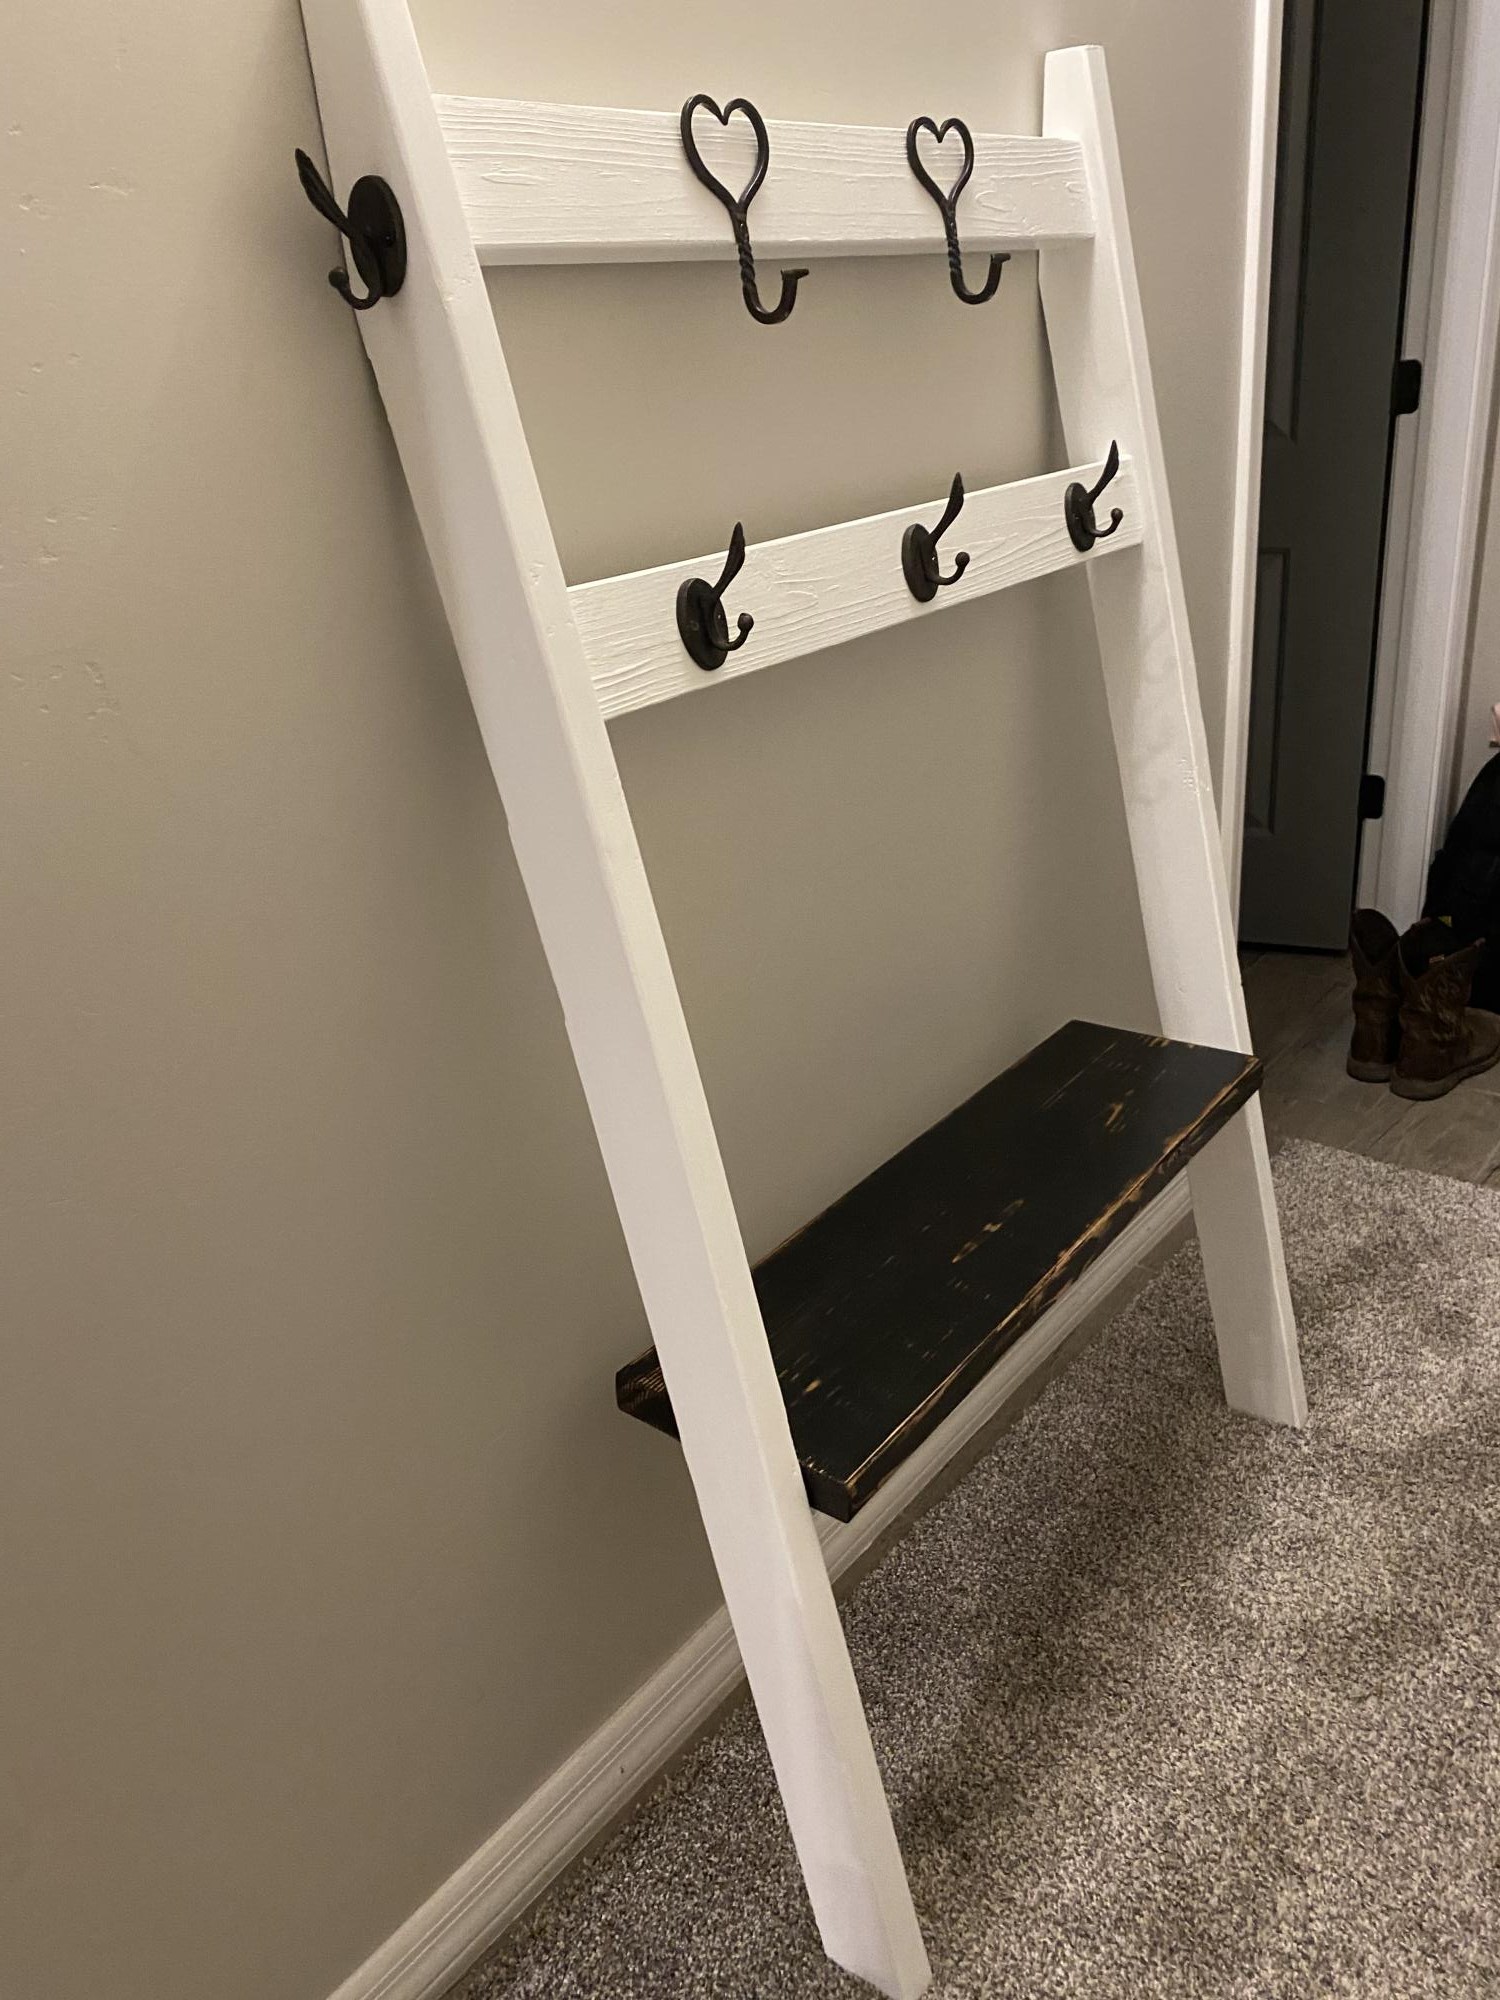
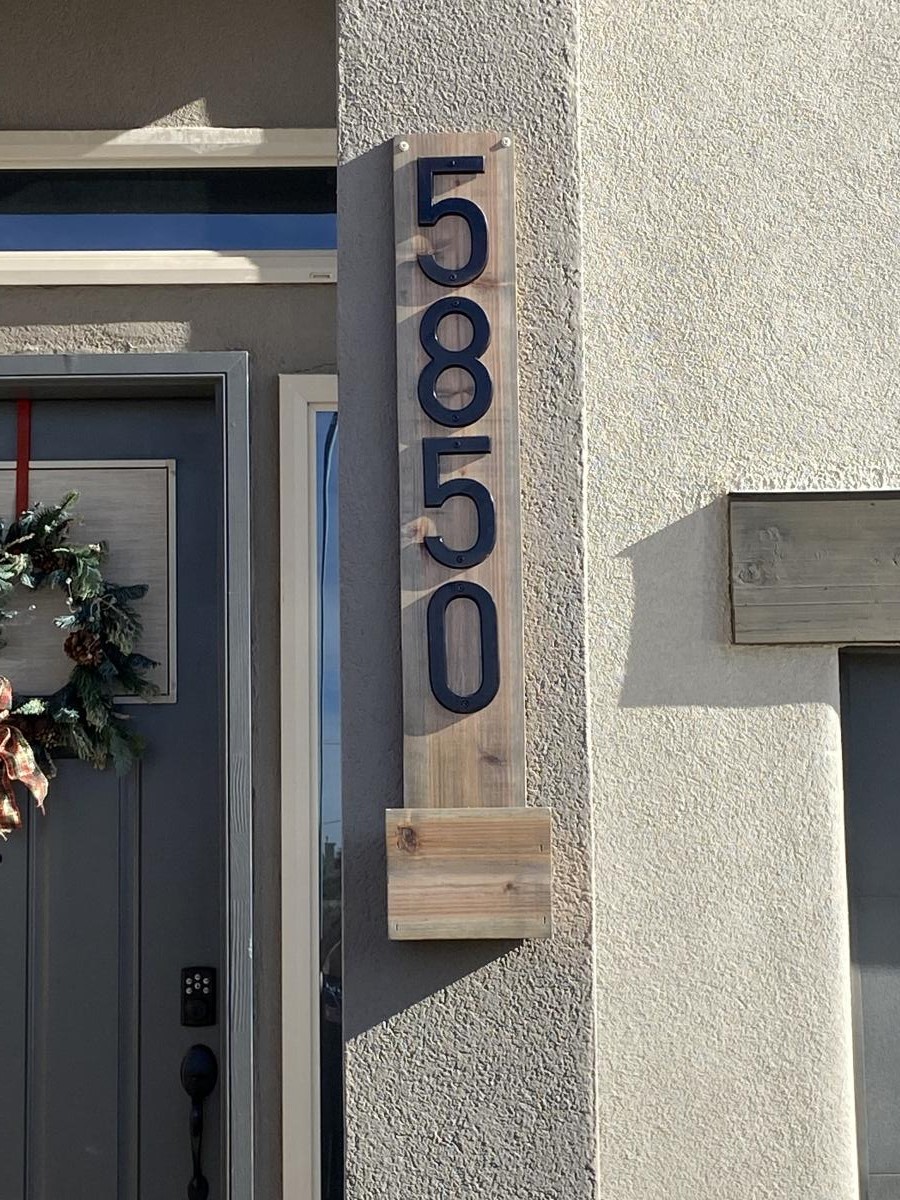
Hi Ana, I recently made two of your posts. First, the 2”x4” hall tree and then the house number planter. We found some unique hooks at Hobby Lobby for the hall tree. This is great to keep the kids’ backpacks off of the floor. On the house number planter I stained it with Antique Beige, but is more gray than beige. I then put 3 coats of spar urethane on it to protect from the TX sun.
Sun, 12/26/2021 - 17:58
Those are both great, thank you for sharing! I will need to check out that Antique Beige finish, just gorgeous~
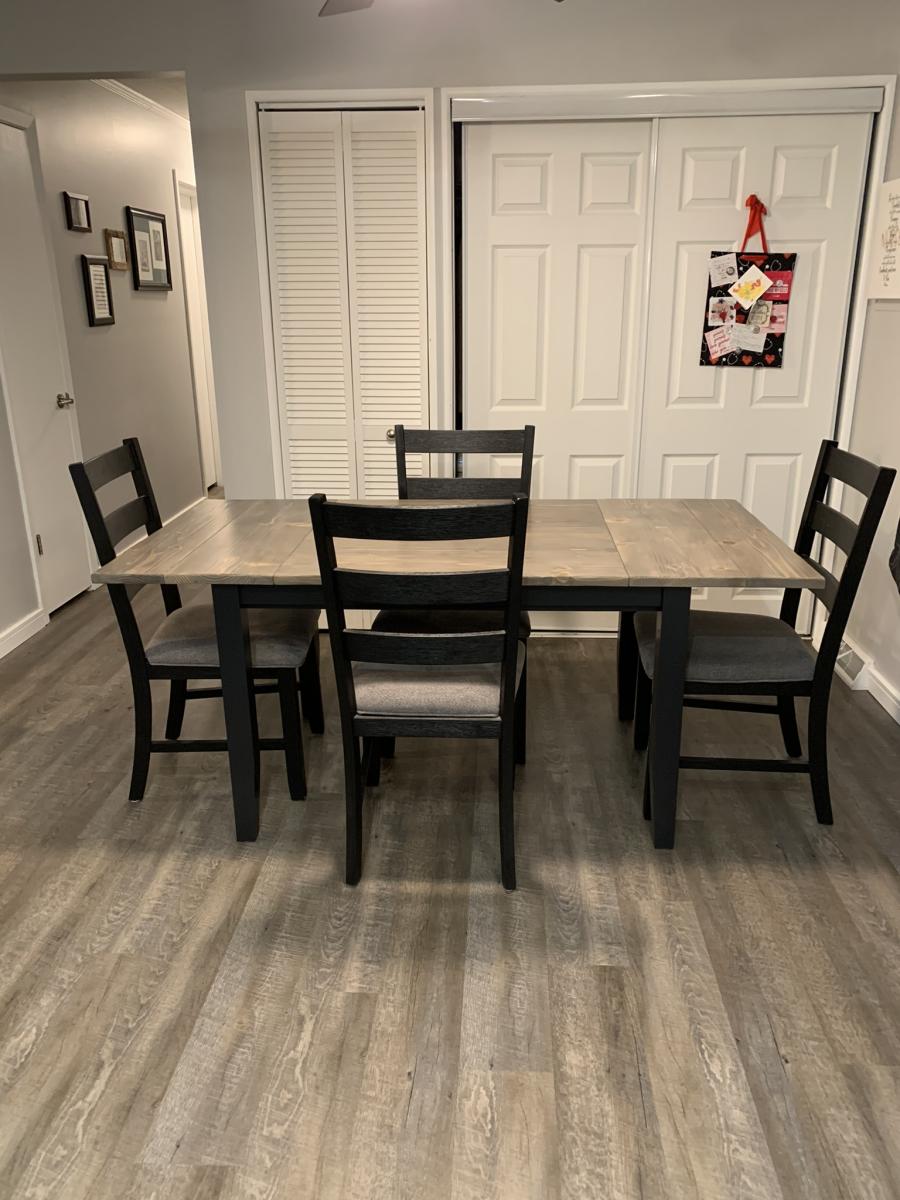
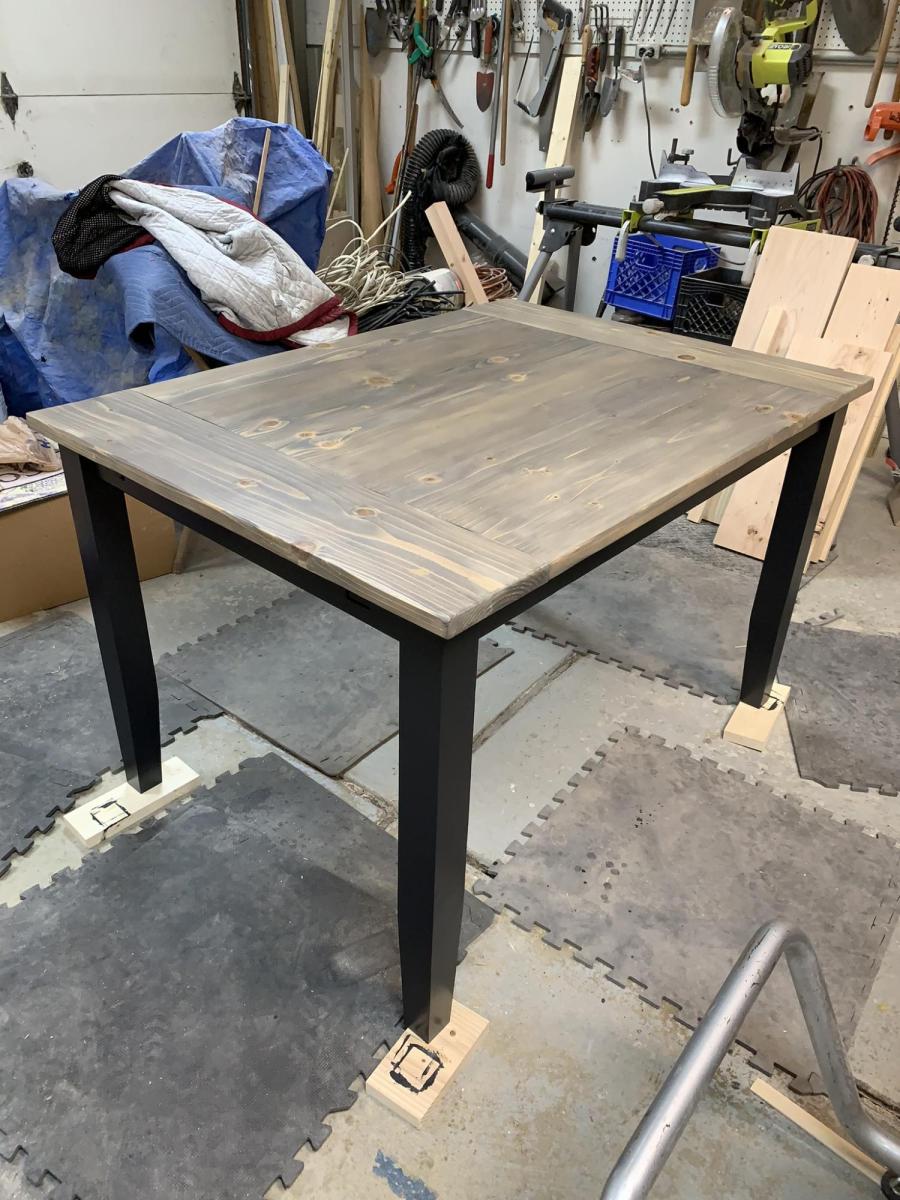
I built this farmhouse table with leaves for my daughter. I wanted a farmhouse look but with a modern twist, and I also wanted breadboard ends that would pull out so she could insert leaves on each end to increase the size of the table for company. I used the plans for concept, and actually used the updated farmhouse table plans with pocket holes but couldn't find the plan link again for this post but made several modifications to achieve what I wanted. I planed all the lumber down to a true 1 inch for the top and also the trim to reduce the weight and chunky feel. I planed 4 x 4 untreated lumber for the legs to 2 1/2 inches and then tapered the bottoms as well to reduce weight and chunkiness and create a more modern feel. I built actual channels on the base for the extension bars which attach to the breadboard ends and I attached table aligners to the table, breadboard ends and the leaves so things would stay straight and even. I also glued together 2 x 4 and 2 x 3 pieces that had been planed down to a true 1 inch for the skirting and treated them as one piece when attaching to the legs so I didn't have so many screws going into the legs. I painted the base black with furniture paint and then put 2 coats of polyurethane over that and stained the top gray, then used a and 'wash' of watered down black paint over that and then 5 coats of polyurethane on the top. The table is 36 x 48 without the leaves and extends to 70 inches when both leaves are in place. I'm quite pleased with how it turned out.

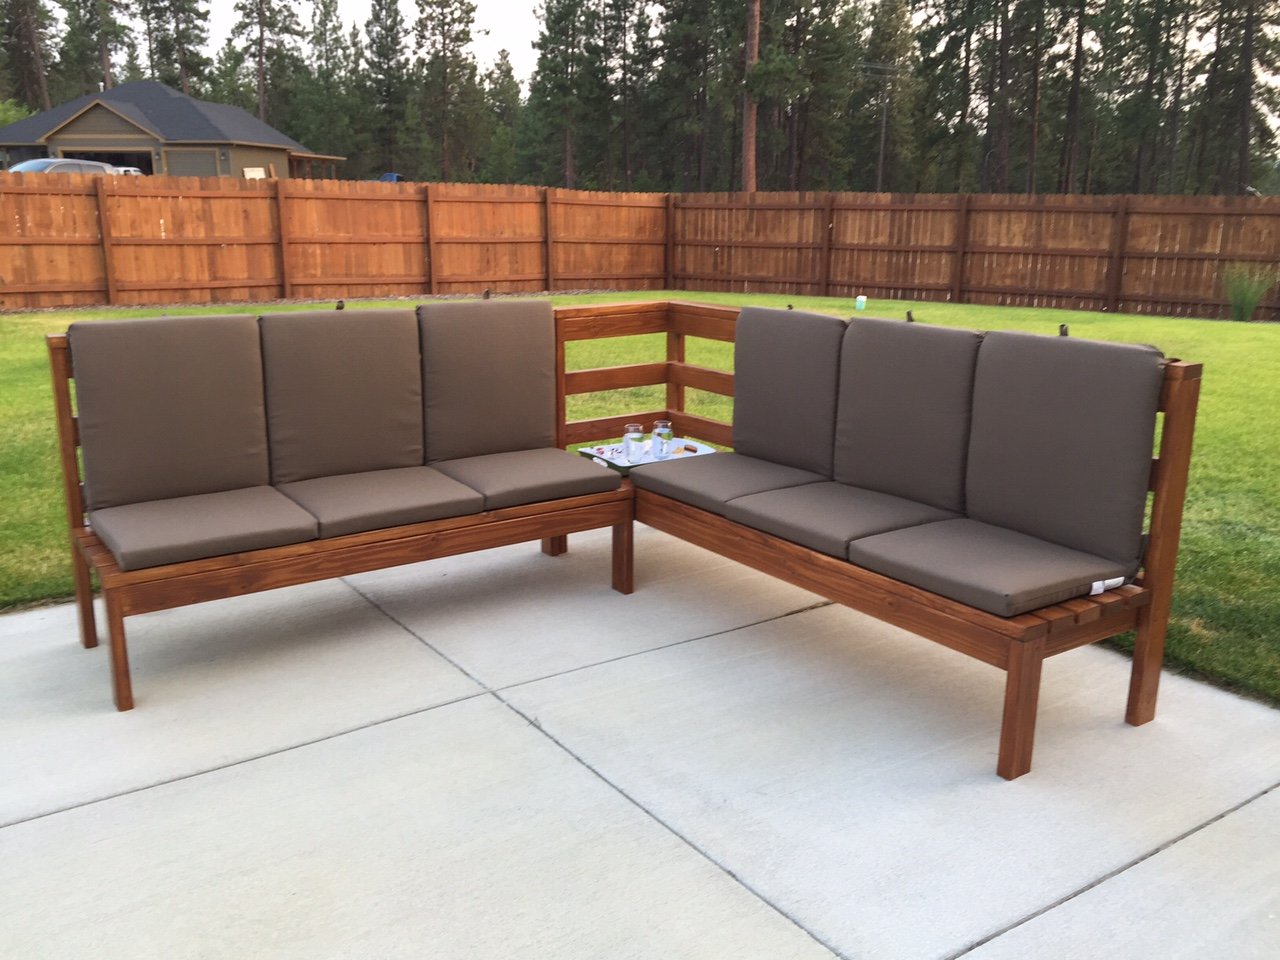
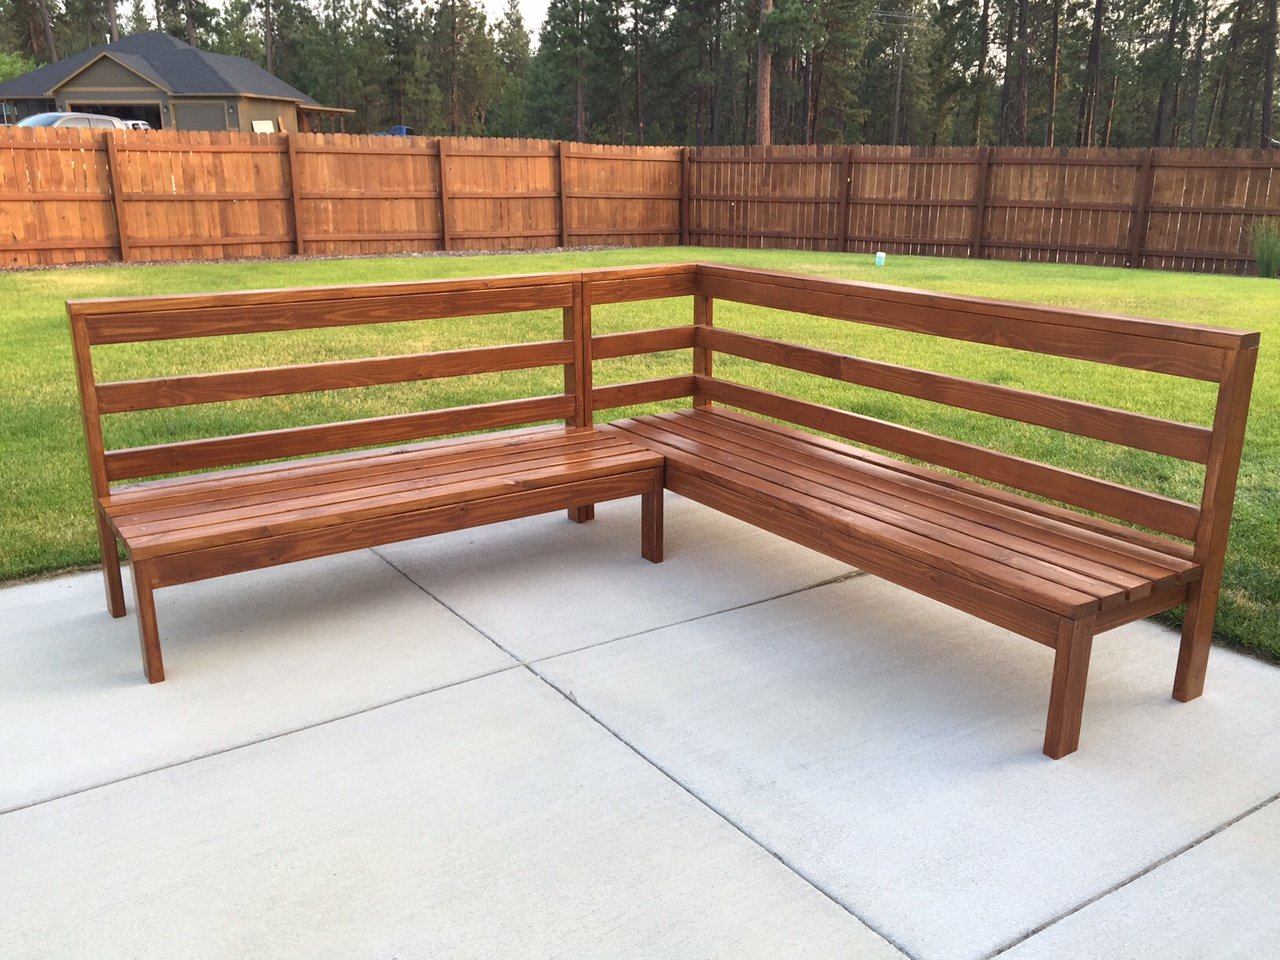
Here is my patio sectional made of 2x4s. Used my Kreg Jig for the first time to complete this project. I used pocket holes in as many places as possible, then finished it with two coats of leftover fence stain and two coats of semi-gloss outdoor Varathane spar urethane for a nice sheen. I modified the dimensions to fit the cushions that my wife purchased before I began the project. I made the back substantially taller to support the cushions and left the arms off of both ends of the sectional so people could sit facing sideways too. I left the corner of the sectional without a cushion so people would have a place to set drinks.
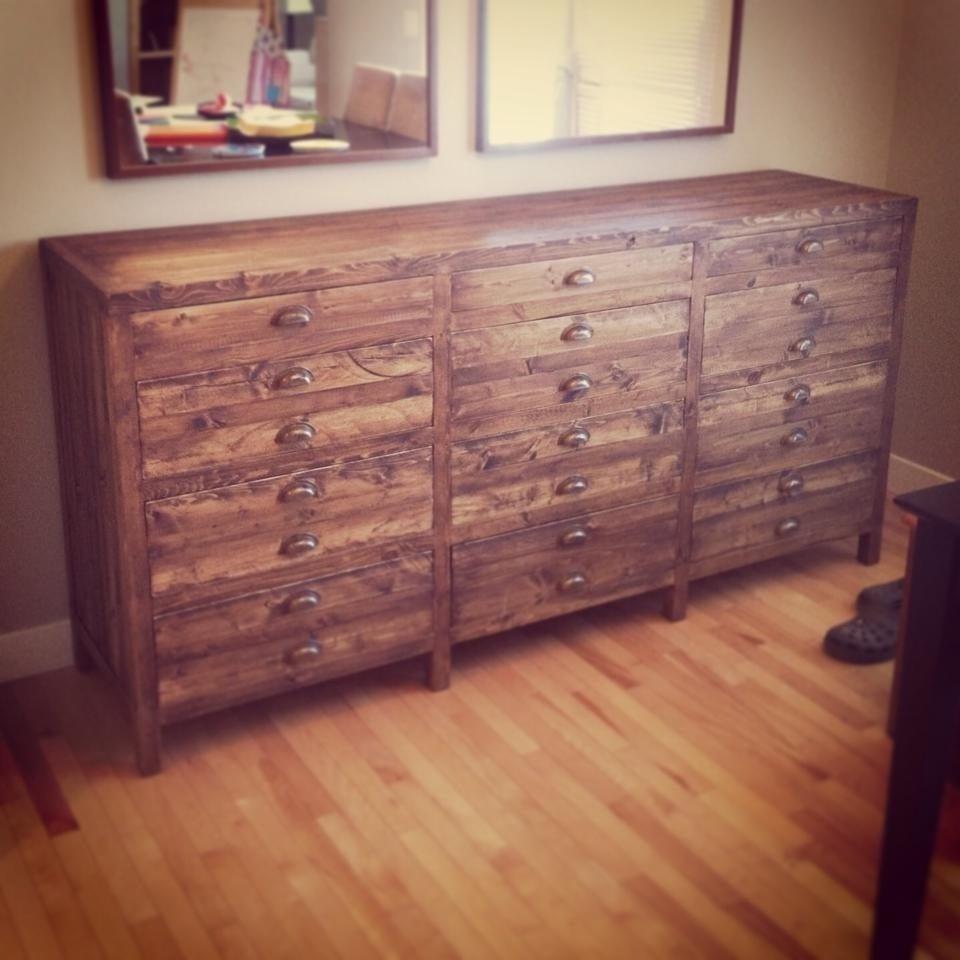
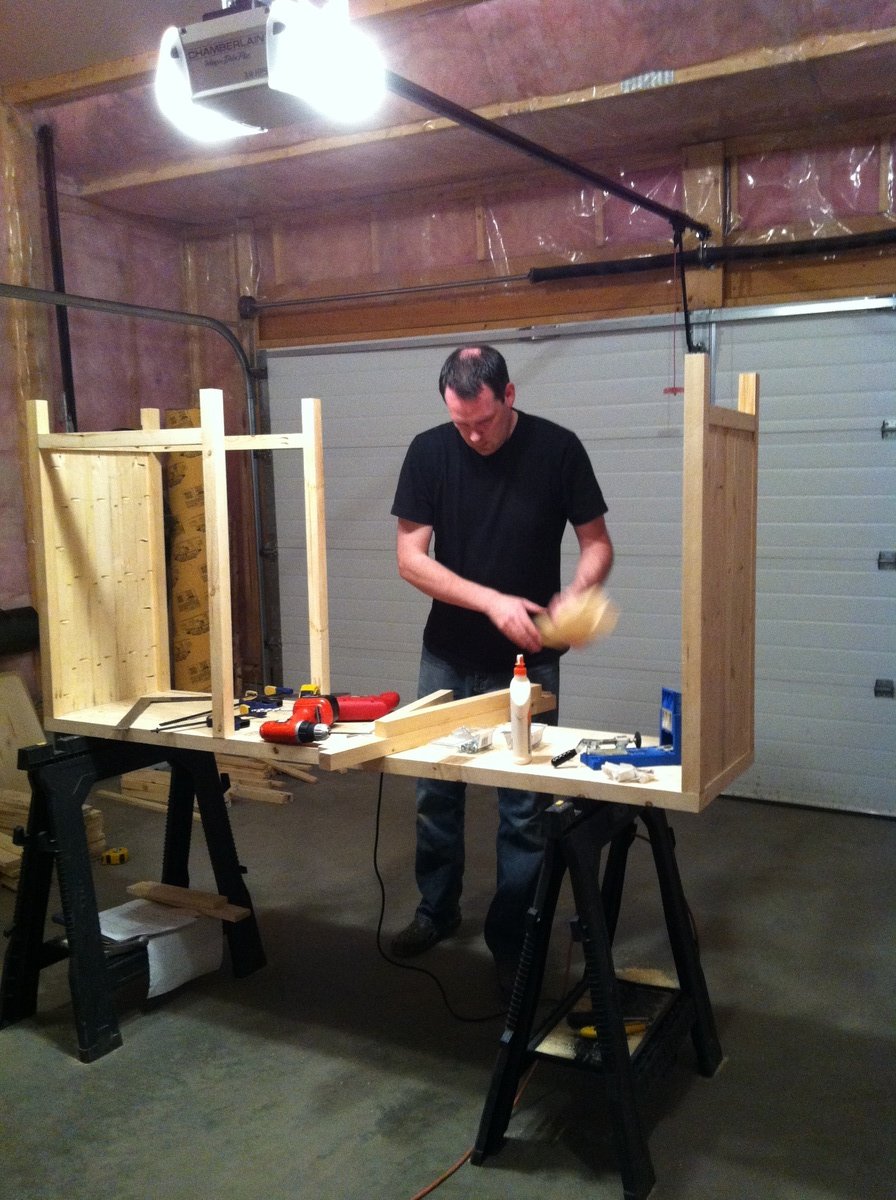
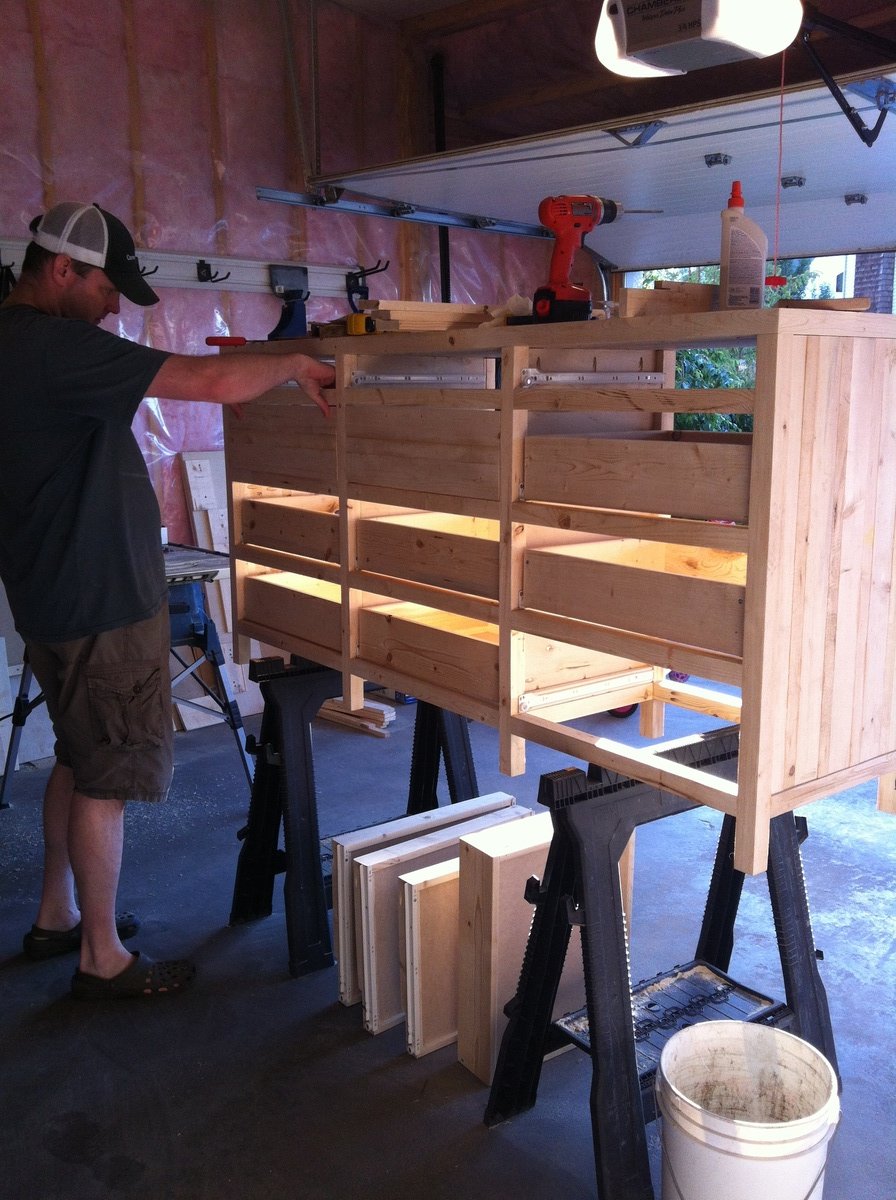
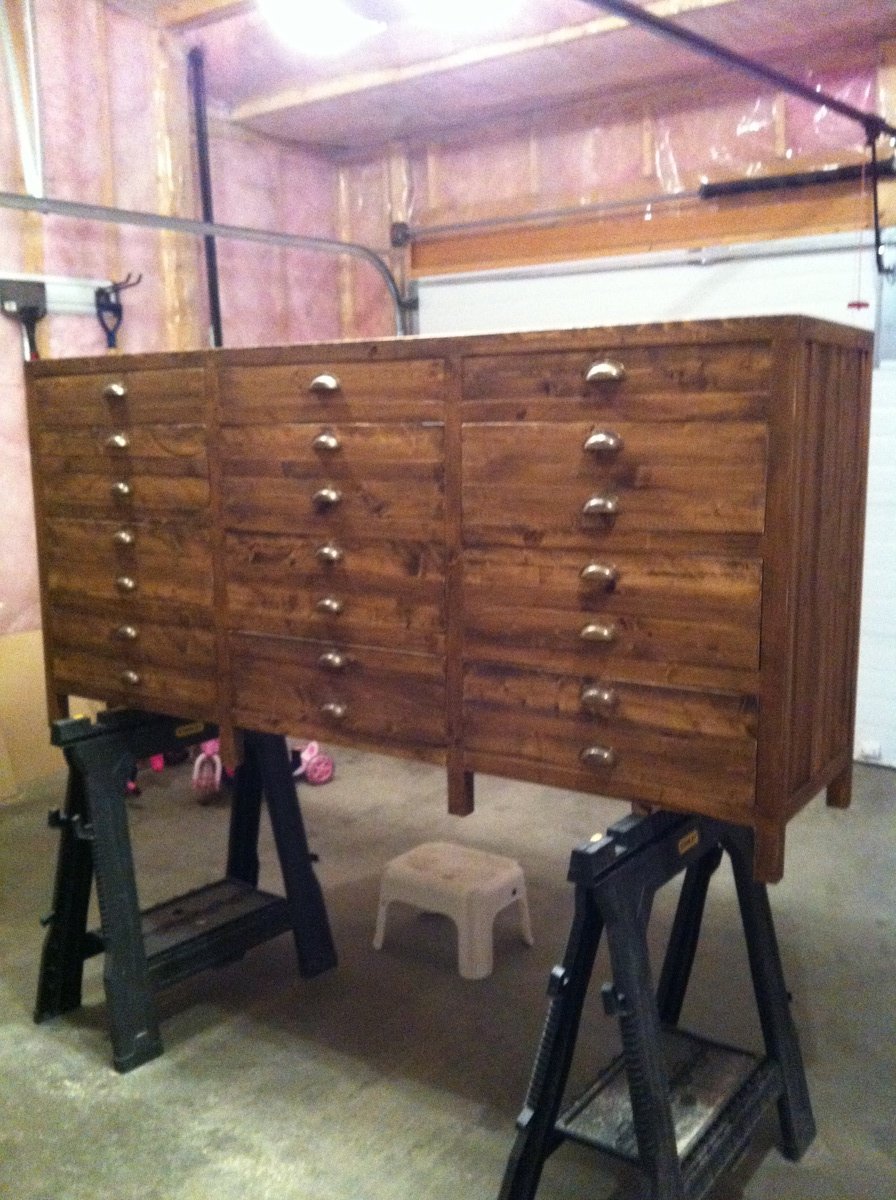
I purchased the Restoration Hardware Printmaker Sideboard but unfortunately we had issues with the delivered product so returned it. We then came across your plans online and my husband decided to build it for me instead. Our sideboard is all simple pine from Lowes, basic drawer slides and antique brass handles from Lee Valley. My husband adjusted Anna's plans and created 12 drawers more like the Restoration Hardware piece as we really like drawers for storage. We built it over about 5 weekends. It was a very ambitious project for our first but my husband was truly the brains and Braun of the process.

Wed, 10/02/2013 - 14:43
LOVE LOVE LOVE this console! You did an amazing job! I'm going to have my husband help build us something similar. Wondering what size antique brass handles you used? Thanks:)
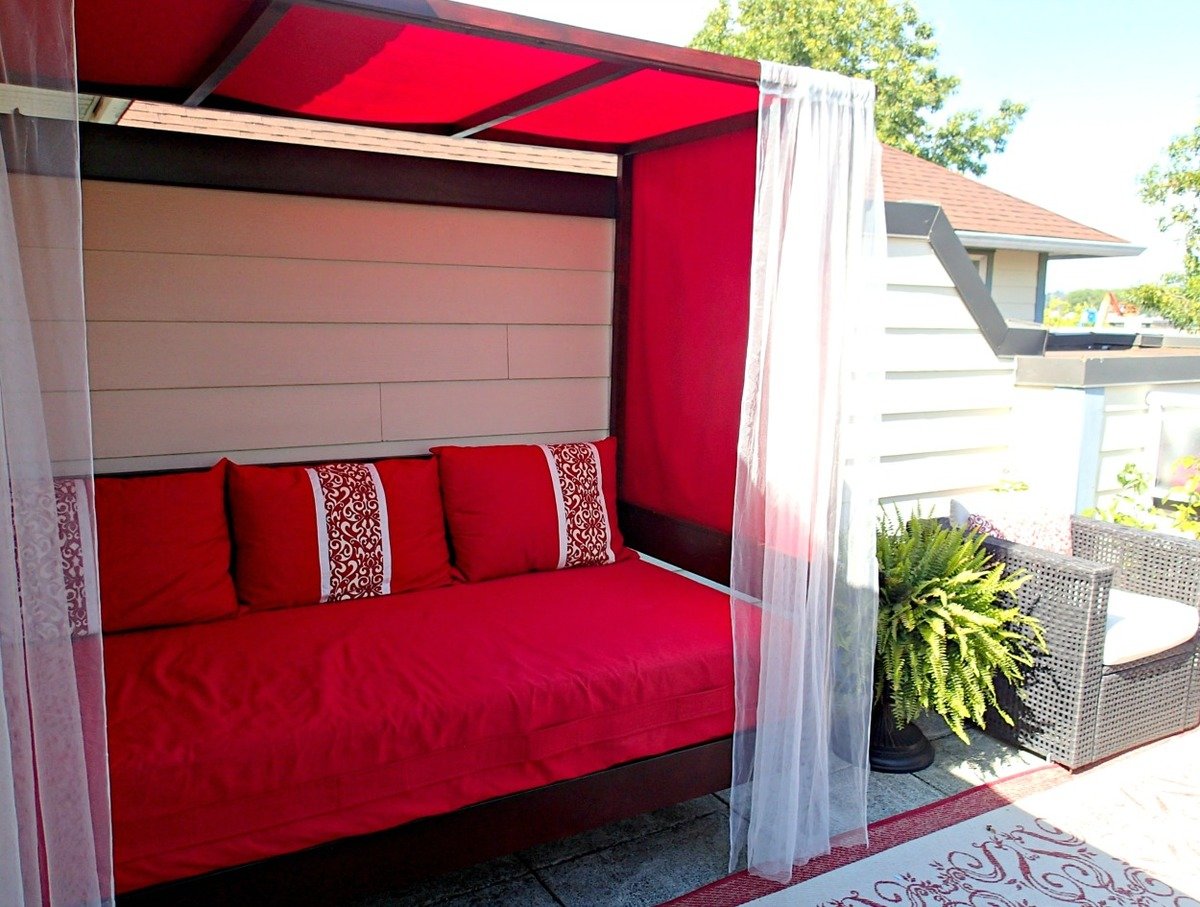
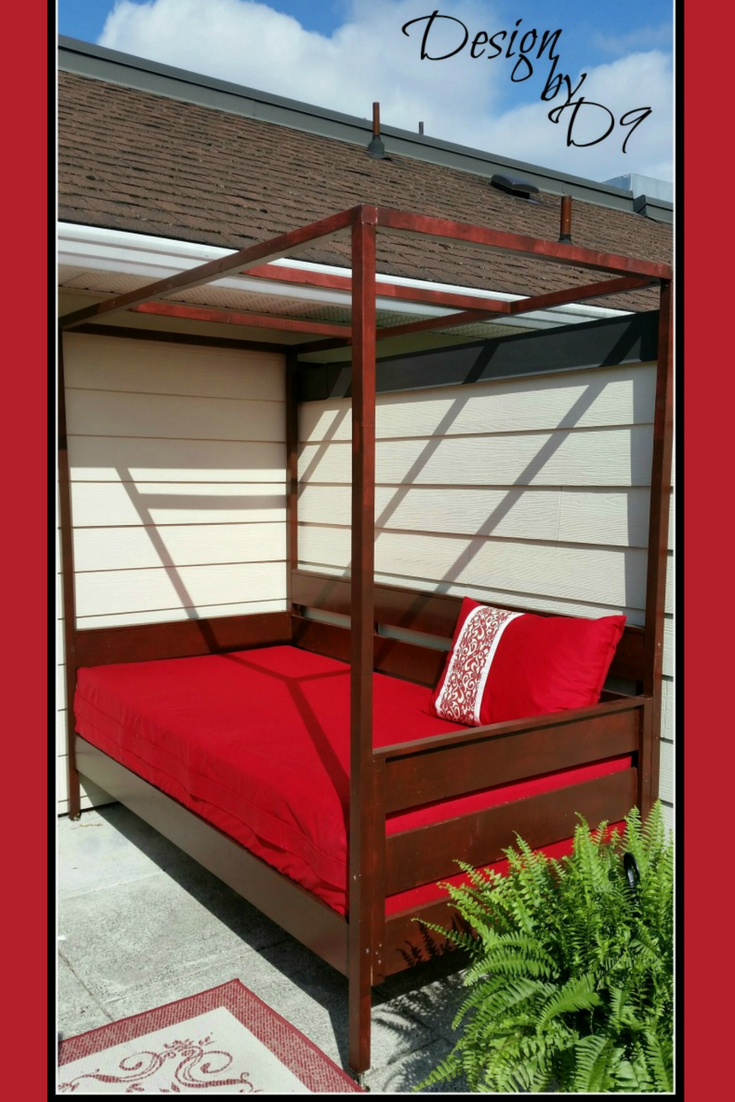
I used Ana's outdoor daybed with canopy pattern to make this awsome daybed. I made a cover and matching pillows.
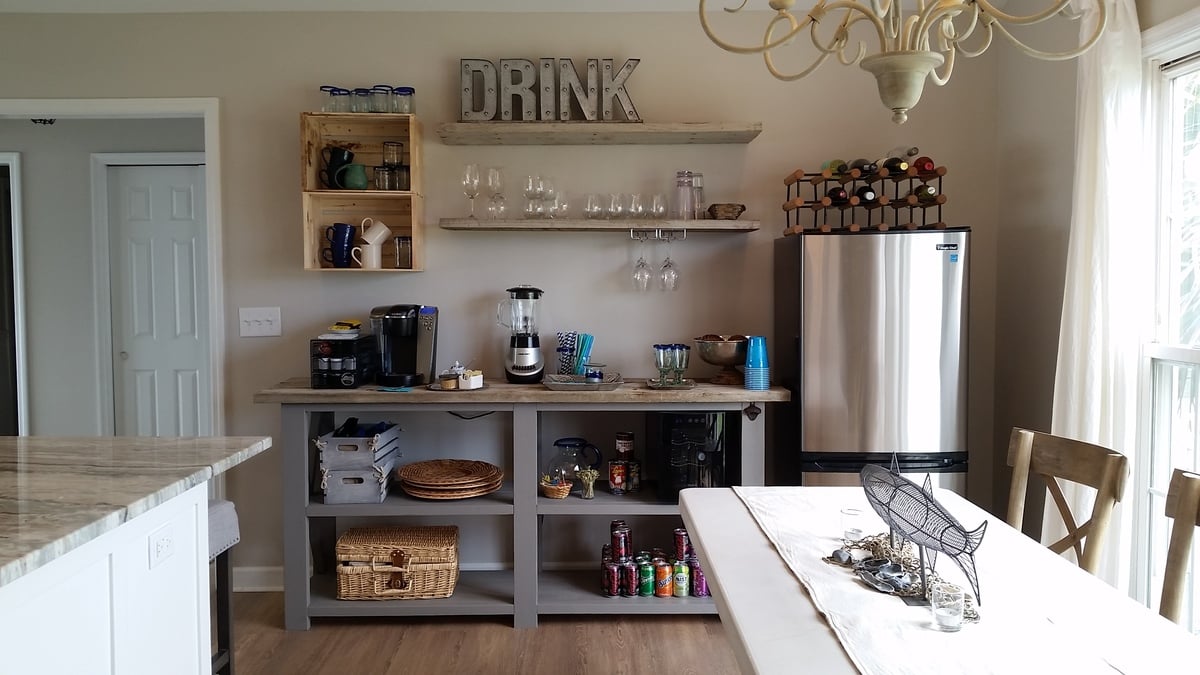
We used old dock wood for the surface of our X table for a nice beach house beverage center (sand bar!). We adjusted the size to fit our space (a little longer and wider) and used additional studs for the shelves instead of 1" shelving, glued and PH/PS together. To cut the X pieces I just held the 1x1 on the end of the table where it goes and marked the lines. Then I clamped a guide board at the correct angle on the table saw to make all the cuts, starting a bit long and shaving off until it just fit.
With all the pocket holes and screws I wouldn't consider this a beginner project. Some additional steps and pictures in your description would help also. End result is really nice.

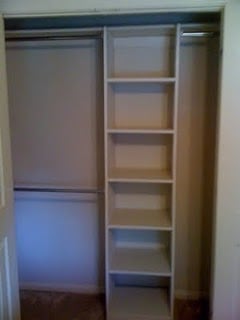
This project is closest to the Simple Closet Organizer, but I wanted to be able to re-use the existing components of the closet. The only purchased materials were one sheet of cabinet grade plywood and dowel rod holders (since I already had paint and screws).

Tue, 07/12/2011 - 09:06
This is on my very soon to do list. I actually drew up a sketch yesterday of my plan and the husband seems ready to start! Thanks for sharing yours!.

Used the plans changed some dimensions a little bit.
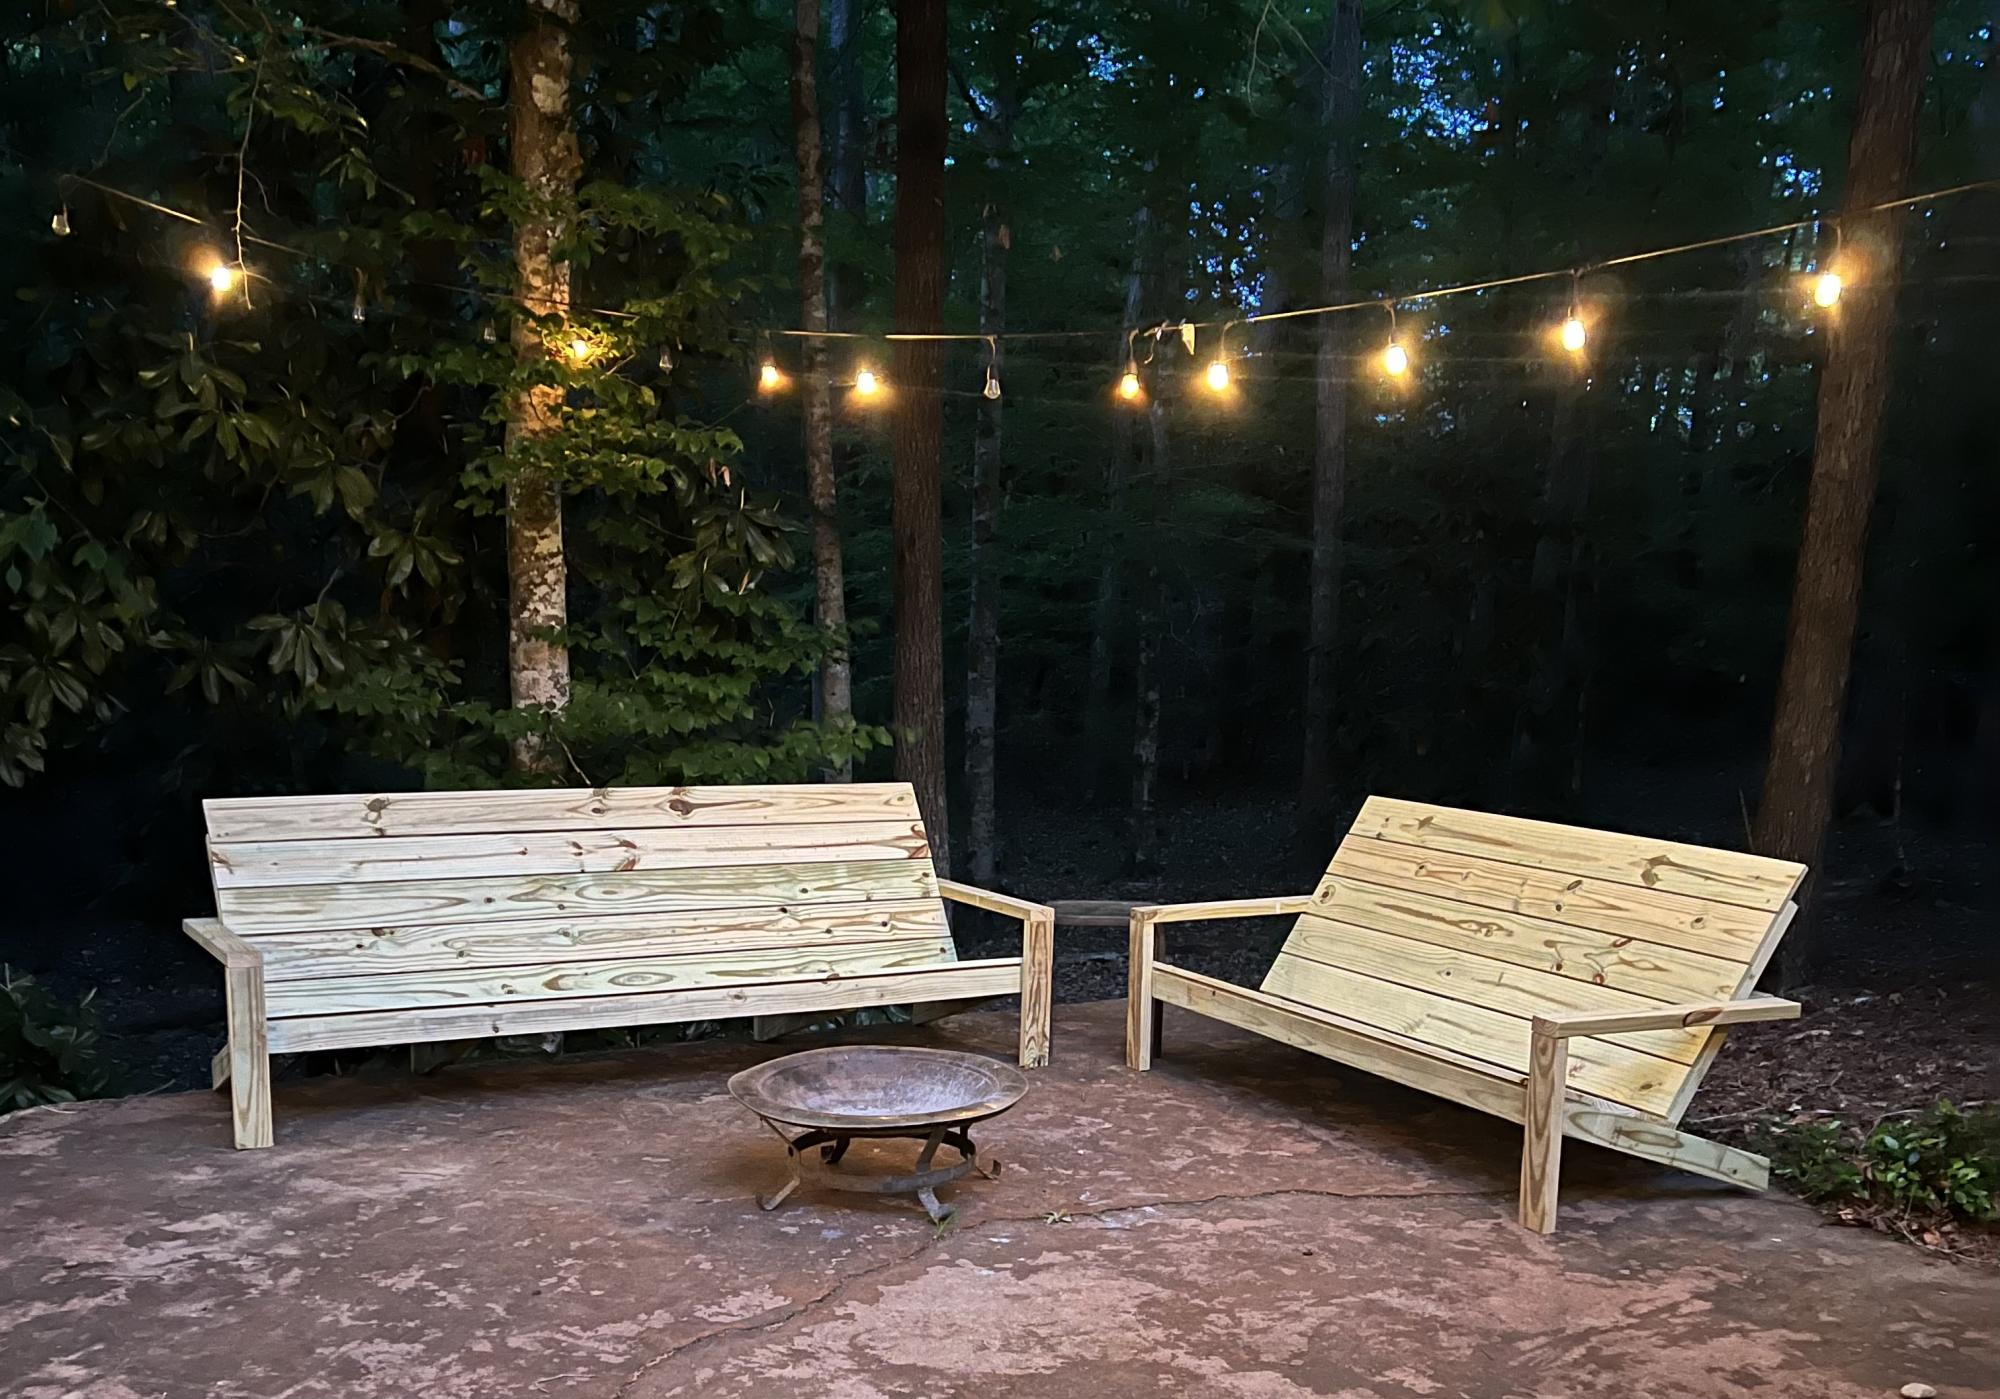
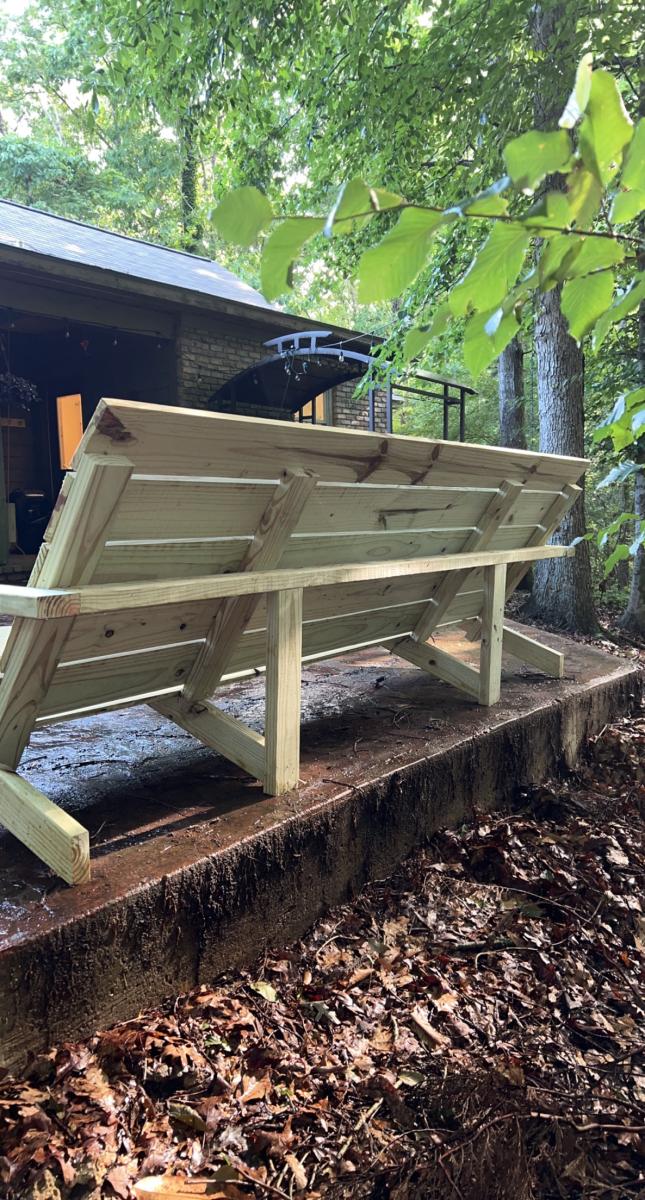
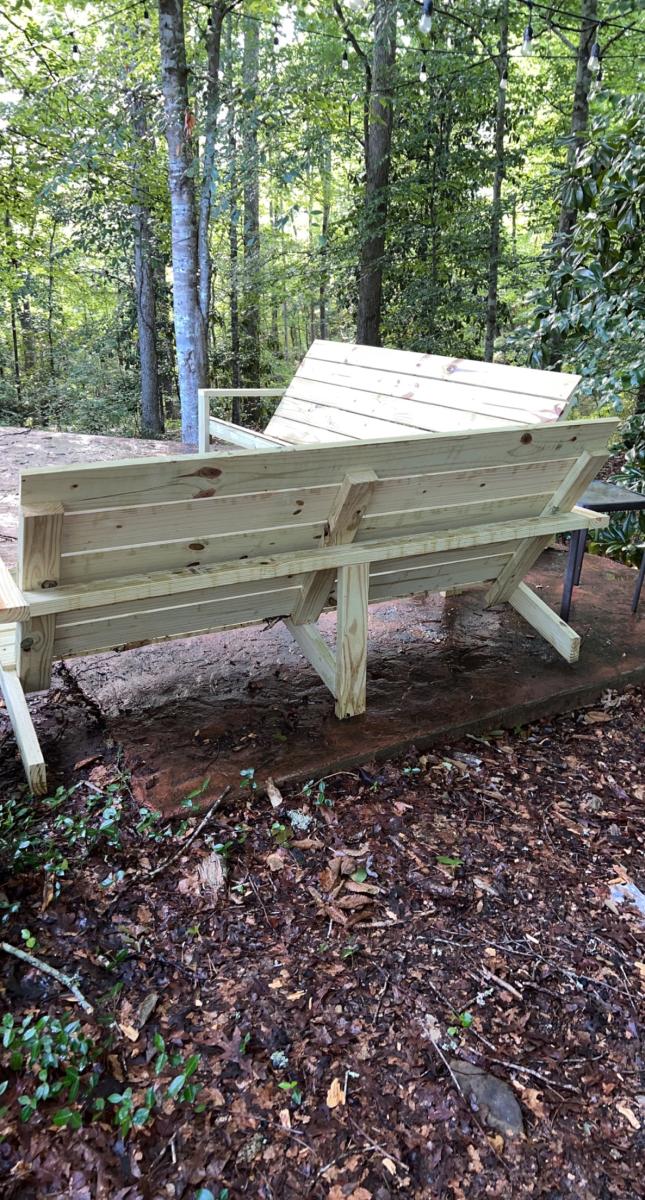
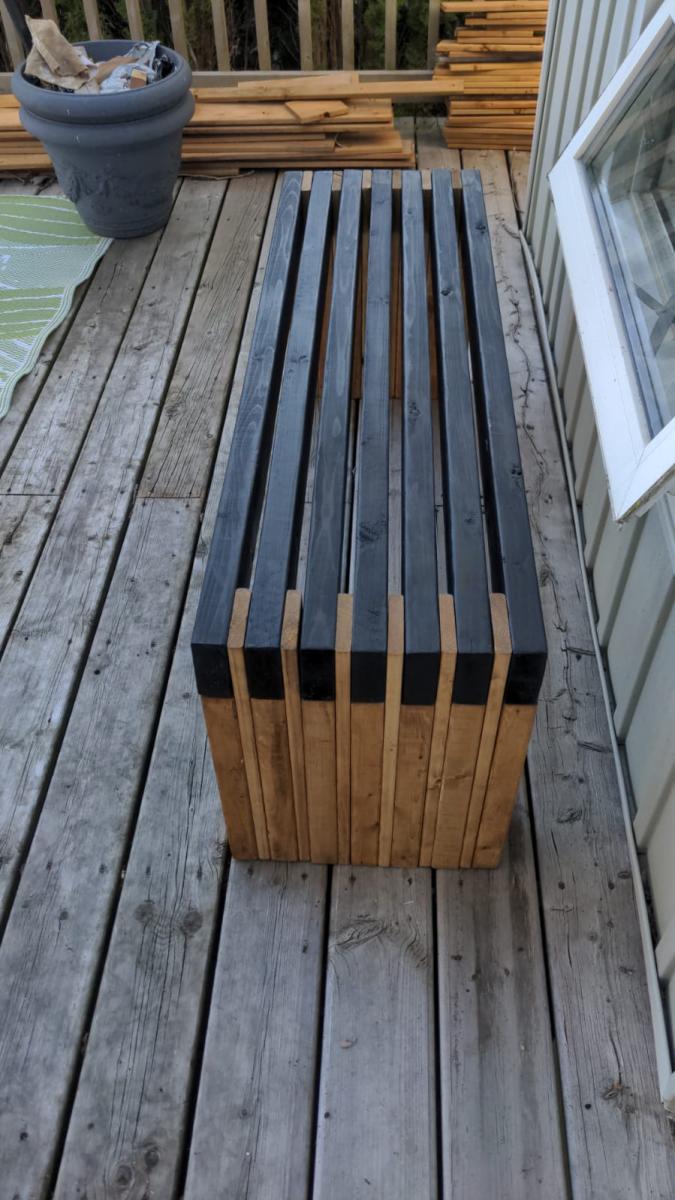
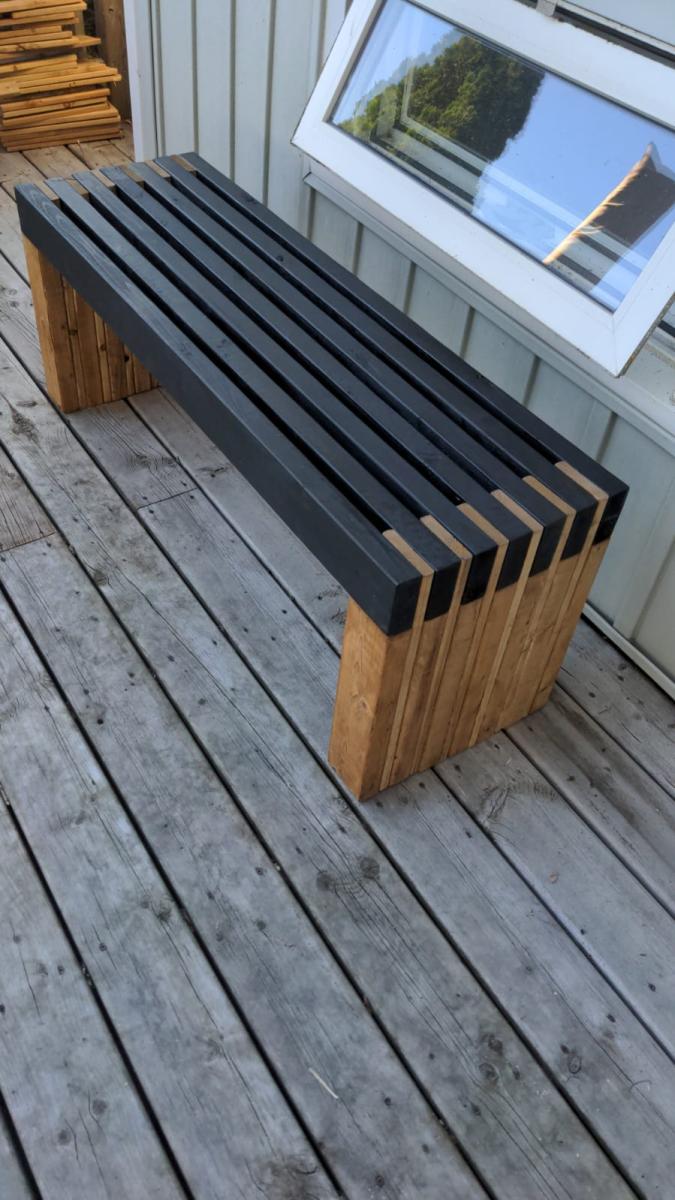
I fell in love with the modern Adirondack chairs, I love how comfortable and simple they are. But I wanted benches to go around my fire pit area. So I decided to modify the modern Adirondack chairs to make 6ft and 8ft benches. I added in extra supports (of course) but it was an easy mod with a gorgeous outcome!
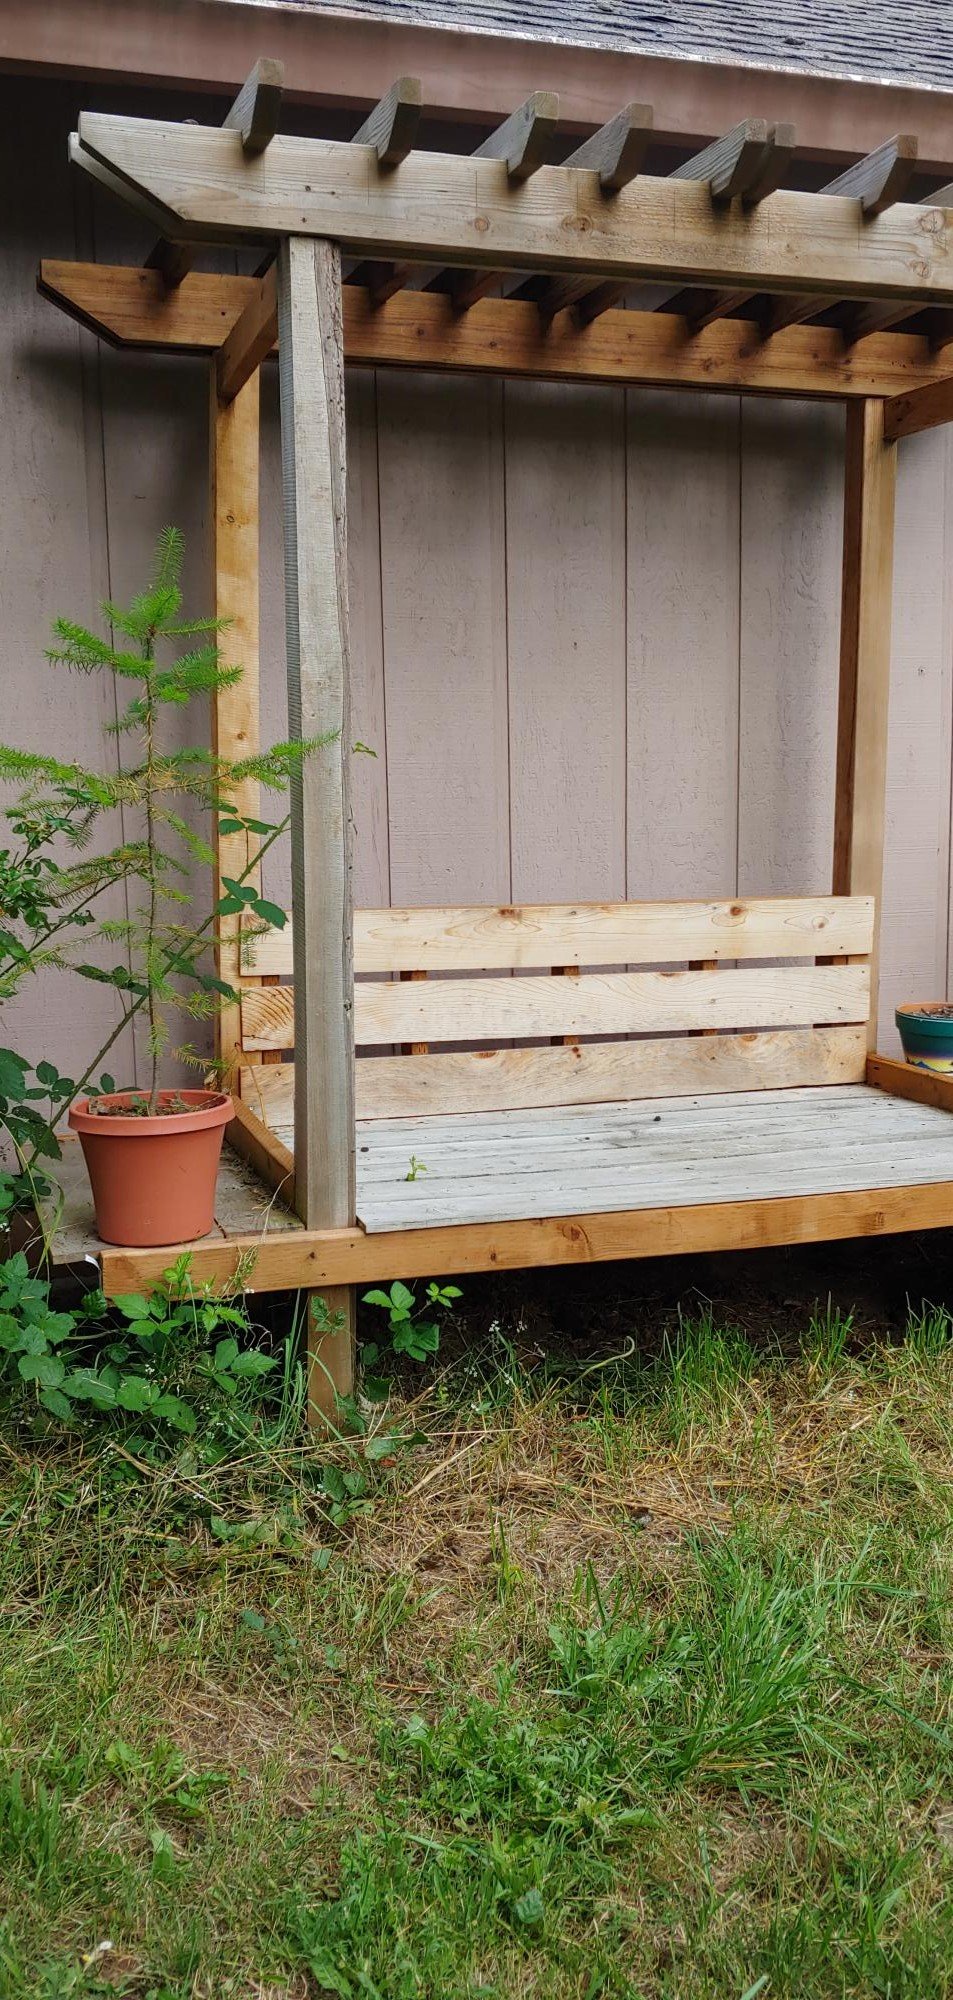
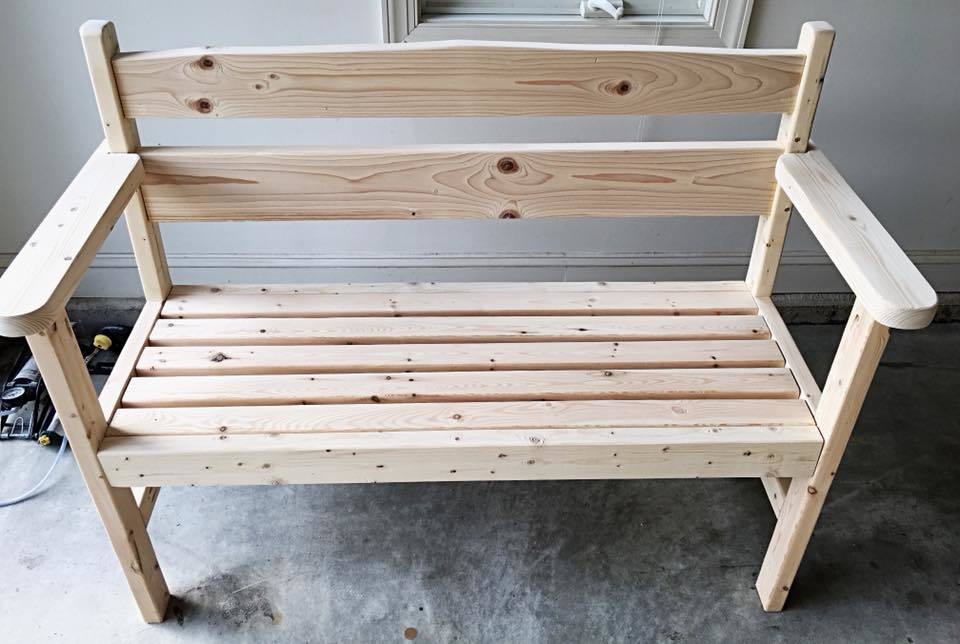
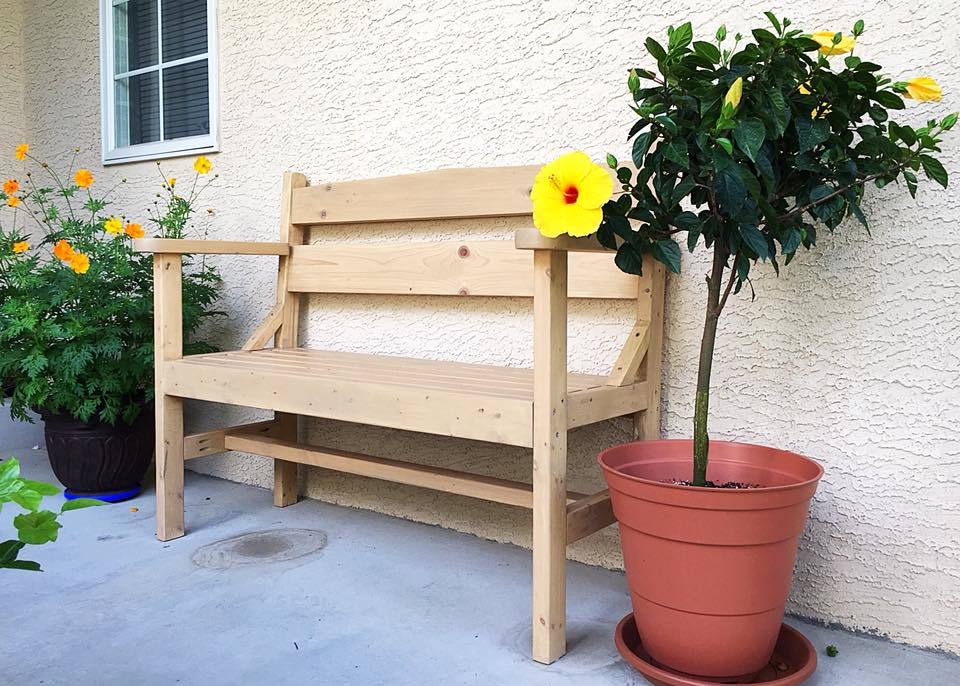
The previous owners planned to built a rose Arbor, and left the pieces in our barn. Using the Arbor bench plan I was able to use all the pieces to build this version. Great summer hangout!
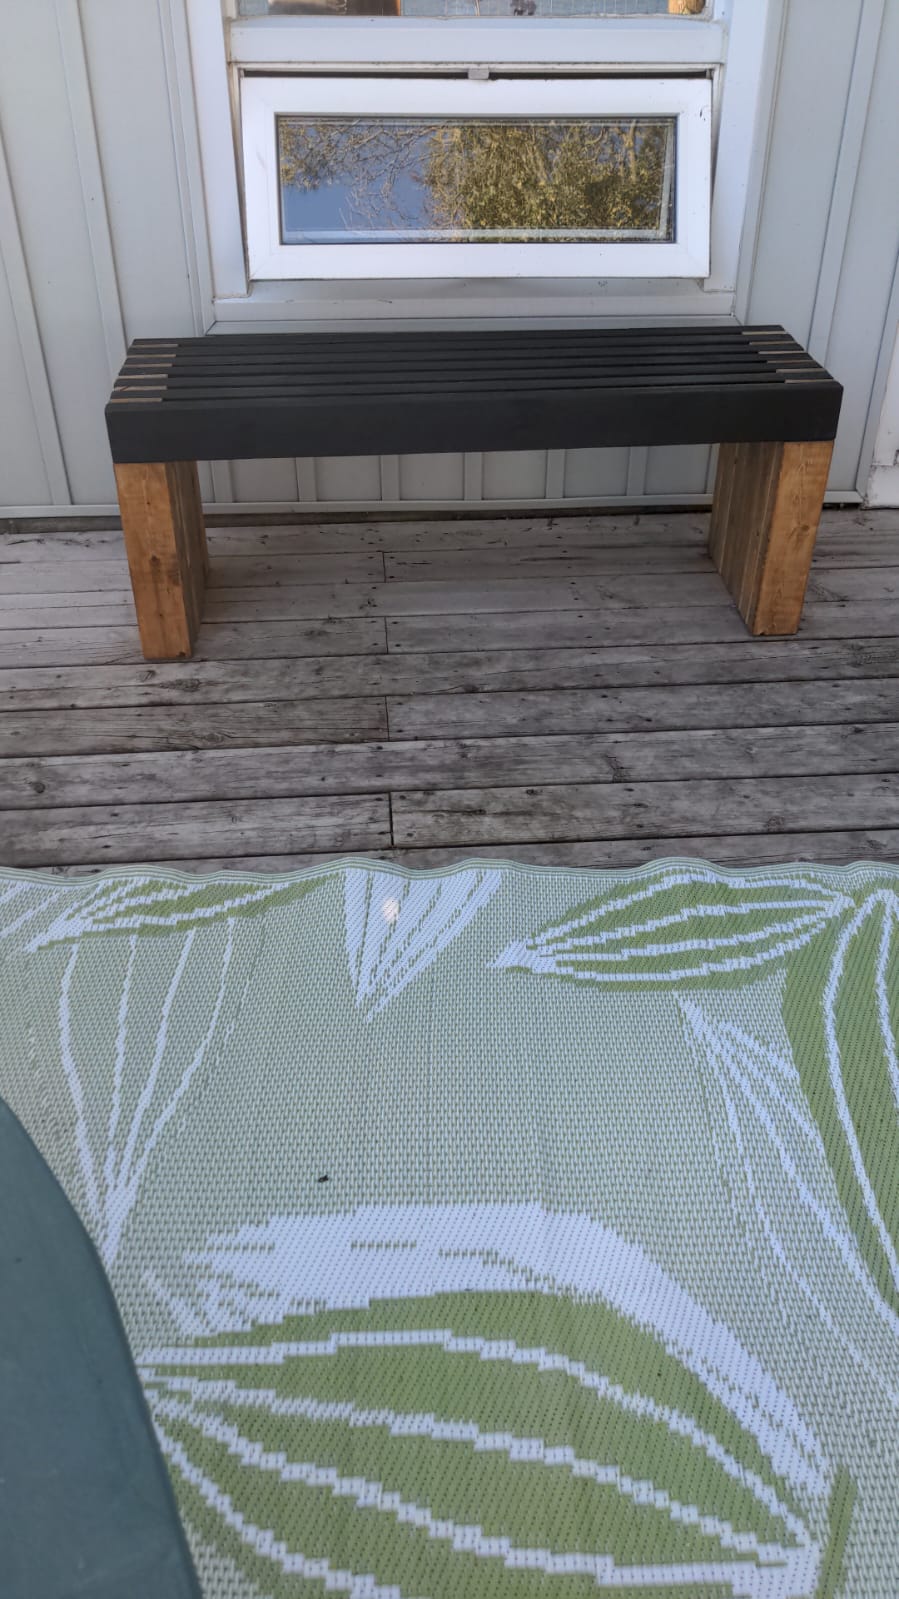
Loved making this bench! Simple enough using a stop block on my mitre saw.
Followed directions except made it shorter in width. I got so many compliments!
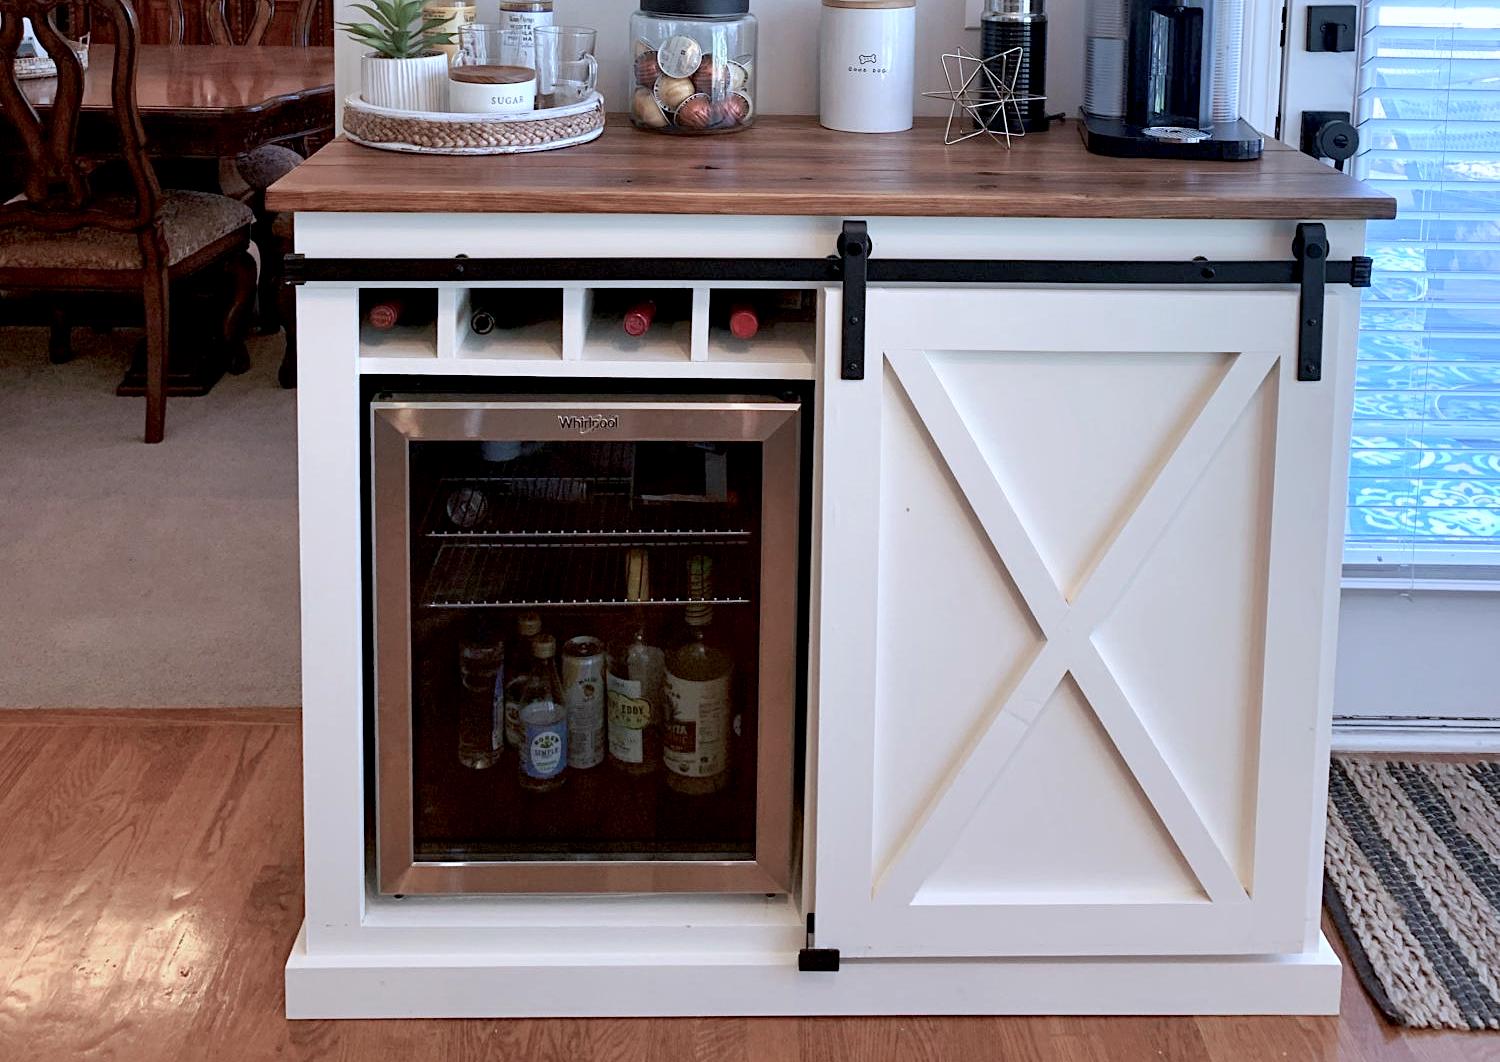
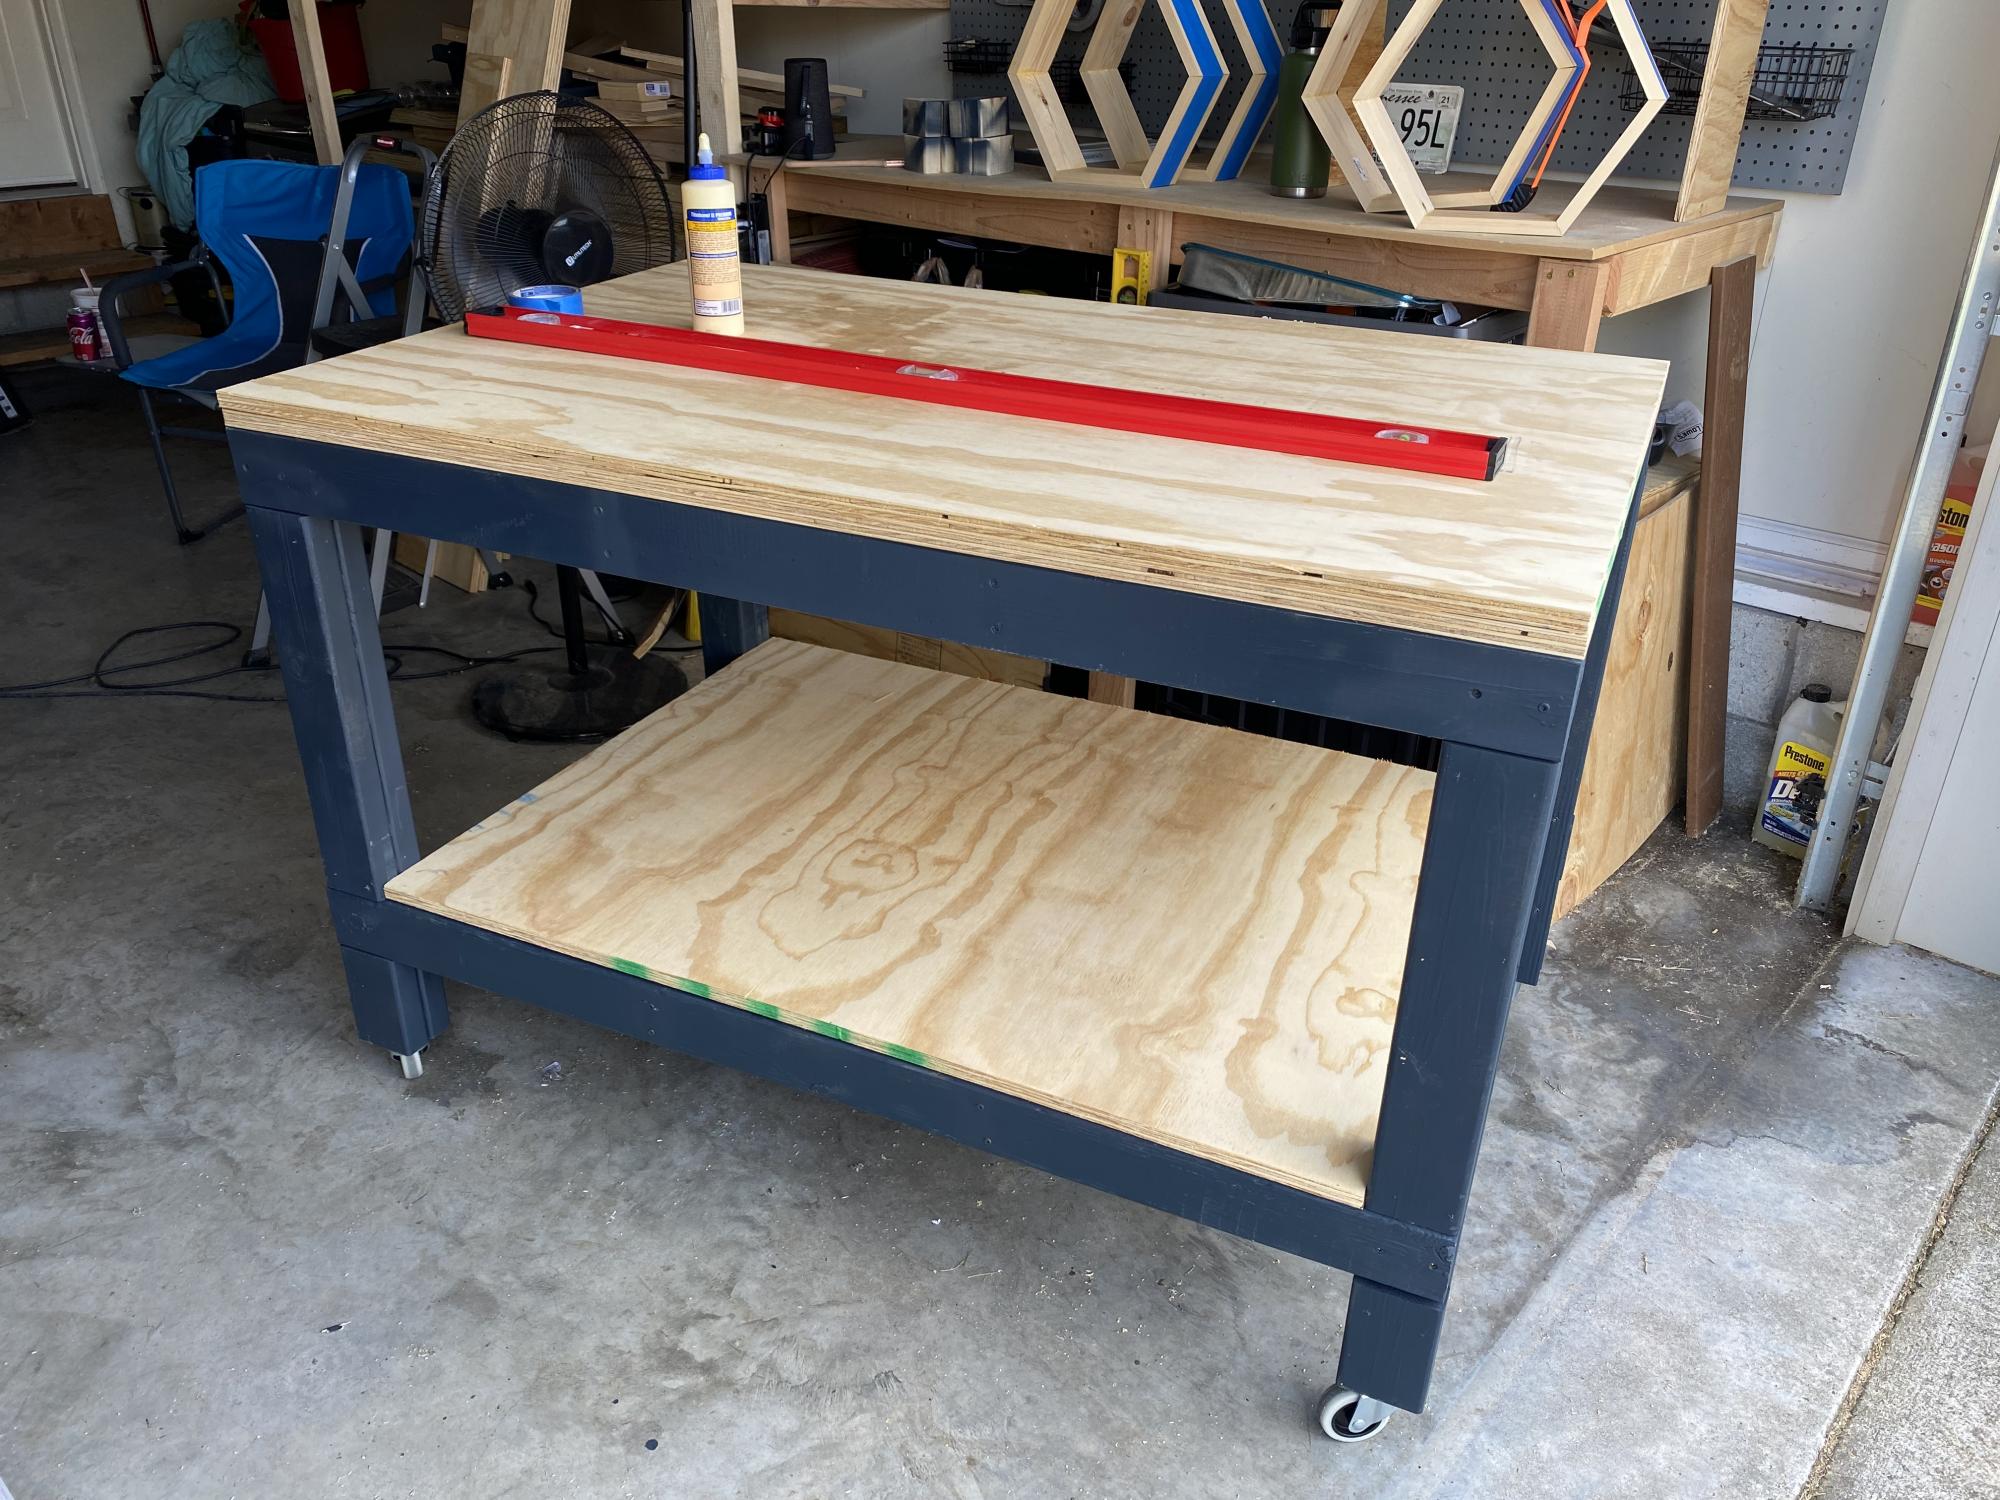
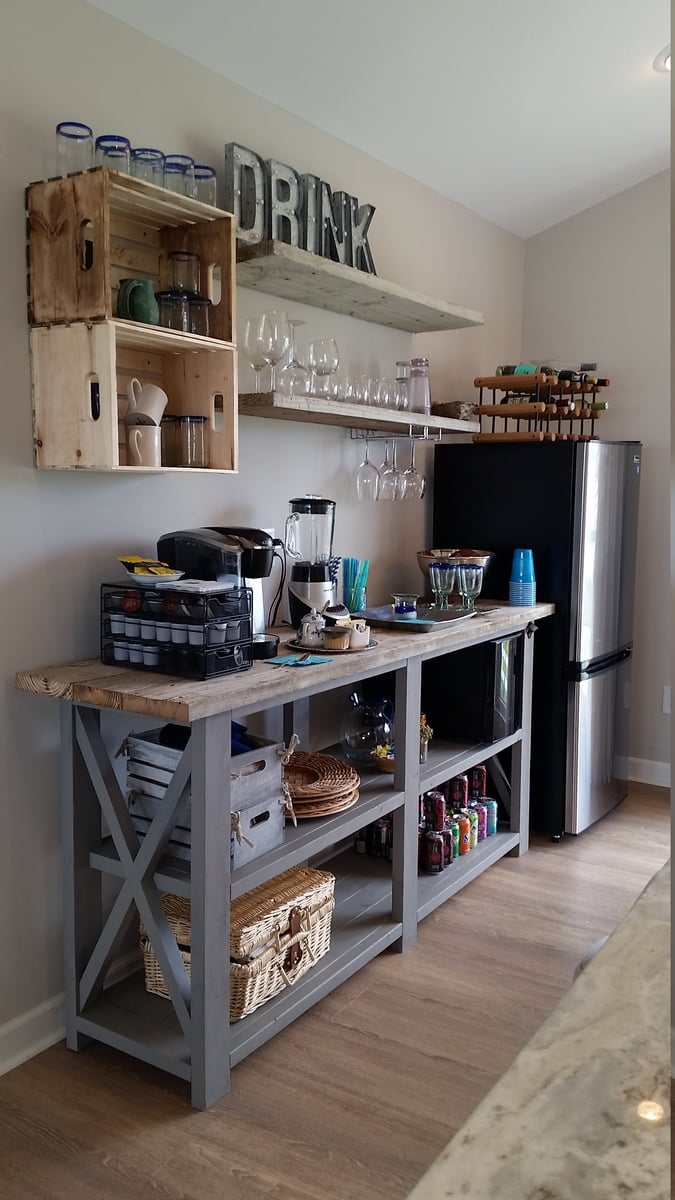
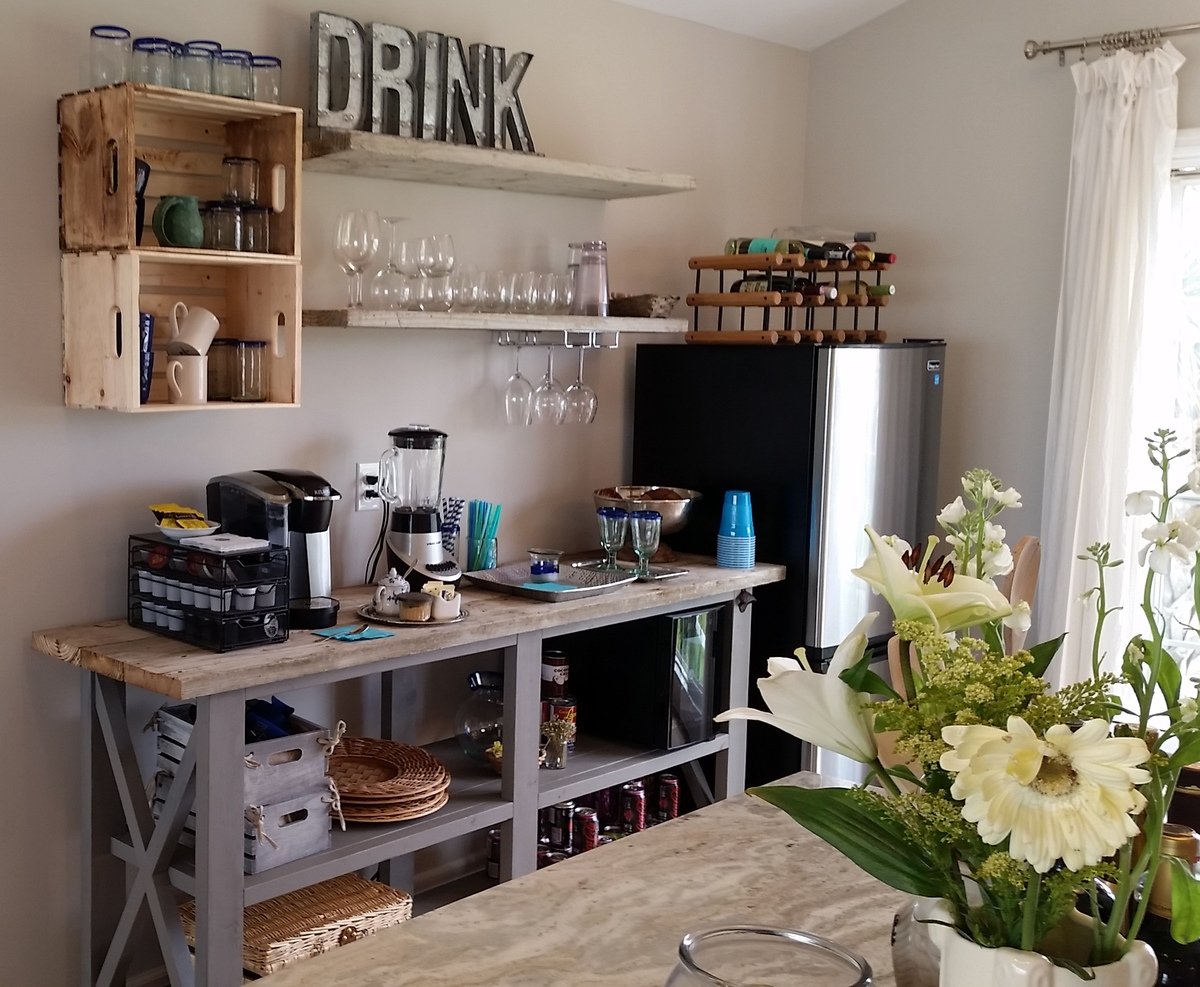
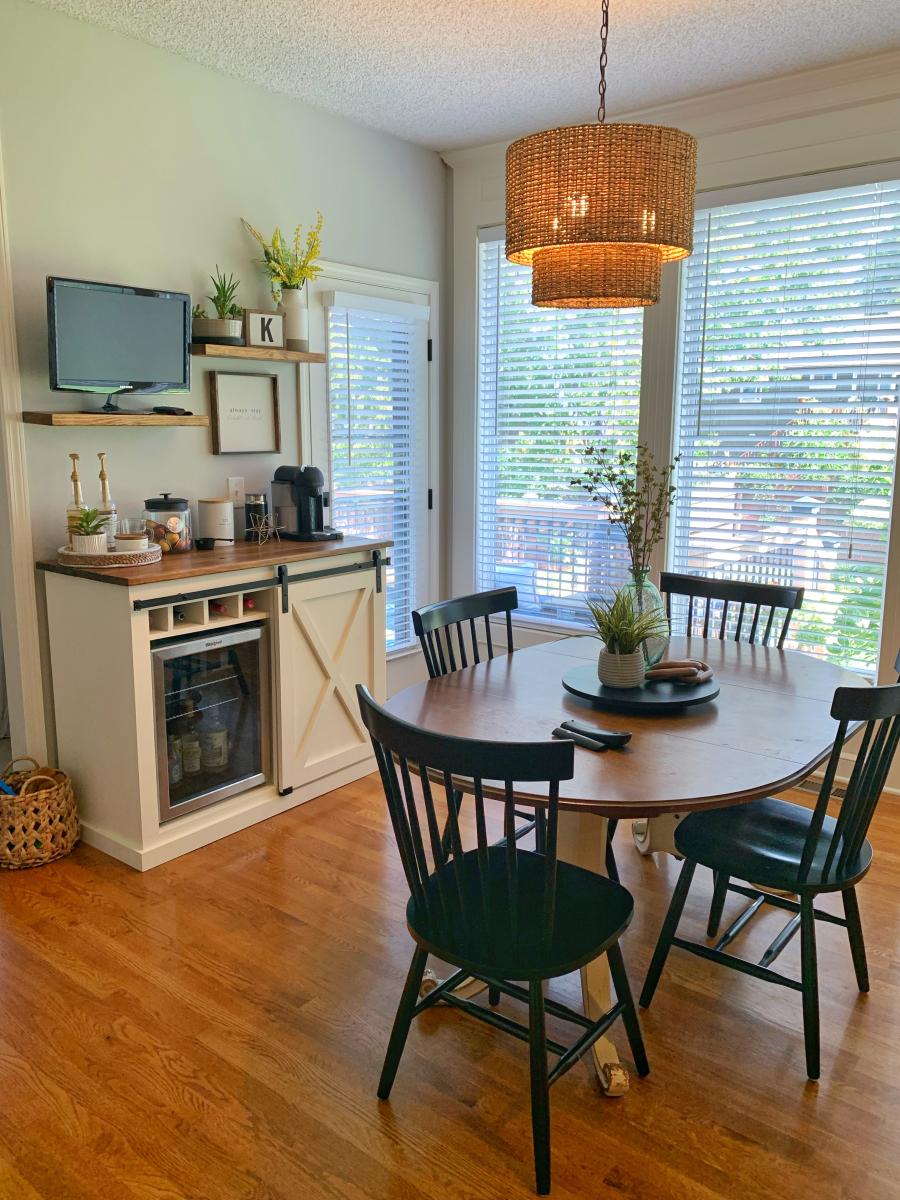
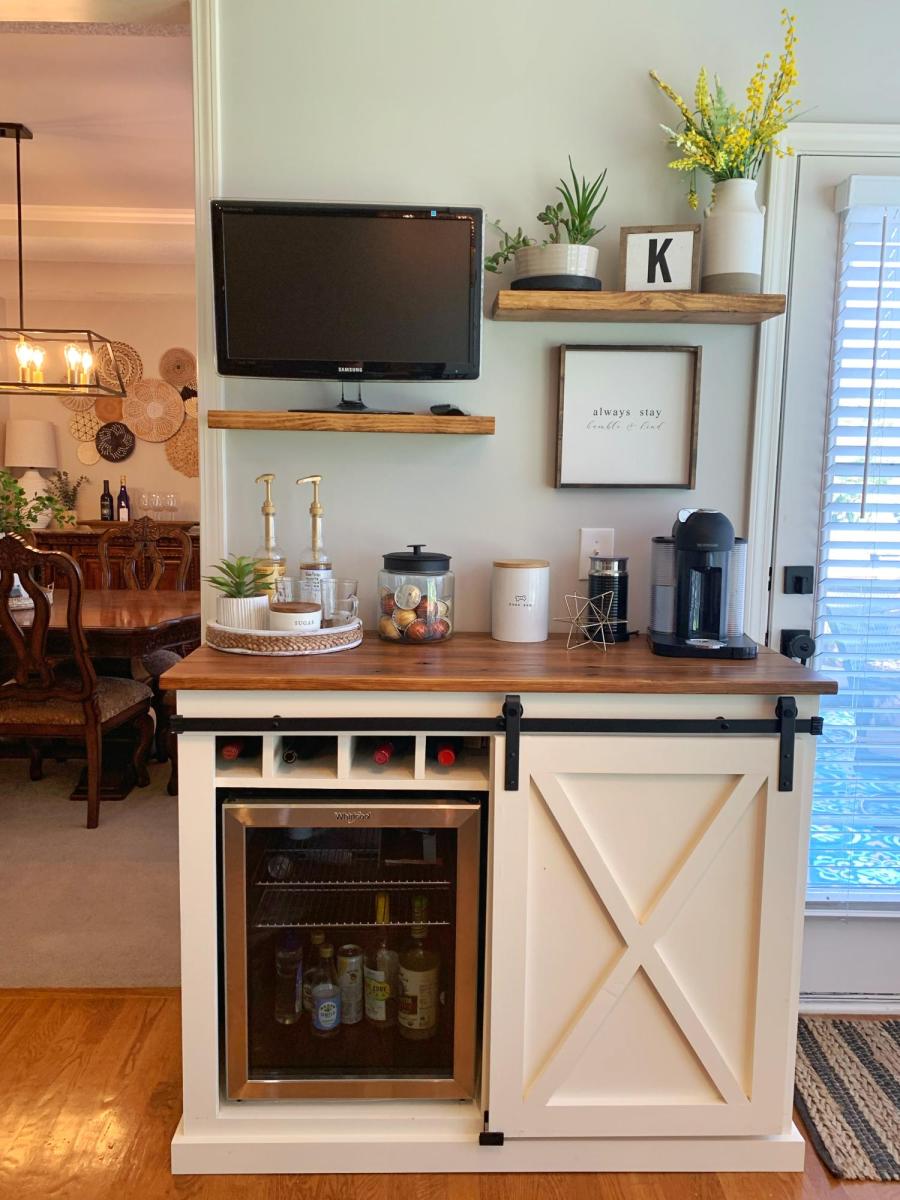
My wife wanted a coffee bar and I wanted a fridge for wine and beer. So we compromised on this.
Thu, 12/29/2022 - 10:02
Pretty much everything you ned in one place! Thank you for sharing, amazing build! Sharing to social media, please email [email protected] if you'd like us to tag you!
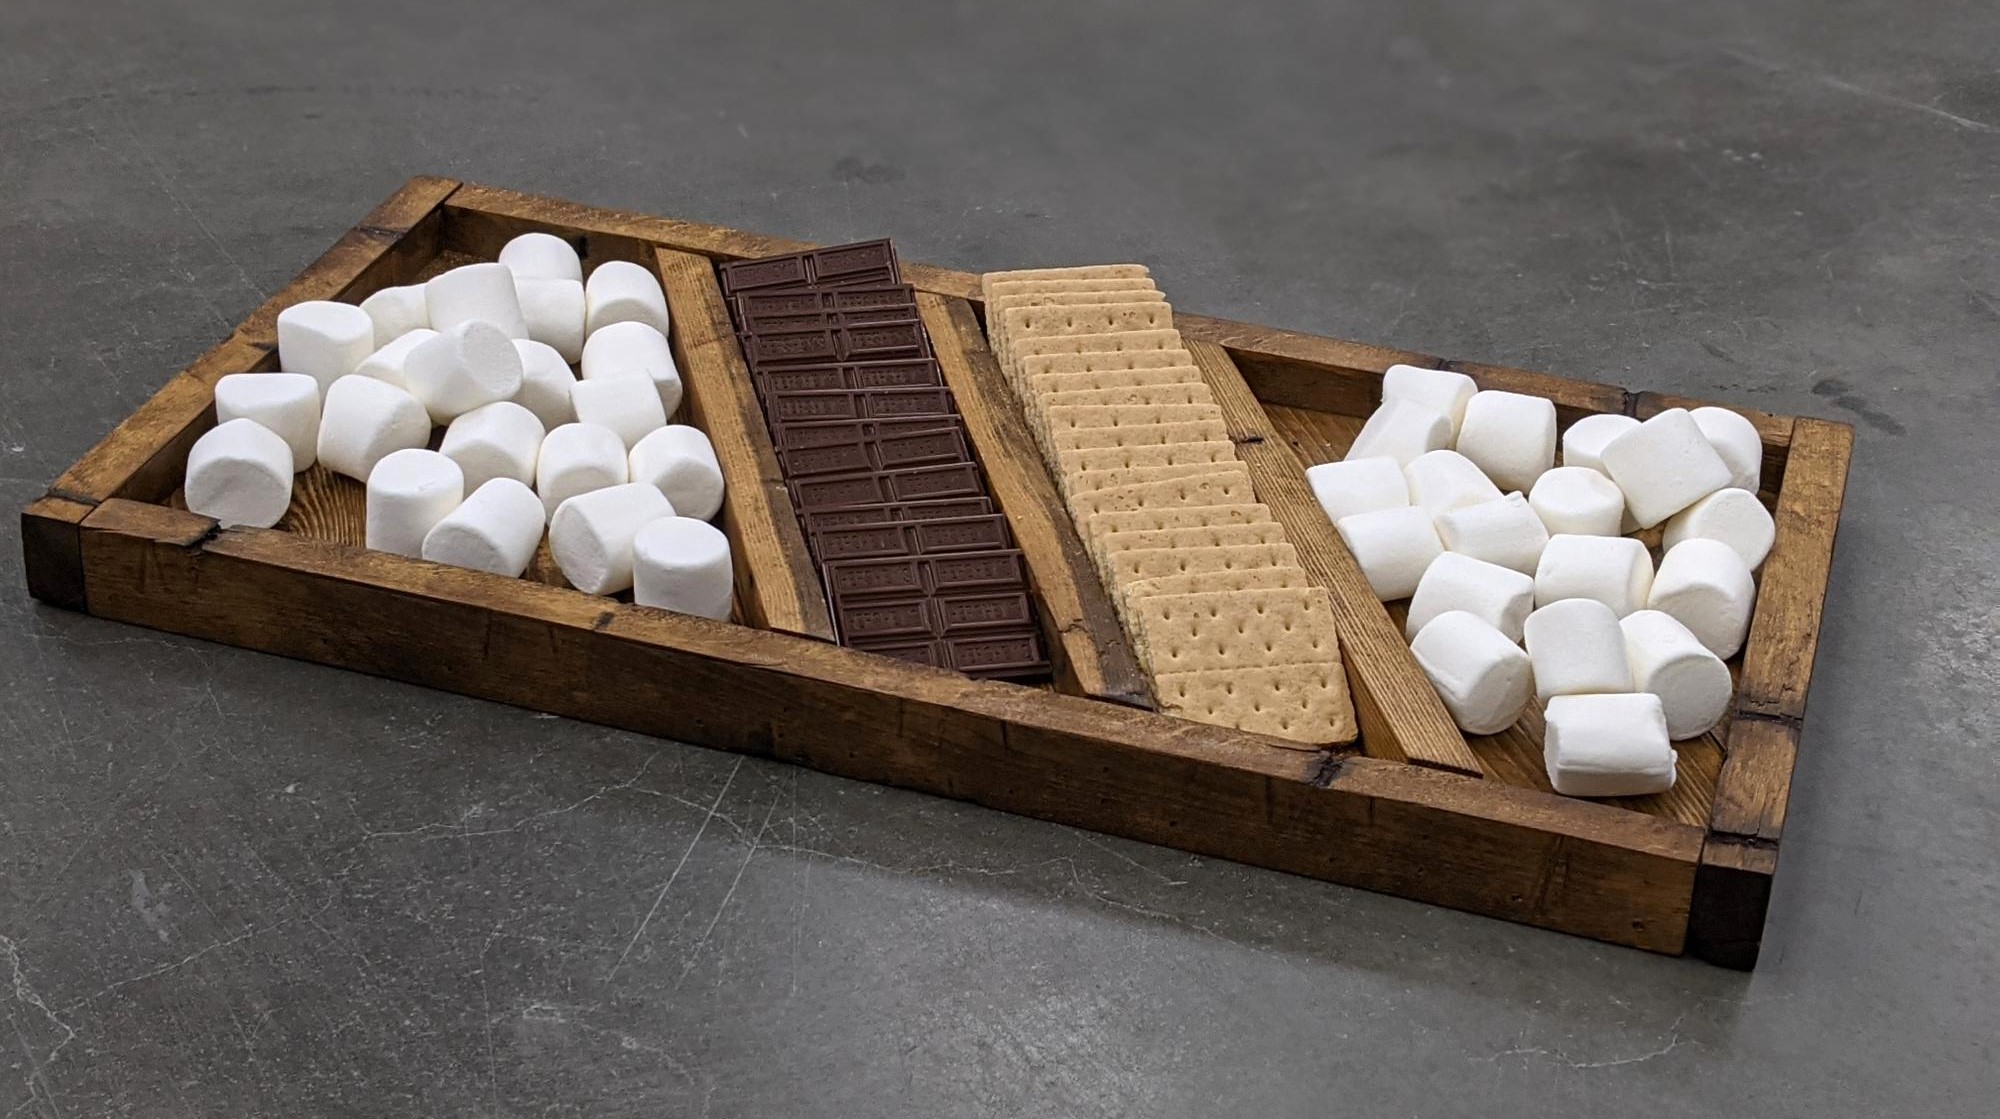
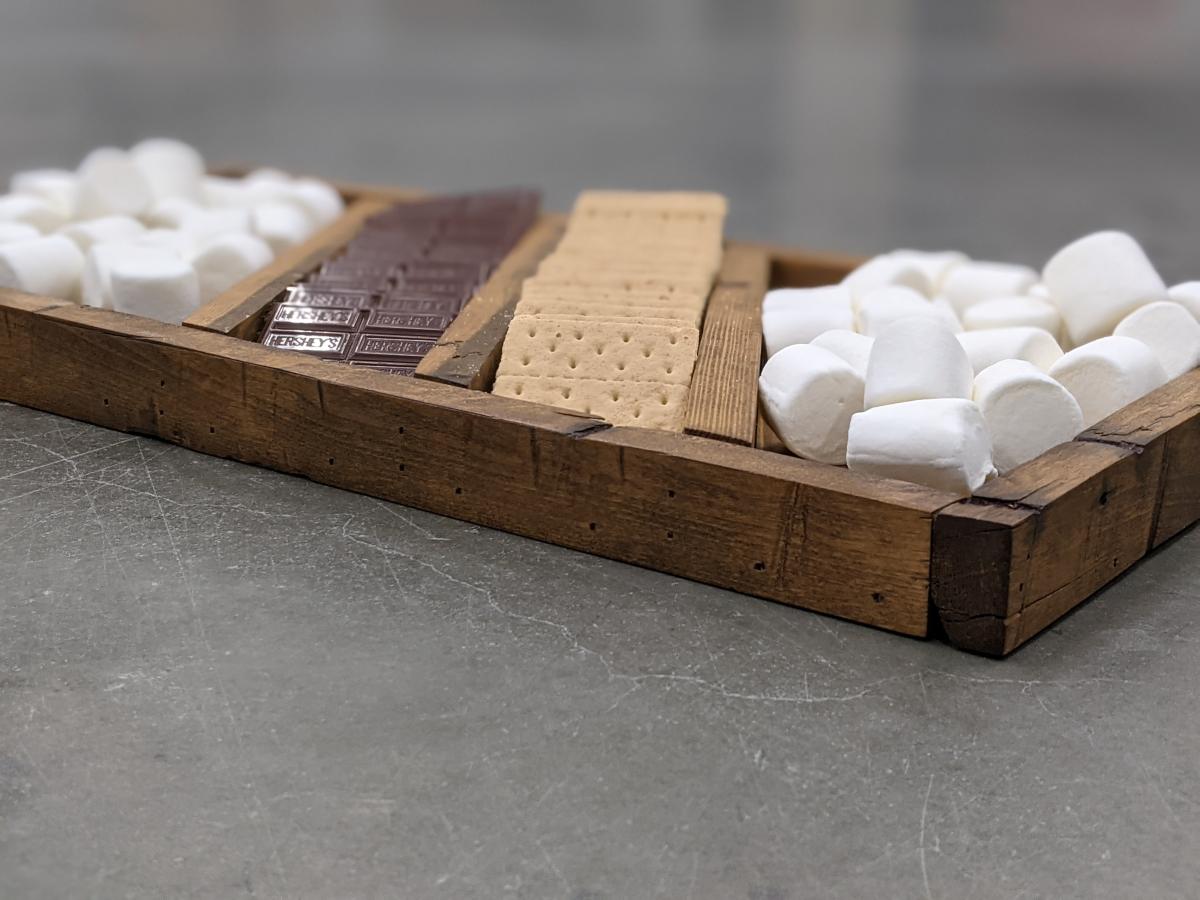
I took the Charcuterie board and turned it into a S'mores board. Have given them away to neighbors as gifts and they love them.
Mon, 03/13/2023 - 15:22
Love this idea, such a fun gift! Thank you for sharing.
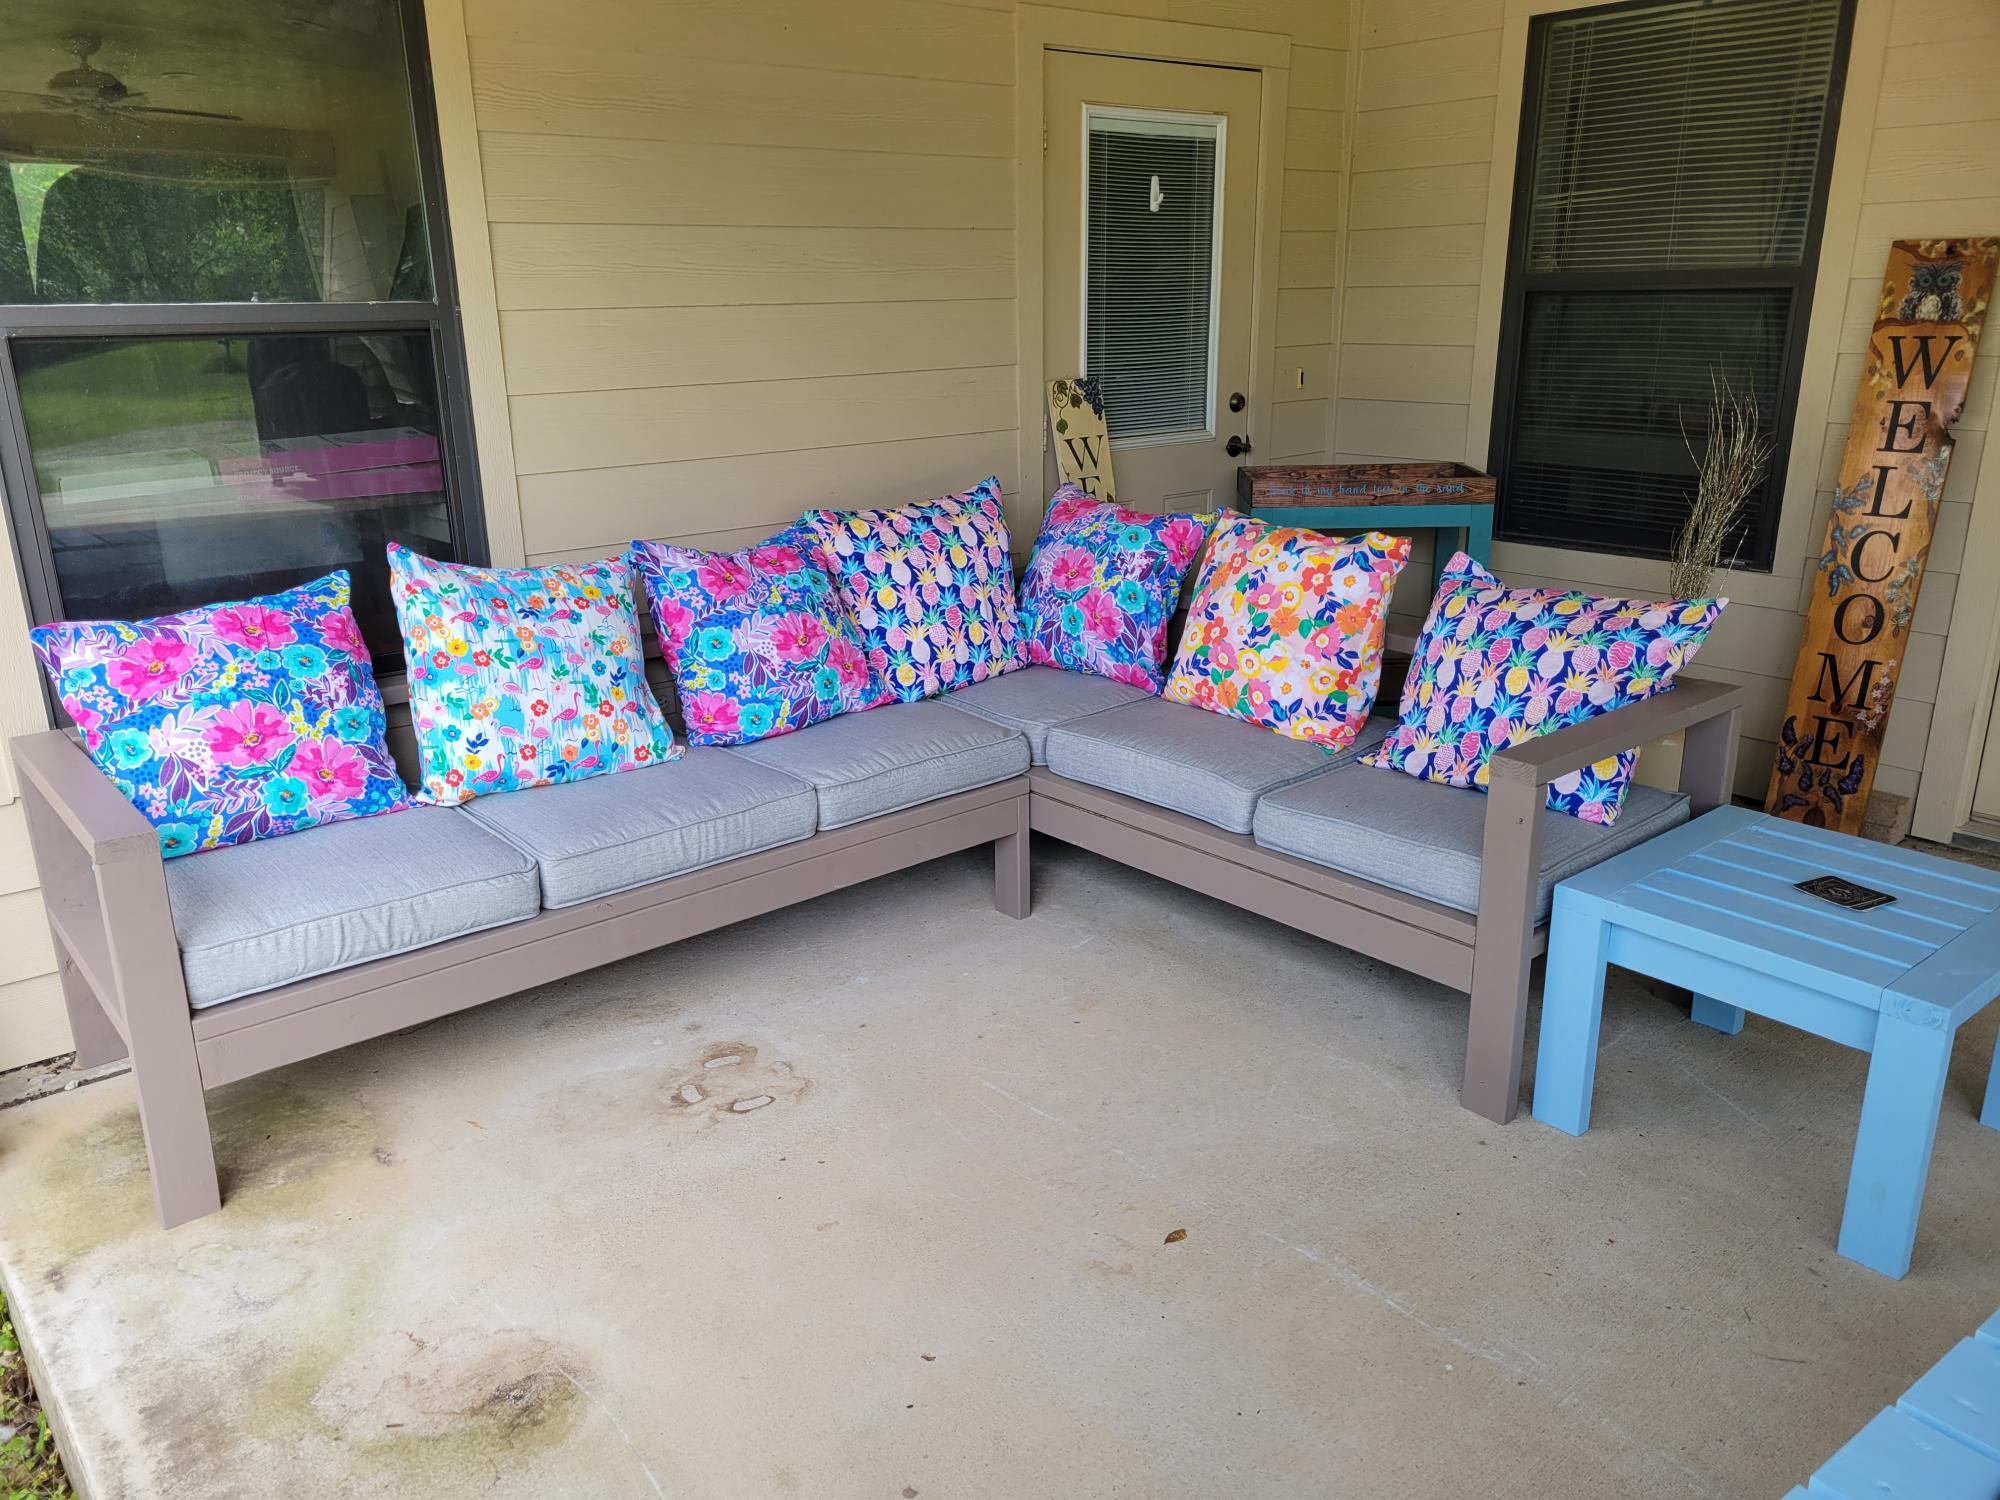
my husband and I used your plans for the sectional, end tables and chairs I made the pillows thanks so much for the designs we love them

Mon, 04/03/2023 - 20:12
Fantasic job, thank you so much for sharing your lovely space!
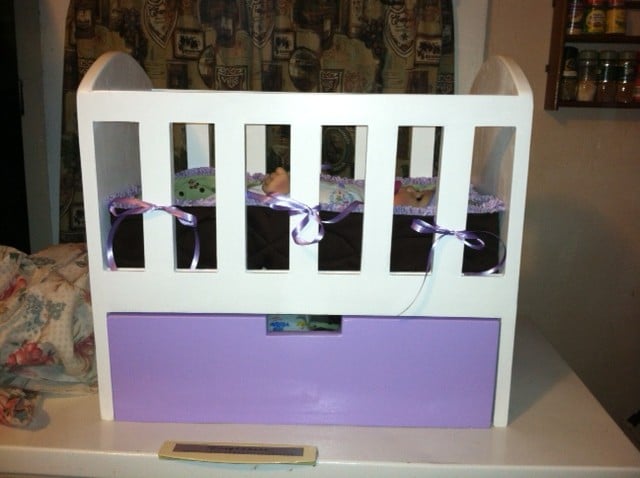
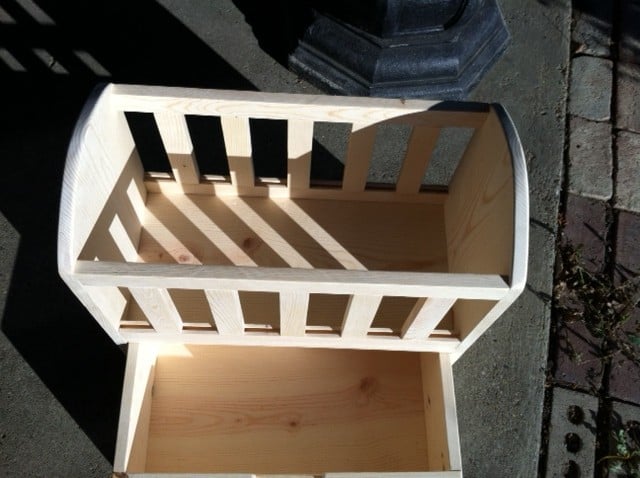
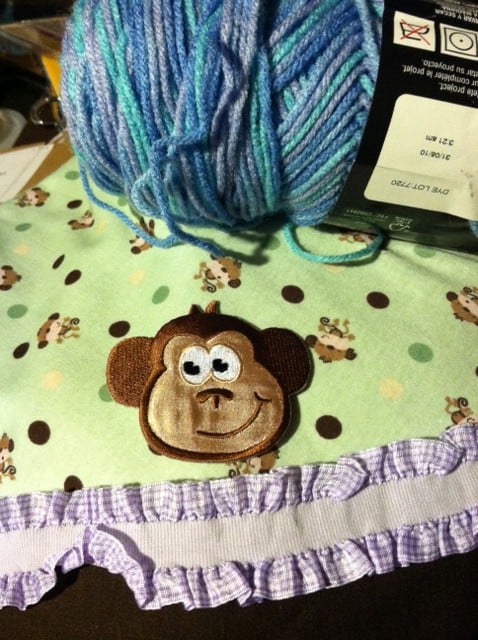
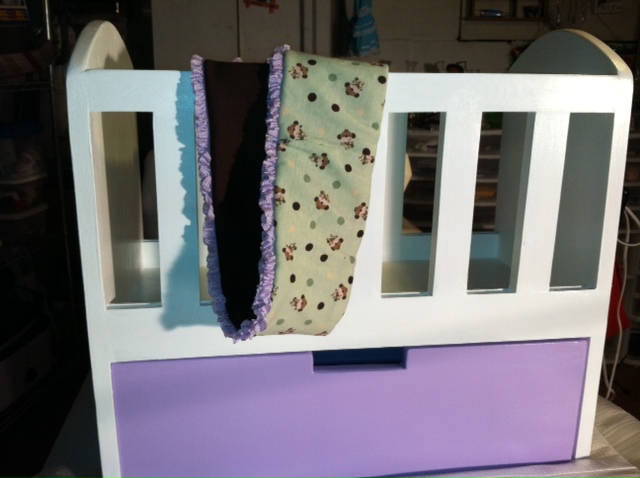
I made my daughter the doll crib with drawer from the pattern provided by Ana. I wanted to give my daughter a special baby for Christmas but couldn't imagine giving it to her without a crib. I cut and assembled the crib with the help of my neighbor, and then made the bumper pad, mattress, and quilt for the baby. I also made matching nightgowns for her and her baby. My sister also made an afghan to go along with the ensemble. There have been huge smiles at our house since she opened her gifts Christmas morning. Thank you for such an easy plan!


Comments
Ana White Admin
Tue, 10/05/2021 - 09:48
You can!
Thanks for sharing, love the bench and can't wait to see what all you create in that space!
dogweather
Fri, 03/24/2023 - 16:18
Beautiful!
Beautiful!