Community Brag Posts

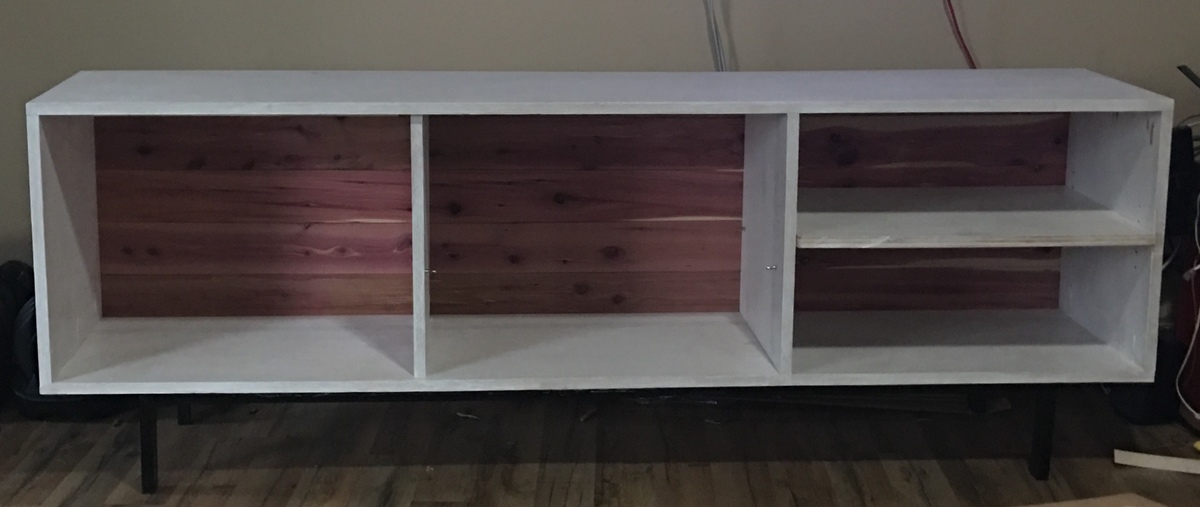
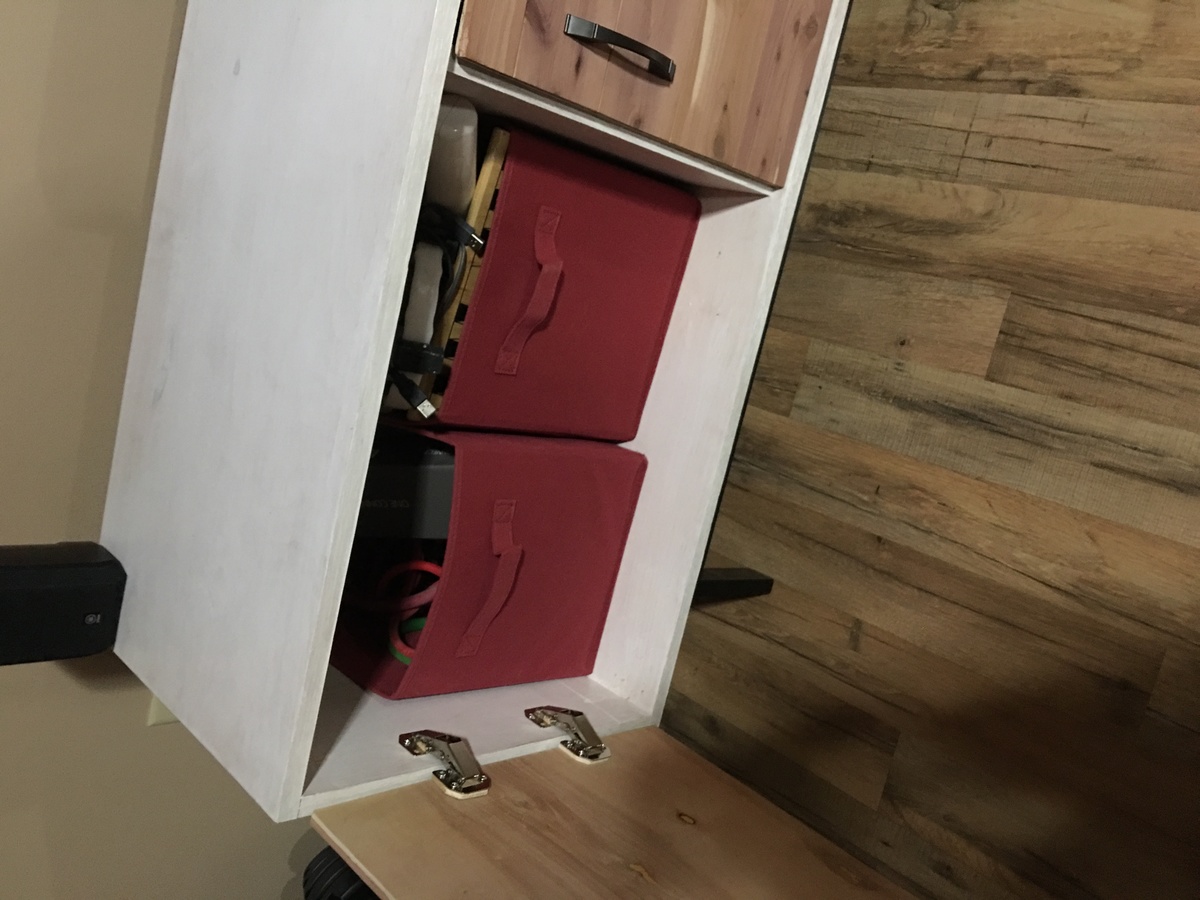
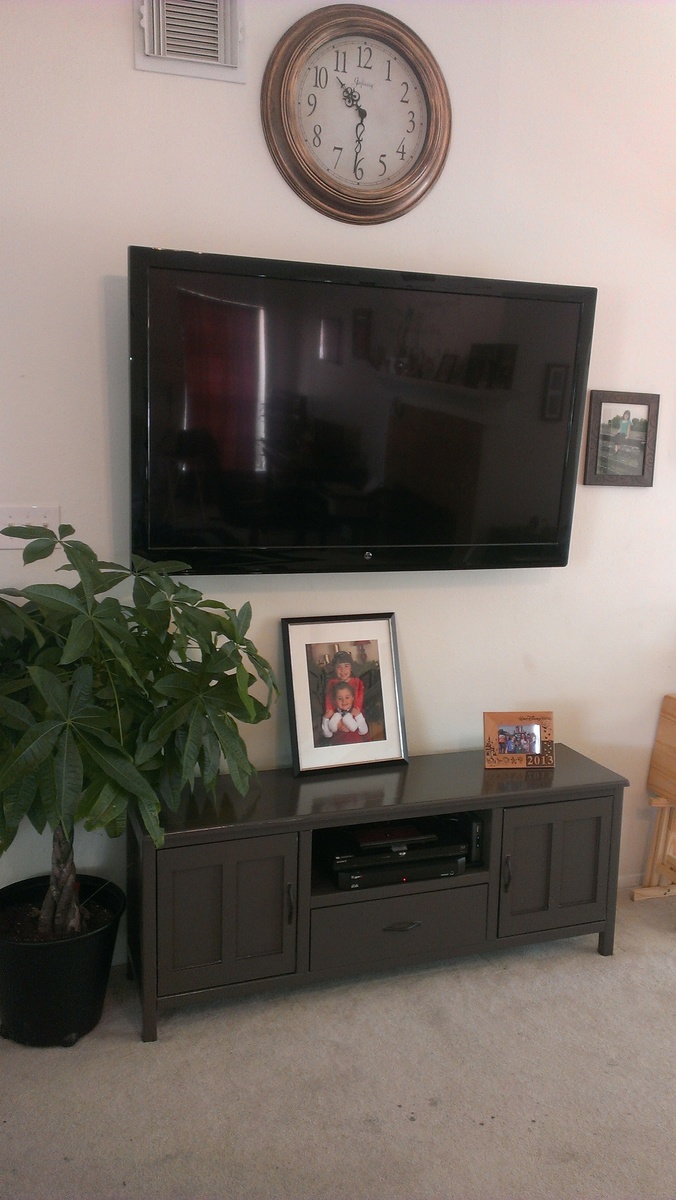
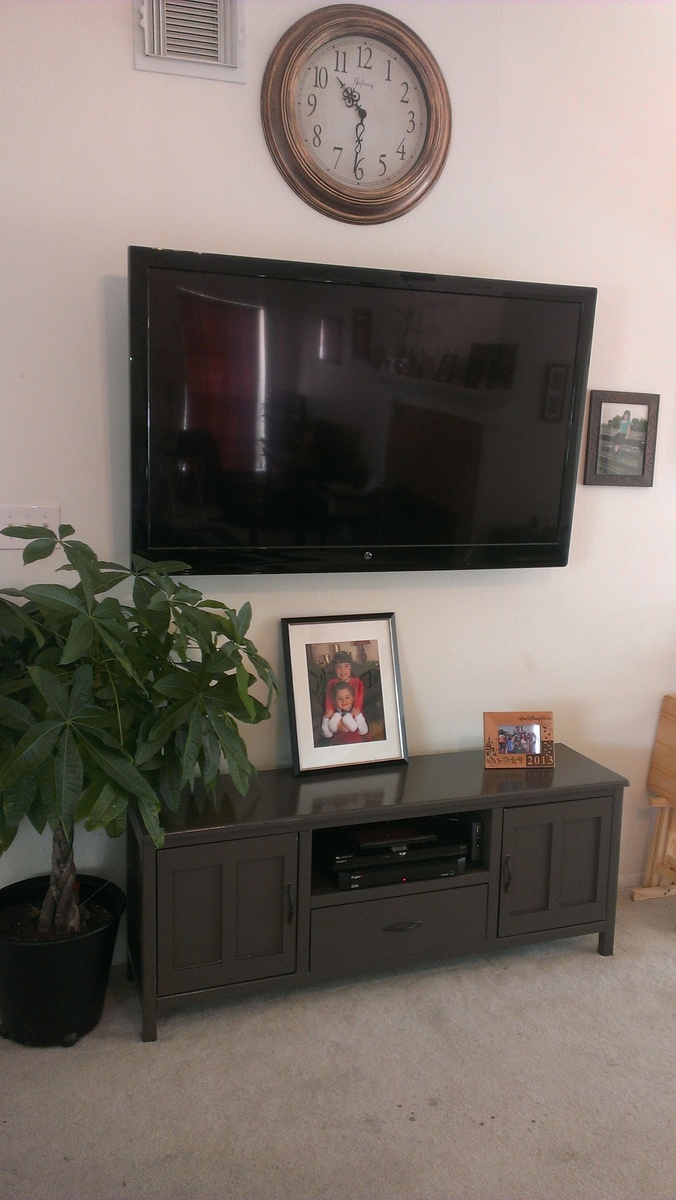
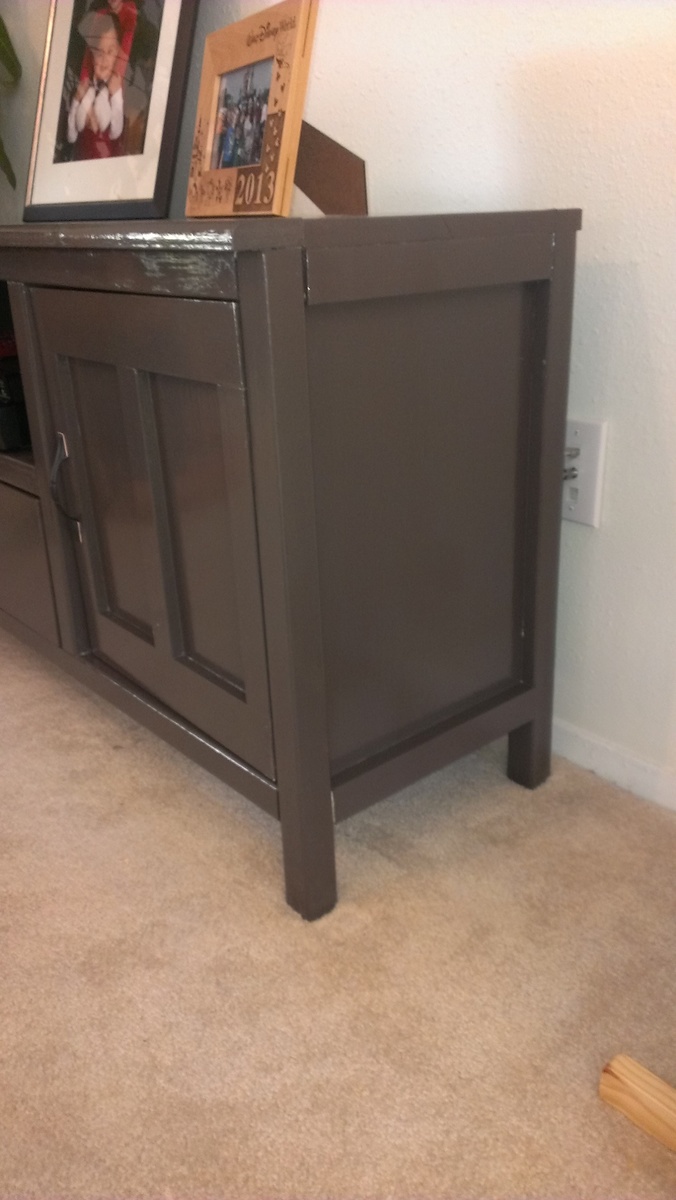
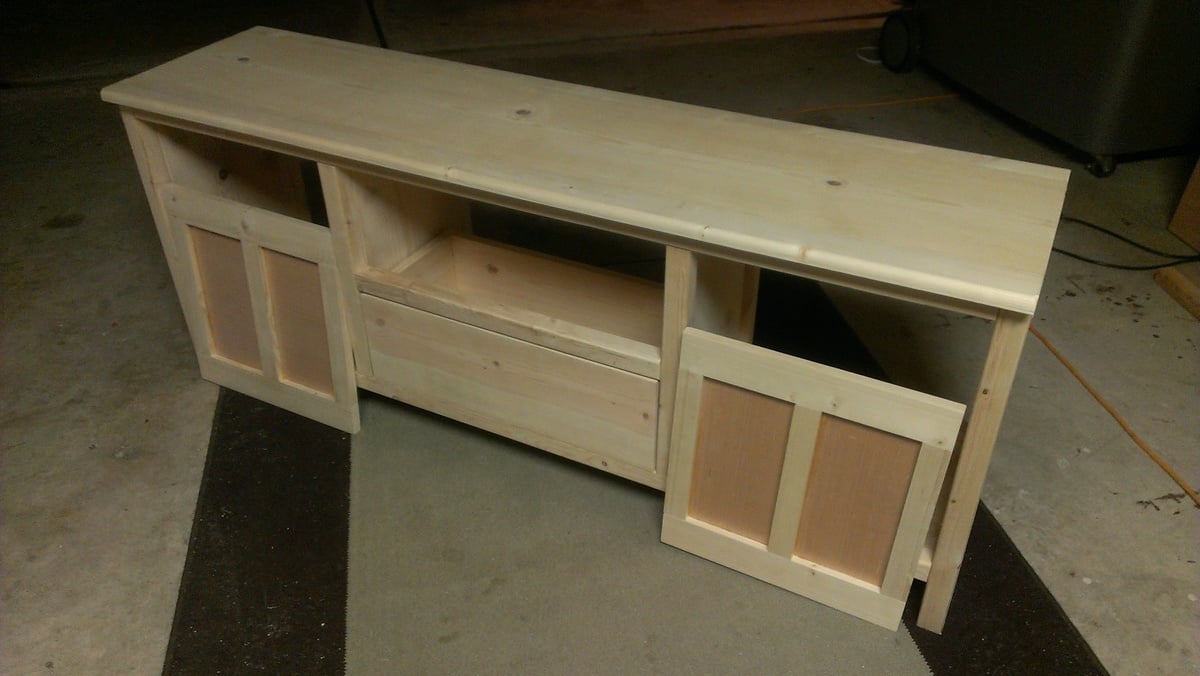
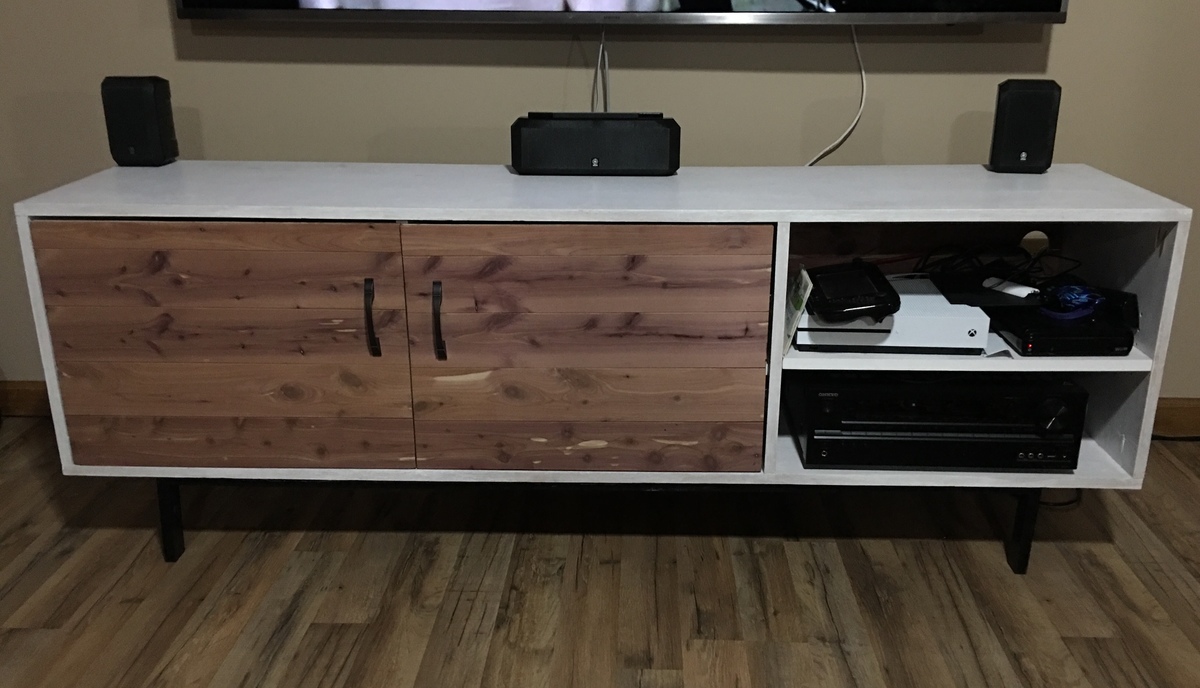
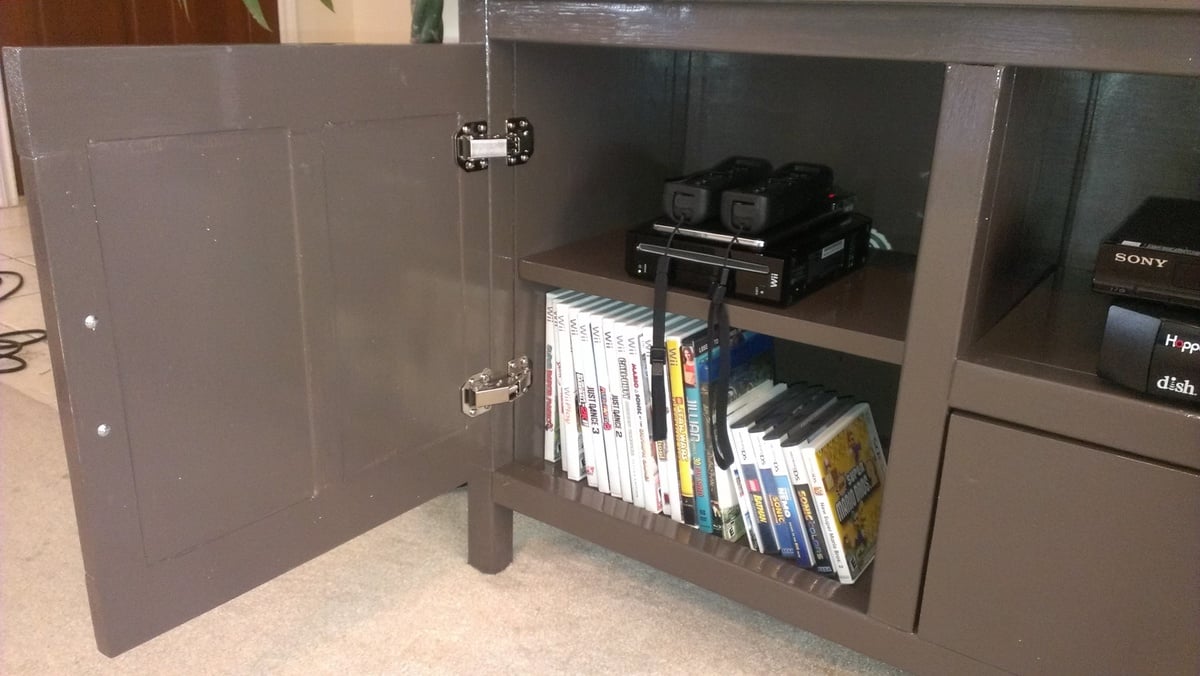
Long Modern TV Console w/Cedar planks

Submitted by Anonymous (not verified) on Mon, 03/11/2019 - 18:50

Built this project to organize and store the electronics in the living room. Followed the plans for the most part with a single sheet of 3/4” Maple ply for the console. 2” Oak lumber for the legs. Cedar planks instead of 1/4 plywood for the backing. I glued Cedar planks to 1/2 ply and trimmed for the doors; hidden hinges. I drilled holes for adjustable shelving in each section and bought the shelf pins on Amazon.

Estimated Cost
$150
Estimated Time Investment
Weekend Project (10-20 Hours)
Finish Used
Waterbased Pickling for the console. Edge banding for the visible edges. Cedar planks for back and door.
Recommended Skill Level
Intermediate

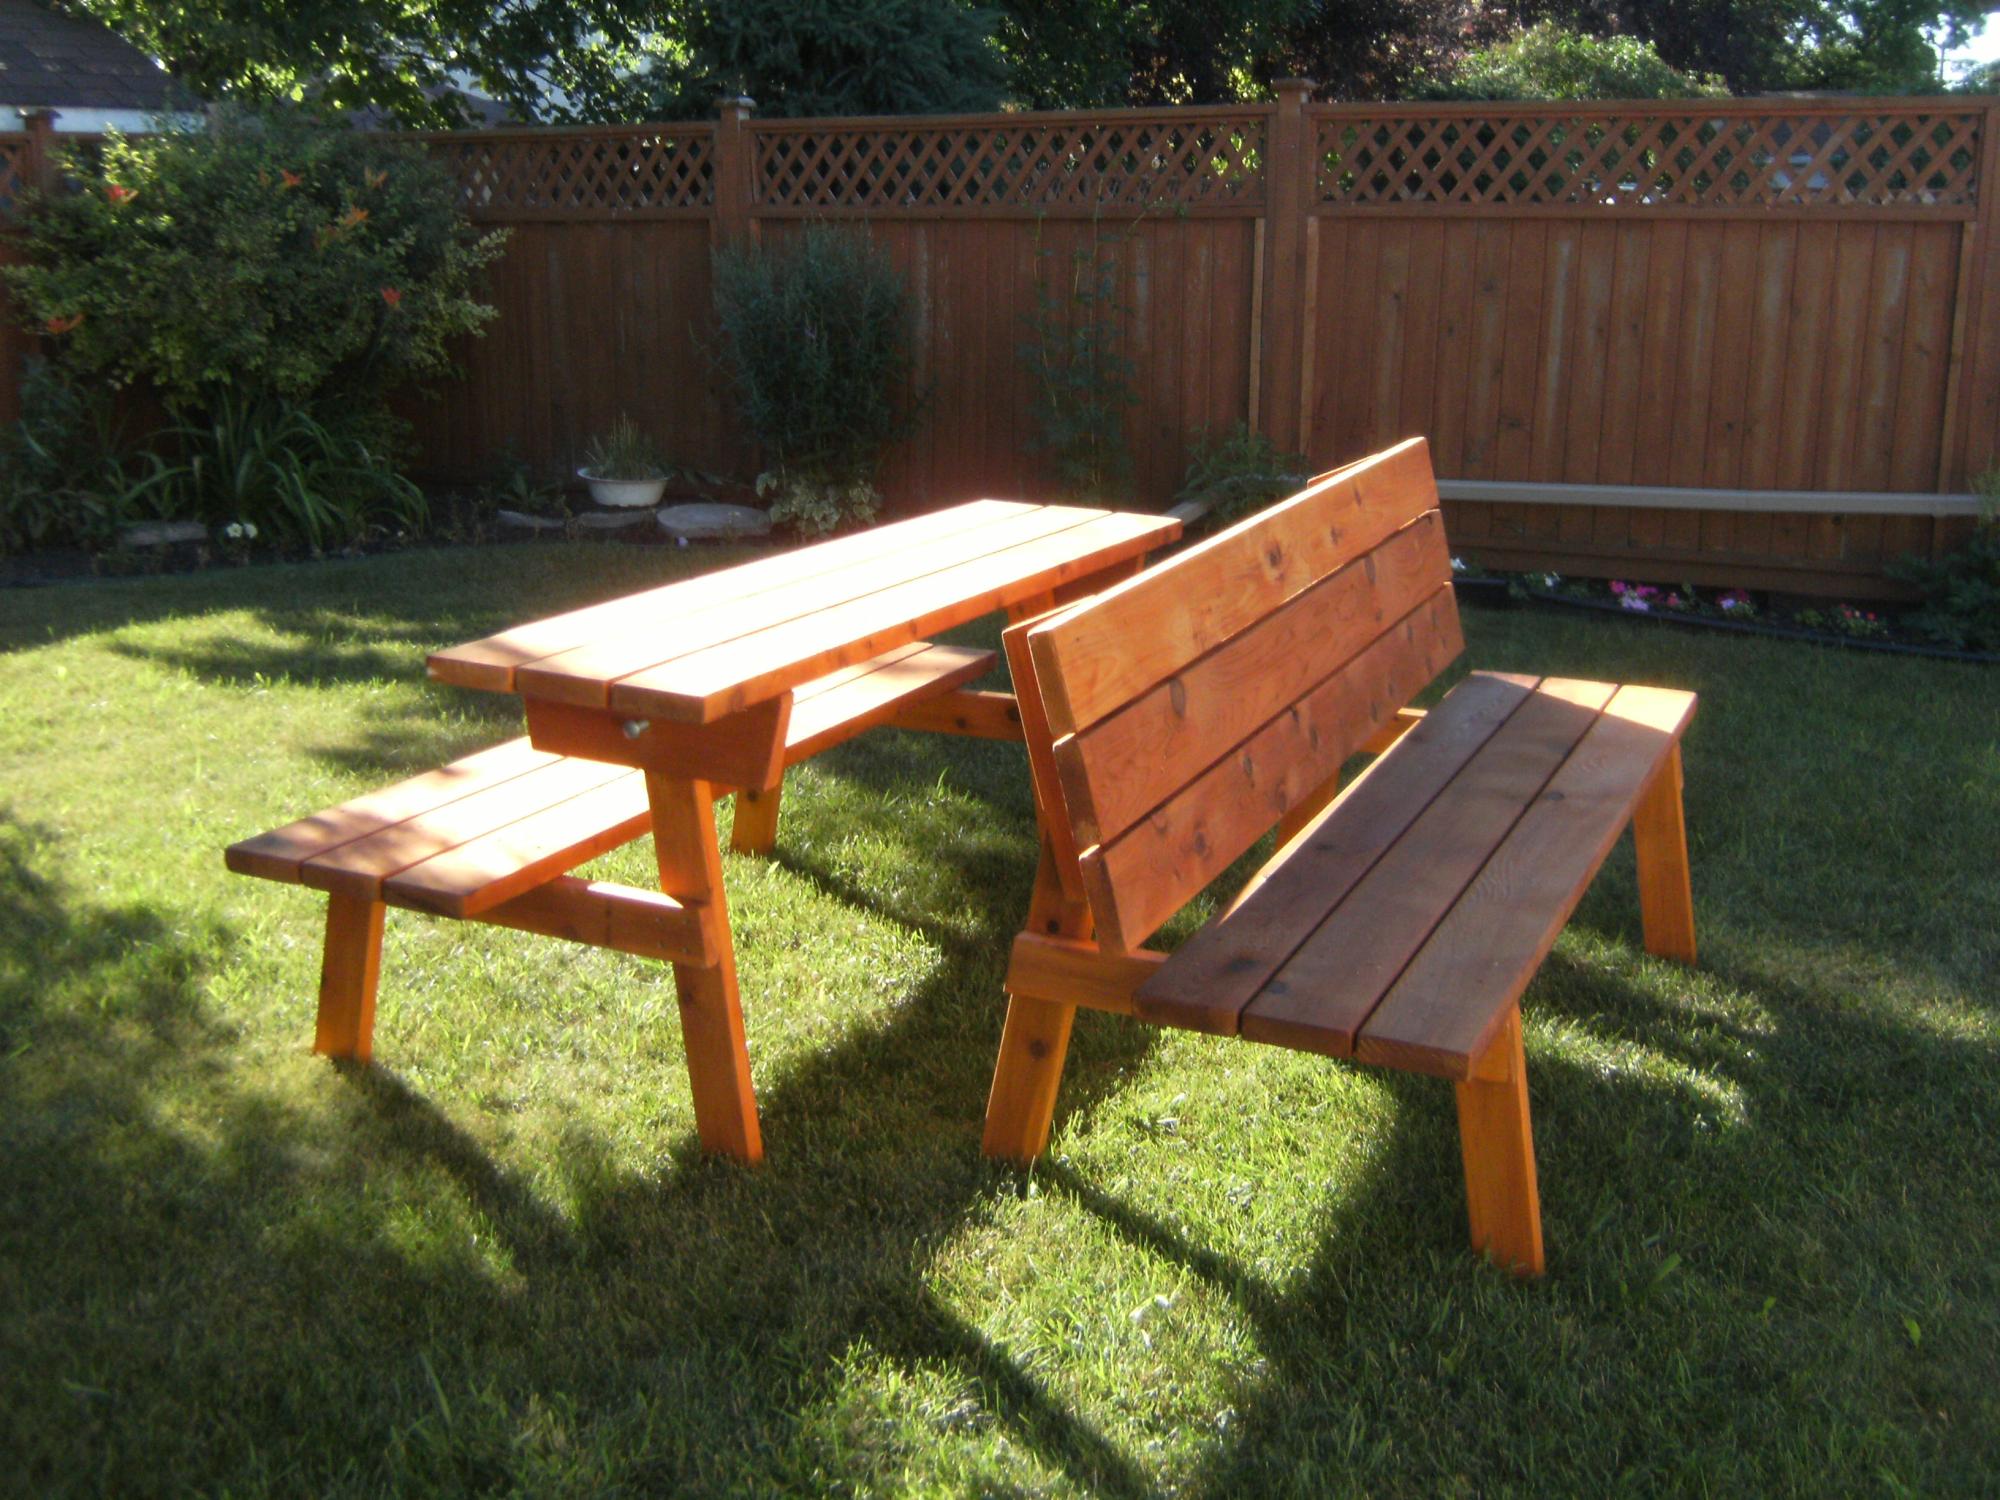
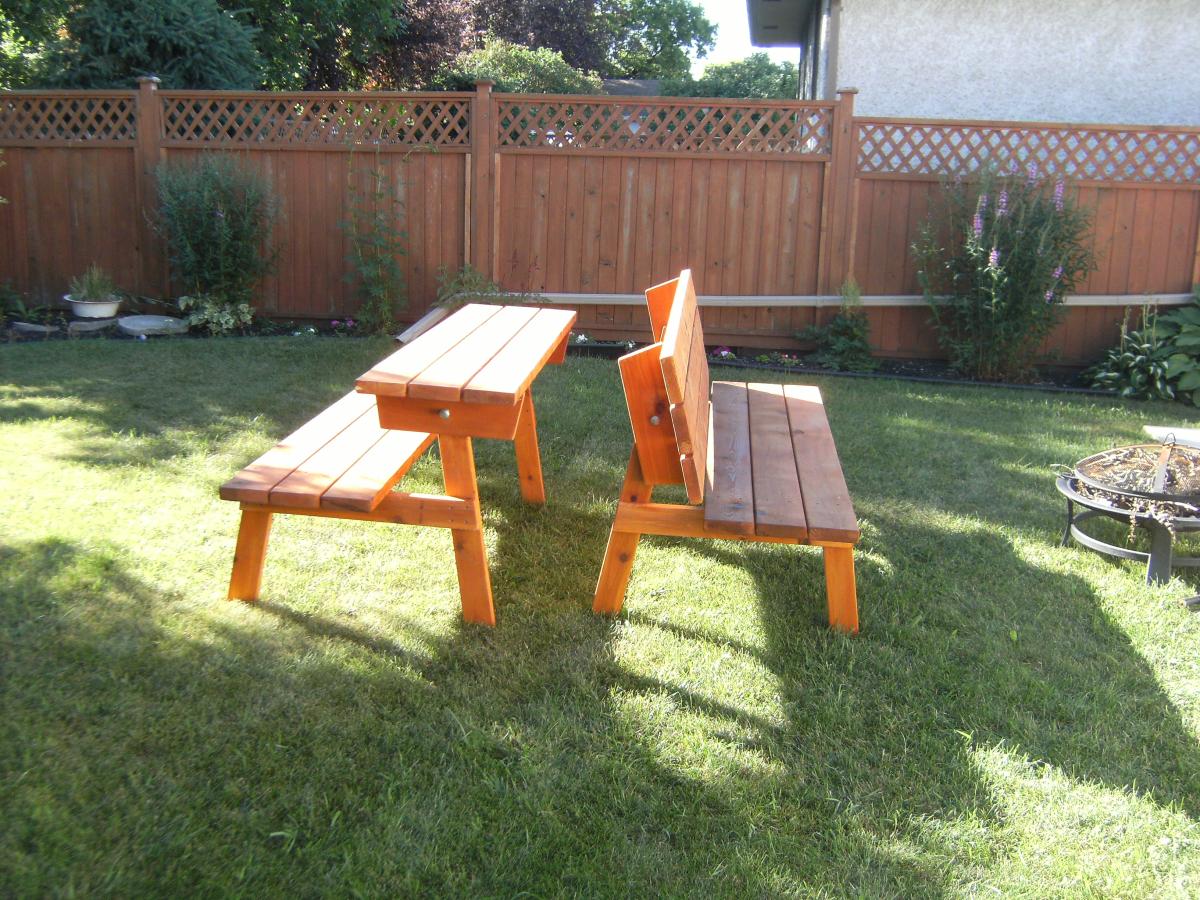
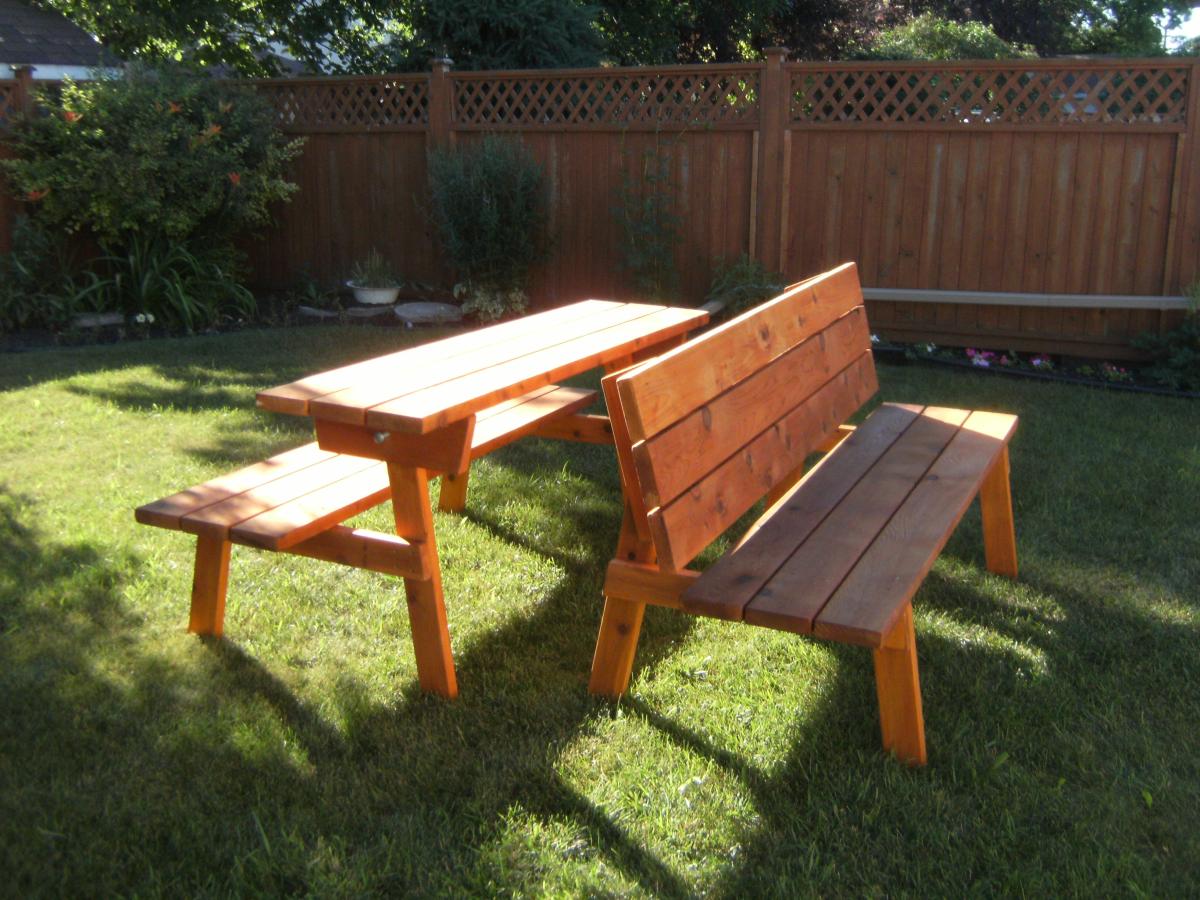
Benches that Convert to Picnic Tables

Submitted by Steph99 on Thu, 02/02/2023 - 11:14

Simple benches that convert to picnic tables

Comments

Seasonal And Holiday

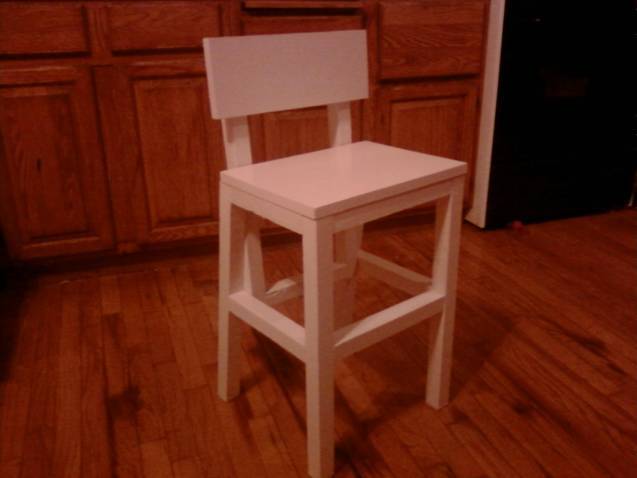
Harriett Higher Chair

Submitted by Barbarazzi on Tue, 10/18/2011 - 05:29

I made this chair for my two-year old niece so she can sit at the table like a big girl. We call it the "Share Chair" because she has to share it with her two sisters. It was fairly easy to make; I think I spent more time painting it.

Estimated Cost
$20
Estimated Time Investment
Afternoon Project (3-6 Hours)
Finish Used
Polycrylic over paint
Recommended Skill Level
Beginner

Kentwood Bookshelf

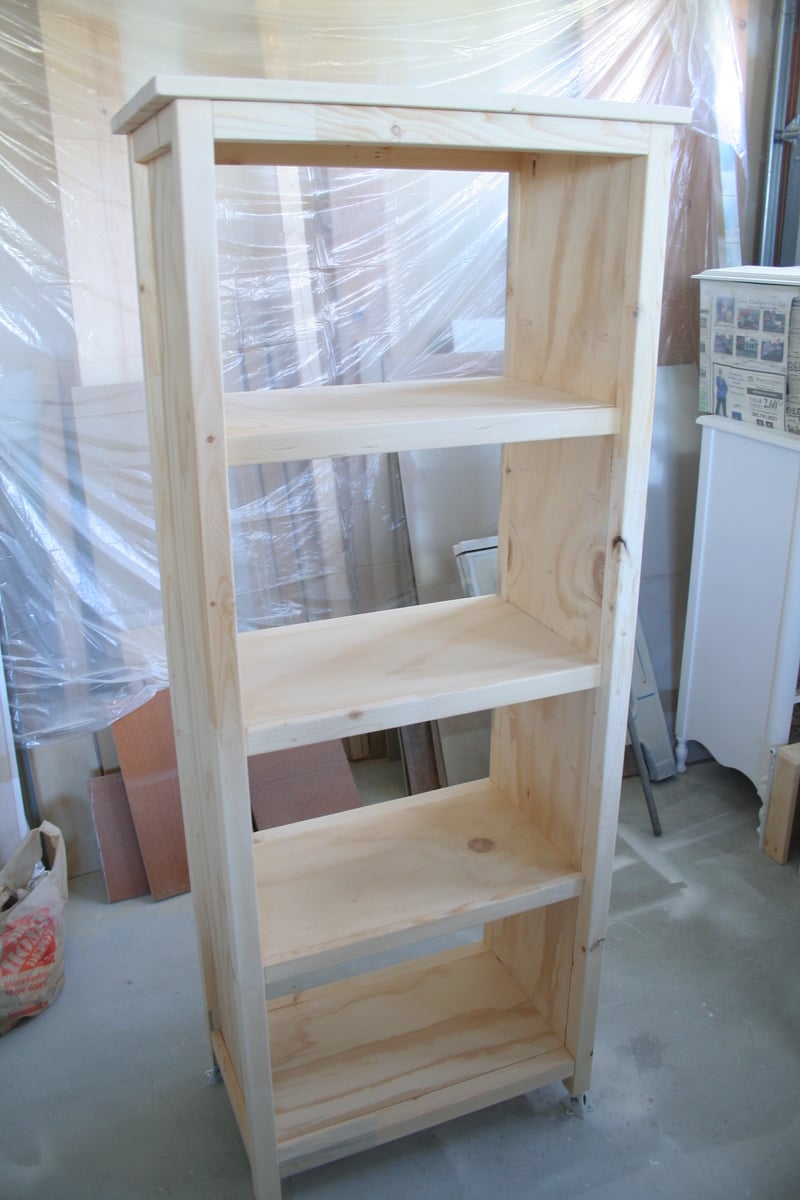
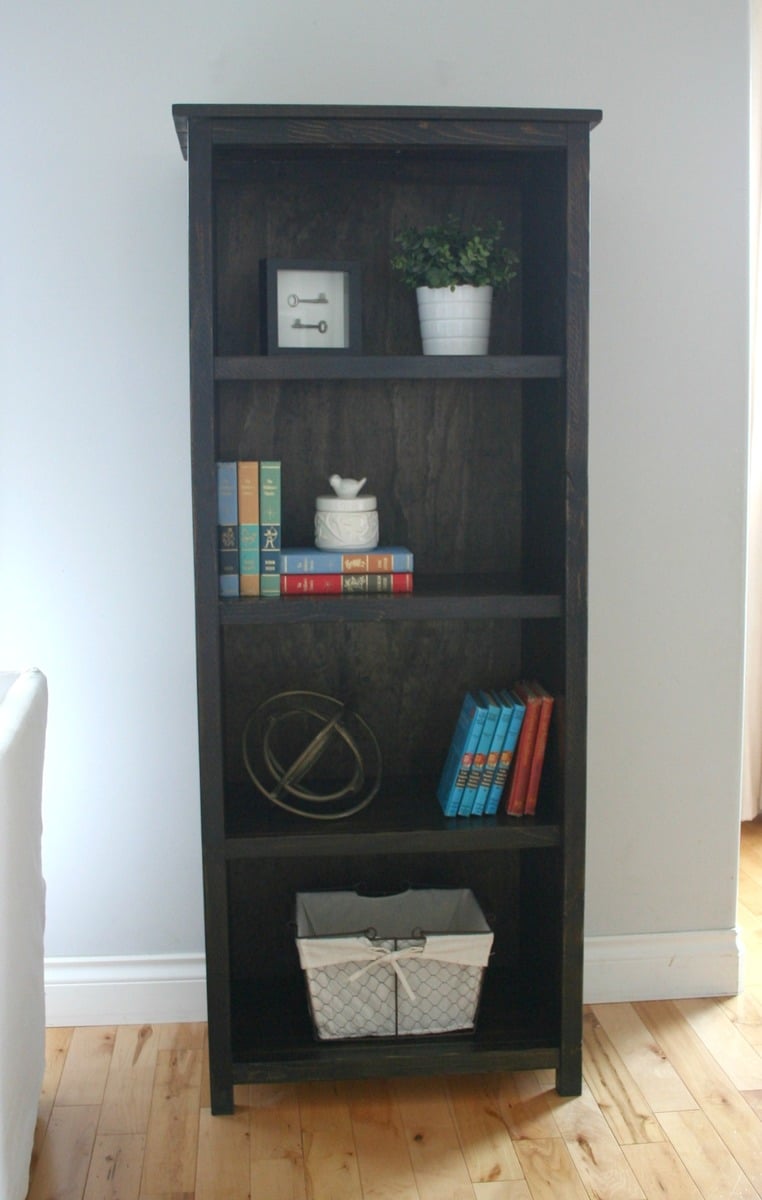
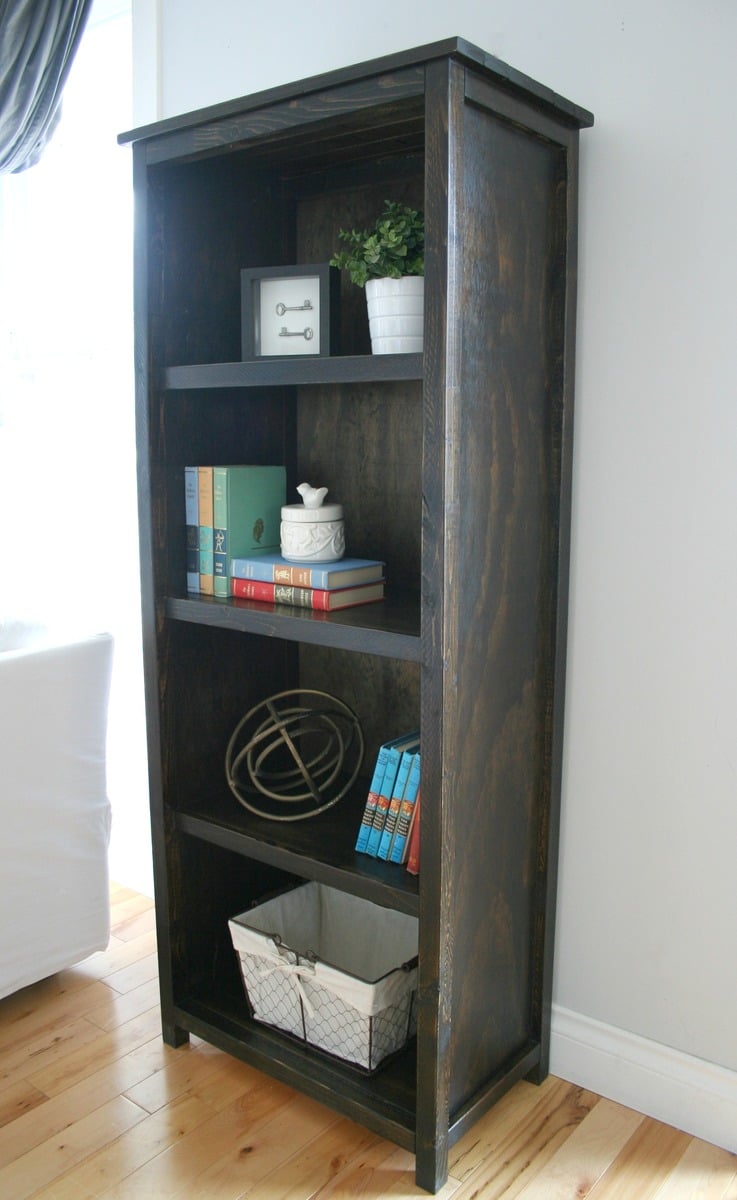
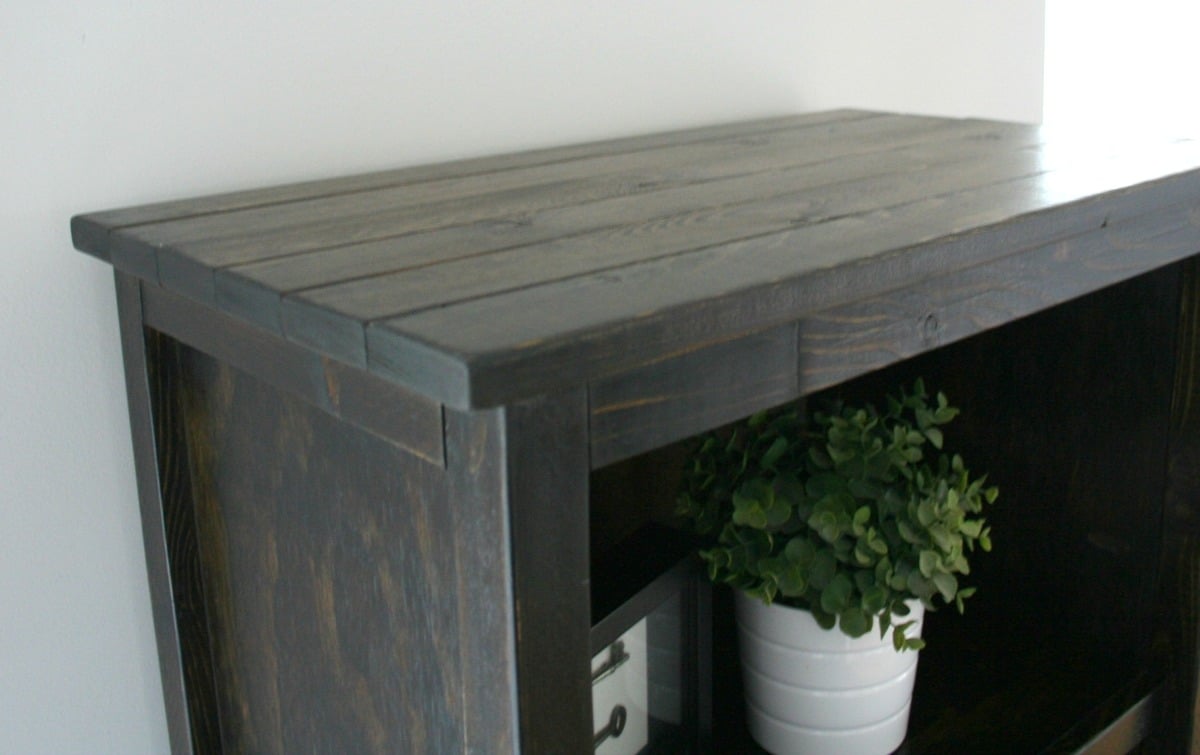
While staging my sister & brother-in-laws home so they could list it for sale, I ended up with an "empty wall" in their living room and nothing to fill it with, but knew a small bookshelf would work perfectly! I loved the look of the Kentwood bookshelf plan. I'm not the fastest builder, but after a couple hours, I had everything cut, all pocket holes drilled and everything fully assembled. I only applied one coat of stain and a single coat of poly and skipped adding a back...for now. I may go back and add a back later, but for now I'm thrilled with it (and so was my sister!)

Edit:  I finally added a back to the shelf - just in time to sell it to a friend. ;)

Estimated Cost
$80
Estimated Time Investment
Day Project (6-9 Hours)
Finish Used
Minwax Jacobean stain, Minwax Wipe-on Poly
Recommended Skill Level
Beginner

X style work bench

Submitted by Anonymous (not verified) on Sat, 01/02/2016 - 10:50

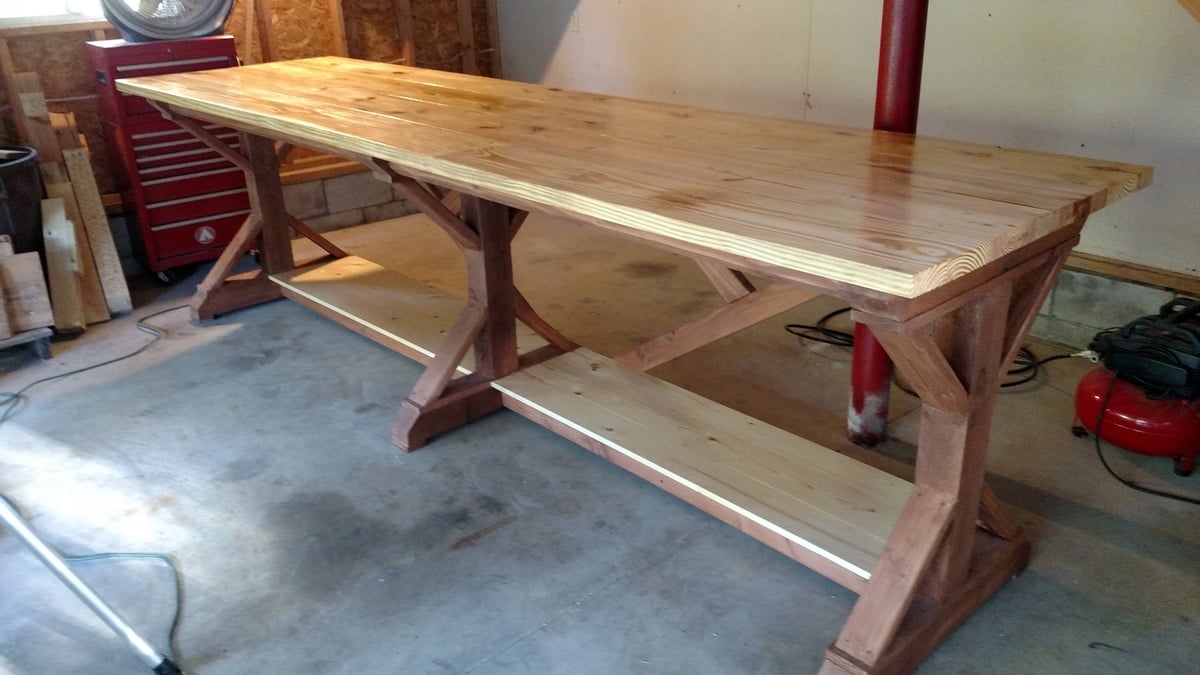
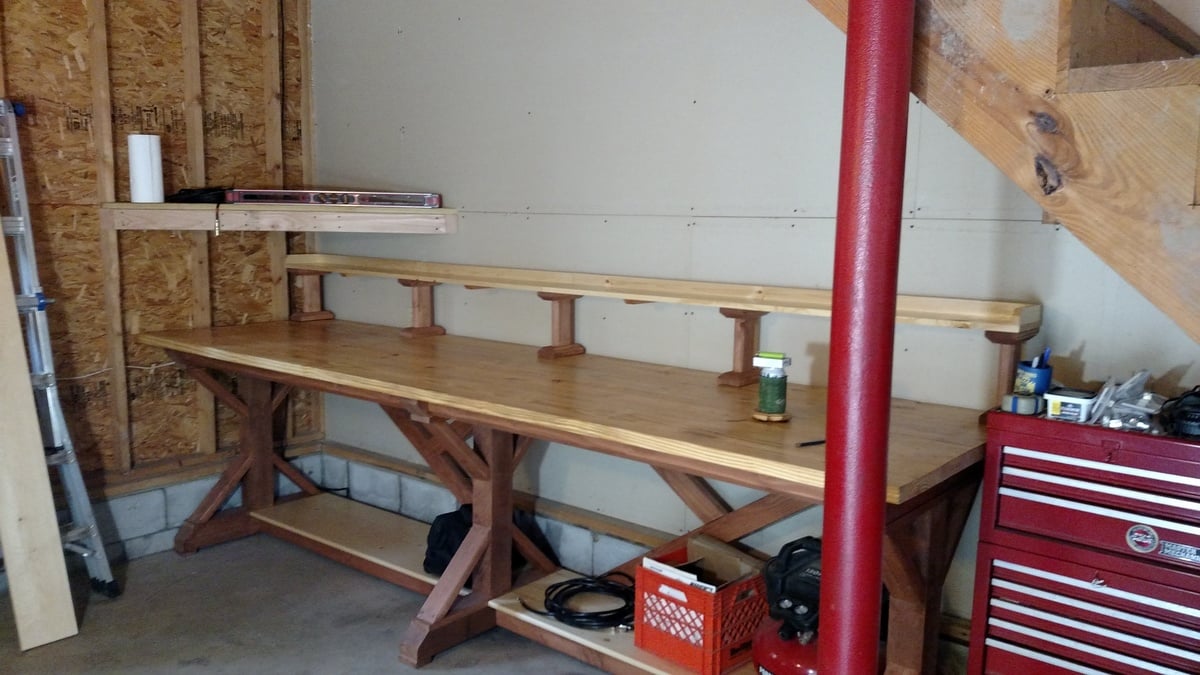
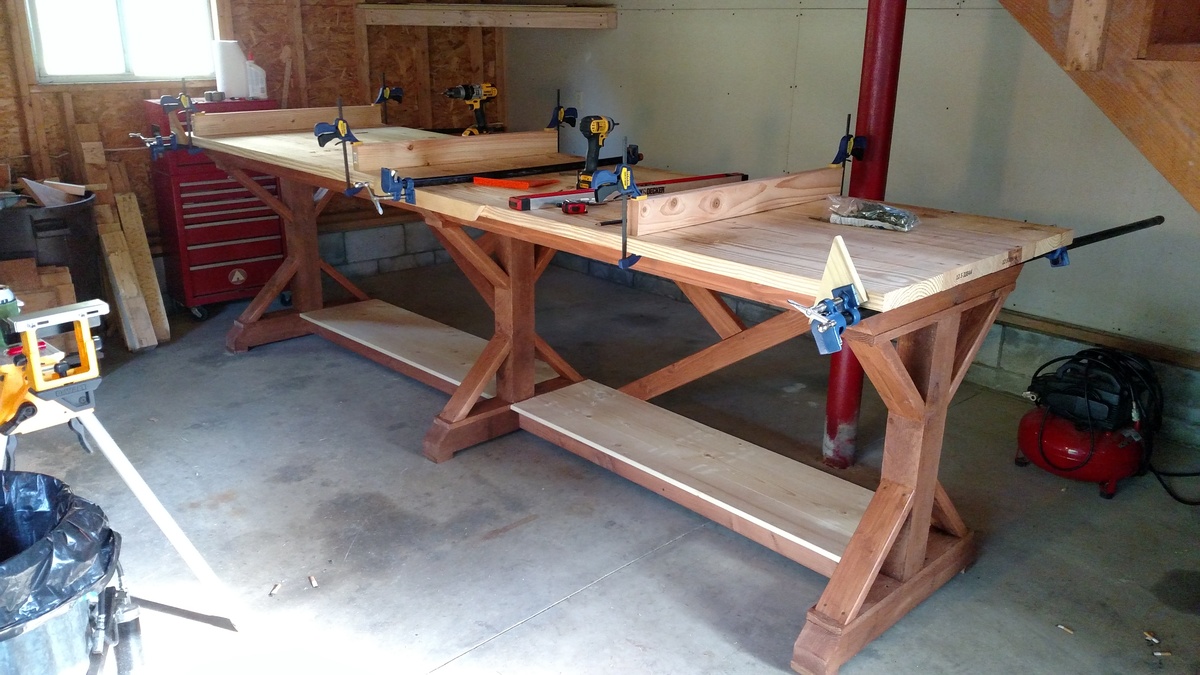
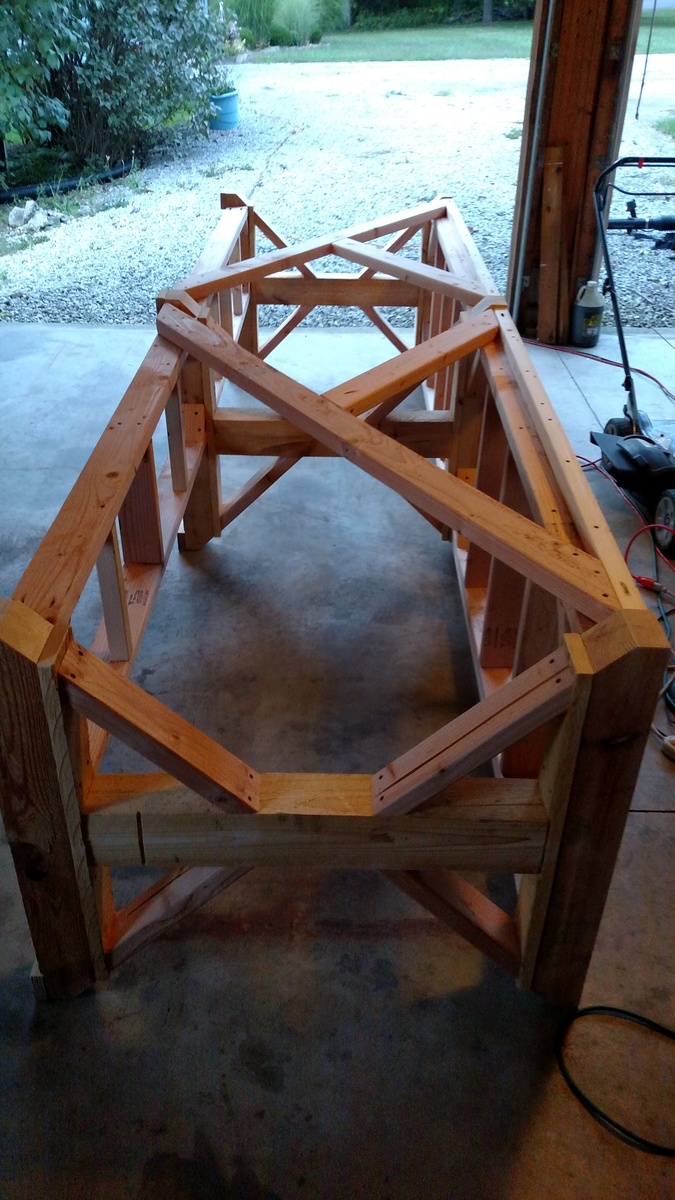
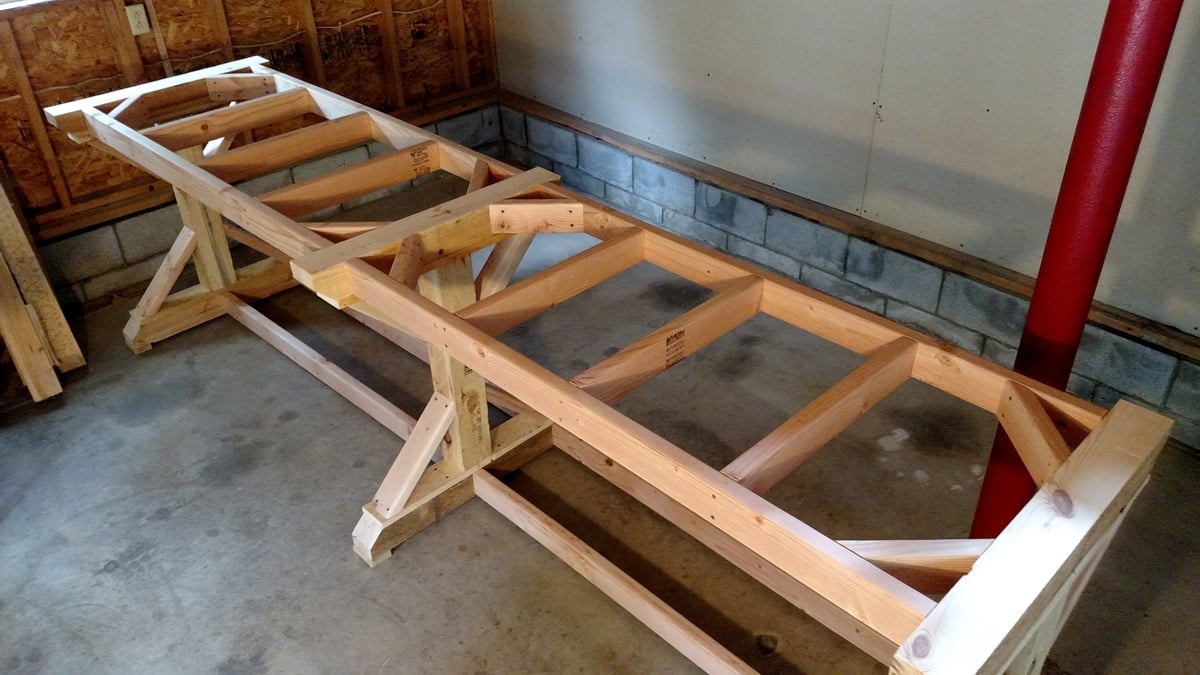
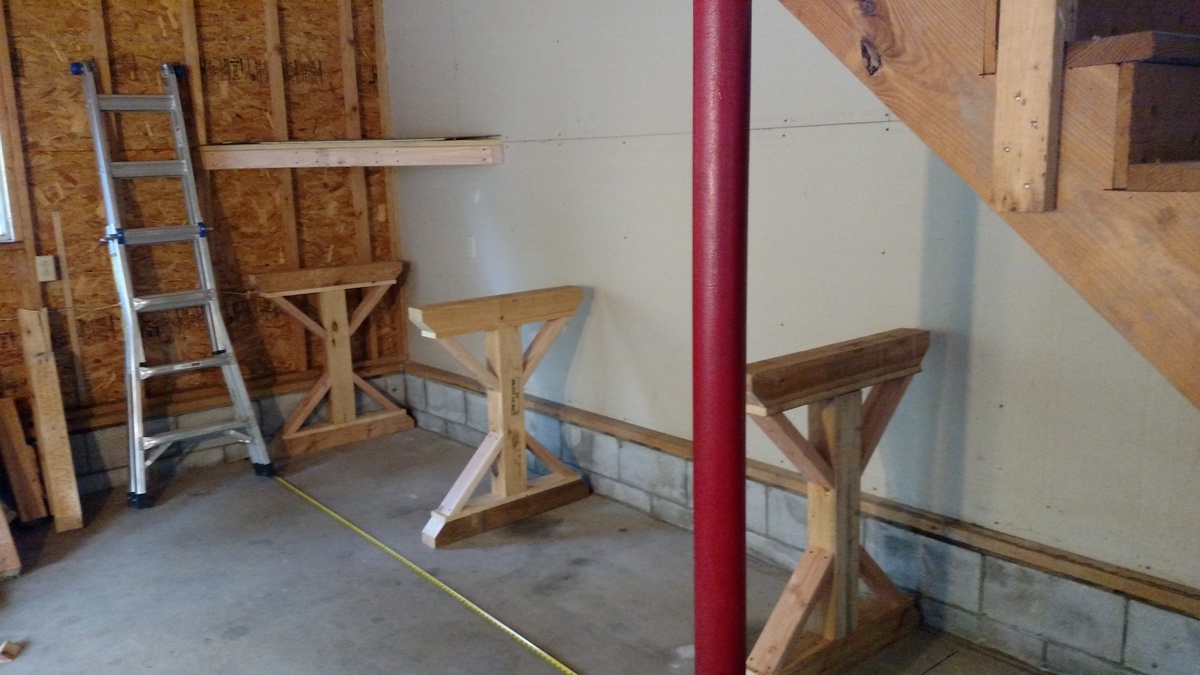
I made this work bench for my garage. Over a few weekends. It is 11' 6' long and is made of pine lumber. I used 2x10x12's on the top, mostly 2x4's are used for the farm with the exception of the center part of the legs. Those are rough cut 4x4's I had laying around. 1x6's for the bottom shelf. Getting the top seams to line up took a lot of sanding with 40 grit. They were to big for me to run through the table saw myself so I sanded and sanded. I did run skews threw the top and then filled with wood filler. I wanted strength. Plus the top boards are not glued so I can replace as needed (It's a work bench right?). This thing is big, heavy, and solid!

Built from Plan(s)
Estimated Cost
$120.00
Estimated Time Investment
Week Long Project (20 Hours or More)
Finish Used
Thompson’s WaterSeal Stain – Transparent ACORN BROWN on frame and Minwax Fast-Drying Polyurethane for the top and bottom shelf
Recommended Skill Level
Intermediate

Comments

Made for DUCKS!

Submitted by Anonymous (not verified) on Sun, 03/17/2019 - 08:12

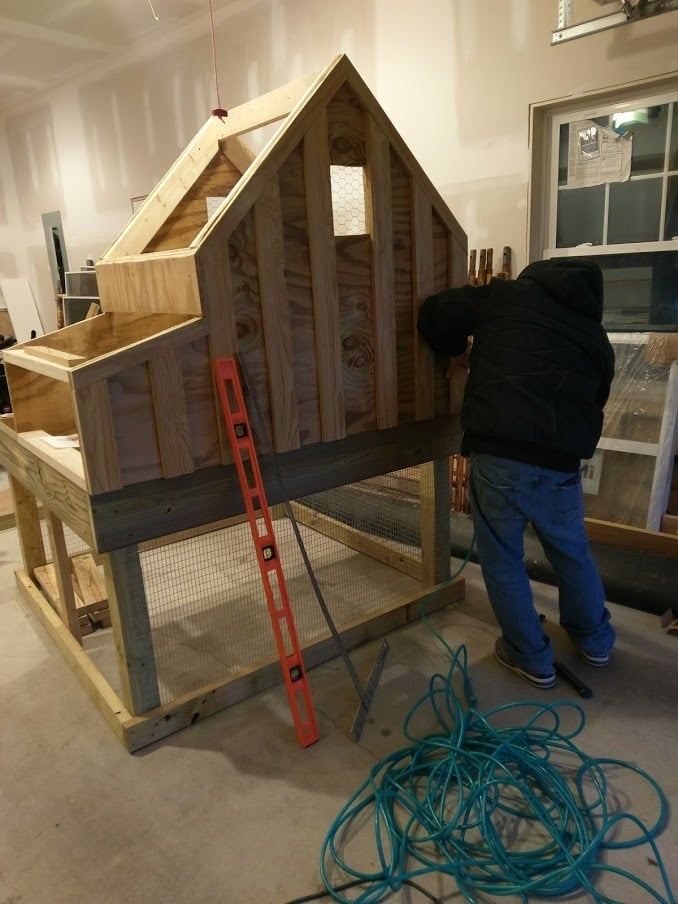
Built in 2017 for our ducks! They use the ramp just fine! I am now working on editing this coop plan to make a coop for 4 chickens we just brought home. I'm going to leave out the planting area, since it's going inside their open run. 

Estimated Cost
$600 with materials for run fence as well
Estimated Time Investment
Day Project (6-9 Hours)
Recommended Skill Level
Intermediate

Farmhouse Bedside Table

This project was a lot of fun and didn't take very long. Already thinking of making another one with different color finish.

Built from Plan(s)
Estimated Cost
45.00
Estimated Time Investment
Day Project (6-9 Hours)
Finish Used
Valspar Ruby Red Spray paint. Used Dark Walnut stain on top and to get the aged look on table.
Recommended Skill Level
Beginner

Comments

Toy Workbench

Submitted by spiceylg on Thu, 10/17/2013 - 01:56

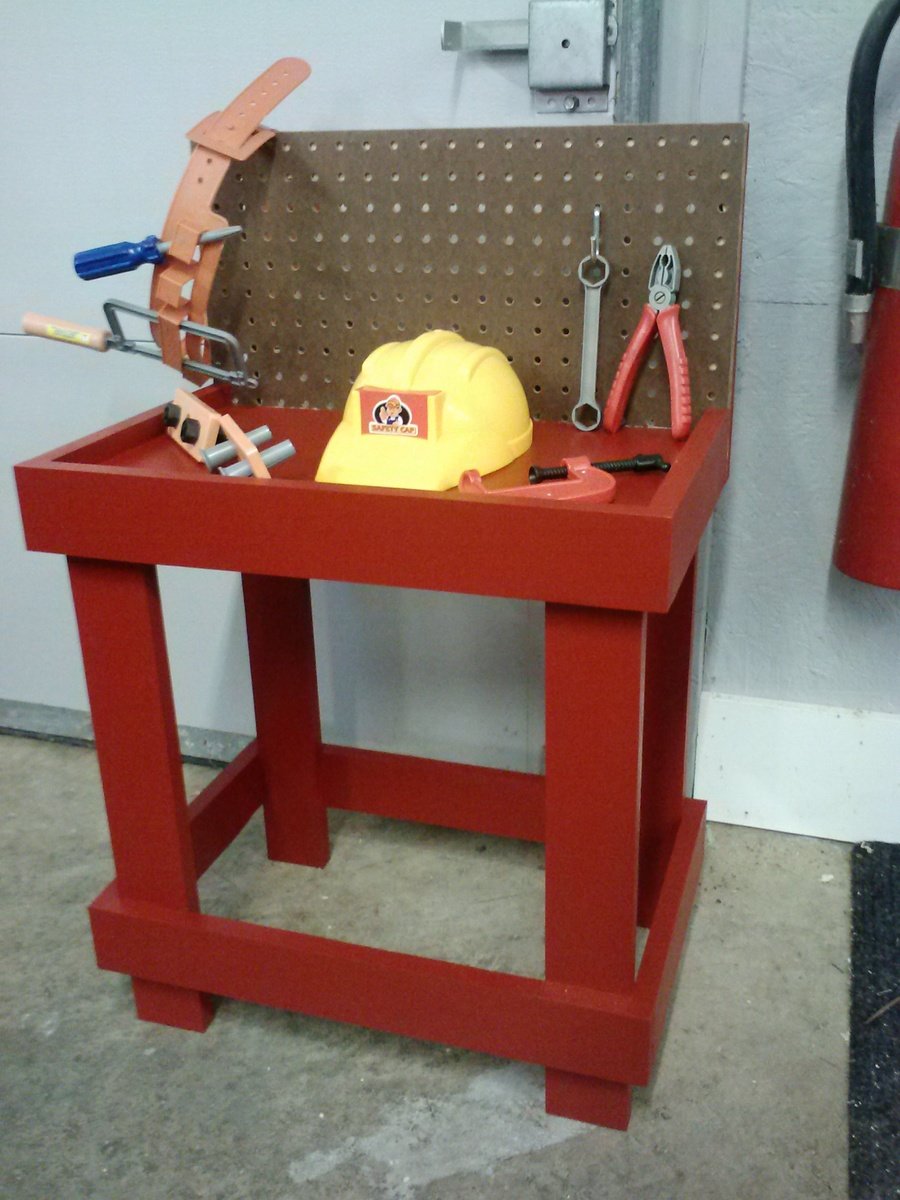
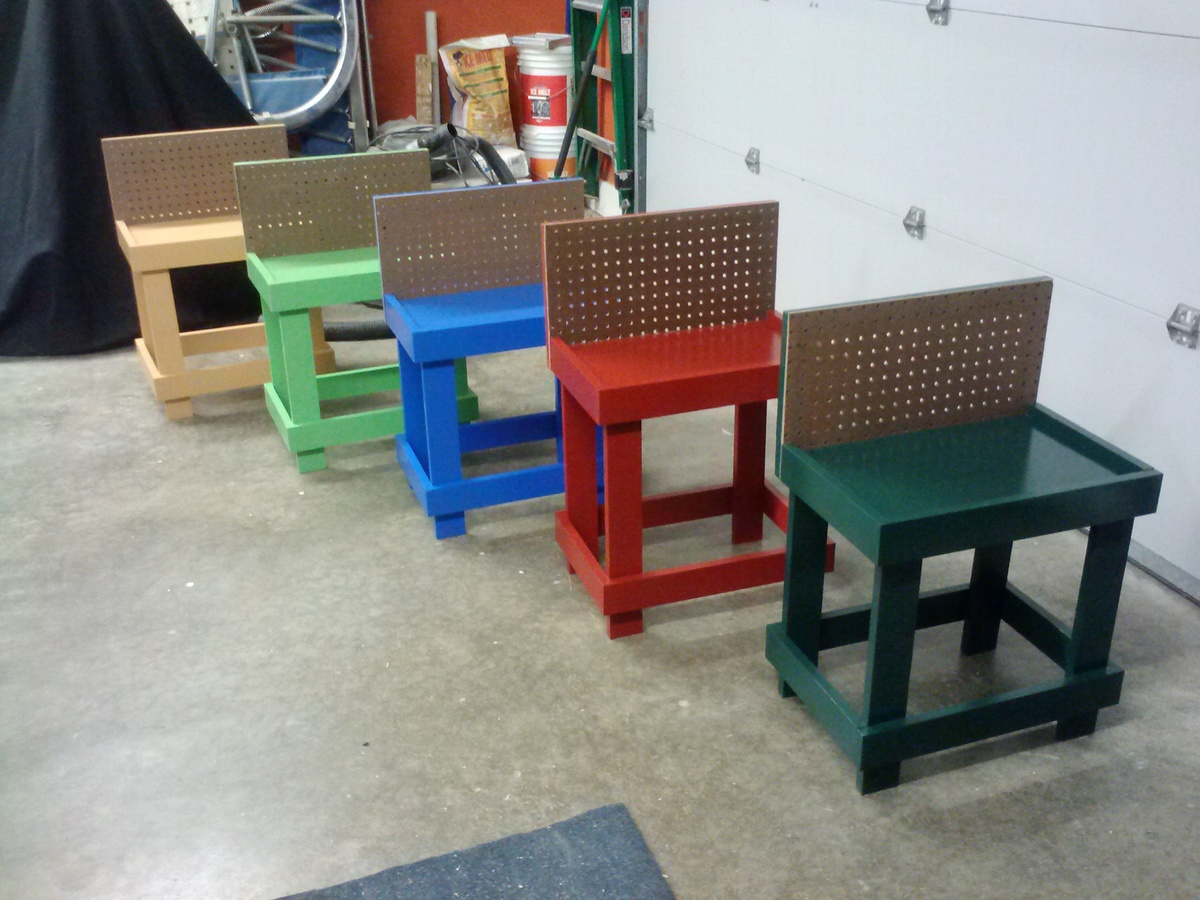
Second project for annual church craft show. Loved the idea of using pegboard, so I modified it accordingly. Guessed at cost as we bought 2X6s and 2X12s on clearance and ripped them down ourselves which brought the cost down.

Built from Plan(s)
Estimated Cost
$7
Finish Used
Behr Plus, sorry don't have color name.
Recommended Skill Level
Beginner

Great project!

Submitted by Anonymous (not verified) on Sat, 03/23/2019 - 10:56
This project was easy to follow and to build!  My only criticism is the "under $20" cost estimate was way off.  If you're actually buying materials and using pressure treated lumber (which seems like an obvious choice), it ran more like $55ish (lumber, hardware, wood glue (ours was dried out and is something we normally have on hand).  I think most people looking for a project would be wanting a total top cost and be happy to subtract what they may have on hand.  We also happened to have some yoga-mat foam and a flannel backed vinyl tablecloth and staples/staple gun for upholstering the seats.  I figured this was a more weather-proof option.  Our little 3 have been on it non-stop!  Definitely a win!
Built from Plan(s)
Estimated Cost
55
Estimated Time Investment
Afternoon Project (3-6 Hours)
Finish Used
None yet - may stain later...
Recommended Skill Level
Starter Project

Trinket and Sign Board

Submitted by Anonymous (not verified) on Thu, 02/16/2023 - 12:03

Just a few boards put together and added three shelves for trinkets. Main reason for the shelf is to hang a sign with statements like" LIFE IS BETTER IN THE COUNTRY" LIFE IS BETTER BEING RETIRED. ACTUALLY, THE ADDED SIGN IS WHATEVER YOU FANCY

Upholstered bench

I loved working on this easy upholstered bench. It was so much fun and so simple. I followed the plan except I raised the bench to 20 inches, because my husband and I are quite tall. I also wrapped the fabric underneath about 1/2 inch and stapled it so it has a tighter look. Thanks for the plans Ana!

Built from Plan(s)
Estimated Cost
$40
Estimated Time Investment
Afternoon Project (3-6 Hours)
Finish Used
Walnut Stain
Recommended Skill Level
Starter Project

Comments

Media Center

Submitted by Greenmet29 on Sat, 10/19/2013 - 09:44

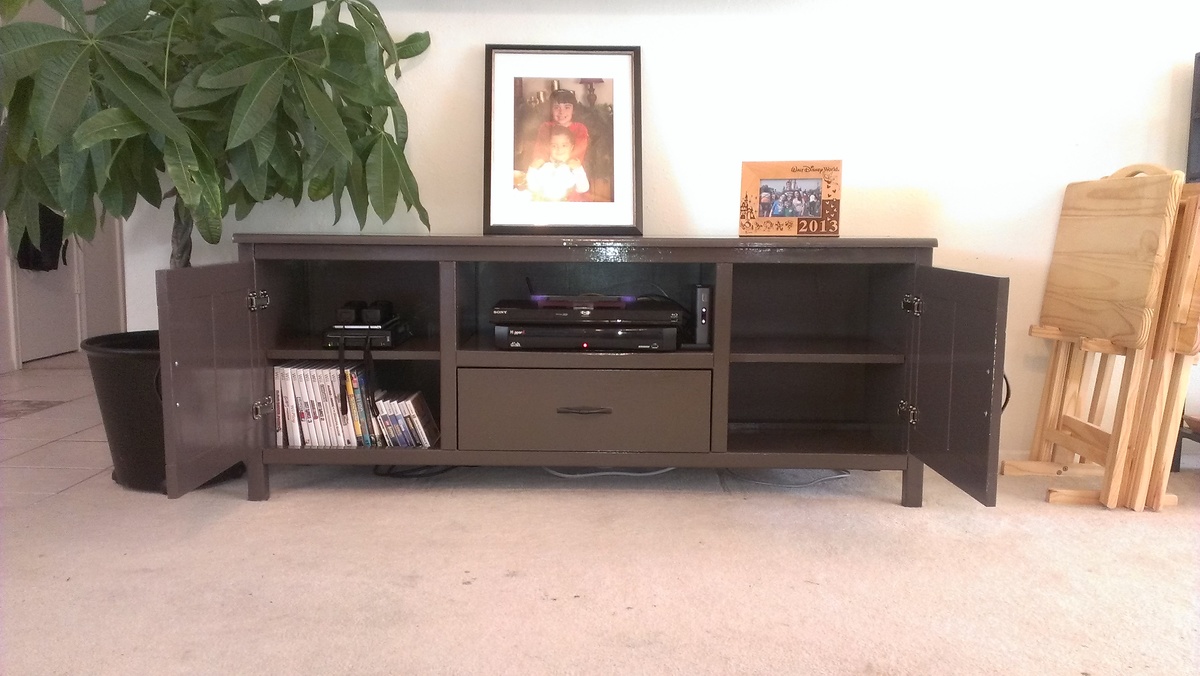
I had a ton of fun making this media console! It is my second big project, and I would still consider myself a beginner, but I paid very close attention to detail and I think it turned out great!

I stretched the console out by about 4 inches, so that if I ever decide to put my TV on it, it will fit.

Thanks Ana for your great website!

Built from Plan(s)
Estimated Cost
$150.00
Estimated Time Investment
Week Long Project (20 Hours or More)
Finish Used
Three coats of stone hearth semi gloss and 3 coats of minwax polycrylic.
Recommended Skill Level
Intermediate

Sliding Barn Door Media Cabinet

Submitted by Anonymous (not verified) on Tue, 01/05/2016 - 10:27

Thank you so much for the plans! Very excited for how it turned out!

Built from Plan(s)
Estimated Time Investment
Weekend Project (10-20 Hours)
Recommended Skill Level
Beginner

Comments

Tracyjoe

Sat, 01/06/2018 - 18:52

I have built the cabinet part of the sliding barn door cabinet. I am trying to build the doors out of the 1/2” plywood for the back as suggested. The plywood is warping and I am not sure what options I have to salvage the plywood.

Rustic shelves

Submitted by ogie287 on Fri, 03/29/2019 - 18:06

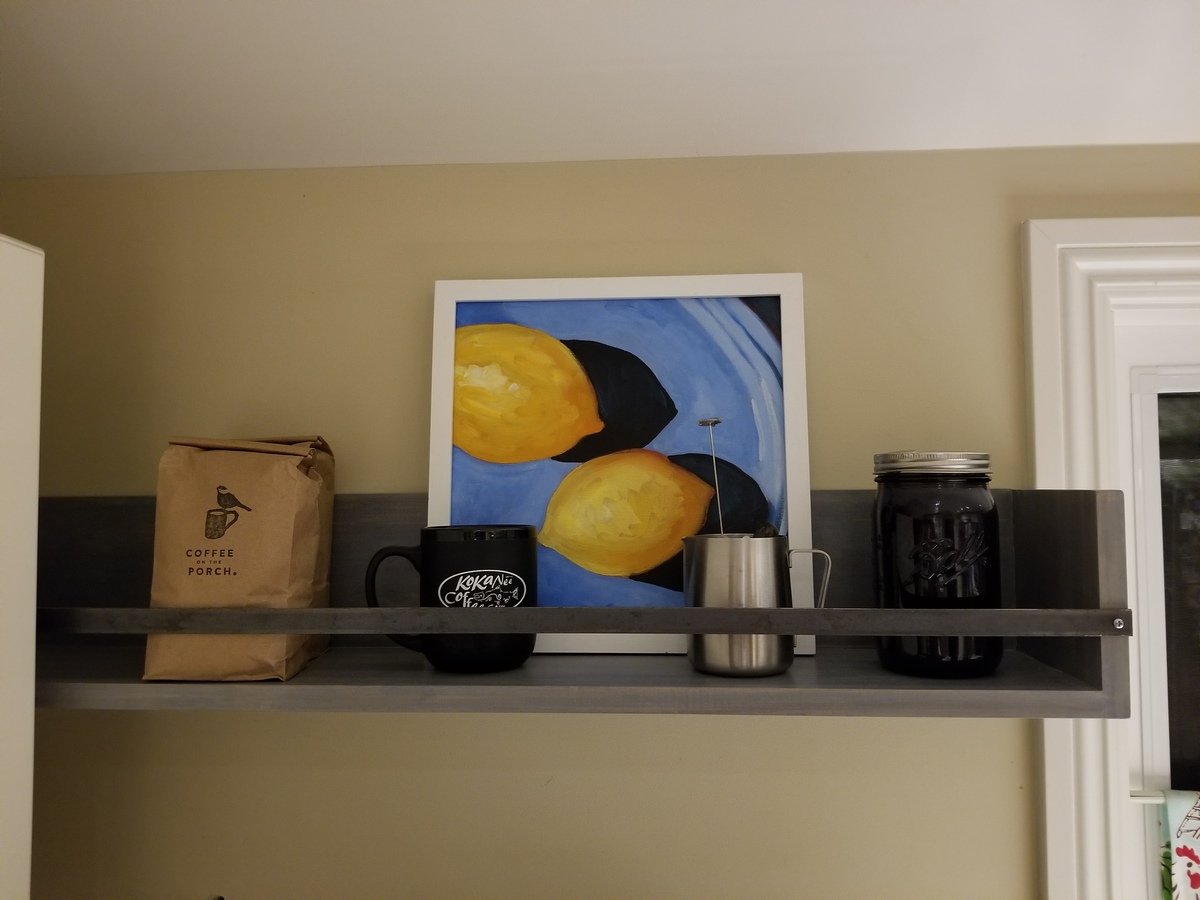
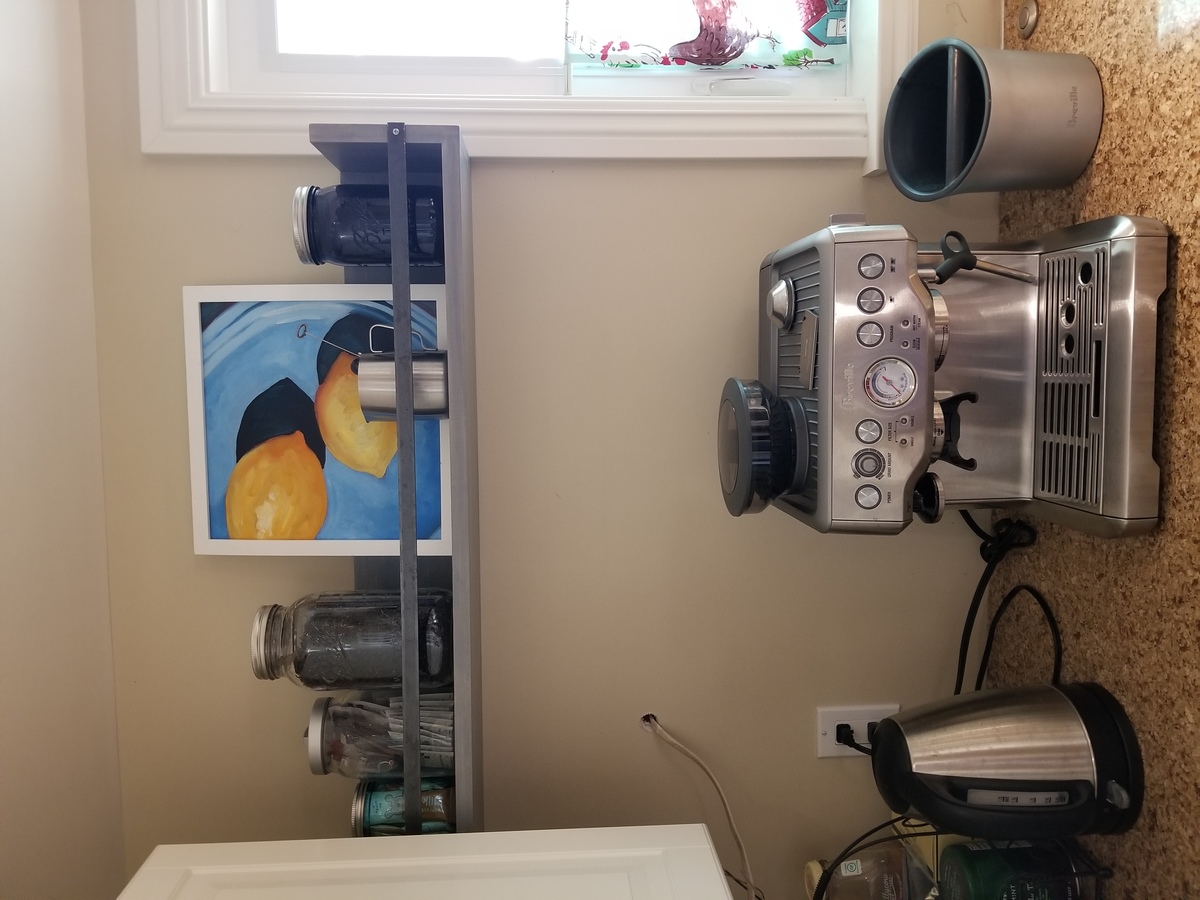
I love the look of these shelves. I needed something for the wall space to either side of the kitchen window and sink. The ceiling slopes down at least a foot on that wall so there's less space for cabinets and putting up cabinets that fit the space wasn't working. Shelves were the answer. The pictures show only the left side of the window/sink, but I did put up a matching shelf on the right side. I used a 1x8 for the shelf and 1x6 for the back.

Built from Plan(s)
Estimated Time Investment
Afternoon Project (3-6 Hours)
Finish Used
1 coat weathered gray stain, 1 coat antique white stain, 2 coats matte polyurethane
Recommended Skill Level
Beginner

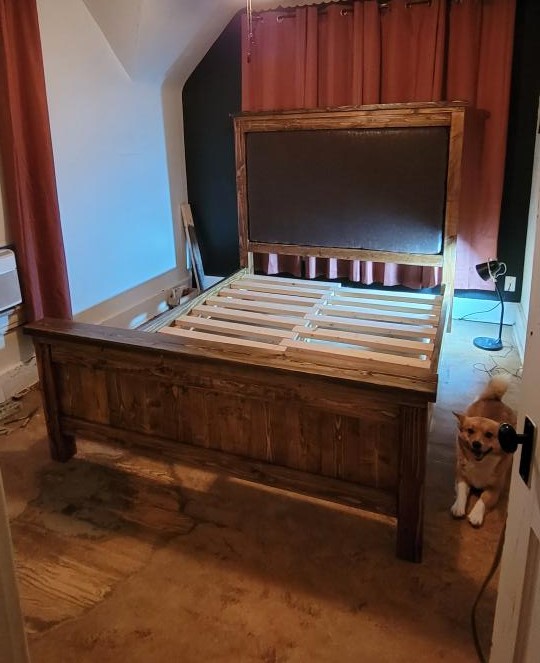
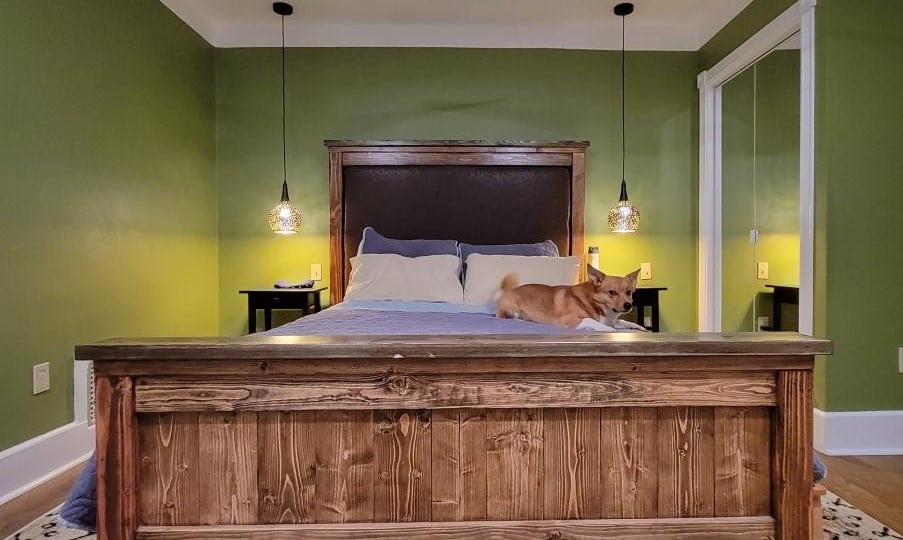
Upholstered Farmhouse Bed - Modified Plans

Submitted by Anonymous (not verified) on Mon, 02/20/2023 - 14:45

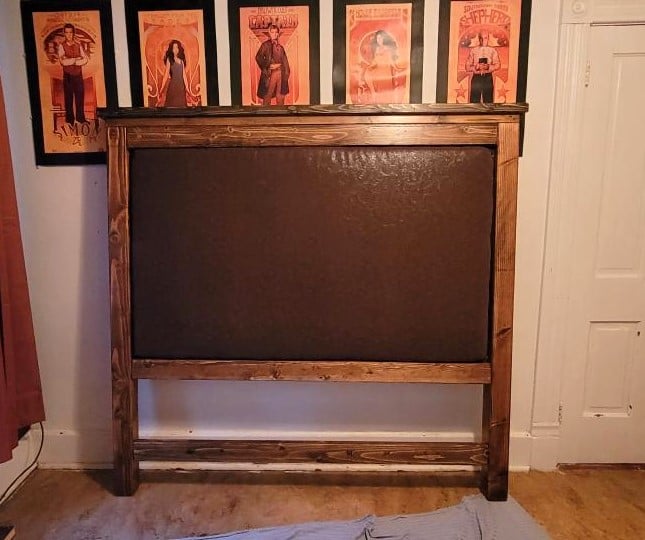
Apologies if the photos are upside down - they were rightside up when I uploaded, but flipped on me ????

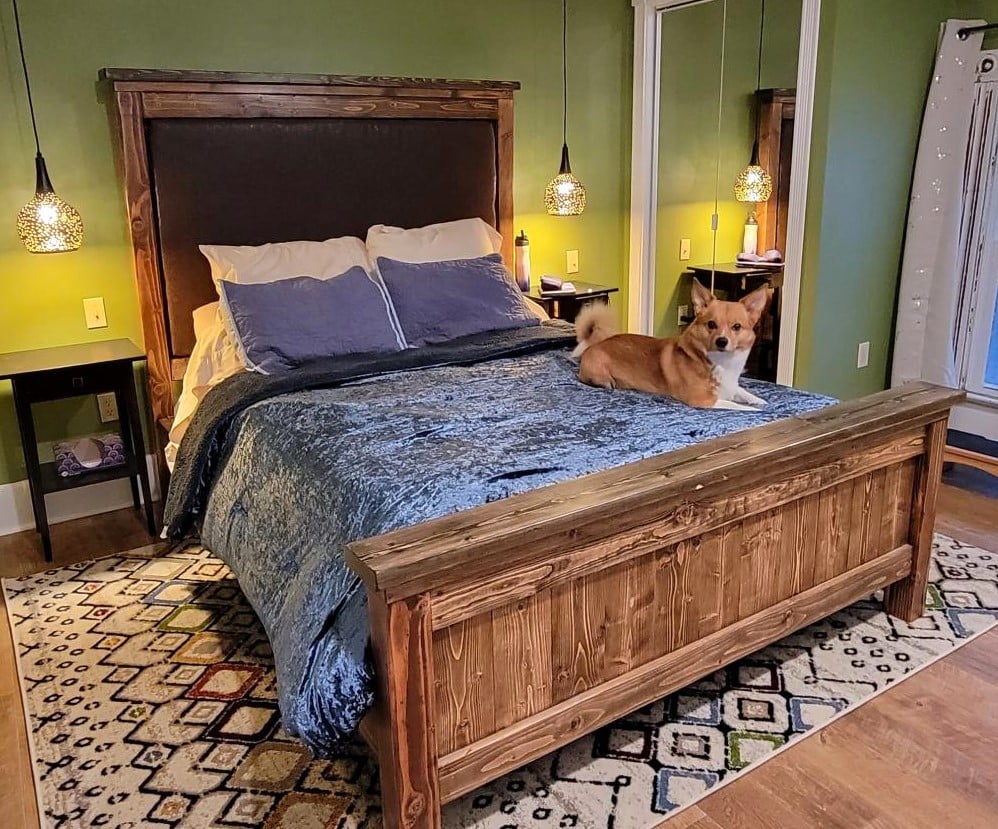
I wanted an upholstered headboard, and my house is 121 yrs old, so a farmhouse vibe fits.

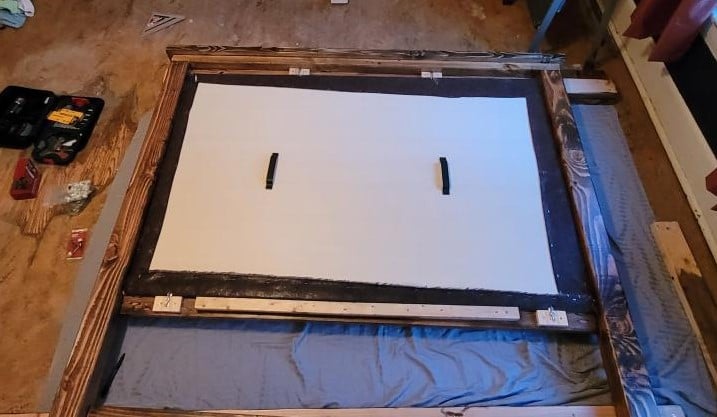
I modified Ana's Queen Farmhouse Bed Plan so that instead of mirroring the footboard design for the headboard, I created a foam-and-upholstery-covered plywood panel that inserts from the back, like a picture frame. It's held in place with storm door toggles, with a support cleat on the back, and and low-profile handles to make manhandling it easier. The insert comes out so it can be re-upholstered easily enough if ever desired. I made the entire unit 3" taller than Ana's plans so that when sitting up against the headboard, my skull is supported by foam instead of wood. It's also anchored to the wall with anti-tip hardware for safety.

The entire bed comes apart into 6 pieces for moving: Headboard frame, upholstered panel, footboard, center support, and the side pieces. The slats are screwed only to the side boards, and fit together like combs across the top of the center support beam. The sides are attached to headboard/footboard with standard bed frame hardware, and I had some joist-hangers from another project that I used as cleats for the center support beam to connect it to the head/footboard.

I designed the modifications in SketchUp, and my mum and I built it during our weekends over about a month using tools borrowed from other family members. Total cost, including the lumber, upholstery foam, fabric, hardware, etc, was about $350 in 2019.

Built from Plan(s)

Comments

Ana White Admin

Tue, 02/21/2023 - 08:52

Love this and the way you framed it out to easily change the look with the upholstery portion! Thank you for sharing, I got those photos fixed for you:)

Princess Pocket Bookshelf

Submitted by Ana White on Tue, 11/01/2011 - 23:15

I pinned, I built and today I post!

 
Last week when I teamed up with Katie, Sherry and Erin 


To host the Pinterest Challenge Fall Edition (not affiliated directly with Pinterest), I joined them to not just challenge myself to complete a project from my pins, but to challenge you as well.


Because who isn't guilty of pinning and pinning ... and never getting around to nailing and cutting and gluing and screwing?  As charged.
 
I love participating in the Pinterest Challenges put on by Sherry of Young House Love and Katie of Bower Power because it's fun, I get to meet great new people, challenge myself, and get super inspired by others projects.  I hope you participated in today's Pinterest Challenge, and will share your project with us today!  I've created a Link party for those of you who blog, and if you don't blog, you can always upload a brag post right here (you have to be a member of our site) and then link the brag post up.  Make sure you let everyone know your project is part of the Pinterest Challenge - you can use the graphics above.  So looking forward to seeing your projects!
 
But first, I'm pretty darn excited to share with you my Pinterest Challenge Project.  This is a first for me, to share the plans, then build and brag afterwards.  It was fun and my project turned out better because I had some time to think of ways to modify the project and read your comments.  
 
So here's my original Pin:


Source: kidsrooms.co.uk via Ana on Pinterest


And then here is the plan I designed


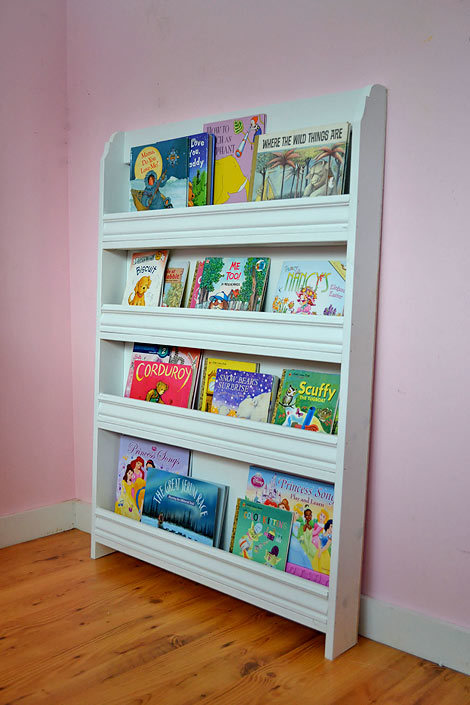
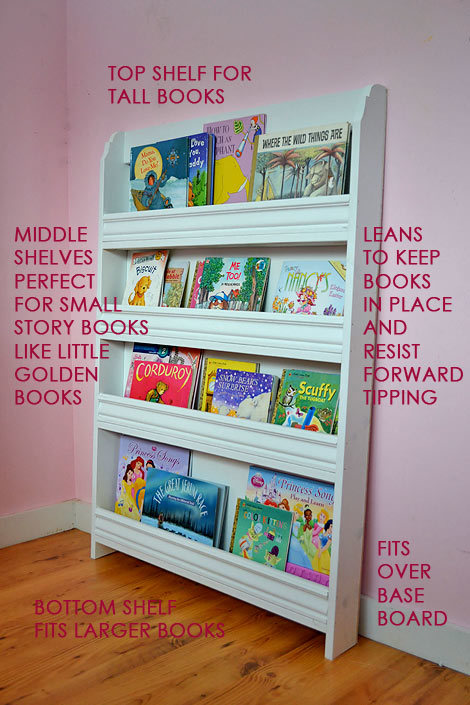
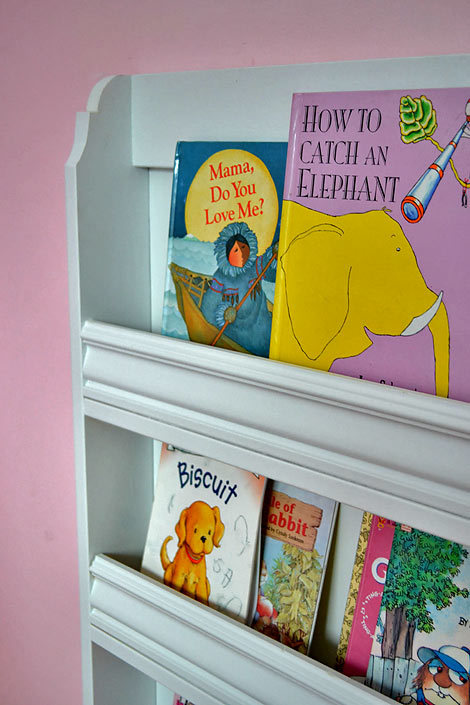
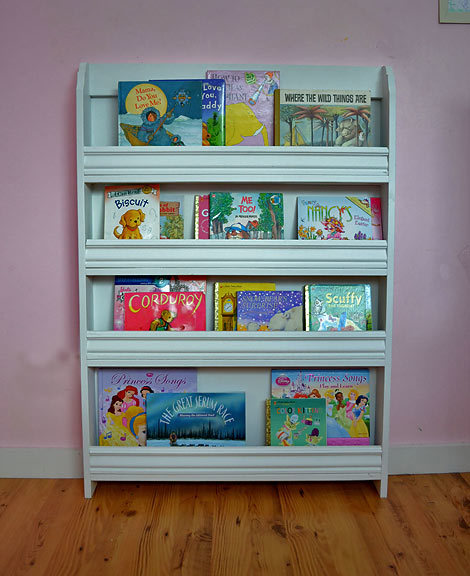
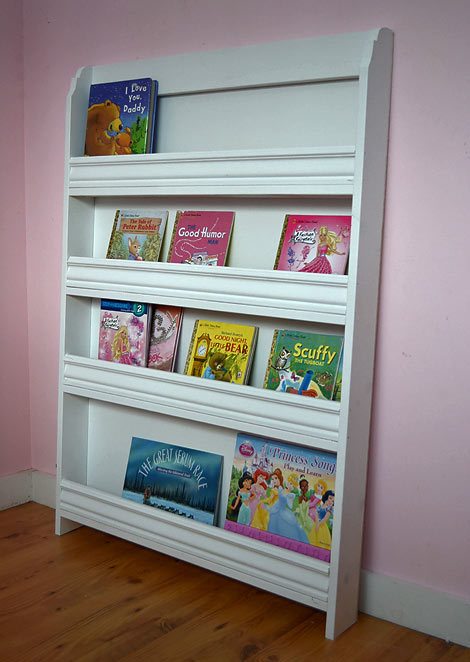
And this is what I built from the plan:
 
 
Thank you so much for the Pinterest Challenge - because now my daughter has a beautiful forward facing bookshelf!  
 
 
We especially love this bookshelf because it fits her books just perfect, leans just right over the baseboard, and keeps all the books leaning back and not falling forward.


Modifications

The structure of this bookshelf is the same as the plan.  But I did use 1x4s for the shelves and sides to hold more books, and because I choose to use moulding for the shelves instead of the 1/4" plywood.  I also cut the tops of the sides out with a notched arch shape ... it's the little things that take basic and make them fit for a princess.
 

Materials

We used solid wood for all the components and 1/4" PureBond Plywood for the back - so not only is this bookshelf functional and attractive, but it's also good for the indoor air quality of my home.  
 

Time

Building this bookcase took about an hour, and my husband sprayed it with white primer and paint.  We used a simple handheld sprayer - results are amazing.
 

Cost

The materials cost for this bookshelf run right around $35, not including paint and primer and screws - as I buy them in bulk.  There's definitely room to shave costs if your budget is tighter.
 
 
Well, enough about me - I really am looking forward to seeing your projects!  If you took the Pinterest Challenge (awesome, thanks for joining us!!!) it's time to share.  
 

If you've blogged or bragged, you can simply

  1. Click on the blue “Add Your Link” button at the bottom of the thumbnails
  2. Add a link to this post from your specific blog post about your project in the url field (not your home page)
  3. Give your project and appropriate name cause thumbnails are so tiny, a good name really helps!
  4. And please share the love and quickly link back over to our project posts within your own (here’sKatie’sAna’sErin’s, and ours) – it’s also nice to link to your inspiration project on Pinterest as well as to directly link to the original project/site, just so they get some love too.

Can't wait to see your projects!
 
 
Built from Plan(s)
Estimated Time Investment
An Hour or Two (0-2 Hours)
Finish Used
Primed and painted white with handheld sprayer
Recommended Skill Level
Beginner

Comments

Fiona (not verified)

Wed, 11/02/2011 - 20:20

No tools here, but I love the idea. Bookshelves are not working so well for us right now.

momsthewordus

Sat, 01/21/2012 - 14:15

I can't wait to make this for my girls. I'm planning on two tall, narrow shelves to go on either side of a desk. Thanks for the awesome plans and inspiration!

lankylee76

Wed, 12/10/2014 - 07:50

I love this plan and want to build one for my son's room. Can you tell me how you secured the molding to the sides? also, did you use 5 or 10 degrees for the bottom of the sides? thanks!

lankylee76

Wed, 12/10/2014 - 07:50

I love this plan and want to build one for my son's room. Can you tell me how you secured the molding to the sides? also, did you use 5 or 10 degrees for the bottom of the sides? thanks!

Coffee table

Submitted by meghanwb on Tue, 10/22/2013 - 19:16

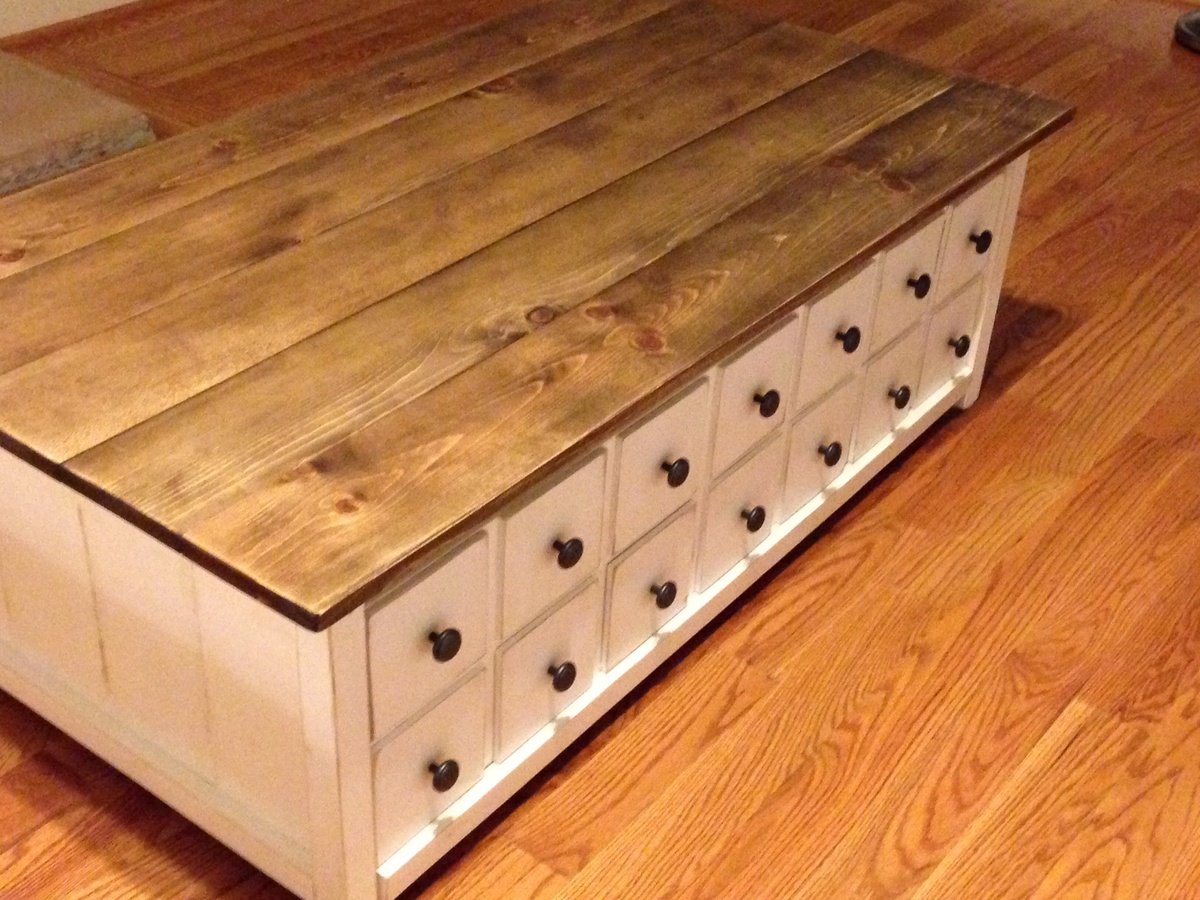
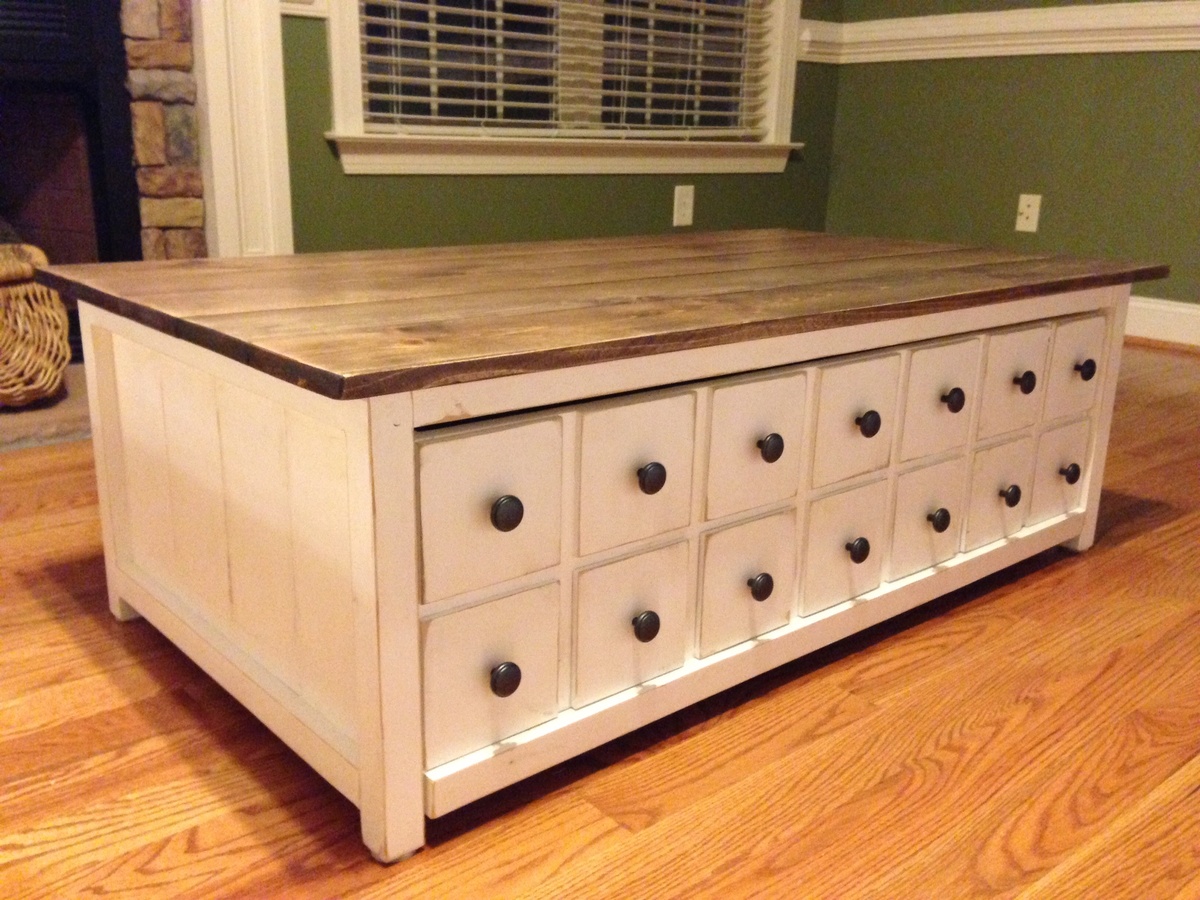
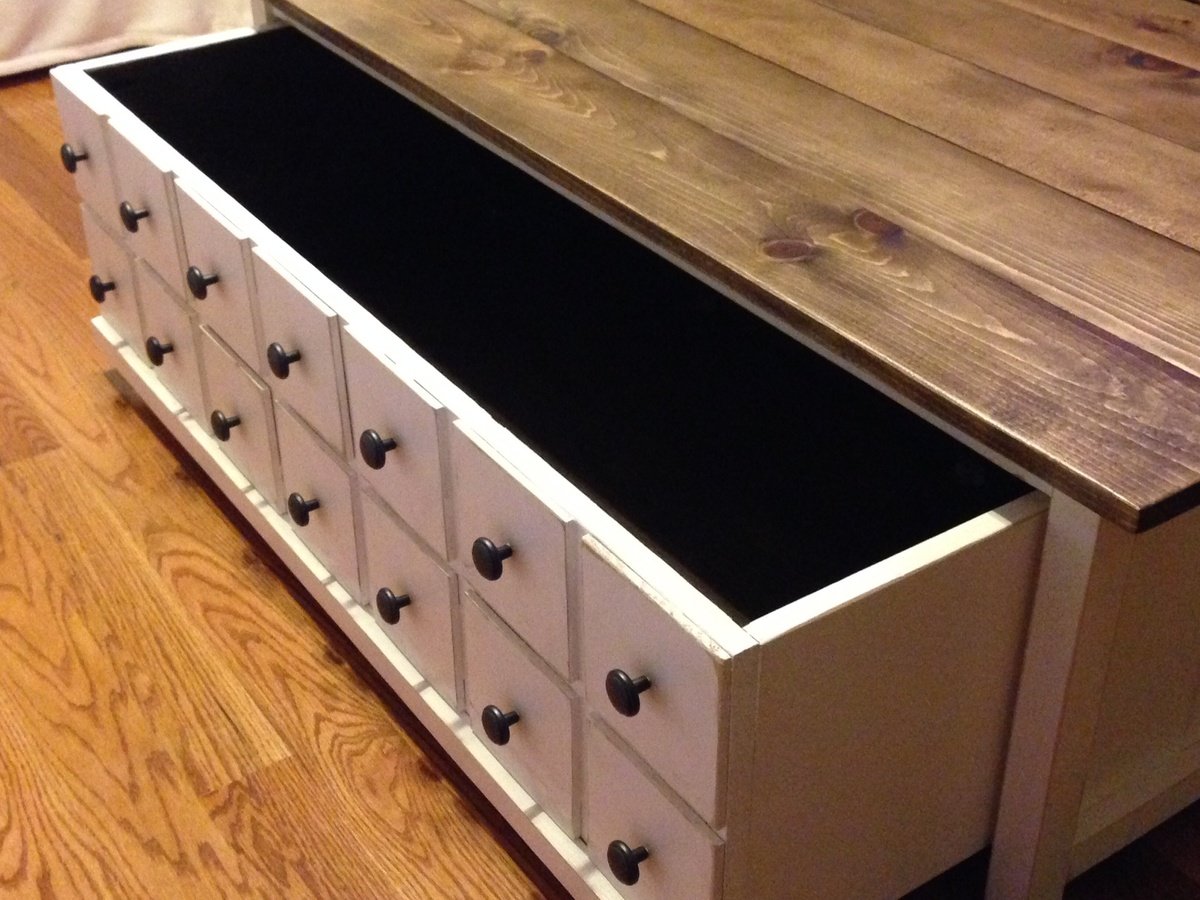
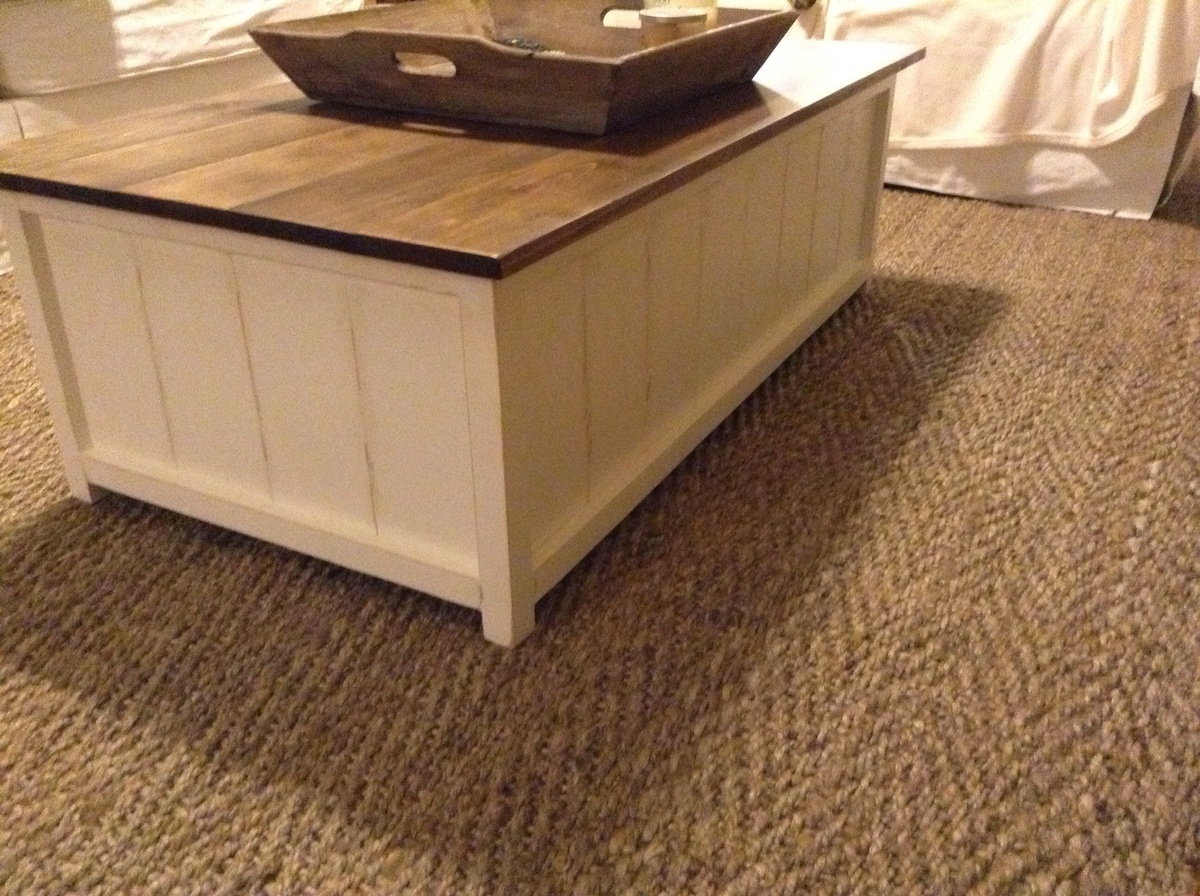
Love how this turned out! Great build, added a back to the table. It looks awesome in our living room.

Estimated Cost
$100
Estimated Time Investment
Weekend Project (10-20 Hours)
Finish Used
Minwax wood conditioner and minwax espresso stain for the top. Rub stain on and wipe off immediately. One coat and light sanding. Also did espresso on the interior of the box. Coffee distressing on top of the white base.
Recommended Skill Level
Beginner

Comments

bclute

Wed, 10/23/2013 - 17:48

Really nice finish. I am planning on building a table and I want the tabletop to look just like yours. I have never stained, but when you say rub stain and wipe immediately, what do you use to rub? Also what type of wood did you use for the top? Again, great job.

Farmhouse Table soon to be desk

Submitted by Anonymous (not verified) on Thu, 01/07/2016 - 06:32

I built a narrower version of the farmhouse table with a few modifications to be used as a temporary dining table, and eventual home schooling desk. I used 5/4 boards for the top and for the apron in order to get a smooth top and have a beefier support. I used a 4x4 for the cross brace with a half-lap to give more support to the stretcher and to stabilize the legs.

Estimated Cost
Under $100
Estimated Time Investment
Weekend Project (10-20 Hours)
Finish Used
A 50/50 mix of Minwax Provincial and Ipswich Pine, with two coats on the top and apron and only one on the legs. In the post it shows how much darker the legs were after the first coat of stain.
Recommended Skill Level
Intermediate

Easy Three Cube Benches

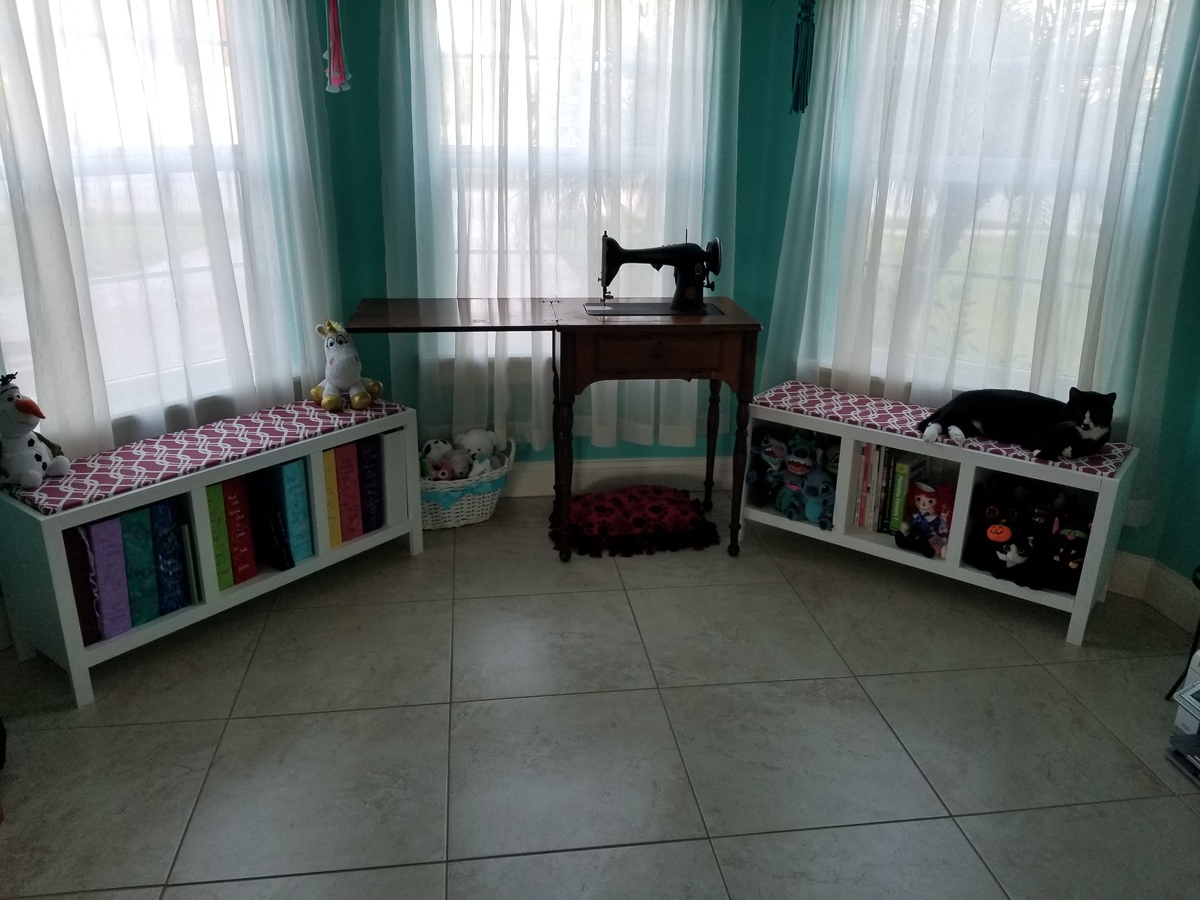
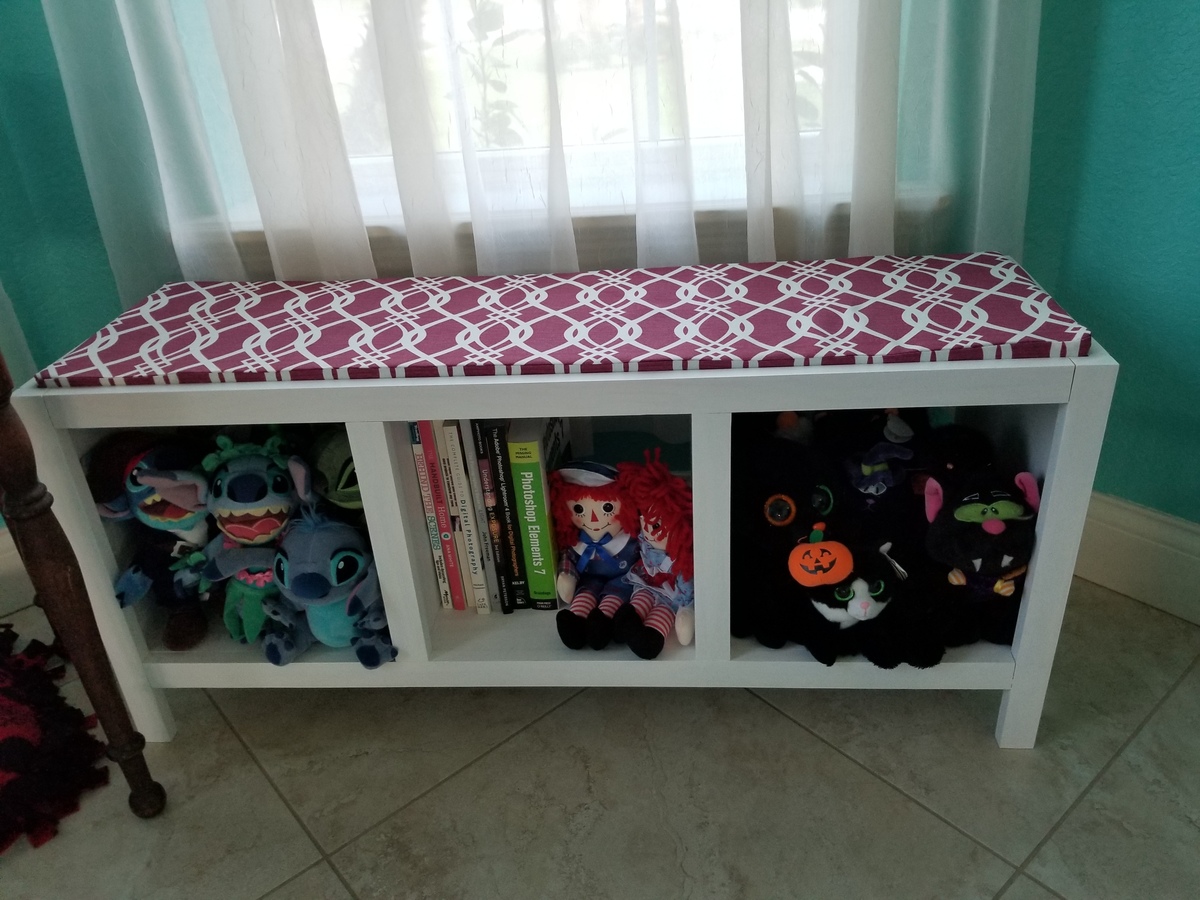
These Easy Three Cube Benches were my first project from Ana White's plans!  I love how the plans are broken down, making them easy to read and understand and I learned so much from the concepts!  The "build the box" concept is how I gained the confidence to build all of the furniture in my craft room myself!  I started with these Three Cube Benches, then designed and built a printer stand using the concepts I learned and, after that, finally finished an corner office/crafting desk.
Built from Plan(s)
Estimated Cost
$100
Estimated Time Investment
Afternoon Project (3-6 Hours)
Finish Used
Valspar Furniture Paint in Ultra White
Recommended Skill Level
Beginner