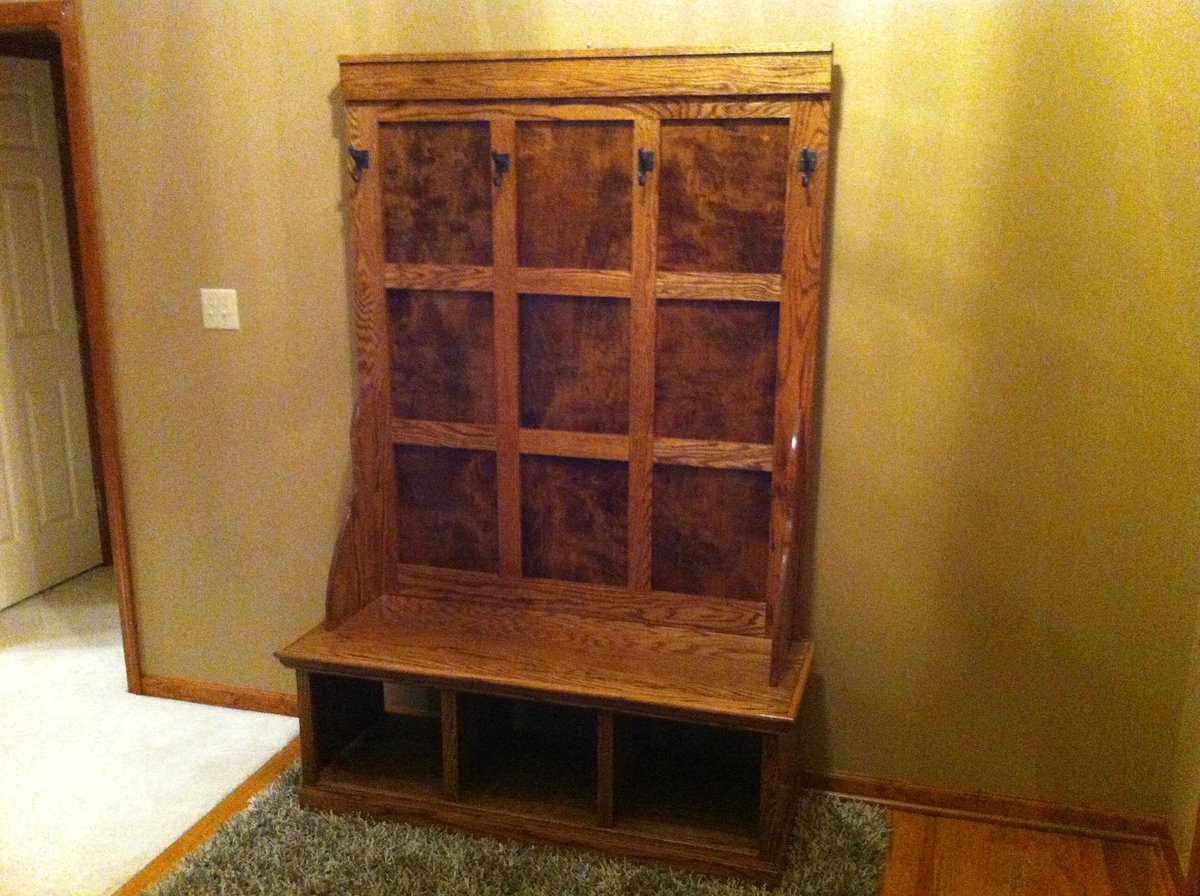
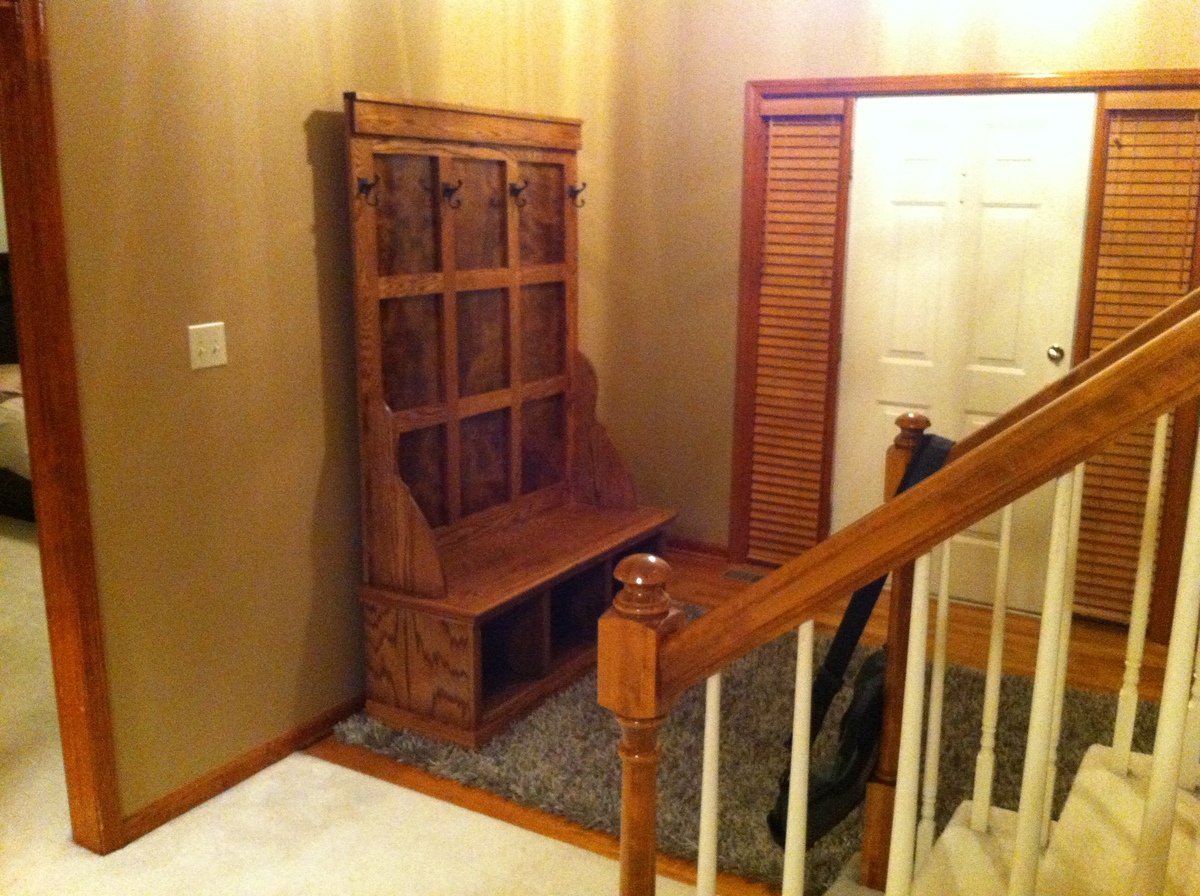
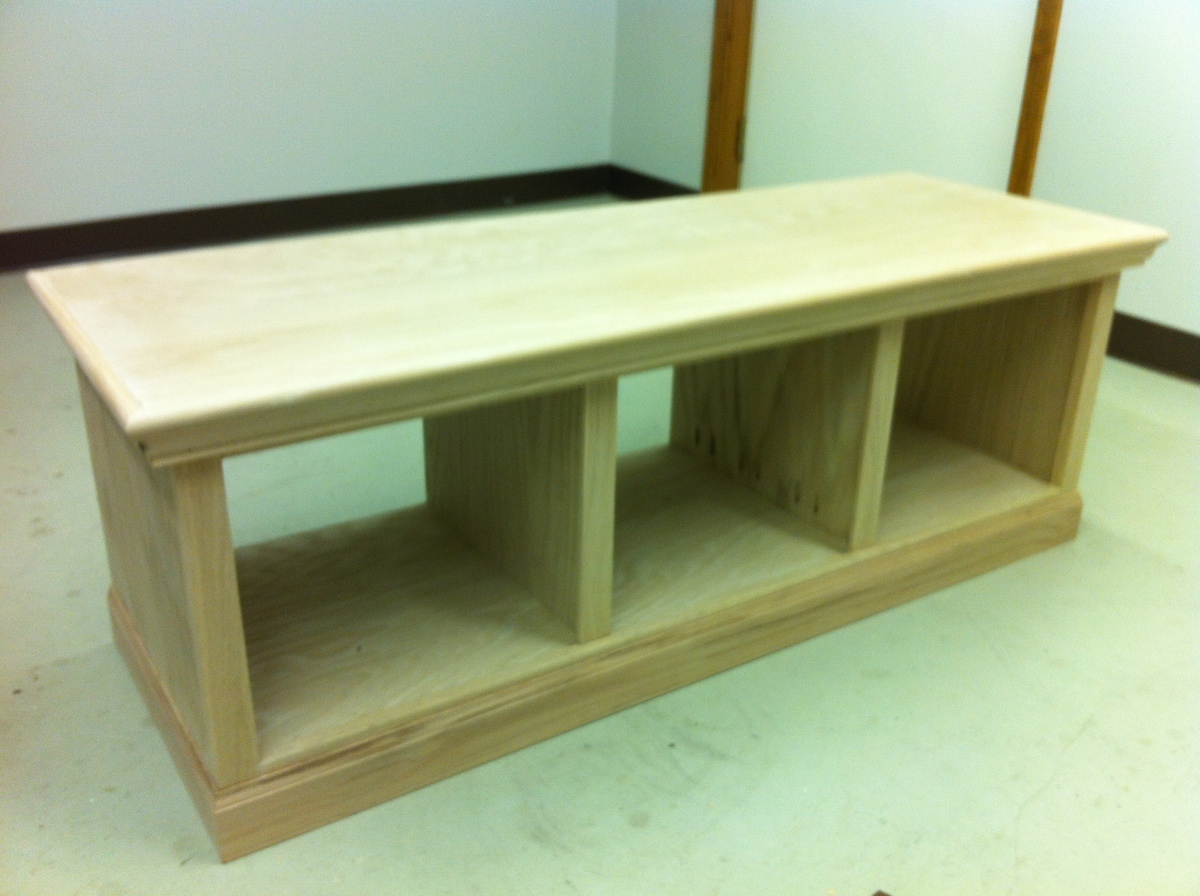
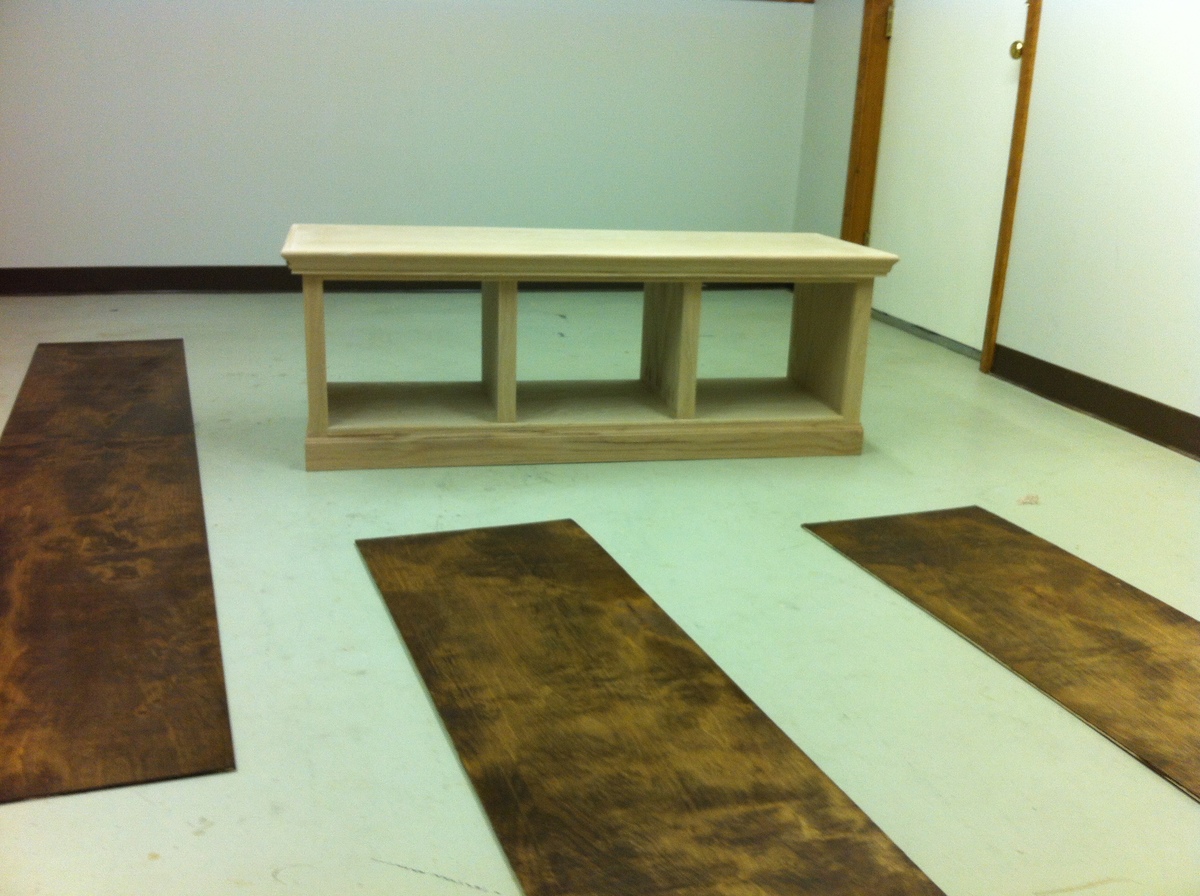
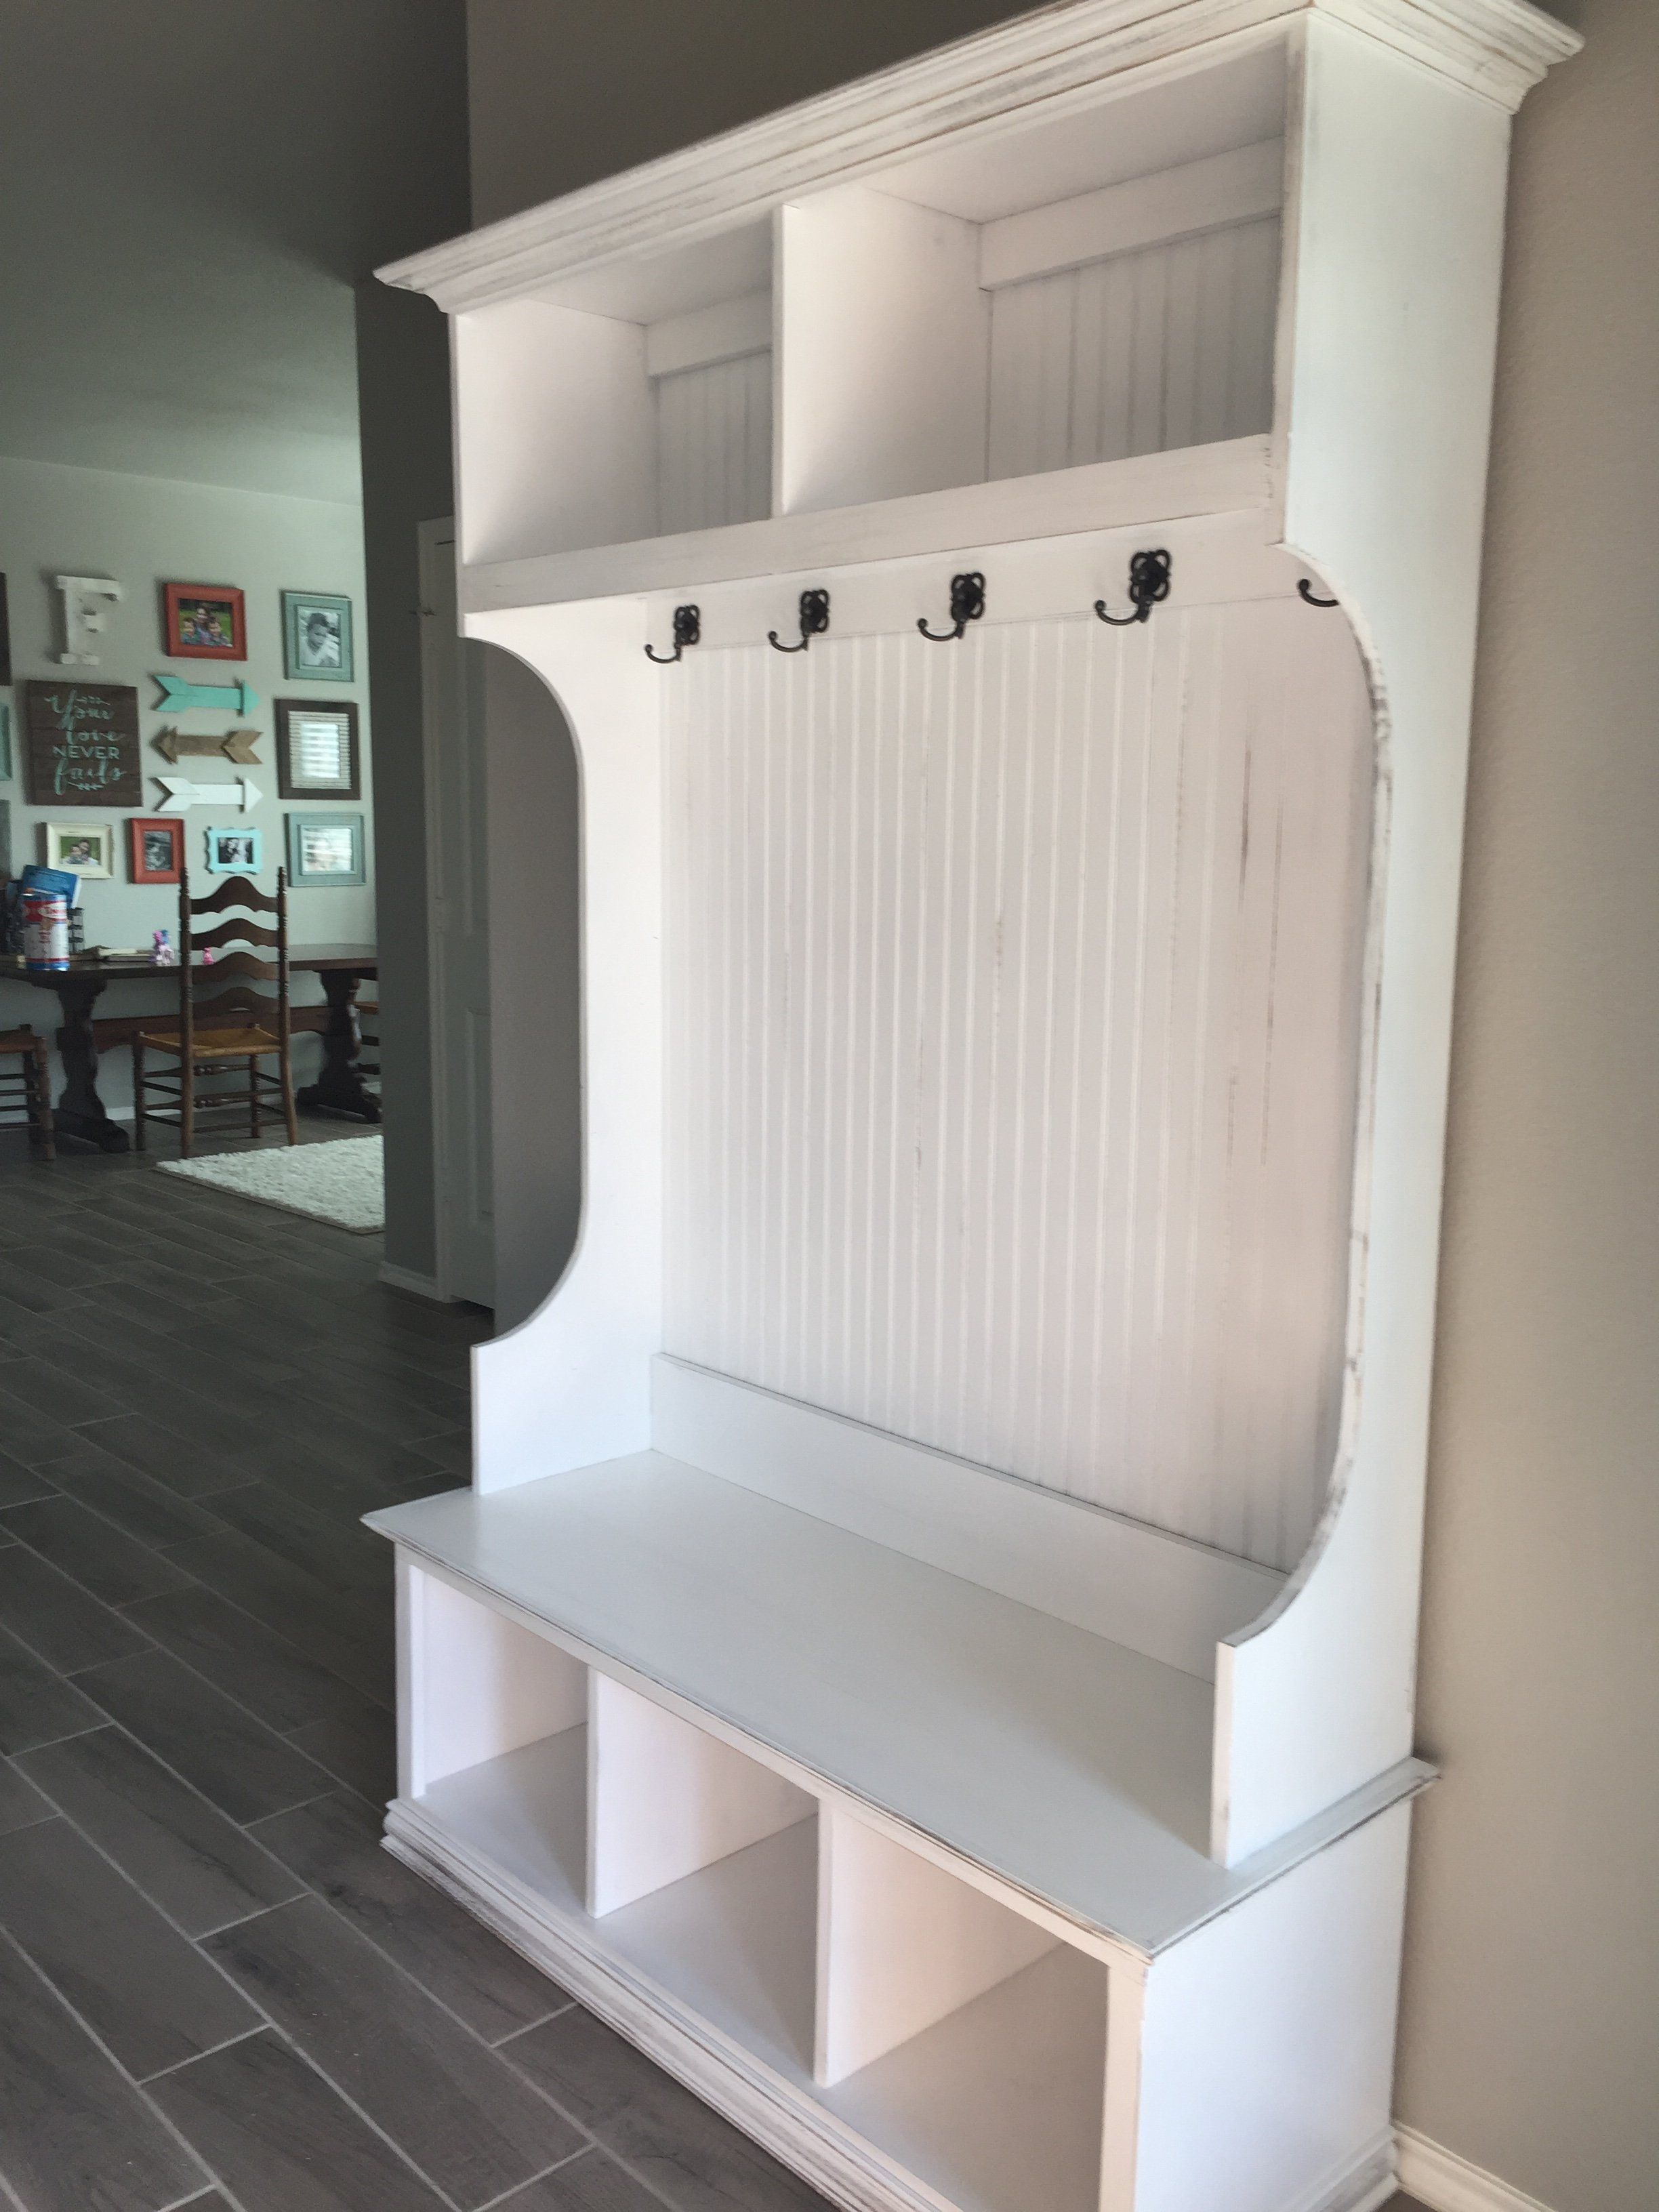
Fancy Pants Hall Tree
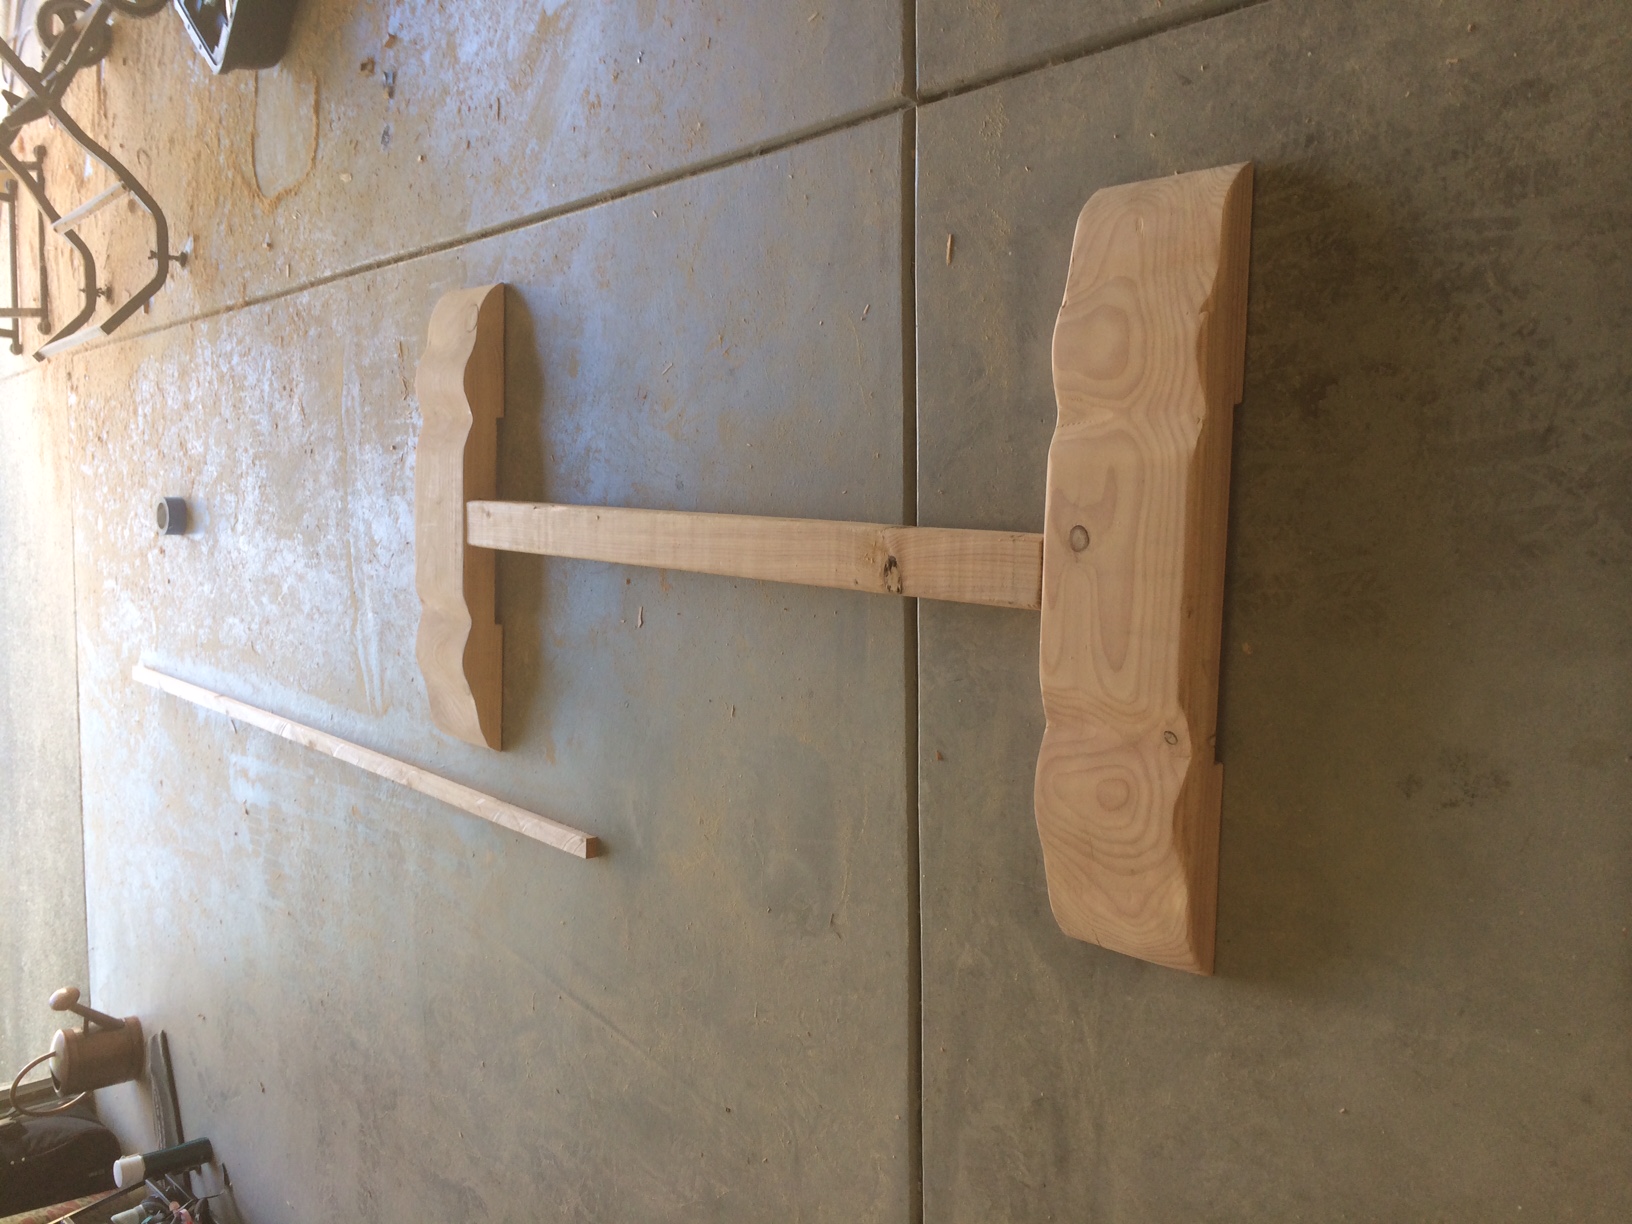
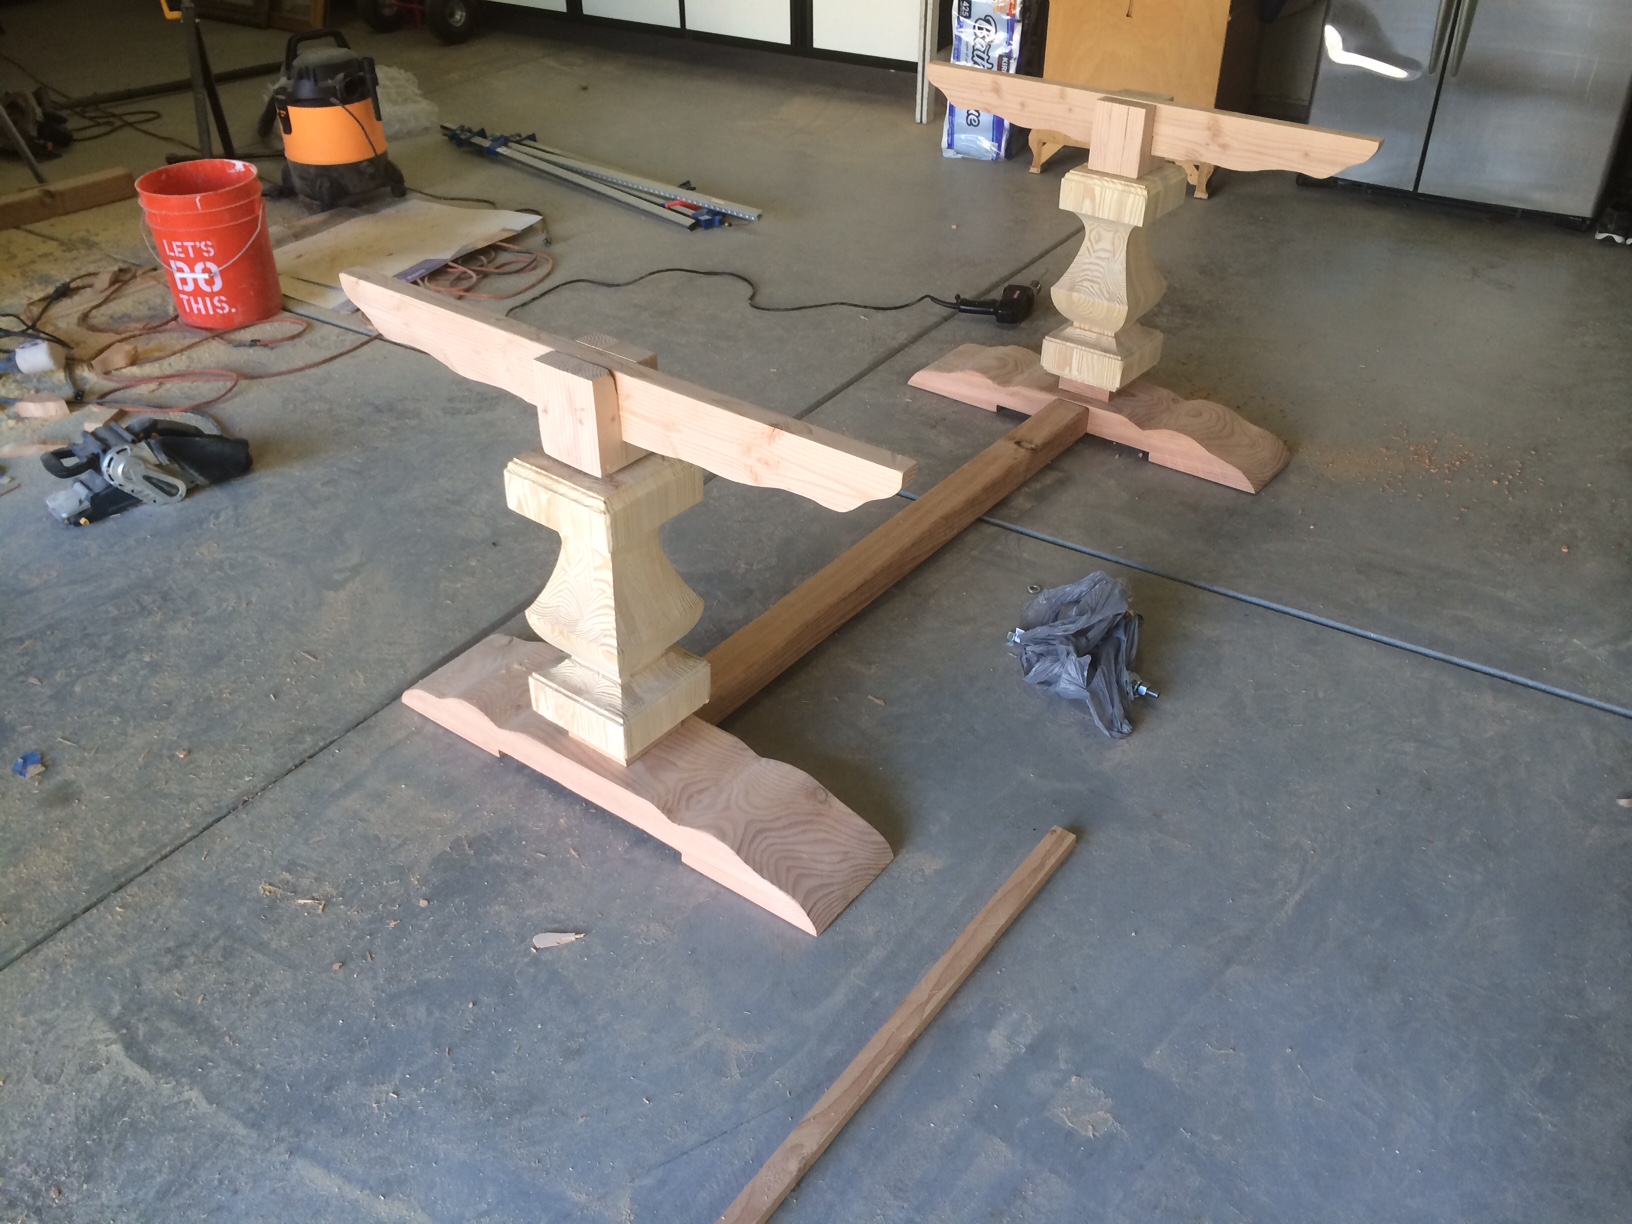
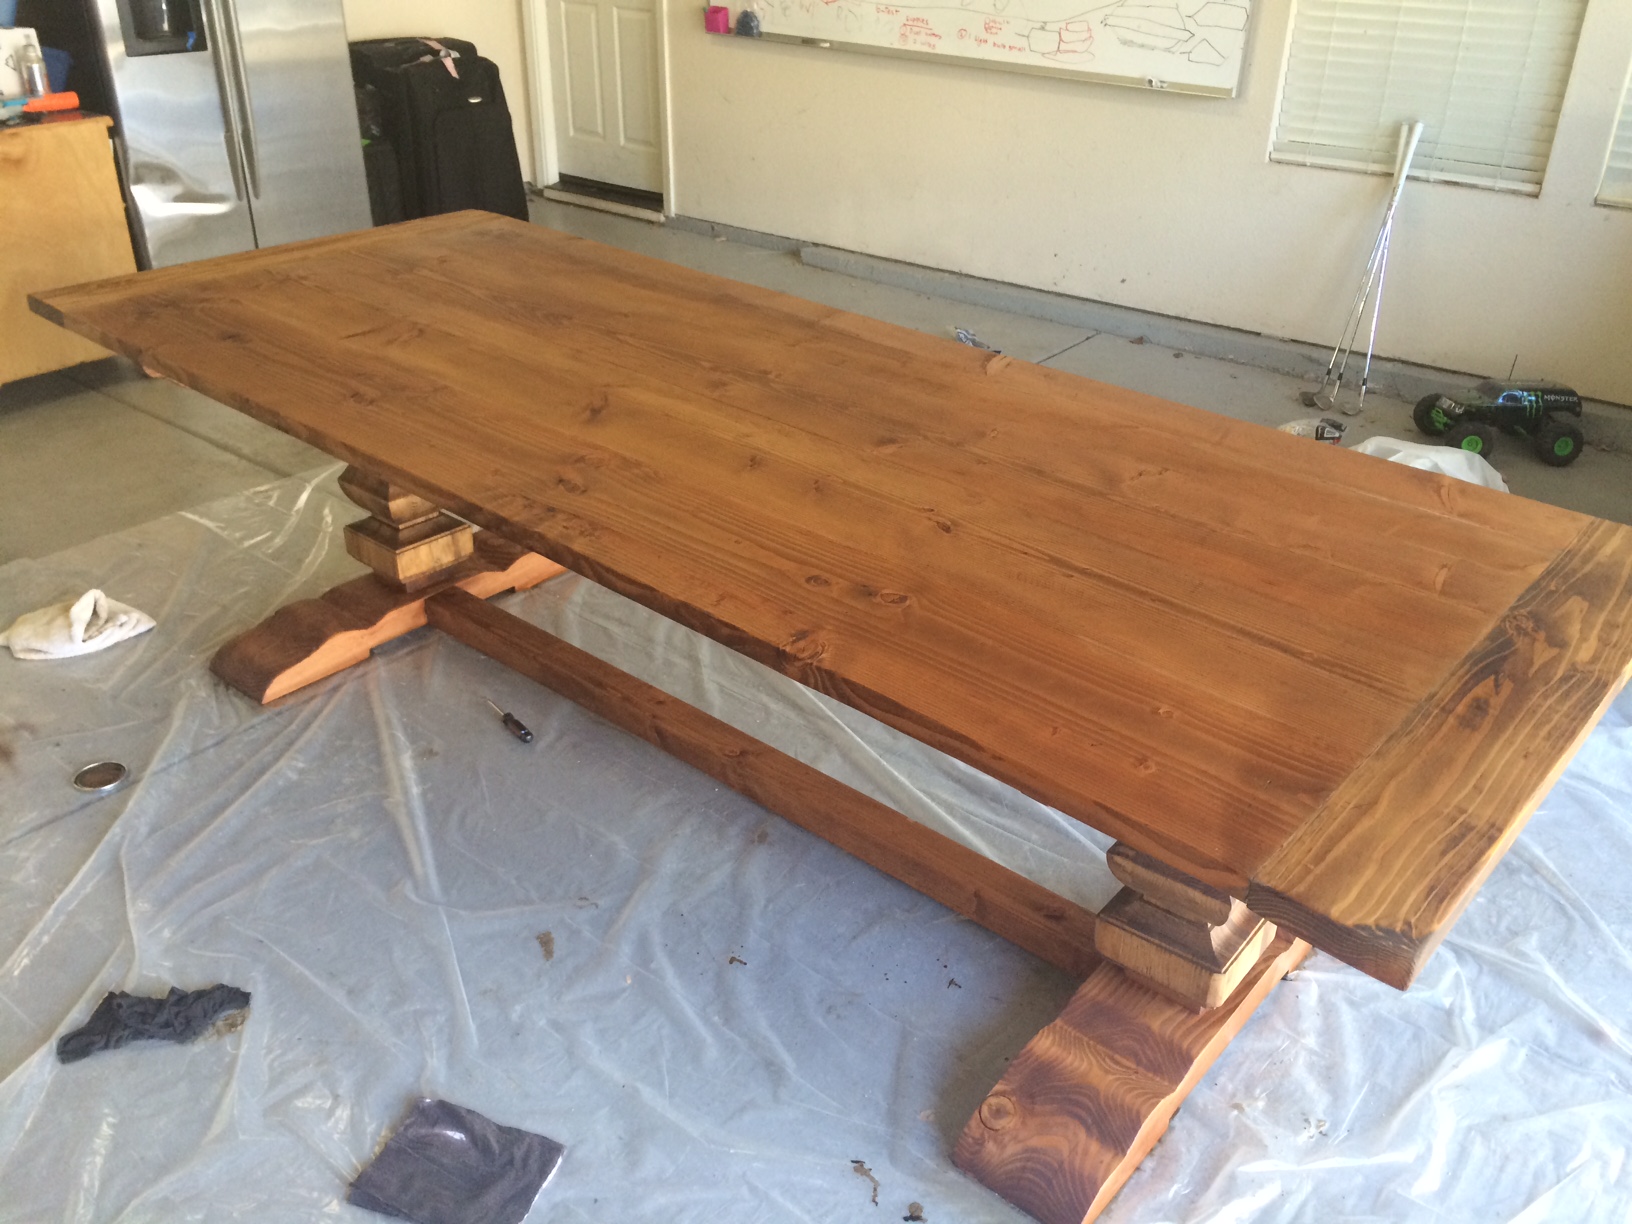
This is not my first build, as I built some tables for my shop using various plans.
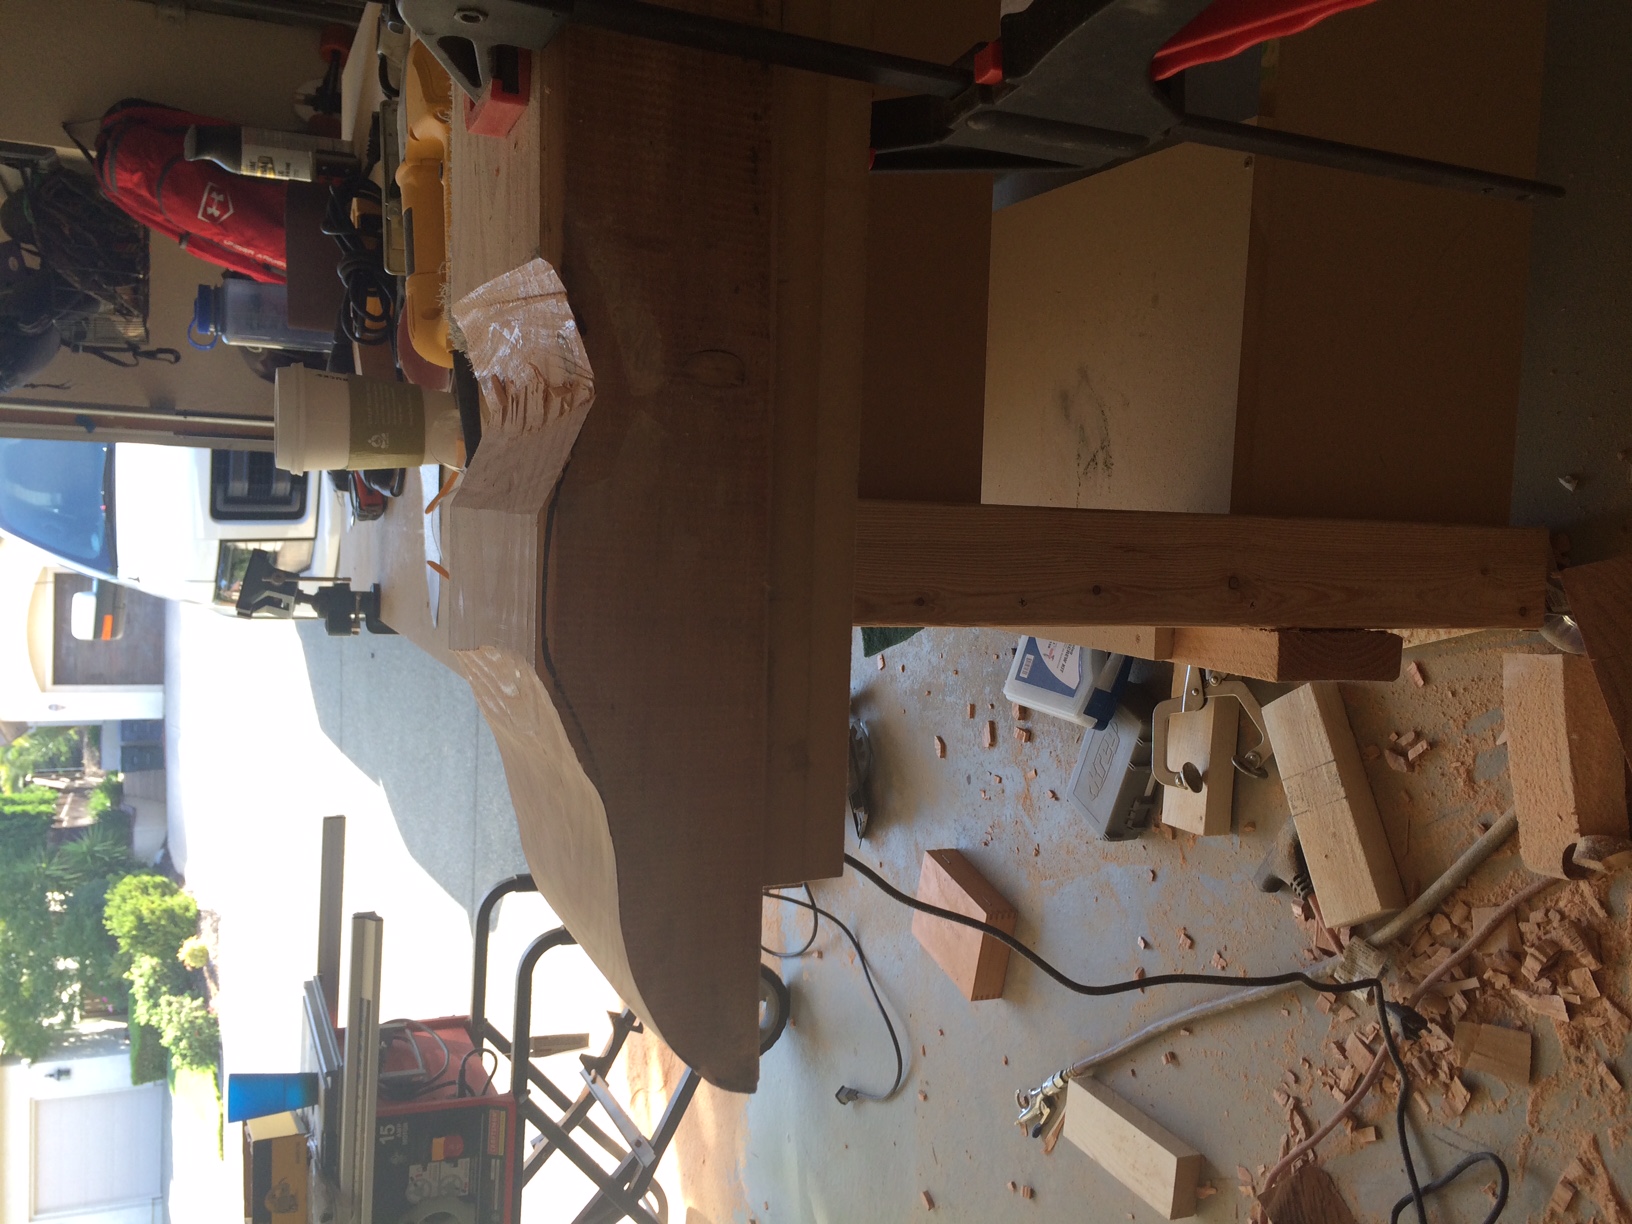
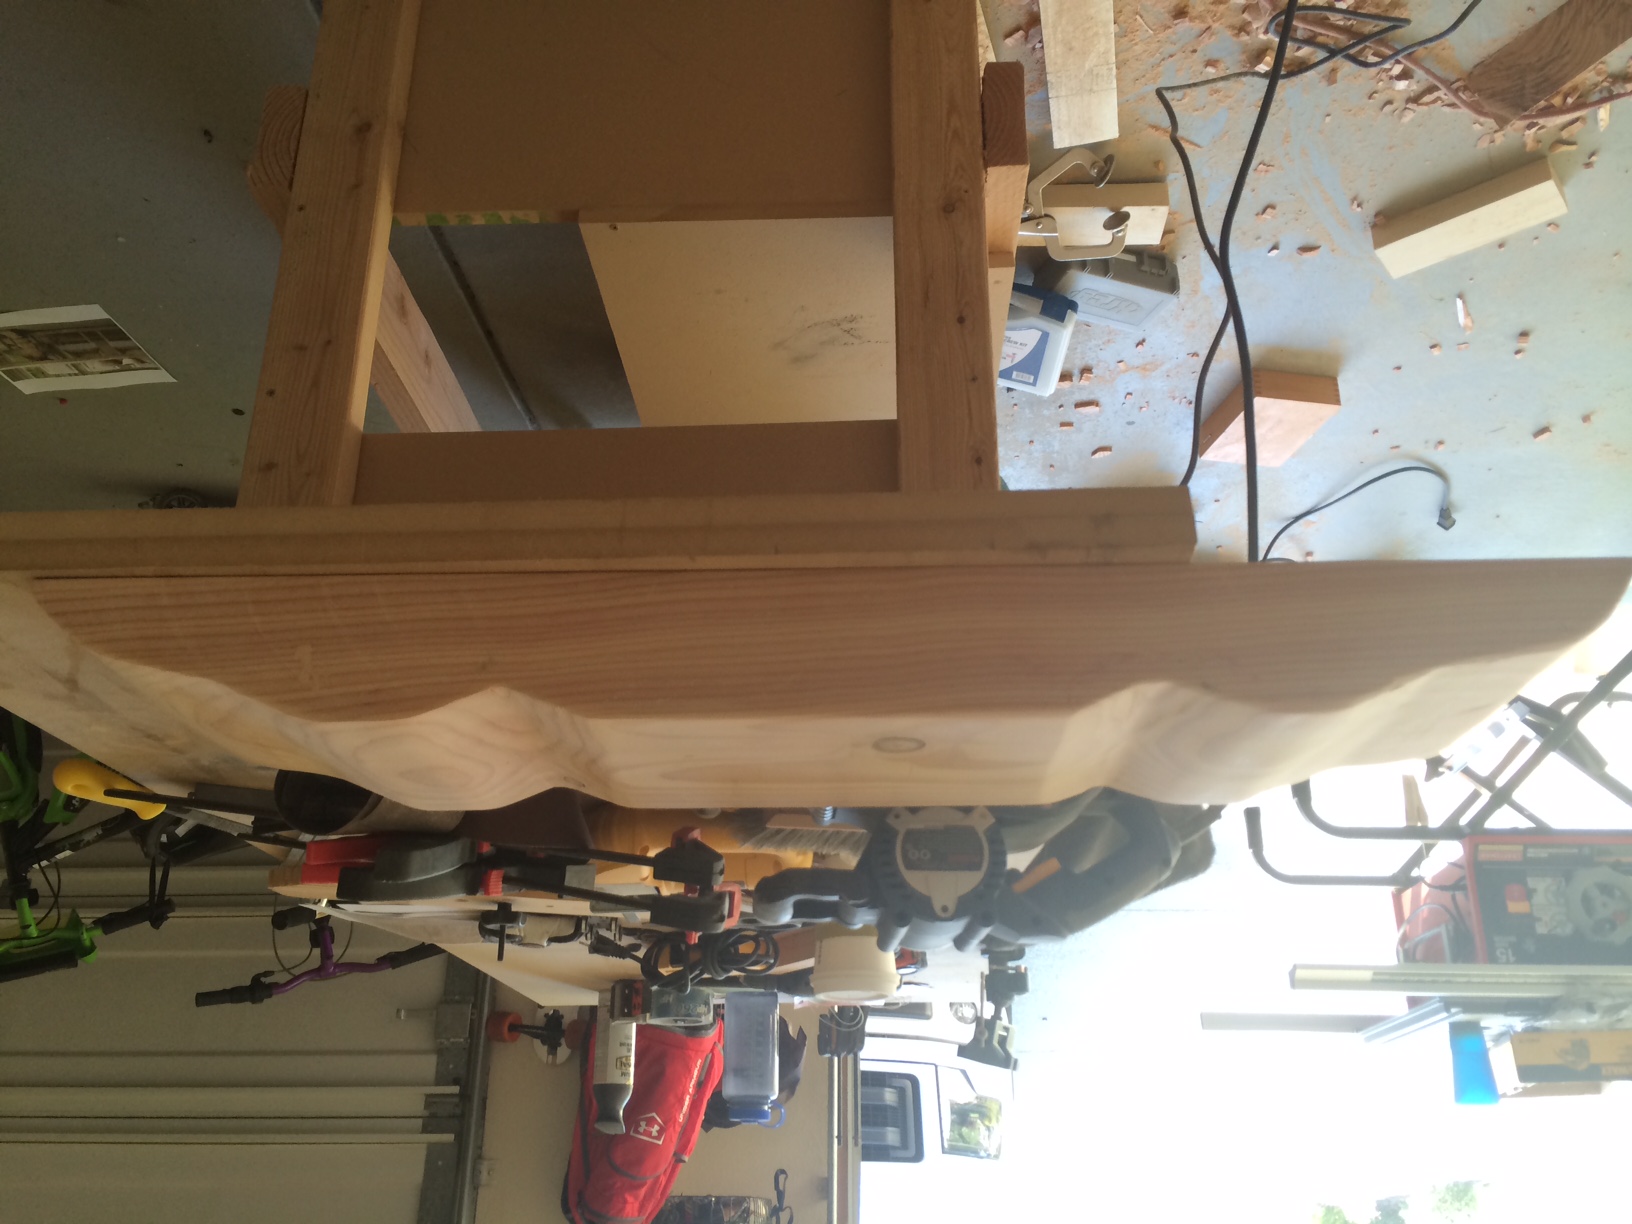
Anyway, here it is, the hall tree! I changed up the trim a bit. So much of me went into this, and a couple of times I pulled out the crowbar and started over on the moulding and on the cross supports on the top because I was a bit of a perfectionist... something I need to learn to control with this new found hobby.
Let me know what you think! Already the picture have about 50 likes on my facebook and people want me to build them one! I think I'll just send them the link... !!!

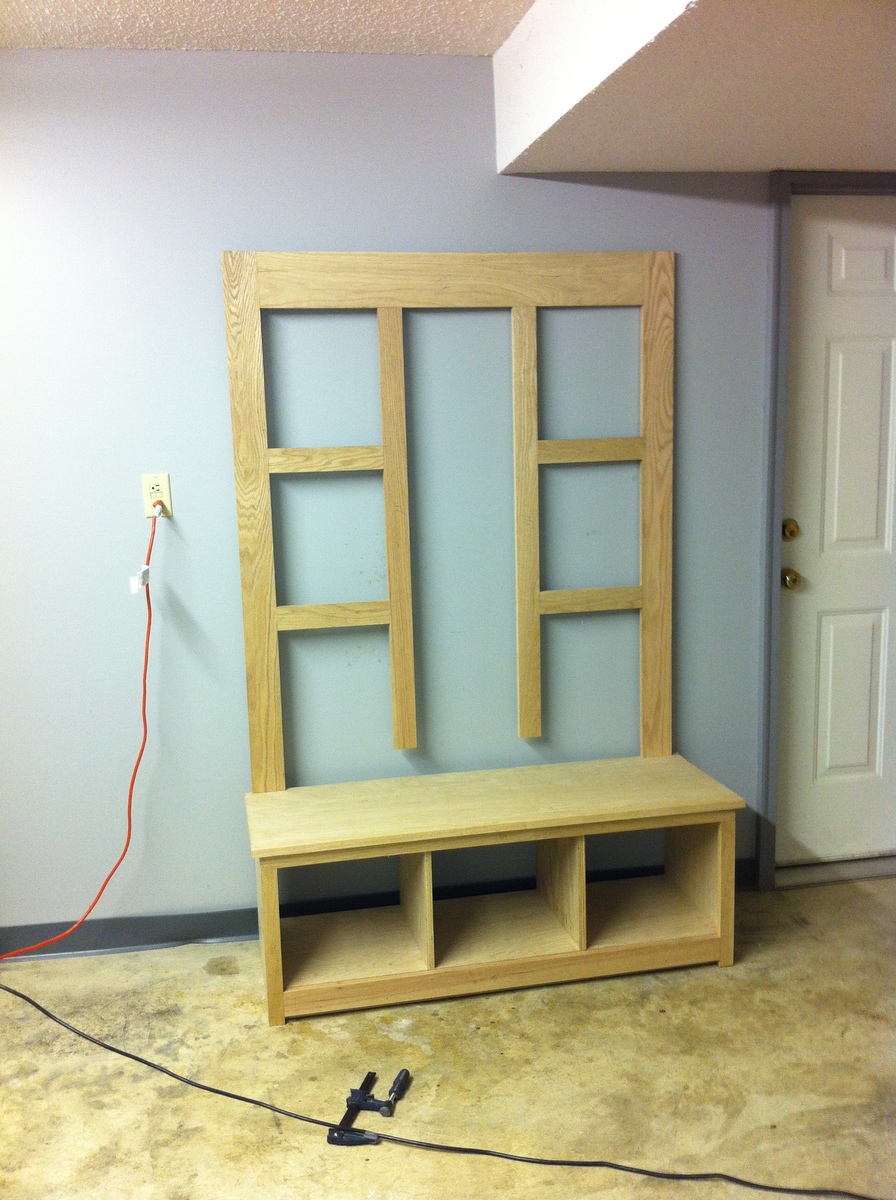
Built from Plan(s)
Estimated Time Investment
Week Long Project (20 Hours or More)
Finish Used
Minwax Early American Stain and Minwax Quick Drying Polyurethane
Recommended Skill Level
Intermediate


Comments
spiceylg
Fri, 09/07/2012 - 04:41
Beautiful
You did a beautiful job!
In reply to Beautiful by spiceylg
theJam
Sun, 09/09/2012 - 22:14
Thanks!
I really appreciate the comment!
bd
Sat, 04/06/2013 - 09:03
Back panel?
What did you use for the back plywood panel? Oak? I'm having difficulty finding oak plywood in anything except 3/4", and it looks like there's a contrast between wood types. Is that just a difference in stain or difference in wood?
Thanks!
justindalby
Thu, 10/16/2014 - 08:35
I love your version. I
I love your version. I really like the moulding that you put on the top piece of the bench. Since there is a lip on the top piece (overlaps the bottom section of the bench), how did you attached the moulding so that the top of it lays flat and flush with the top piece? I assume that you made some sort of hidden spacer between the lip and the moulding. Is that correct?
Also, how did you attach the back plywood to the decorative cross beams, finish nails?
Thanks for sharing!