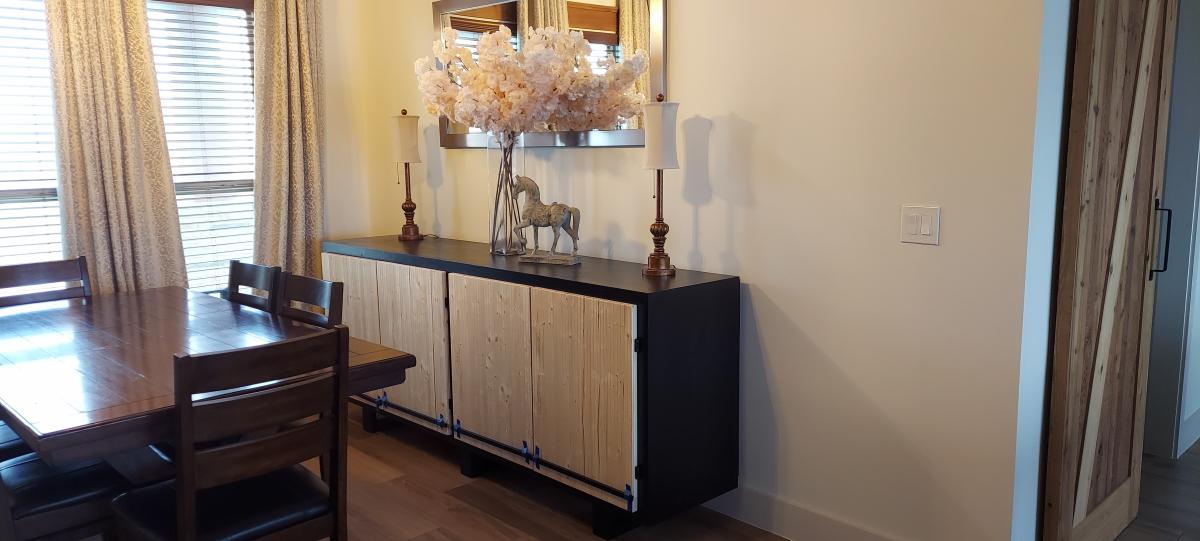
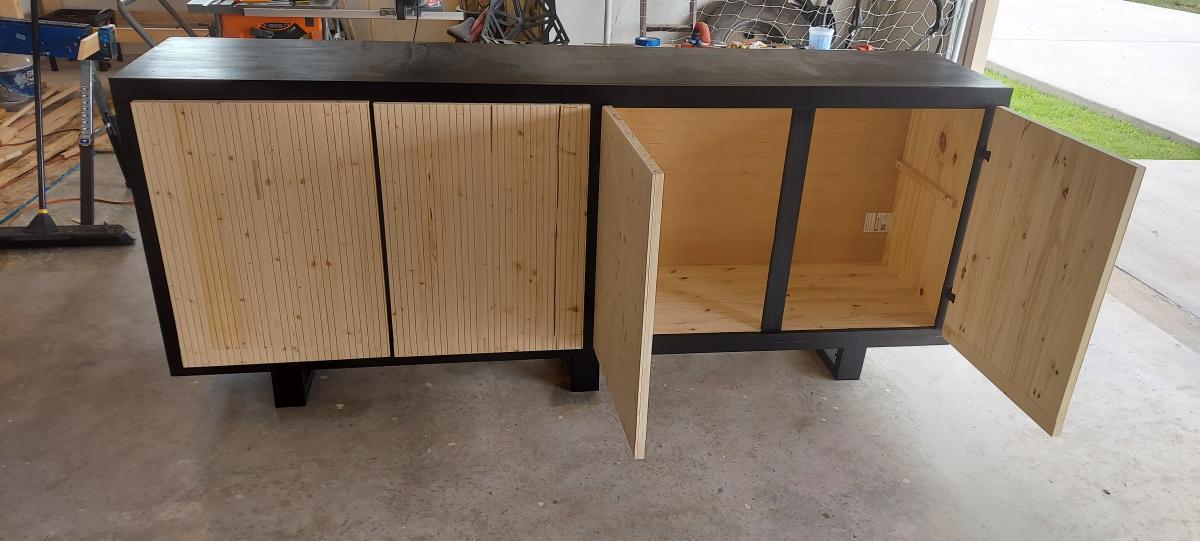
Extra long buffet

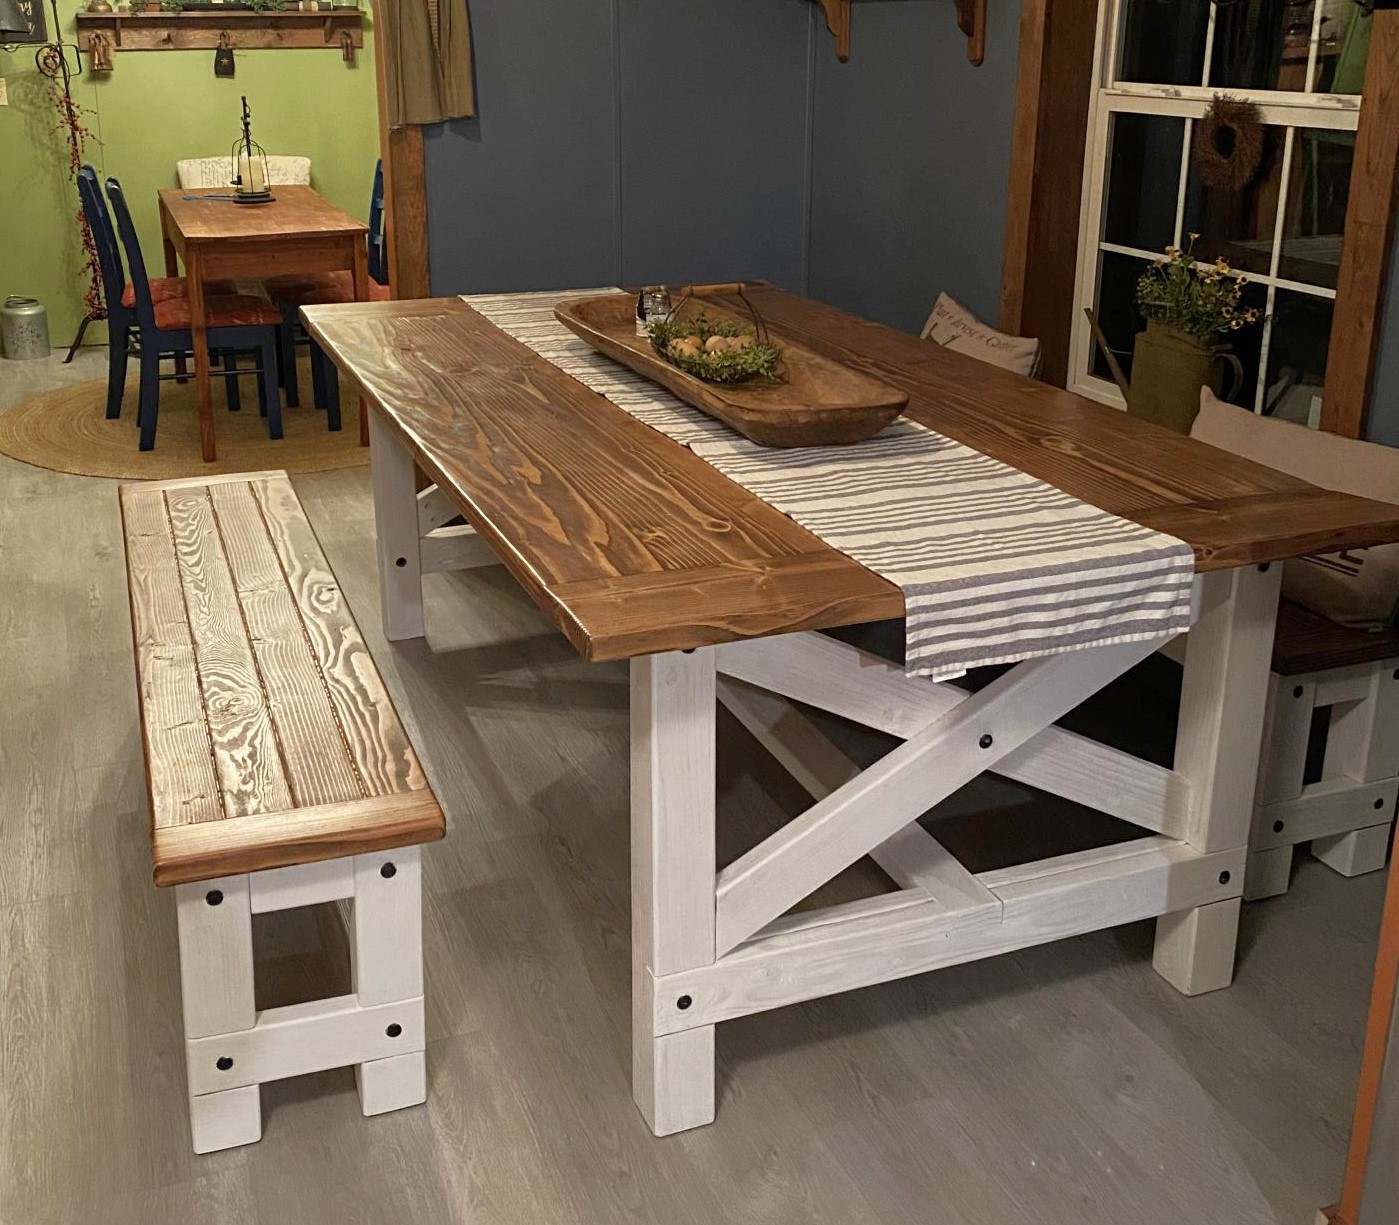
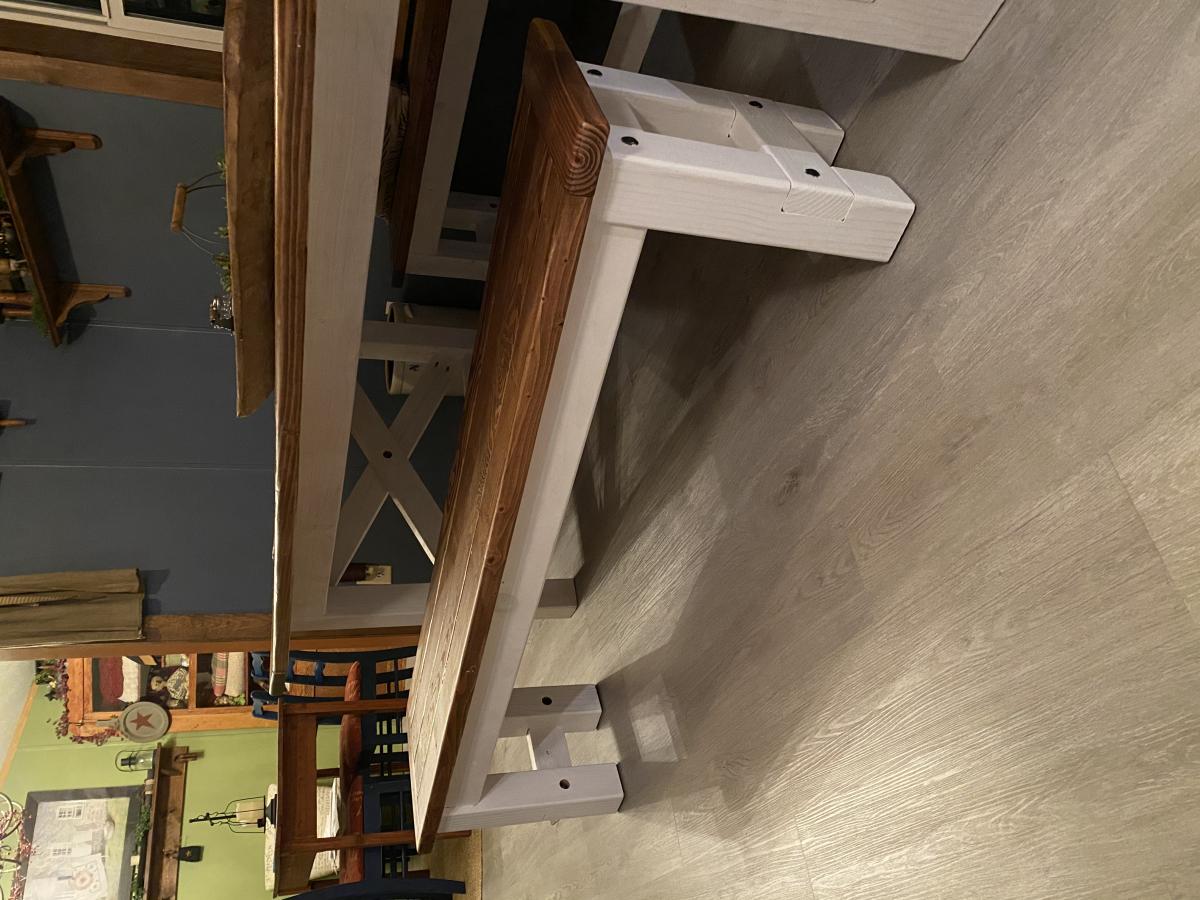
Slight variation on the extra long buffet. Instead of drawers I substituted for 2 additional cabinet doors. It stands 40" tall, 96" long, and 20" deep.
Built from Plan(s)
Estimated Cost
$200
Estimated Time Investment
Weekend Project (10-20 Hours)
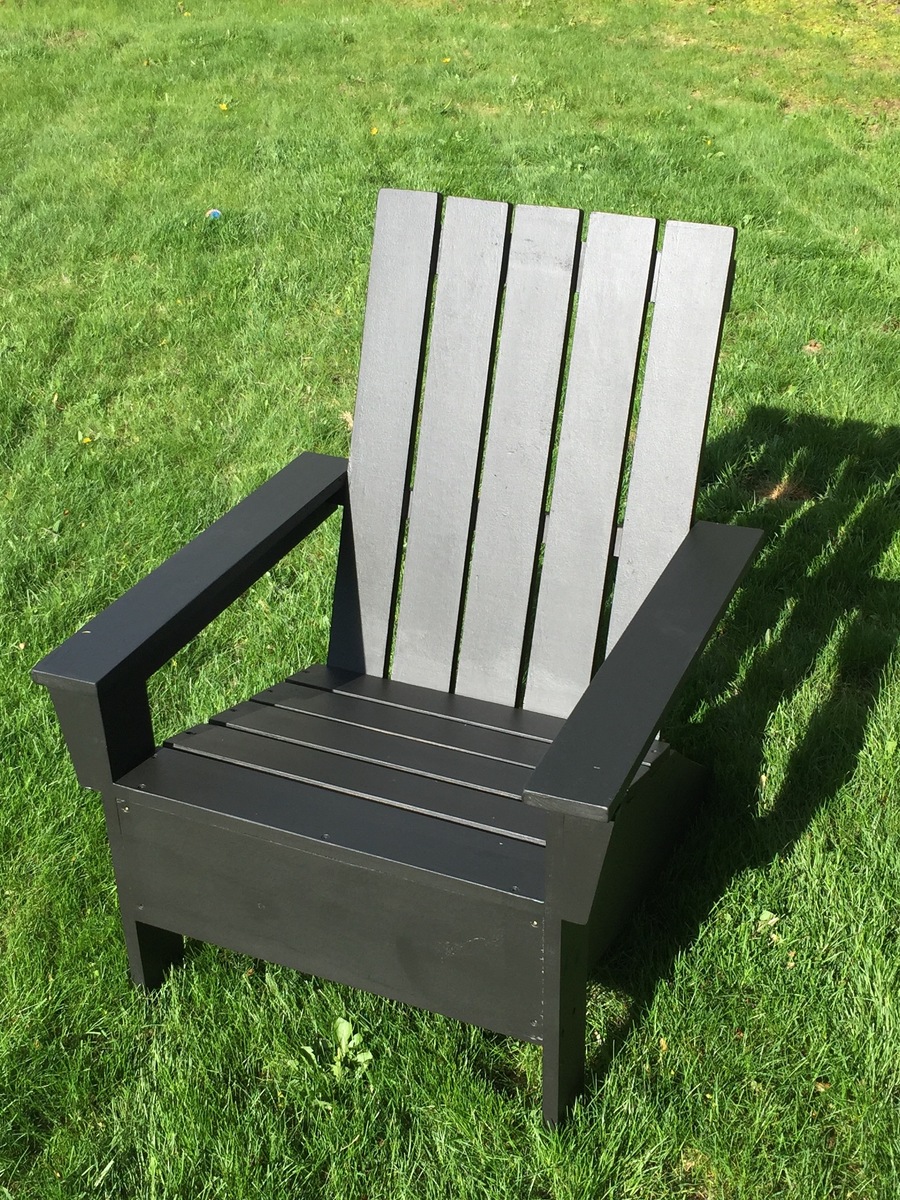
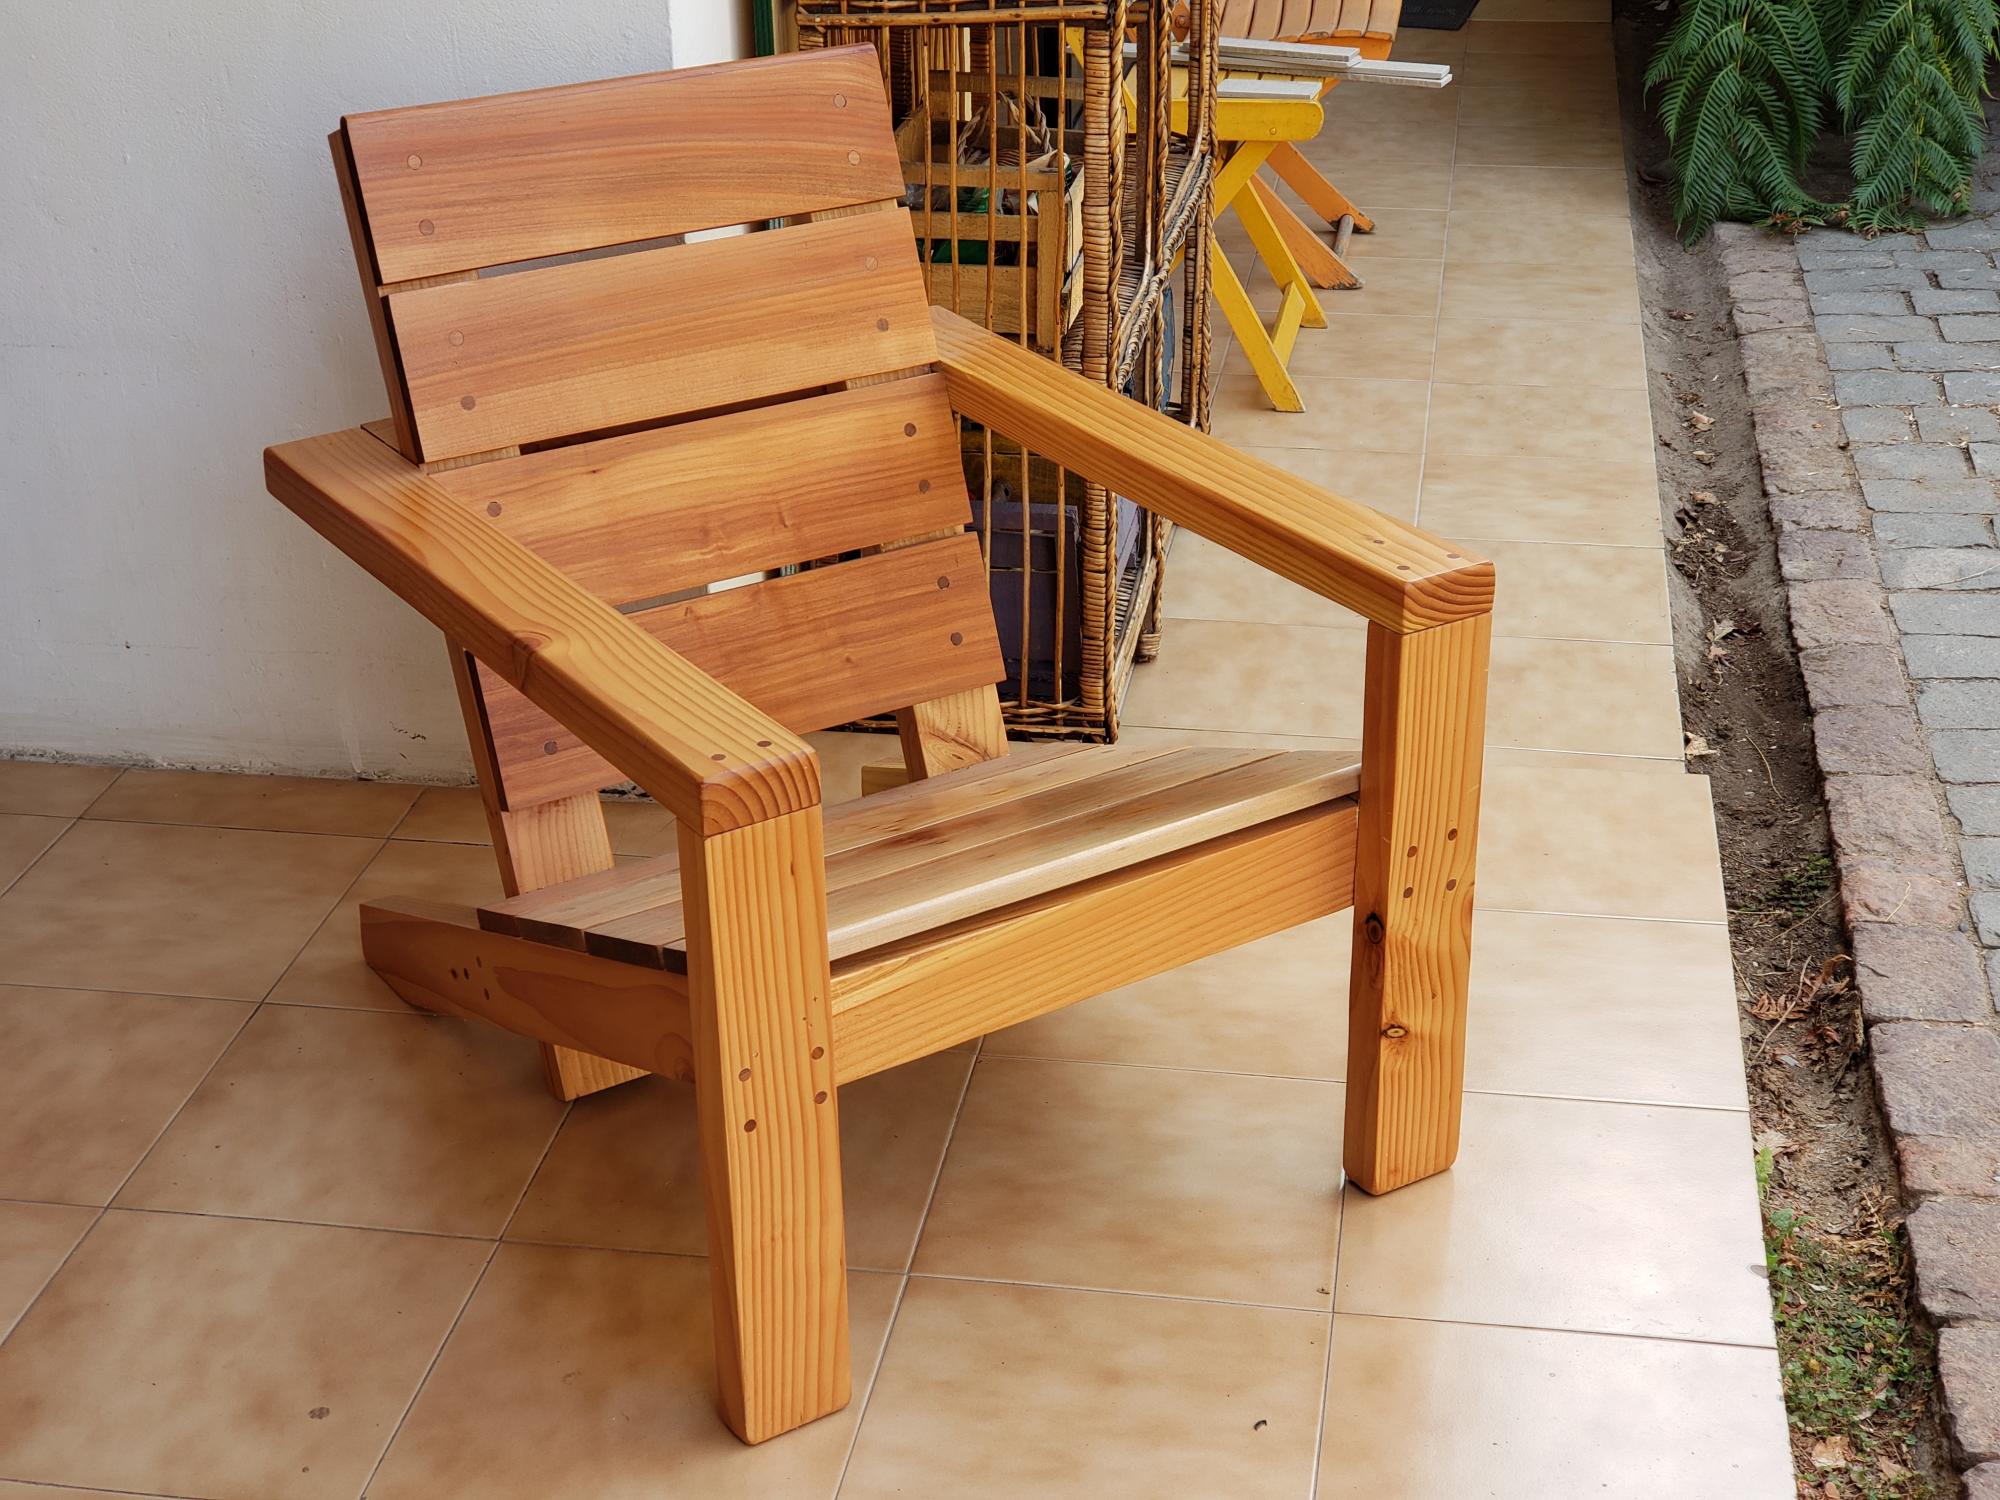
Finish Used
Black paint and natural wood.
Recommended Skill Level
Intermediate


Comments
Ana White Admin
Mon, 04/26/2021 - 11:48
Lovely!
Wonderful job, it looks great in your space! Thank you for sharing:)