 I was looking for a way to better organize my basement workshop. After looking at your Ultimate Workbench / Miter Station project, I became both inspired and motivated to organize my workshop bench equipment and power tools. I was tired of moving equipment around in my small shop area to use it and the amount of time required to clean up the saw dust during and after project work.
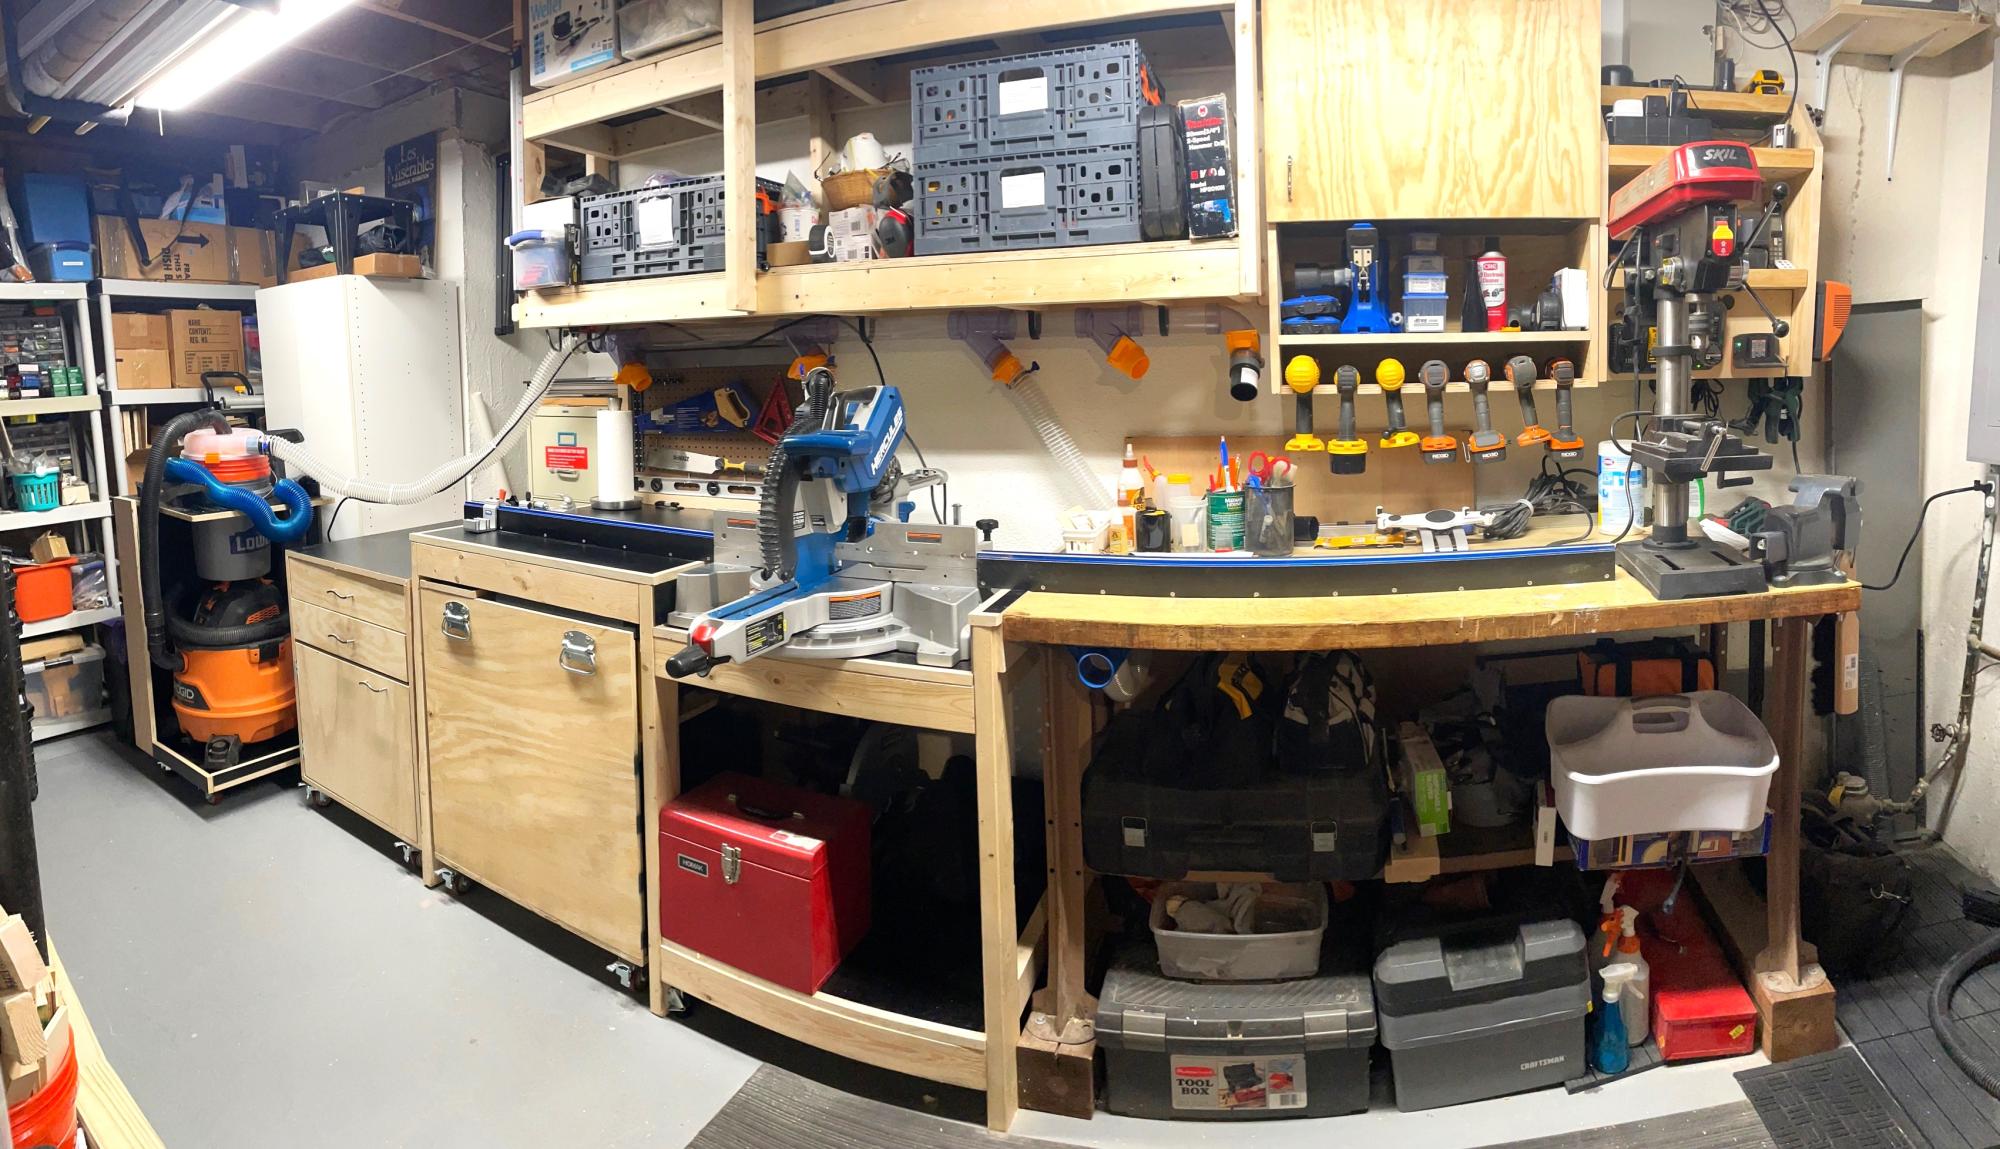
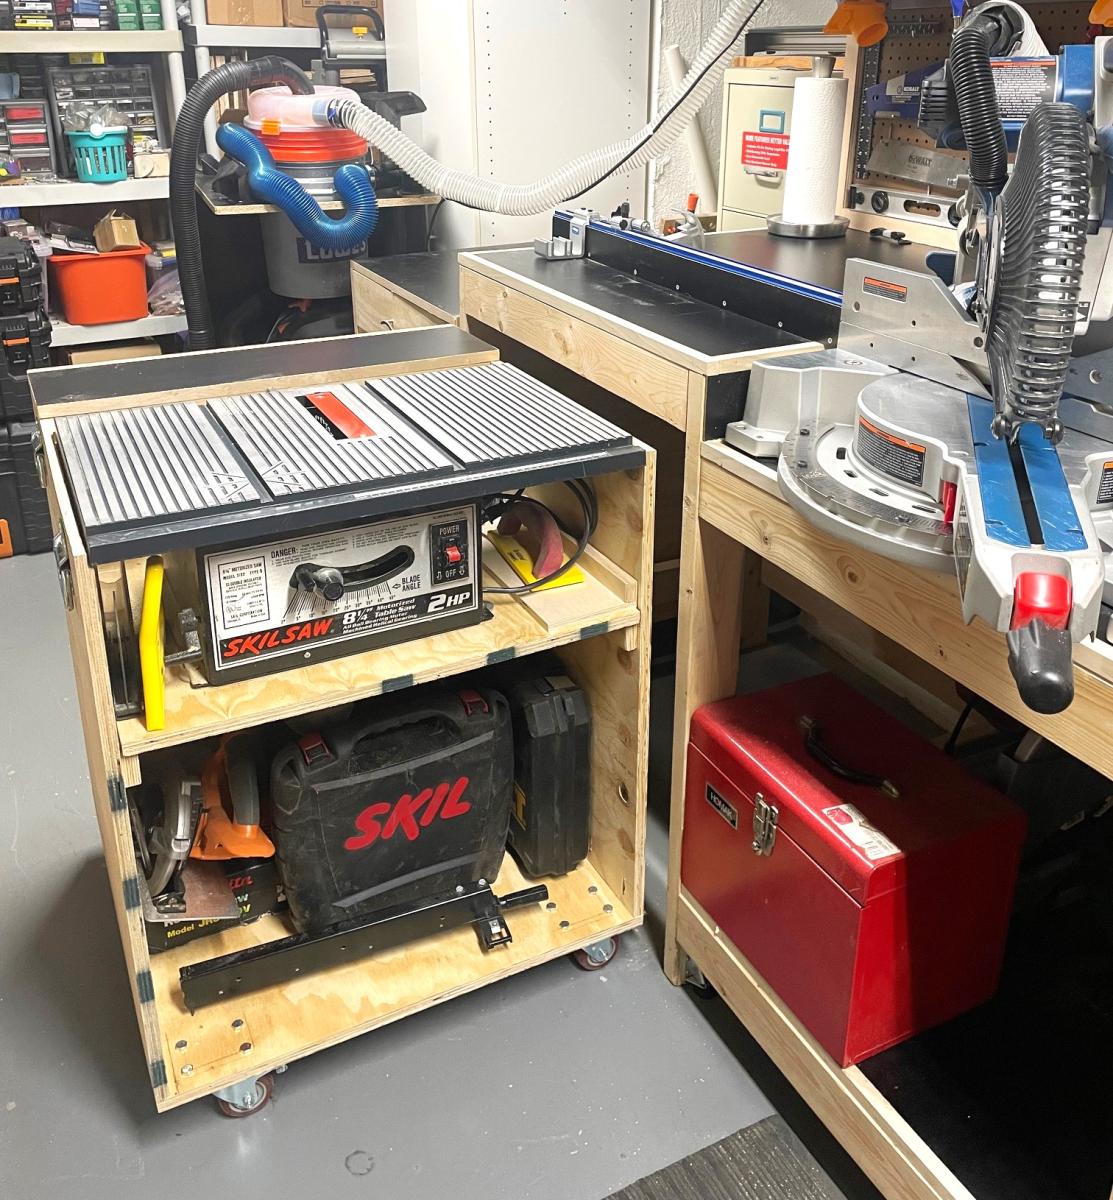
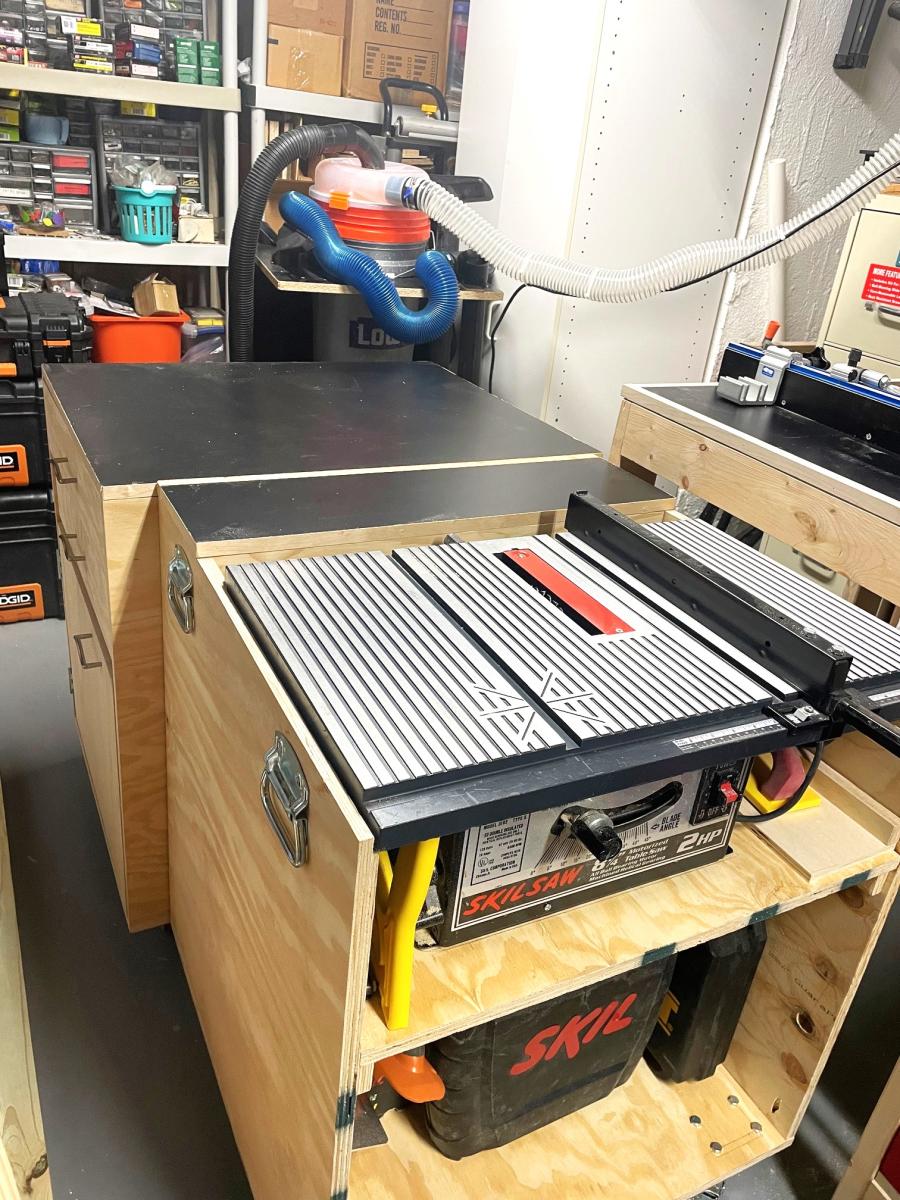
I modified your plans to allow me to incorporate the use of a solid maple shop table that I have had for over 30 years and provide a means to have my main benchtop equipment (miter saw, table saw, and drill press) be readily available for use. I substituted the 3/4 inch plywood top with a 3/4 melamine top with a popular edge trim to allow the workpieces to freely move through the miter saw, table saw and assembly stations. In addition, I added a removable miter saw fence using the Kreg Precision Trak system to facilitate miter saw work setup and to make multiple repeatable cuts. I made the fence easy to remove and store by using 5/16-16 inserts on both the work surfaces and on the he overhead material storage rack allowing full use of the workbench surface.
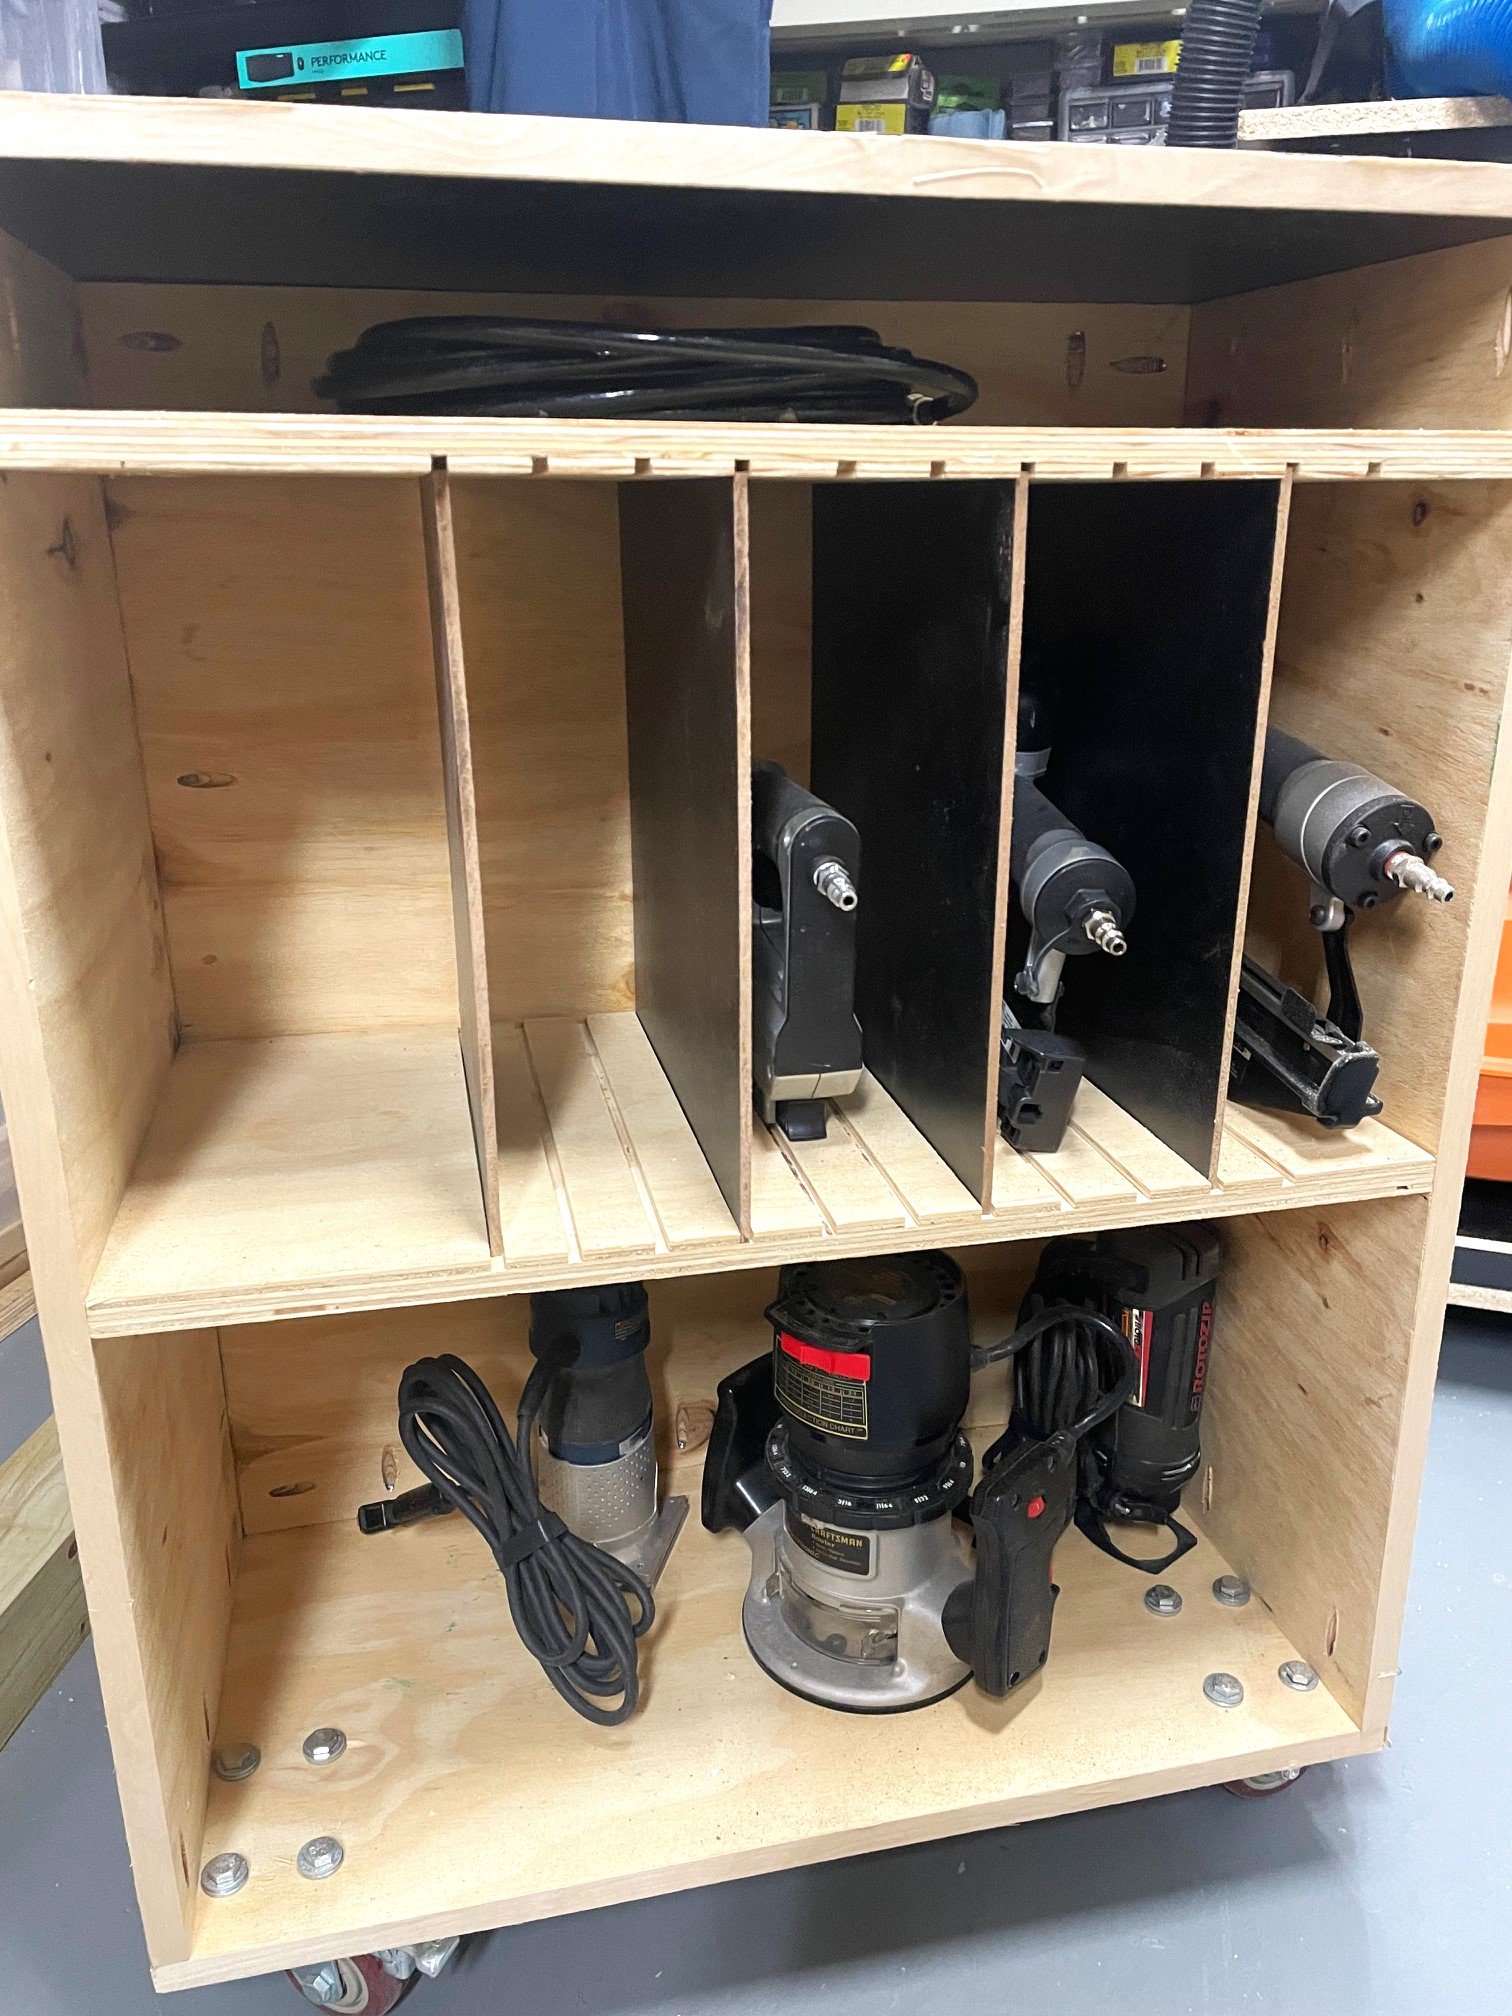
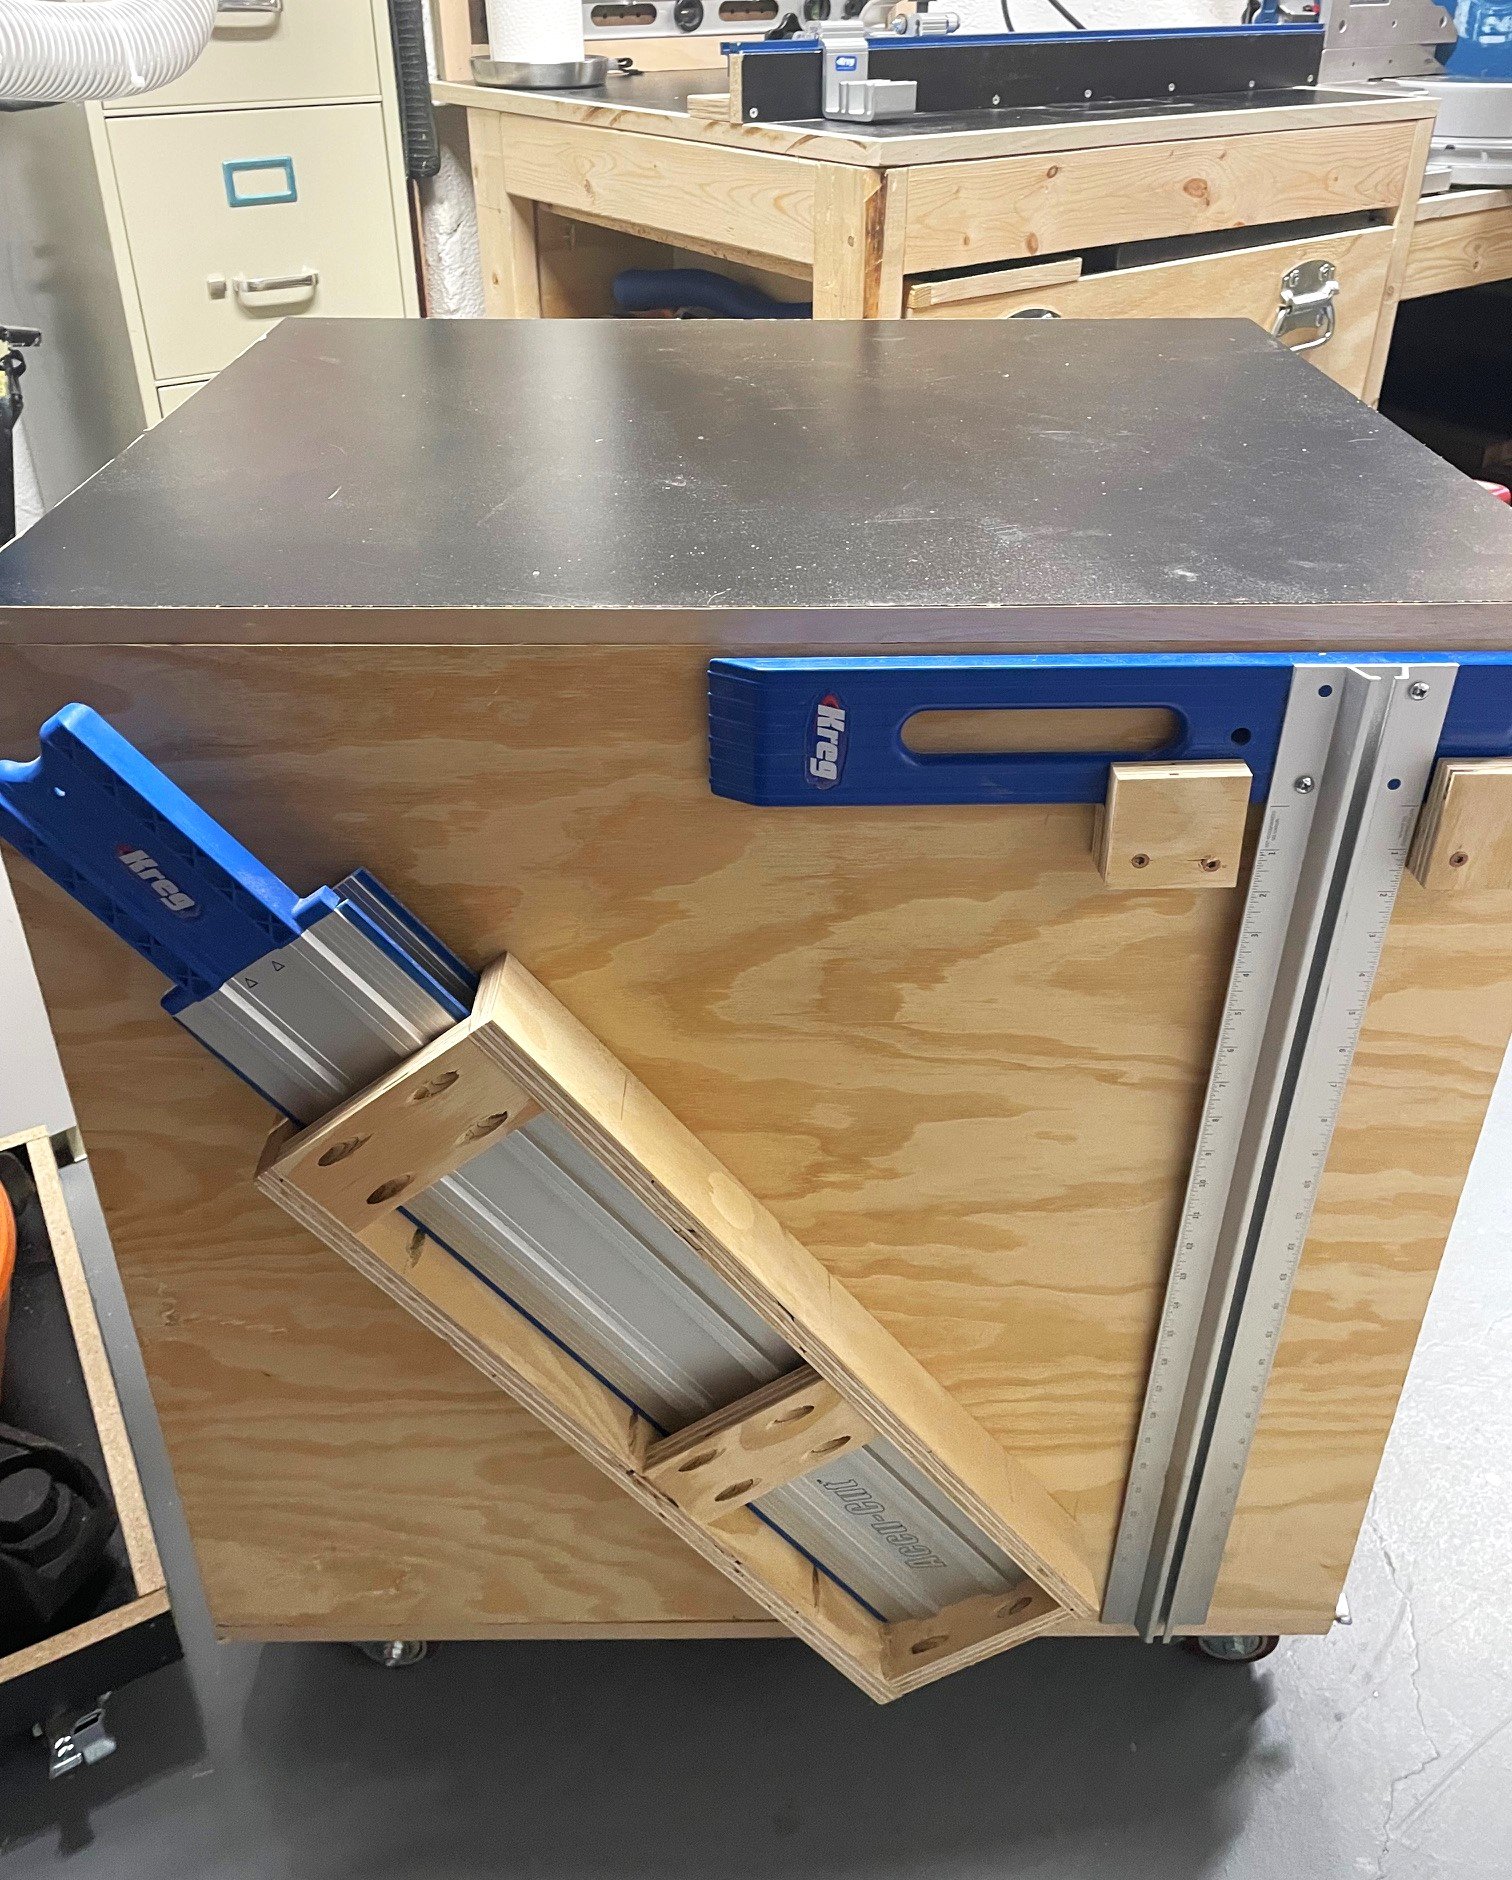
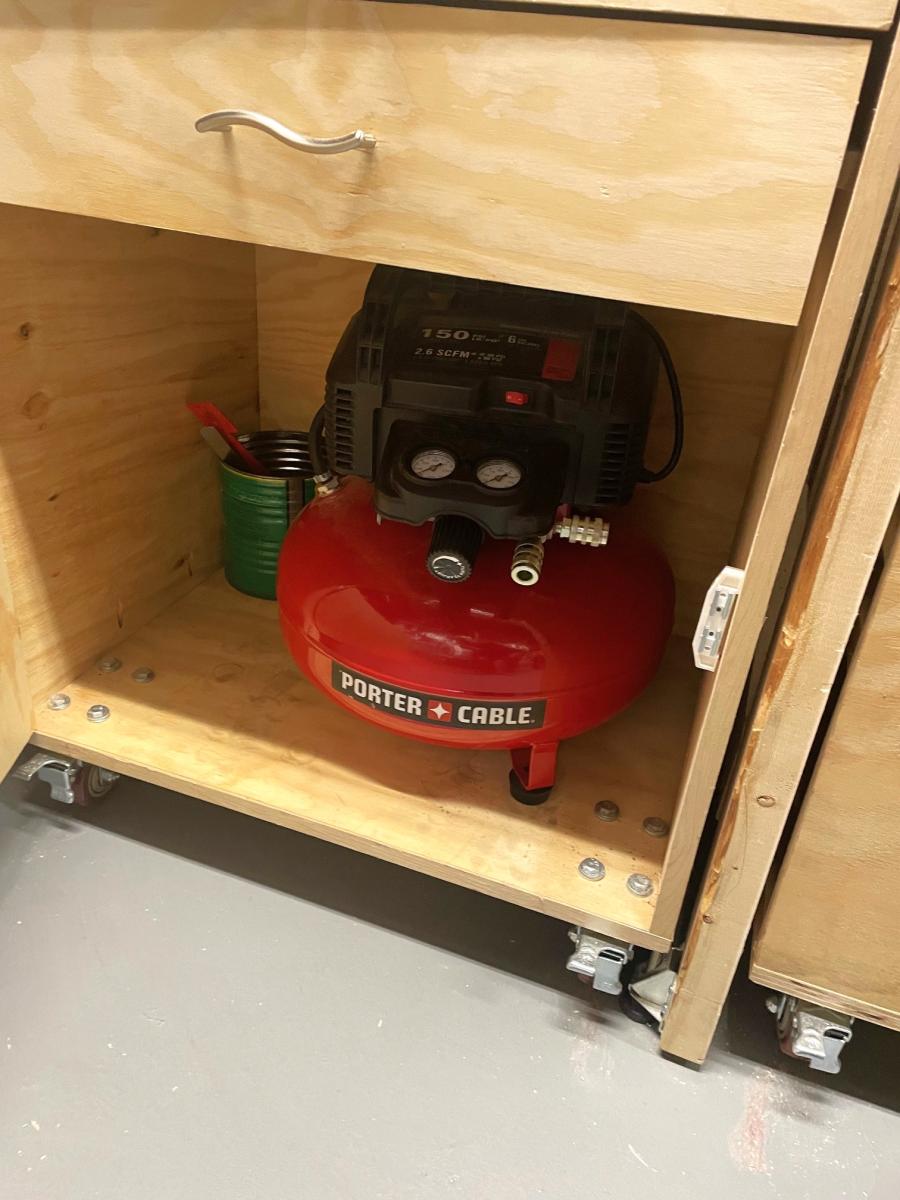
I also incorporated a separate rolling cart that served as an assembly table, table saw outfeed table, shop air compressor and pneumatic nail gun storage, router and router accessory storage and Kreg Cutting Guide Storage.
I wanted to have ready access to my cordless tools, so I built a separate wall mounted cabinet that holds my drills, impact tools and drill bits. Of course, that lead me to build a wall mounted battery charging station to consolidate and organize all the different battery chargers and spare batteries. Tried to make all things Easy to See, Easy to Get and Easy to Return.
Finally, I spent quite a bit of time researching how to design and add a dust collection system. I ultimately went with a simple, but effective system that incorporated the use of a Dust Deputy Pro, 14 Gallon Rigid Shop Vacuum, Powertec 2 1/2 inch Clear PVC tubing, Blast Gates, Flexible Hose along with Dust Rite Hose and adapters to connect my portable wood working tools. The dust collection components work work well together capturing about 85% of the generated saw dust, but I want to give a special shout out to Shop Nation which supplied a custom 3D printed dust collection adapter for my Hercules Miter saw. It is really amazing how much of saw dust generated by the miter saw is now being channeled directly to the dust collection system.
I now smile every time I enter my workshop :)
Ray K


Comments
mybartmart
Fri, 09/27/2013 - 21:17
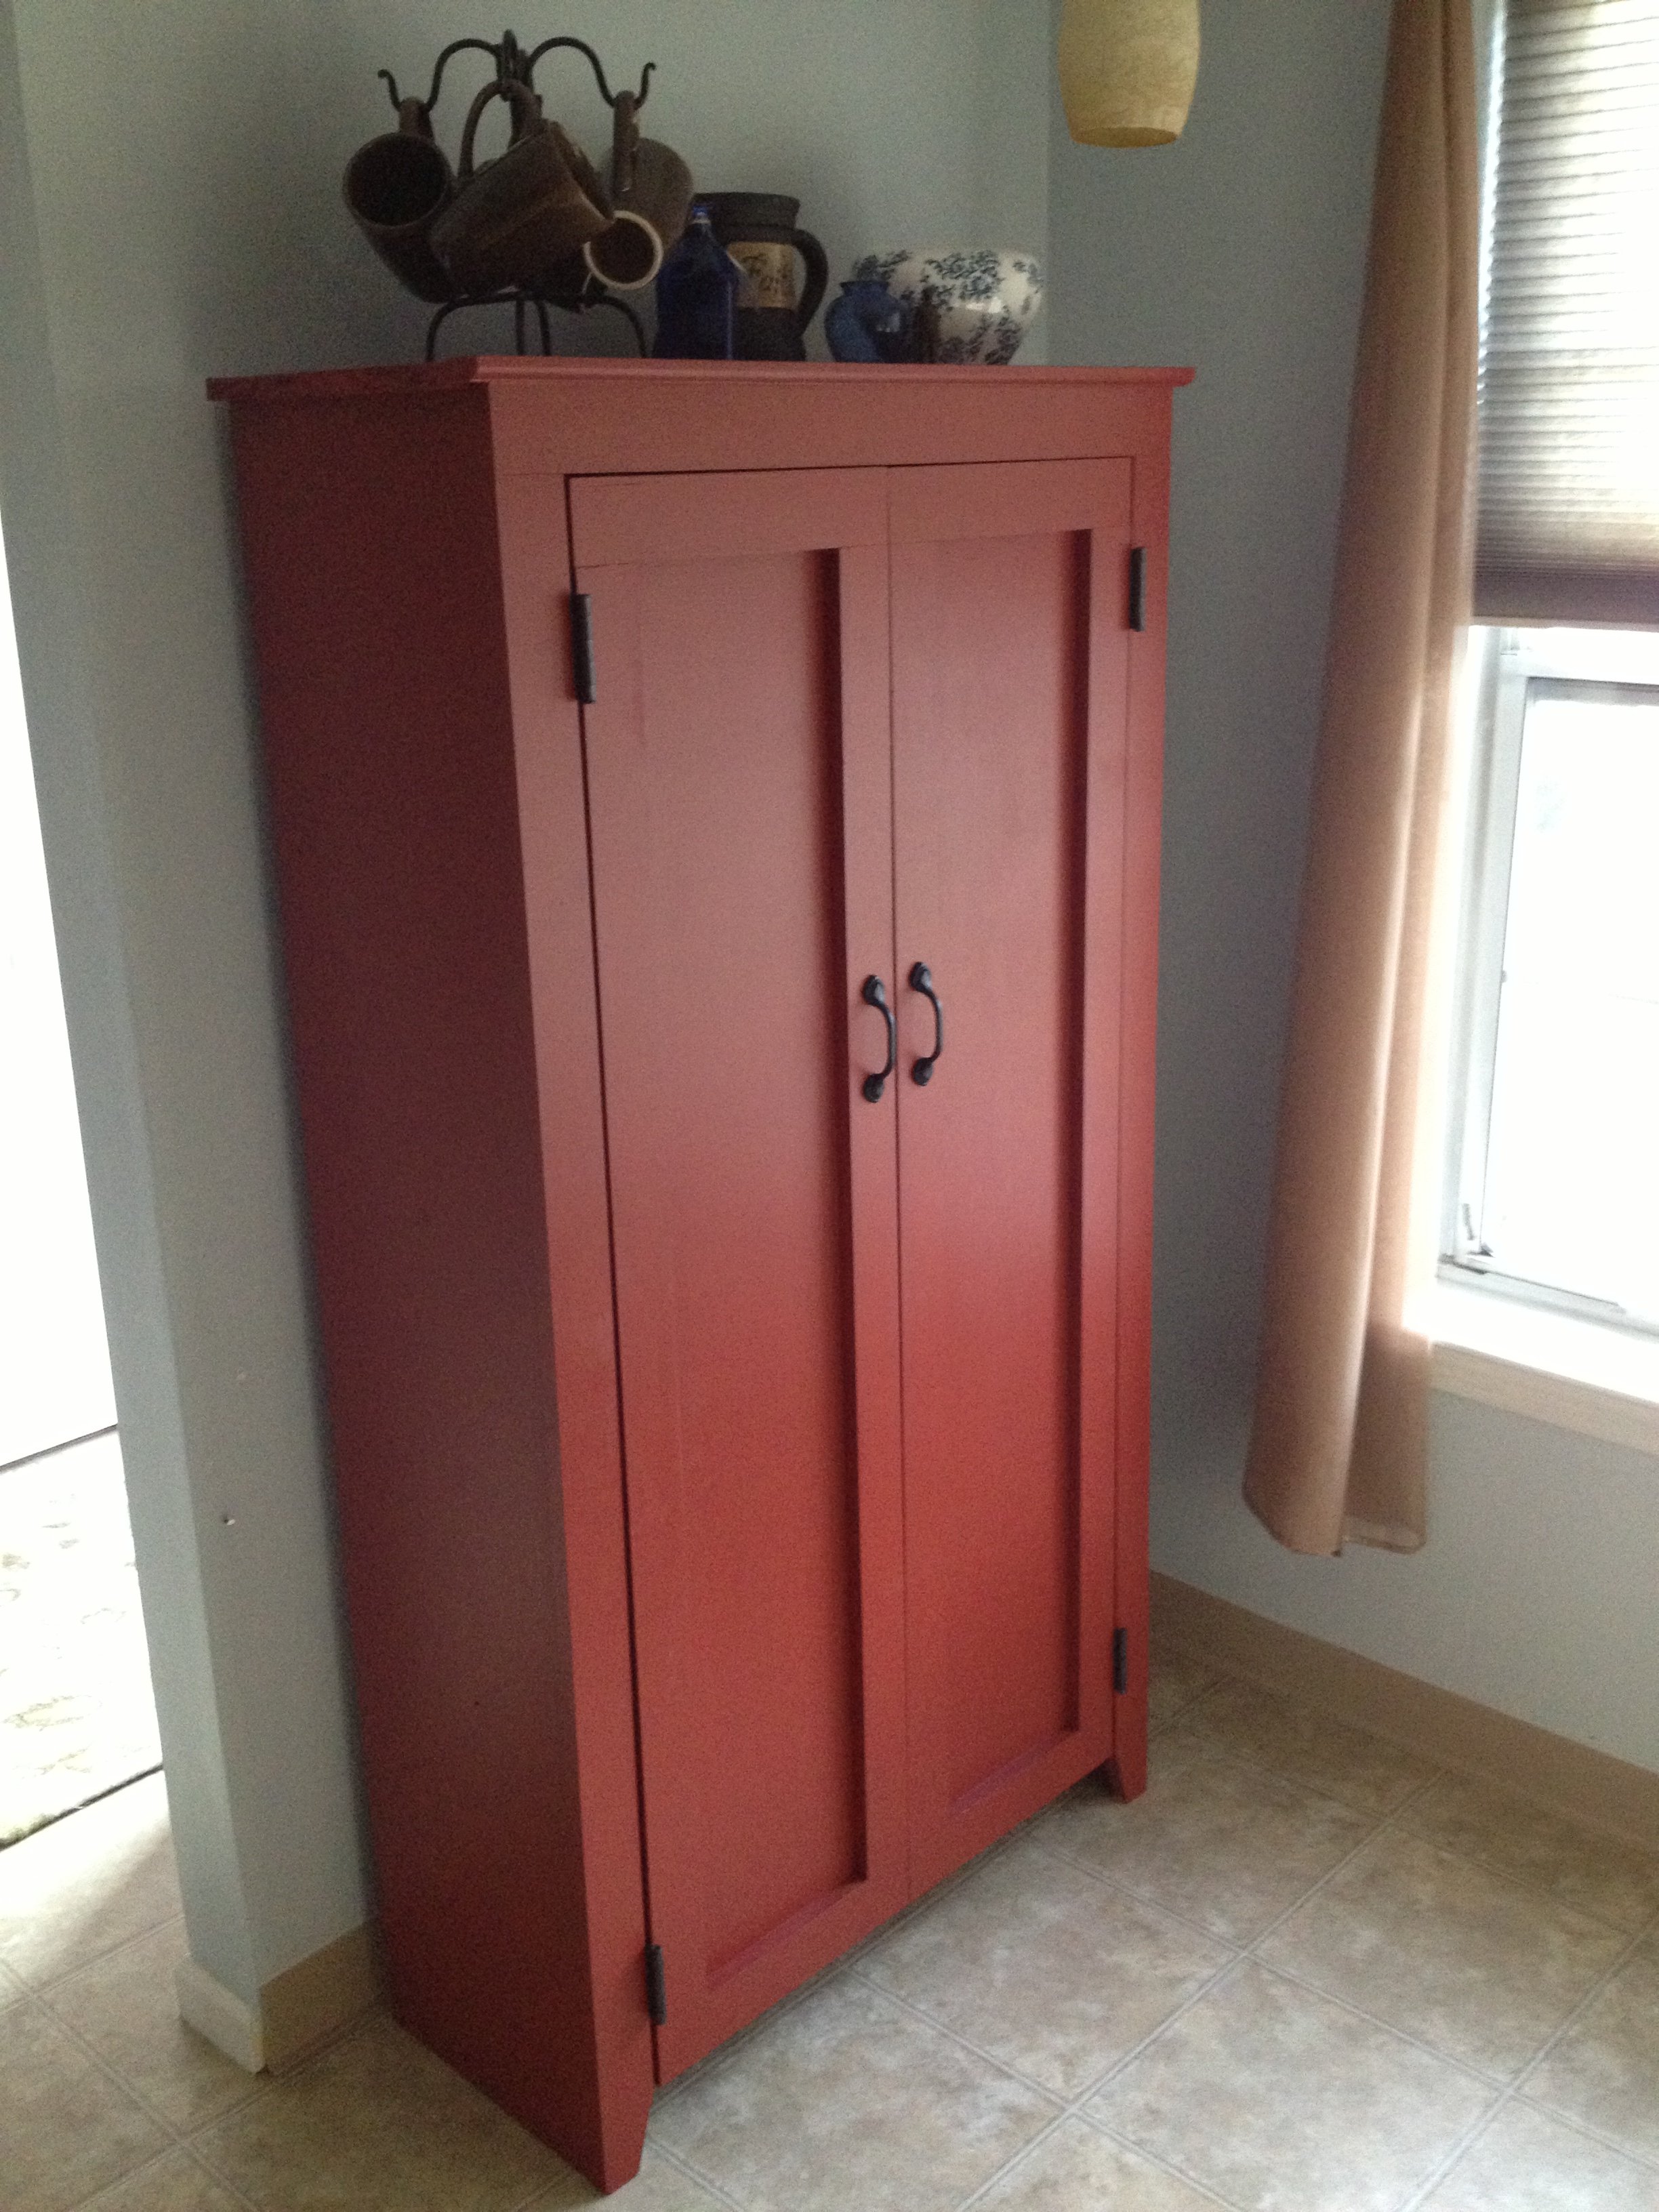
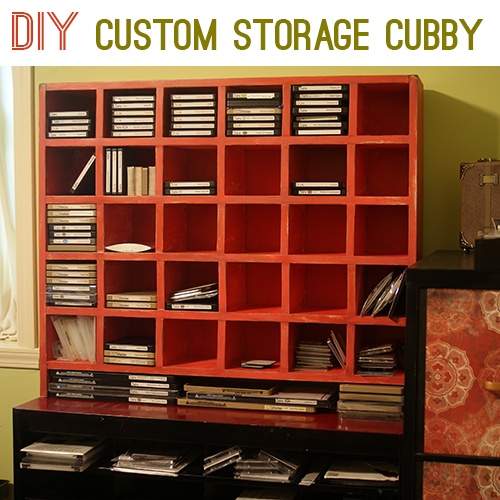
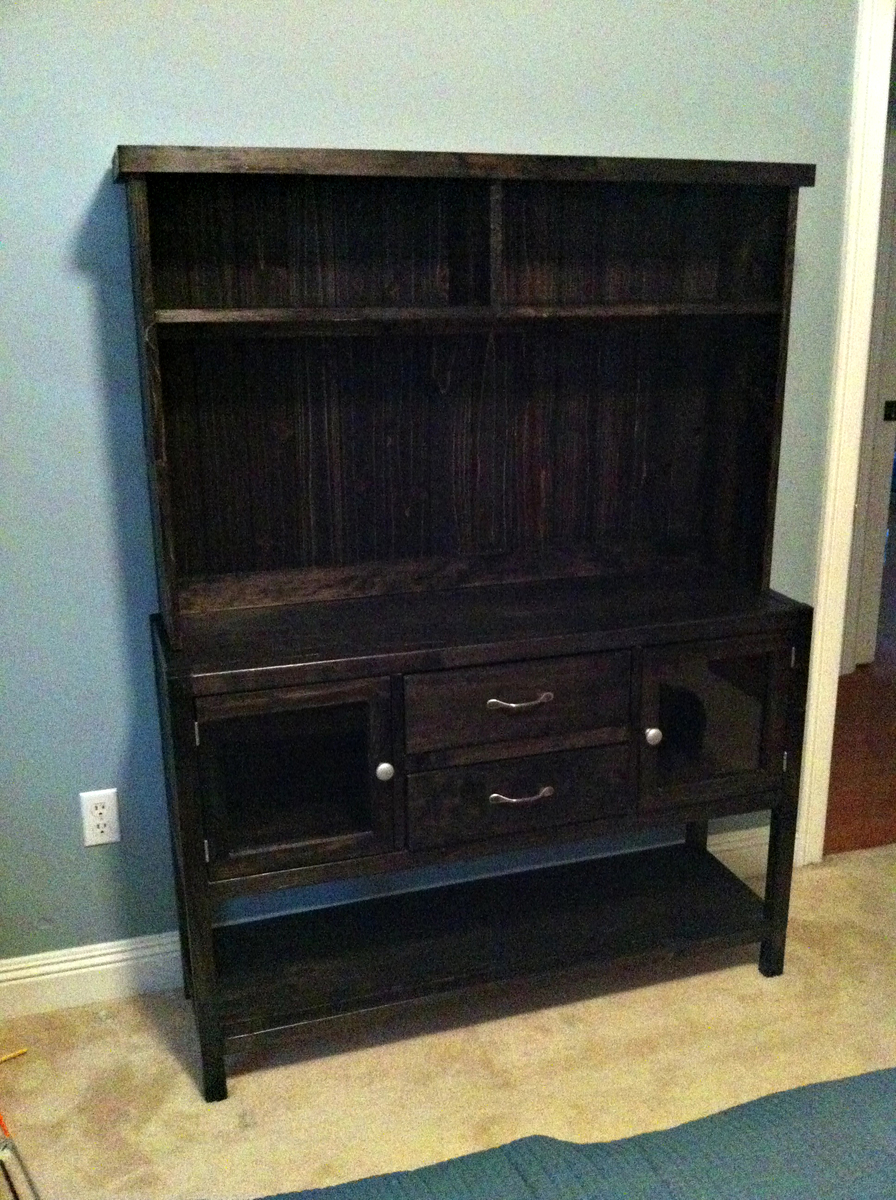
paint colour
That paint colour is beautiful. As is the pantry, very well done. I wish you could find out the name and brand of the colour. It is stunning.
mybartmart
Fri, 09/27/2013 - 21:17
paint colour
That paint colour is beautiful. As is the pantry, very well done. I wish you could find out the name and brand of the colour. It is stunning.
rjustice21
Mon, 09/30/2013 - 05:30
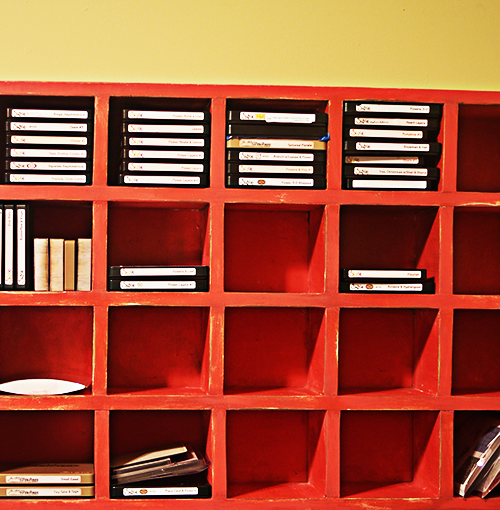
I believe this was the color.
I believe this was the color. Red Brick S-H-170 by Behr. Hope that helps.