Cedar herb stand
Awesome project
Built from Plan(s)
Awesome project
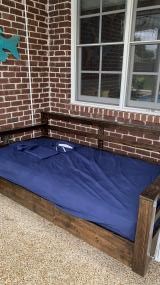
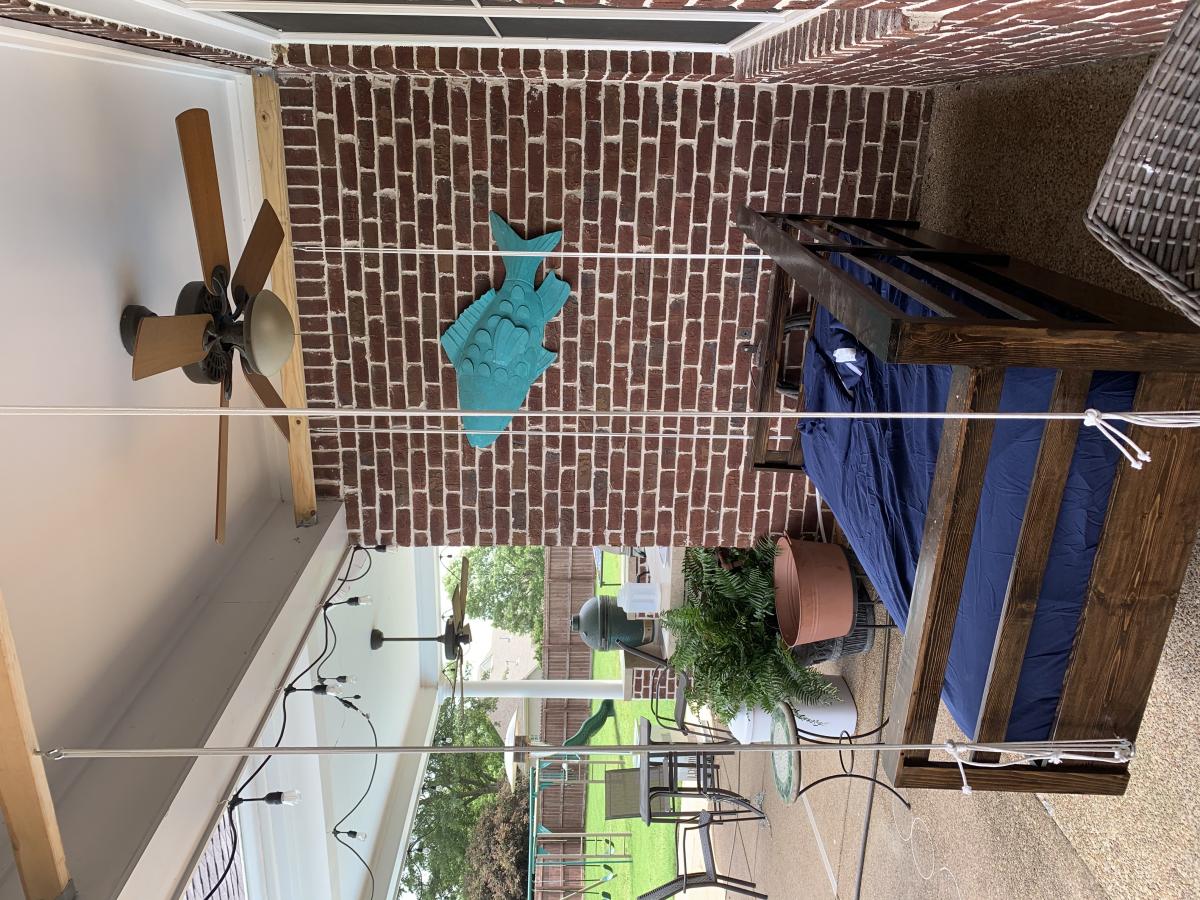
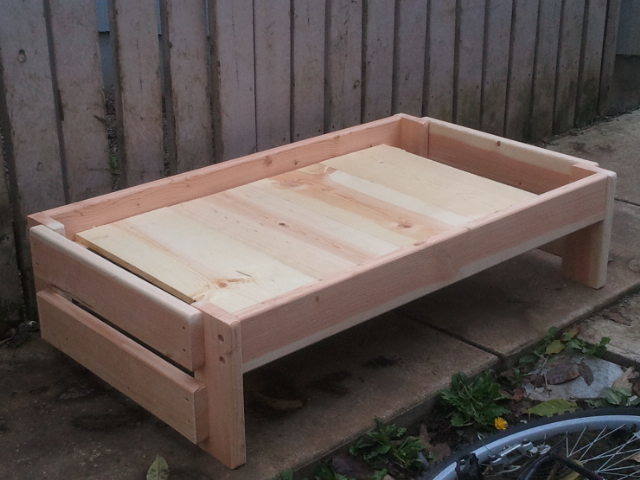
Utilized your plans for this porch bed swing! Looks great on the porch. Couldn’t find anything solid in the ceiling to hang it from so I installed my own joists with rafter hangers attached to the walls. Should hold long term.
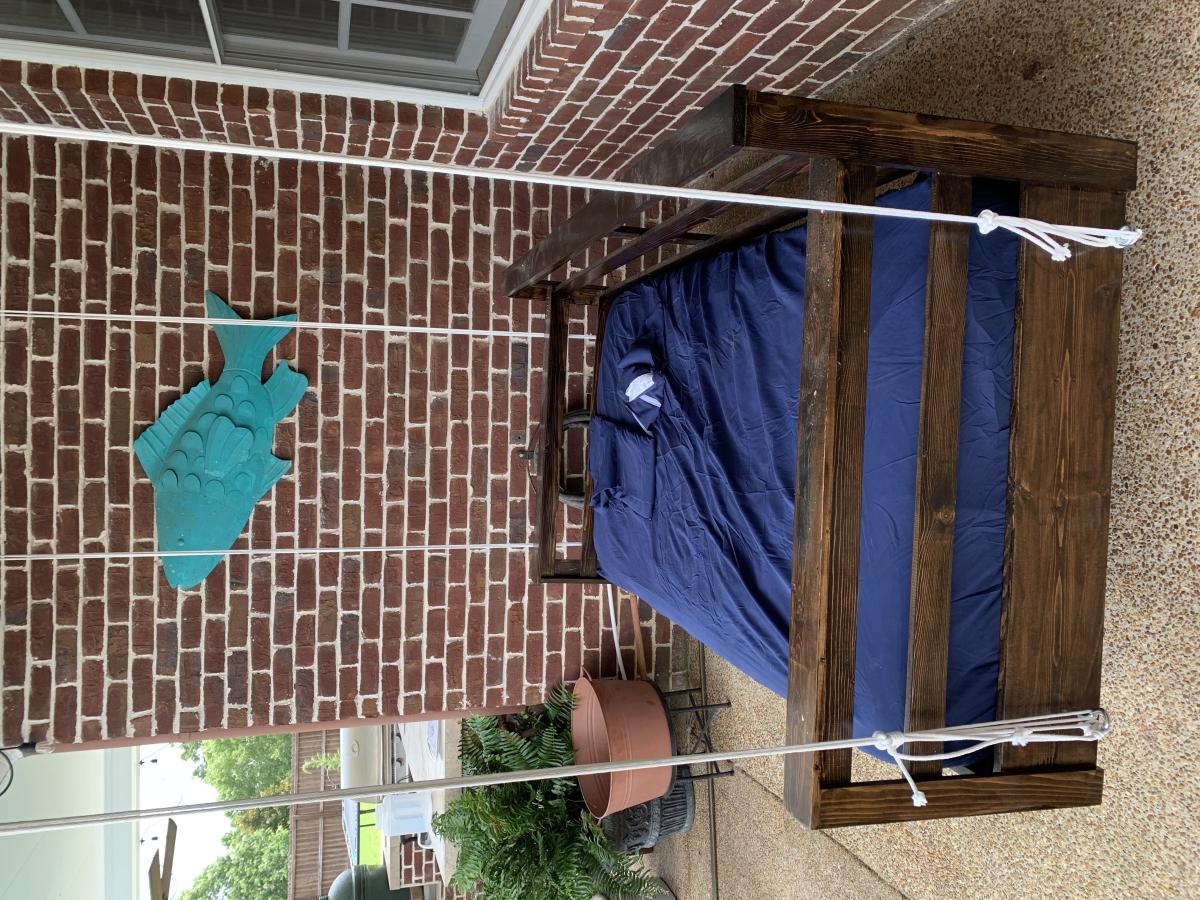
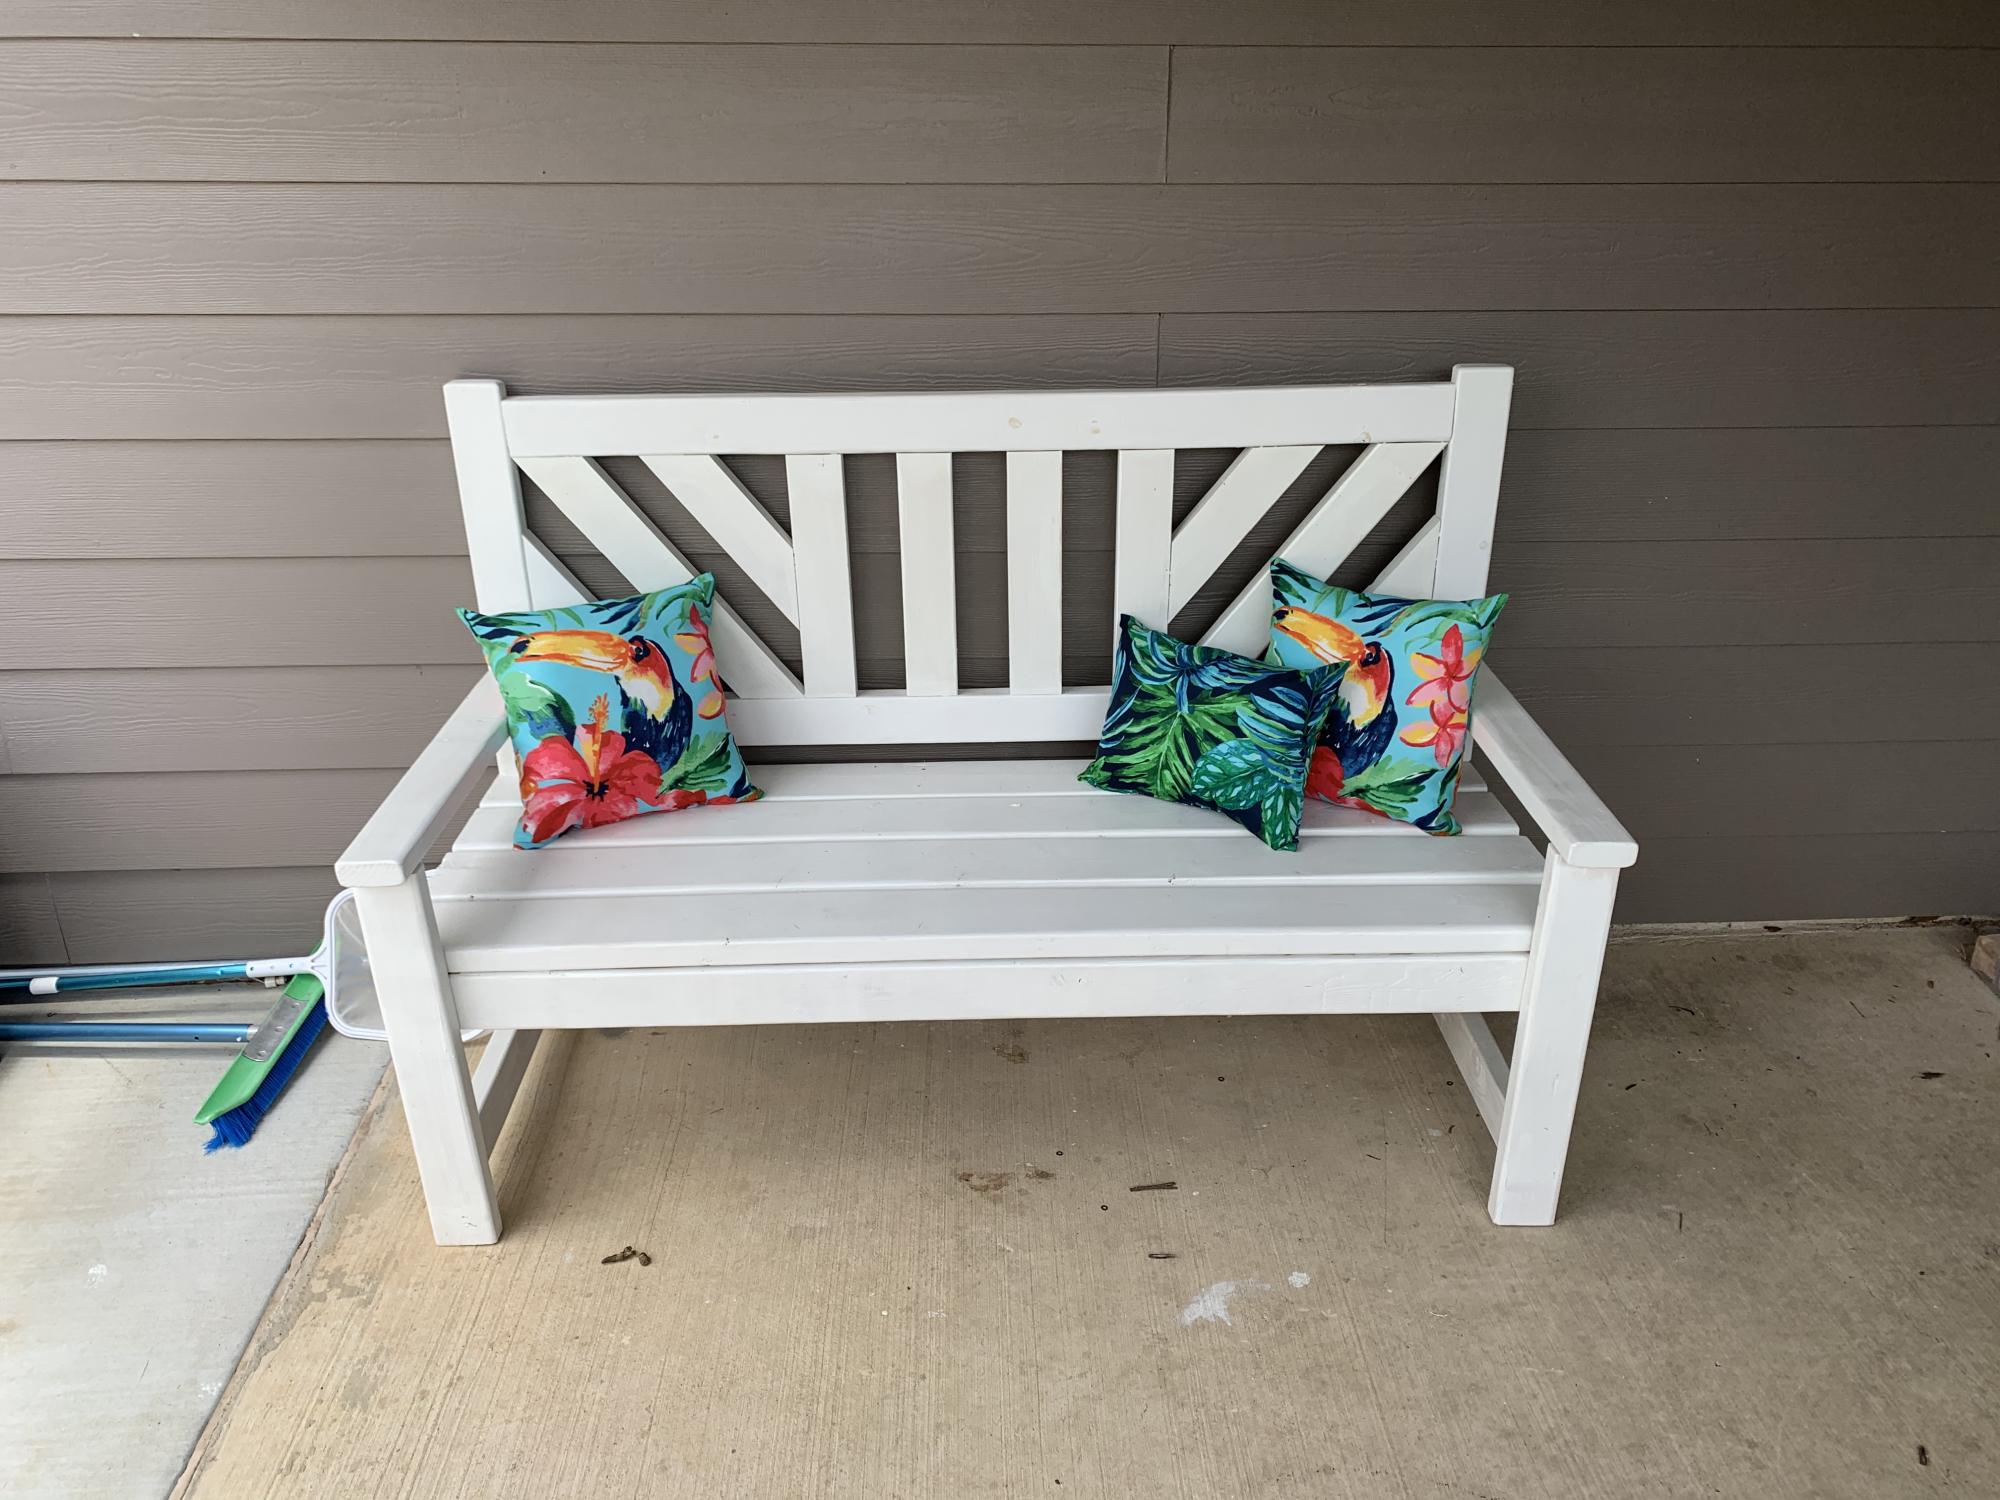
This bench is freaking huge but I love how it turned out. A lot of pocket holes for the back so it took a lot of putty to cover those up but that’s to be expected. Proud of this one.
This project cost about 120.00 to make and about a weekend to build it. Plans make it very easy and it's beautiful and sturdy. I painted it antique white and used 1 coat of polycrylic on it.
Fri, 05/24/2013 - 17:18
This looks great! We're getting ready to make one in about 2 weeks.
Love this! My husband used this project to help boys learn to use power tools and work with wood. They made one and he did the others. THANK YOU!
Wed, 10/06/2021 - 10:15
Great way to get the kids involved, it looks very nice, organized and functional! Thank you for sharing~

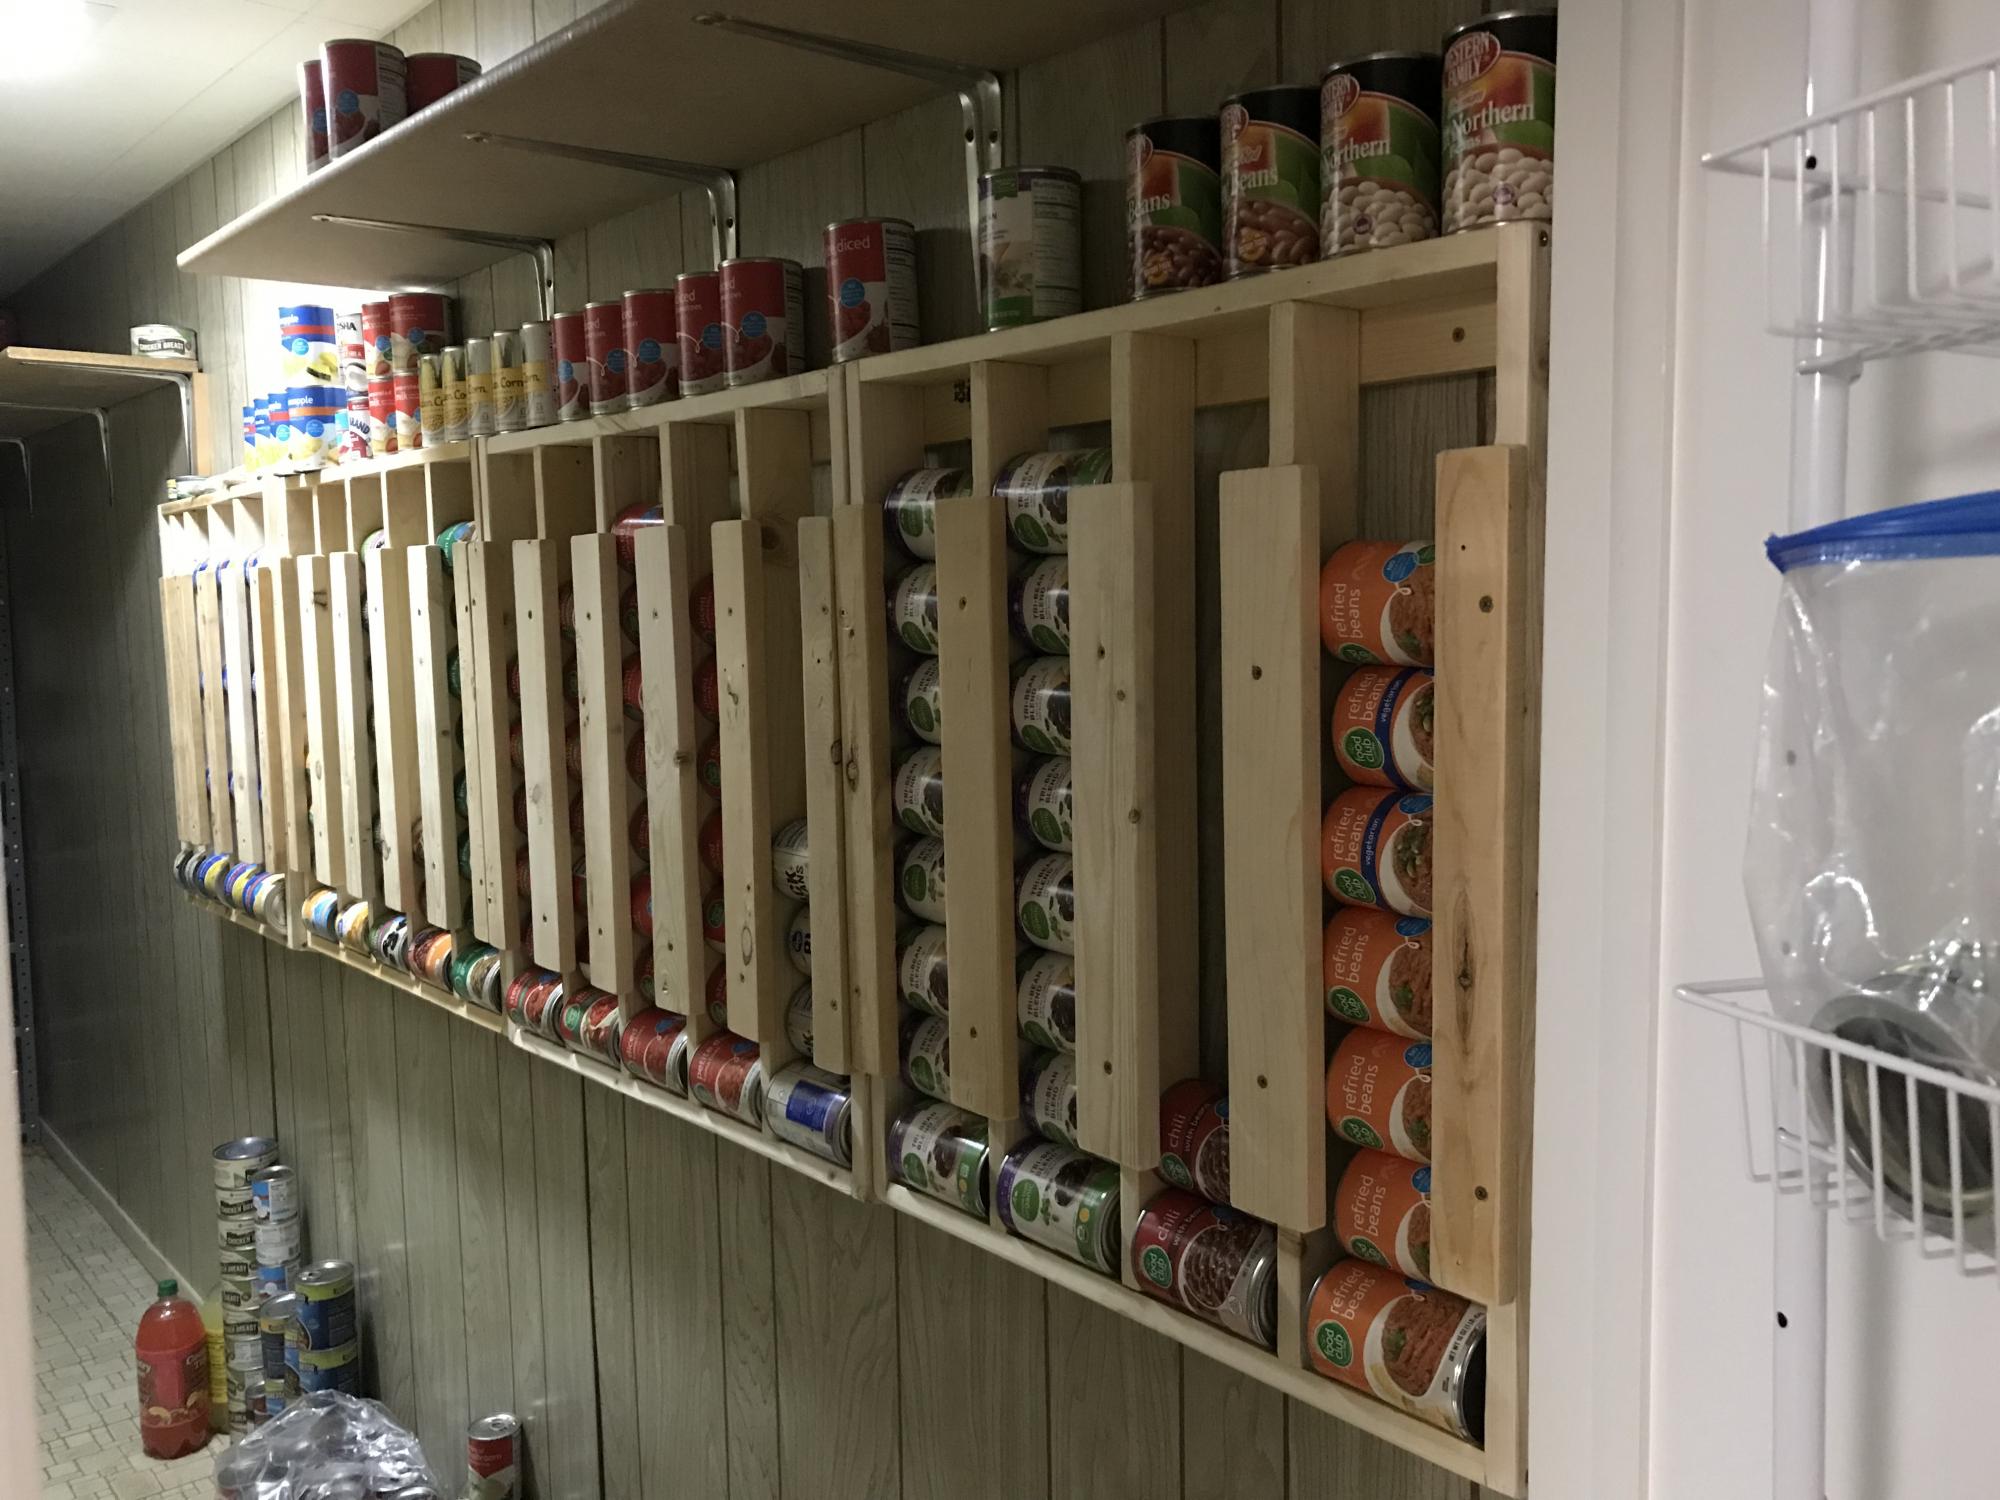
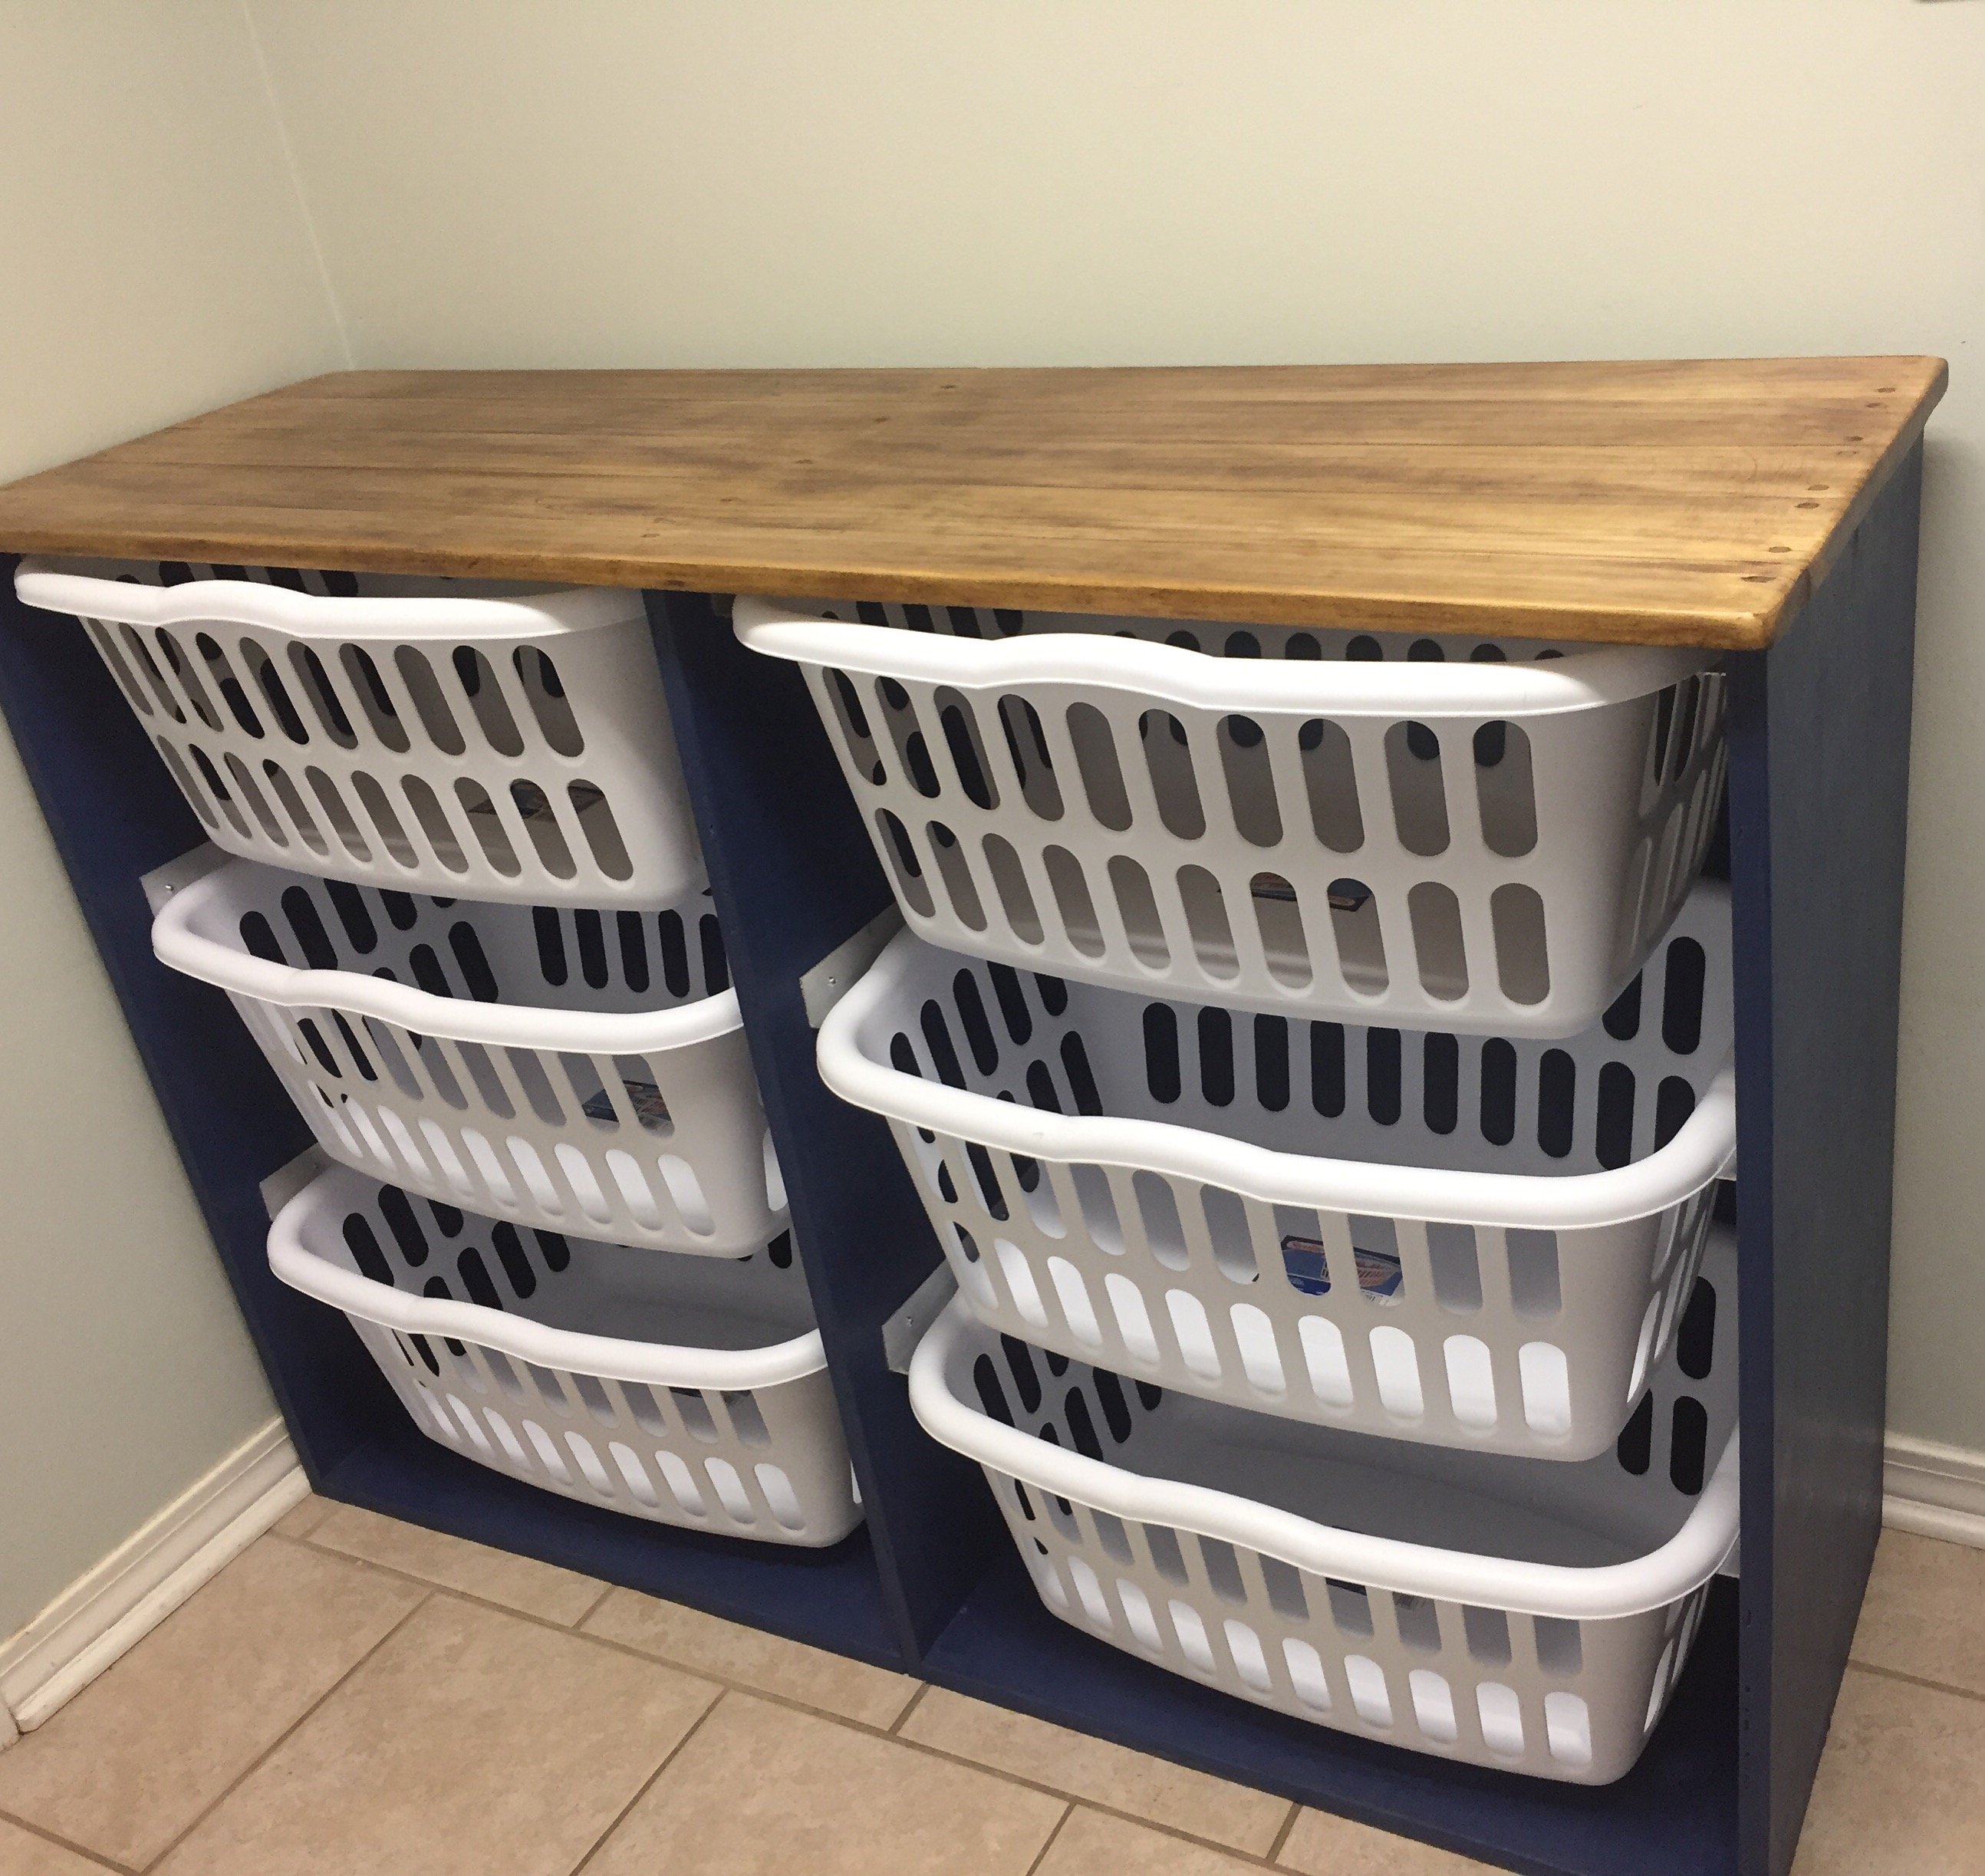
I didn't build this shoe dresser because I particularly needed one, but it looked so lovely that I couldn't resist.
- I modified the plans by building 3 bins instead of 2 so it could hold more shoes.
- I decided against the dowel stick and opted for hinges instead, which were surprisingly not too difficult to assemble. I found that I didn't even need the magnets after installing the hinges as the doors stay closed.
- I used 7" chains on both sides of each bin instead of a belt to make it extra sturdy.
- I added two back legs.
Et voila! This is the end result. I'm very pleased.
PS. Those flopping bins are a pain when you're trying to build!! An extra pair of hands is definitely recommended.


Fri, 07/05/2013 - 22:49
Pretty :) Good Job. Now if I only had the space for one thats 10 rows high :P I like the stain color too. Shanty 2 Chic always uses Rust-o-leum. I think its called dark walnut. Dont quote me though. I love the stain and spray paint combo colors they use.
~Melody
In reply to Nice Job by SoCaliforniaMel
Sat, 07/06/2013 - 20:00
Rust-o-leum, that's the one!
Yes, if only every woman could own a 10-row cabinet for all her shoes! :)
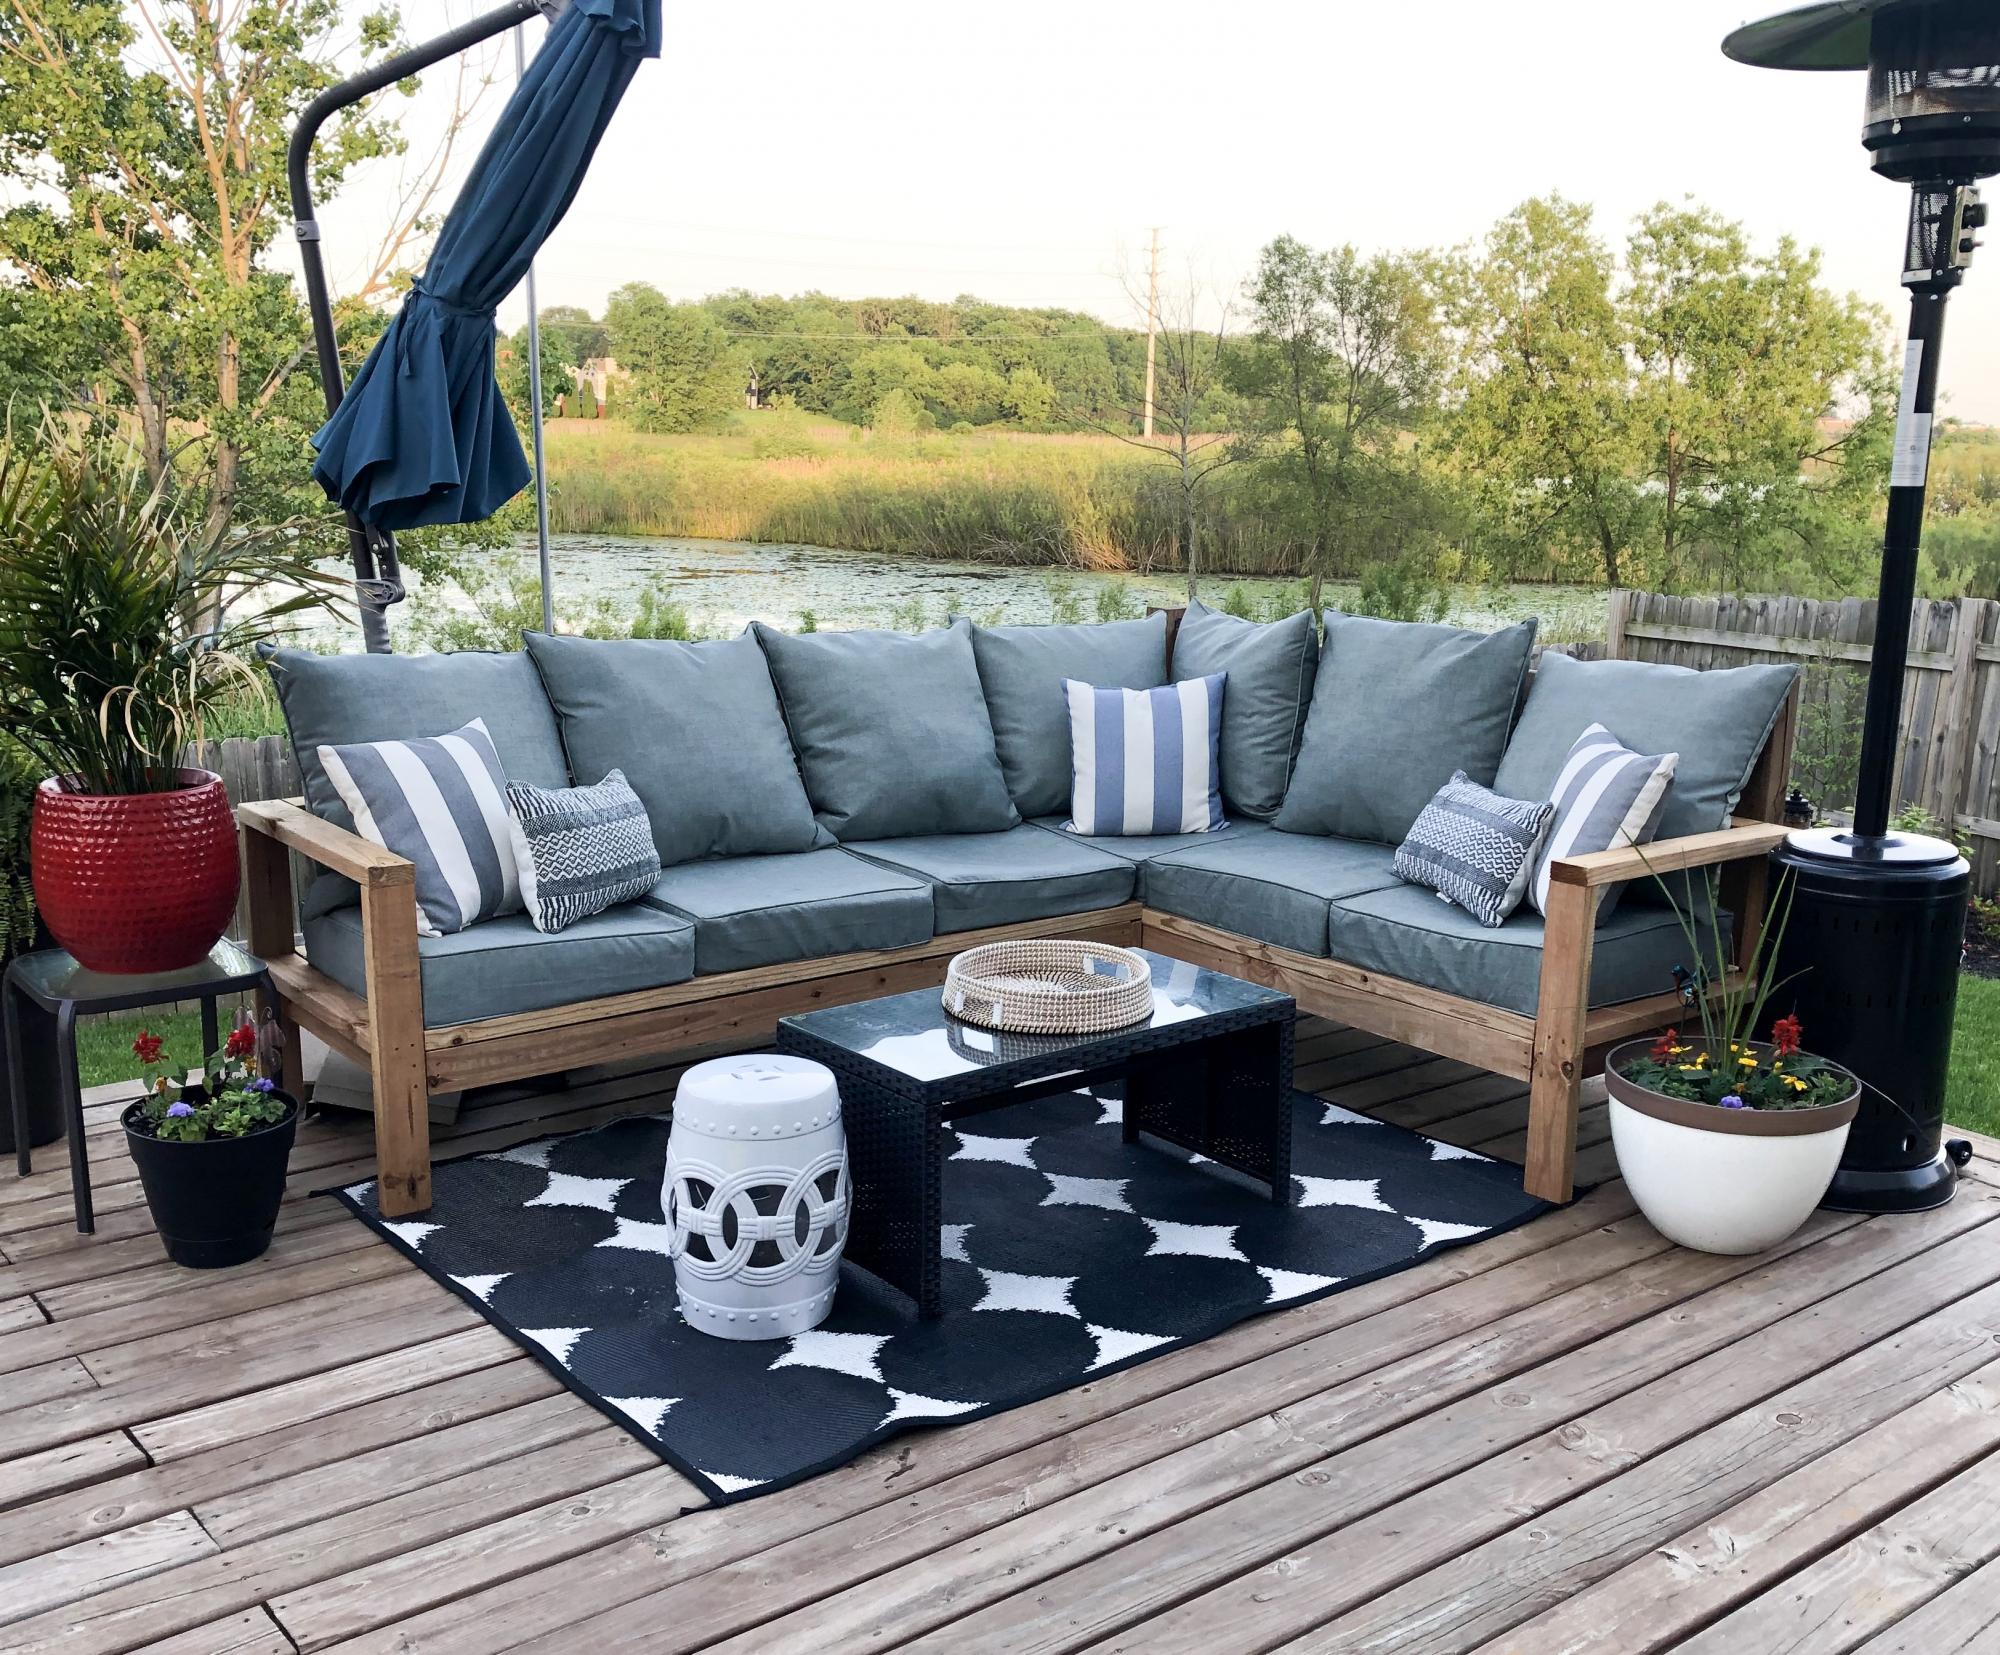
We built Ana’s outdoor sectional in a few hours and it’s made a huge impact on our deck! It saved us so much money but looks like a high end piece! Thank you for the simple and structured plans!

Fri, 06/07/2019 - 10:53
This is gorgeous! You really have an eye for putting different colors, textures and patterns together! Thank you so much for sharing a brag post.
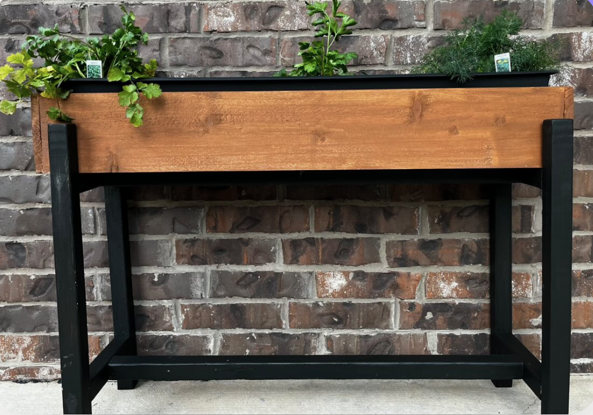
"Here's a pic of the planter I made! I modified it to fit a 36" planter. I LOVE it. Thanks!!"

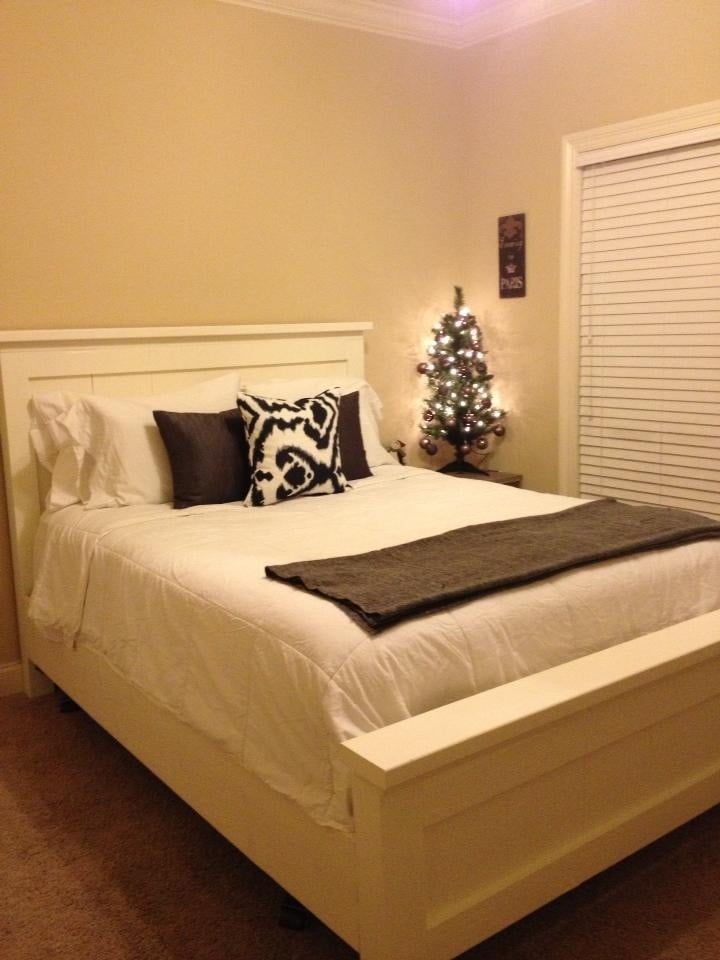
Practically to spec. (When I make a mistake I adjust to accommodate :) if possible)
Ana's plan was exactly what I was looking for. Love the result. Love pocket hole screws!

This was a fun family project! Thank you!!
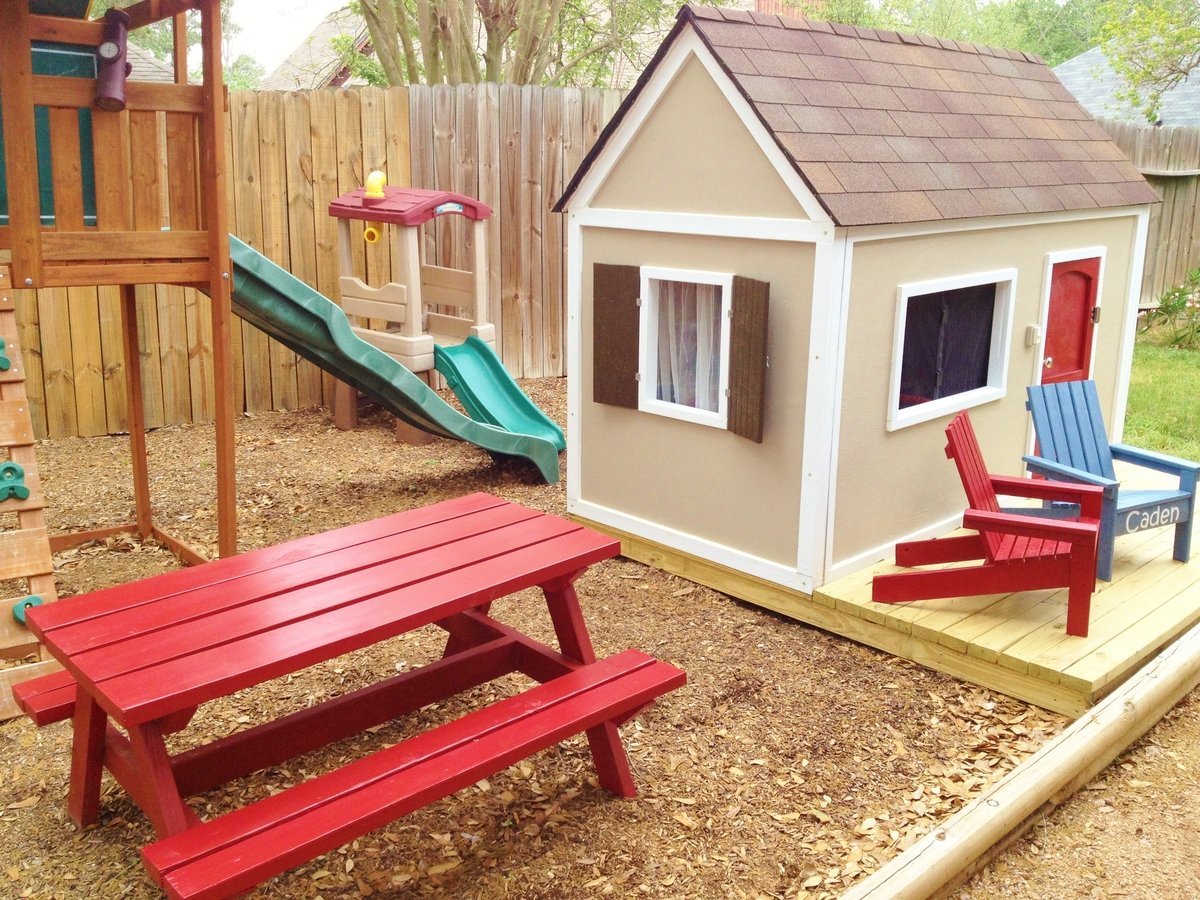
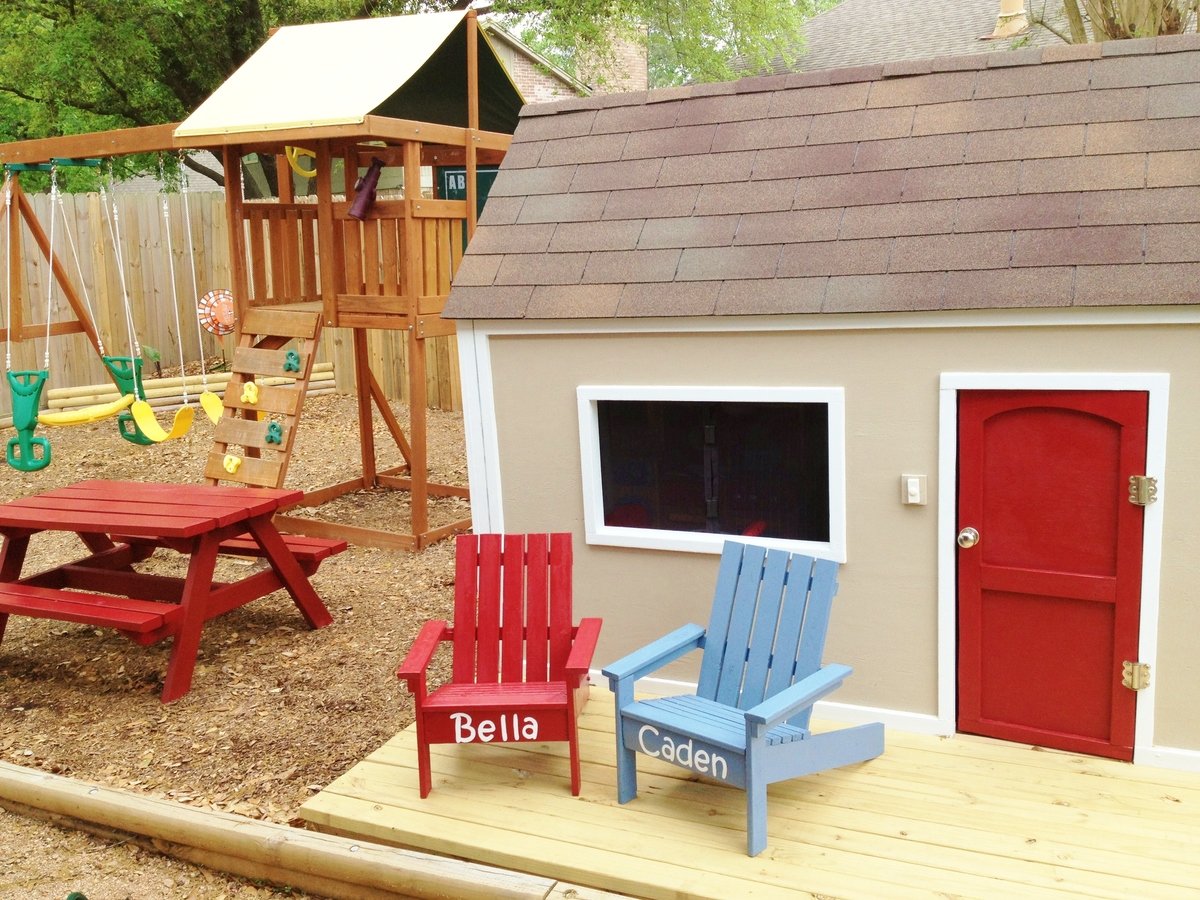
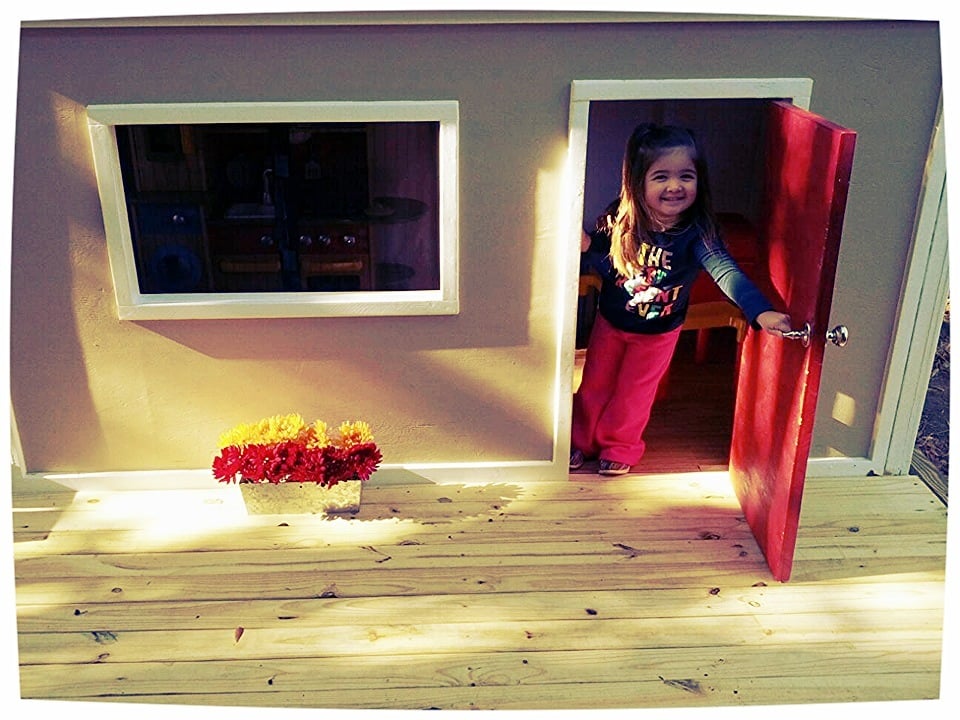
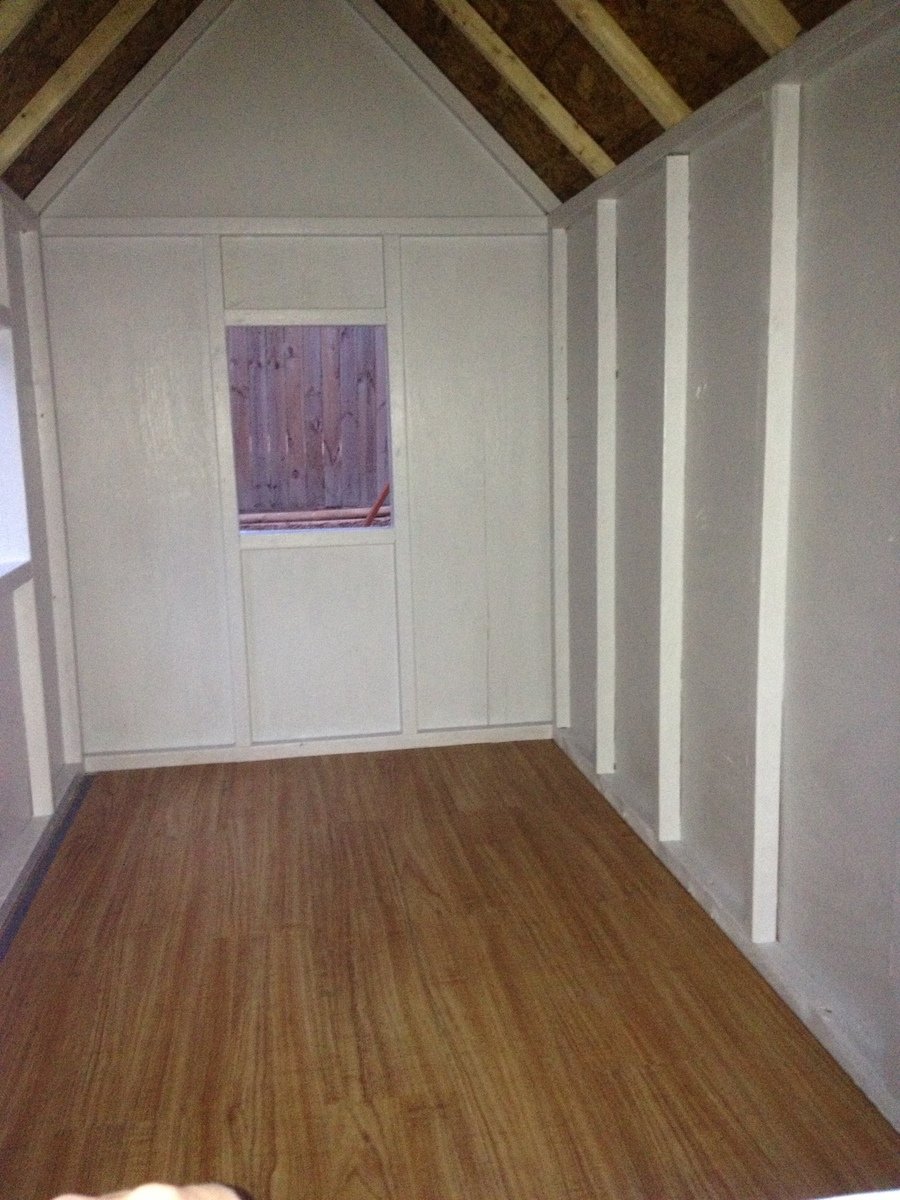
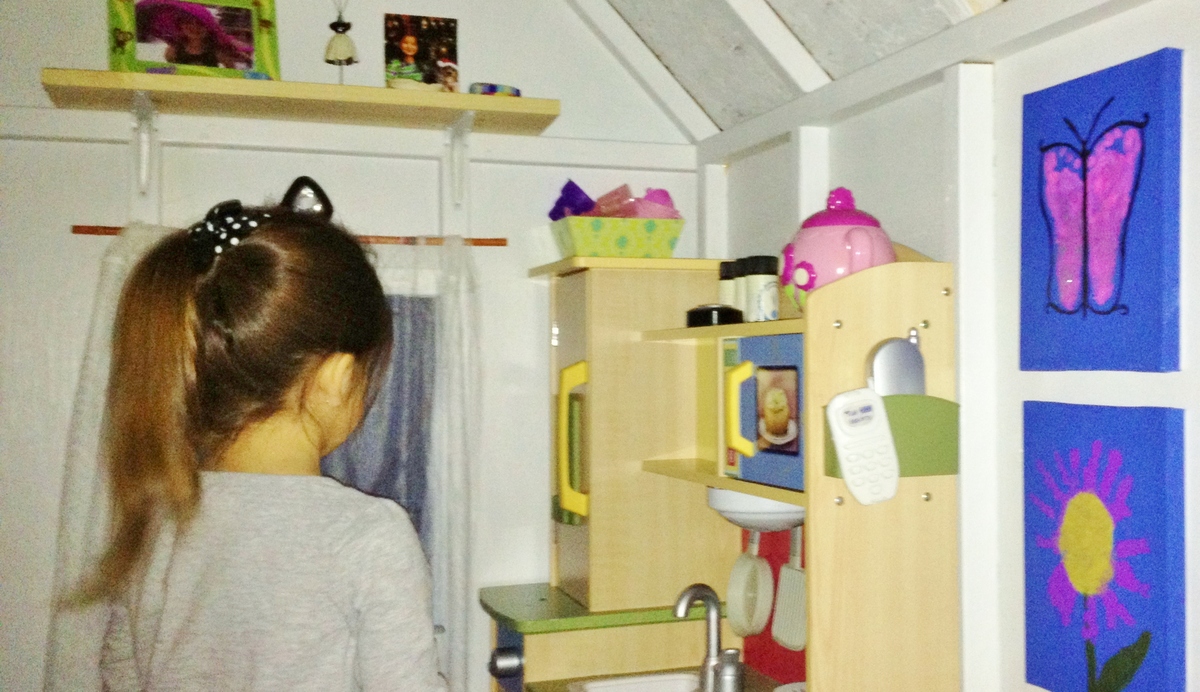
My first project ever was the red picnic table about a year ago and have built many more as housewarming/kid's bday gifts. This Christmas, instead of buying my daughter more toys, I decided to build her a playhouse. Not only was it a very special gift for her but also freed up space in my house being able to put her play kitchen, table, and other toys in it. The small changes we made were the size of the deck to better fit our available space and the shutters (made out of scrap 1x2s and hinged to close with a hook and eye). We put down 3/4" treated plywood as the base and then used 1 box of vinyl plank flooring that looks like wood to hold up to the Texas humidity. I eventually want to make accordion-like shutters for the front window but have up a bug curtain (used for regular size doorways and closes together with magnets) that I cut in half to fit. We have bad mosquitoes here in Texas! I also added a wireless doorbell.


Hidden door bookshelves hide a furnace closet. Built by Kraig Faulkner
Thu, 01/23/2020 - 07:05
Great idea! Do the bookshelves swing freely when weighed down with books? What type of hinges did you use?
Thu, 09/17/2020 - 08:01
I'm currently working on a basement renovation project. I'm probably going to incorporate a feature like this for my mechanicals, too.
One important safety note for anyone who wants to do this: It's recommended that your furnace be a minimum of 30" away from any combustible materials. That includes walls and partitions. The image of this project displayed is right next to the furnace, which is not a good idea.
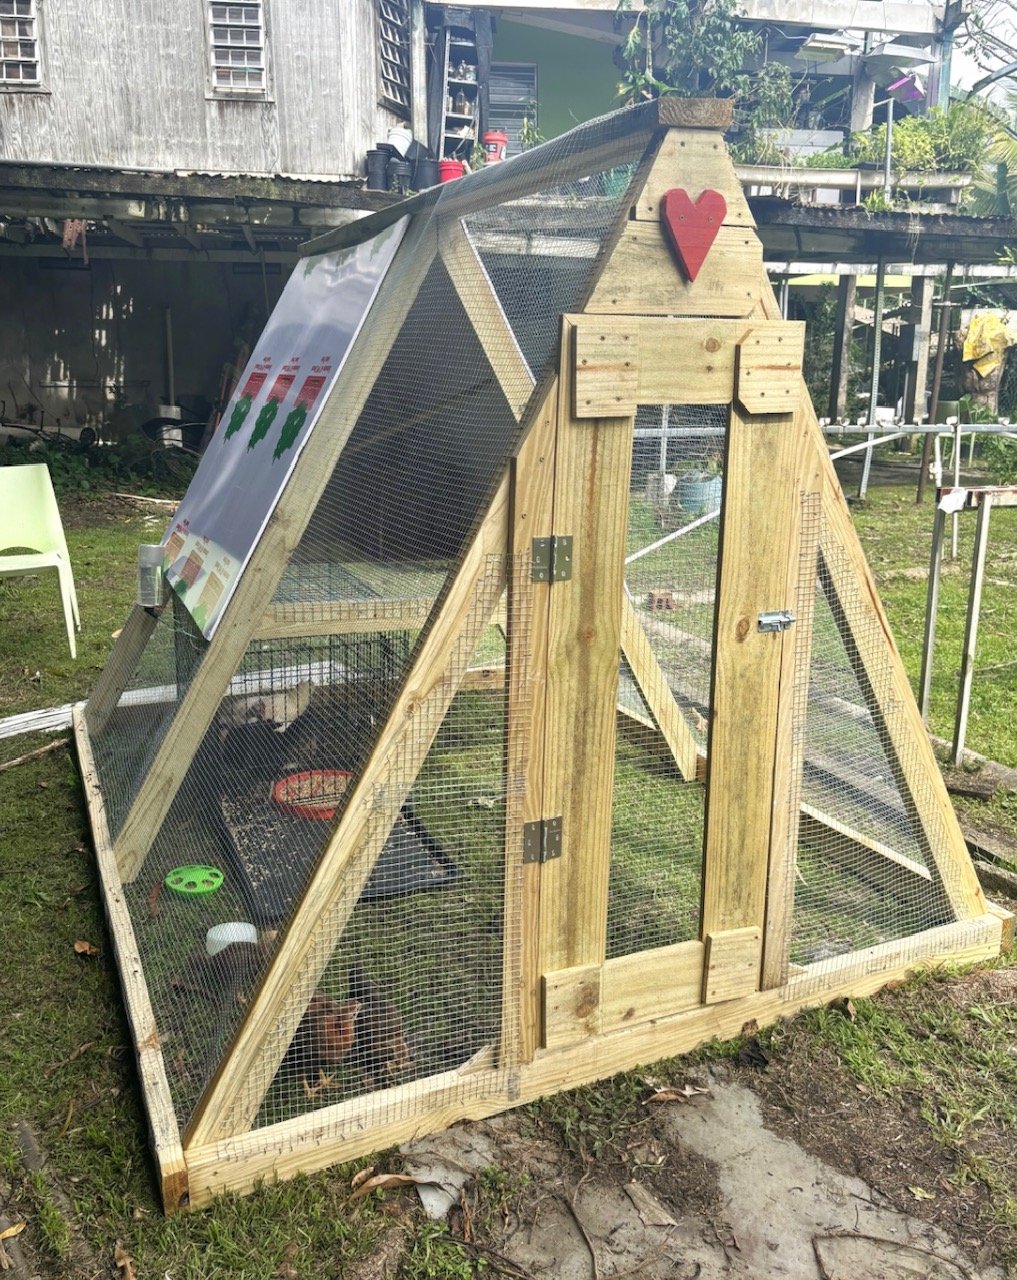
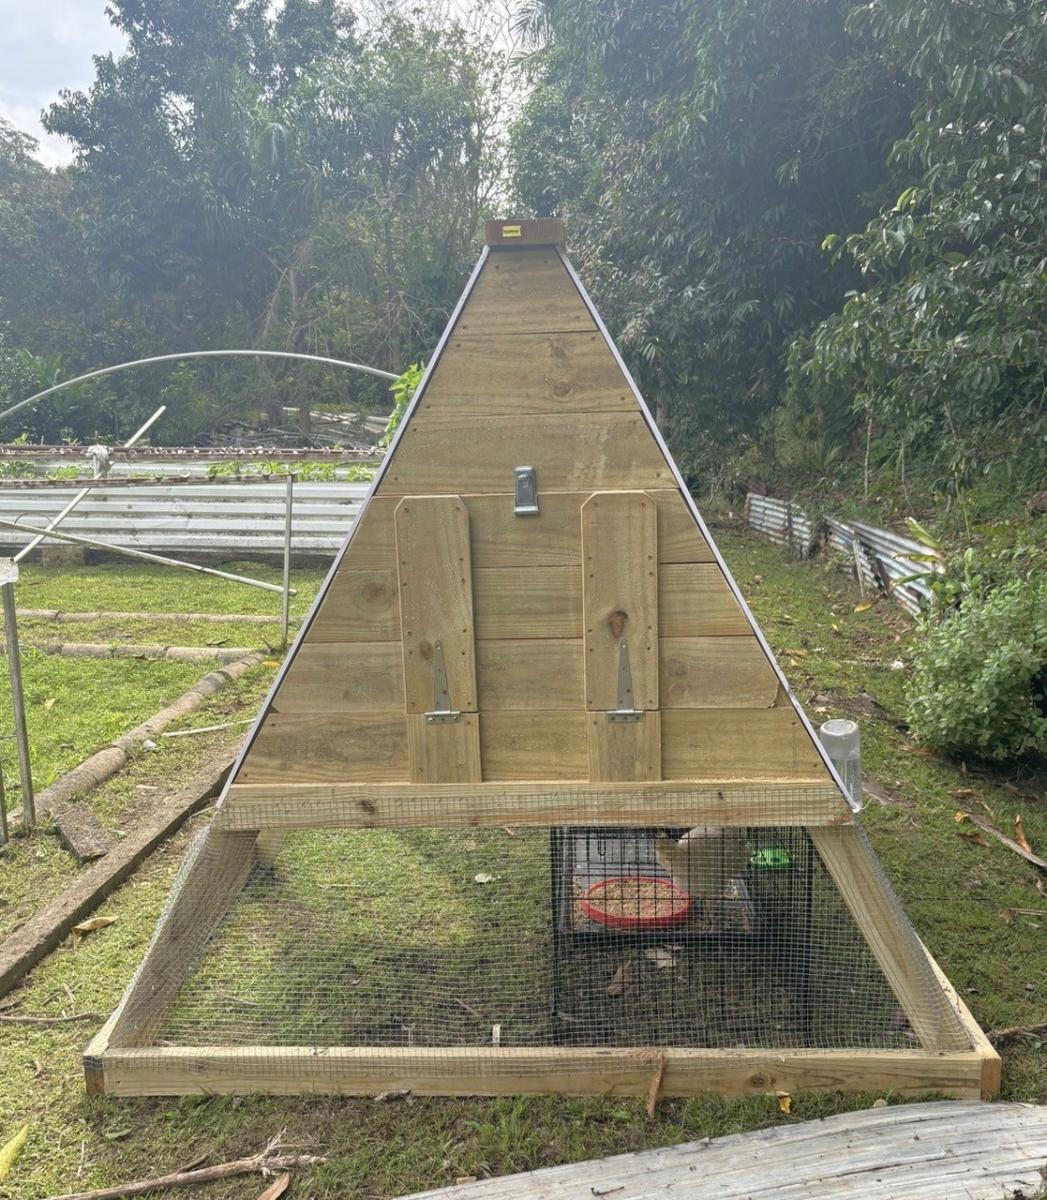
A shape chicken coop built in just two days about 9 hours east to do. But heavy to move but everyone is loving it!!!!
Cecilamor
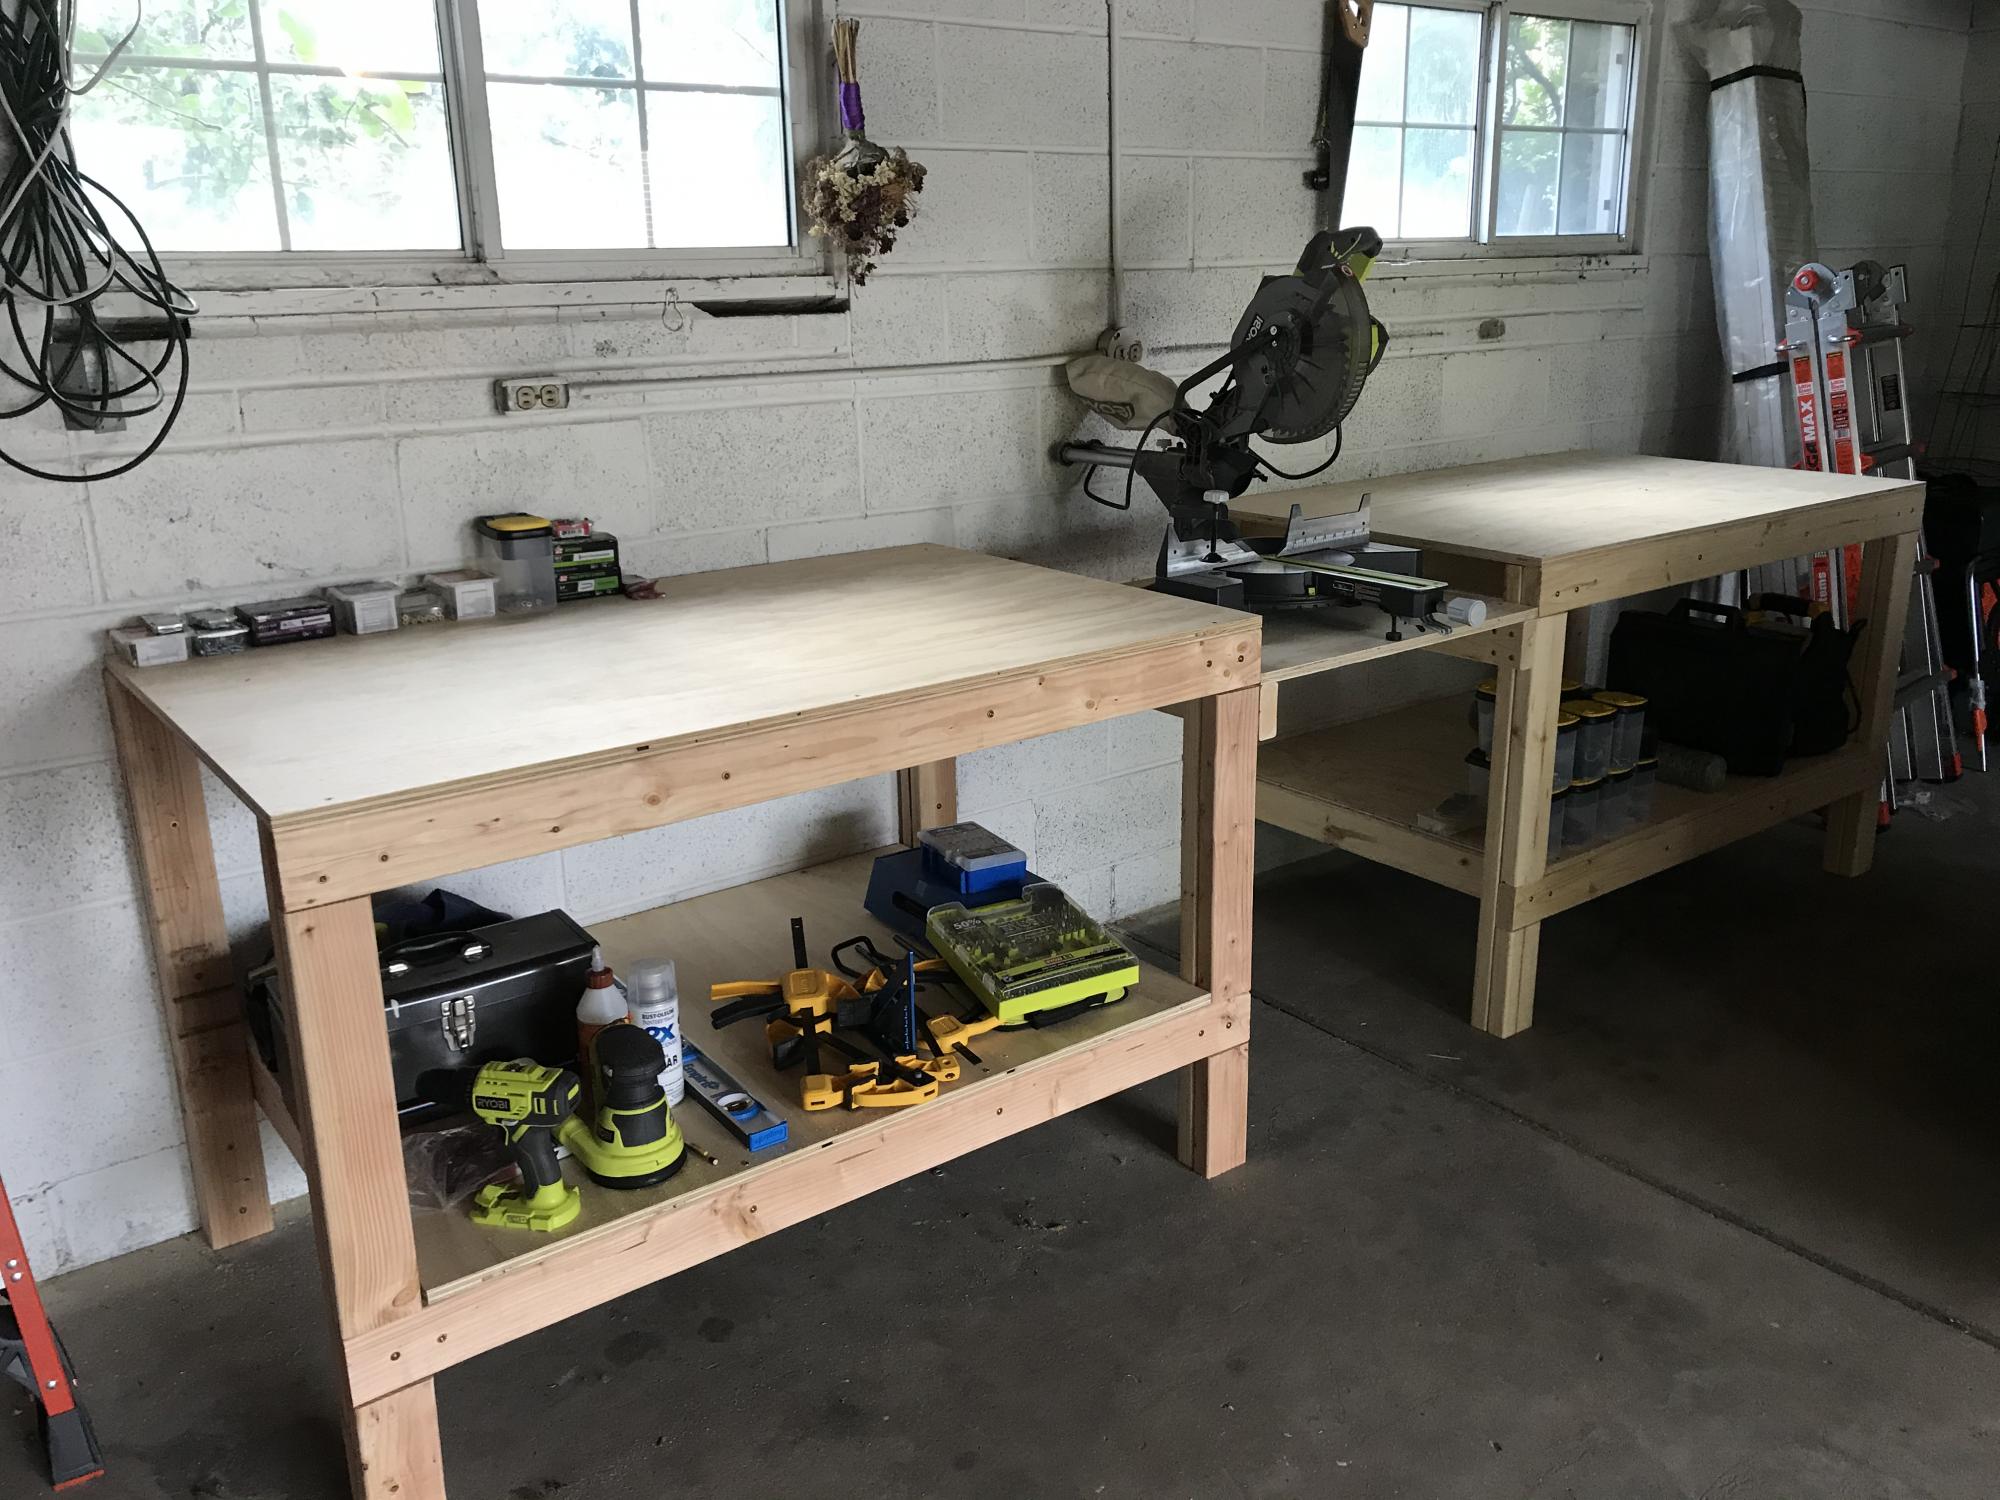
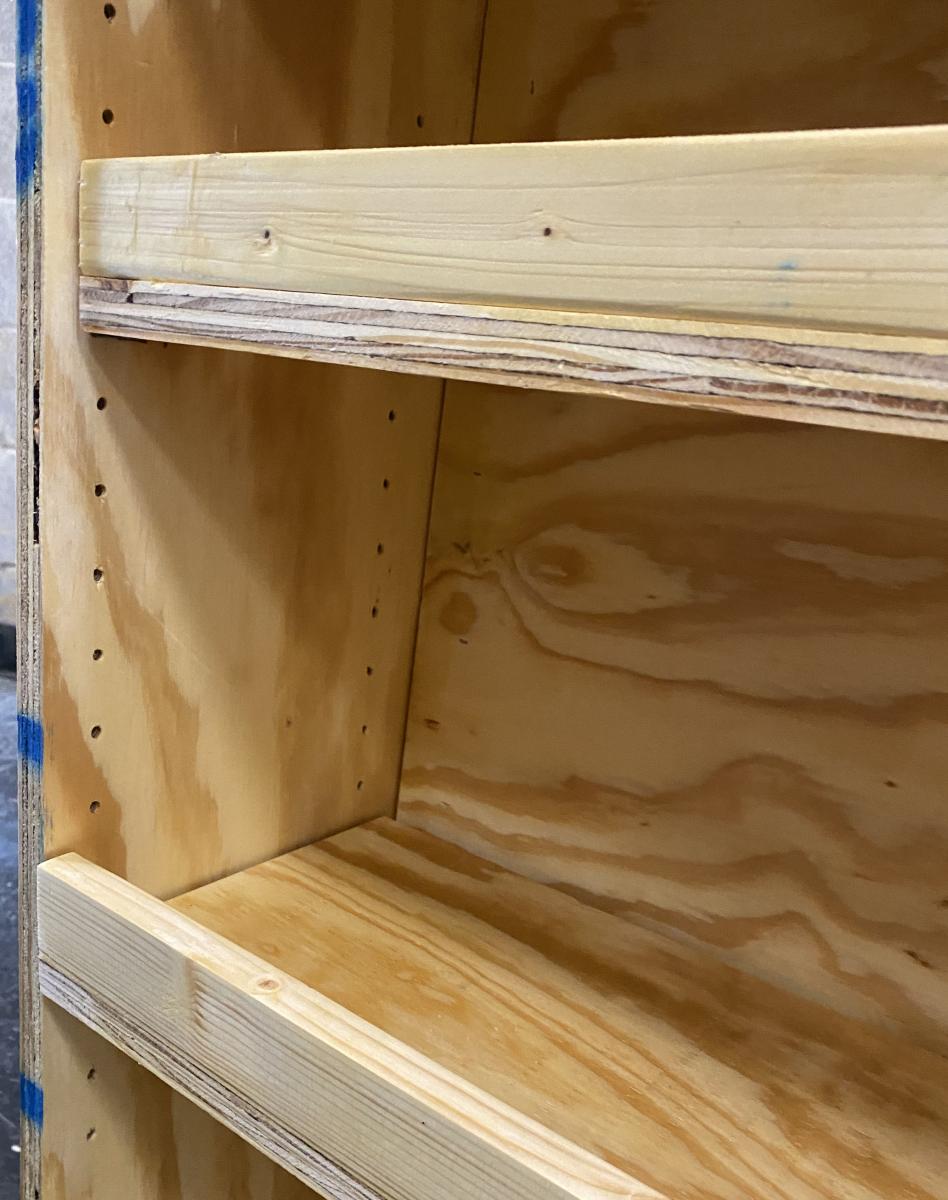
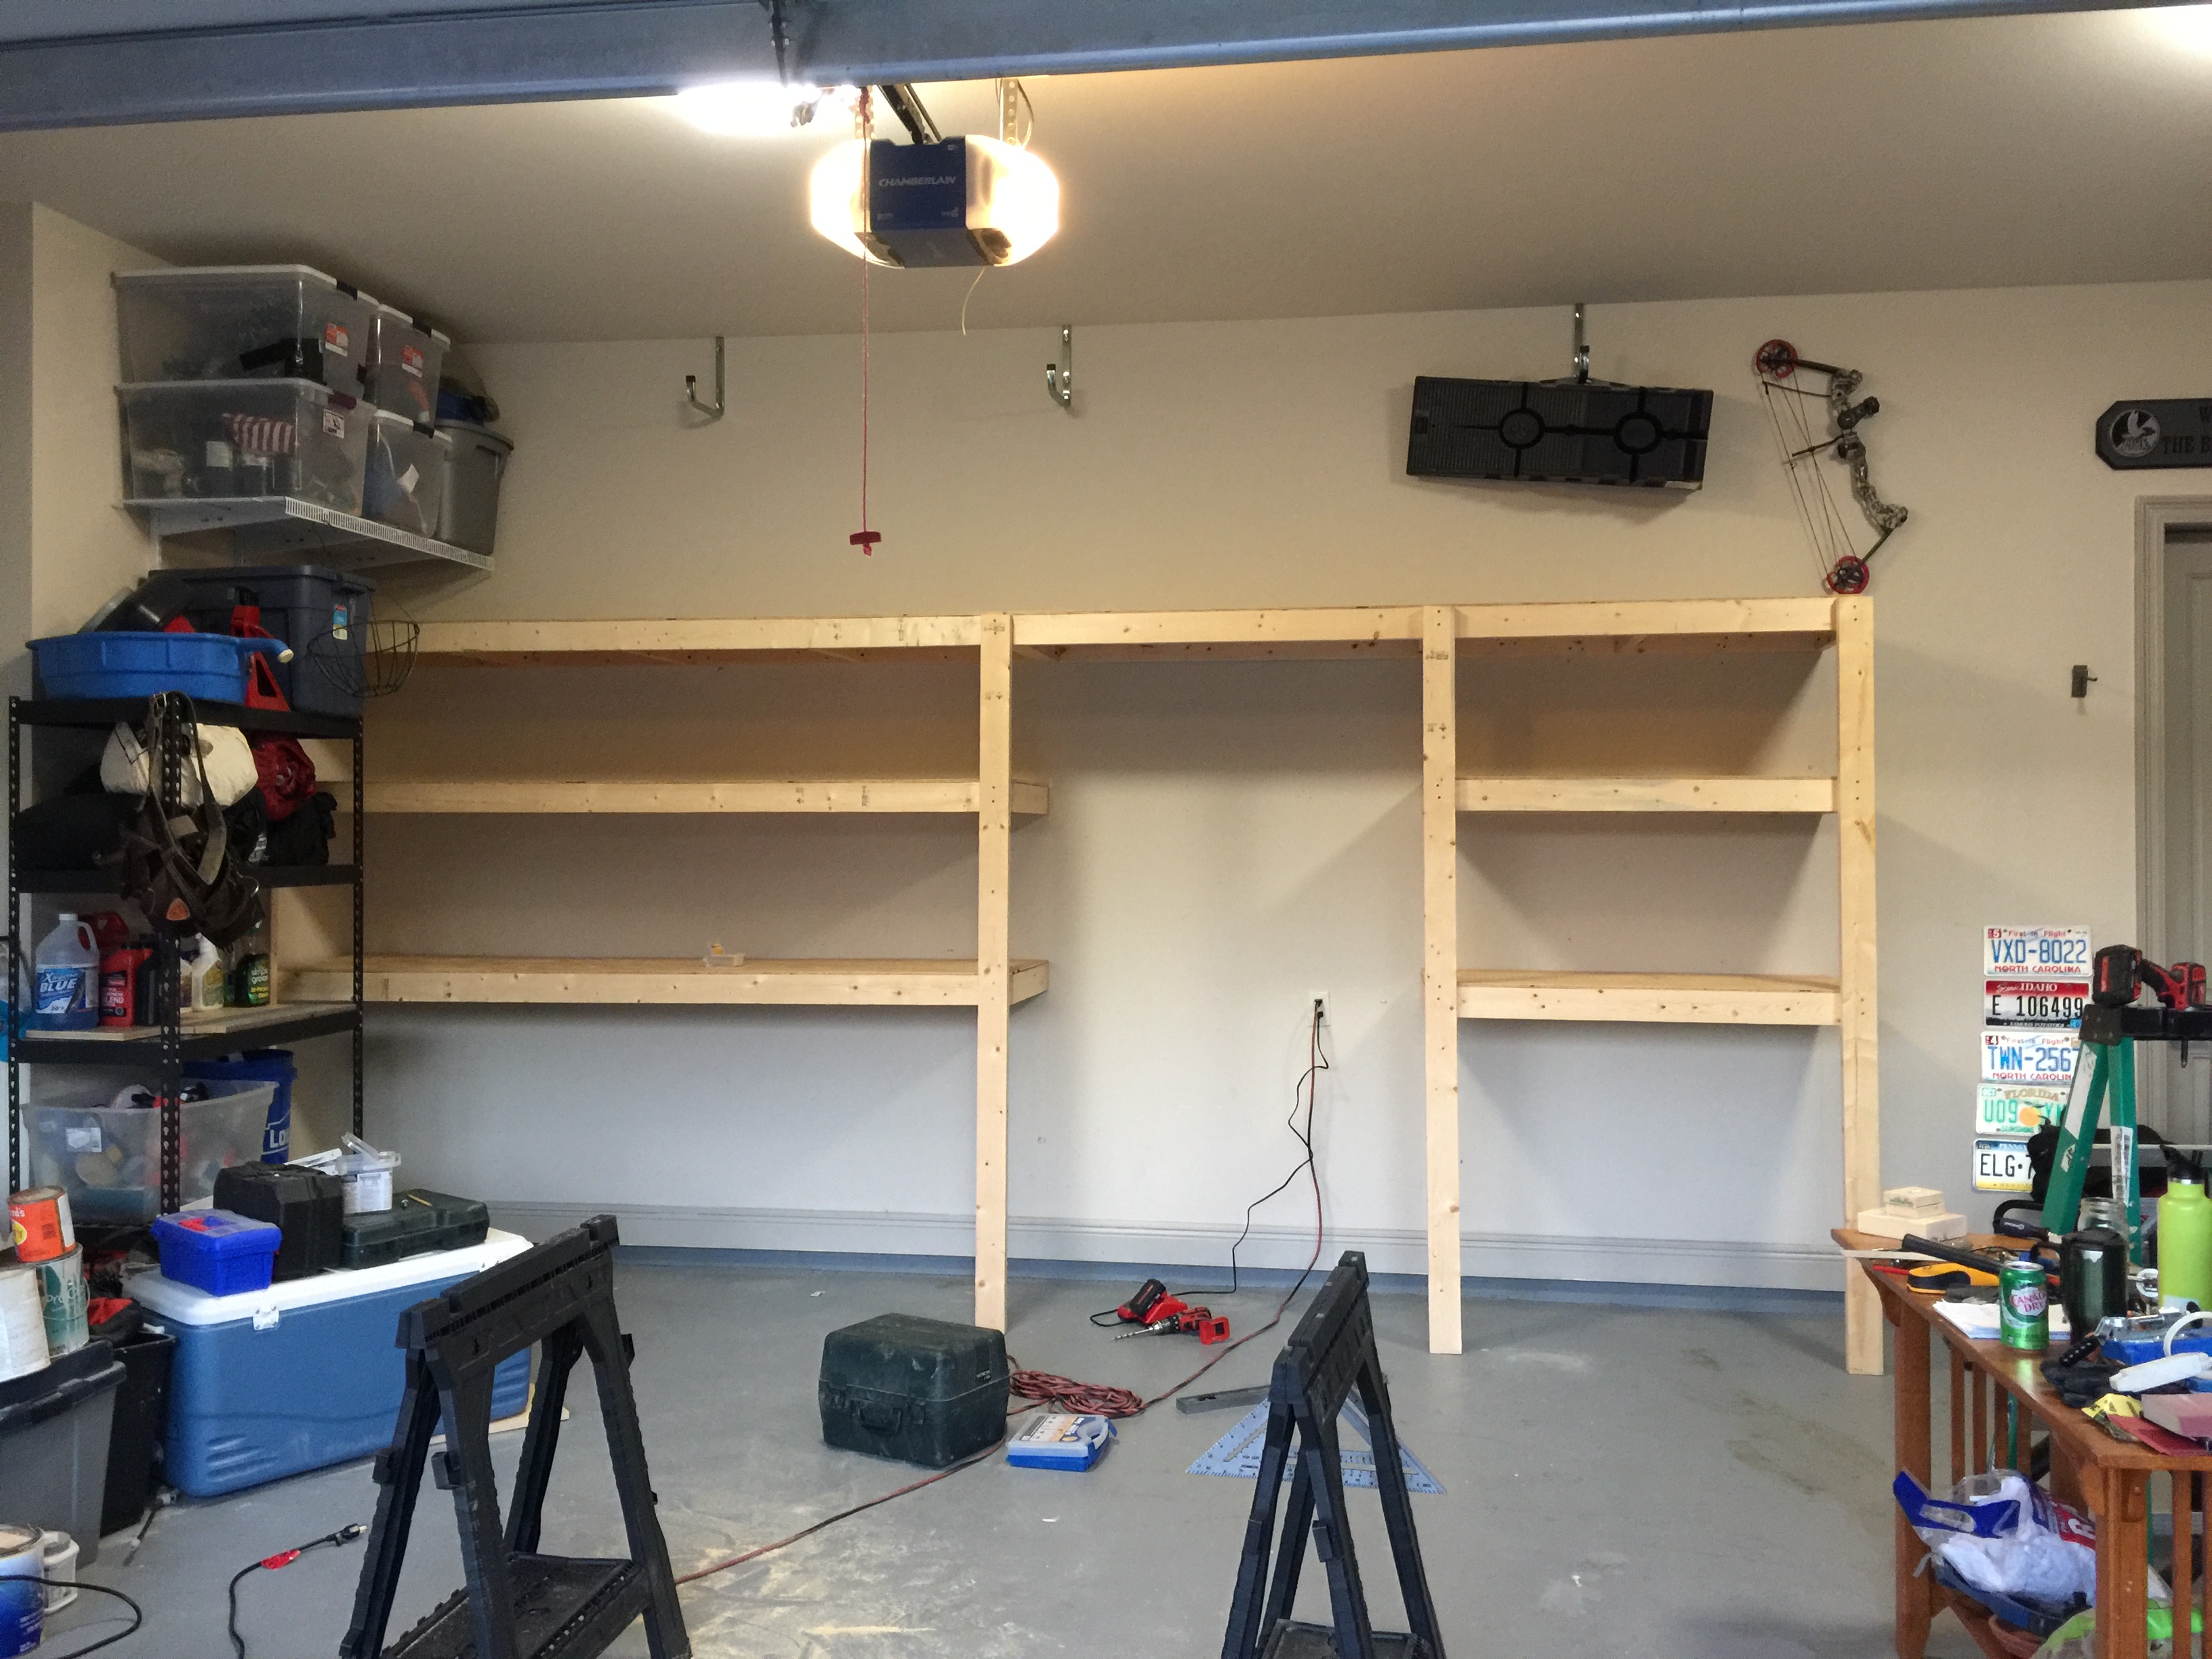
Built 2 of the workbenches for our garage. The plans made assembly very easy and quick. We had Home Depot cut the plywood to size.
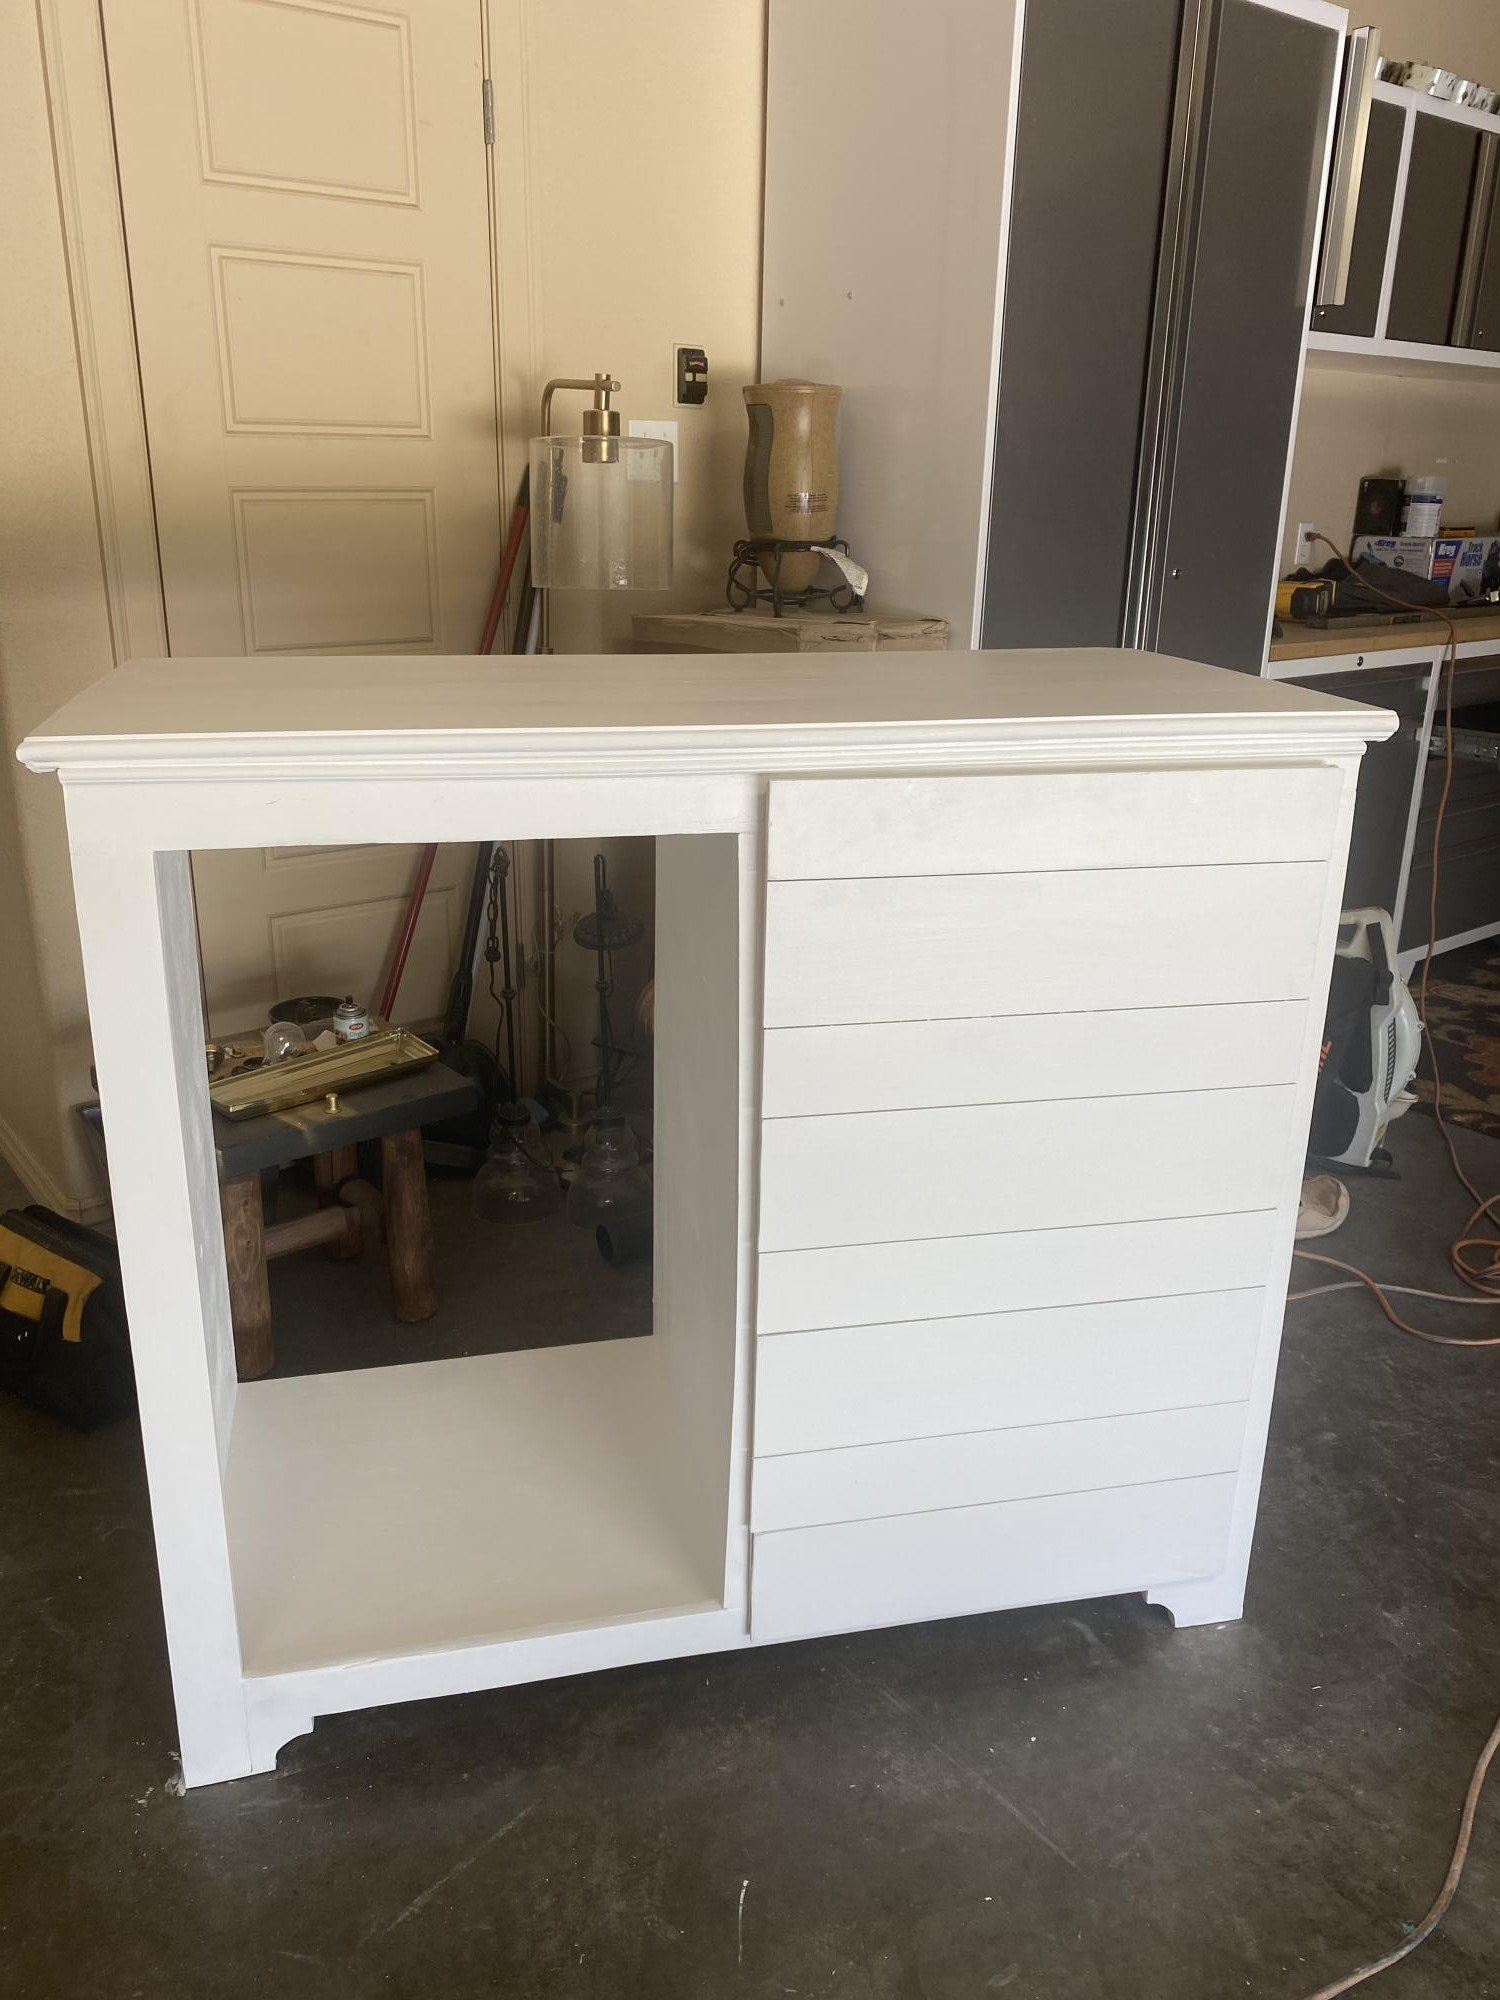
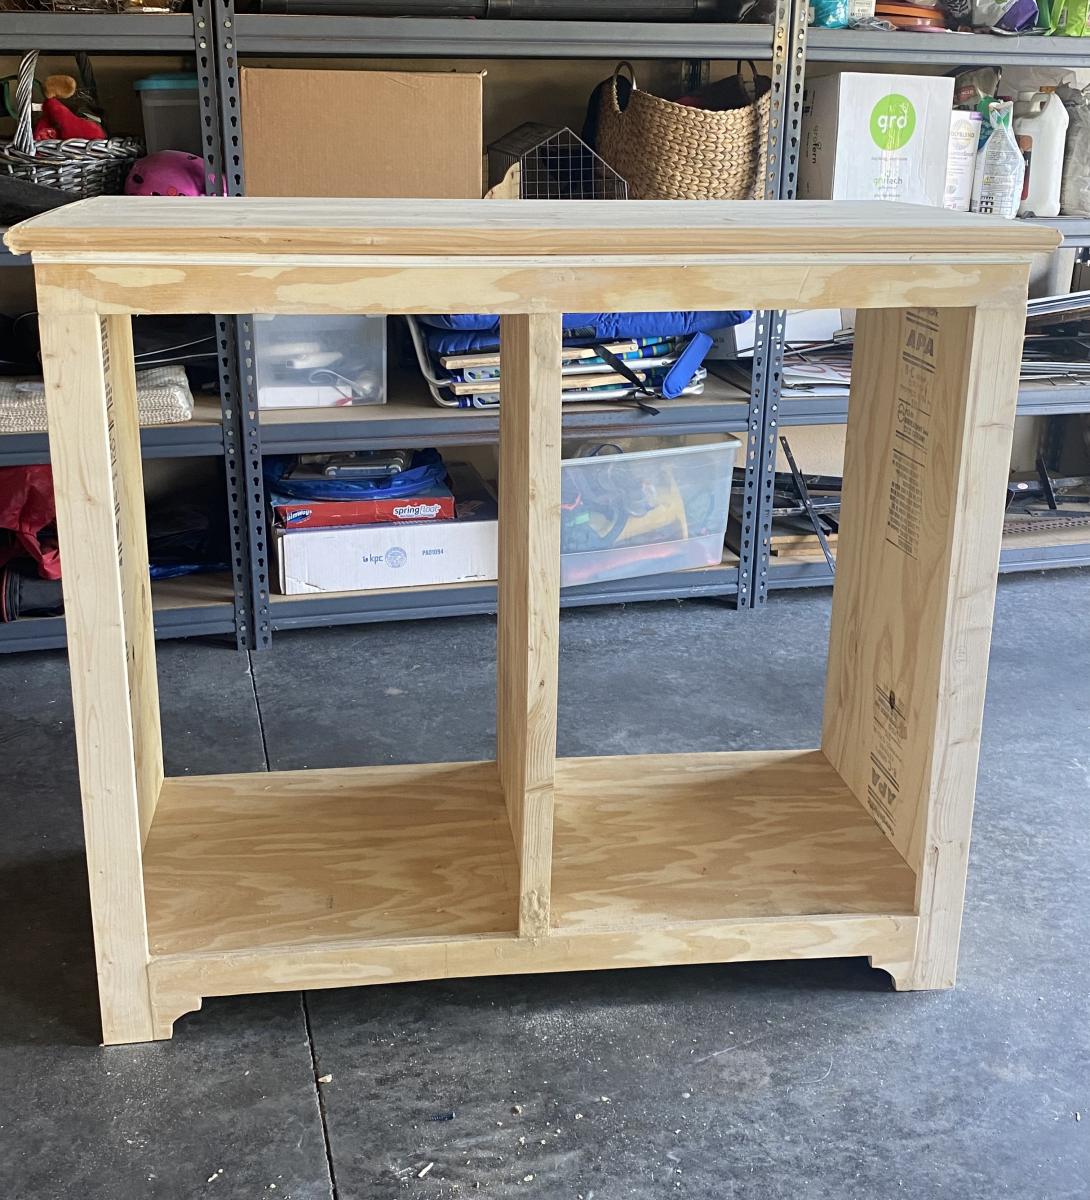
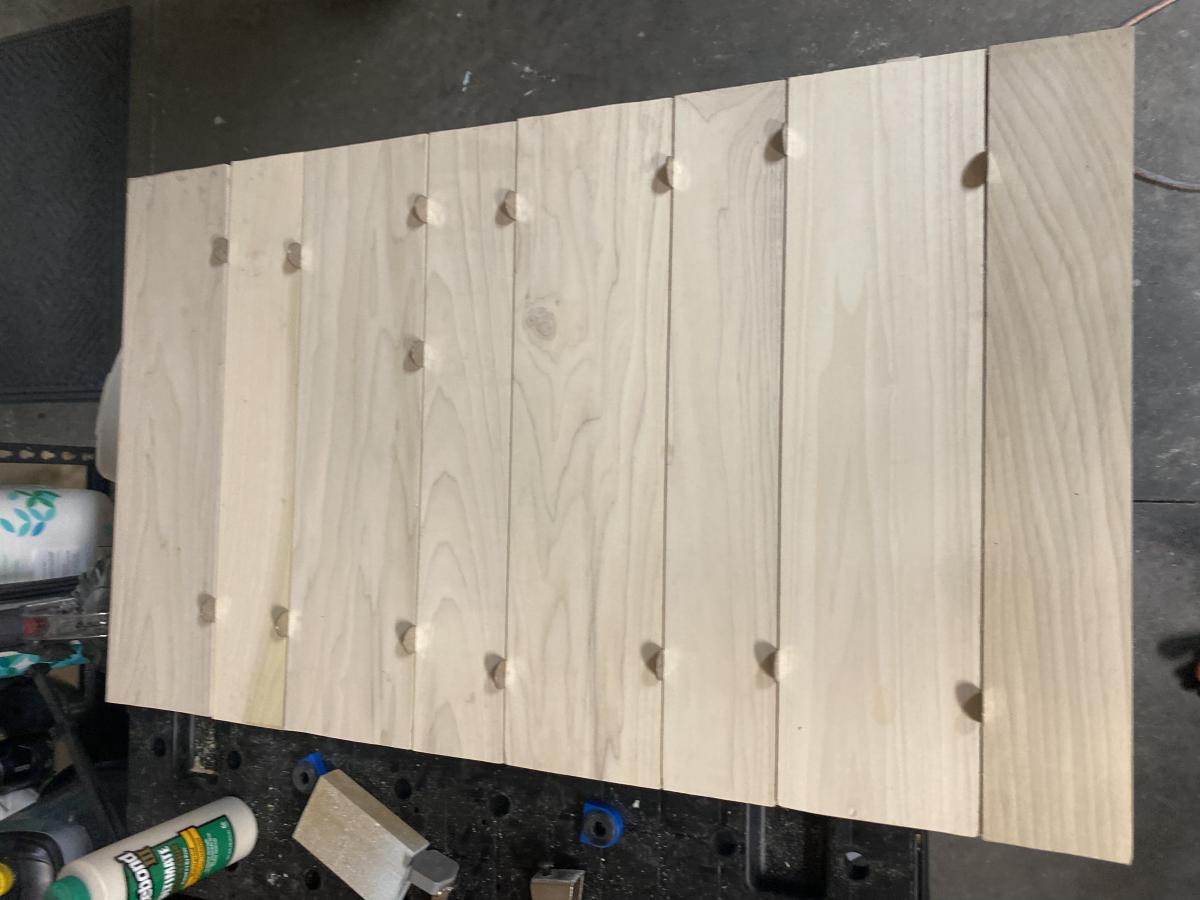
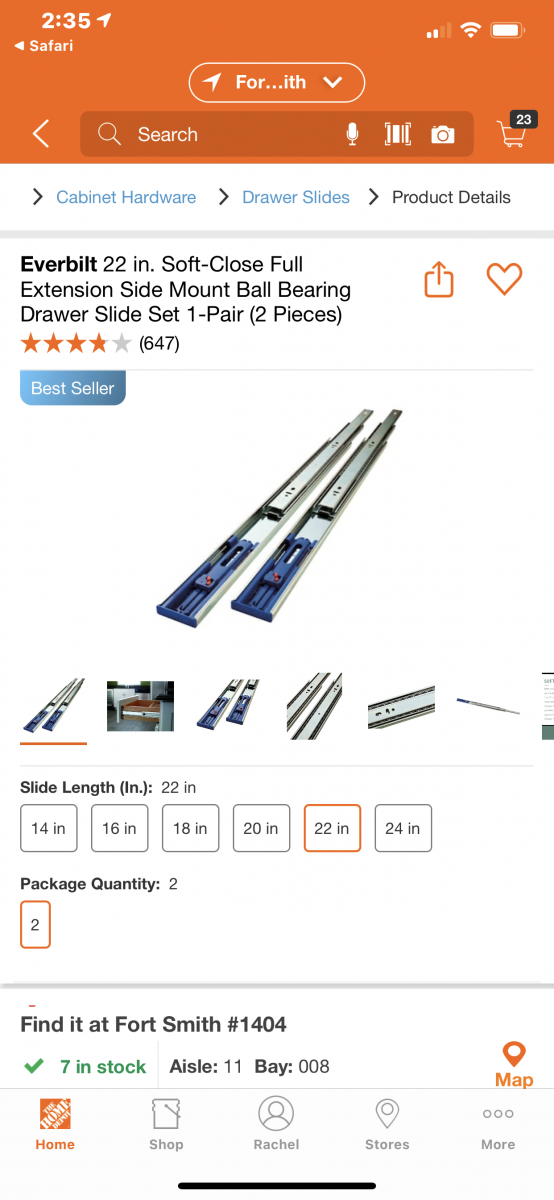
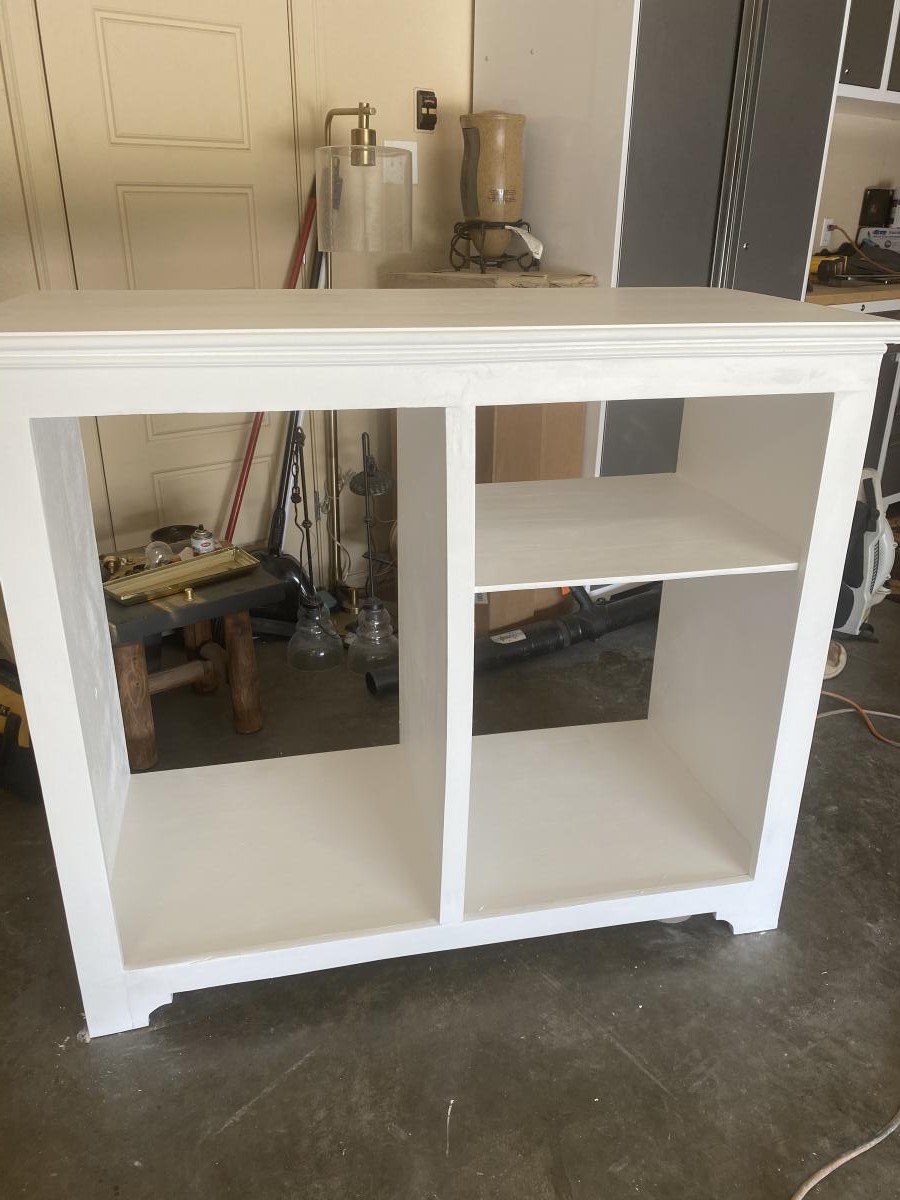
I changed plan to make deeper. I also modified the bottom trim and top. I put a ball bearing soft door drawer guide on modern door so it can slide back and forth. I feel we need more modern plans on here but with a bit of creativity and using plans you can make anything. I have never built anything before. I love General Finishes Milk Paint in Snow White and I brushed rolled it on (sanded between 3 coats). It’s basically self leveling and leaves a nice matte finish. Used door glide in picture bought from homedepot in the 24 inch and that’s how wide door was and it was 36” tall. Door glide I only used one on top of the door not on bottom as well. Door piece of fiberboard with just strips glued on and quarters spacing them correct.

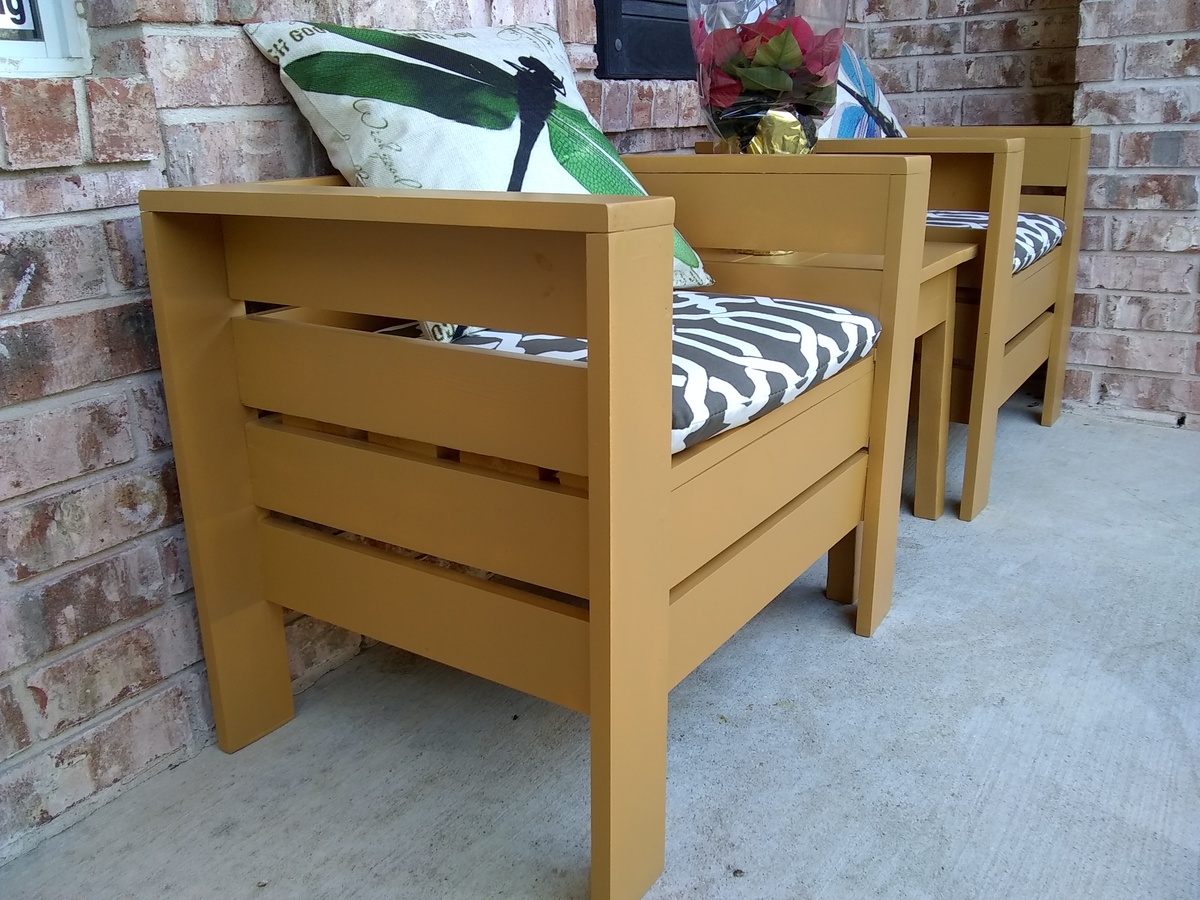
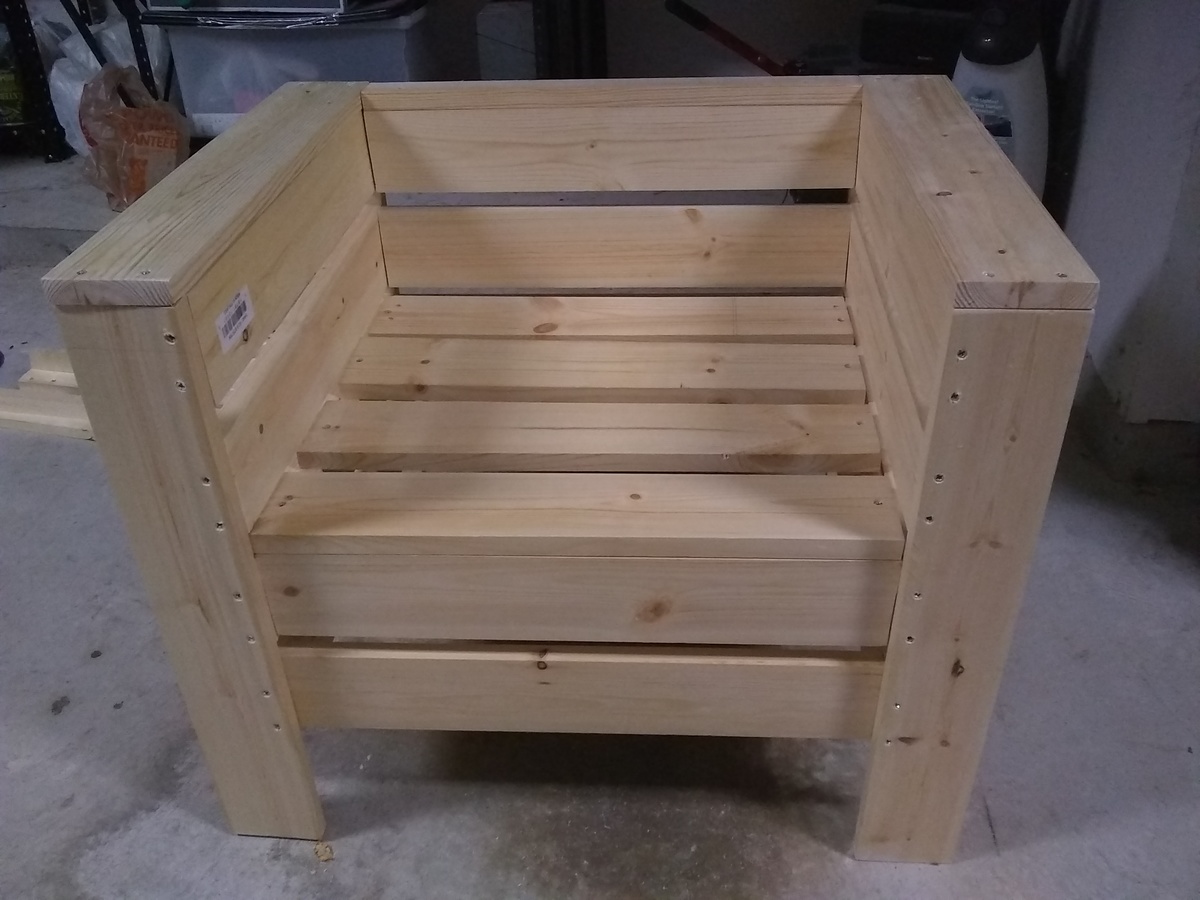
I needed chairs that would fit on my narrow front porch. This plan was great because I was able to resize it to 20x20. I used 1x4s that I already had and some wood glue. They turned out solid. I made the tryde table with left over wood. That one is 17.5x17.5. Super happy with the results. We are doing the garage shelves right now. I have a list of other things I want to make thanks to Ana's wonderful website.
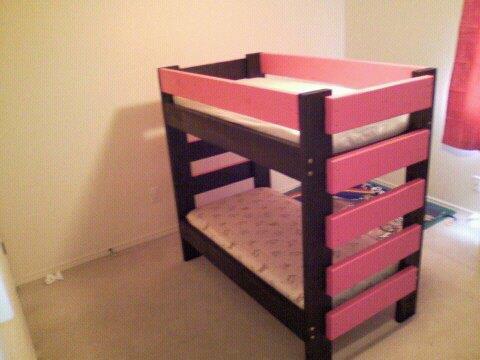
Building Bunk beds and custom beds is what i do. I router the corners so that they are rounded, plane the face's of the boards,and sand to perfection. then i glue and screw it all together. you can check out the site at http://www.dreamworksbunkbeds.com


I modified the origianl plans by making the cabinet taller. I also built 2 cabinets and trimmed them both together to make it appear as if it is 1 giant cabient. It measure over 7 feet tall and just over 6 feet wide. I did add an additional 1x2 brace in the center of the cabinet to help support. I also cut an additional 1x4 to use a brace when anchoring it to the wall. I also chose to add an additional 2 trim pieces to each door because they are much taller than the original plan doors.


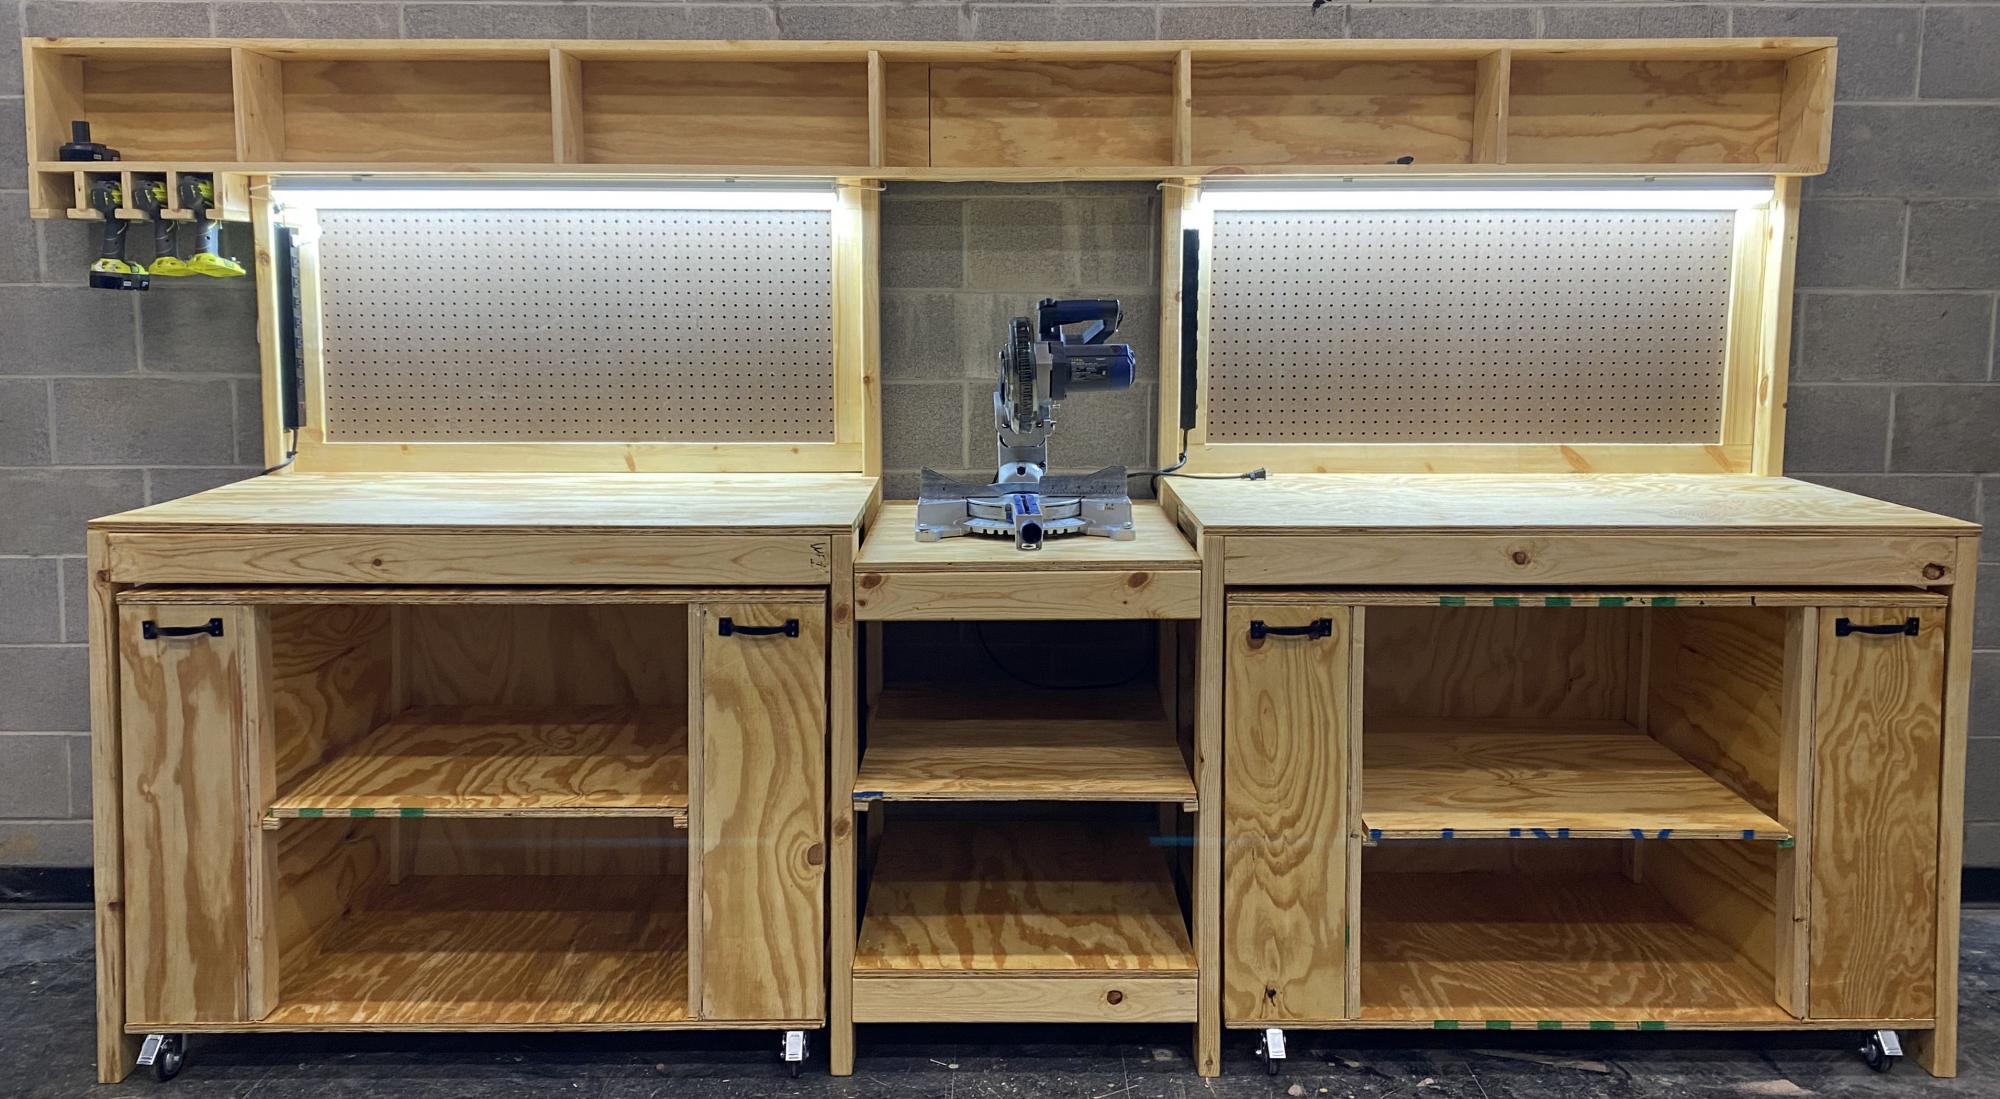
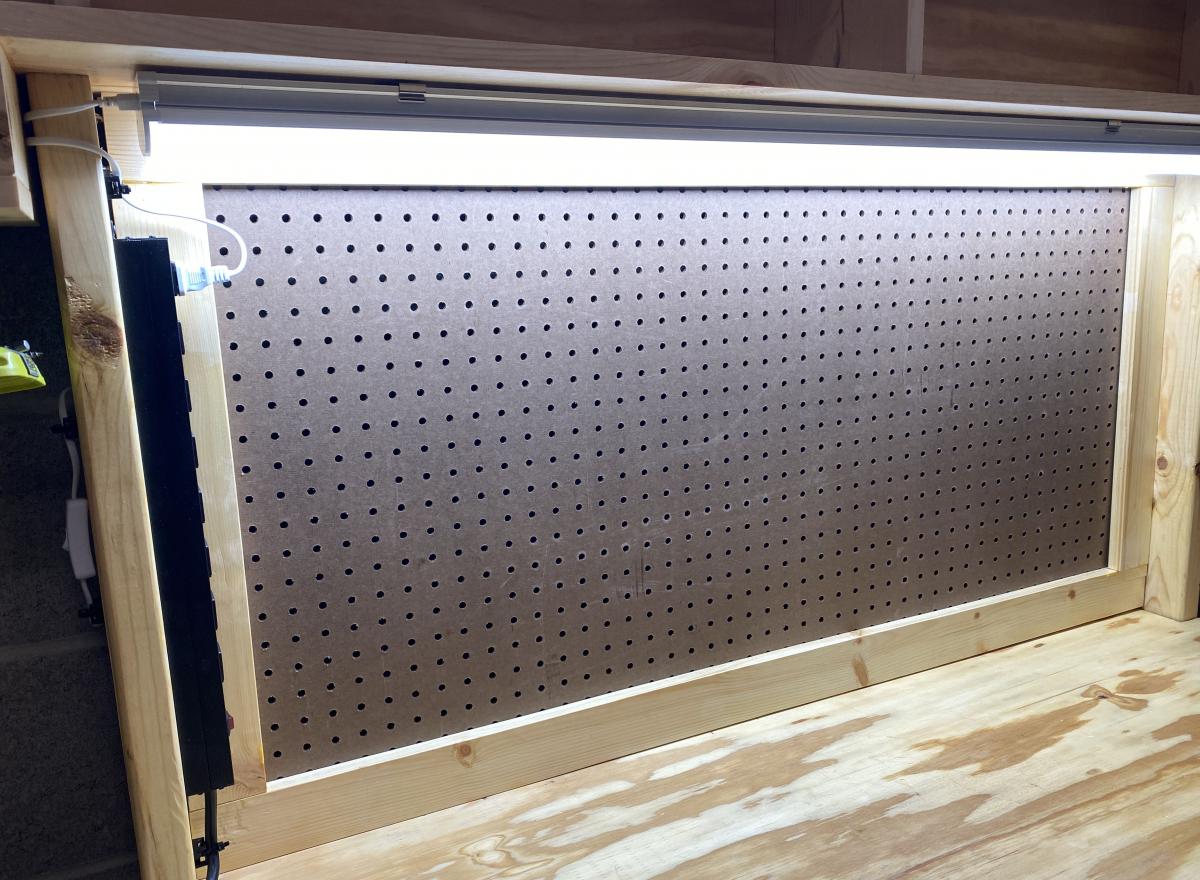
My son chose to make a workbench for his high school theater for his Eagle Scout project, and selected the Ultimate Roll Away Workbench with Miter Saw Stand as the basis for the project. The theater teacher wanted pegboard for tool storage, so we extended the rear legs on each workbench and notched the top to allow them to pass through. We built two frames from 1x3s to fit inside the rear legs, then put a pegboard inside each one.
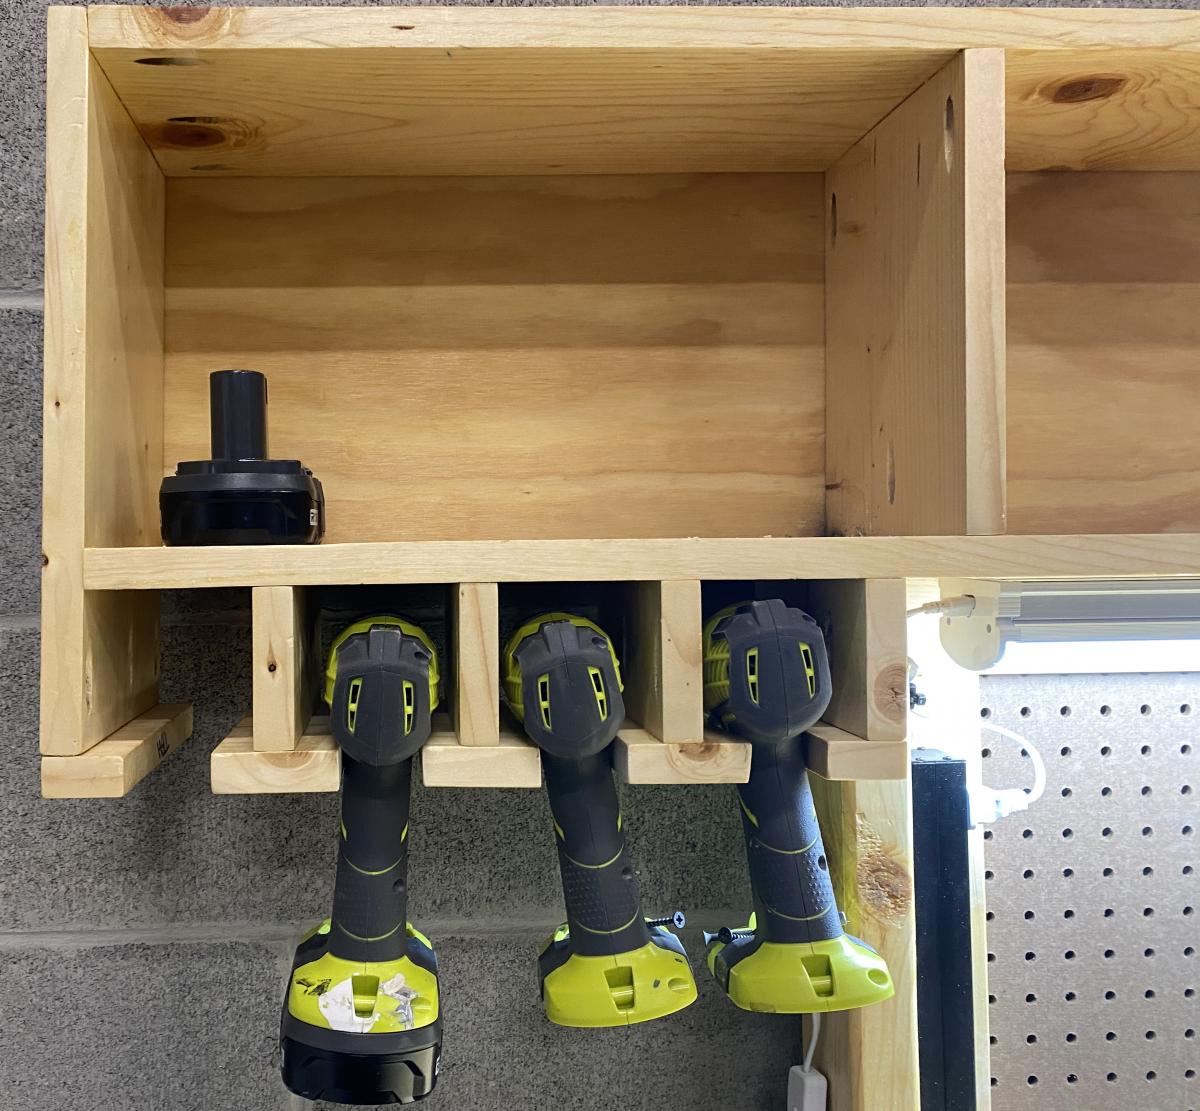
To secure the extended legs, we added a riser shelf from 1x8s. We put a storage station for drills at one end of the riser shelf.
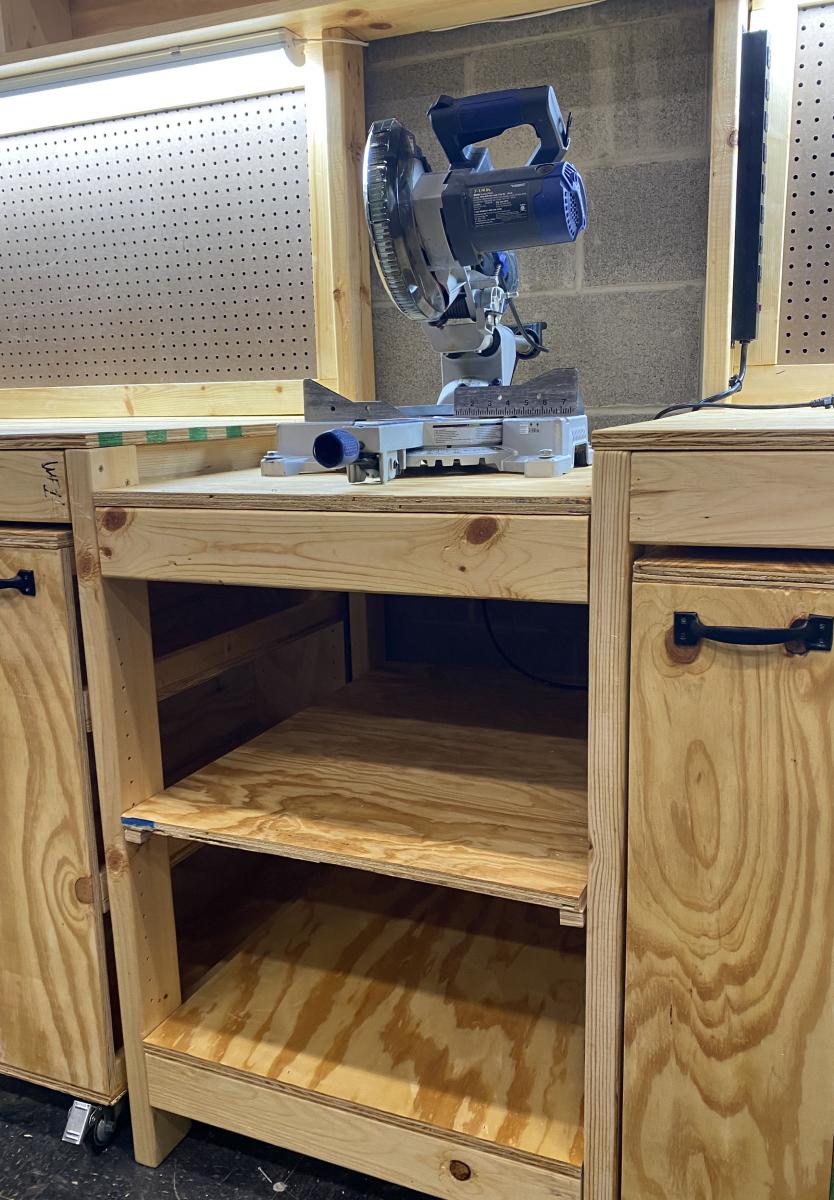
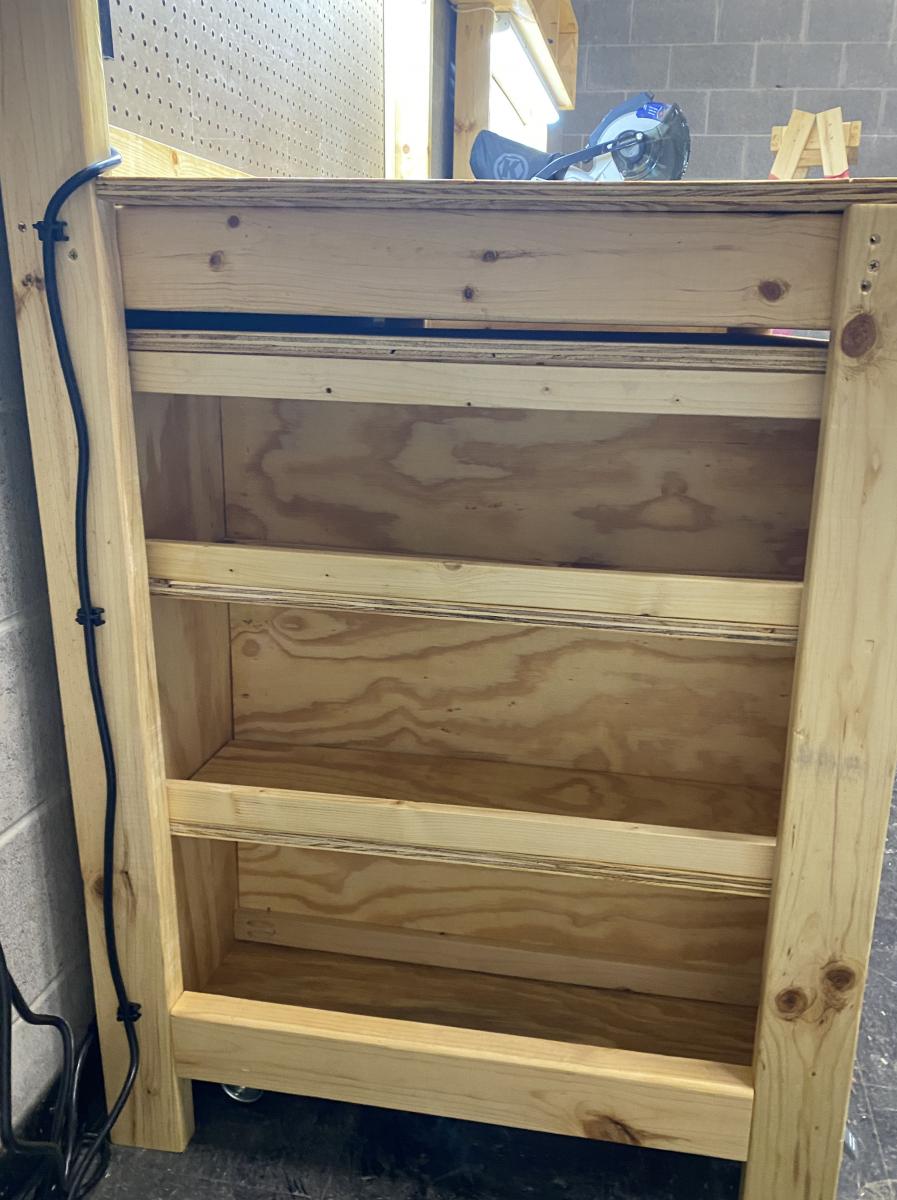
We also made all the cart shelves adjustable and added an adjustable shelf under the miter saw, and added lighting and power strips.
We left out the panels at the end of the workbench to allow access to the shelves there without having to remove the carts. Once we had constructed it, we added a brace at each end of the workbench to better support the outside front legs.
This plan was the perfect one for the theater, giving a stable work area for the miter saw and allowing for tool and materials storage. The carts can be rolled around to where a work surface is needed. This will come in handy for years of set construction in the theater. So proud of my son and all the leadership and hard work he put into this project!
Mon, 10/18/2021 - 11:54
WOW, that is absolutely amazing, thank you so much for sharing this story!
Inspired by the ryobi dream workshop. Shelving unit and the feed carts are complete. Still working on the the organization of all our stuff!


