Community Brag Posts

Master Bath Barn Door

Submitted by Anonymous (not verified) on Fri, 03/17/2017 - 16:34

Created this door with pine wood tongue and groove lumber and pine wood planks. Purchase barn door hardware / track from Jet.com and door handles from Hobby Lobby. 


This replaced my Master bath door and I think came out pretty good. Thank you for the ideas!!!  Jeff M.   Brownstown, Mi

Estimated Cost
Wood 55.00
Handles 2 for 8.00
Stain ( left overs)
Barn door track 54.00

Total $117.00 and 10 % Military discount at lowes
Estimated Time Investment
Weekend Project (10-20 Hours)
Finish Used
Minwax. Mix of Kona and Driftwood Grey
Recommended Skill Level
Intermediate

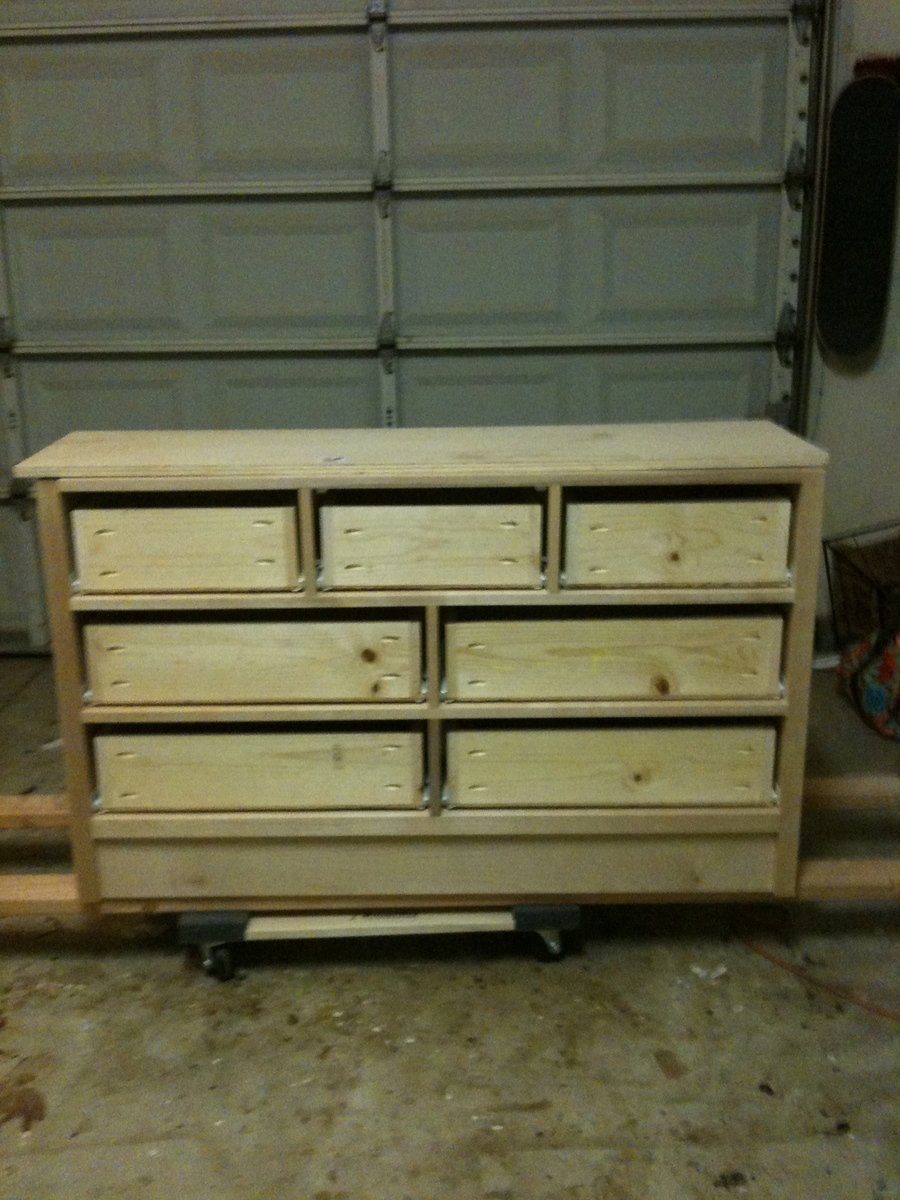
Shoe Dresser

Submitted by Anonymous (not verified) on Sat, 04/01/2017 - 08:26

We used the shoe dresser instructions with some modifications to make it longer

Built from Plan(s)
Finish Used
Stain, polyerthane, chalk paint and wax
Recommended Skill Level
Advanced

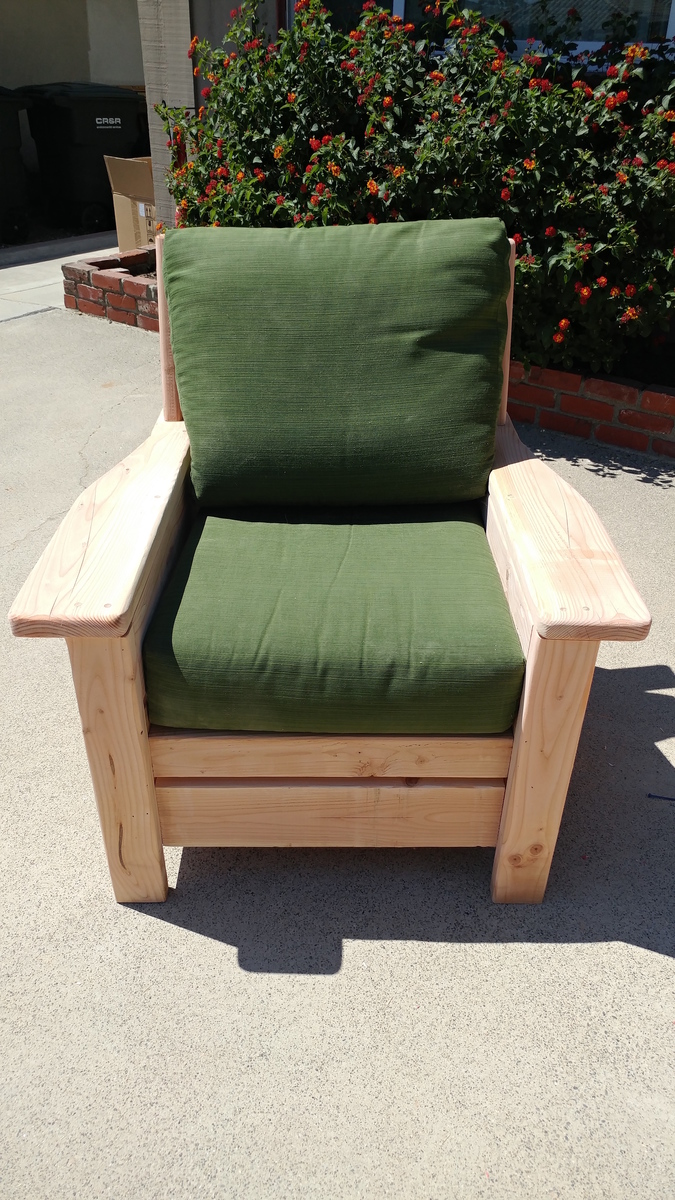
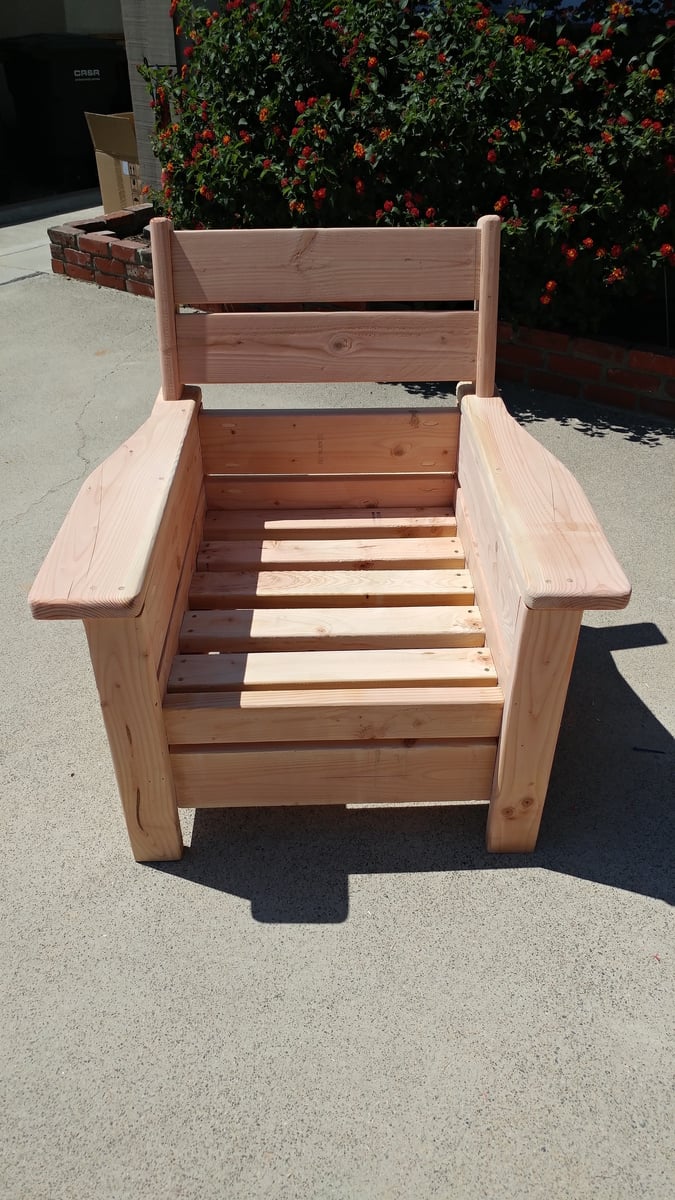
Modern Outdoor Chair with a twist

Submitted by Anonymous (not verified) on Wed, 07/05/2017 - 16:05

Taken from the Modern Outdoor chair project and added a back. Then decided that I love the andorak style chair arms and thus the Andrmodern chair was born.. 

Estimated Cost
$35.00
Estimated Time Investment
Afternoon Project (3-6 Hours)
Finish Used
Will use the Behr two in one
Recommended Skill Level
Beginner

Comments

jkess44

Tue, 06/09/2020 - 13:36

Wow! I really like this look, Im sure its very comfortable. Do you have plans to share? I am very much a beginner and need guidance, lol.

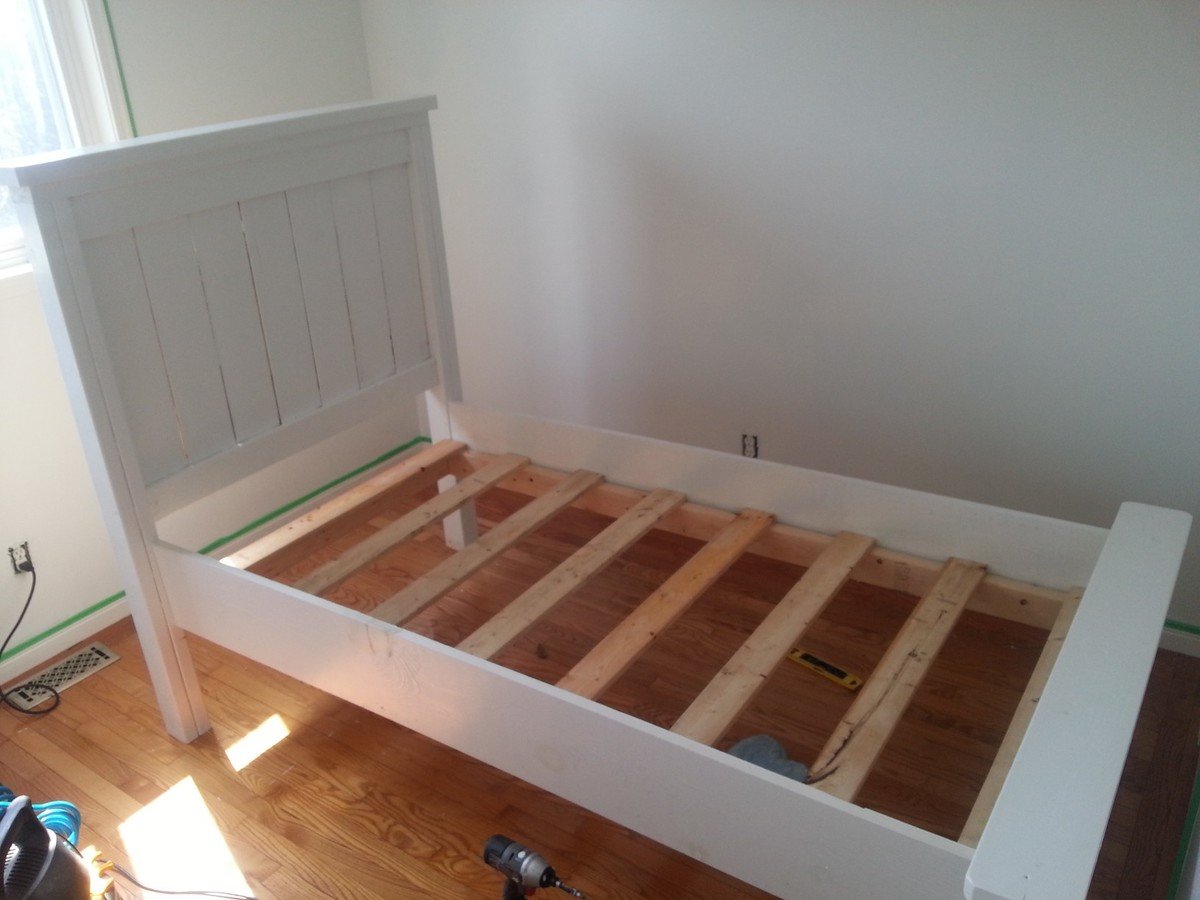
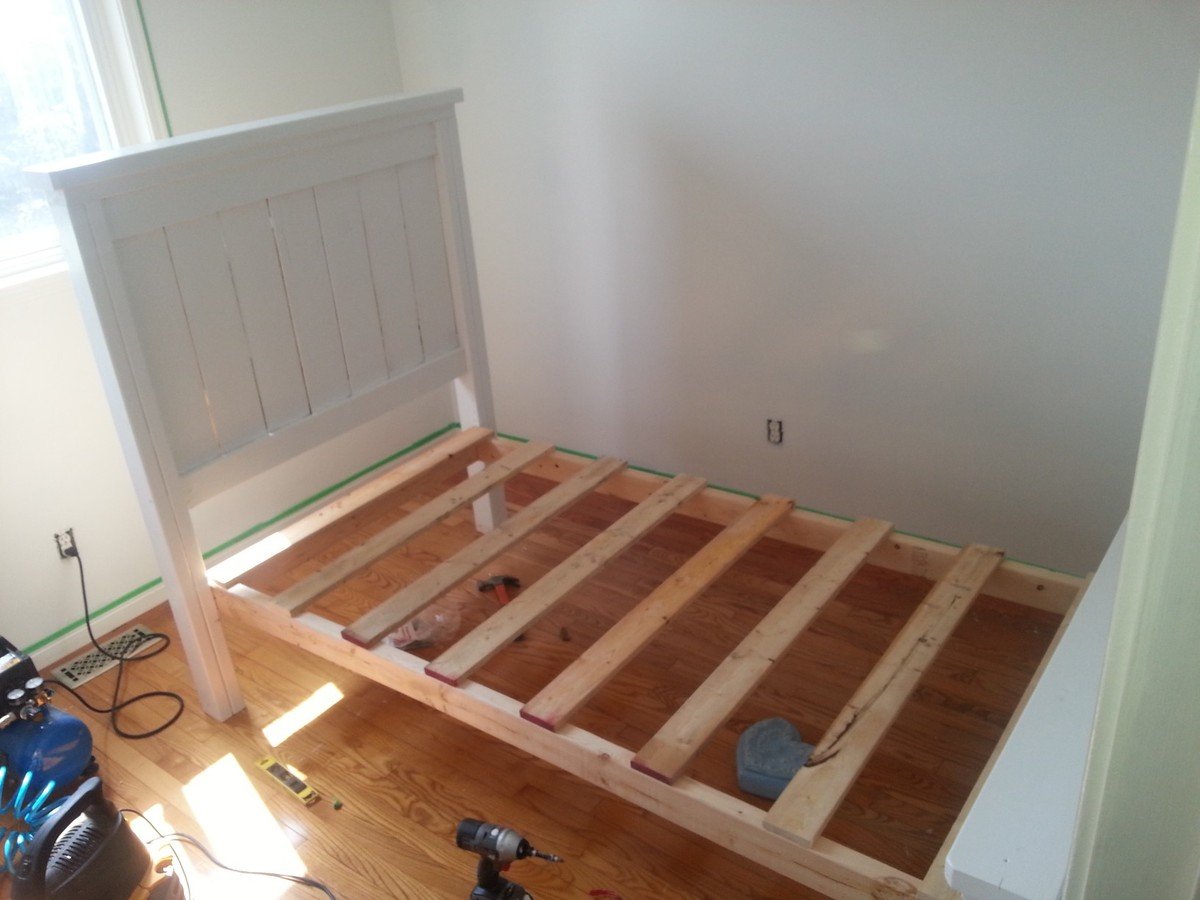
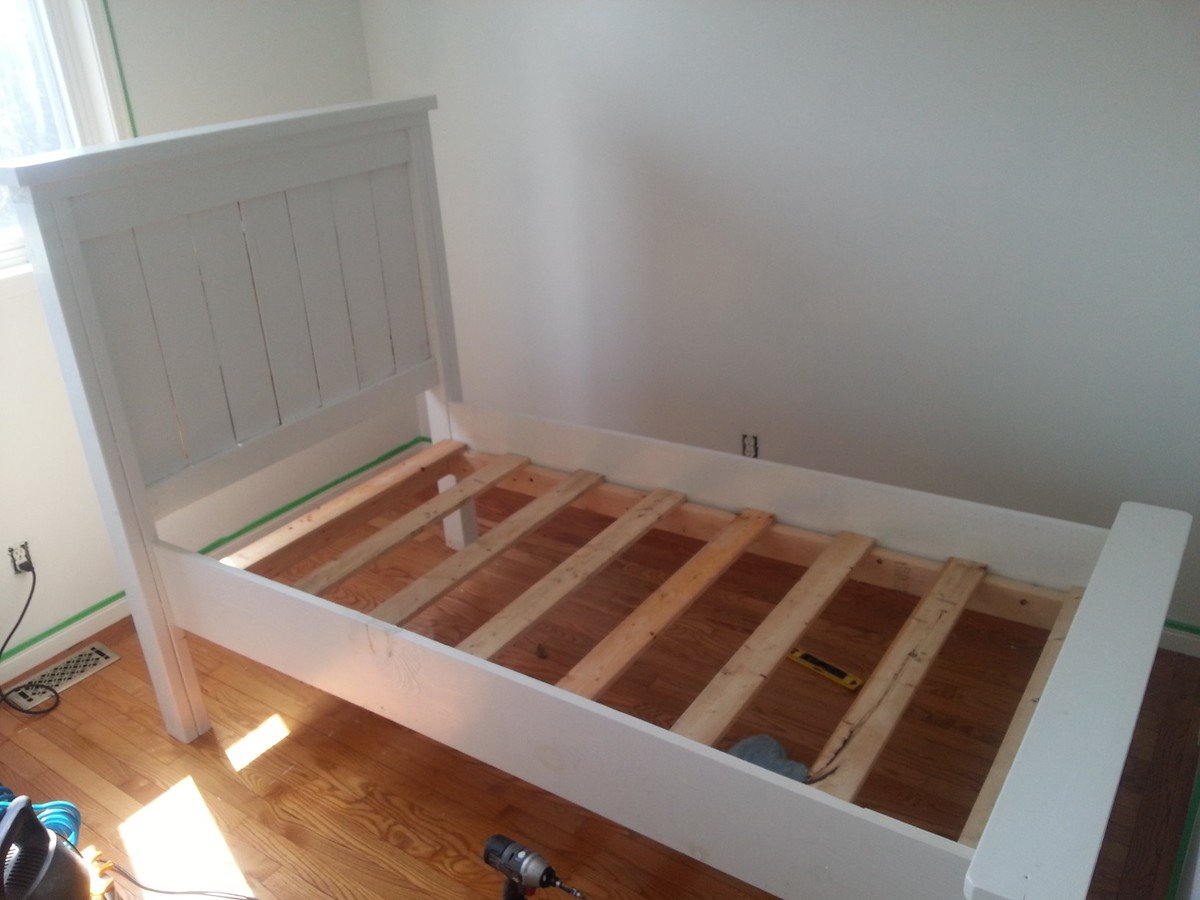
Twin Farmhouse Bed with Trundle

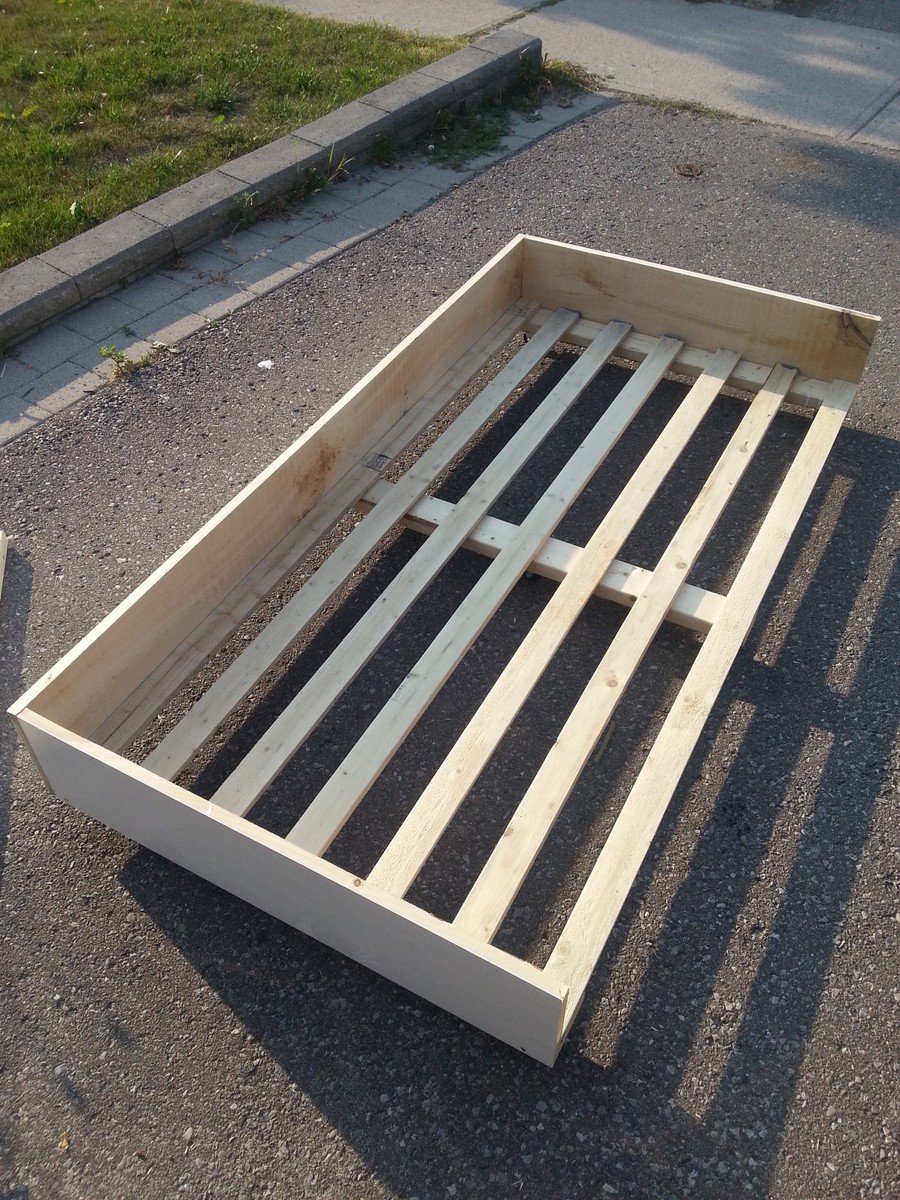
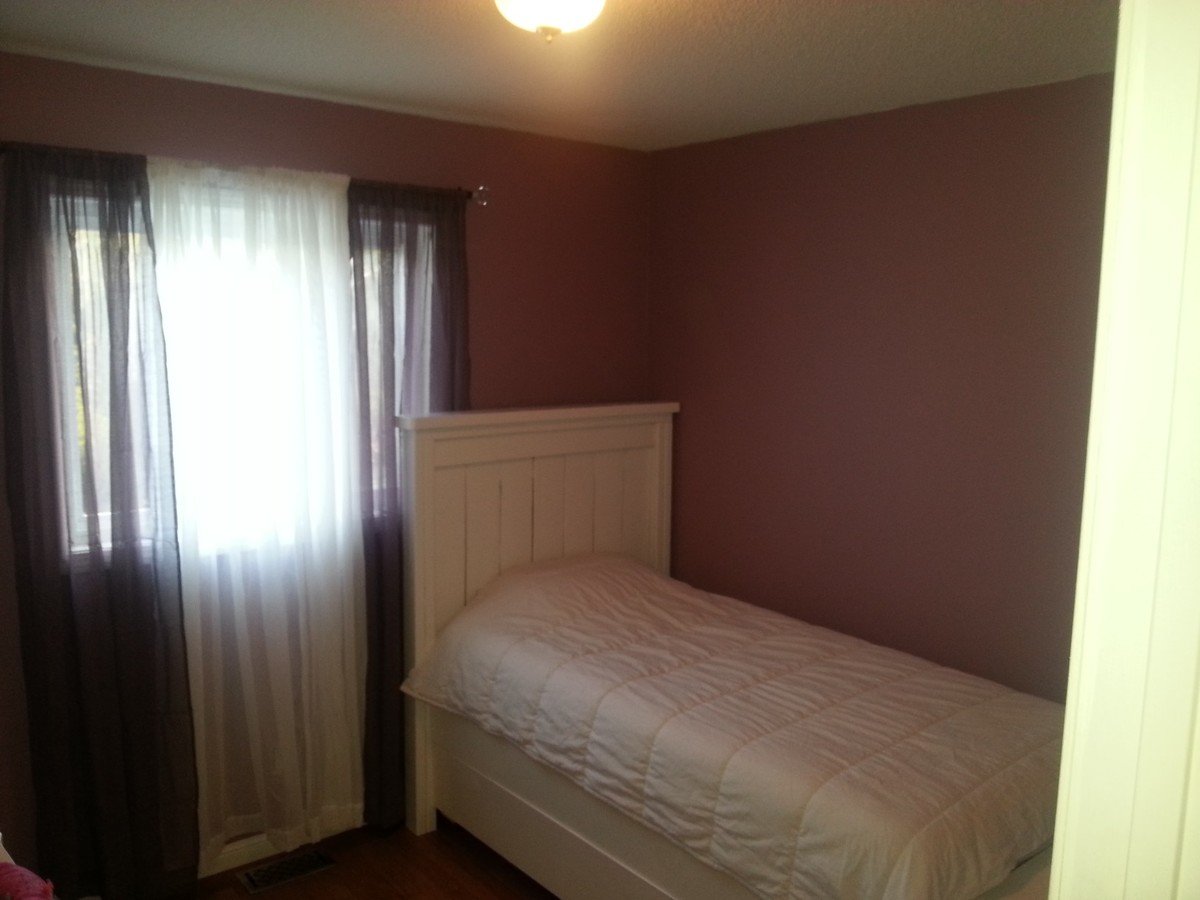
Took the farmhouse plan and added a Trundle.   Was initially going to build two farmhouse beds for my two girls, but thought adding the Trundle would free up some much needed floor space.  The girls love it!

Estimated Cost
$150
Estimated Time Investment
Day Project (6-9 Hours)
Finish Used
Latex paint
Recommended Skill Level
Intermediate

Raised Wood Planters by Urban Wood Solutions

Planters build by Urban Wood Solutions

Comments

Custom Modern Chicken Coop

Submitted by Anonymous (not verified) on Wed, 08/30/2023 - 08:49

I made this coop twice as wide like Ana suggested since I have 4 chickens and wanted to make sure there was some extra wiggle room in case “chicken math” got the best of us. I made a nesting box to mount on the outside. I also used plywood for the sides like Ana did in the video. I installed a Run Chicken automatic door that opens at sunrise and closes at sunset. I added some hasps and clasps to make sure all my doors would close tightly. I put hardware cloth across the top before installing the roof panels. I stapled and buried hardware cloth around the perimeter for predator protection. I also spray painted the hardware cloth flat black so that it would be easier for us to see inside the coop. I stained the rest of the wood with Varathane Semi-Transparent stain, color “Carbon Gray.” I also added some roosts and cedar shingle siding for some extra protection during our New England winters at to match our house. Working 2-4 hours a day, off and on, with a bum shoulder and weak hands, this took me about a week! Thanks for the great plan, Ana!

Built from Plan(s)

Comments

Seasonal And Holiday

Cluckingham Cottage

Cluckingham Cottage wasn’t built in a day, but it WAS built by a DAME!
A-frame instructions were pretty helpful considering the builder knows nothing about construction. I made a few modifications to accommodate my 5 chooks + 2 bantams . Sturdy and tight structure.

Estimated Cost
Under $400
Estimated Time Investment
Weekend Project (10-20 Hours)

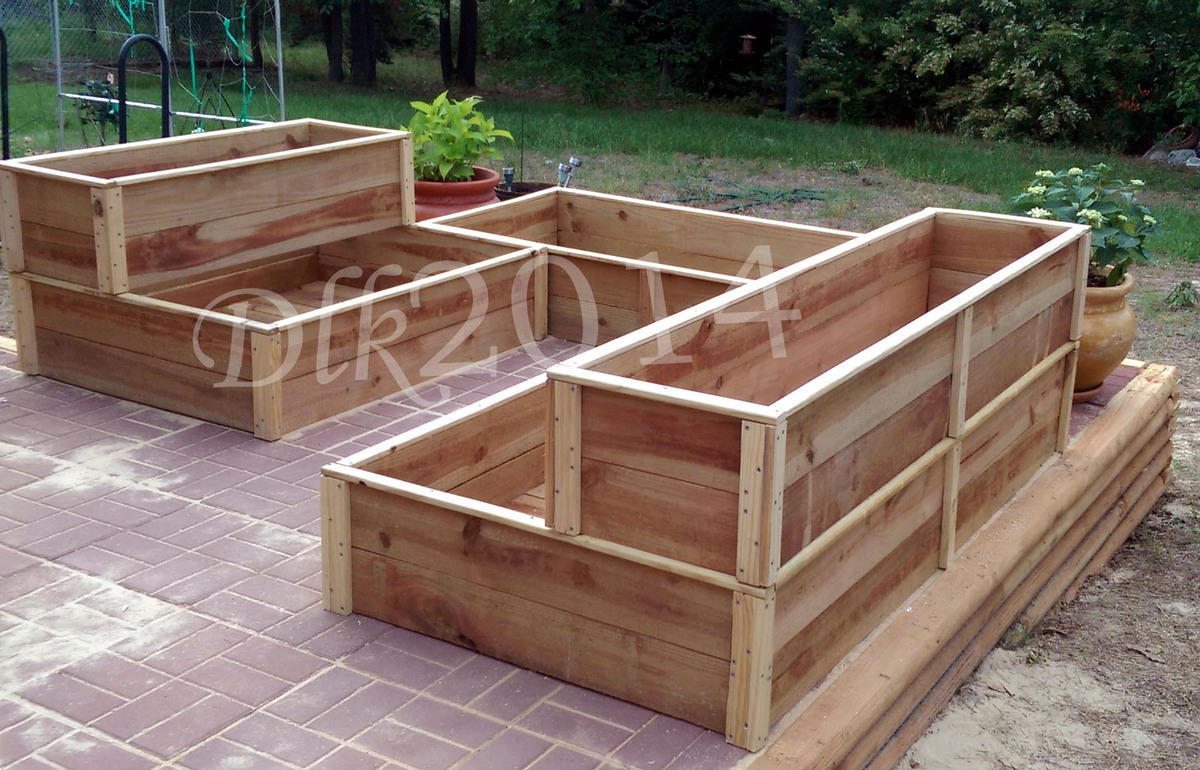
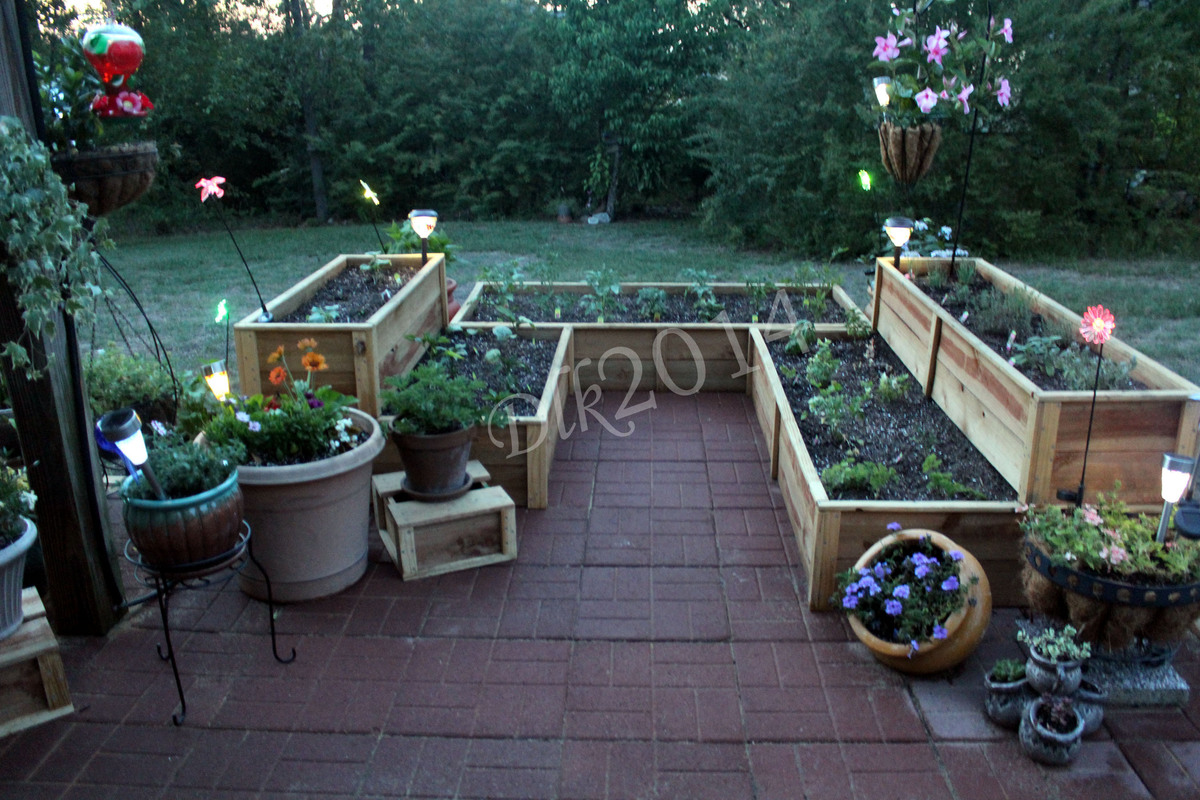
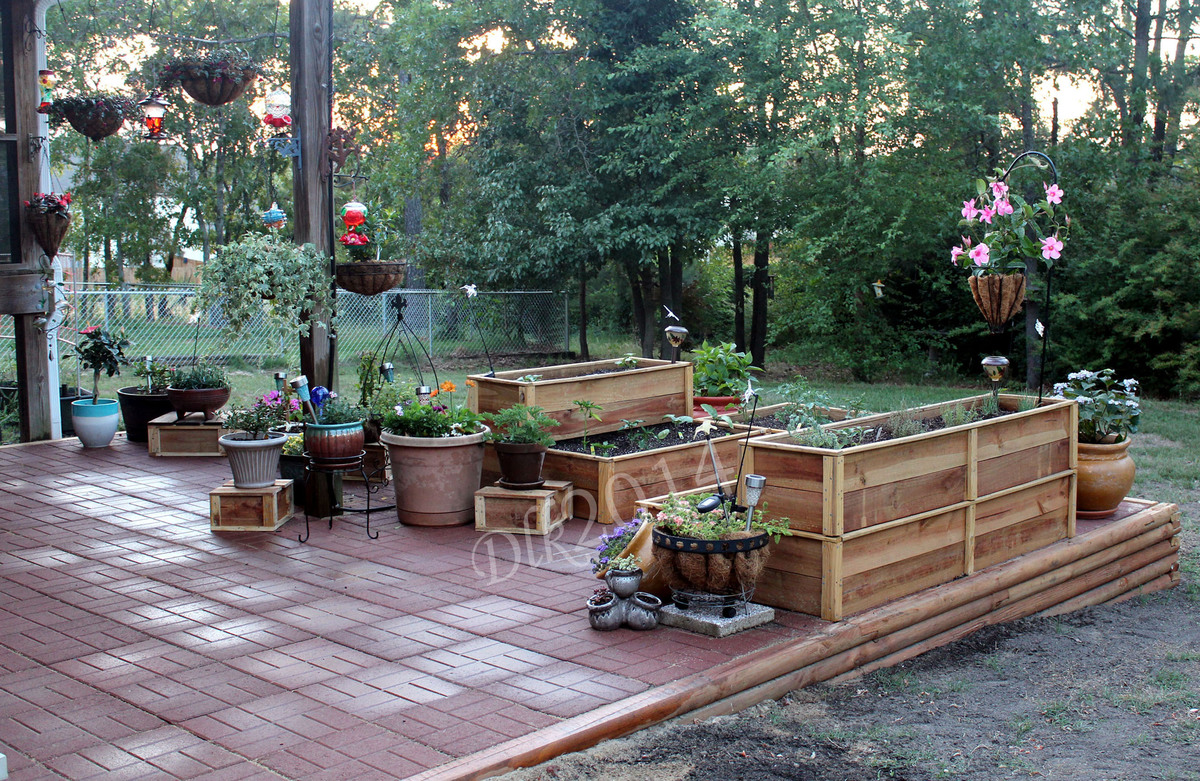
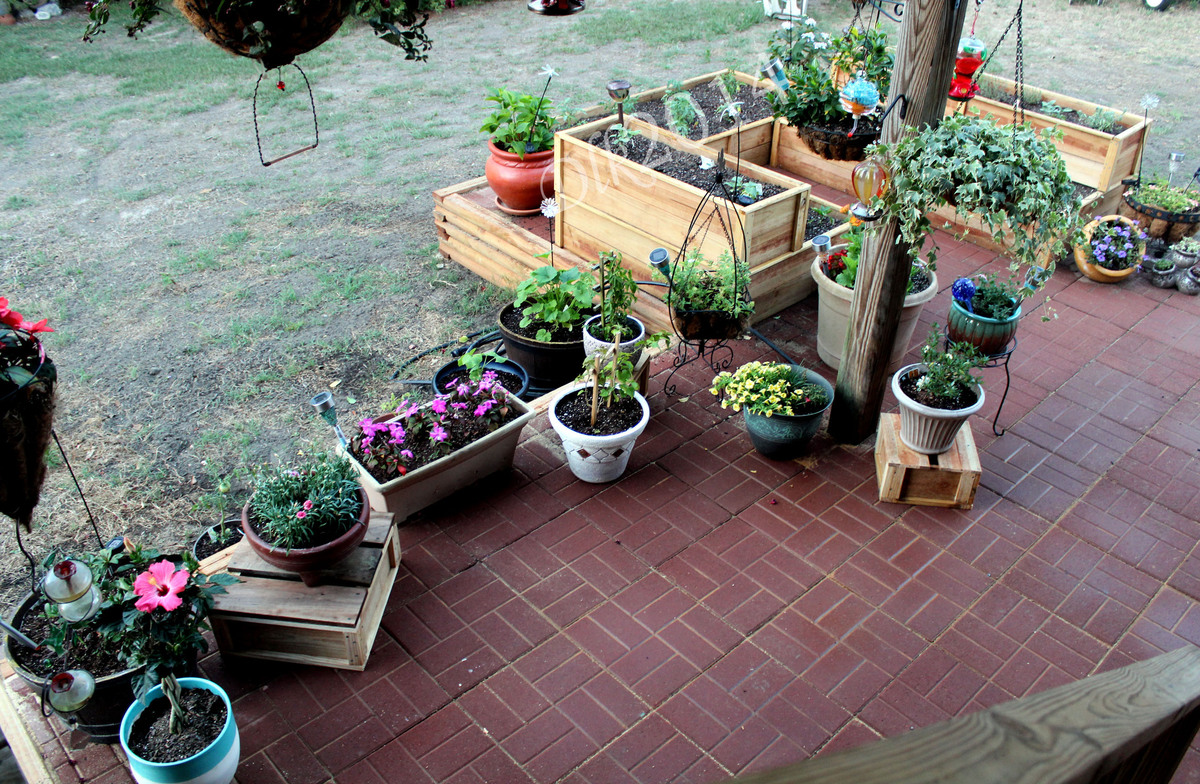
Raised Garden Beds

Submitted by Deekra on Sat, 06/07/2014 - 16:31

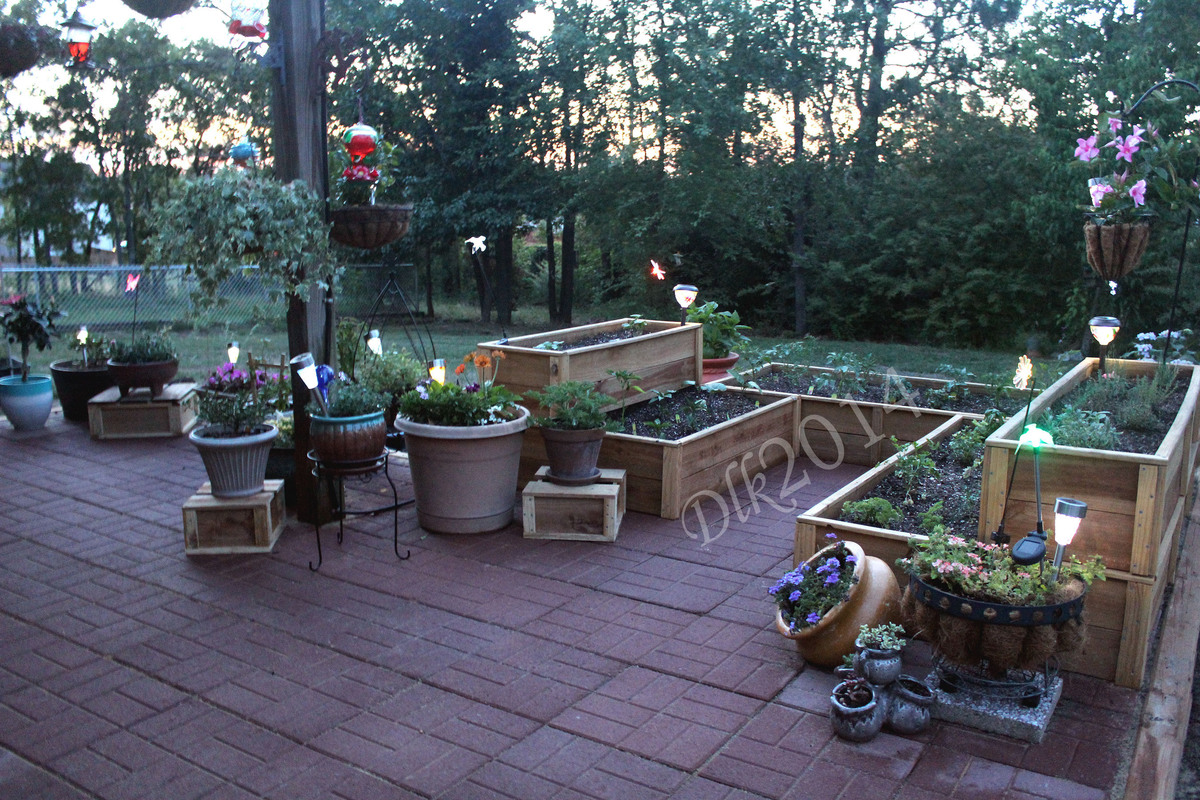
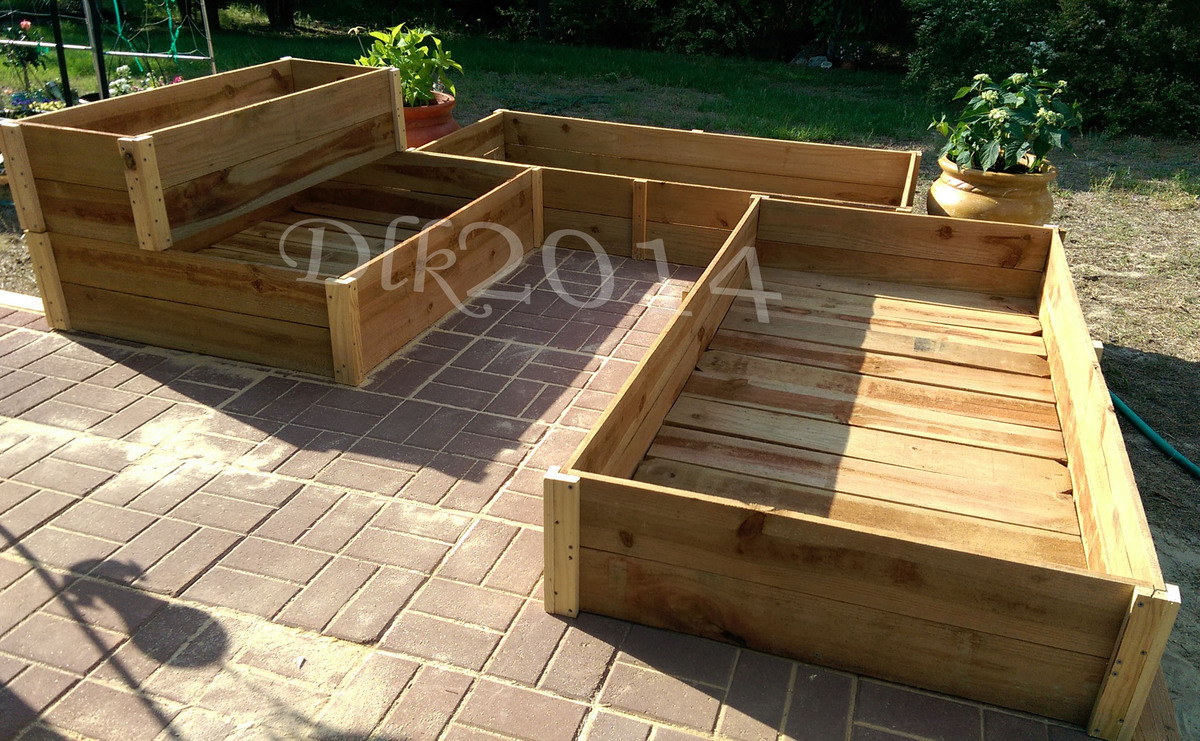
I used the basic Raised cedar garden bed plans with a few alterations. I made them different sizes, stacked one on top of the other for some dimension in my garden and secured them together from in inside.

Estimated Time Investment
Week Long Project (20 Hours or More)
Recommended Skill Level
Intermediate

Comments

Kendal Dresser

My cousin is having a baby boy and needed a dresser for the little guy. I made this for her as a shower present. I love that it was made to fit her needs and that it is made out of solid wood. Not at all like the cheaply made dressers costing much, much more in the retail stores.
The blog from Katie and John from Sew Woodsy was not only helpful but very cute. Kudos to Katie for attempting a large project while prego. It couldn't have been easy.
The only change I made other than the color was covering the space under the dresser. She didn't want to have to collect toys from underneath the dresser or clean dust.
The plans were awesome and I would recommend reading the blog from Sew Woodsy. Their comments were helpful and so were the pictures.

Built from Plan(s)
Estimated Cost
300.00
Estimated Time Investment
Weekend Project (10-20 Hours)
Finish Used
ZAR Wood Stain in Moorish Teak and ZAR clear stain finish
Recommended Skill Level
Intermediate

Comments

DIY everything

Wed, 08/20/2014 - 20:49

My cousin likes dark stain but after I finished the dresser I became a fan of the color too. I'm thinking of making myself one since it went together so well.

dhendy13

Sat, 01/03/2015 - 19:38

Congrats, your piece is a beauty. Please, can you tell me what type of wood you used for the drawer fronts.
They seem so clear. AKA Knot Free. I have done a work up on material costs and have not come close to the estimated 300.00. So I was thinking that maybe you splurged on "Clear" Pine boards for the front facing elements. Thanks in advance for your answers.... Happy New Year!

tylerrencher

Tue, 01/06/2015 - 12:44

$300 is the number I'm coming up with for #2 or better S4S pine boards plus stain and clear coat. #2 graded pine is definitely not clear. I'd like to know what kind of wood you planning to use and where you are getting it because this is the cheapest I can find in the Pacific Northwest.

DIY everything

Sun, 07/12/2015 - 20:00

I've checked out Frost Hardwood and I love their products.  They have clear wood that they can mill down to size but it is very pricey.  I'm saving up for a really nice dresser but until then I'm gonna stick to the birch plywood at home depot and birch boards that I get from my local specialized lumber houses.  Thank you for your comment and I hope your turns out to your liking.  I think what really makes this dresser is the stain and finish I used.  That was recommended by a professional painter friend who does this kind of thing everyday.  The info for that is on my post. 

DIY everything

Sun, 07/12/2015 - 19:54

I'm so sorry I didn't know there were questions on this post.  The dresser did cost me a little over $300.00.  The whole thing was made out of birch which I got at a local lumber house that specializes in furniture grade wood.  This probably doesn't help you anymore since I'm sure you've already made your dresser. 

john2090073

Fri, 09/11/2015 - 09:59

This looks really nice. Could you please let me know what wood you used for the frame and the outside of the dresser? 

Outdoor Deck Tables

Submitted by Scott-F on Sun, 10/11/2020 - 18:34

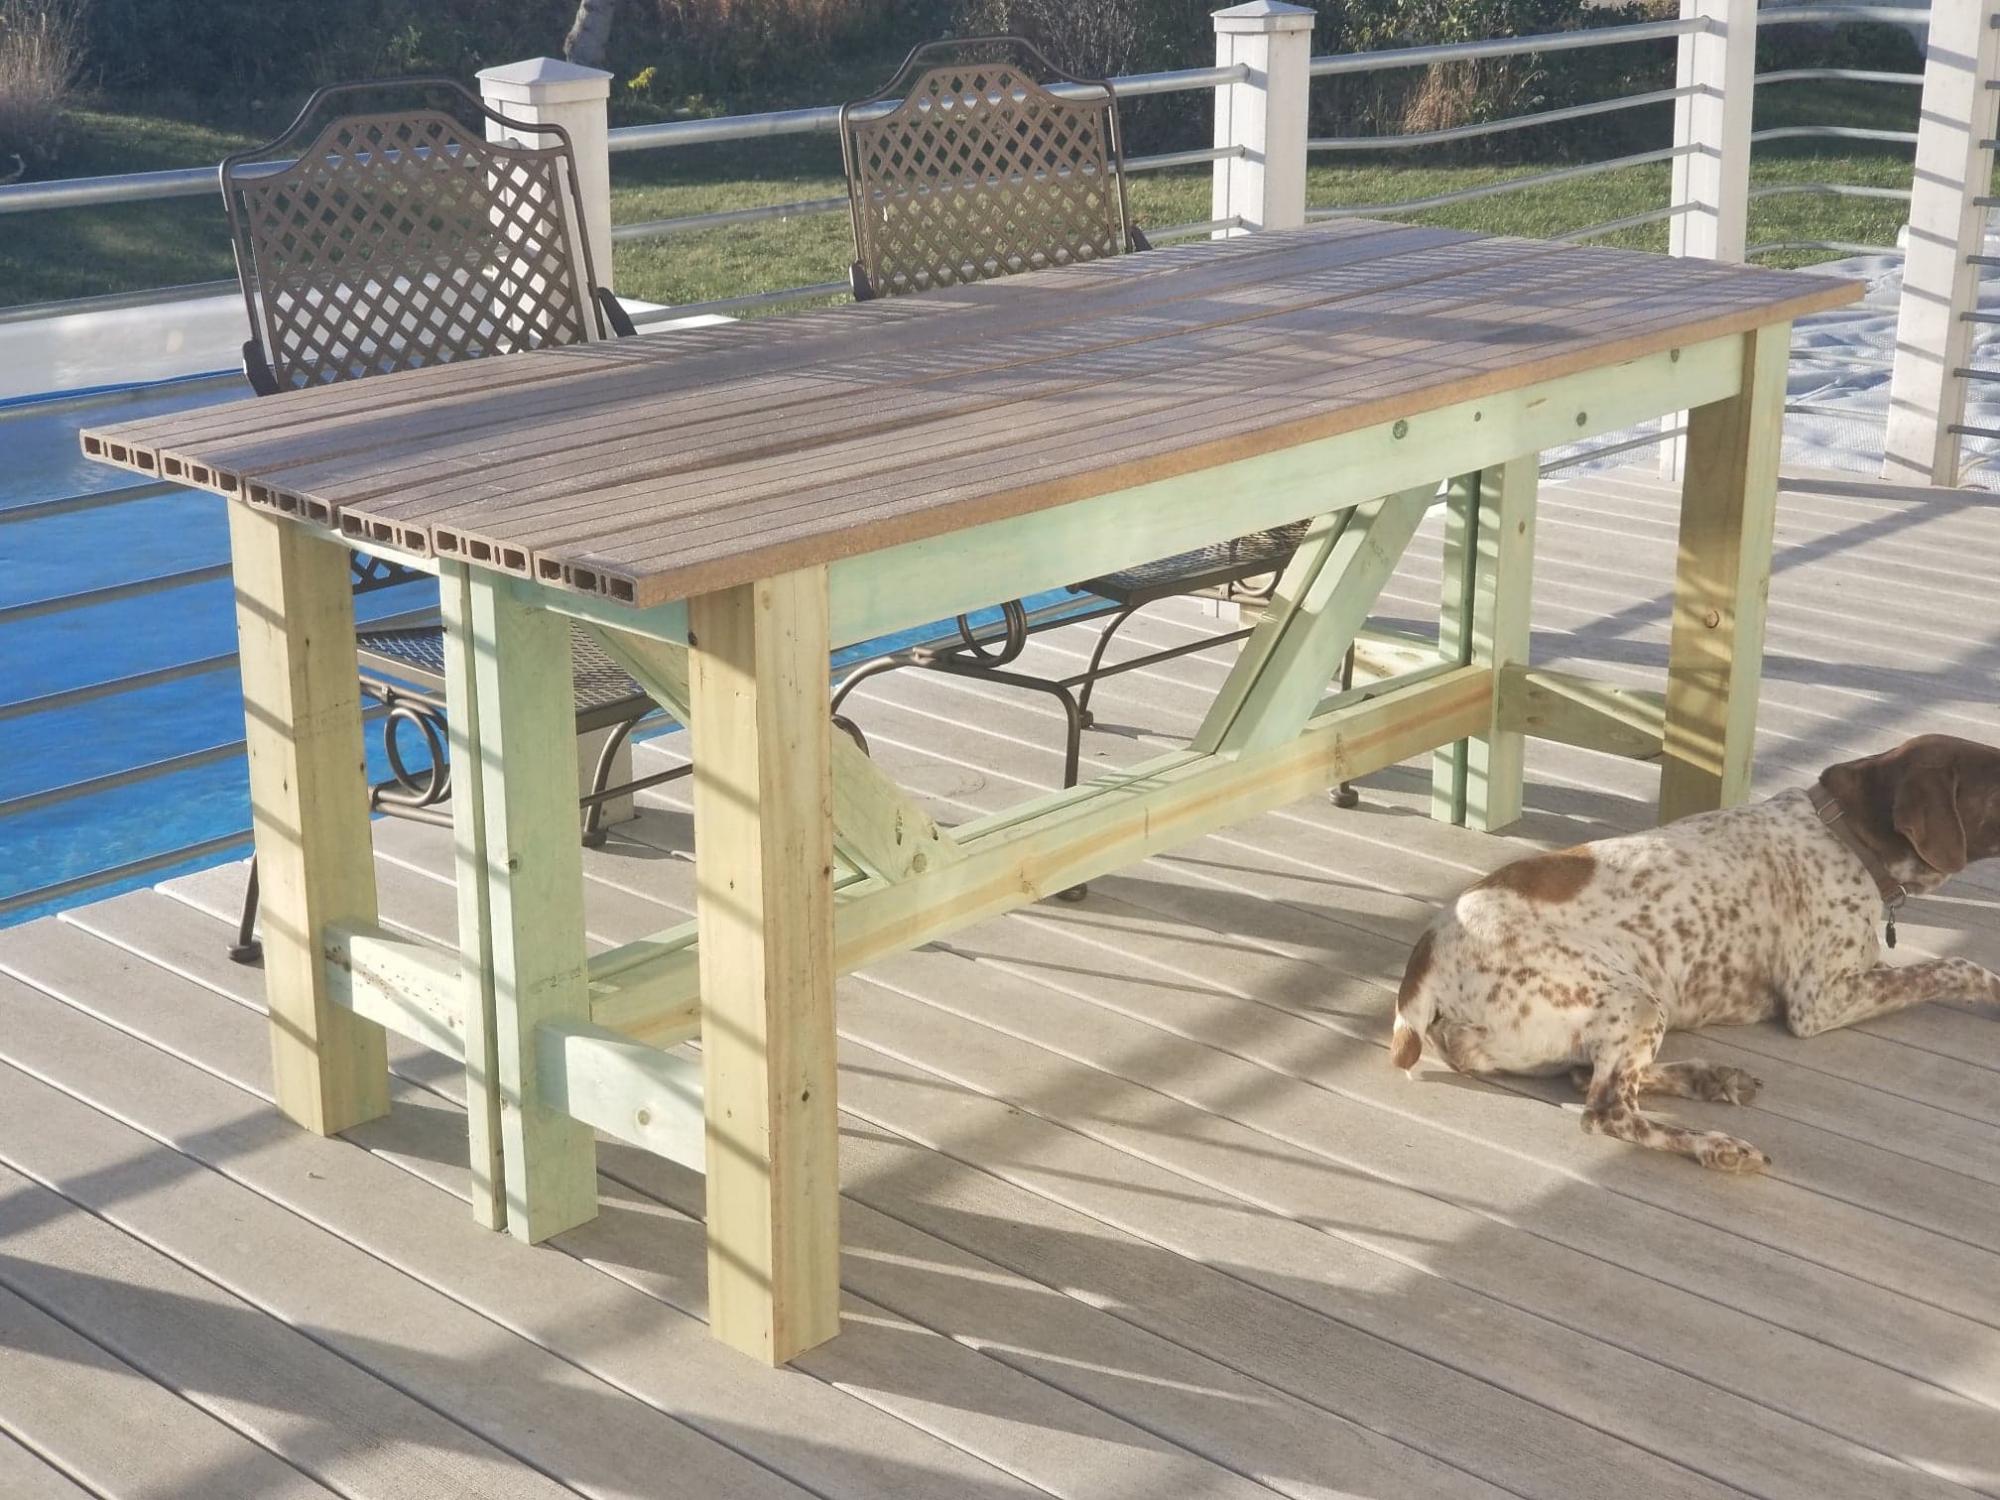
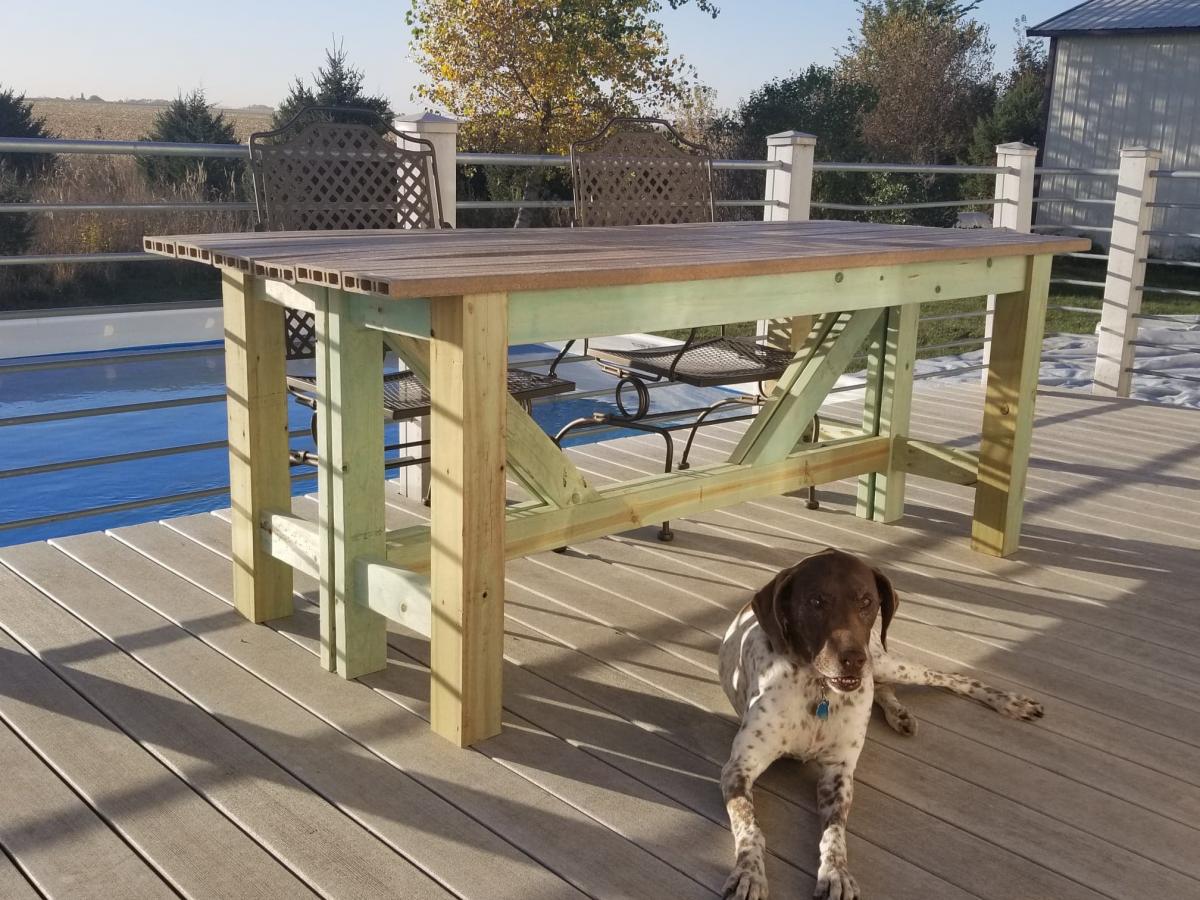
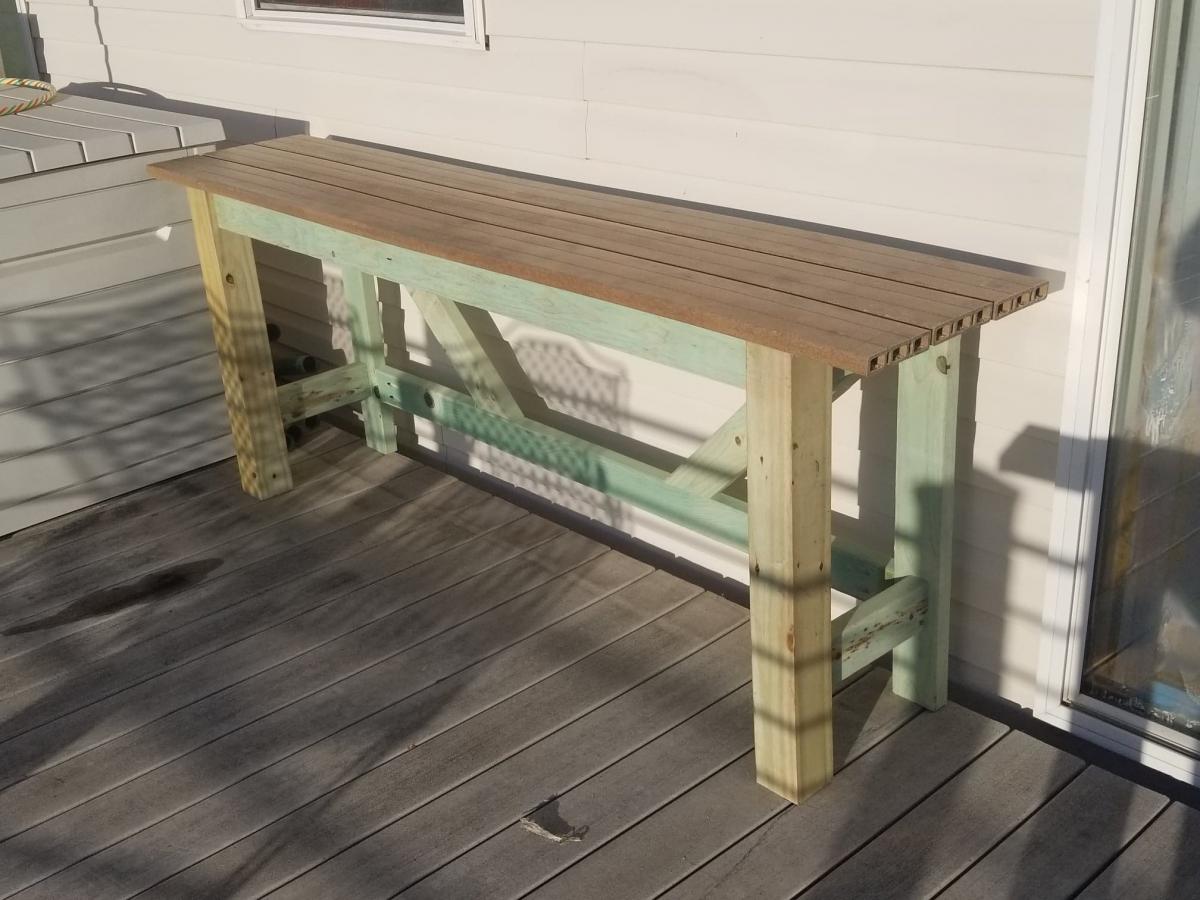
My wife and I were looking for a dining table for our deck. We looked at a few to purchase but could not decide. I wanted something that would not take up a lot of deck space. When the Facebook post for the "Outdoor Bar Table" came up, it inspired me to try to build a similar table. I already had purchased a Kreg HD pockethole jig for a project I never got to (At least yet), so I figured construction would be pretty simple.

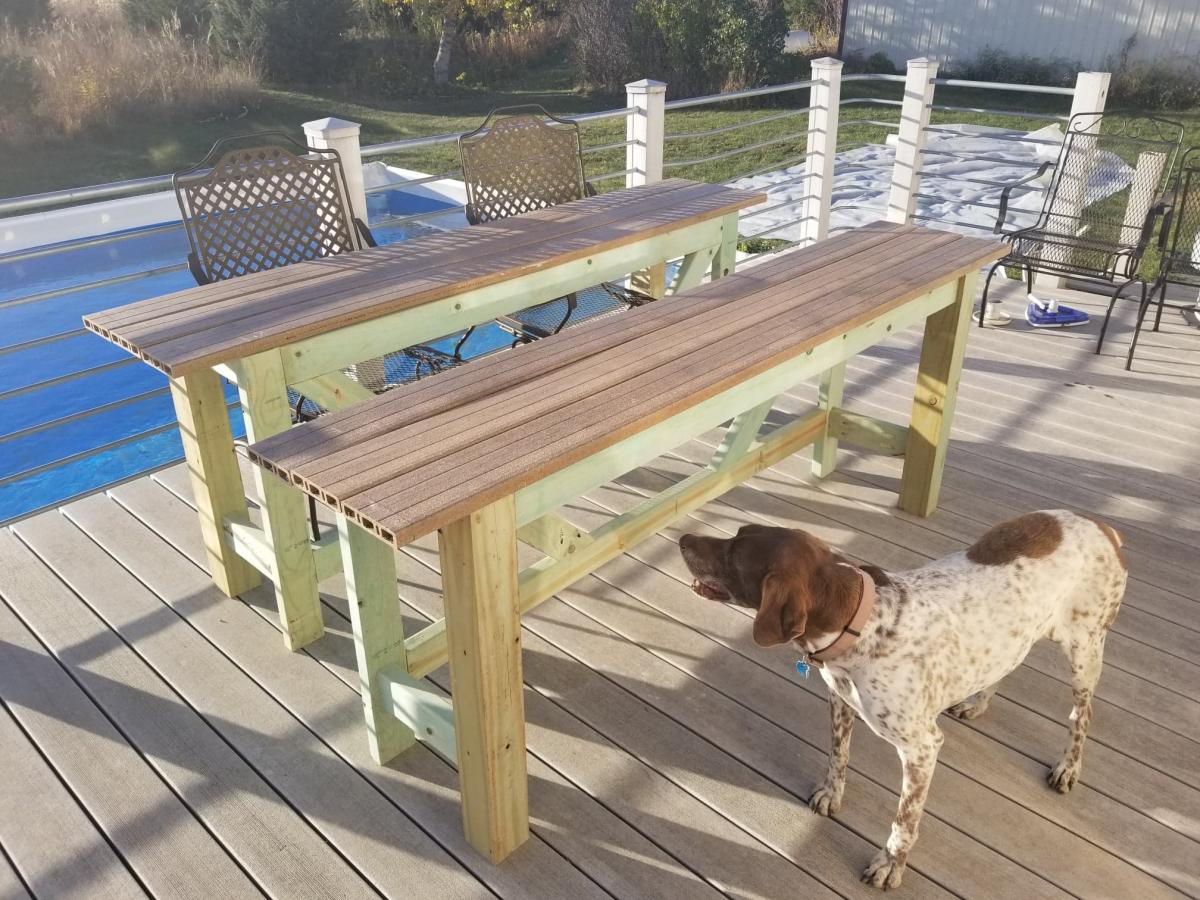
I should say my tables are loosely based off of Ana's plans, they served as a good reference. I lowered the table to 30" to match our existing deck chairs. I decided to actually build 2 half tables, so that when we were not using the table they could be set to the side of the deck. The back of each table is constructed with 2x4s so when the tables are put together it maintains the 4x4 look.

For the tabletop I had extra composite deck boards that I never used for the deck, so the depth of each half table was based on using 3 deck boards, with a 1/4" gap between each deck board. I used the same hidden fastener method I used on the original deck, so the deck boards are secured from under the table.

This being my first pocket hole project, there are a couple of small mistakes. 1) On the 45 degree trusses cut all 4 at the same time, then did the pocket holes. I missed the fact that I needed to drill 2 of the pocket holes on the opposite side. 2) I built the 2nd table back on top of the 1st table back so they matched. but I got mixed up when assembling the 2nd table so the pocket holes that should have been on the side facing the other table back, are facing the opposite side.

I did use Treated lumber for the table frame, and some of the pieces were still pretty wet, so we will wait until next year to paint the base.

We really like how they turned out, and that we still have almost all of our deck space when the tables are in the "Stored" locations.

Built from Plan(s)
Estimated Cost
$85
Estimated Time Investment
Afternoon Project (3-6 Hours)
Finish Used
None as of yet, Plan on painting after treated wood dries out
Recommended Skill Level
Starter Project

Comments

Small Cedar Shed

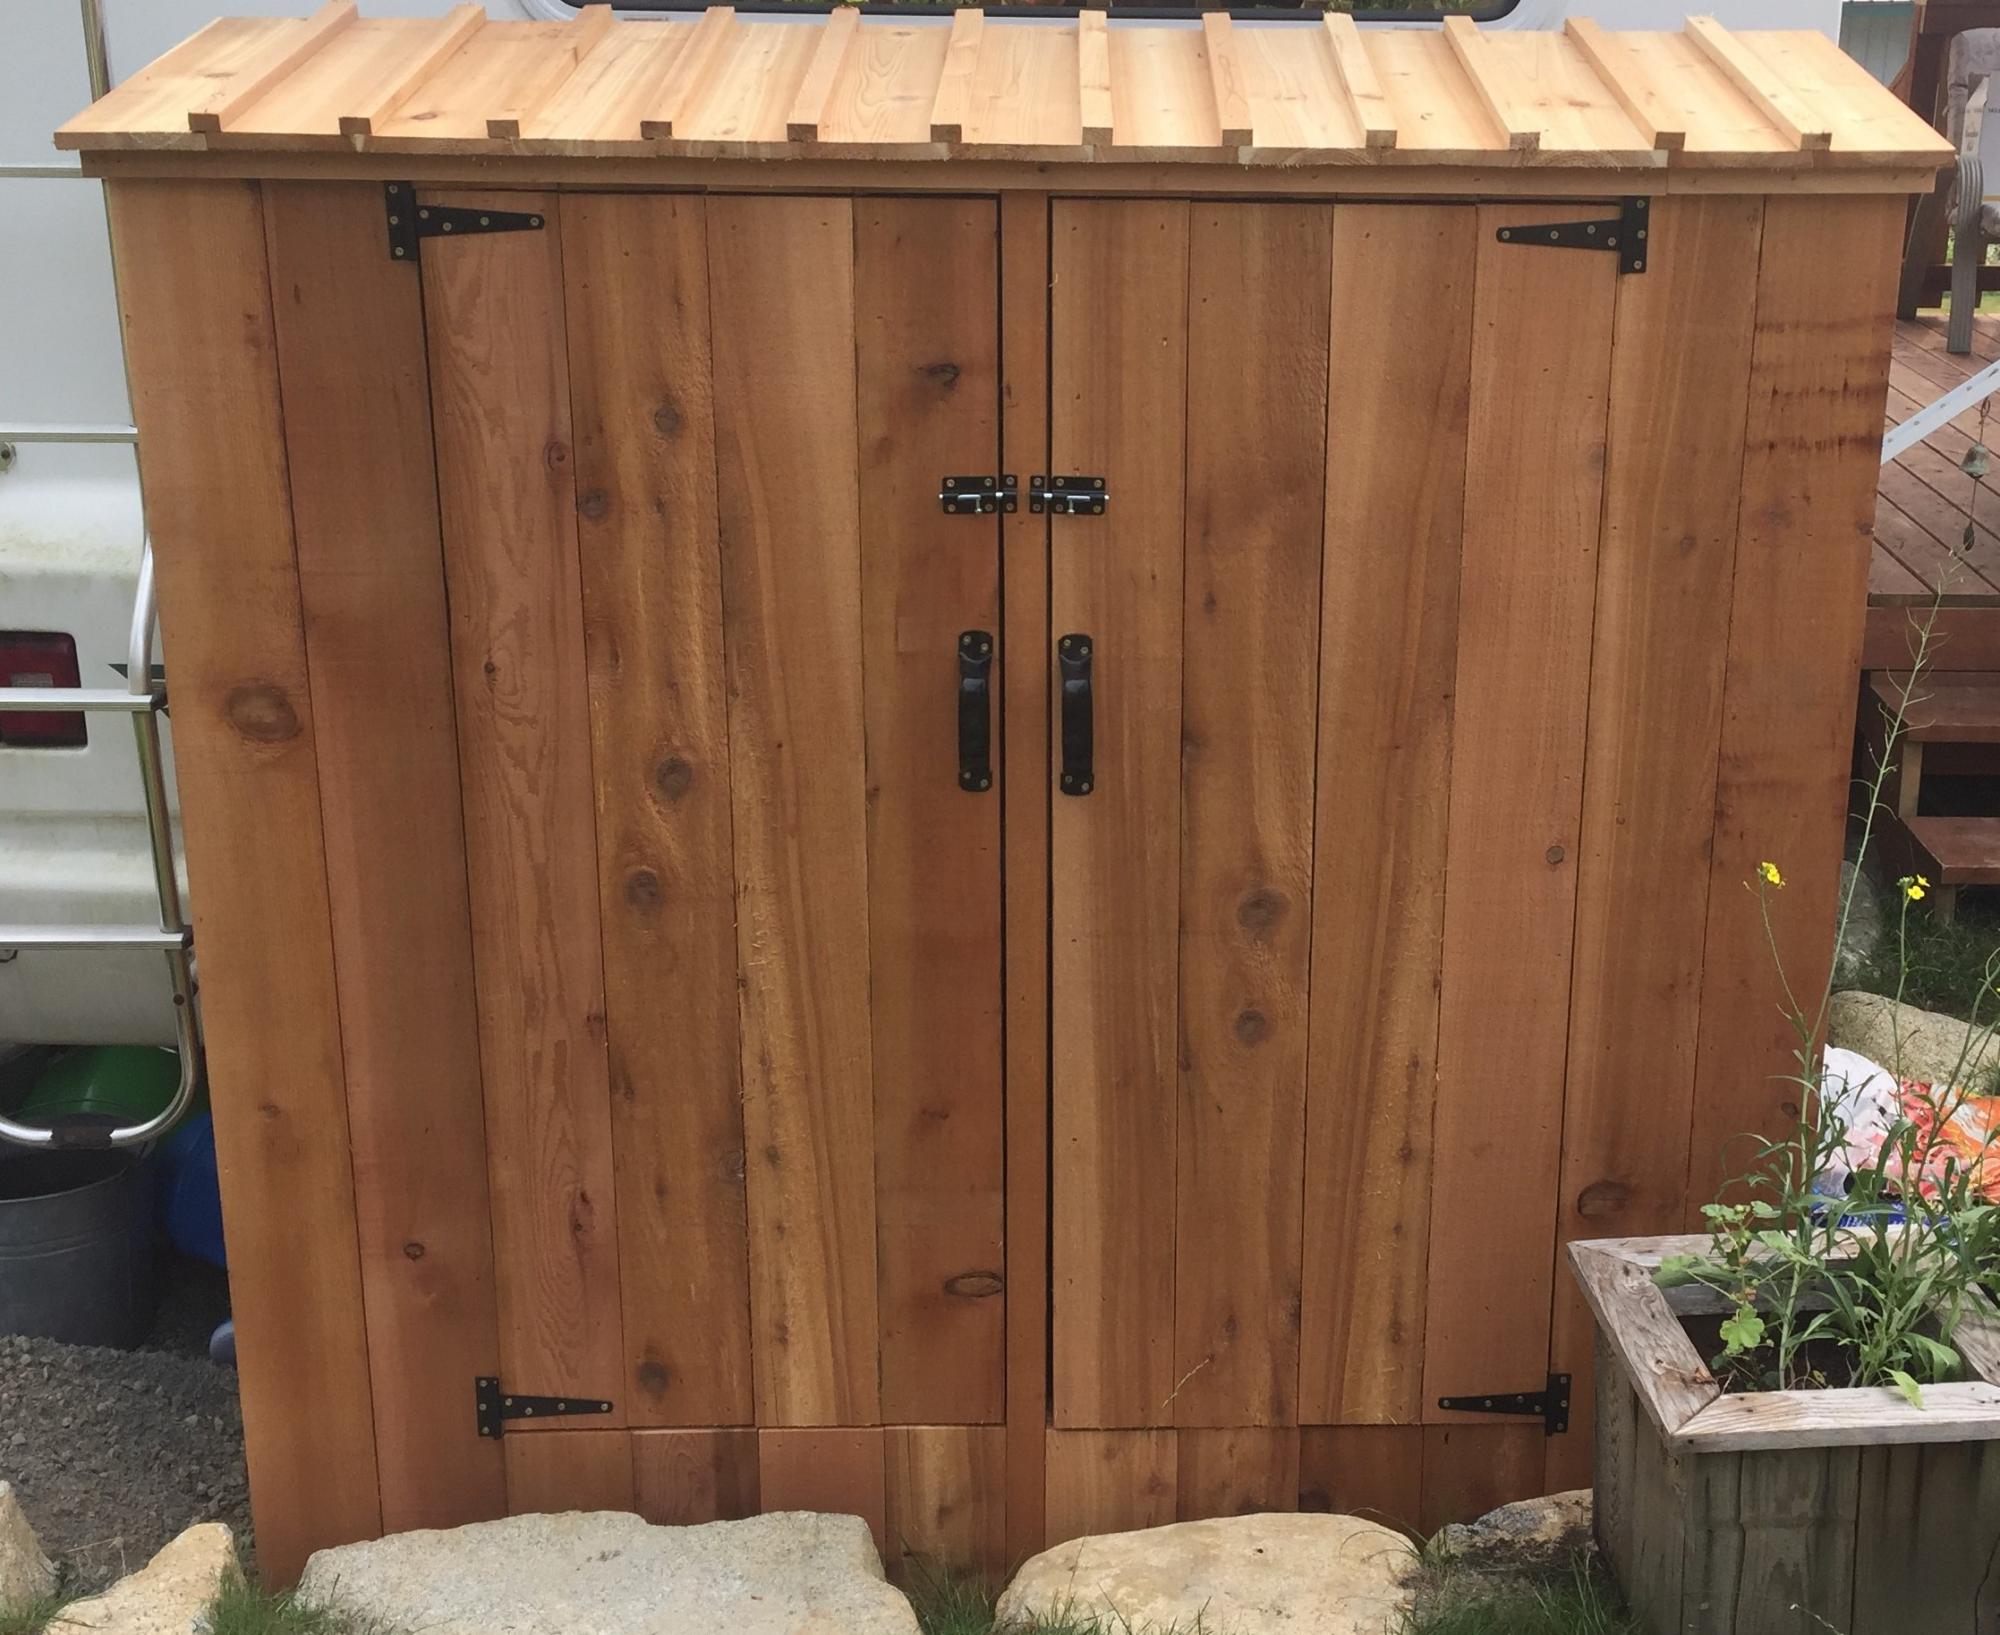
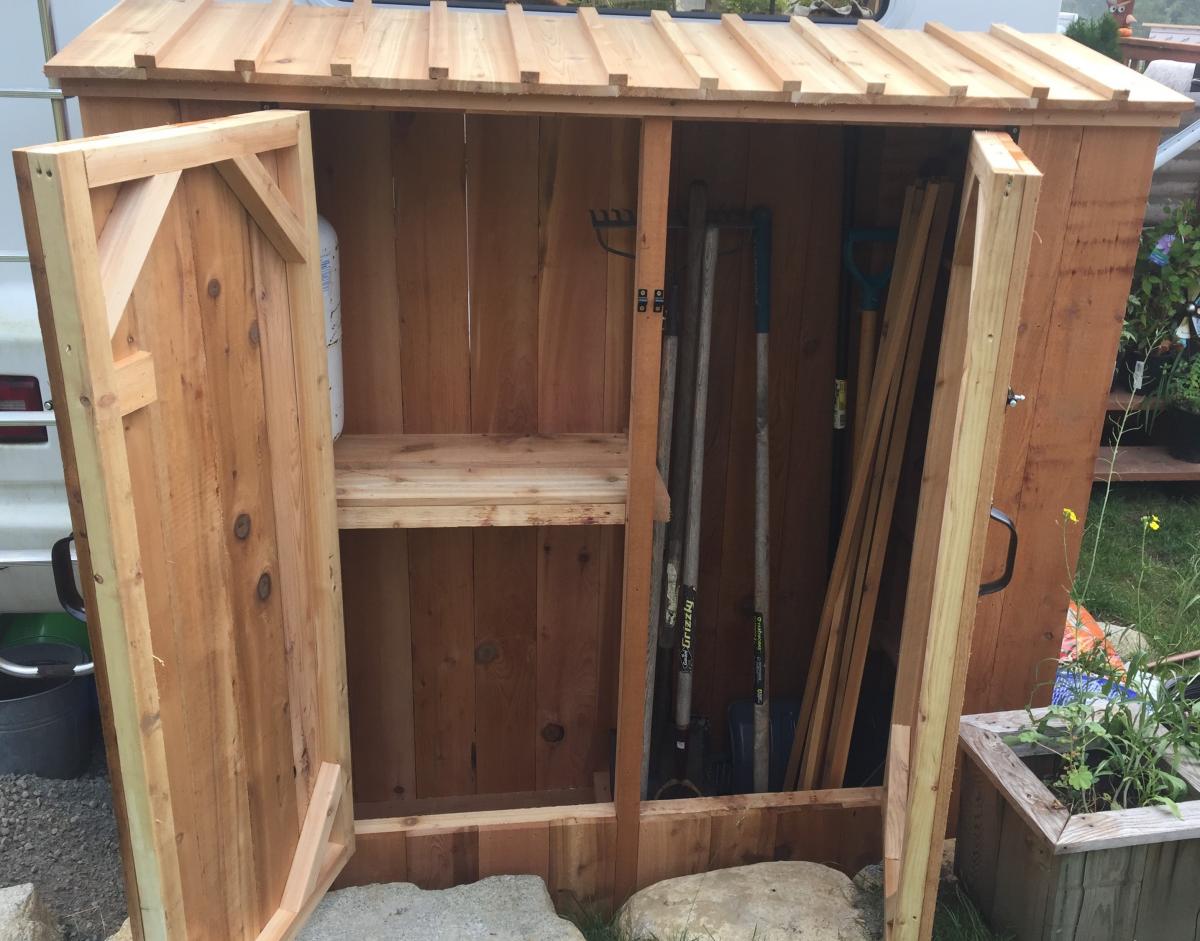
Here is our version of the small cedar shed. Had to raise the door up a bit to clear the rocks. All built from cedar fence boards and a few 2x4's
Built from Plan(s)
Estimated Time Investment
Afternoon Project (3-6 Hours)
Finish Used
None - age naturally
Recommended Skill Level
Intermediate

Comments

Ana White Admin

Fri, 11/06/2020 - 08:18

Love that you used all cedar fence boards, do you have an estimated cost for this project? Thanks for sharing!

4x4 Truss Beam Table

Submitted by Anonymous (not verified) on Mon, 10/04/2021 - 13:07

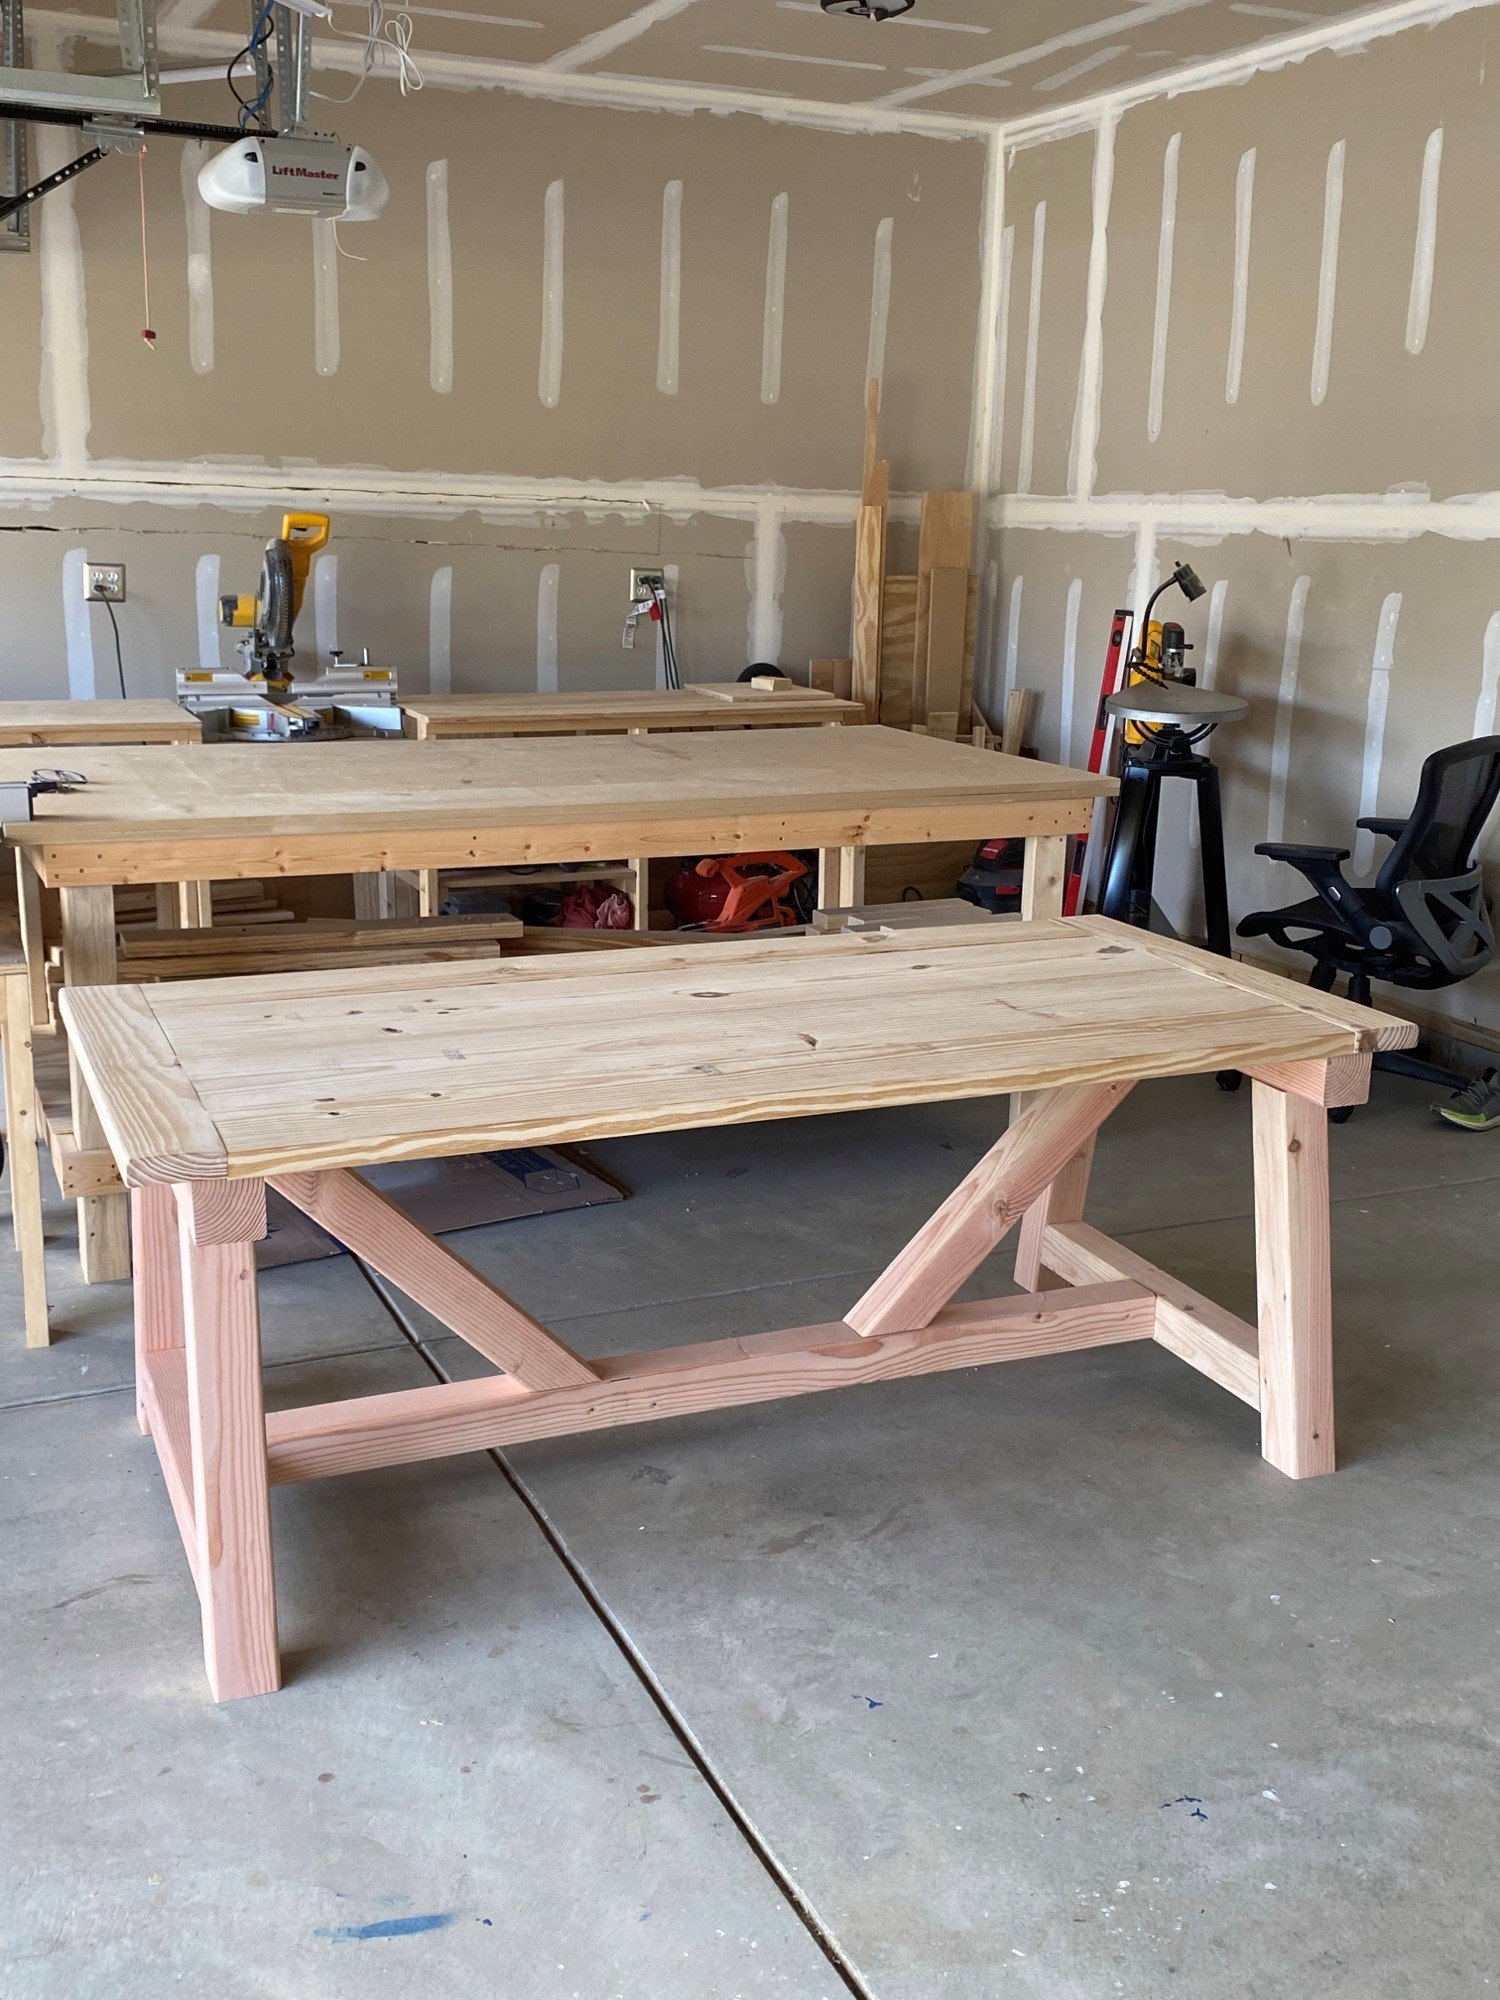
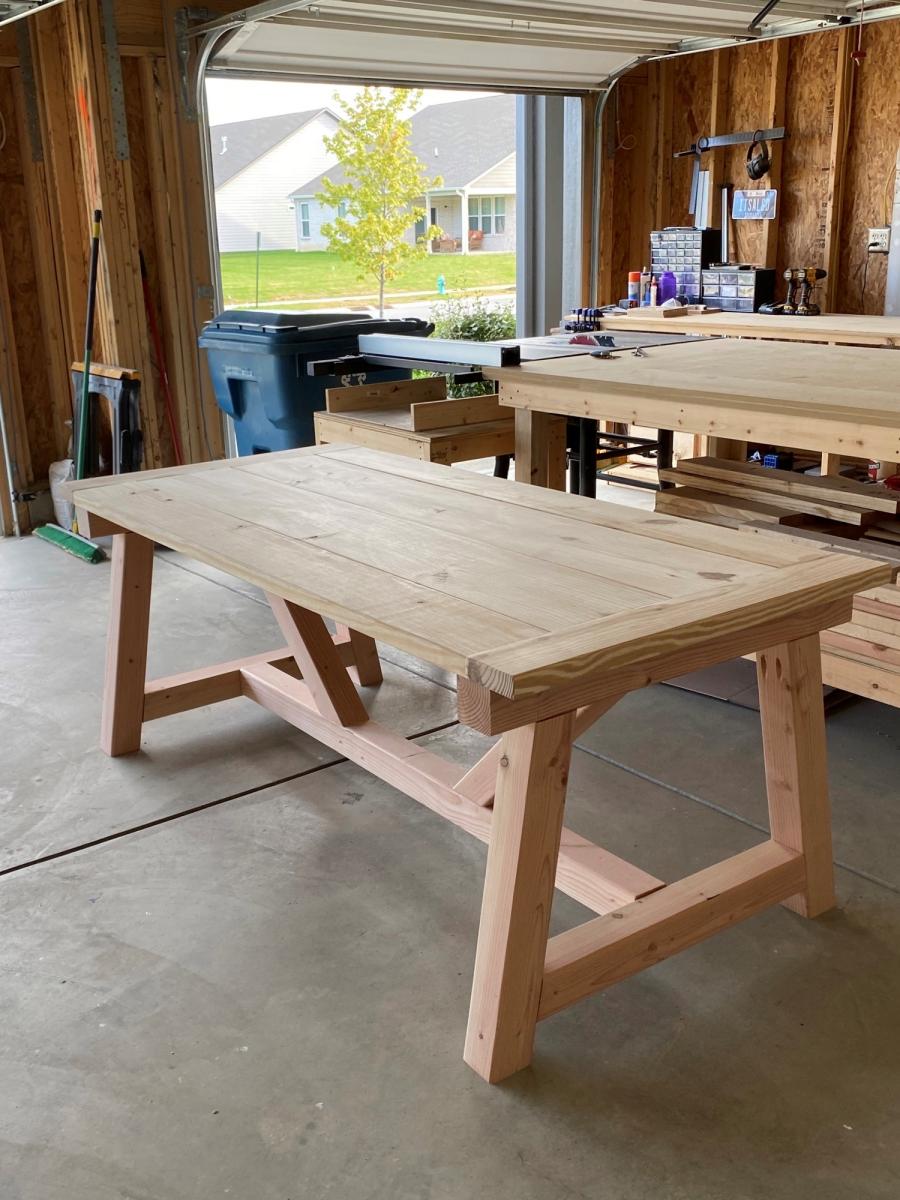
I followed the plans for the 4x4 Truss Beam Table and it turned it out great! I definitely recommend the Kreg Jig HD for the 4x4's. I used non HD Kreg screws for the table top.
It's much easier to build it upside down to ensure you get all your pocket holes underneath. Also, use duct tape to keep the 45 degree angle posts clamped as it's much easier when screwing together.

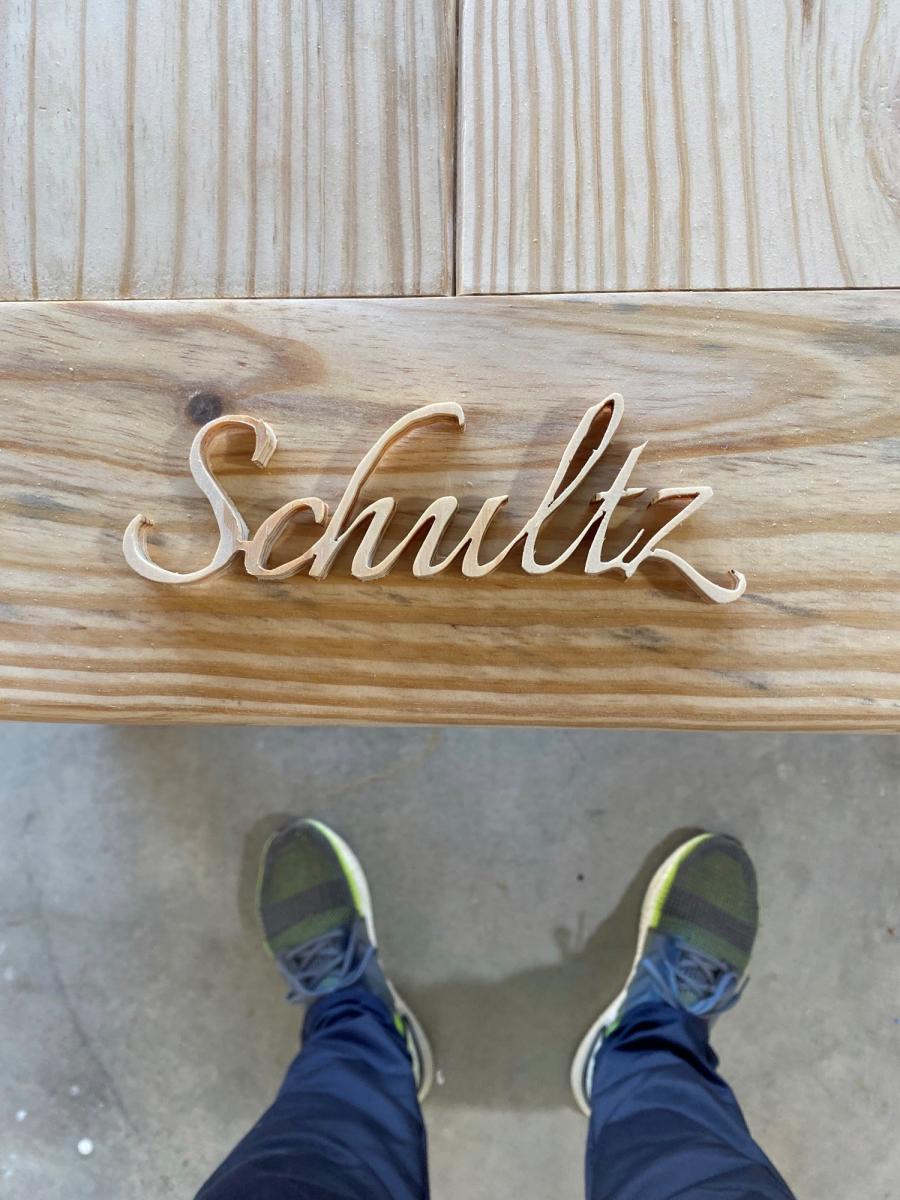
As a bonus for the family I built it for, I cut their name out with my scroll saw and added as a personal touch for the piece.

Built from Plan(s)

Comments

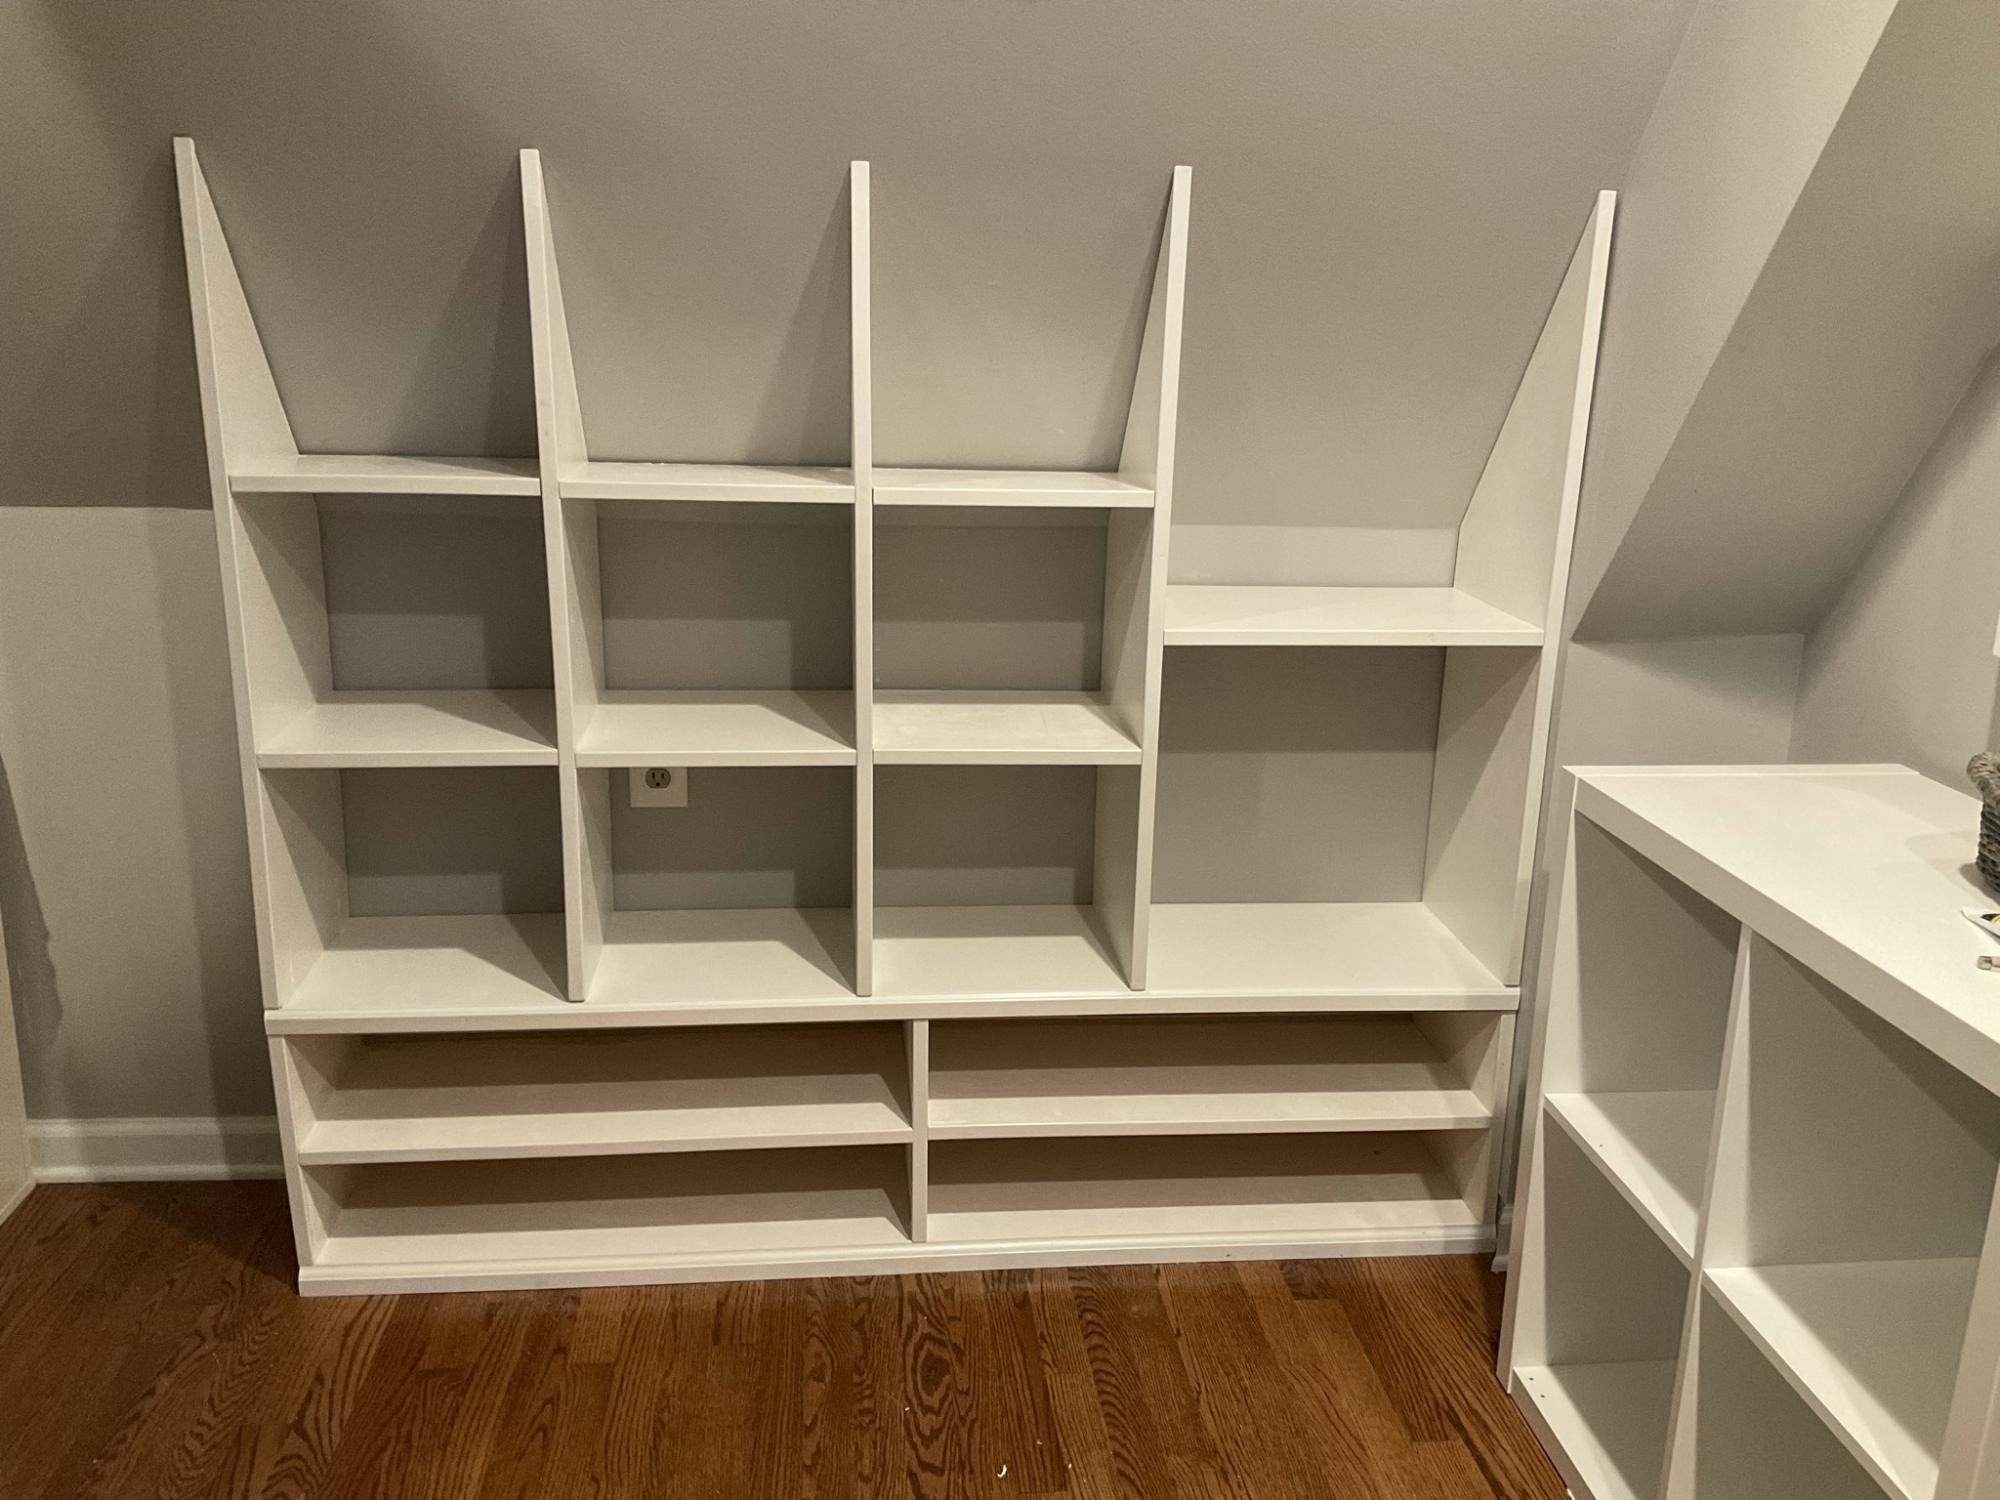
Closet shelving for sloped ceiling.

Submitted by kellystern on Mon, 01/09/2023 - 16:22

I used Ana’s Shelf Help Configurator to build these shelves for a deeply sloped ceiling. None of those well known Closet Organizer Companies could come up with a decent plan for this closet and they charge a small fortune.

Comments

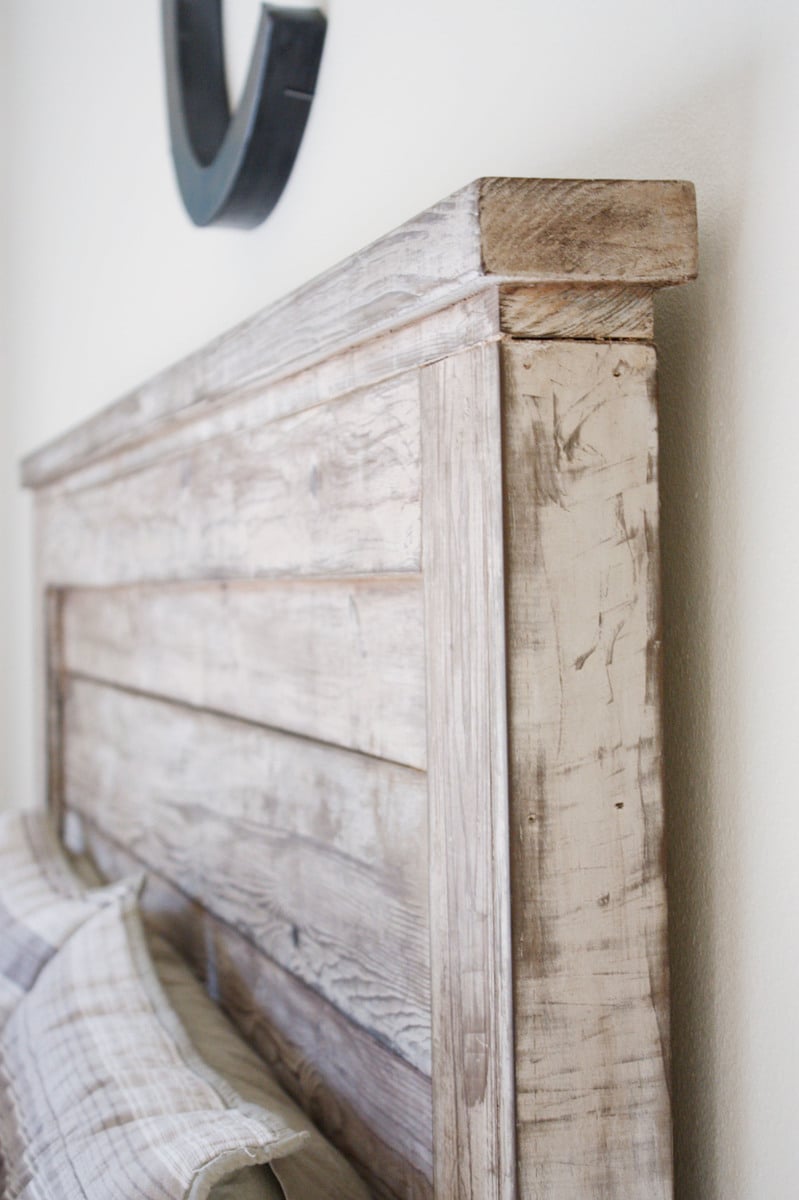
Rustic Headboard

Submitted by beingbrook on Wed, 11/09/2011 - 08:26

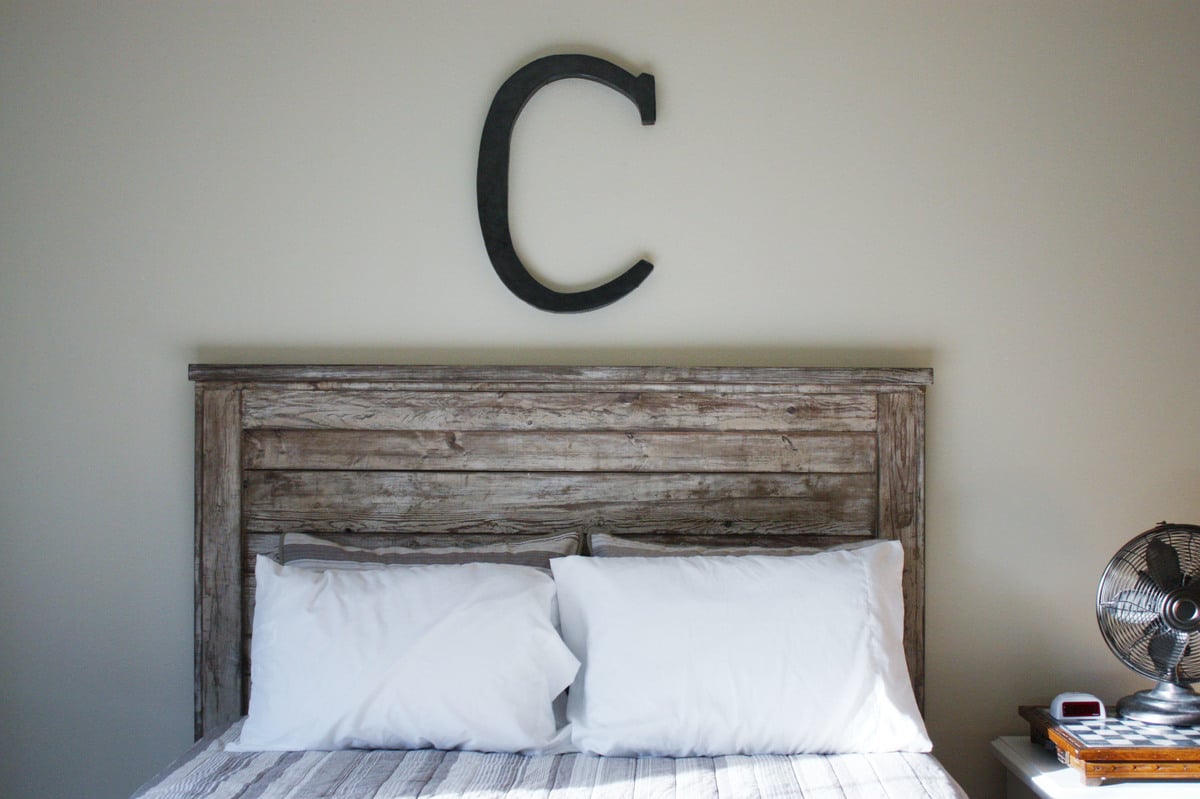
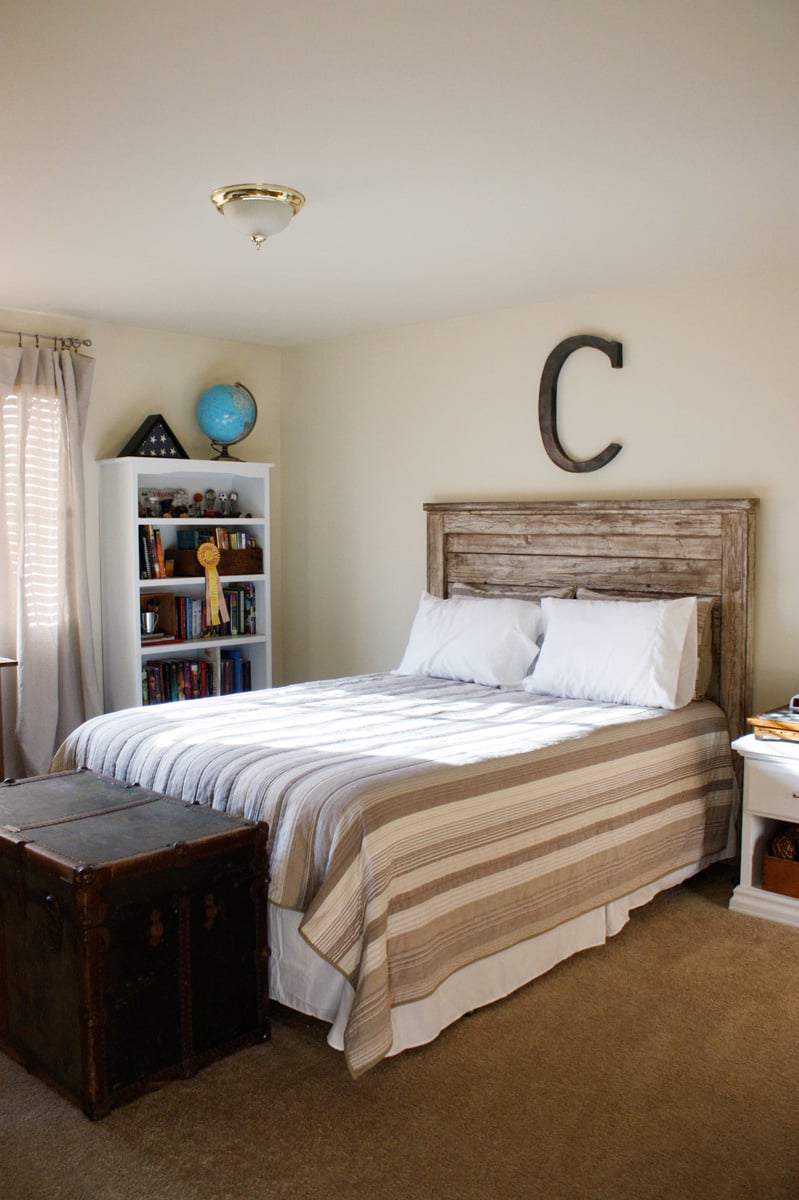
Rustic headboard built in an afternoon. Total cost was only $35!

Estimated Cost
$40-60
Estimated Time Investment
Afternoon Project (3-6 Hours)
Finish Used
Oxidized the wood using tea followed by steel wool/vinegar mix. Finished with Annie Sloan clear wax. A detailed explanation can be found at my blog: http://beingbrook.com/rustic-headboard-aged-wood/
Recommended Skill Level
Starter Project

Comments

scott56

Wed, 11/09/2011 - 12:46

I thought the 56 in headboard was a little excessive. So I cut it down a foot. If you decide to do this take 6 inches off the top and the bottom so it looks portionally correct. Another thing I did that was not mentioned in the what I have read so far was use kregs joints to connect the inner panel. If you build it from the back you will not see any joints except the top ones on the foot board. I patched them with that elmers patch stuff and are no longer visible. Minus all the sanding I built two beds in a half day.

Ava-Drew

Wed, 11/09/2011 - 15:52

I was thinking of doing this headboard for the farmhouse storage bed. Did you use 4x4s or build the legs the way they are in the plan? I have several 3x3s for legs that I was planing on using with the kreg. How easy was it to get the boards lined up with the kreg?

Guest (not verified)

Tue, 11/15/2011 - 10:34

how much did you sand this headboard?

thanks

Brook@BeingBrook (not verified)

Tue, 11/15/2011 - 10:39

We sanded the boards before building since we got the cheapest grade of lumber they had. I also sanded it about 10 minutes after I removed all the paint stripper.

Brook@BeingBrook (not verified)

Tue, 11/15/2011 - 11:51

No just used a power sander. Was going for a rustic wood look so didn't worry about the sanding being perfect. Just wanted it smooth enough not to snag anything.

Mario (not verified)

Wed, 06/06/2012 - 12:37

Congratulations !!! and thanks for inspiring us by posting these photos of a terrific job!

I was just wondering..how did you manage to get the perfect light brown - chocolate tint shown on these photos??

I've followed the process described (oxidized the wood using tea followed by steel wool/vinegar mix) to the point. However, the result is grey tinted. even tried applying the process to different types of wood and applying less mix..even sanding it after the project dried and applying the clear wax..Same GREY result..

Please help!!

Brook @ BeingBrook (not verified)

Wed, 06/06/2012 - 13:26

Different woods will give a different finish. This project turned out a little browner than the other times I've used the tea/vinegar treatment. Probably because it was previously painted and then stripped. You can also buy dark wax that will help change the color. You might try finding a stain that is the color that you want and staining your project. Good luck!

Ante

Wed, 07/10/2013 - 12:53

where does the white come from in your wood. did you strip pre primed pine then tea and oxidation? thanks,ante

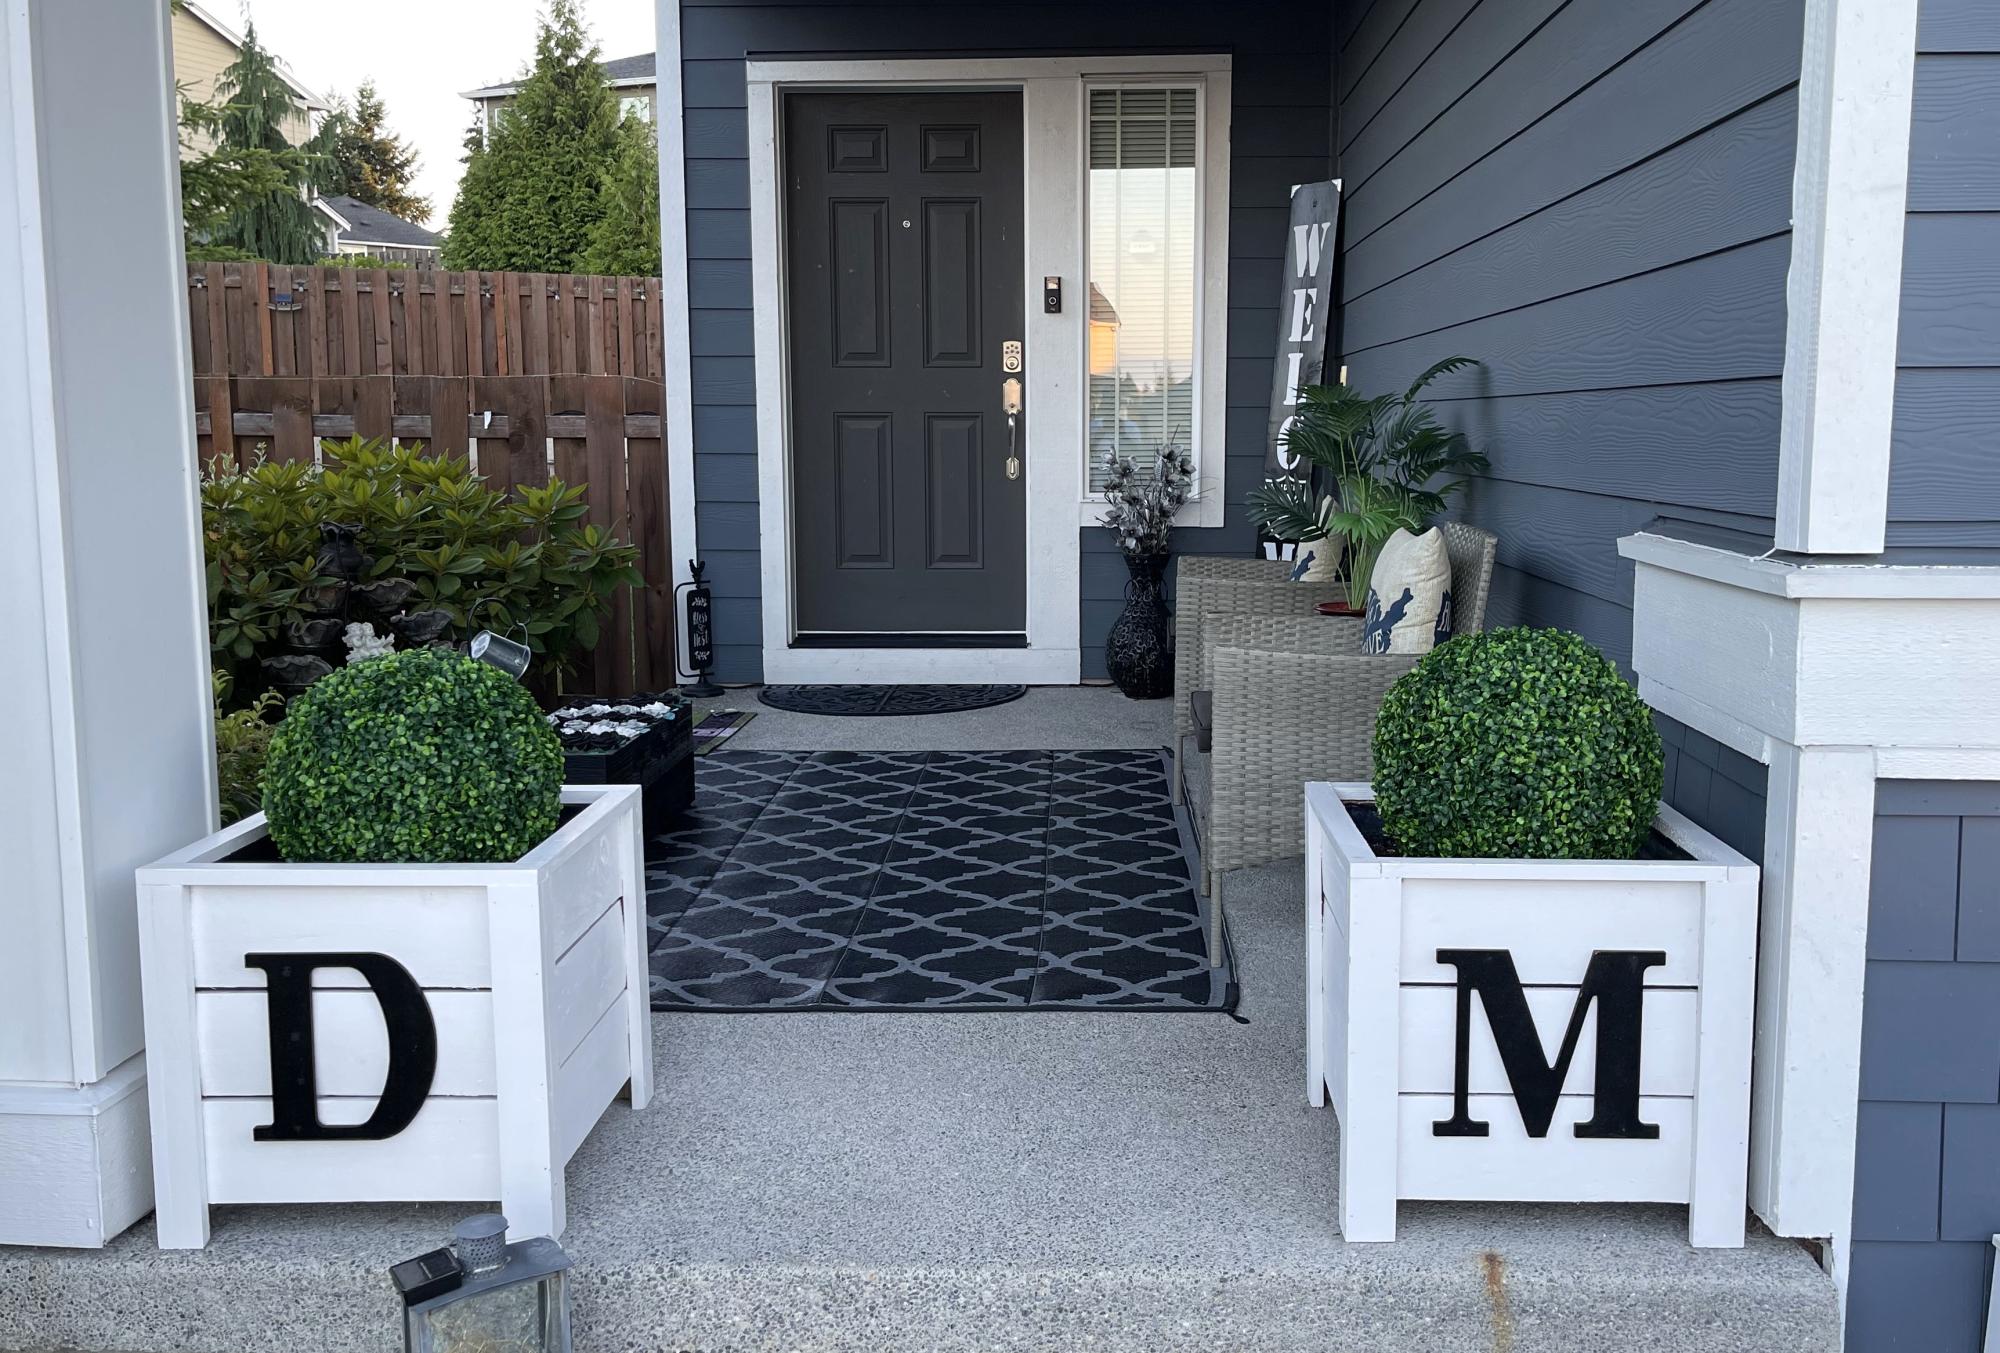
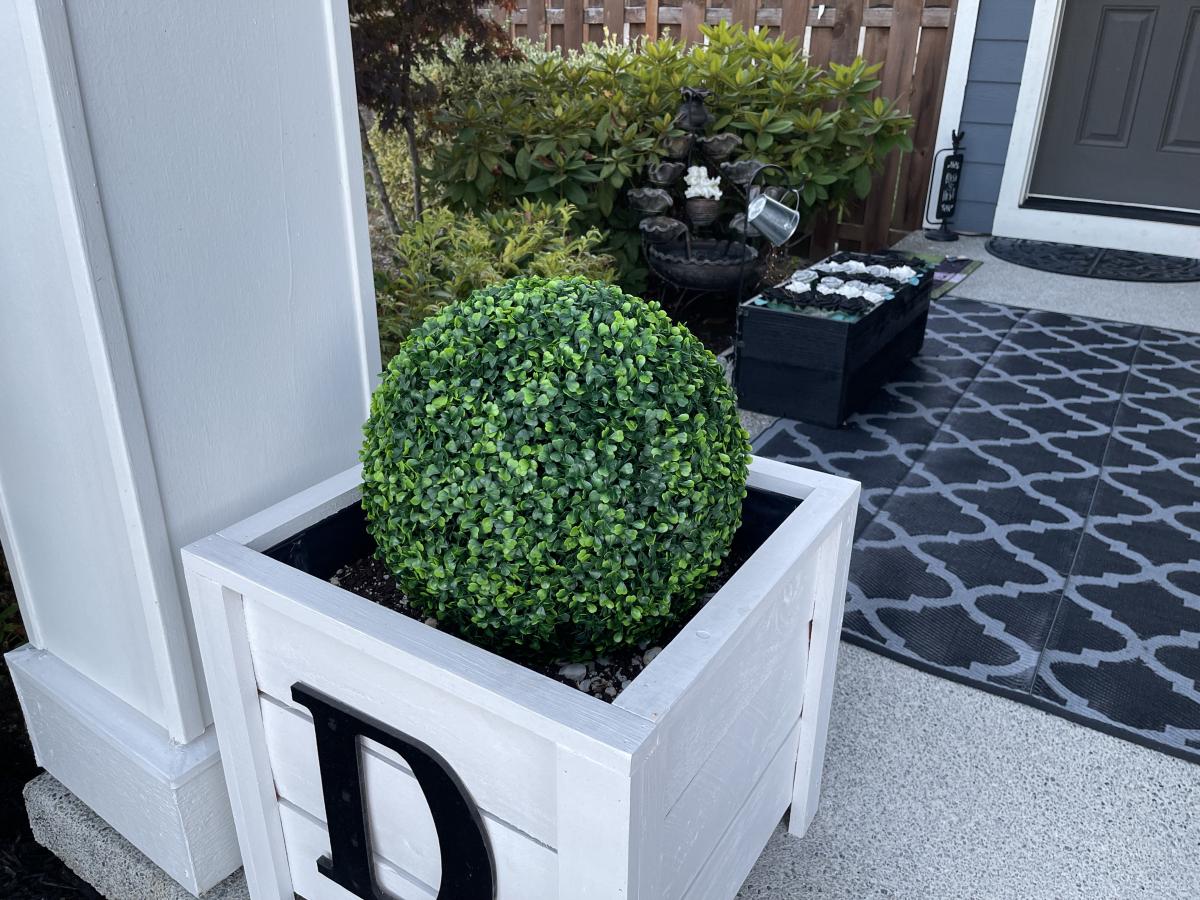
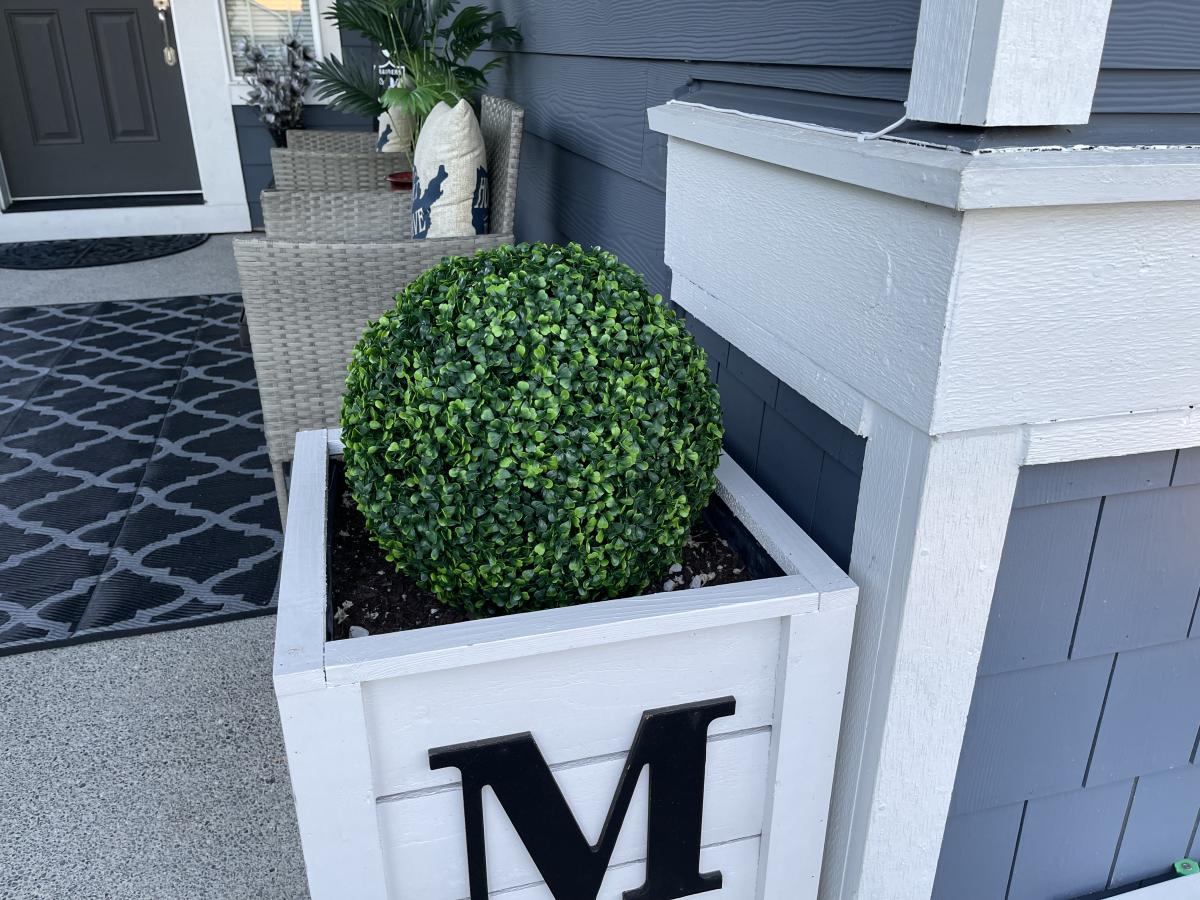
Porch Planters

Submitted by Anonymous (not verified) on Mon, 07/24/2023 - 13:40

This build was a lot of fun! Thanks ANA!

David Marks

Comments

Dresser/Changing table

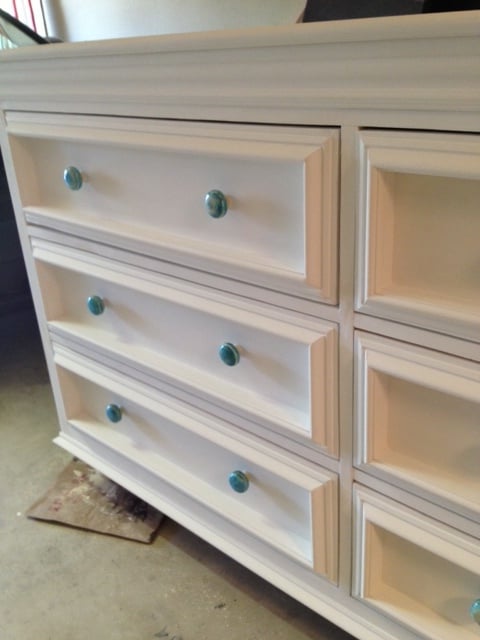
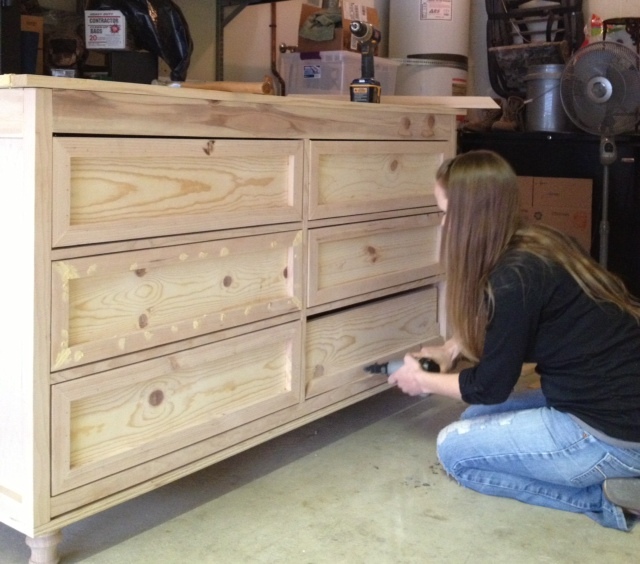
Similar to a previous poster, I was inspired to build this project to use as a combo dresser/changing table for our first child's nursery. It took quite a few days worth of work (spread out over a couple of months altogether) but I finally finished the bulk of the work a few days before entering the third trimester of pregnancy, phew! I think we'll enjoy this piece for years to come, thanks Shane and Ana for the plans! (Please excuse the poor lighting and ugly garage, we haven't set up the nursery yet so the dresser may be living in the garage until we do!)

Built from Plan(s)
Estimated Cost
$300ish
Estimated Time Investment
Week Long Project (20 Hours or More)
Finish Used
Annie Sloan Chalk Paint in Pure White. Love this paint but it has a very matte finish on its own and will need to be waxed for protection that I'm waiting until the pregnancy is over to finish.
Recommended Skill Level
Intermediate

Comments

Small Balcony Planter

Submitted by Anonymous (not verified) on Mon, 03/25/2024 - 08:51

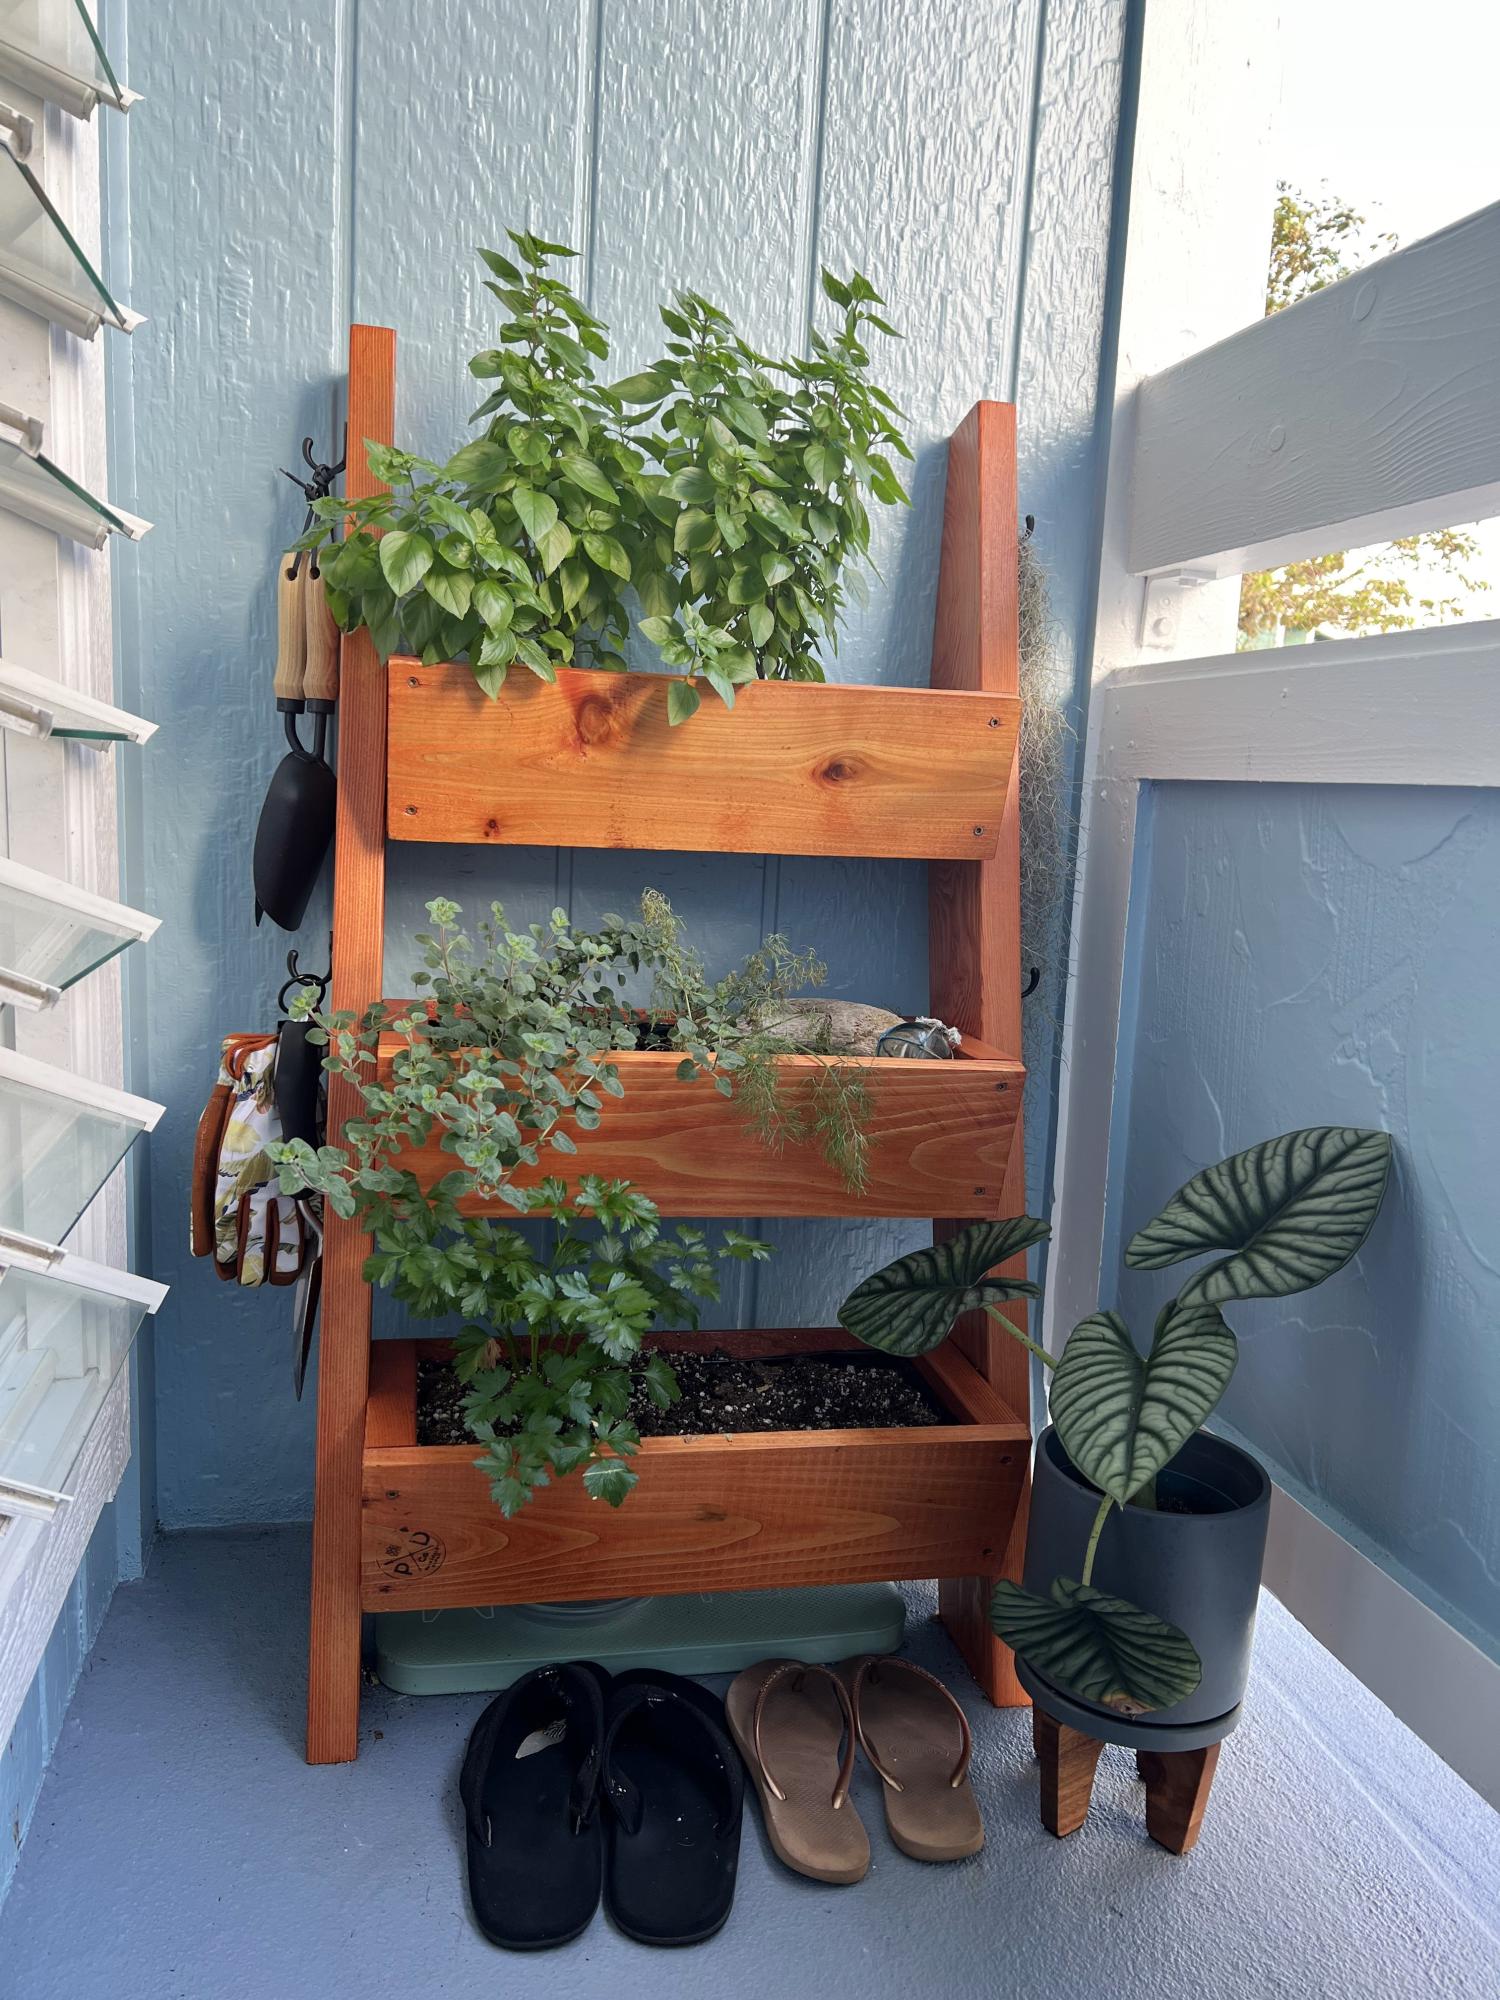
Adjusted the original plans to meet AOAO requirements. Shortened the boxes to 20” and the length to stay below balcony railing. Love this herb garden on my very tiny balcony in Hawai’i ❤️

Made by Melissa Puanani Nobriga-Petrichko.

DIY Greenhouse Project -Added elevated raised beds & temp/humidity control

Submitted by Anonymous (not verified) on Sun, 07/05/2020 - 09:09

We loved this greenhouse plan from AnaWhite and wanted to be able to grow in 3 seasons so we modified the design to include humidity & temperature control & 18" deep elevated cedar beds inside with 4x4 posts for support and trellis option. We added electricity in order to have a lighted workspace and the ability to put in a circulating fan to control mold and fungus. We added 2 work tables (2x2') on the inside of the door left and right side door in order to do seed trays & store supplies. This was a wonderful project for my husband and my plants inside are doing incredibly well compared to my outside garden beds here in zone 5. Products used:

Foundation
We had a landscape company come and scape/dig a platform and then fill/compact with crushed rock
My husband then used rebar driven into a 4x4 frame in order to secure the frame to the ground and create a base upon which to build the greenhouse

Active ventilation
AC Infinity Cloudline T8 Inline duct fan
Air king range hood wall cap 8" on the bottom outside of the greenhouse wall for air intake + flex 8" duct to the fan itself
Shelter logic autovent automatic shelter vent kits (1 on each side of the front wall) in order to allow air intake from the bottom back of the greenhouse under the elevated beds to flow to the front of the greenhouse and out
Circulating fan- Hurricane wall mount fan 16" - this fan has 3 speeds with tilt function and small mounting bracket

Soil - sourced 3 yards of 50/50 loam/compost from local landscaping supply
60% loam
30% organic compost
10% organic topsoil + perlite

Soil beds
-cedar frame 2 feet wide along sides, 3 feet wide on the back wall
-galvanized metal roofing with holes drilled into it for drainage
-landscape cloth lined

Built from Plan(s)
Estimated Cost
$2000
Estimated Time Investment
Week Long Project (20 Hours or More)
Finish Used
None
Recommended Skill Level
Intermediate

Comments

bushy99

Wed, 09/09/2020 - 13:09

Thanks for that update! I was wondering how to vent this project, as Green houses need the ventilation. Good to know dollar amount also. Great photos.

bushy99

Wed, 09/09/2020 - 13:09

Thanks for that update! I was wondering how to vent this project, as Green houses need the ventilation. Good to know dollar amount also. Great photos.

bushy99

Wed, 09/09/2020 - 13:09

Thanks for that update! I was wondering how to vent this project, as Green houses need the ventilation. Good to know dollar amount also. Great photos.

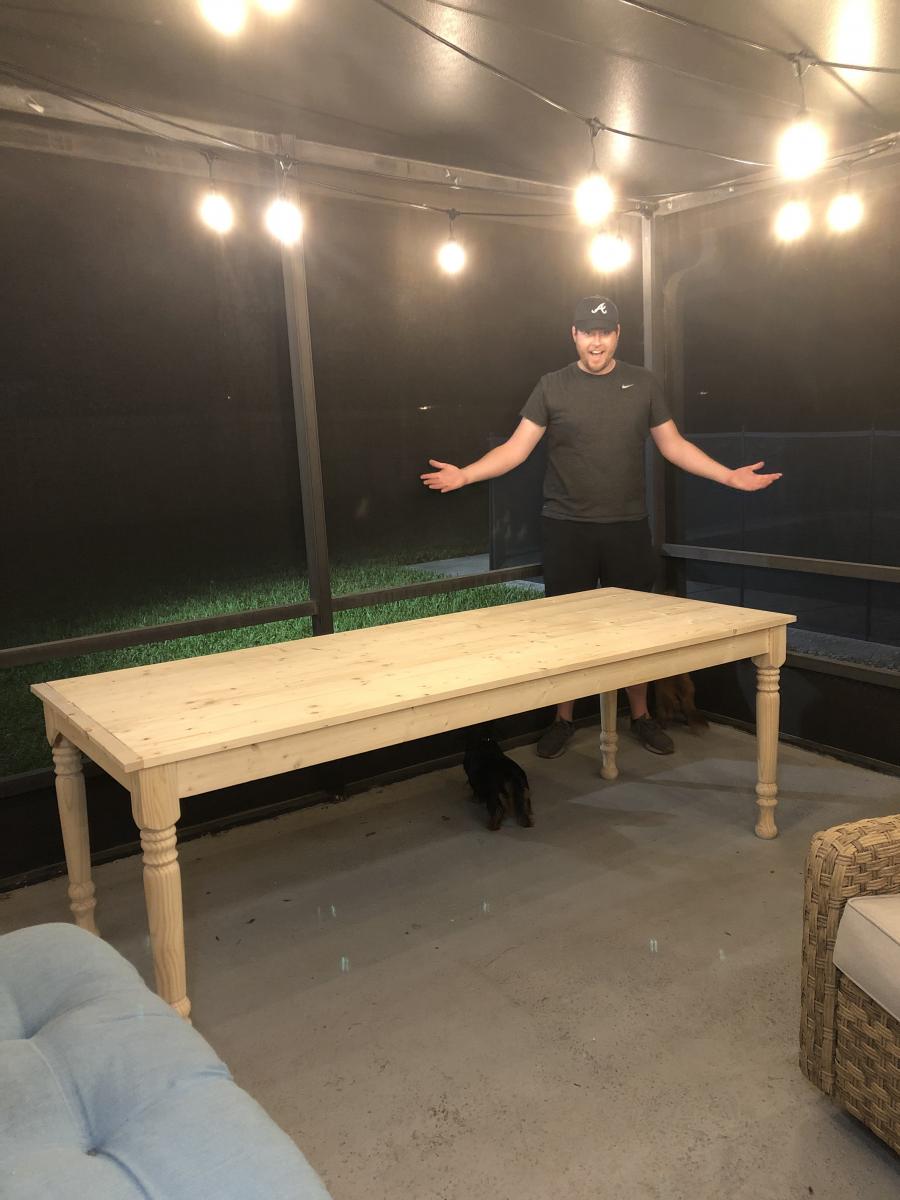
Large Old English Style Farmhouse Dining Table

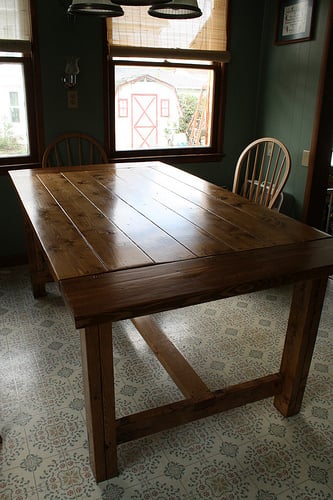
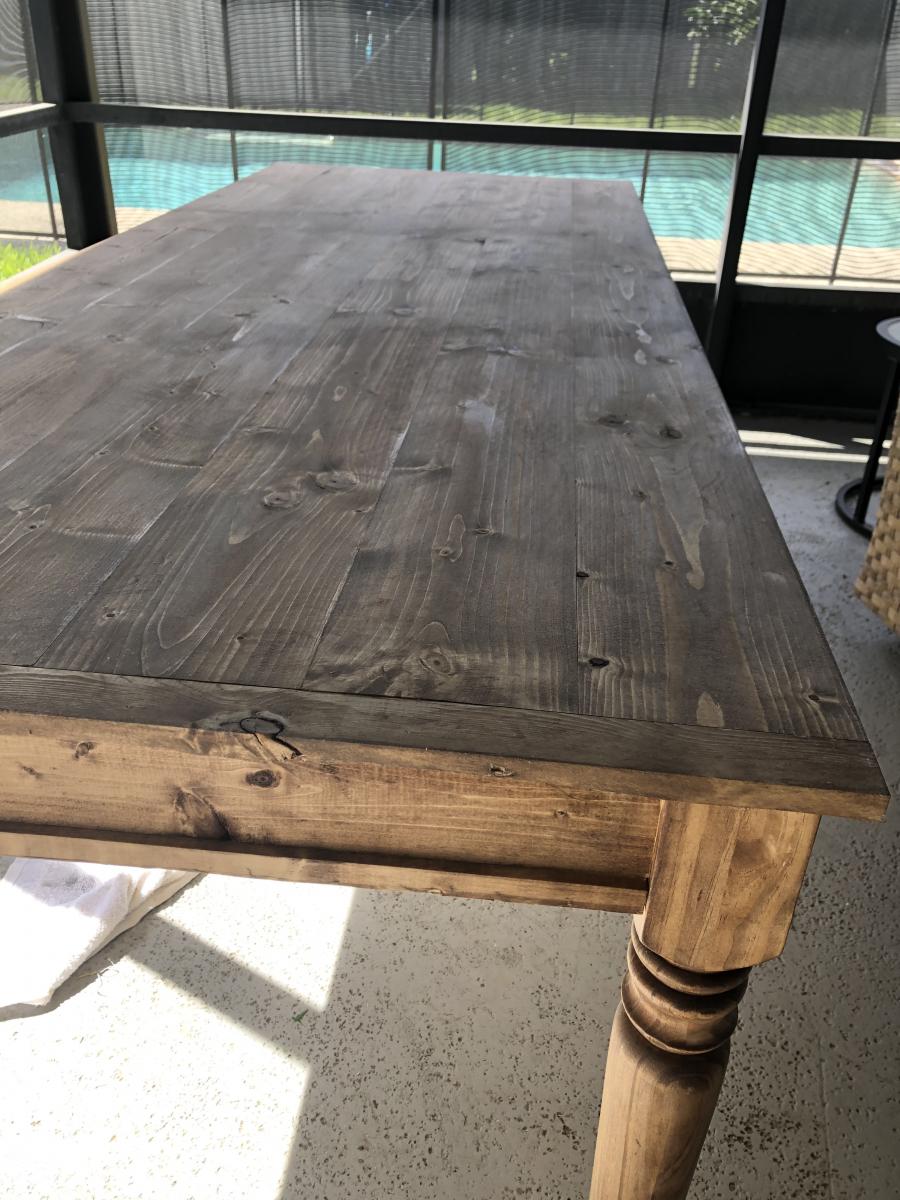
My wife and I were wanting a large outdoor farmhouse table that looked stylish, and like it could have been bought at Pottery Barn or another high-end furniture store. We found this plan that Ana white had made "Small Old English Style Farmhouse Dining Table". We often host groups from our church and will have 15-20 people on our patio or around our pool area, so we needed a bigger table... I just made some modifications to make it longer (7ft) in length to better fit our space and allow for more people to sit.

To make this plan longer, I simply adjusted the cut-list on the long 1x2s, 1x4s, and 1x6; and added a crossbar to prevent the longer tabletop from sagging. I also added the diagonal corner struts to make the table a little sturdier.

Adjusted Shopping List:
4 - 1x2 @ 8ft
5 - 1x4 @ 8 ft
6 - 1x6 @ 8ft
Waterproof 1 1/4" Kreg screws (for outdoor use)
Minwax Weathered Oak
Minwax Vintage Grey

Adjusted Cut-List
• 2 - 1x2 @ 26.5"
• 2 - 1x2 @ 76.5"
• 2 - 1x2 @ ~33.25"
• 2 - 1x4 @ 26.5"
• 2 - 1x4 @ 76.5"
• 4 - 1x4 @ 7.25" w/ 45º miter (diagonal corner supports)
• 1 - 1x4 @ ~28" (Crossbar - I forget the exact measurement)
• 6 - 1x6 @ 82"

For seating we just bought some inexpensive farmhouse weather resistant chairs from Walmart:
https://www.walmart.com/ip/Yaheetech-Metal-Dinning-Chairs-Stackable-Cof…

Estimated Cost
$170
Estimated Time Investment
Day Project (6-9 Hours)
Finish Used
Minwax Early American (base), Minwax Weathered Grey (2nd coat)
(See more on outdoor use of stains: https://ana-white.com/blog/2019/05/outdoor-wood-furniture-finishing-secrets)
Recommended Skill Level
Beginner

Comments

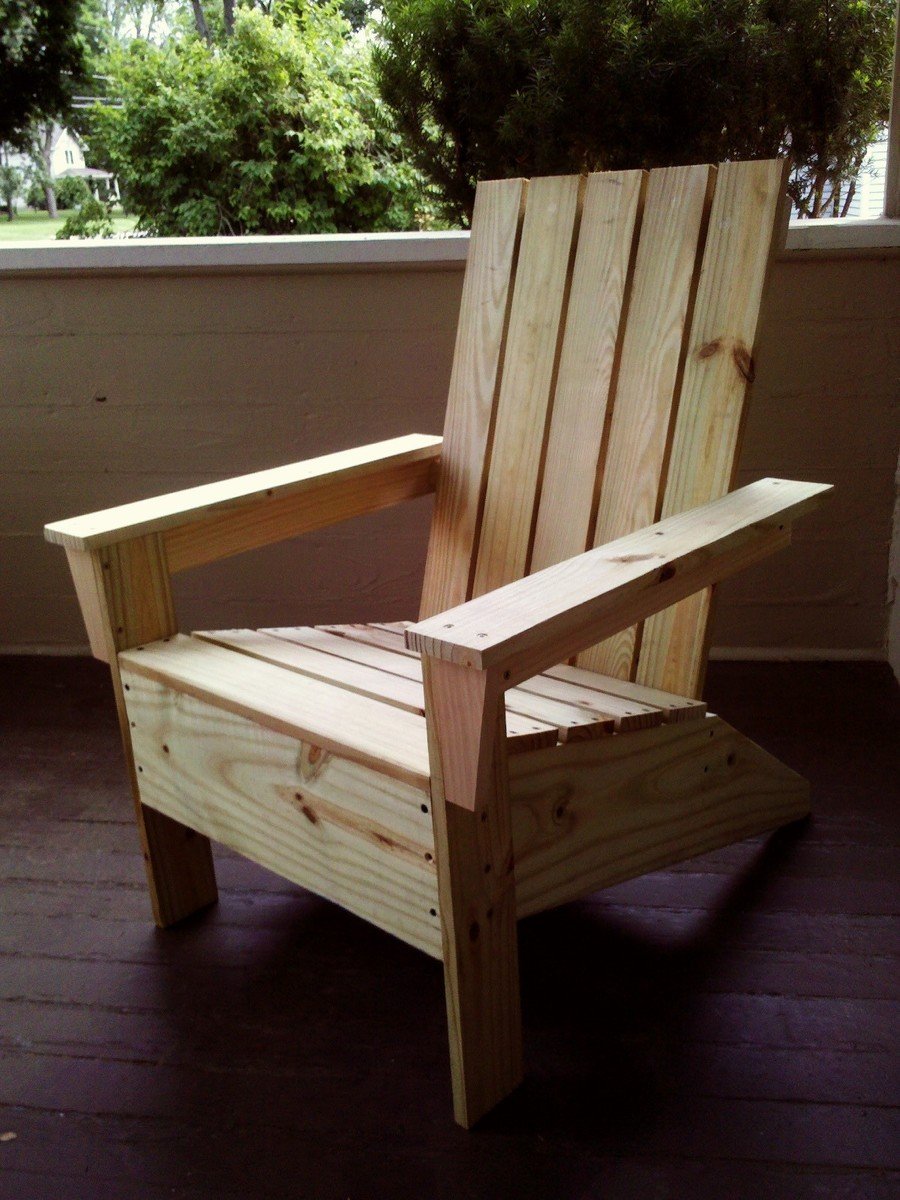
First adirondack chair!

Got a chance this weekend to do our first (good!) woodworking project. Love the chair, gotta head back to Menard's to get some more lumber for chair #2!

Built from Plan(s)
Estimated Cost
$35
Estimated Time Investment
Weekend Project (10-20 Hours)
Finish Used
Haven't finished it yet--probably going to go with a light stain.
Recommended Skill Level
Starter Project
Back