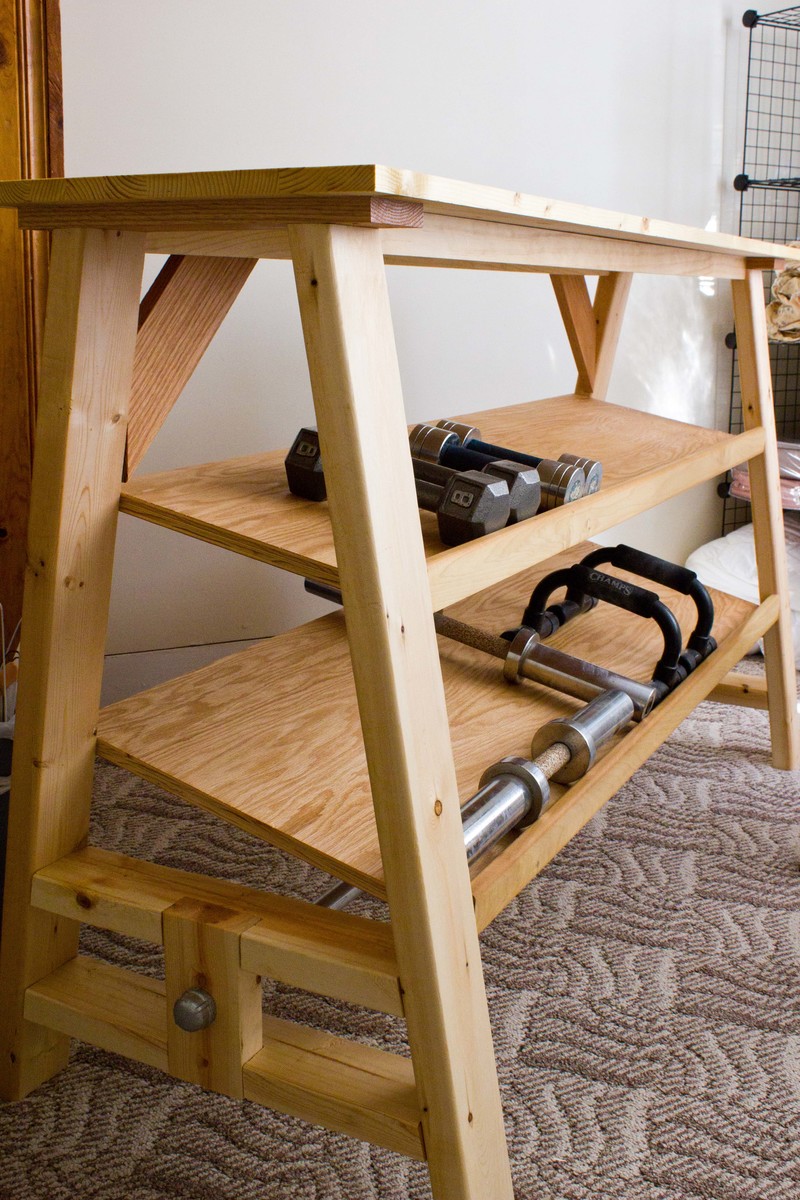
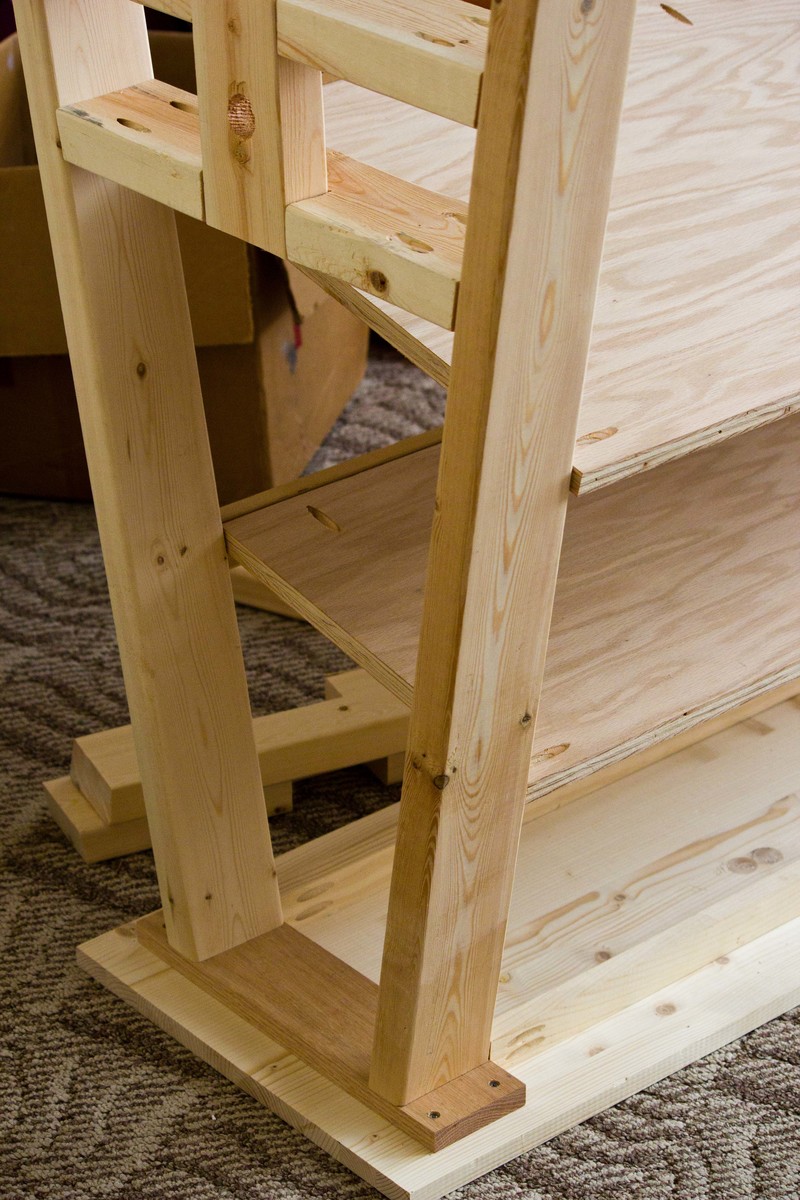
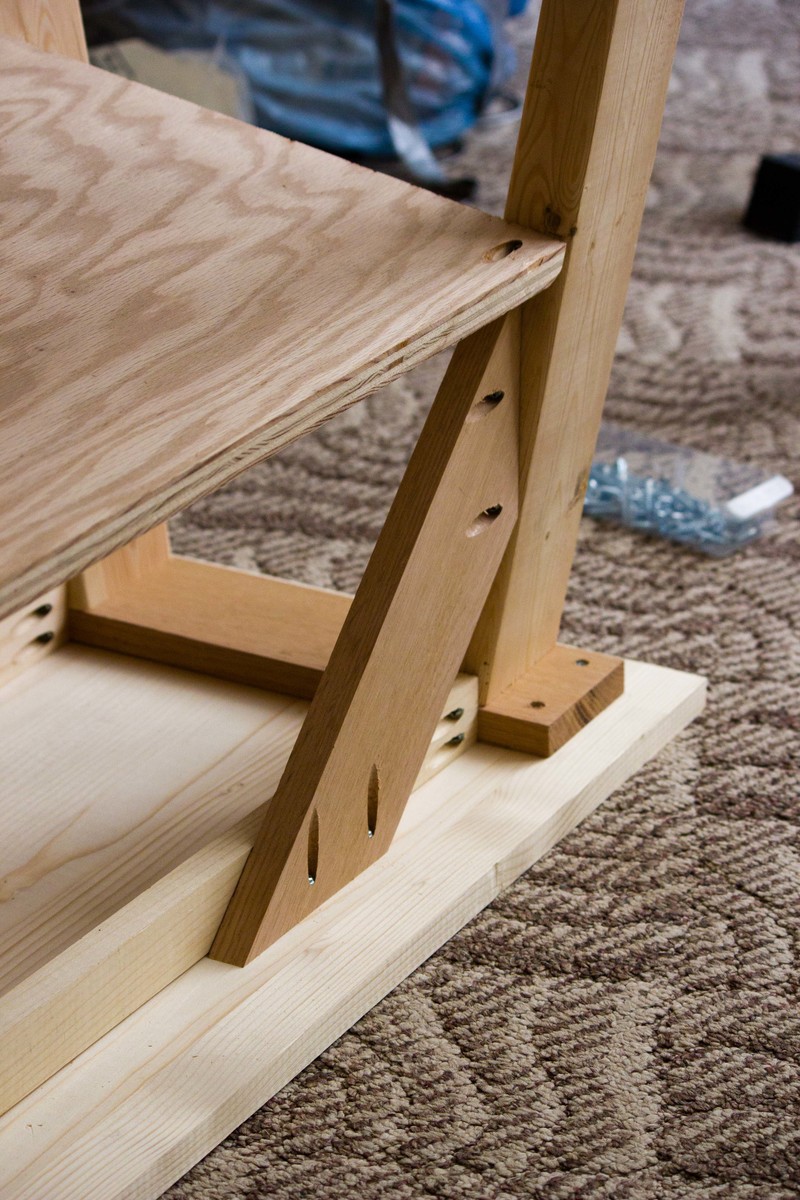
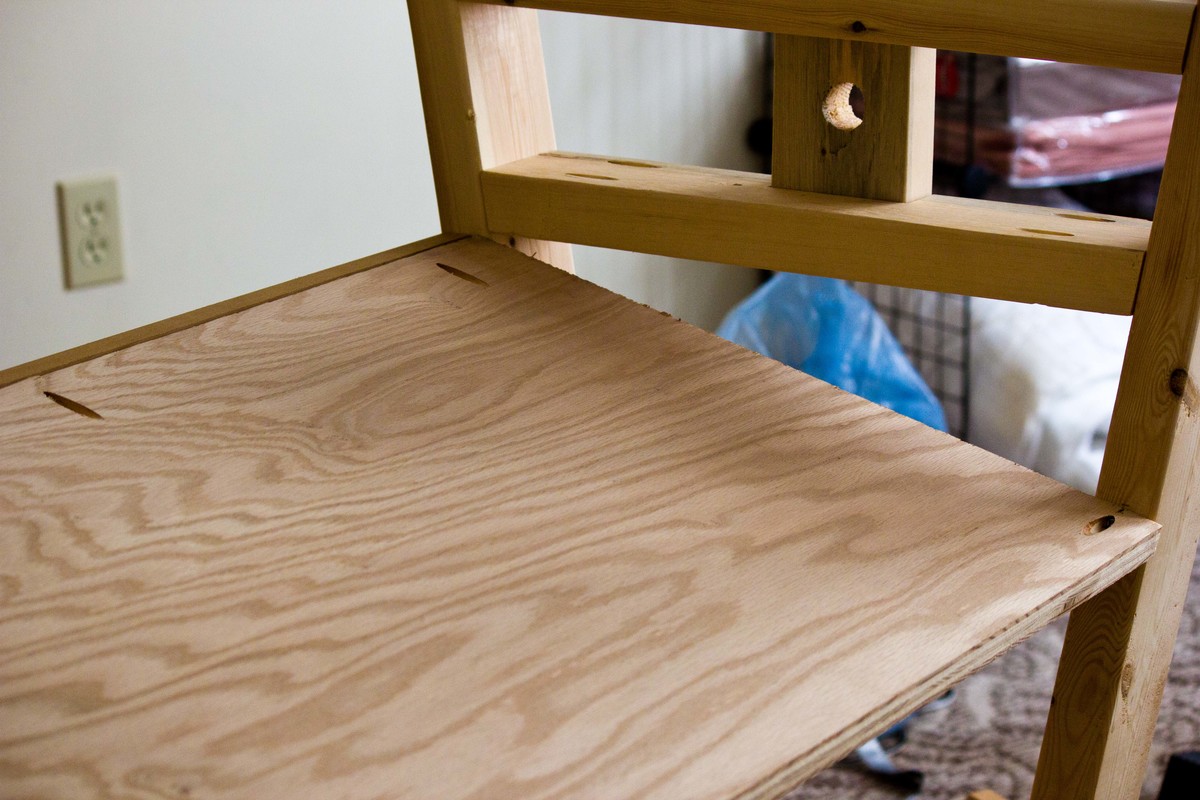
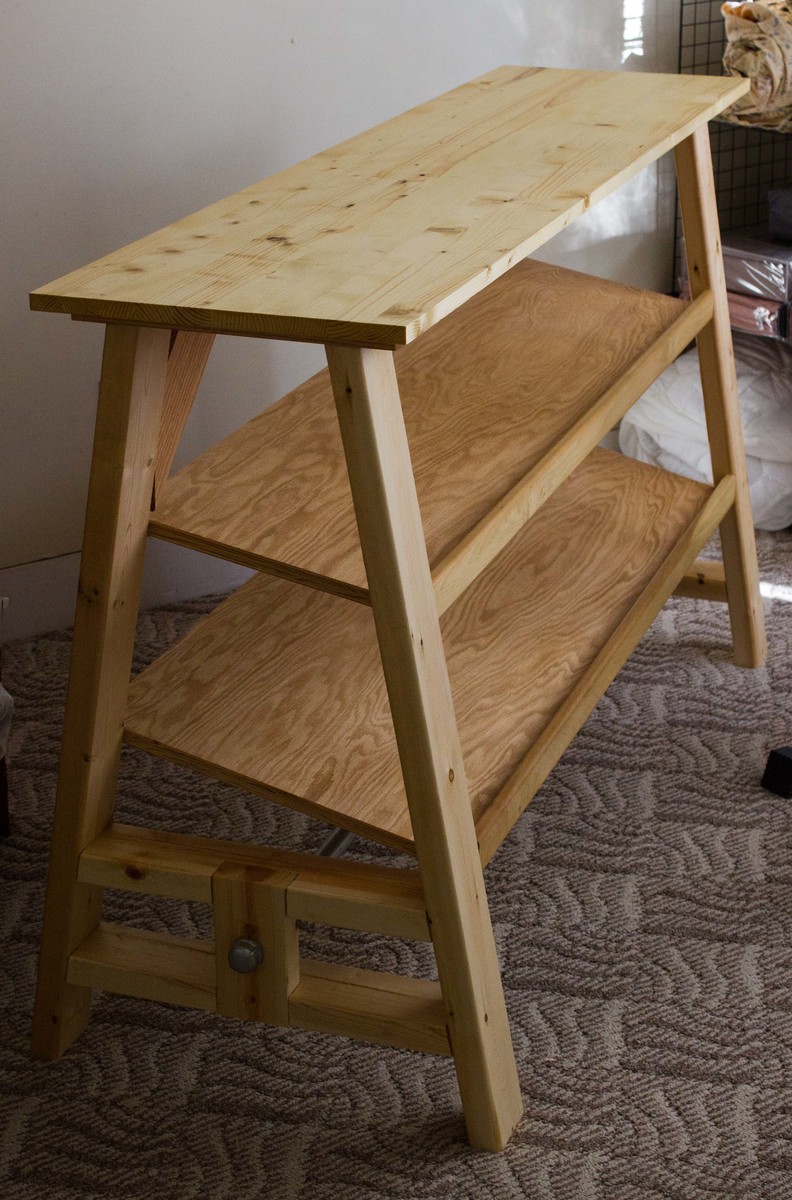
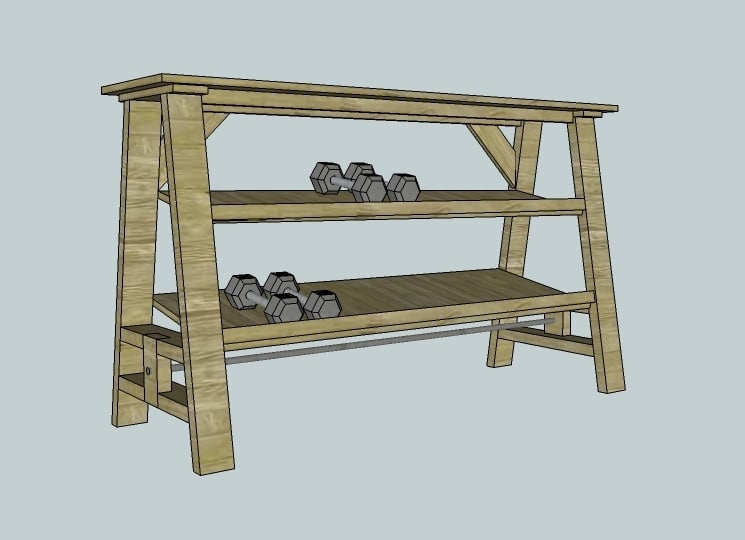
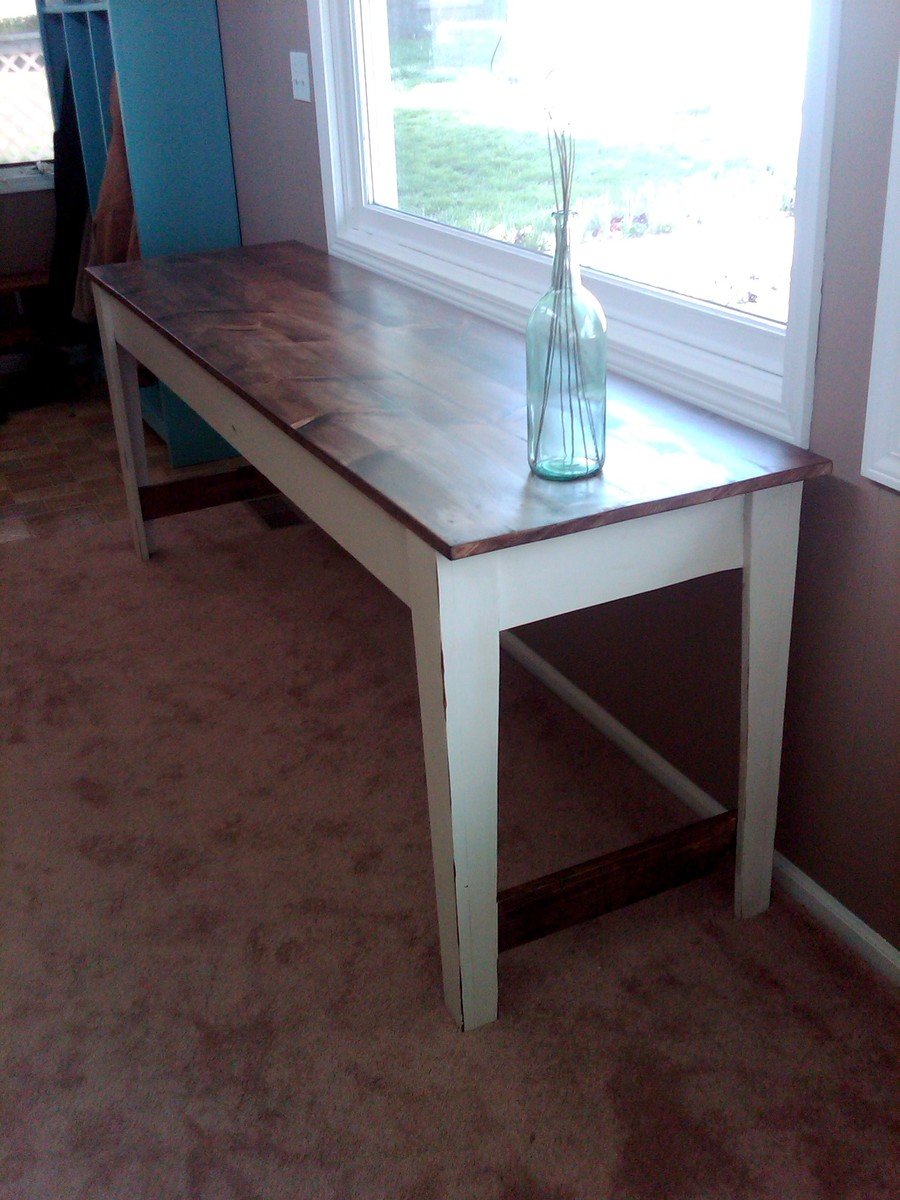
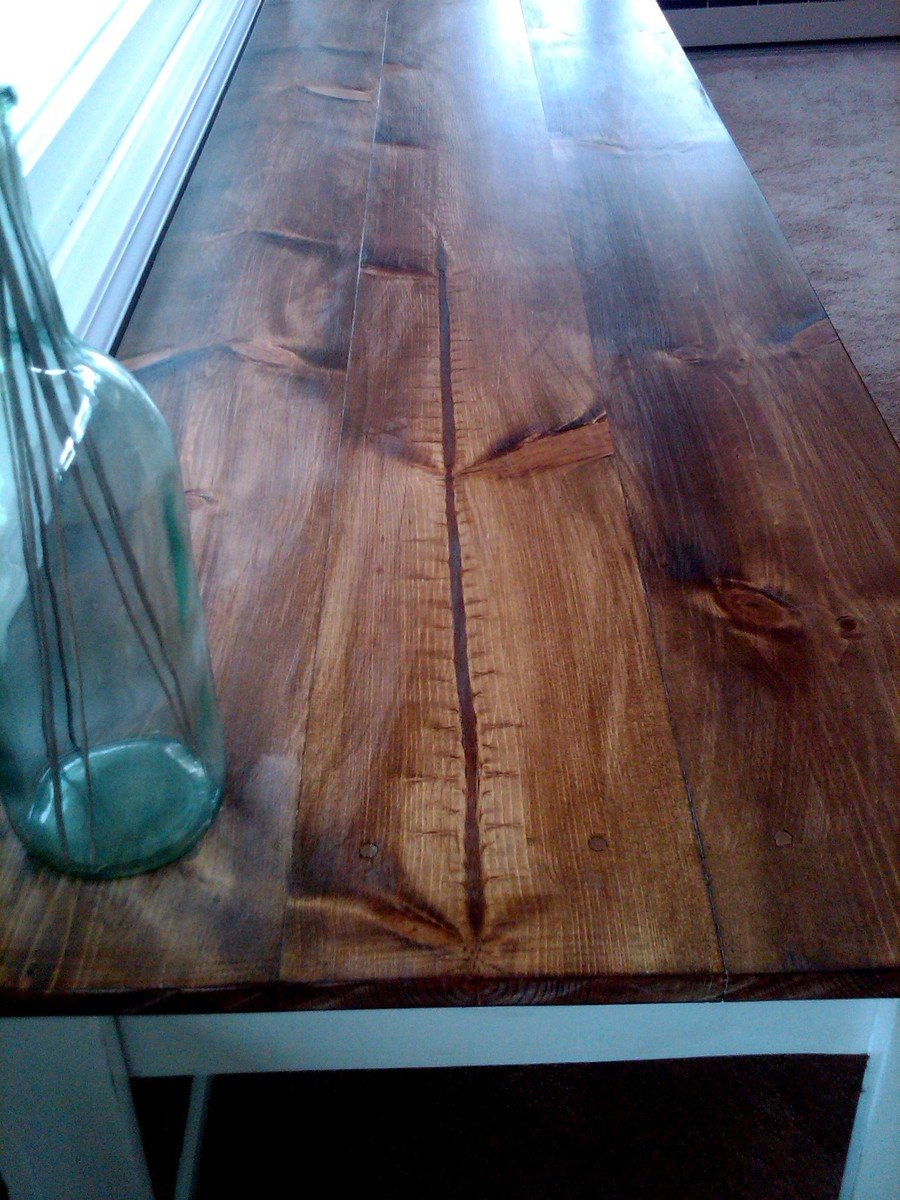
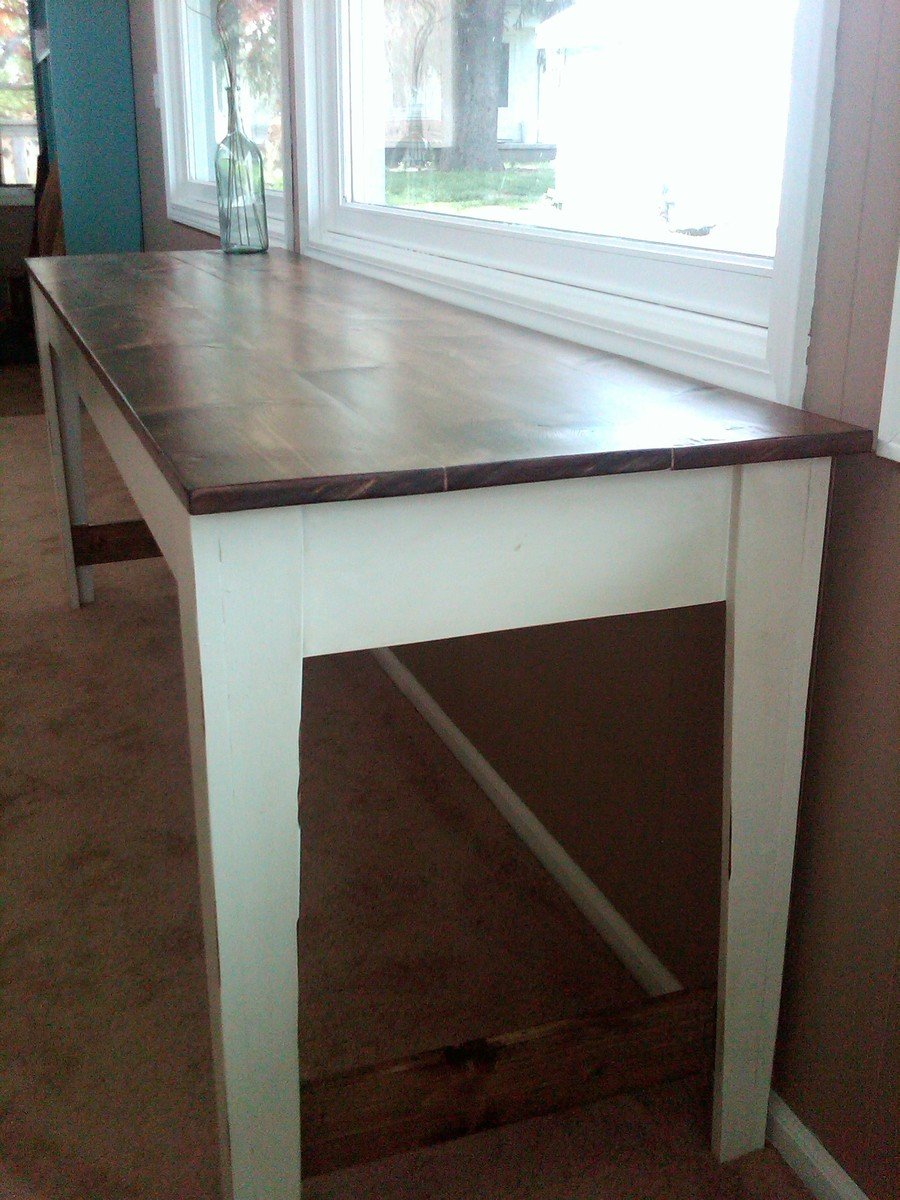
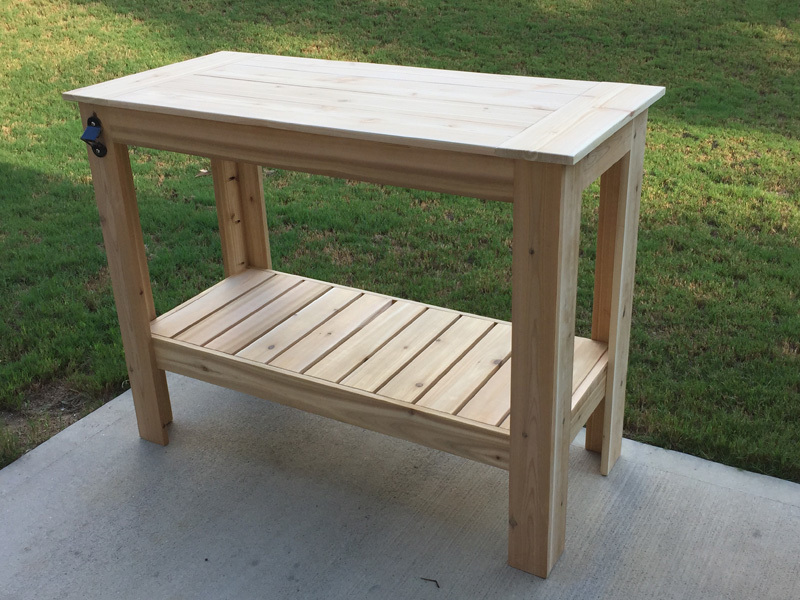
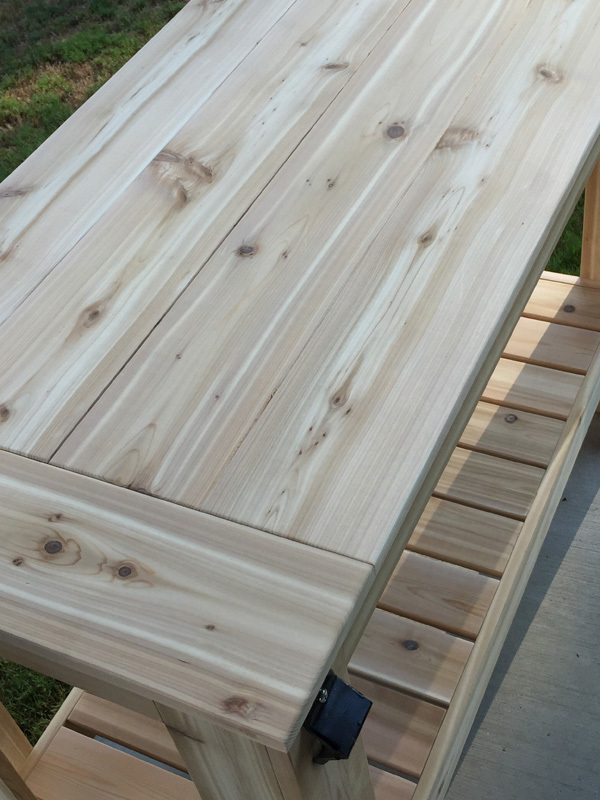
Pallet wood potting bench.
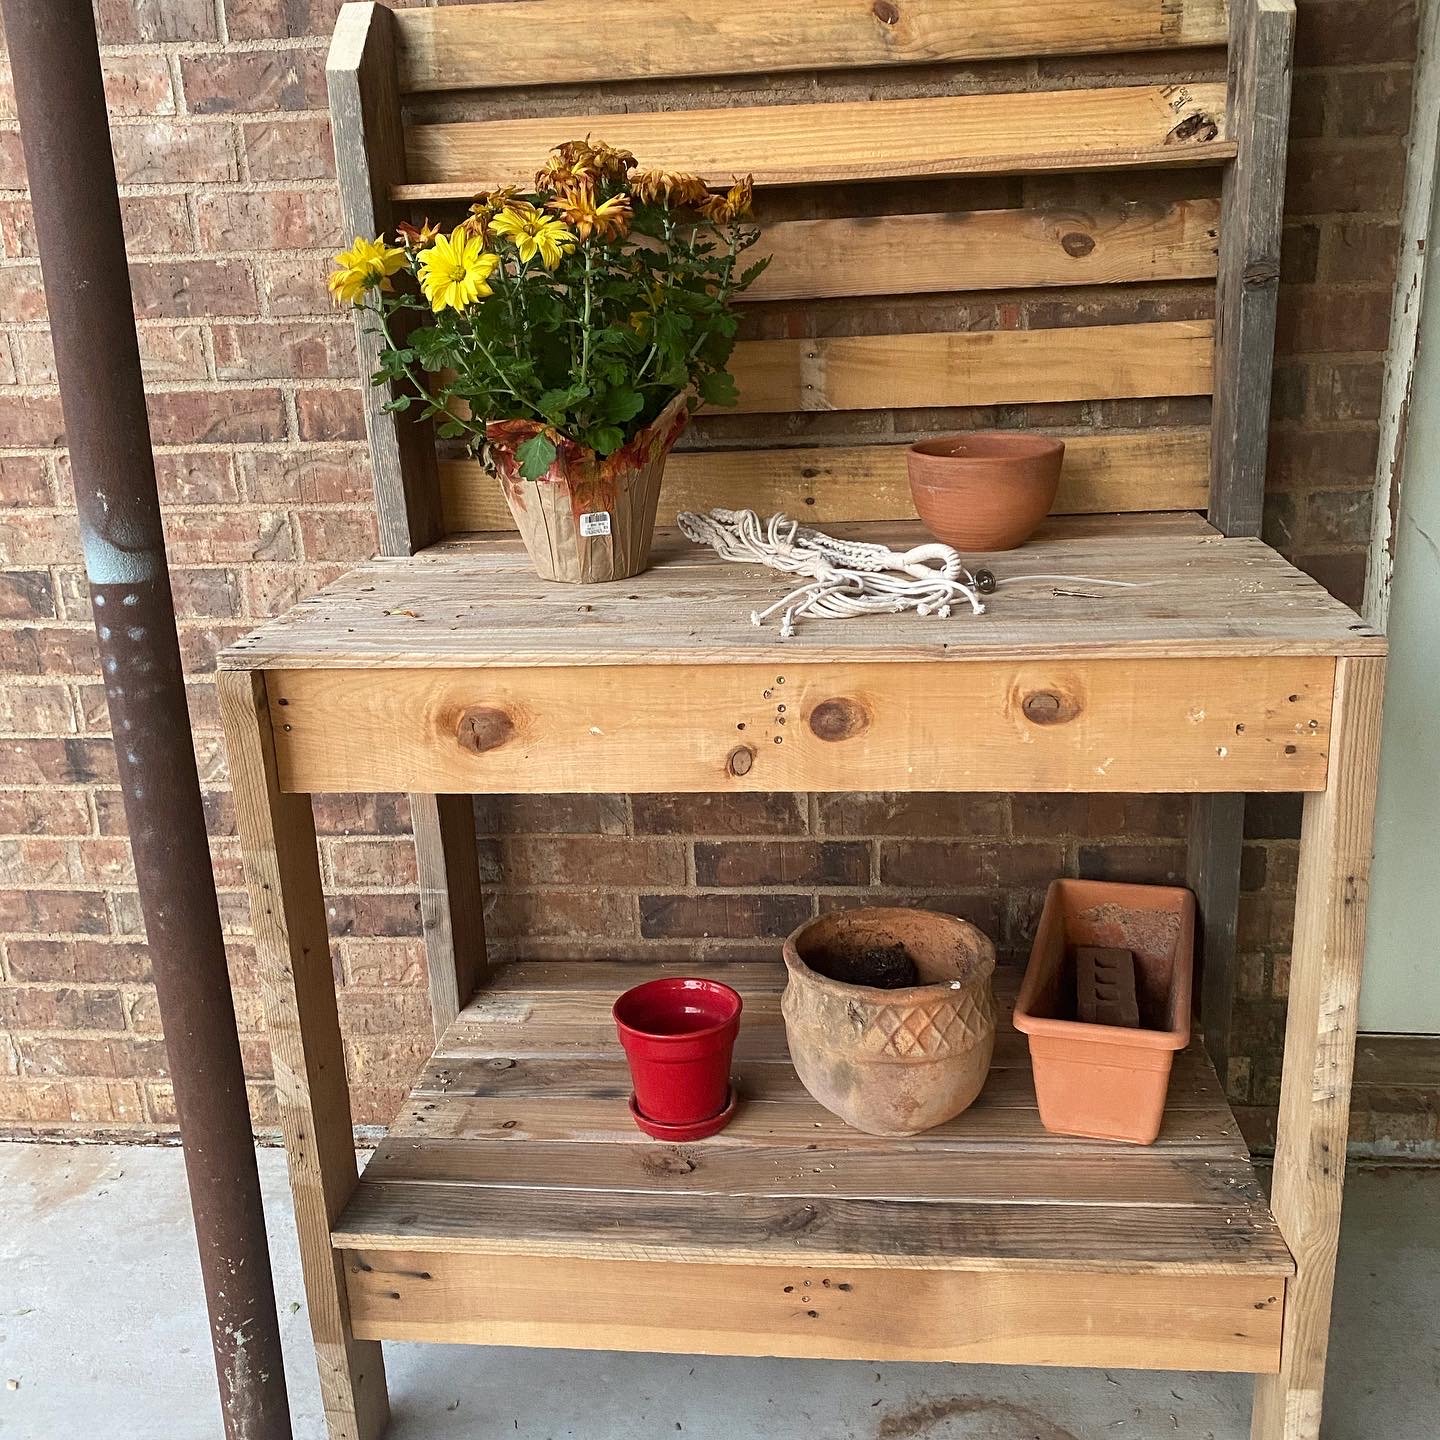
Thank you Ana for the great plans! We adapted the project for wood we had on hand. It is only 40 inches wide instead of 42”. Our widest pallet board was only 40”.
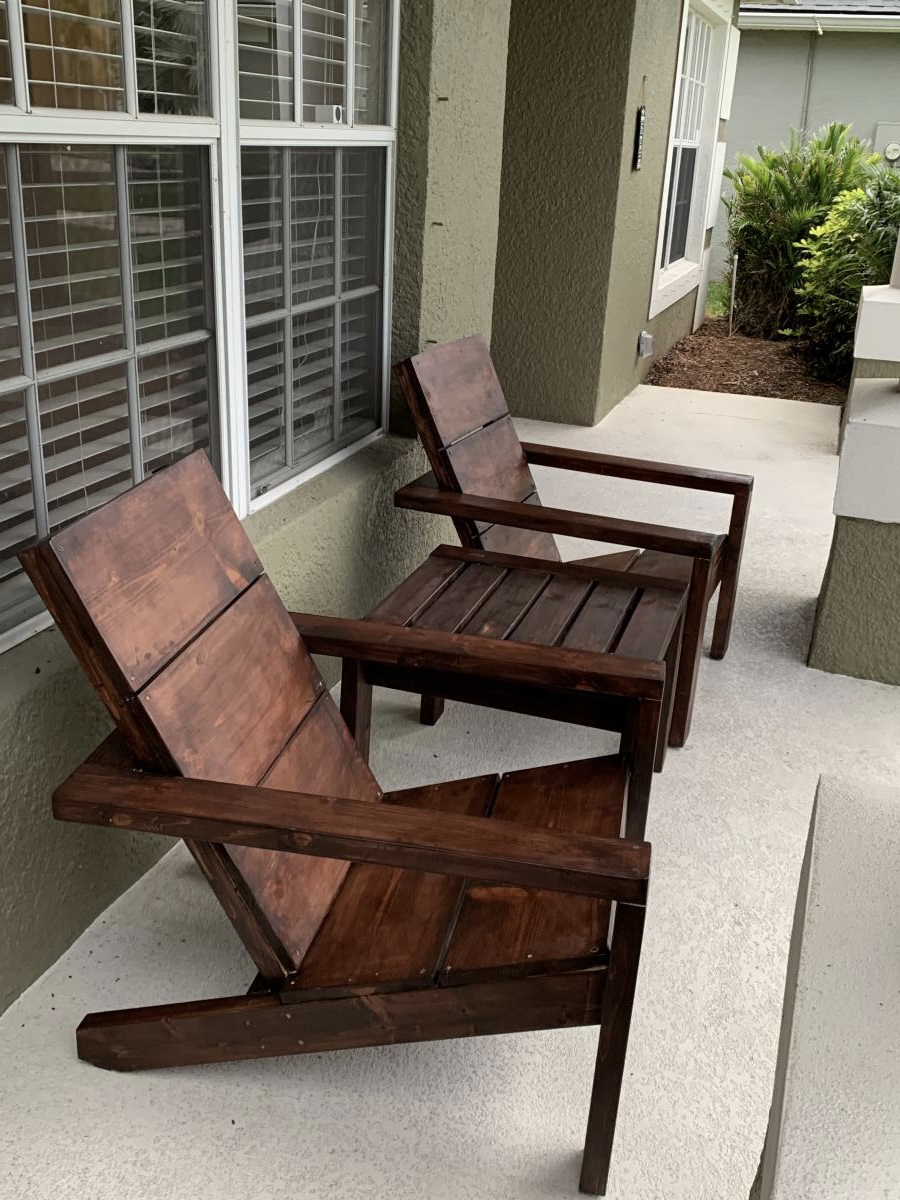
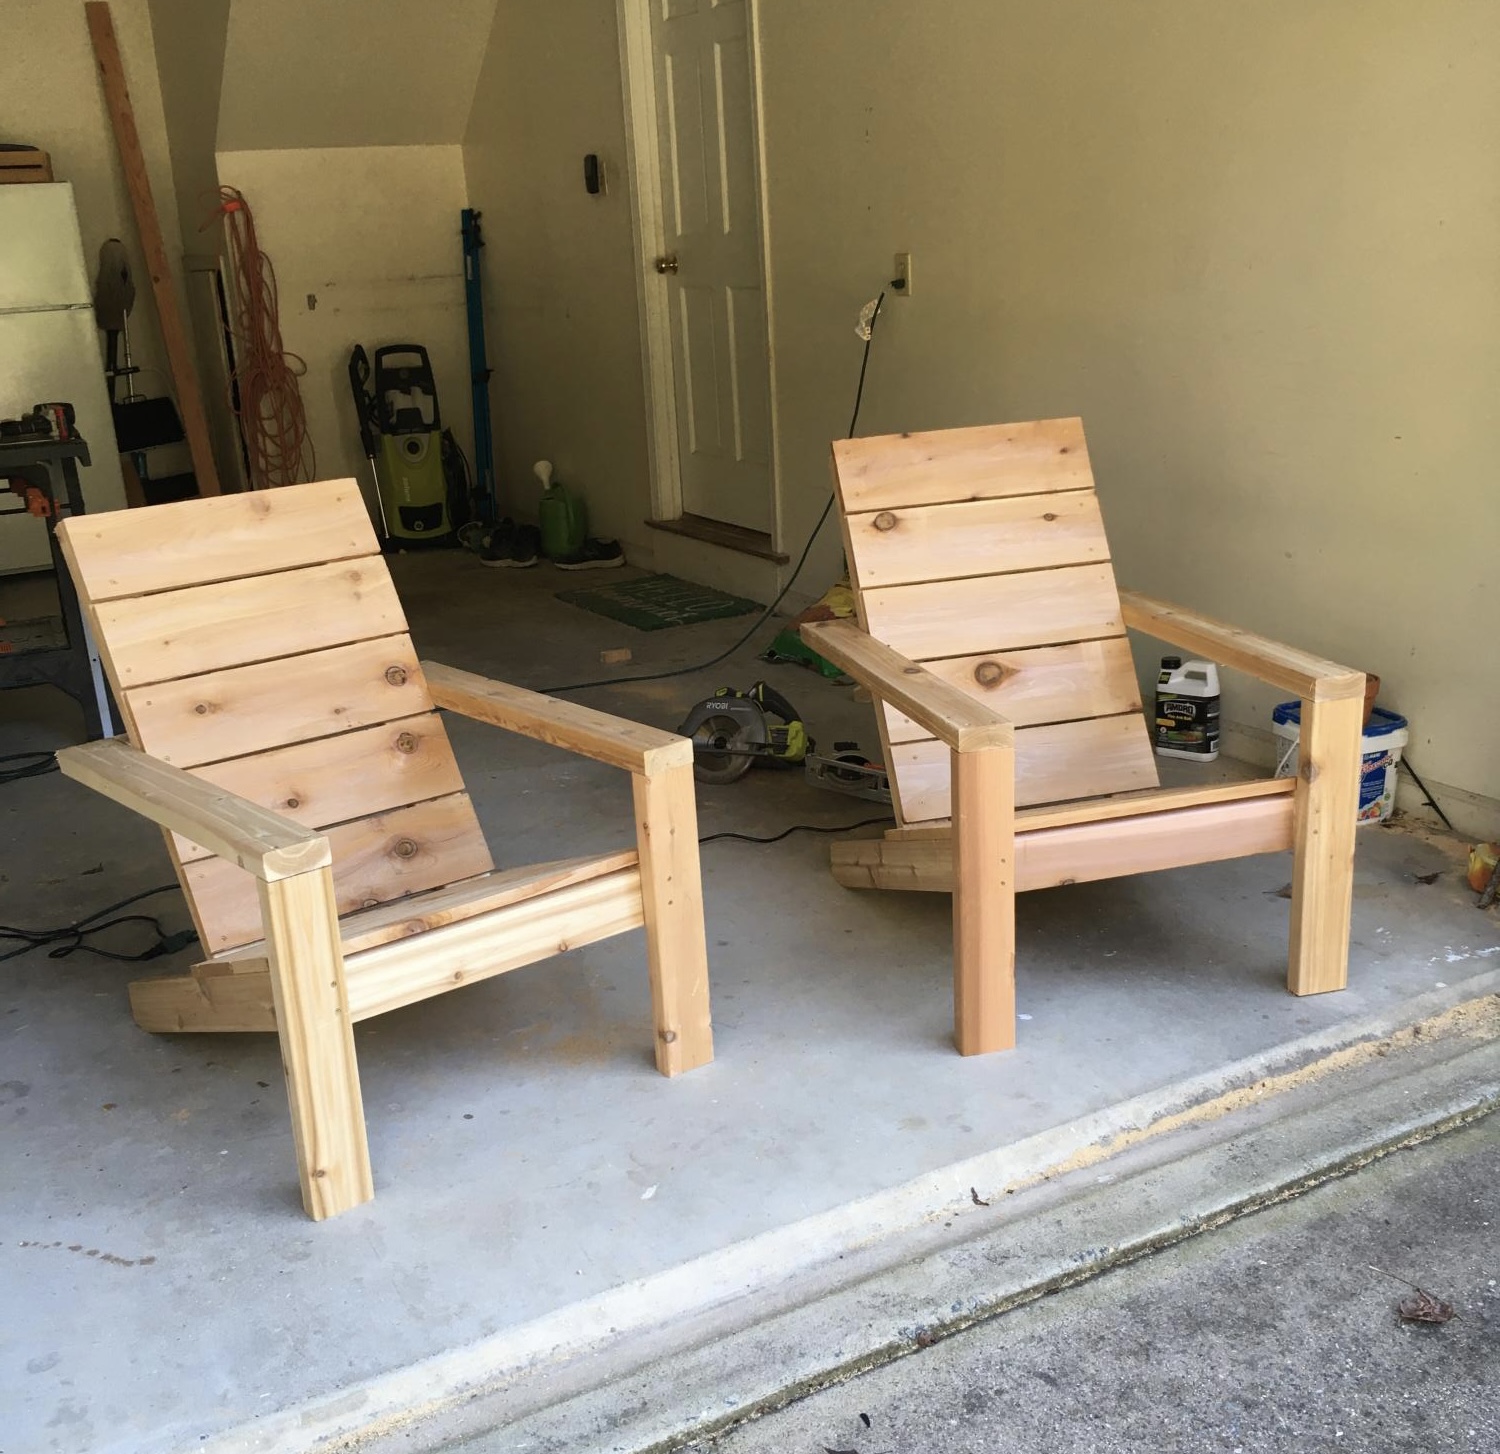
Thank you for continuing to inspire us! We made two couches a couple of months ago. Great plans!

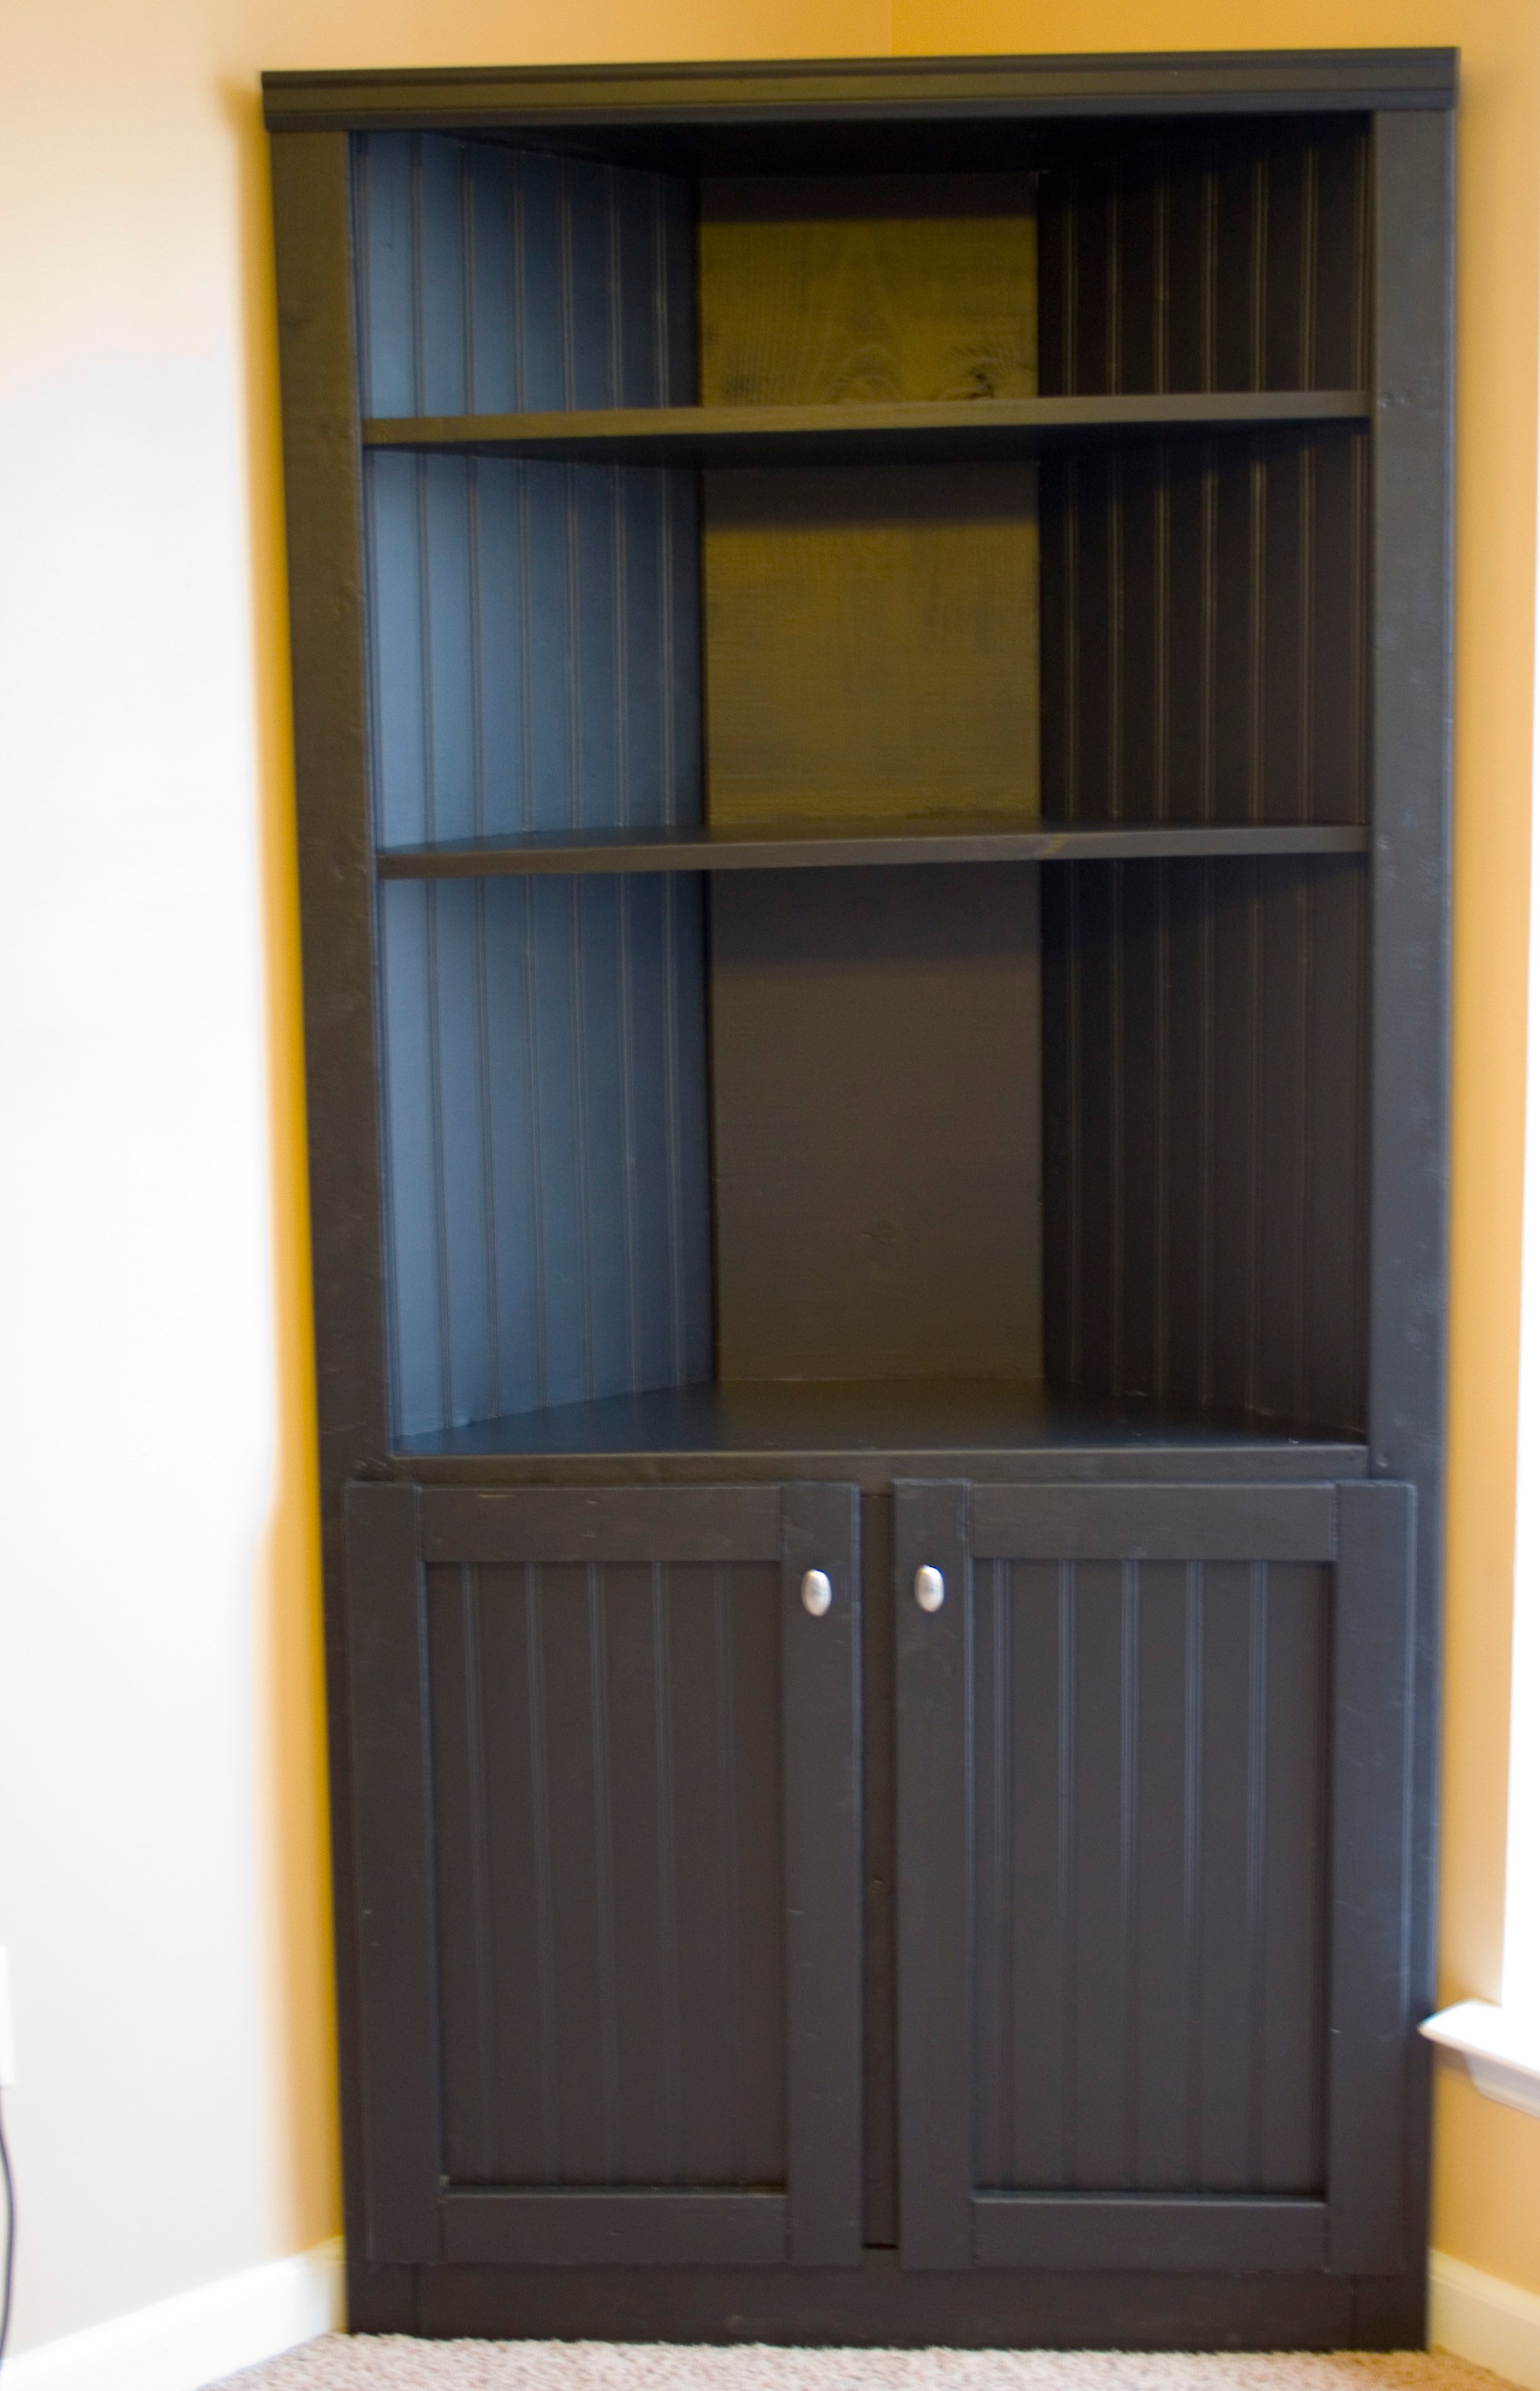
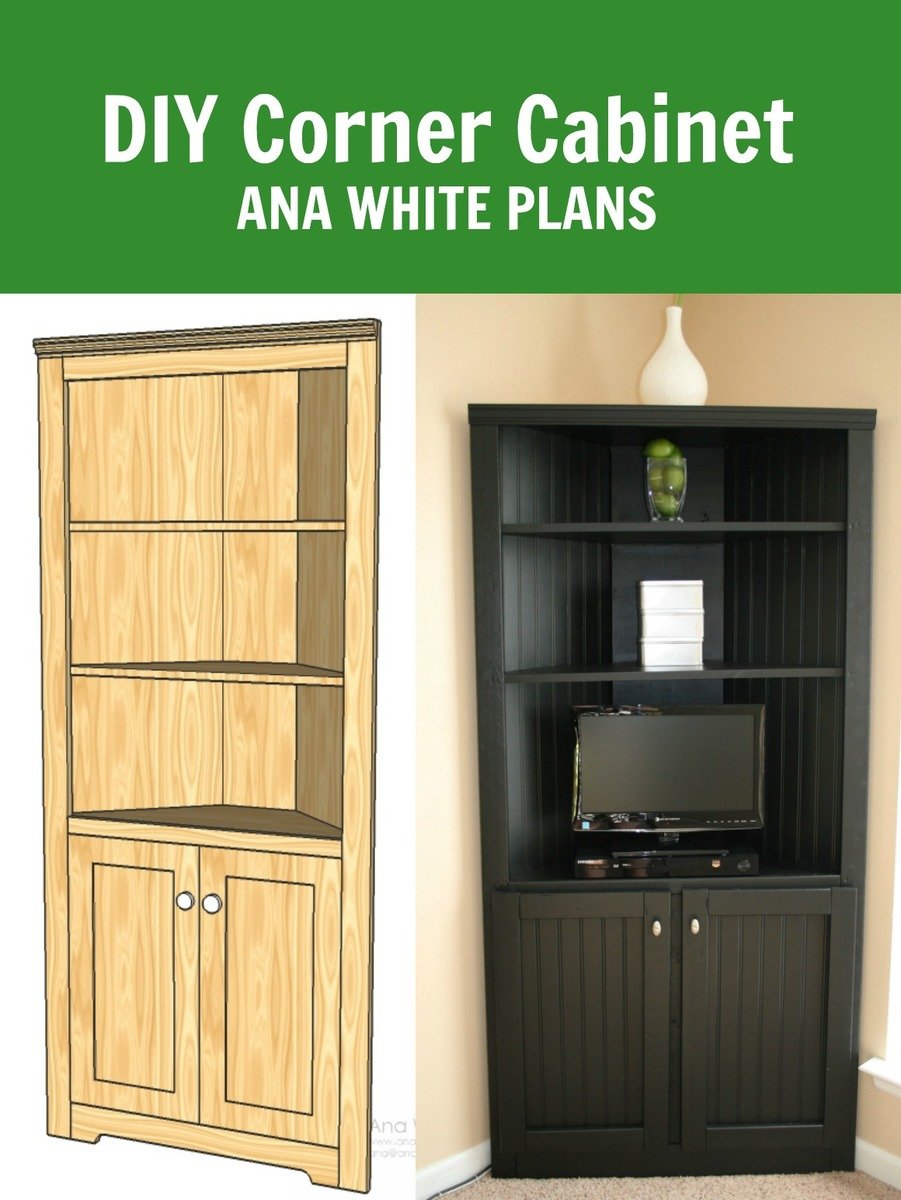
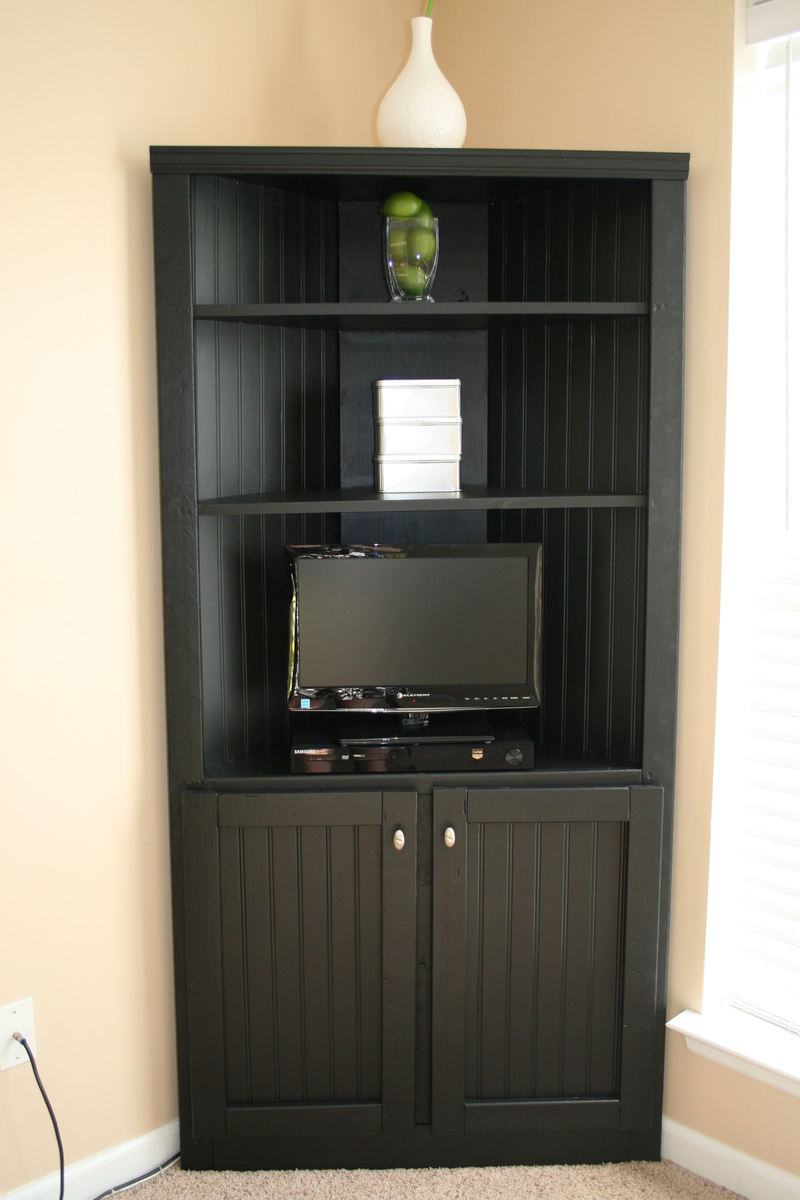
Built from Plan(s)
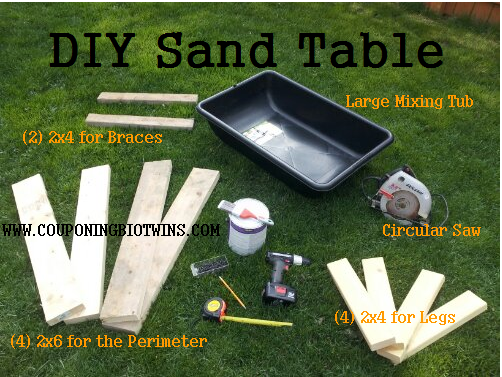
Estimated Cost
Box of screws!
Estimated Time Investment
Afternoon Project (3-6 Hours)
Finish Used
Potting bench.
Recommended Skill Level
Intermediate