Rolling Bar Carts - A first woodworking project!
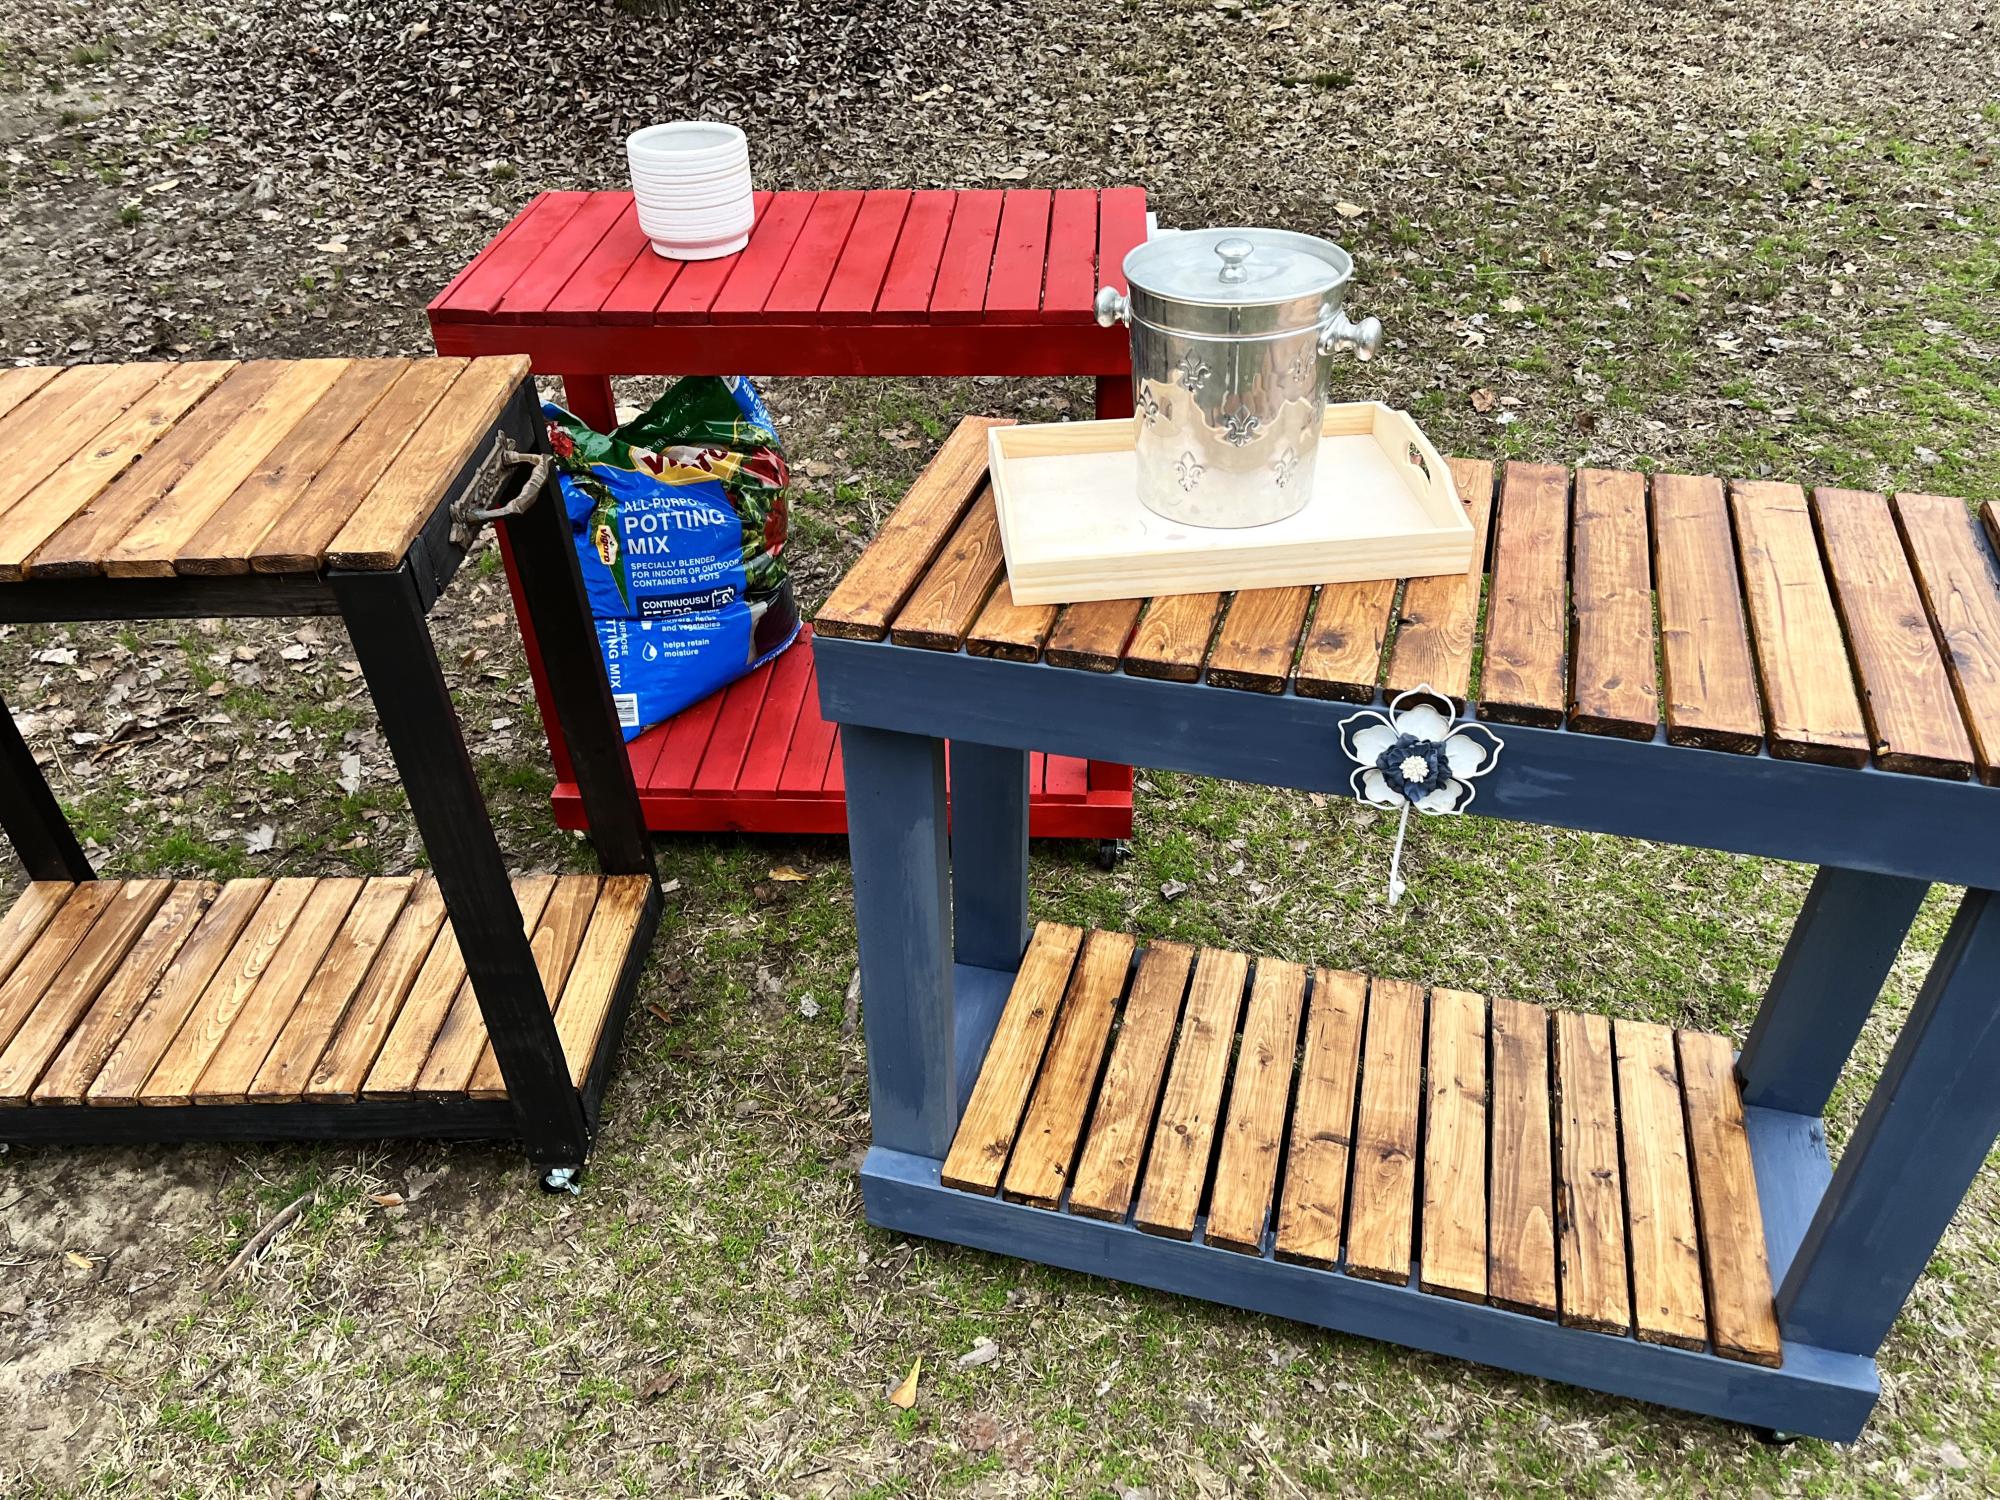
My first build was the rolling bar cart. It took 3 to work out my kinks but I love them!
Cerissa Neal

Built from Plan(s)
Seasonal And Holiday
My first build was the rolling bar cart. It took 3 to work out my kinks but I love them!
Cerissa Neal

Seen these plans a couple years ago and finally have gotten around to making a set. This was a fun and really easy to follow set of instructions and I think they turned out really nice.
Jeff, with LaBrie Family Woodworking LLC
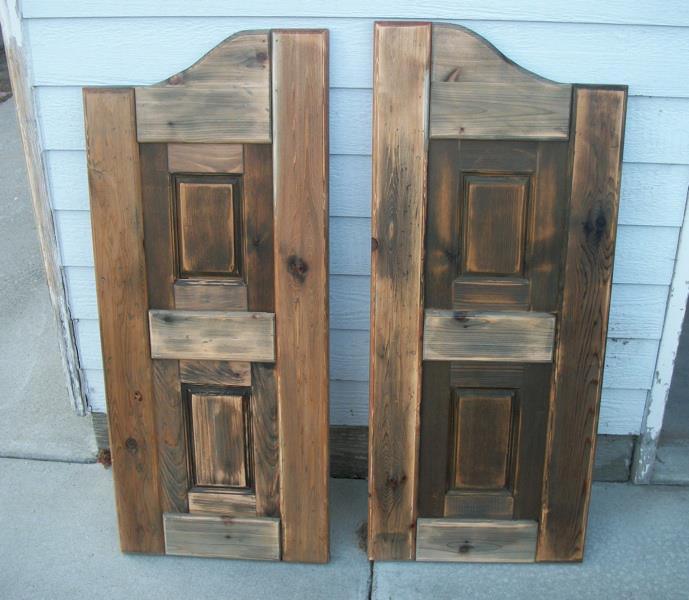
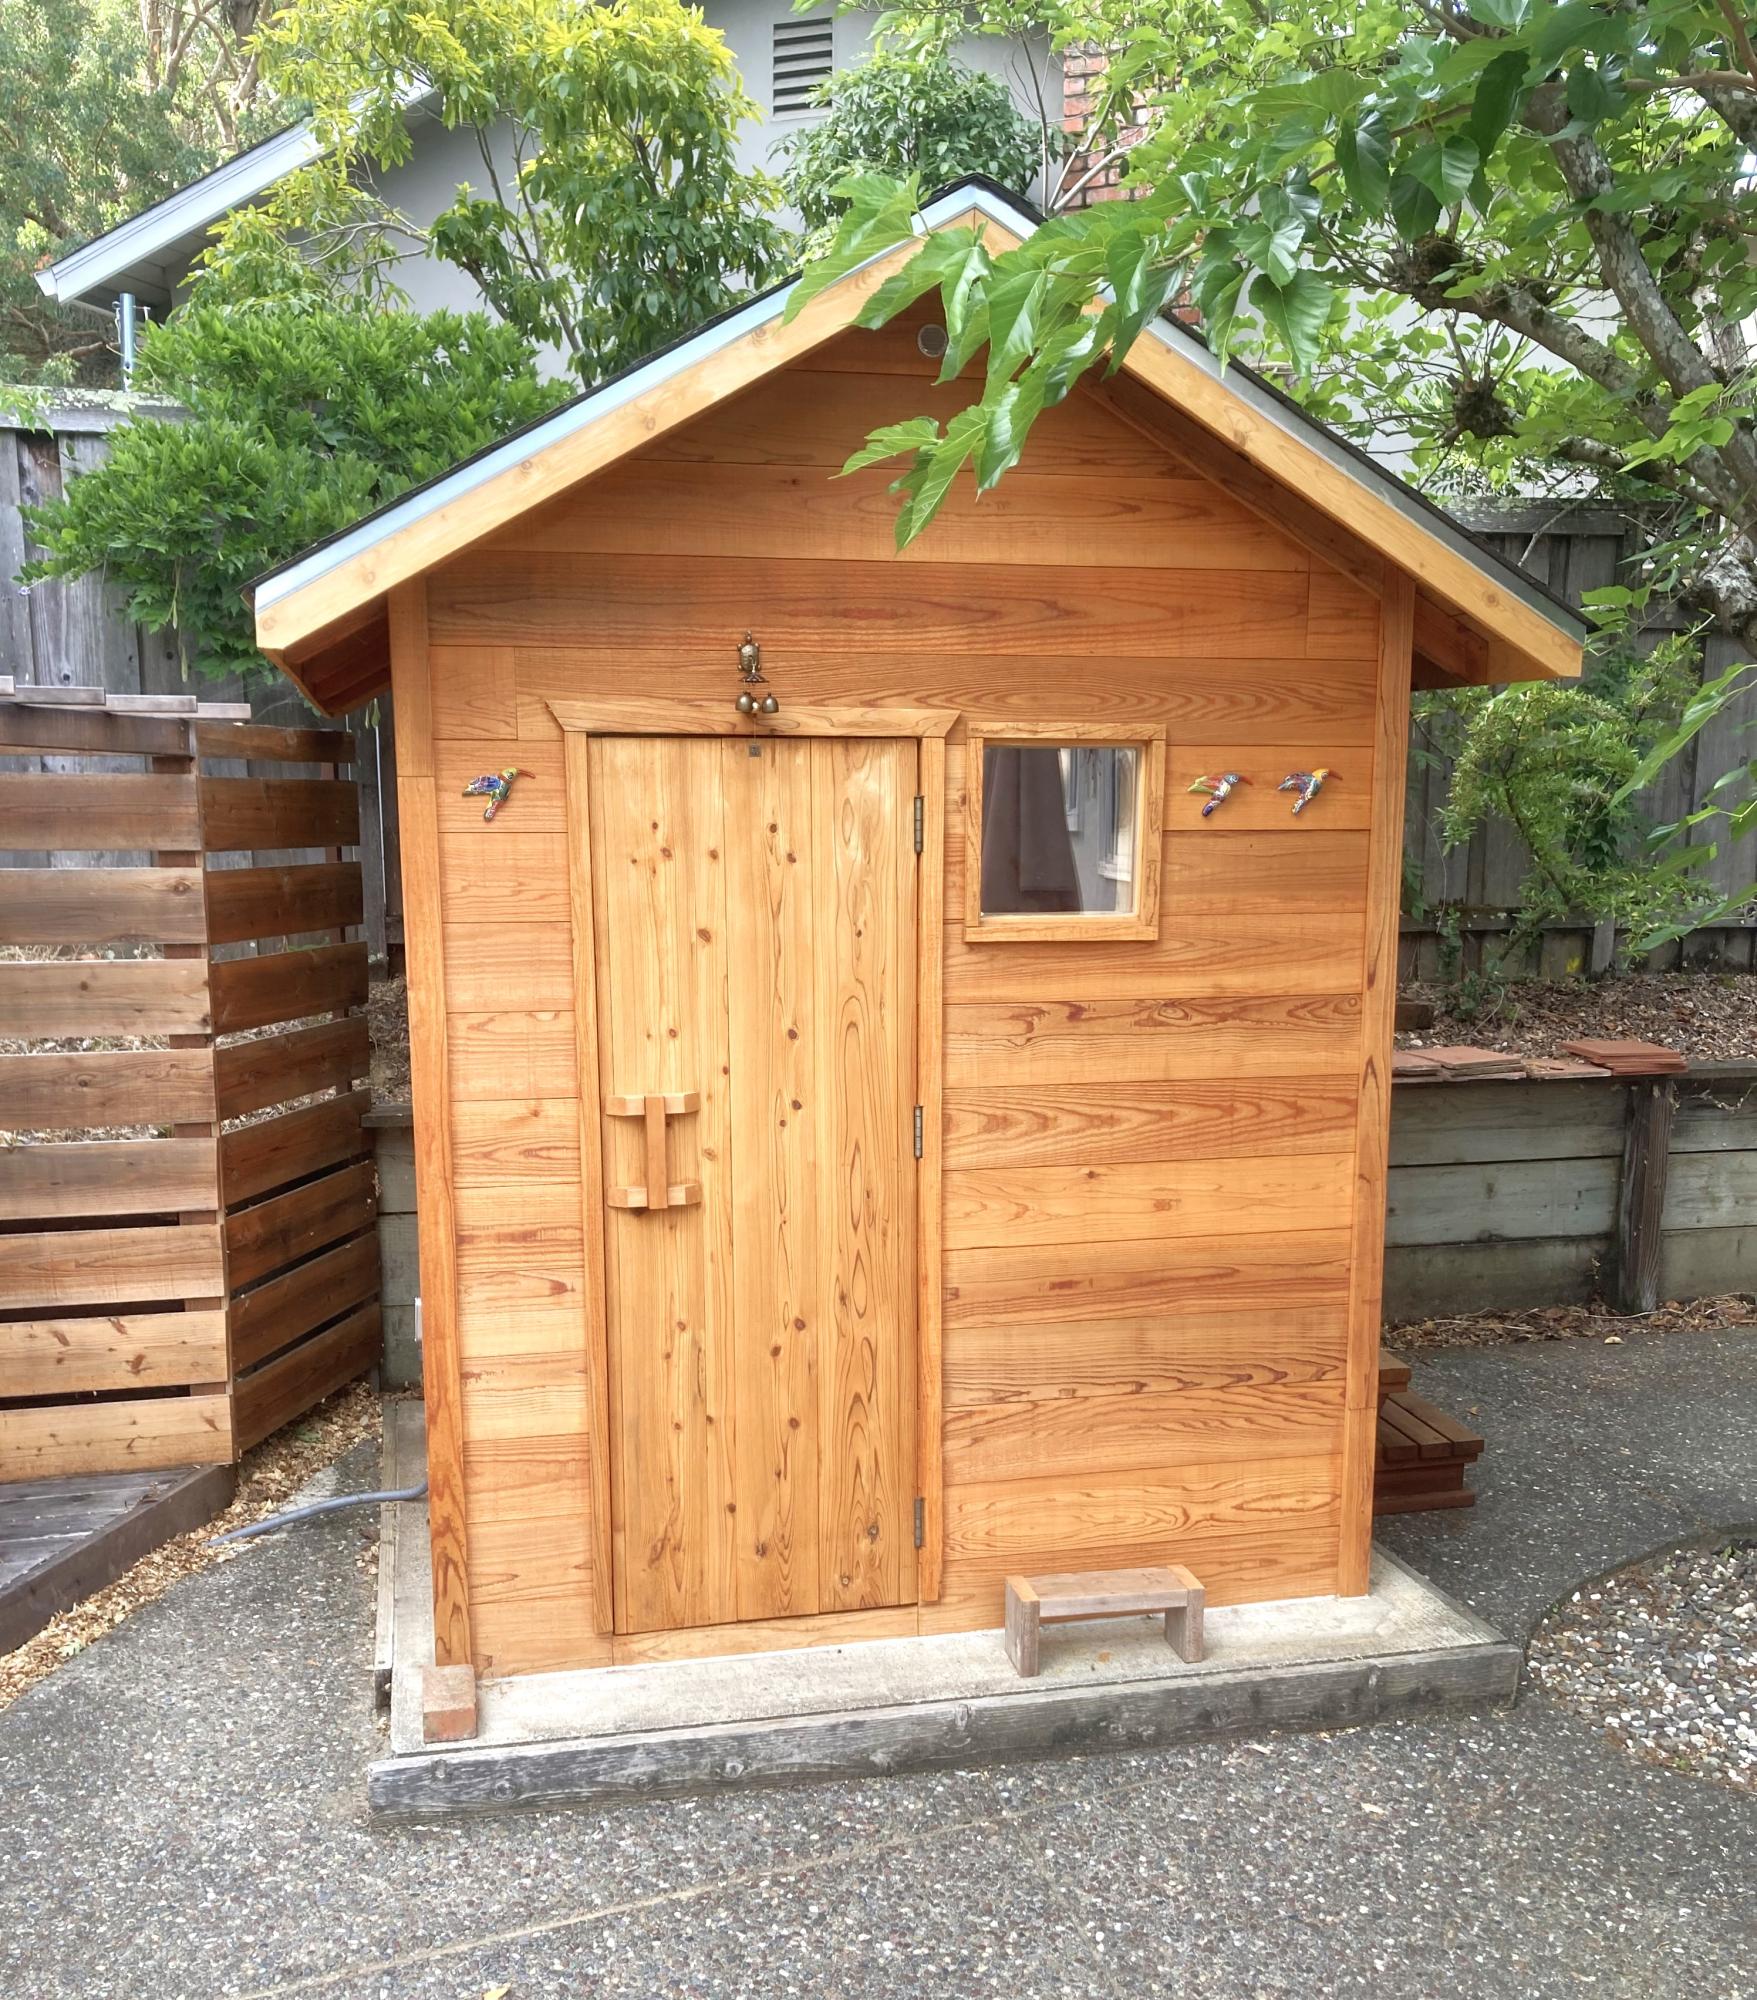
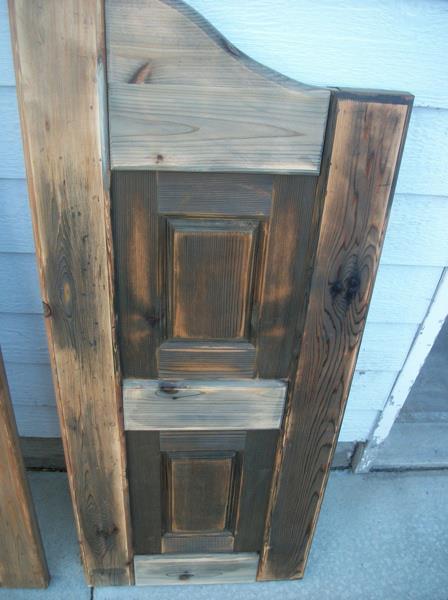
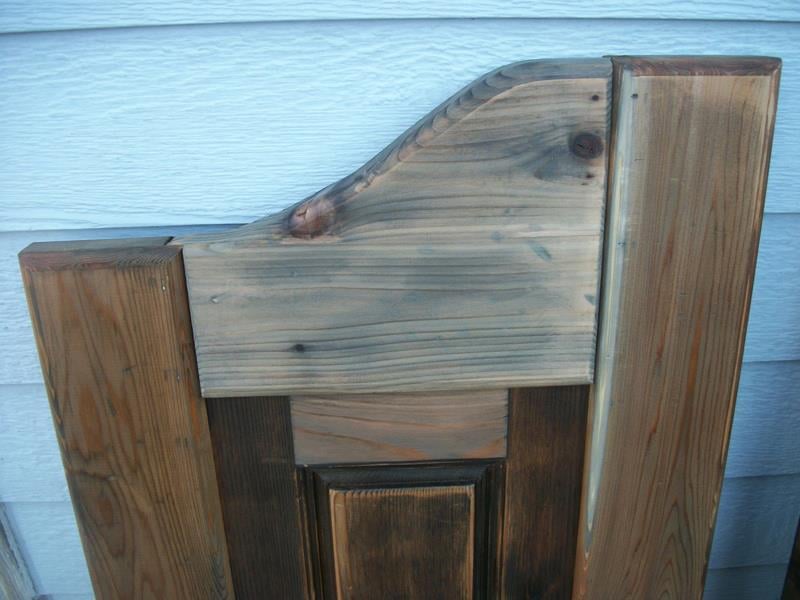
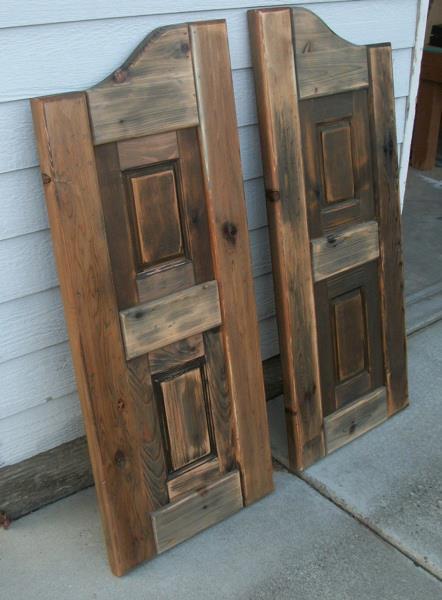
I built these doors for a very good friend of mine who actually helped me get started turning my new love for building (after finding Ana's site) into a way for our family to make some extra money.
It took me a little while to wrap my brain around building something without using my Kreg Jig. I used a router table set up with some raised panels bits and put the whole thing together with glue and nails! Wonderful experience!
For the finish, I used a vinegar solution to give the cedar wood an old barn look. I think the final result turned out great and the final step was a clear coat sprayed on out of a rattle can.


Thu, 08/02/2012 - 10:51
These turned out great! I haven't seen this style of door in forever! They used to be really popular, I remember my Aunt and Uncle having these in the entry to their kitchen. They were the coolest thing ever when I was a kid! Maybe they are a making a comeback?
I'm really impressed with your routing skills, that's a task I have yet to tackle, but I've got the bits laying around waiting.
Nice job!

Thu, 08/02/2012 - 21:10
Thanks a bunch! My friend is replacing an old set of louvered doors that went into her laundry room. Her family are farmers and rodeo people so the western decor really fits in their house. Great western stuff there. They made a chandelier out of a wagon wheel! Really cool!
This was my first attempt at routing so I really appreciate your compliment! It's really simple if you can get the basics of it. I'm sure you'll do just fine when you get to that point. If I can do it, anyone can do it! Thanks again!!
Mon, 01/23/2017 - 09:32
I really want to try and build this for a closet. Are there any instructions for this? This is the first door of this style that I have come across that I absolutely love.
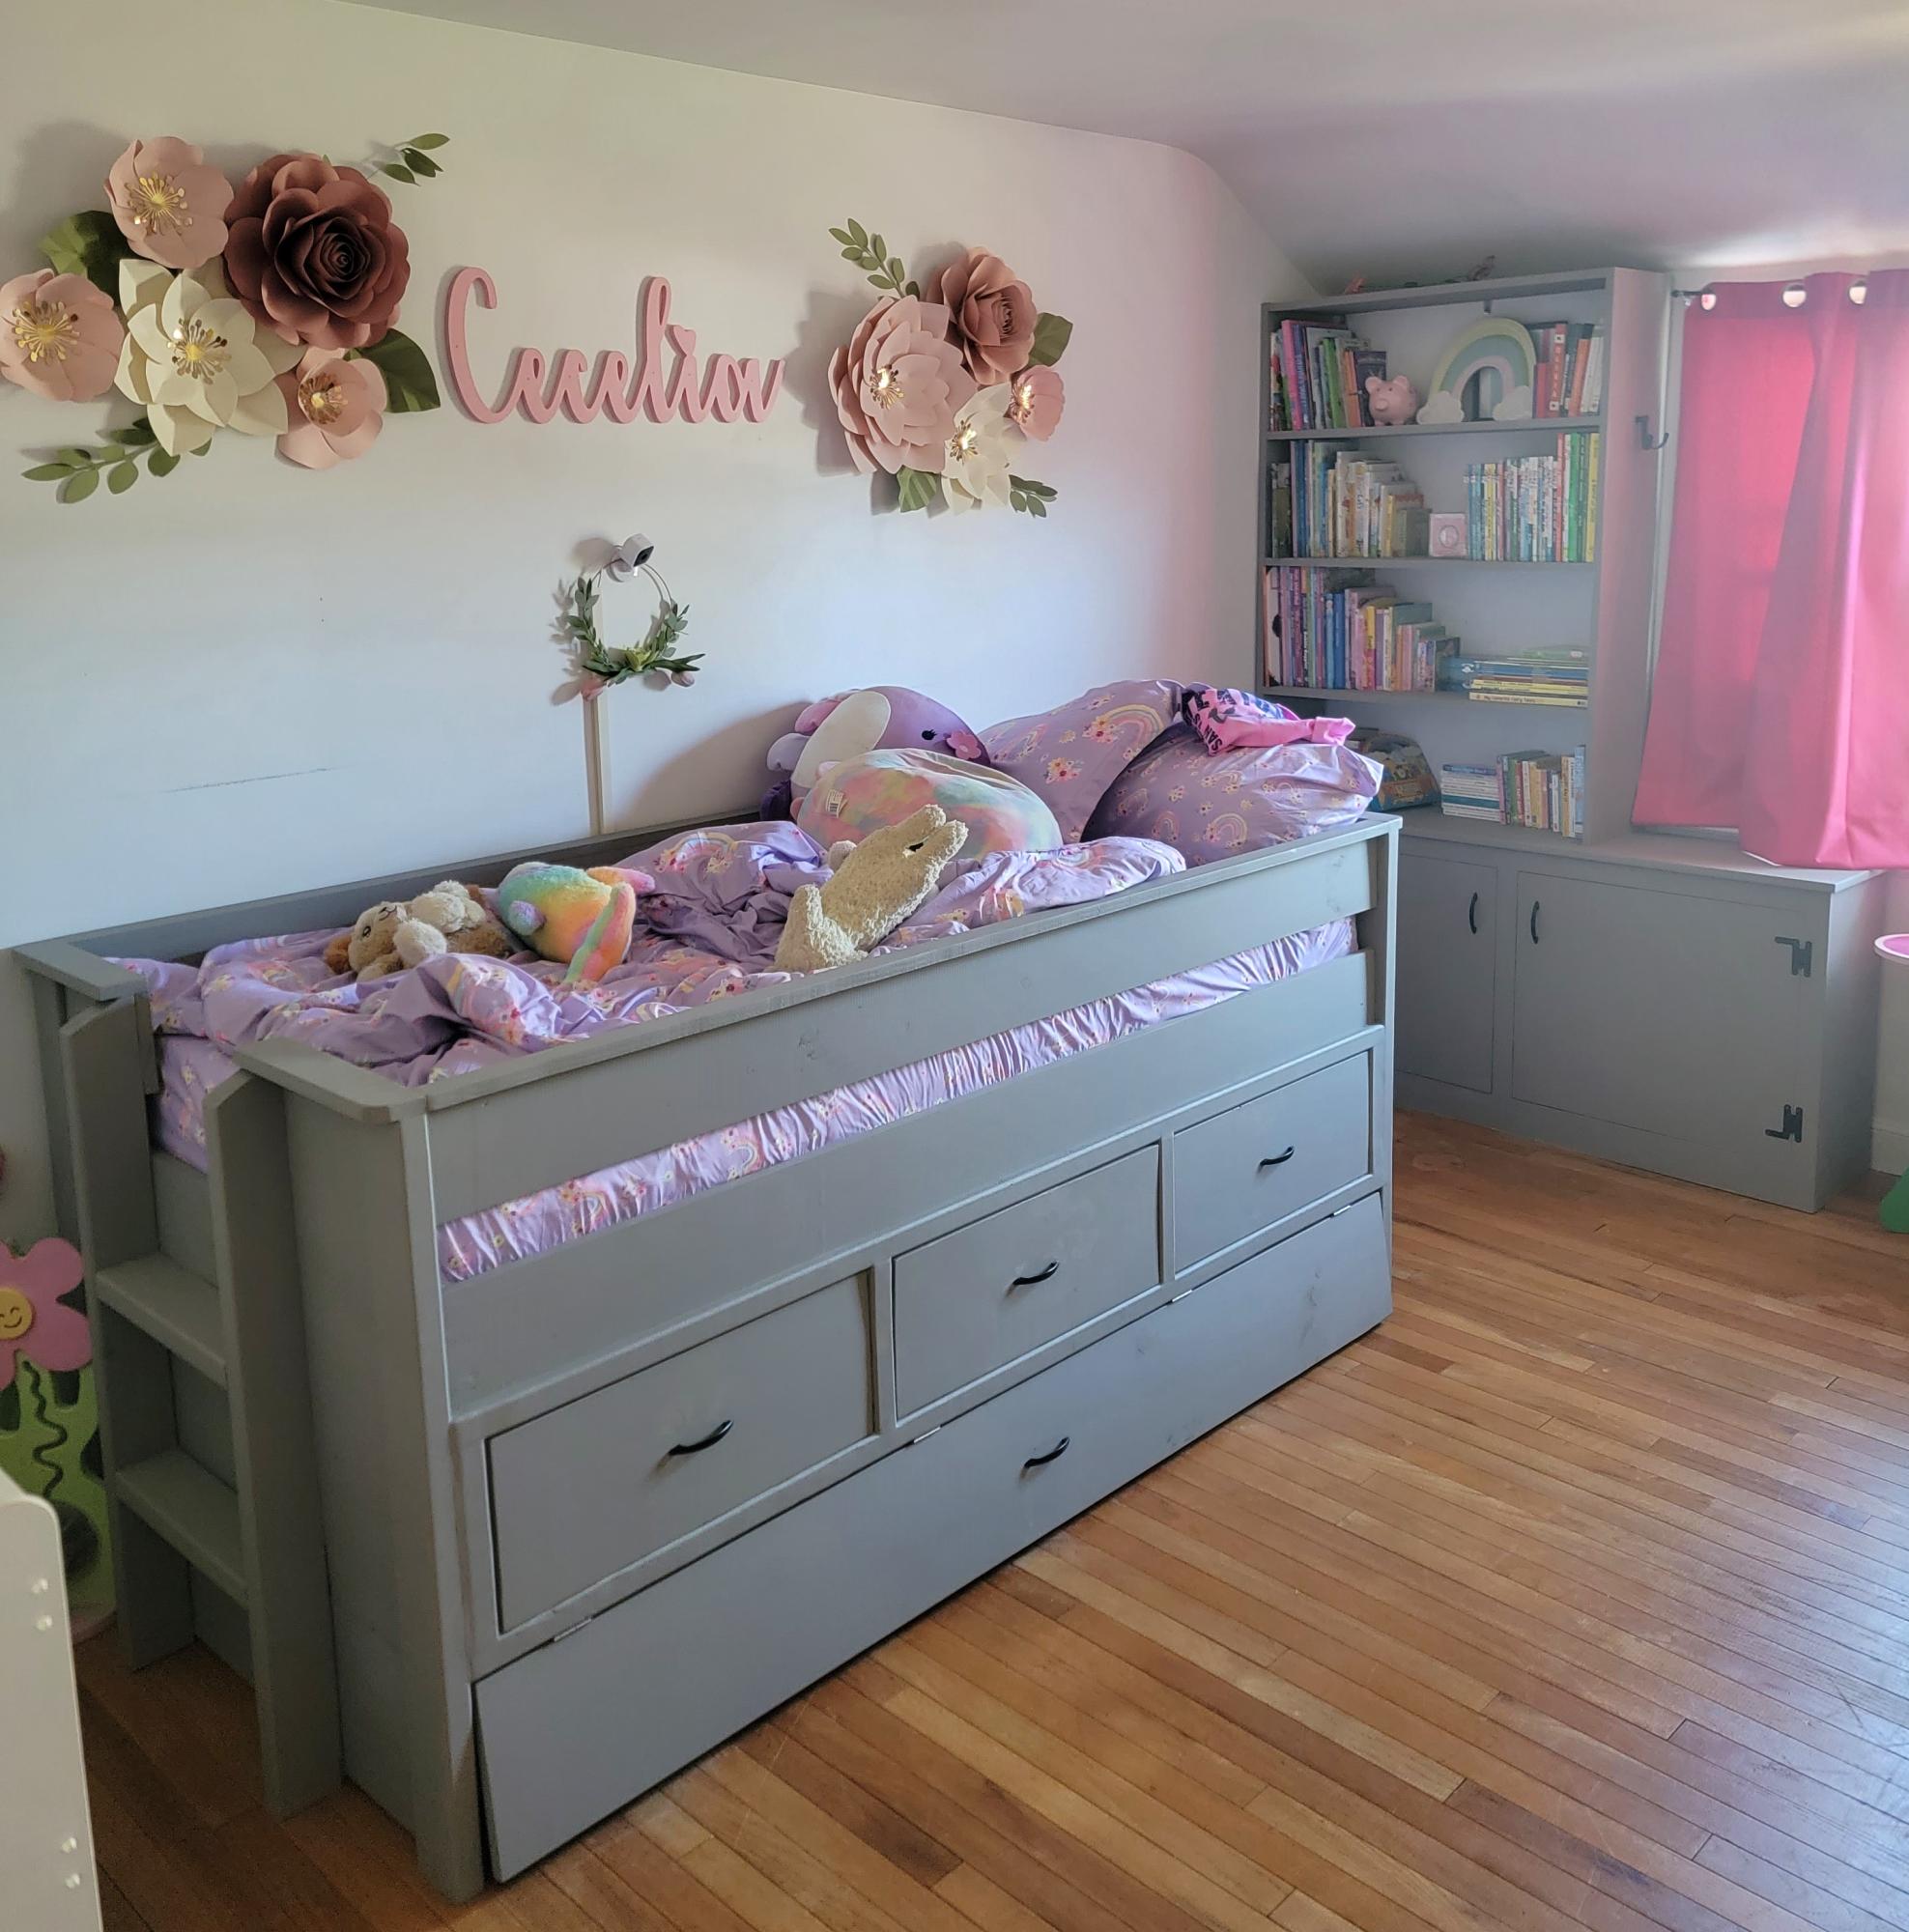
My wife and I were looking for a "Big Girl" bed for our 3yo. After searching online and in-person and coming up more disappointed each time, I found your website and plans for the captains bed with trundle and I knew it was something I could build! I've built 3 dining room tables with benches and other furniture before, and so I started getting materials together. I took a solid day to make sure my measurements were on point and a week later, we had the bed constructed. I couldn't stop there so I built a book shelf on top of an old cabinet we found to repurpose. Thank you for allowing us to share our projects with you!
Robert E. Lee King

Custom cedar raised gardens installed for a deck railing
Urban Wood Solutions


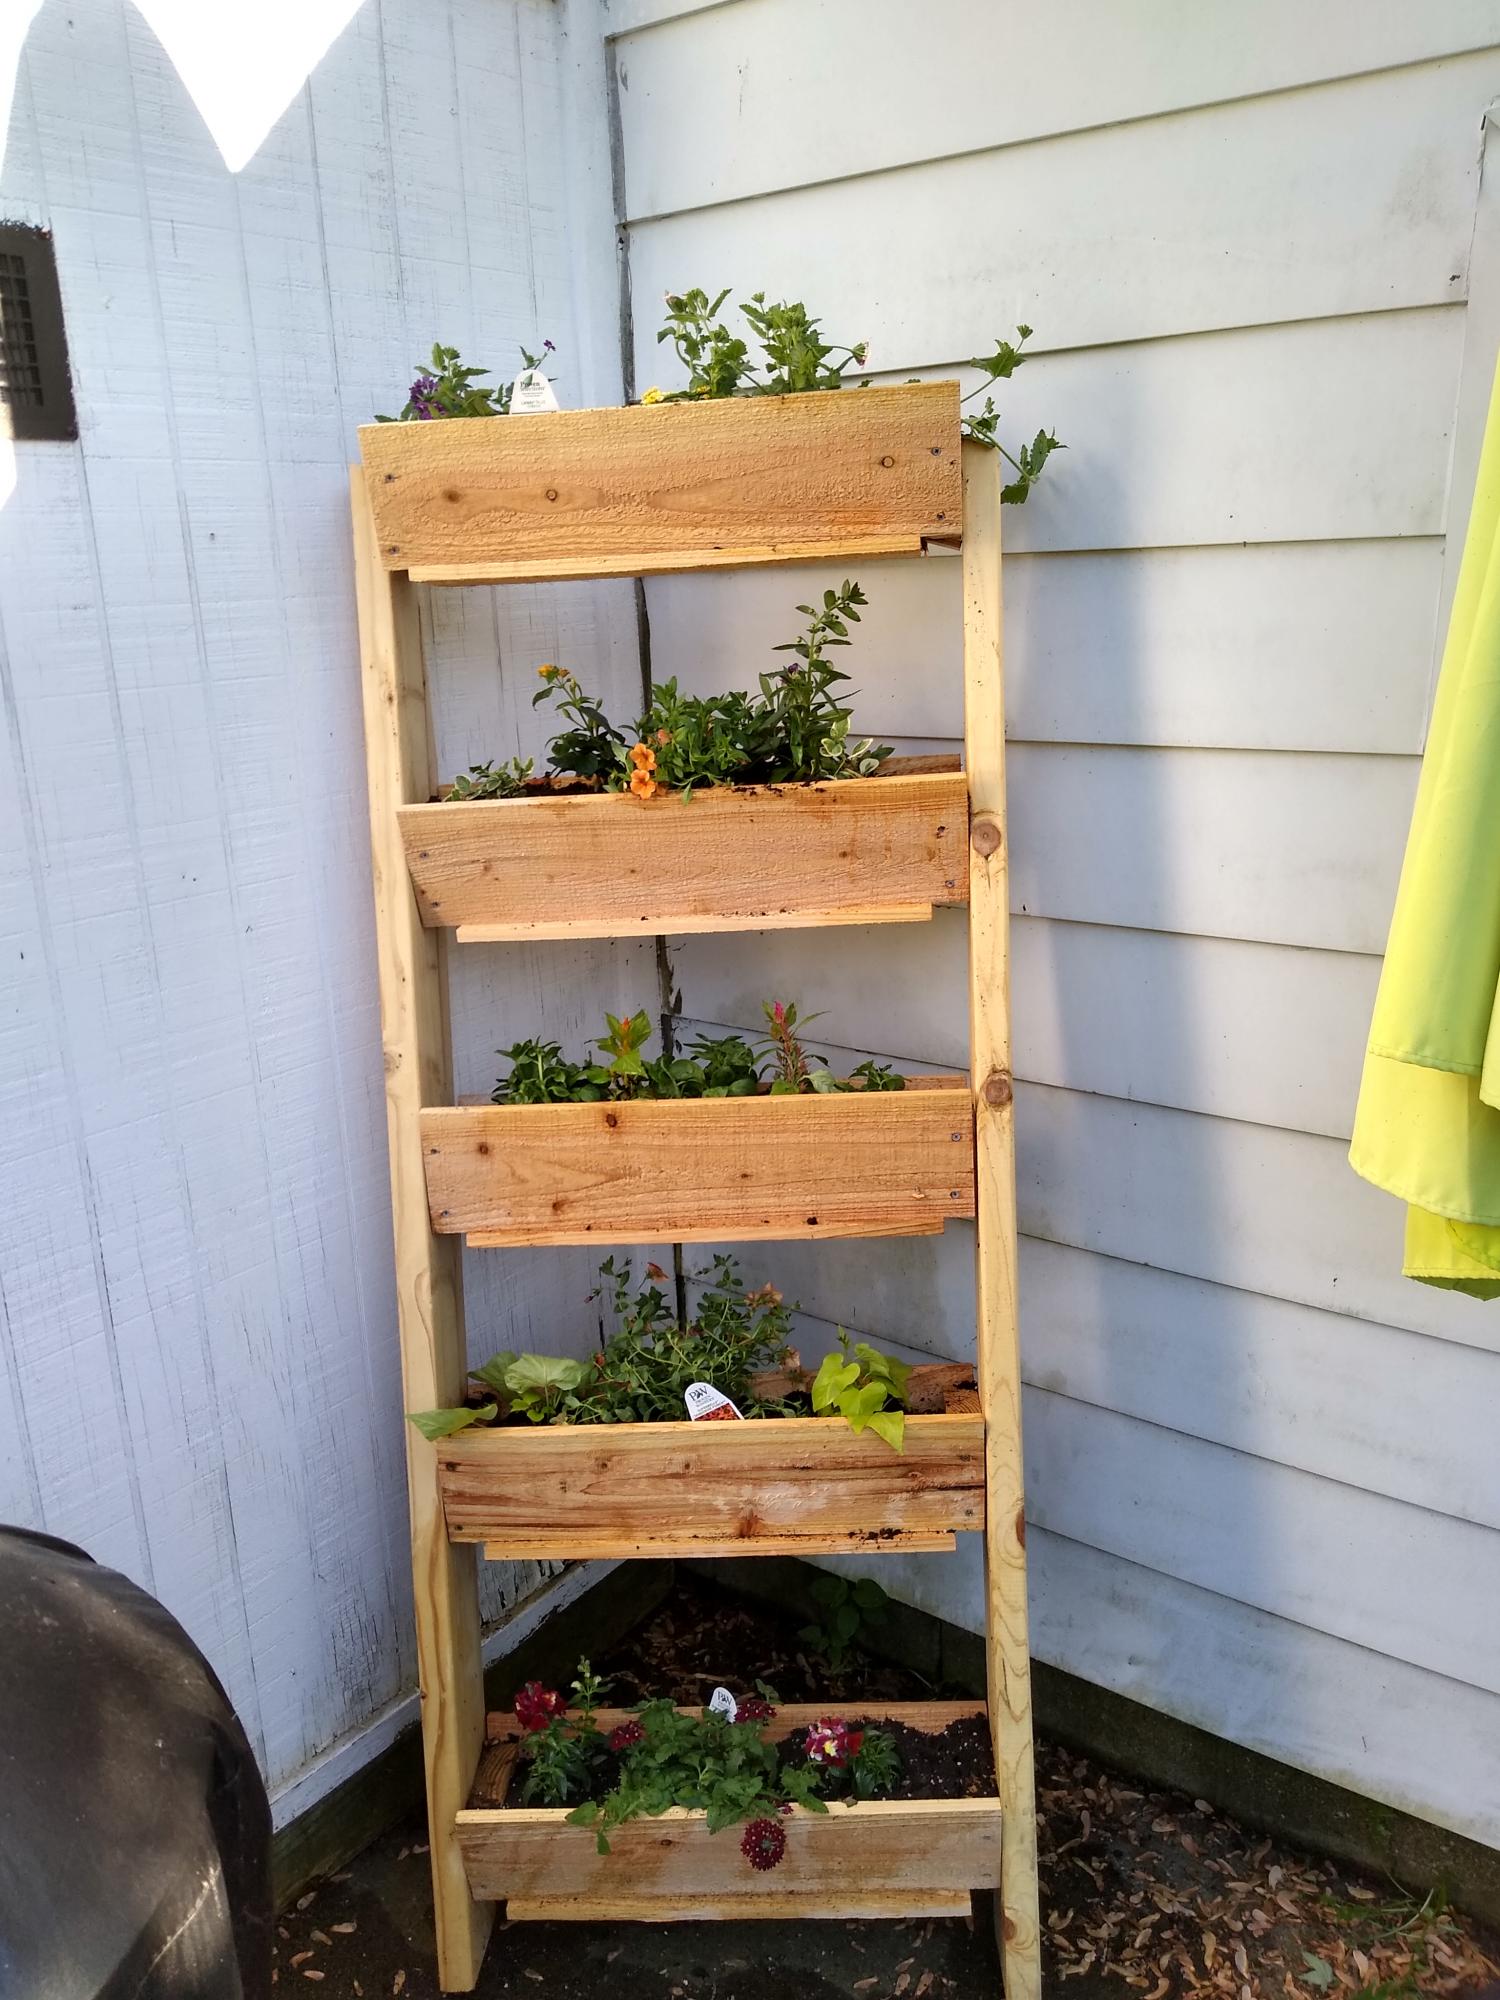
Flower box ! Easy to do.
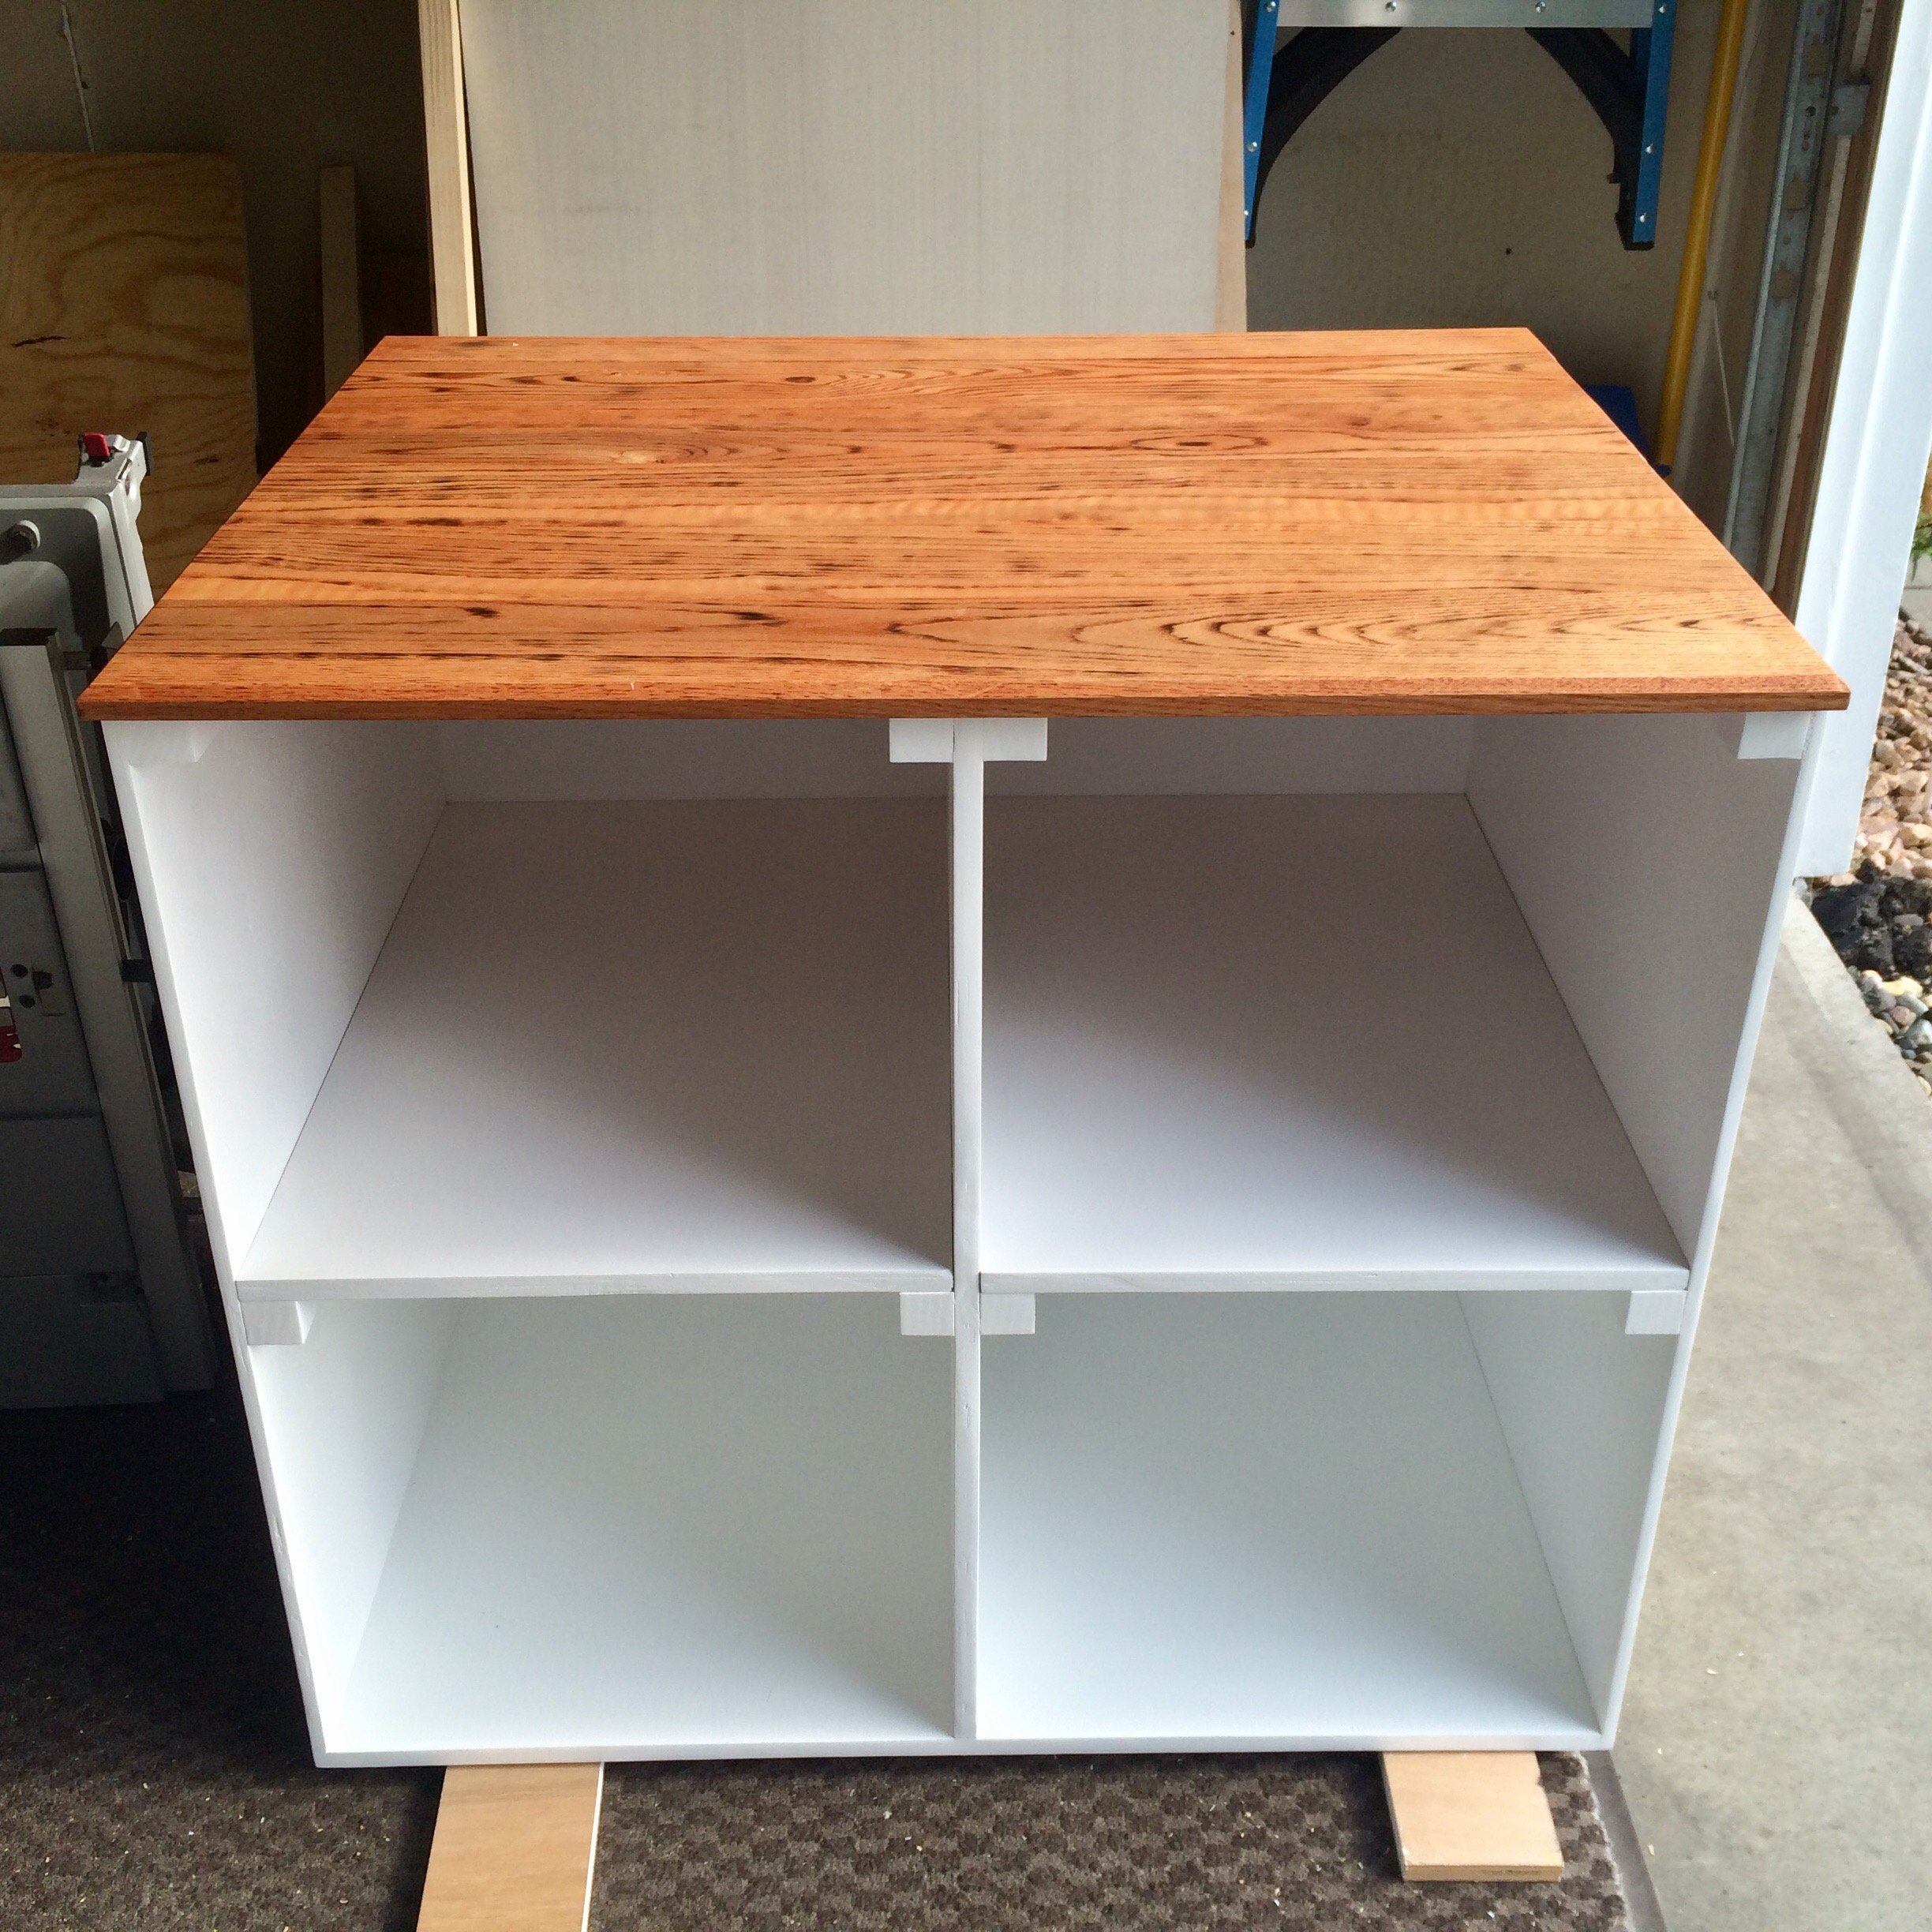
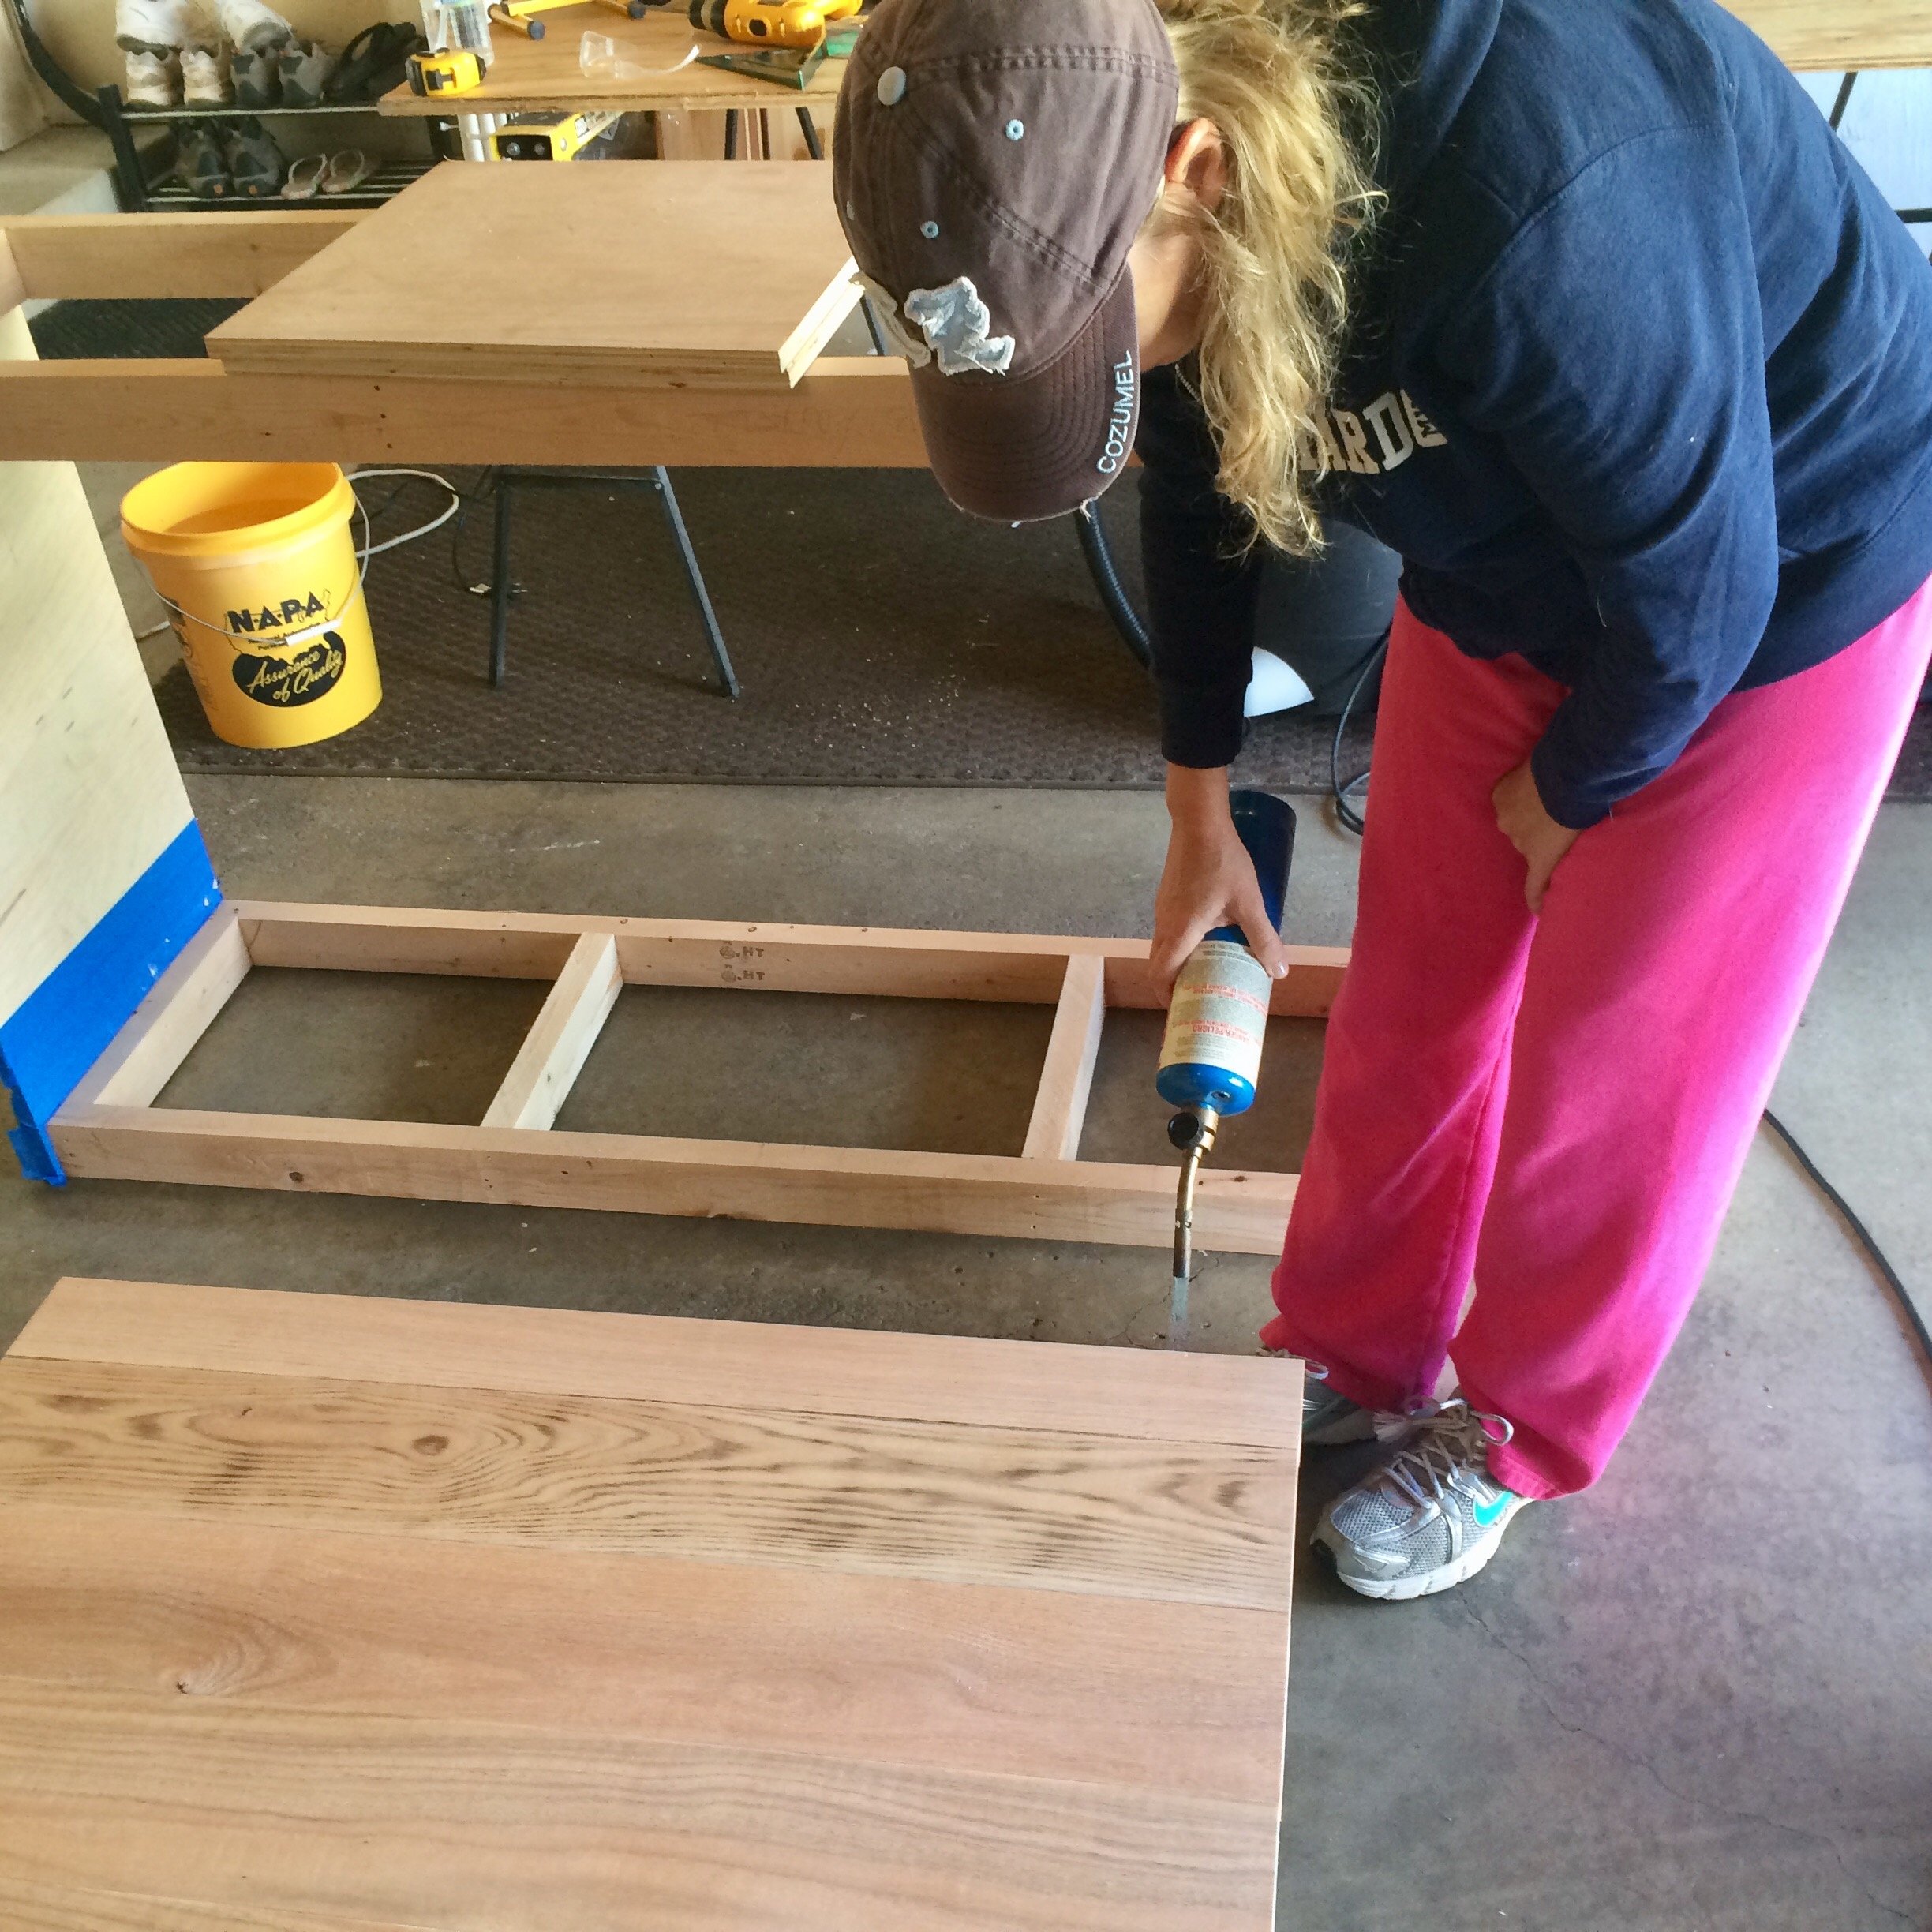
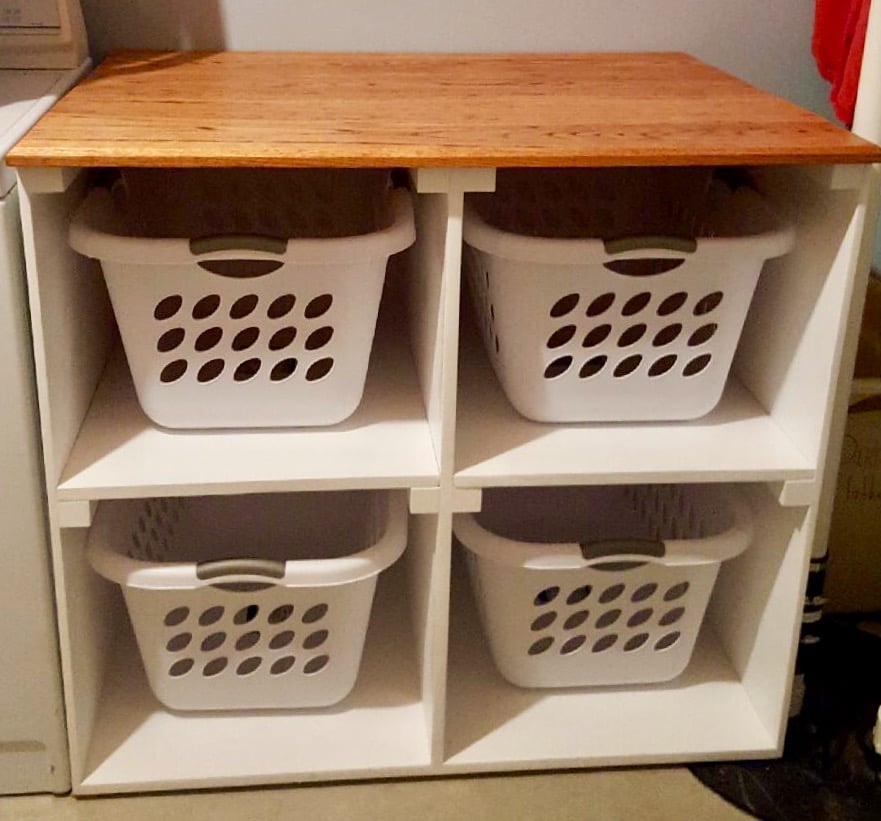
We modified this just for more stability around little ones. I also torched the Oak top so the grain would be more prominent and routered the edge.
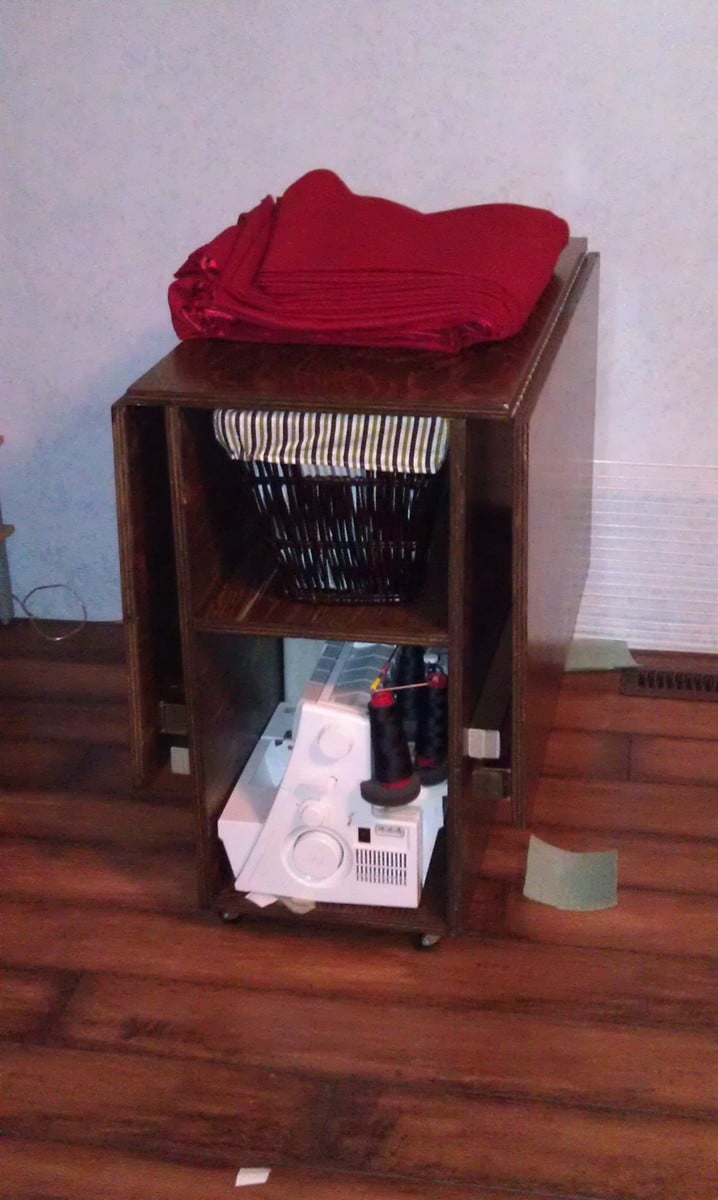
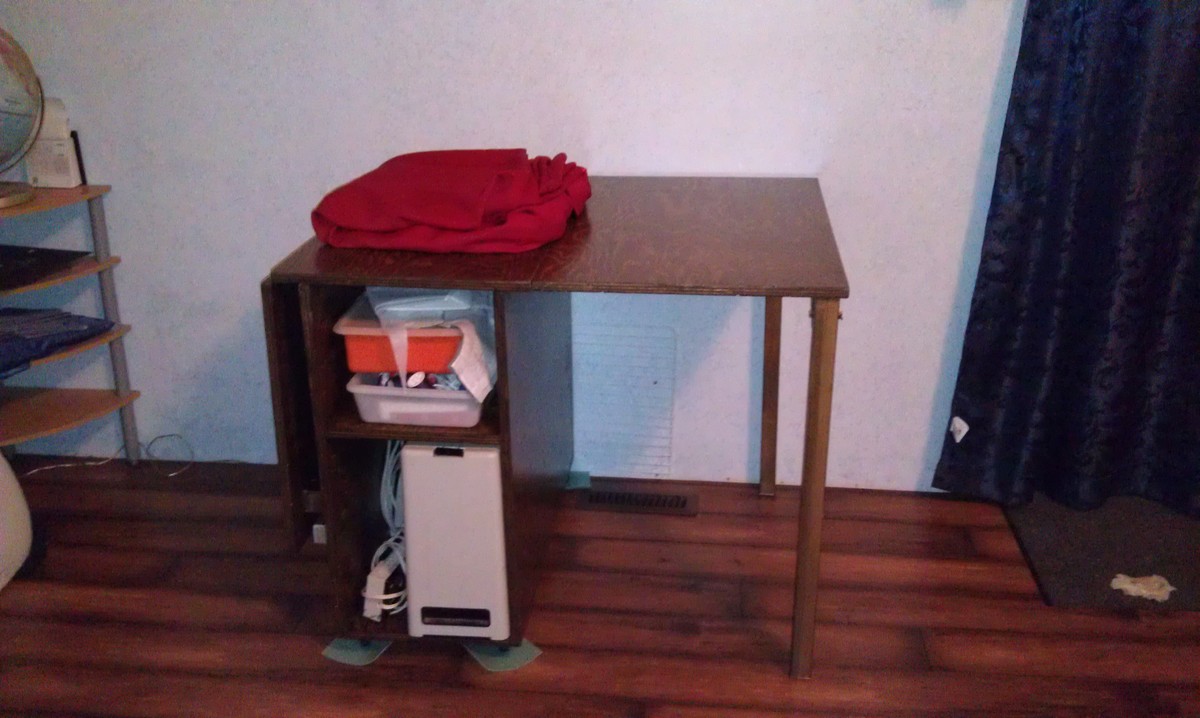
I made this sewing table using Ana Whites Sewing table for small spaces plan. I used 3/4" fir plywood.
I did however make changes to use continuous hinges (aka piano hinges) and upgraded the legs to 2x2's. I used folding leg brackets from Lee Valley Tools found here: http://www.leevalley.com/en/hardware/page.aspx?p=40035&cat=3,41306,41309
It's finished with a dark walnut stain, and three coats of water based varathane. All told this project took about a week. I had the pieces cut for me by the lumberyard, but they still required sanding before assembly. Then assembly took another afternoon. Staining & finishing took the longest, probably 3 days, since I could only work on it in the late afternoon - evening.
Approximate Costs:
$30.00 Hinges, screws, & 2x2's for legs, paint brush
$20.00 Stain & Finish (some savings here as I had some leftover from another project)
$30.00 Folding leg brackets
$50.00 Lumber Costs (this can vary wildly depending on your wood selection)
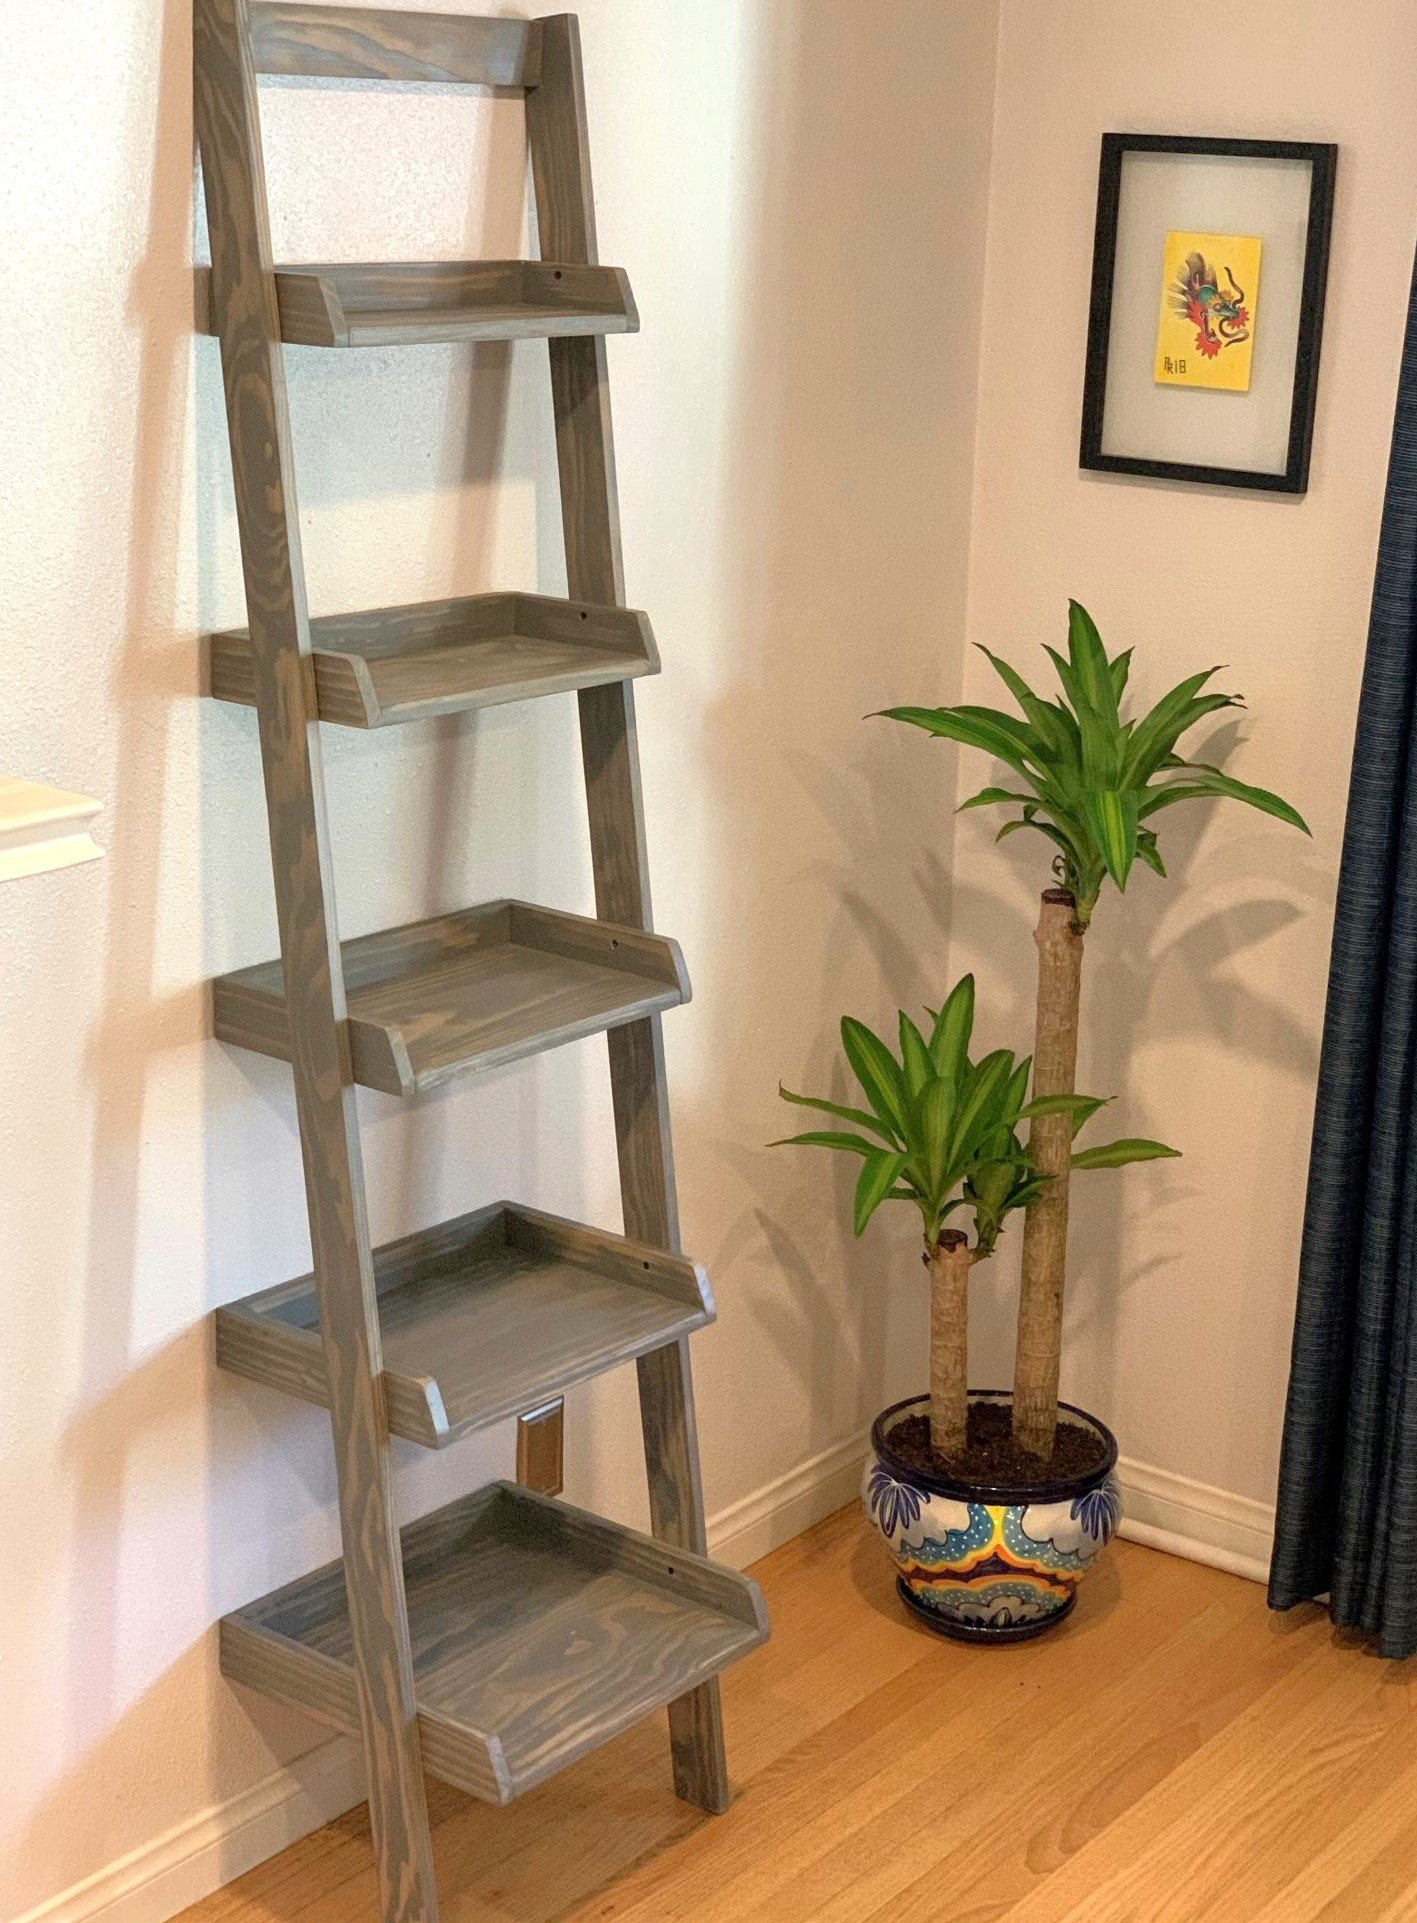
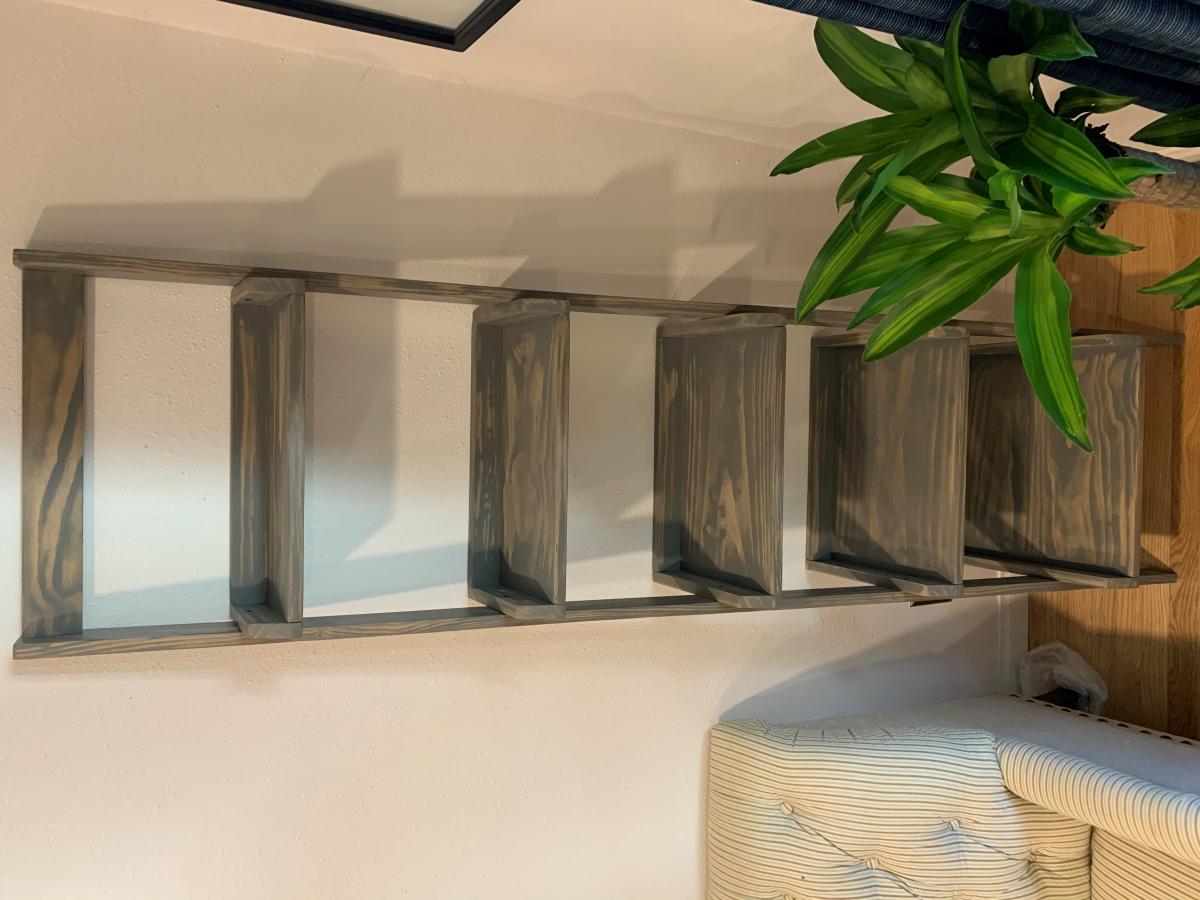
Another one bites the dust. Made this out of Ana instructions for a ladder shelf. Like the way this turned out alot. Ana White knows whats up :)
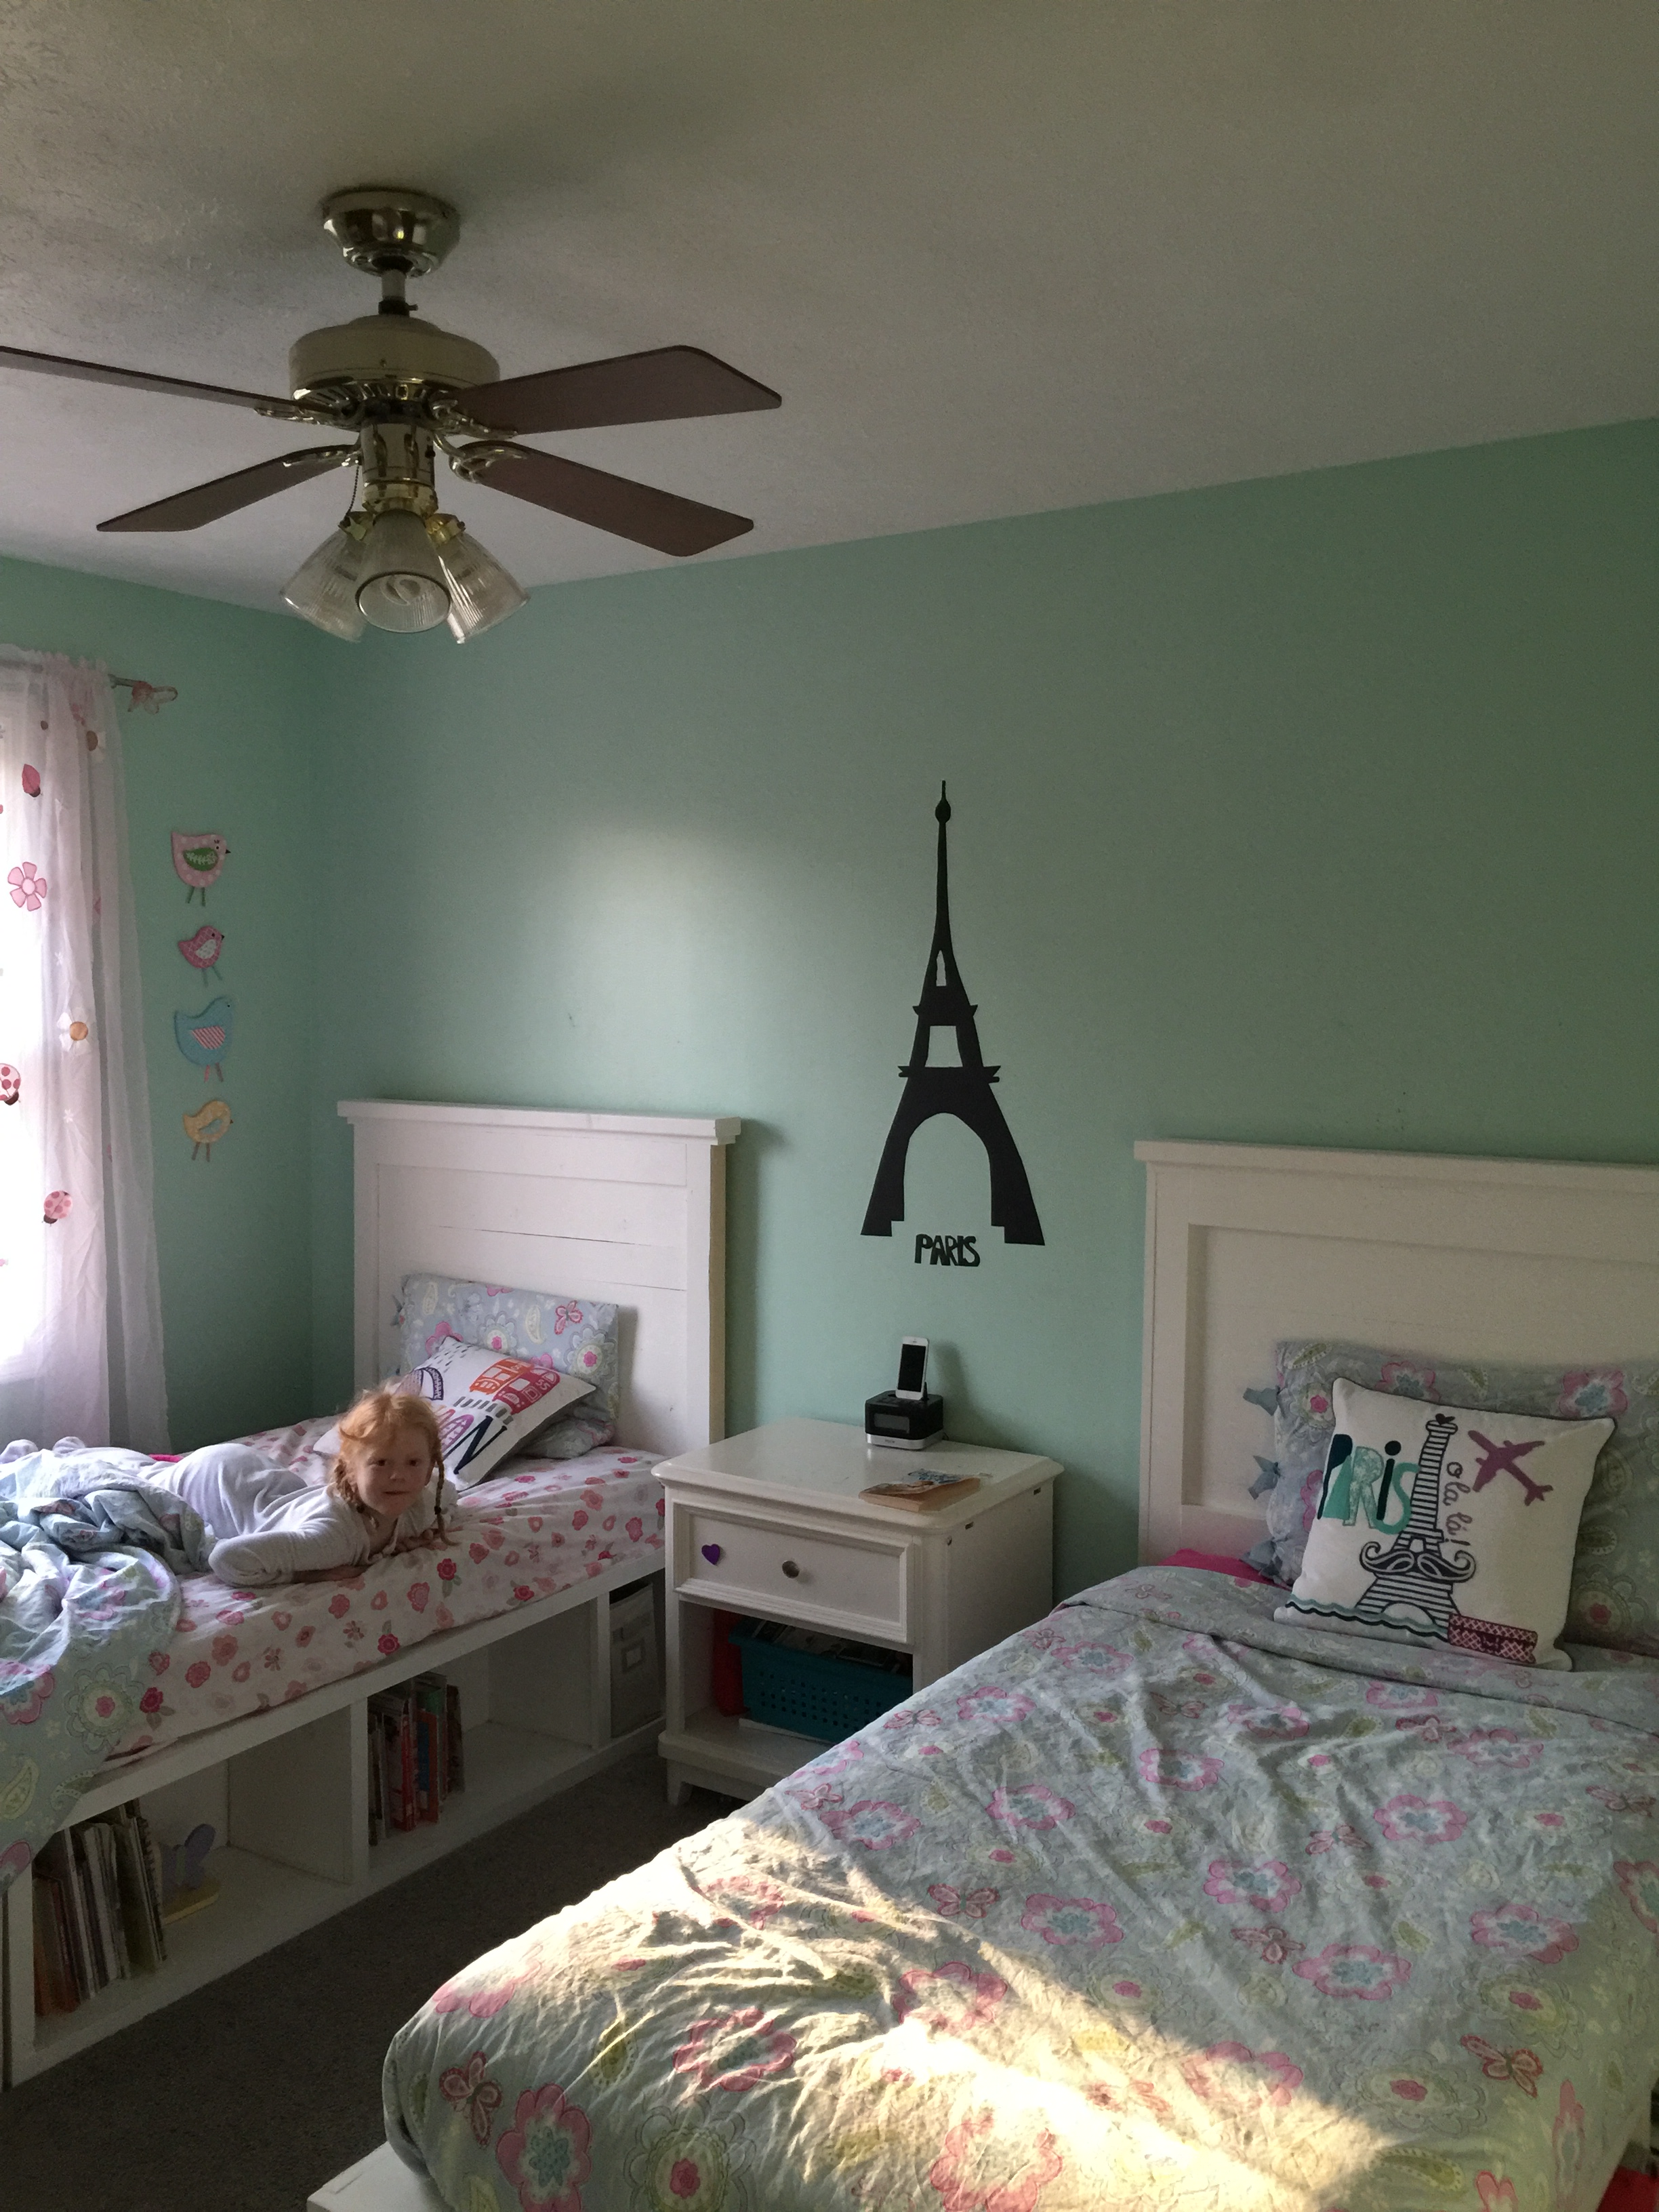
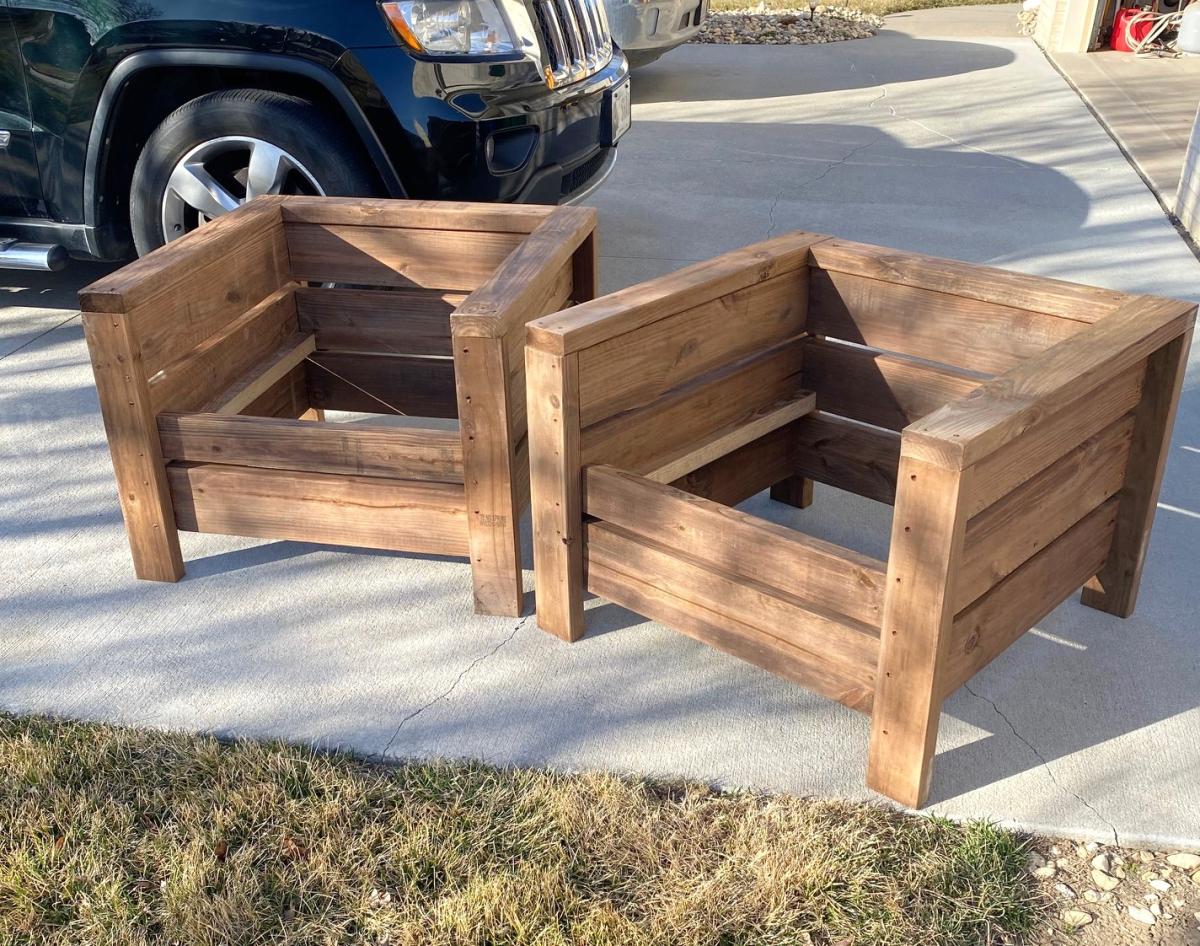
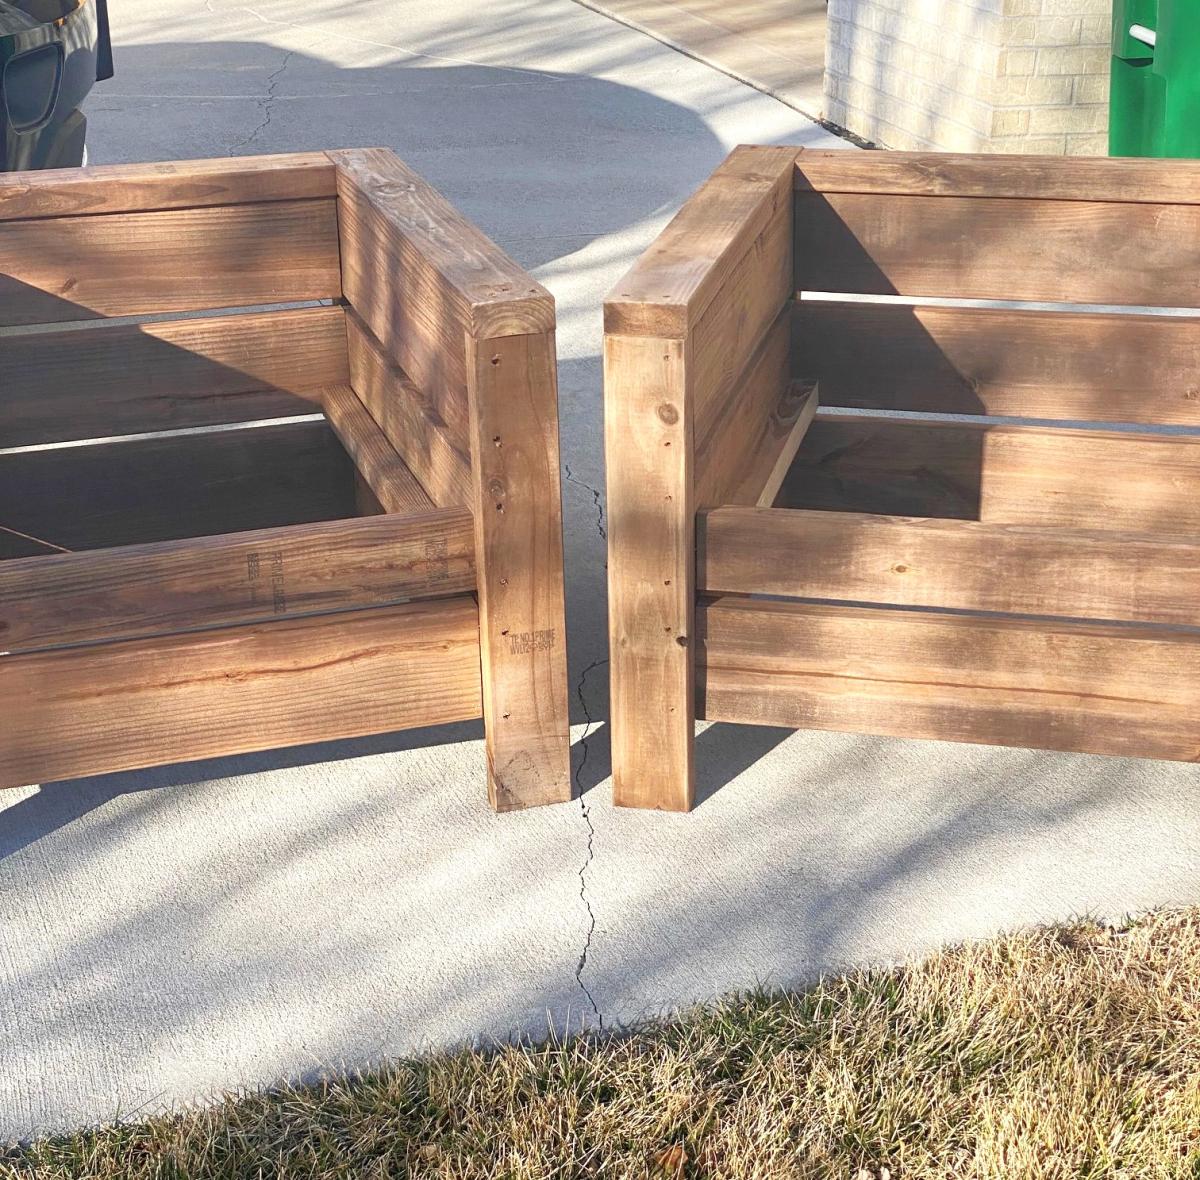
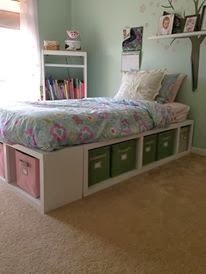
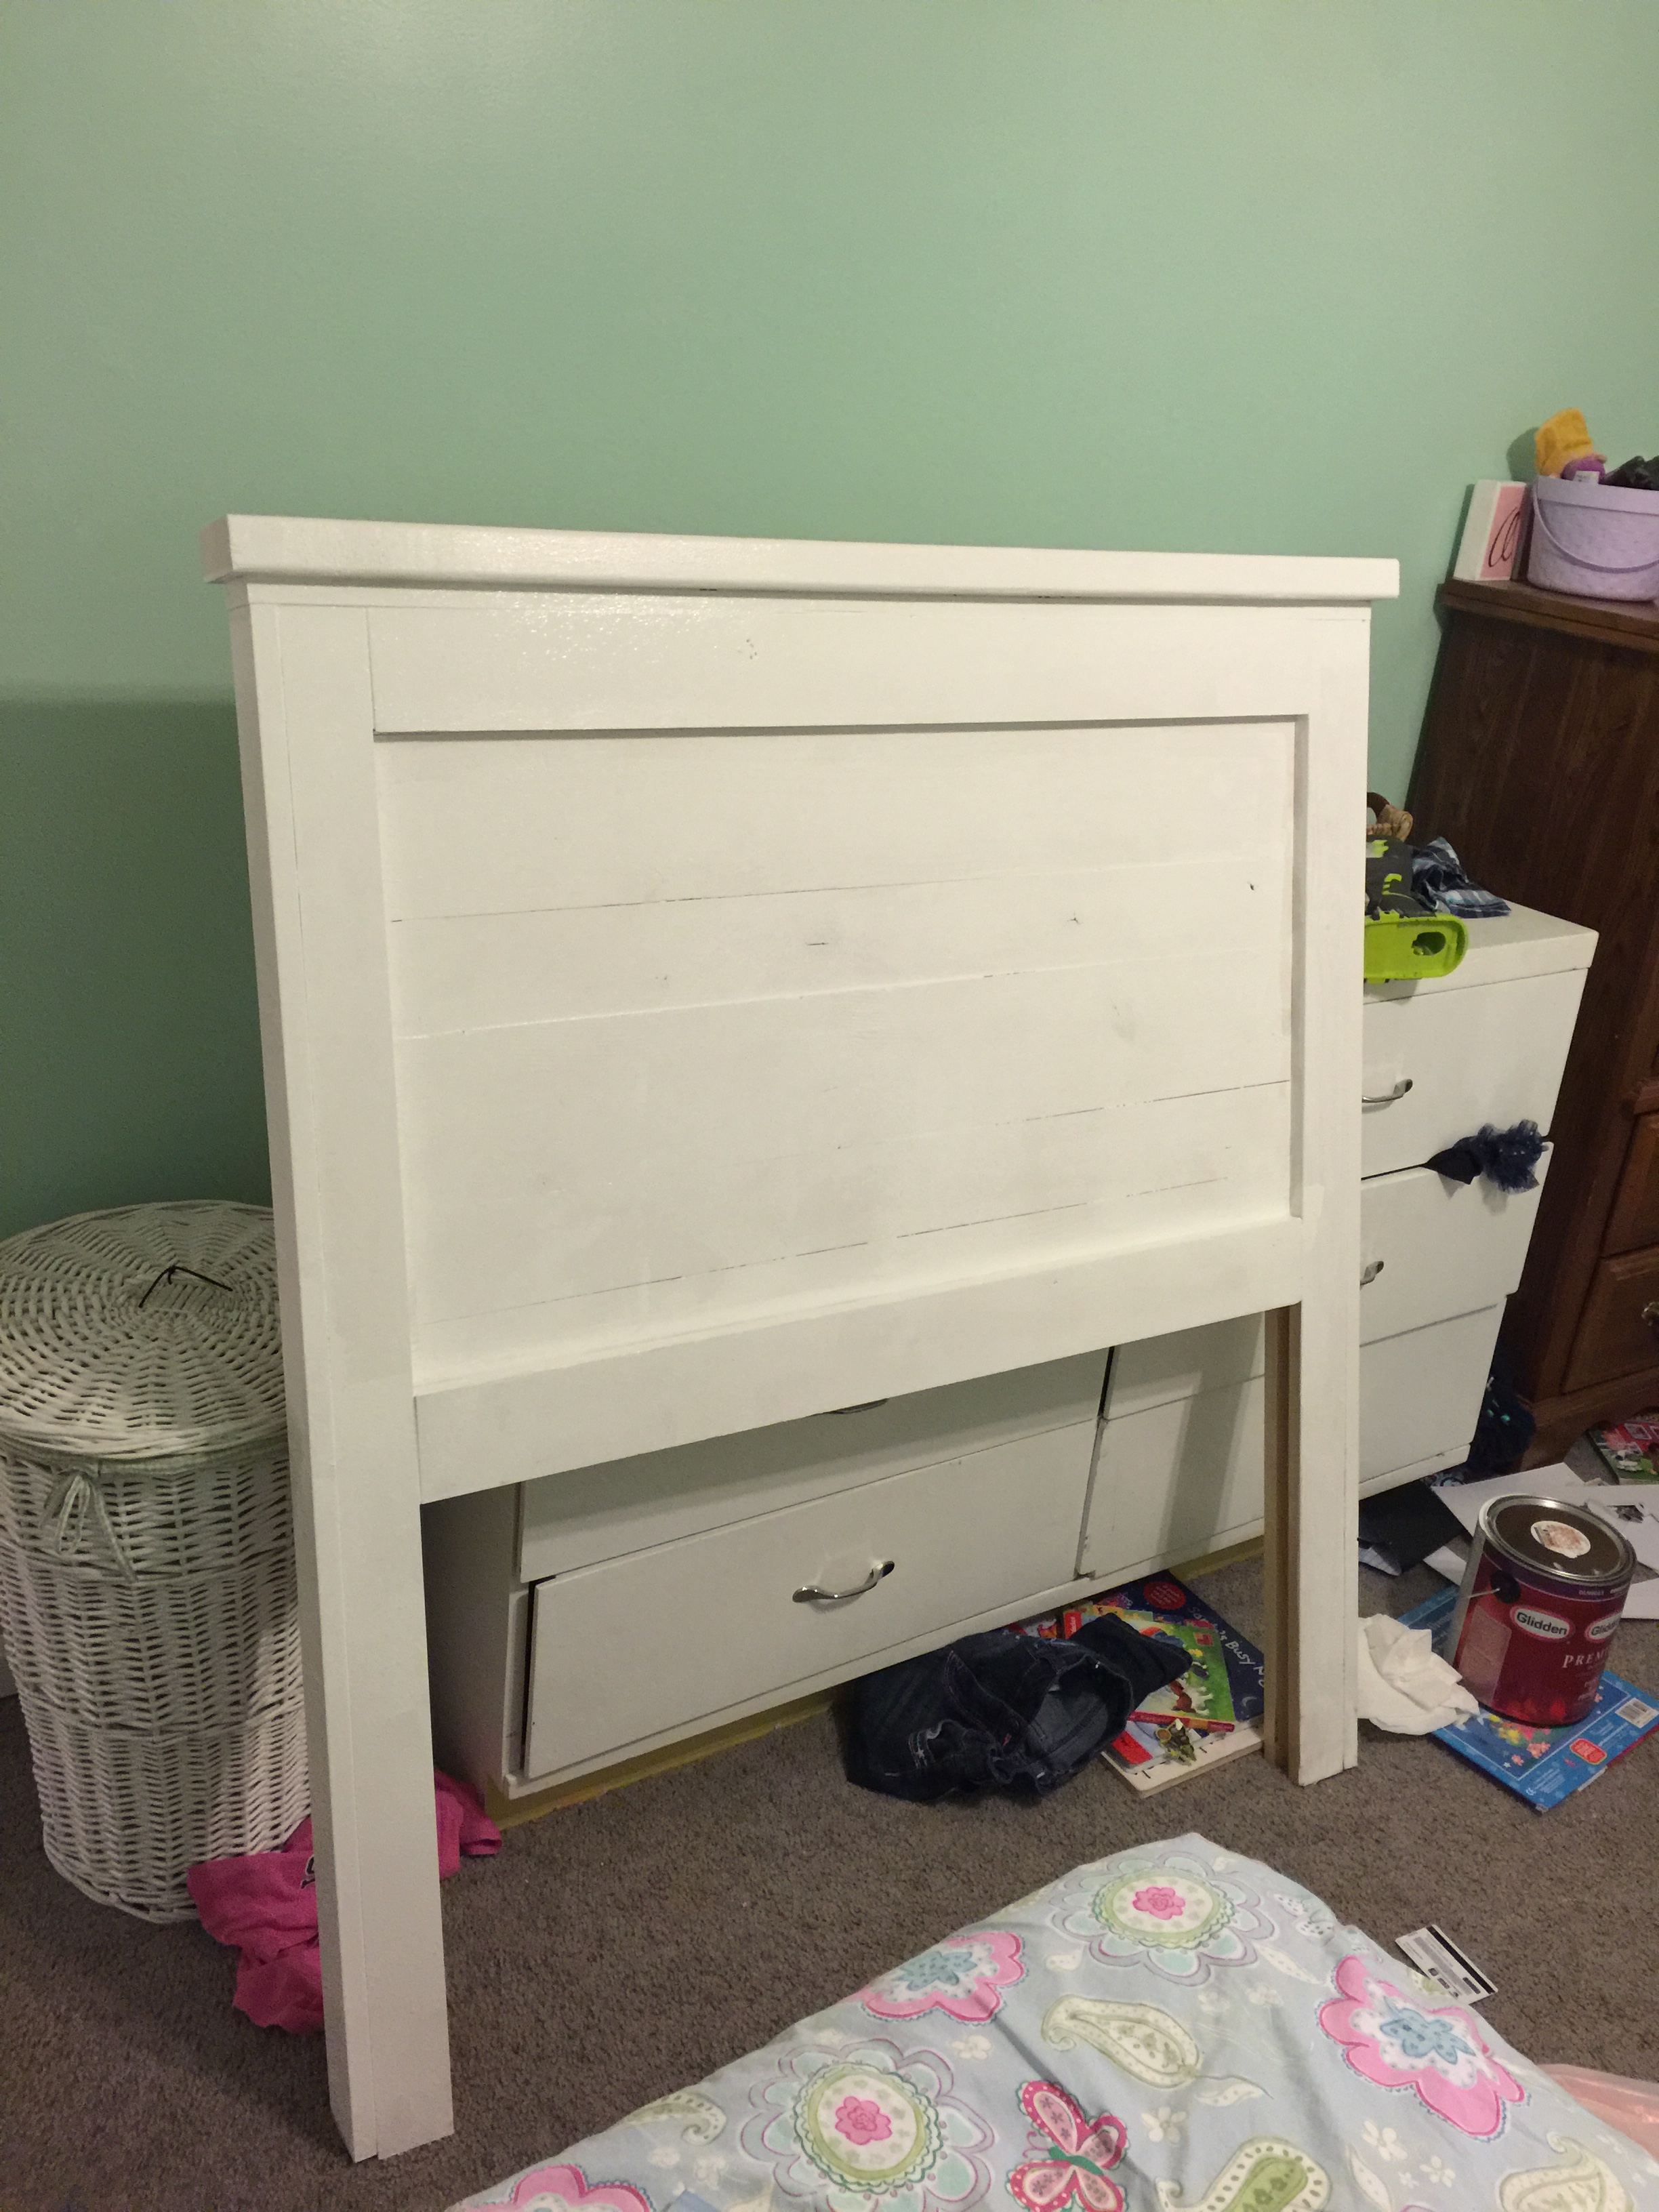
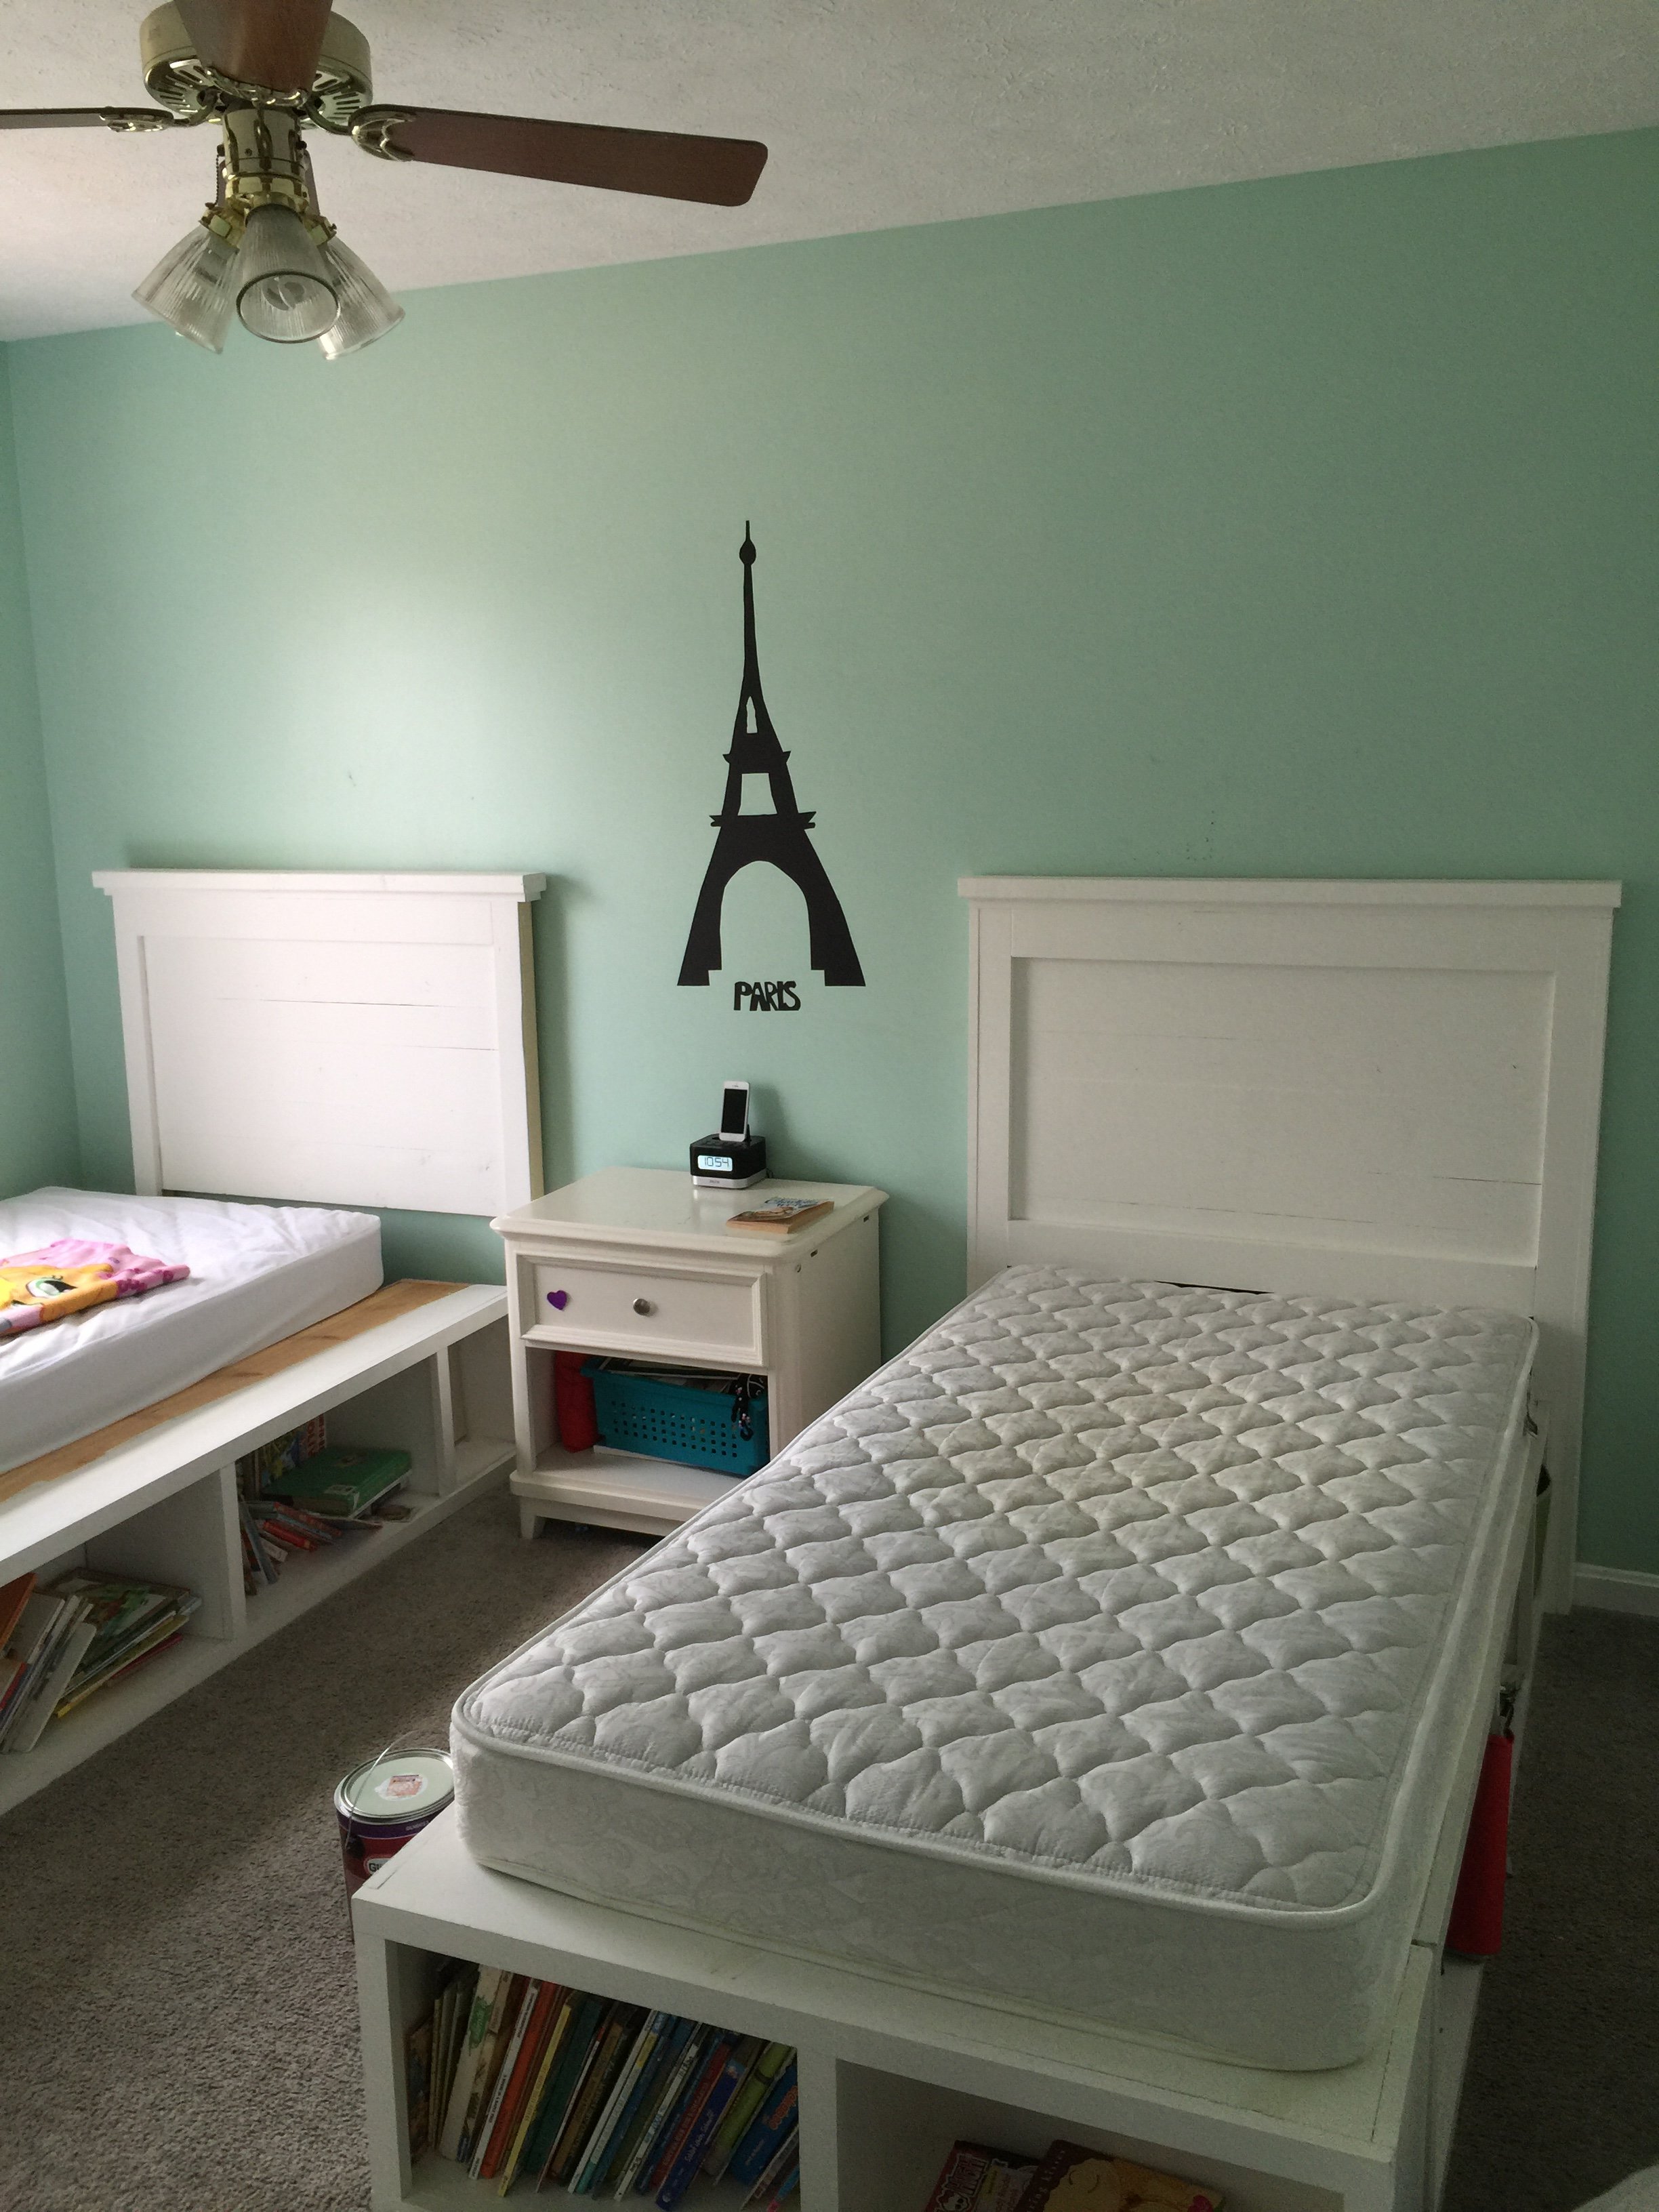
This was really my first build and it stemmed from not being able to find the kind of beds I wanted for my girls. My brother helped me cut the wood and assemble the first one and my husband and I did the second together. It was so rewarding to make them and I love how they turned out! You can store so much and they are sturdy pieces. My girls love them too. (bedding is from Pottery Barn) I would stay this is a beginner's project. You don't need any specialized tools. it was a lot of fun and now I'm it itching to buy a Kreg Jig so I can complete many more projects!
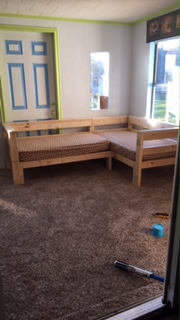
As soon as I saw these plans I knew we had to build it. We have six grandkids (all 2 and under) and they have a playroom at our house so I wanted something that they could sit on if they are watching TV and also something they could sleep on when they stay the night. This definitely fits the bill! This is our second build from Ana's website and it was pretty easy.
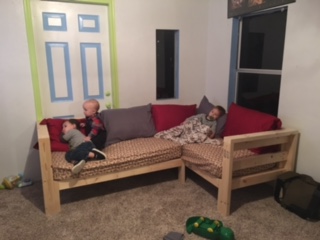
We followed the plans exactly. The only thing we added was a middle board to the back and the arms of the sofa. I didn't want them to get stuck between the top rails and and the mattress. We used dowels instead of screws to attach the slats to make it easier to move. We did not screw the two couches together. Since the room it is in has thick carpet, it is not moving at all. The kids love it and it is so sturdy. They could jump on it or off of it (which they have already done) and we don't have to worry about it breaking.
I sewed the crib sheets and I bought 5 standard sized pillows and some pillow cases. I so love this sectional!

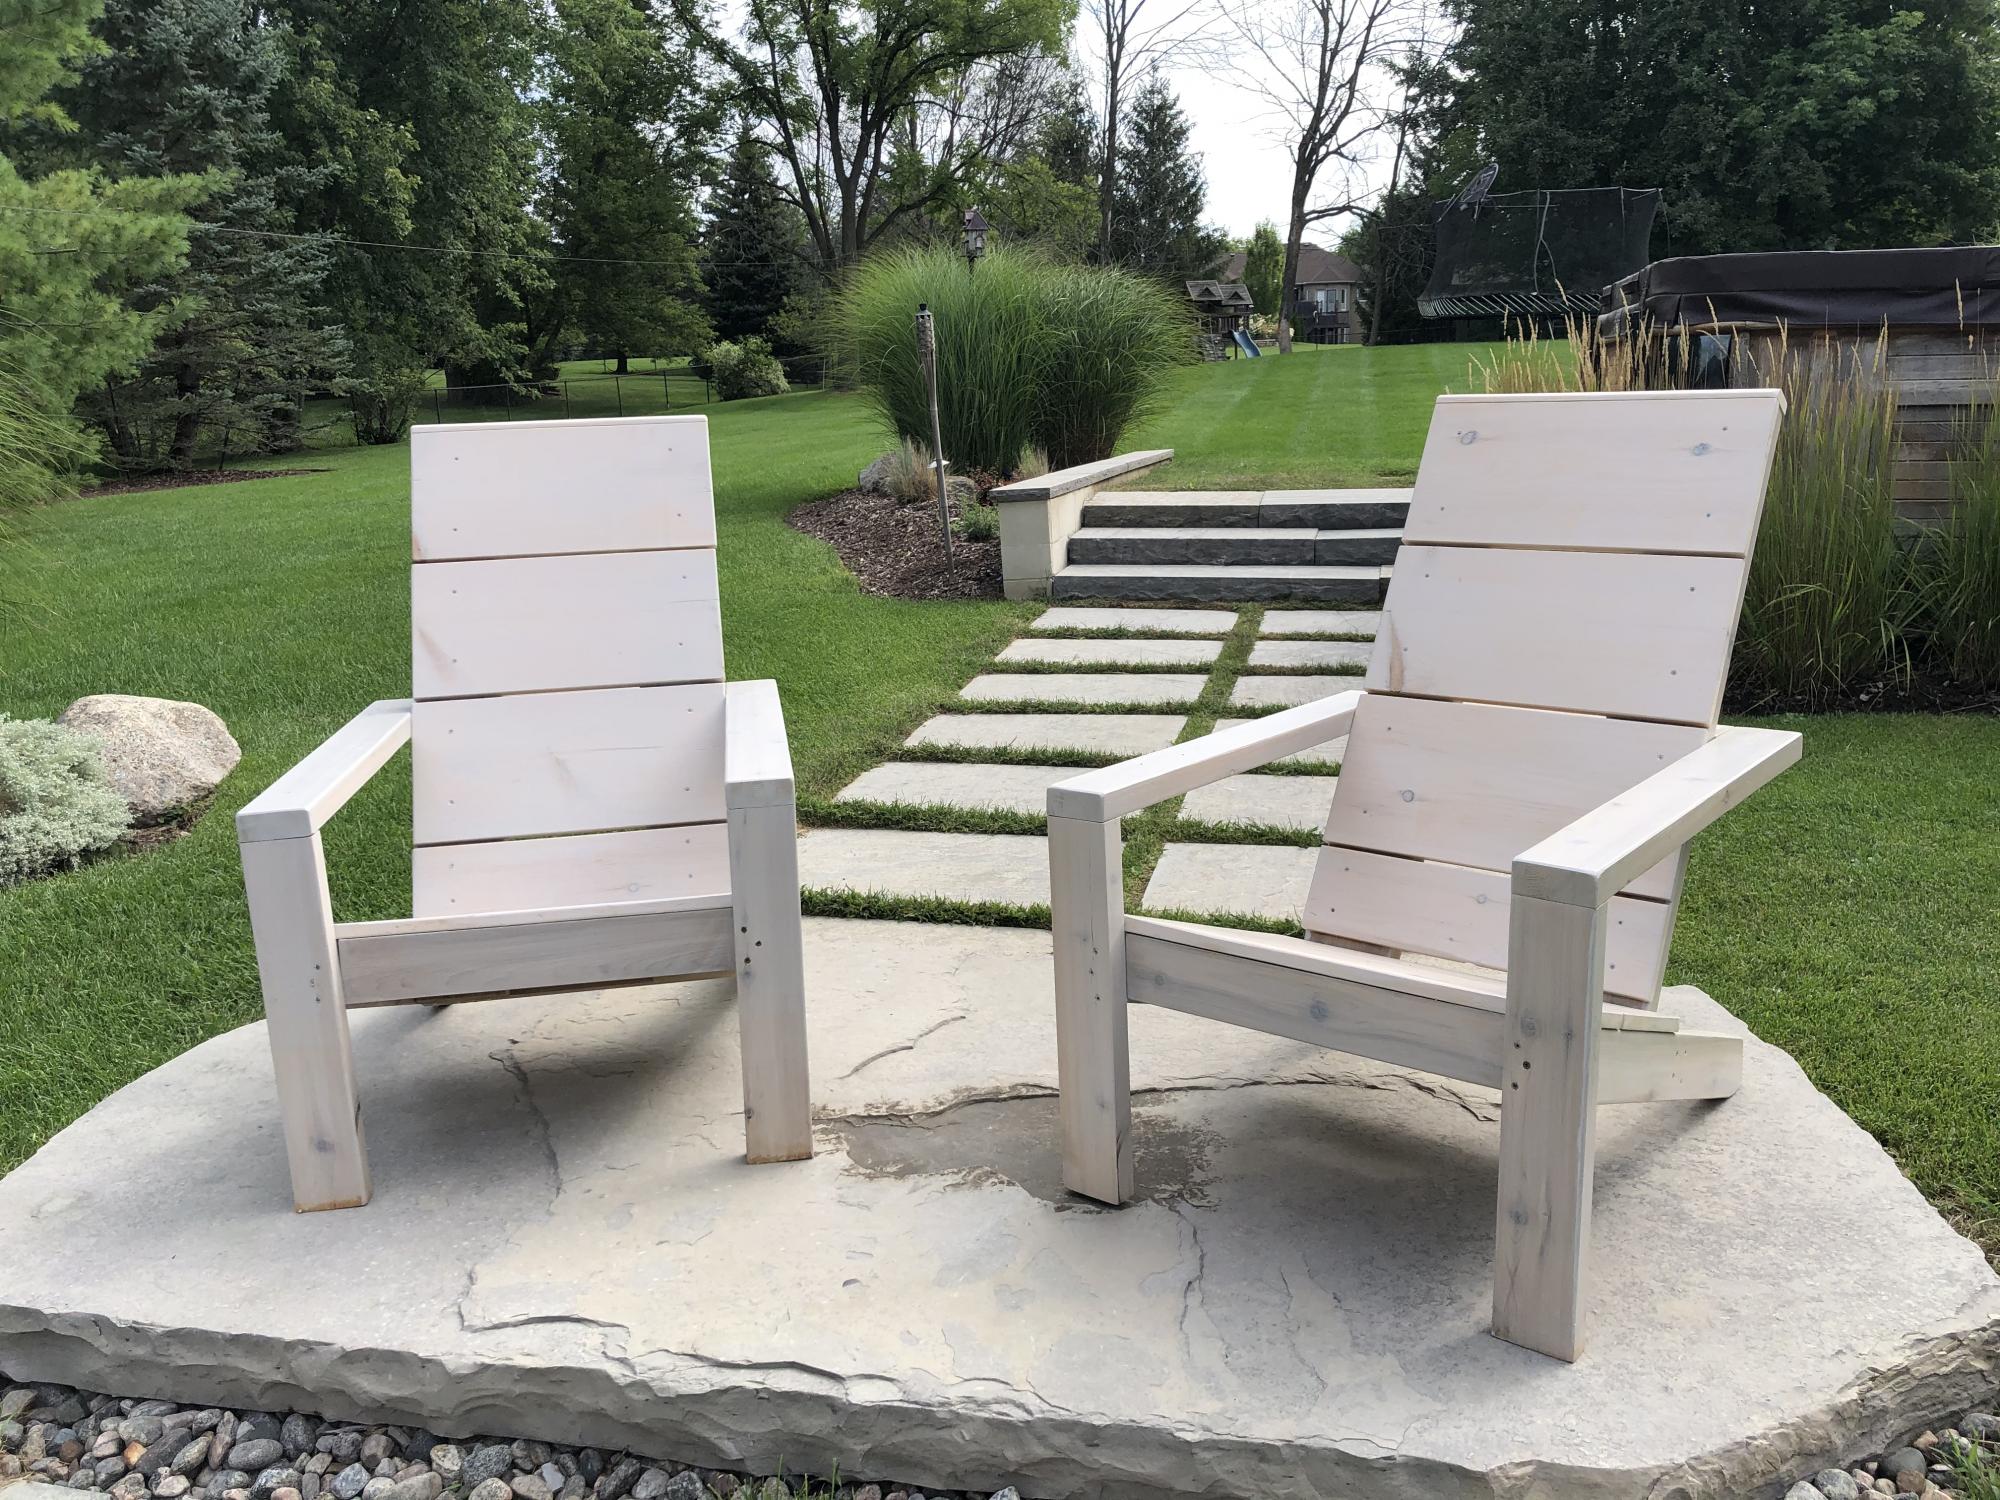
I finally finished my DIY Modern Adirondack Chairs! Frame made with 2x4 cedar lumber and seat and backs with 1x10 pine planks. Stained with Benjamin Moore Aborcoat silver grey semi-transparent stain with a clear coat. Used a free diy plan by Ana White with some slight modifications to make the chair back higher. Cost was a bit higher than expected but lumber has gotten more expensive during the Covid time.
Thanks Ana for the design and the YouTube video. I watched it at least 20 times!
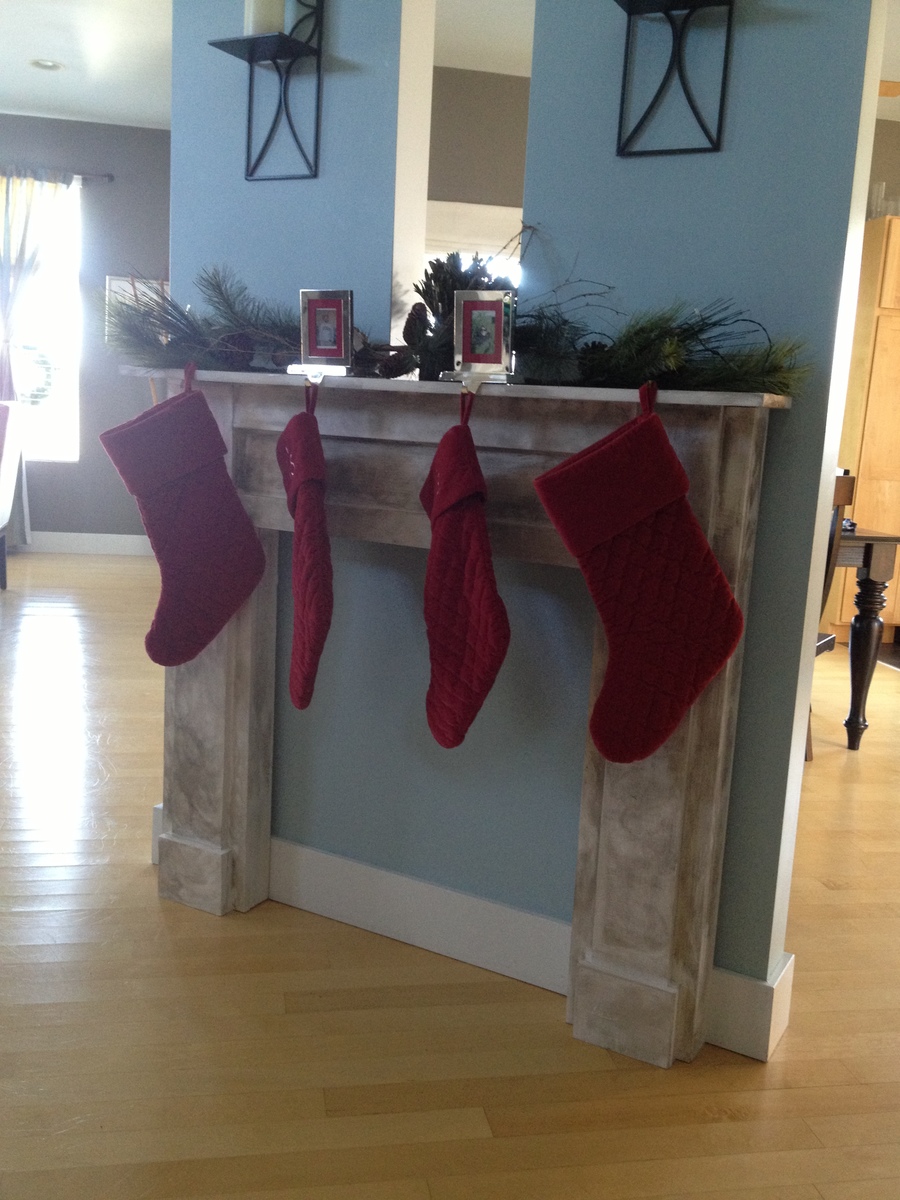
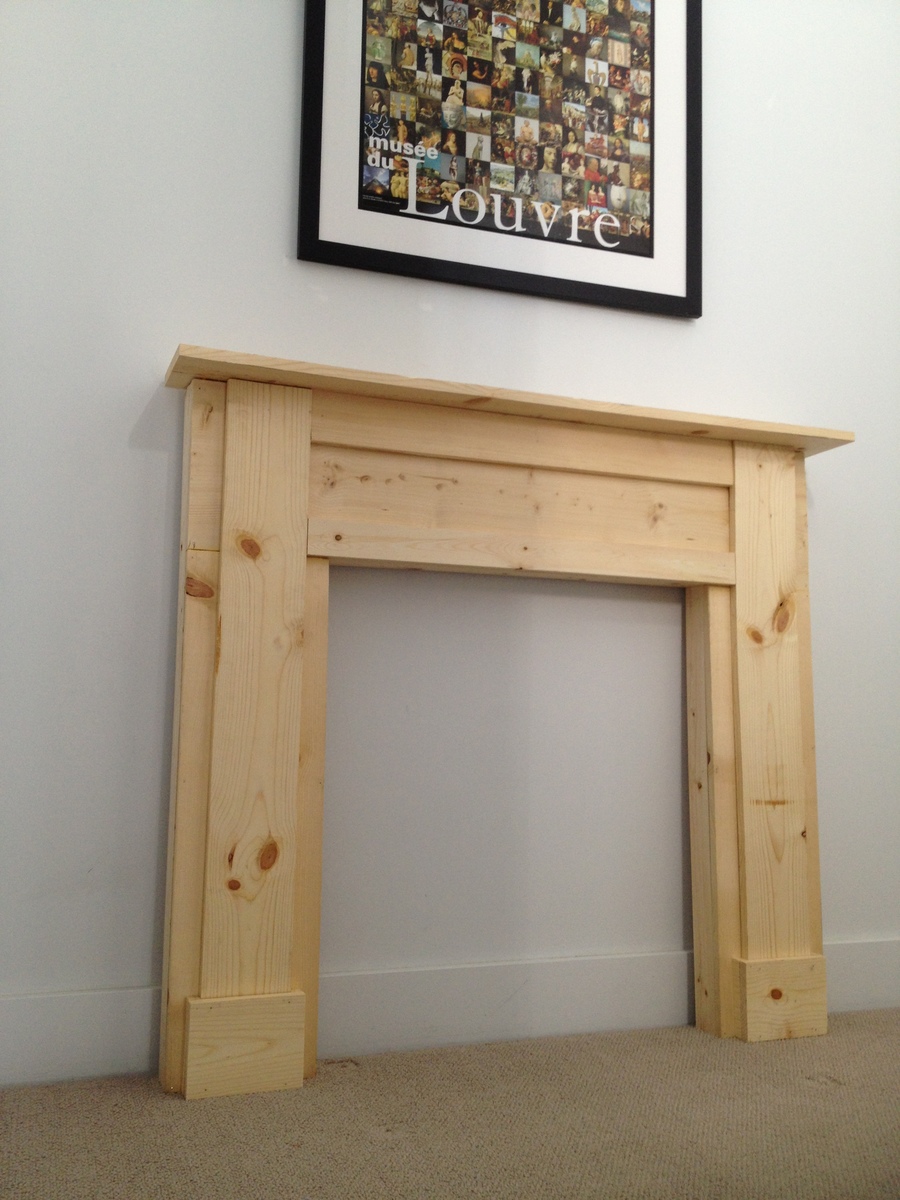
Our home (like many) does not have a fireplace or mantle. So, I decided to build one. Thank goodness for Lowes. They pre-cut all wood for me. I was afraid to use a drill (I'm a rookie), so I nailed all pieces of wood with 1 1/2 inch nails. Wood glue was fabulous prior to using the hammer. I omitted decorative molding too. I think I used too much antique paint, but I can always re-paint it next year. I don't think I'll have the mantle up all year long, but it's great for a Christmas decoration. I hope this gives hope to anyone out there considering this project. If I can do it, YOU can totally do it! Thank you SO much for helping a novice builder like me add something to our home.

Sat, 12/08/2012 - 11:12
That turned out really nice! The paint looks like marble in the picture.
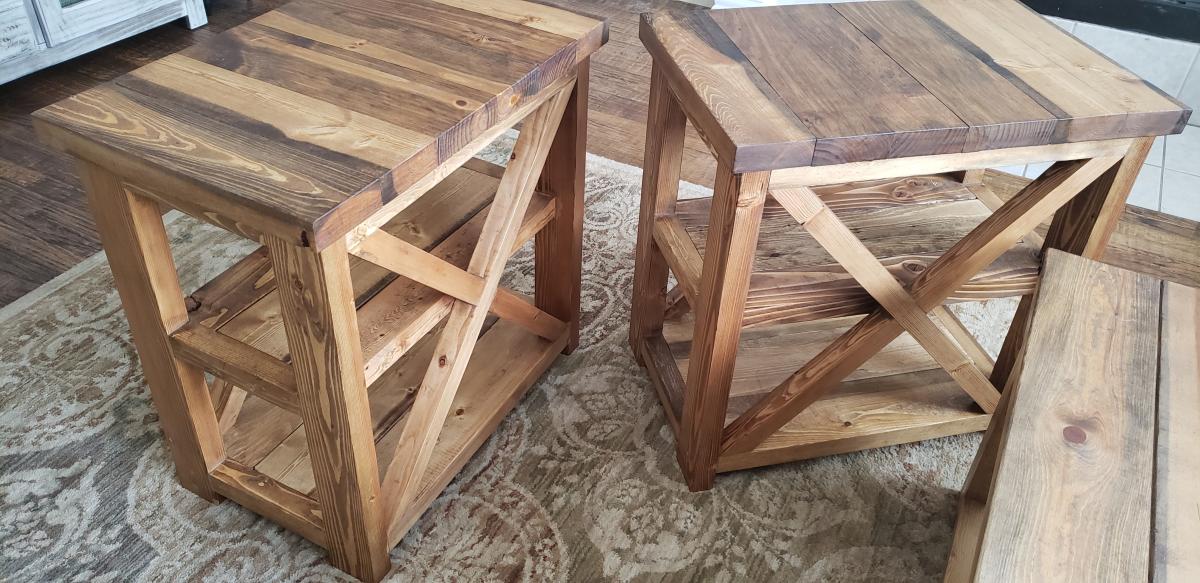
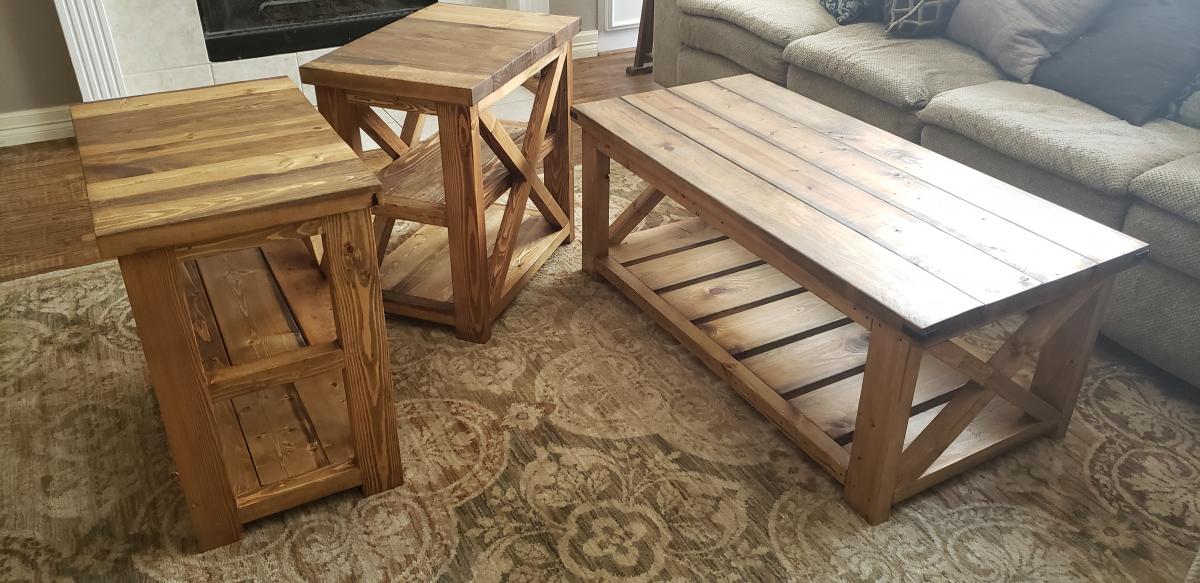
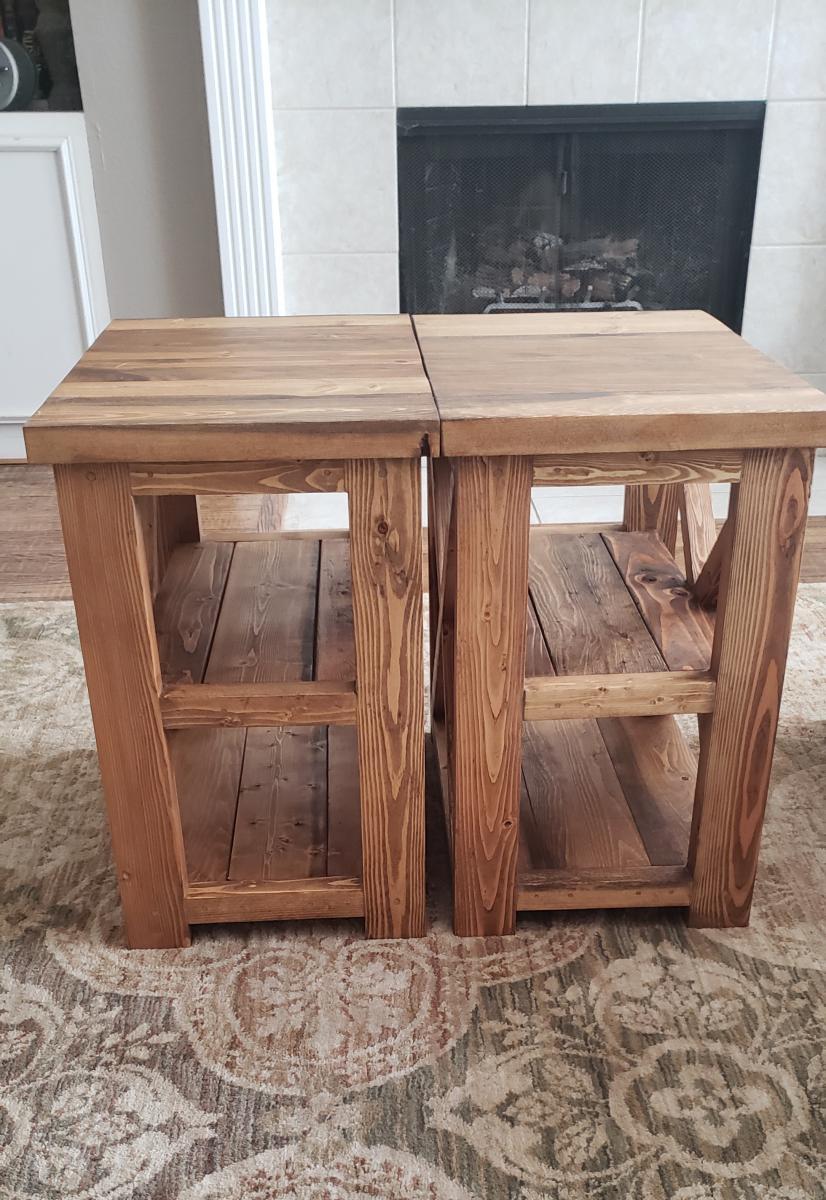
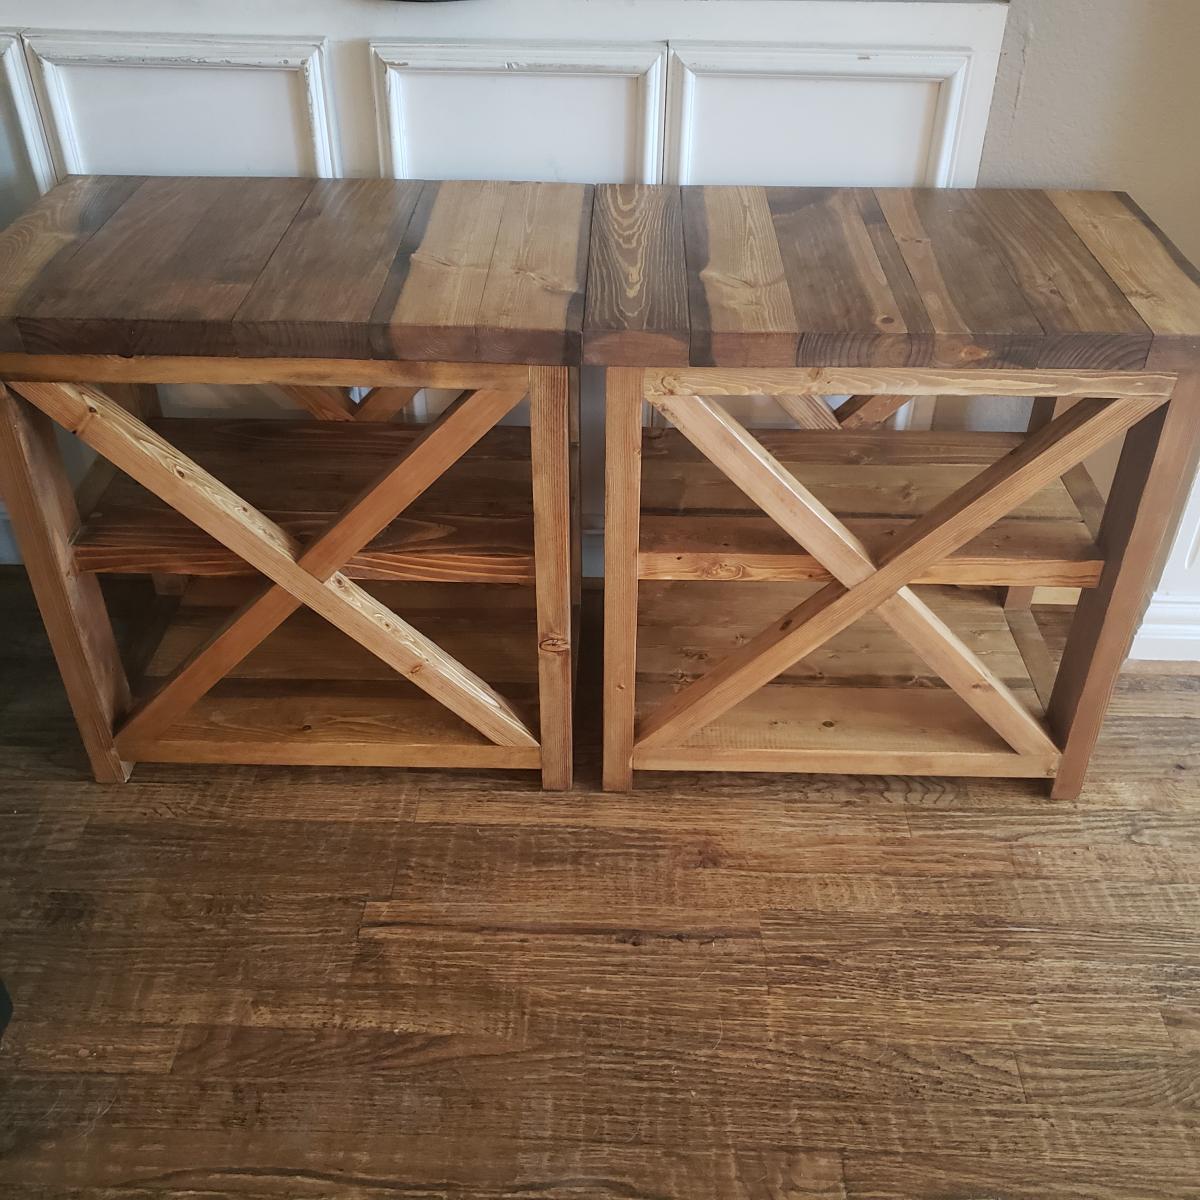
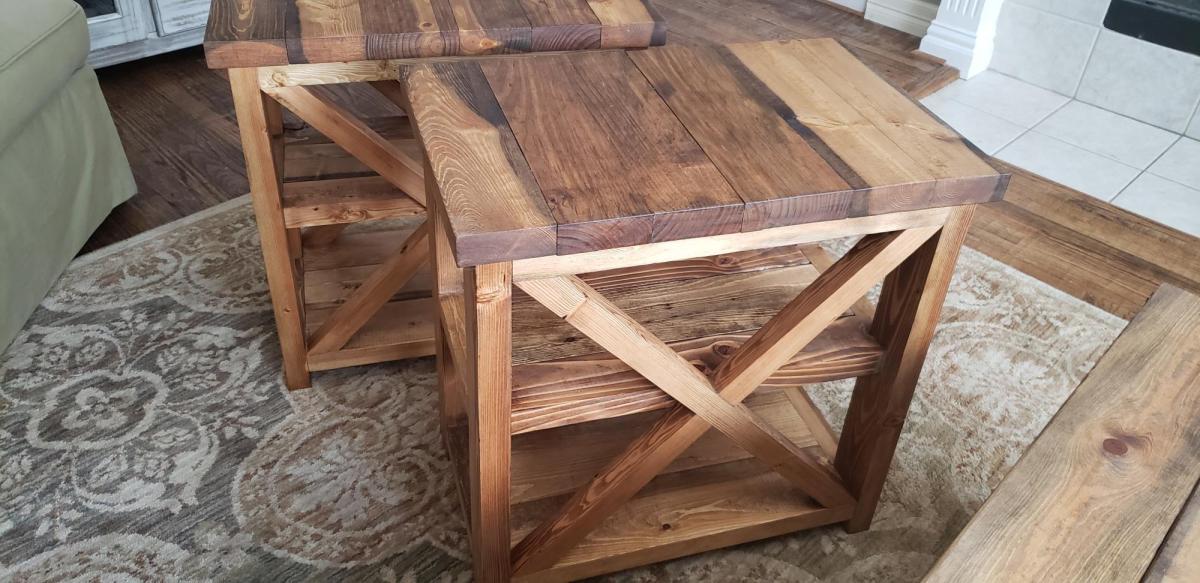
This was a fun project! We had already made the coffee table and someone wanted side tables. We assisted the plans for the side table to make these 16w x 25h x 25d and added a center shelf. After getting our cut list the build was easy and quick. It took about 6-9 hours to cut, build, sand, stain, apply finish, and finish sand.

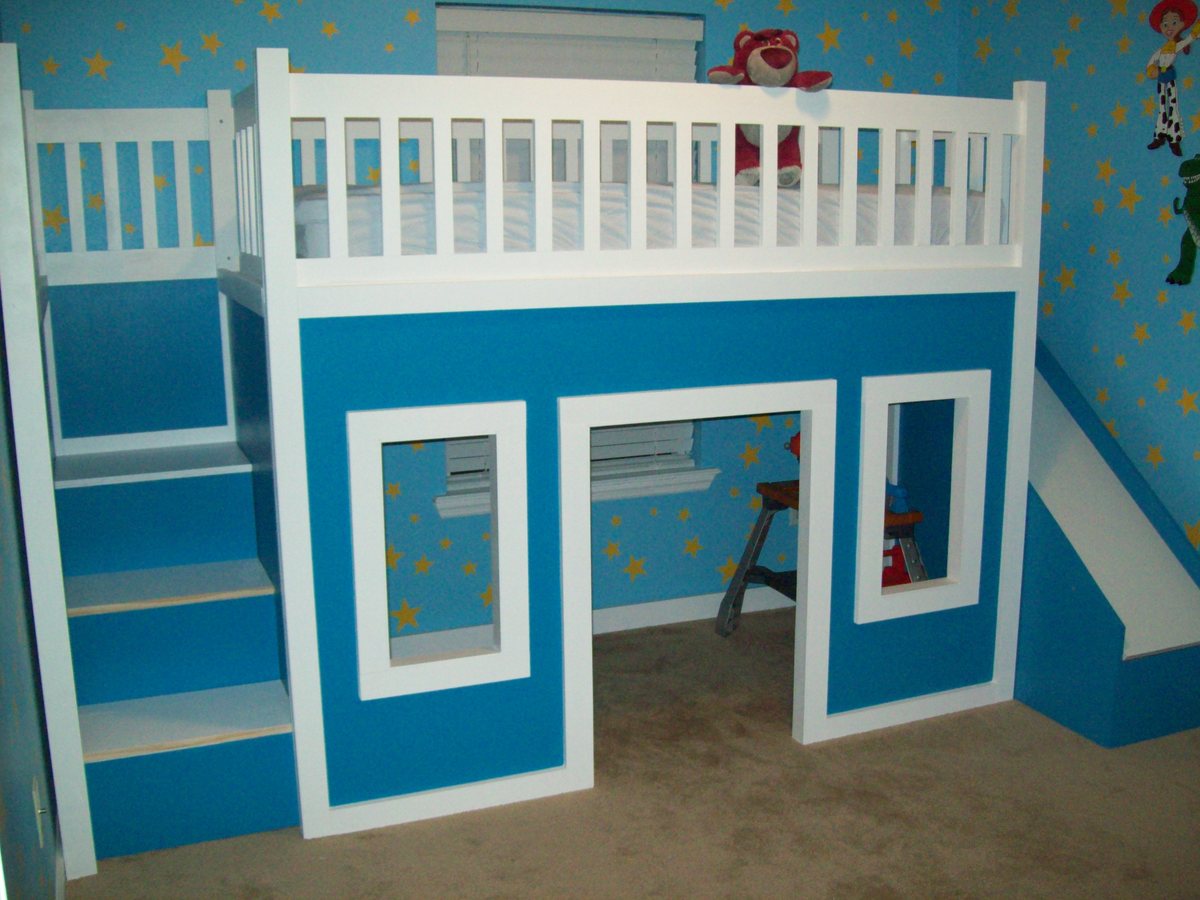
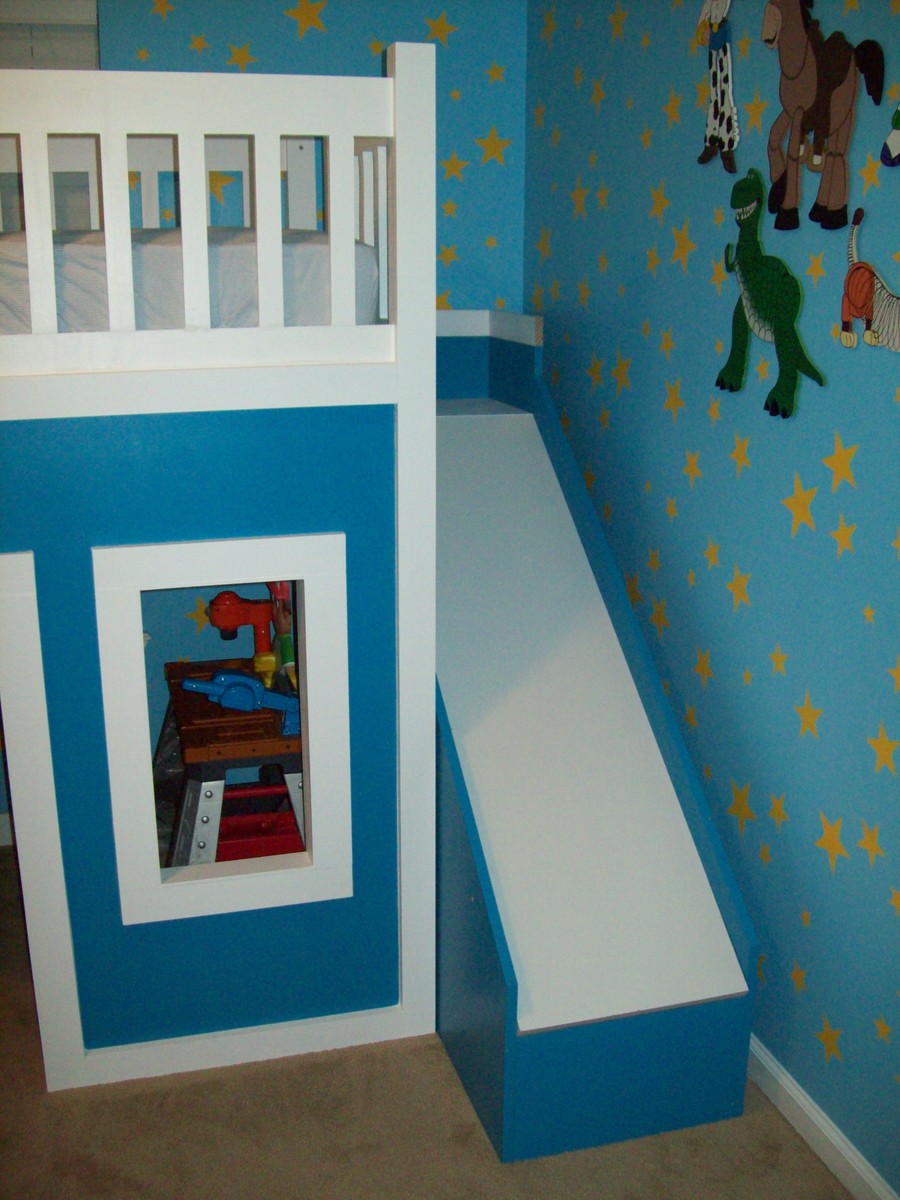
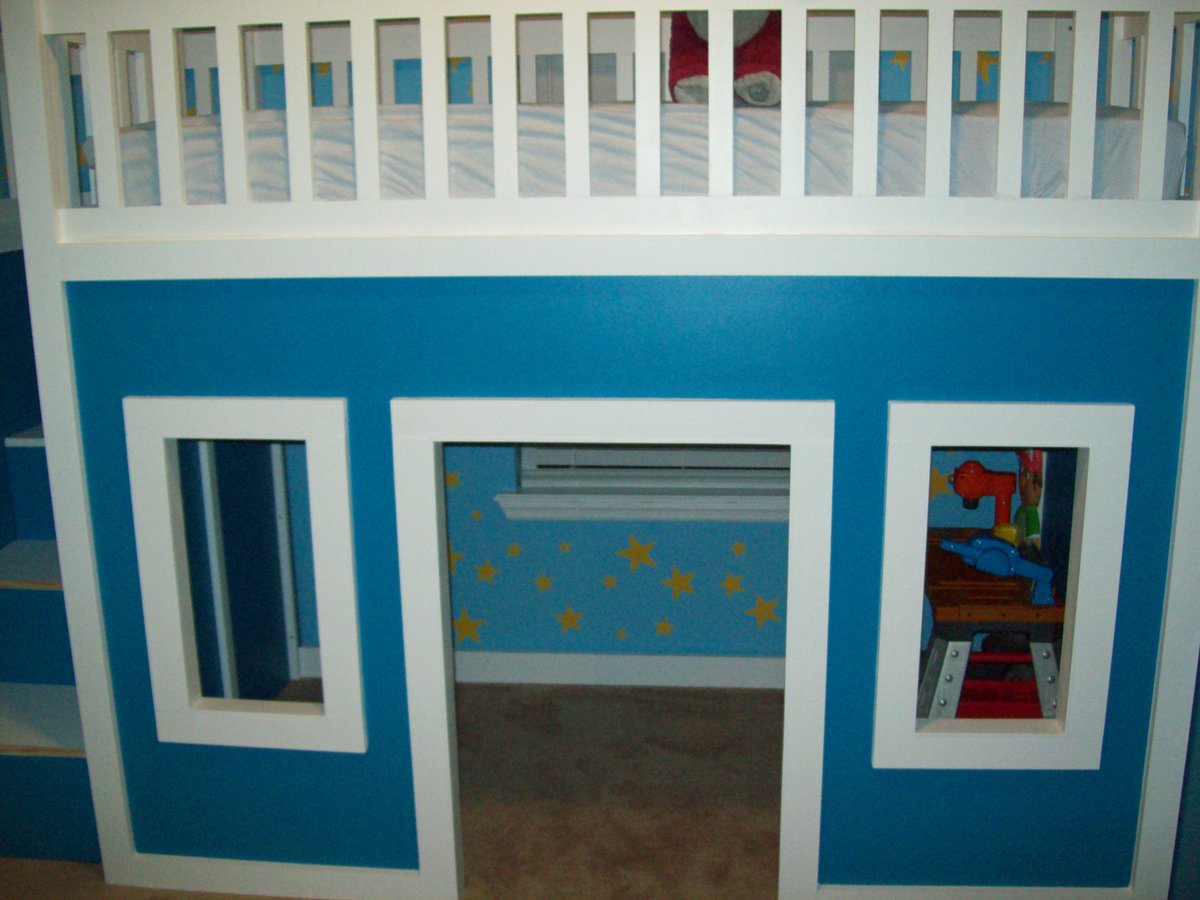
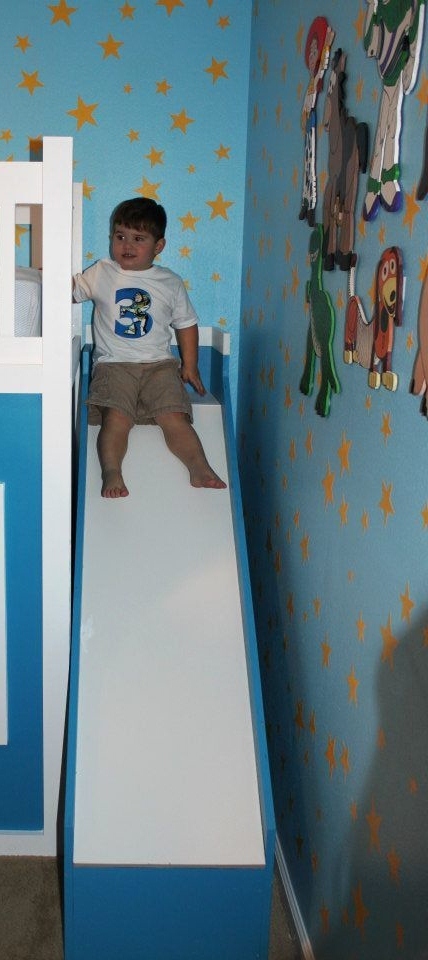
My son was about to turn 3 and I really wanted to redesign his bedroom as a birthday surprise. We went with a Toy Story themed room, he just loves Toy Story. I started off by painting the walls blue with yellow stars like Andy's room in the movie. I added some custom painted art work and then it was off to find a cool playhouse bed. My husband and I were shopping around and we could never really find what we were looking for in the store. So we decided to build one ourselves using plans from this website. I used the playhouse loft bed and the playhouse loft bed stair plans, for the bed and the stairs. I used the castle loft bed plan as inspiration for the slide. The project took us about 5 weeks from start to finish. We both have full time jobs and we did most of the work on the weekends. I looked at each plan very carefully and made notes. I had to modify the stair plans slightly to fit the space where we wanted to put the bed. The stairs look narrow, but they work just fine. My husband and I can both use them to get up in the bed. The stairs feature hinged stair tread with built in storage. We built them like that at first, but then later decided to make them stationary stair treads, with plywood. I didn't like the way the hinges looked and the top stair was so deep that I was worried my son would fall in there and get stuck. The storage idea was neat, but his safety was more important to me. The bed turned out really nice and VERY sturdy. Both my husband and I are able to get up there with my son (not at the same time). Another modification that I made was instead of slats to hold on the mattress, I used a piece of plywood. I wanted the roof in the playhouse to look finished, and I didn't want to see his bedding hanging down from the slats. I painted the top of the plywood white, where the mattress goes to blend in with the slats, and the other side was painted blue to match the walls inside the playhouse. I did modify the playhouse front facade to have 2 windows and one door. I like the symmetrical look. The total project cost about $400. I used birch plywood and select pine boards, and about 6 quarts of paint. I noticed AFTER we had finished the bed using the birch plywood, that Home Depot had cabinet grade plywood on a random end cap, that was just as nice for $12 less a sheet. If I could do it all over again, I would definitely use that!. I wanted the paint to have a nice smooth finish, without having to do a lot of sanding or patching. We had Home Depot cut the plywood to the dimensions we needed. I had my husband cut the rest of the wood dimensions listed in the plans, and then I painted all of them before we put the pieces together. I used a small roller and self priming paint. The paint finish looks great. After assembling the bed I can not imagine what I would have gone through trying to paint it after the fact. The slide was a bit tricky, I looked at the plan for the castle loft bed and attempted to use those dimensions, and for the most part they worked. But when we went to assemble the slide, we did end up recutting some of the wood to different dimensions. I used a piece of the melamine coated closet shelf material for the slide. It is already finished in white and its nice and slick, like a slide should be! I hate MDF, but for this it seemed the best fit. We cut the top edge at an angle to meet up with the slide platform. PLEASE BE CAREFUL with this material. After it was angle cut the edge was razor sharp and I sliced my fingers up. Once it was installed it butted up perfectly to the slide platform, and the edge was hidden and not a danger. But use caution during the install. Clamps are your friend! We used Kreg clamps for everything. They kept the wood in place while we were screwing the parts together. The coolest thing that my husband came up with was clamping two identical pieces for plywood together, and drawing the template for the slide support walls. Then he used his circular saw to cut them out. We ended up with two mirror image pieces. They looked awesome. I left them clamped together when I sanded the edges as well. We really didn't have any building experience other, than building tables and chairs for children, We got the deluxe Kreg jig kit and a miter saw on Craigslist for $50 each and they were both practically brand new. This was the first time we had ever used a Kreg jig and we are both addicted. That thing is the bomb. We locked my son out of his room for a week while we assembled everything. We had the big reveal at his birthday party and all of the guests were excited to see it after seeing my facebook teaser posts of our progress. There were 8 kids up there at one time and the bed did not budge. They all enjoyed the slide. I did the planning and paint and my husband did an awesome job making all of the cuts and sanding everything. We are both very proud of the final product. My son love his new big boy bed. DISCLAIMER: This bed is not recommended for a child under 6 years old. My son is mature for his age and we monitor him carefully.


Wed, 07/06/2016 - 10:05
Hi, my husband is building this bed for my 6 yr old daughter, but in purple blue and white. We adding the slide too. May I ask what size bedroom you guys have for your son, and did the bed fit well? Did you have to make any adjustments for it to fit in the bedroom? Thanks in advance! Your bed looks great! I hope ours turns out as good.
Christine N in PA
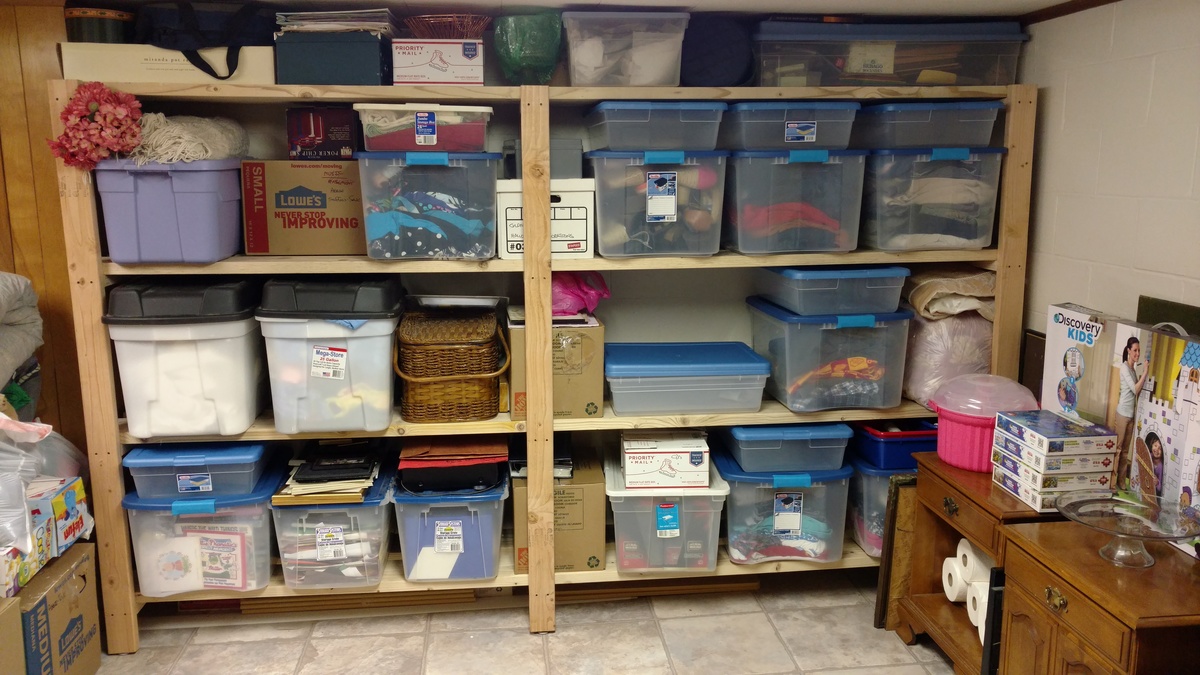
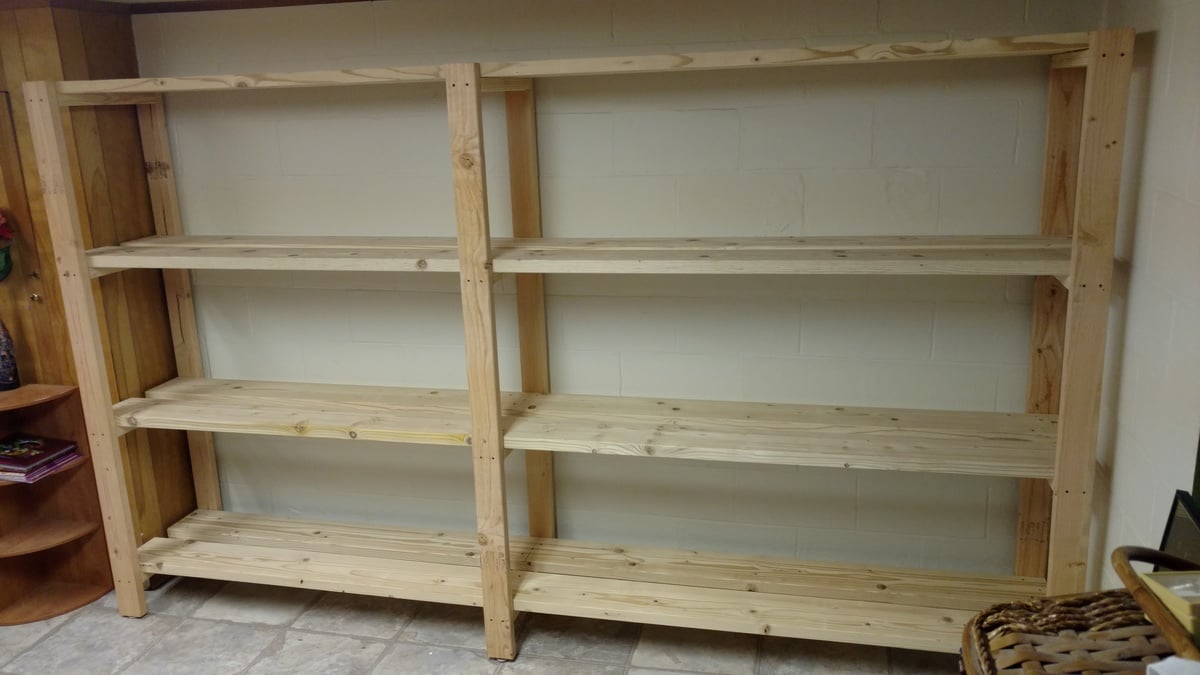
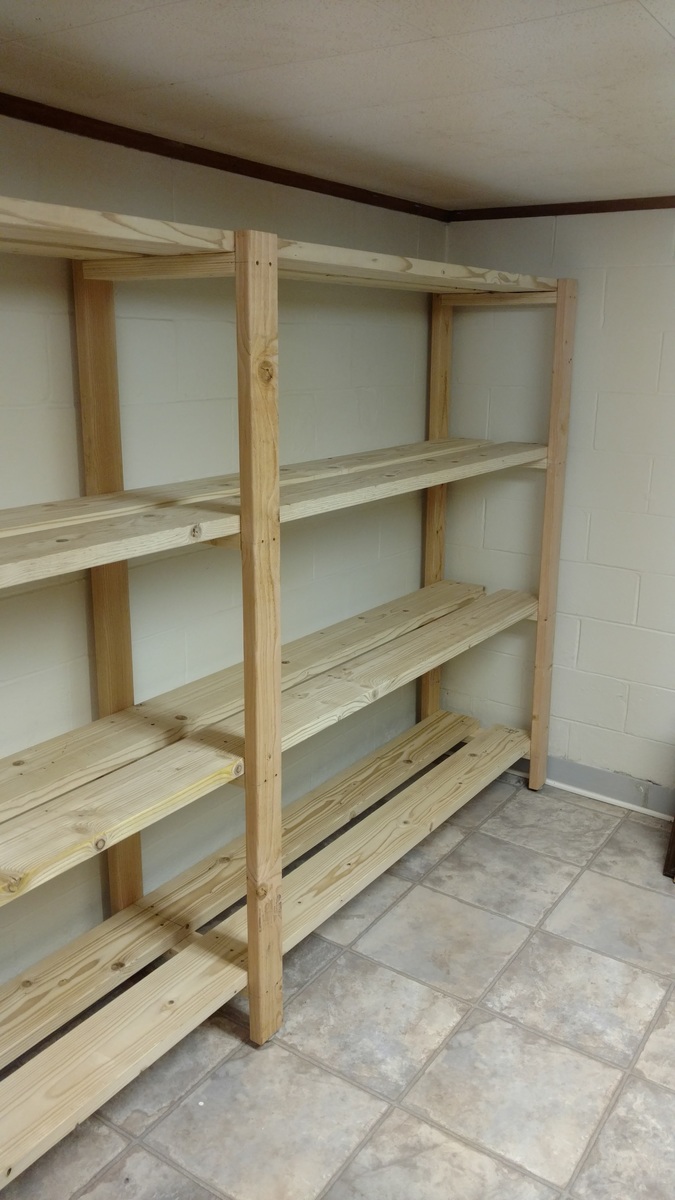
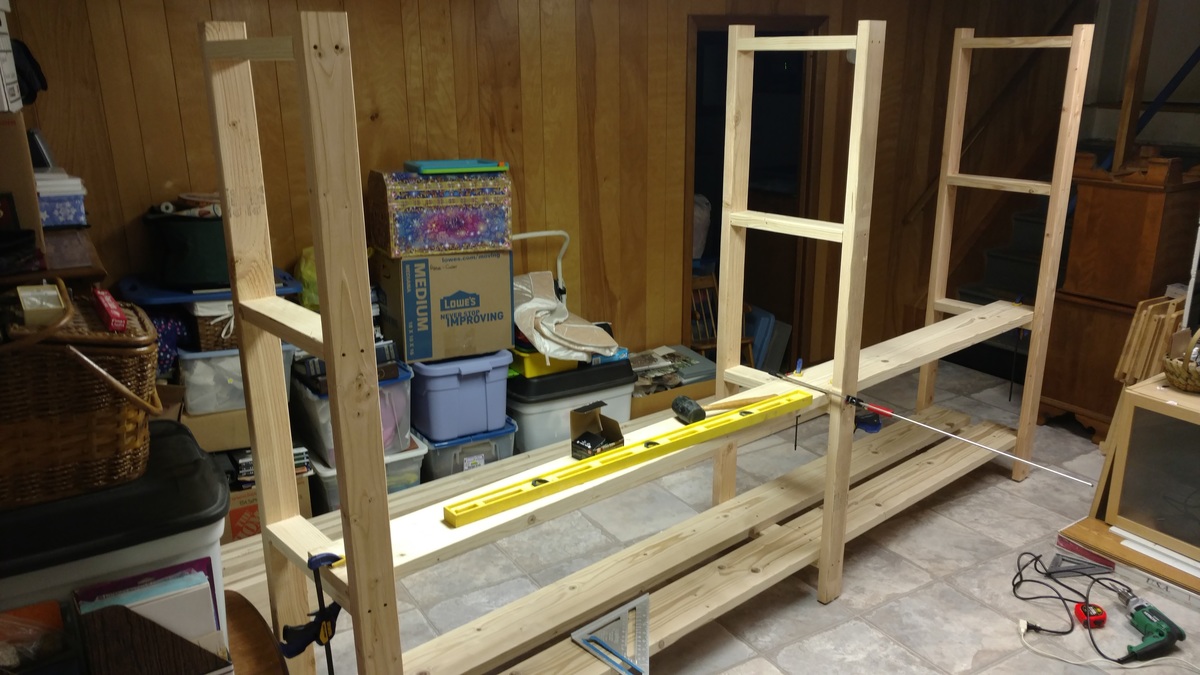
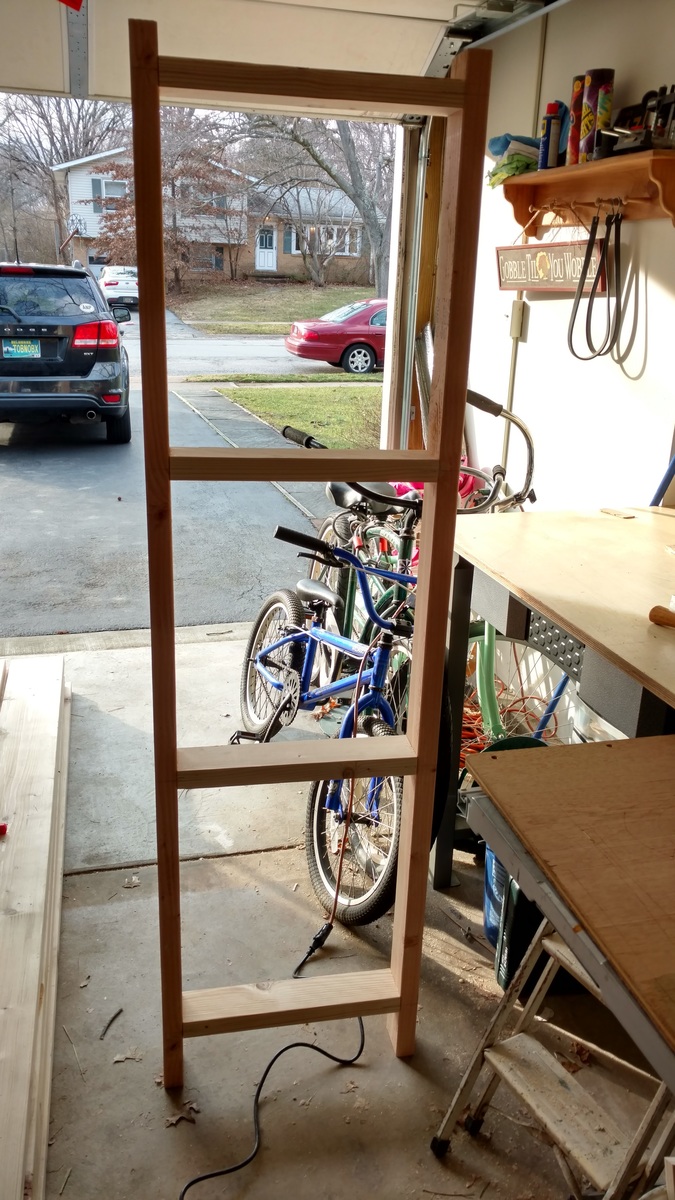
Time to get organized in 2017....and what better way than with some custom shelving. This was not too bad of a project to complete. It only took about 6-8 hours to cut, frame, and assemble everything together (thanks to an interruption or two). 'Twas nice to have a project for once that I didn't have to care about finishing the project with wood filler, sanding, painting. I am sure my wife thanks me more as I would have been another week getting things just right!
A few changes that I made from the original plans:
- used 2x8 for the shelving runs as I only was dealing with a 10ft run and was a few bucks cheaper to buy 8 boards vs 16 boards. Plus less cuts!!!
-installed adjustable furniture feet in the supports to deal with sloping basement floor. Unexpected side effect was it was easier to slide the unit around in the basement as I assembled it.
Outside of those changes I remained faithful to the original design. I didn't bother filling the screw holes as we will be hiding the shelving unit with a curtain once we turn the room into a TV/Office area.
Also as it wasn't 100% clear from the original plans, but the height measurements for the shelf supports are to center... not sure why it didn't register with me right away... but just in case anyone else didn't realize that as well.
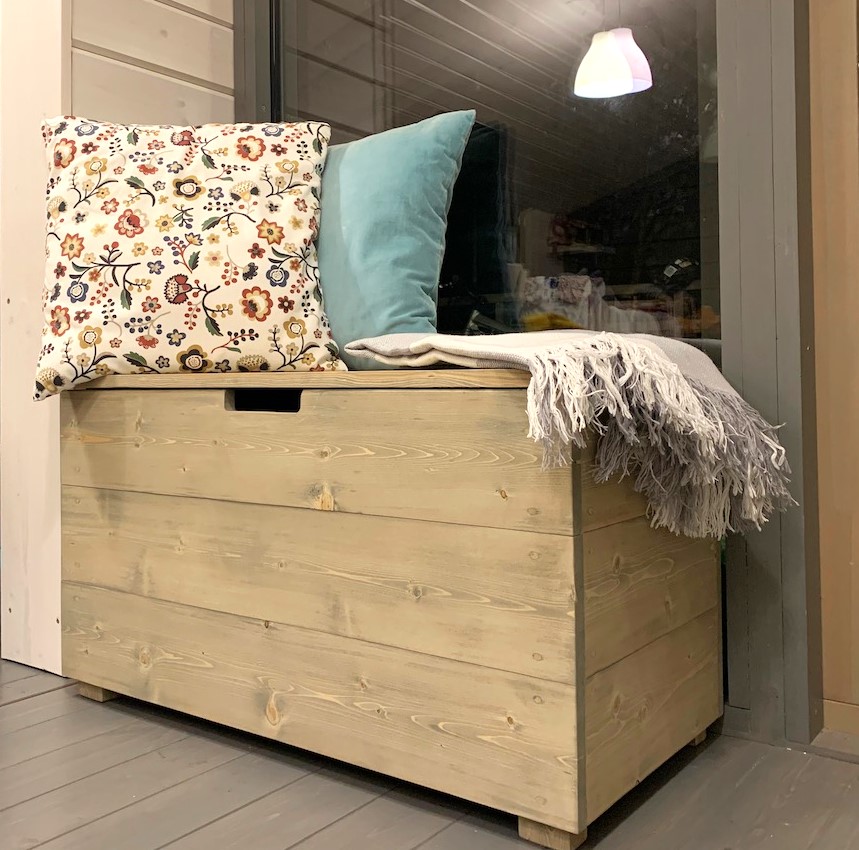
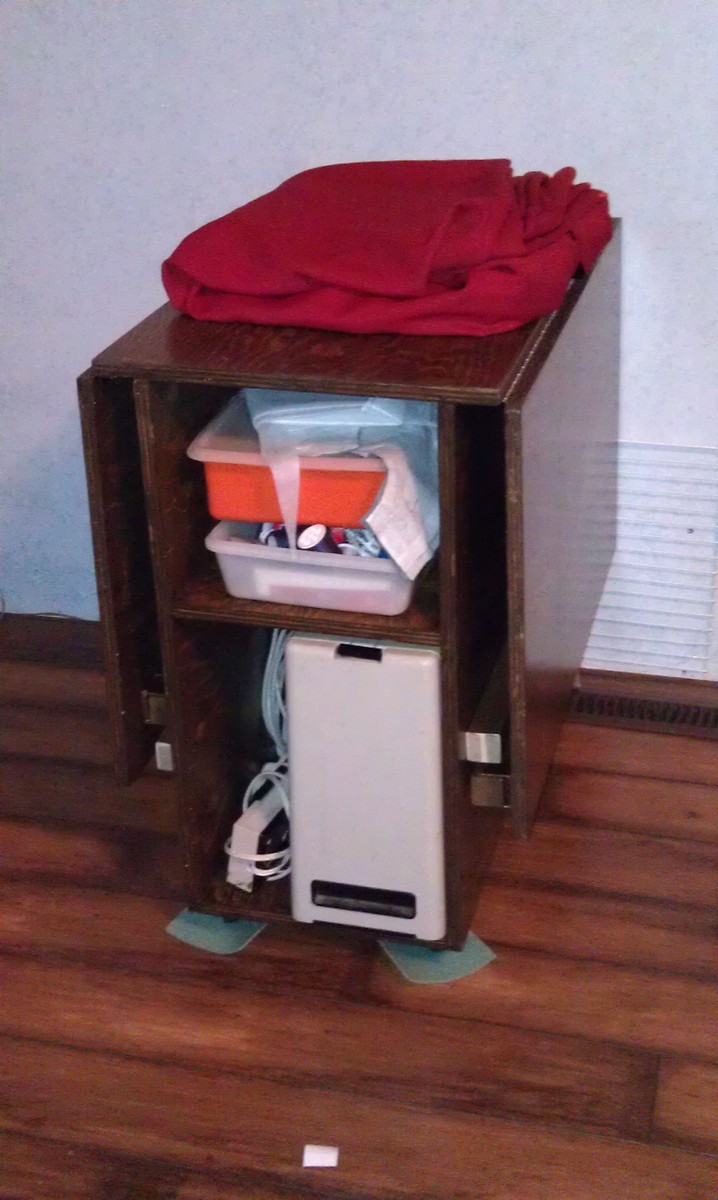
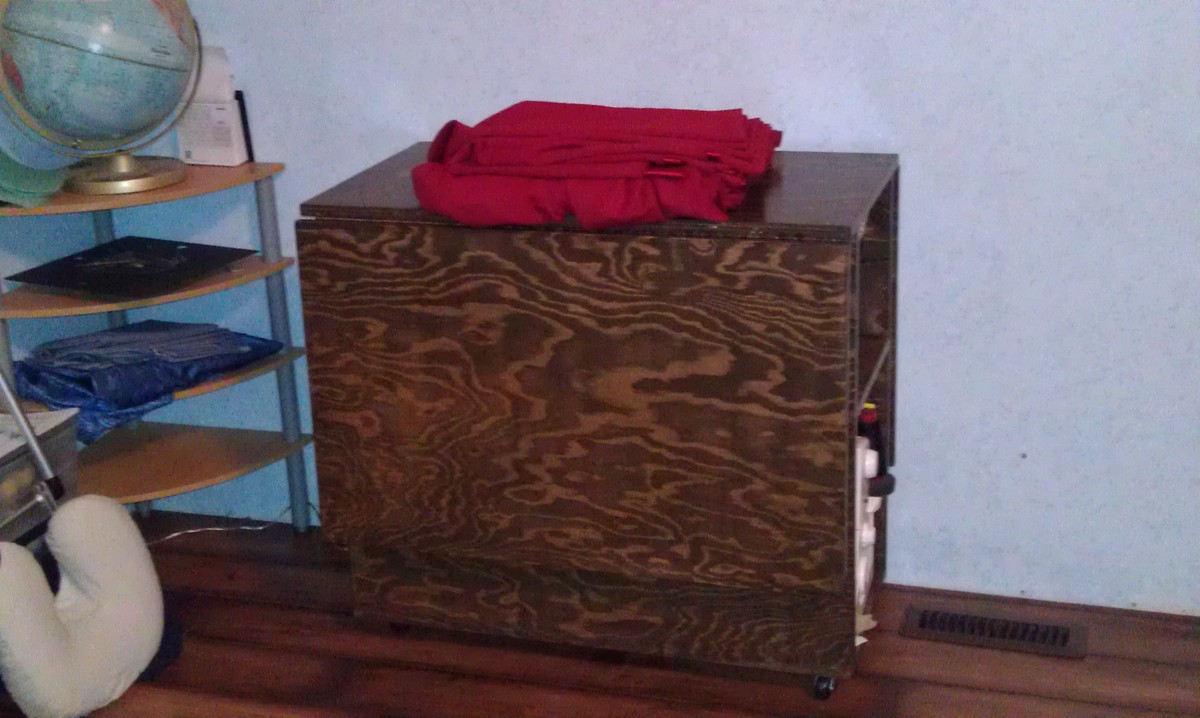
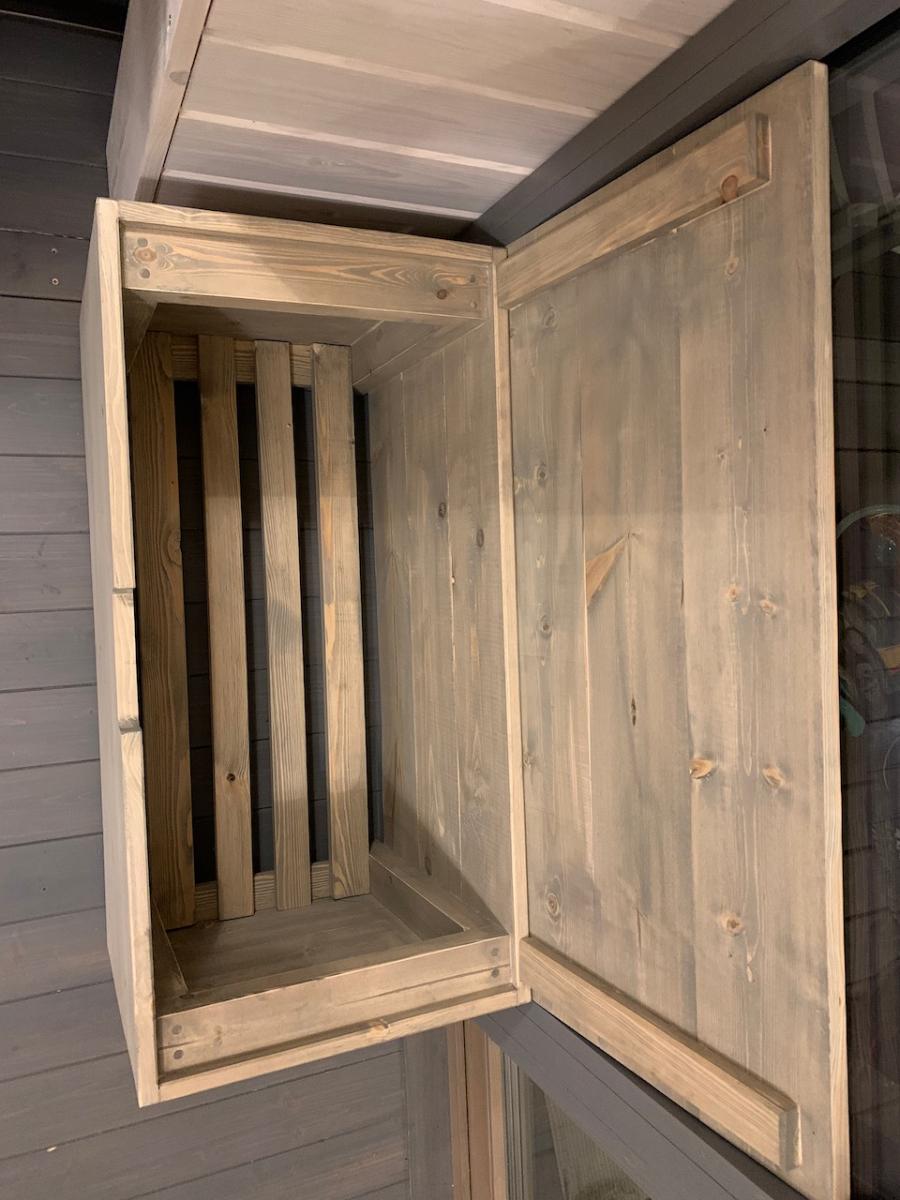
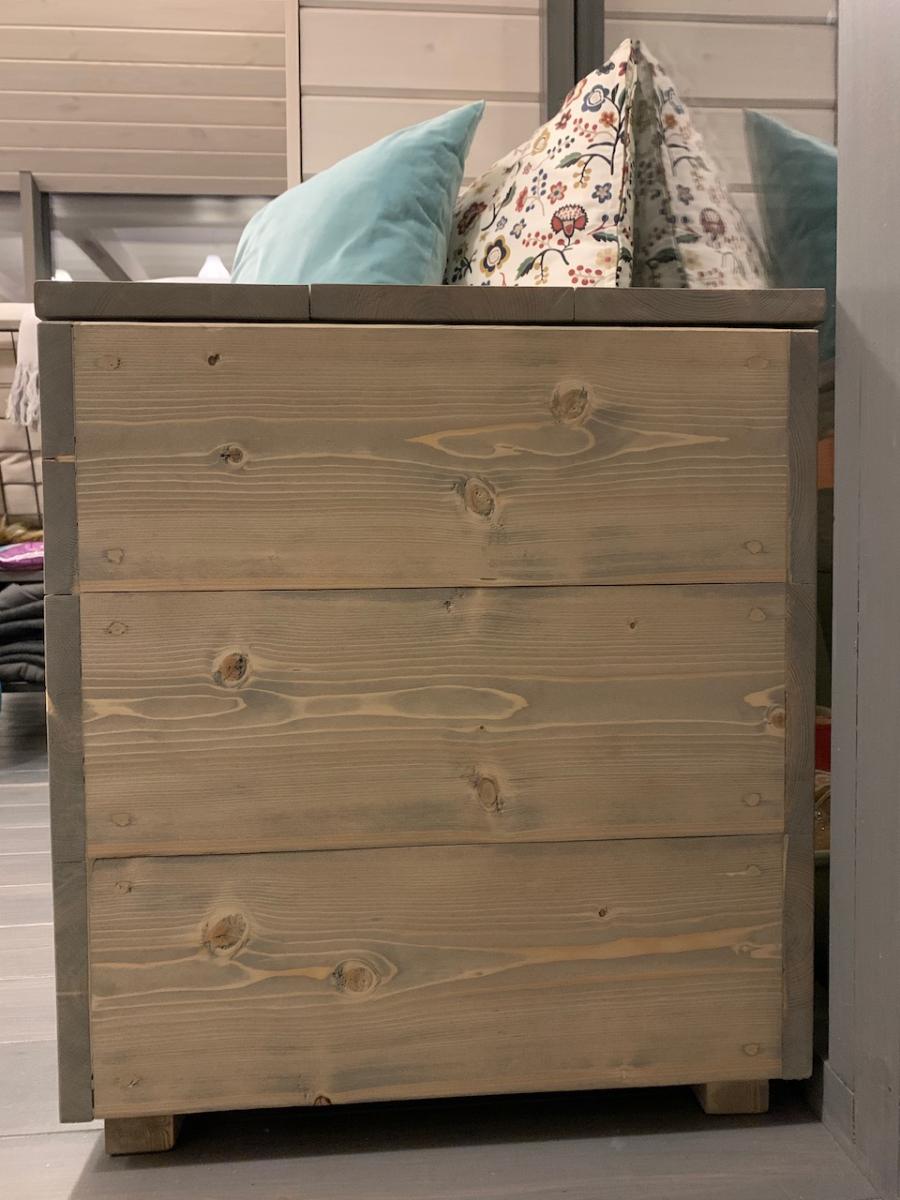
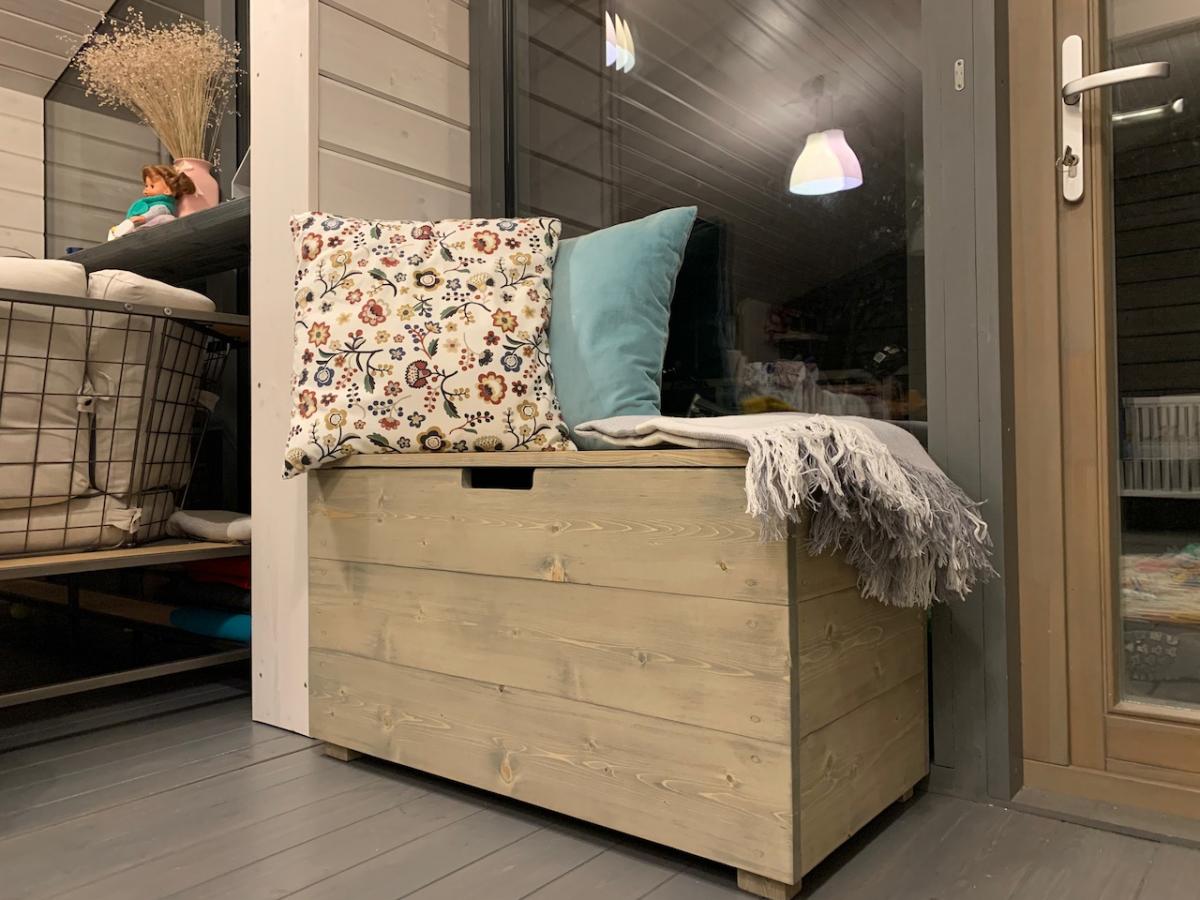
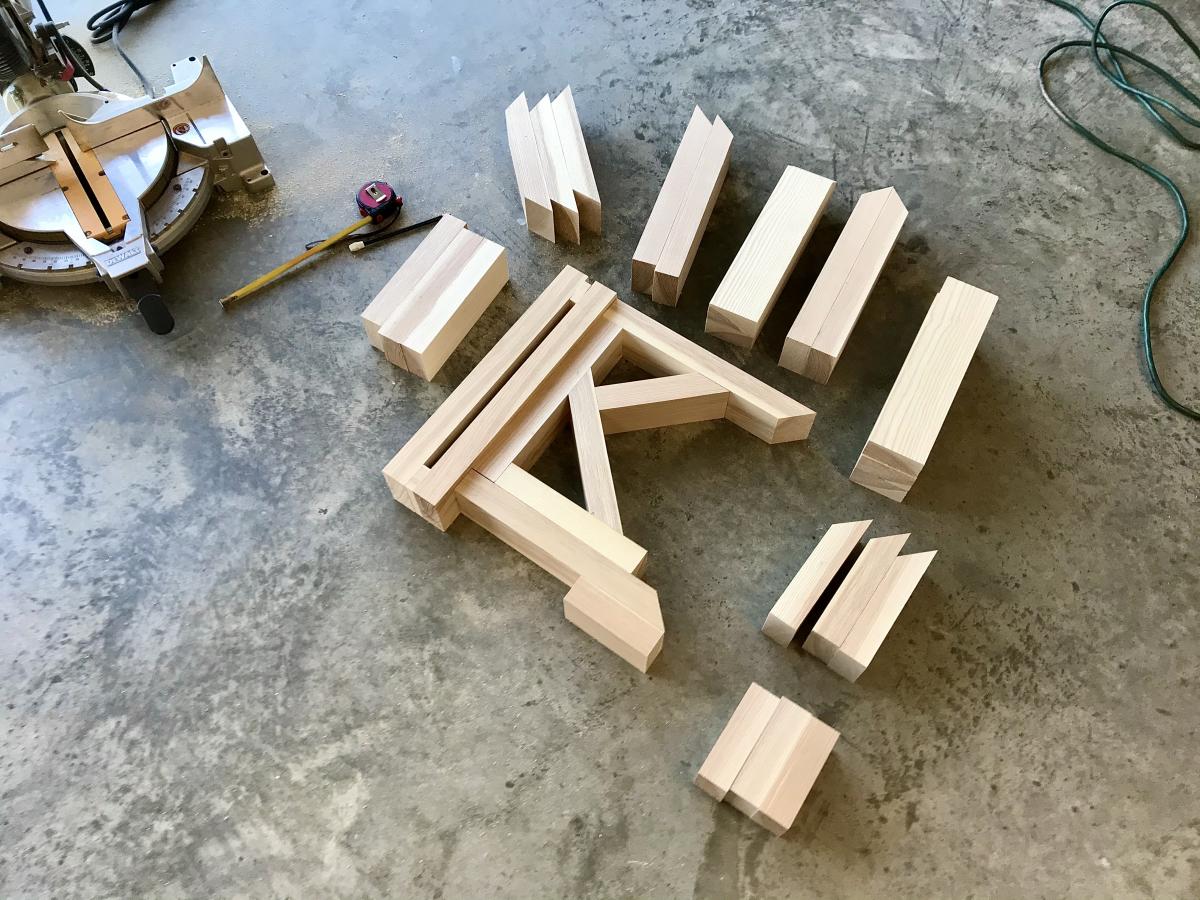
Super useful chest for winter clothes ! Sand it for perfect smooth indoor use, hide all screws. Thank you for plans.

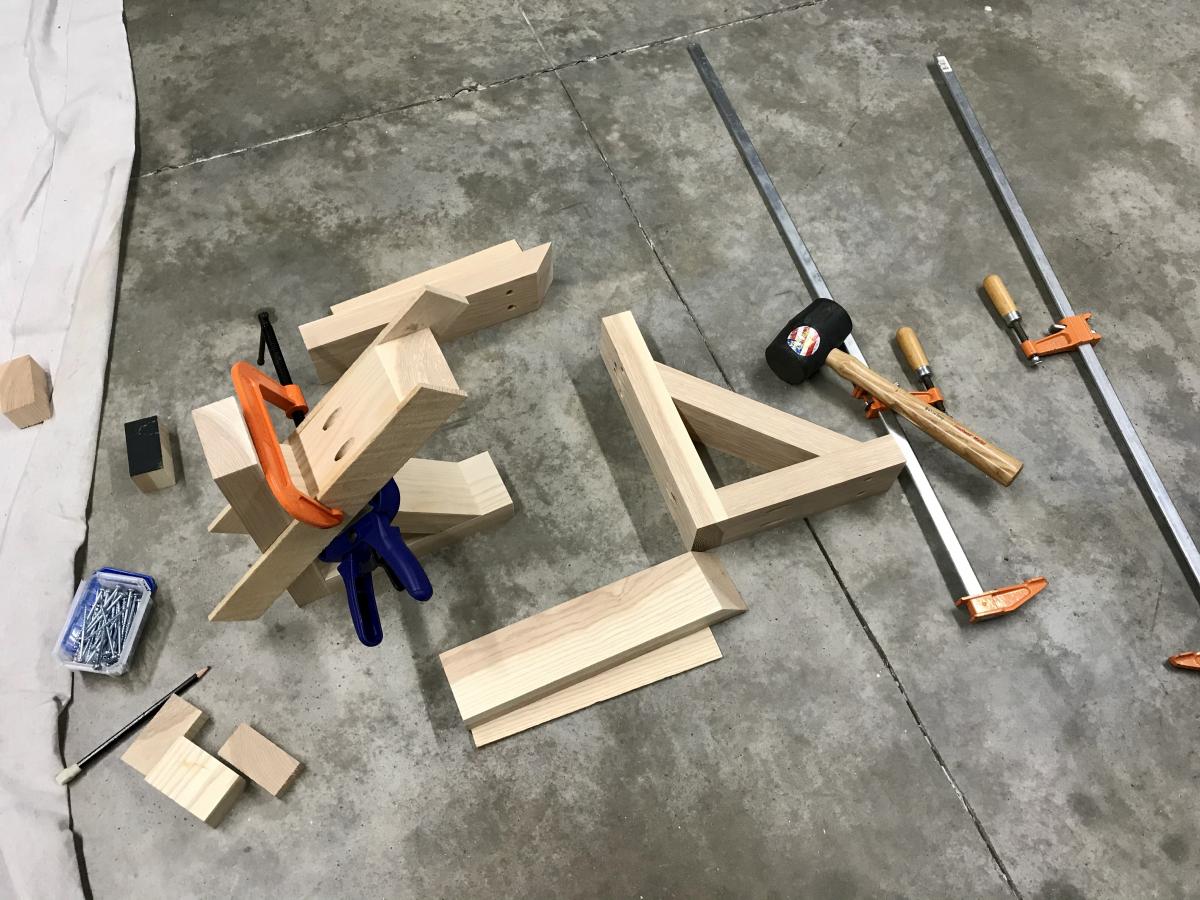
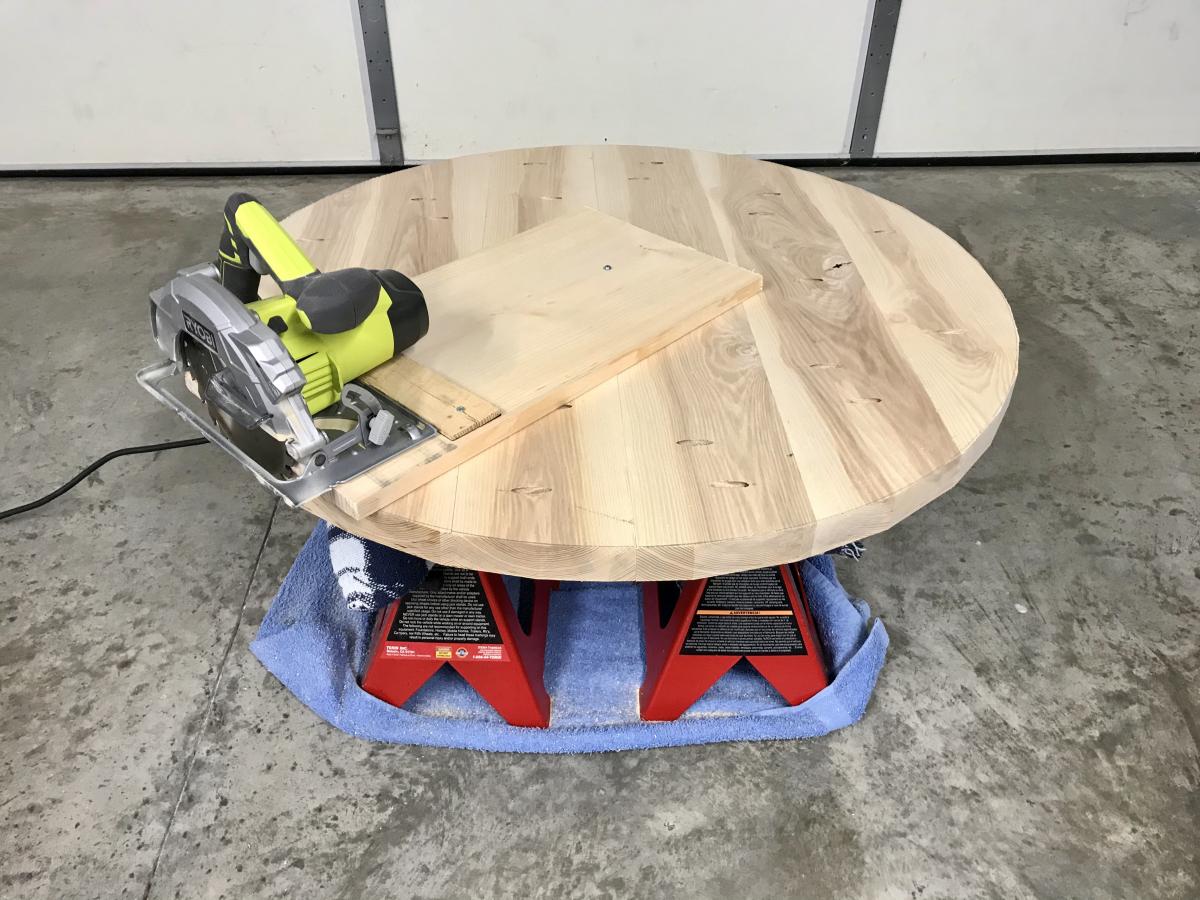
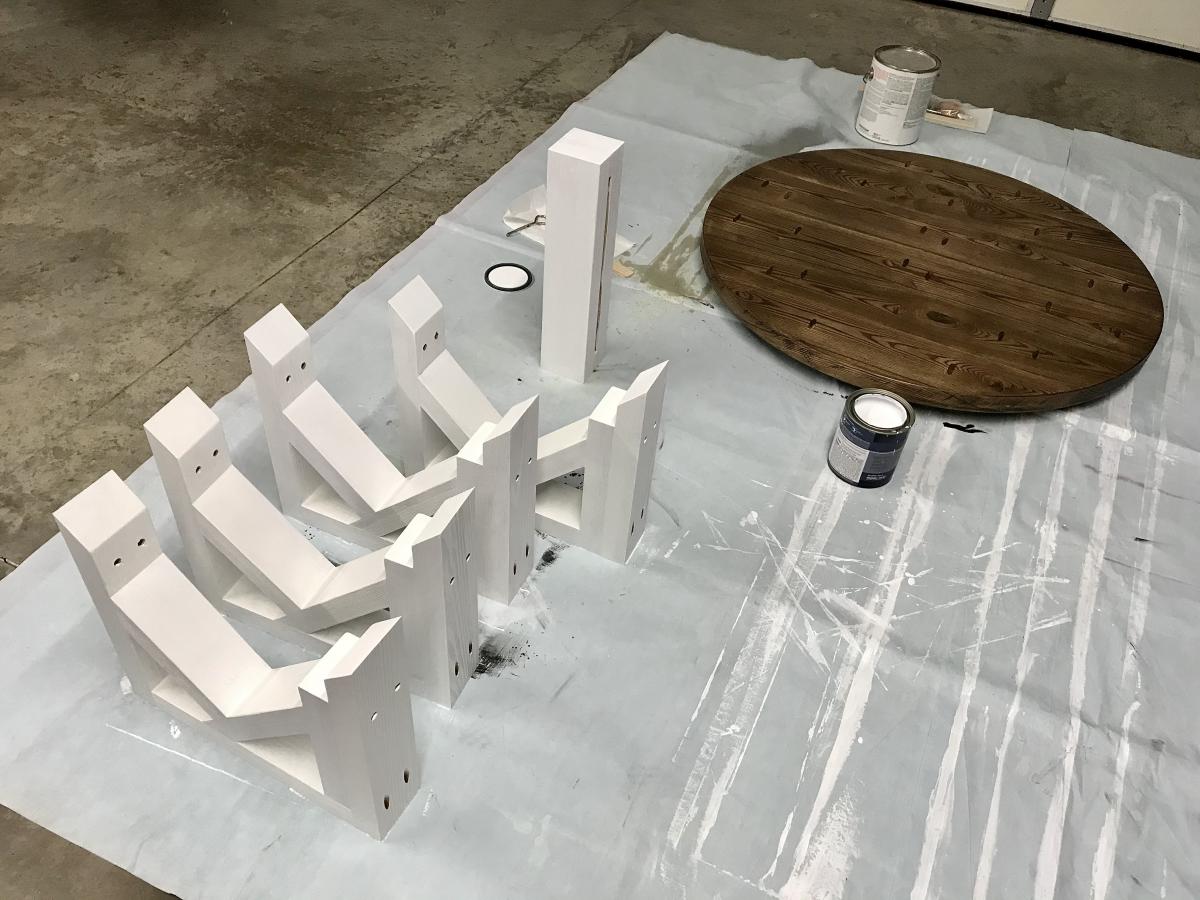
Here is Ana White’s round farmhouse table miniaturized into a coffee table measuring 18” in height and 36” in diameter using hardwood Ash.
The table top construction was slightly simplified by screwing six (1.5” x 6” x 36”) panels together. The circular saw jig setup worked out well.
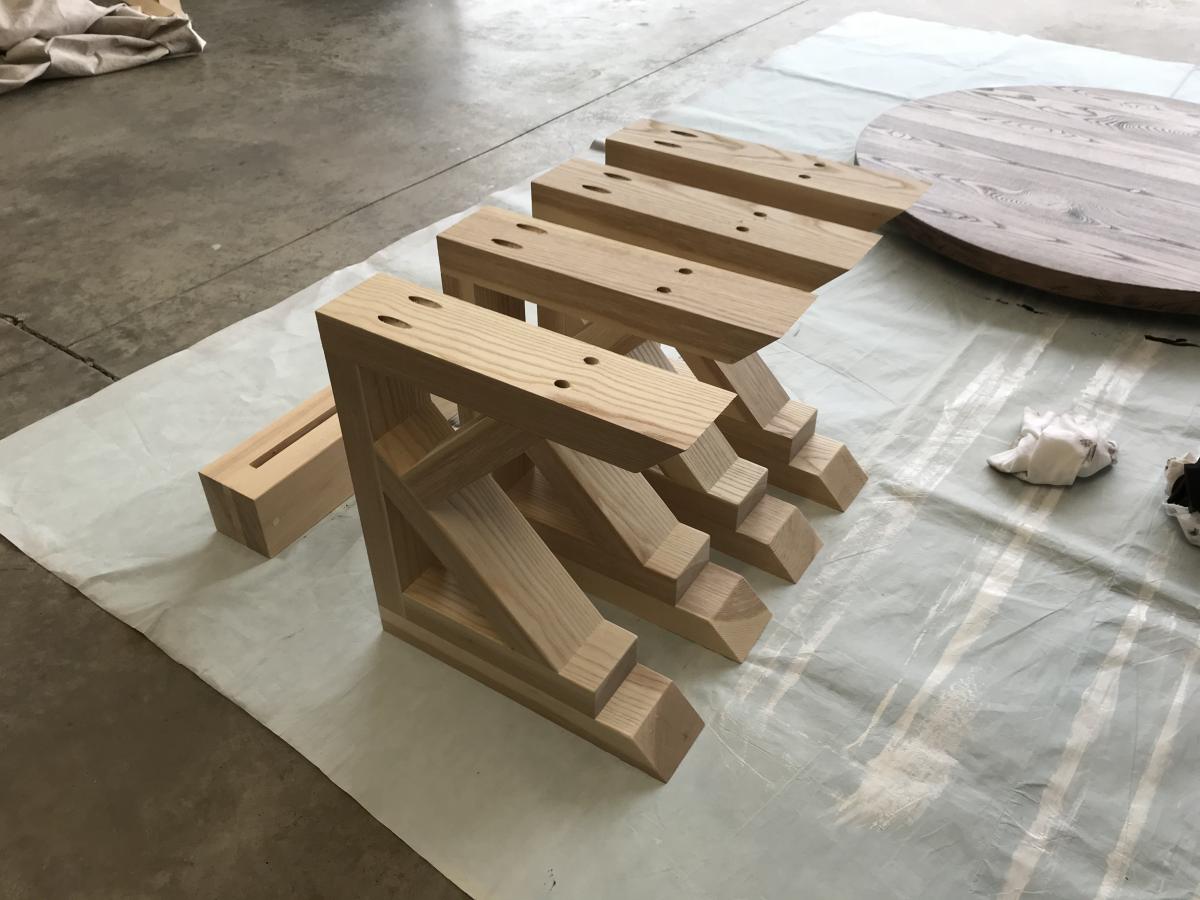
A Kreg jig and a variety of clamps were instrumental in securing clean, tight joints for the base.
Thanks for the inspiration and useful tips on your site!
Tue, 12/08/2020 - 11:25
Stunning mini version, love this coffee table!
Sun, 01/10/2021 - 19:59
Hi, would you be willing to share what measurements you used to make the smaller base? TIA!
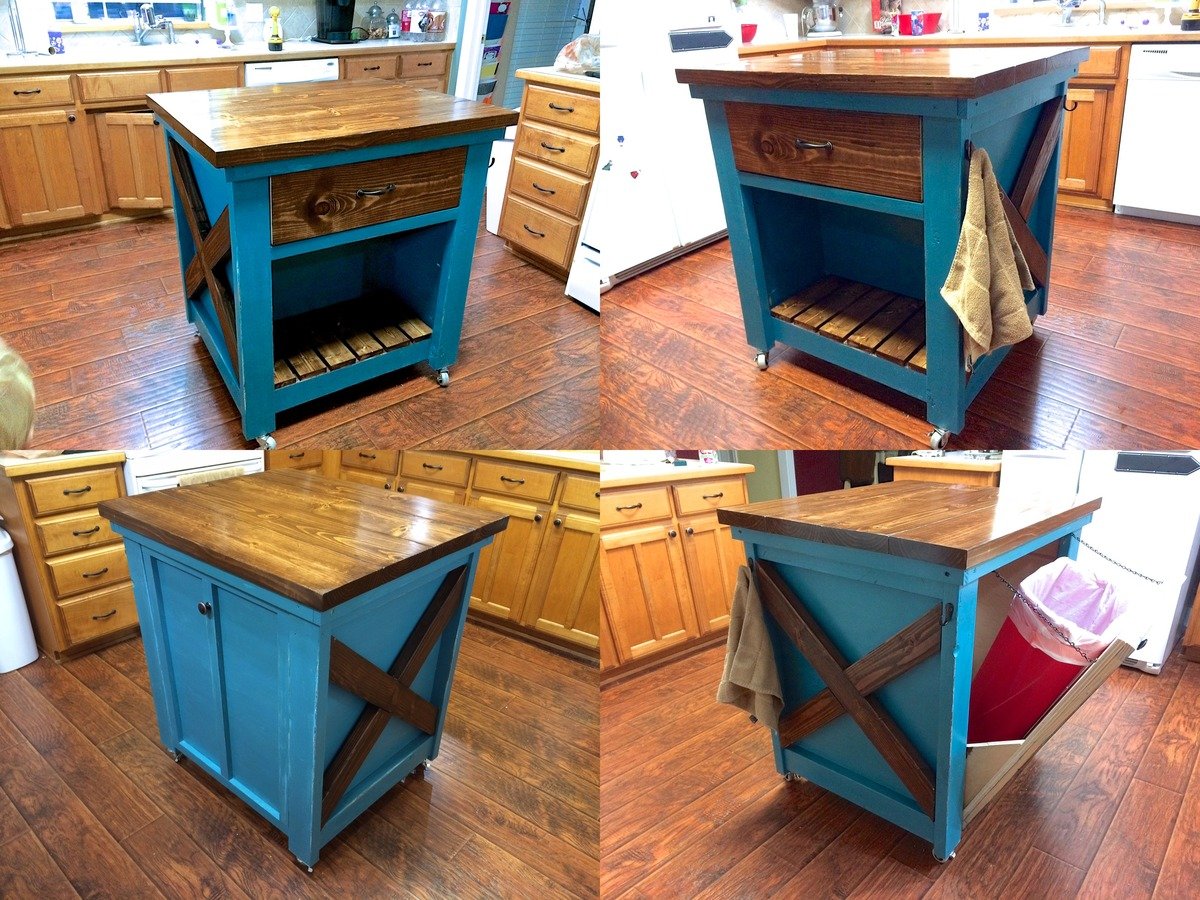
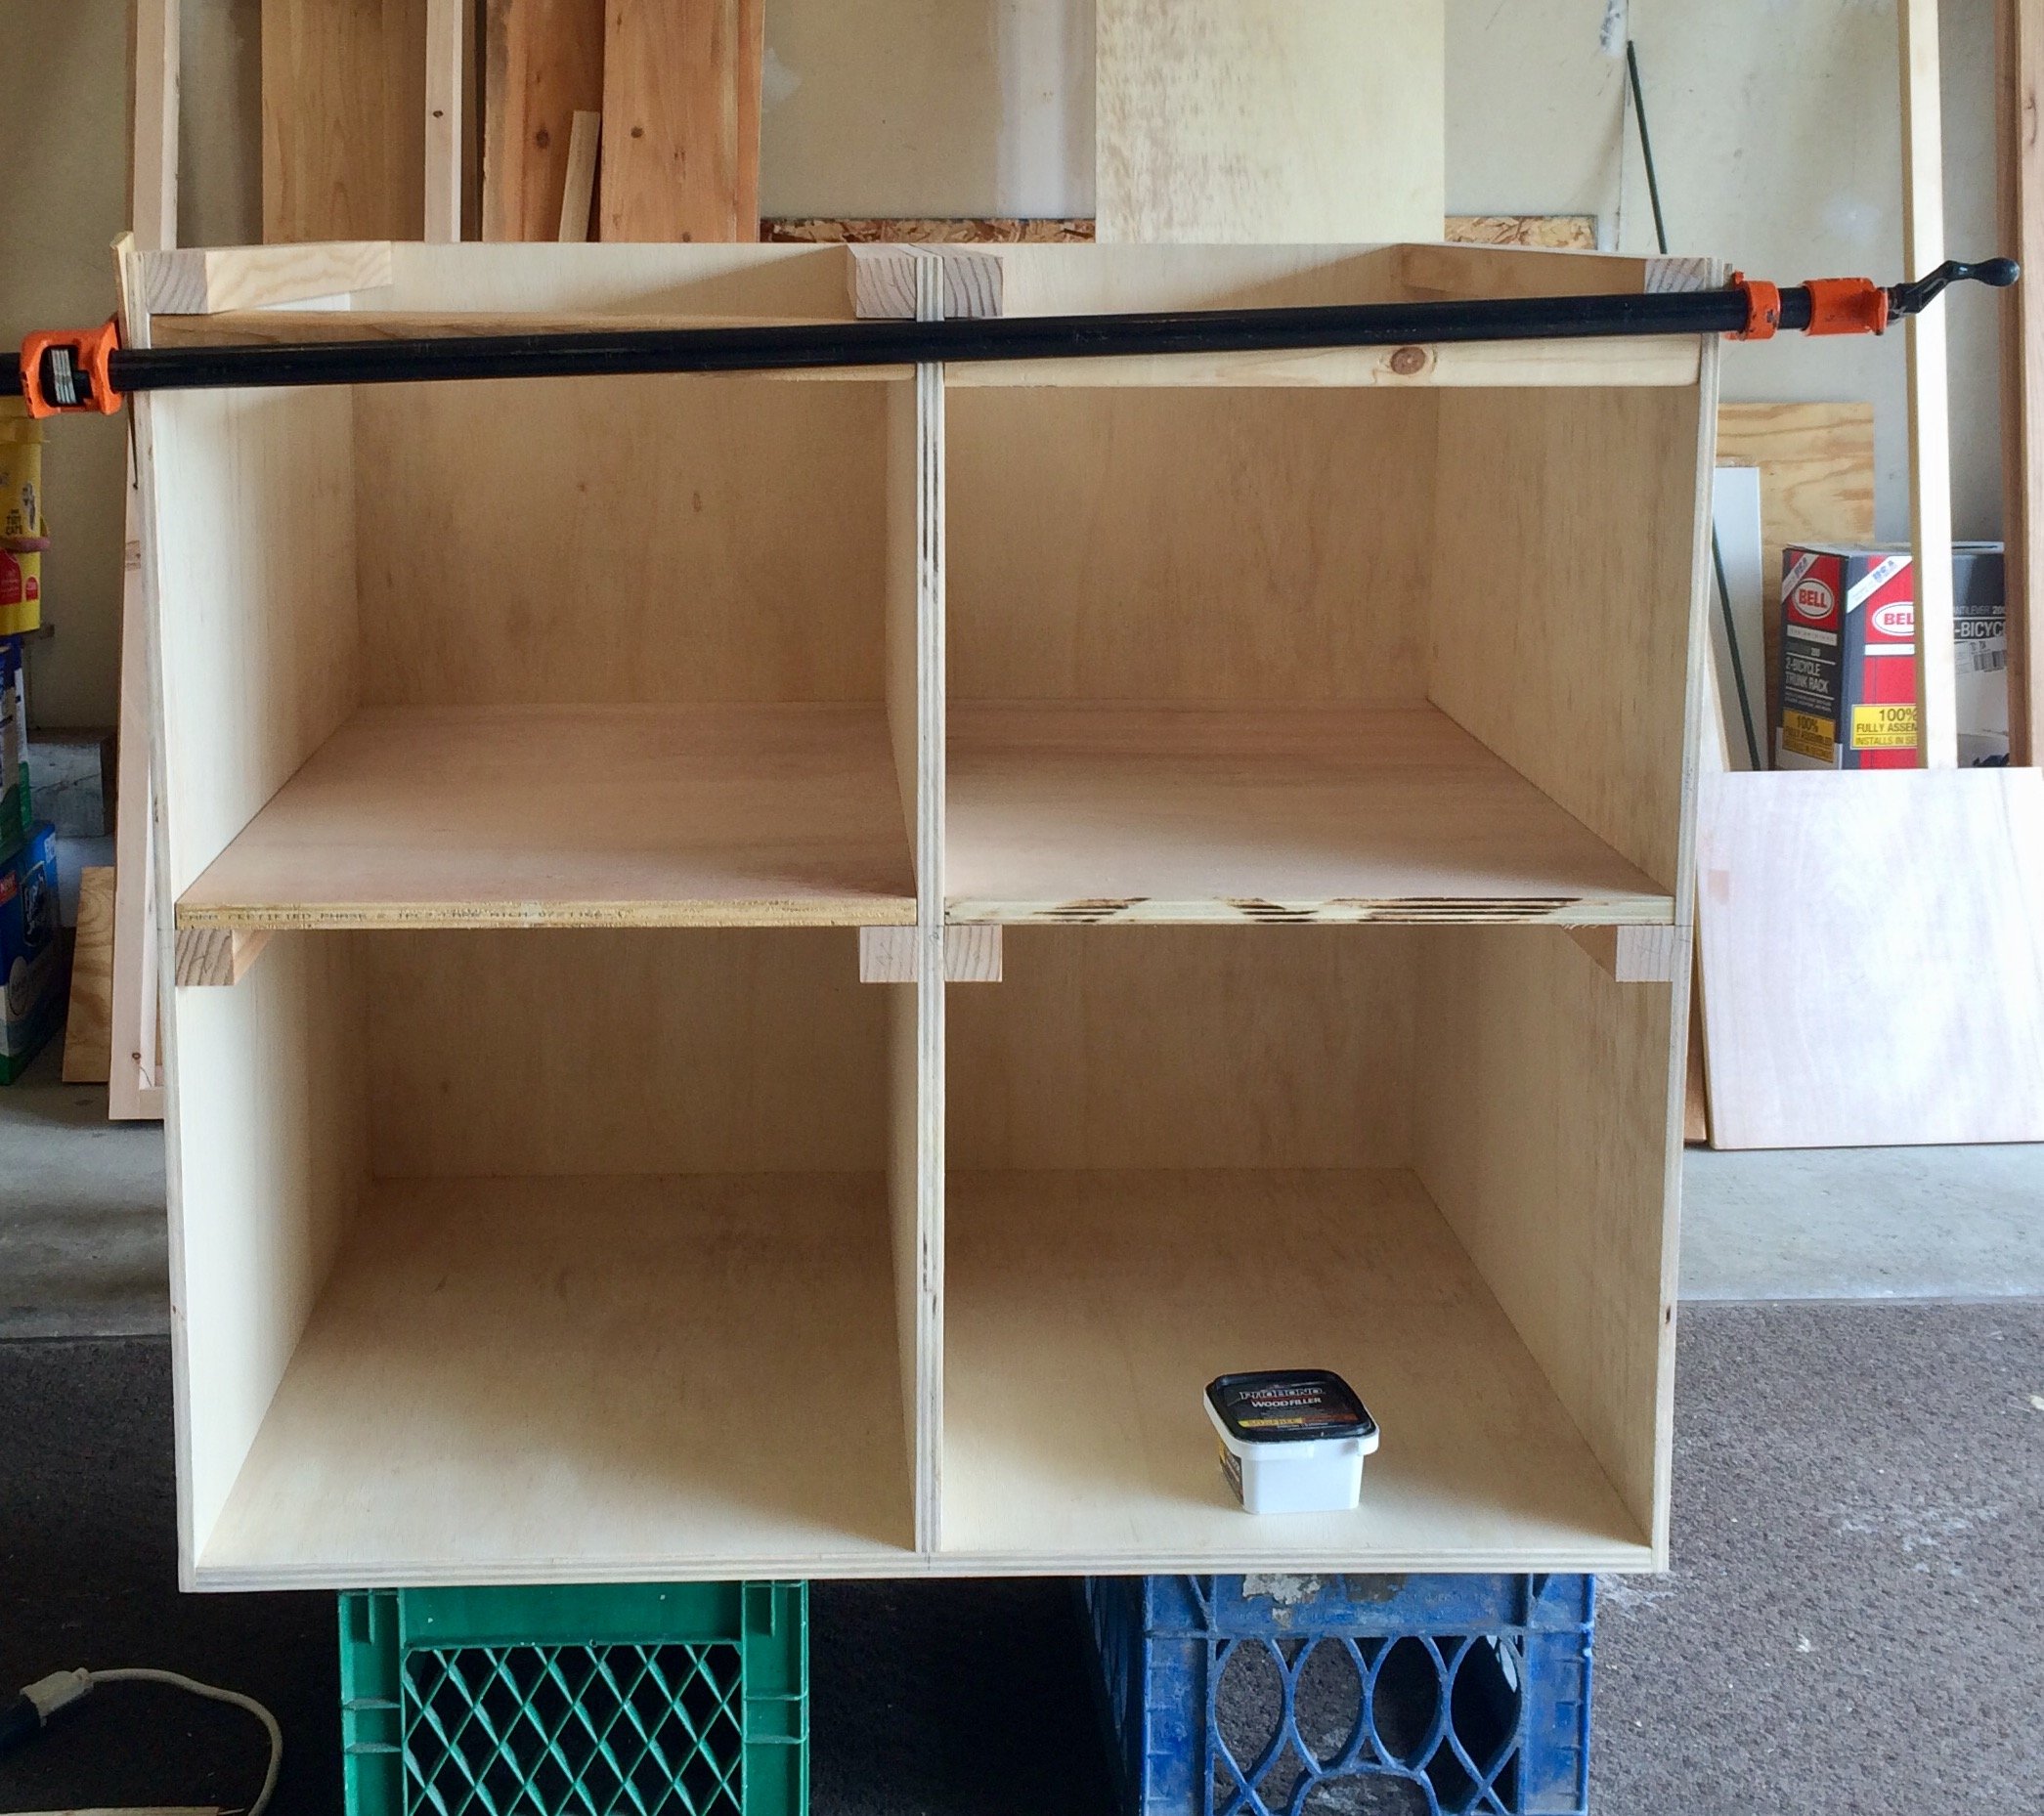
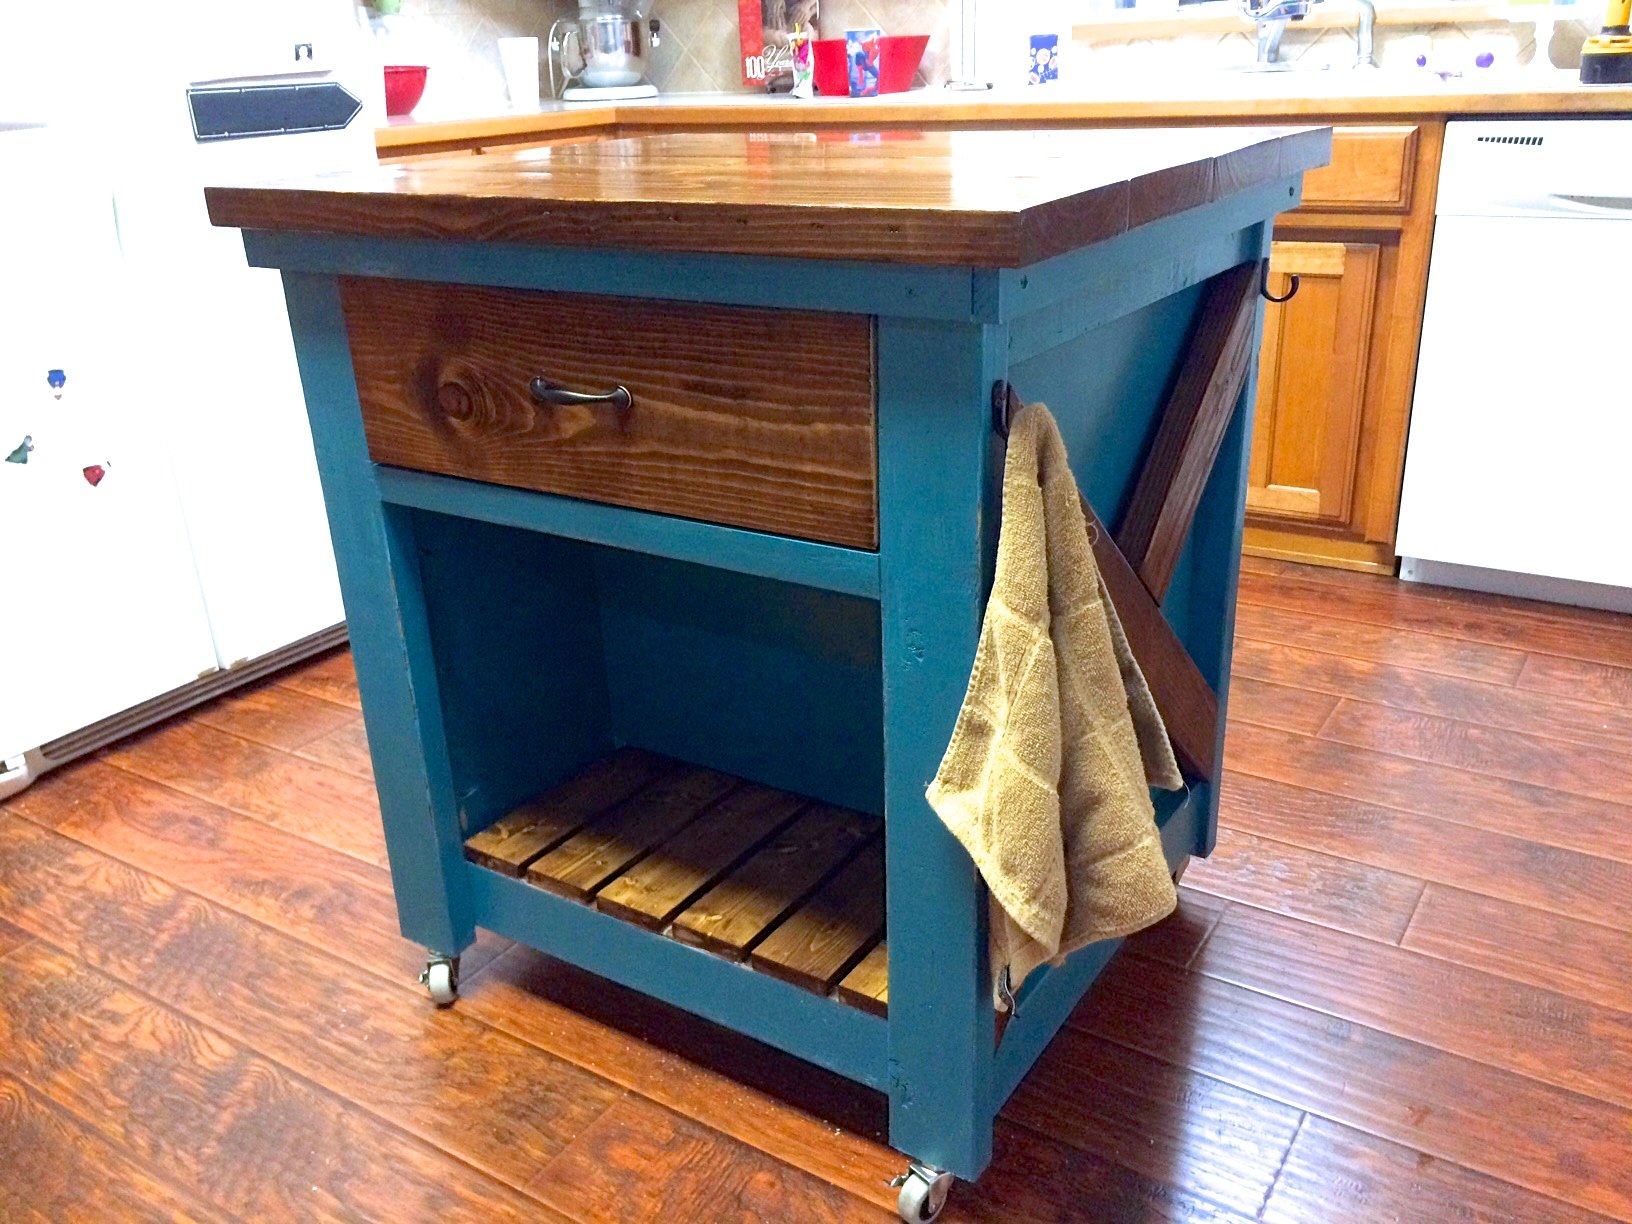
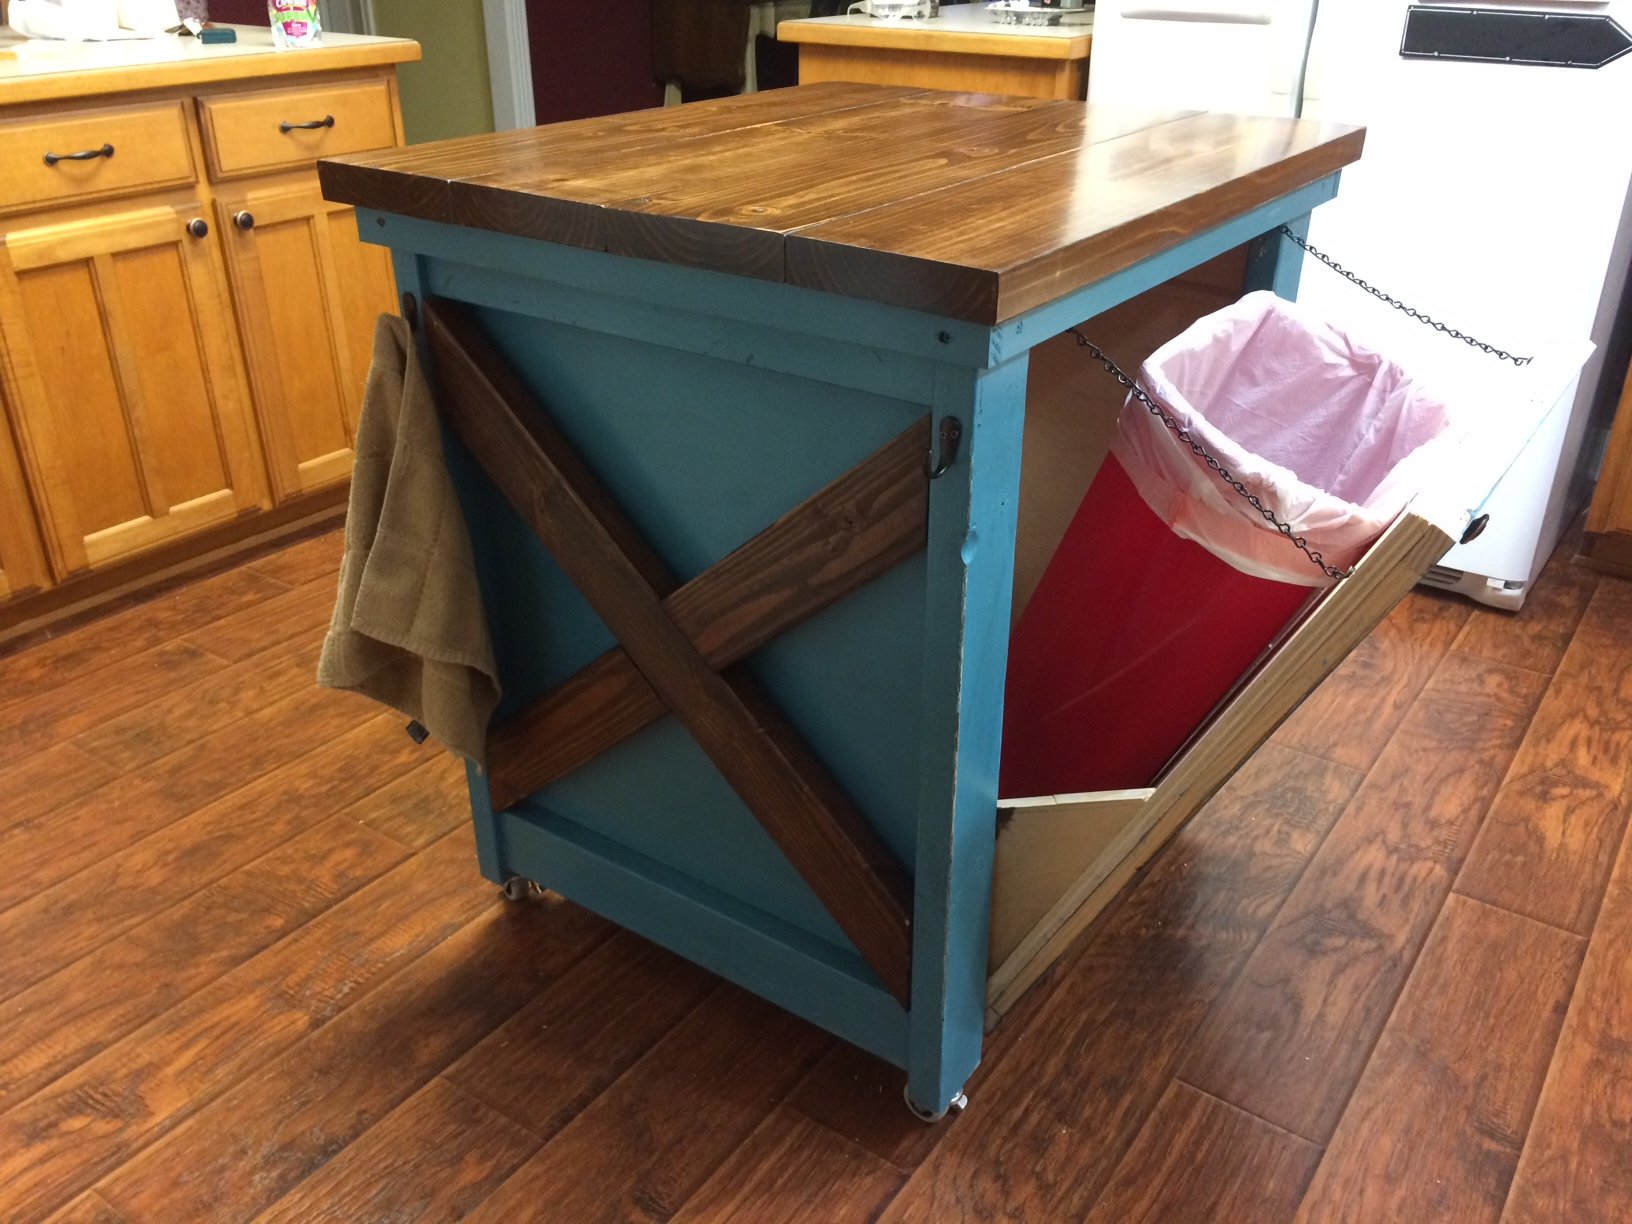
Well this was definitely the most challenging so far because we decided to modify the kitchen island plans to incoporate the tilt out trash bin. Very pleased with the results. Extended the back of the island to accomodate a 11" deep trash bin. Slim trash cans fit perfect. Found a gift wrapping bin for half price after Christmas and it is a perfect fit and 13 gallon bags fit great.
The x's were definitely a challenge because it changed the angles and it would have been best to just mark it with the board before finishing the whole box.
Now we just need to paint the cabinets and change the countertops and paint the kitchen walls. Not happening anytime soon, but at least the island is done.

Mon, 01/05/2015 - 19:18
Thanks Ana! We love your site. We've never built anything before finding it a couple months ago and now we can't stop.
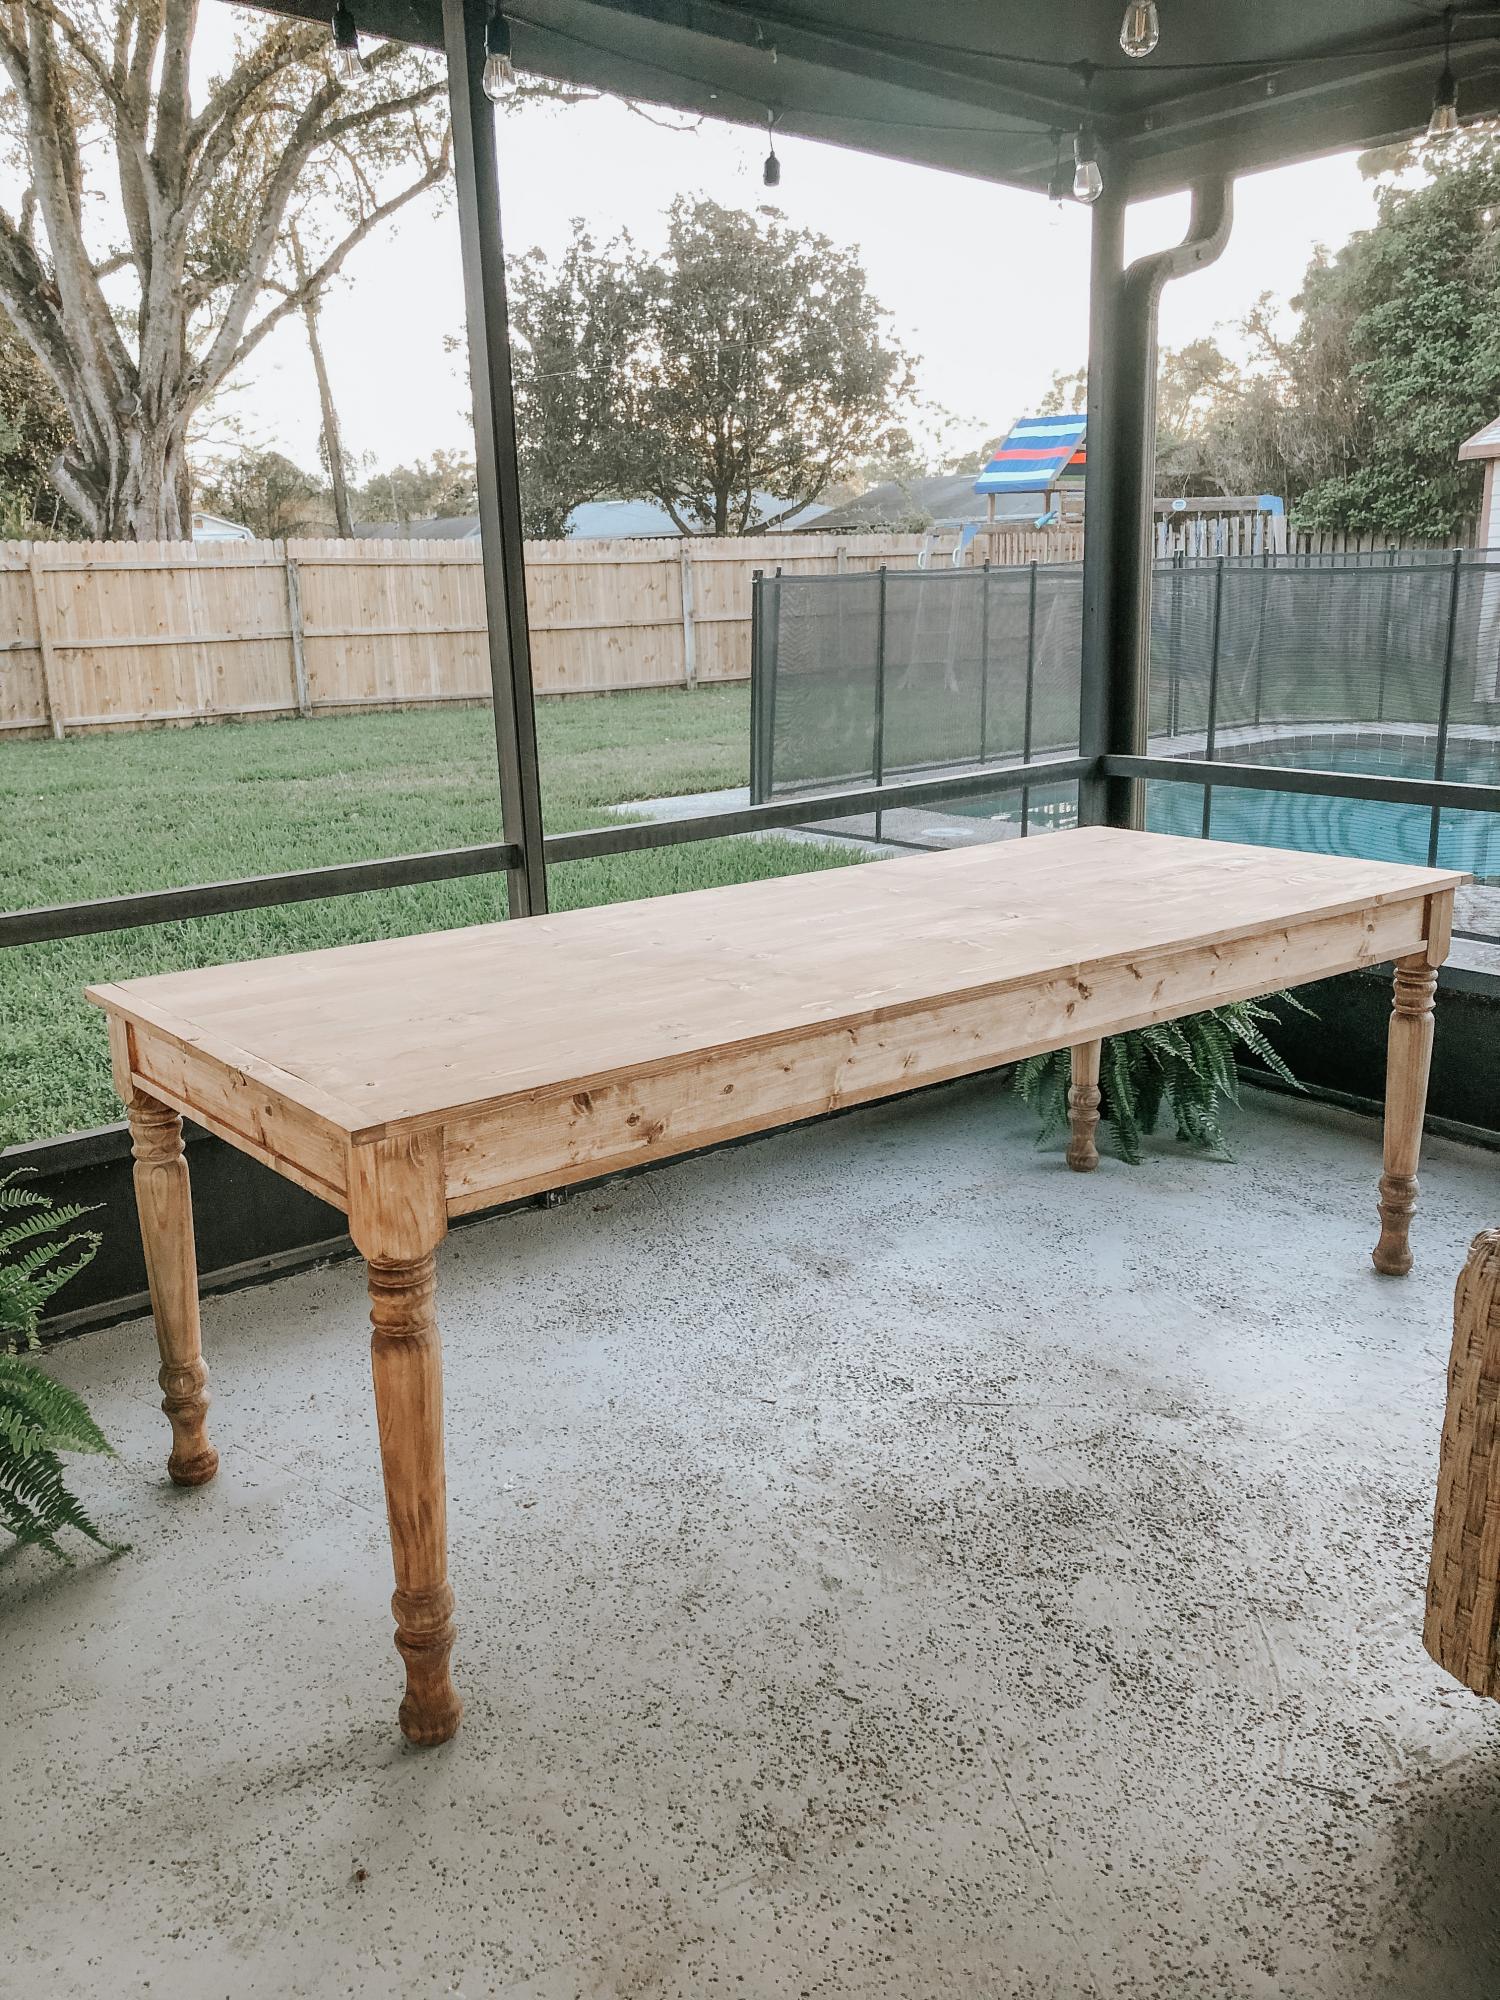
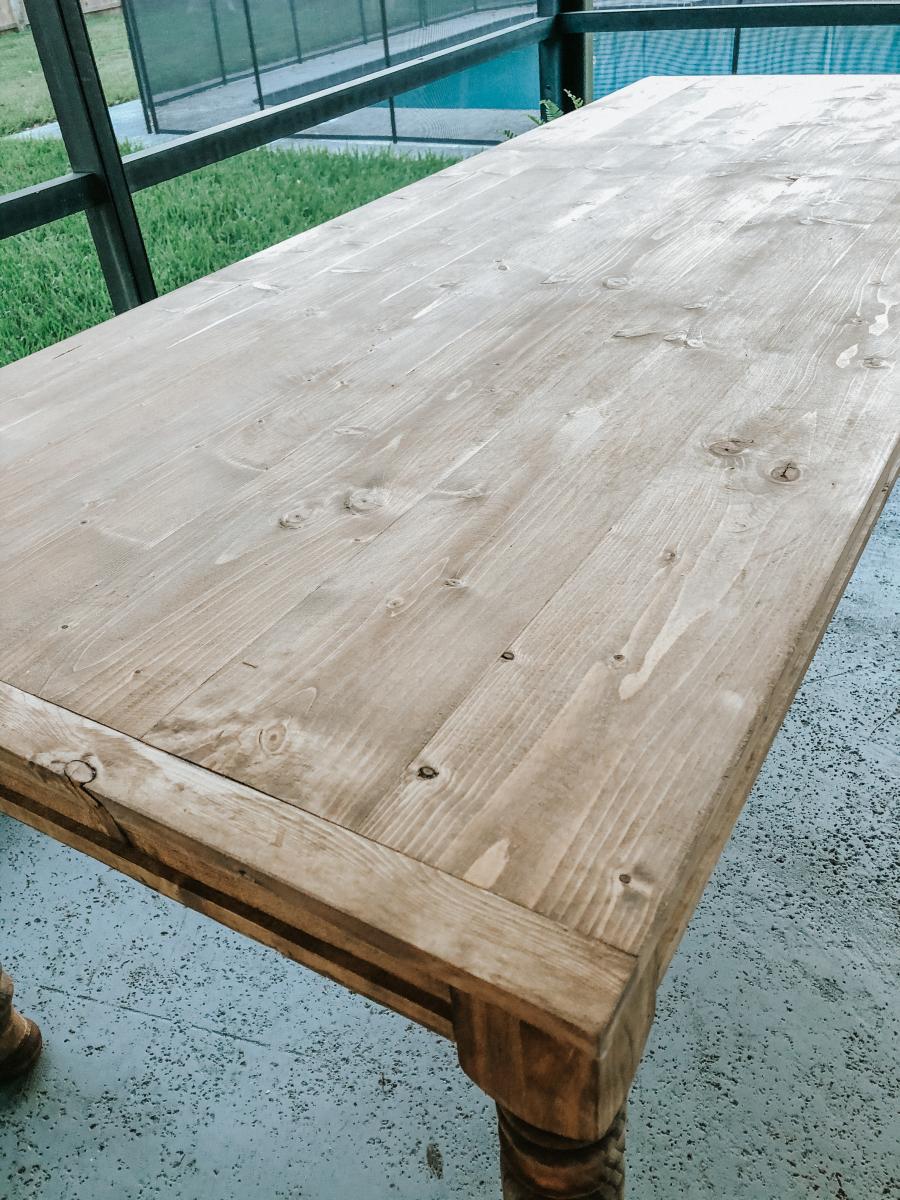
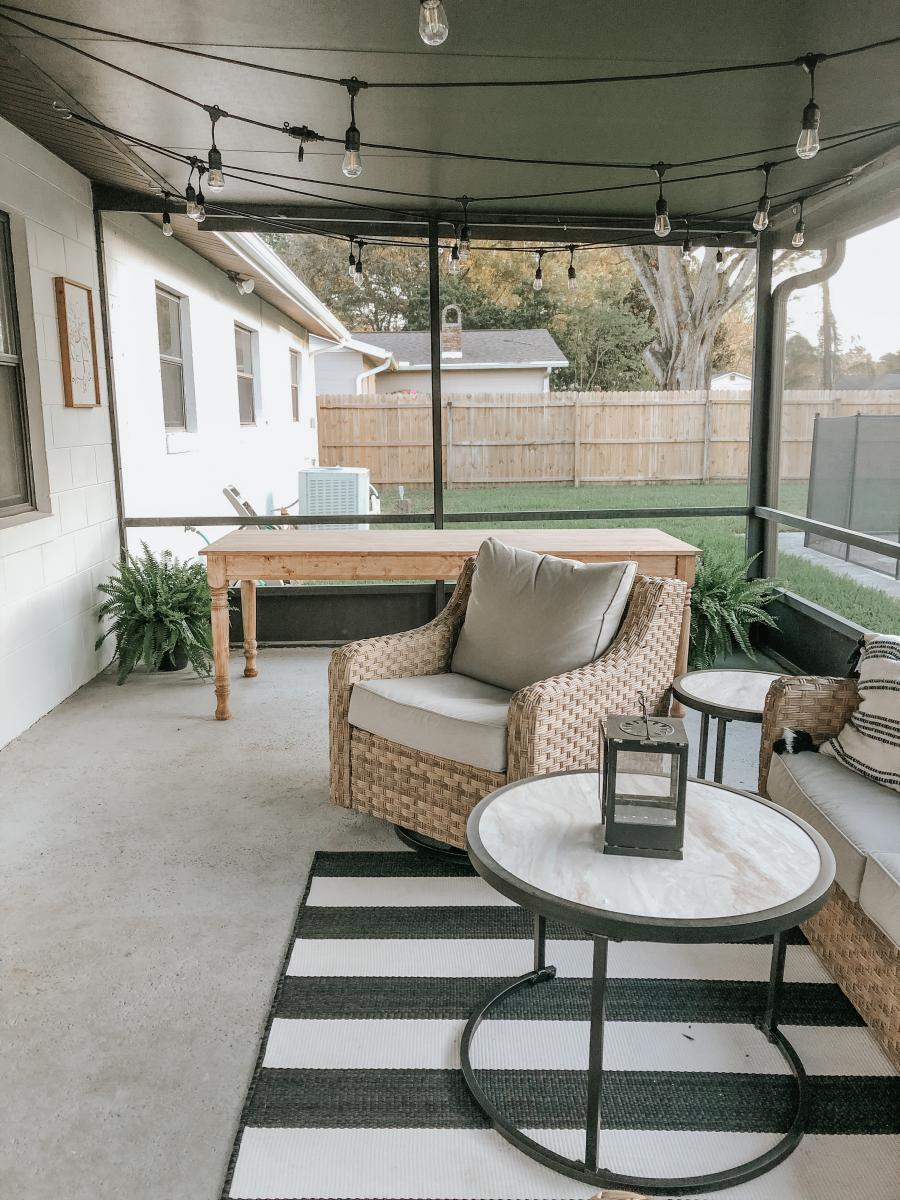
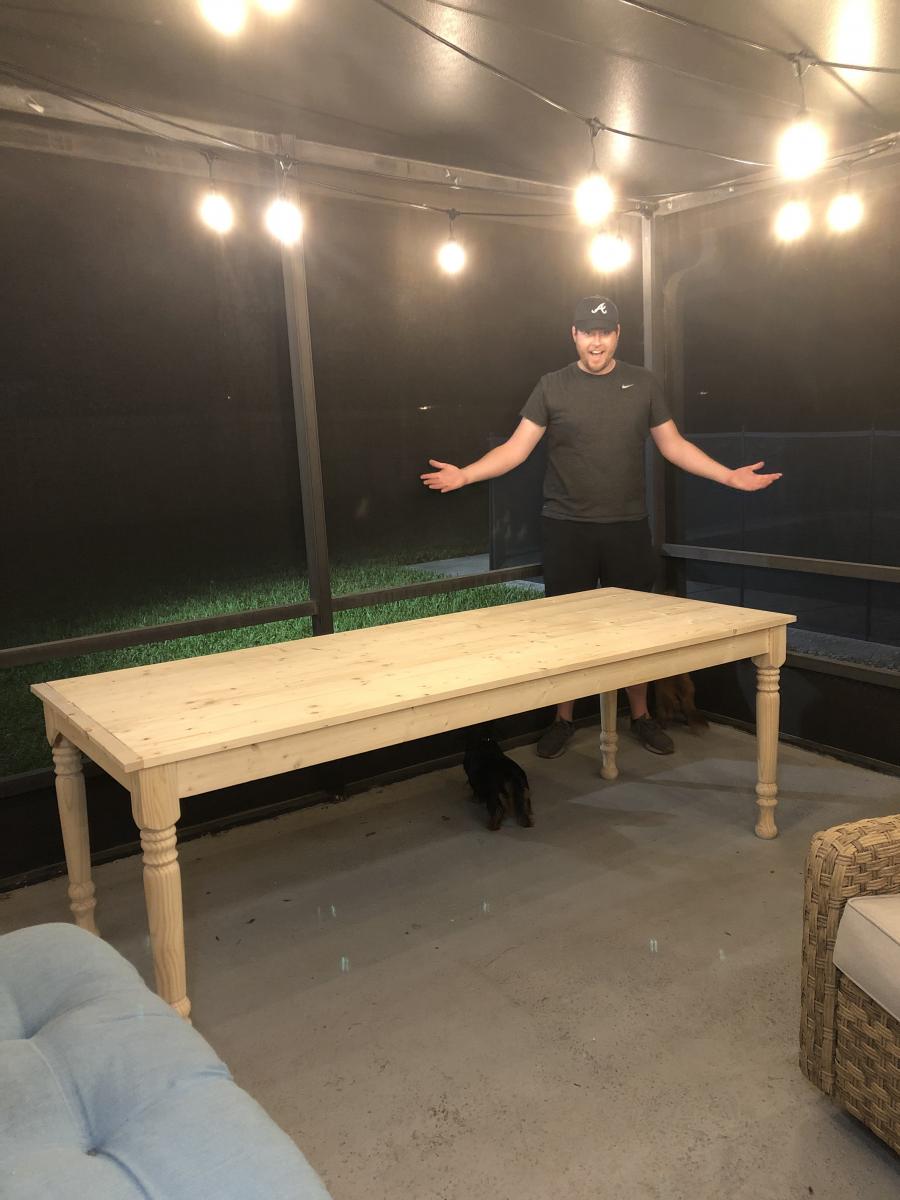
My wife and I were wanting a large outdoor farmhouse table that looked stylish, and like it could have been bought at Pottery Barn or another high-end furniture store. We found this plan that Ana white had made "Small Old English Style Farmhouse Dining Table". We often host groups from our church and will have 15-20 people on our patio or around our pool area, so we needed a bigger table... I just made some modifications to make it longer (7ft) in length to better fit our space and allow for more people to sit.
To make this plan longer, I simply adjusted the cut-list on the long 1x2s, 1x4s, and 1x6; and added a crossbar to prevent the longer tabletop from sagging. I also added the diagonal corner struts to make the table a little sturdier.
Adjusted Shopping List:
4 - 1x2 @ 8ft
5 - 1x4 @ 8 ft
6 - 1x6 @ 8ft
Waterproof 1 1/4" Kreg screws (for outdoor use)
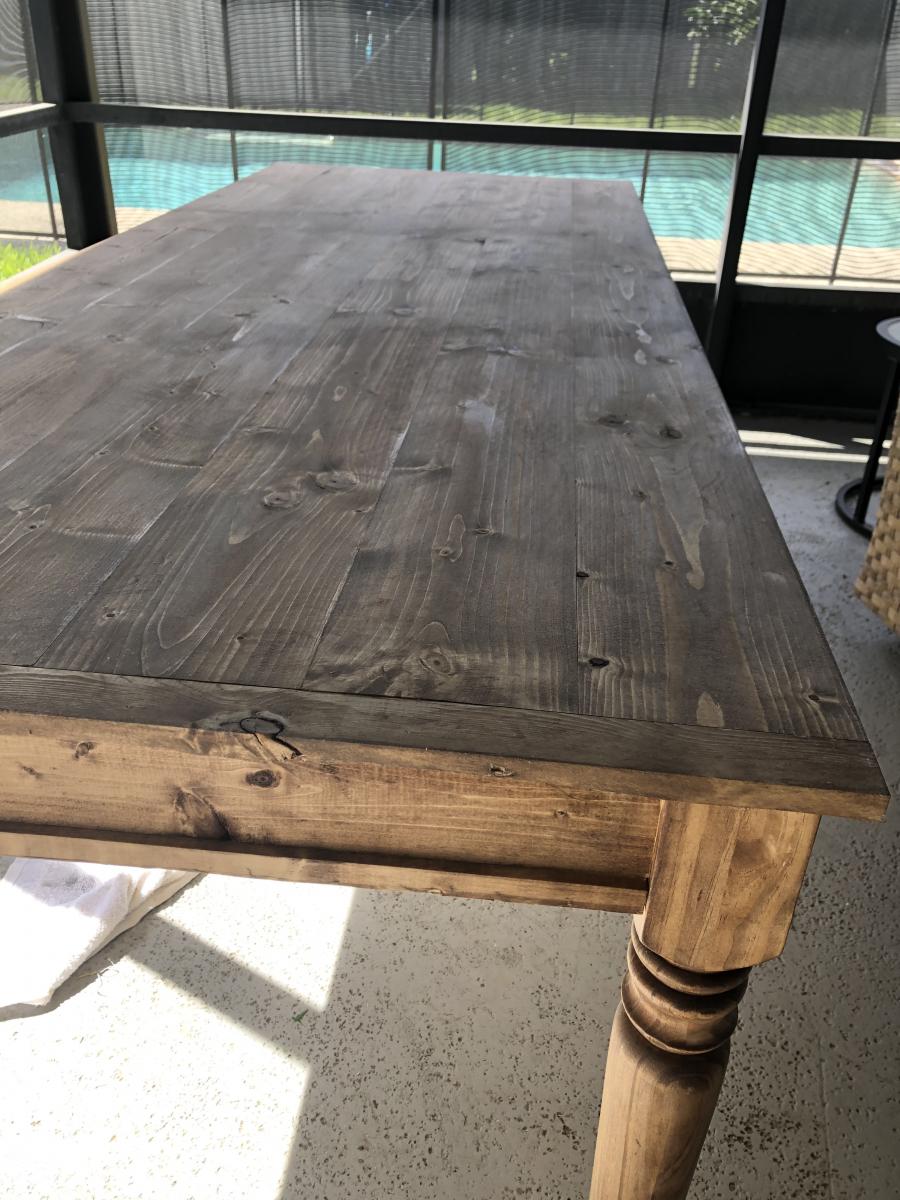
Minwax Weathered Oak
Minwax Vintage Grey
Adjusted Cut-List
• 2 - 1x2 @ 26.5"
• 2 - 1x2 @ 76.5"
• 2 - 1x2 @ ~33.25"
• 2 - 1x4 @ 26.5"
• 2 - 1x4 @ 76.5"
• 4 - 1x4 @ 7.25" w/ 45º miter (diagonal corner supports)
• 1 - 1x4 @ ~28" (Crossbar - I forget the exact measurement)
• 6 - 1x6 @ 82"
For seating we just bought some inexpensive farmhouse weather resistant chairs from Walmart:
https://www.walmart.com/ip/Yaheetech-Metal-Dinning-Chairs-Stackable-Cof…
Tue, 03/02/2021 - 08:46
Love the to see the increased length on this plan. thanks for sharing!