Community Brag Posts

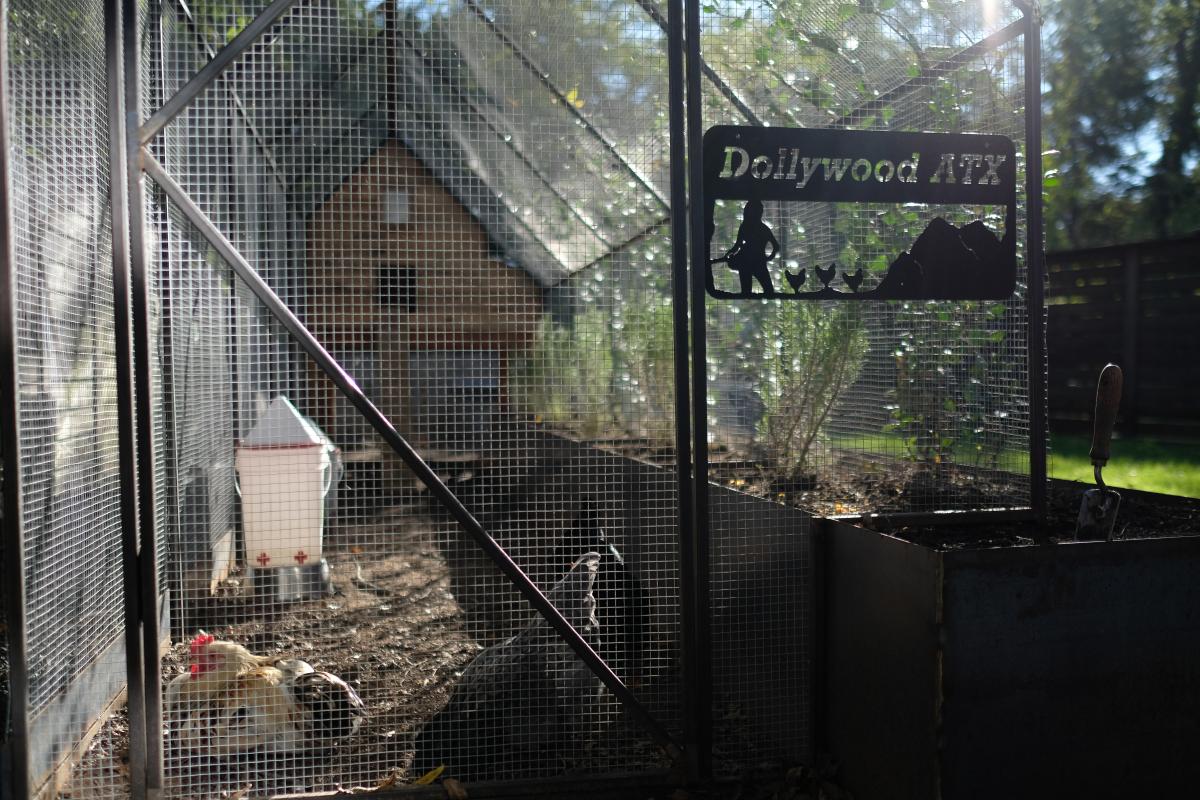
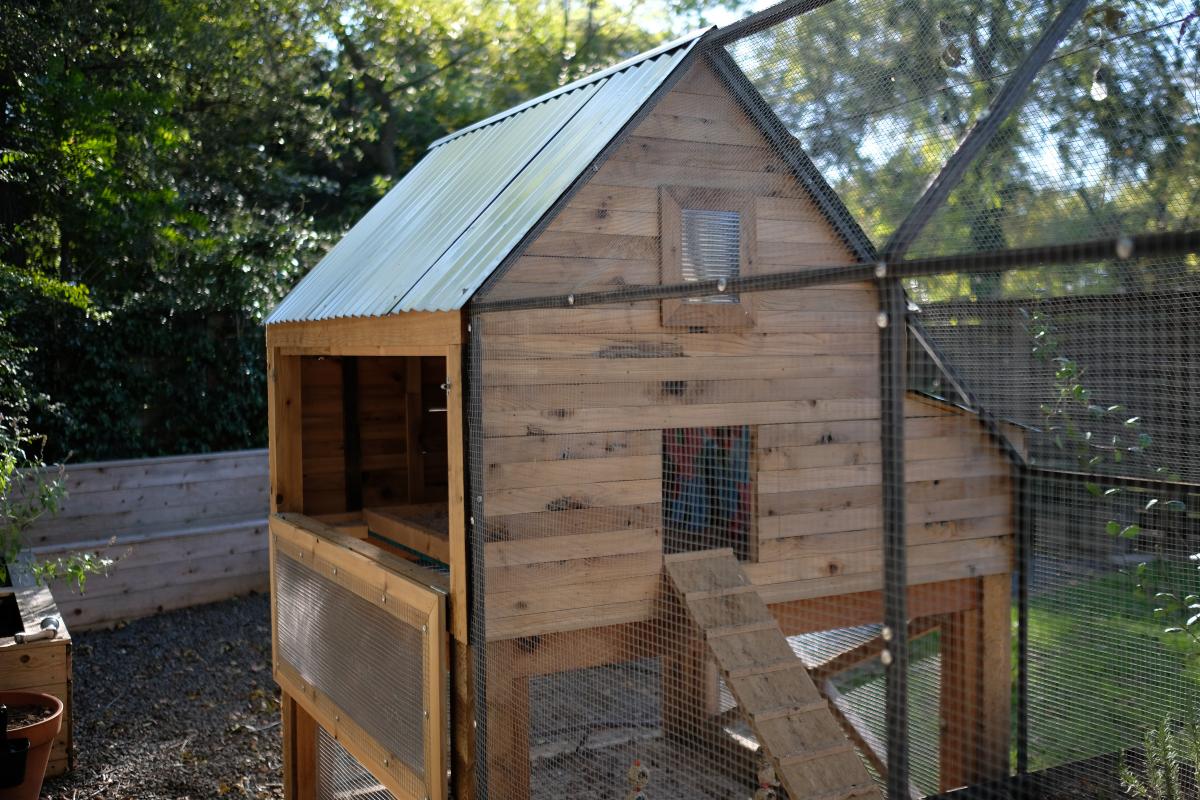
Our Chicken Coop (Aka Dollywood)
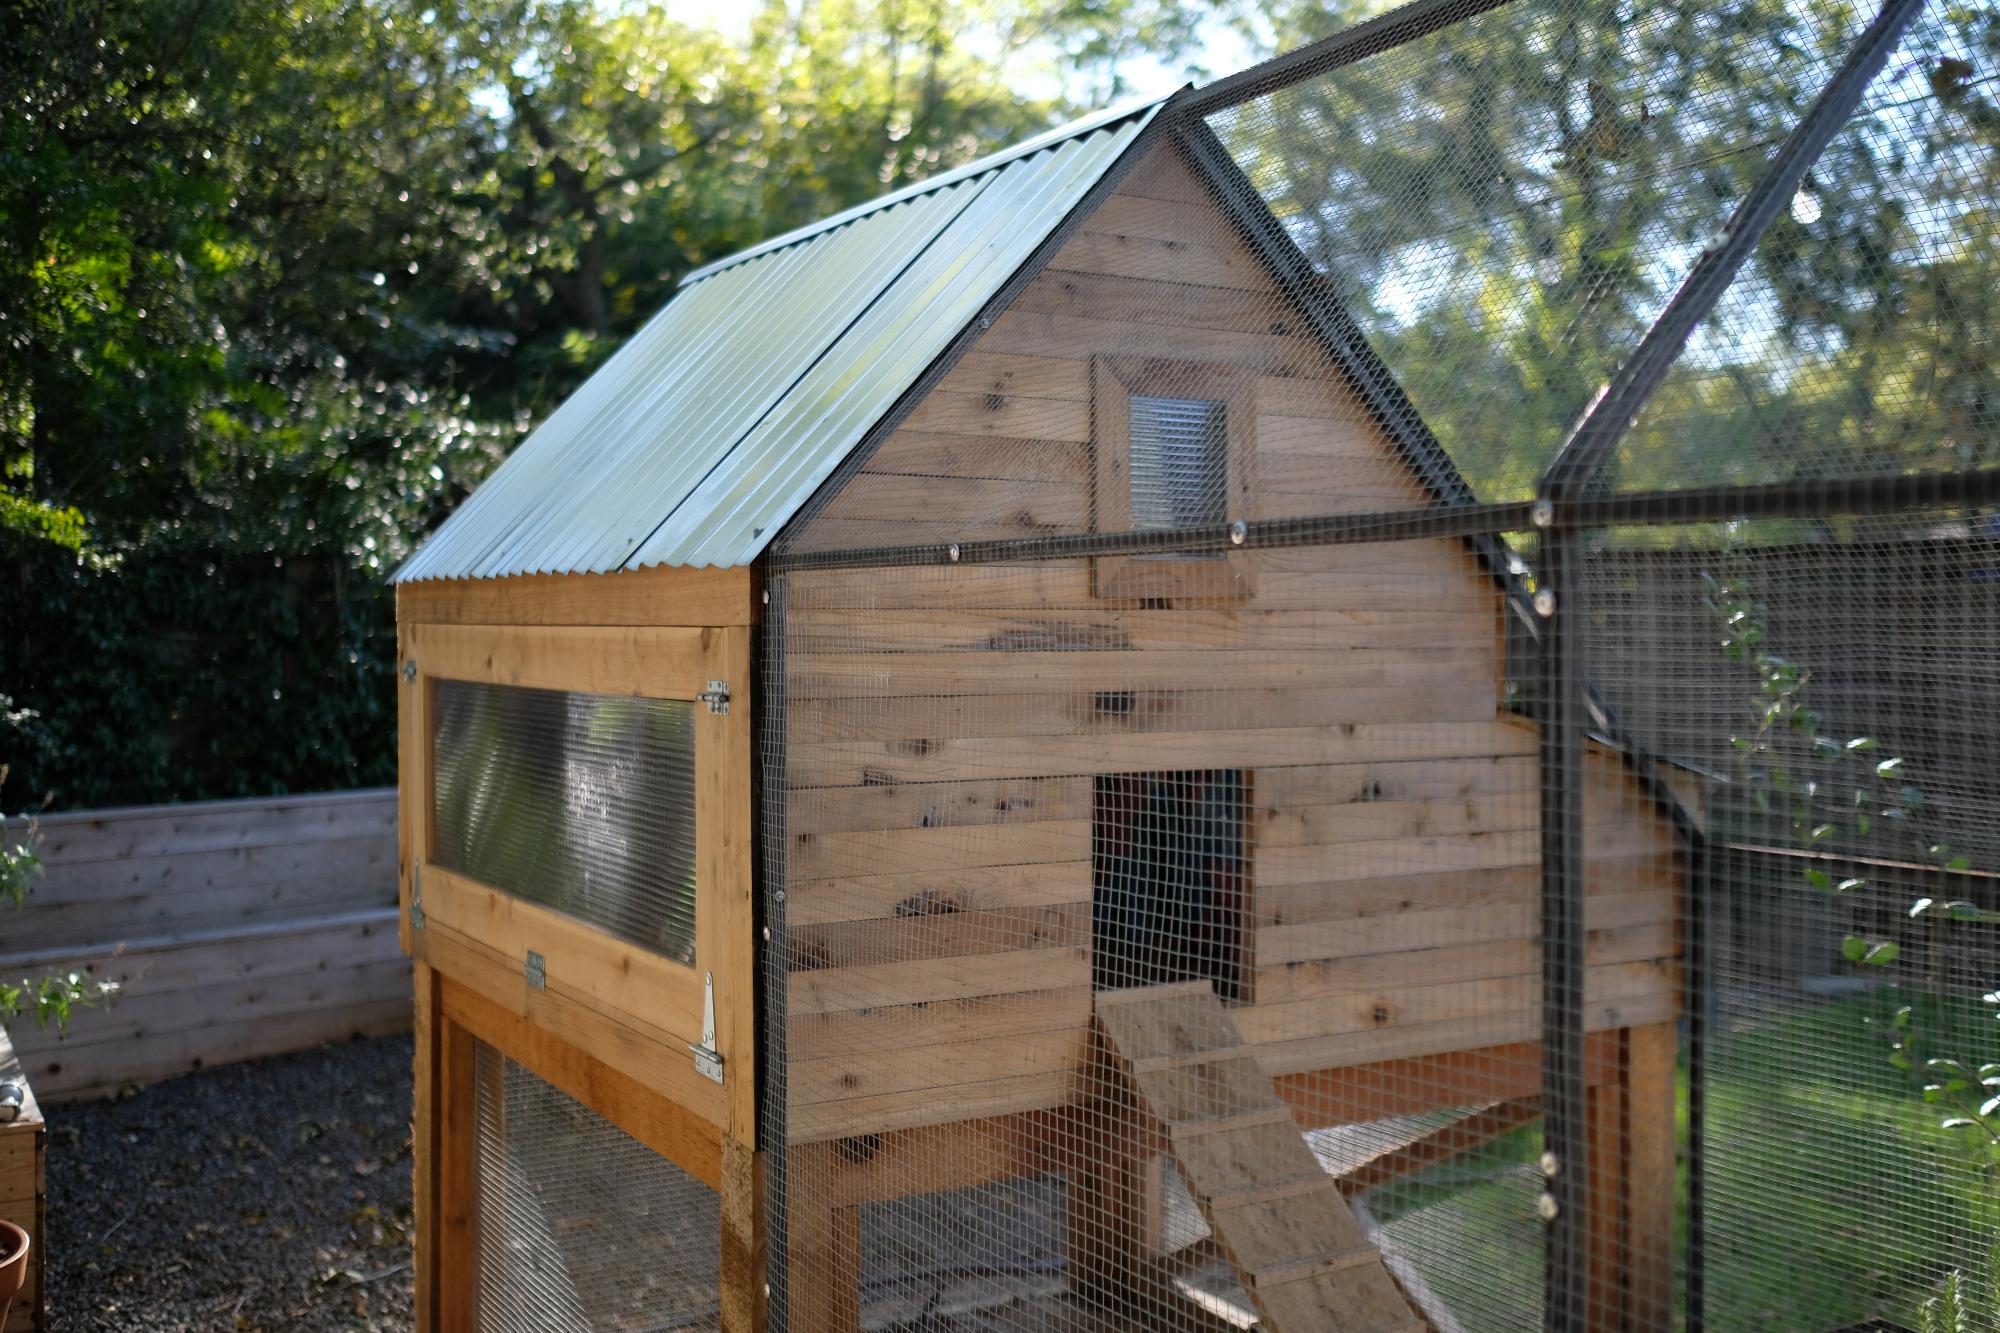
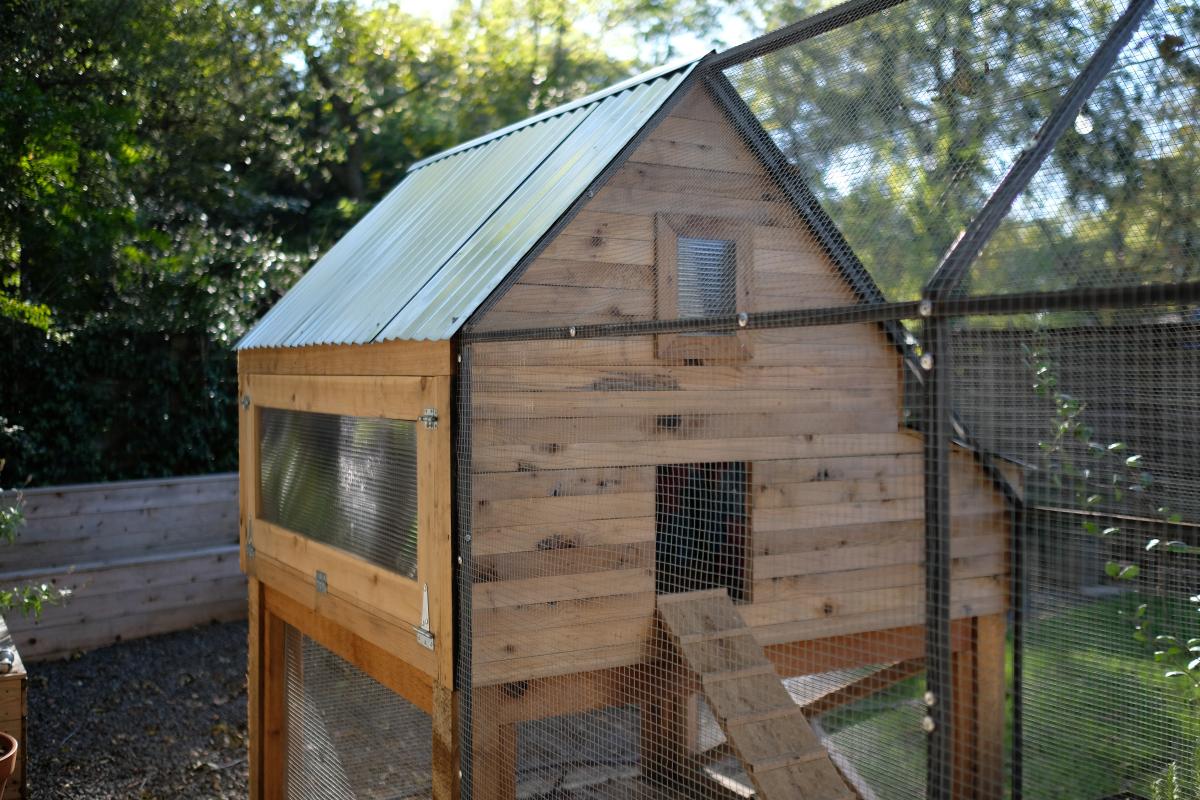
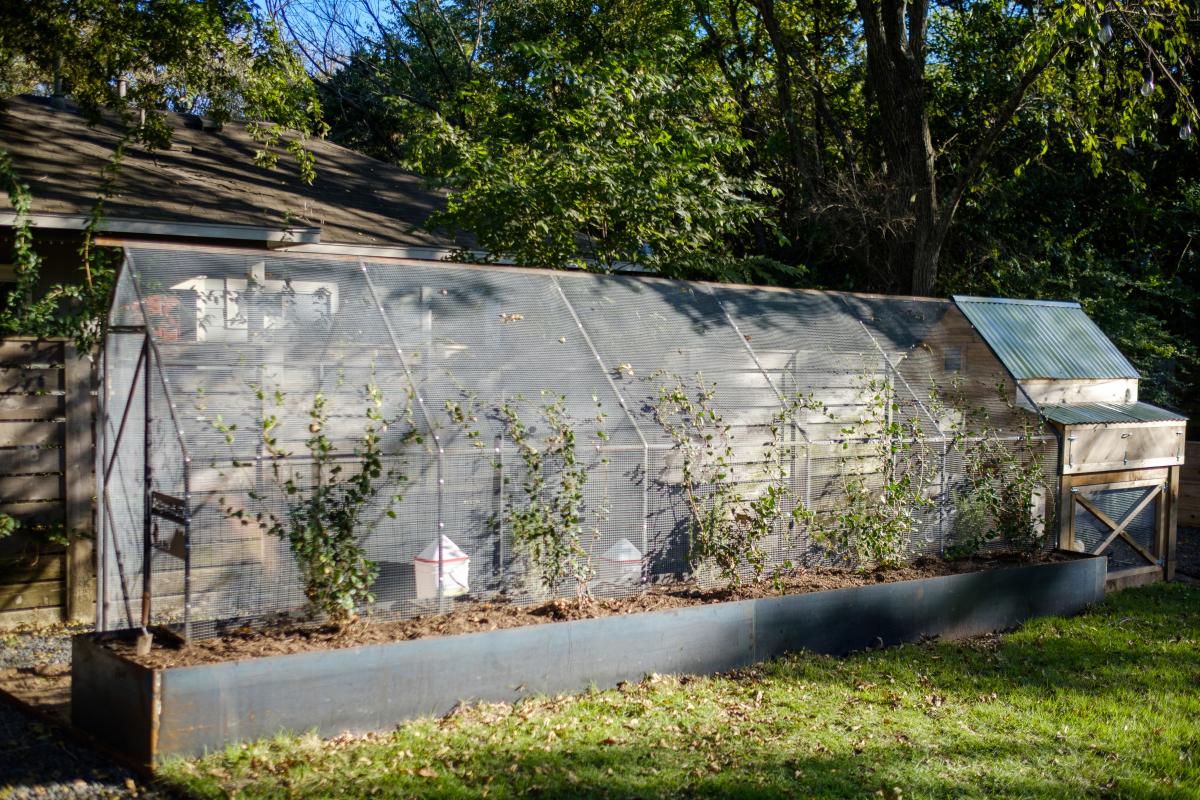
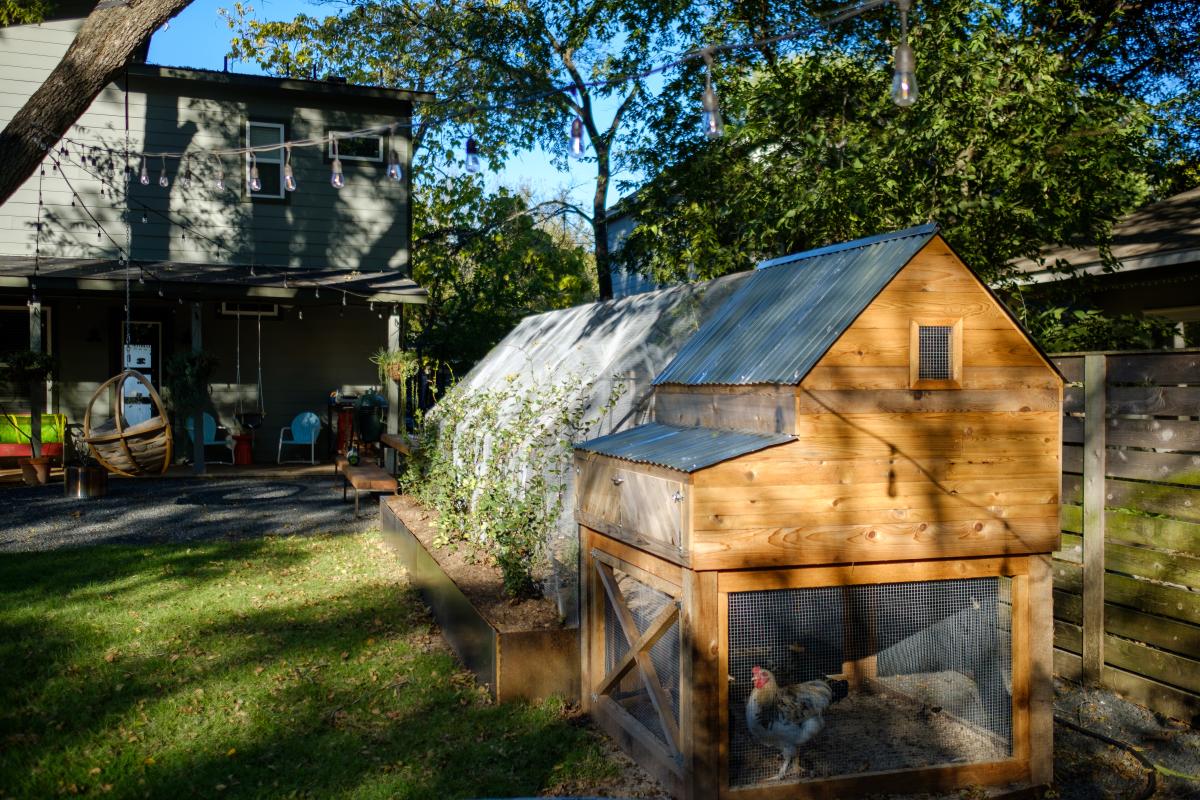
When we became accidental chicken owners, we had to build a coop fast. I found the plans for Ana’s replica of the Williams Sonoma chicken coop and got to work. They were very easy to follow and easy to modify to fit our own needs and aesthetic. We decided to enlarge the coop and remove the planter in the original plans to accommodate more chickens while keeping the original footprint. Instead of plywood, we used cedar reclaimed from an old fence we had recently replaced. We also enlarged the rear door to make clean-out as easy as possible. I cut pieces of polycarbonate to fit inside the door and windows to winterize the coop when temps drop below freezing. The run is designed to follow the shape of the coop and is large enough to give our 5 chickens plenty of space to roam when they aren’t free ranging in the yard. The planter box runs the length of the chicken run, providing plants to munch on inside and shady vines that will eventually cover the outside.
Comments

Work Bench

Submitted by iluv2run on Tue, 01/23/2018 - 08:18

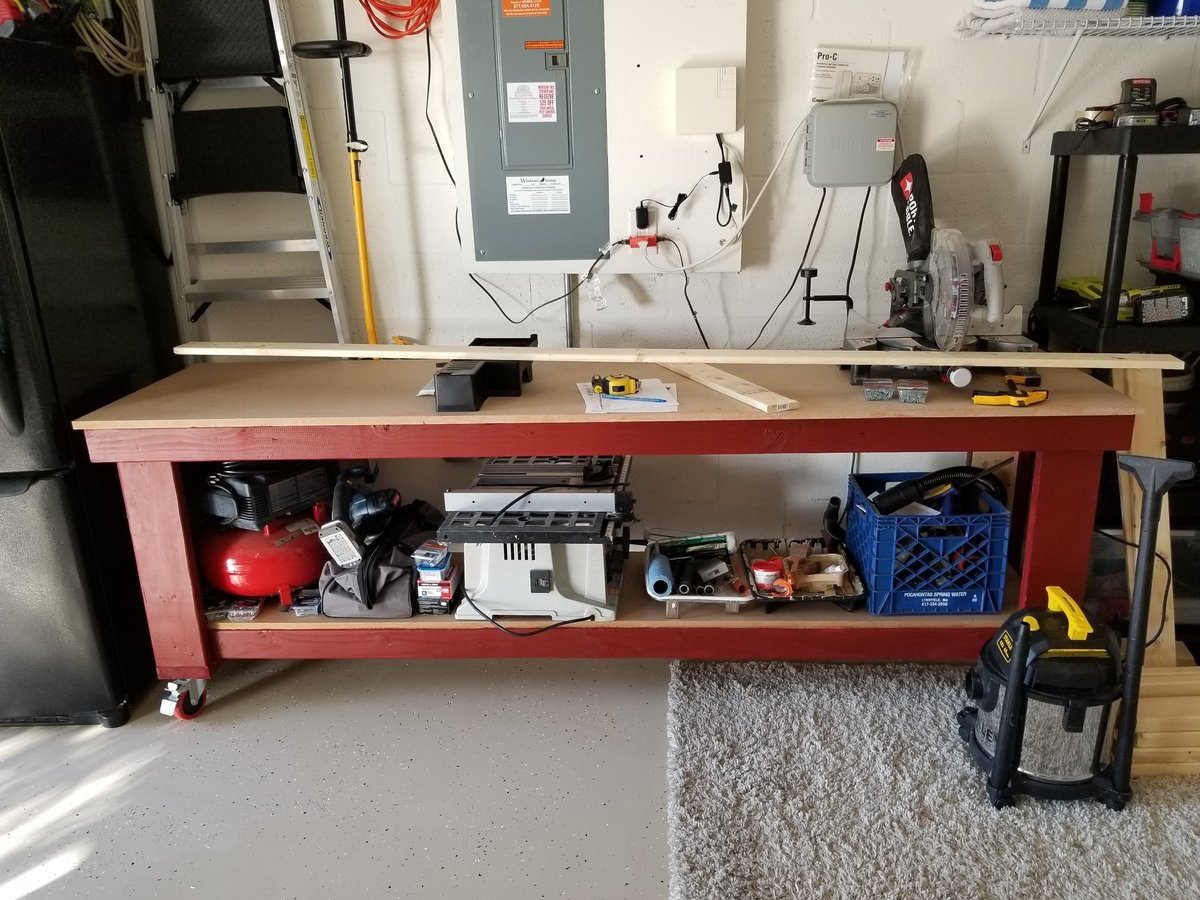
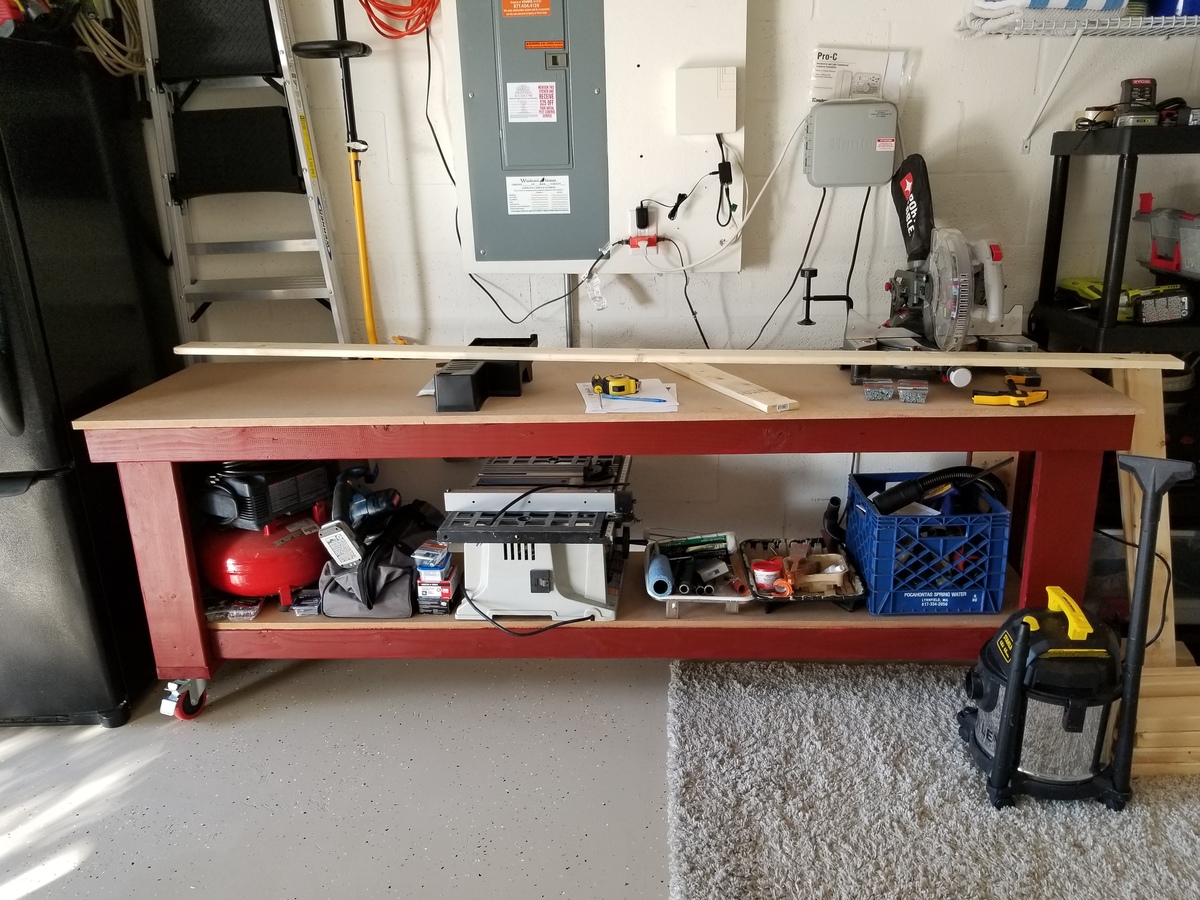
Work bench with casters came out great and already using it on my kitchen console.

Built from Plan(s)
Estimated Cost
$120
Estimated Time Investment
An Hour or Two (0-2 Hours)
Finish Used
Exterior paint
Recommended Skill Level
Beginner

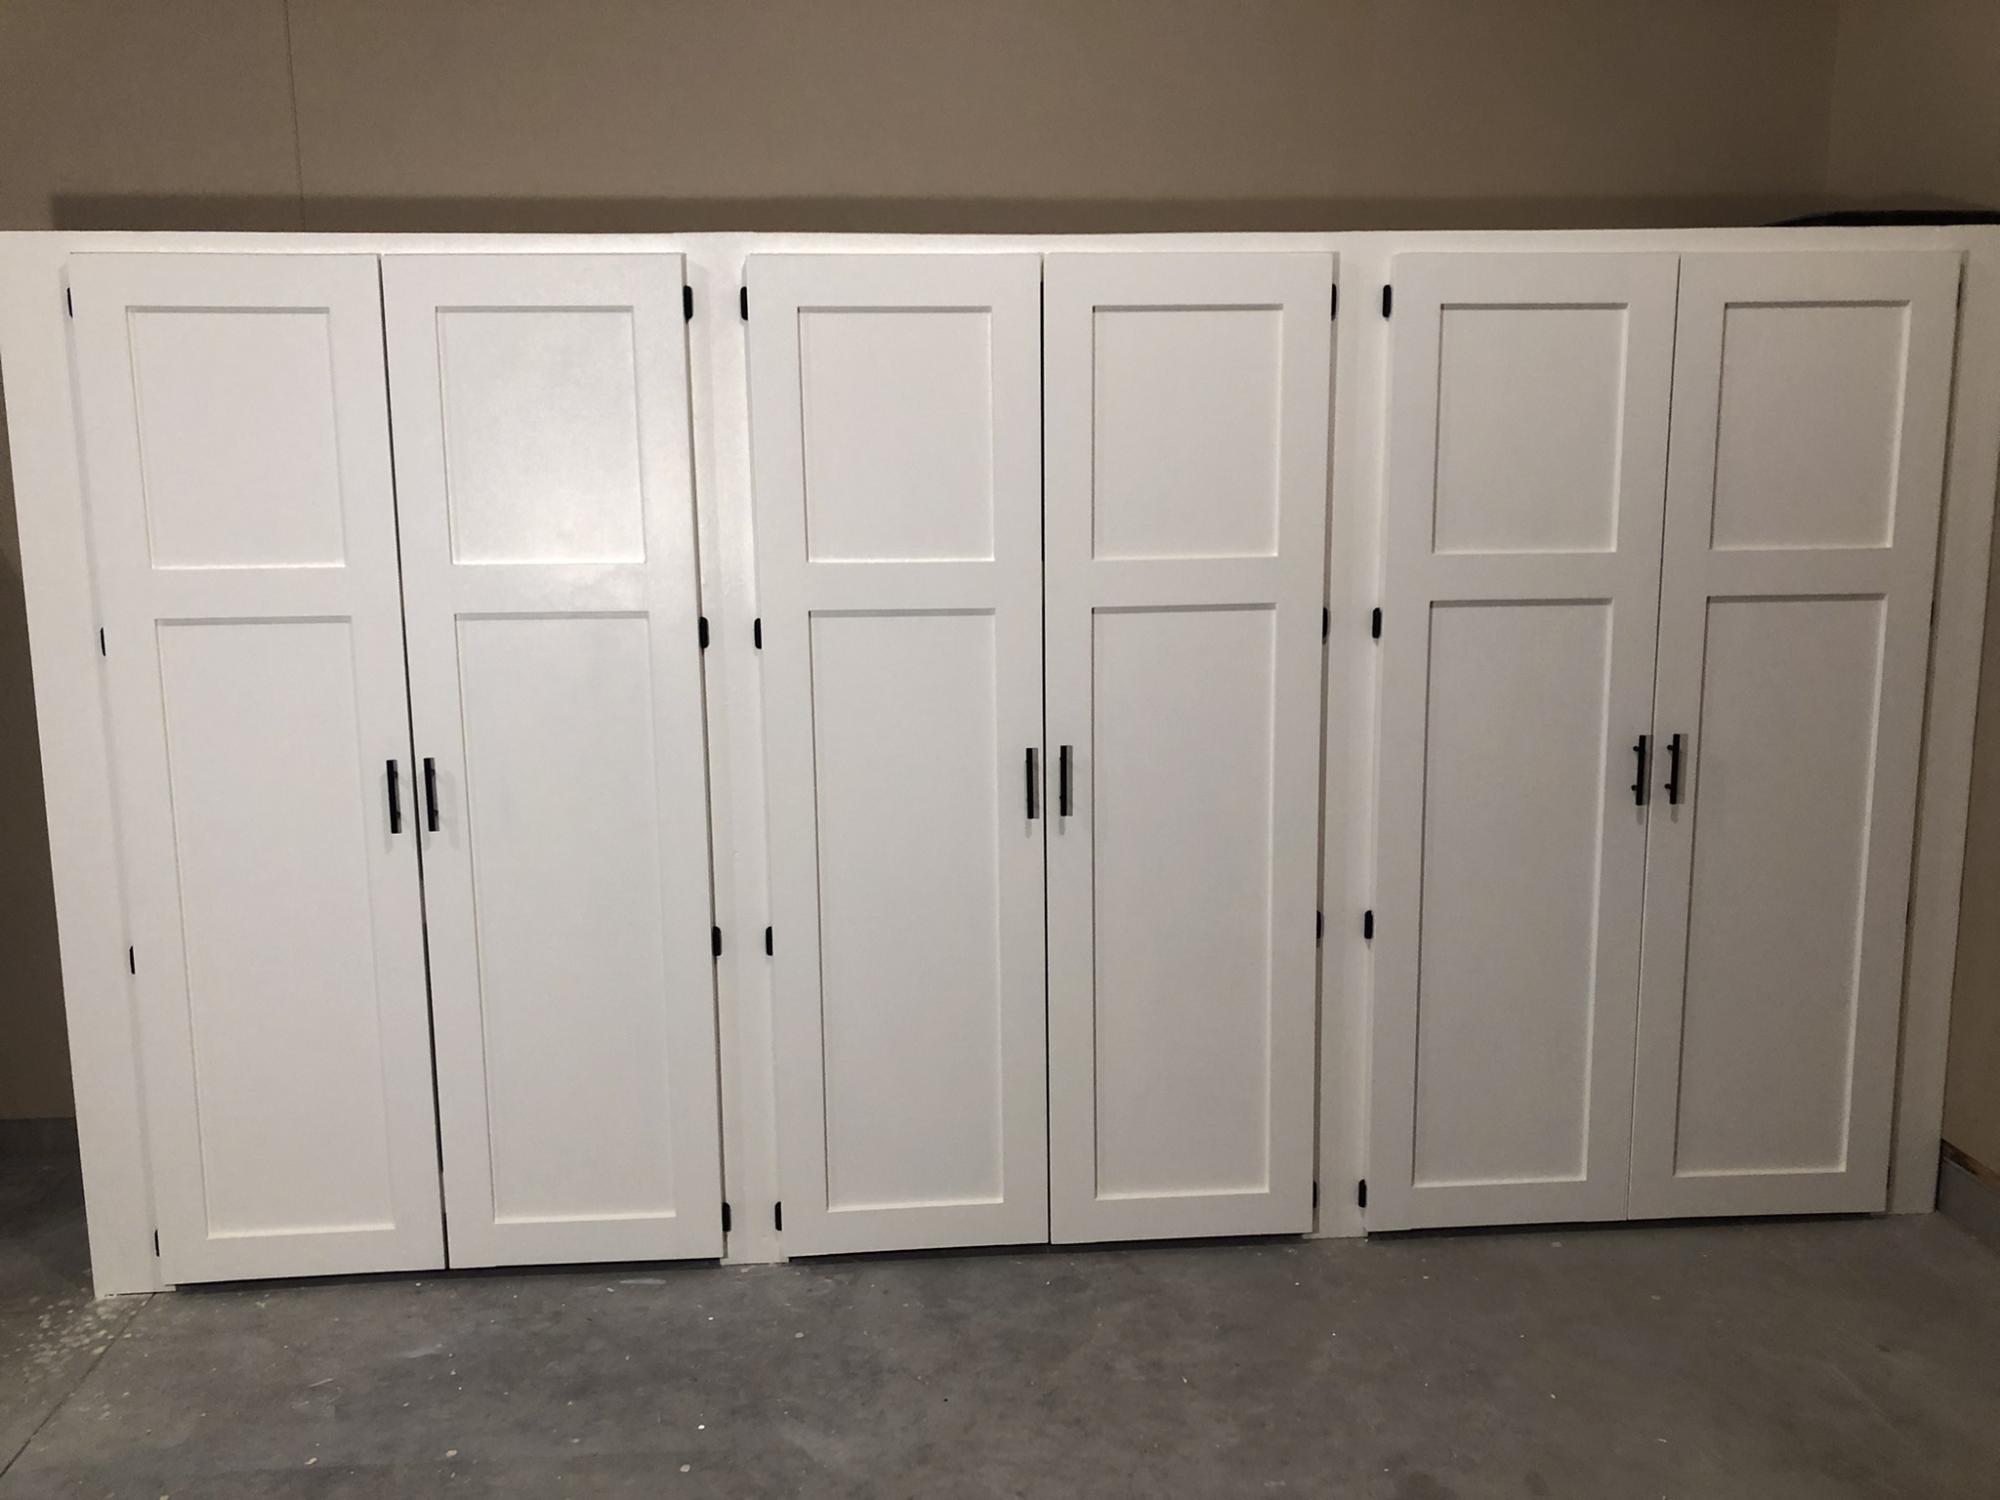
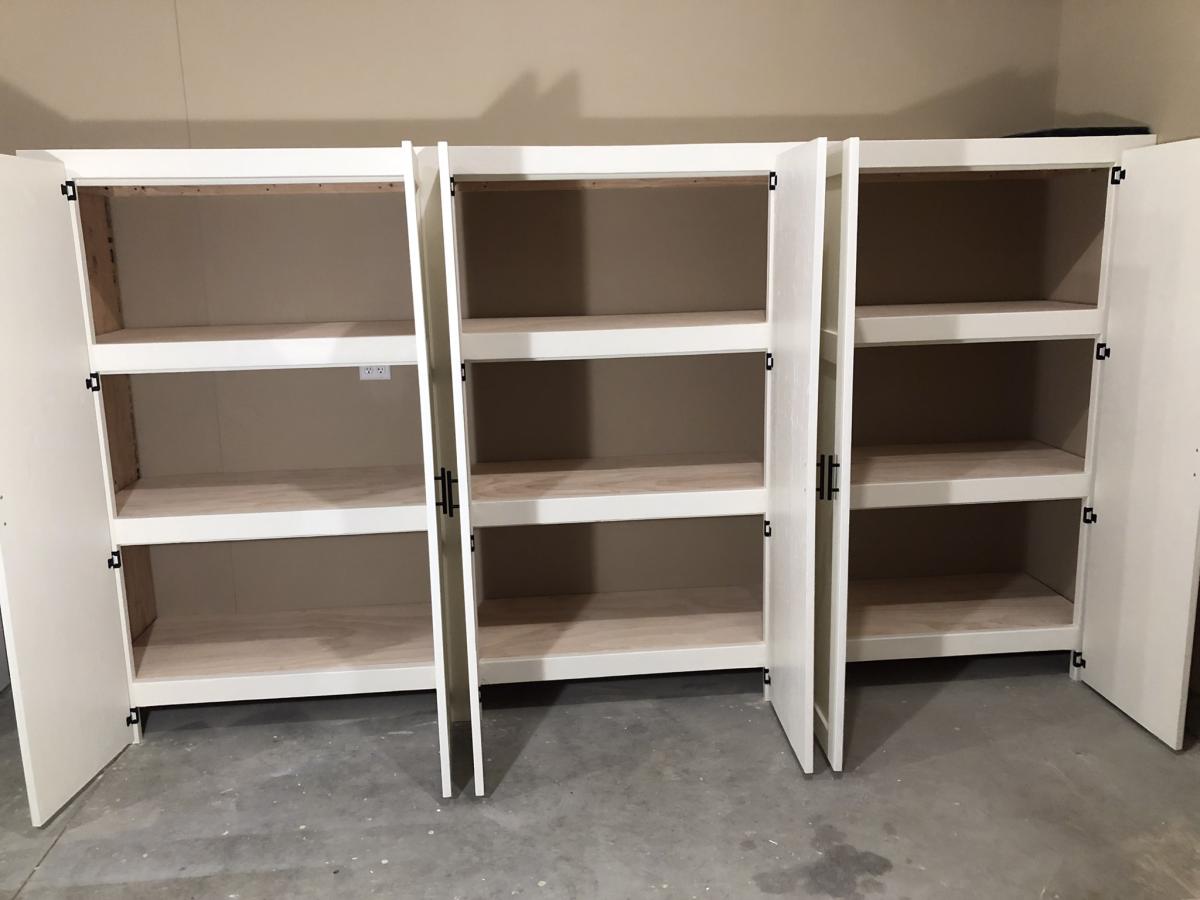
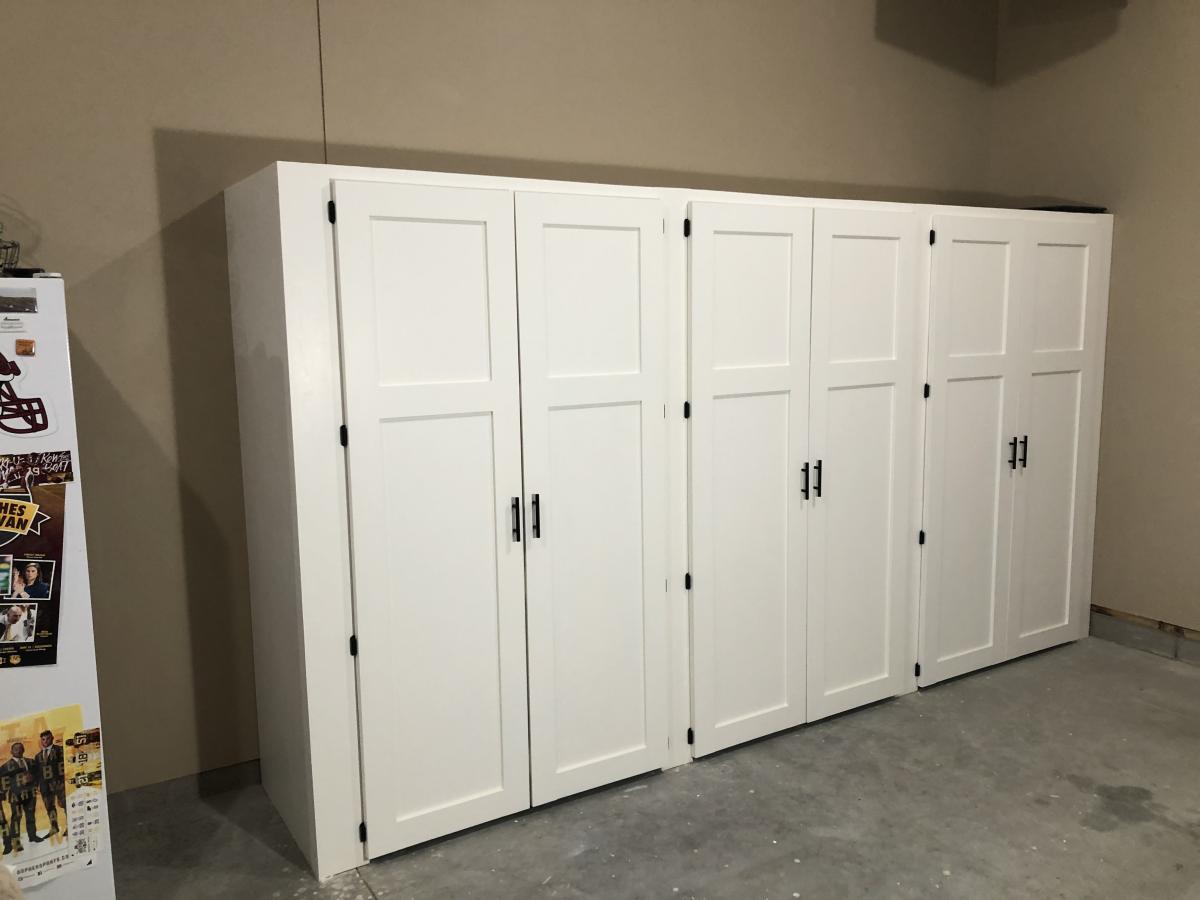
Using Ana White’s Garage Cabinet Plans

Submitted by Anonymous (not verified) on Wed, 04/20/2022 - 09:23

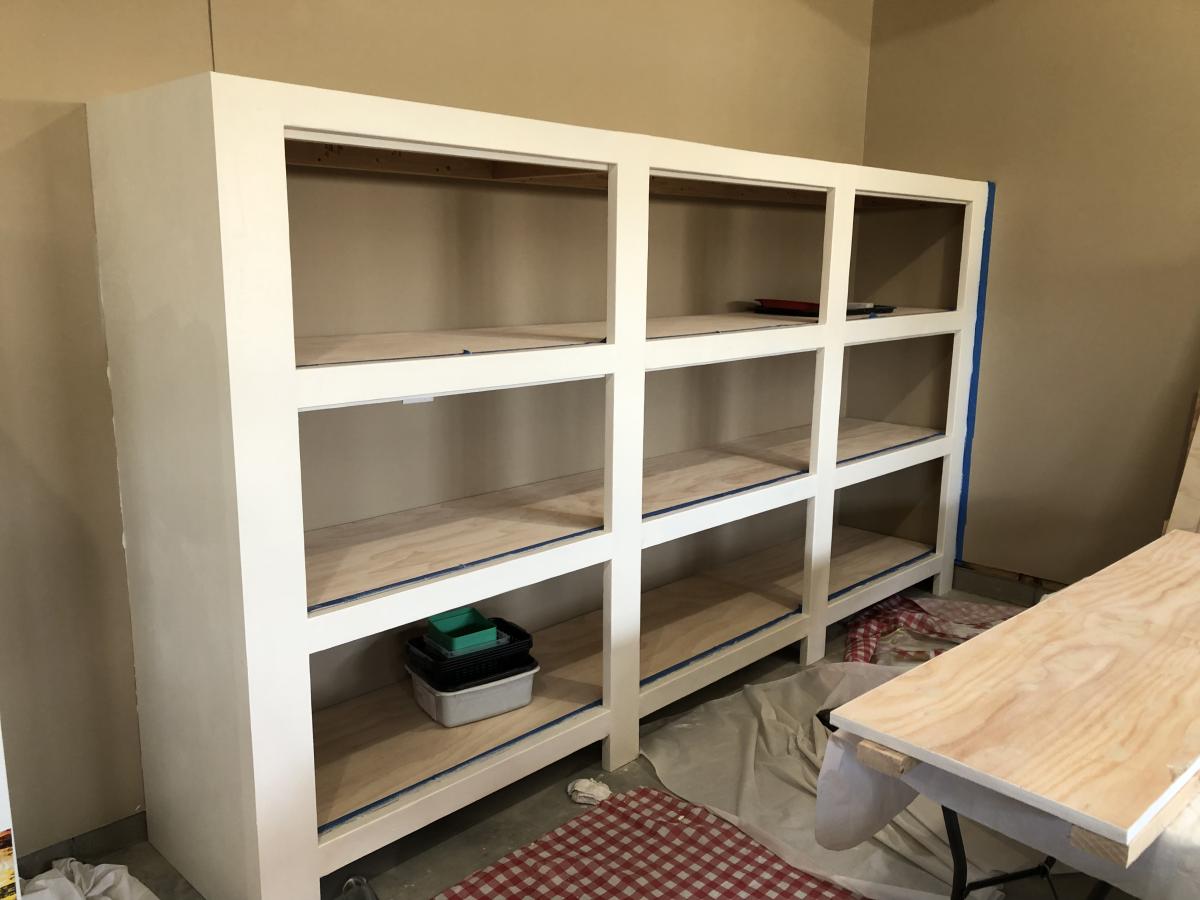
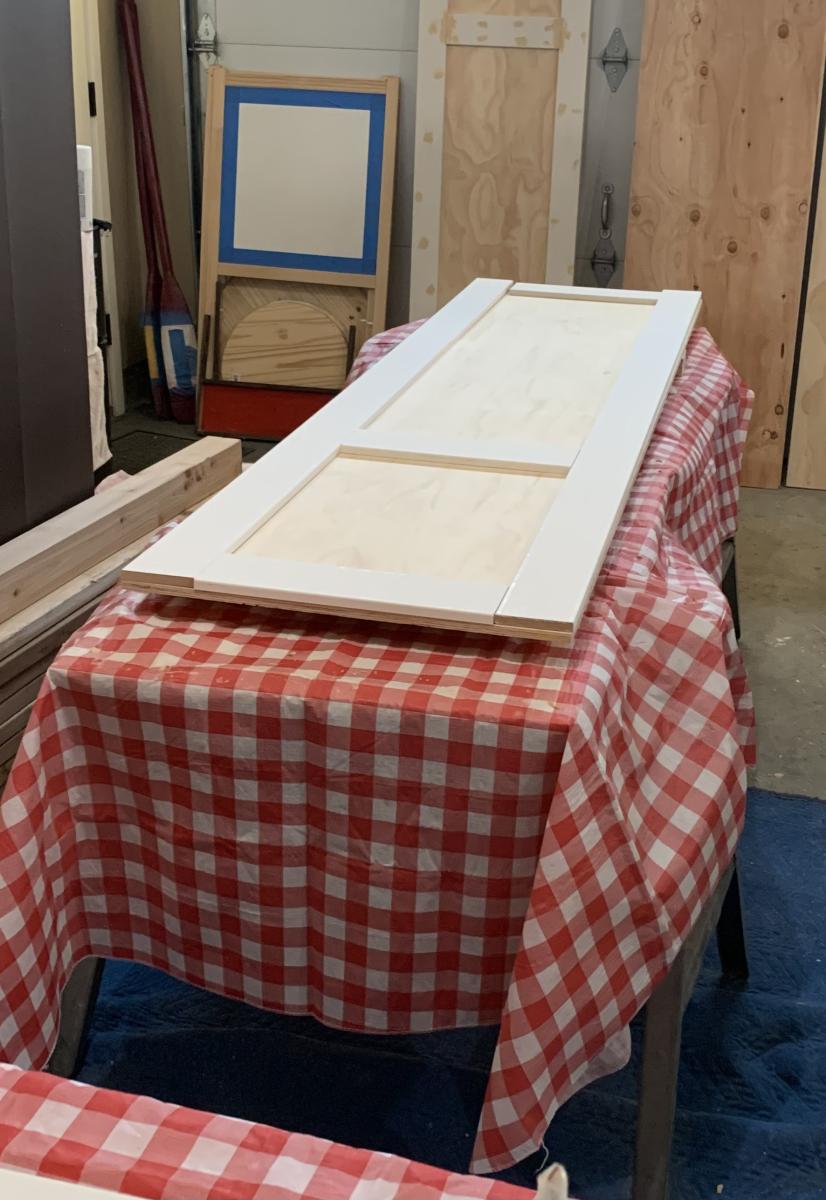
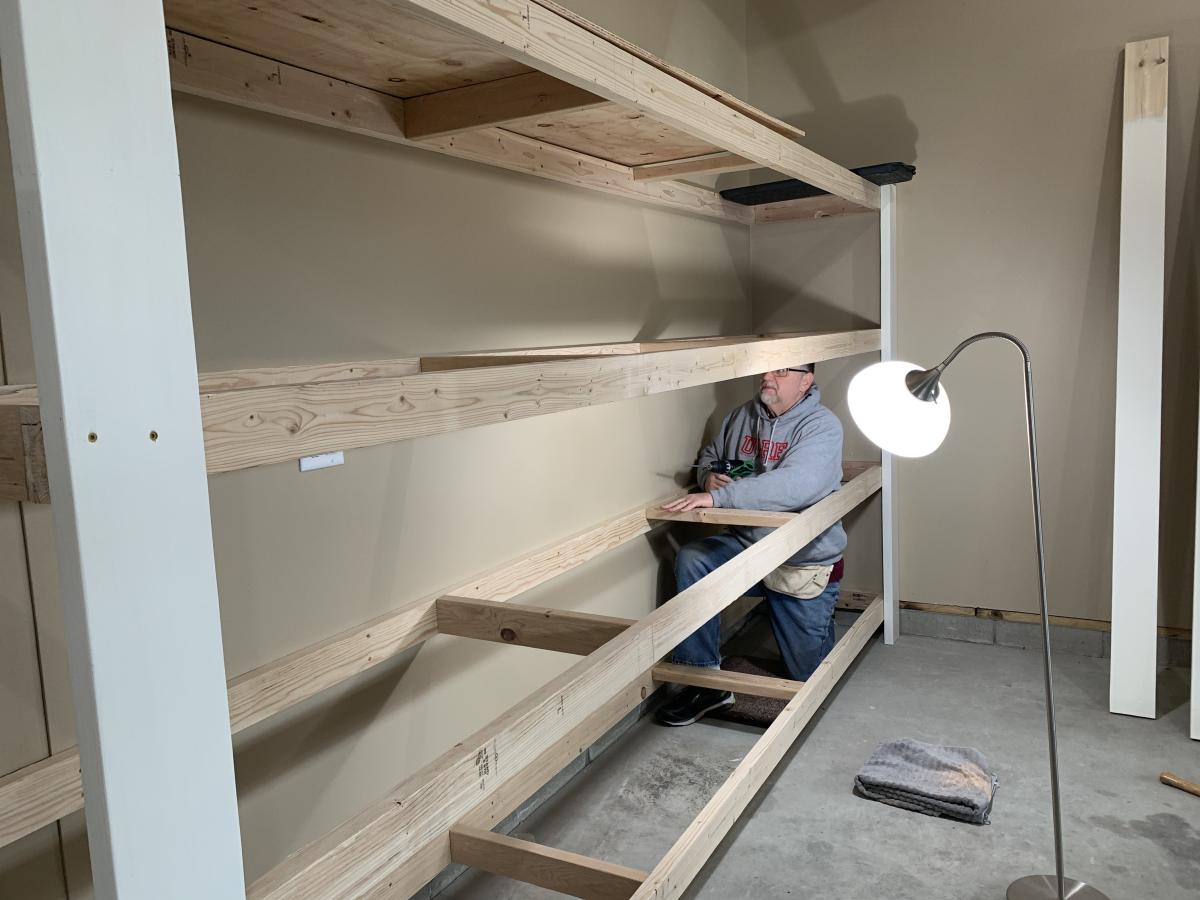
Thank you so much for the two videos we watched of you and your husband explaining and demonstrating how to build garage shelves. We used your plans as a guide. We chose to add shaker style doors to create cabinet shelves. We absolutely love them. We are not handy as you can see we had a living room lamp for a work light and a lifetime table as a work bench. Thank you!
The Paulsons

Comments

Children's Toy box

Submitted by jjunge08 on Sun, 03/18/2018 - 14:03

My wife and I are expecting our first child so I wanted to make a toybox for his toys.  I liked the plan that i found on this website since the front piece had the cutout to reduce fingers getting pinched.  I also added some spring assisted hinges to make help the lid stay up and also close a little softer than just regular hinges.  

Built from Plan(s)
Estimated Cost
Total cost for lumber is about $50-70
Hinges and Spring Hinges - $15
Estimated Time Investment
Weekend Project (10-20 Hours)
Finish Used
Painted
Recommended Skill Level
Beginner

Outdoor Sectional

Submitted by Anonymous (not verified) on Wed, 06/08/2022 - 12:31

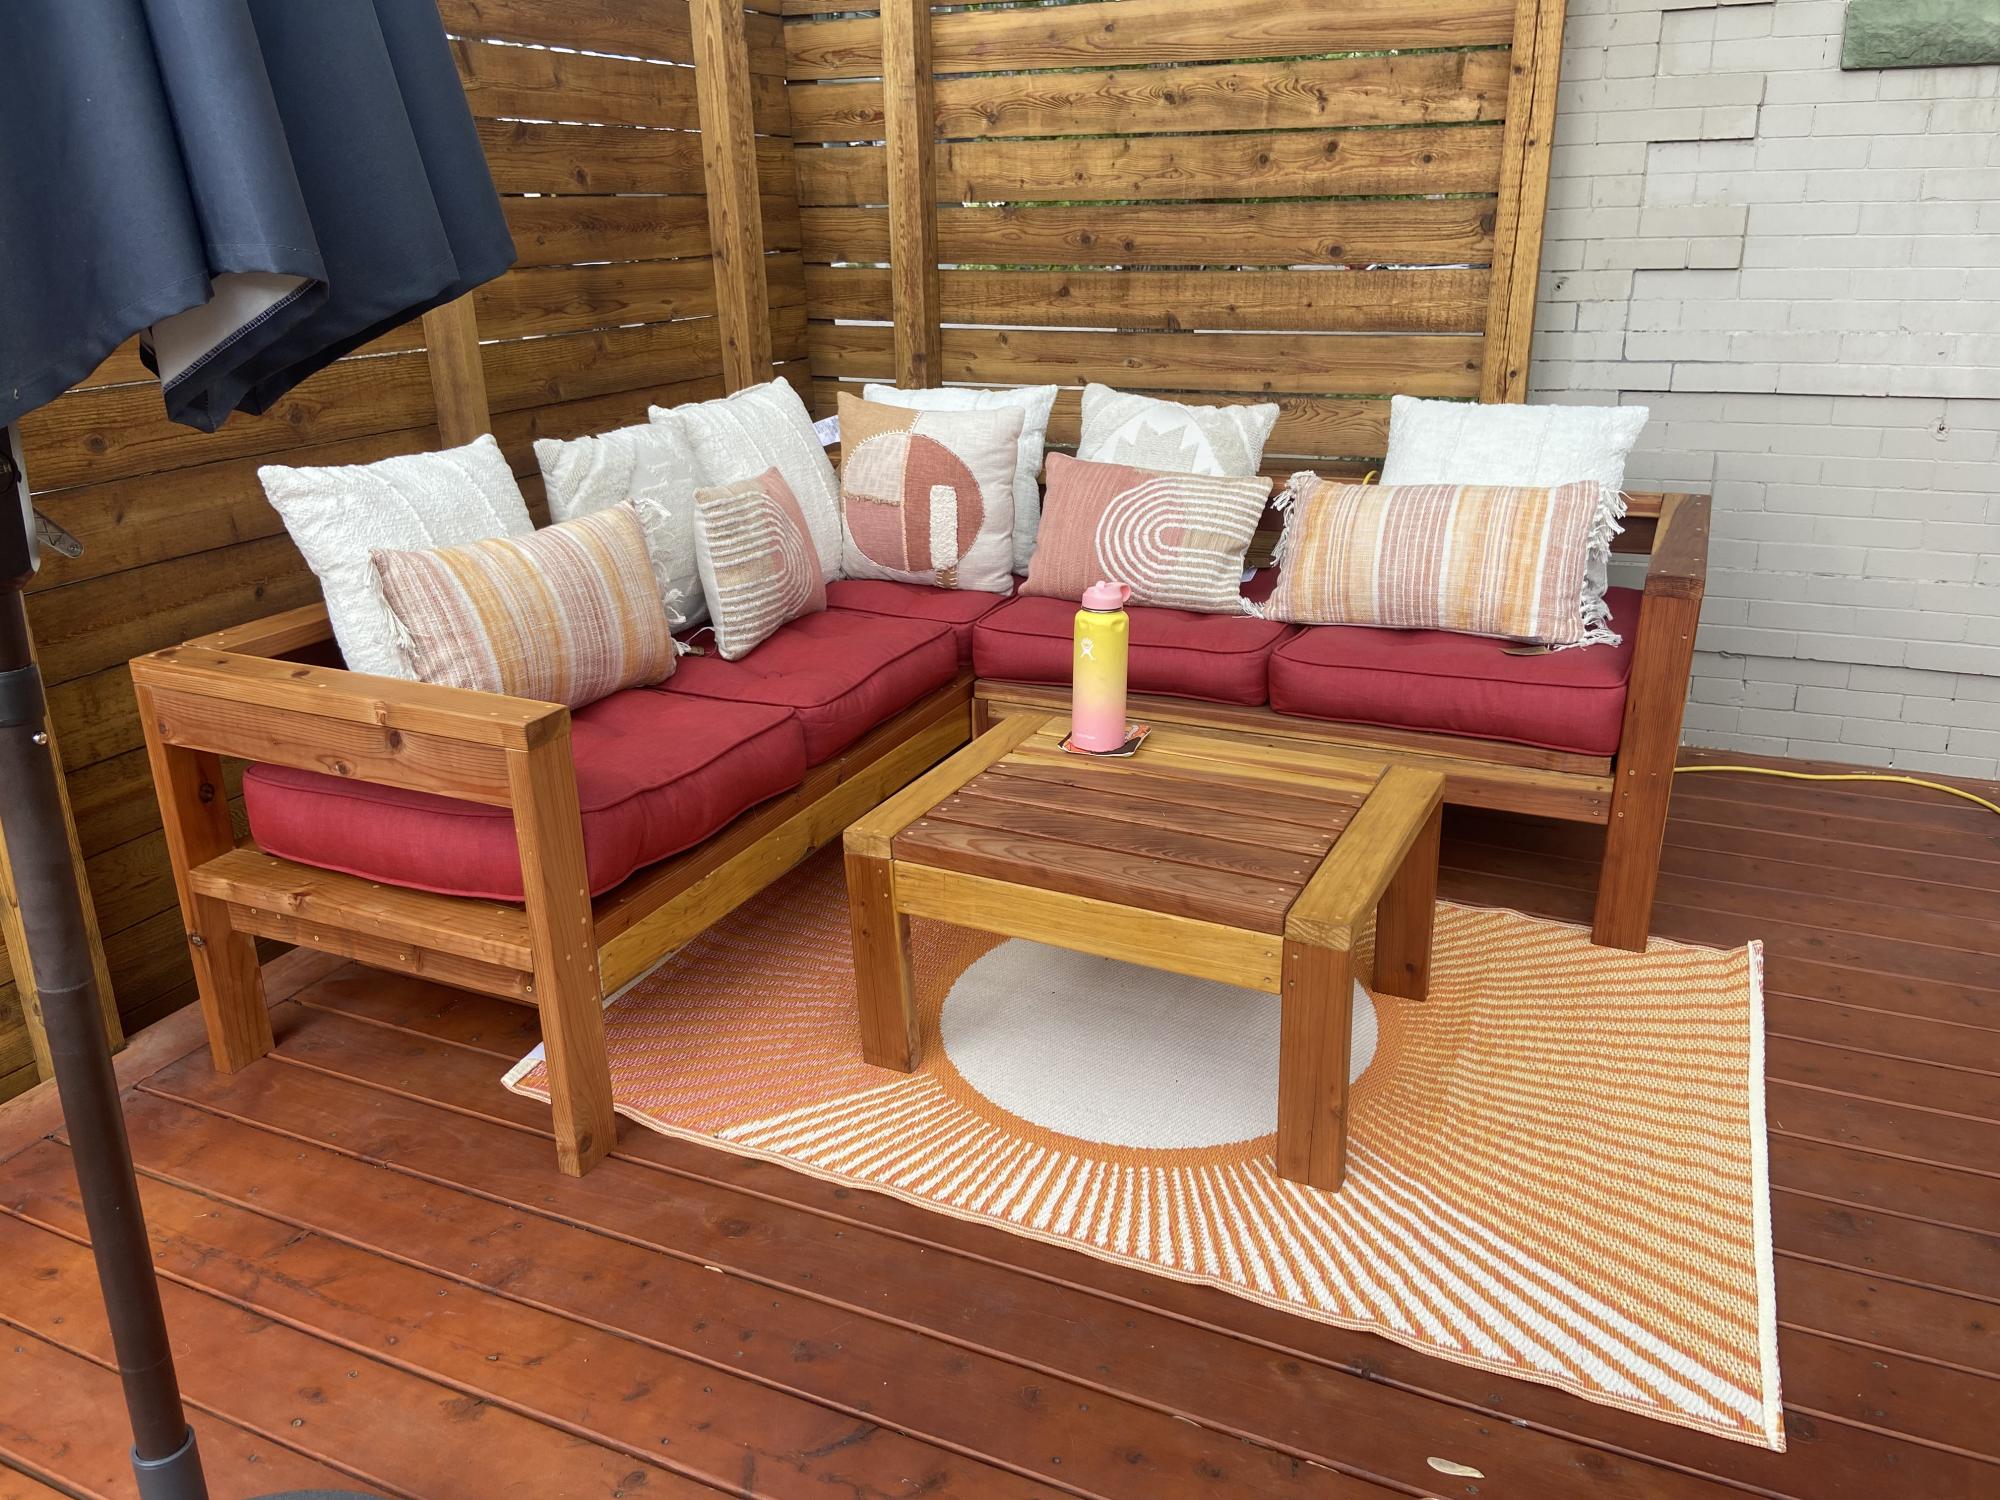
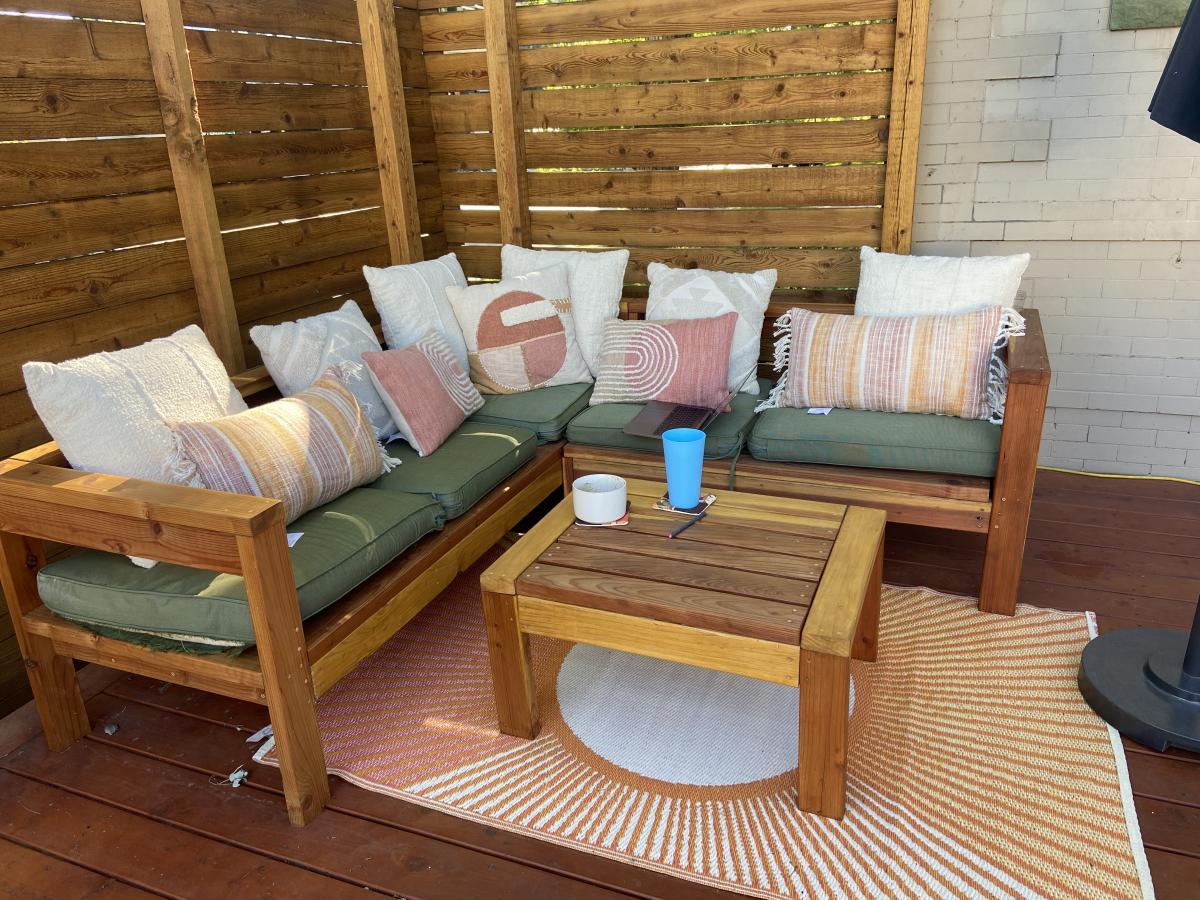
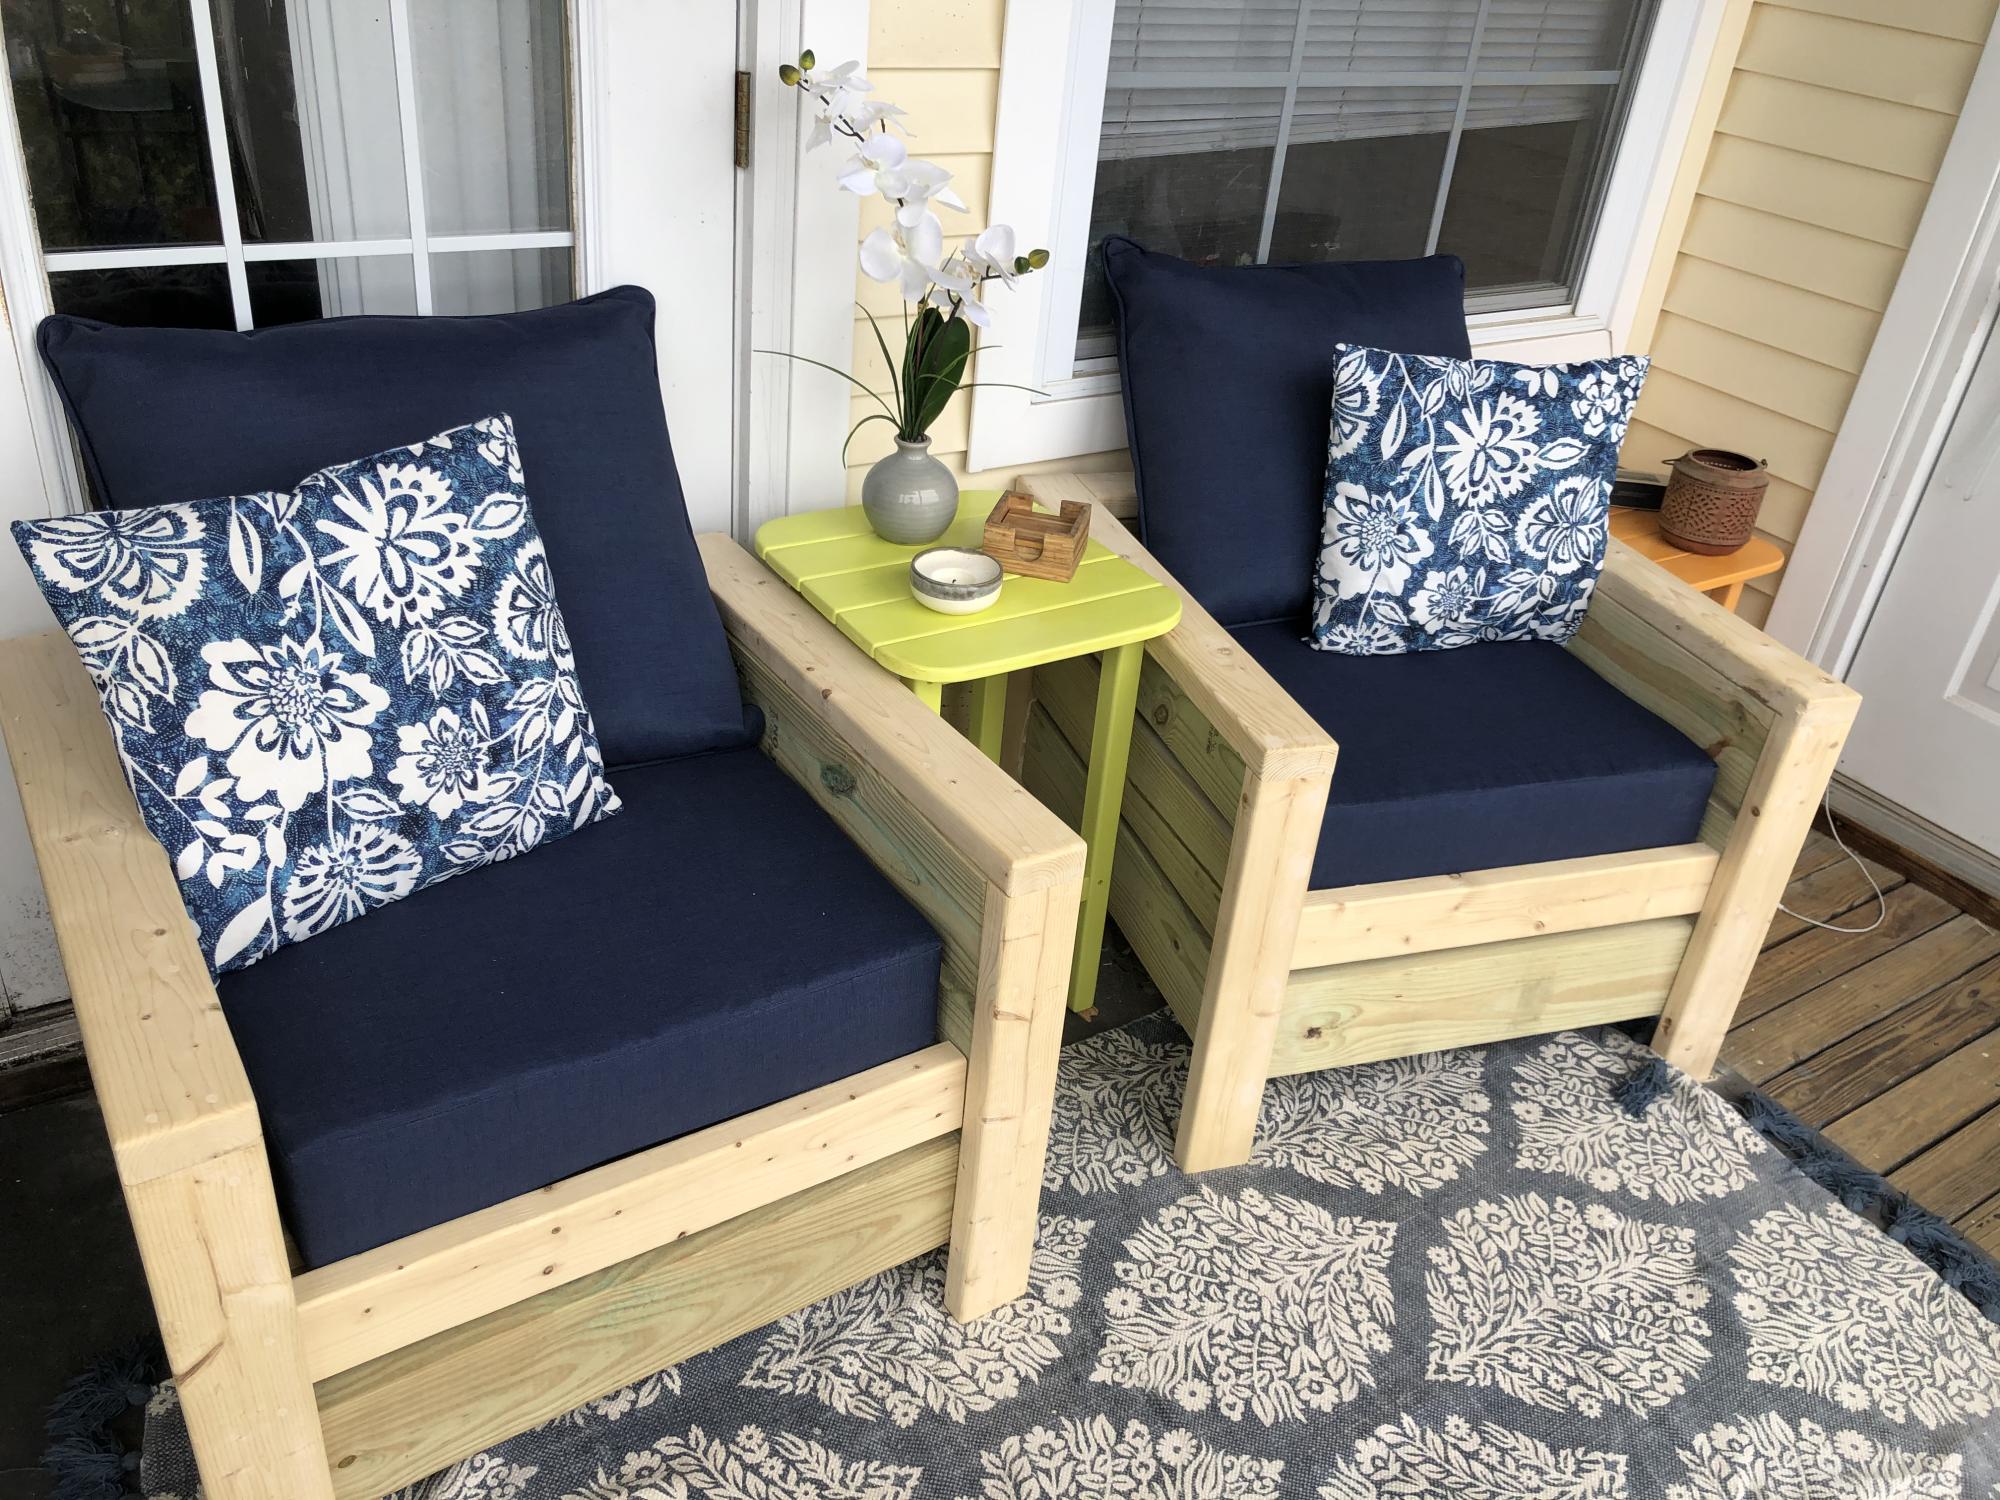
I built the two piece sectional + table and adjusted the sizing so the lengths of the sectionals pieces are the same.

Turned out amazing. So much fun building this and I can’t wait for my next project!

Comments

Seasonal And Holiday

I couldn't be more happy about a garbage can!

Submitted by hoffer5353 on Mon, 08/01/2011 - 12:29

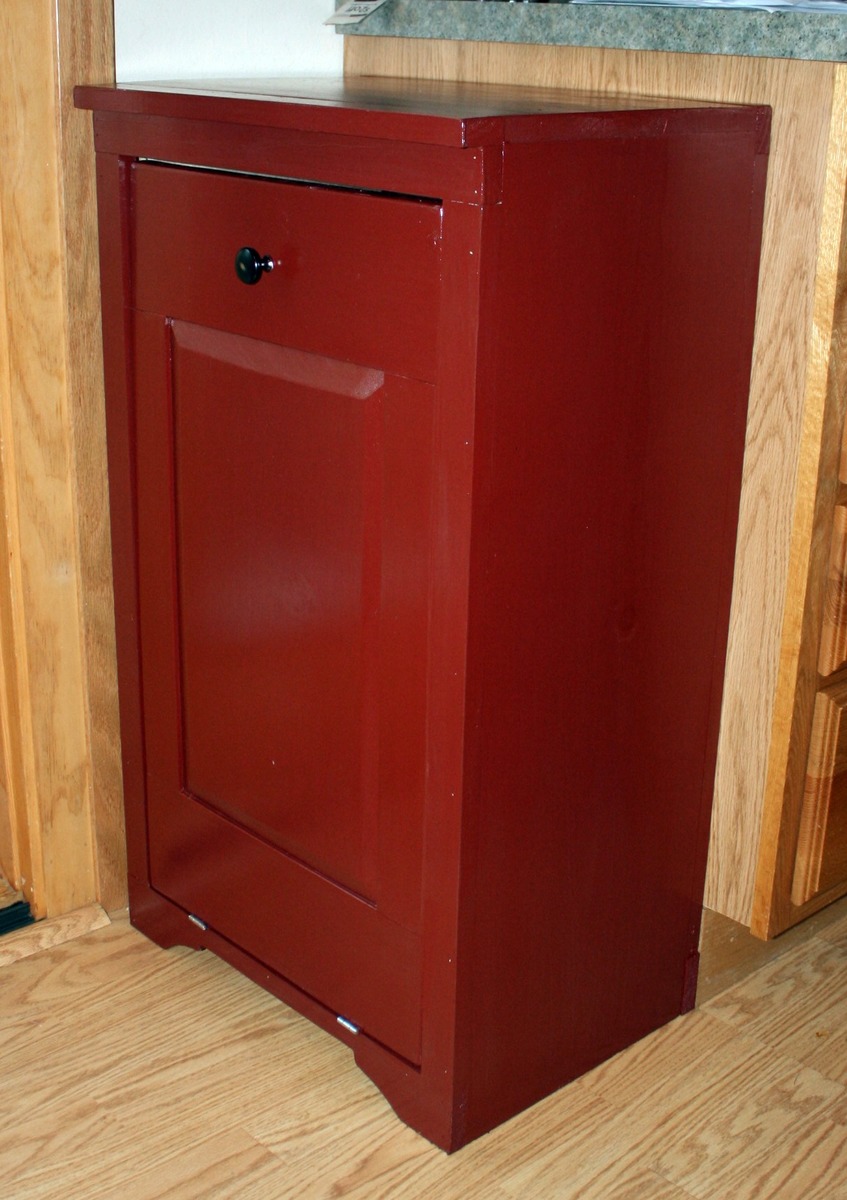
I started this project thinking that I would put in a rental home we were working on. But after I completed it I couldn't part with it.

I found the plans to be easy to follow! I watched the videos and tackled the raised panel doors. I wanted to add some height so added a few inches just in-case. I couldn’t bear the thought of completing this project and my garbage can not fitting. So I did use 1x6 for the rails and found it didn't look too bad.

I put a lot of thought about what color and finish I wanted. I thought about distressing it but couldn’t decide on the color or technique. So I decided on Color Place paint that I had left over from another project. I am going to find a spray paint that matches and do the inside.
I choose an oil rubbed bronze knob that I had left over from a kitchen remodel, added a magnetic closure as well as a door safety chain. I have lots of little hands and toes that I don’t want getting smashed. I like the idea that if I want to open it all the way for cleaning all I have to do is unhook the safety chain.

Over all I am so pleased with how it turned out. It keeps the garbage and smell in and curious fingers out! My kids love to put stuff in the garbage now!

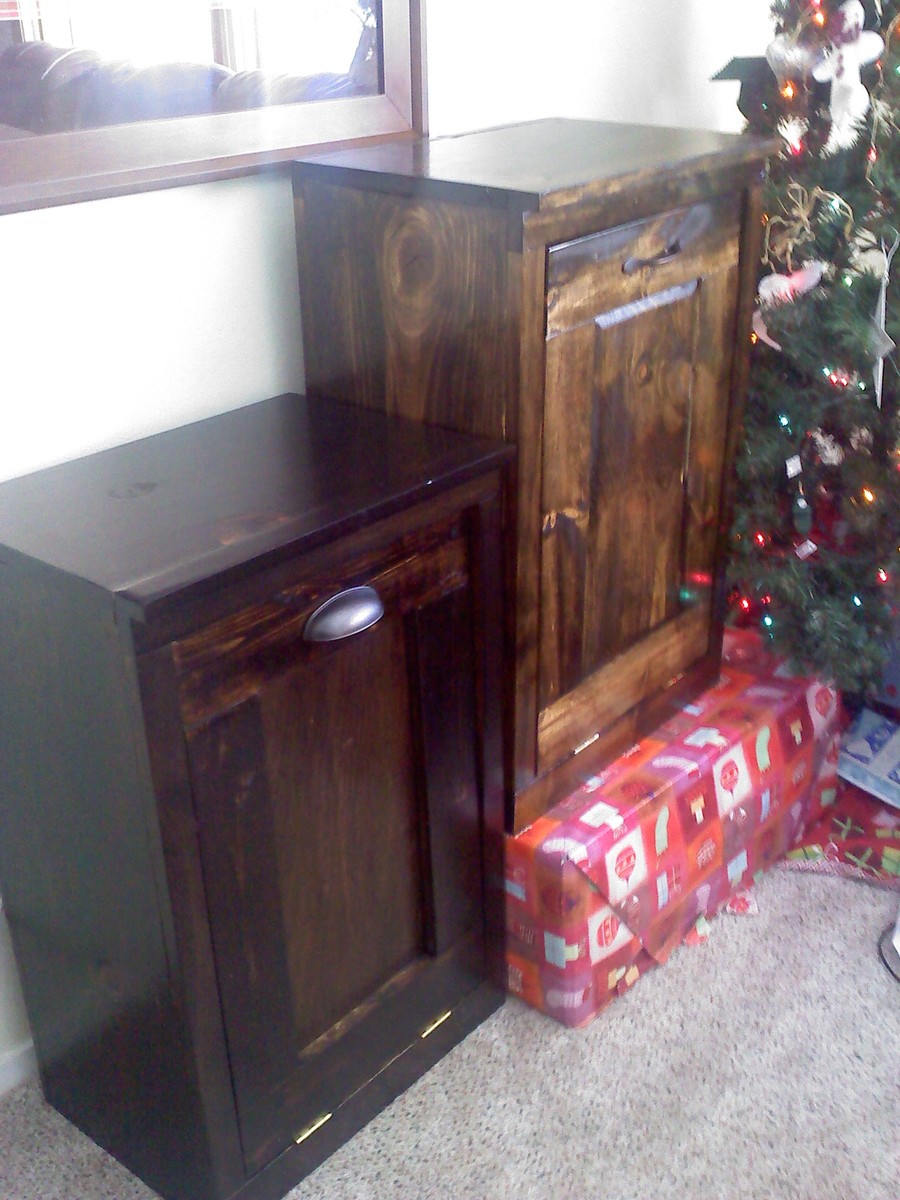
I spent a weekend with a visiting friend and made one as well as completed two more for Christmas gifts.

Thanks Ana

Estimated Cost
$30-35
Estimated Time Investment
Afternoon Project (3-6 Hours)
Finish Used
2-3 coats-ColorPlace-Redwood semi-gloss exterior
1 coat-Minwax-Polyurethane-Semi Gloss
Recommended Skill Level
Intermediate

$6 Bench

After seeing benches like these on a wedding blog, I really wanted to build my own. It was a super easy project, and really cheap! Here's what you need:

• 2 – 2x6x8′ boards. They cost about $3 each at Home Depot.
• Screws, sandpaper and stain.

Cut List:
3 – 2×6 @ 47″
4 – 2×6 @ 16″

That’s it! I decided how long I wanted my bench to be (which was 47" long by 16" tall). Then, I cut out my pieces. I decided to do 45 degree angle joints on the ends, as opposed to having a flat edge exposed on the sides. I had to use my table saw to get the 45′s on the legs and two flat boards. This was very effin’ scary. Using my Kreg jig, I drilled holes in both of the flat boards that sandwich the tall center one. I offset my holes so that the screws wouldn’t hit each other. You can see in the picture that I accidentally drilled holes in my center piece too. Builder fail. That side will just have to face the back ;)
Attach your 3 top boards together. Then screw in your legs. I decided not to countersink and fill, kind of because I like the industrial look, but mostly because I’m lazy. Then you just sand that sucker up and voila! You’ve got a gorgeous bench perfect for any home. I decided to get a little fancy with my finishing and do a two-tone stain. It took about an hour to do the two colors and not drip on everything, as opposed to the 15 minutes one color would take. I think the extra time was definitely worth it!

Estimated Cost
$6
Estimated Time Investment
An Hour or Two (0-2 Hours)
Finish Used
Minwax stain in gunstock and walnut
Recommended Skill Level
Starter Project

Comments

LoriQ (not verified)

Mon, 03/12/2012 - 16:58

How is the center top board attached to the ones on either side? I've never built anything before, so this is probably obvious to everyone else. :-/

LoriQ (not verified)

Mon, 03/12/2012 - 17:00

How is the center top board attached to the other top boards? I've never built anything, so this is probably obvious to everyone else. :-/

Guest (not verified)

Mon, 03/12/2012 - 20:39

I used a kreg jig to join the 3 boards. If you don't have a jig you can "toenail" the screws by drilling them from below at a 45 degree angle. I would join the vertical into one side at a typical 90 degree angle, then toenail the other board. You could add extra security with L brackets

claydowling

Tue, 03/13/2012 - 03:57

The usual solution for cutting a long piece like this on a table saw is to build a crosscut sled first. There are a lot of good guides on the internet for how to build a crosscut sled.

I build something that is a bit oversized, so much so that I had to incorporate a box for some weights so it's stable on my table. But I can easily support a three foot board on this sled with room to spare before it runs off the end.

The sled supports the board and makes it so you aren't fighting your work in a dangerous situation. This sled made my saw completely non-scary to use.

One thing I've noticed about a table saw is that when you buy the saw, that's only the start of the tool. You'll spend a lot of time refining it with add-ons and jigs that you build for it.

Alicia47

Sat, 01/25/2014 - 11:12

I wanted to make this bench, went and bought the supplies, got home to cut it, and the measurements are off. I cannot figure out any possible way to make this bench 47 inches long without running out of wood. Is it possible that the measurements are off? Or can I just not figure out how to cut it so I don't fall short on my wood? Someone please help!

Floating bed

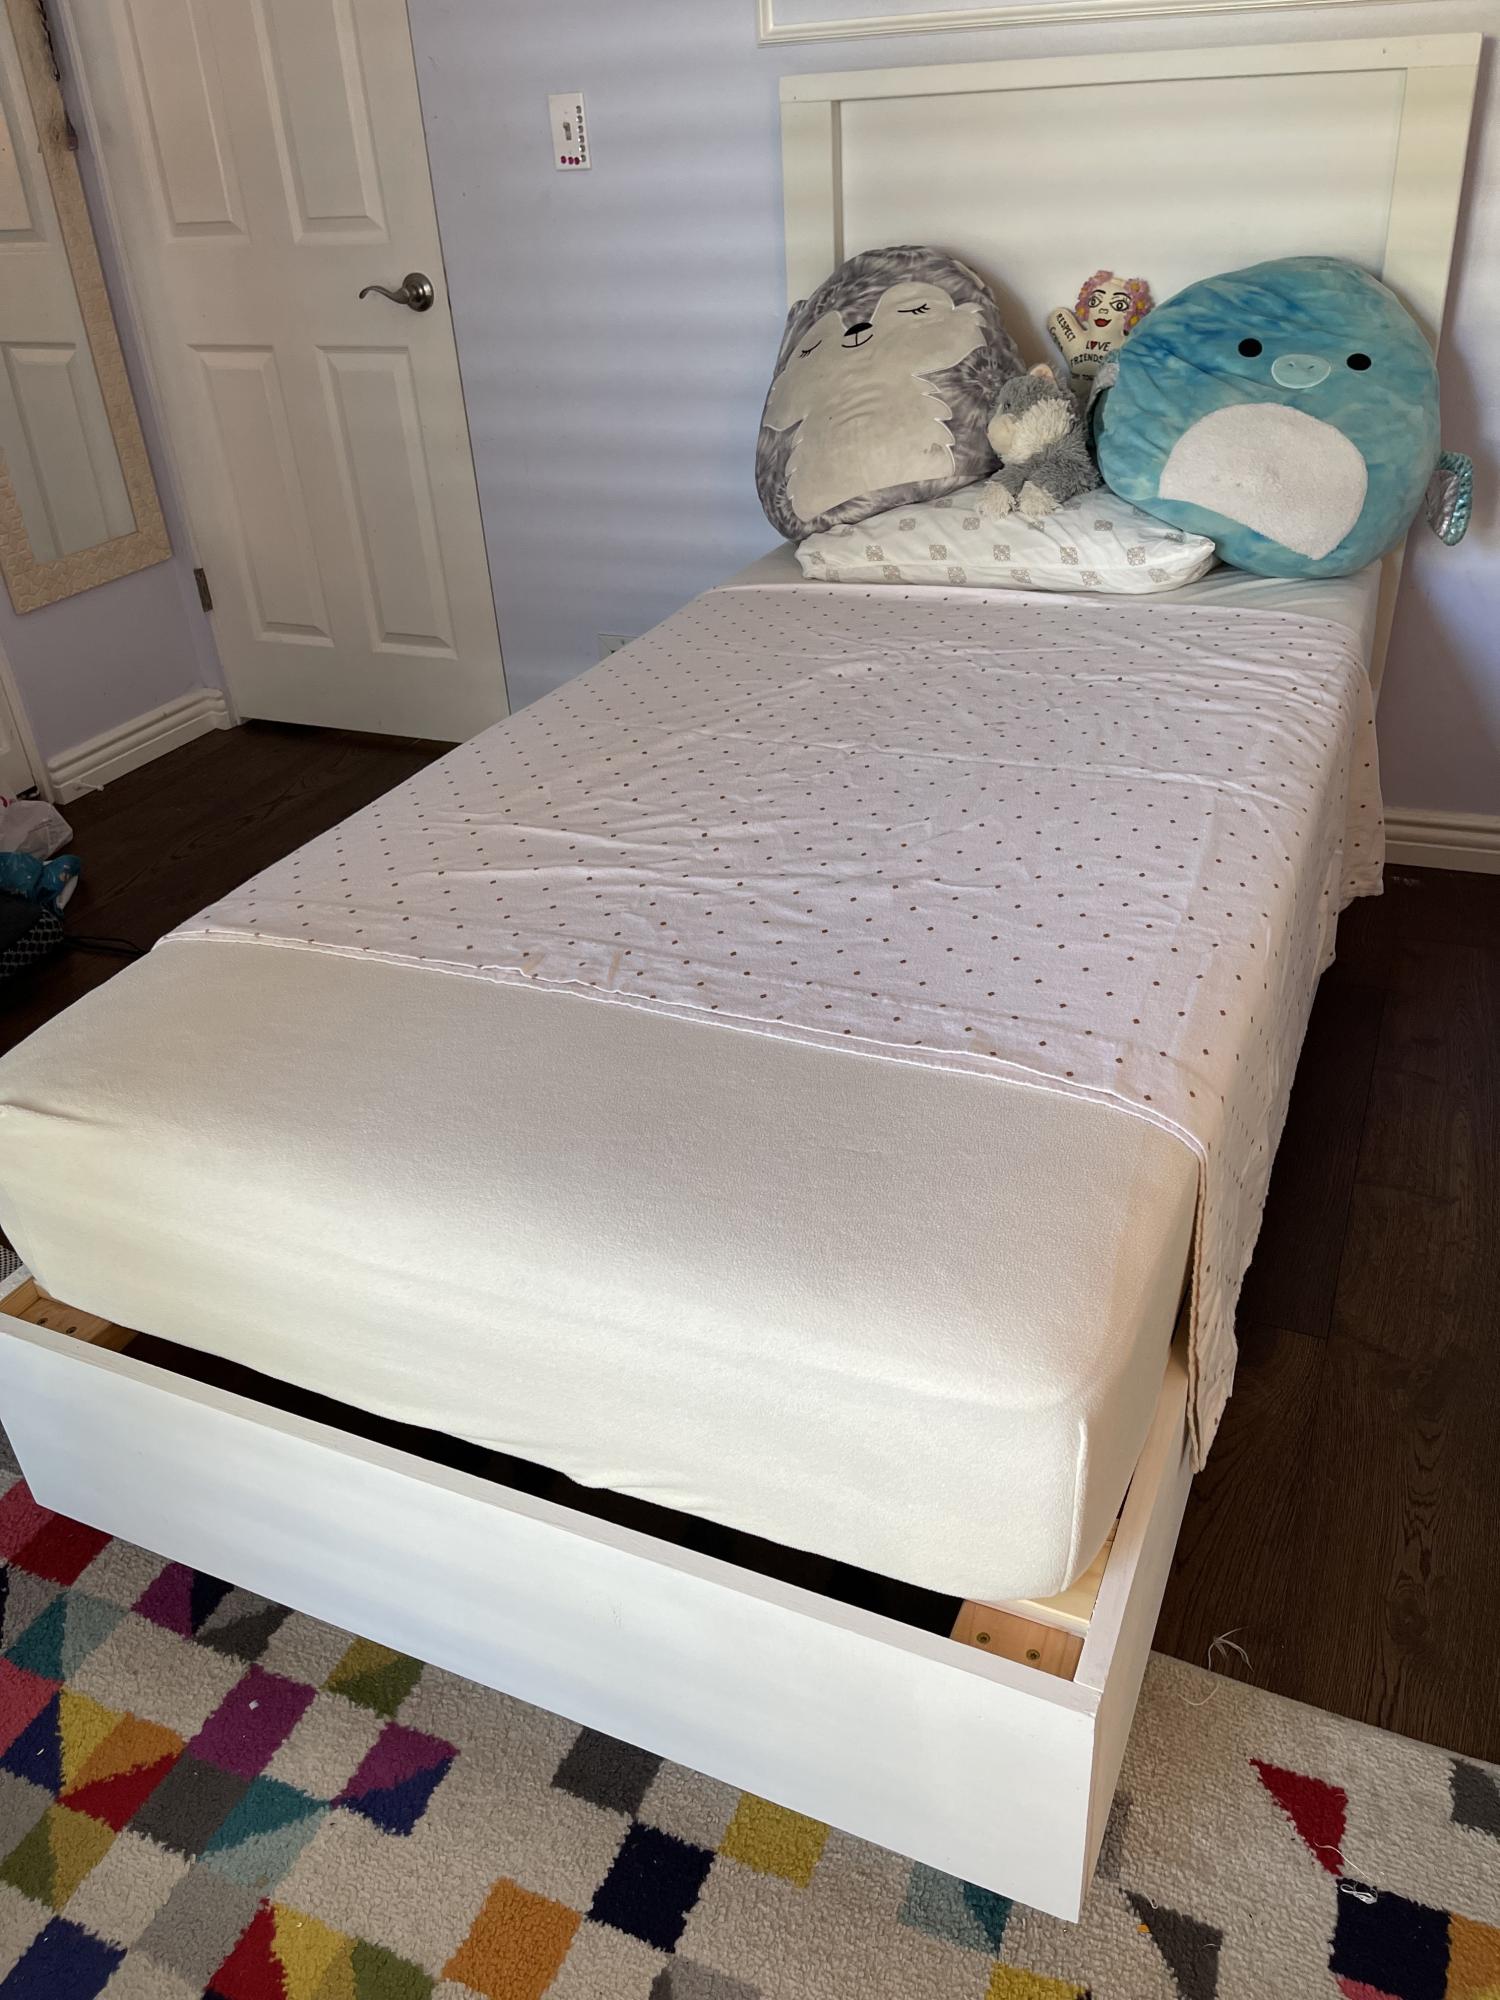
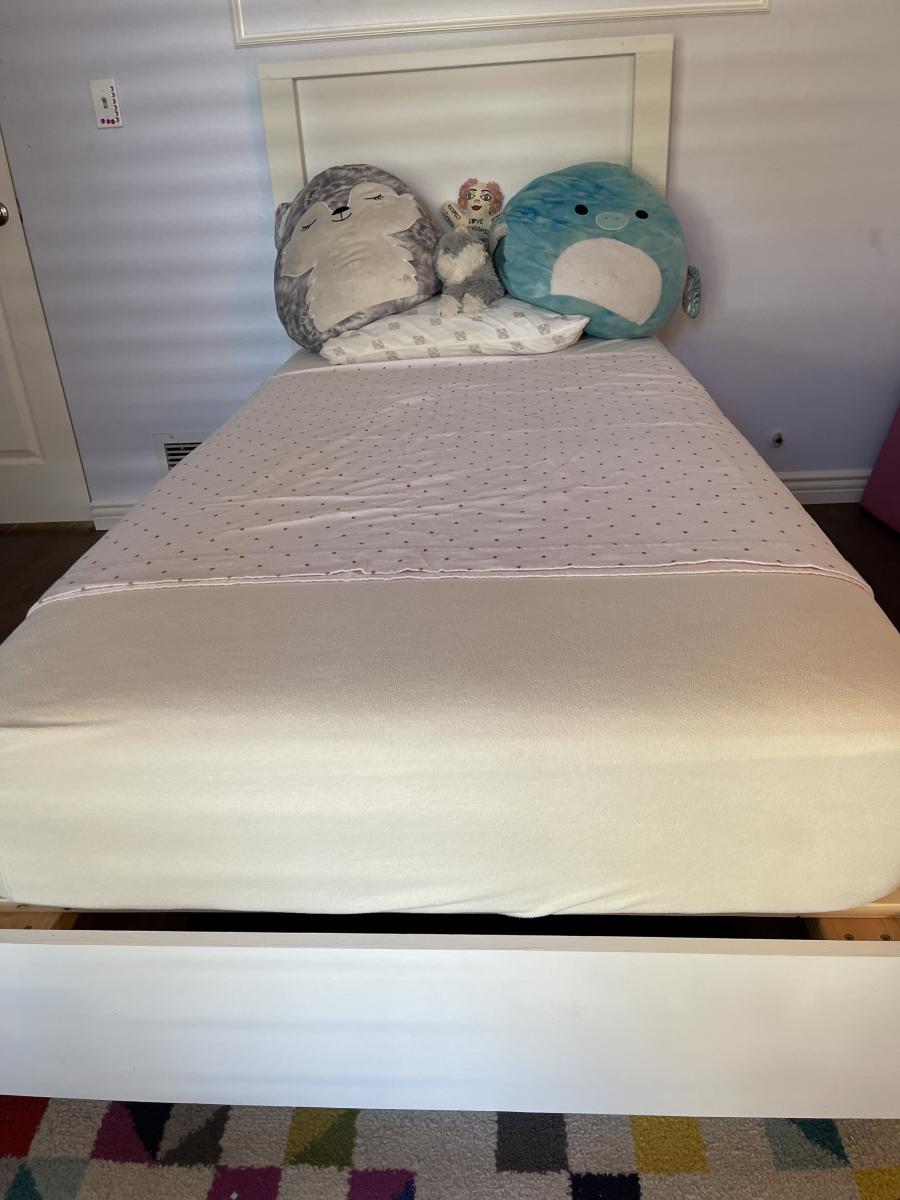
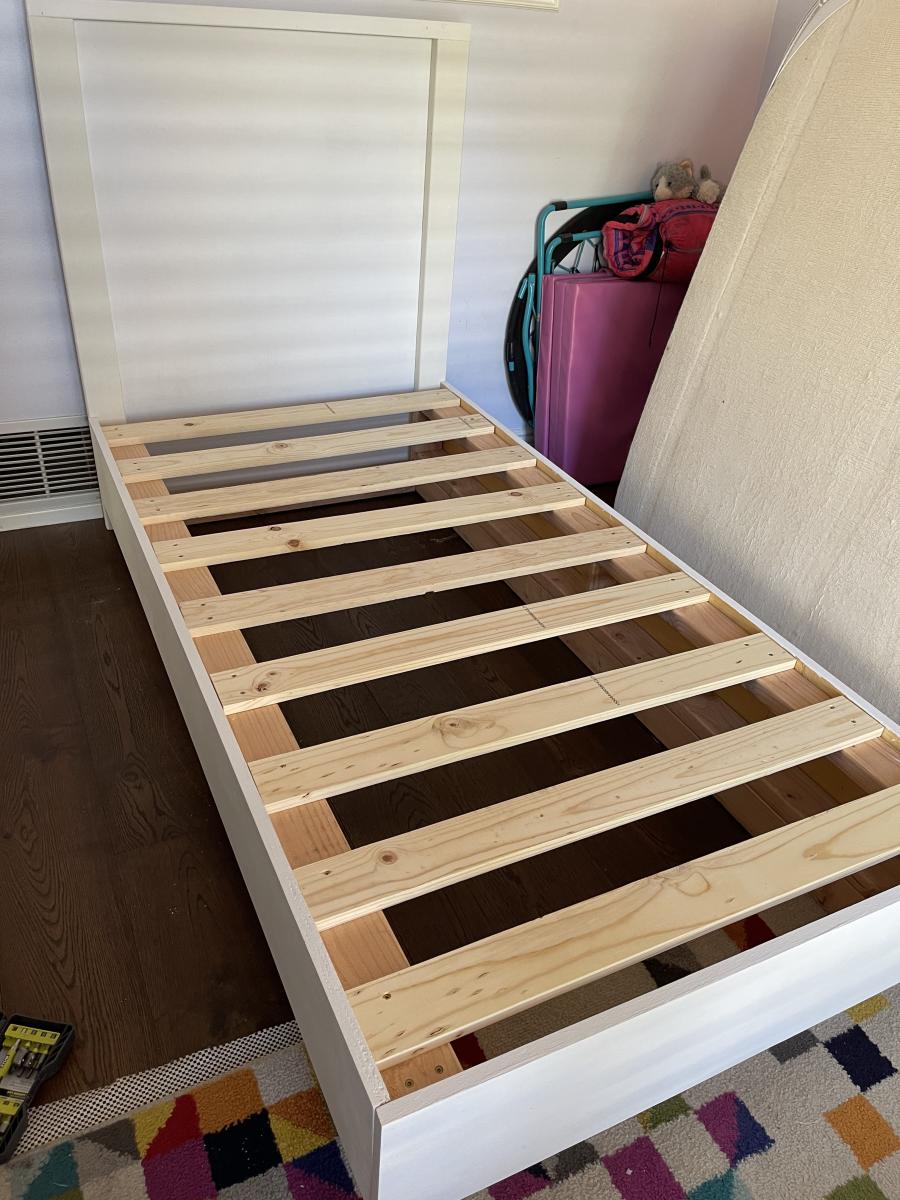
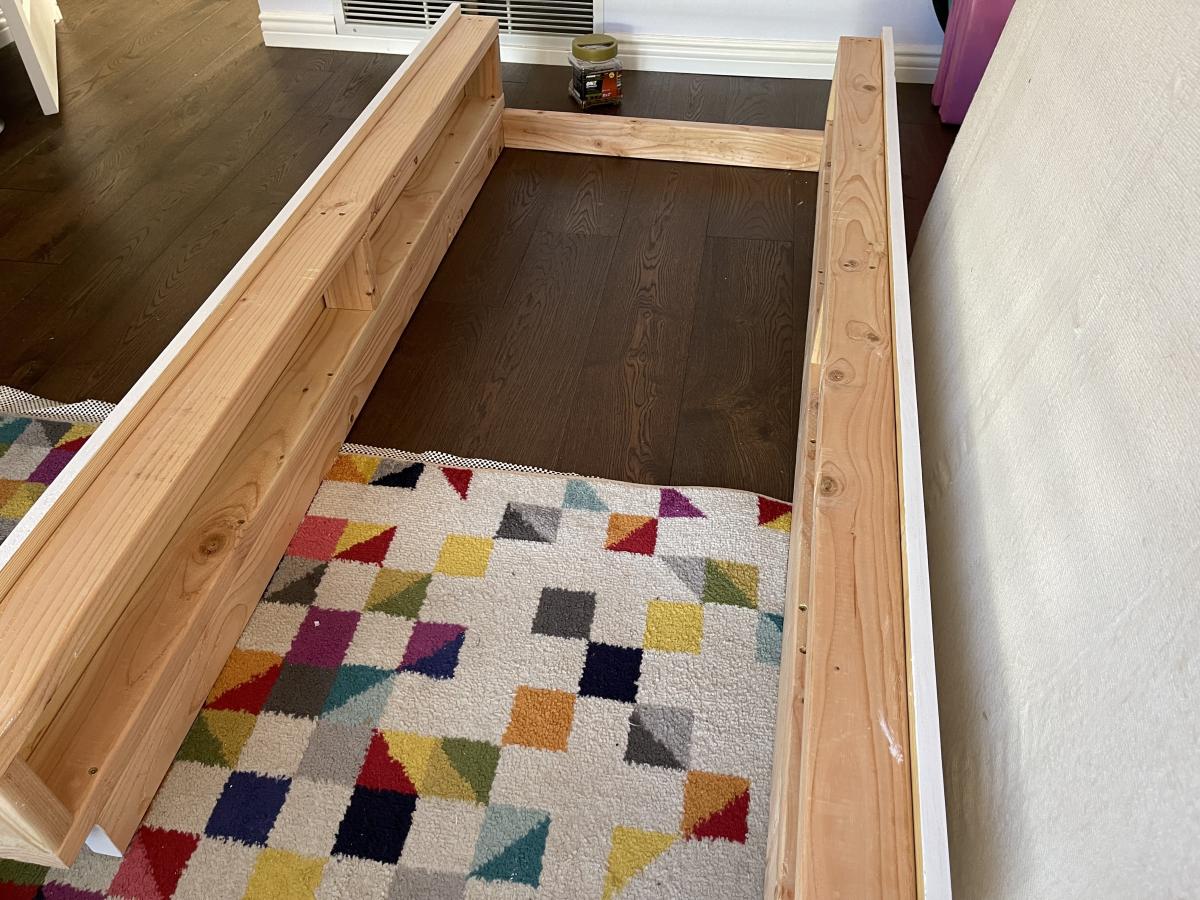
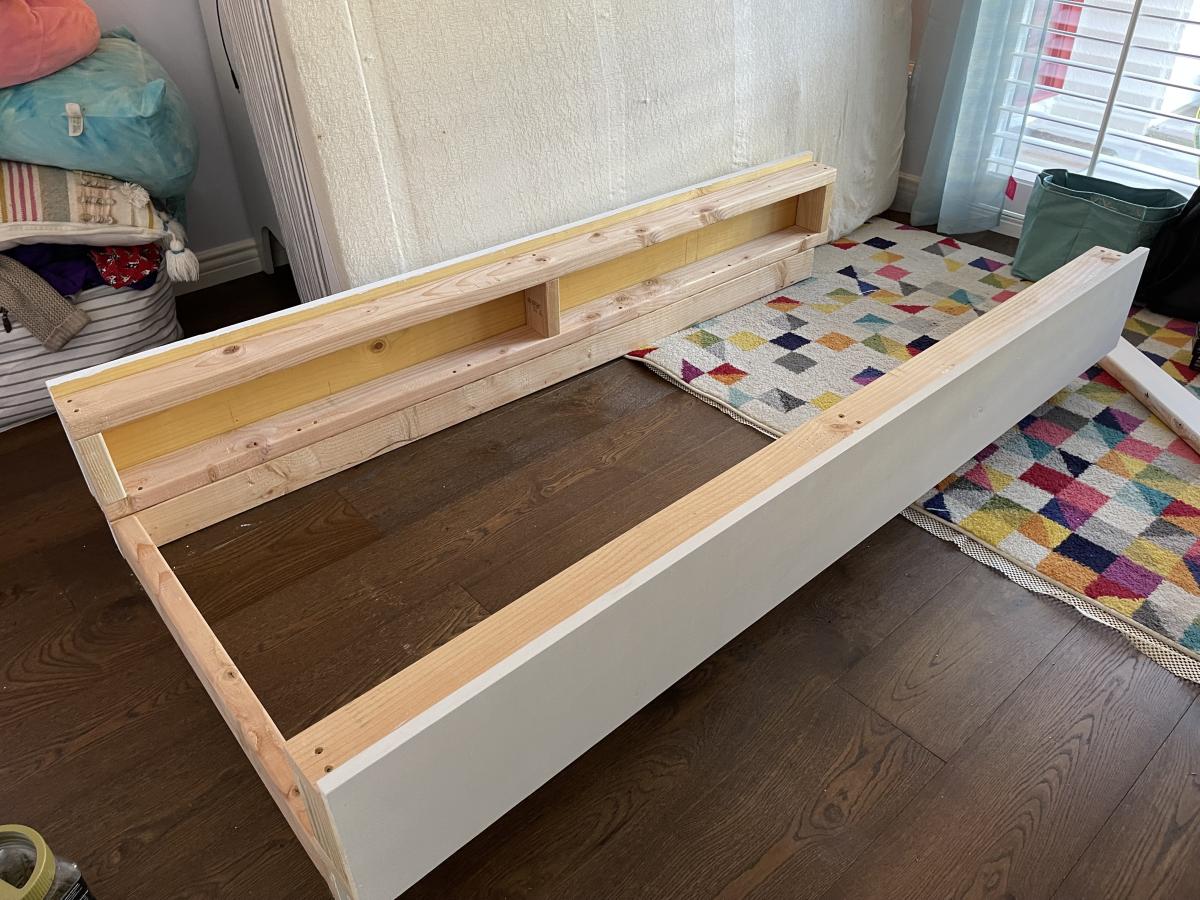
I built a floating bed using Ana's plans. In my case, I built a twin size bed which now my daughter enjoys every night. The bed turned out beautiful and very sturdy.

Comments

Rustic Bench

Submitted by cassiet717 on Wed, 10/02/2013 - 14:14

I have always loved benches at the dining table. They are so practical for cleaning, kids, and for cramming extra people at a table! We are (mostly) happy with our current table, but I was so sick of 6 clunky chairs floating around my kitchen, and these benches were the perfect solution. They were very simple to make and are exactly what I wanted!

I mixed my own color of stain for the top board from two Cabot colors (Golden Oak and Walnut) to create a color that break up all the oak in the room, while still fitting in. I painted the bases of the benches a creamy ivory for the same reason, to break up all the oak, and distressed the edges lightly.

I omitted the "x" feature in the plans because I was happy with the look of just the board along the bottom.

Estimated Cost
about $40 for 2, plus left over paint and stain
Estimated Time Investment
Day Project (6-9 Hours)
Finish Used
Cabot wood stain in Golden Oak and Walnut (mixed), and Valspar latex paint in Crisp Linen
Recommended Skill Level
Intermediate

Floating Shelves

Submitted by amym on Sun, 10/02/2011 - 11:50

When I saw Ana's post within Young House Love's blog, I thought this would be great for pictures. We have a large wall that spans two stories in our entry way. This shelf helped make a dramatic impact when we have visitors over.

Built from Plan(s)
Estimated Time Investment
Afternoon Project (3-6 Hours)
Finish Used
I used a high gloss finish of Espresso Beans by Behr from Home Depot. After sanding and sanding, I primed the entire shelf and then used 4 coats to give it a really smooth finish.
Recommended Skill Level
Beginner

Comments

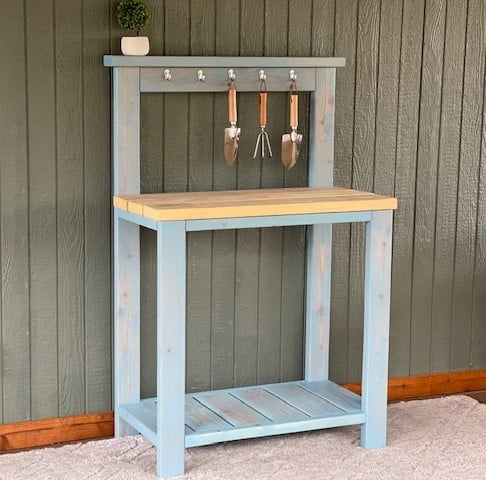
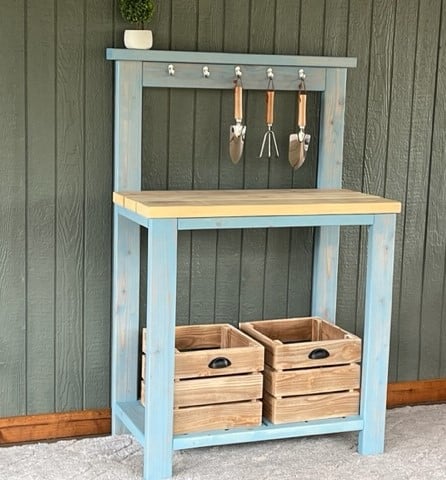
Compact Potting Bench

Submitted by vendo on Wed, 02/01/2023 - 12:43

I used Ana's Farmhouse Potting Bench plans and modified it to be more compact and left out the x detail. I built it for under $40 in material. 

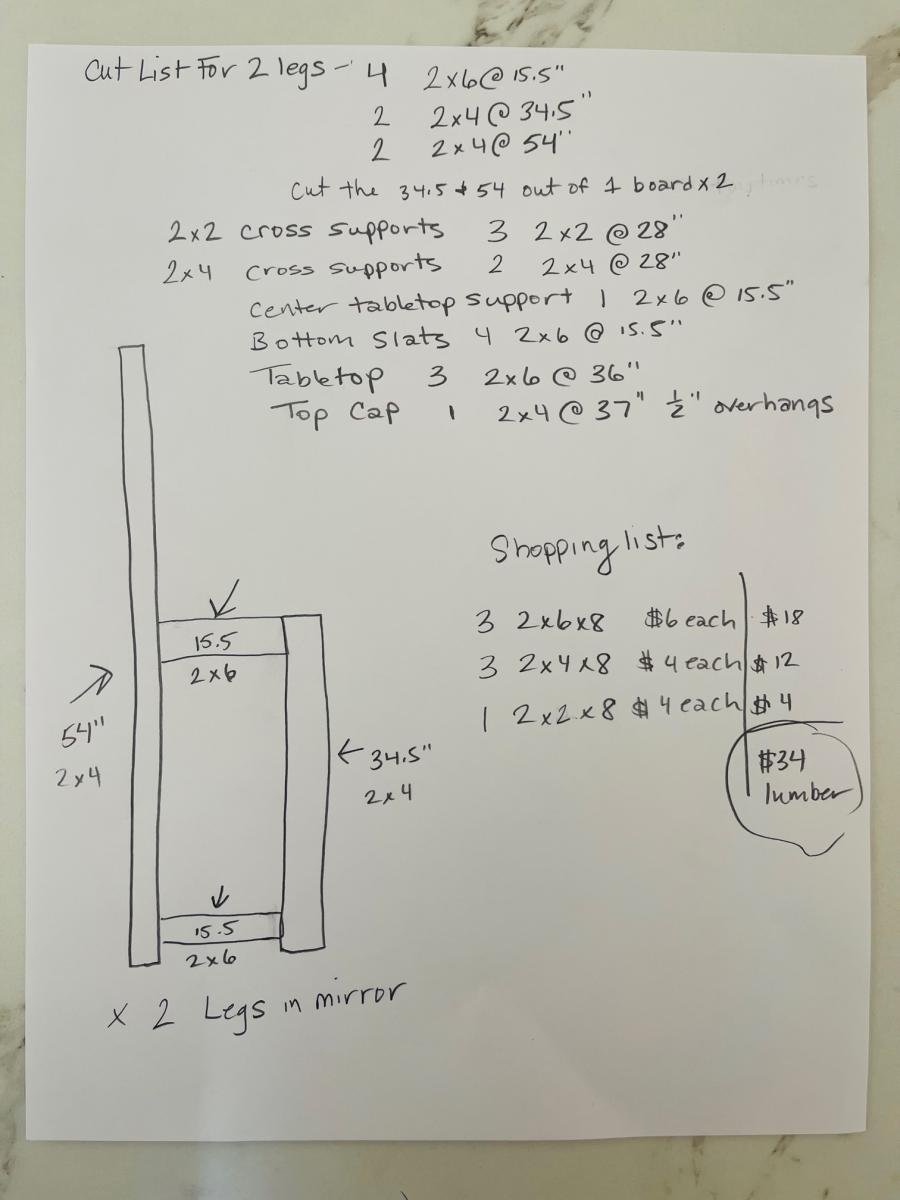
Modifications for Shopping and Cut List - Construction and placement is same as Ana's original plan, so make sure you look that over.

Shopping List 

3 - 2x6x8

3 - 2x4x8

1 - 2x2x8

Cut List

FOR 2 Legs
4 2x6 @15.5"
2 2x4 @34.5"
2 2x4 @54"
(cut the 34.5 and 54 out of 1 board and repeat)

2x2 Cross Supports
3 2x2@28"

2x4 Cross Supports
2 2x4@28"

Center Tabletop Support
1 [email protected]"

Bottom Slats
4 [email protected]"

Tabletop Boards
3 2x6@36"

Top Cap Board
1 2x4@37" leaving 1/2" overhangs

VIDEO OF THE BUILD PROCESS

Built from Plan(s)

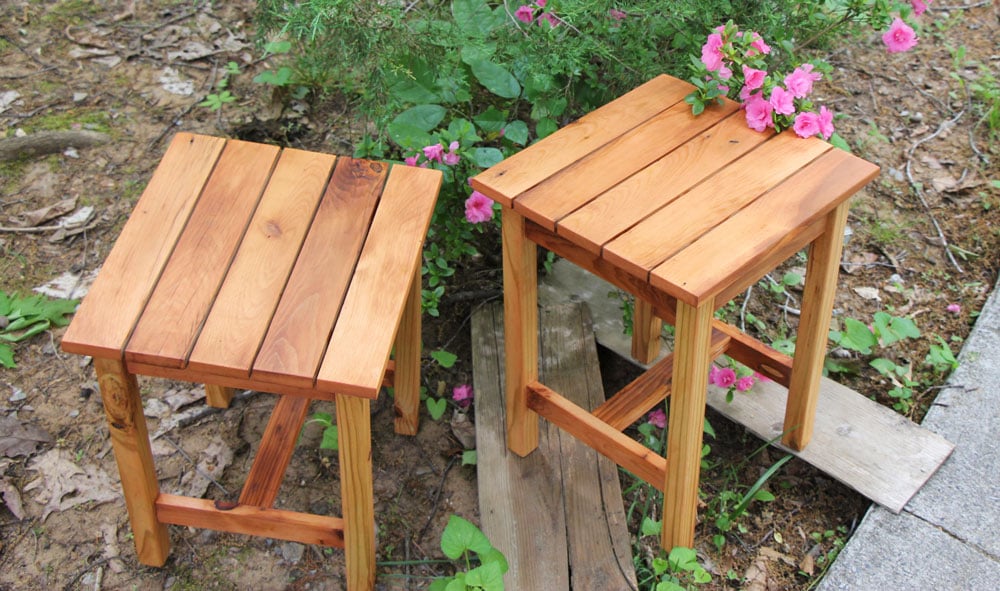
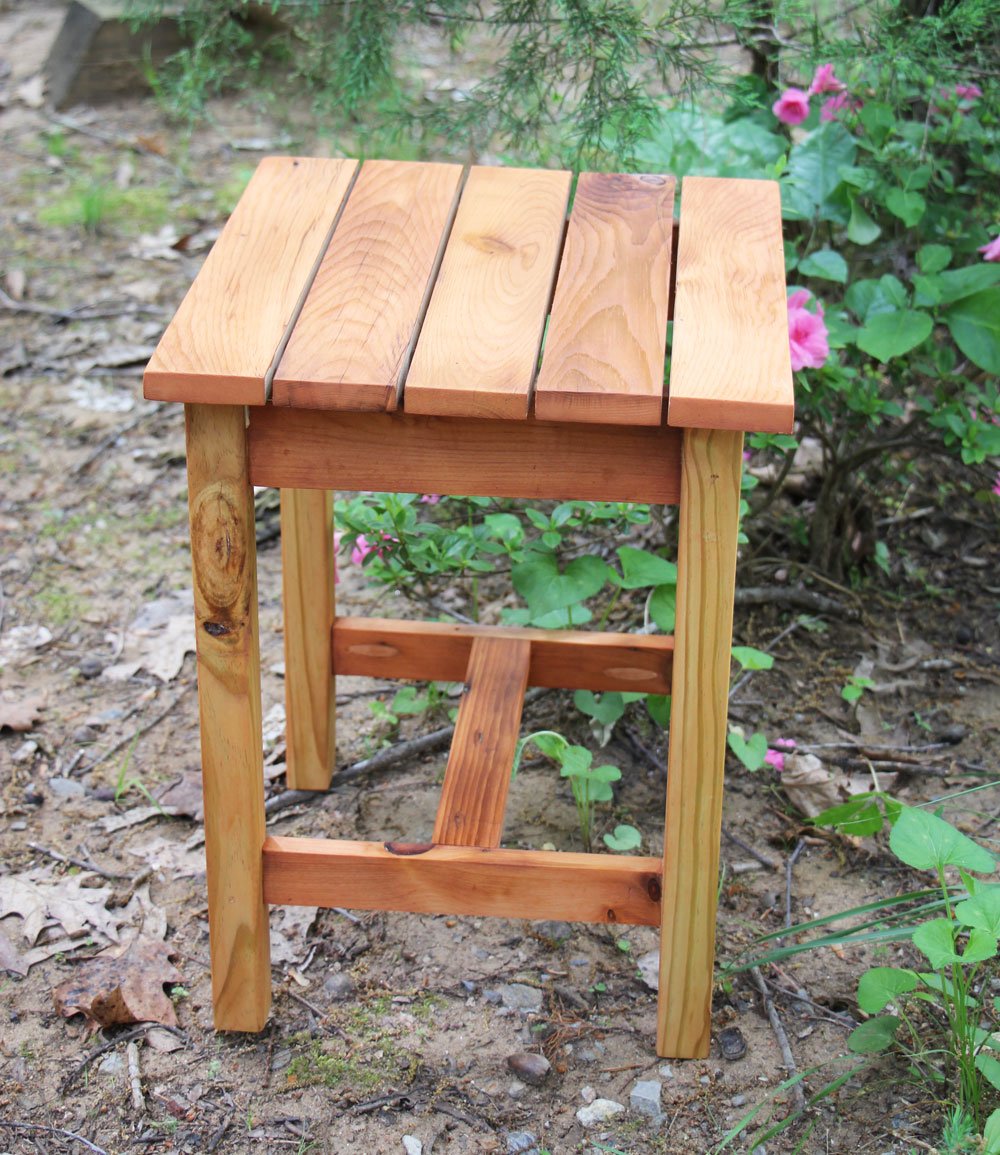
Cedar Outdoor Side Table First Project

Submitted by Amy.Mapes on Sat, 05/04/2019 - 09:35

This was my first attempt at making anything out of wood.  I was thankful for guidance from my husband but I did it myself!!!

Built from Plan(s)
Estimated Time Investment
Afternoon Project (3-6 Hours)
Finish Used
Minwax Colonial Maple Stain
Recommended Skill Level
Starter Project

Comments

Seasonal And Holiday

Factory Cart Coffee Table with Storage

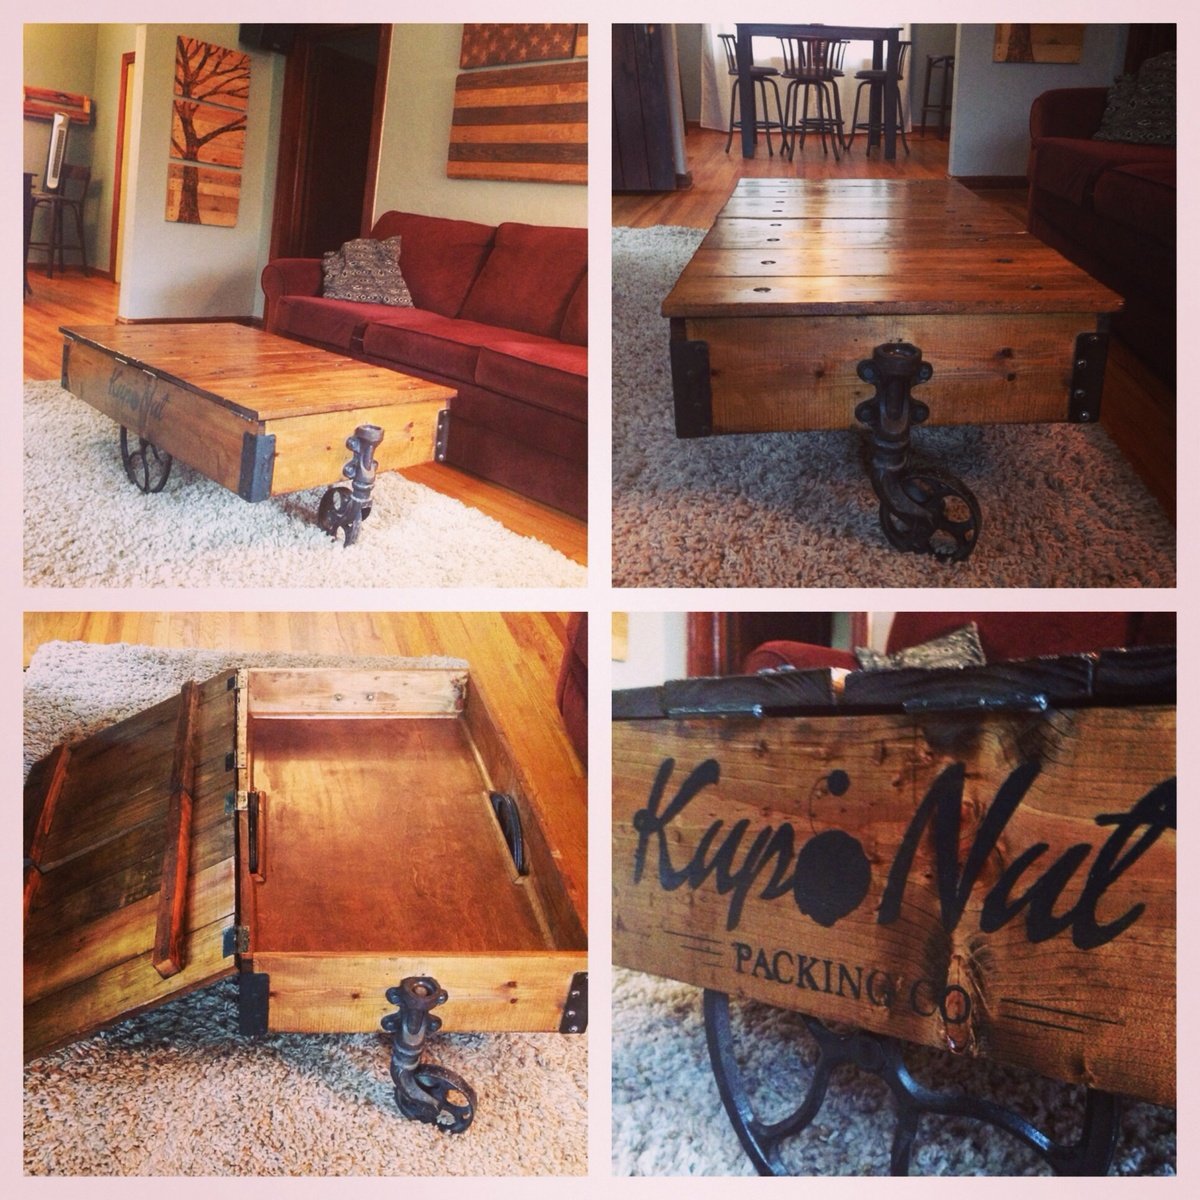
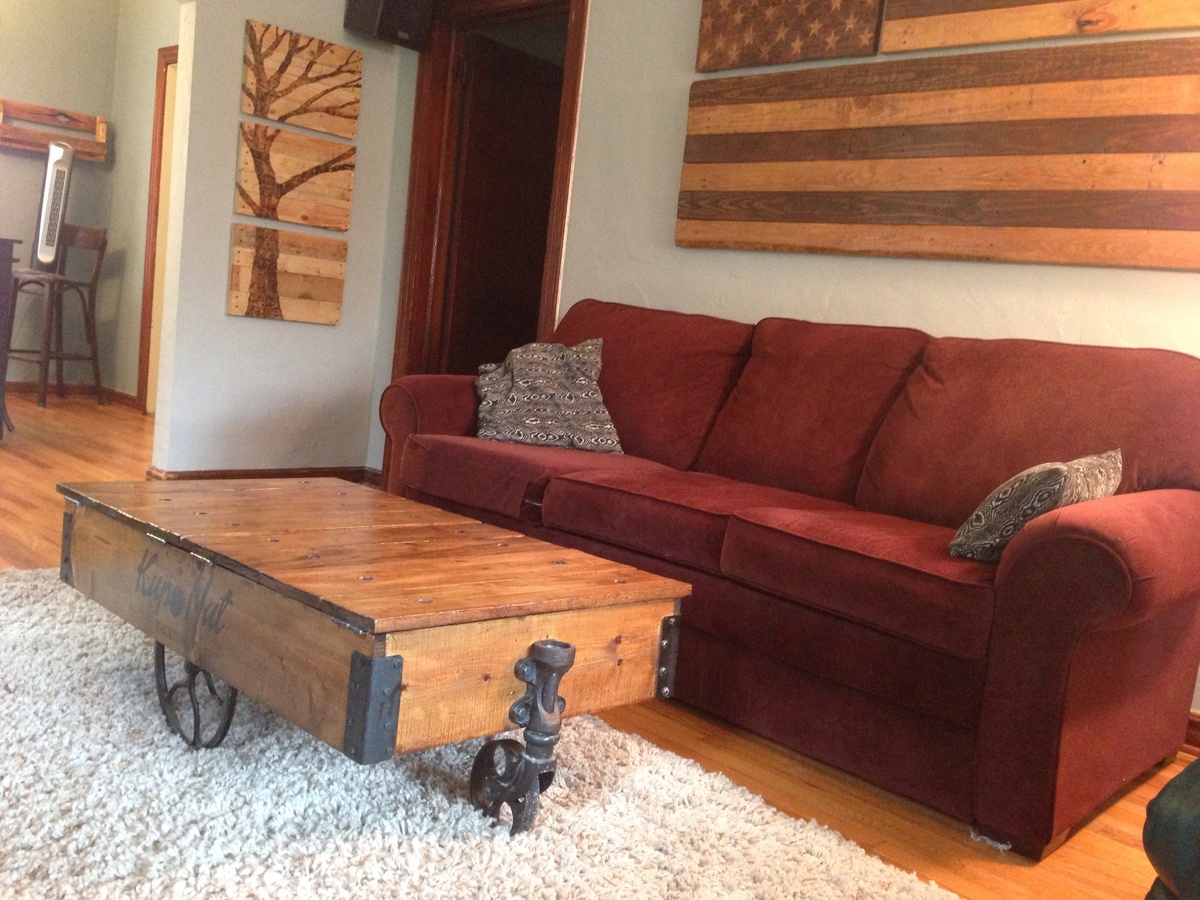
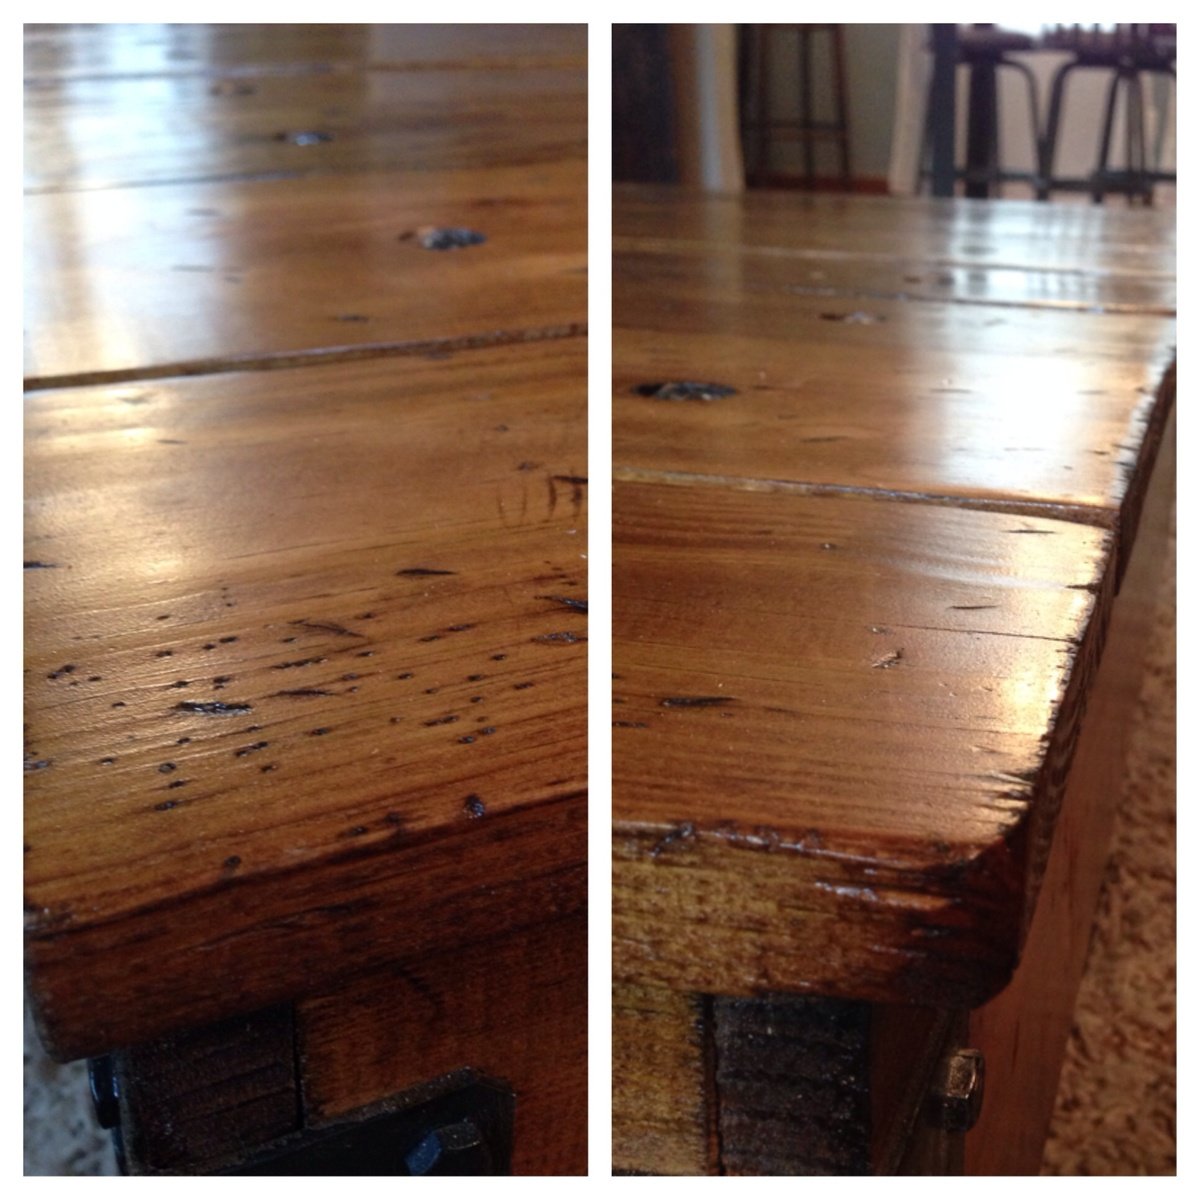
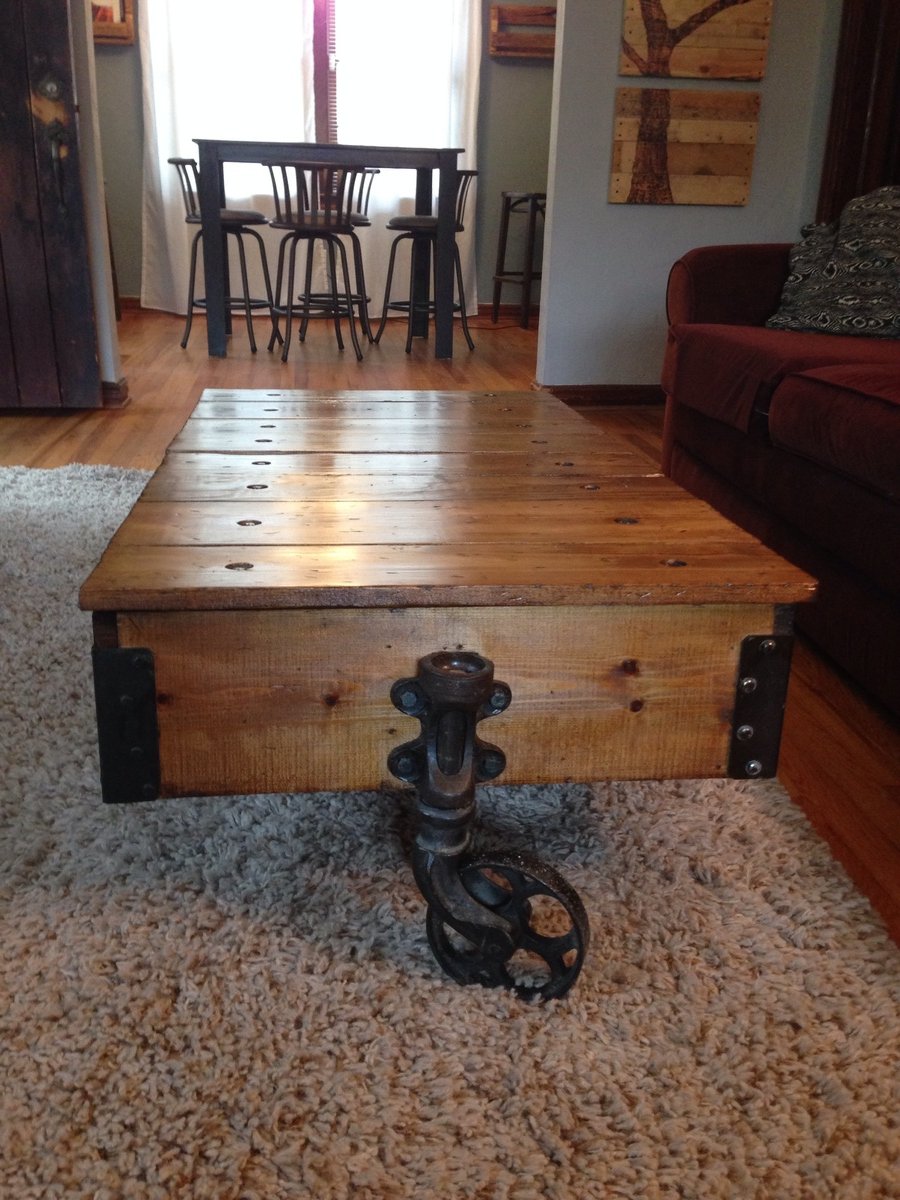
I have been longing to make a factory cart coffee table for years after seeing one in a local antique store in Jacksonville Florida. I started by following the dimensions from Ana Whites table and then decided to make the table top with the ability to open up into storage. I followed the plans and updated with hardware that I (painstakingly) pieced together from various sites online. I love the industrial feel the cast iron hardware brings to this adaptation and cannot wait to start building matching end tables. Thank you Ana for the inspiration!

Built from Plan(s)
Estimated Cost
$200
Estimated Time Investment
Week Long Project (20 Hours or More)
Finish Used
Minwax provincial stain for the primary and minwax espresso to detail the distressing and edges. Finished with 4 coats of minwax water based polyurethane
Recommended Skill Level
Intermediate

Comments

jahnkekong

Wed, 11/06/2013 - 17:11

Could you share any details about how you finished the wheels? I have a cart I am trying to refinish but stalling out on the cast iron parts. I really don't want to paint them, and I don't want them to rust.

Just noticed the Kupo Nut reference! I love it!

In reply to by jahnkekong

TongueAndTeak

Wed, 11/06/2013 - 19:16

Thank you so much for catching the Kupo nut reference! Haha I only felt it was fitting to add a little nerd flair :) rust oleum has a hammered black paint that also doubles as a rust inhibitor so it worked perfectly to touch up the cast iron parts and keep that rustic feel to the hardware. I finished with a clear top coat as I'm sure that I will end up constantly kicking the wheels by accident haha.

Cyber Sapp

Wed, 12/04/2013 - 18:45

I know you mentioned it was painstaking to find all of hardware, but can you share where you found the front casters? Also how did you put your stamp on it? I'm knew to woodworking so please excuse my ignorance.

In reply to by Cyber Sapp

TongueAndTeak

Wed, 12/04/2013 - 19:18

Hi cyber sapp! I was able to piece them together from eBay and etsy items. I searched for key words: "antique cast iron caster" or "factory/industrial cart wheel" and you should be able to find ones that work. I held out for the best deals I could. Be prepared to search quite a lot if you want to find the best deal.
As far as the decal is concerned, I created the template on illustrator and used it as a template to paint the decal on. I checked online and saw a few examples of transferring images on to wood that will probably be easier than hand painting. Hope this helps!!

Cyber Sapp

Wed, 12/04/2013 - 22:25

Thanks for the update. I made one similar to your modifications. I'm using storage too, I will share once I get the soft close installed. I'm looking for something that want slam fingers when it is closed. I also used Walnut to build it. It is solid like a tank with the hardwood, but came out pretty good. I made a few minor mistakes and now want to make one closer to yours.

Mandymoochops

Mon, 12/16/2013 - 23:30

What an amazing job you did, I'm still holding out for my end wheels too and you are so right about search search search. It doesn't help being in Canada with shipping costing so much for these too.

Love love love, well done

TongueAndTeak

Tue, 12/17/2013 - 21:23

Thank you very much!! I do not envy you right now as the search took me forever to find the right wheel that matched one I already had. I have had good luck in the past asking eBay sellers about changing to flat rate shipping options. Not sure if they have that option for shipping internationally but it never hurts to try! Keep up the good fight as the wheels REALLY pay off in the end.

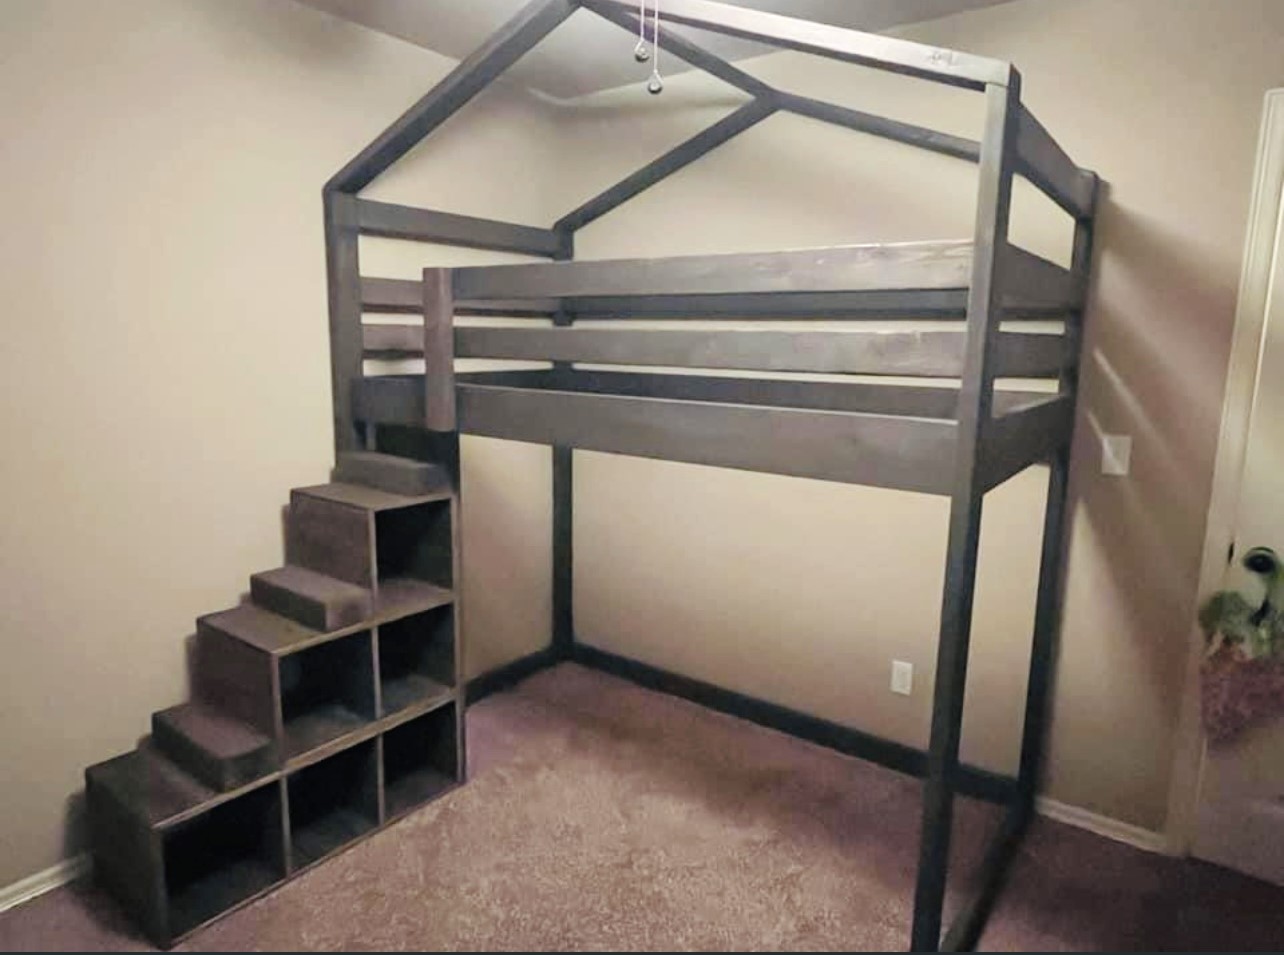
Triple Bunk

Submitted by Anonymous (not verified) on Sat, 04/29/2023 - 02:17

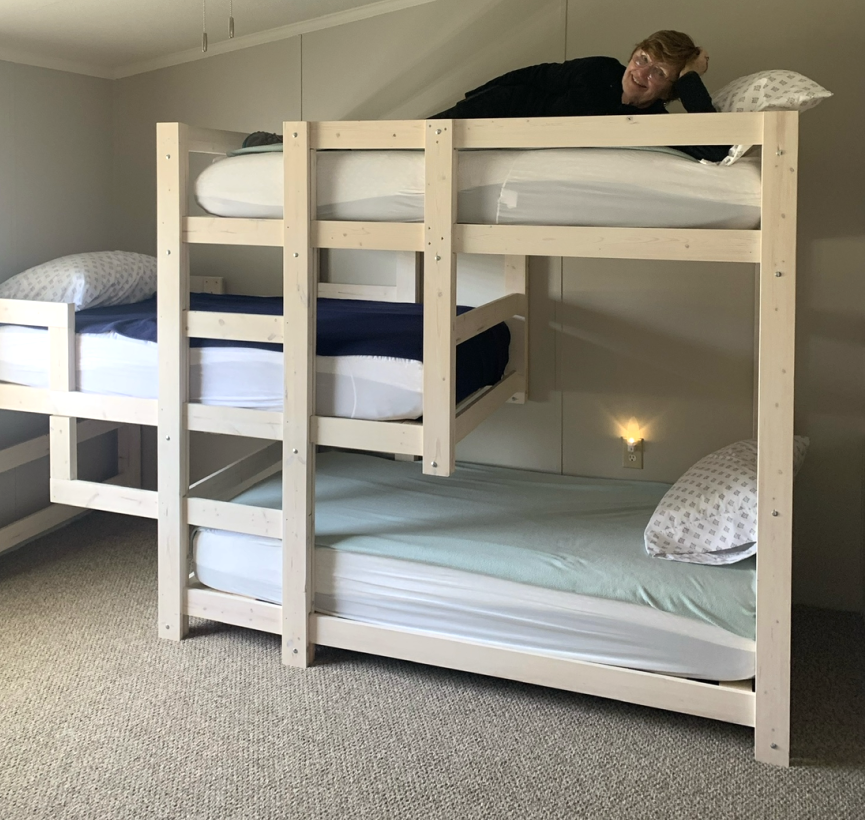
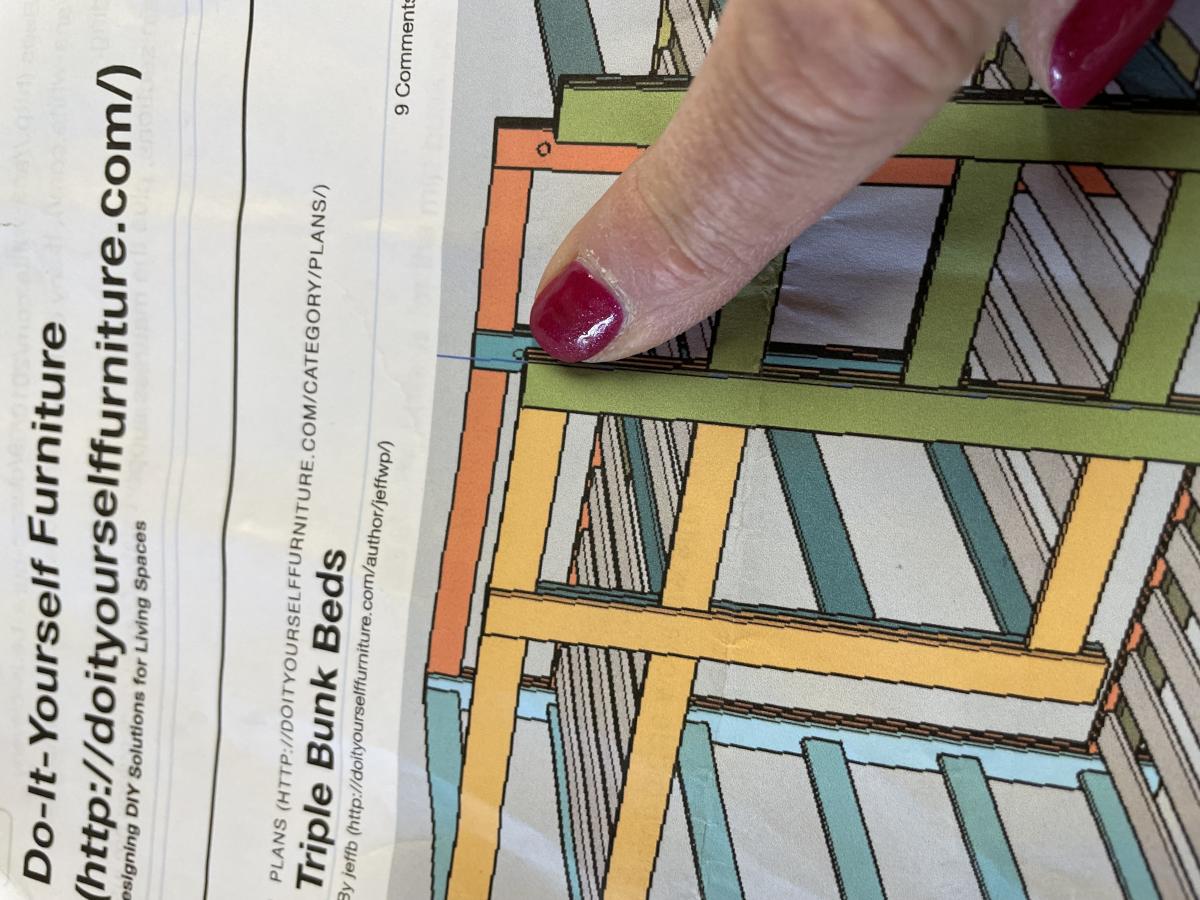
I needed to find a way to conserve space for 3 children to sleep in a very small home. I used an adapted pattern from Ana White. It turned out perfectly!

Comments

Rustic X coffee table with Minwax Classic Gray stain

Submitted by cariaw123 on Thu, 11/21/2013 - 07:54

This project was quick and painless. I recommend for a beginners project (but expect to get frustrated over building the x's into the side though). I stained our table with the Minwax Classic Gray stain and used the Minwax water-based polyurethane to seal it. I realize that the stain is difficult to see but it is a beautiful stain that has turned into my go-to stain. The stain is not too gray and you can see the natural color of the wood through it. The photo gives the impression a glossy finish. In reality, it is more matte.

Built from Plan(s)
Estimated Cost
$80-90
Estimated Time Investment
Afternoon Project (3-6 Hours)
Finish Used
Minwax Classic Gray stain with Minwax Water-based Polyurethane.
NOTE:The stain goes on pine and whitewood VERY differently. The pine pieces come out very dark with the stain being brushed on and immediately wiped off. For the whitewood, you can leave it on for 10 minutes and it'll reach a threshold for the amount of stain it will accept. I just sanded the darker pieces down a little bit to match the lighter pieces. (Does that make sense?)
Recommended Skill Level
Beginner

Modern Outdoor Chairs and Simple Seacoast Tables

Submitted by Anonymous (not verified) on Mon, 05/22/2023 - 17:08

Great sturdy outdoor furniture to spruce up a small deck space with lots of afternoon sunlight and coastal breezes!

Comments

Toddler Bunk Bed

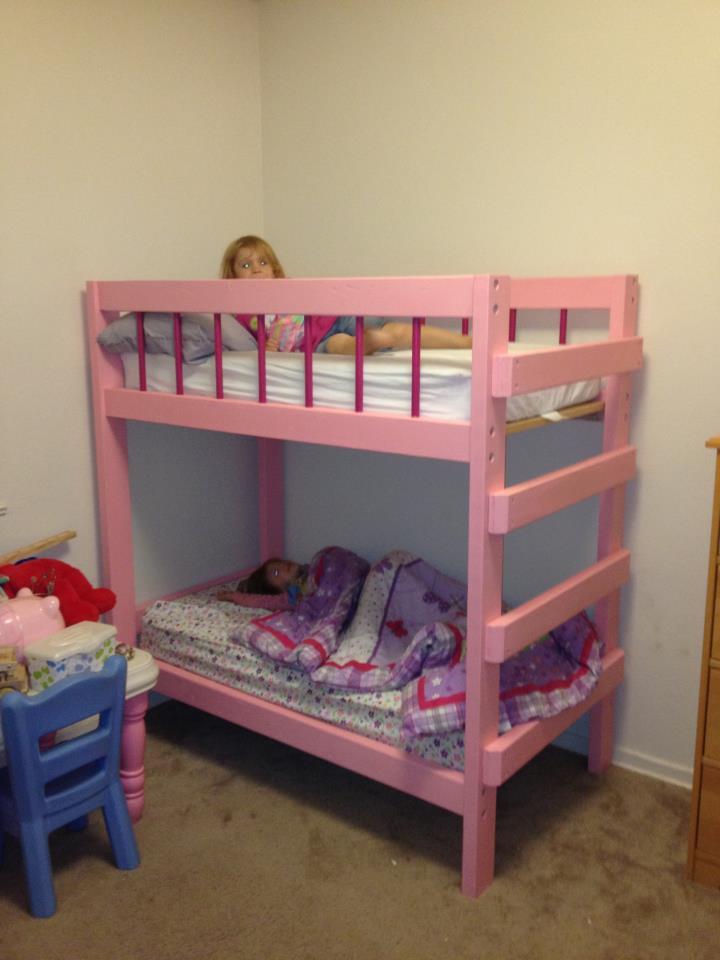
This project cost around $75 dollars for all the materials and paint. It took about 10 hours to complete. It is costructed of pine 2x4 with the exception of the slats which are 1x3.

Built from Plan(s)
Estimated Time Investment
Weekend Project (10-20 Hours)
Finish Used
Latex Semi-gloss Interior/Exterior Paint
Recommended Skill Level
Intermediate

Comments

chalip2

Wed, 06/22/2016 - 18:45

Love the bunk bed, its looks perfect for my needs.

Is there anyway you can send me the plans for this?

Privacy planter

Submitted by Anonymous (not verified) on Sun, 06/04/2023 - 16:11

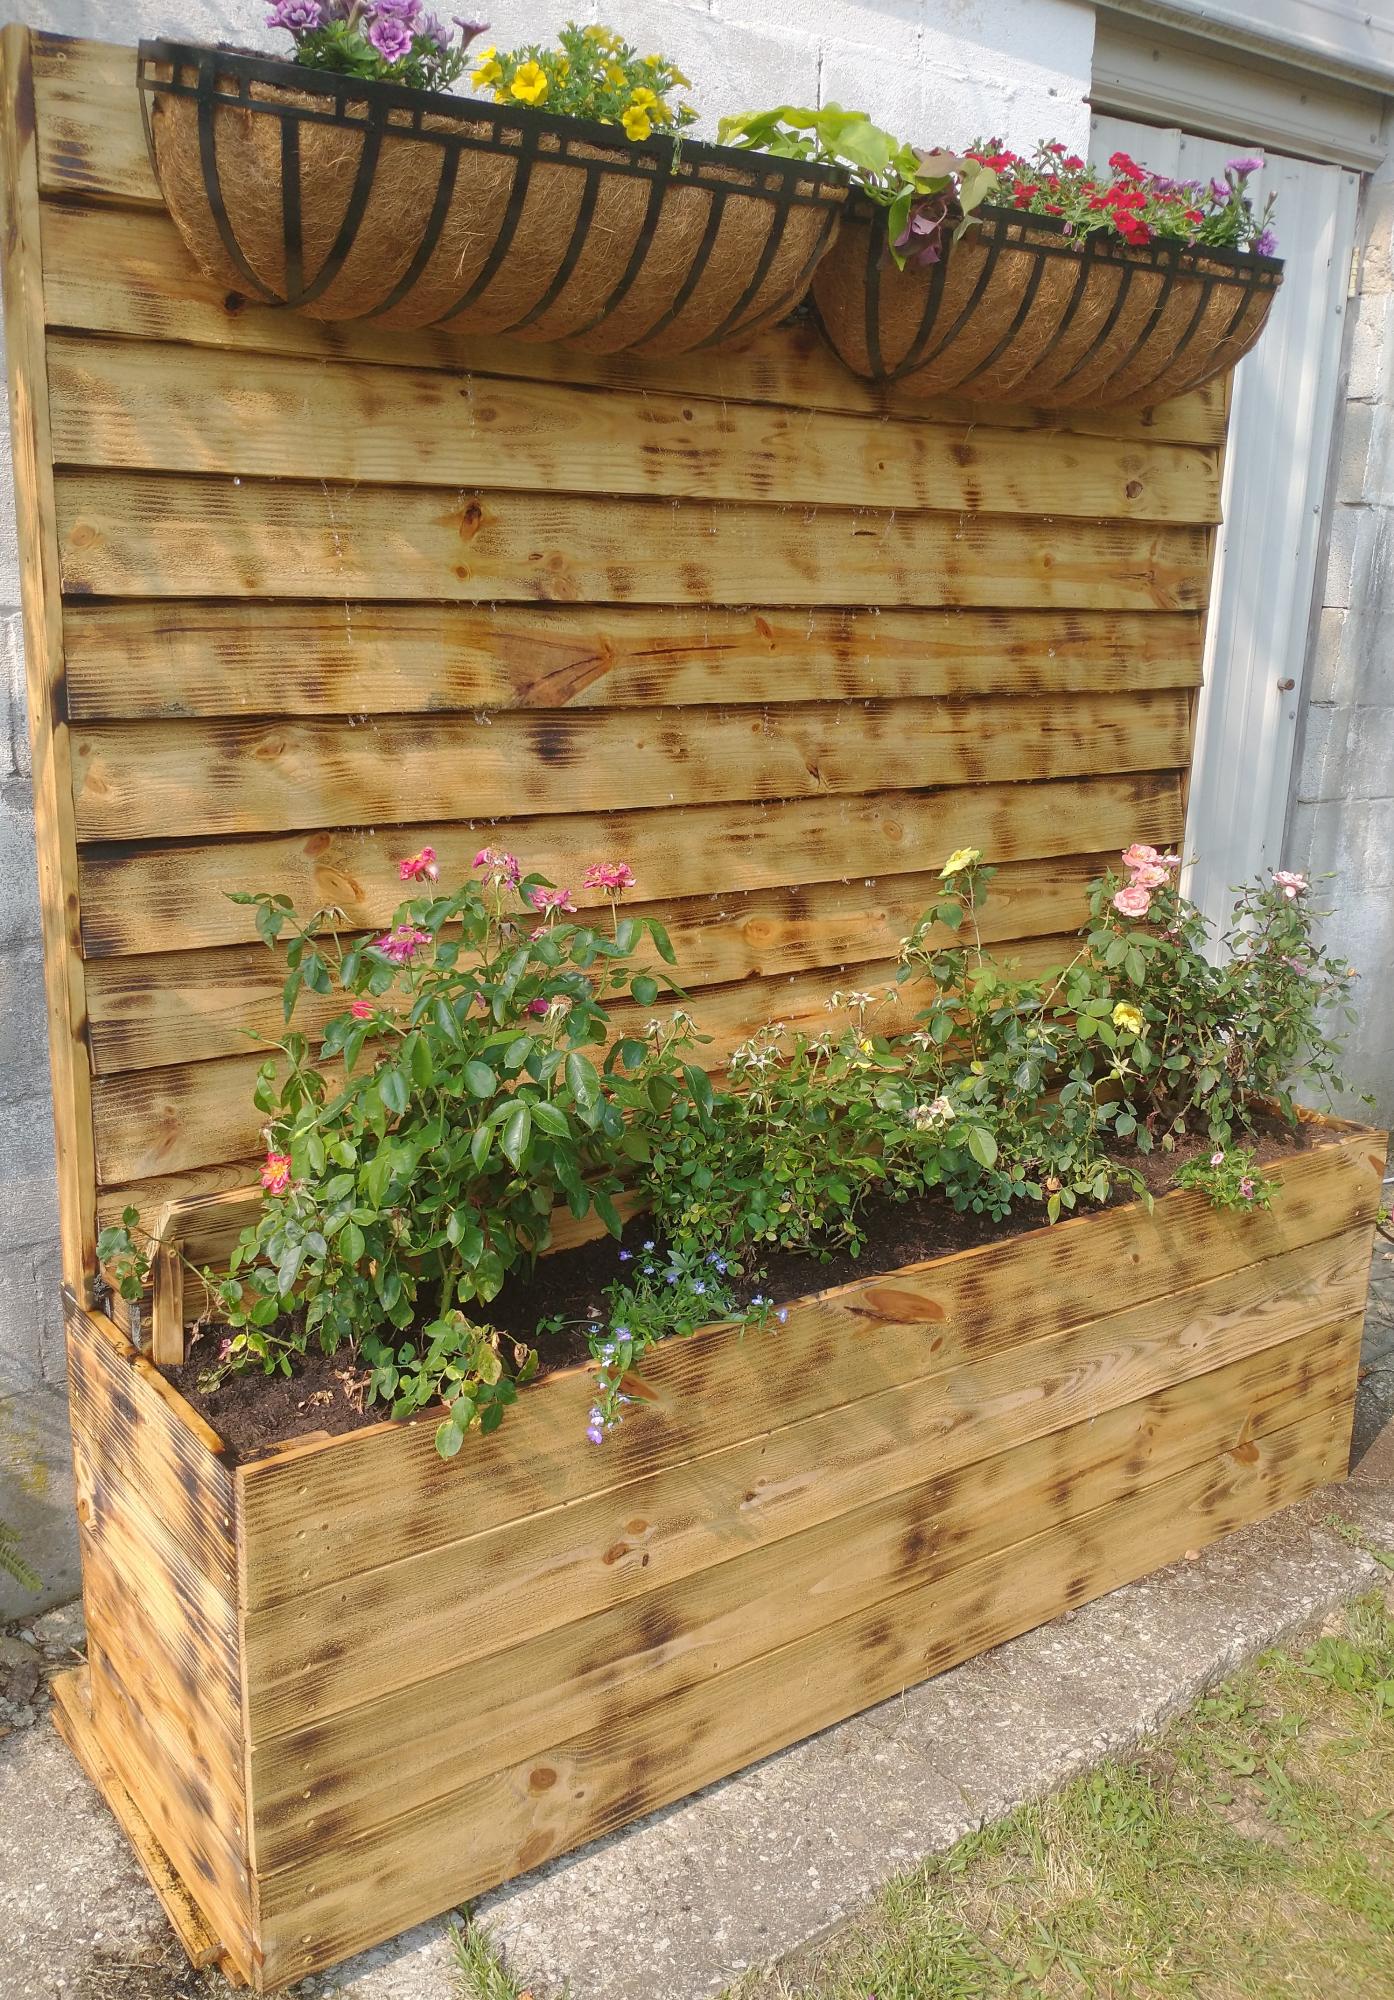
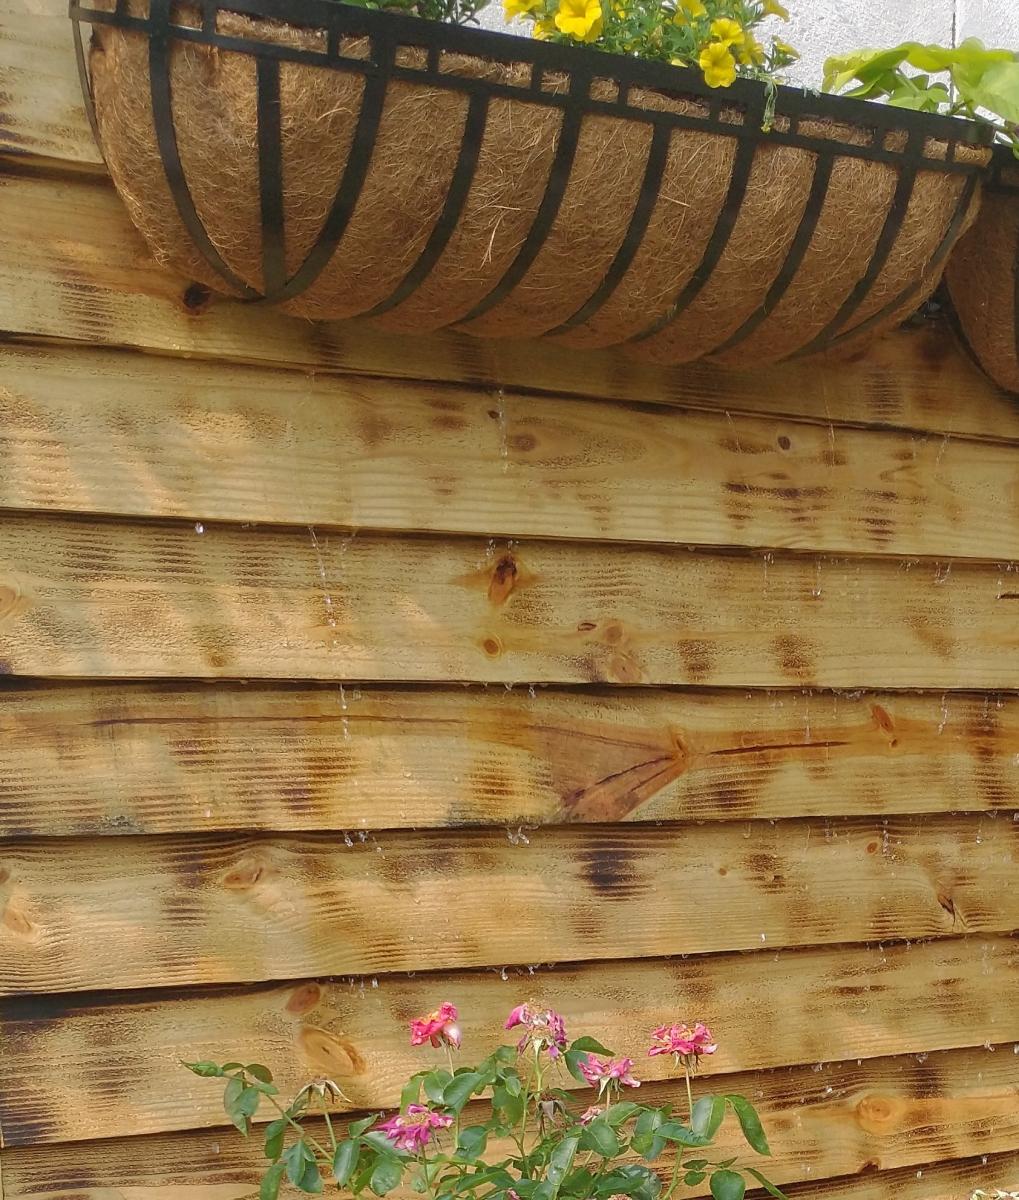
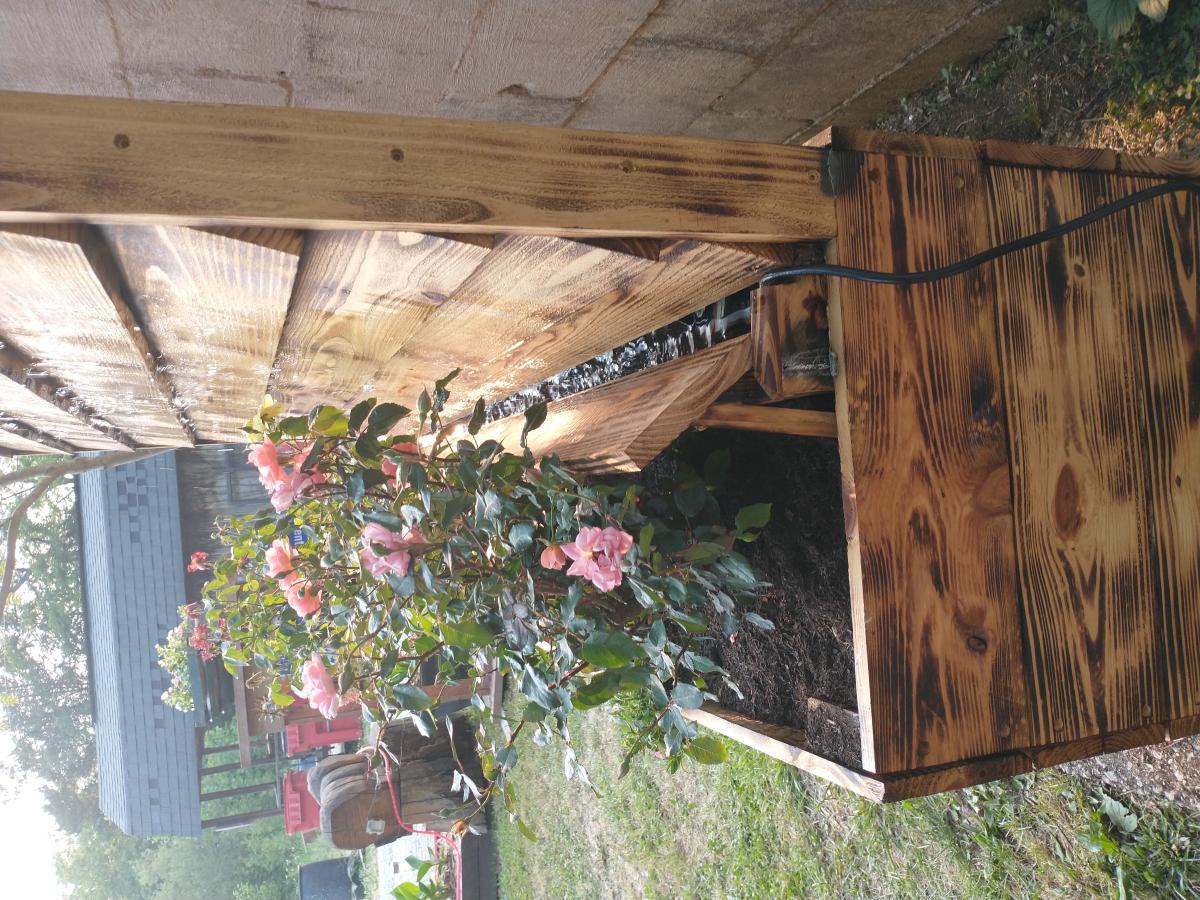
It's a take off of your privacy fence planter. But I added water to make it a water wall also.

Built from Plan(s)

Comments

Seasonal And Holiday

Propane Tank Storage Table

Submitted by Anonymous (not verified) on Fri, 07/07/2023 - 11:12

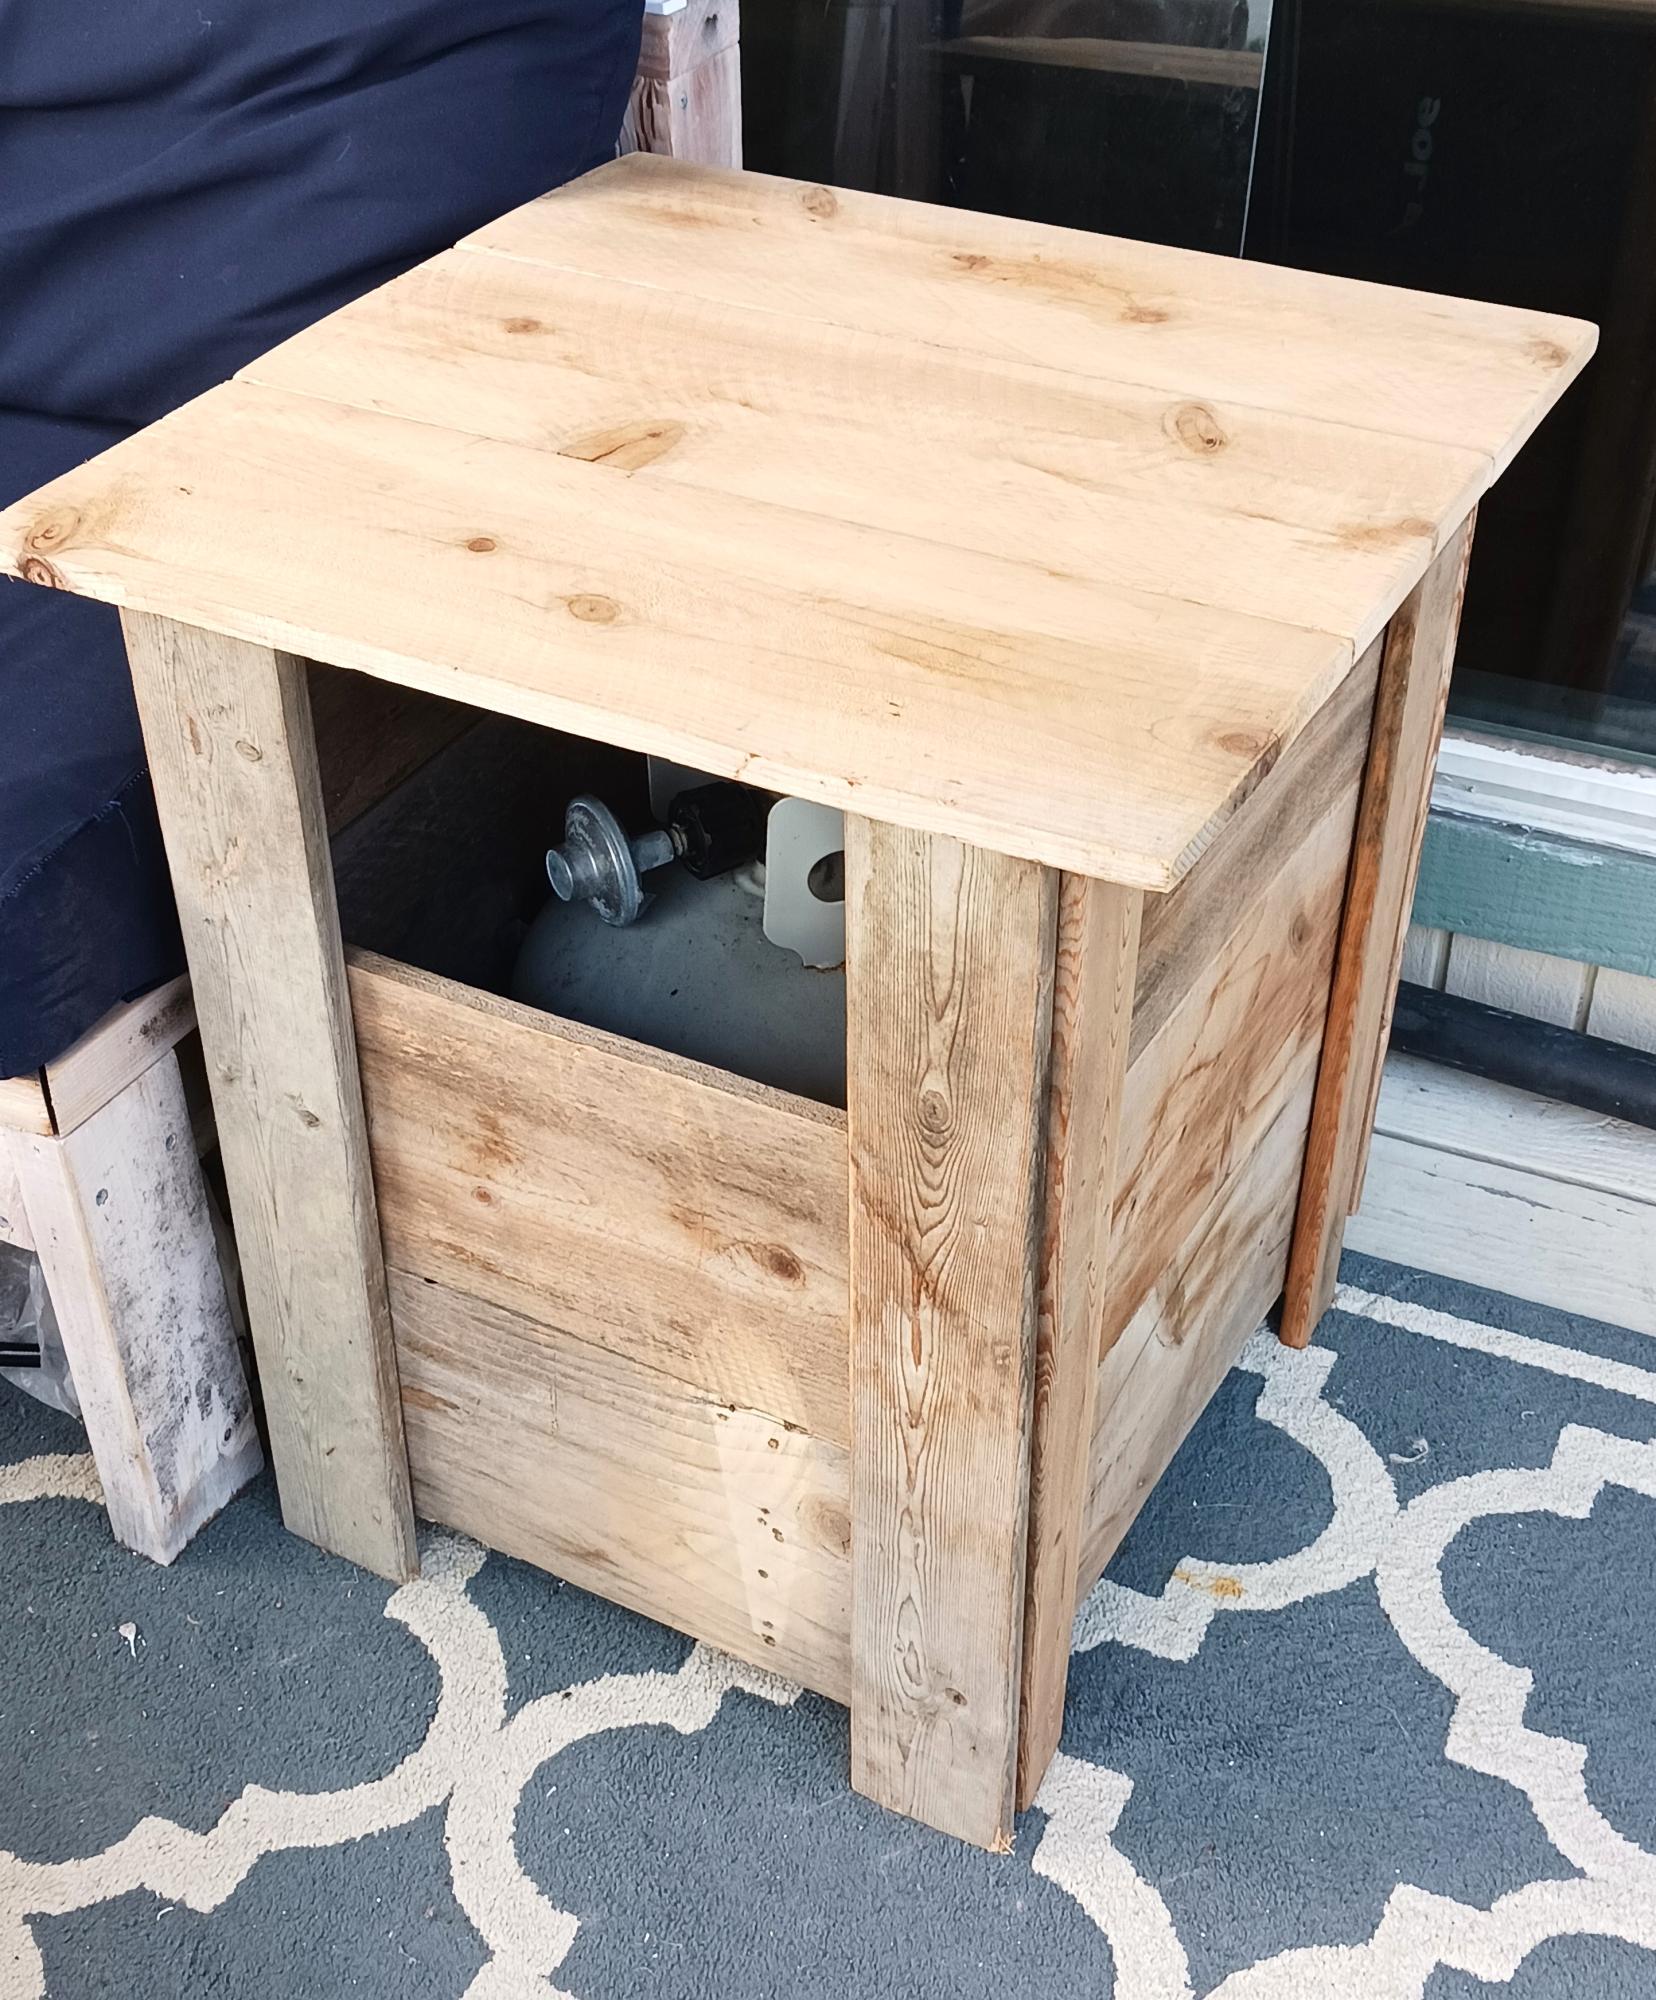
I had inquire on your Facebook about you making a new plan... i had wanted a side table to hide my propane tank. I used the planter plans as an inspiration for this table. It is regiment rough looking as I managed to build it using only scrap on hand. I did have one cedar board in my pile that was leftover from another project that I used for the top... pretty happy but know it would have been better with new wood that was the right size and not warped! The space at the top is on purpose to be able to teach in and turn the gas on and off.

Debbie Hertz

Back