Rustic X Hall Tree
I built this scaled down version of Ana's Hall Tree to fit into a 3 foot wide space in my daughter's living room.
I desperately needed a cart and working space for my new sliding saw and other tools. I built an extra shelf to store the Kreg Jig! Awesomeness. My friends at the big blue box cut the plywood to spec for me! I am enjoying already! Most of the cost came from the brackets and casters - I chose heavy duty!
Using Ana's plan for a simple sewing table, I modified it to meet the needs of my daughter.
I only used 1 wing instead of two and made a brace that folds away under the leaf. On second thought I added a safety leg and foot to keep the table from tipping when the sewing machine is on top of the leaf.
I trimmed out everything but the leaf with 1 x 2 pine.
The top (with leaf raised) is 31 x 46 inches of work space.
Sat, 02/29/2020 - 14:55
The bottom and the shelf were both mounted in 1/4 grooves cut in the sides with a homemade router jig.
My cupboard is quite a lot bigger than the one in the original post but is super sturdy.
It was a relatively easy project to build. My main issue was that I used chipboard for most of the cupboard and ironed on veneer on the cut sections which threw my door frame measurements out of whack and I had to shave a bit of my door off with a plane to get it to fit in neatly.
Sun, 08/12/2012 - 11:47
Hi there. I love this!!! I was wondering if you remembered the dimensions of wood used or what not? I want to make one or two of these for my basement laundry room for storage but am new to this so not sure how much I would increase all of the wood etc from the original plans. Thanks!
Mon, 08/13/2012 - 02:48
Hi! So glad you like it! I used SketchUp to create my dimensions to fit my space. Have you ever used it before? It's a free designing tool and really helps me to visualise if the wood's all going to fit together or not.
Here are the wood measurements I used:
Chipboard, white, 19mm
Part/Length (mm)/Width (mm)/Amount
Top:1200/436/1
Side x2:2000/400/2
Bottom shelf:1124/350 /1
Shelf x4 :1124/350/4
Frame top & bottom:1162/100 /2
Frame side x2:1800/100/2
Door frame top & bottom:476/100/2
Door frame side x2:1594/100/2
Door backing MDF 3mm
Part/Length (mm)/Width (mm)/Amount
Back:2000/1162/1
Door back:1700 /360/2
If you have any other questions, I'd be happy to help. Good luck!
My husband and I both work from home and we don't have a lot of space. I was getting frustrated that he was always working at our dining room table, so I wanted to create dedicated work areas for both of us. I really liked the style of the farmhouse console table, so I modified the plan to add a second desk on one end. They are very functional and did not take up a lot of space. Best of all, they were very affordable!
4x4 Truss Table and truss bench
Extended table to 109 inches. Finished just in time for Thanksgiving dinner. All 14 of us fit around the table comfortably.
Farmhouse style table using Ana-white plans and HoneyBear finish.
This is my second large wood project...and both from this blog! The plans were fabulously easy. This was the first time I used my miter saw, and it was a great way to break it in.
This is my first real piece of furniture I've built. We decided to build it in Western Red Cedar because our local home improvement store had a good selection of it. It was pricier than pine, but it holds stain really well and is really beautiful.
I modified the plan and bought a 4x4 for the legs, then I cut that down to 3" x 3" exactly with my table saw. That way it doesn't look like a standard cut of wood, but something more custom. As a result I had to put corner notches in my bottom piece so that it would fit in with the legs. That was tricky to do, but would have been easier if I had a jigsaw
I made a few measuring errors and had to correct it by trimming down the table top so there was only an inch overhang on the edges. So this is actually a few inches less deep than the plan called for, but it worked out ok I think.
With the X's I laid them on top of the legs and traced a line to cut rather than trying to cut an exact miter. I also traced it so that I'd cut a bit off of the top and side of the corner so that it fits in nice and snug on both edges.
I also traced the intersection lines. Then I set my table saw (don't have a circular saw) to 1/2 an inch and just cut out several notches in between the intersection lines so the to X pieces could overlap each other. A "halved joint" I believe it's called.
Modified the classic bunk bed plans to fit crib size matresses for our 1.5 & 2 year old girls, loved how my toddler bunk beds turned out!
Mon, 08/01/2016 - 17:27
Hi,
Could you email me the change in measurements you used for the crib mattress?
It would help me out so much. I want to build a similar one for my boys.
Thank you.
Danielle S.
It started with the rustic rolling dresser. I wanted to try to build a dresser, but my girls needed a bunk bed. I modified the dresser to support a bunk bed. 2 little nooks for the girls, rock solid beds and a beautiful dresser.
HisAndHersOriginals
Tue, 01/09/2024 - 08:36
Love how you incorporated the dresser, it looks amazing!
That was my first real handmade project after just reading and following Ana Whites story and her diy projects for a while.
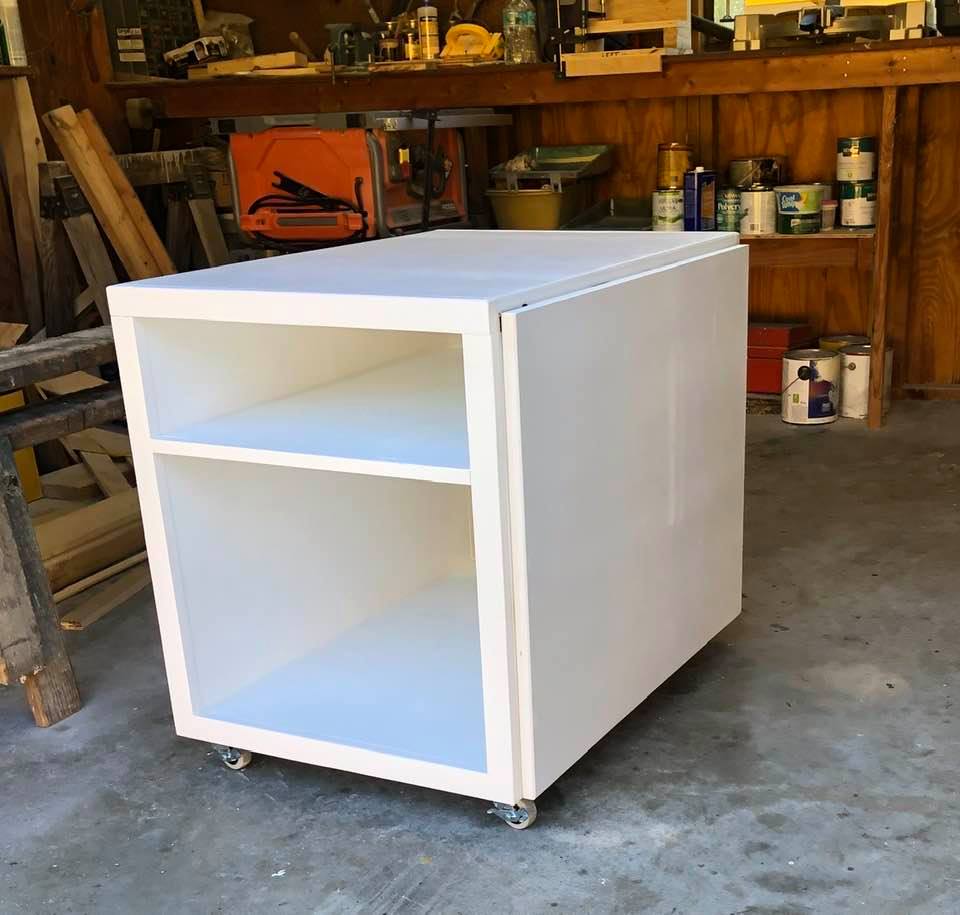
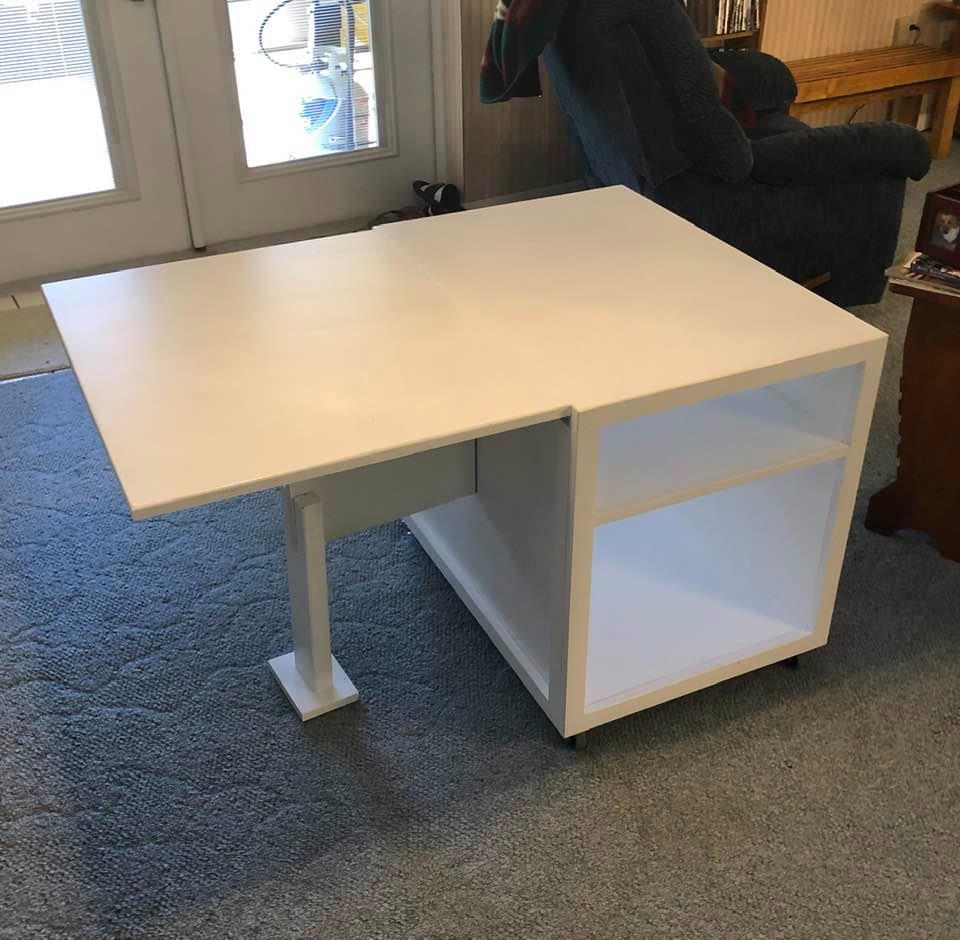
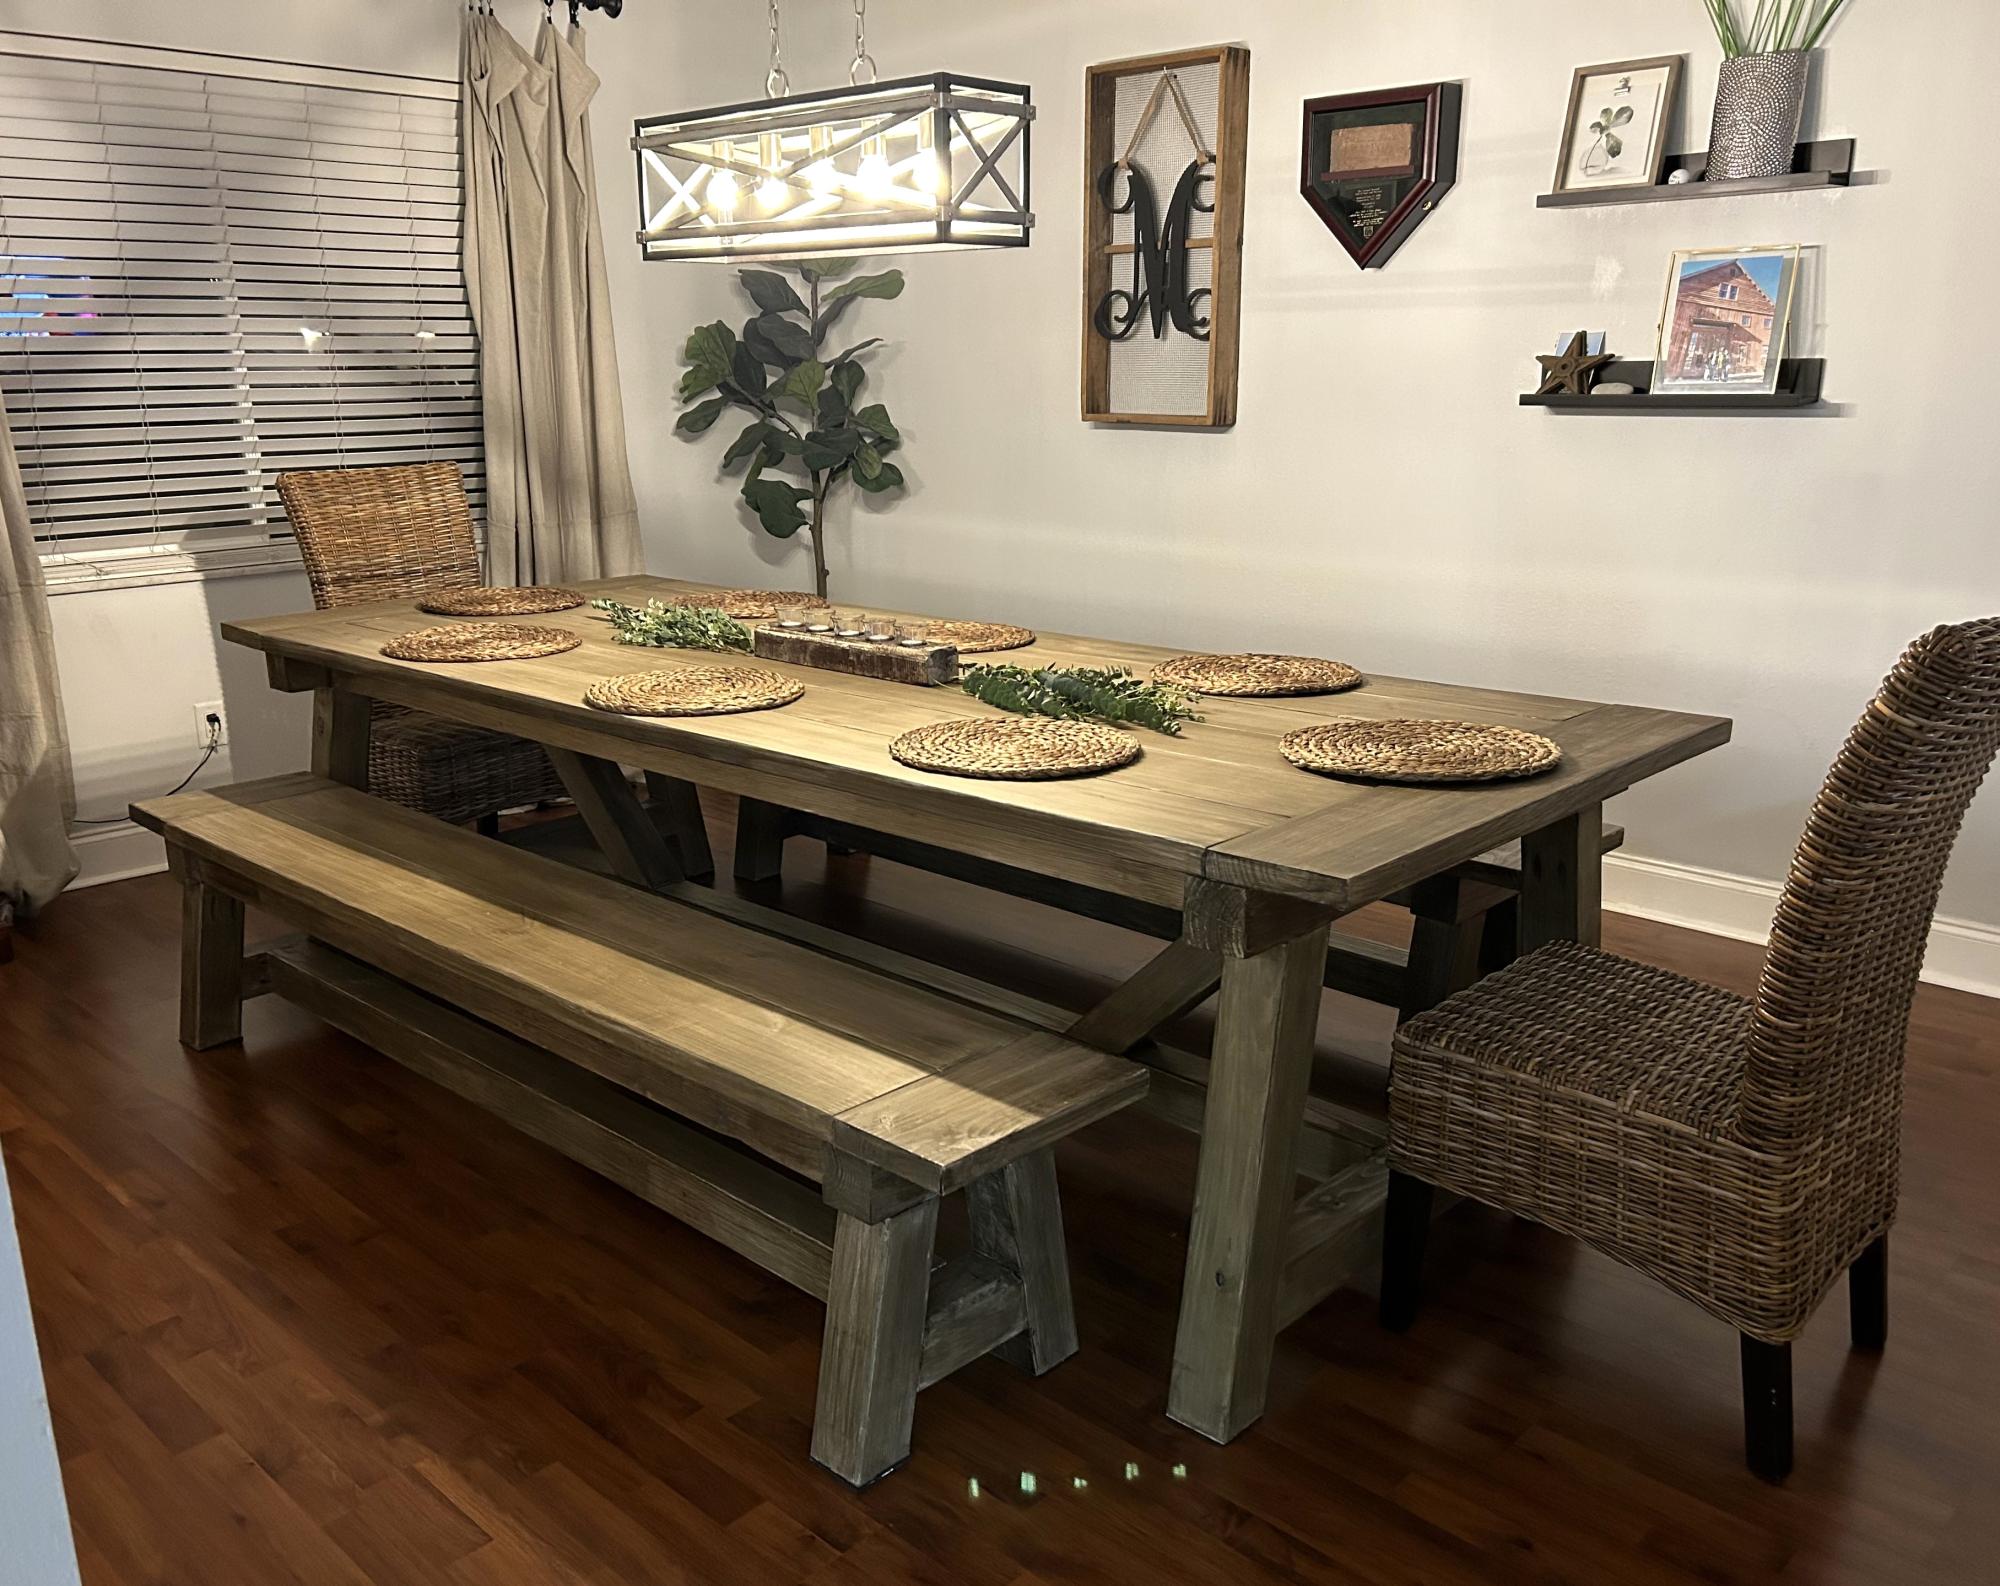
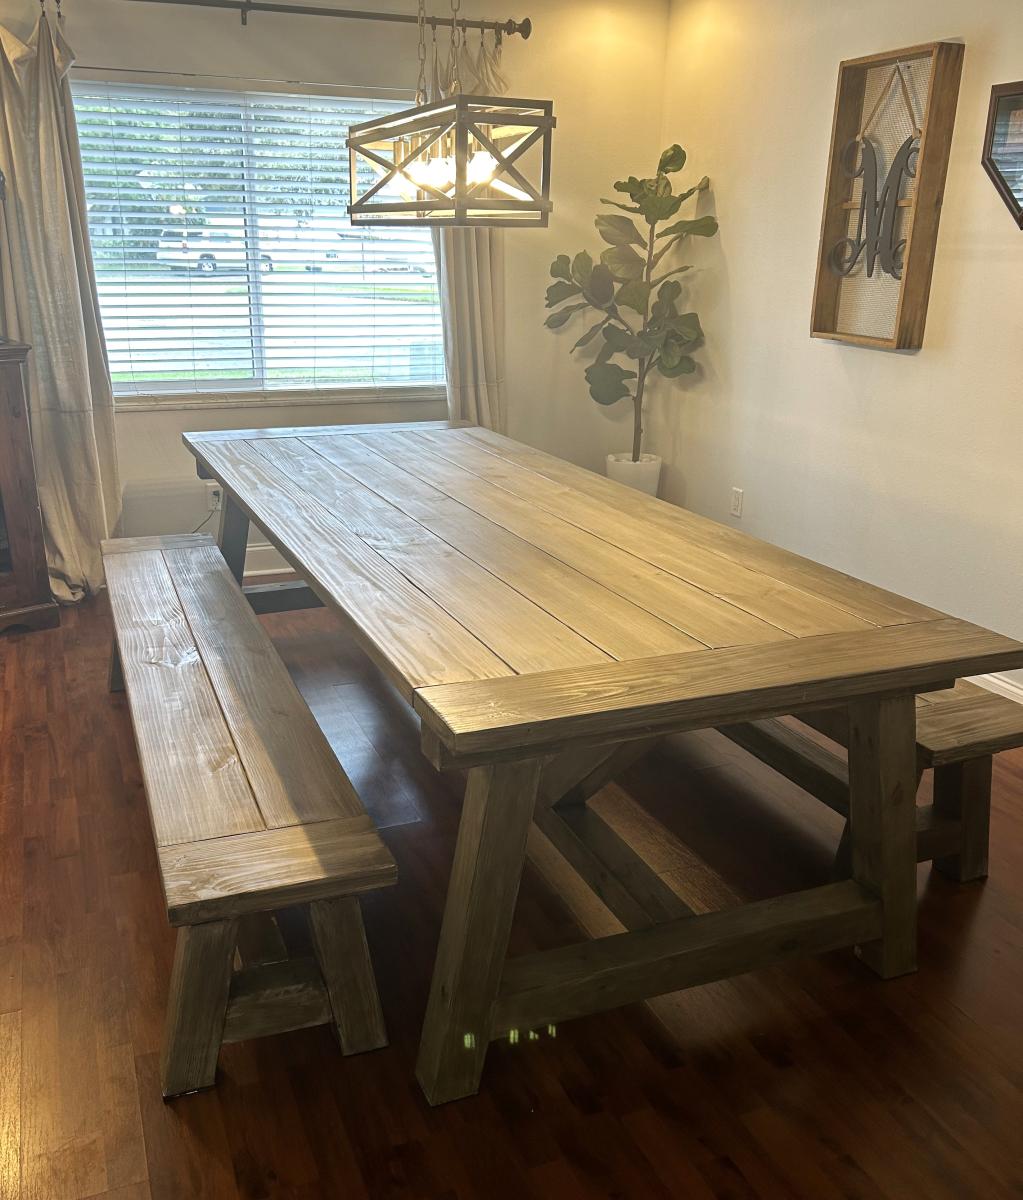
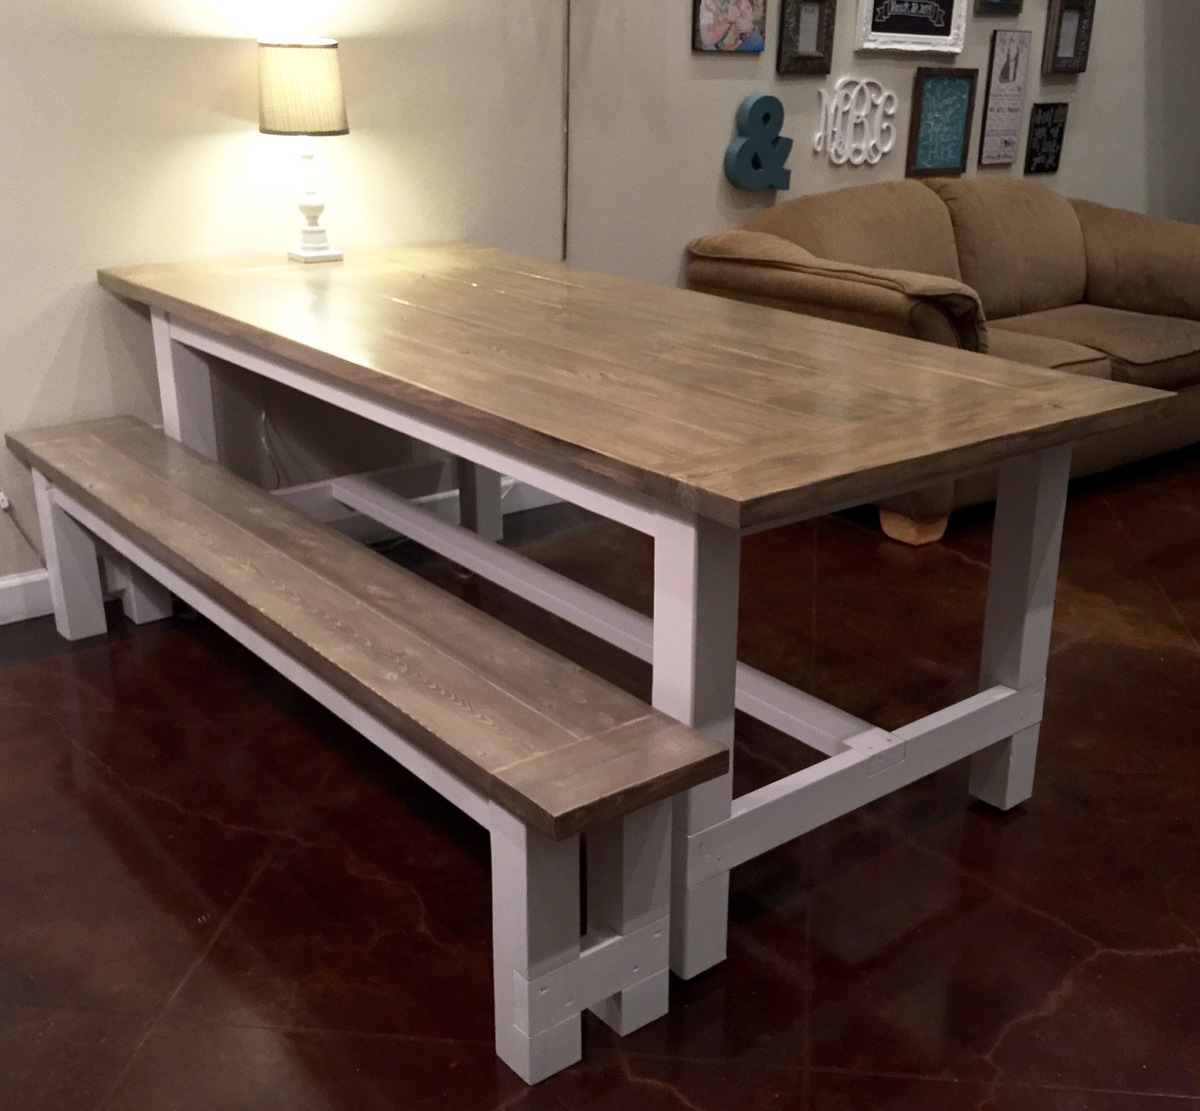
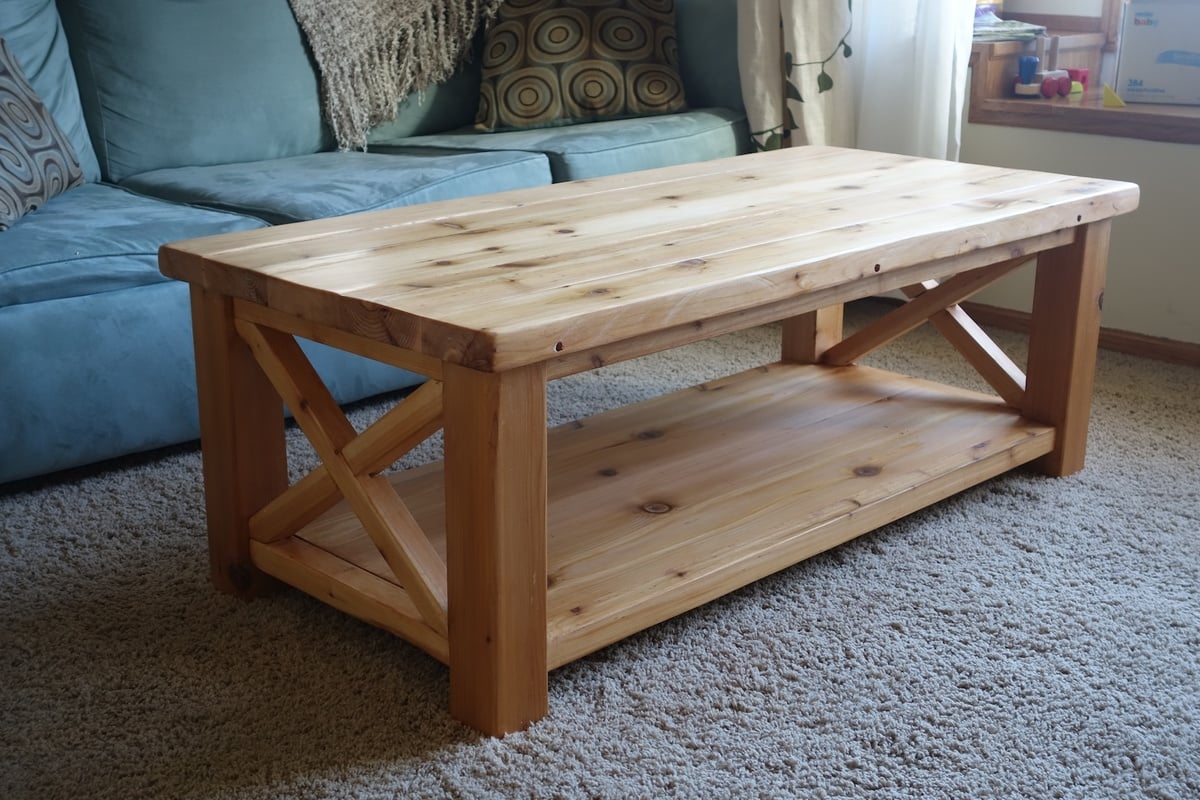
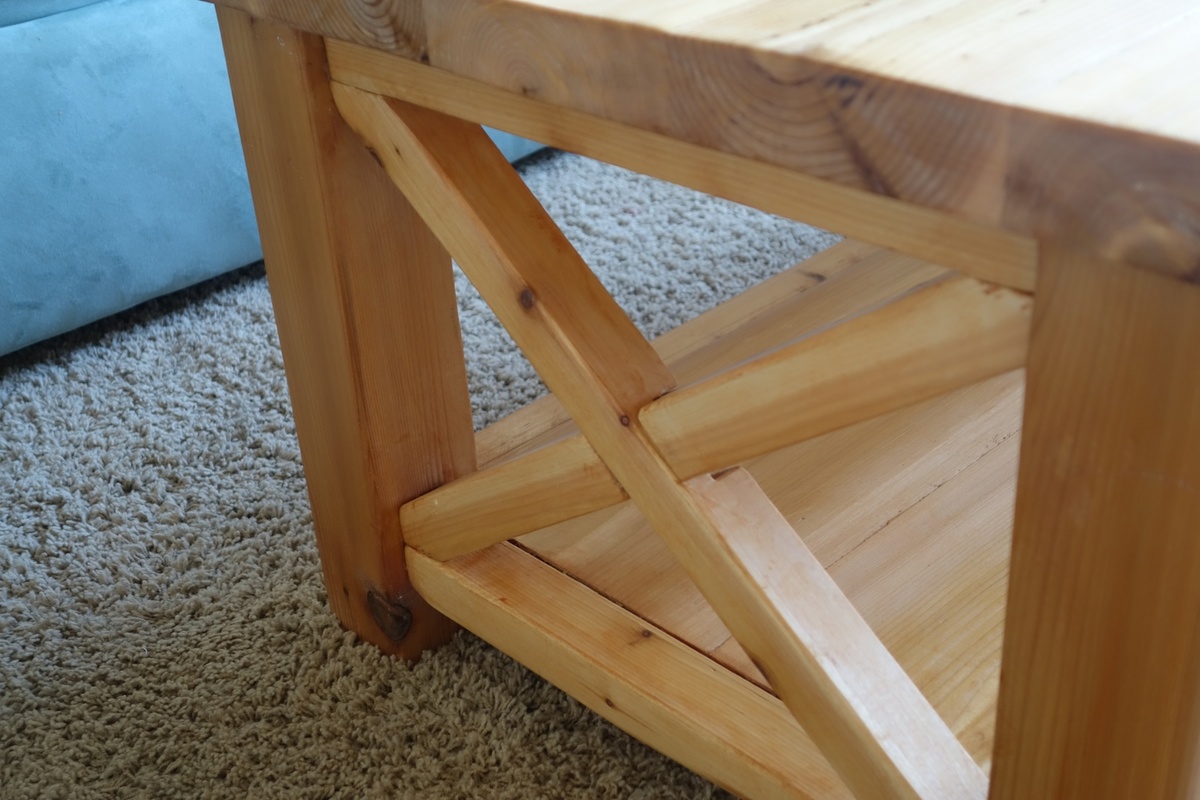
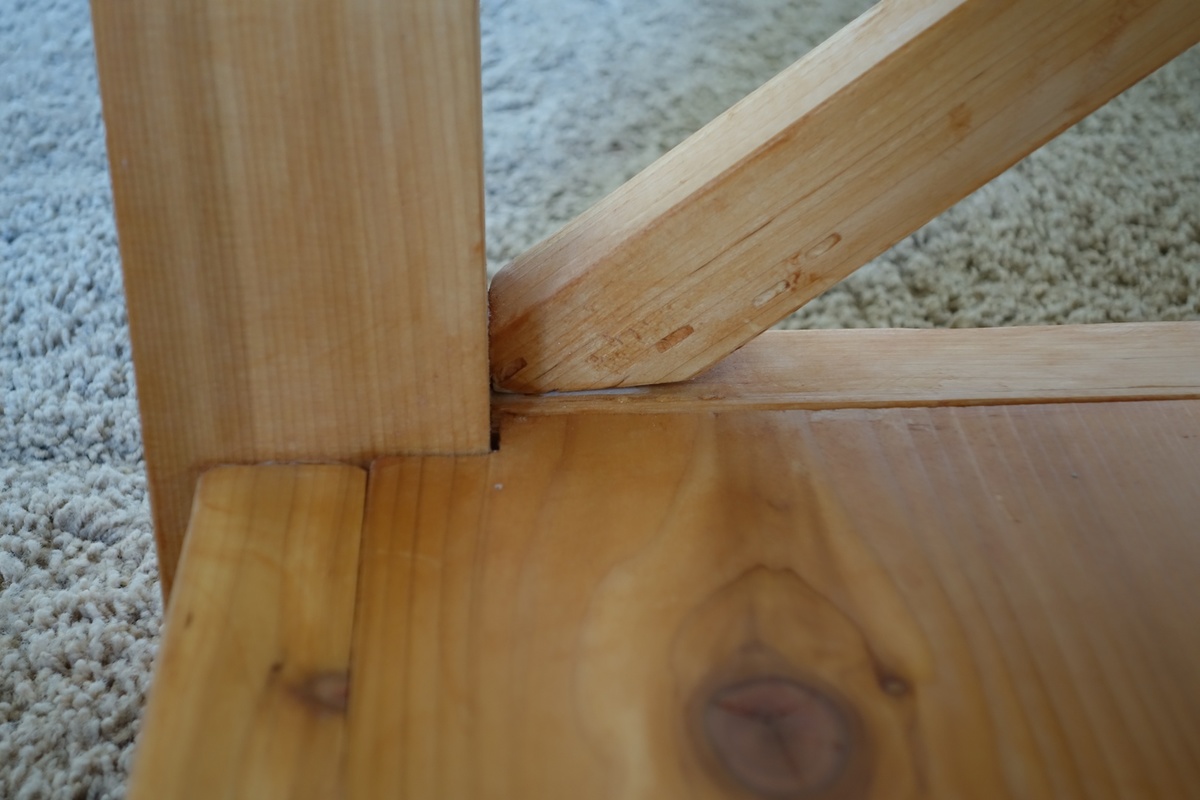
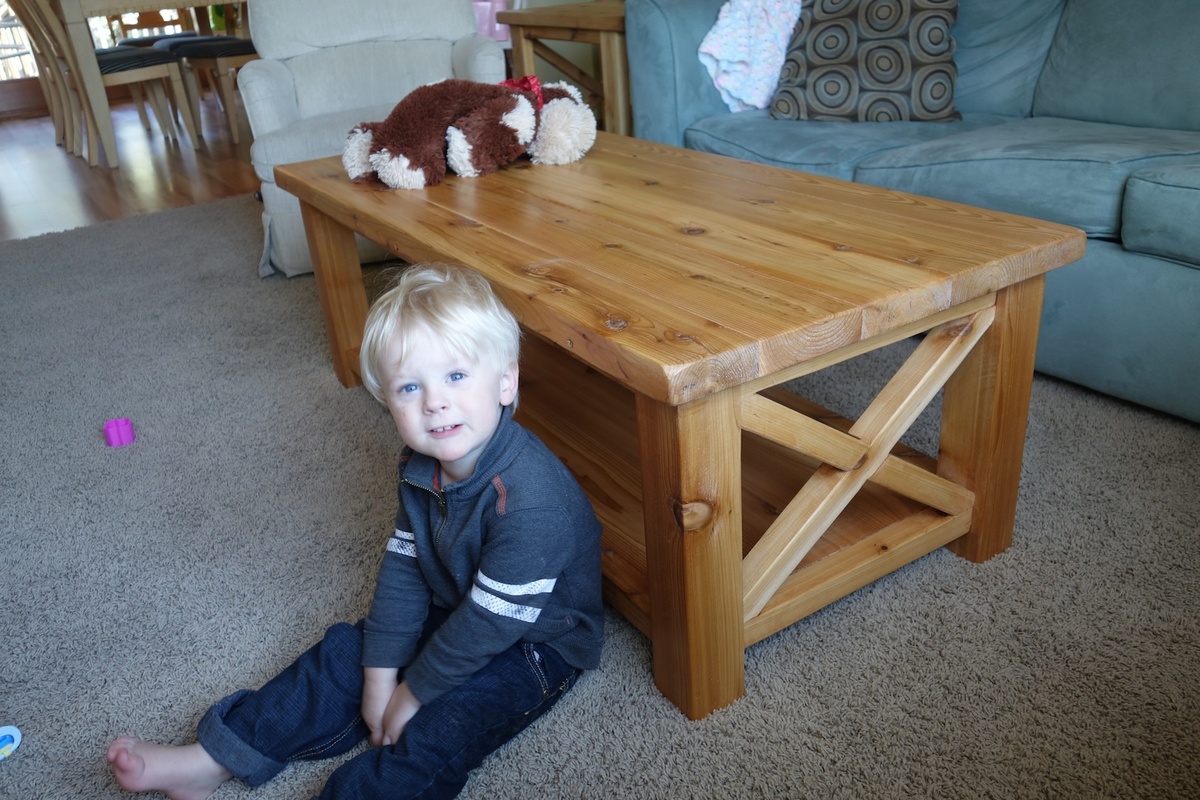
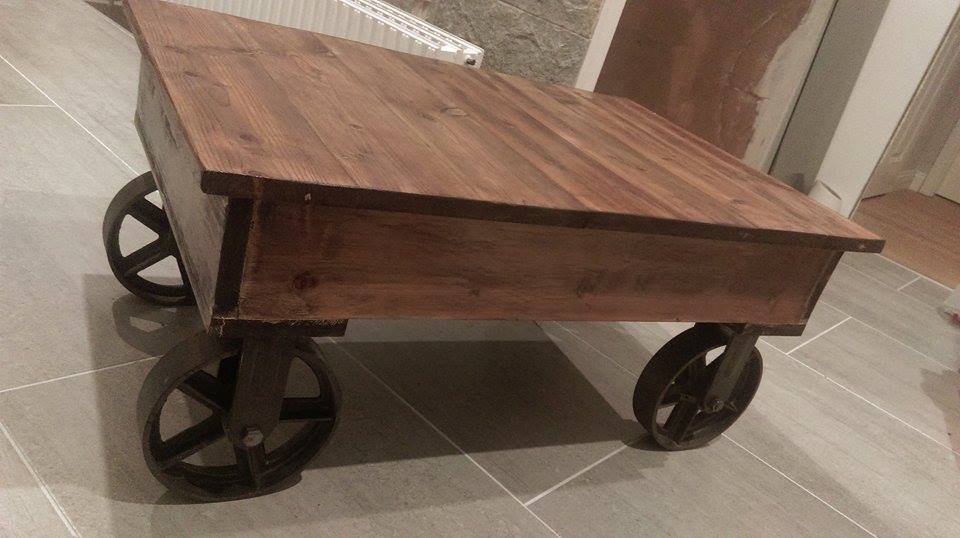
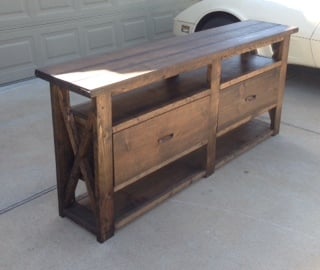
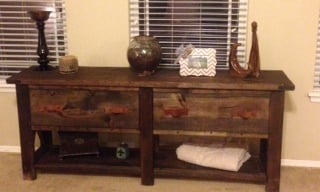
I´m coming from Germany and it took quite a while to "translate" all the lumber measurements to the german equivalents, since we don´t have the same ones. So I just took the similar lumber sizes I could find in a hardware store (Baumarkt), all in all 23 € for pine lumber plus wheel casters for 30 € each, which was the most expensive part of the project. I modified the size of the table as well and am very proud to present you my first project: my very first industrial coffee table for the home office.
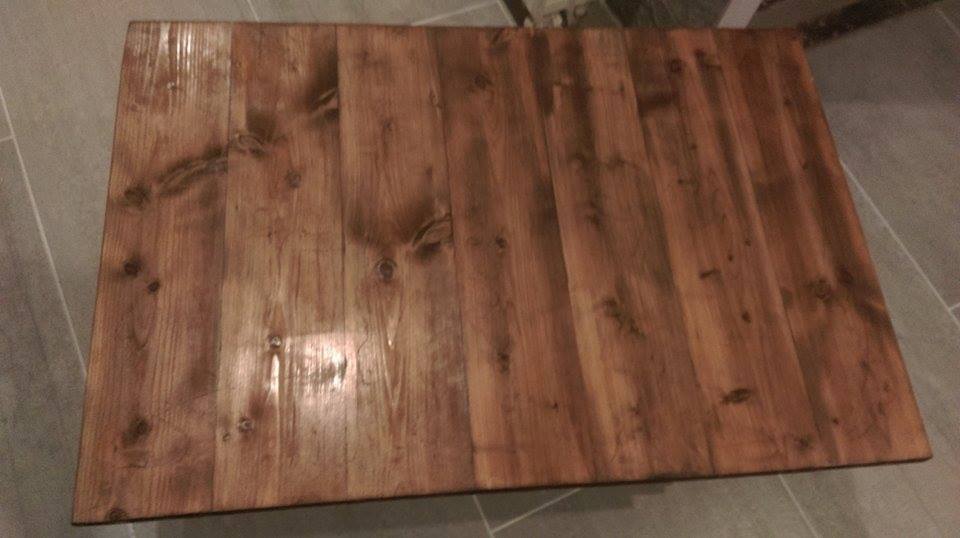
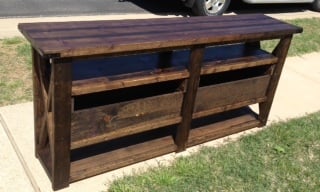
I made the stain myself, by the way!
Here is the summary:
- one layer of black strong coffee (3 table spoons + 500 ml hotwater)
- 2-3 layers of steel + vinegar solution (sanding a bit inbeween)
- 2-3 layers of spar varnish (sanding a bit inbetween)
Hope you like it;) and thanks a lot to Ana White for being so creative and delivering loads of beautiful diy projects for woodwork lovers all over the world!
Looking forward to my next project!!!
I used the plans for the Kentwood Nightstand to make a Bathroom cabinet to hold the Vessel Sink. I made it taller and wider and used a Butcher block top treated with Tung oil and Spar Varnish.
I also changed the doors to 1/4" Overlay double doors with a Sash latch. Much nicer, and sturdier than what you can buy and less than $100- in materials (Excluding the Sink and Faucet) And of course, it's wood, not pressboard.
It came out great and I am not a very experienced wood worker!
Judy H in Idaho
The one with the extra shelf is 3" taller than the one in the plan and I also took 3 inches from the bottom shelf as well as lowered it. The X's for the taller one were very challenging but turned out pretty good and I chose to use wood guides underneath instead of purchasing metal ones. the drawer fronts are 1x12's and sides are 1x8's. I used my router to cut a grove to hold the plywood bottom and added a support in the center. I have a dovetail joiner but haven't learned how to use it (hopefully will learn soon).
Overall I am very pleased with the way these turned out. I plan on making some with single drawers with the left over wood!
Thanks Ana I couldn't have done any of this had it not been for your site!!!
From the Fire Station Loft bed, this was modified to accomodate a full bed underneath; essentially making it a bunk bed. The bed underneath is an Ikea Fjellse. The footboard was made to look like a fire engine backing into the fire station.
A nice bench with storage!
Built by Sylvie
This was a perfect Labor Day weekend project and solved a storage problem in my cramped bathroom. I plan on getting some wicker baskets or bins to store toiletries on the shelves. It's also a great spot to store fresh towels so guests have easy access. The shelf feels very stable when leaning against the wall. I curved/rounded the front, top corners of the shells using 40 grit sandpaper.
This was super easy to do. Thank you for the inspiration and sharing the plan.
We built from the plan with green treated lumber. We also joined the top and the seat with pocket holes and outdoor blue Kreg screws so there are no screw holes exposed on the tops. Easy build. Great compact picnic table.
My sister needed new outdoor furniture for her deck and liked the look of the sectional. I used cedar with a clear varnish to creat this piece for her that was perfectly sized for her deck. The challenge to this one was getting it to her house about 3 hours from mine. Fully assembled it would have been tight getting it in my truck. I ended up cutting all of the boards and drilling all of the pocket holes in my shop and then assembling at her house. I have added backs to some of the pieces I have made fro others that want the extr support. I add a 1x4 laying flat across the back of the seat. The slats going up and down then have a slight angle to them which adds comfort and support. I attached the pieces to the 1x4 and the upper back rest piece in the plans.
My husband and I modified the plans just a bit for this Picnic Bench Table we found on your site. We love it!