Community Brag Posts
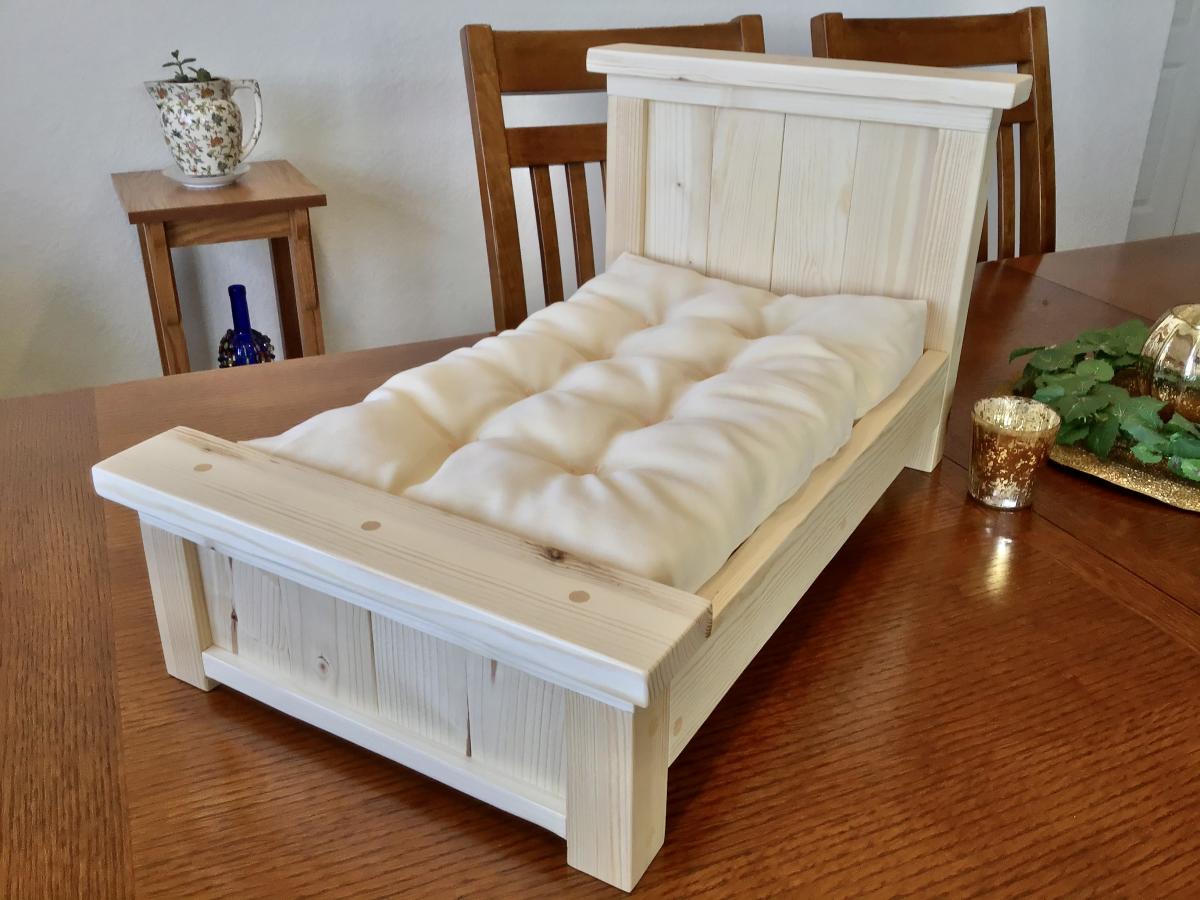
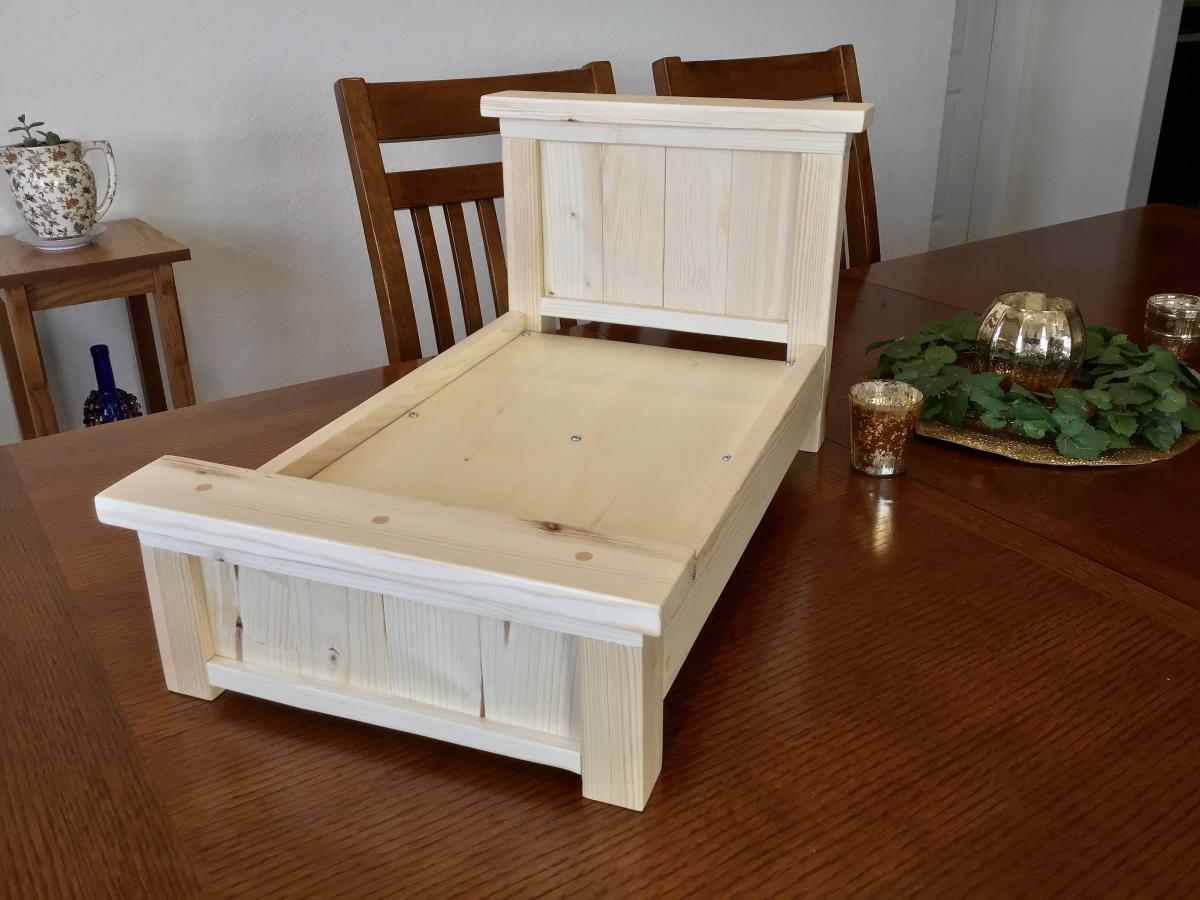
Farmhouse Doll Bed and Doll Mattress
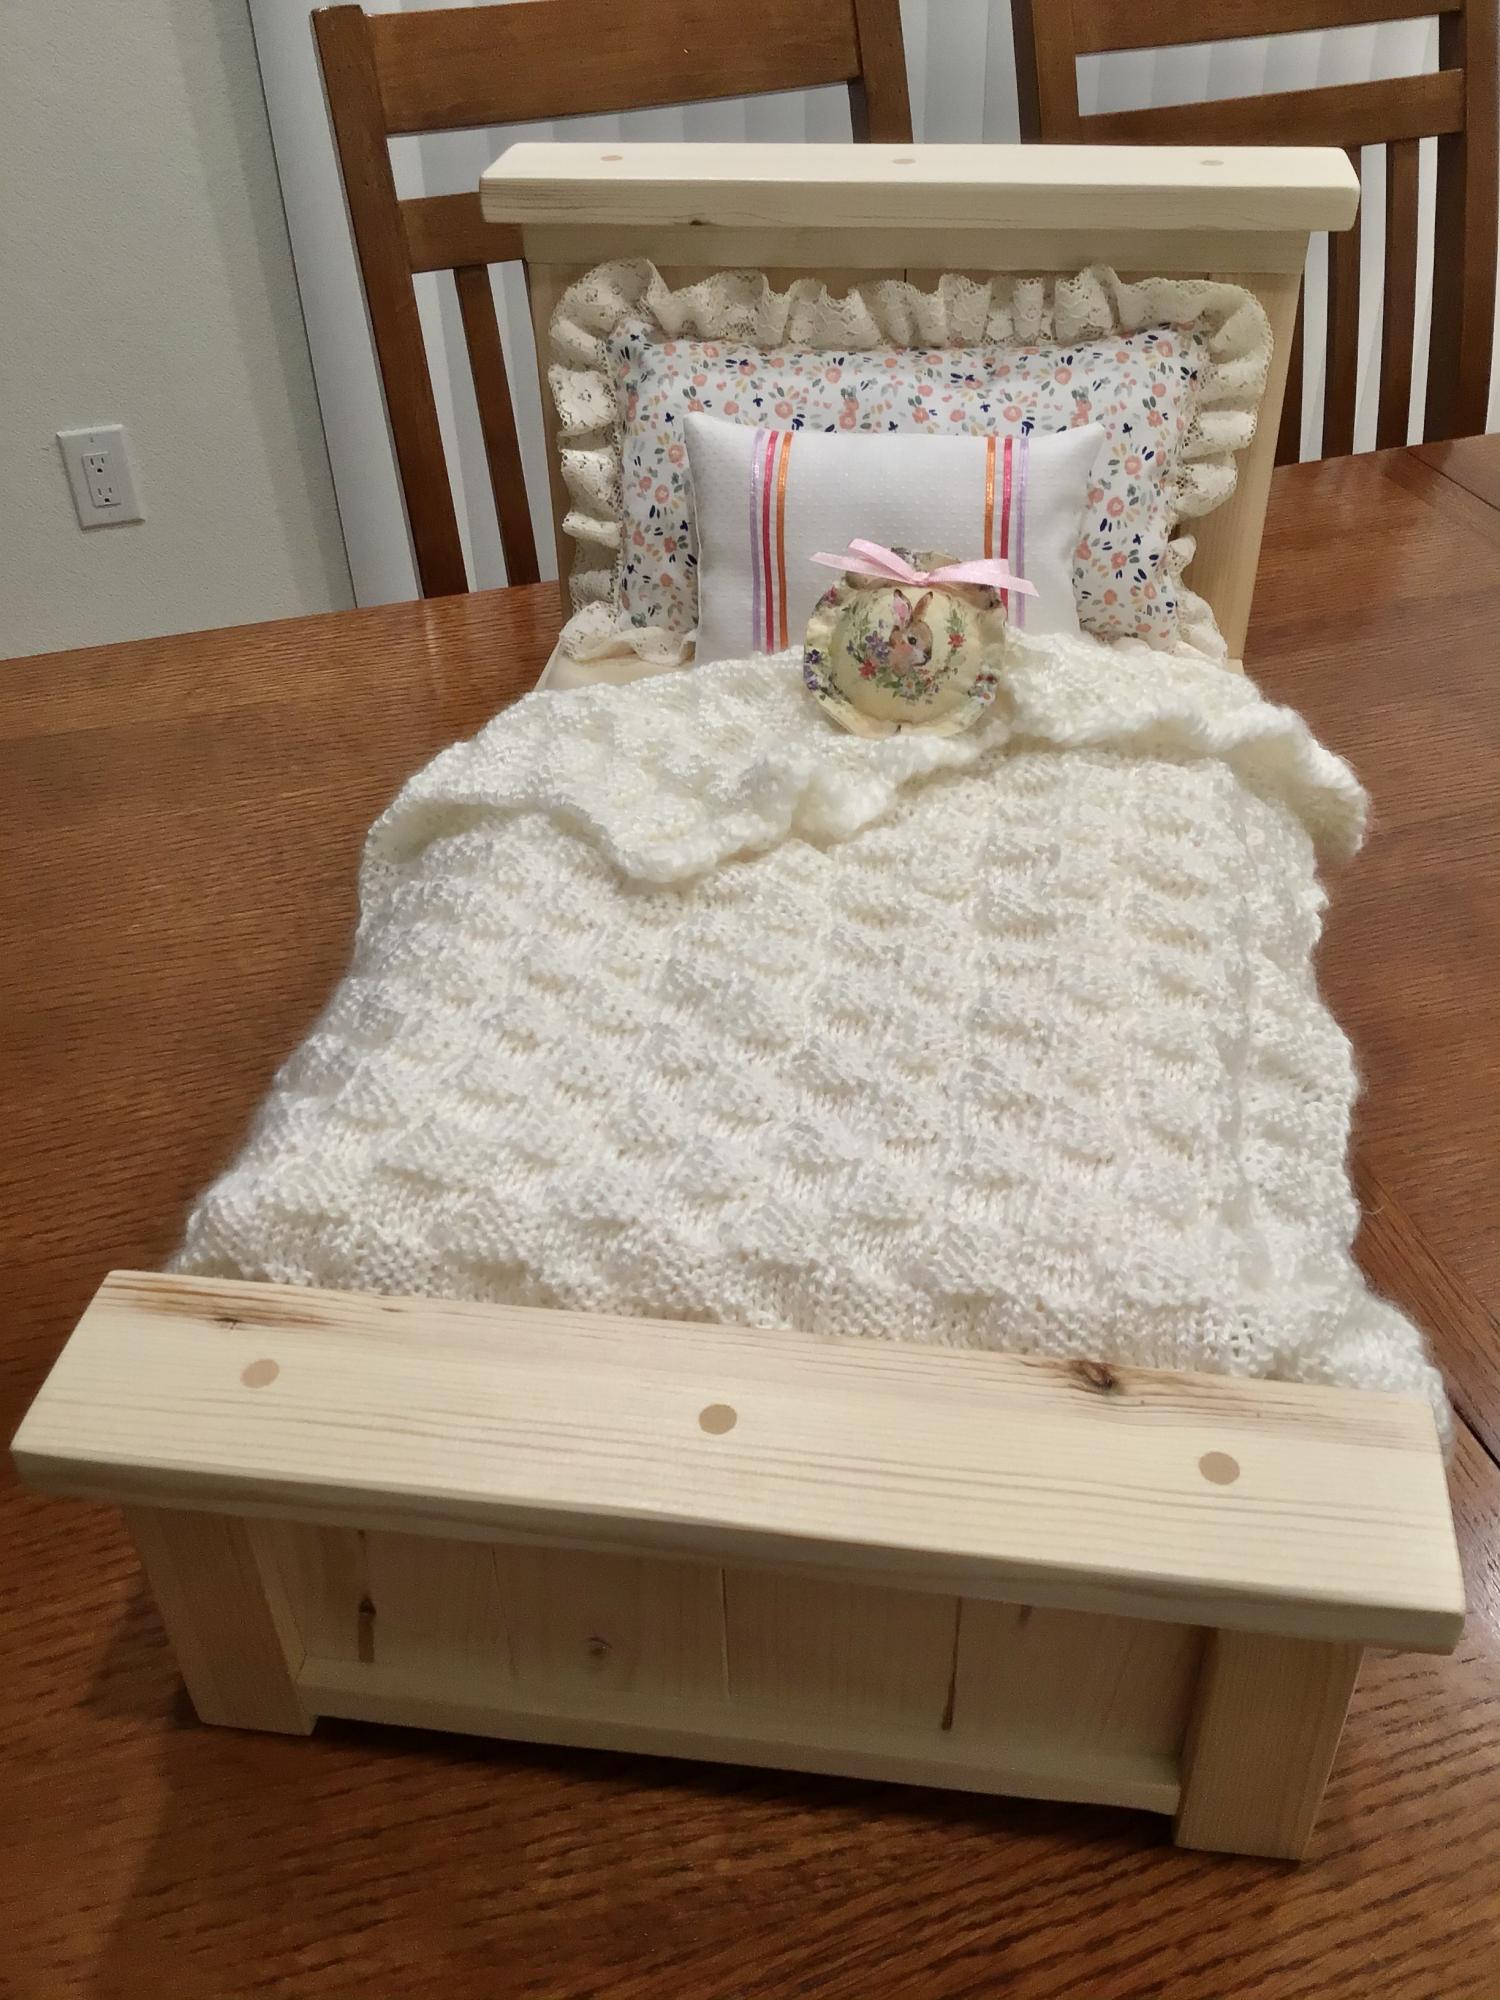
Well ... we found this farmhouse bed pattern as two play kitchen set were being constructed. Irresistible design; we decided that we HAD to also make the doll bed! And the bed came together very quickly. Two changes: per other comments, removed one vertical slat from the headboard/footboard (wanted the narrower width), and put an extra brace in the middle of the bed (just in case it gets stepped on or sat on).
Also used the pattern for the 18” Doll Mattress Tutorial. Skipped the buttons for tufting and simply sewed in 8 little Xs with embroidery floss.
This bed is for a granddaughter with a birthday in a few days .... and I’ve already started cutting out a second set for a granddaughter with a birthday in a couple of months. Happy to say that all of the bedding/linens are handmade; the pillows include lace and ribbons from two family weddings. You just can’t help but smile when you look at one of these finished farmhouse beds!
Built from Plan(s)
Estimated Time Investment
Weekend Project (10-20 Hours)
Finish Used
Polyurethane
Recommended Skill Level
Beginner
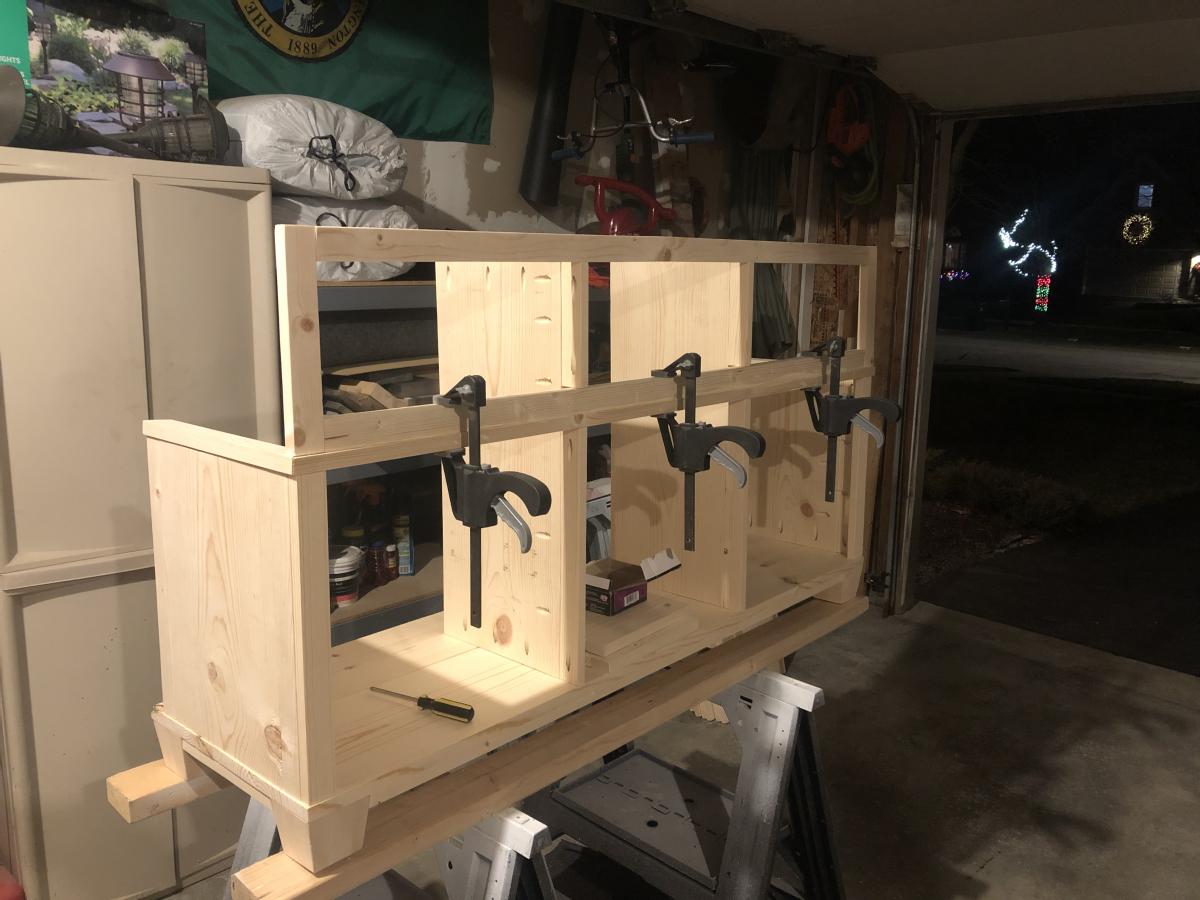
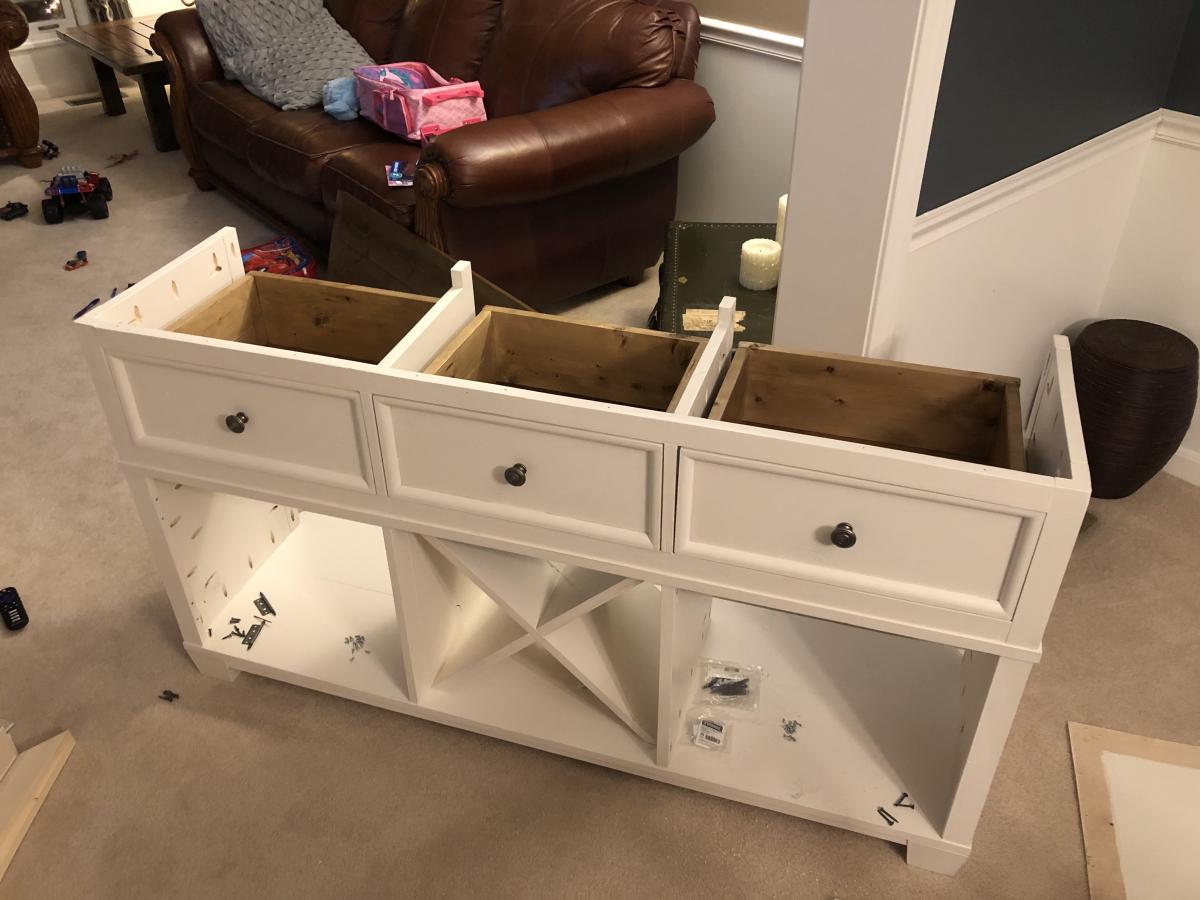
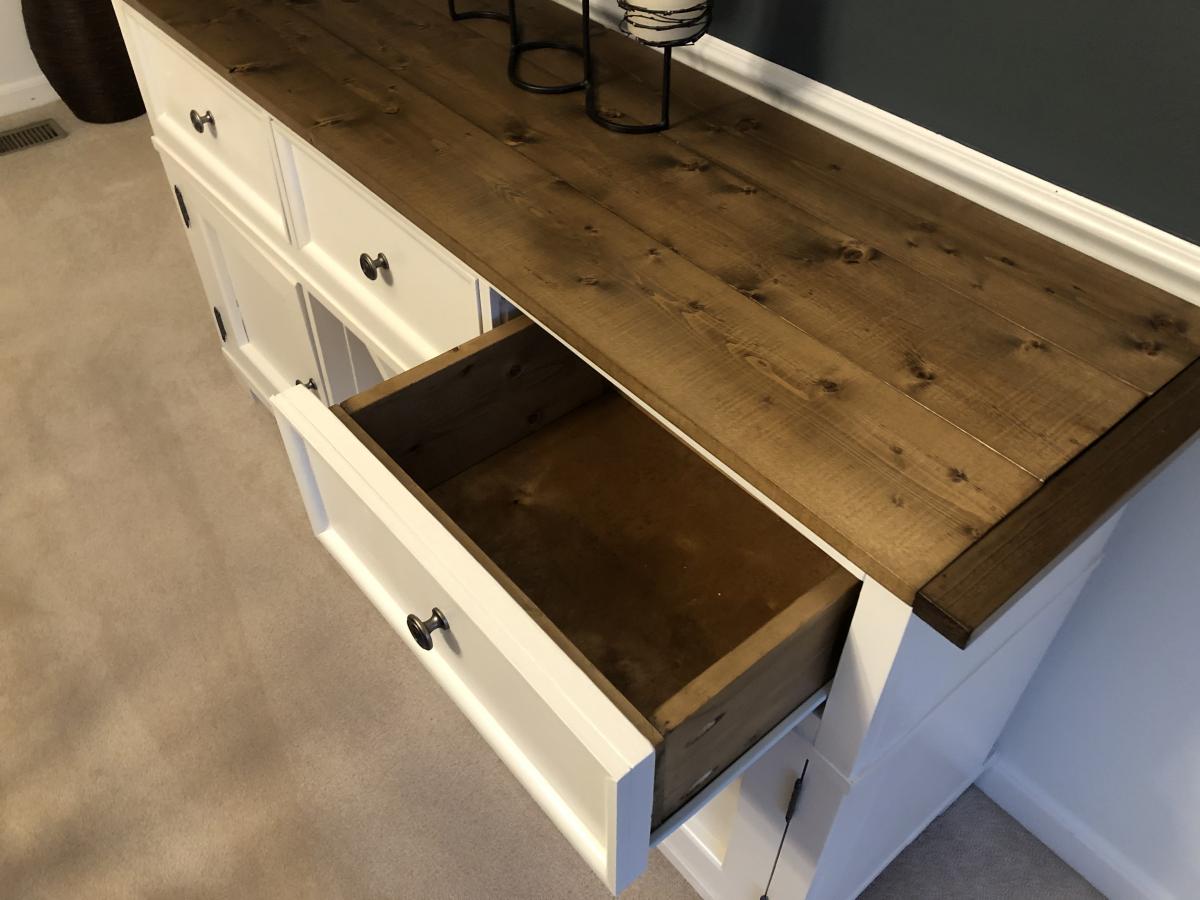
Salsa Console/Buffet Table
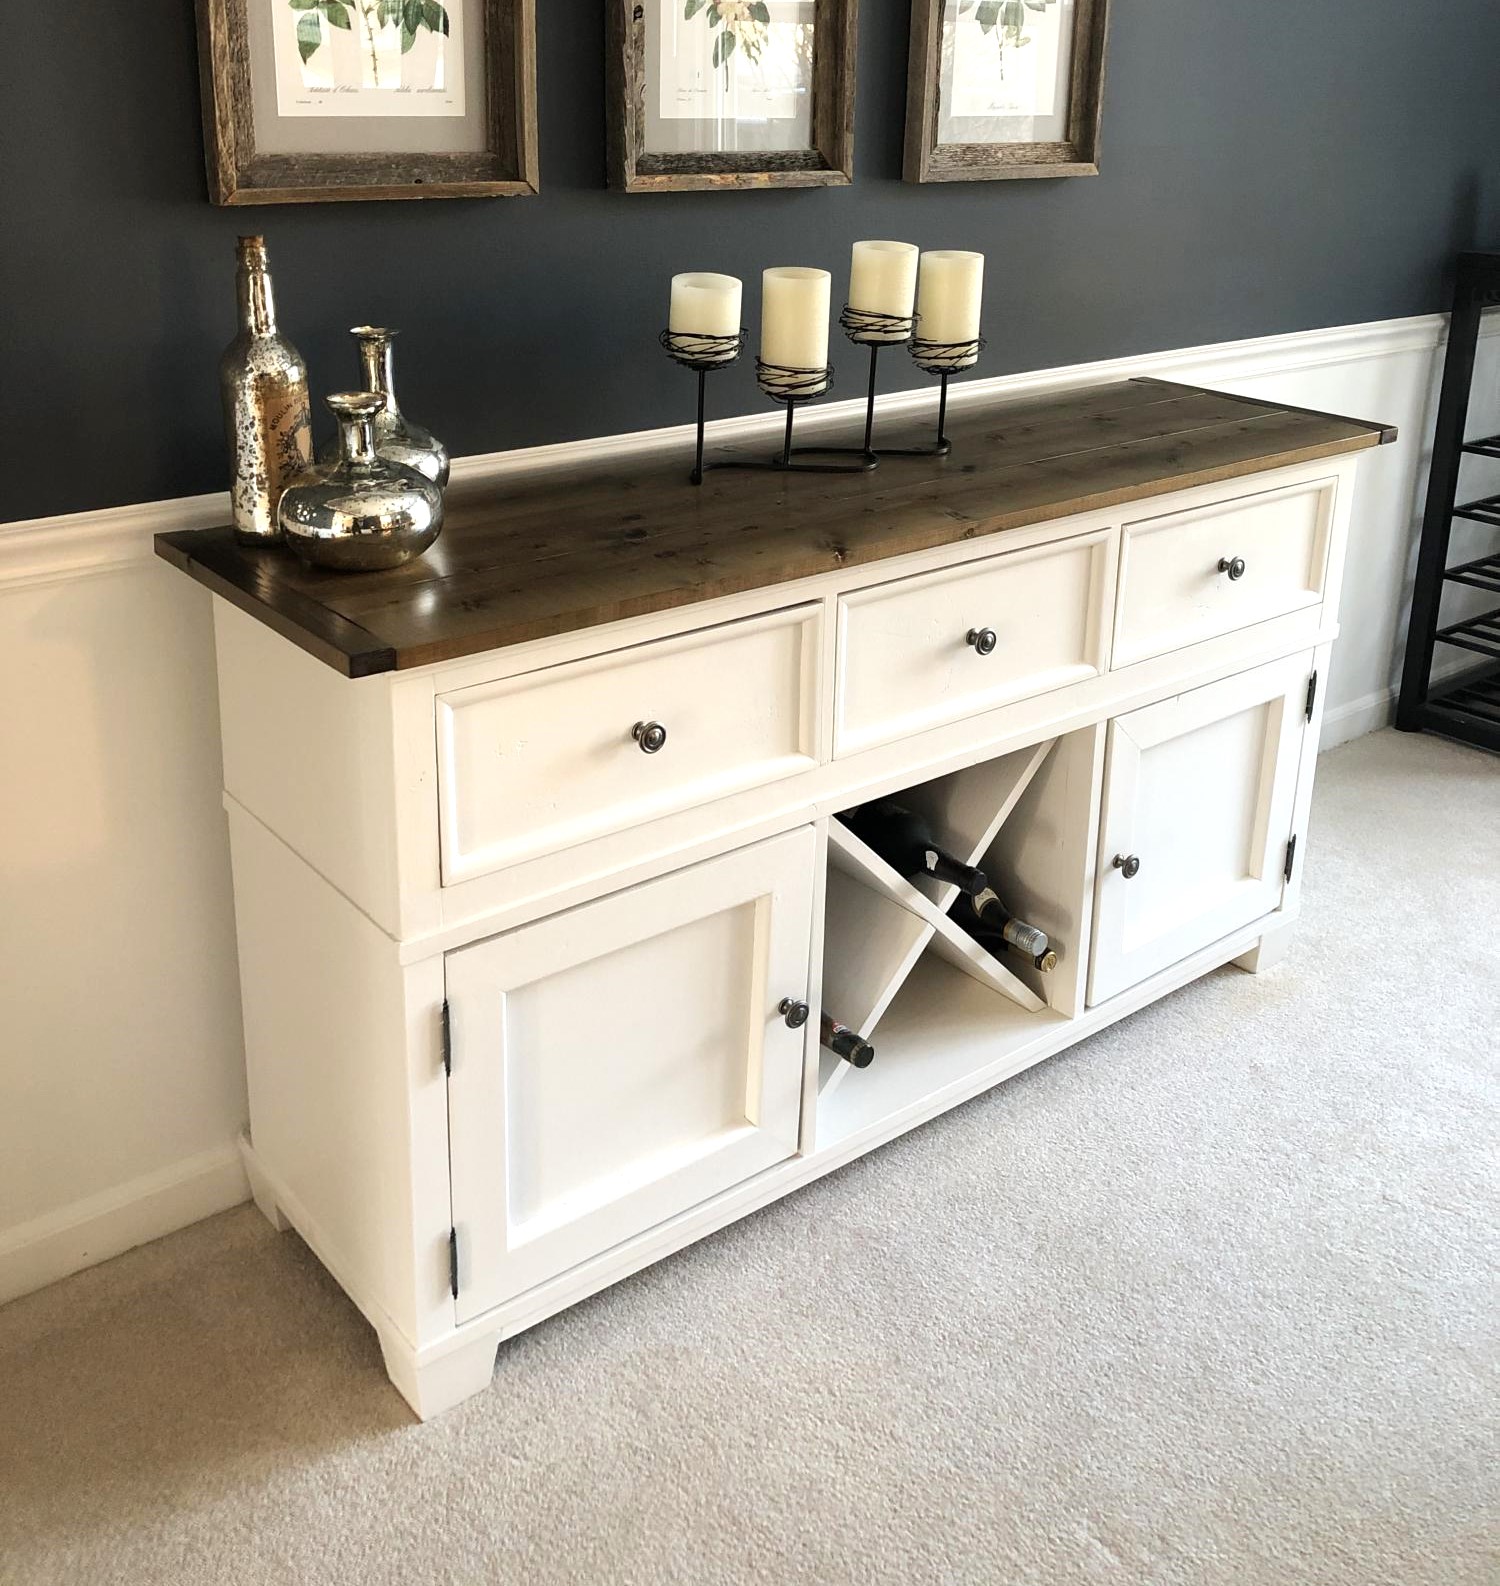
This is by far the most complex piece that I've built off of Ana's site, and the first time I've done drawers or doors on anything. Thanks so much for the awesome plans! Be sure to check the supplies list carefully - I ended up bringing a lot of lumber back to Home Depot. But this is by far my biggest "win" in furniture making so far!

Built from Plan(s)
Estimated Cost
200
Estimated Time Investment
Week Long Project (20 Hours or More)
Finish Used
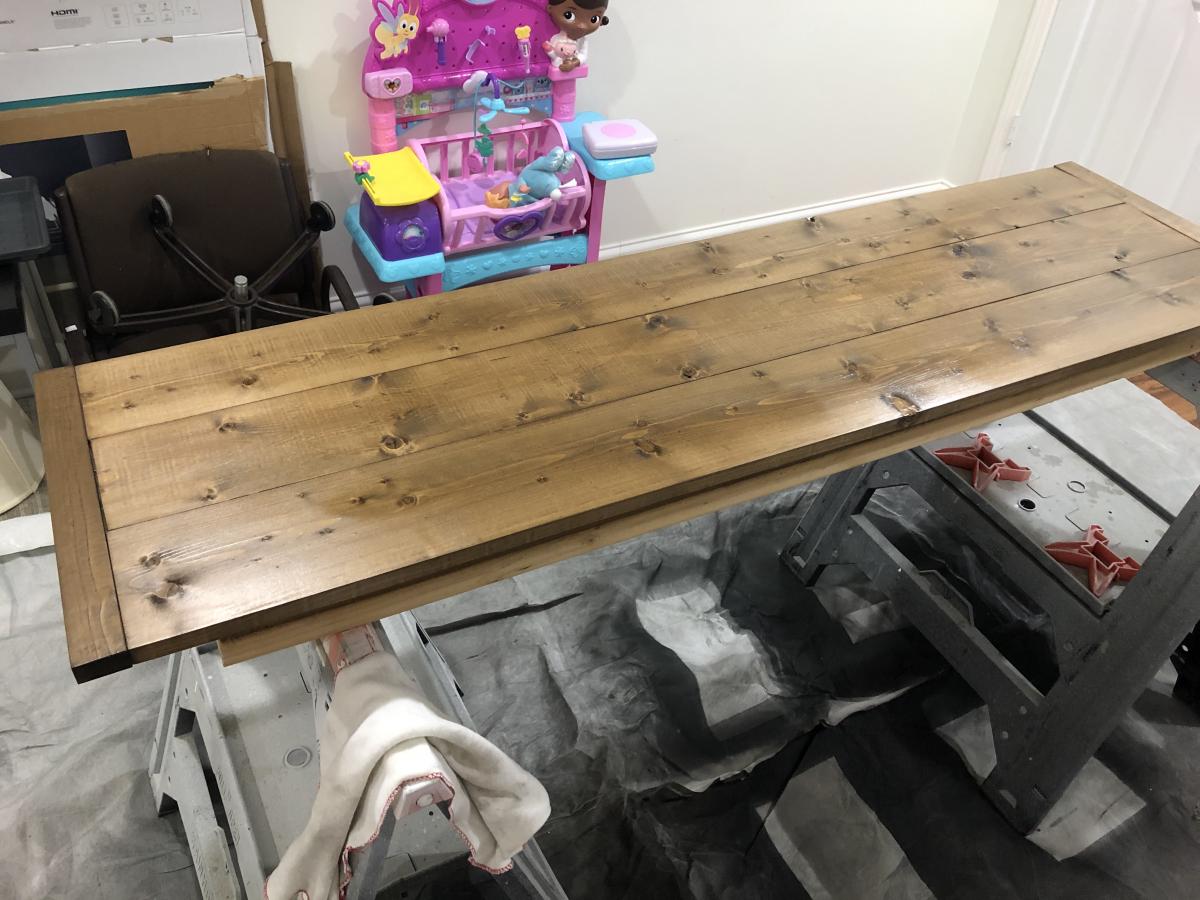
Behr white deck stain (Smokey White) (base)
Varathane Aged Wood Accelerator (top, drawer interiors)
Varathane Water-based Poly (Oil-based will add a yellow tint when applied onto white stain/paint)
Varathane Aged Wood Accelerator (top, drawer interiors)
Varathane Water-based Poly (Oil-based will add a yellow tint when applied onto white stain/paint)
Recommended Skill Level
Intermediate
Comments

Wed, 01/13/2021 - 09:31
That looks great! It looks…
That looks great! It looks like it was meant to be in that spot. Nice work!
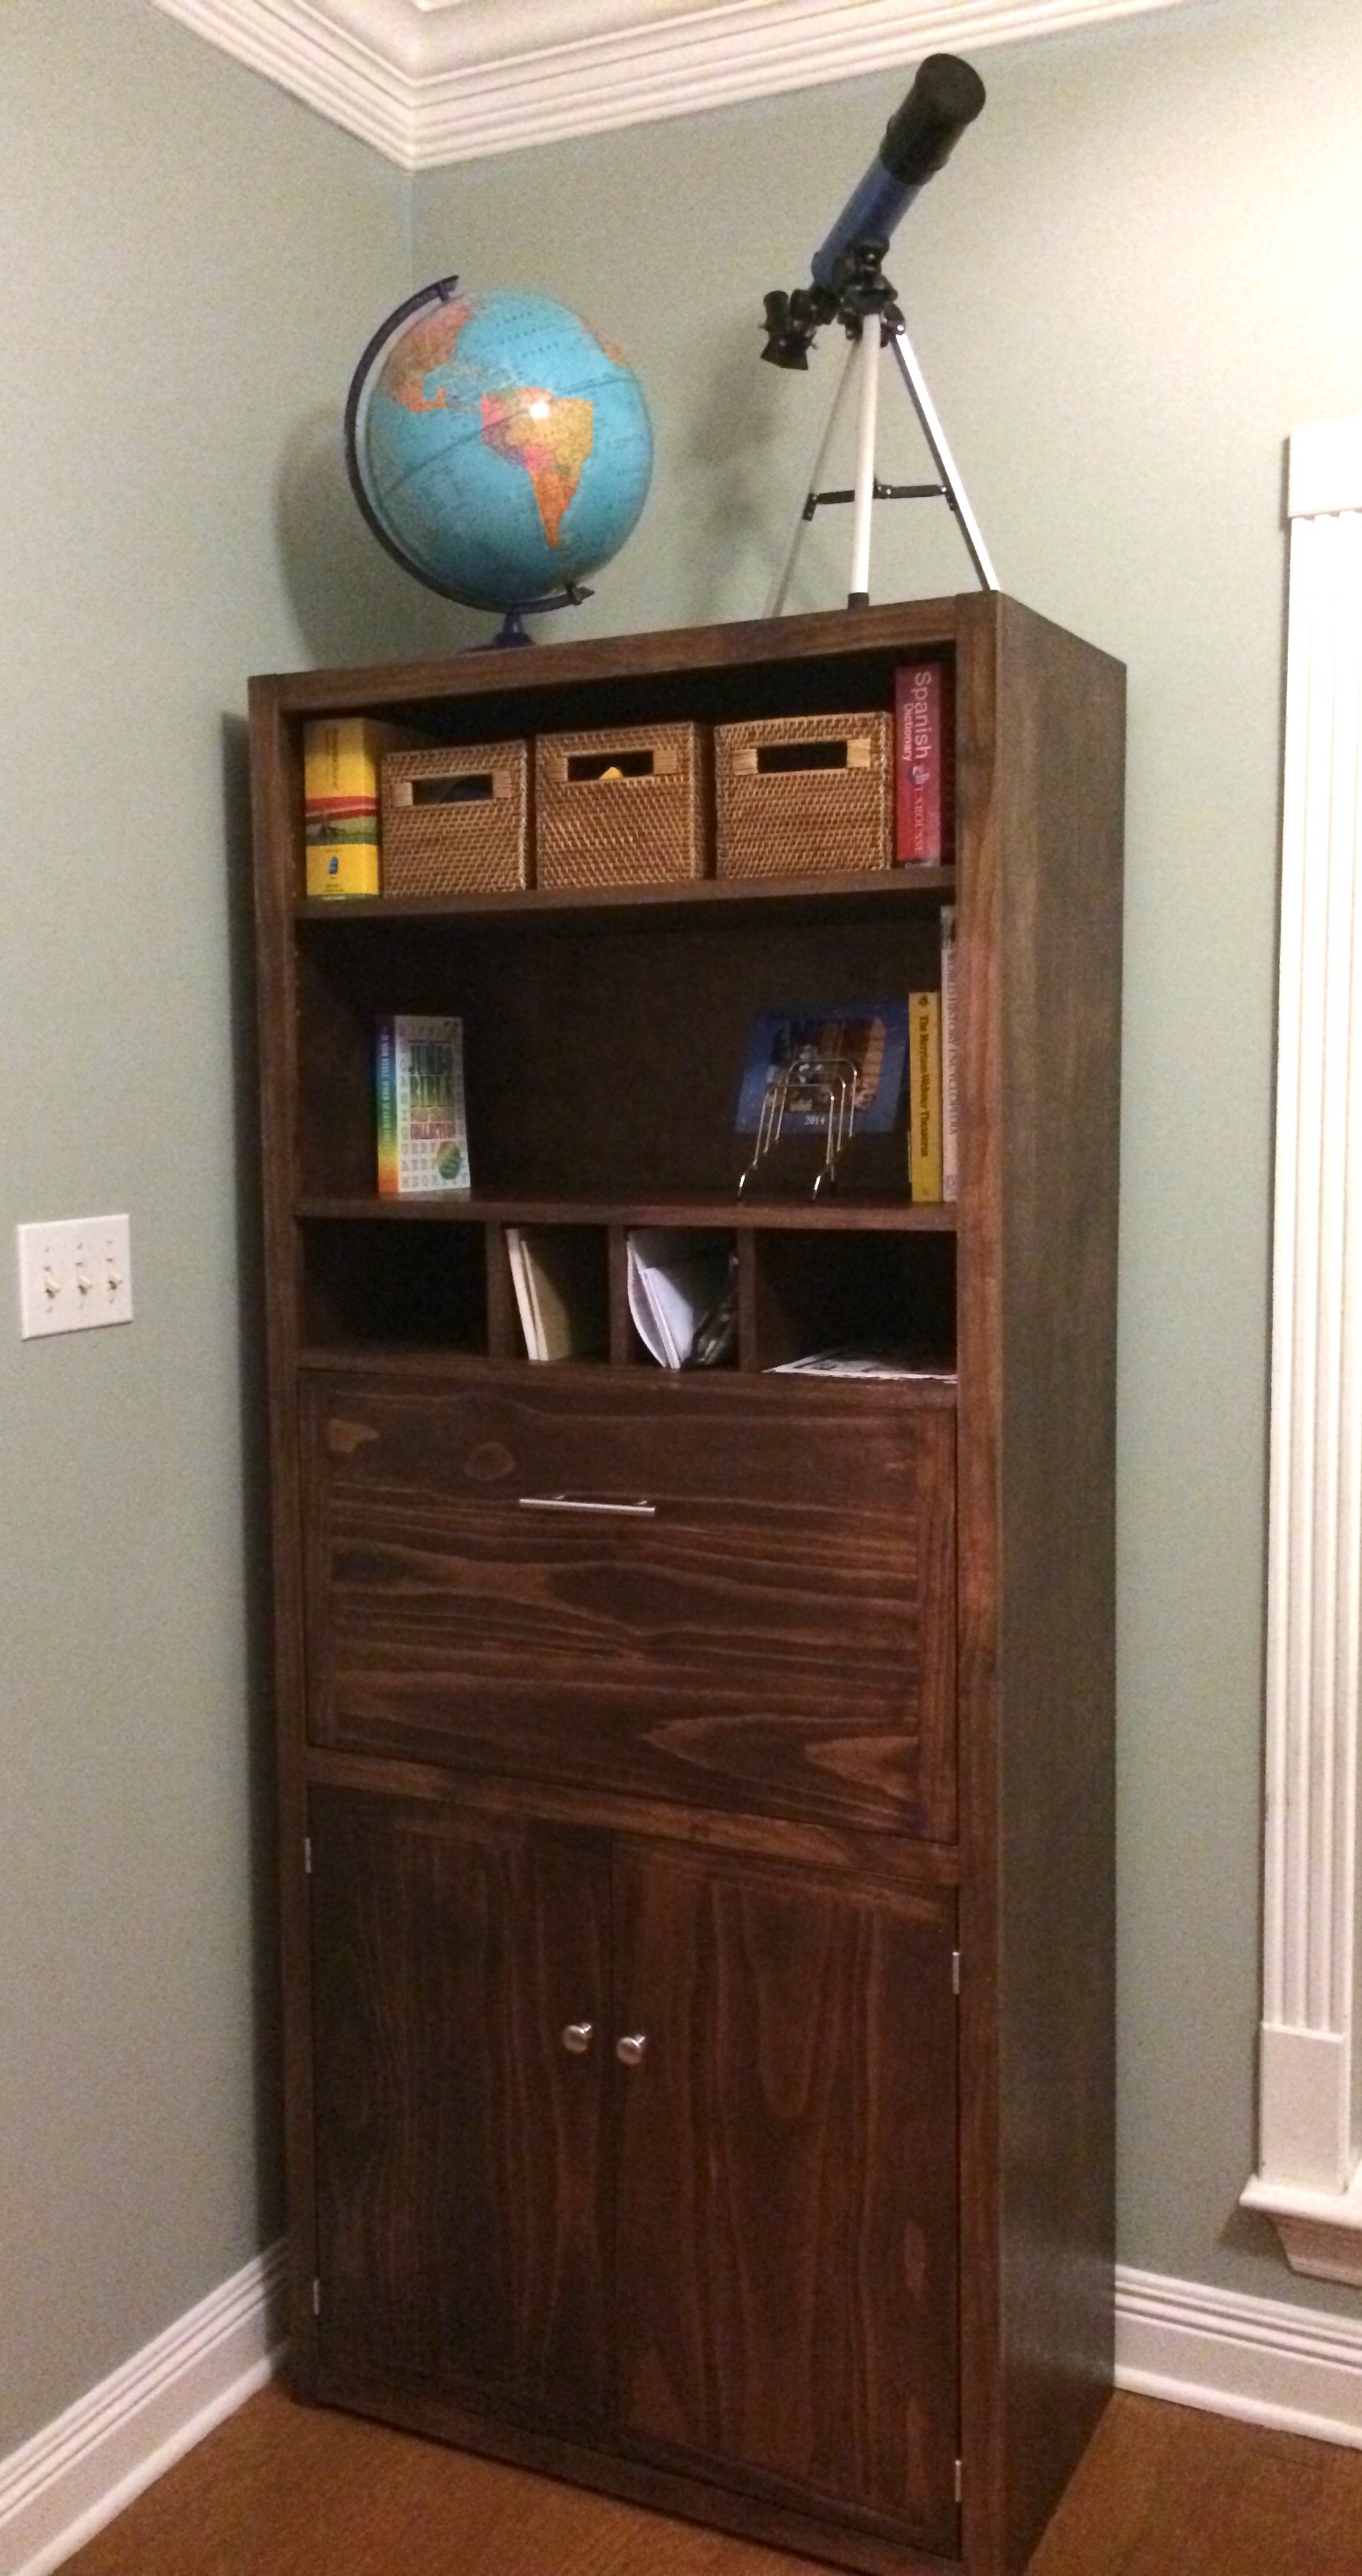
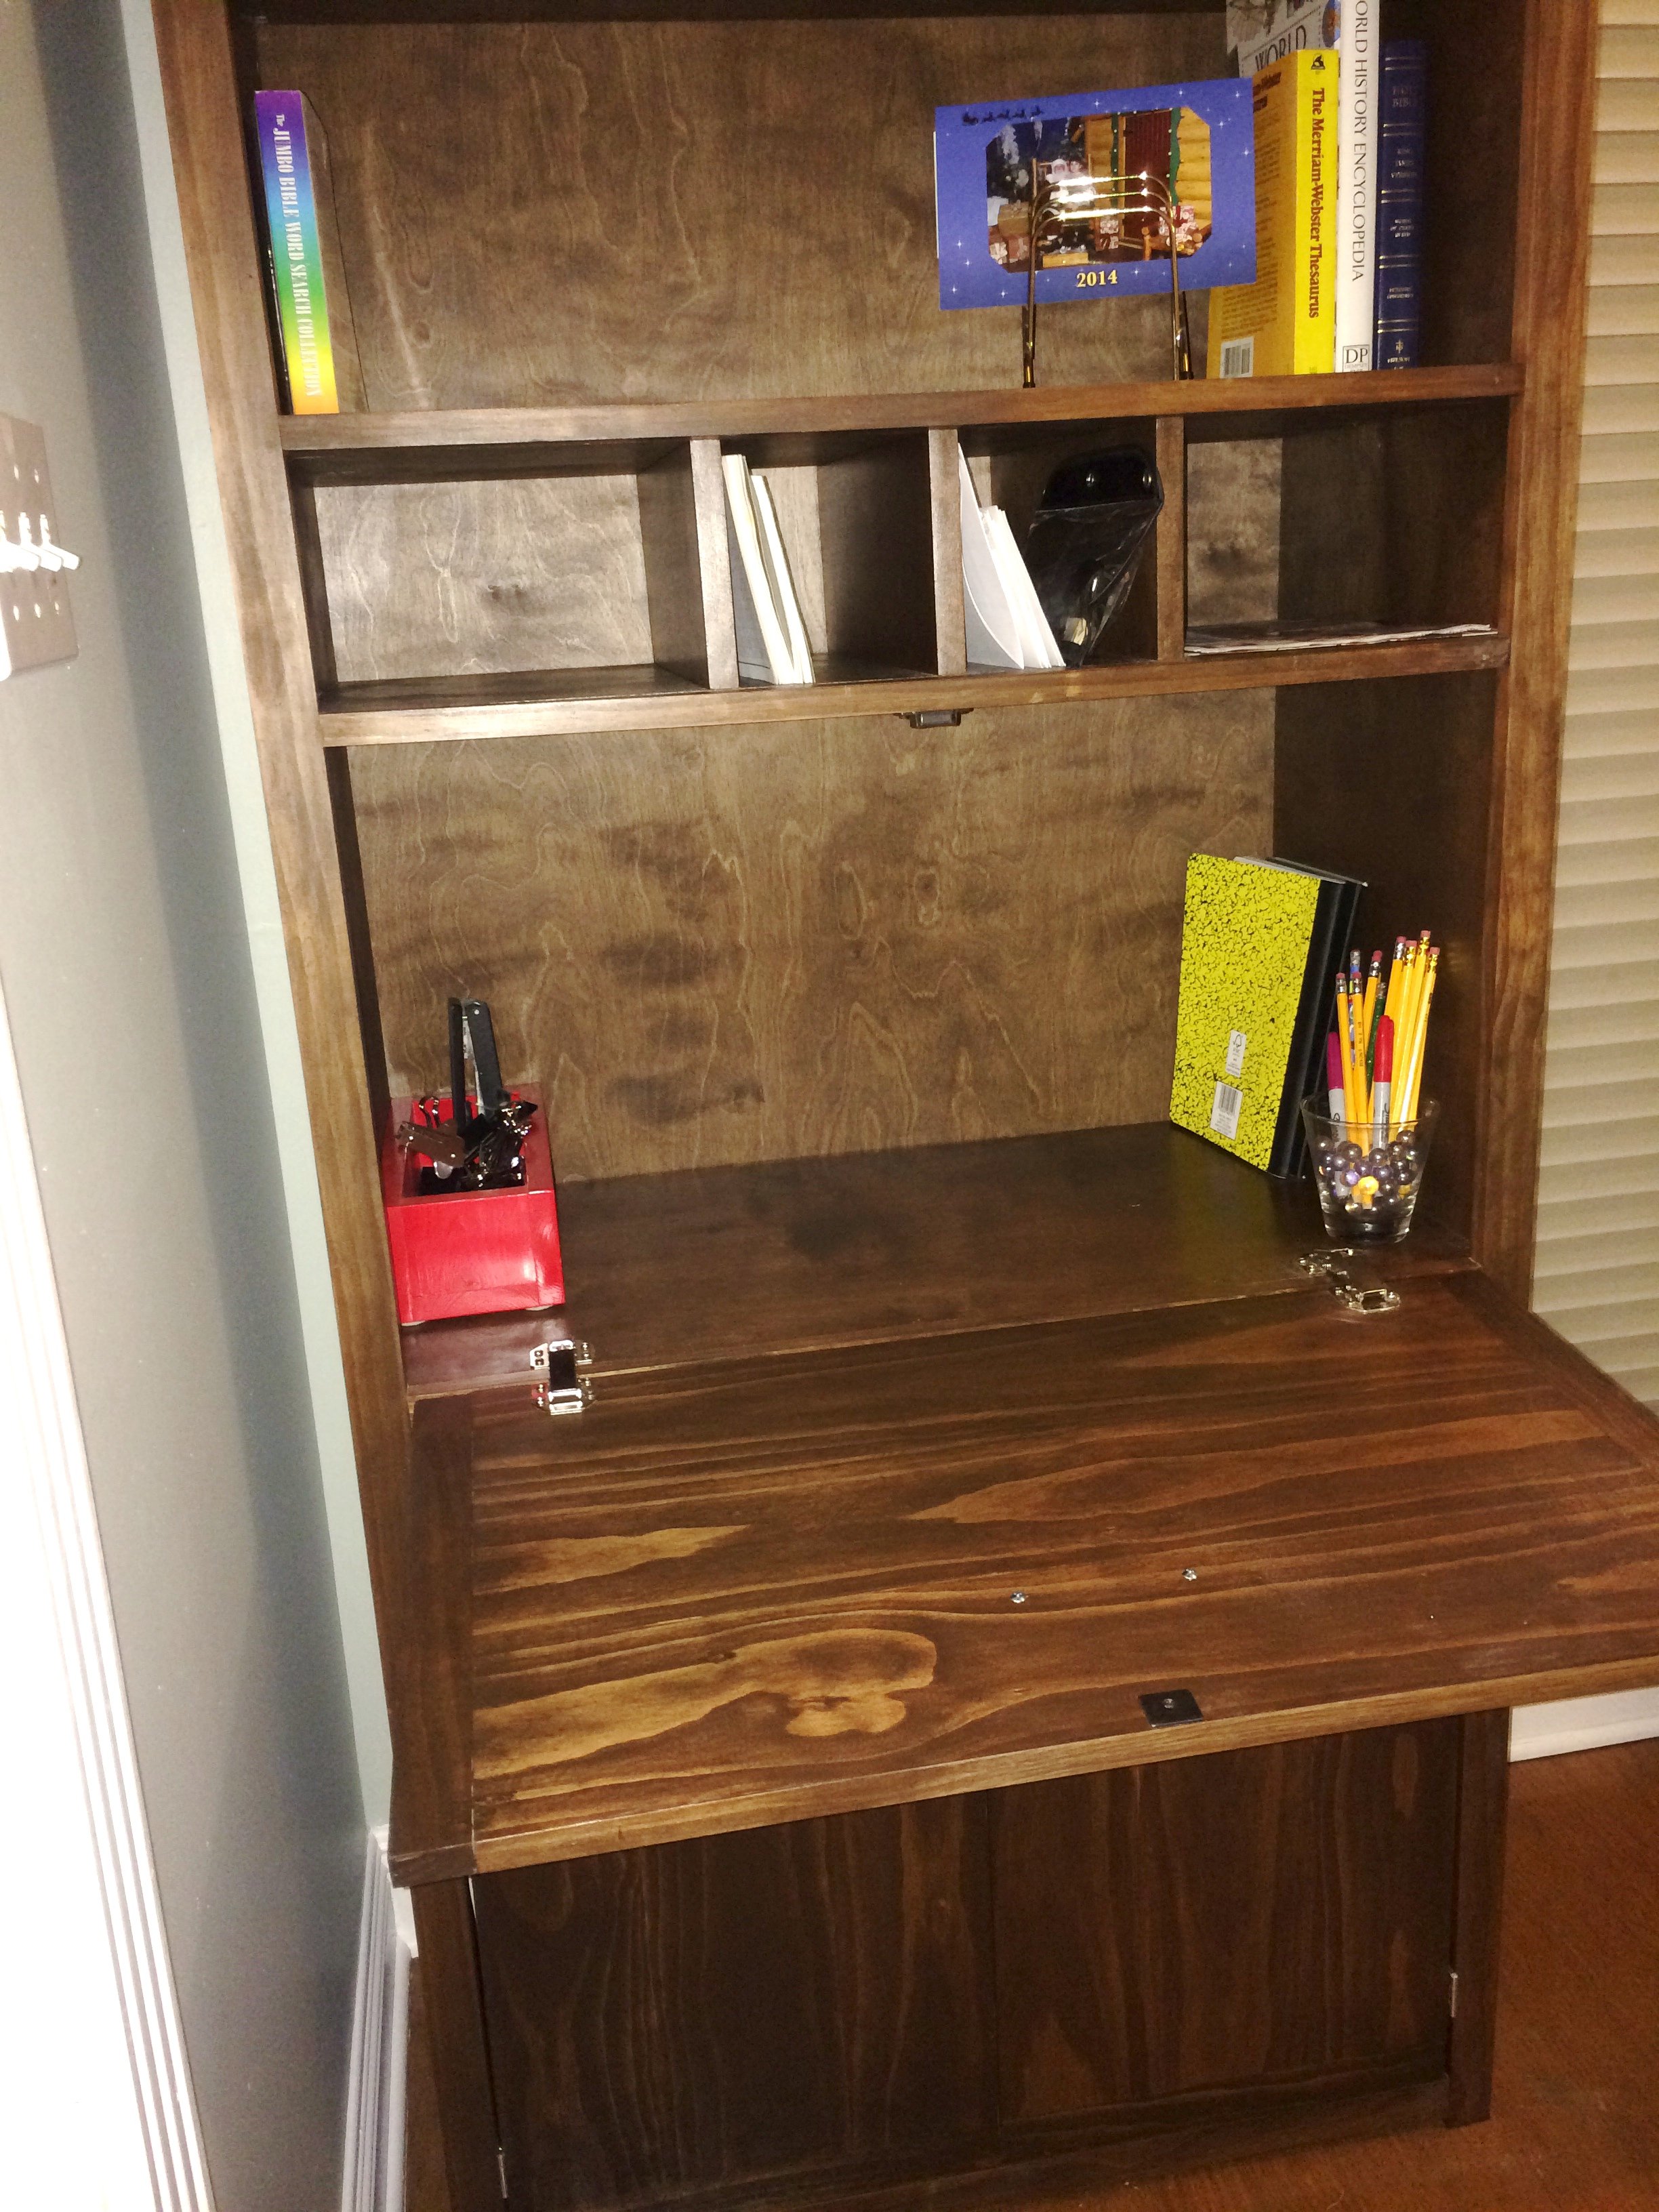
Tall Secretary Cabinet with Modifications
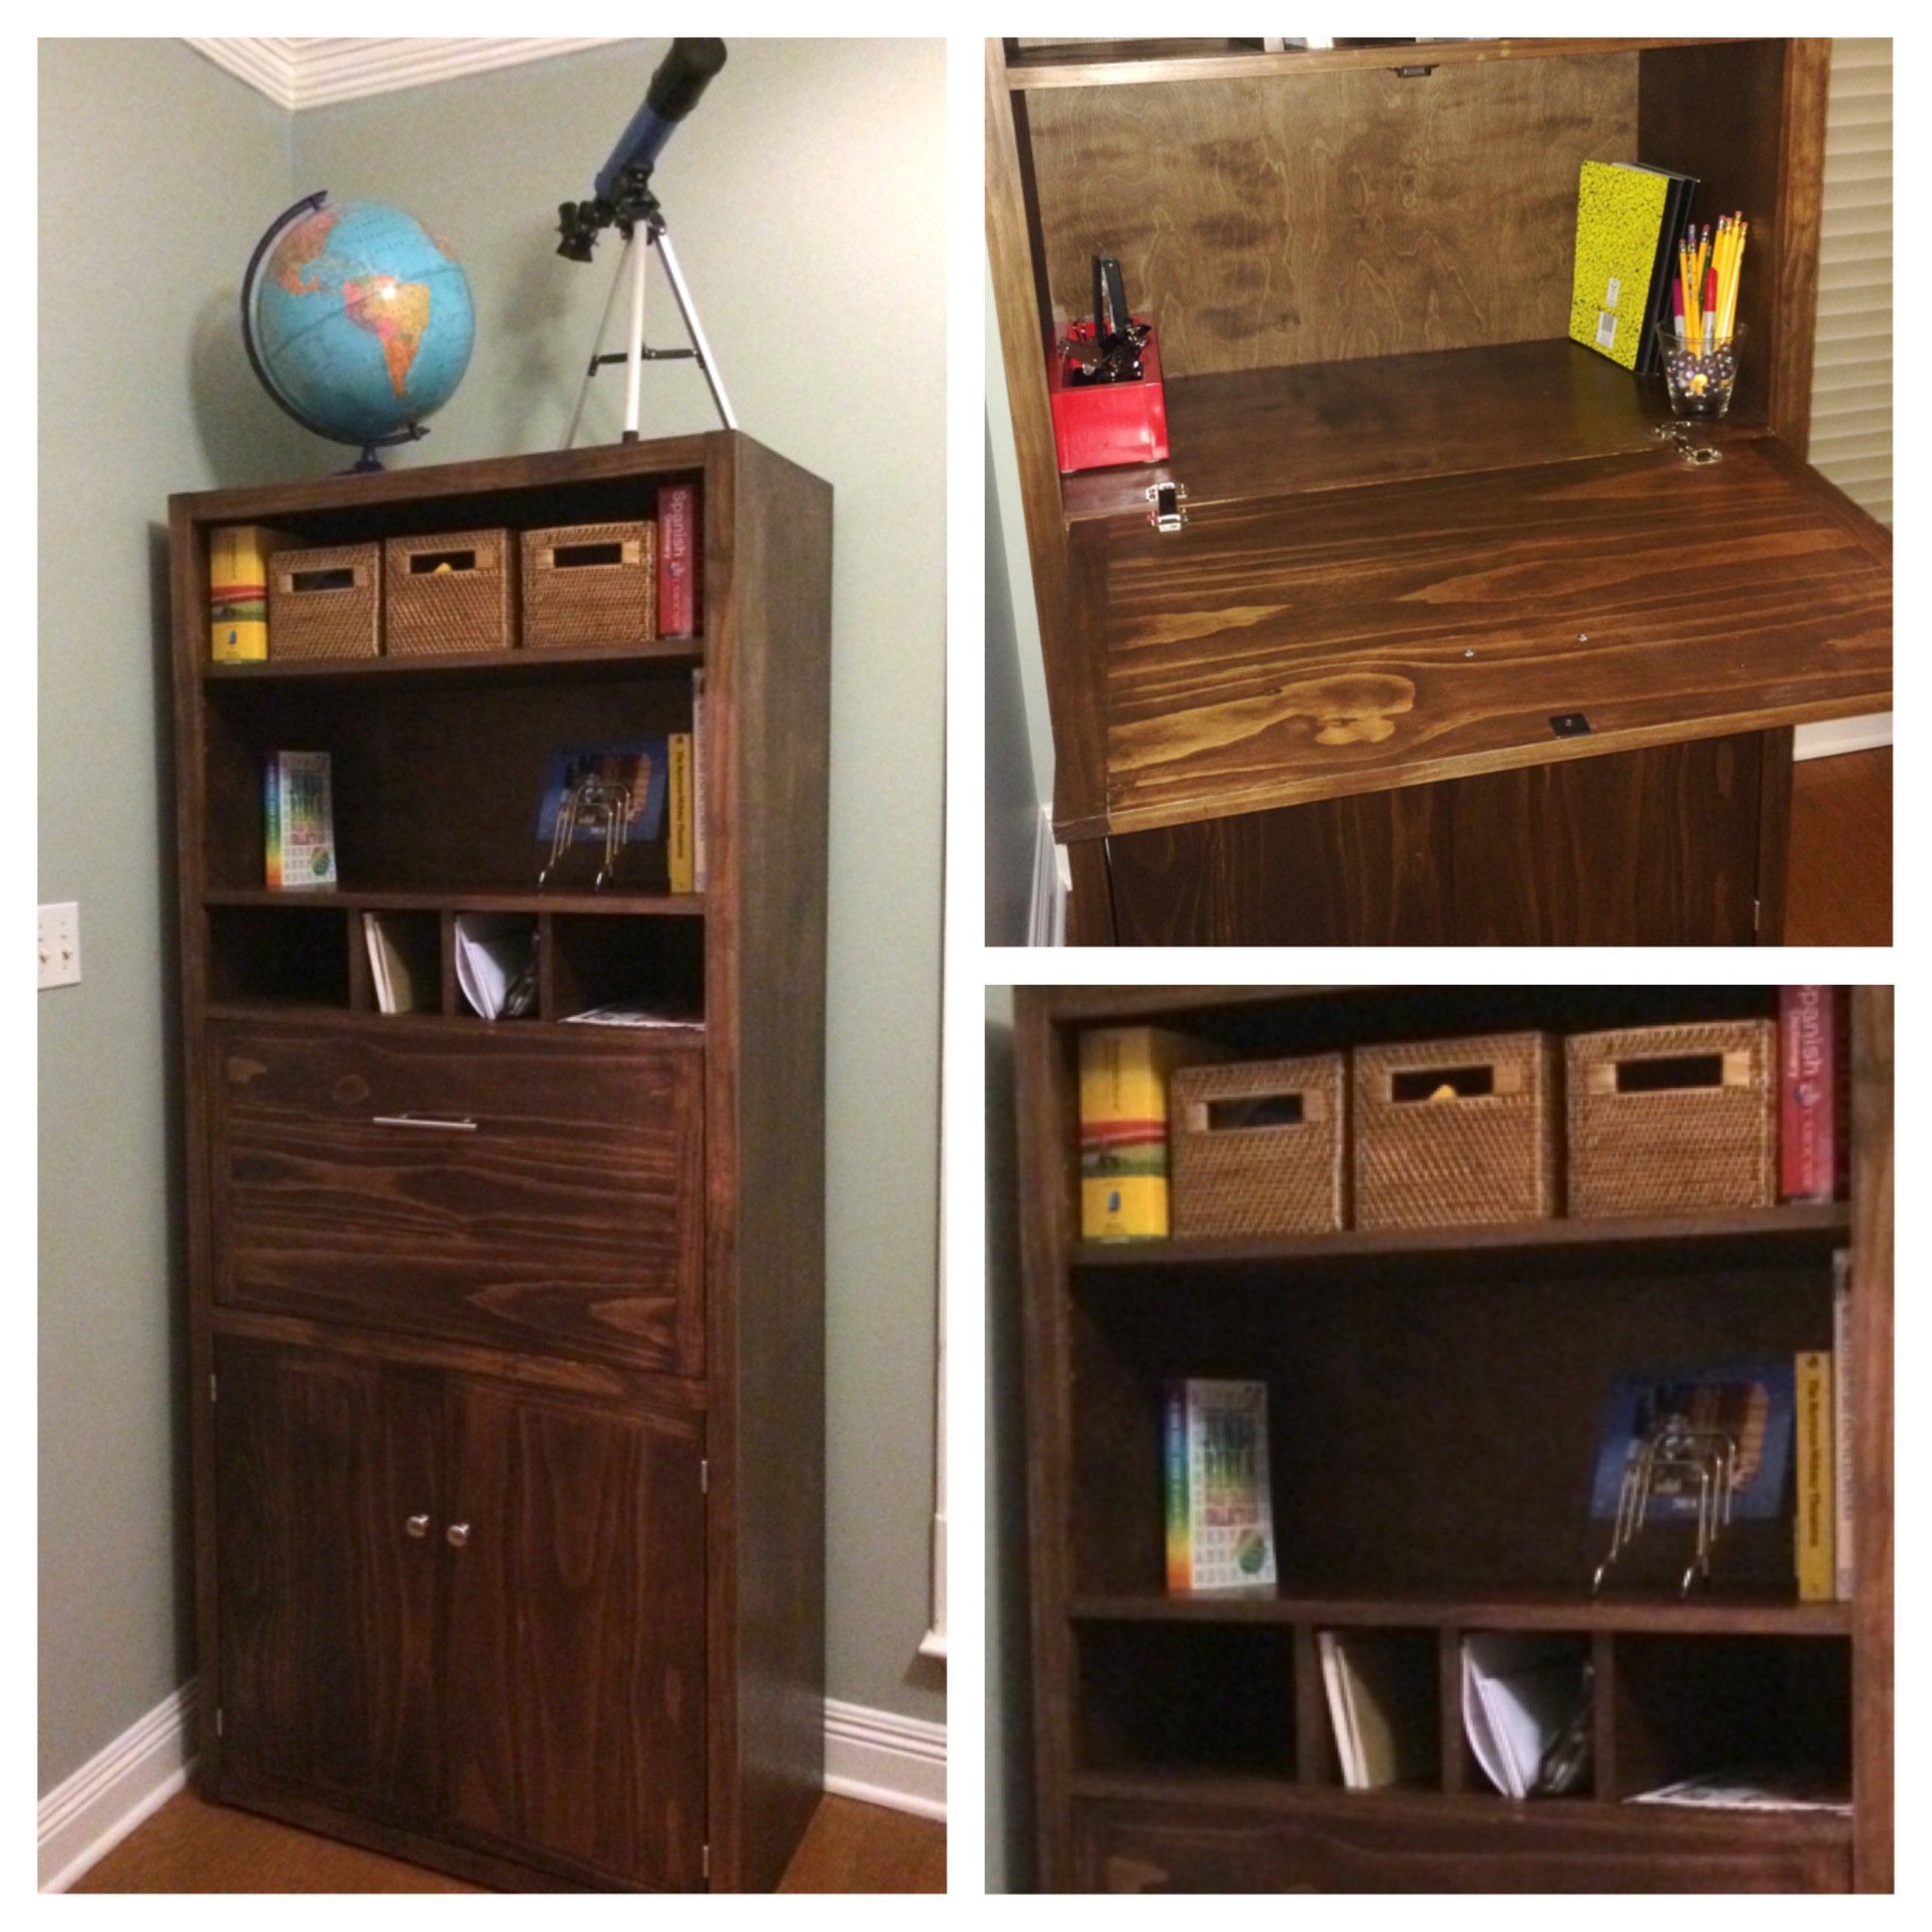
I built this desk as part of redesigning my homeschool room, and made a few customizations to better fit our needs. It's taller and deeper than the plans, which allowed for a larger work opening for a larger computer. It also gave me much needed extra storage space.
The cabinet is made from 3/4" and 1/4" PureBond birch plywood cut down to size using my Kreg Rip-Cut. The frame is built from pine 1x2s and 1x1s. The three cabinet doors are pine 1x6s and 1x2s joined together with biscuits, and trimmed to the correct size on the table saw. Because the secretary desk is deeper than the plan and the mail slots are small, I finished with stain and polyurethane prior to assembly. This saved a lot of frustration of trying to stain in tight spaces.
Thank you for the plans, Ana!
Built from Plan(s)
Estimated Time Investment
Day Project (6-9 Hours)
Finish Used
Rustoleum Dark Walnut, Minwax Polyurethane
Recommended Skill Level
Beginner
Comments
Sewing Caddie
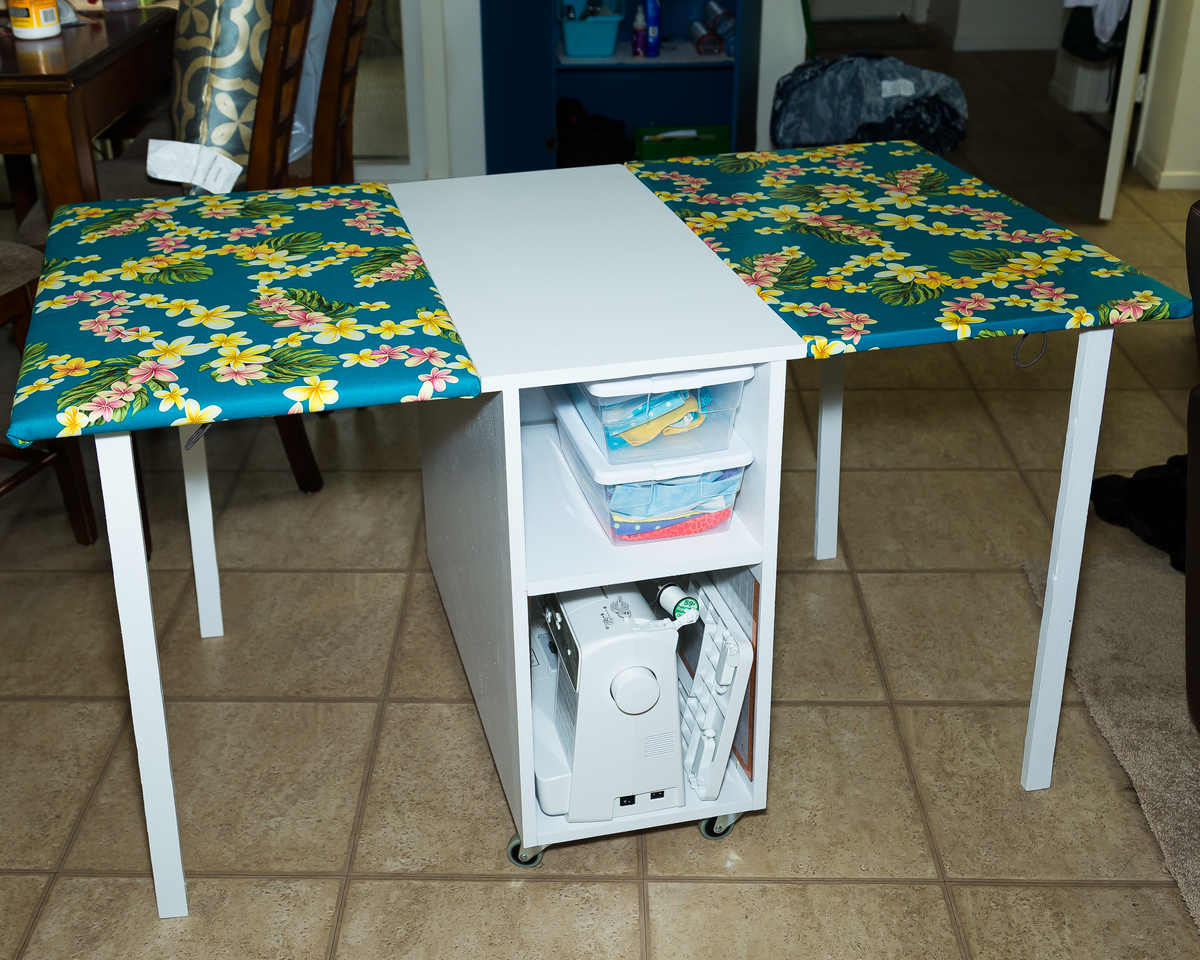
Thanks for the inspiration! This was my first full blown creation and my wife loves it. Cannot wait to do more!
Built from Plan(s)
Estimated Cost
$50 for birch plywood
$30 for wheels, hinges, paint, and accessories.
$30 for wheels, hinges, paint, and accessories.
Estimated Time Investment
Weekend Project (10-20 Hours)
Finish Used
White paint with primer
Recommended Skill Level
Beginner
Kerplunk Game for Outdoors
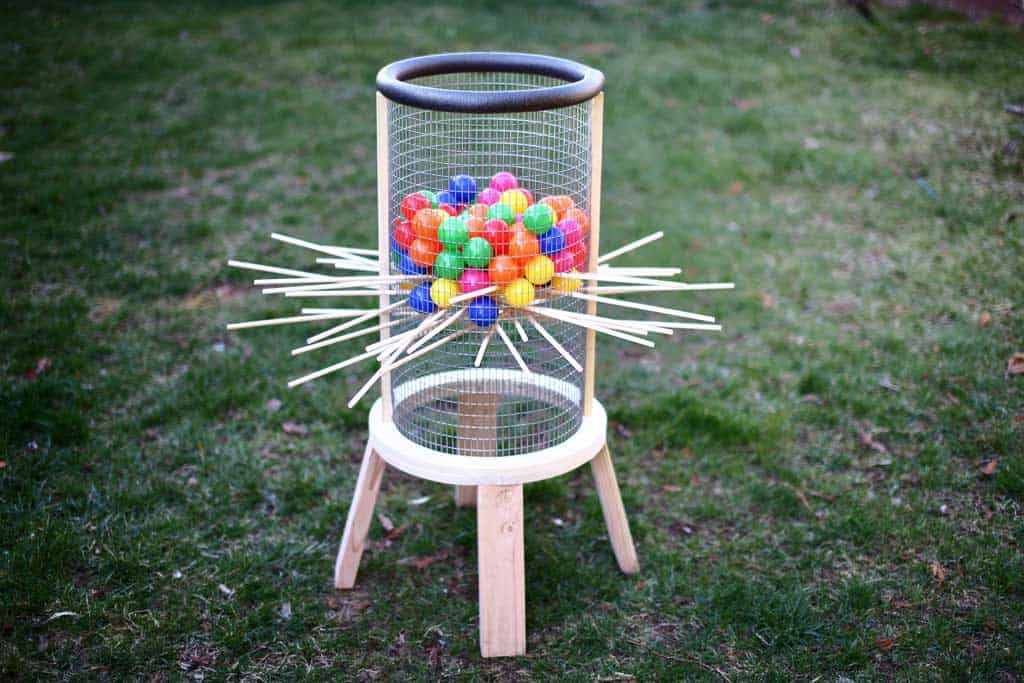
Here’s another fun game to play for all ages, especially for kids. It’s called a Kerplunk Game. The original Kerplunk game is small, made from plastic, and is mainly for indoor use. But to make it more interesting and to encourage kids to spend more time outdoors, I’ve built a Giant DIY Kerplunk Game with a wire mesh screen. This is a great backyard game for any occasion or a party.
See my website for additional pictures and how I've built it, TheDIYPlan.com

Estimated Cost
$70
Estimated Time Investment
Afternoon Project (3-6 Hours)
Recommended Skill Level
Intermediate
Comments
Modified Fillman Dresser
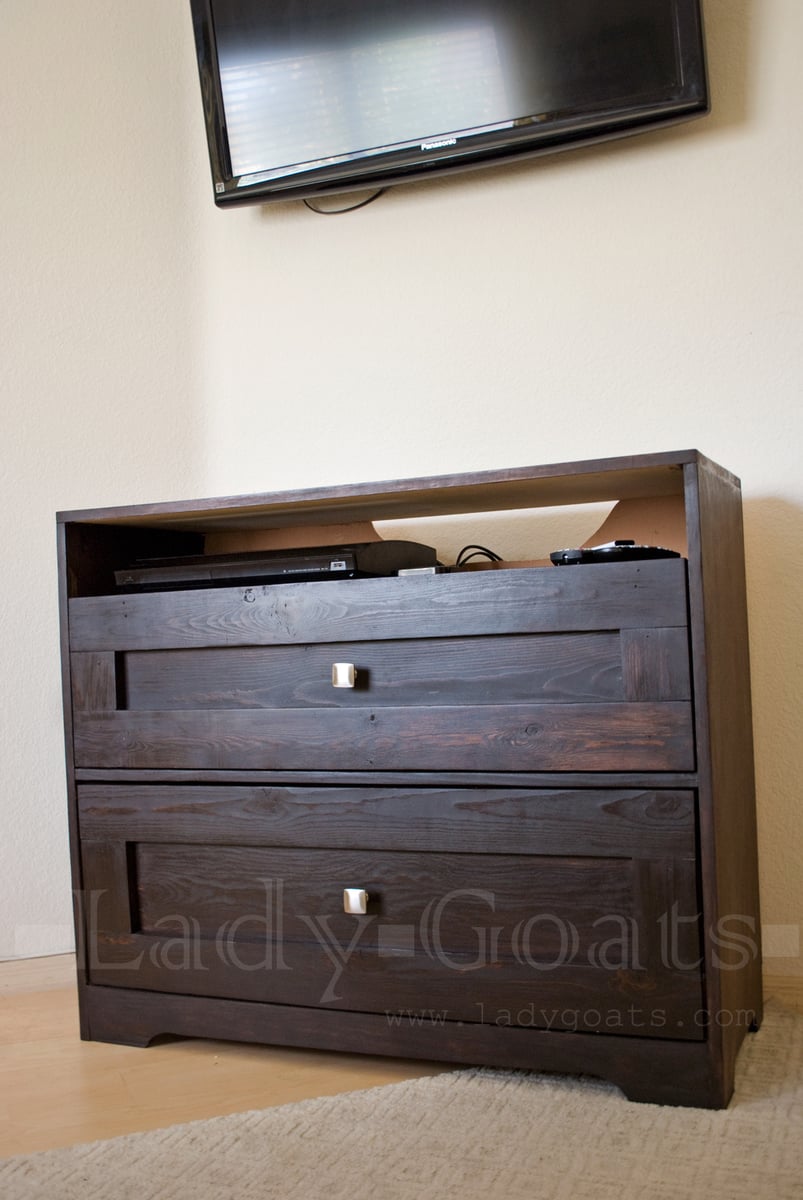
Spent forever building this modified version because I couldn't figure out what kind of drawer faces I wanted. Finished with General Finishes gel stain and Minwax Paste Finishing wax.
Built from Plan(s)
Estimated Cost
Used scraps, so all that I paid for was the knobs and finishing wax.
Estimated Time Investment
Week Long Project (20 Hours or More)
Finish Used
GF gel stain in Java and Minwax Finishing wax
Recommended Skill Level
Intermediate
My Mother's day gift (Chicken Coop)
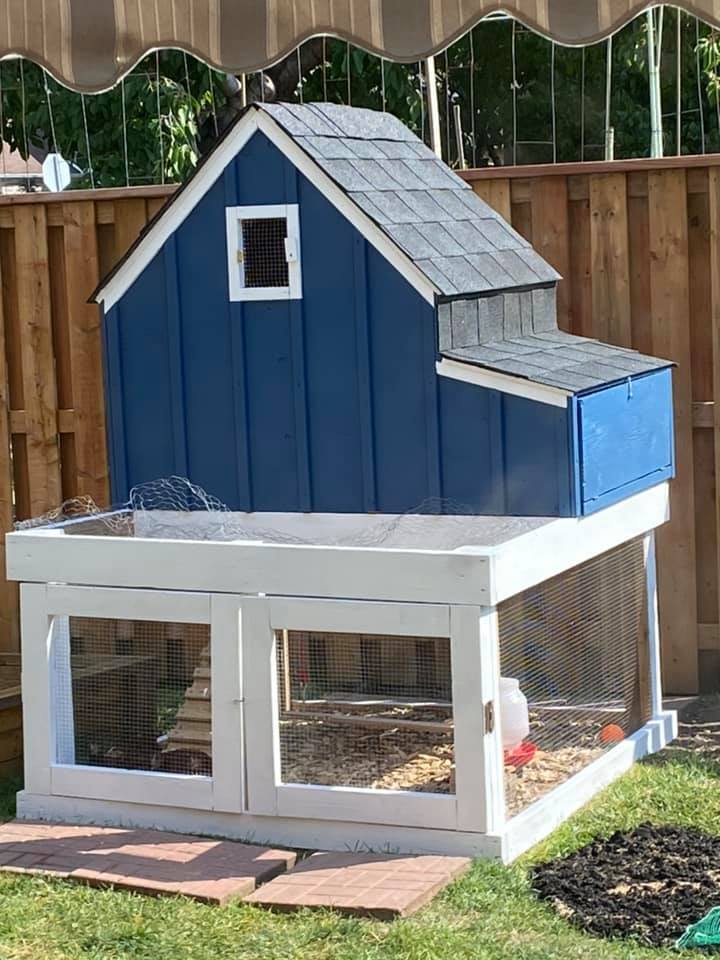
I printed off your instructions and I had all the wood in the garage already. My husband and son finished this in a day and a half. I love it! I painted it. Still not sure what I want to do instead of the planters. I like that idea but I like to have access if I need to clean it. I love all the ideas on this site.
Built from Plan(s)
Estimated Time Investment
Weekend Project (10-20 Hours)
Recommended Skill Level
Advanced
Comments
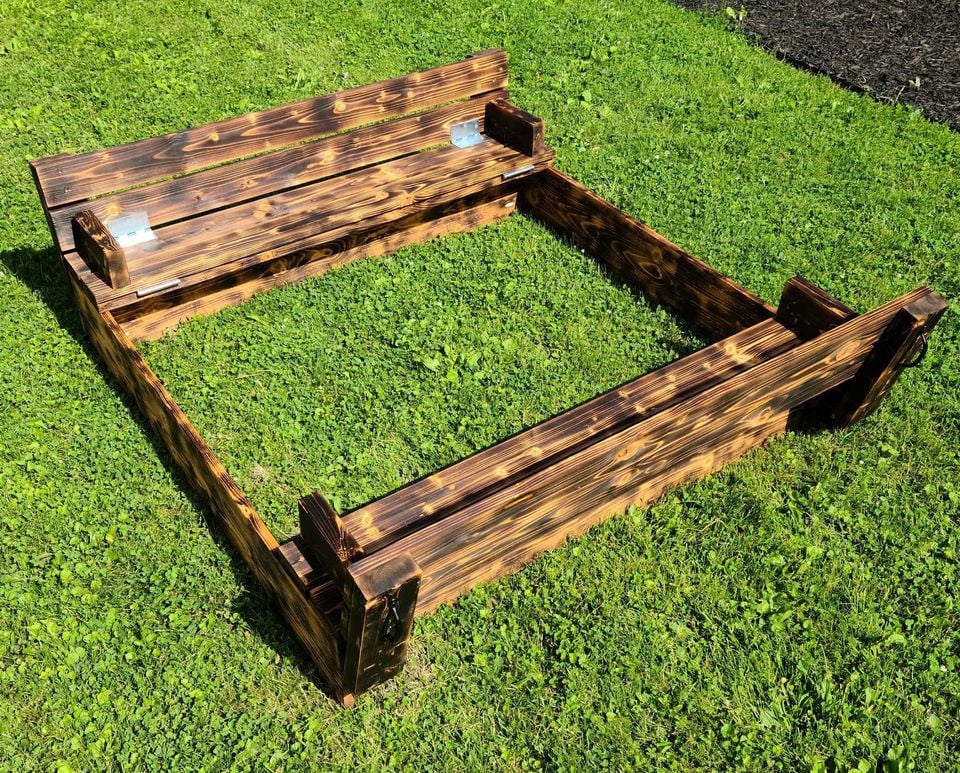
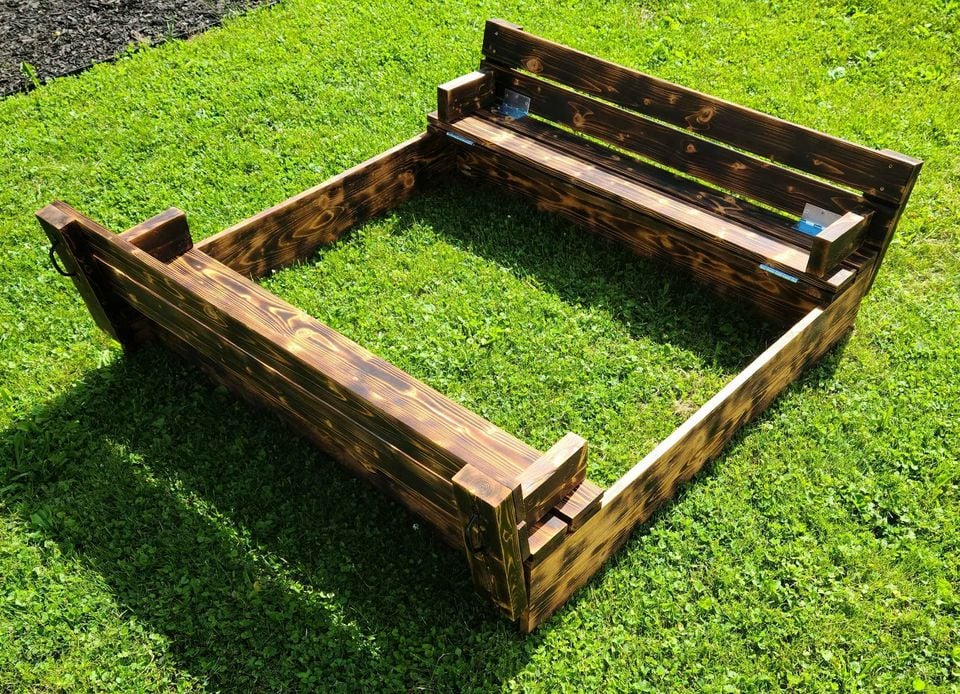
Sandbox with Benches
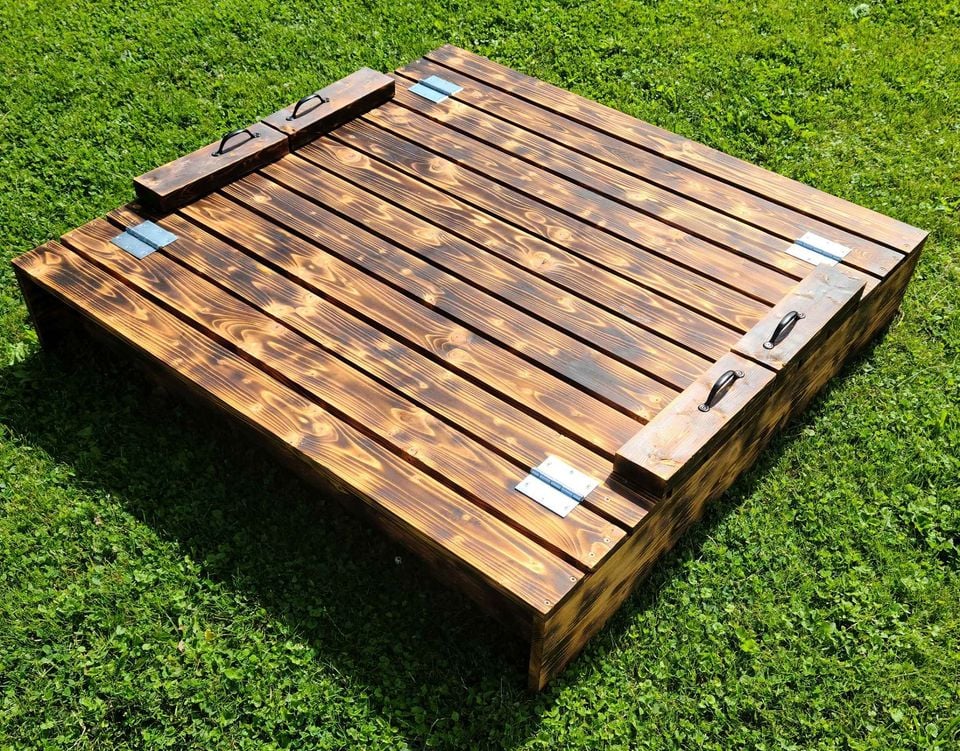
Burnt and stained with a semi transparent mahogany water sealer
Built from Plan(s)
Estimated Cost
$120
Estimated Time Investment
Afternoon Project (3-6 Hours)
Recommended Skill Level
Beginner
Comments
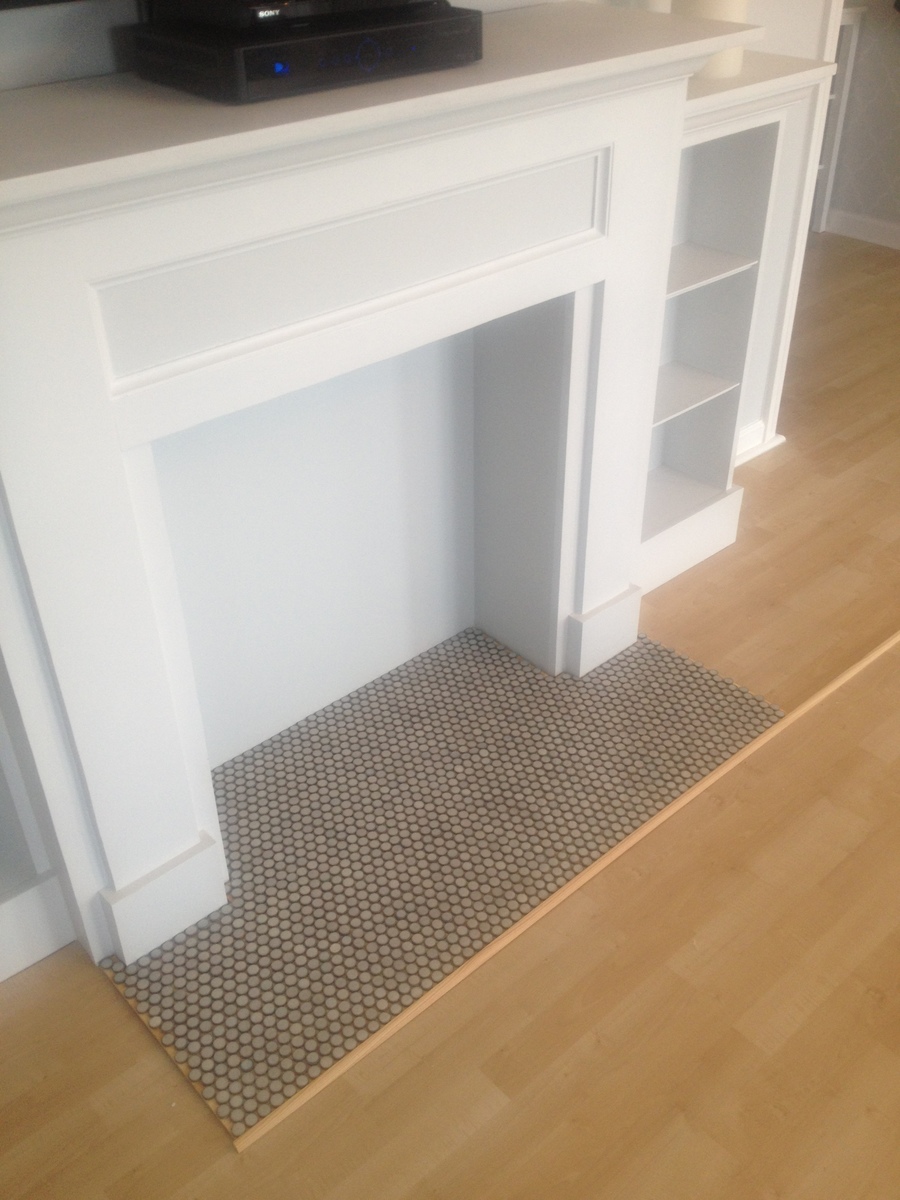
My first DIY project!
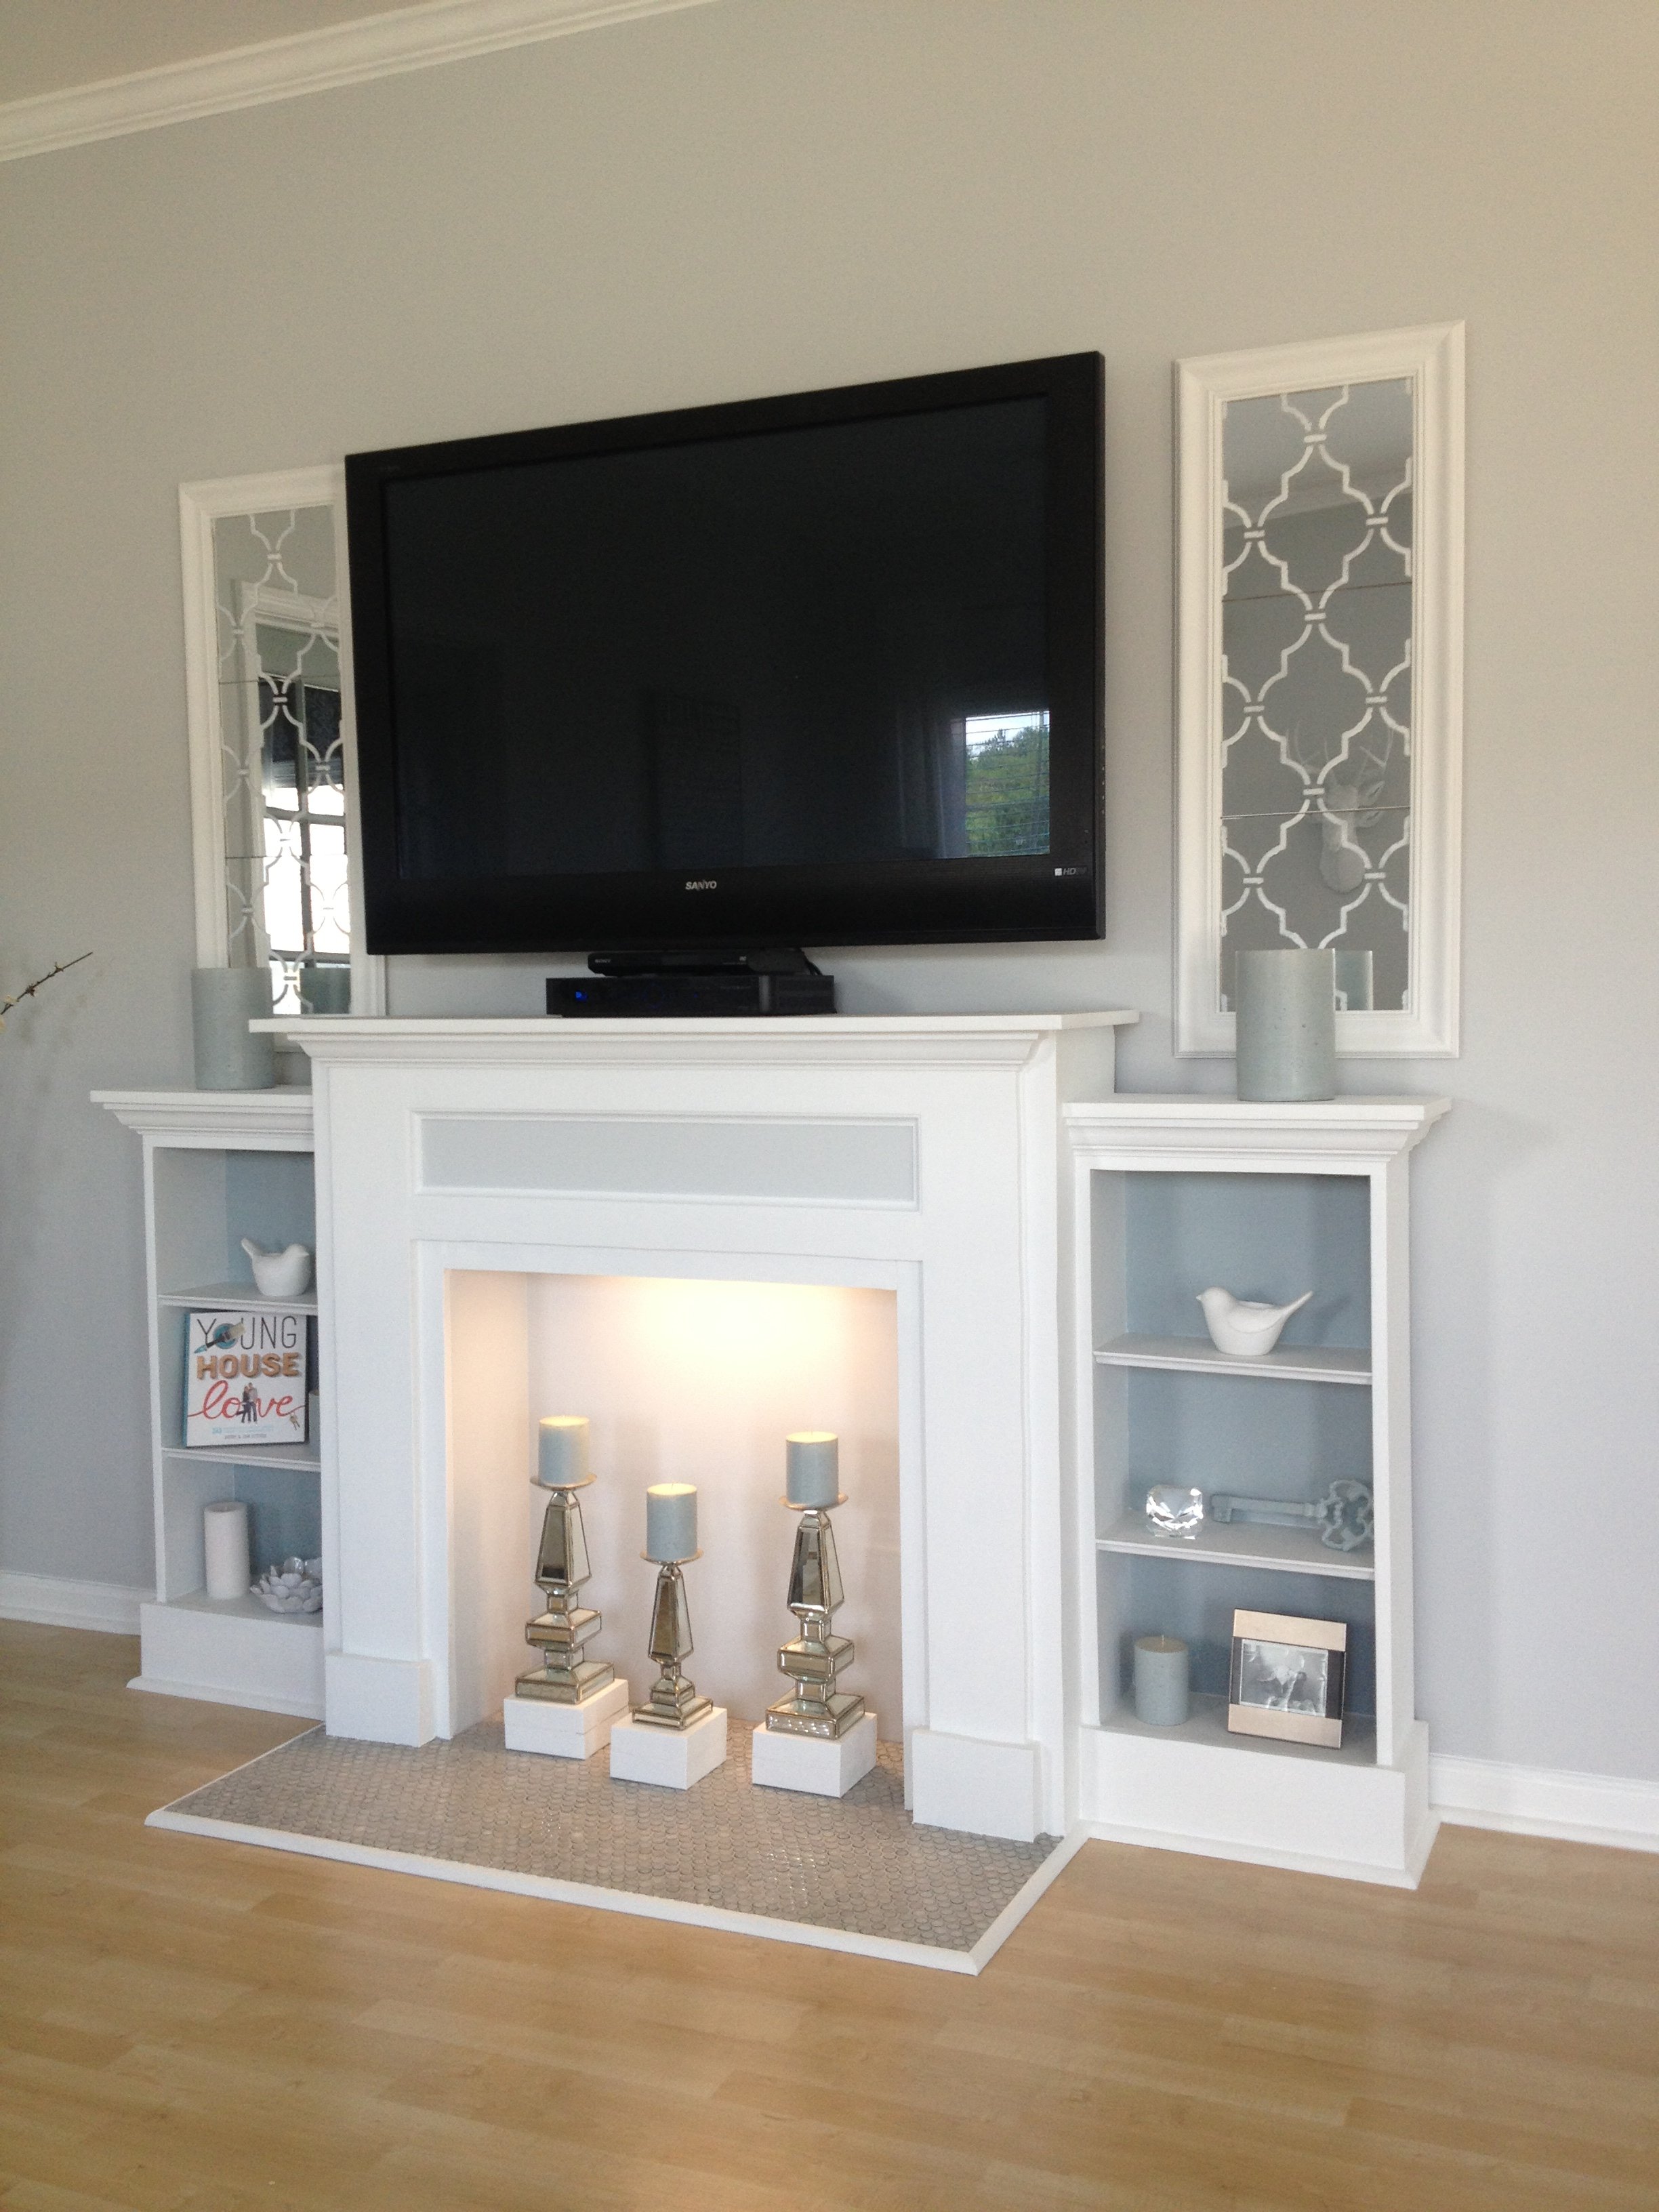
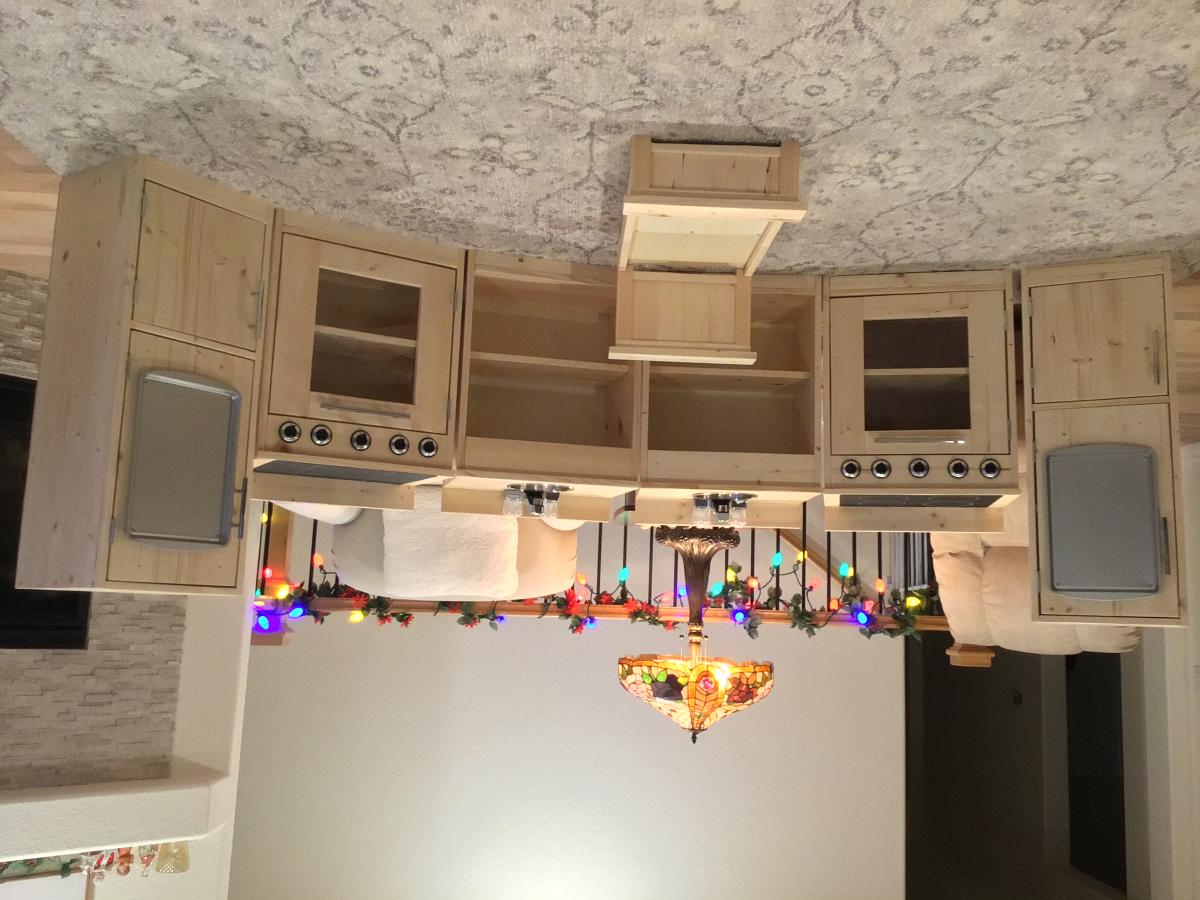
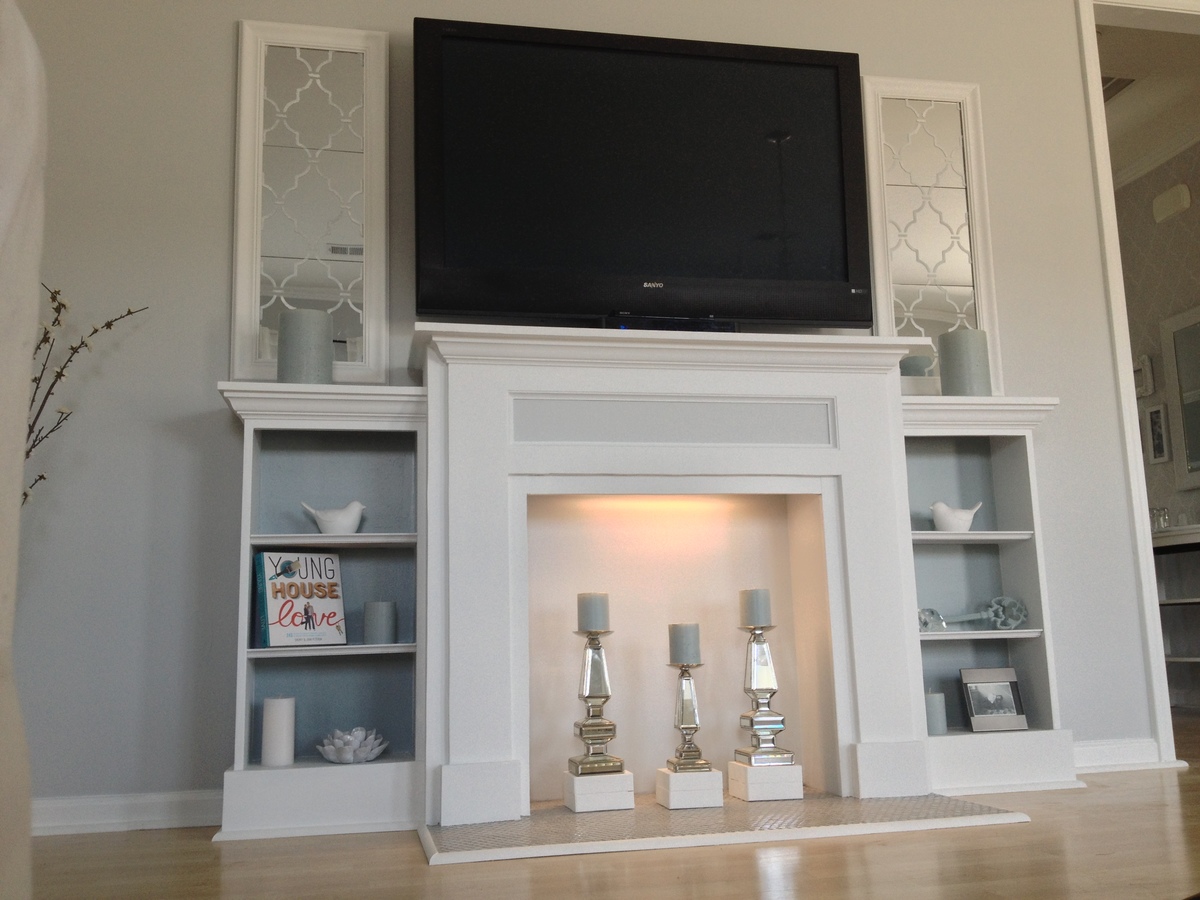
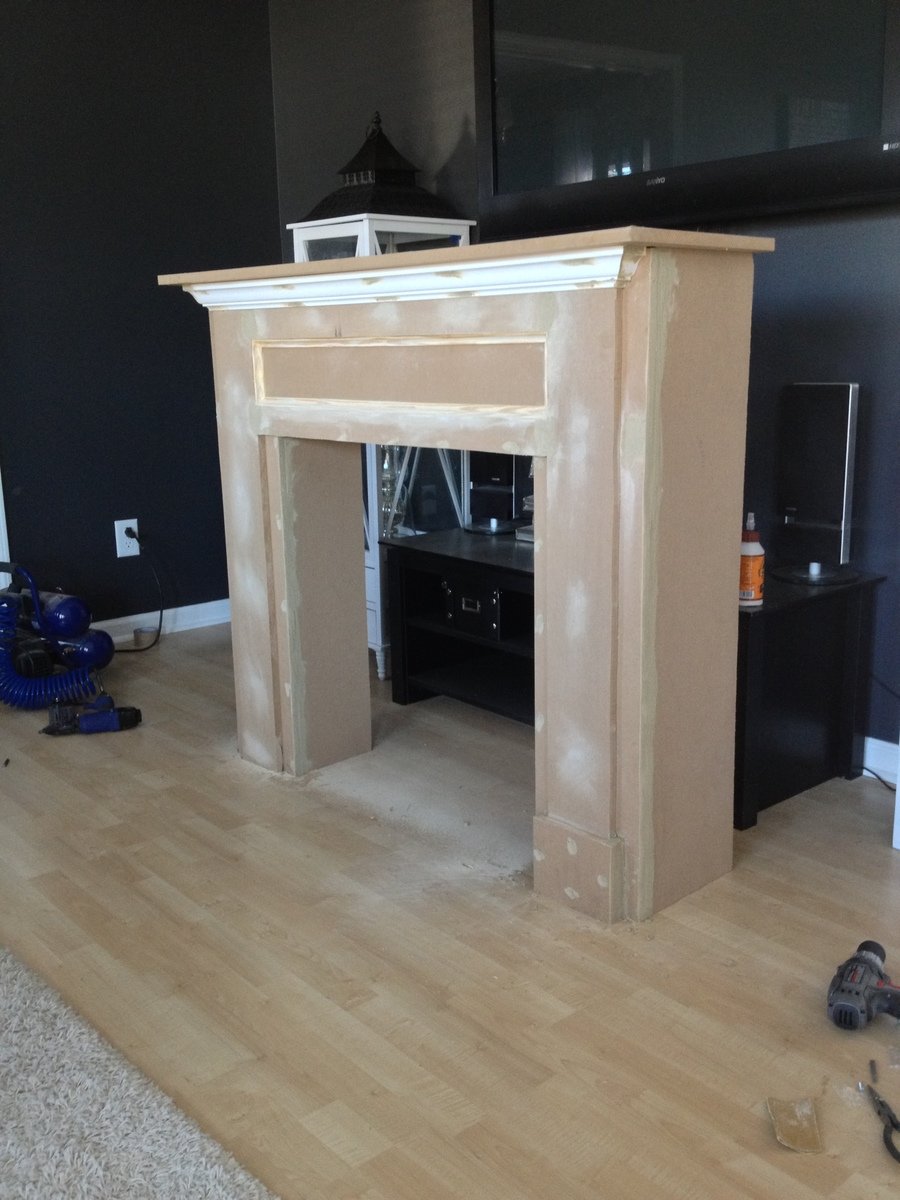
Finally Completed!!! Thank you rainy Saturday! So I wanted a new entertainment center of sorts... couldn't find one that was just what I wanted..... so why not just build what I want! Just DIY it. ;)
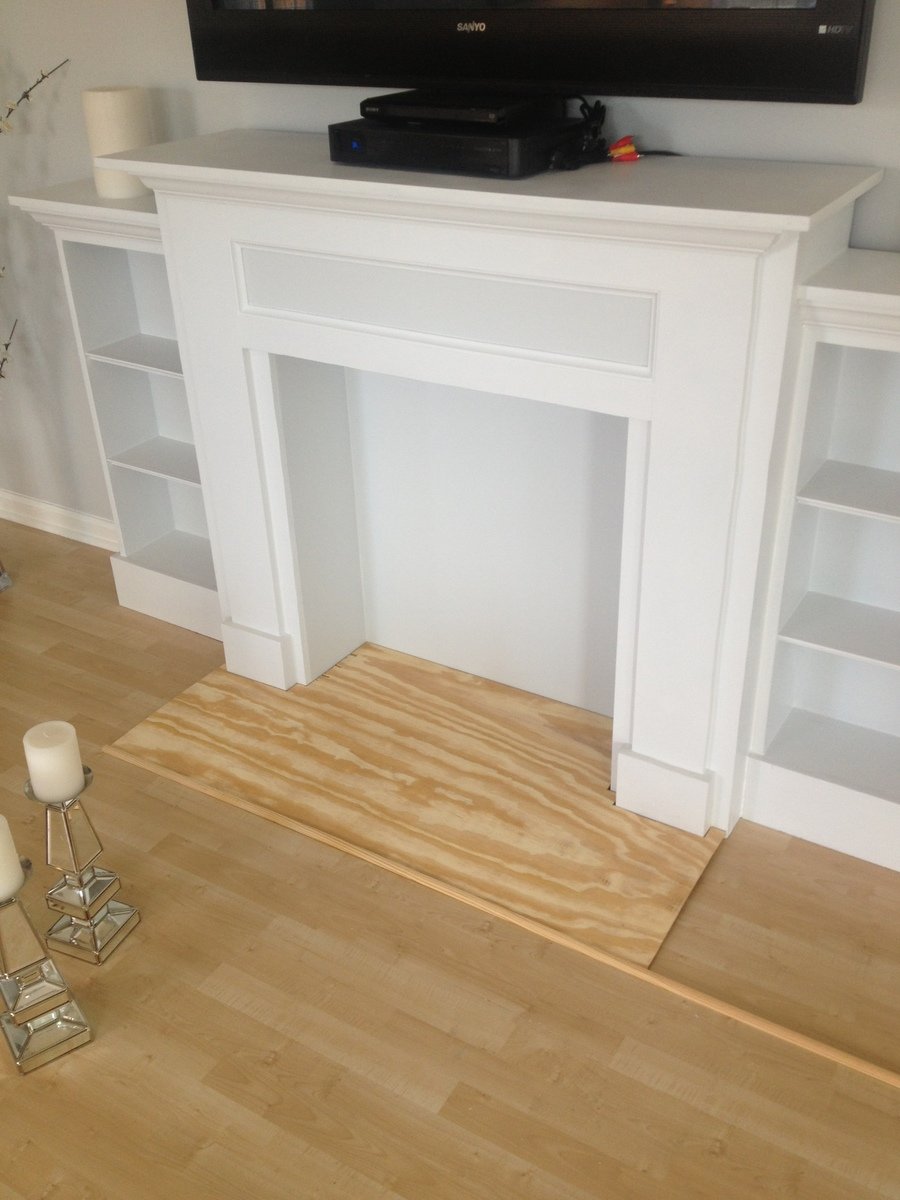
I used the faux fireplace plan and modified it to have attached shelves on the sides. I also added an extra strip at the top of the fireplace opening so I could mount an LED bar light.
I used 1/4 plywood to make a tile base, penny tile, and 1/2 quarter round to finish out around the entire bottom.
Total project cost was less than $200 including the tile and light!
Best part is the whole thing is movable!
Thanks Anna White for such an awesome plan to start with!

Built from Plan(s)
Estimated Time Investment
Week Long Project (20 Hours or More)
Finish Used
MDF & plywood
Recommended Skill Level
Beginner
Comments

Wed, 07/03/2013 - 10:24
Shelve units
This whole unit is great. My wife LOVES it, which means I will be building it! Did you purchase the two shelf units or build them yourself? Did you use a pattern or plan? Thanks!
Sat, 08/03/2013 - 18:25
I did make the depth of the
I did make the depth of the fireplace deeper so I could have room for the halves on the side. I just sketched out the dimensions I wanted the side shelves and built them along the same lines as the fireplace. Wasn't hard to figure out and just made it to fit the size I needed. The inset of the fireplace does not go all the way back to the wall either, that way the power strip can fit on the floor behind it. Glad you like it and thanks for the compliments!
Wed, 07/23/2014 - 14:54
Your First DIY success
Hi Celeste 808, What a wonderful faux fireplace WITH the bookcases, especially. I'm hoping I can try this in our space challenged bedroom. Did you by any change reply to the chap who asked if you had some kind of dimensions or plans you could pass along to us? I would love to see if we can make it work in the space we have available.
Thanks again for the inspiration,
e
Mon, 10/28/2013 - 18:25
LOVE IT!
I absolutely love what you did with this. I am going to have my fiance help me make this for our house. If you still have the dimensions and details of how you built the whole unit I would greatly appreciate it if you could post it.
Tue, 10/29/2013 - 05:36
Love it. I wasn't going to
Love it. I wasn't going to build the side shelving unit, but changed my mind. This is beautiful... I really love the base.
Sun, 04/13/2014 - 13:00
Beautiful! Exactly what I've been looking for.
This is gorgeous & I can't believe it's your 1st project. I would love to build this too. Did you use any particular plans for the side units? If you have any tips or information to share, that would be great! I've actually been trying to make up my own plans using Sketch Up, but that's not working too good, lol. Again, great job & thank you.
Lynda

Sun, 02/08/2015 - 12:31
Dimensions Added
I'm dying to know the dimensions you added to the width. Also, the dimensions of the book shelf. I have been trying to draw up plans for the last week and I'm stuck with trying to figure it out by looking at your pictures.
PLEASE HELP!
Thanks!!

Mon, 07/27/2015 - 09:15
Blue Print Request
Do you have the blue print of how you built the mantel and side book shelves? I am wanting to go buy supplies to build this tonight!!!
Thank you!
Sun, 11/15/2015 - 13:19
im having a hard time with
im having a hard time with the site. LOVE this and want to build it. how do i get the plans for it?
Sun, 11/15/2015 - 13:19
im having a hard time with
im having a hard time with the site. LOVE this and want to build it. how do i get the plans for it?
Mon, 07/18/2016 - 12:19
blue print/dimensions of shelves
Hello! I love the design! If you have the dimensions or blue print for the shelves please forward along!!
Sat, 12/31/2016 - 18:06
Hi there! Love this look!
Hi there! Love this look! Just wondering where you found the mirrors shown on either side? Thanks!
Tue, 12/19/2017 - 21:55
Dimensions
How wide is this? From the end of one bookshelf to the other? Also, how deep is it?
Corner Shelf for Nursery
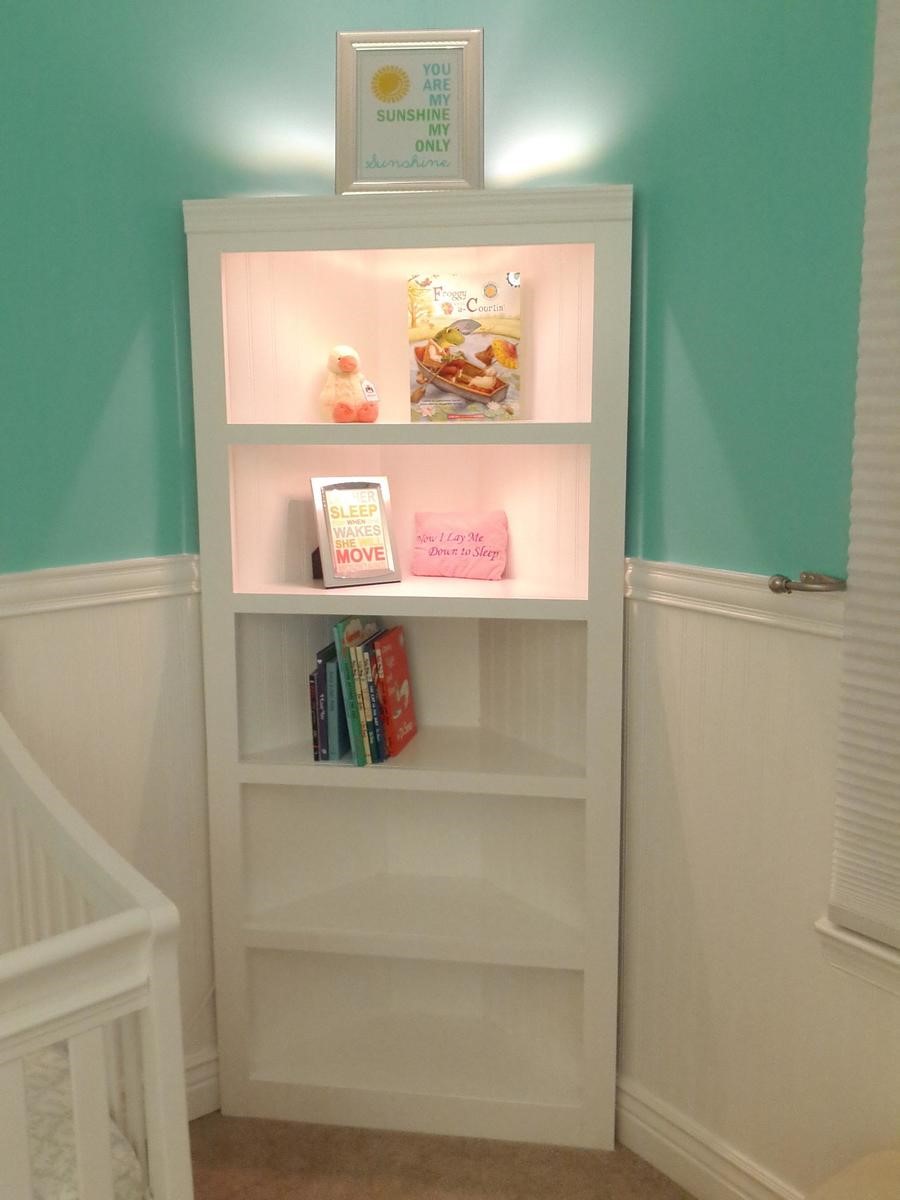
Super Easy.. I like it better without the doors. Recommend getting a KREG Jig. I have the Jr and it was perfect for this project.
Built from Plan(s)
Estimated Cost
$130
Estimated Time Investment
Afternoon Project (3-6 Hours)
Recommended Skill Level
Beginner
Comments
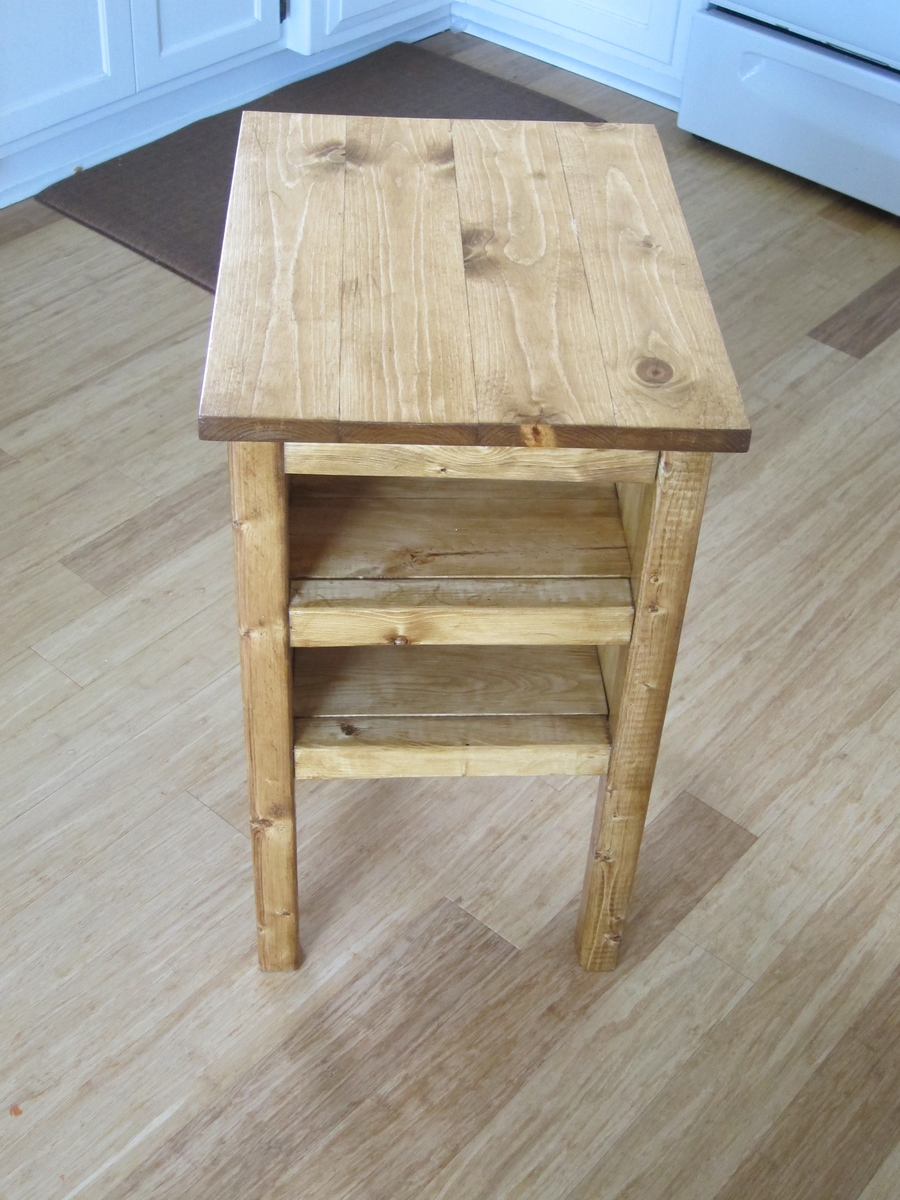
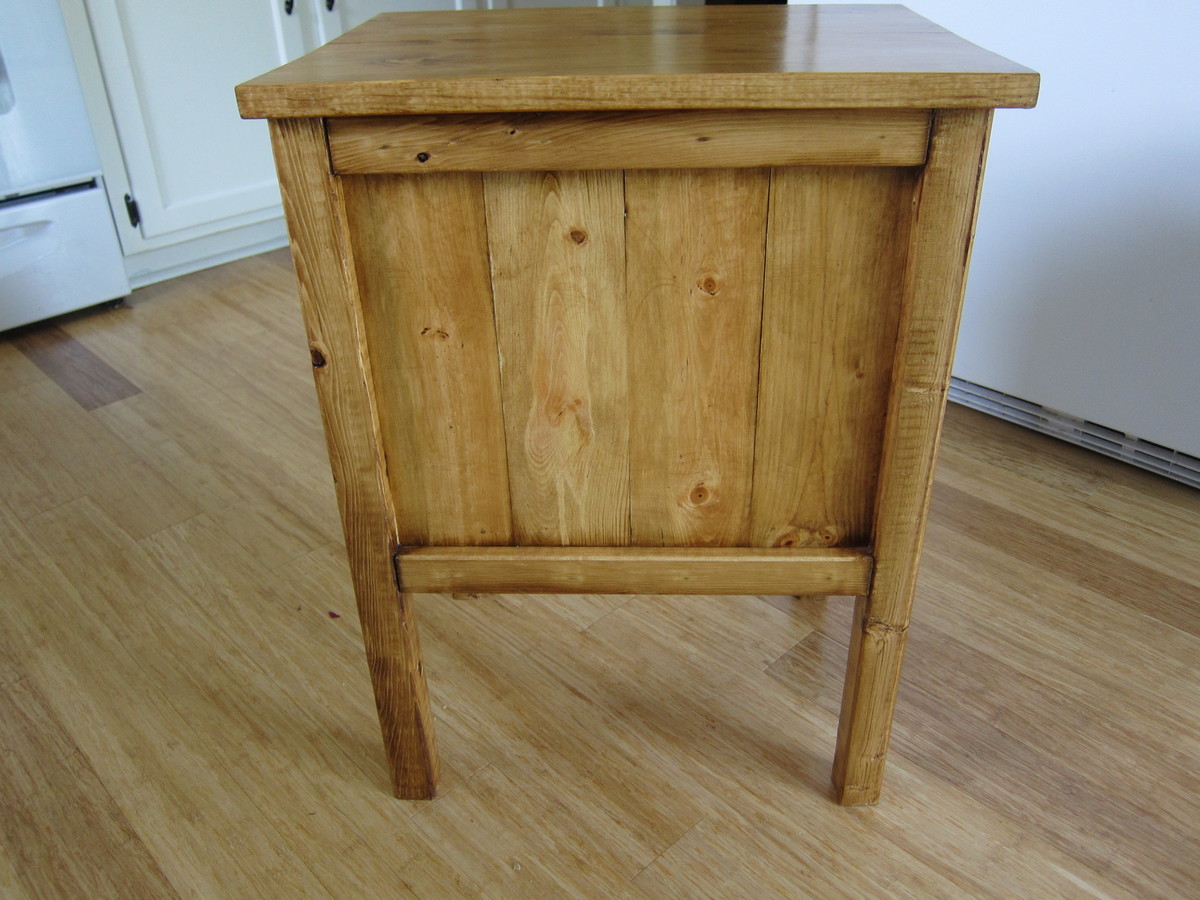
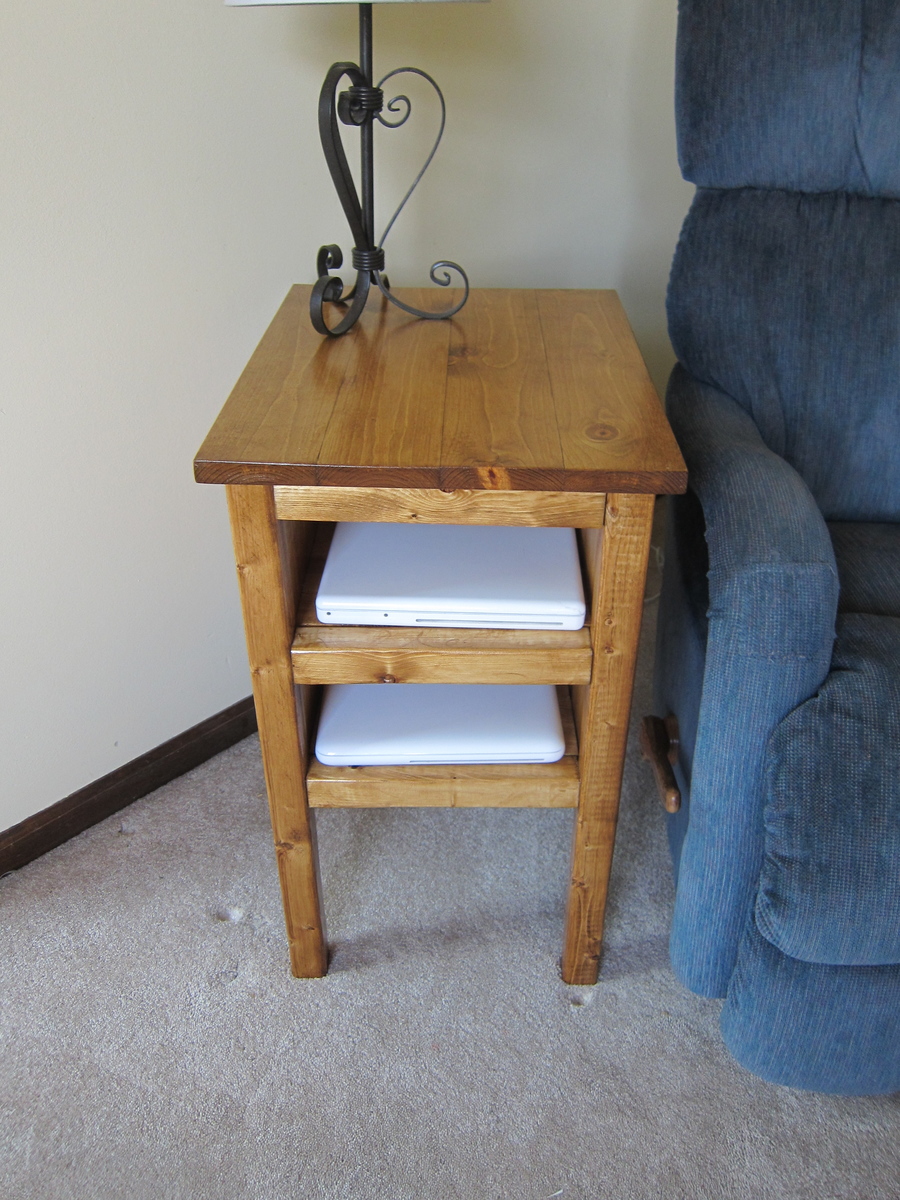
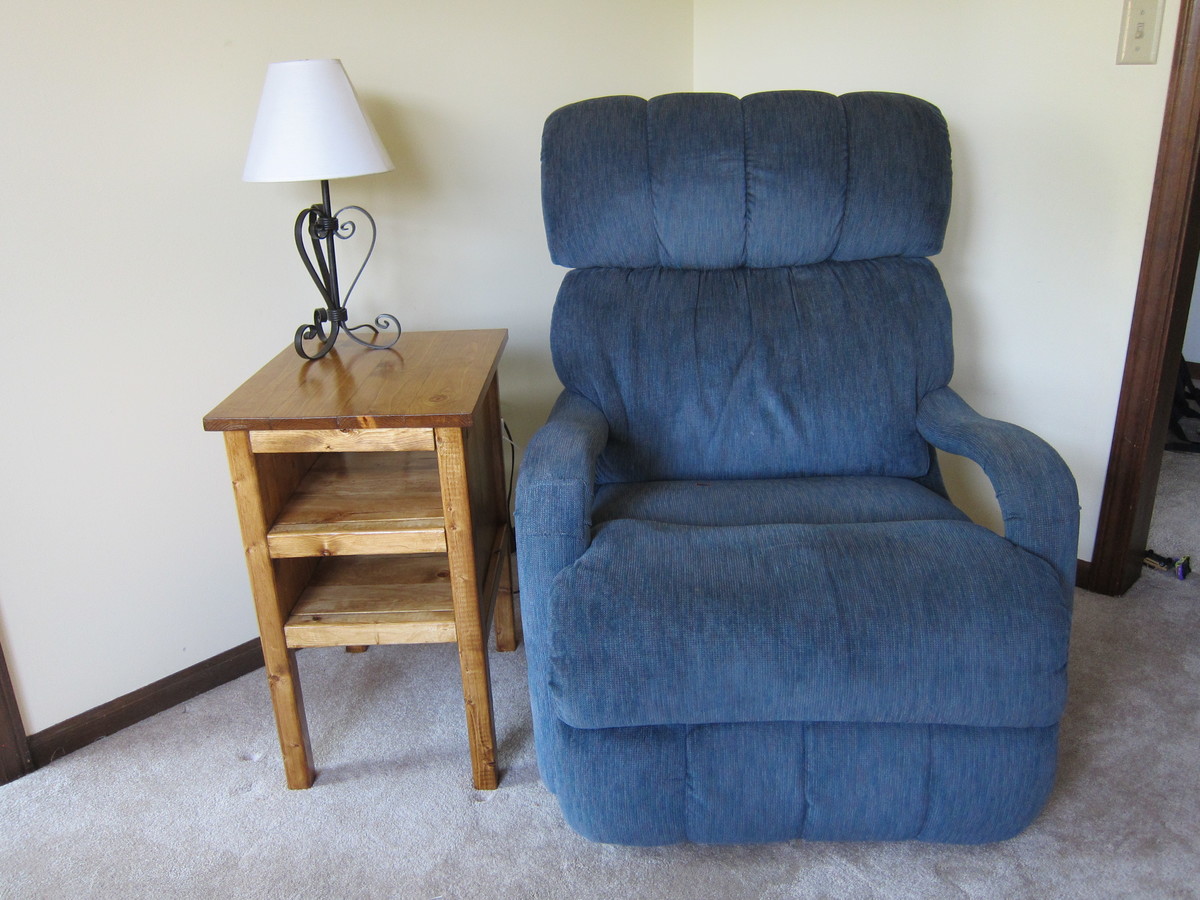
"Tidy Up" End Table
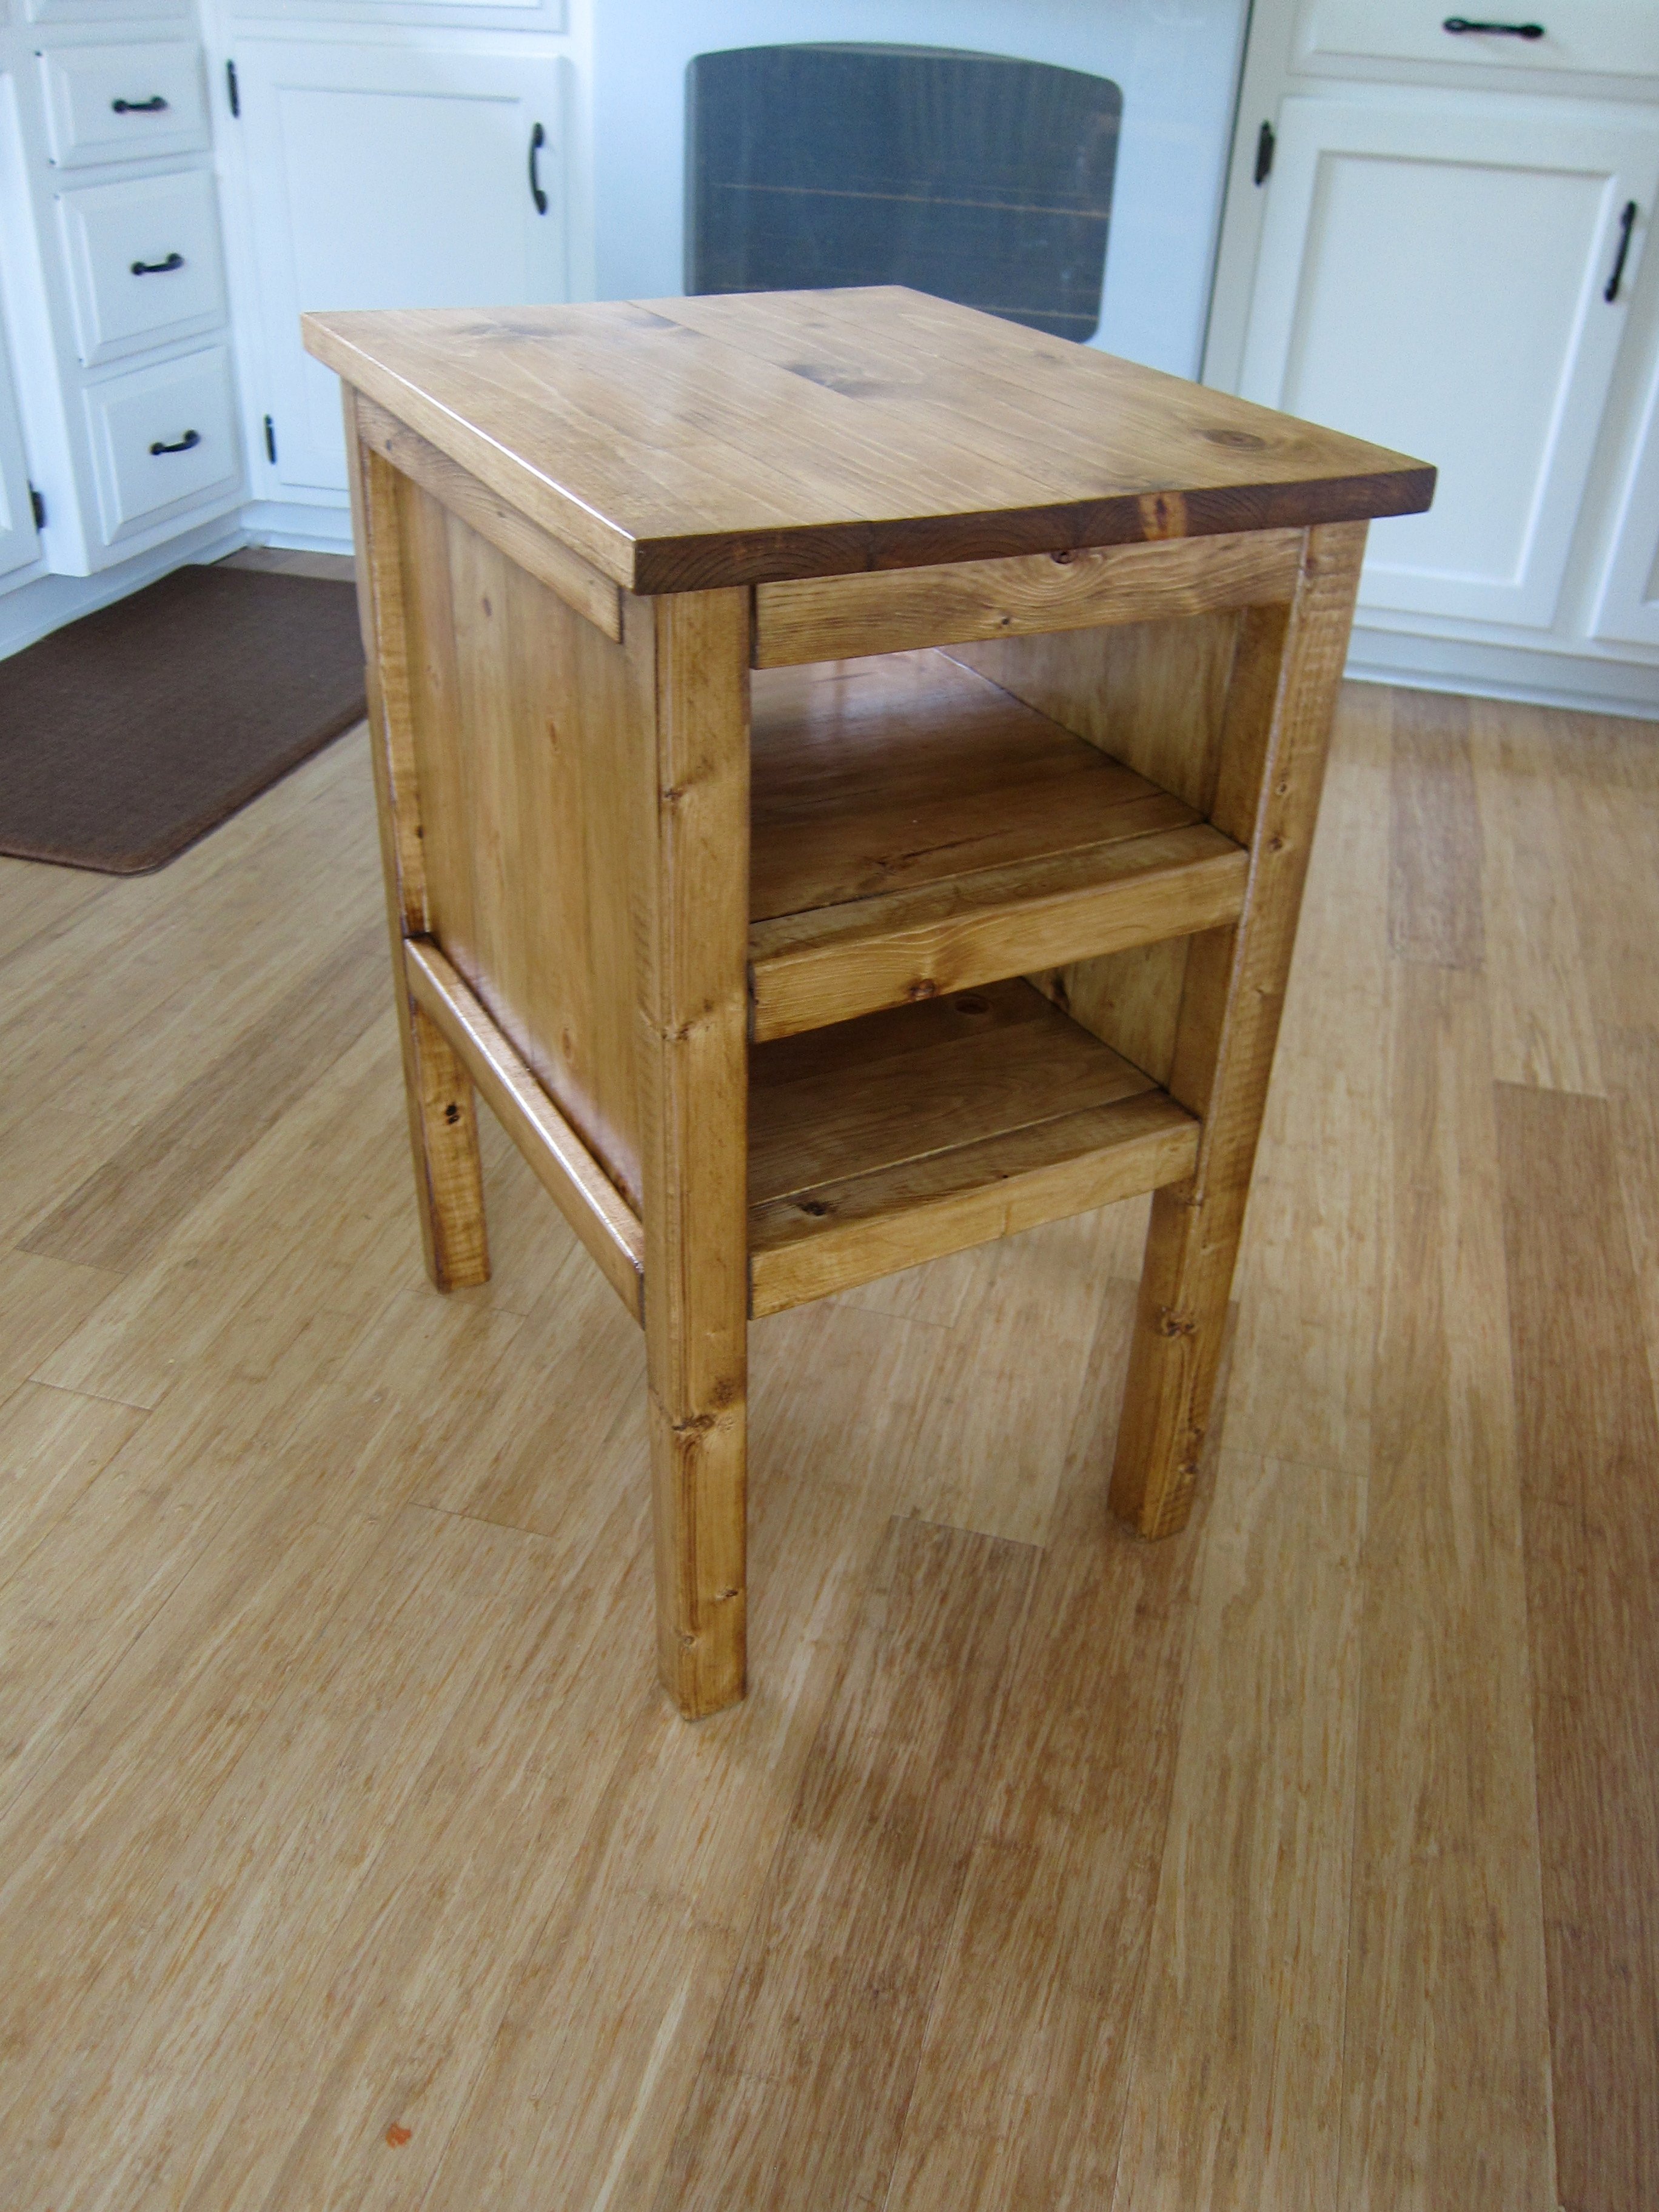
This is a variation on the tidy up end table. The dimensions for the tidy up end table were too big for my space, so I made it a little smaller and added an extra shelf to store our laptop computers. This makes it easier to charge our laptops and keep them out of the way. It took me a little longer than it should have because I had a 3 year old and a 5 year old "helping" me.
Built from Plan(s)
Estimated Cost
$25
Estimated Time Investment
Day Project (6-9 Hours)
Finish Used
Minwax Golden Oak. Then 3 coats of minwax waterbased semi-gloss finish.
Recommended Skill Level
Beginner
Comments

Thu, 11/14/2013 - 21:33
End Table Variation
What a good idea, adding an extra shelf to tuck the laptops away for charging! Looks great!
Val
artsybuildinglady.blogspot.ca
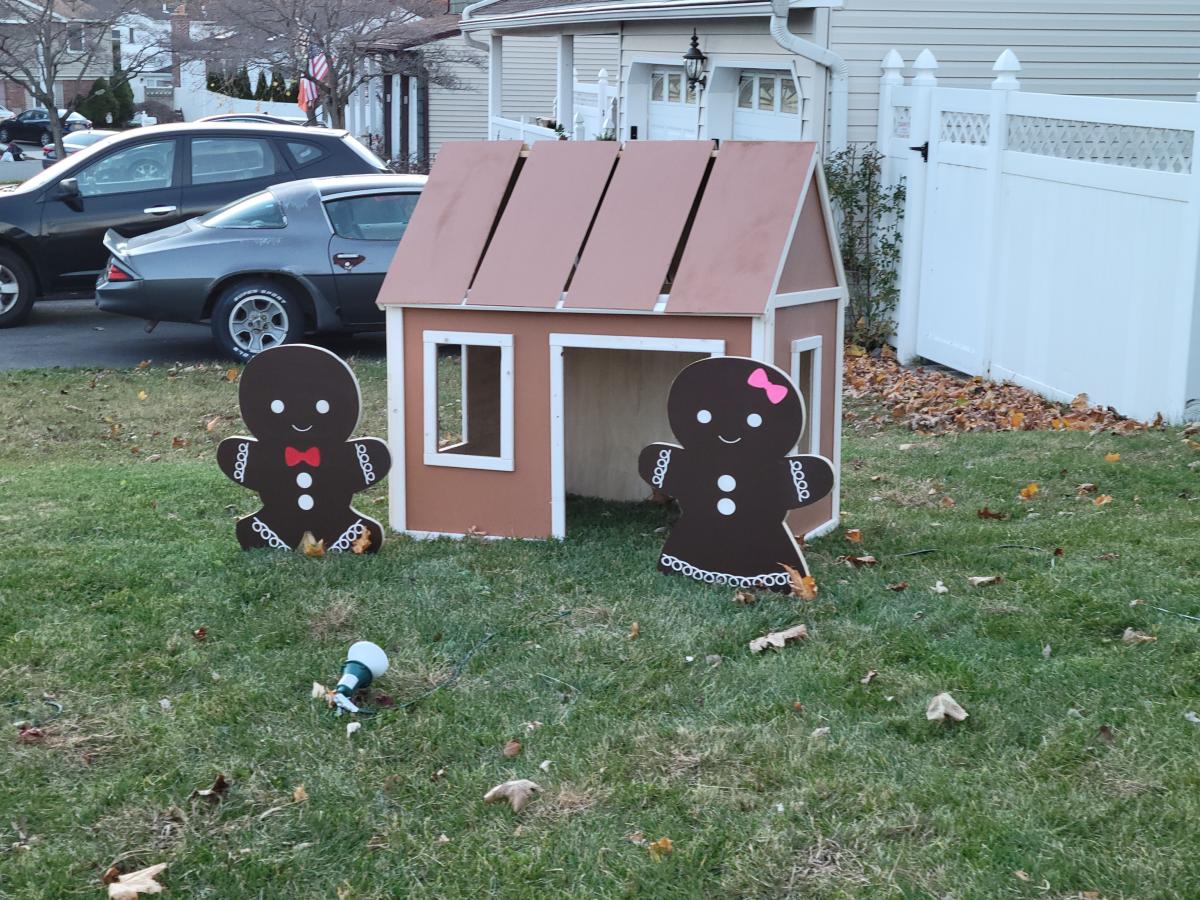
Gingerbread House
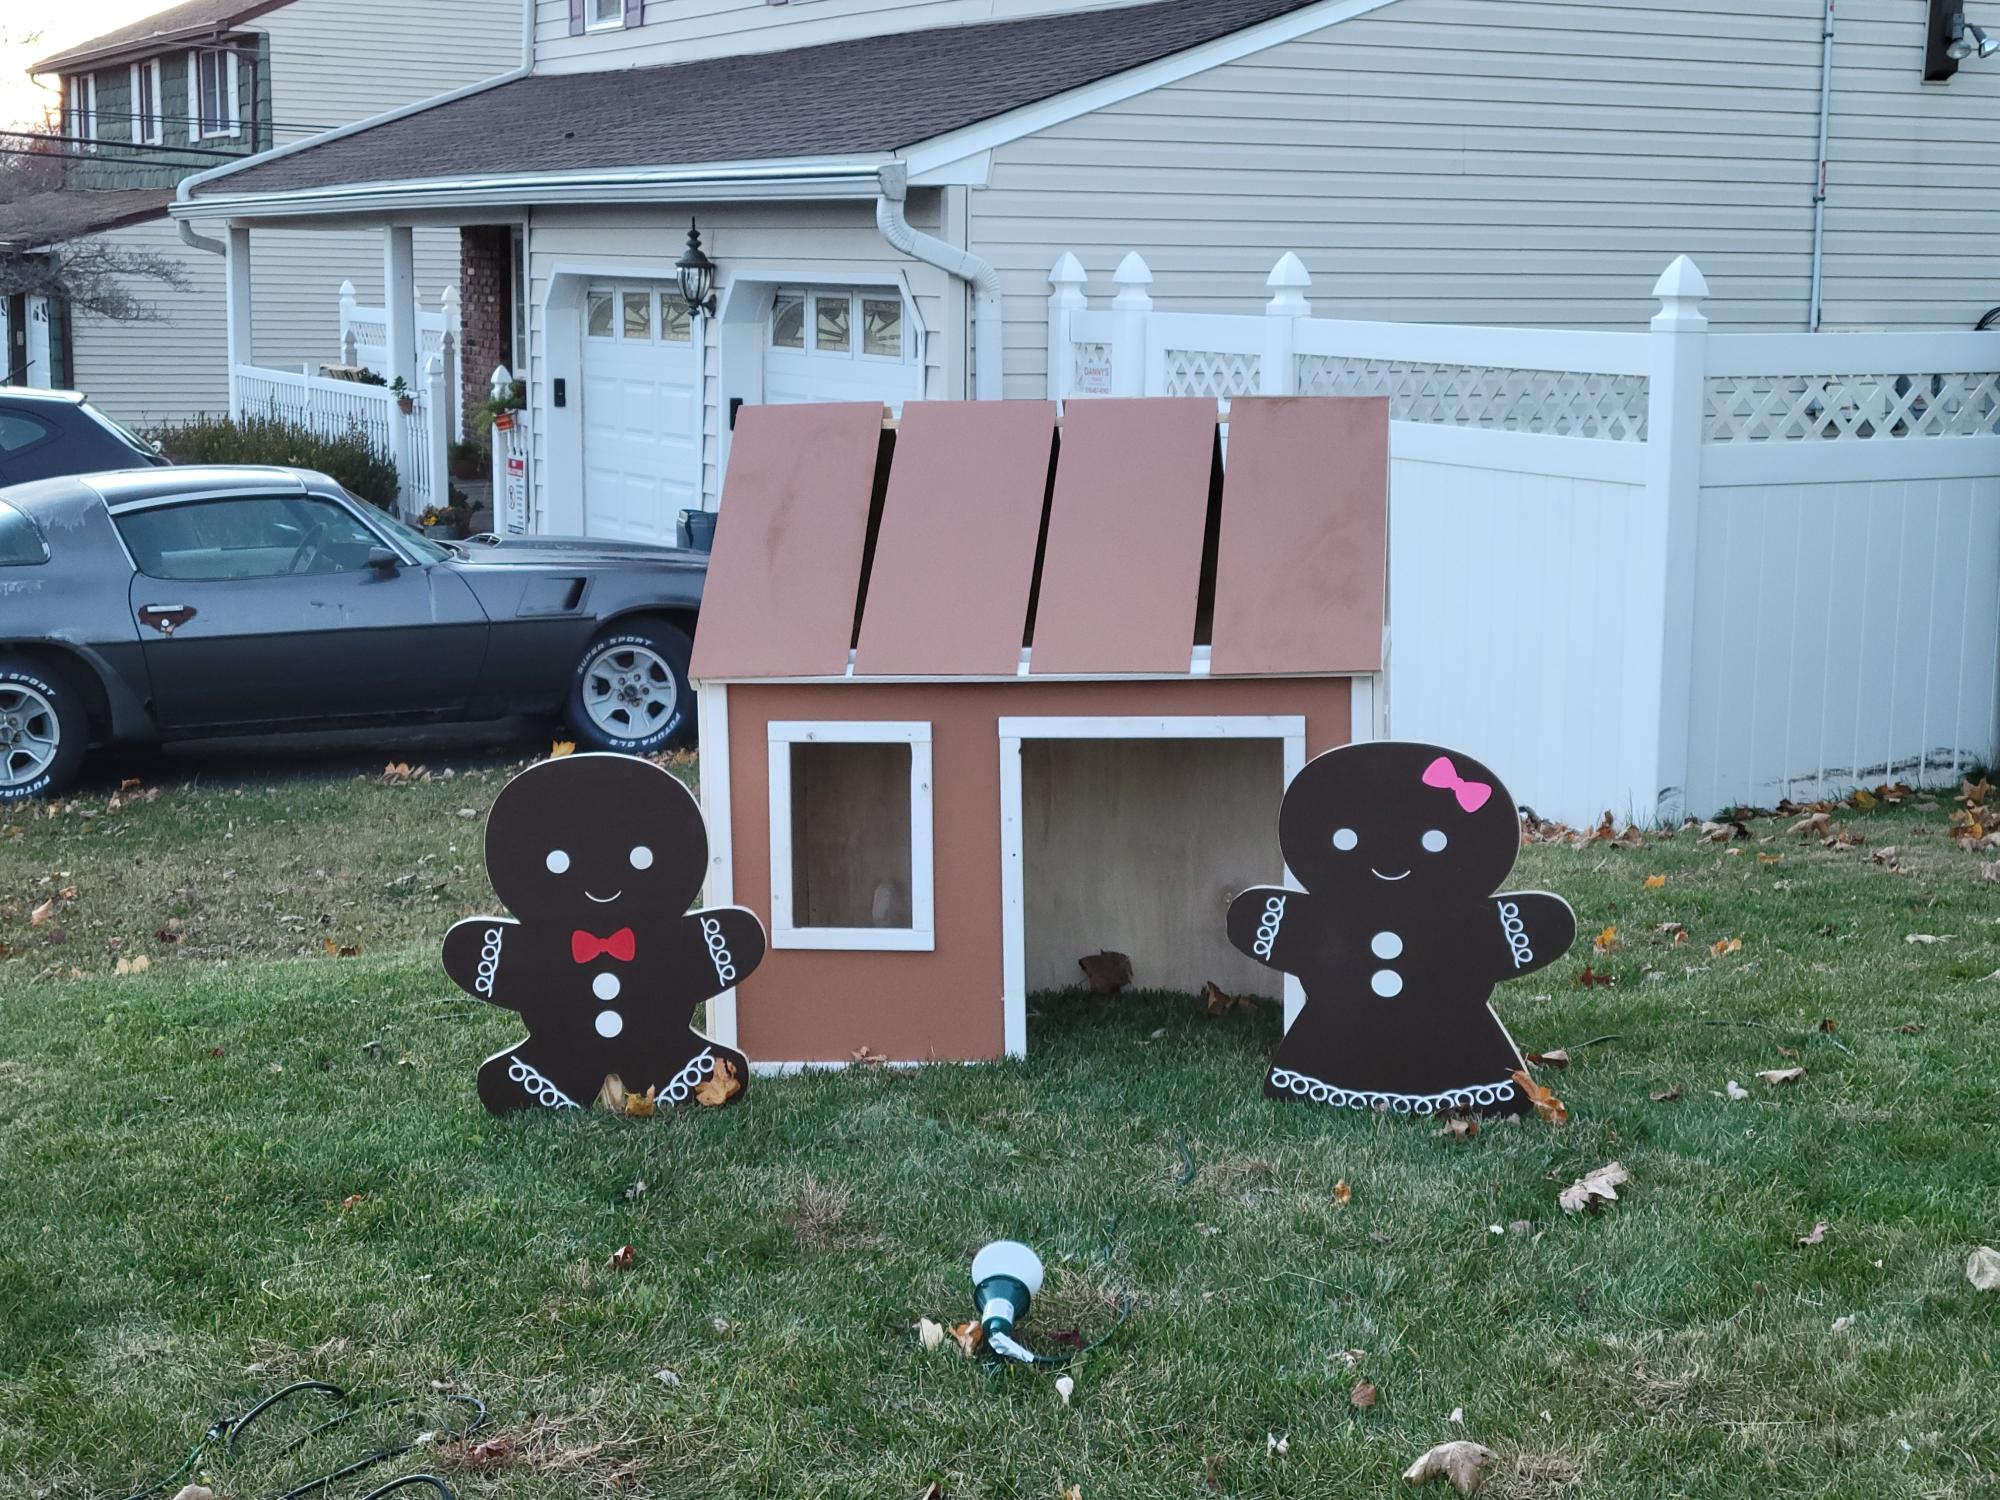
My take on the farmhouse indoor playhouse. Added to my Christmas lawn display. Plan on adding some lights, cutouts for the inside, and candy decorations. Followed the plans as written. No problems. Great plans.
Built from Plan(s)
Comments
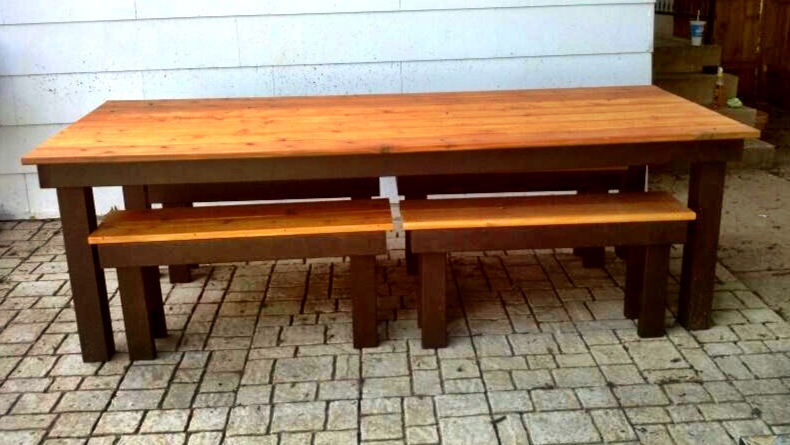
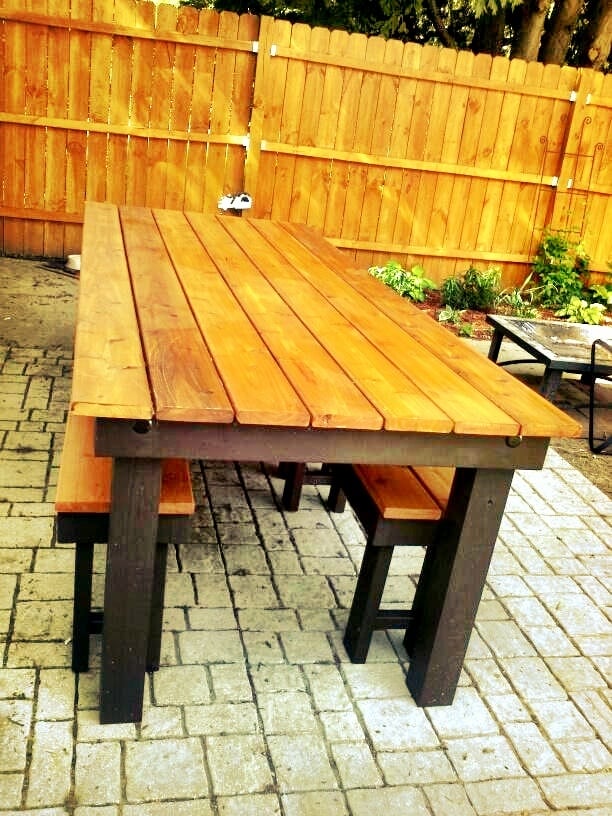
Modified rustic table and benches
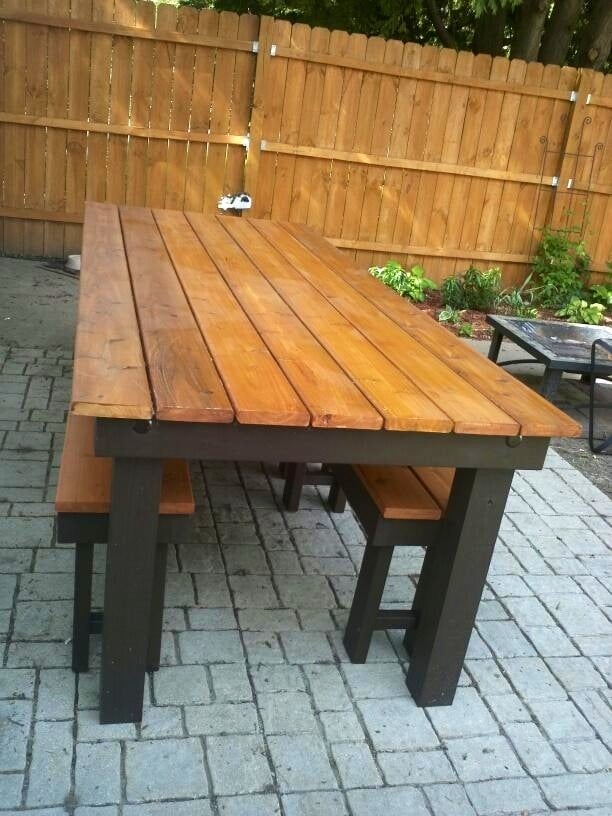
We built this table for my brother and new wife's wedding present. We modified it to use as an outdoor dining set. Instead of using the 1x10 for the tabletop we used 2x6's and for the legs we used 4x4's. We attached the top boards with a Camo fastening system we used last year on our deck (works great to conceal the screws). I stained the frame in Behr Cordovan Brown and the top boards in Behr Cedar Naturaltone. It was our first attempt at building a table and I think it turned out great, only problem was giving it away!
Built from Plan(s)
Estimated Cost
$300
Estimated Time Investment
Week Long Project (20 Hours or More)
Finish Used
Behr cordovan brown stain and Behr natural cedartone
Recommended Skill Level
Beginner
Comments
Mon, 06/17/2013 - 10:57
Very nice! I'd been
Very nice! I'd been considering this plan for my outdoor table, but my husband liked the modern farm table better. Same idea--I am leaving gaps to allow the water to drain. Love the two-tone finish! It's amazing what you can do with plain old 2 x 6s!
Leaning Ladder over toilet shelf
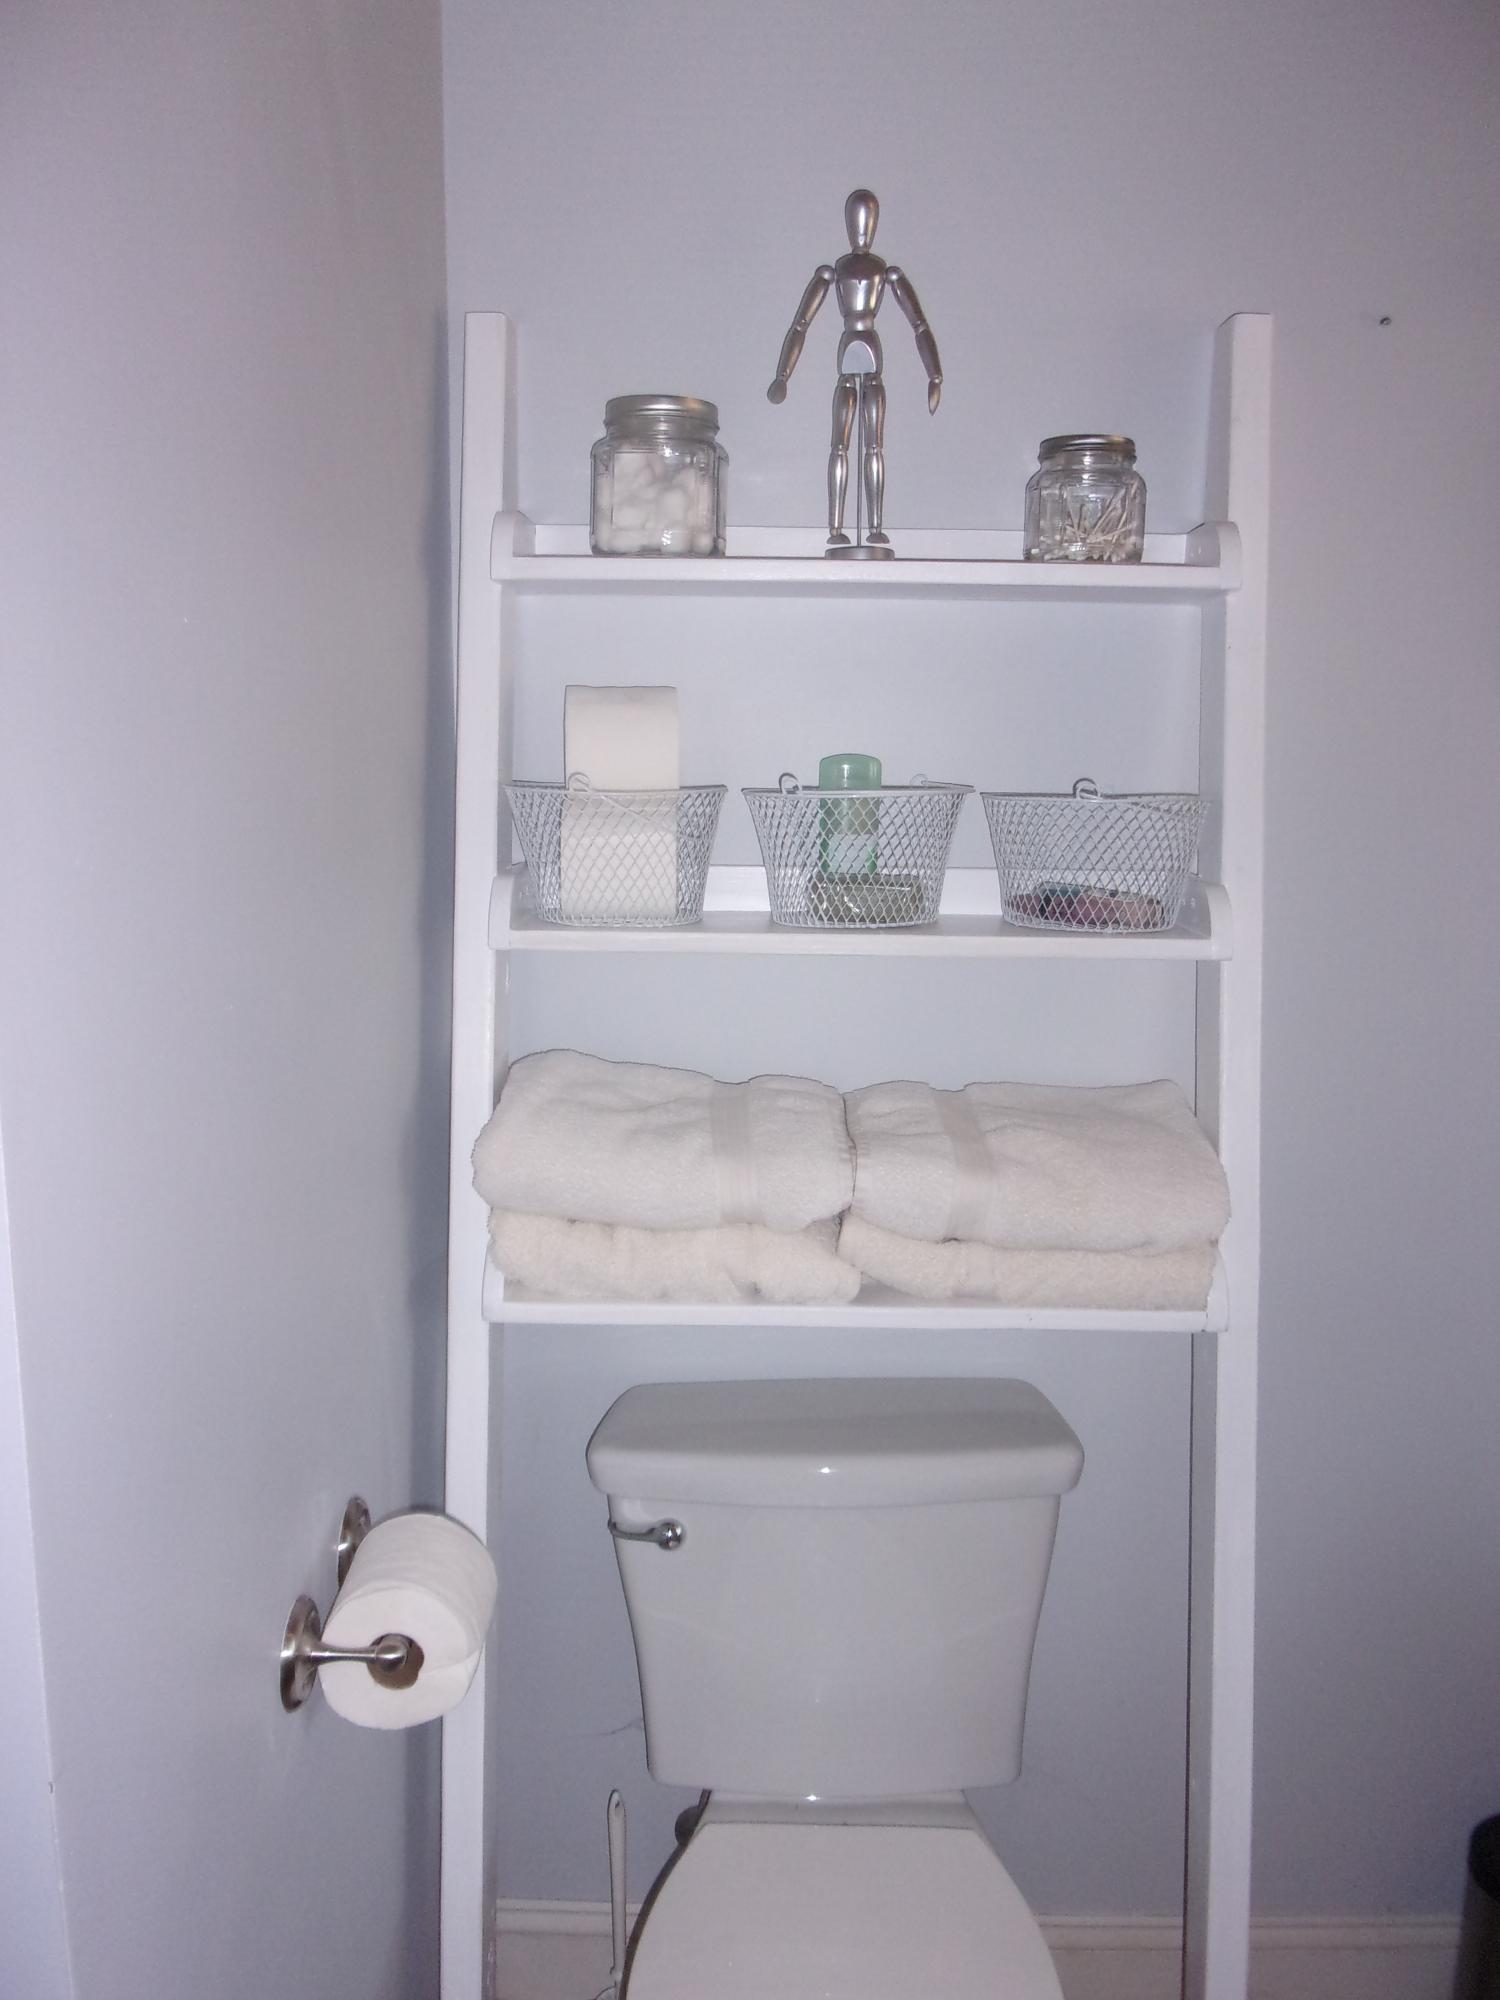
Built this for one of my children for Christmas!
Built from Plan(s)
Estimated Time Investment
Afternoon Project (3-6 Hours)
Finish Used
Primer and semi-gloss white paint
Recommended Skill Level
Beginner
Butcher Block Table

My own take on this build:
https://www.ana-white.com/community-projects/butcher-block-kitchen-isla…
I used a pre-made butcher block top from Home Depot. I did have to cut it down to 2ft by 3ft
Legs were premade from tablelegs.com. I wanted solid legs and didn't want the hassle of shopping fo 3 inch thick lumber.
Drawer is Tiger Maple with plywood bottom, and the rest of it is Hard Maple.
I made a high speed style build video here-
https://youtu.be/iS5wN_CUrEk


Comments
Rustic Modern Hall Tree
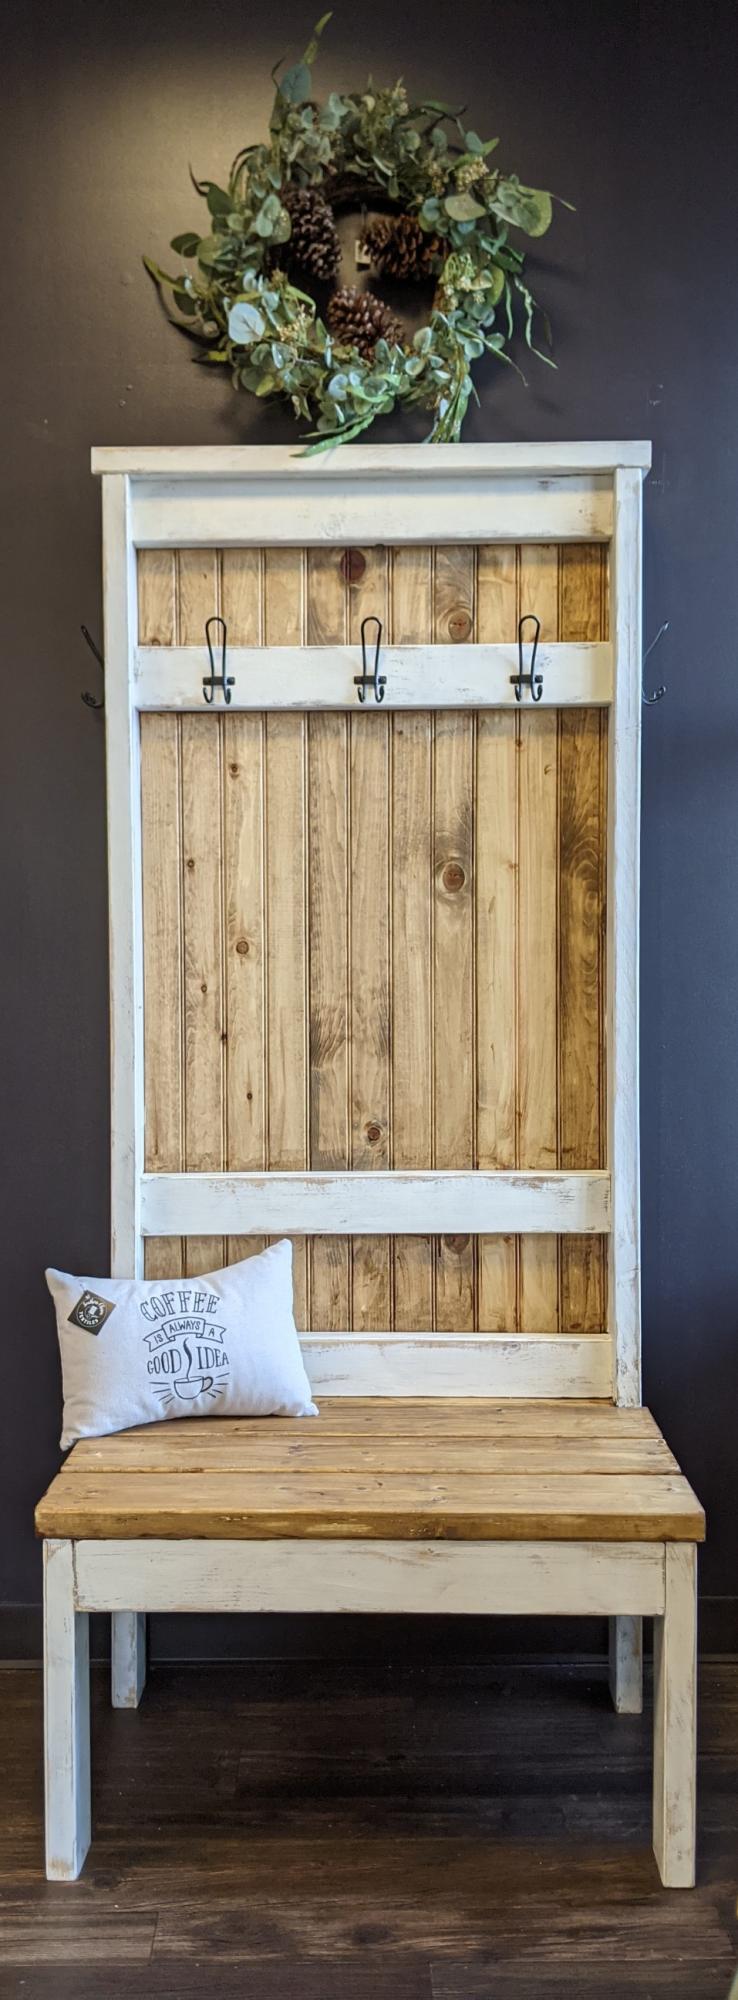
I made this slightly smaller version of Ana’s Hall Tree to fit smaller spaces. I added beadboard to the back to put an added farmhouse touch. Finished in Golden Oak and white.
Built from Plan(s)
Comments
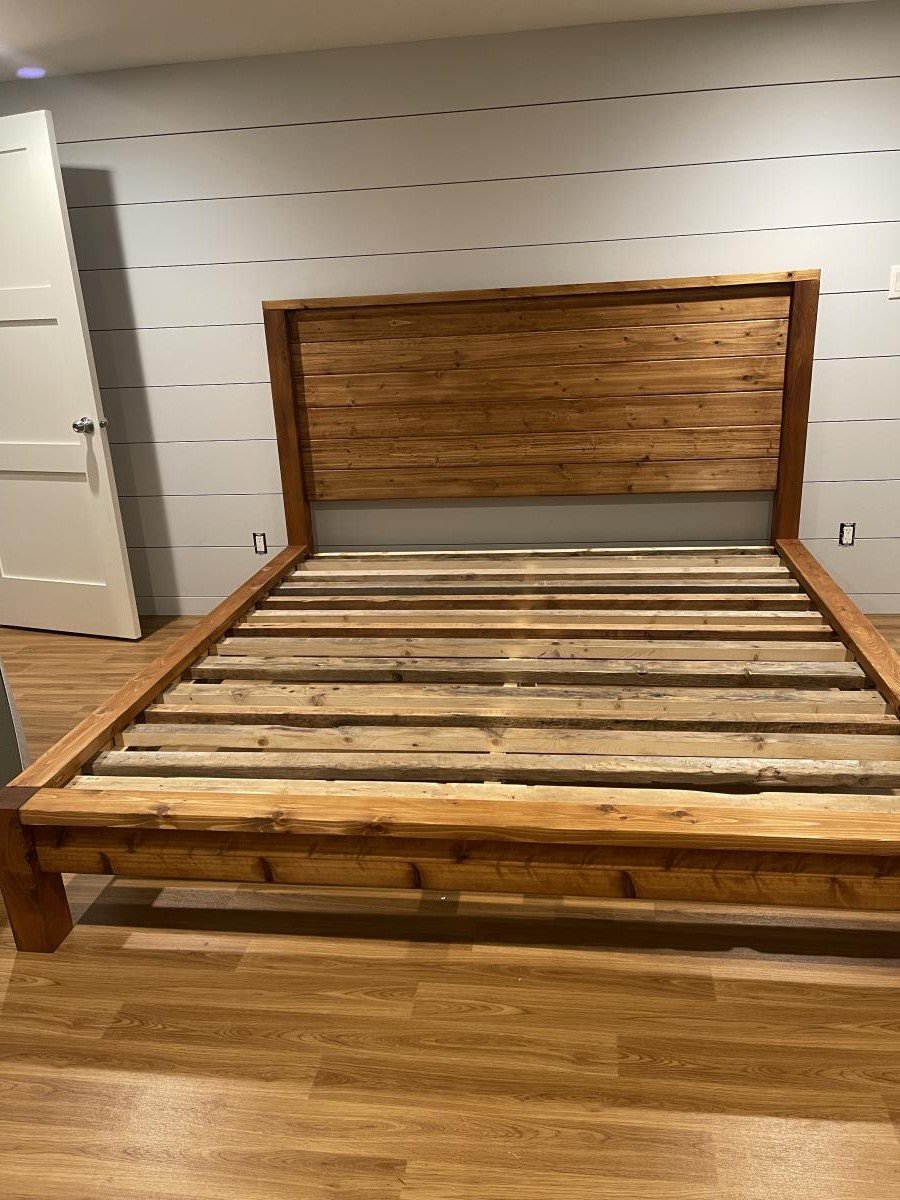
Modern Farmhouse Bed Frame
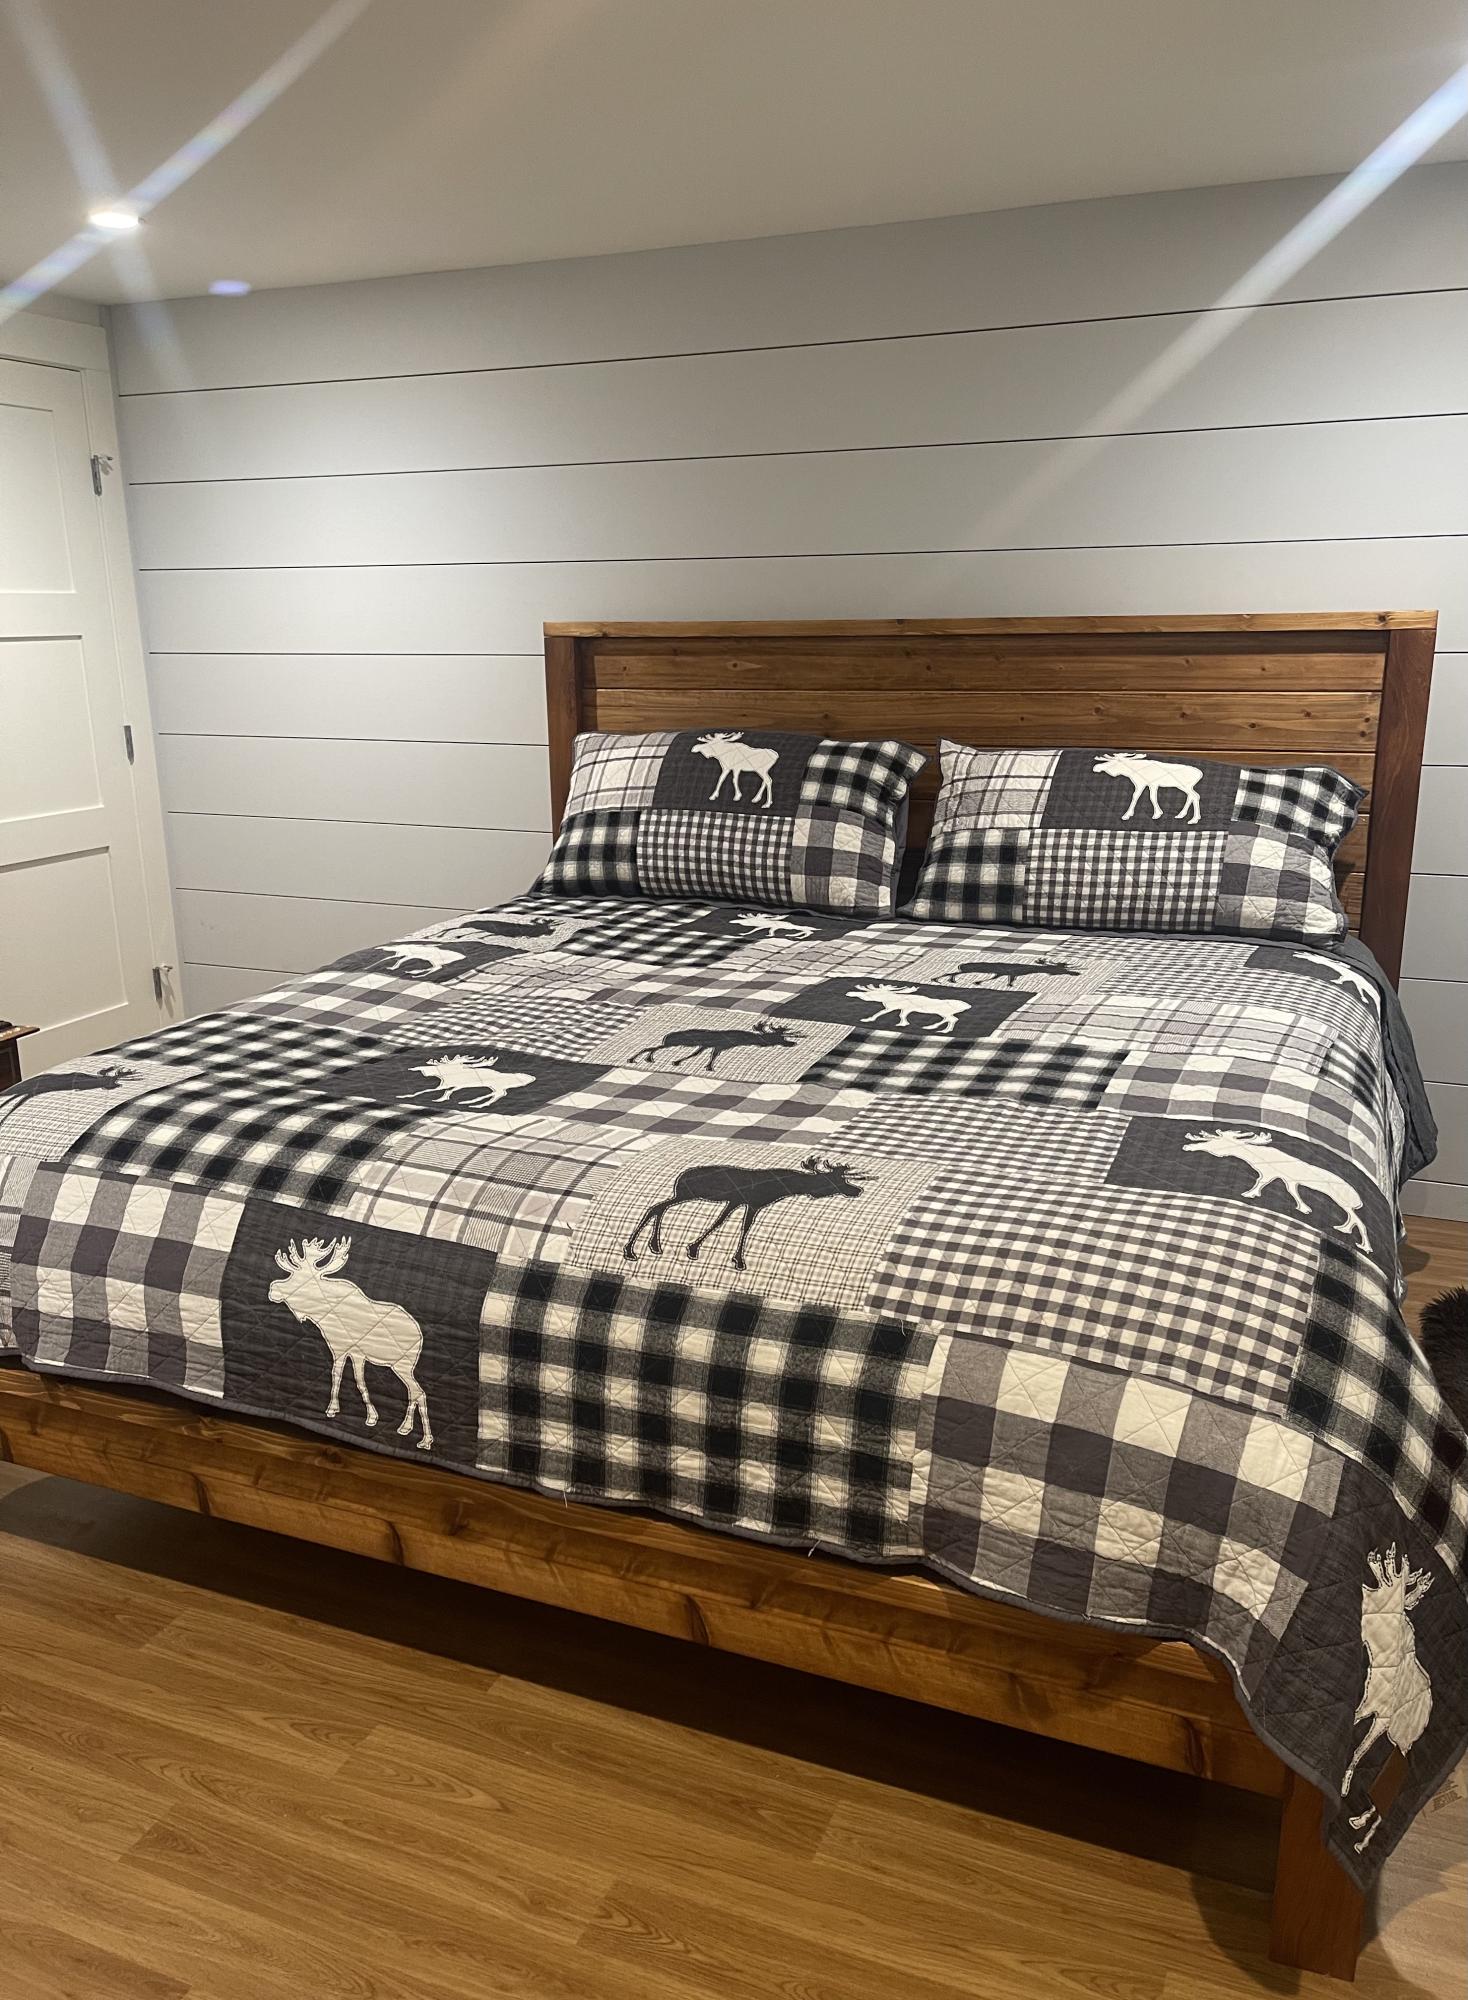
I love how this bed frame turned out! Everywhere that has stain is cedar and the rest is all scrap spruce. Thanks for another great plan Ana!
Built from Plan(s)
Comments
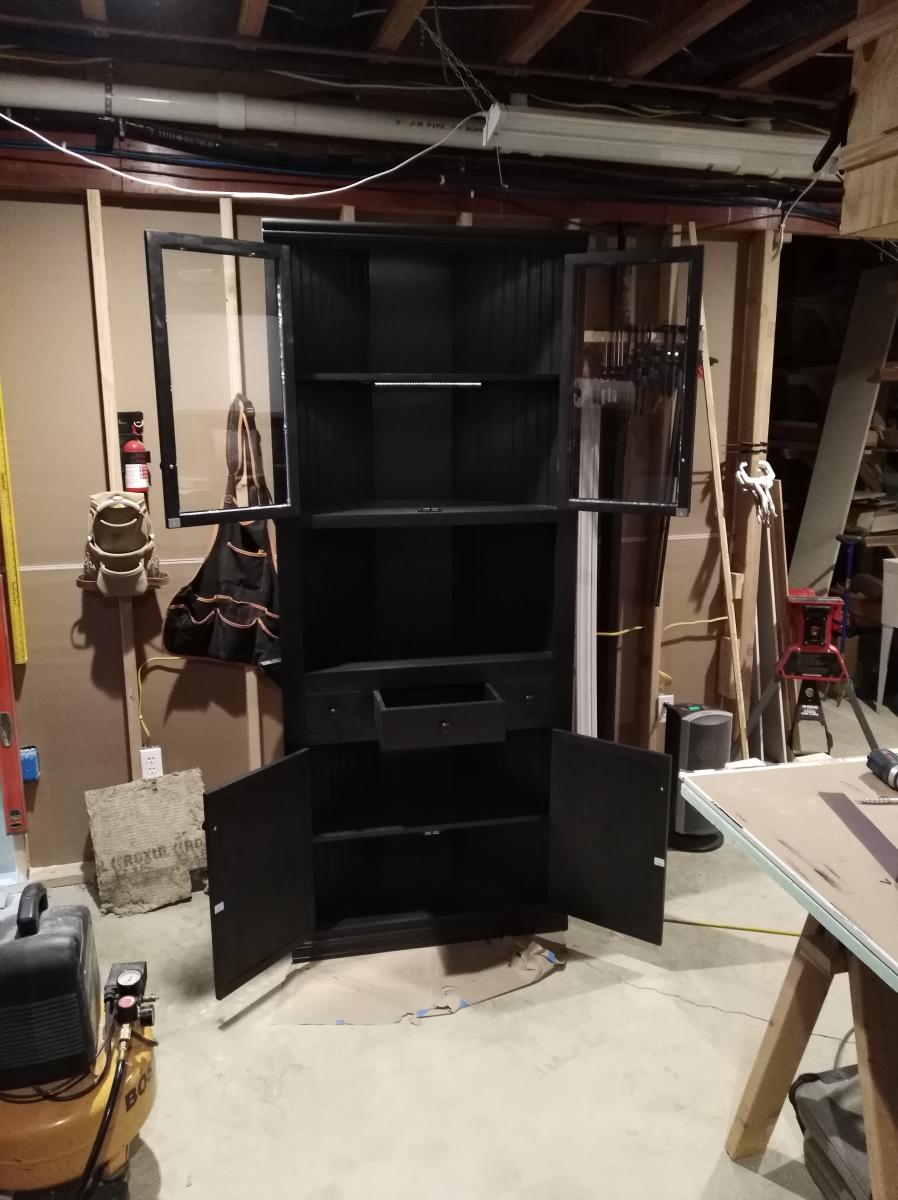
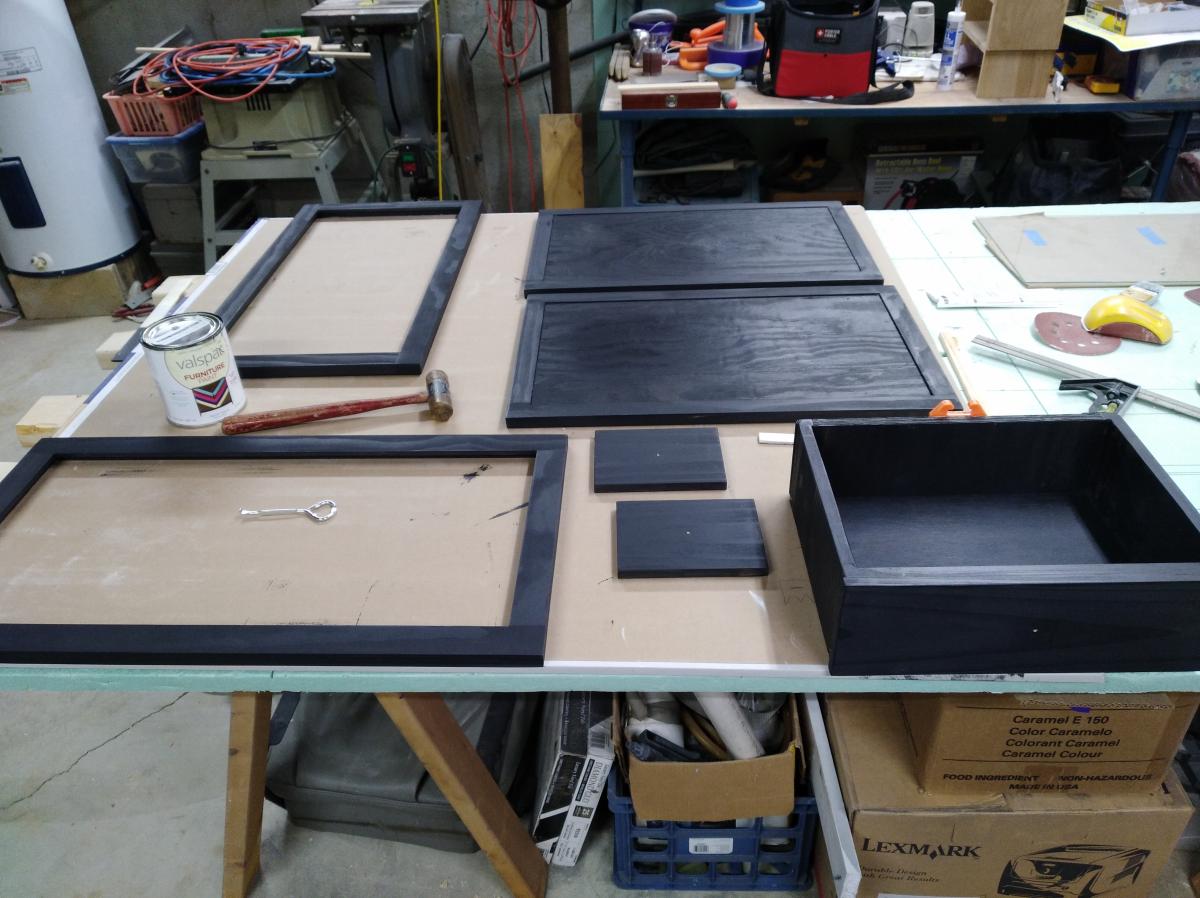
Slightly modified corner cupboard
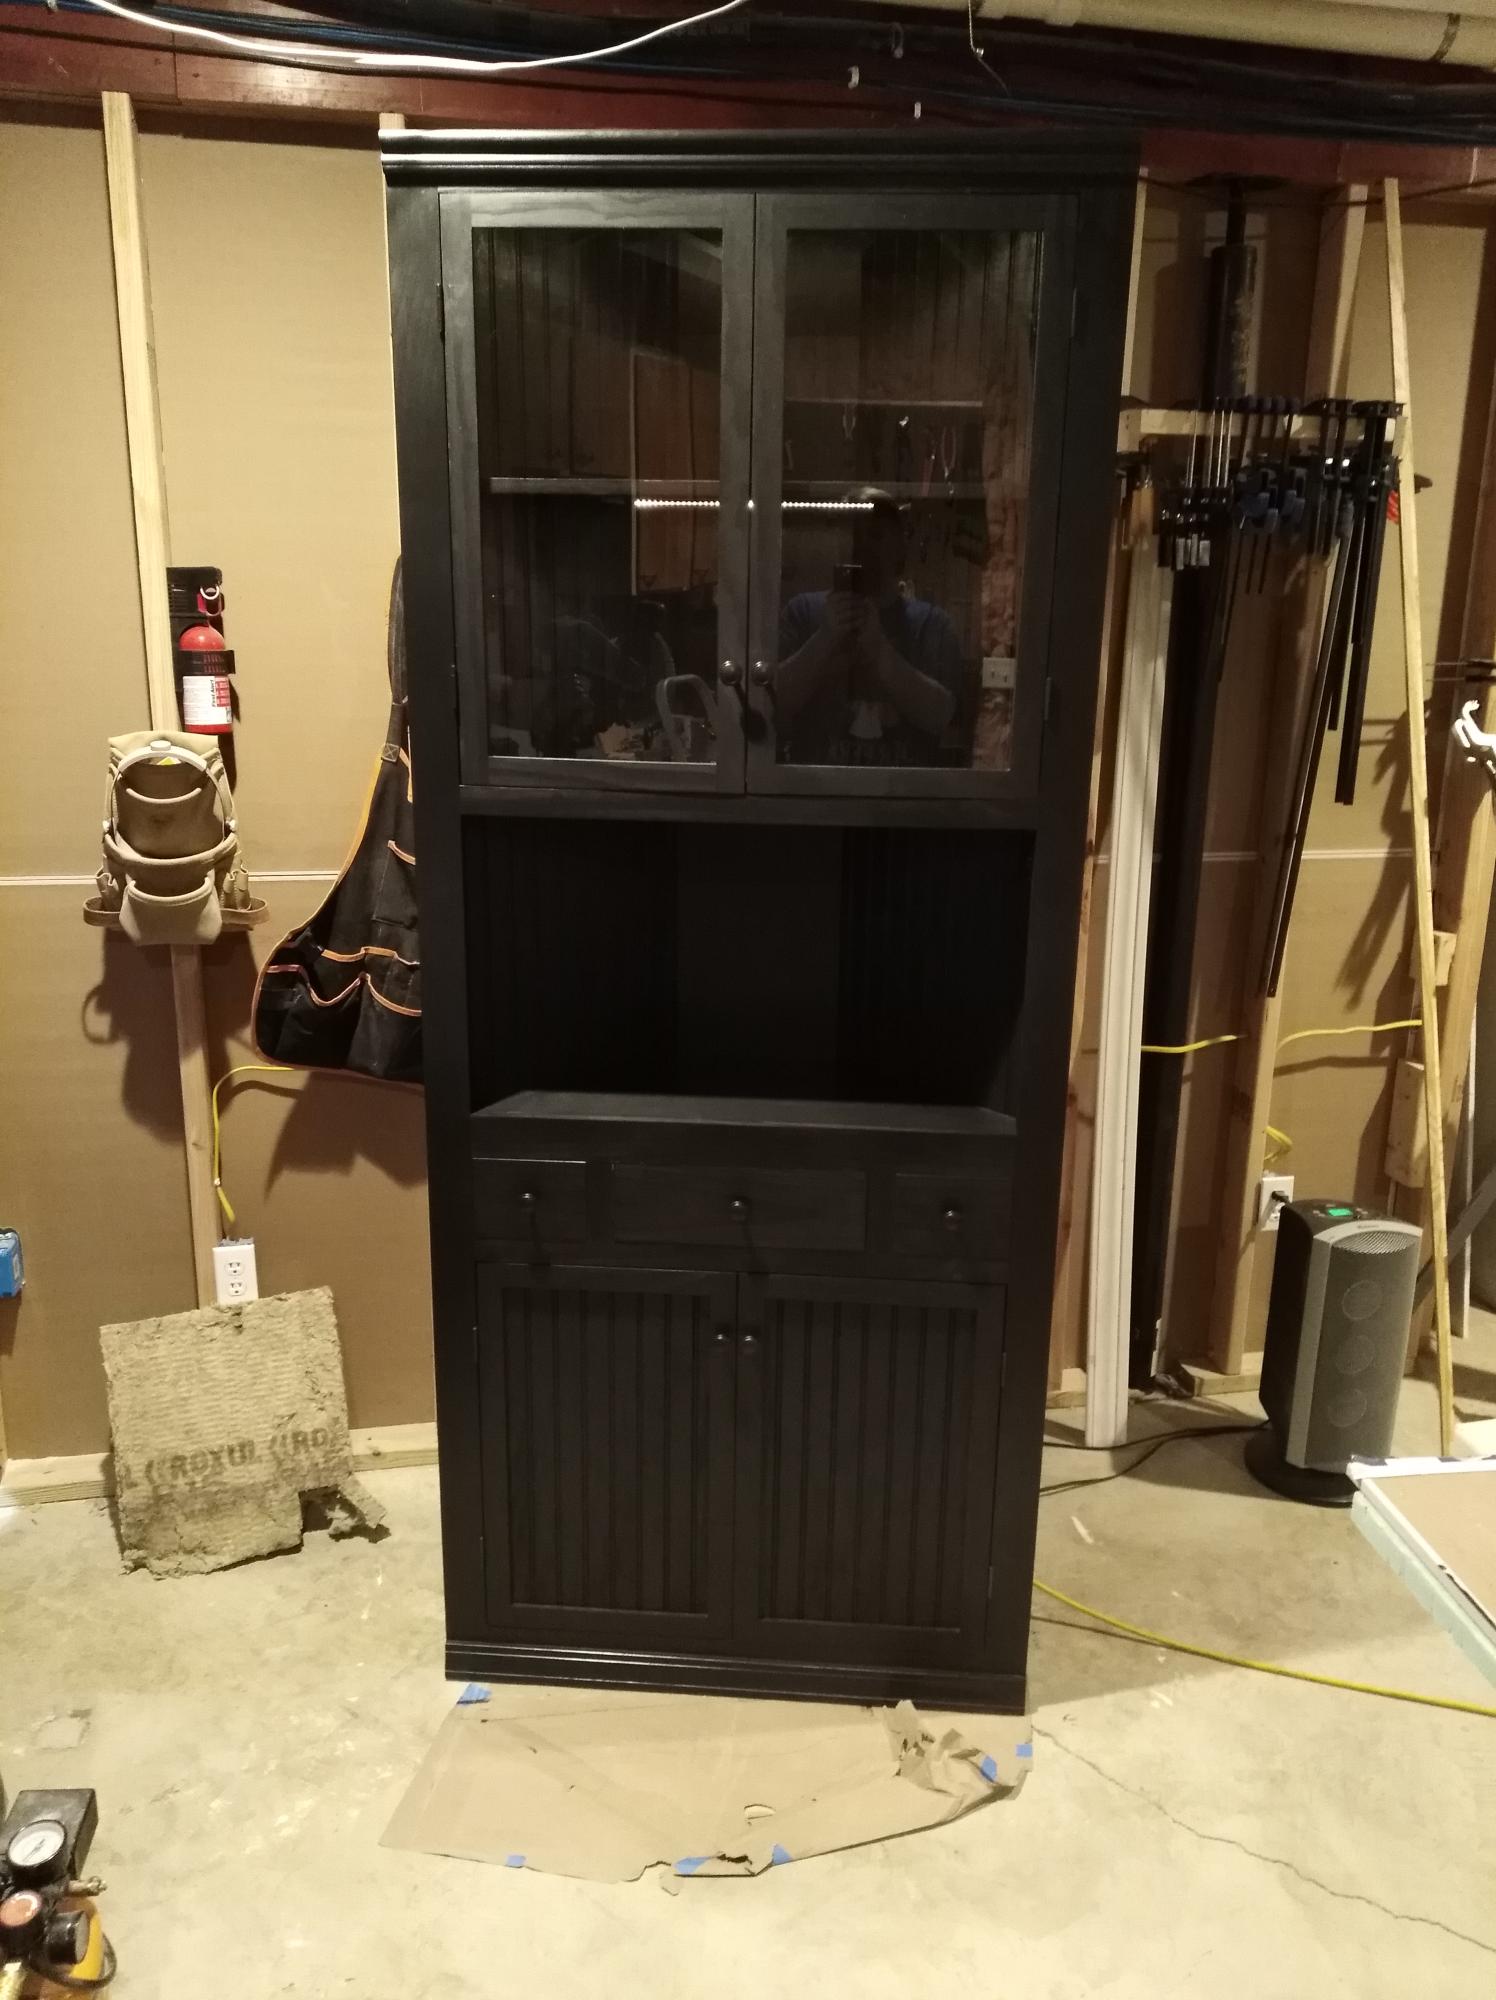
My wife worked with a lady that wanted an extra tall corner hutch. She couldn't find one that would fit her requirements that was also within her budget. Naturally I got volunteered to make it since I'm pretty handy. It stands 7 feet tall. The shelving is made from birch plywood. She wanted a drawer in the middle and glass doors on top with lighting. Personally I would have chosen a lighter color but she wanted all black.


Built from Plan(s)
Comments
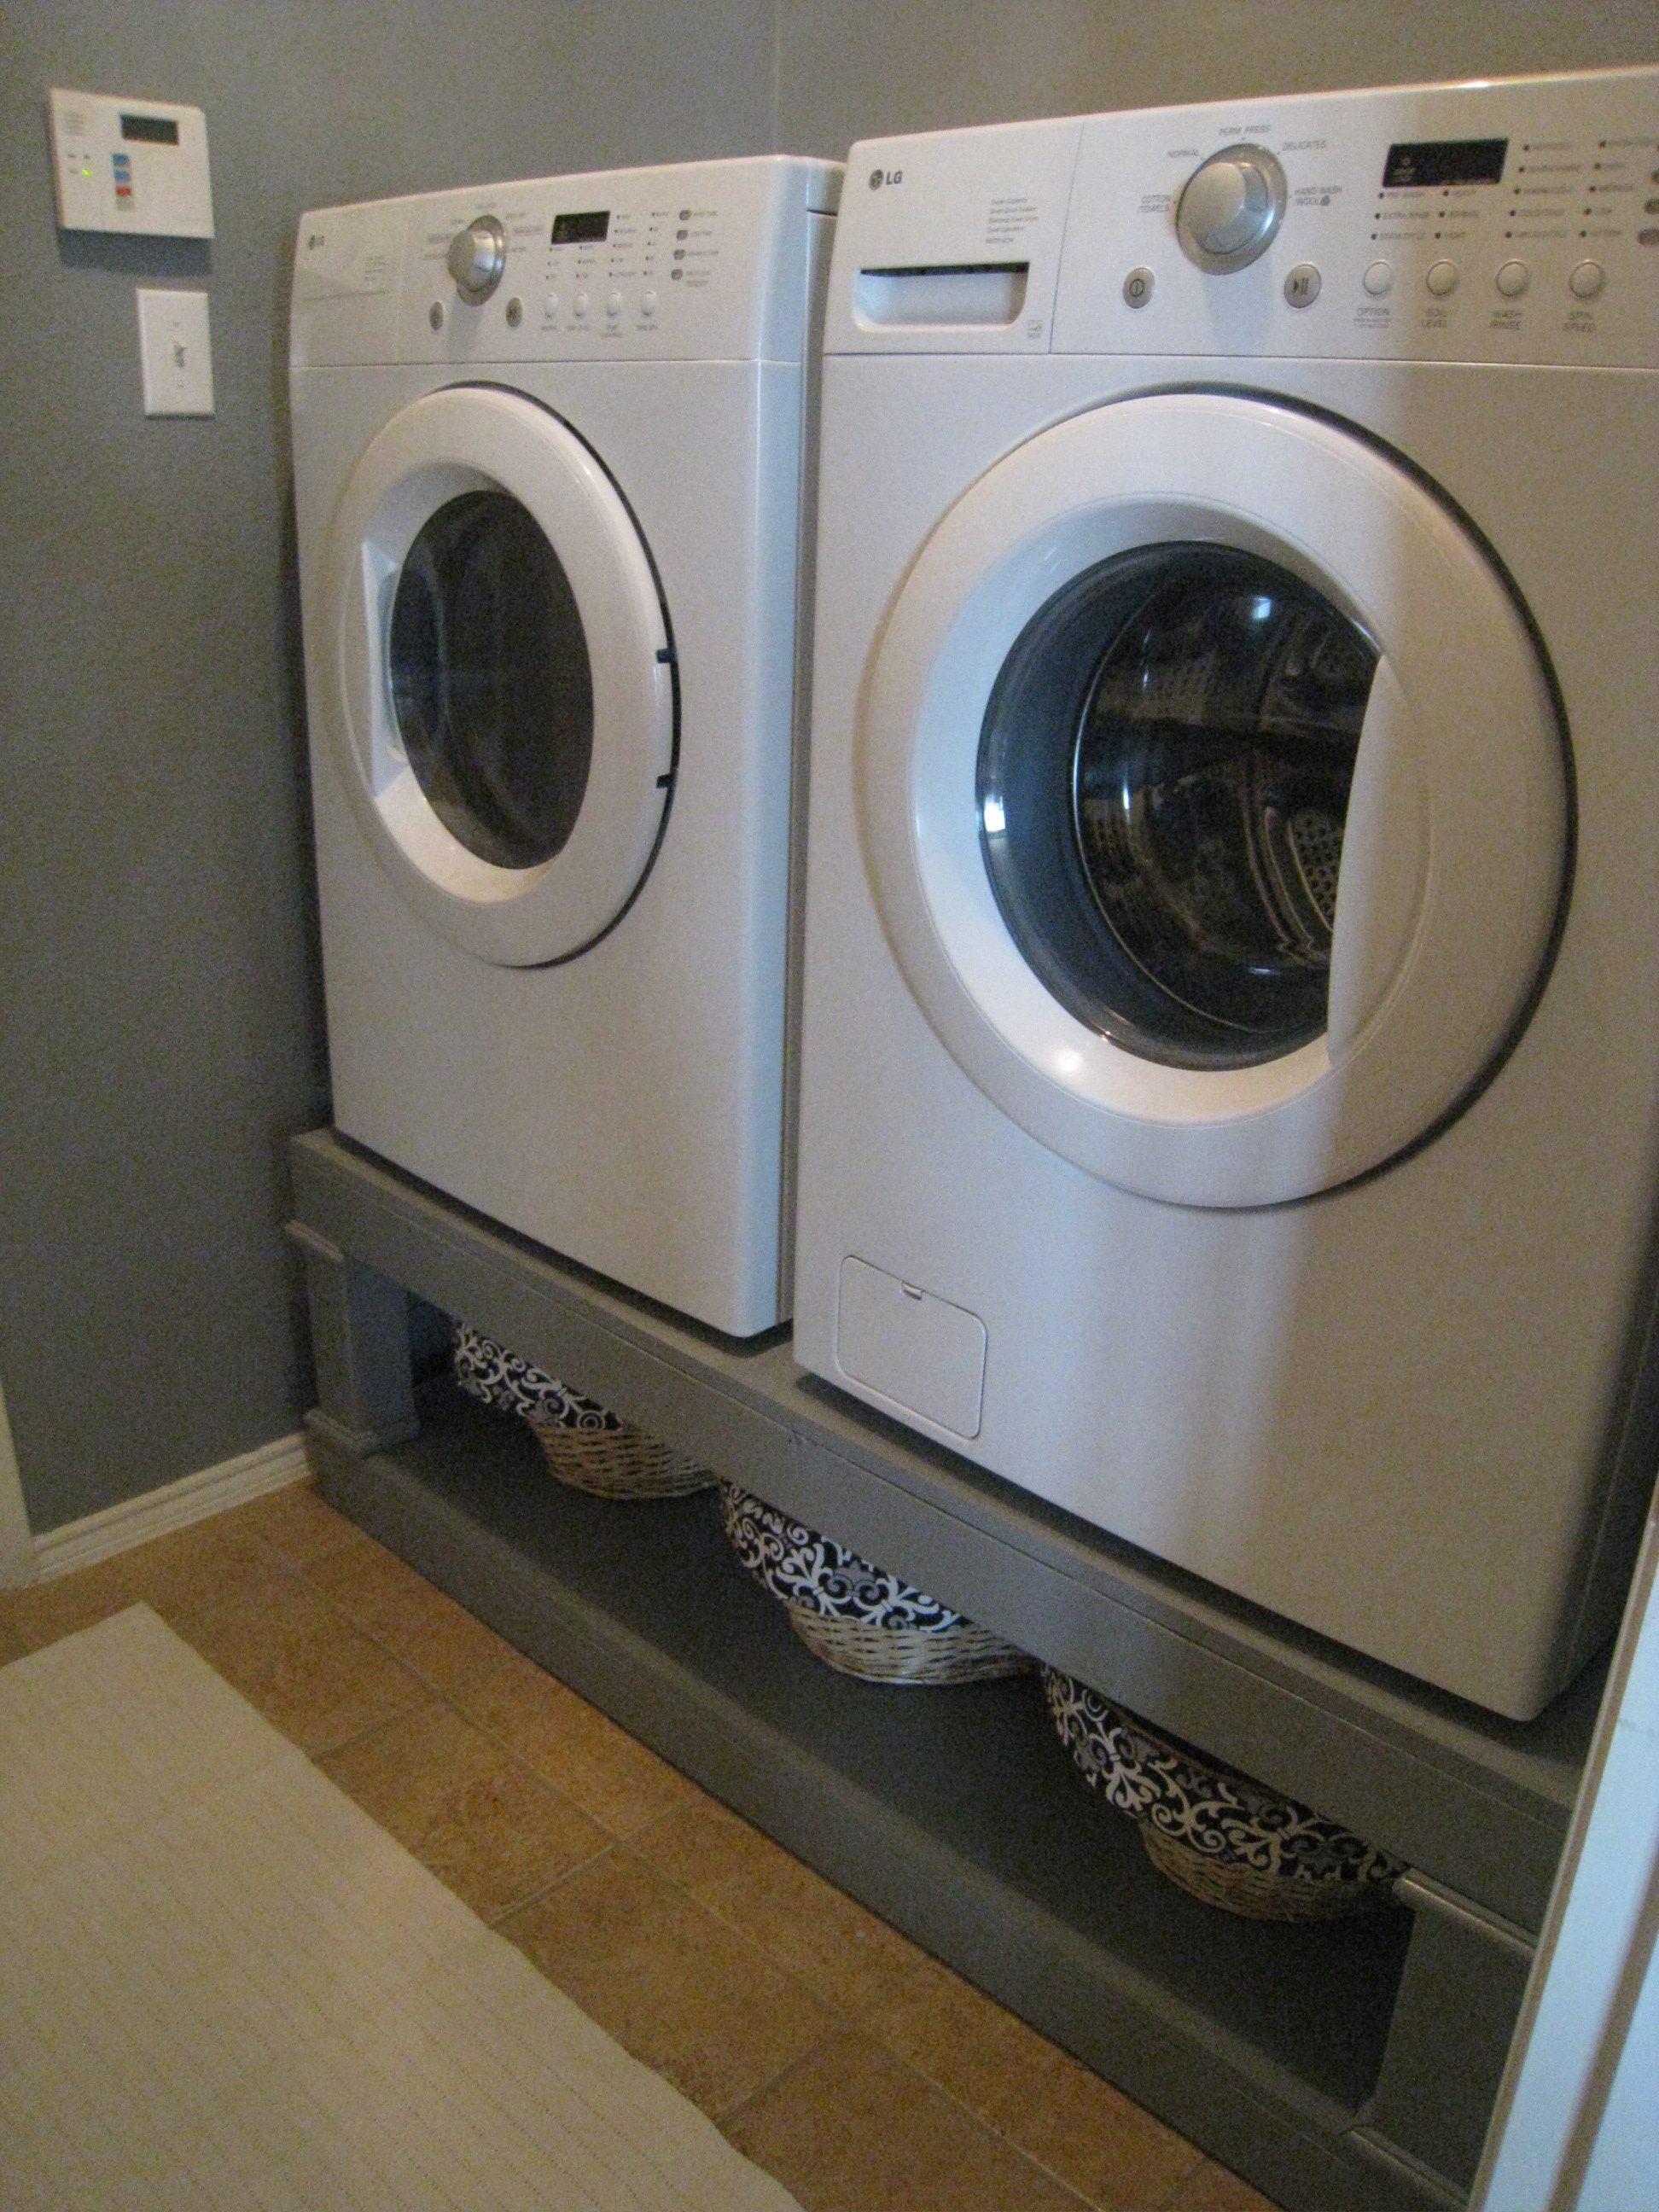
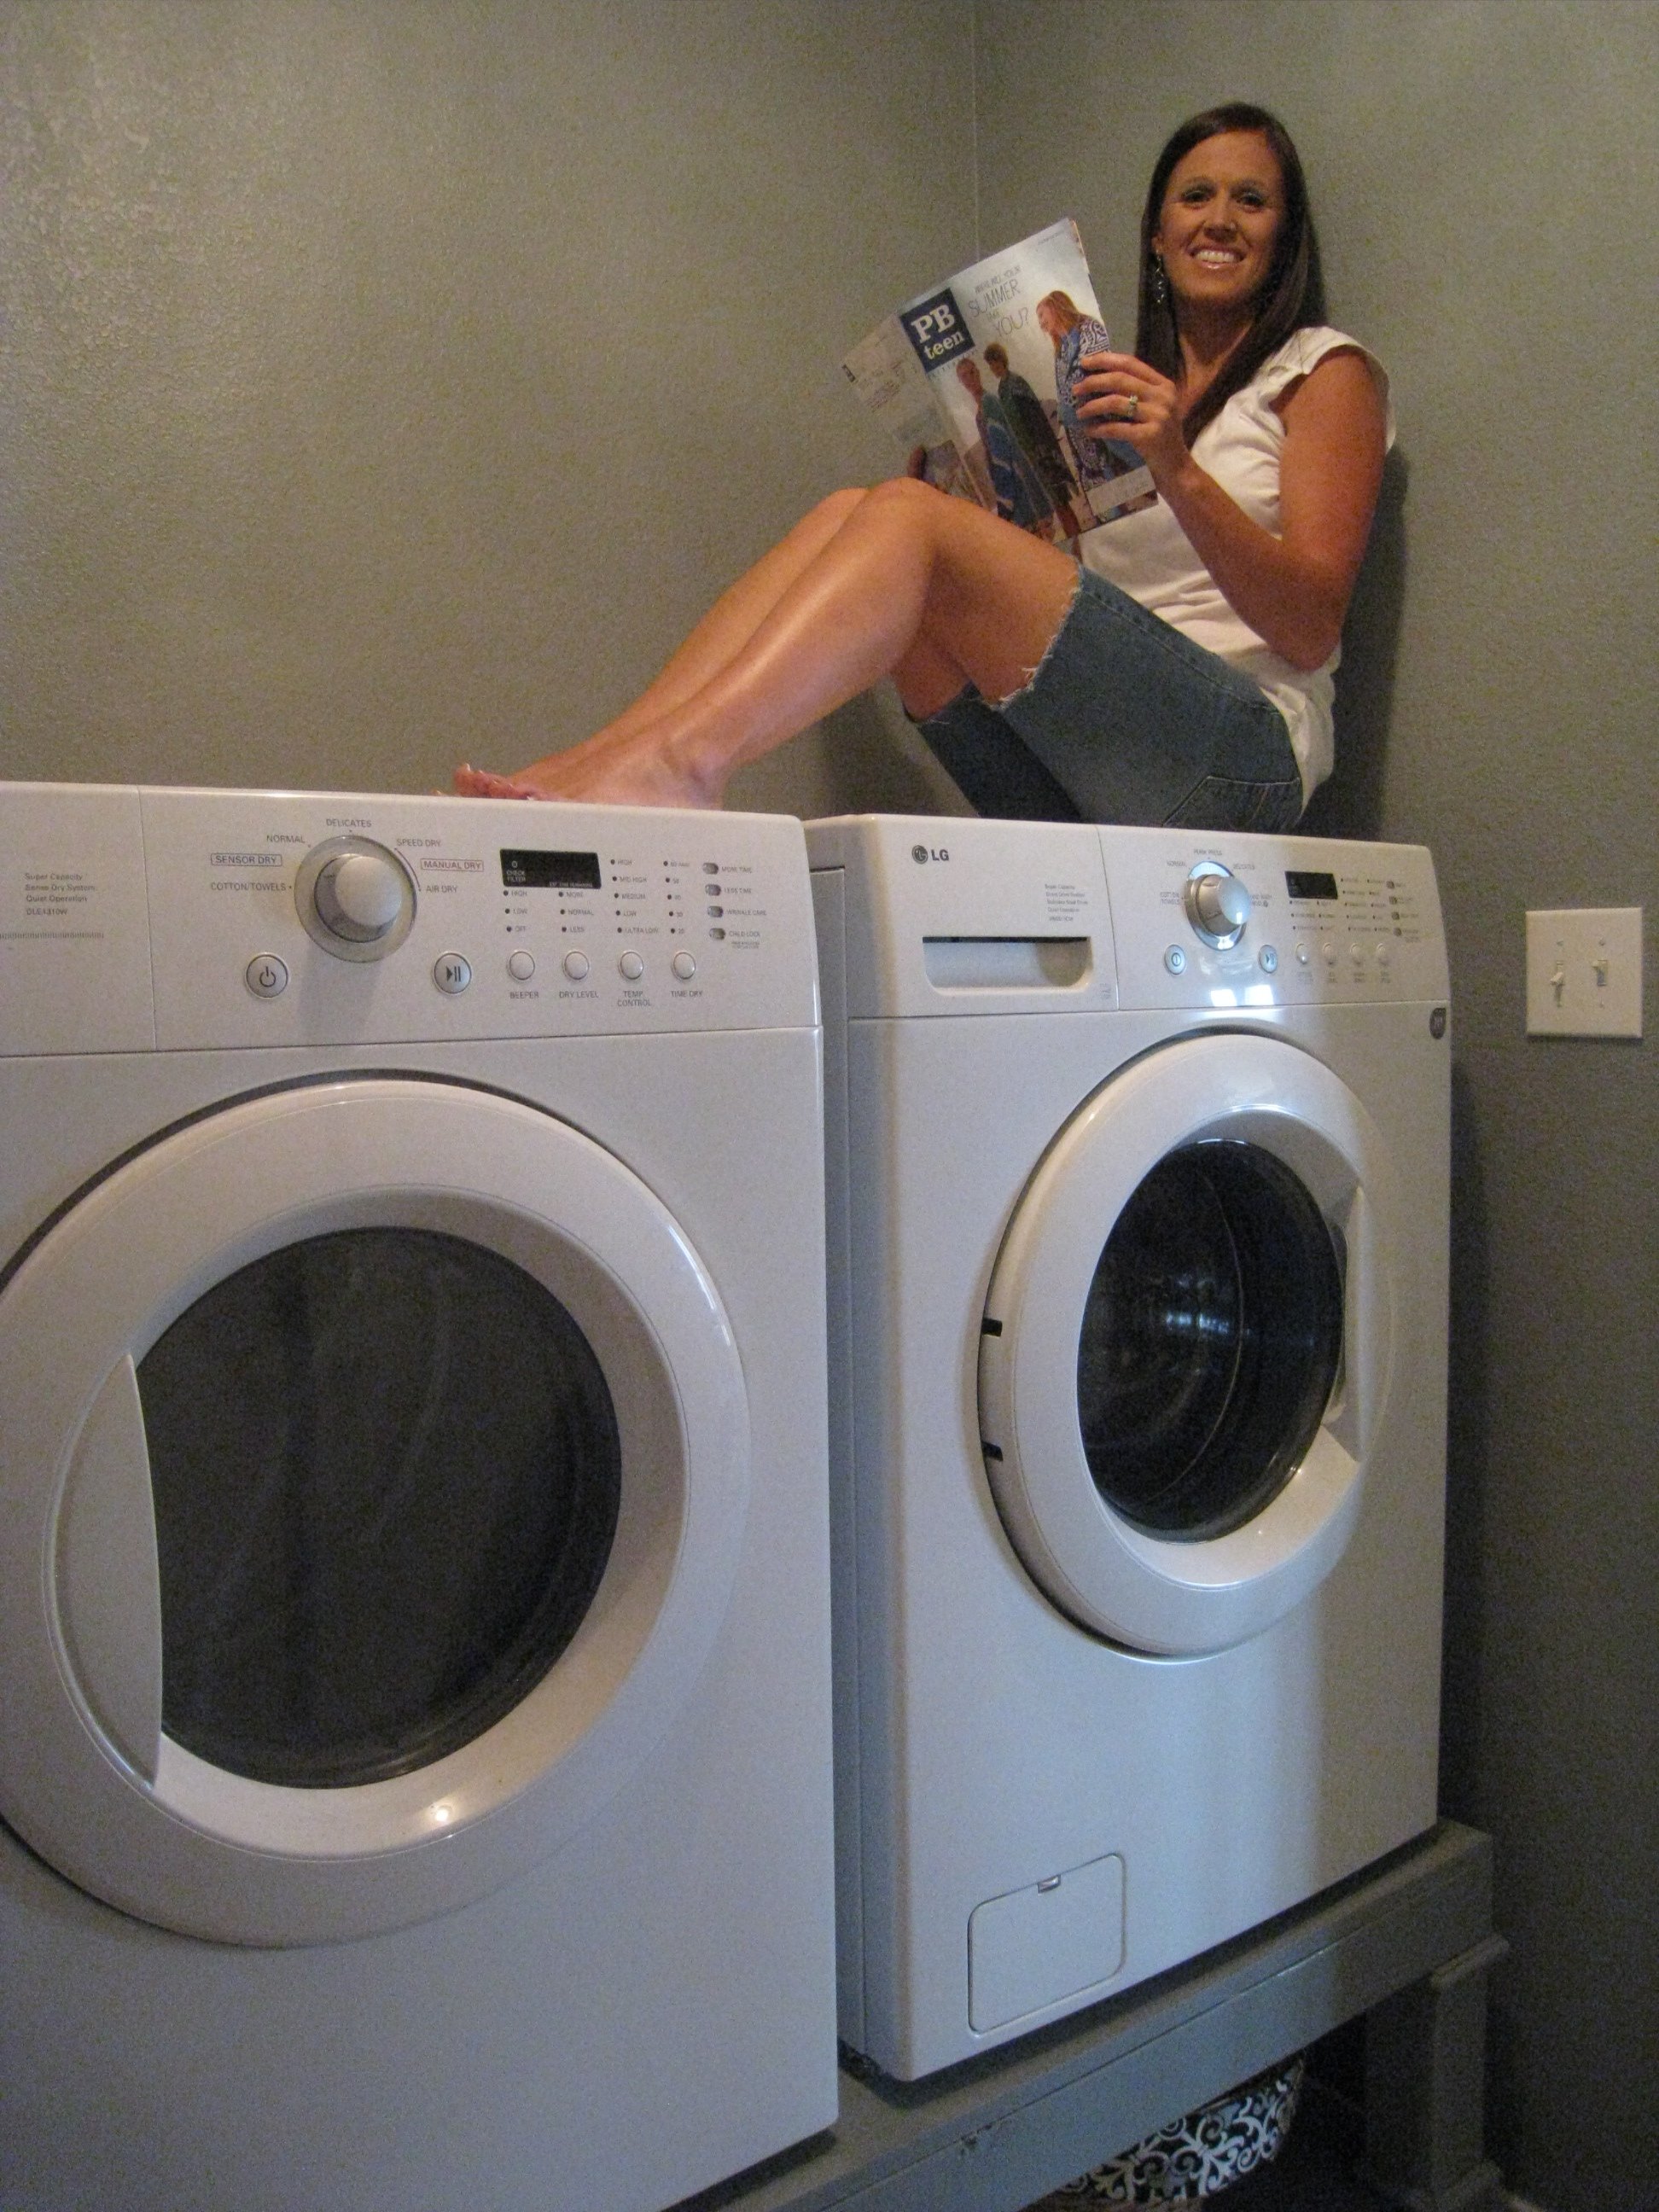
Washer/Dryer Pedestal

This was an easy build and after 2 months I am still in LOVE with it:)

Built from Plan(s)
Estimated Cost
$80
Estimated Time Investment
Day Project (6-9 Hours)
Finish Used
Behr paint
Recommended Skill Level
Beginner
Comments
Fri, 12/16/2011 - 10:59
Love these!
We have a HE front-loading washer and because of the power of the spin cycle, it vibrates/moves a lot. Anyone who has these pedestals have problems with that? I don't want a very expensive washer to take a tumble. :)
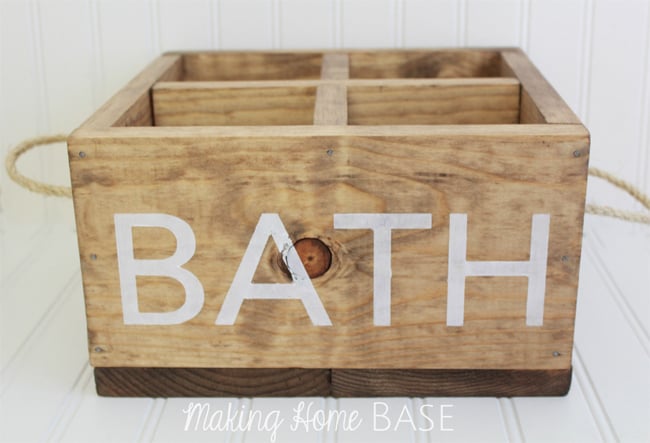
Wood Caddy for the Bathroom

Using Ana's great Reclaimed Soda Crate Caddy plan I built the perfect wood caddy for my bathroom by just adding rope handles and stenciling "BATH" to the front.

Built from Plan(s)
Estimated Cost
$10
Estimated Time Investment
Afternoon Project (3-6 Hours)
Finish Used
Mixwax special walnut.
Recommended Skill Level
Starter Project