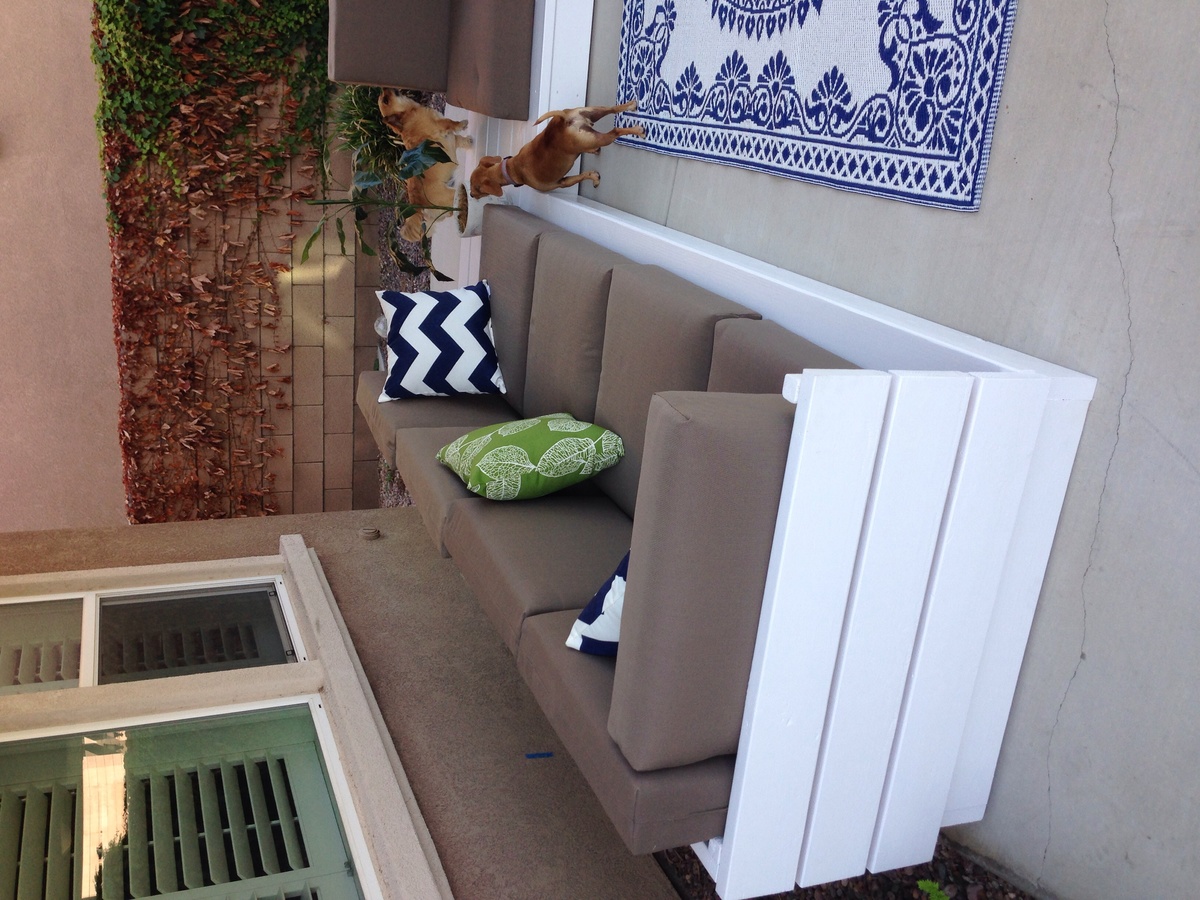
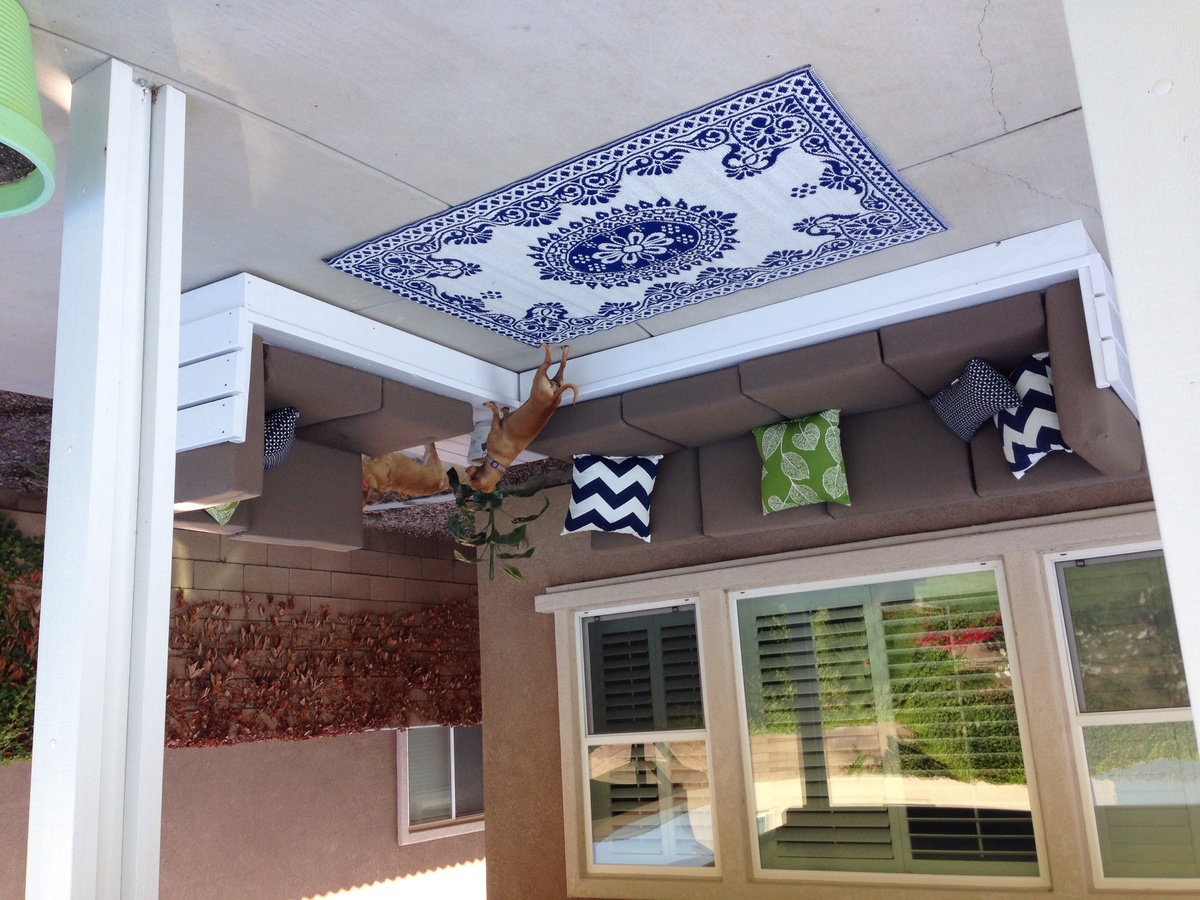
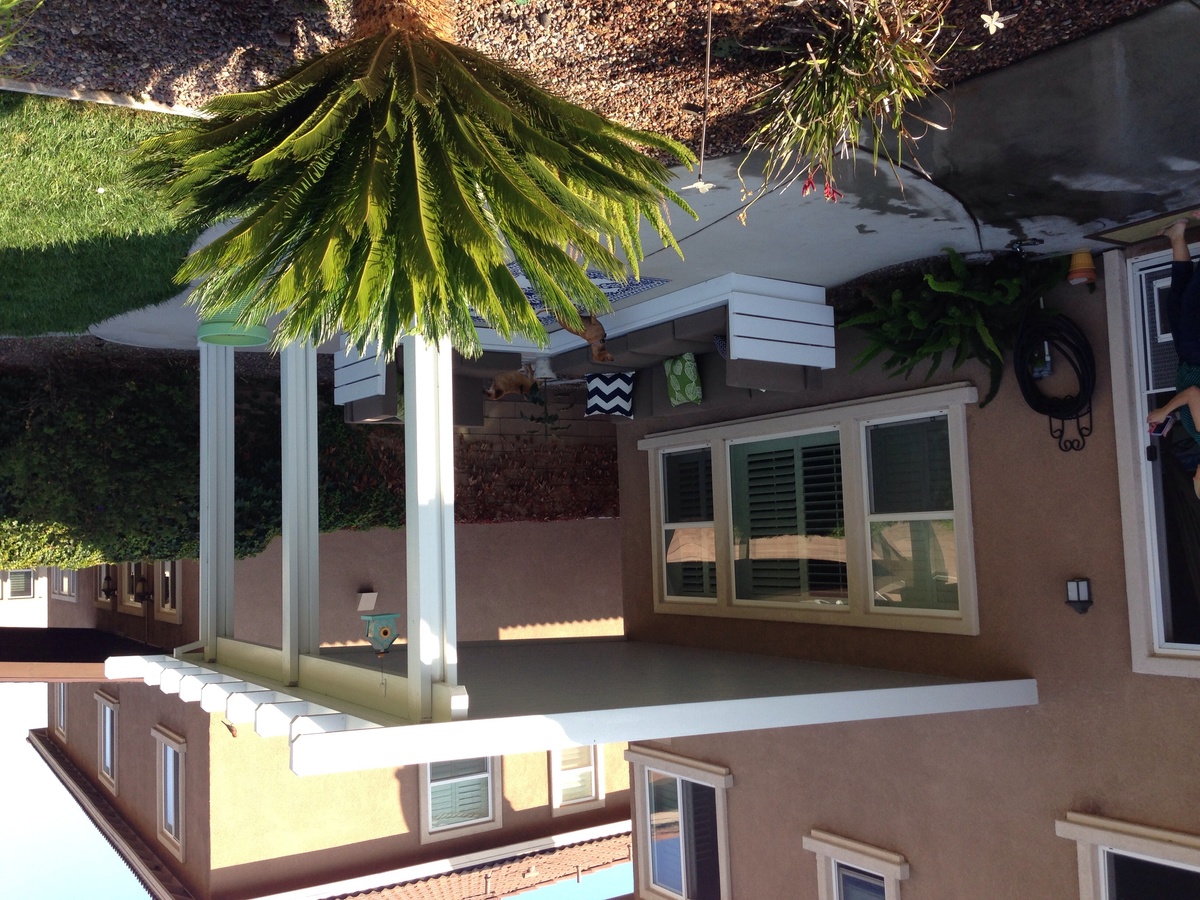
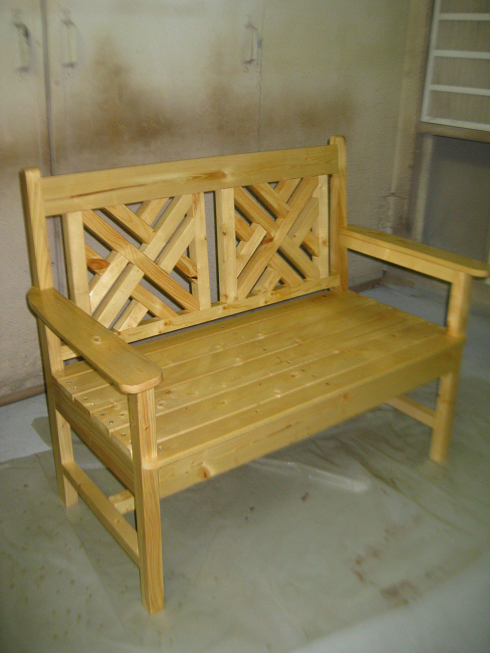
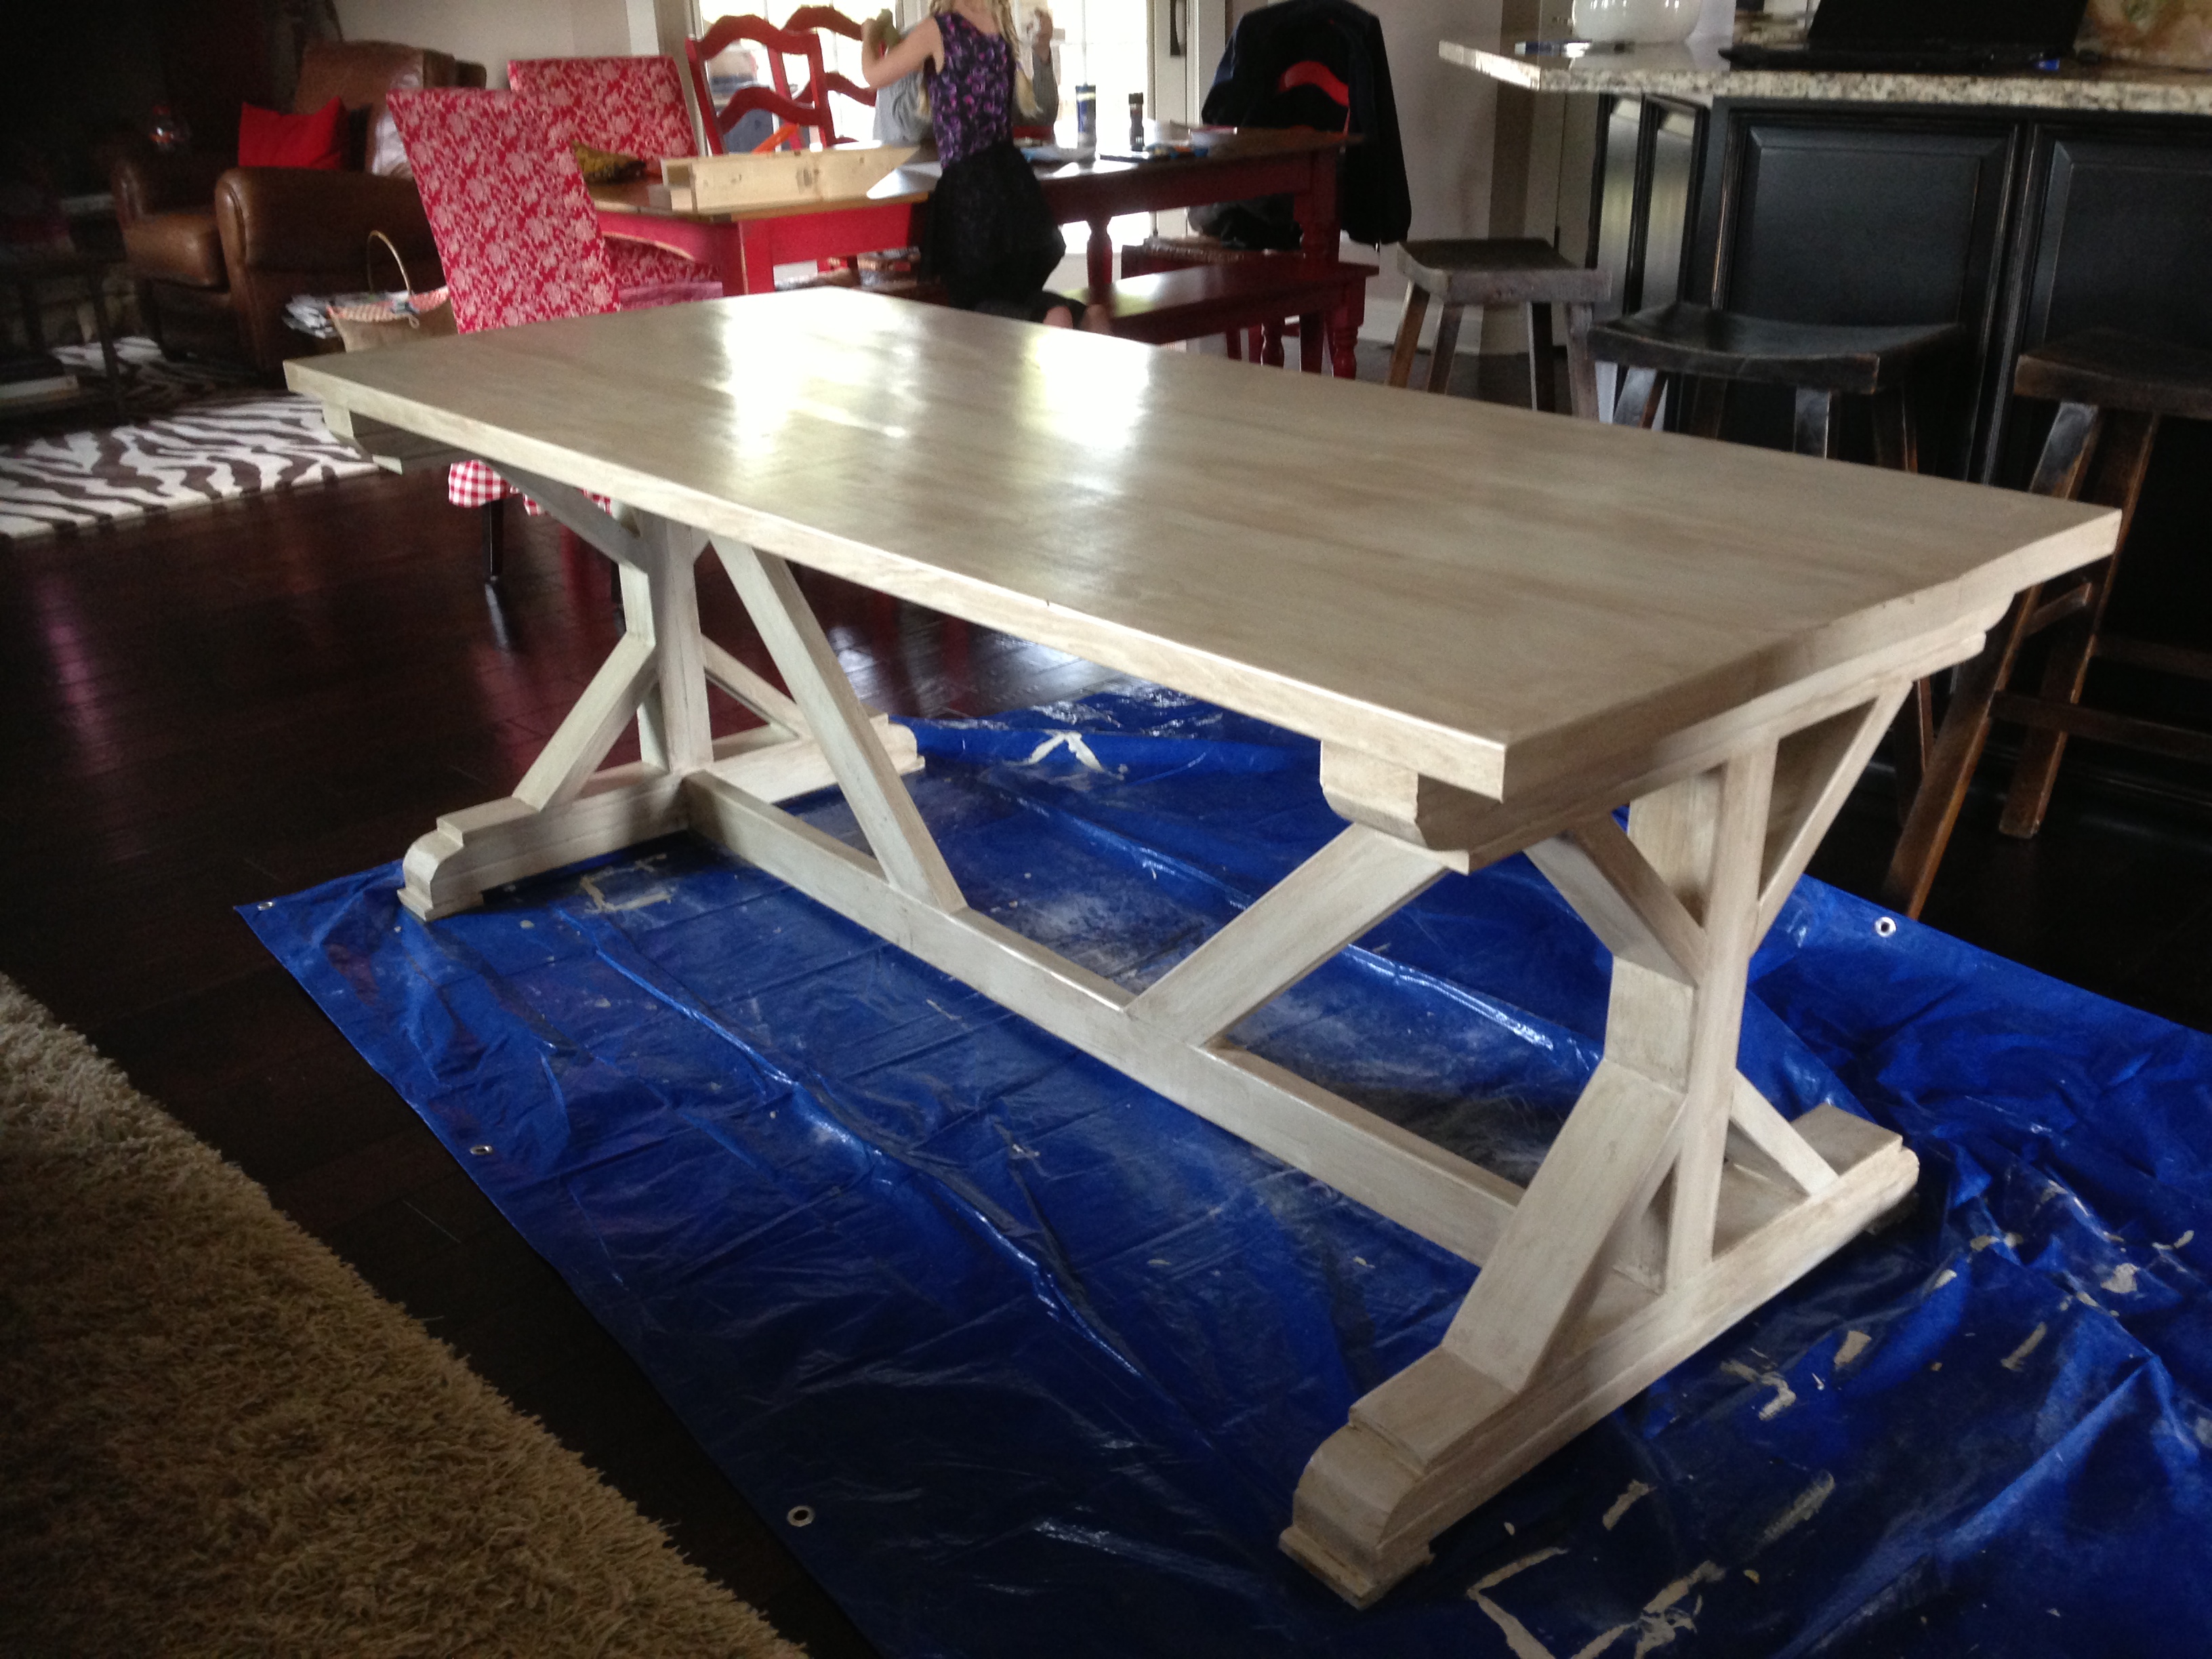
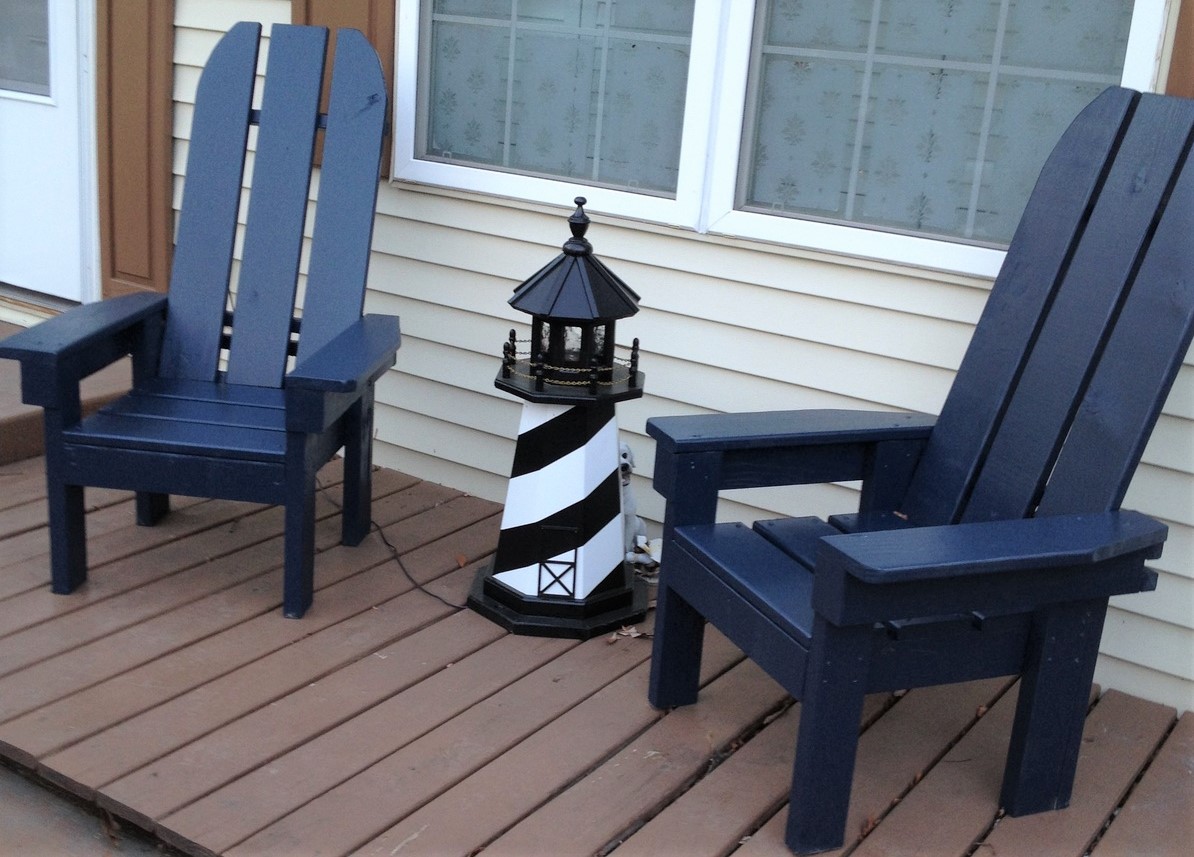
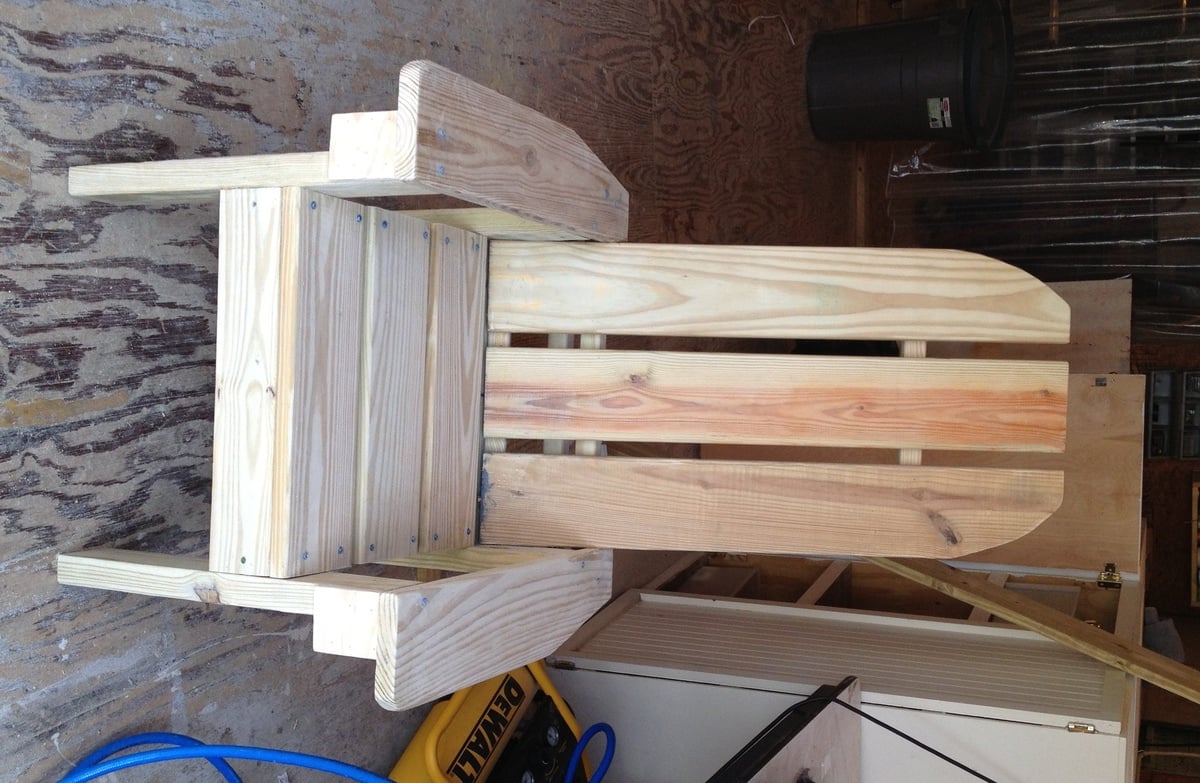
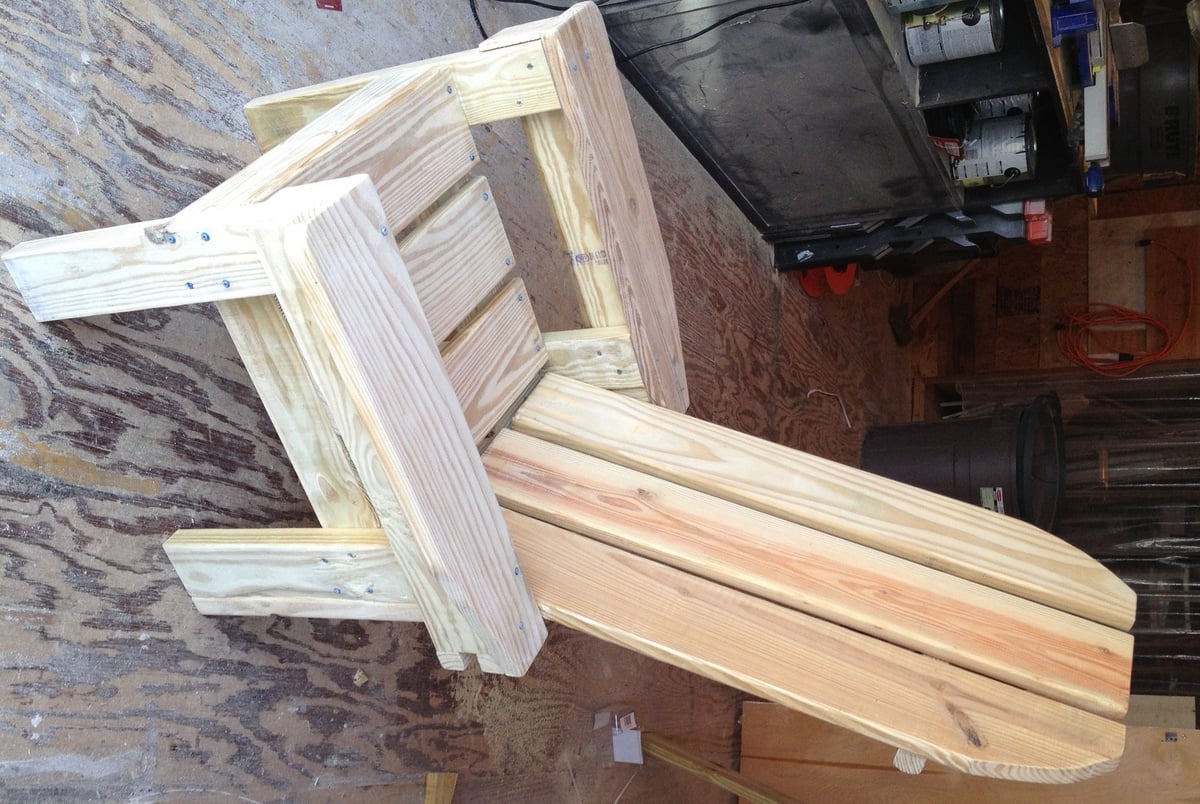
Outdoor sectional
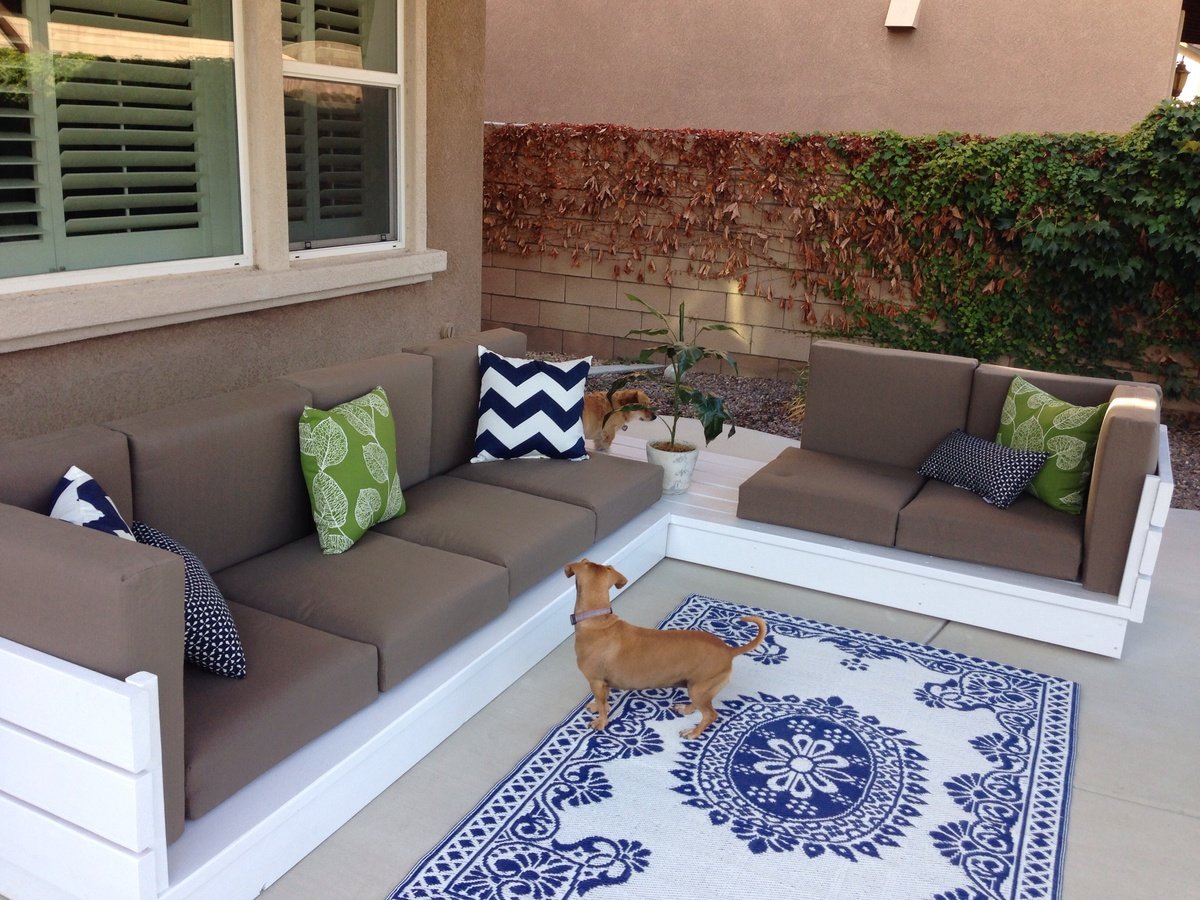
Wanted something for the outdoors. The minute I saw Ana's post I new this would be my starter project. Next on the list is work bench. Then coffee table for sectional, then some chaise loungers!
Built from Plan(s)
Estimated Cost
100 for wood, 300 for cushions.
Estimated Time Investment
Weekend Project (10-20 Hours)
Finish Used
White Valspar exterior paint/primer. Great coverage
Recommended Skill Level
Starter Project


Comments
Tri4fun
Thu, 07/03/2014 - 11:37
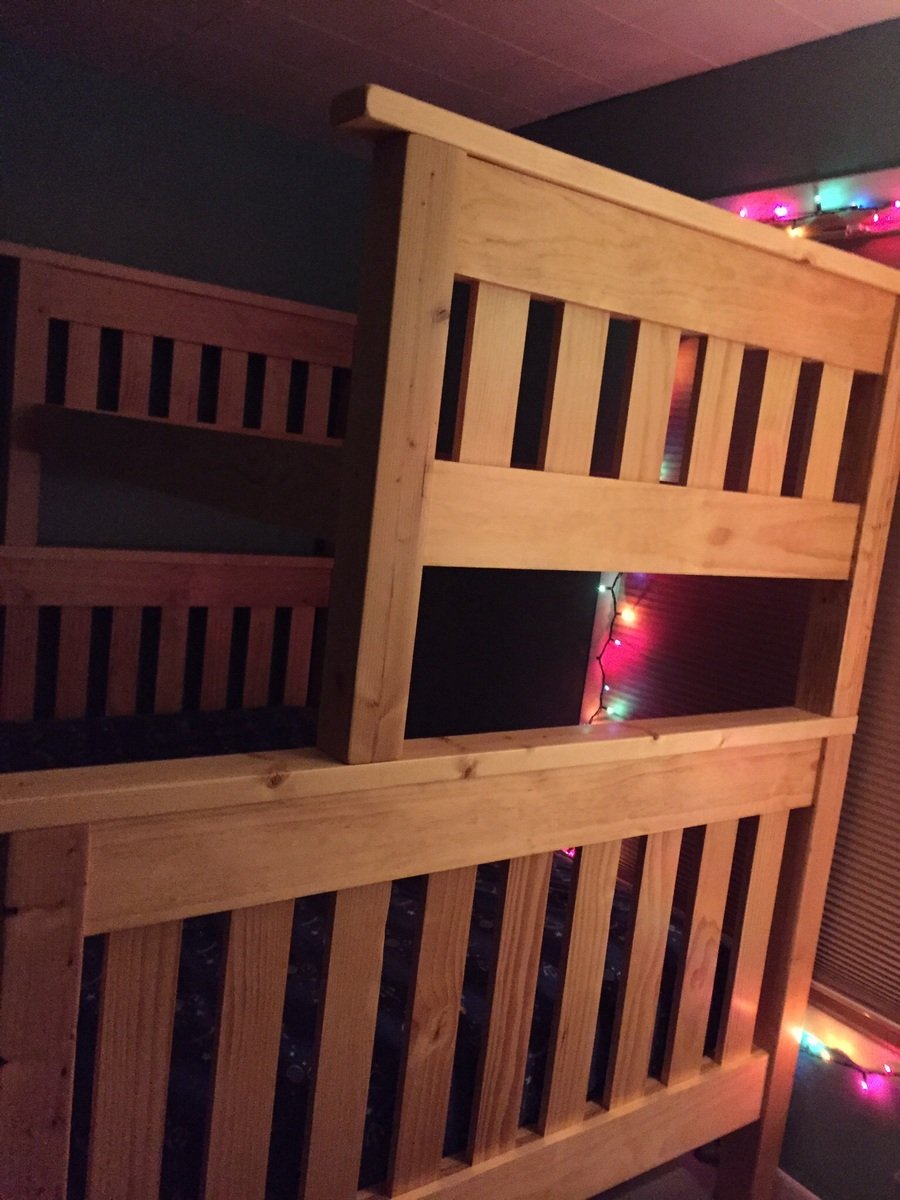
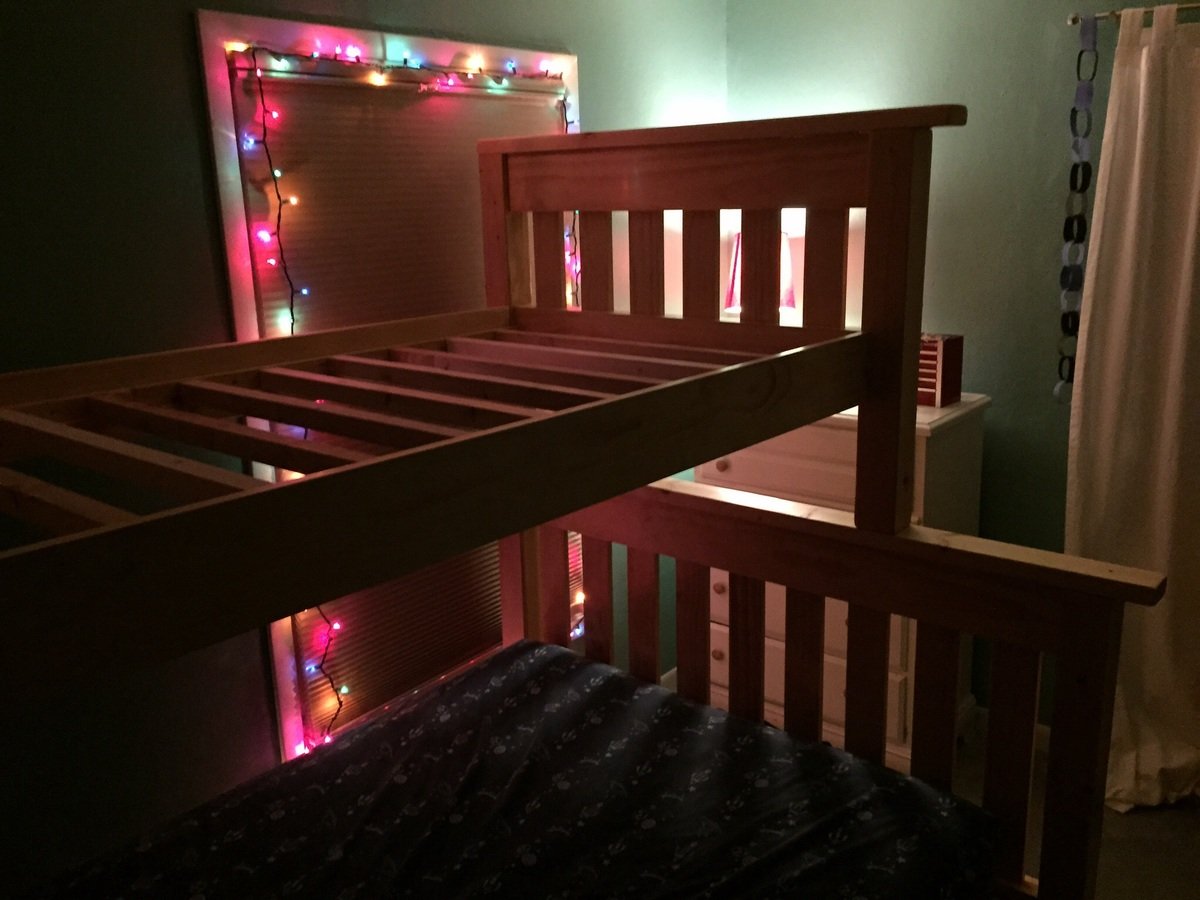
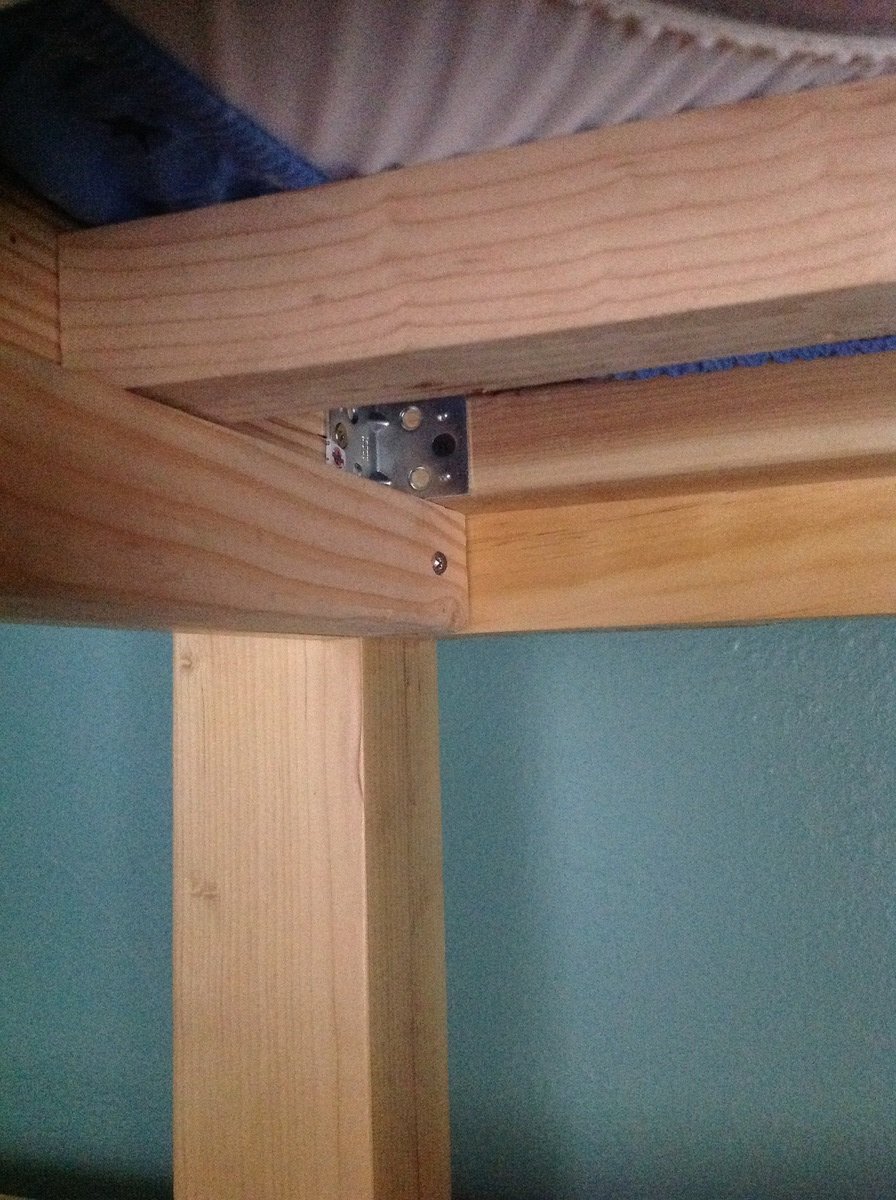
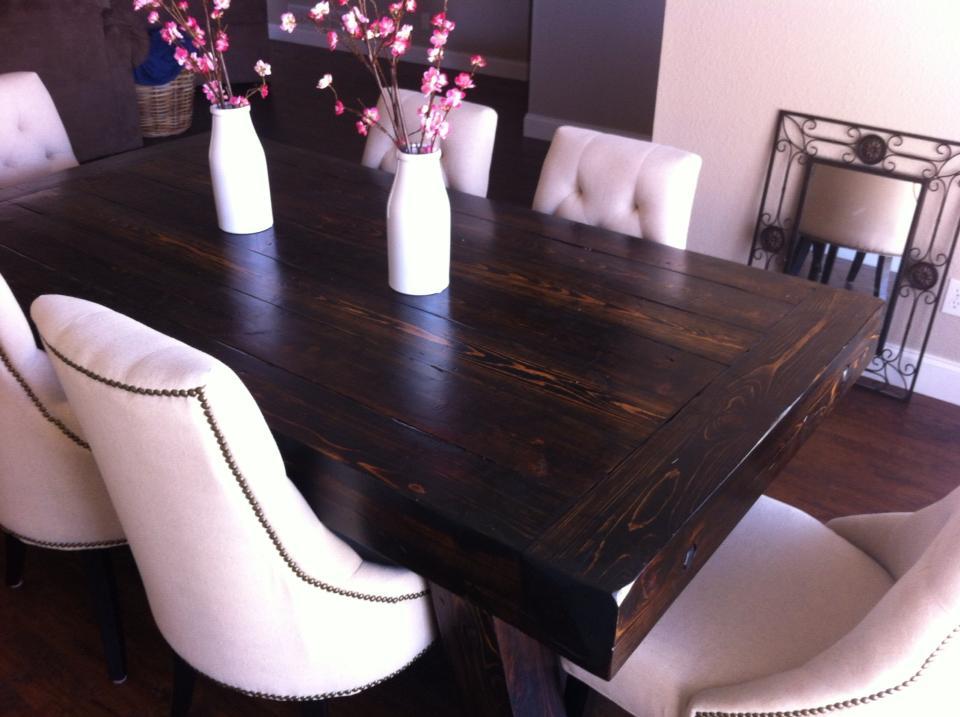
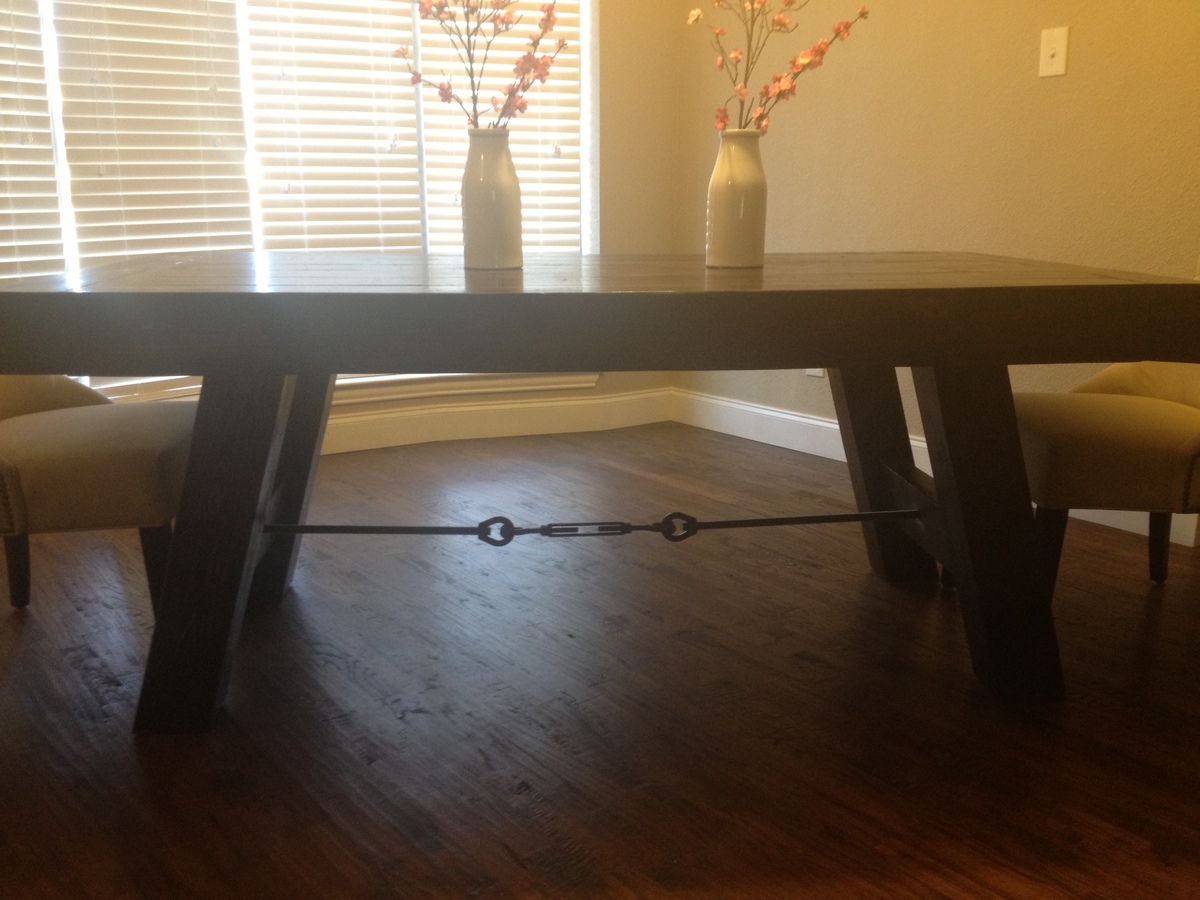
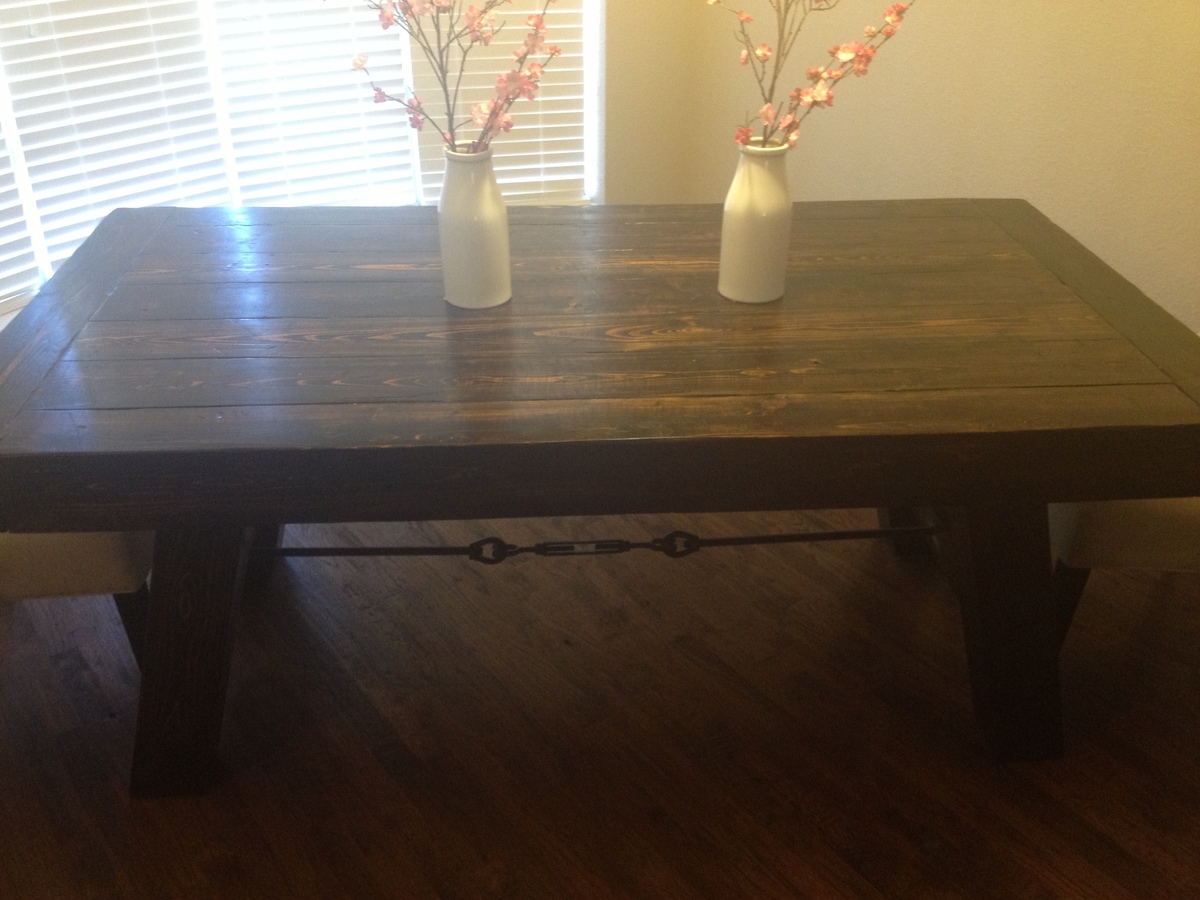
Finally done!
Finally done!