Community Brag Posts

Adirondack Chair

Submitted by maparuna on Sat, 05/18/2013 - 19:07

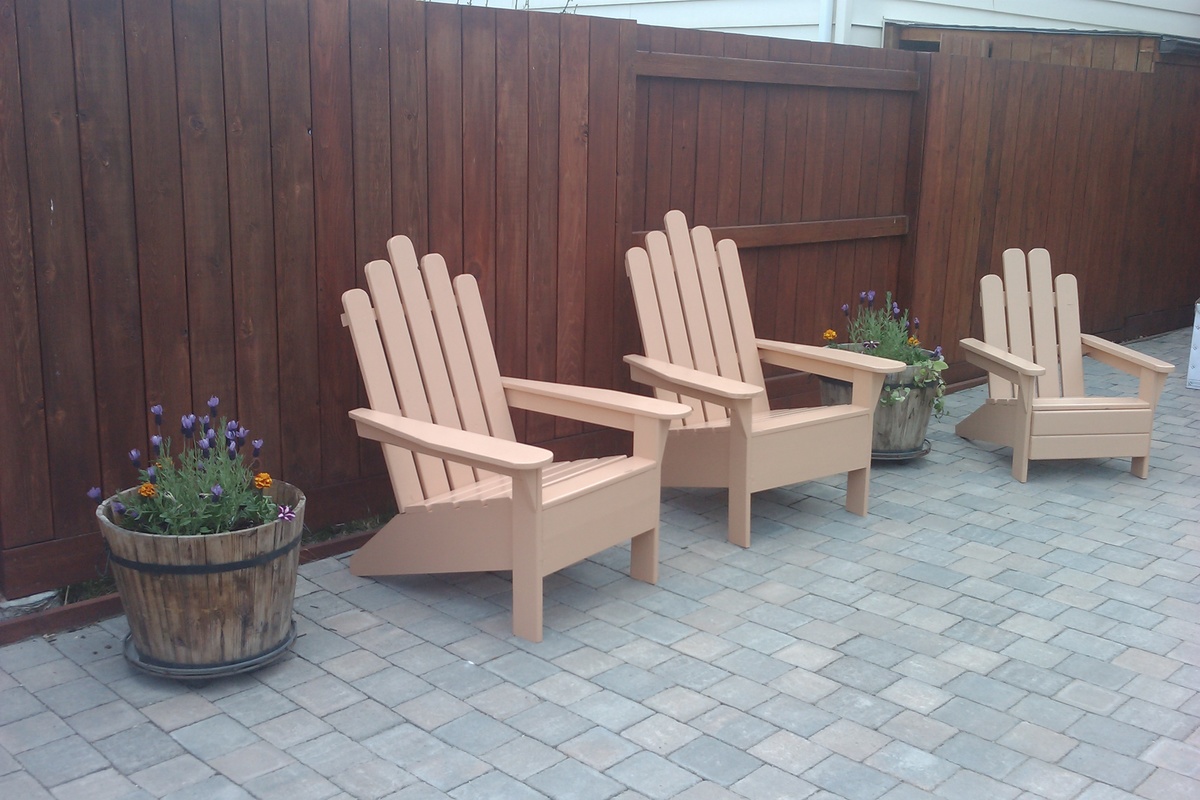
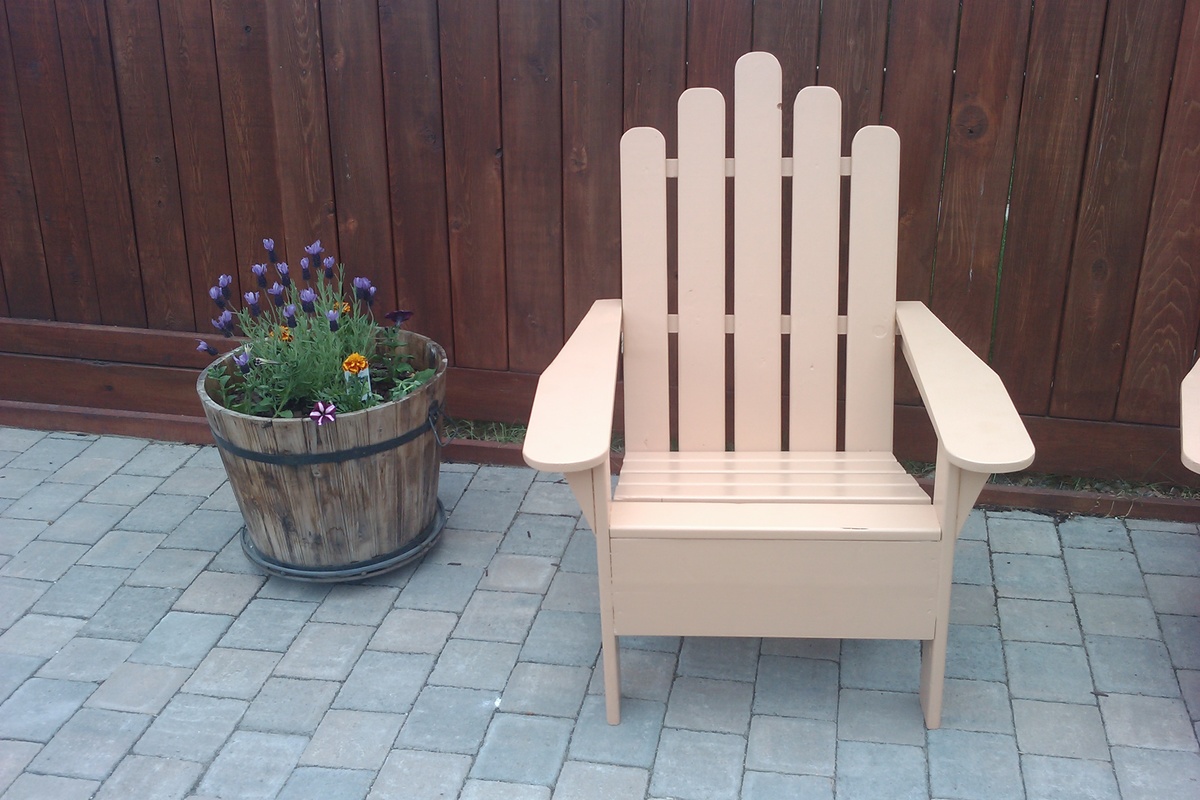
Built three Adirondack Chair, got the dimensions from Ana's Adirondack Chair and modify dimensions for the smaller chair for my daughter. Used ceder and pine. Cost about CDN 40 per chair. Specially I would like to thanks Ana giving information about simple but beautiful furniture designs.

Estimated Time Investment
Weekend Project (10-20 Hours)
Finish Used
Used for my backyard
Recommended Skill Level
Beginner

Comments

Clubhouse Bed -Full Size with Slide

Submitted by Heatherdee on Sat, 05/02/2015 - 17:44

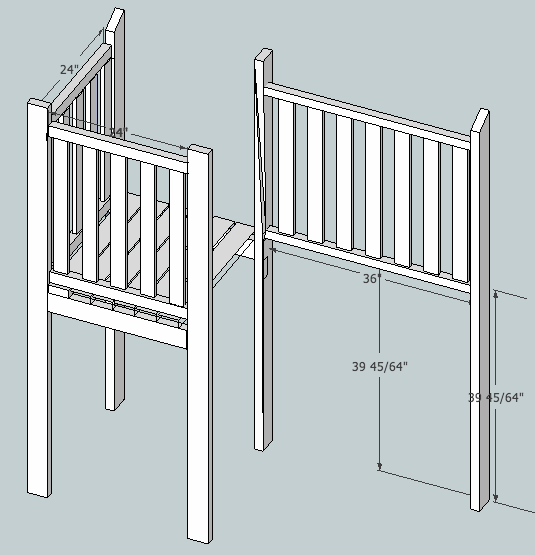
Thank you Ana for the clubhouse bed plans! I added 15" to the width of the rails to accommodate a full size mattress. On the other side I made a slide platform! I chose a standard plastic slide because I couldn't find a way to make a wooden slide at home with the swoop at the bottom to keep the kids from hitting the carpet hard :). We couldn't have a green outdoor-looking slide, am I right? I used Rustoleum  spray paint made for plastic in French Lilac color.  After the paint I used a top a coat of Minwax 3x polyurethane. I also used the Rustoleum spray paint for the window grids. 

To accommodate the slide specs I needed to raise this bed 5".  I just made each leg 5" longer.  Also, the ceiling in my daughter's room slopes down so I cut the point off the back of the bed.  Totally not noticeable.  I needed to do this even if I hadn't raised the bed :)

I also added full window frames around the window to make the bed a little more girly!  One unexpected result is that the bedroom looks BIGGER with this bed in it. She had a twin size step 2 plastic castle bed before but now there is so much more room to play. Win!  Changing the sheets isn't too bad but you need to get in the bed to do it.

I built this bed by myself. Don't be afraid, you can do this! Once the panels are assembled they get a bit heavy so you have to be sort of creative to drag them across the garage floor :)

Next up: mailbox for the bed, shelves under the slide and window boxes!

Built from Plan(s)
Estimated Time Investment
Week Long Project (20 Hours or More)
Finish Used
Valspar Flat White Paint in Glacier; Minwax 3x Polyurethane (I would maybe use wax or something next time! Maybe even semi-gloss paint)
Recommended Skill Level
Intermediate

Comments

Armoire for Repurposed door

Submitted by JES on Sat, 03/19/2011 - 11:05

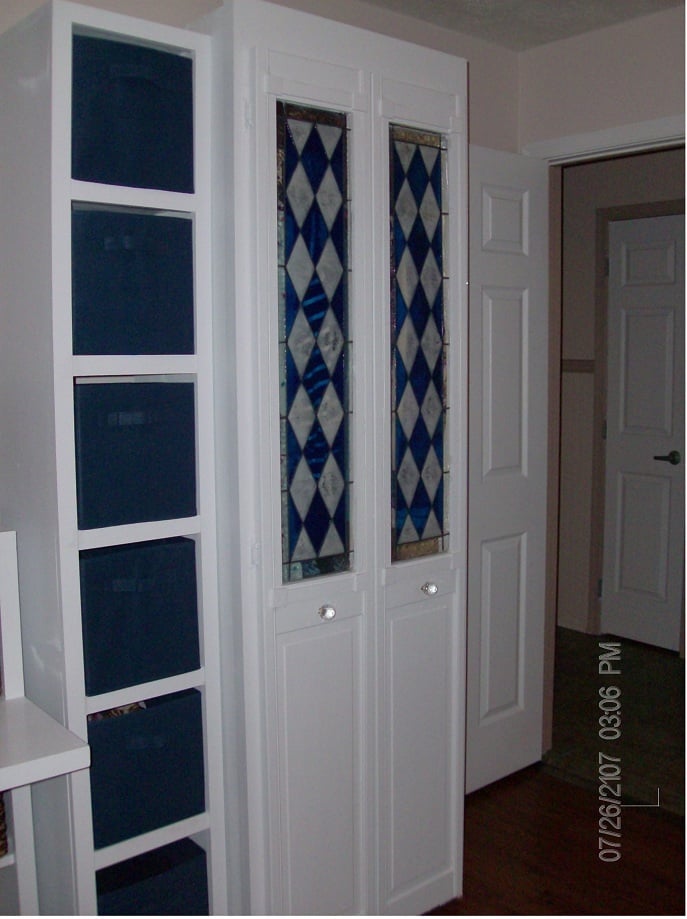
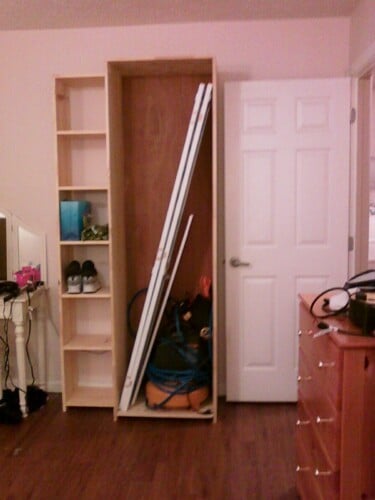
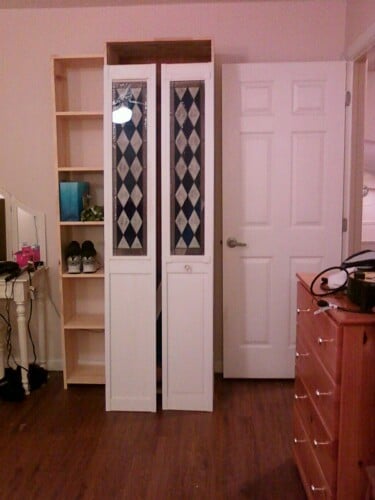
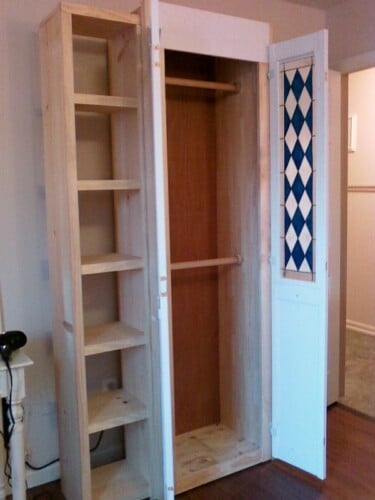
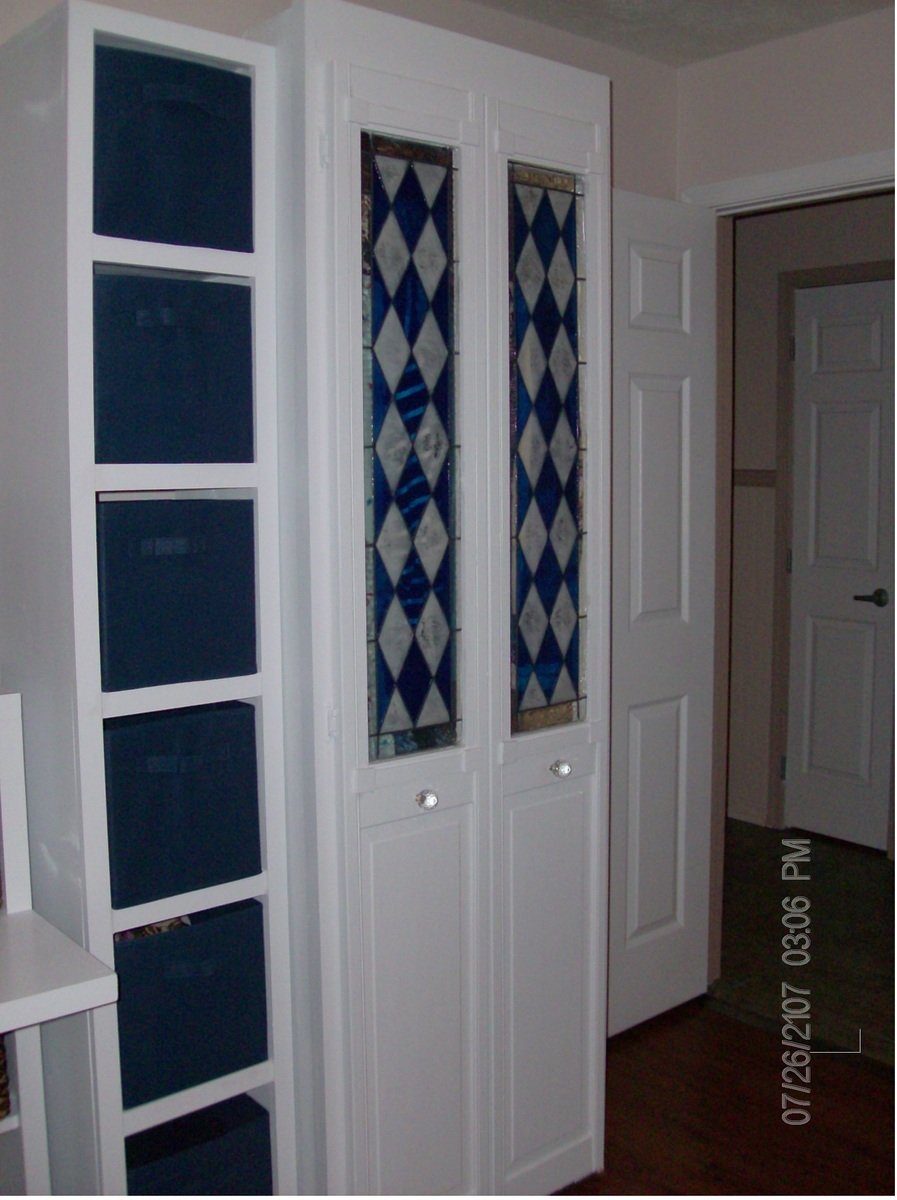
This is modified from Ana's Simplest Armoire plan, re-sized to fit the door (already had this, from another project -- I couldn't part with it when that room was remodeled- that gallery glass insert took me so long to make) and deep enough to hang clothes.  Used my favorite new toy, the Kreg jig for this.

Such a fun project, now we're hooked!  We've made a bedroom full of pieces to go with this one, and still making more.

Ana, thanks for the inspiration!

Built from Plan(s)
Estimated Cost
110.00
Estimated Time Investment
Day Project (6-9 Hours)
Finish Used
1 coat Zinsser primer, 2 coats Ace Royal High Hiding white in semi gloss
Recommended Skill Level
Beginner

Cedar Planter with Trellis

Submitted by redhead_61 on Thu, 06/06/2013 - 15:13

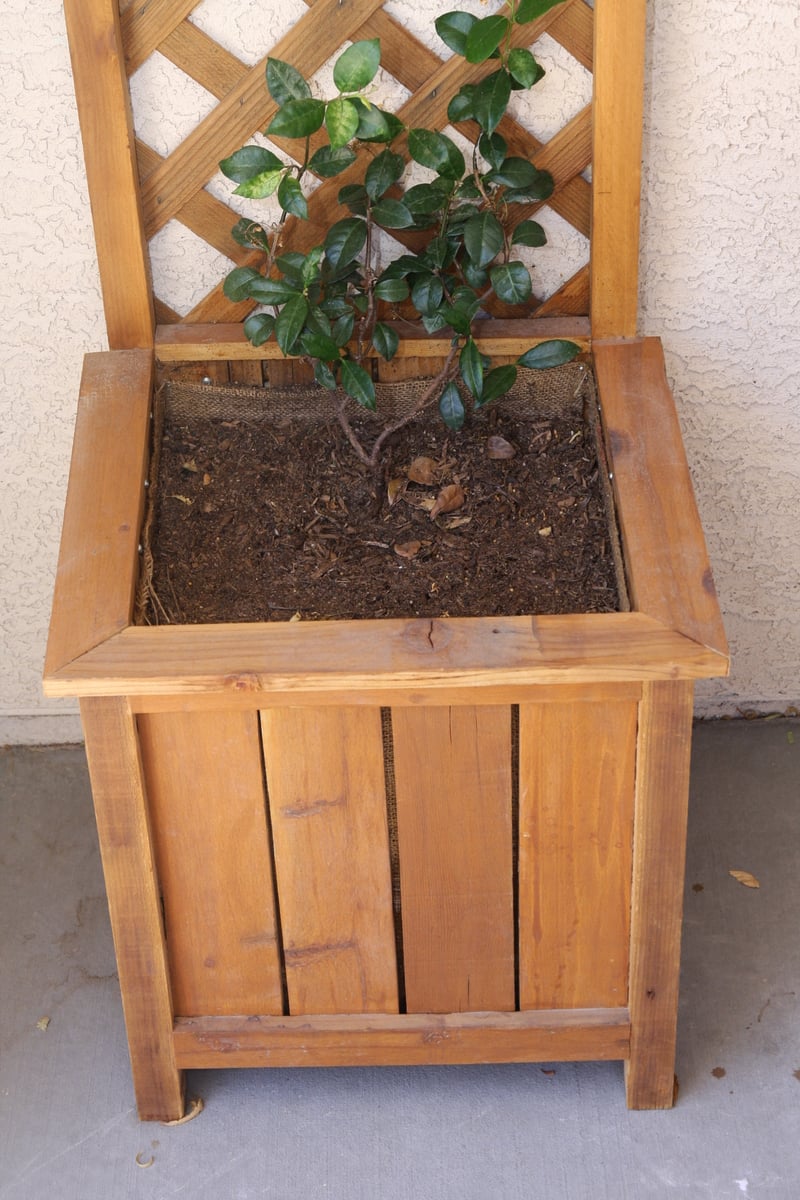
I put the two planter boxes on this site together to get a perfect little lattice box for the space by my door. I get lots of compliments and hopefully soon I will have yummy jasmine welcoming my guests.

Built from Plan(s)
Estimated Cost
free with scraps
Estimated Time Investment
Afternoon Project (3-6 Hours)
Finish Used
wood protector
Recommended Skill Level
Beginner

Cedar Table/Stool

Made with western red cedar from Lowes. So pretty!

Built from Plan(s)
Estimated Time Investment
Afternoon Project (3-6 Hours)
Finish Used
none
Recommended Skill Level
Starter Project

Comments

KennyBoy

Wed, 08/21/2019 - 09:00

Did you use any kind of finish on the cedar? I’m making one as an indoor end table. 

What grit sand paper did you use? 

Looks great by the way. Excellent job!

Queen Platform Storage Beds

Submitted by Anonymous (not verified) on Sun, 12/26/2021 - 13:01

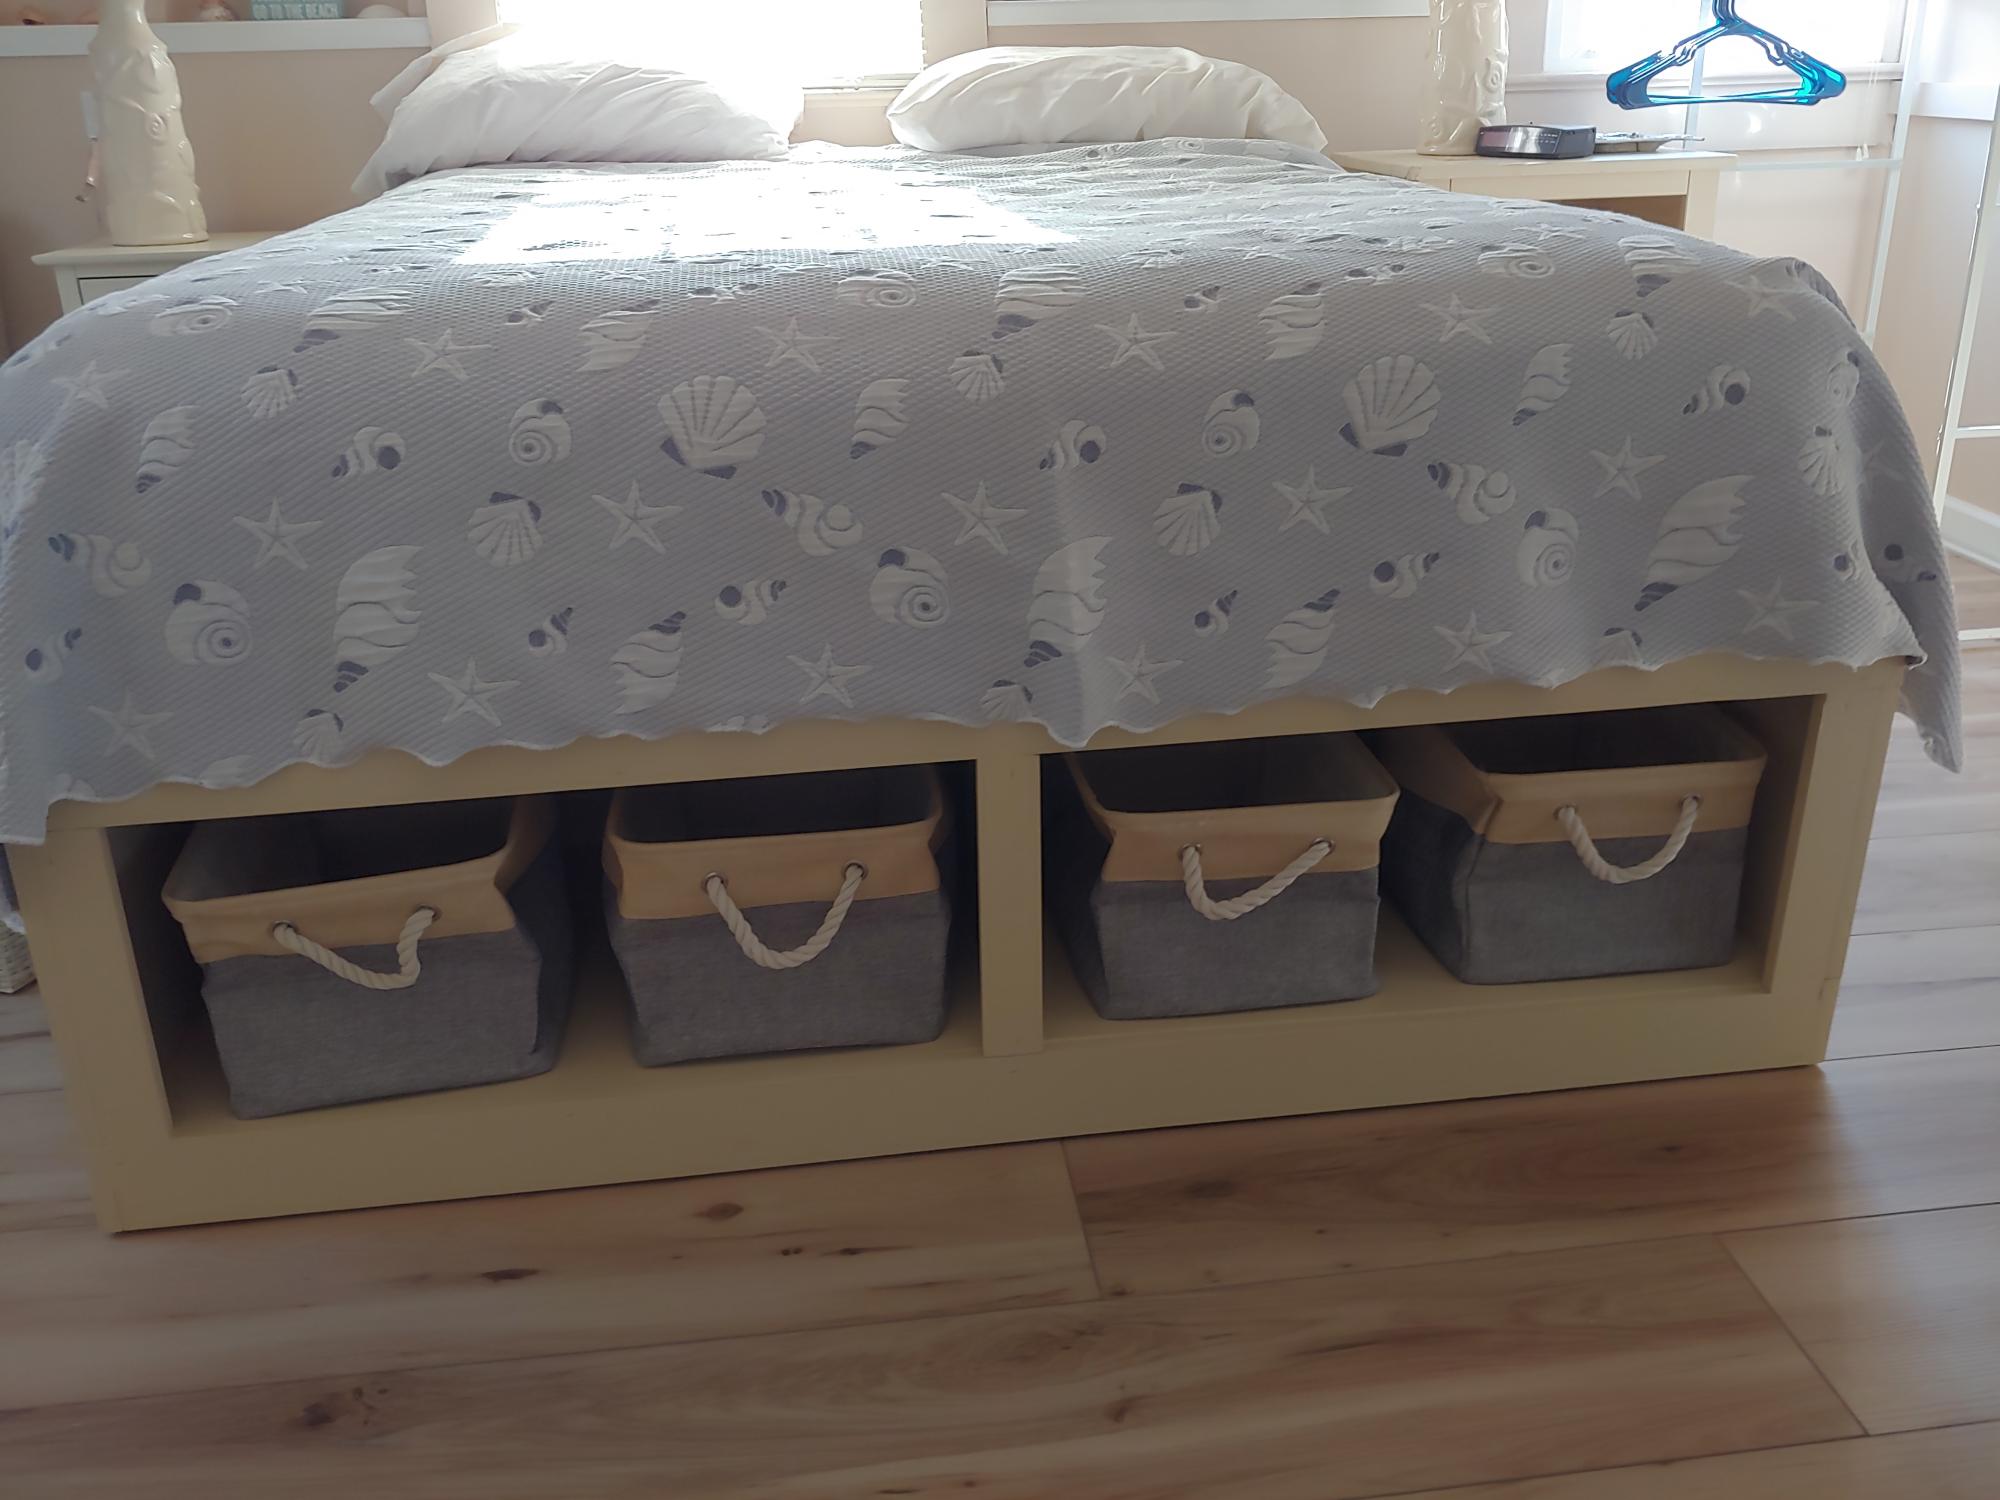
My husband and I made two Queen Platform Storage Beds for our "Carriage House" apartment. They are a beautiful and functional upgrade! Thank you Ana for sharing your plans!

Comments

My new Almost Farmhouse table

Submitted by JES on Fri, 05/06/2011 - 20:33

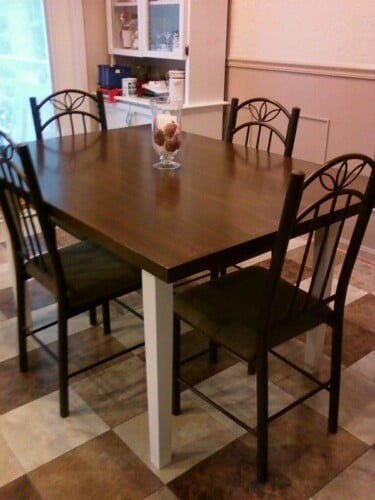
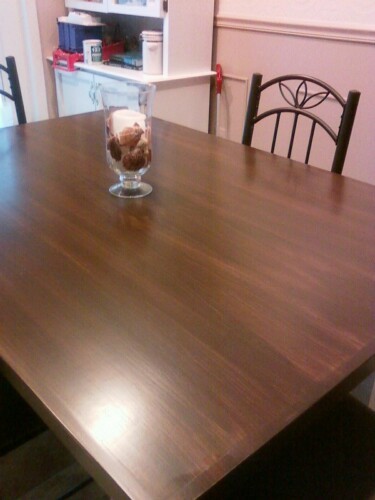
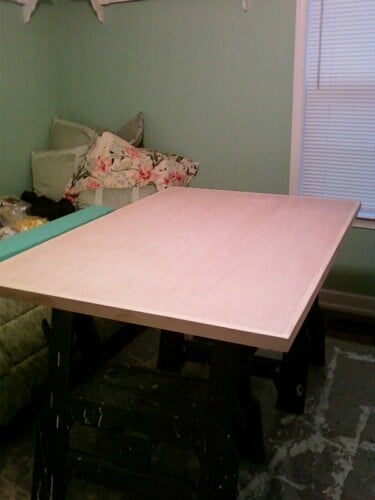
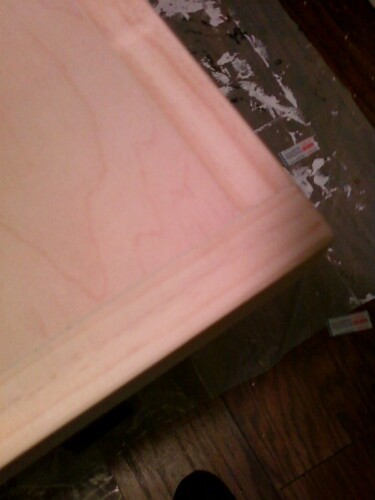
I LOVE the farmhouse table! Ours is an "almost farmhouse" since we didn't do our top with individual boards. For the table top, we used hardwood plywood and select pine 1x2 for edges. To get the Farmhouse look with a stain effect, I brushed on Minwax Express color in Walnut to get the appearance of long boards, applied 5 coats of poly, and put 2 coats of primer and paint on the legs of the table we already have. We attached the tabletop with glue and screws.

Estimated Cost
$75
Estimated Time Investment
Afternoon Project (3-6 Hours)
Finish Used
Minwax Express Color (walnut) brushed on. 5 coats polycrylic in satin finish. Sanded with 320 grit between coats. Legs: 2 coats zinsser primer and 2 coats of high hiding white in semi gloss
Recommended Skill Level
Beginner

Farmhouse Style Bar Table - San Diego

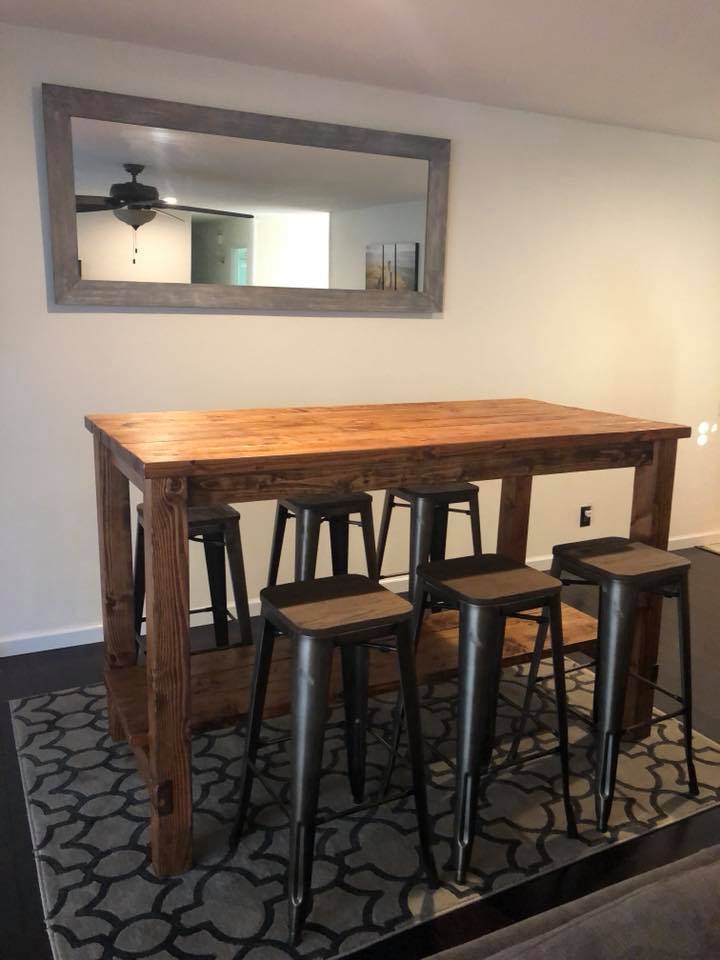
My husband modified these plans by making it a 42" tall bar high table. He built it and I stained it with Dark Walnut Danish oil and it came out better than we imagined. Thank you for these awesomely cool DIY plans.

Estimated Time Investment
Weekend Project (10-20 Hours)
Recommended Skill Level
Beginner

Comments

Corn hole

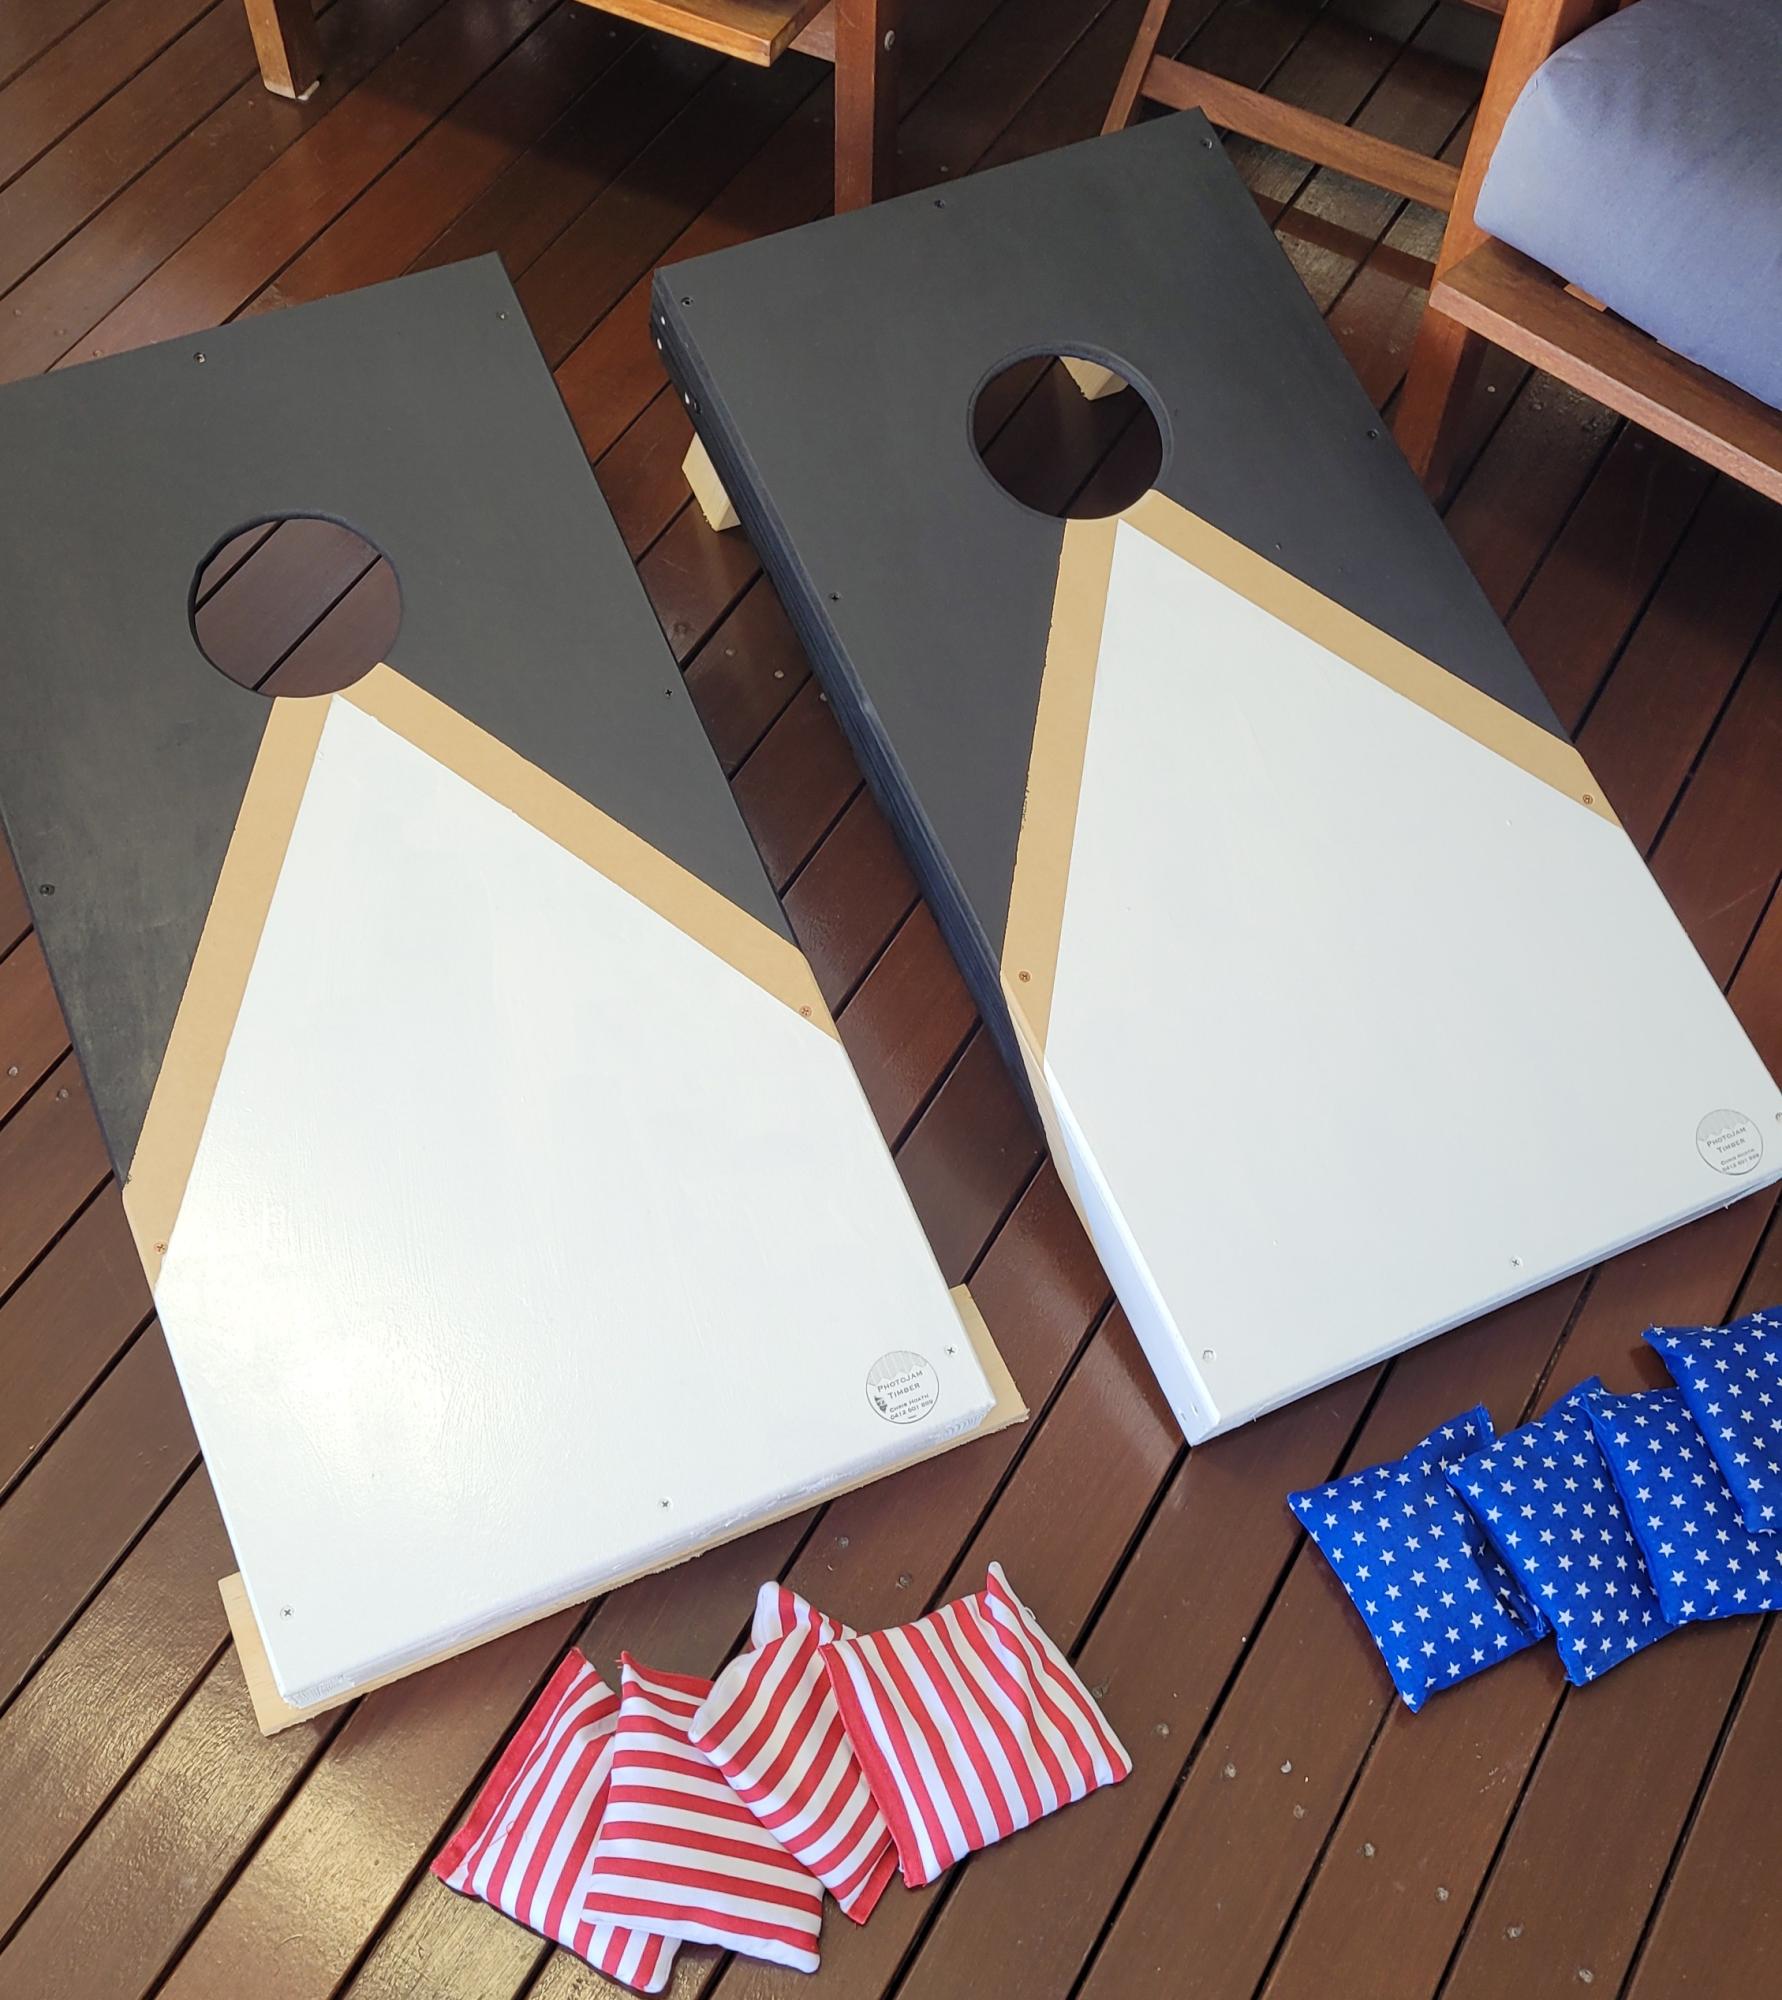
Another great tutorial and project done. Thanks Ana

Comments

Console table/shelf/thingy

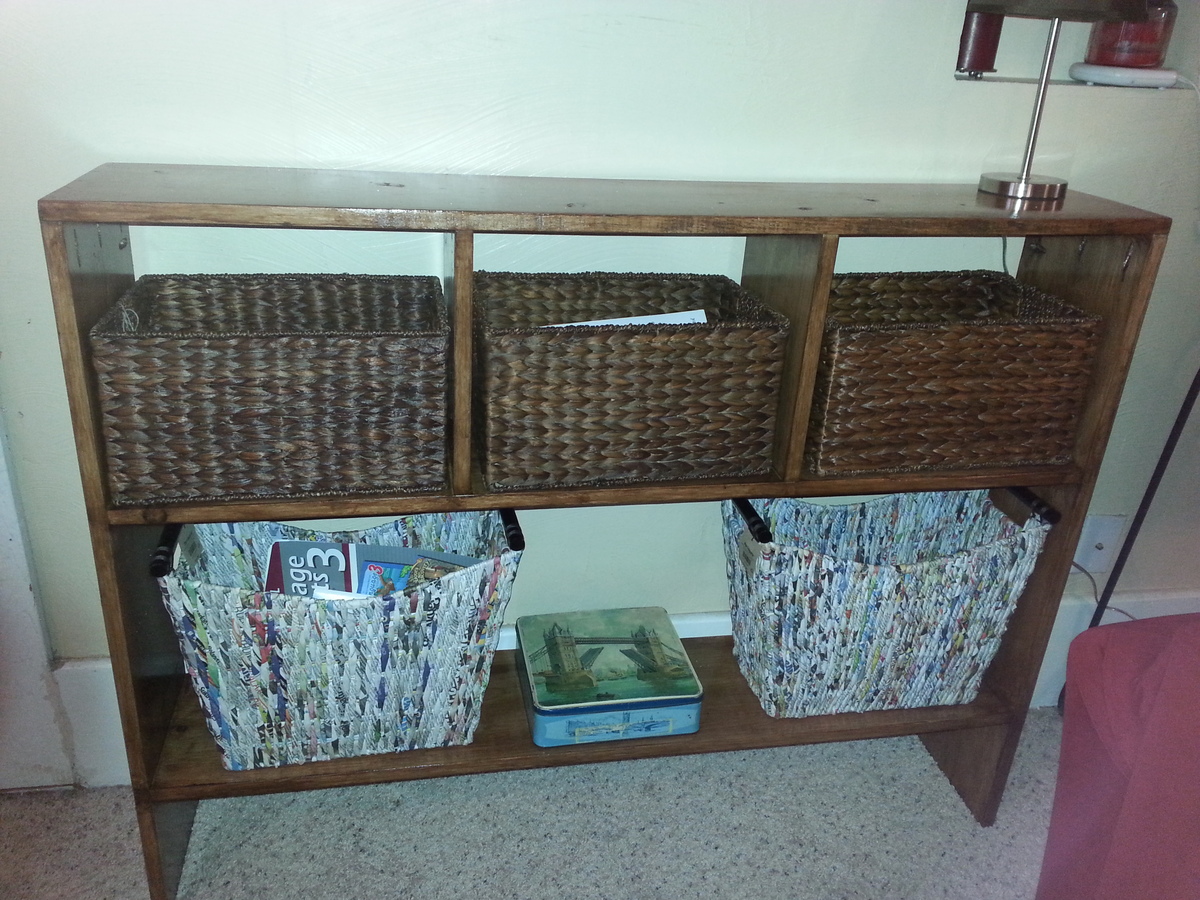
I gave away our piano and needed something to fill it's spot. I also needed some storage. I knew right where to look and eureka!! there it was, the Simple Rustic Modern Console plans.

It was inexpensive, easy, quick and perfect!! I modified it to the height I wanted and added some dividers for baskets and a bottom shelf as well.

Loving it!!!

Estimated Cost
30.00-40.00 depending on the size you need
Estimated Time Investment
Day Project (6-9 Hours)
Finish Used
I used Minwax Polyshades but I hated the way it gooped up in spots. I had to sand and redo but in the end was satisfied with the way it turned out.
Recommended Skill Level
Starter Project

We Love our Sectional and Tables

Submitted by Mrs.F on Sun, 05/15/2022 - 09:33

We love our sectional built from the modern sectional plan. We also made the tables from an Ana White plan but we adjusted the size. My husband and I love projects.

Comments

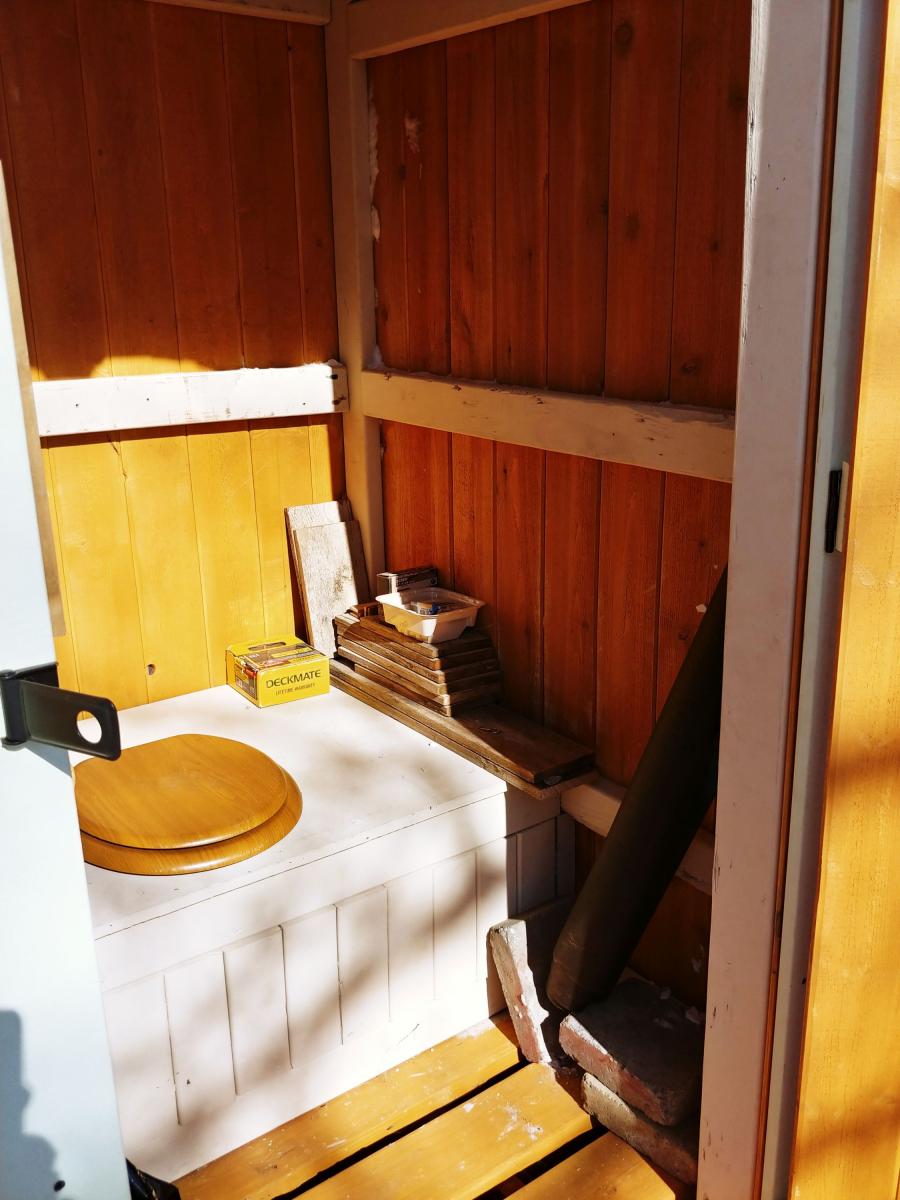
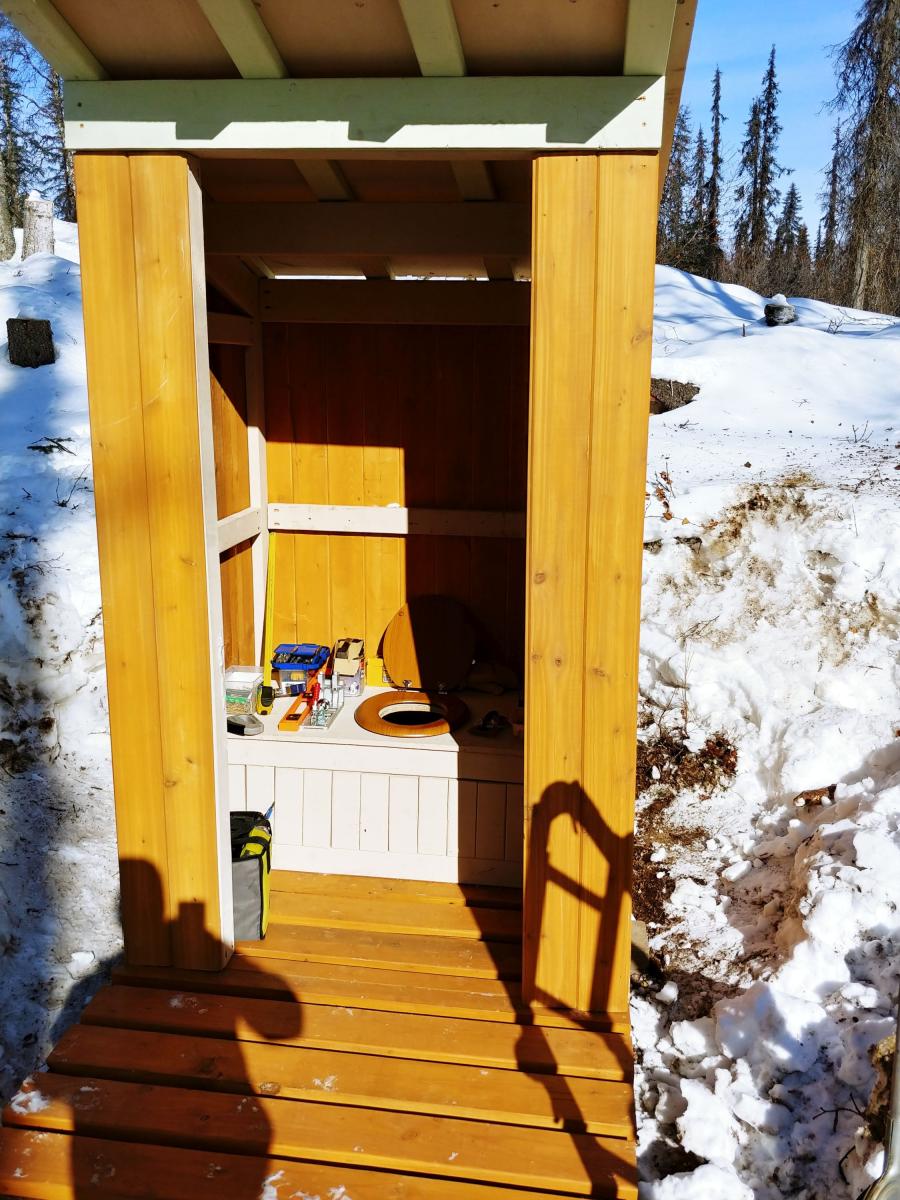
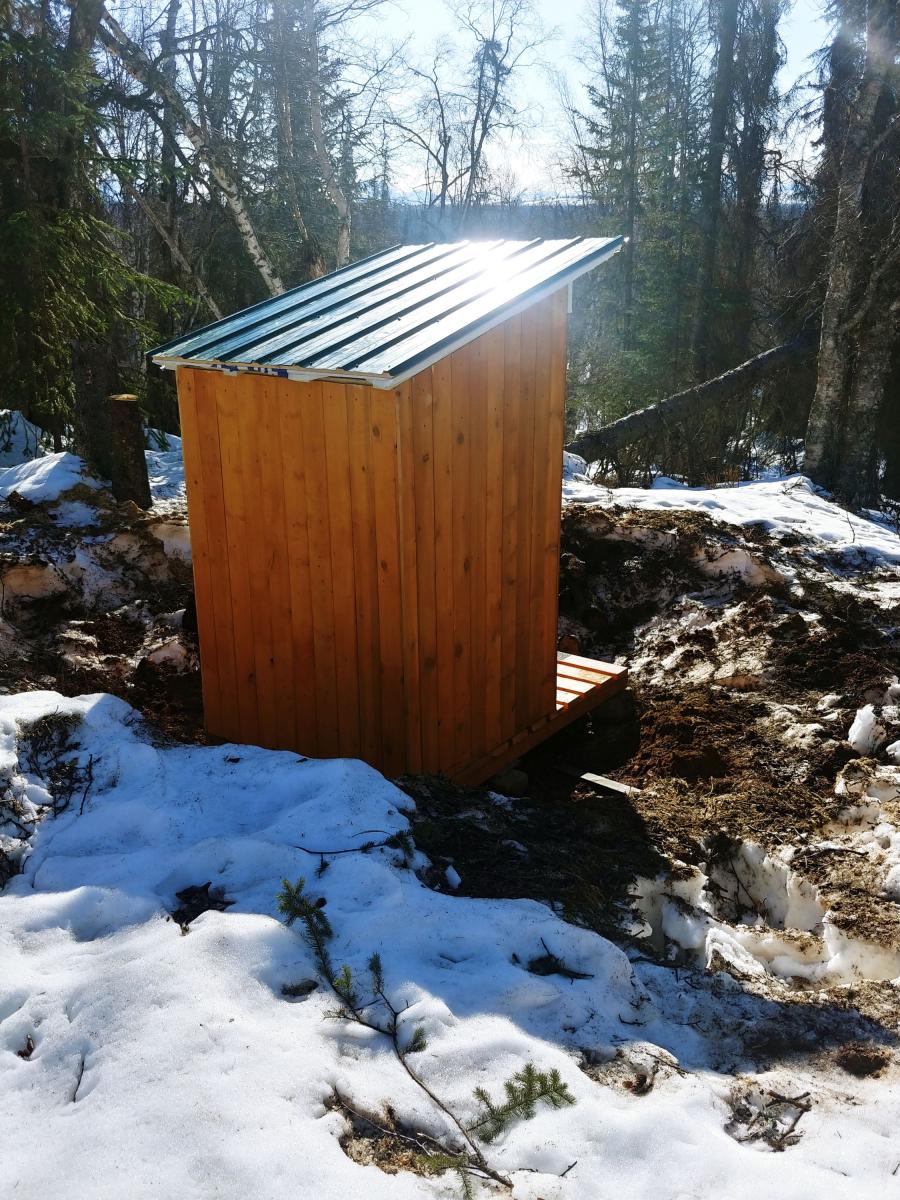
My version of "Outhouse Plan for Cabin"

Submitted by johnseigle on Mon, 06/06/2022 - 15:00

Hi Ana and Family,

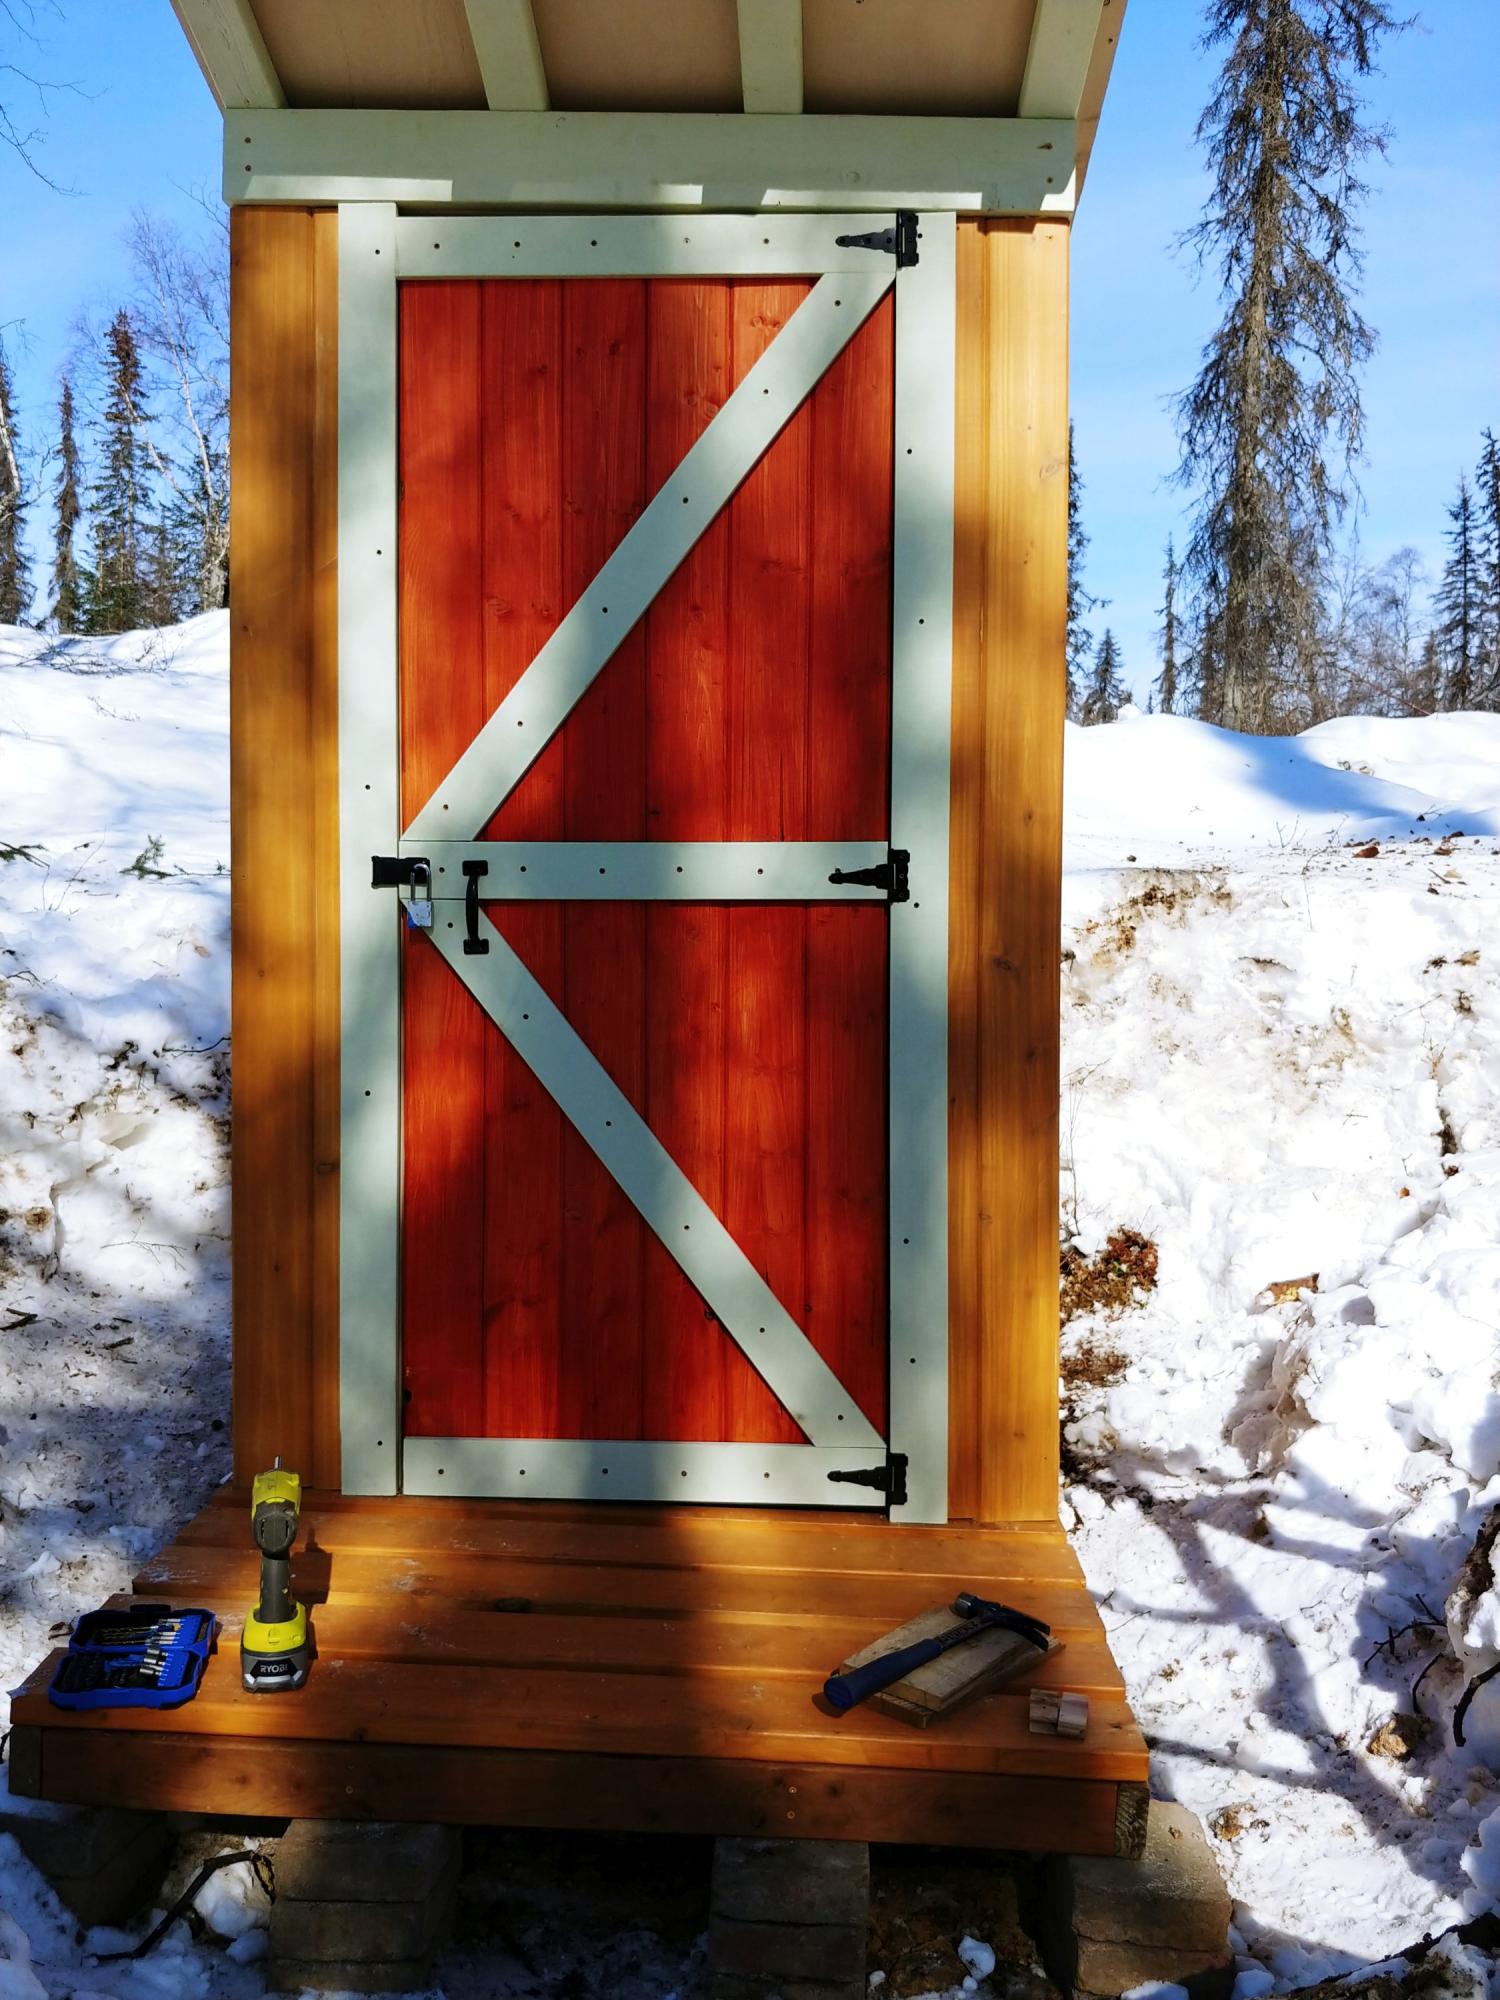
I mostly followed your plans for my remote Alaska property outhouse build, with slight modifications. Our property is 7 miles from any road (and 2.5 hr drive from Anchorage) and I typically go there in the winter via snowmobile (December-April). I built this on my back deck in Anchorage and then took it apart and transported it in sections (back wall, 2x sidewalls, floor parts, door, roof parts, seat parts). It took me 5 trips to get it all up to my property from the truck at the trailhead via snowmobile!

The hardest part was digging the hole under 5 ft of snow! I cut several dead spruce trees in the area I planned to situate the outhouse and started a big fire (really big). We kept that going until we had melted out about a 15ft wide area down to bare soil. The next morning, while the ground was still warm from the previous evening's fire, we dug the hole (only about 3.5x3.5ft). Then I cribbed in the hole with old cedar fence slats to help prevent the inevitable ground cave-in that we often see with soil melt and rains in Alaska. Then, I pieced the outhouse together, with the frame sitting on small pavers.

I used a combo of T&G pine and cedar for the walls. I used metal for the roof. As I built this in January and February over several weekends (in Alaska), it was very cold and I would take the pieces inside and paint/stain them. As such, this basically took me all winter from start to finish. It doesn't take that long if you build it on site in warm weather. Once transported to the cabin site, it took parts of 3 weekends to get it in place and useable, including site prep. I've still got a little touch-up work to do (e.g., window for light in winter and bird block to keep the spring and summer nesters out). I put some anti-slip tape on the frame so that I don't slip on the frame base.

There is some waste wood if you follow the plans directly (especially 2x6), but I am using that to build a small firewood cover at home. This was not an inexpensive outhouse even without pandemic prices (I could have chosen a less expensive siding), but I wanted a nice outhouse and I'm very pleased with the outcome, so it was money well spent. Great plans! Thanks.
Built from Plan(s)

Comments

Beachy Storage Sofa

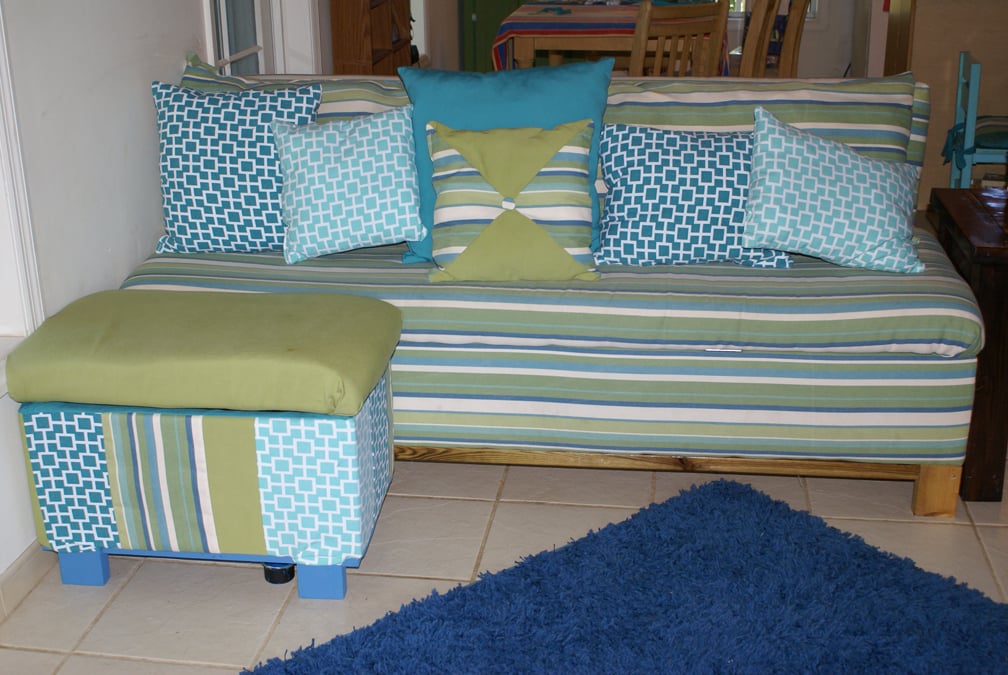
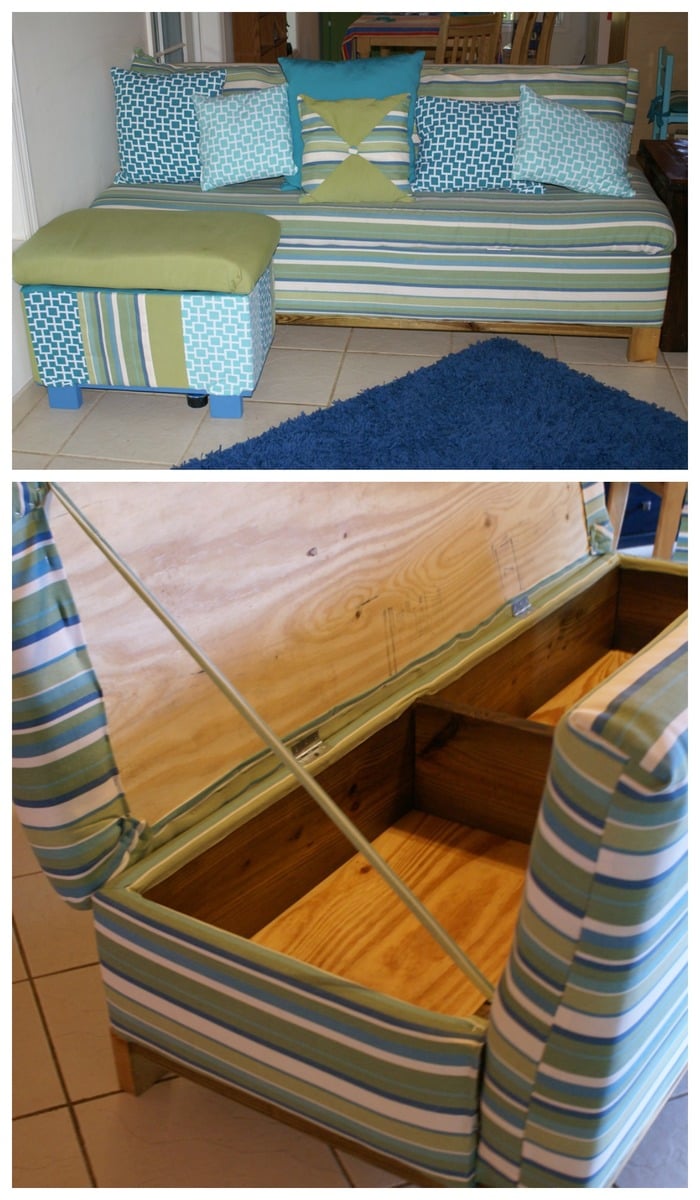
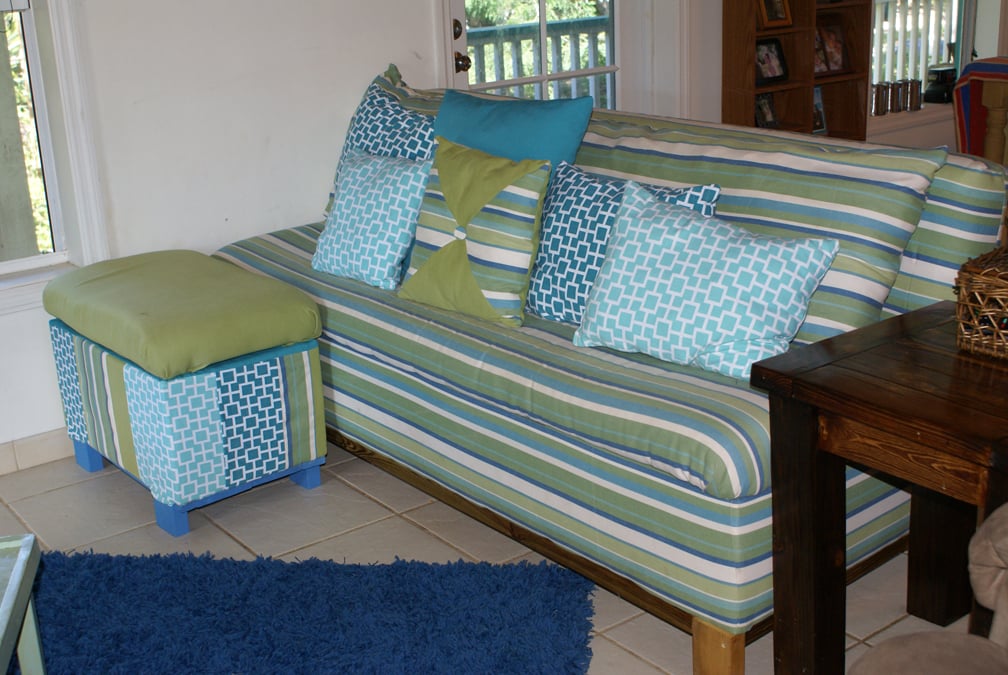
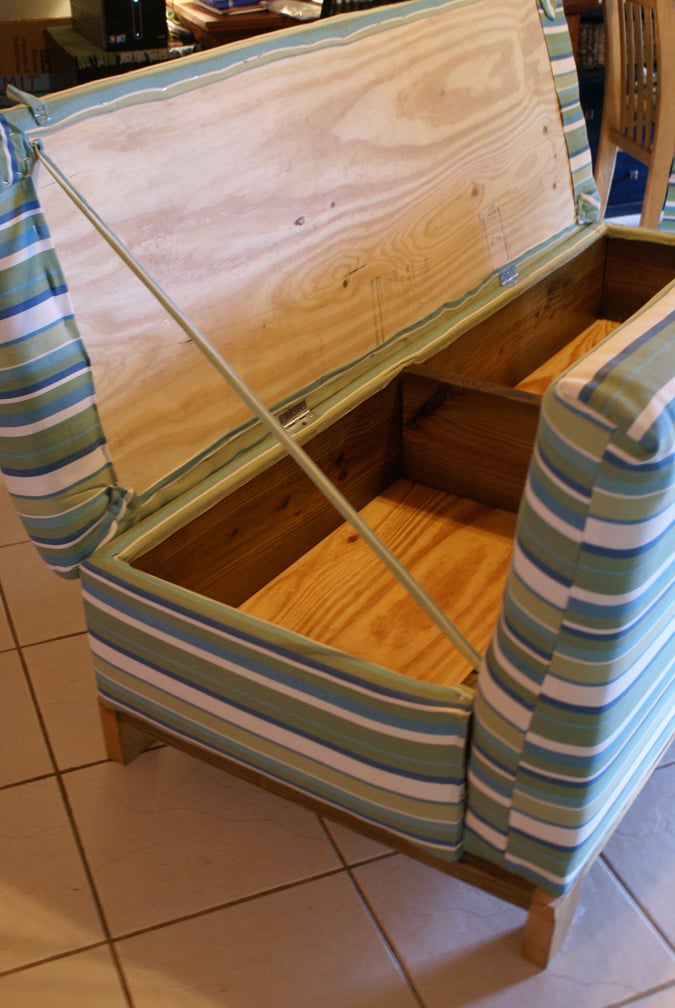
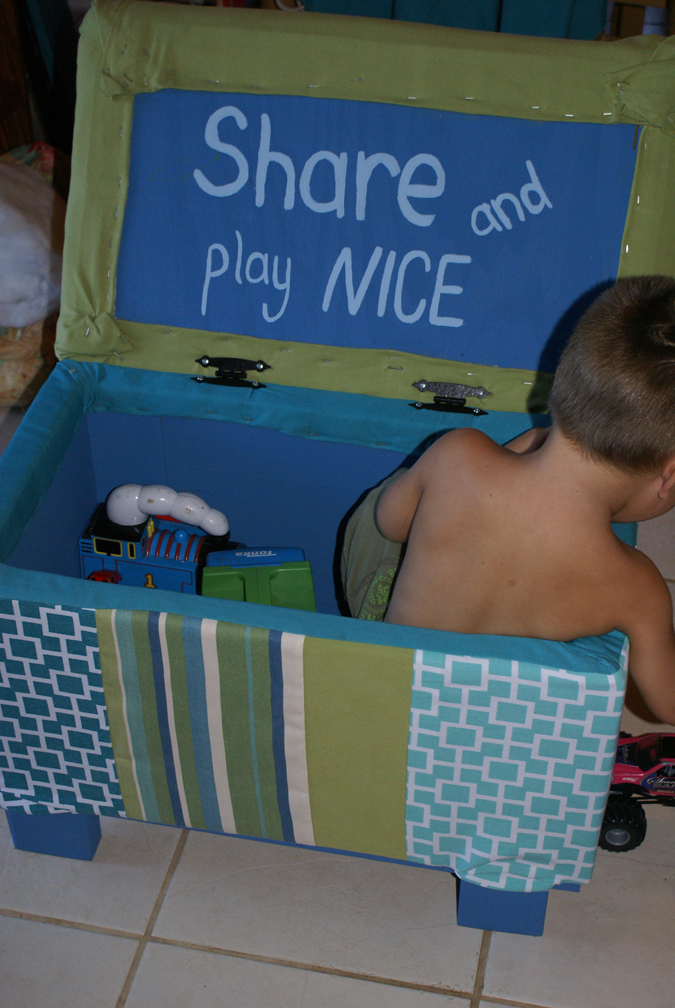
I love my new sofa! It is ten times more comfy than our old one. We live on an island and it was definitely cheaper to build my own sofa than to ship one in and pay duty on it. Thank you Ana for making this possible! Never thought I'd be building my own sofa, but we are so thankful for it. We even threw together our own little ottoman/toy box to go along with it from scraps...added bonus!


Built from Plan(s)
Estimated Cost
Total for everything probably about $500 ( a little higher costs for the wood here on the island, in addition to the other materials)
Estimated Time Investment
Weekend Project (10-20 Hours)
Finish Used
Clear Satin Poly finish on the parts of the wood that are still visible after the fabric goes on.
Recommended Skill Level
Intermediate

Comments

Jan (not verified)

Sat, 07/21/2012 - 09:56

this is so amazing! We go through so many sofas, mainly because we buy used, and you never know if they are going to last. This one looks really sturdy, and it could be recovered if the fabric got old, or you just wanted to update. Definitely considering this before we buy another one. And the storage hidden inside makes it even more desirable!! Love the fabric you chose as well.

Kamado table

Submitted by lmarco191 on Sun, 05/16/2021 - 14:47

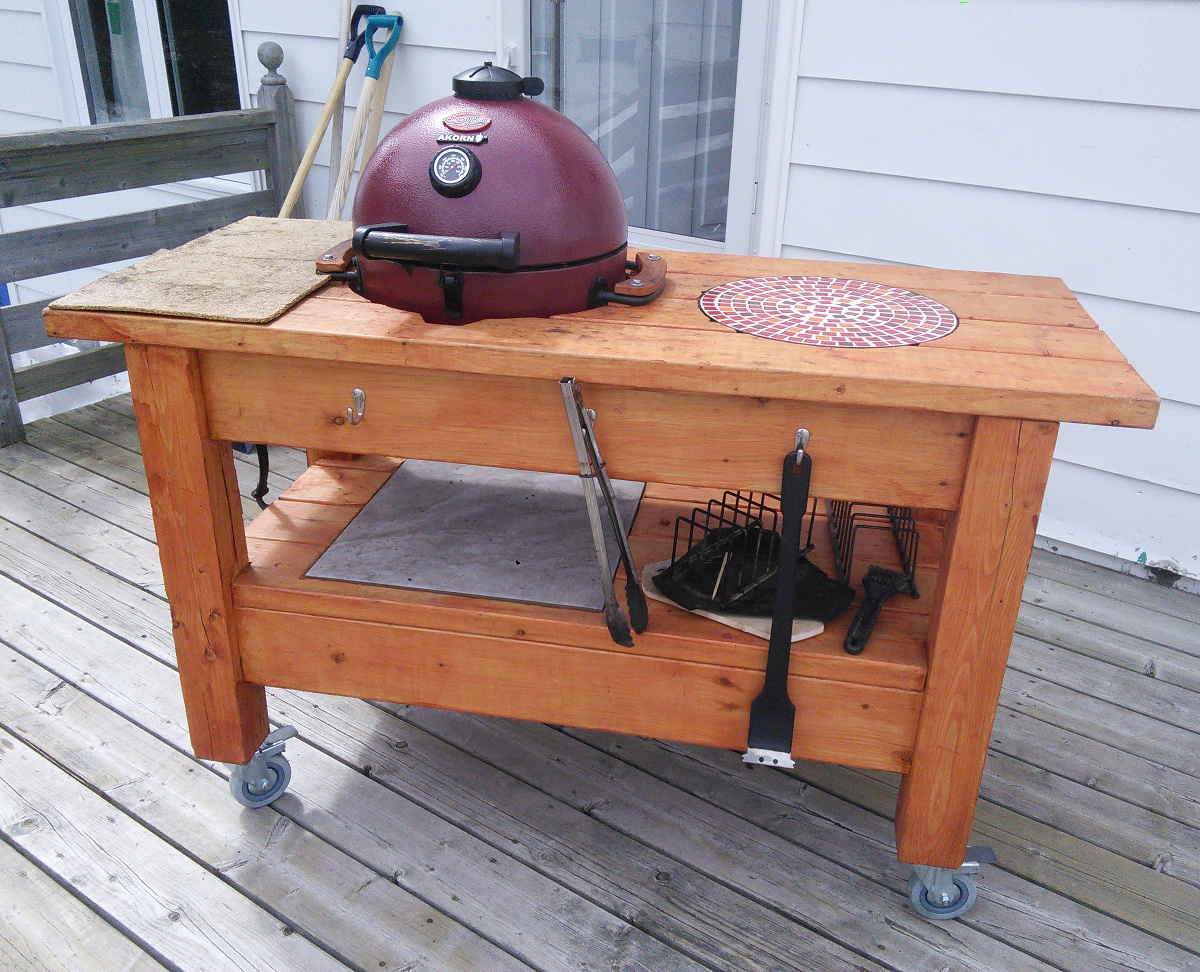
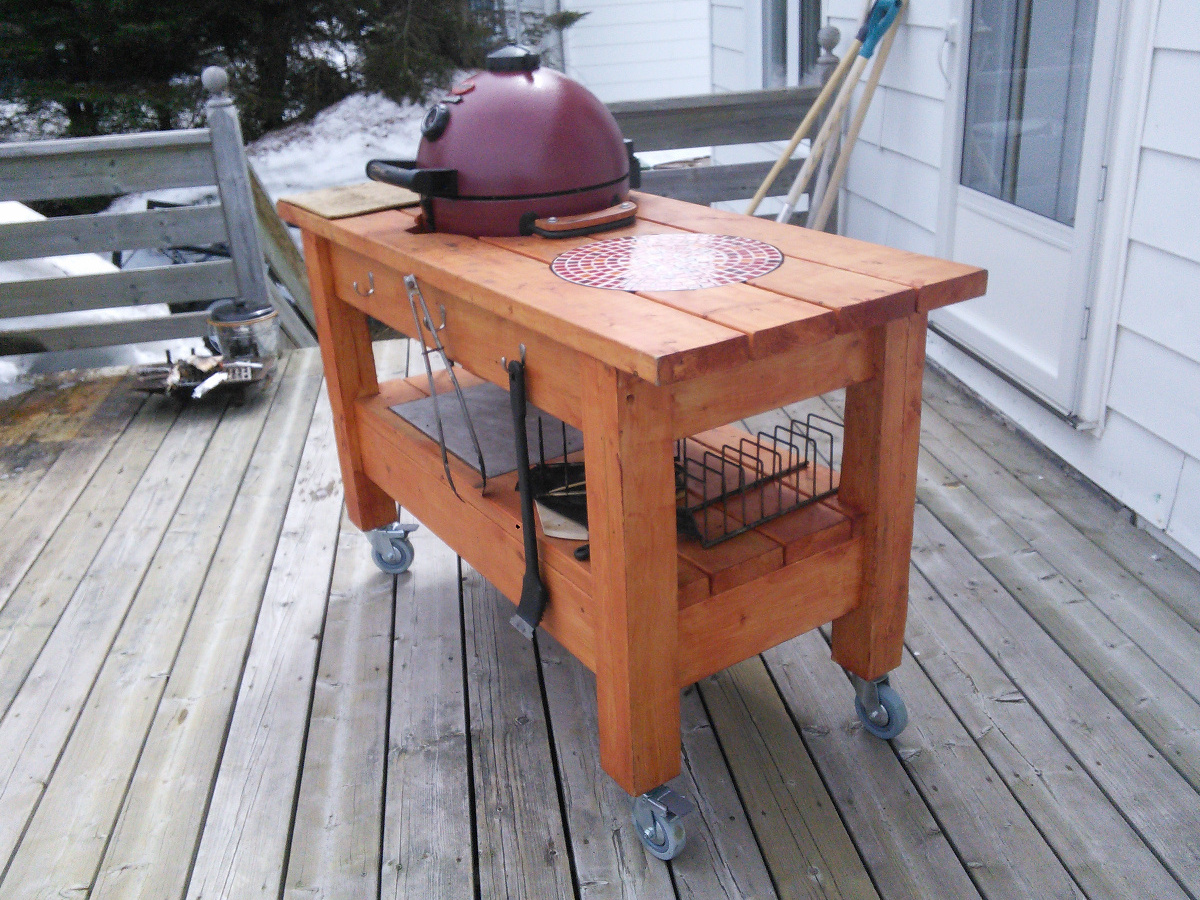
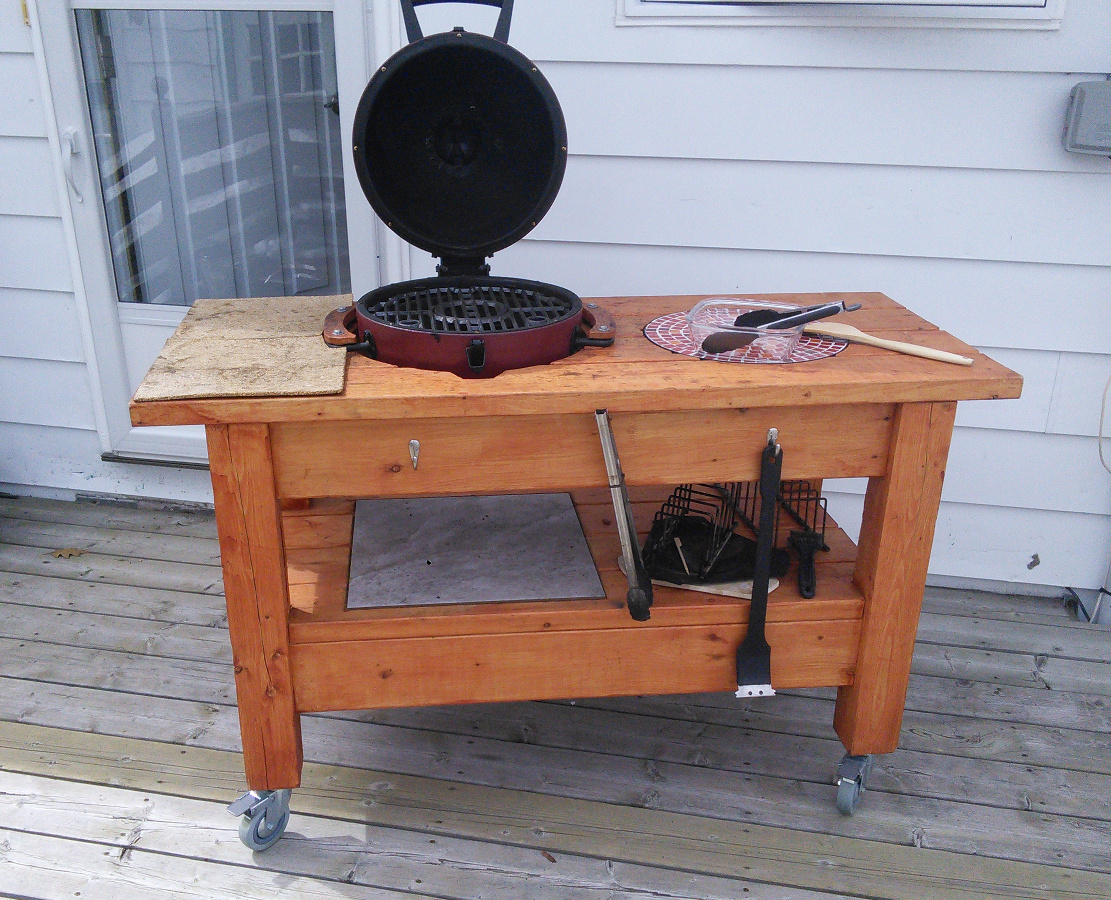
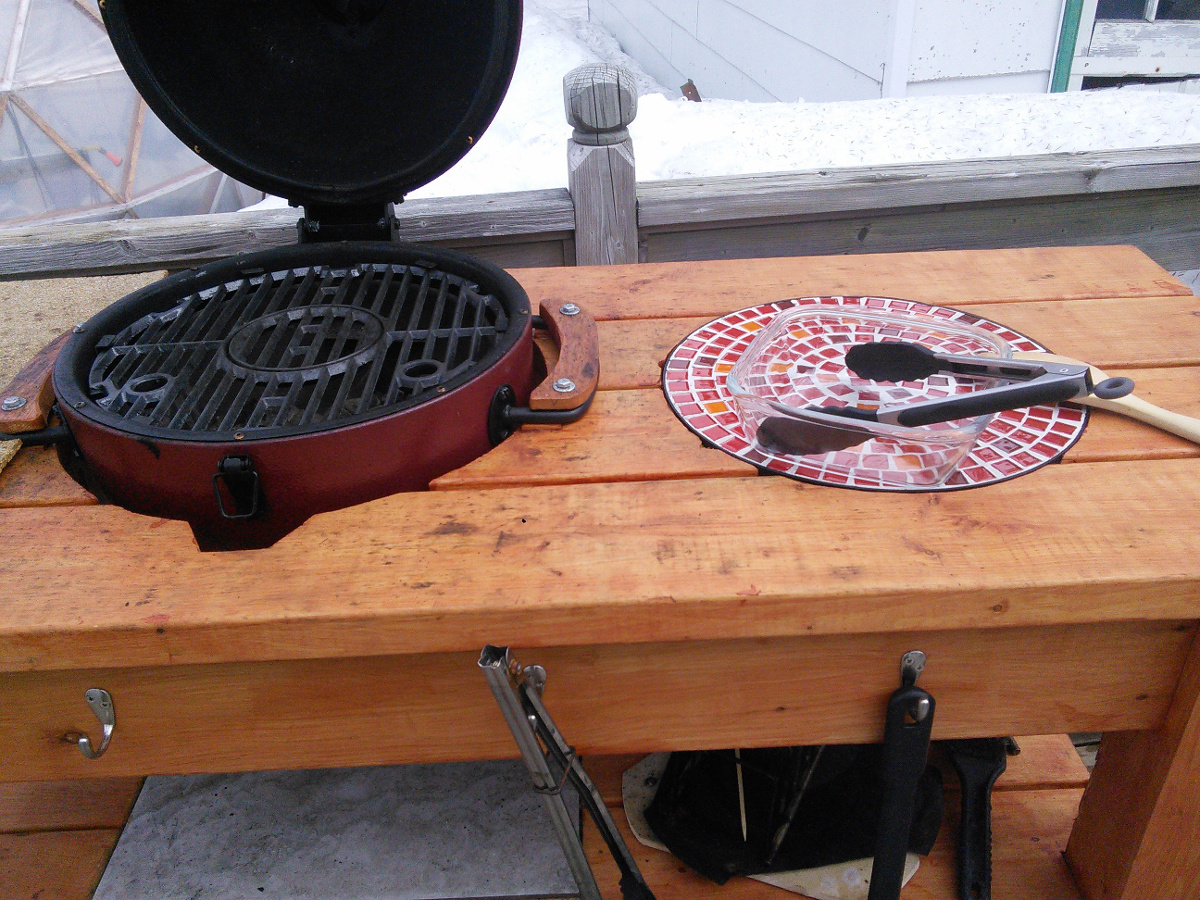
The table assembly was Inspired by farm table and workbench plans. It was built from construction grade untreated 4x4 and 2x6 and assembled using Kreg pocket screws and glue. Finish is semi-transparent wood stain. Rather heavy, the table have locking wheels to help move it. The lower shelf is used to store accessories.
The small kamado is just the right size for two people. I added a large ceramic tile under the firebox plus a small inlay next to the grill. That was the top of a small patio table. A few hooks were added as a final touch.

We built it last year; it gets a lot of use as a grill, smoker, bread and pizza oven.

We are very satisfied with the outcome. Many thanks for the plans and inspiration.

Built from Plan(s)
Estimated Time Investment
Week Long Project (20 Hours or More)
Finish Used
Semi transparent wood stain
Recommended Skill Level
Intermediate

Comments

Jacob1234

Mon, 08/02/2021 - 23:34

Your grill is very beautiful, but I prefer cooking in the kitchen, I will explain why, I recently read a lot of Kitchenotic.com here, what connects me and the kitchen most of all is the answers to my any questions, no matter how stupid they are and the answers were always correct

Table and chairs

Submitted by Anonymous (not verified) on Thu, 08/08/2019 - 09:57

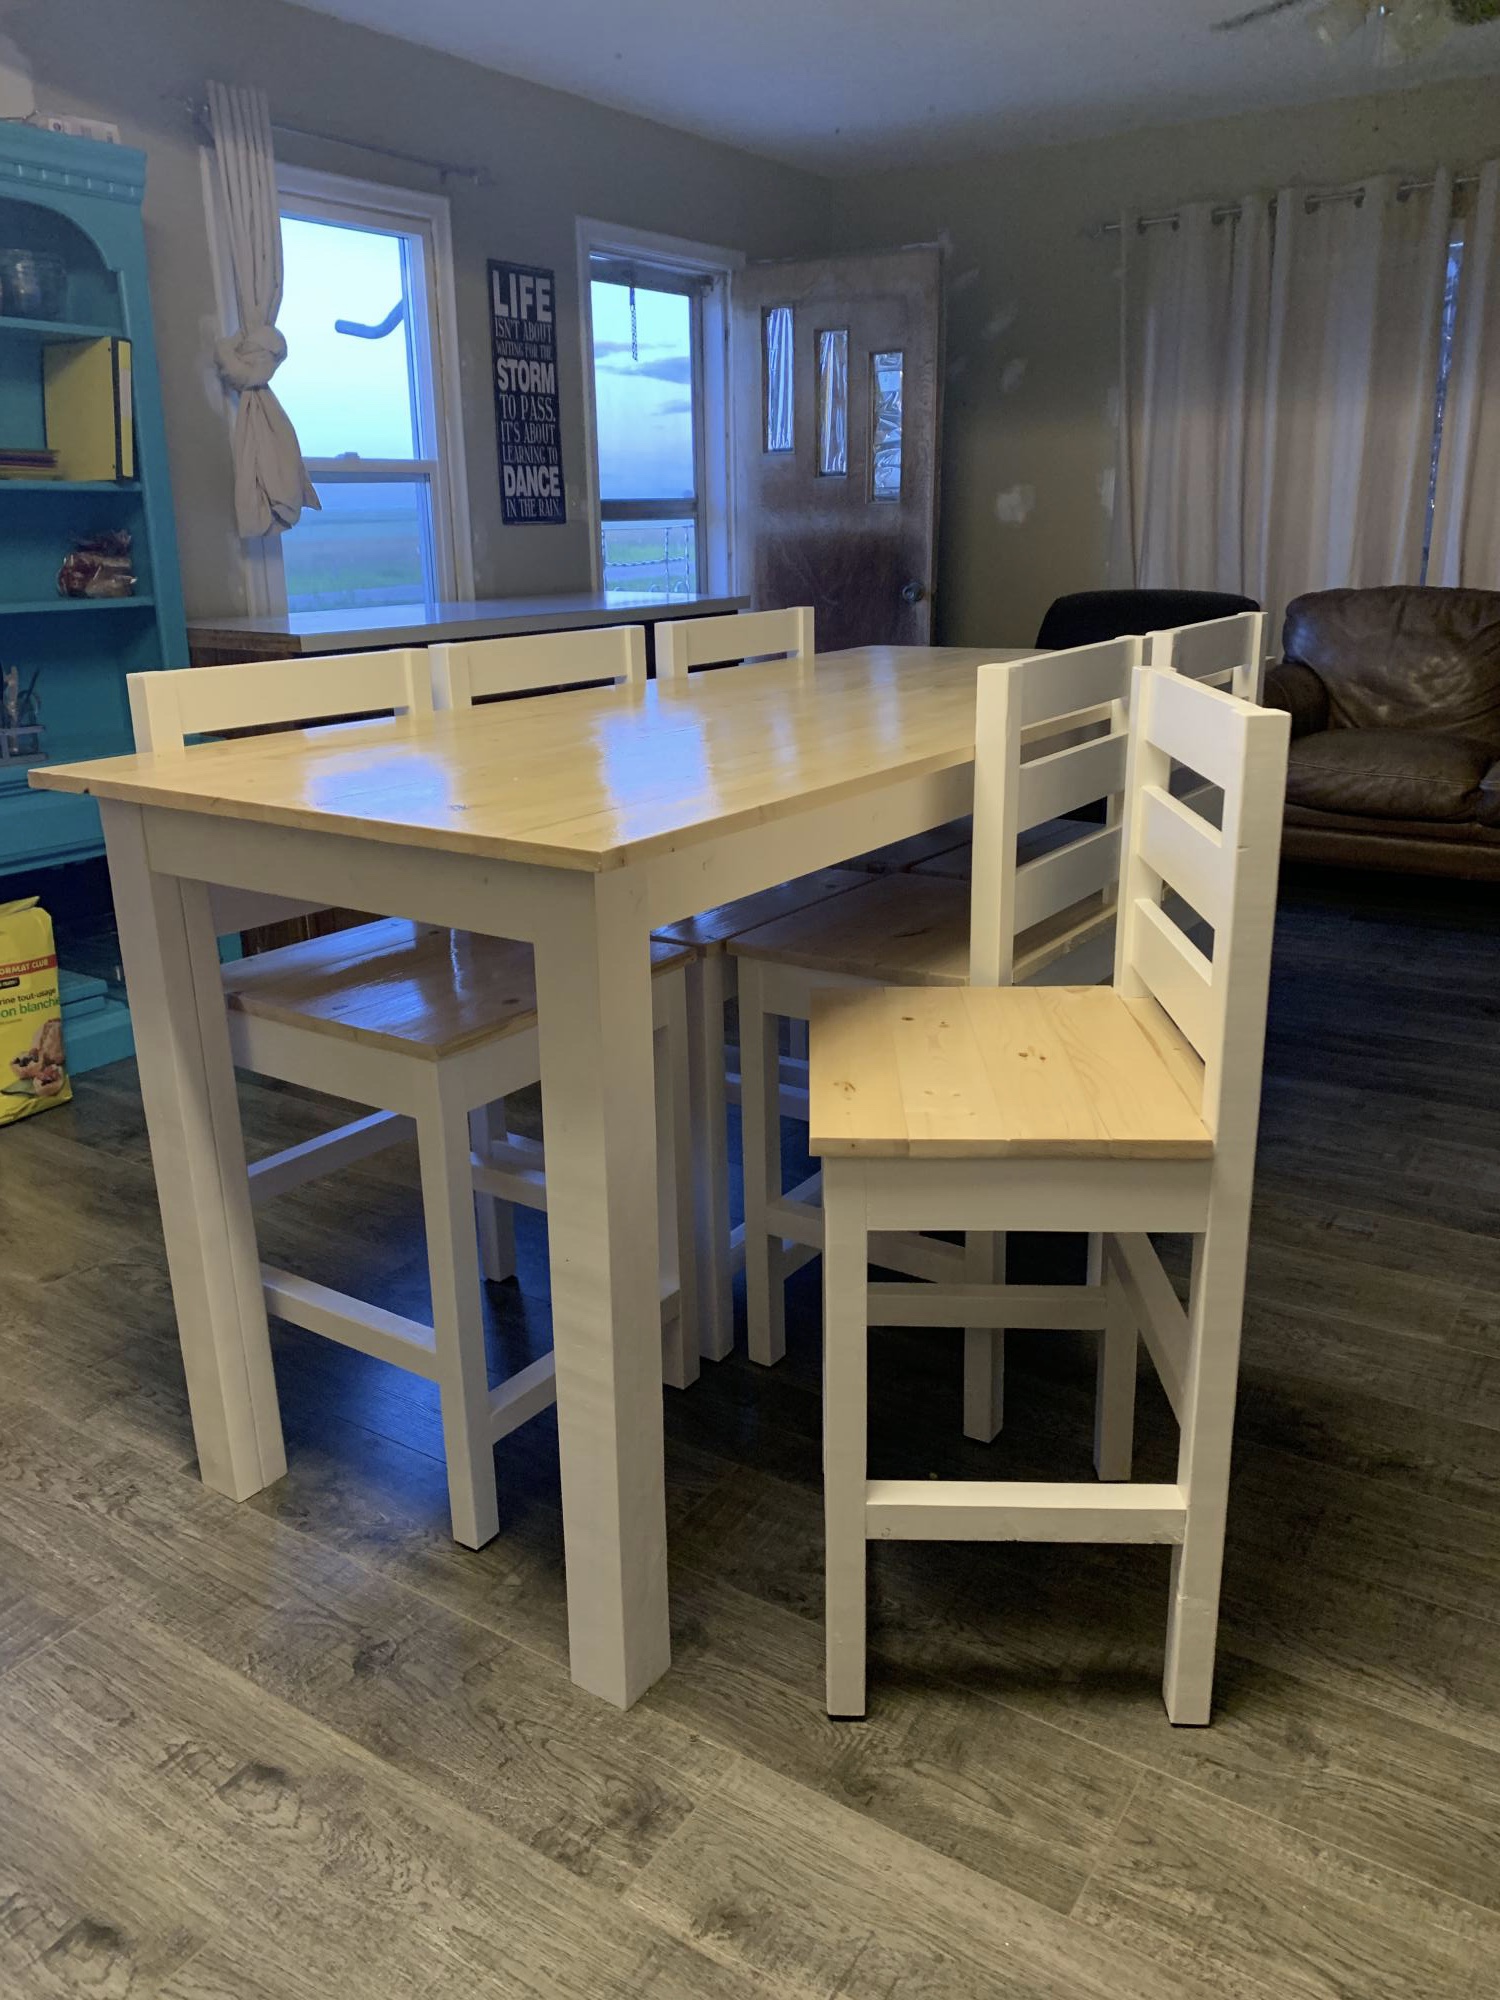
When we took the wall out from between the living room and kitchen in our small farmhouse, we found that our tiny table just didn’t work and we definitely needed more space at the table with the kids growing. So this is what I built. I wanted it counter height so I can have extra working space in the kitchen during canning and baking. I love how versatile it is in our space as well. We did cut down the backs of the chairs because it was too tall and overpowering in the small space. I also didn’t account for the seat length and wanted the whole chair to pushed up right to the table, so we adjusted the side measurements and made three of the chair seats one board smaller. They are perfect for the kids. Now on to the cabinets and painting the walls!

Built from Plan(s)

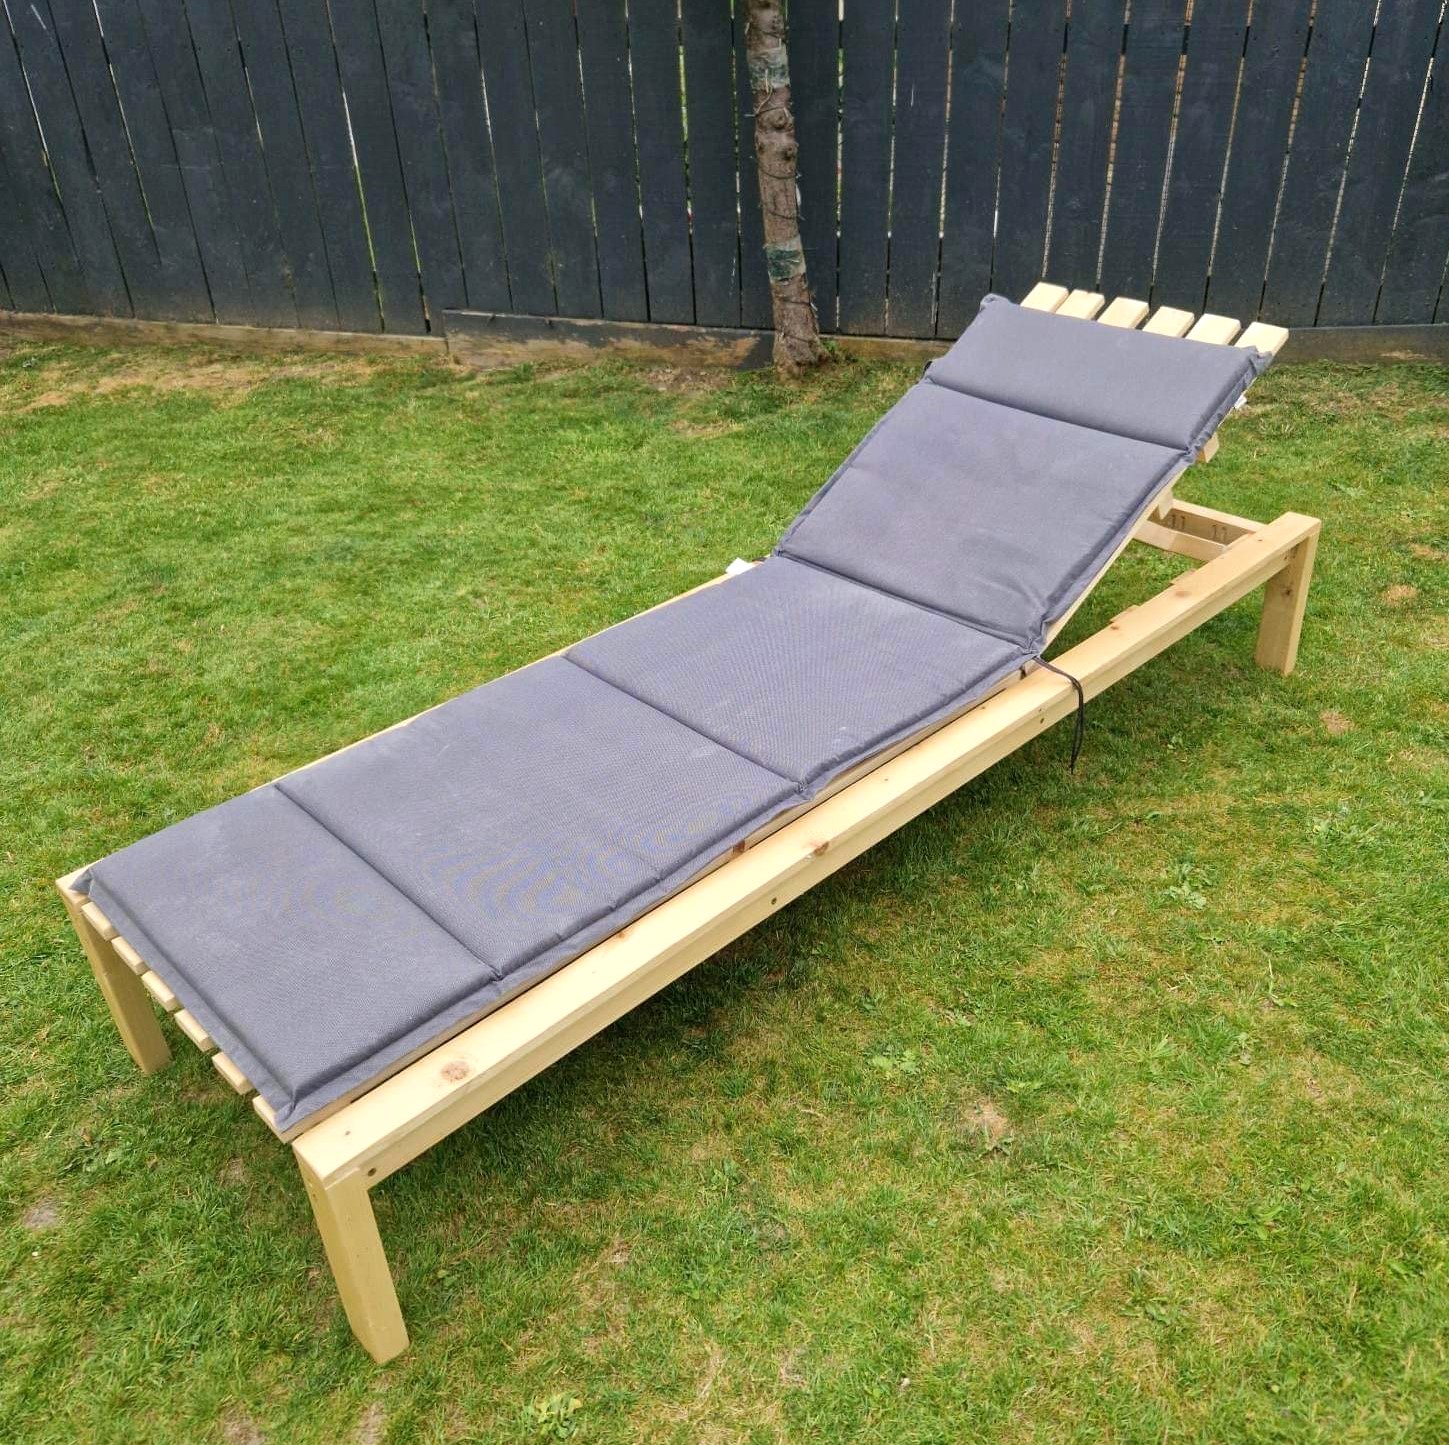
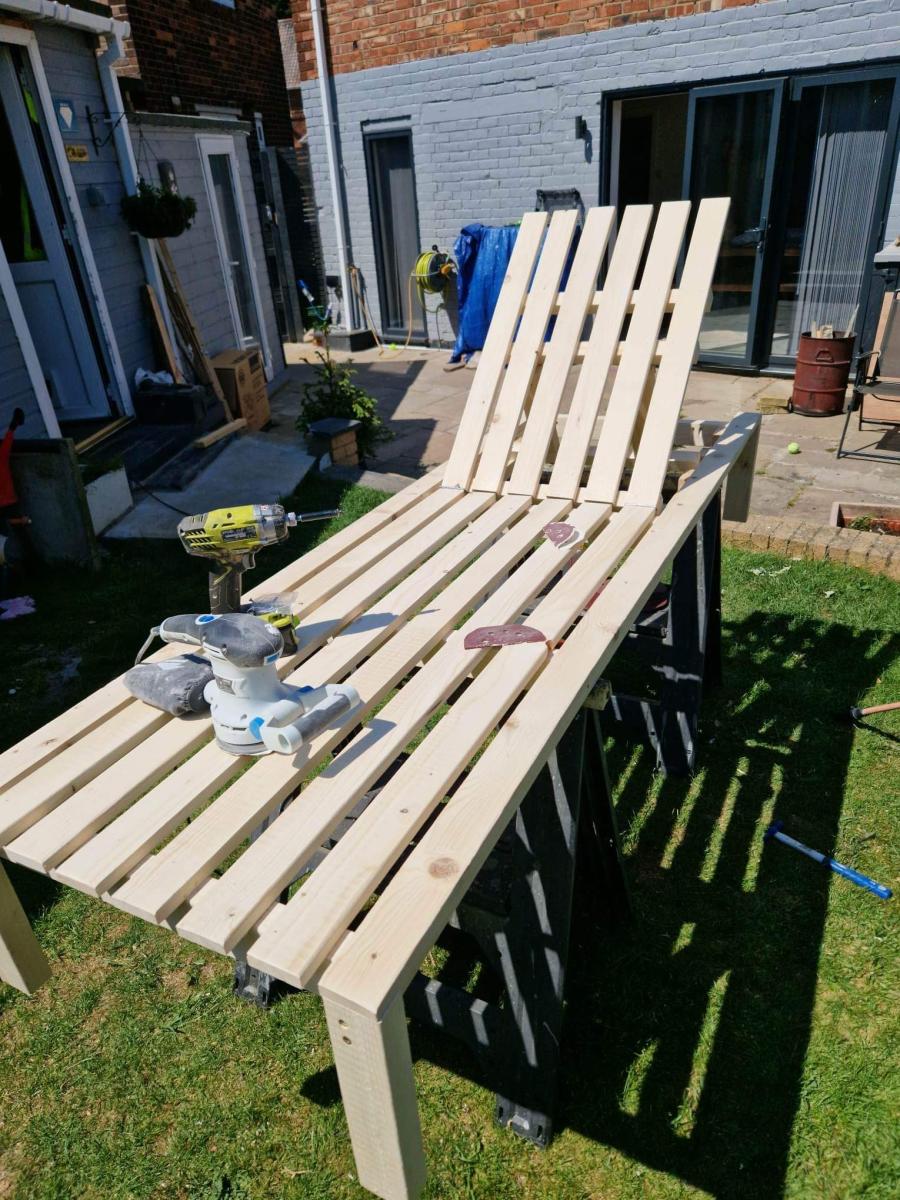
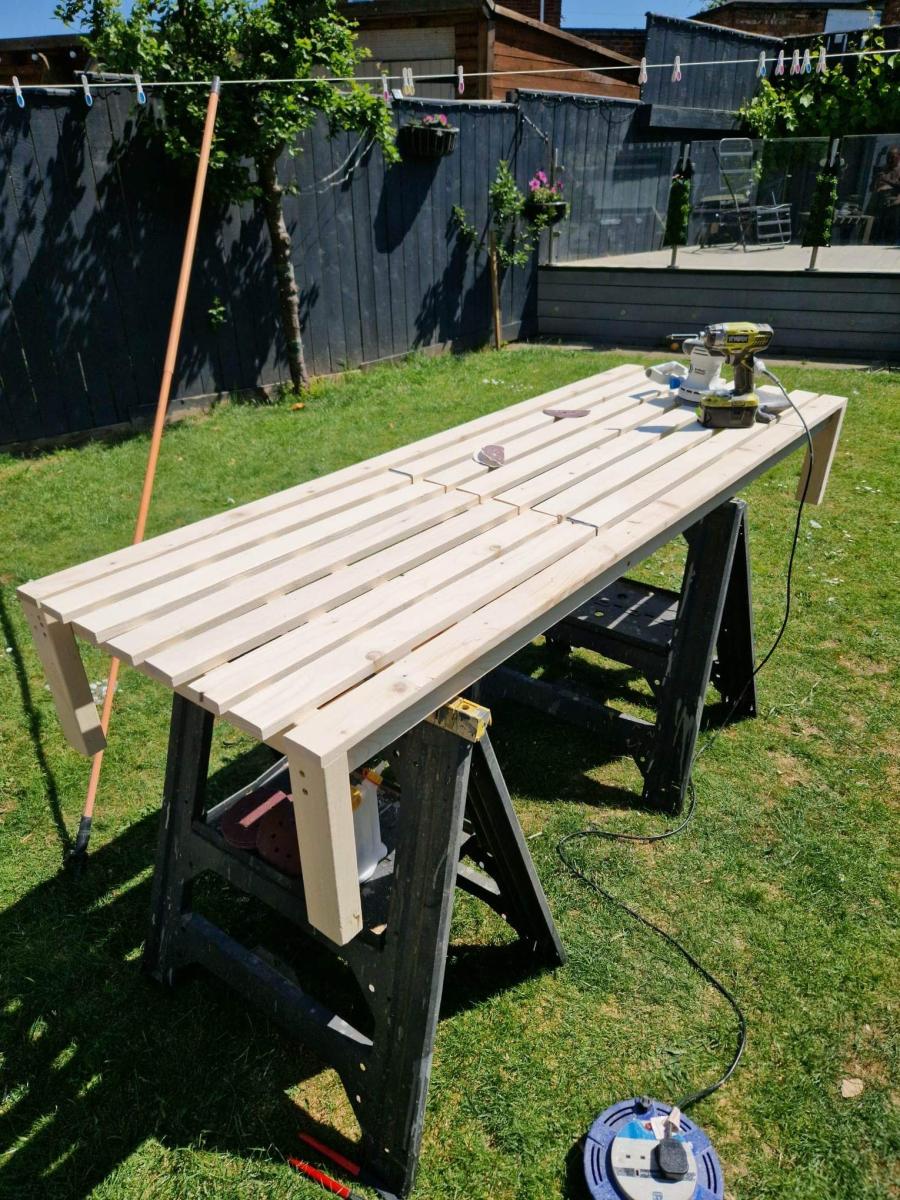
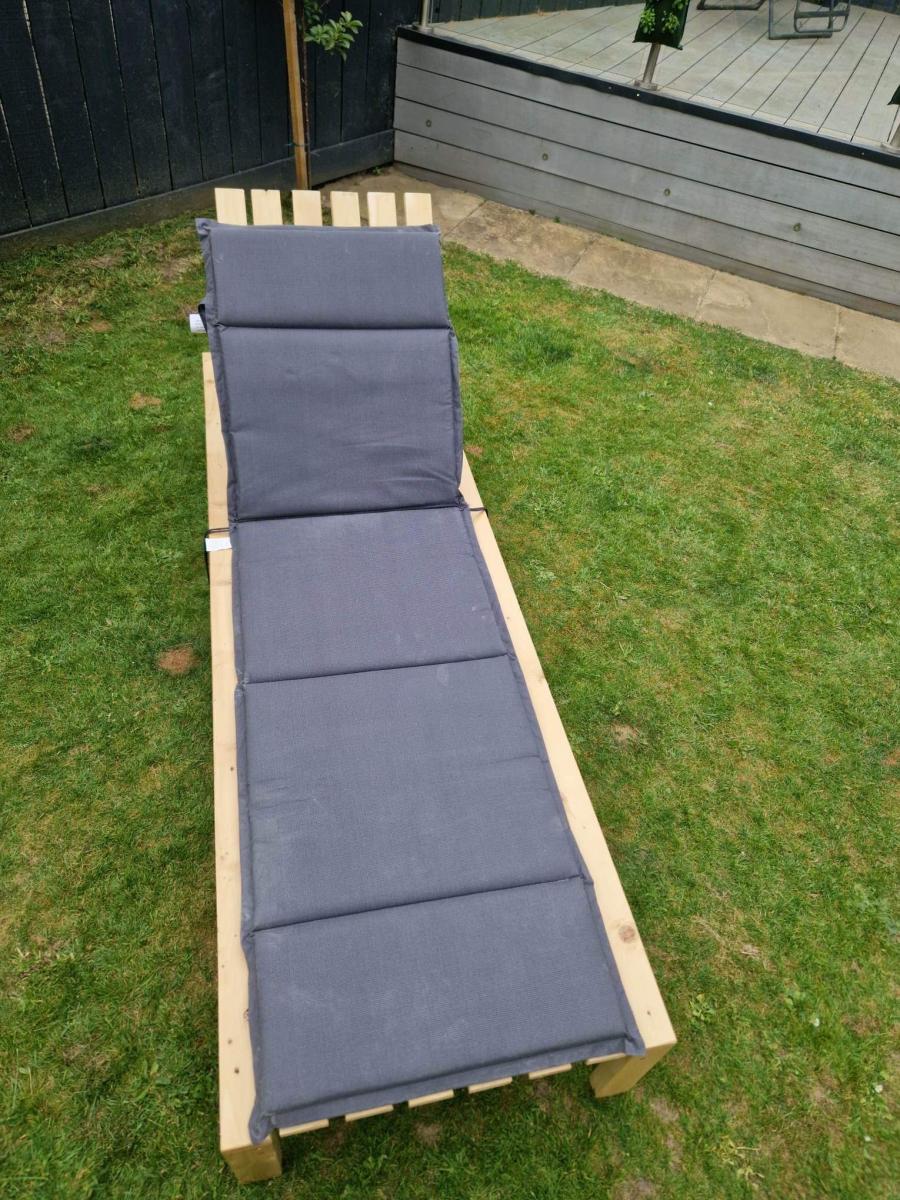
Modern Chaise Lounge

Submitted by Anonymous (not verified) on Sat, 07/08/2023 - 10:13

Modified lounger, made from 75mm x 38mm (cls) timber, sealed with 3 coats of exterior varnish.

Had great fun making this one, already on with making my second lounger.

A bit of wood

Main closet

Submitted by Anonymous (not verified) on Sun, 10/27/2019 - 19:23

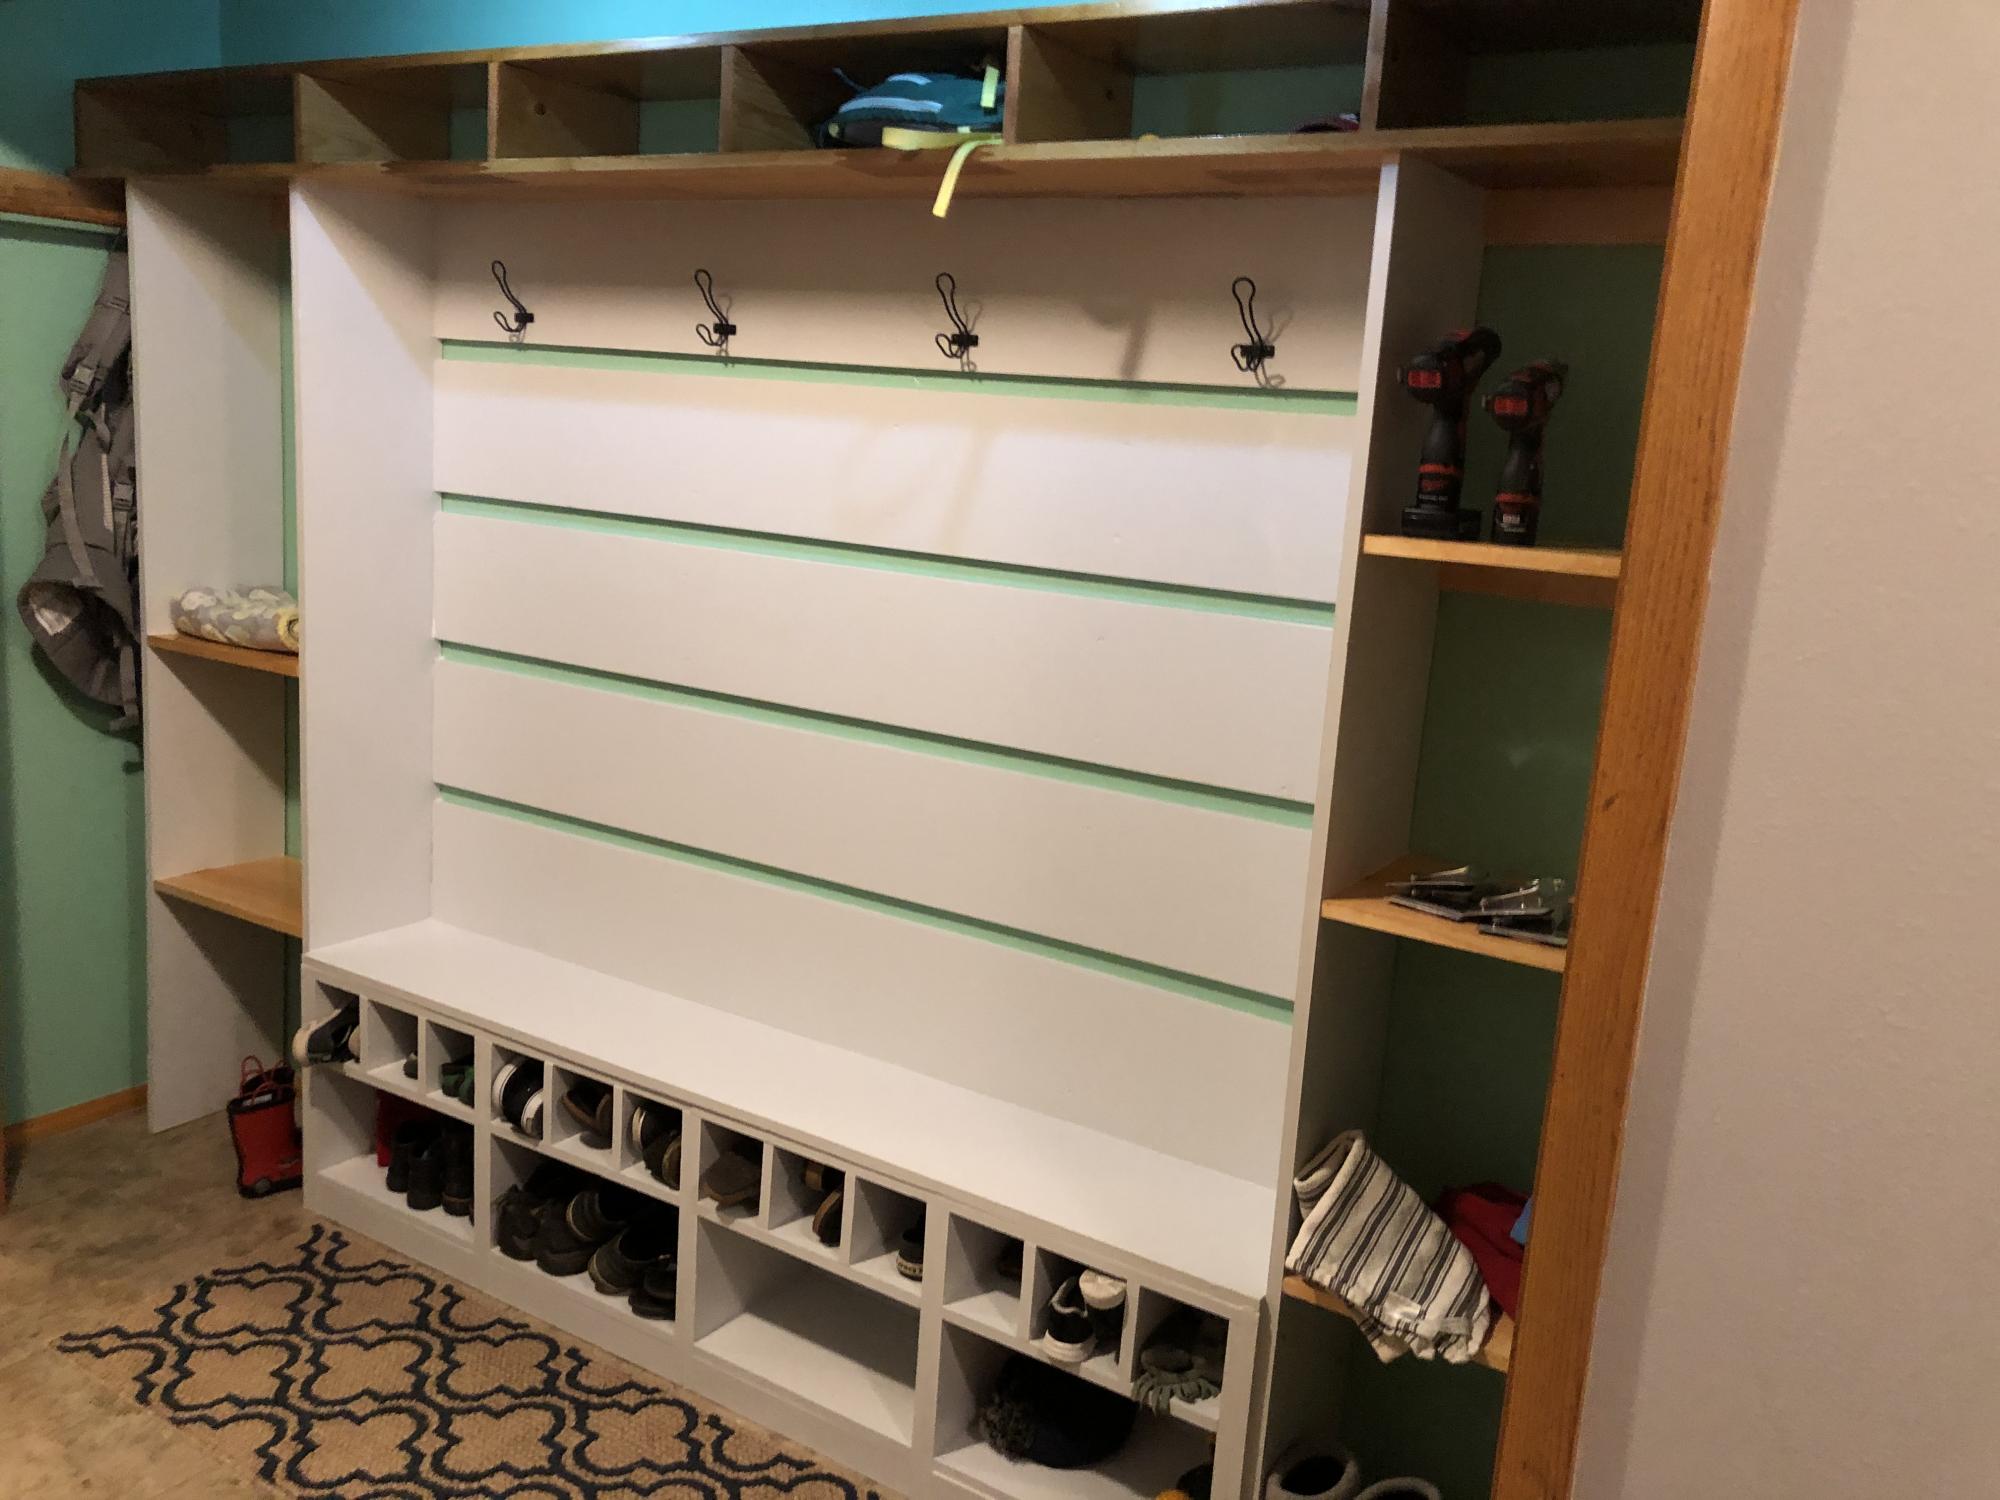
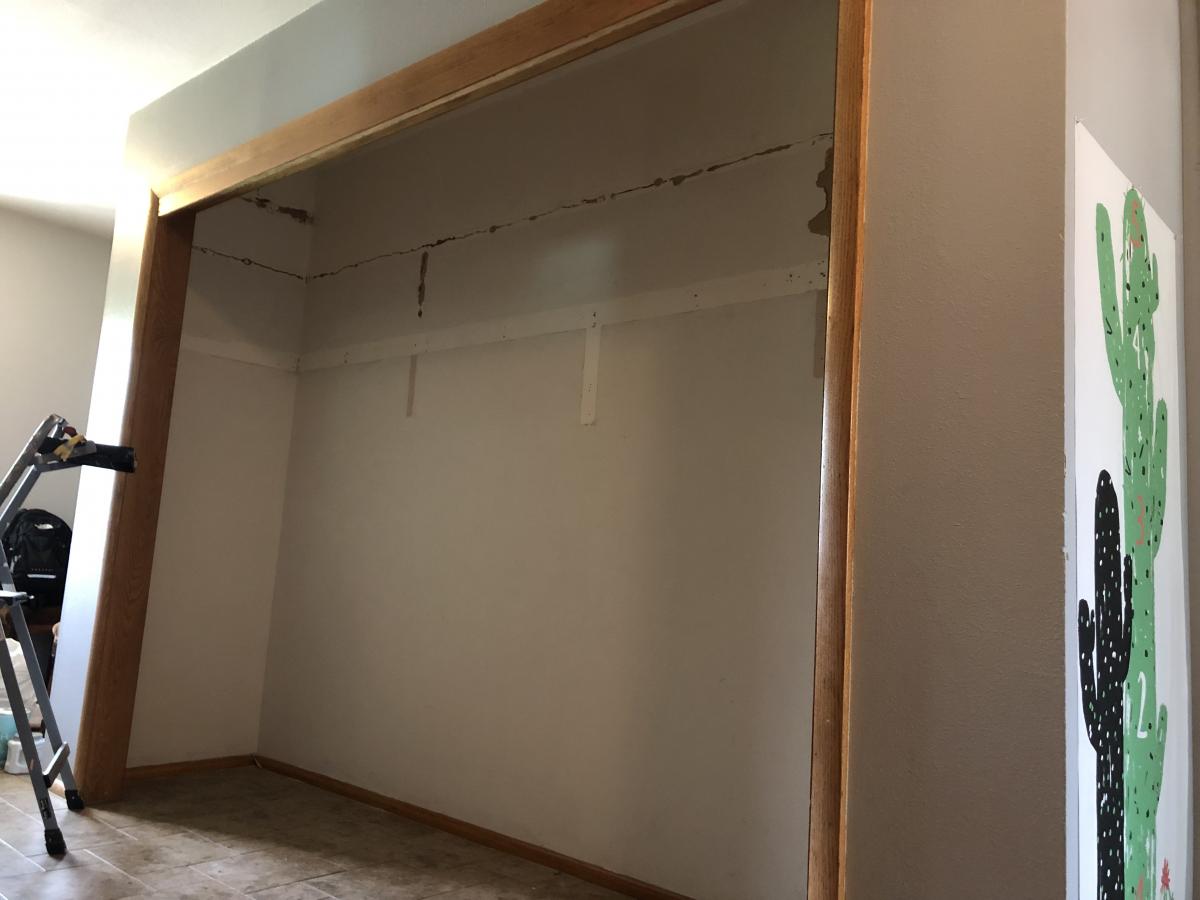
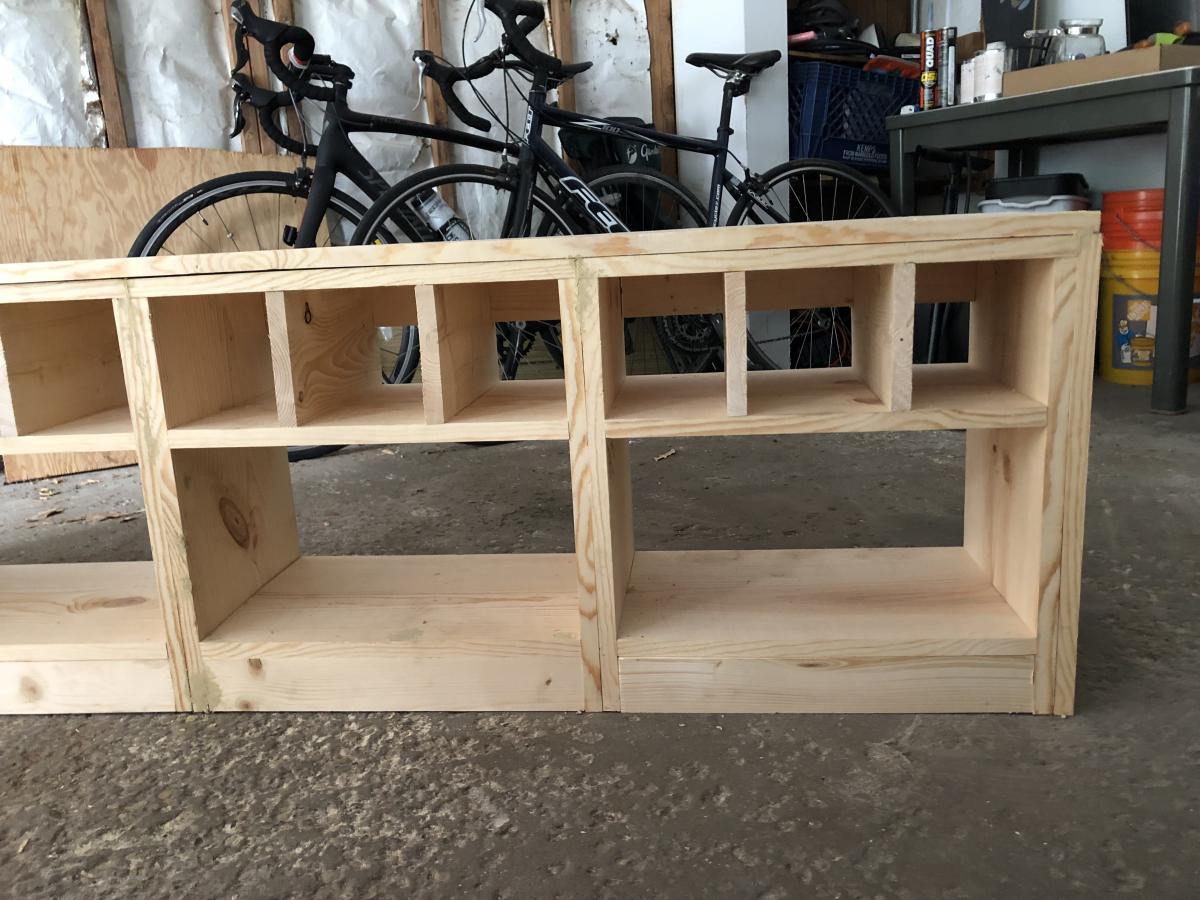
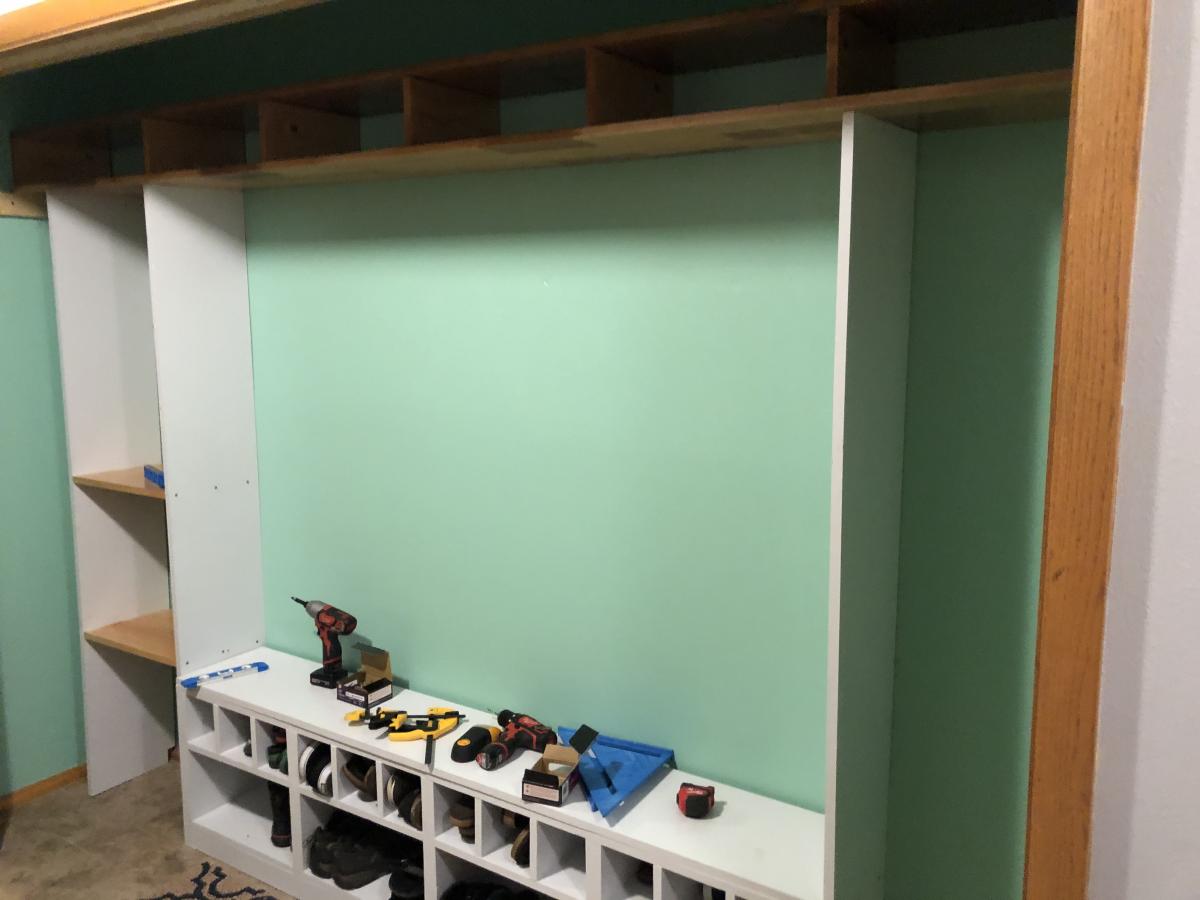
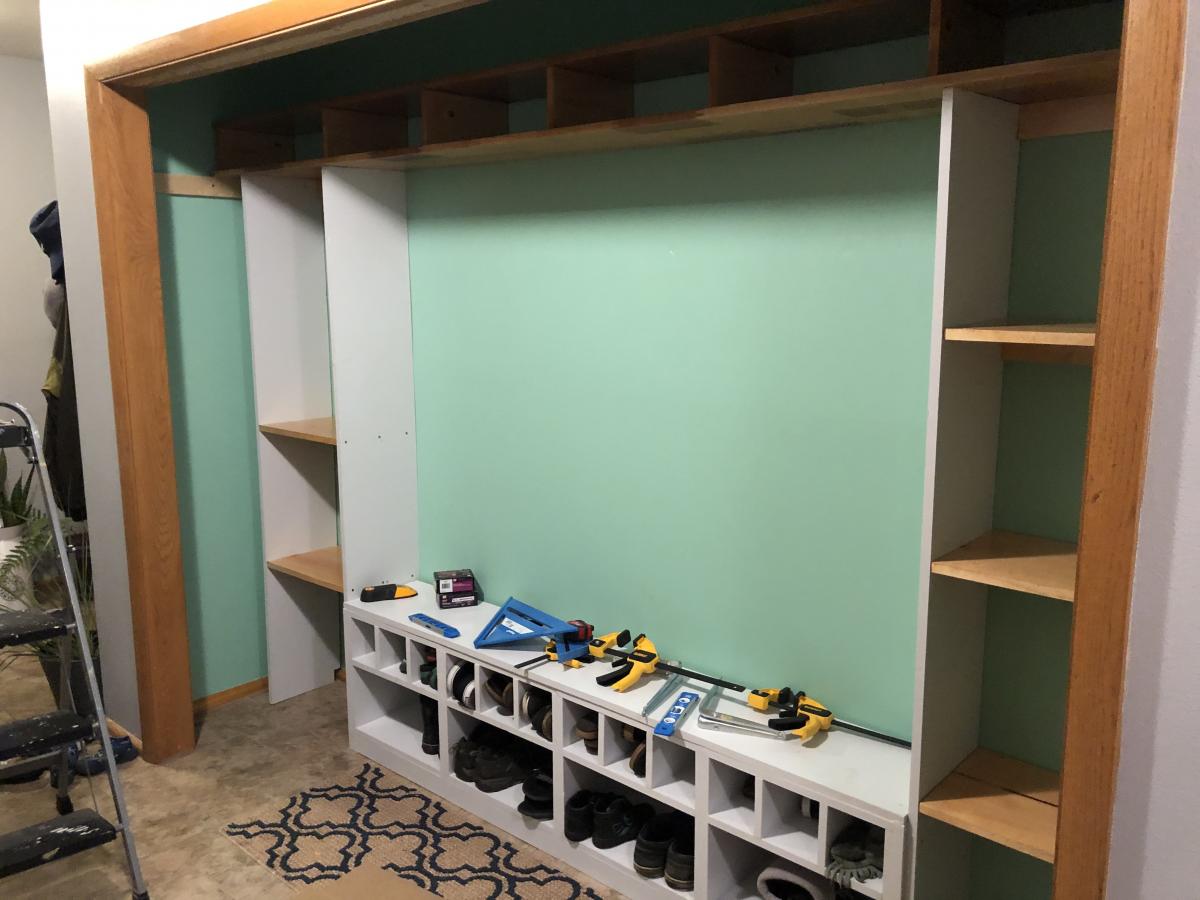
10 ft closet that had a lot of space but little organization. First attempt at building anything. Built the bench first in four different sections then attached together. Closet already had two long 10 ft boards so just added vertical dividers to match the cubbies for each person. Added shelving on sides using the concepts of making the original bench. Our baseboards have tile that was installed up to it so I didn’t attempt to remove them but notched out the backs of the wood to fit around. On the side left about 6 inches and installed the rod front to back using C hooks to hang things from them. Will be adding lots more hooks on the sides as well. Used a couple different plans but ended up making changes along the way based on my skill level and what I thought would work best for the family.

Estimated Cost
250
Estimated Time Investment
Week Long Project (20 Hours or More)
Finish Used
Painted sections are Sherwin Williams Olympus white and stained shelves are classic oak
Recommended Skill Level
Beginner

Barnhouse Door Cabinet

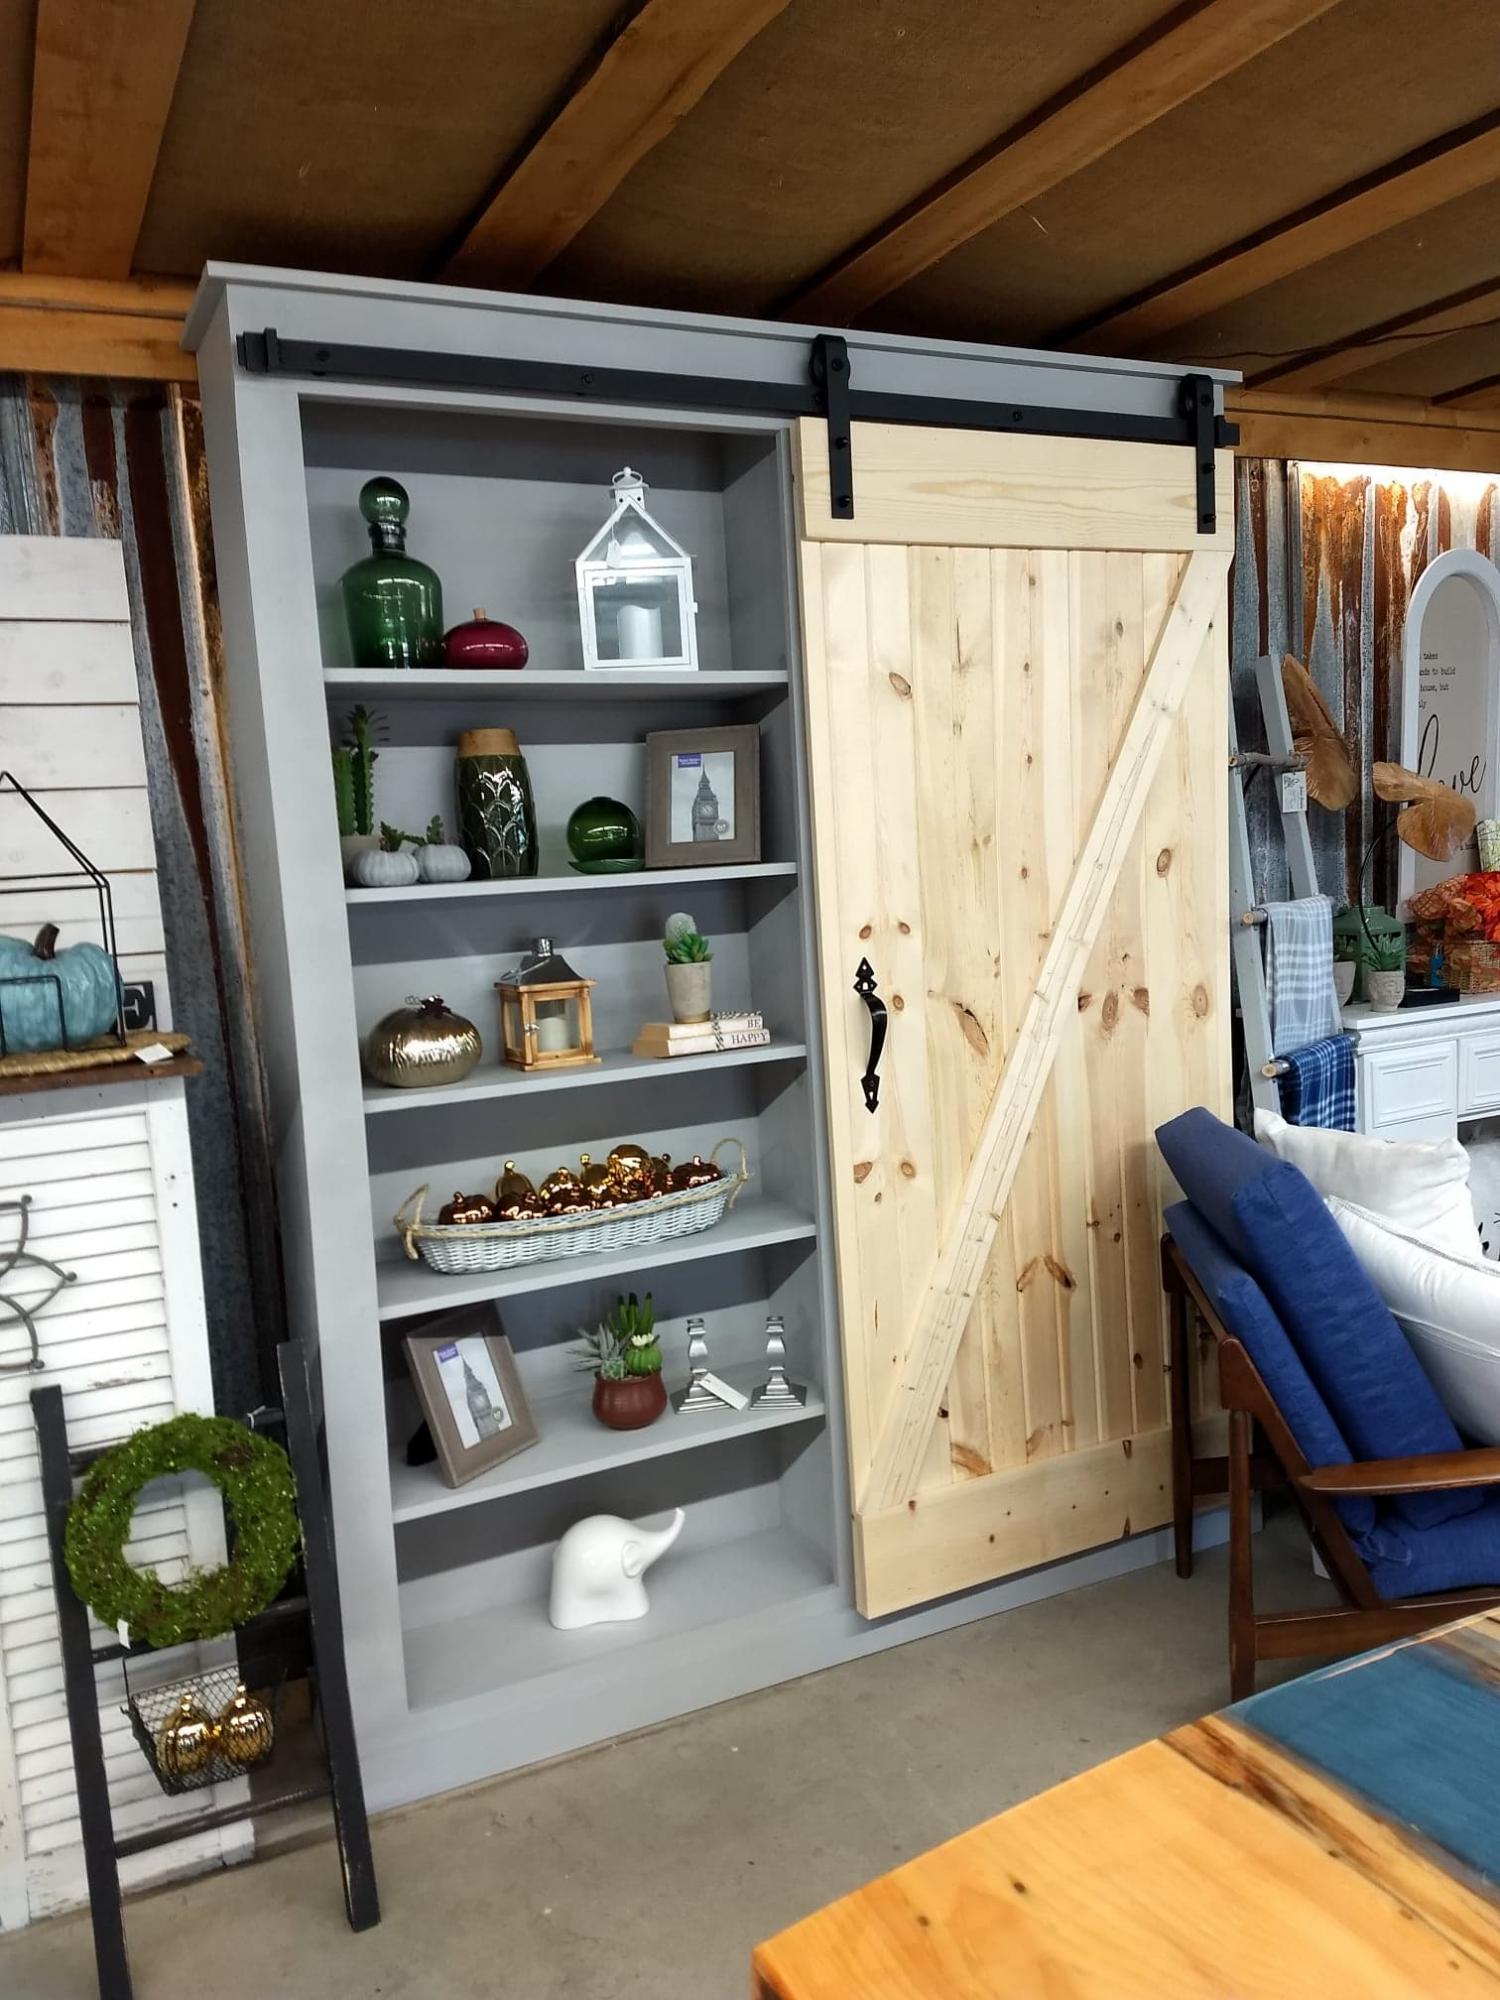
I began woodworking over the last year, having had no real previous experience, and fell in love. I work full time as a branch manager for the local Secretary of State, and have to fit my new hobby in where I can. Although I stumbled my way through the first few projects with my husband's help, I have grown both in knowledge, and confidence with each new creation. When I first started out I was nervous using cutting tools, relying solely on his assistance and focused on the nuts and bolts portion of the plans. However, I am now able to complete even more complicated plans with no assistance at all. Ana White plans are easy to follow and always end in a beautiful piece. The cabinet that I am submitting for this contest is by far my favorite of the pieces I have made so far. I think it turned out gorgeous, and I'm very proud of the work that I was able to do.

Built from Plan(s)
Estimated Cost
$450.00
Estimated Time Investment
Week Long Project (20 Hours or More)
Finish Used
I did a gray chalk paint with a chalk corresponding finish. The door was a satin polyurethane.
Recommended Skill Level
Intermediate
Back