Community Brag Posts

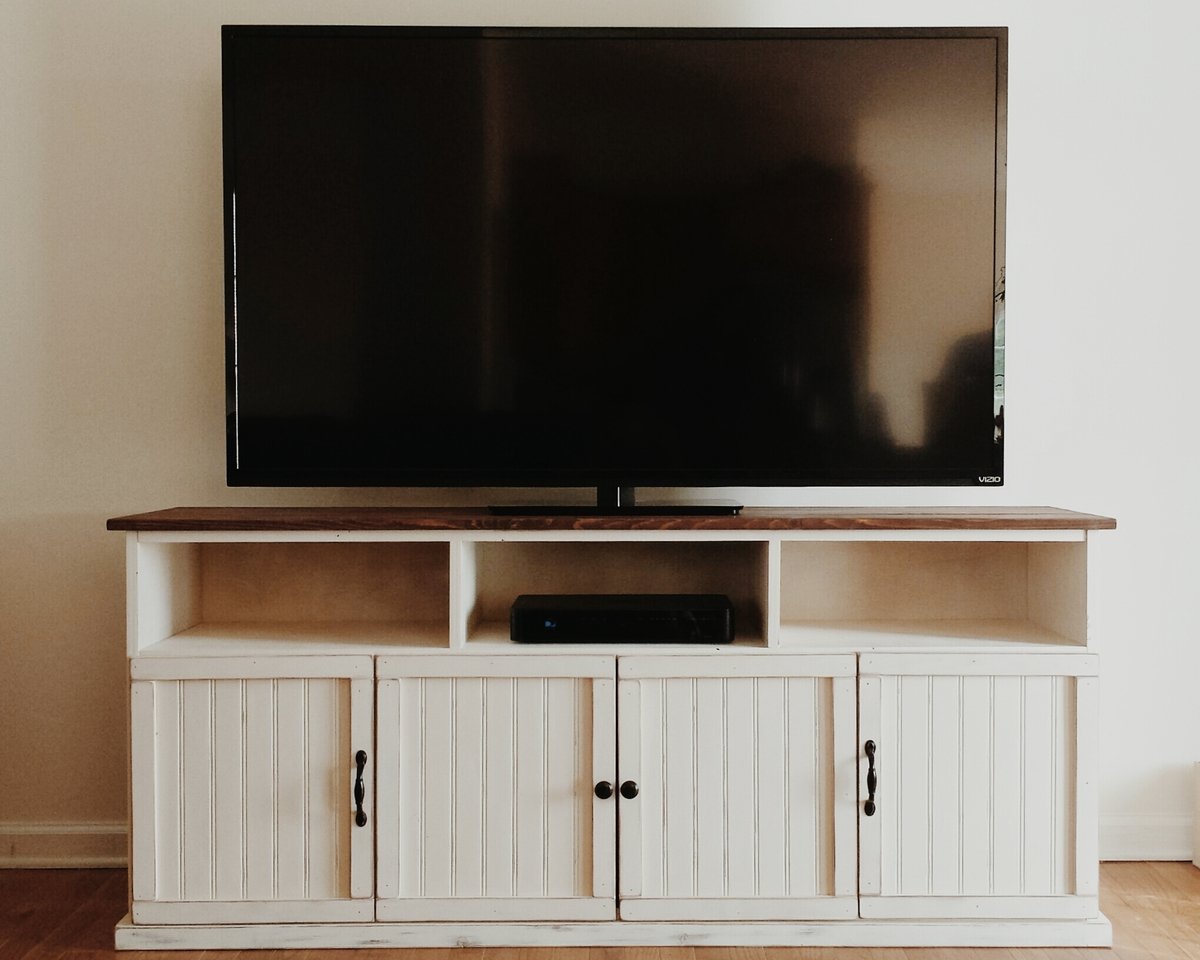
Altered Apothecary Media Console

Submitted by vlilly on Sat, 04/12/2014 - 08:34

I had the wood to make this for about 2 weeks. Started on Tuesday and finished Thursday evening! I wanted the look to be different from the Apothecary look so I made the doors a little different!

Built from Plan(s)
Estimated Time Investment
Weekend Project (10-20 Hours)
Finish Used
Stained all wood with Rustoleum "Carrington" stain, then painted over the bottom part with Rustoleum "Heirloom White" Spray paint. Distressed through the white so the dark stain could peek through.
Recommended Skill Level
Beginner

Comments

jeanniemn

Mon, 04/14/2014 - 17:16

I love this! I just finished putting the frame together but wasn't loving the original door look. Can you tell me how you did the beadboard doors? And what hinges? Thanks!

vlilly

Sat, 04/19/2014 - 08:02

Sure! I just bought a 4'x8' sheet of beadboard from Lowes. I have about half left over. They sometimes have half sheets but didn't when I went. I had them to rough cut it into 20" strips to fit in my car. It came white but I painted over it with Rustoleum Heirloom White spray paint. I bought 2 12ft boards for the frames, I think they were 1/2"x2".. only around $8 per piece and they are stocked vertically at lowes near the beadboard (at the store near me at least!) I cut the beadboard at home and then cut the frame board to fit. I used glue and a brad nailer with 5/8" nails to attach them to the beadboard. My doors had to overlap the plywood since I had the extra shelf that was flush with the rest of the cabinet.. I couldn't inset my doors like she did at Shanty-2-Chic. I bought the same hinges she used, the brand is Liberty and I found them at Home Depot. $5 something for a 2 pack. They are awesome! The doors aren't heavy duty but we didn't need them to be. You could always add a layer of MDF or Lauan if you wanted them to be more sturdy!

I hope this helps.. I'll be glad to answer more questions!

jeanniemn

Thu, 05/01/2014 - 18:28

Thanks!! We are almost done but are stumped by the hinges (I bought the Liberty ones too). Any tips on those? I think we are just over-thinking it, it can't be that hard!!

jeanniemn

Thu, 05/01/2014 - 18:42

Thanks!! We are almost done but are stumped by the hinges (I bought the Liberty ones too). Any tips on those? I think we are just over-thinking it, it can't be that hard!!

pde00311

Fri, 05/02/2014 - 06:53

...has completely stumped me before, and buying the wrong type has halted one of my first projects. Make sure you pick the right hinge for how you want your doors to align. From my experience, HD sells mostly "overlay" and "3/8 offset" hinges, with a small selection of "inset" hinges. These links are to a different hinge manufacturers, but the little pictures/explanations have helped me figure out what type of hinge I need to buy:

http://www.rockler.com/how-to/understanding-hinges

http://www.menards.com/main/store/20090519001/items/media/Millwork/Belw…

(and vlilly, I love the distressed finish on the console above).

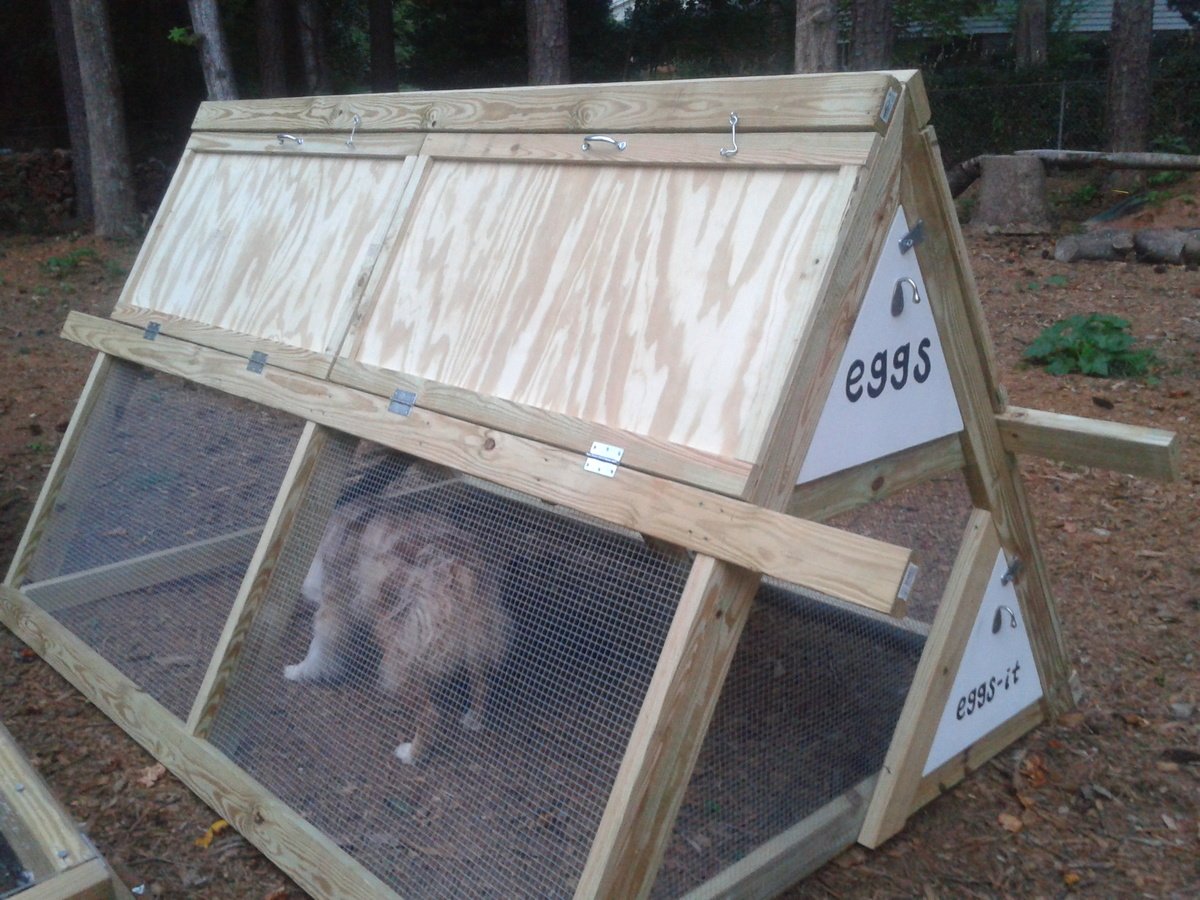
A-Frame Chicken Coop (with modifications)

Submitted by anniejw17 on Mon, 07/02/2012 - 18:39

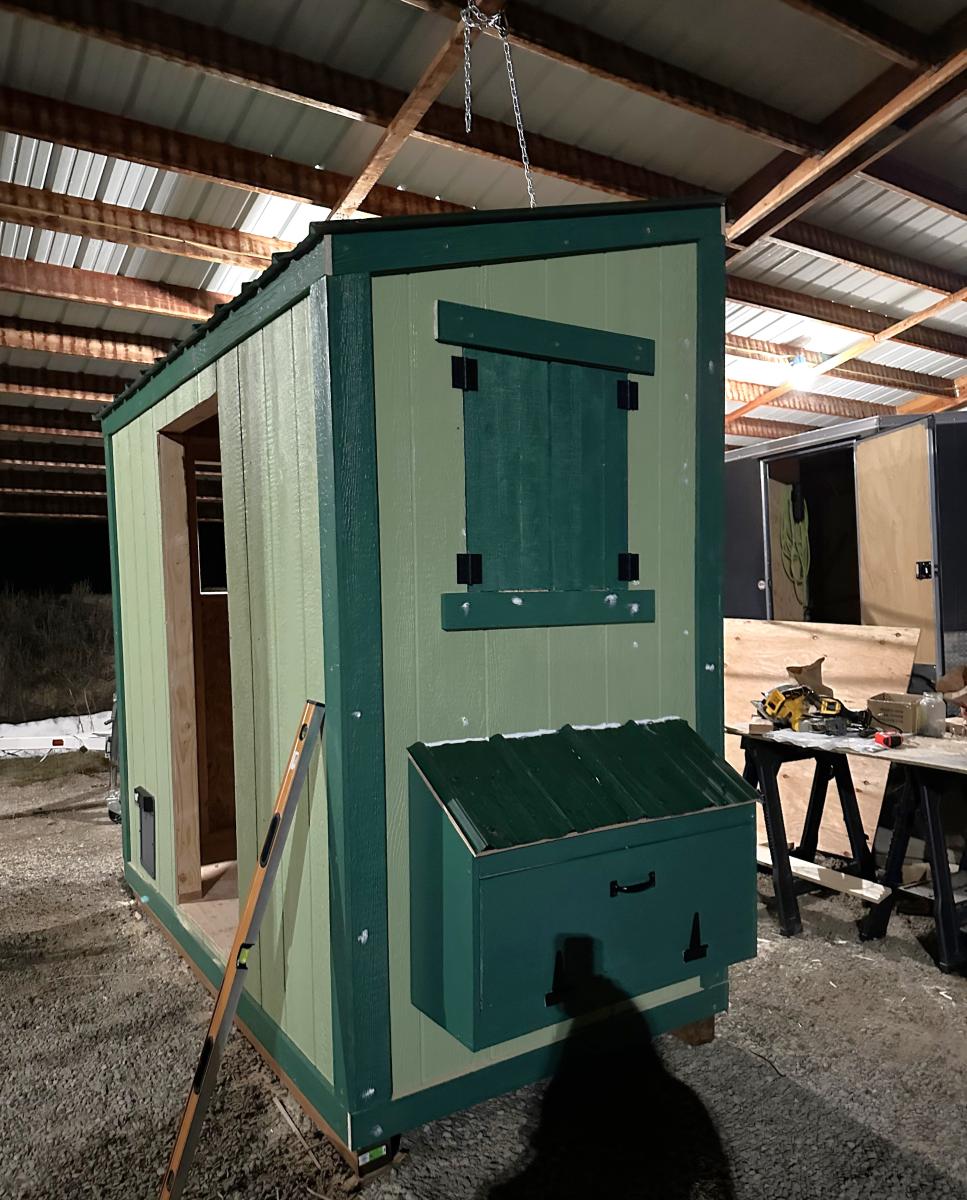
We followed the plans for the A-frame chicken coop very closely, and then modified it a bit at the end.

1. Trim was added to two doors on each side, as suggested. They are secured with latches at the top, more to keep them from falling open than to keep critters from getting in. We used 2x4x10's instead of 2x4x8's on the middle horizontal rail, giving us foot-long handles on each side. My husband and I are able to move the coop about 15 feet at a time, which is pretty good considering it is STURDY!

2. We used 1/2" galvanized hardware cloth instead of chicken wire, as suggested by one commenter (and lots of others in blogland).

3. I cut 1/4" plywood to fit the loft space and coated it with vinyl stick-on tile. This should make it easier to clean. We didn't screw down the plywood, so if we have to, we can remove it to hose it off/scrub it.

4. I cut a triangle of plywood to make an egg door at the end of the roost. It hinges at the bottom (with a 2x4 ripped into a 1x4 to cover the hardware cloth and provide a mounting spot for hinges) and latches at the top. I plan to use cotter pins or something to secure the latch. There is also a piece of untreated 1x4 held in place with tabs at the egg door to prevent bedding from falling out once it's converted to the nesting box (I'm planning to get pullets, not ready to lay yet, so they won't even have a tempting nest box)

5. There was no bottom door in the plans (to allow free-ranging), so I cut a piece of 2x4 to make a triangle against the bottom (same size as the egg door). It folds out (just like the egg door) and will allow the chickens easy access to the yard. We do have hawks in our neighborhood so free time will always be supervised. We also have a dog (who I coaxed into the coop for the main picture, haha!) who will need supervising. She's been around chickens before but you never know what will make her turn on them!

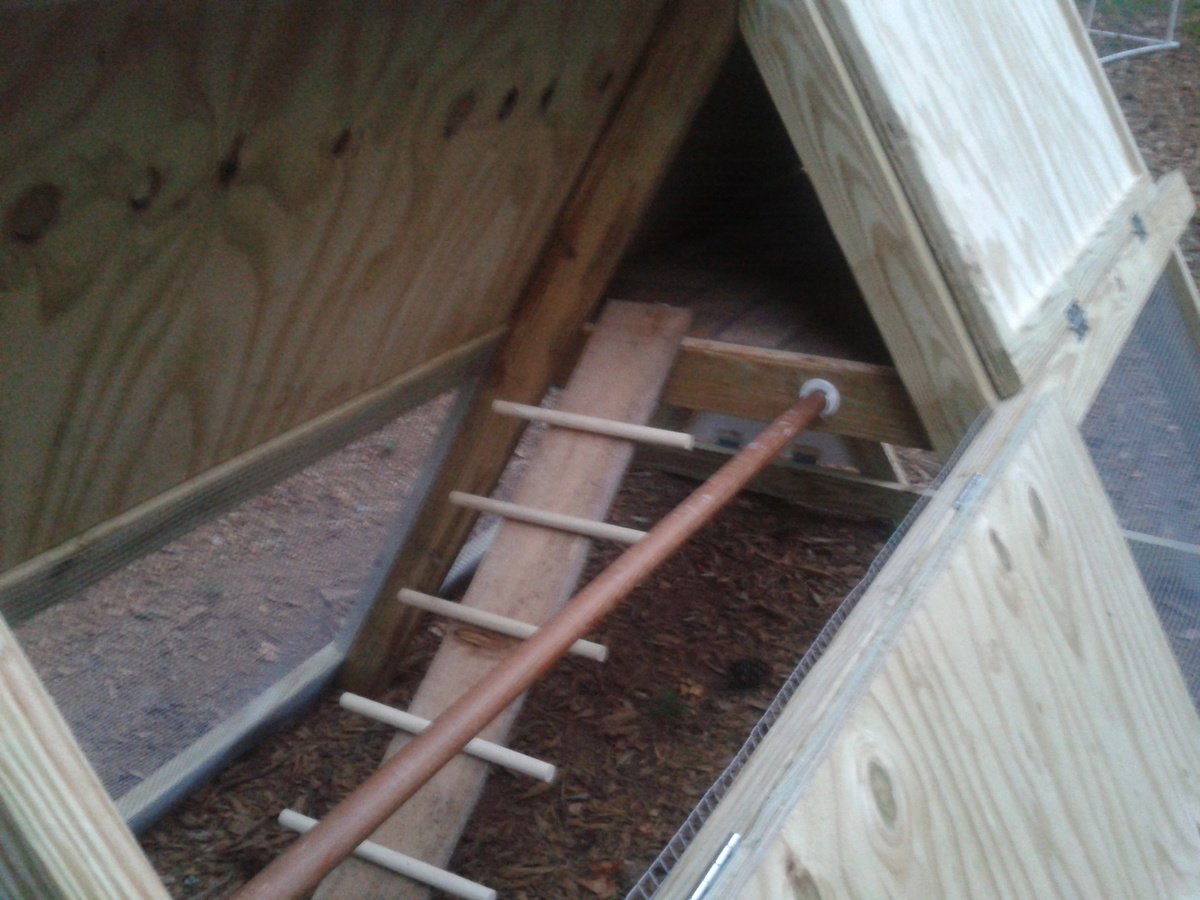
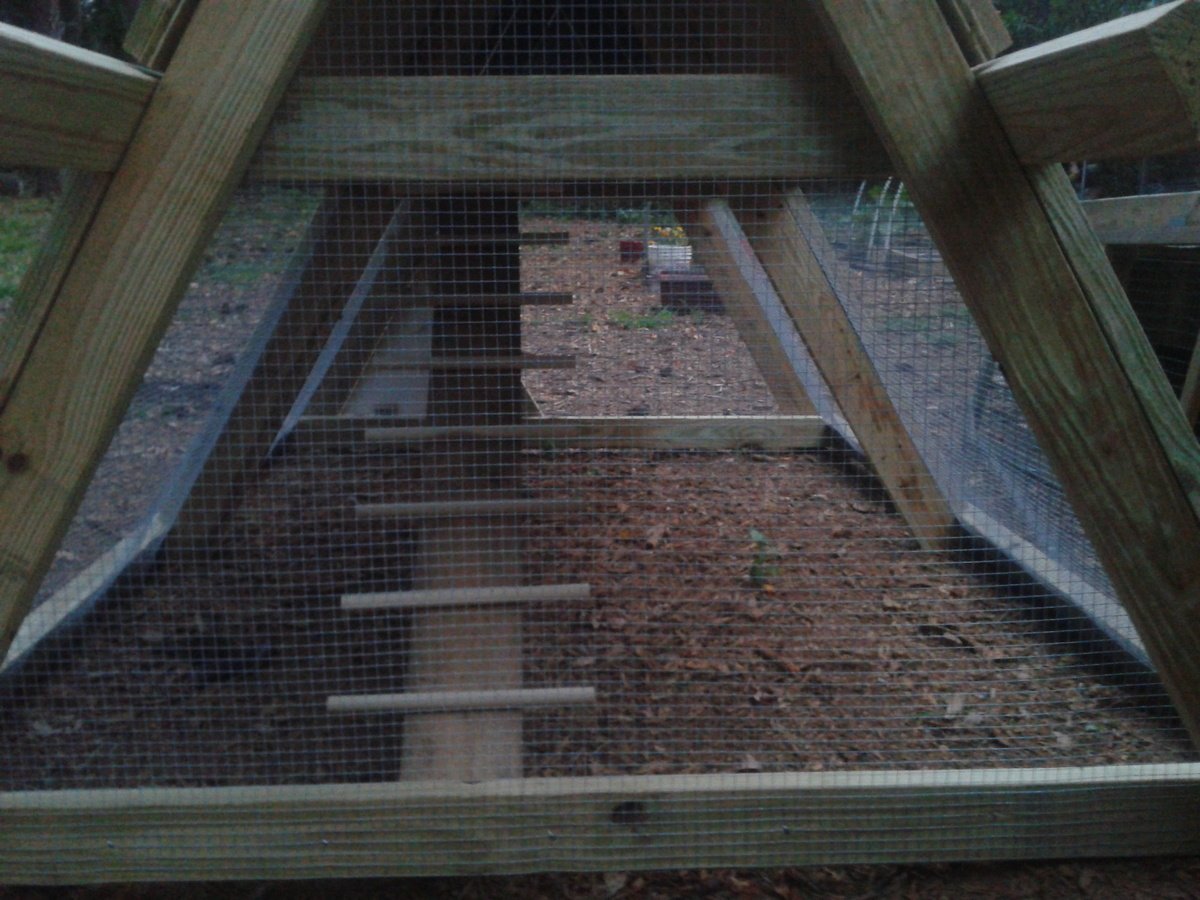
6. There was also no roost in the plans (although if you look at Ana's coop, there is a 2x4 across the middle of the side walls). I had a leftover closet rod, so I mounted that in the covered section parallel to the ladder. The ladder was shifted to the side. For the ladder, I just used a piece of cedar fencing and cut 2 48" dowels into 4 pieces each, and secured those with screws from the underside. I hope my chickens will be able to get up the ladder!

7. I also made a tube feeder from PVC and a dog bowl, and am working on a nipple waterer. Will update post when those are finished!

Now I just have to get some hens! I've been searching craigslist and can't wait!

Built from Plan(s)
Estimated Cost
200
Estimated Time Investment
Day Project (6-9 Hours)
Finish Used
Unfinished except for plywood floor (vinyl stick-on tile) and plywood doors (white exterior acrylic paint)
Recommended Skill Level
Intermediate

Comments

Garden Shed

Submitted by Deborah on Sat, 08/18/2012 - 23:01

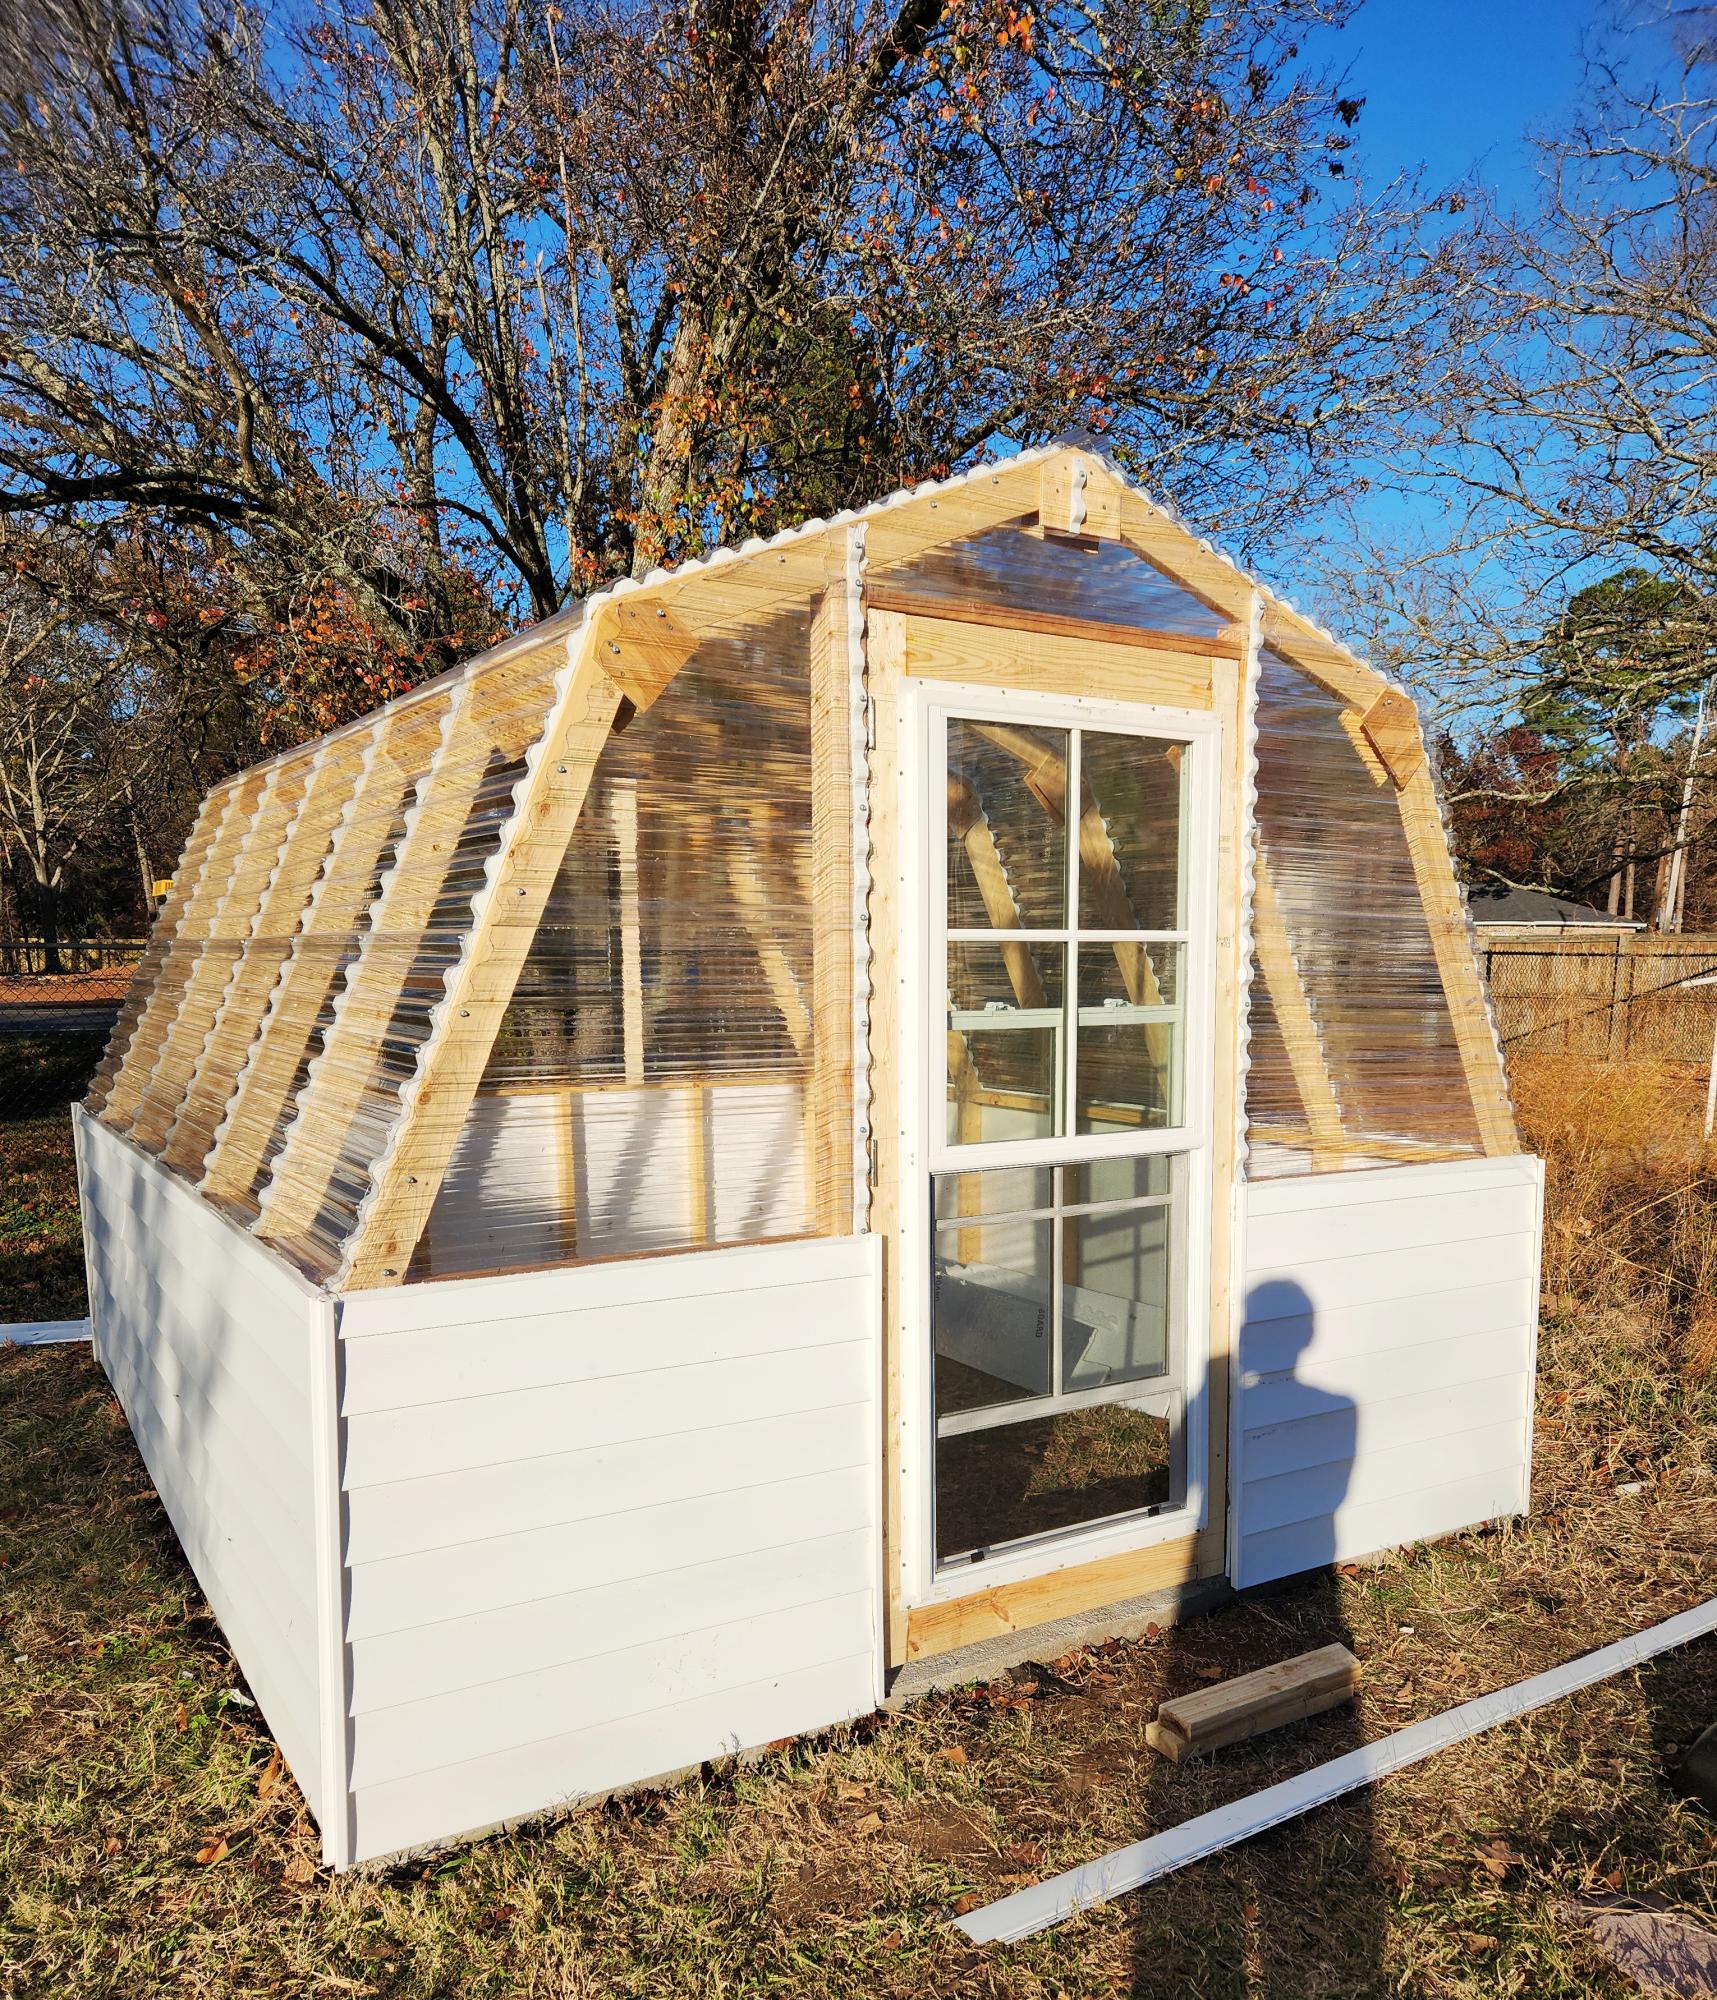
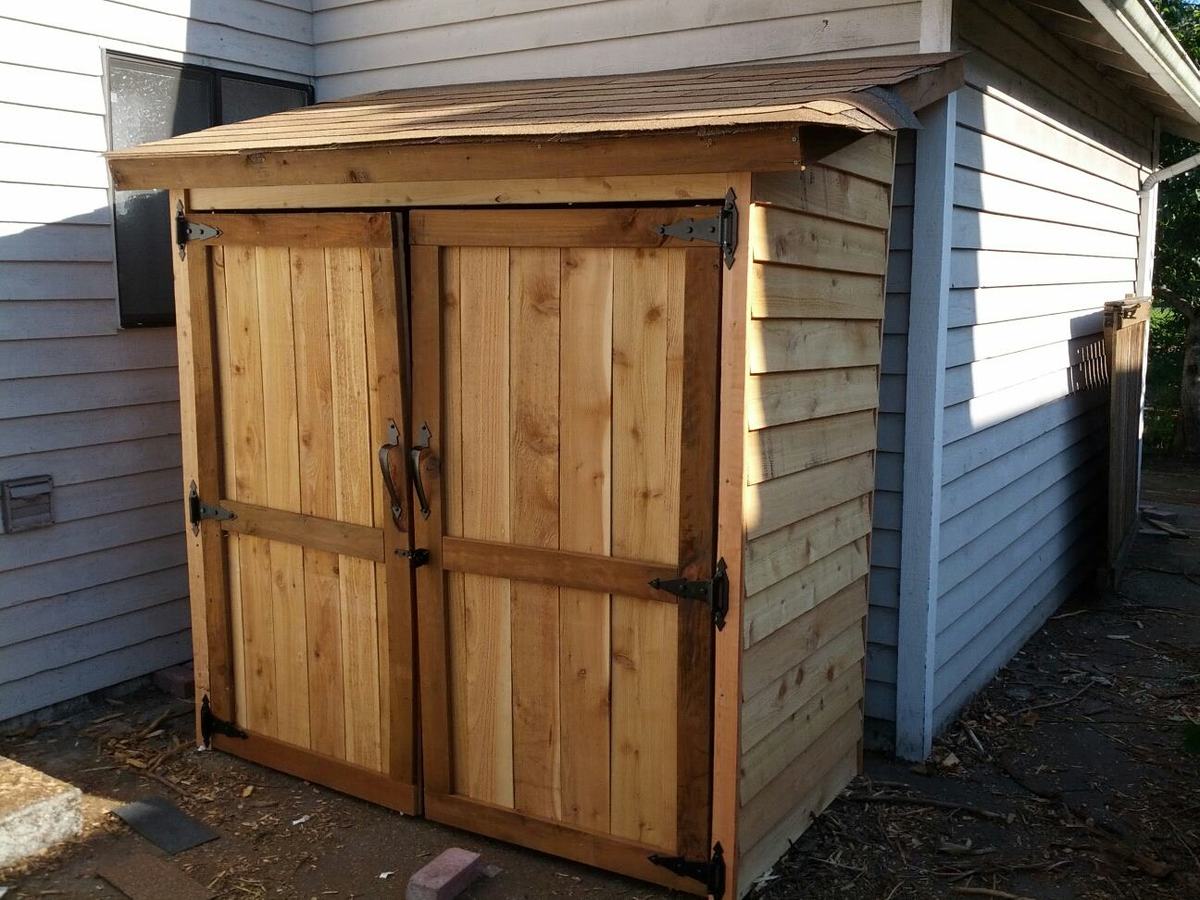
I have been dreaming about building so many things featured on this website, and I finally buckled down and built something. I figured that an outside garden shed would be a bit more forgiving than a project requiring a bit more precision, and from the picture, you can see that it's not perfect! I'm still working on trimming the shingles and I still have to stain/seal it. I've got to admit, when I first picked up the wood for the project at the store, I wondered what I had gotten myself into. But I just jumped in, and here it is.

Built from Plan(s)
Estimated Cost
$300
Estimated Time Investment
Weekend Project (10-20 Hours)
Finish Used
Plan to stain it with some sort of deck stain.
Recommended Skill Level
Beginner

Comments

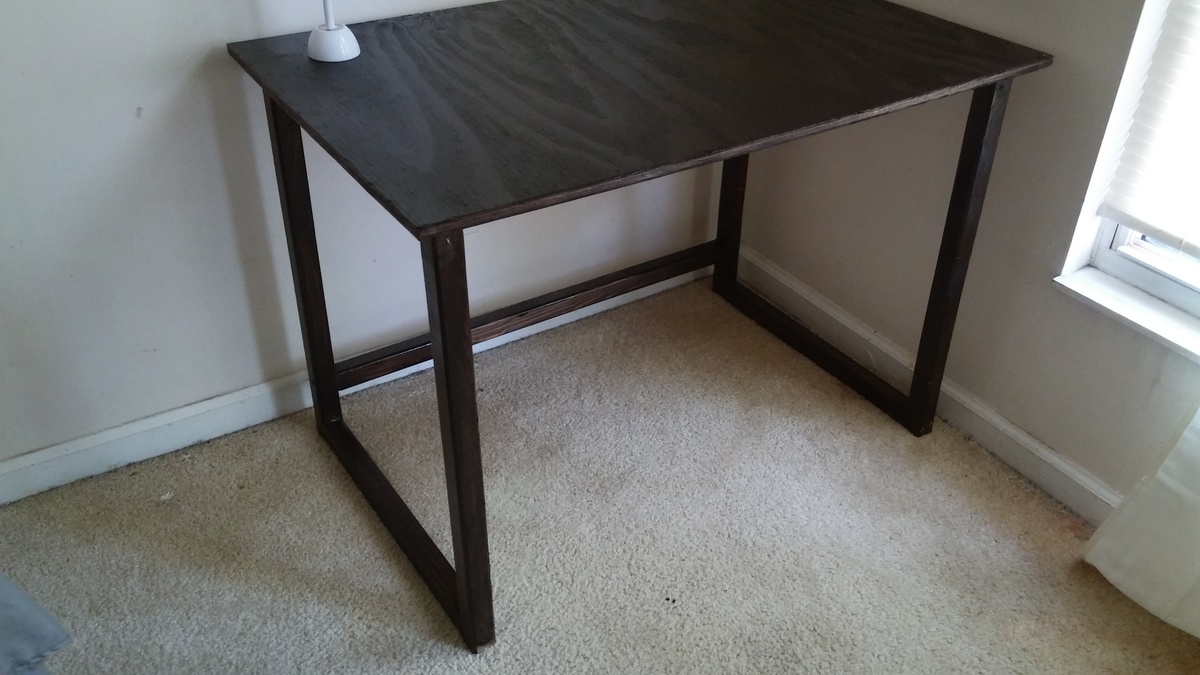
Cute corner desk

Submitted by Anonymous (not verified) on Sun, 09/11/2016 - 07:55

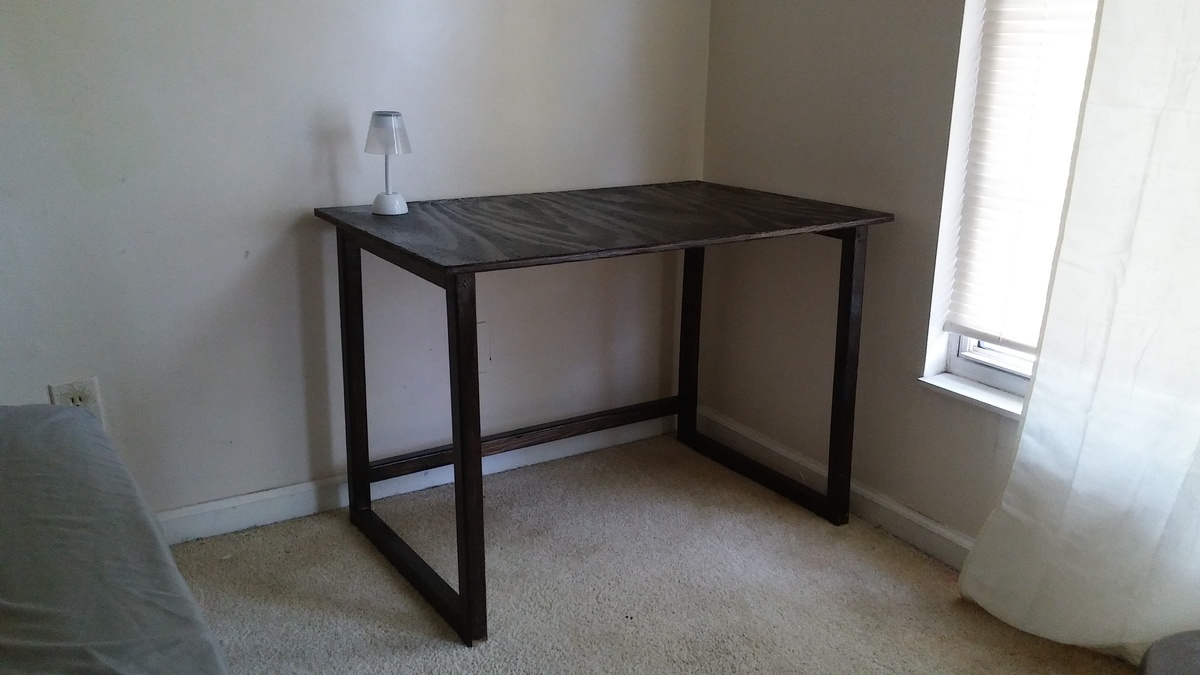
This 2x2 desk base was the perfect size for our 6' exchange student. He needed plenty of room width and length wise. We went with stain in Kona. More time was spent staining then building.

Estimated Cost
$20
Estimated Time Investment
An Hour or Two (0-2 Hours)
Finish Used
It is the base for a corner desk
Recommended Skill Level
Starter Project

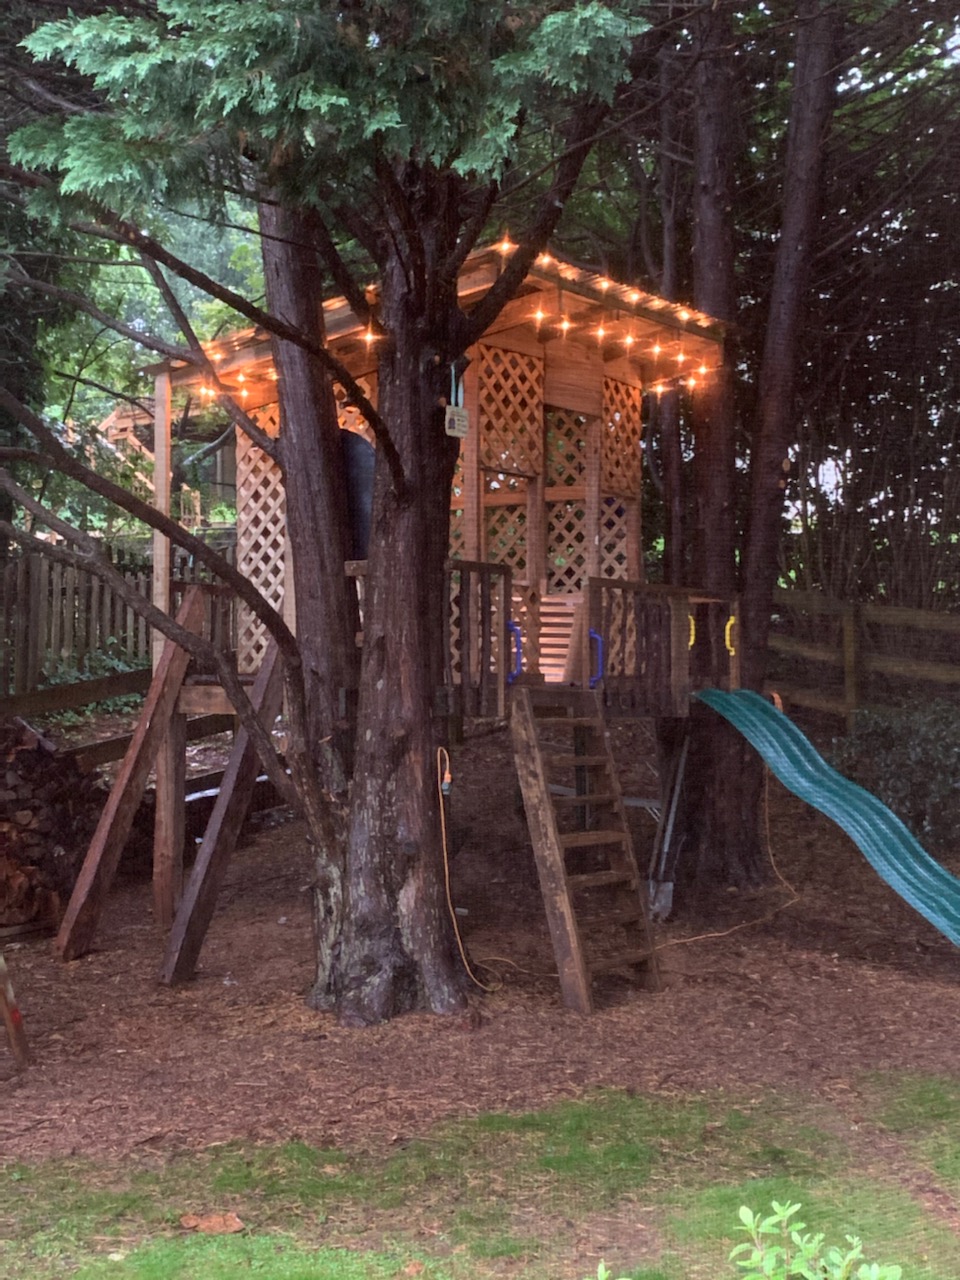
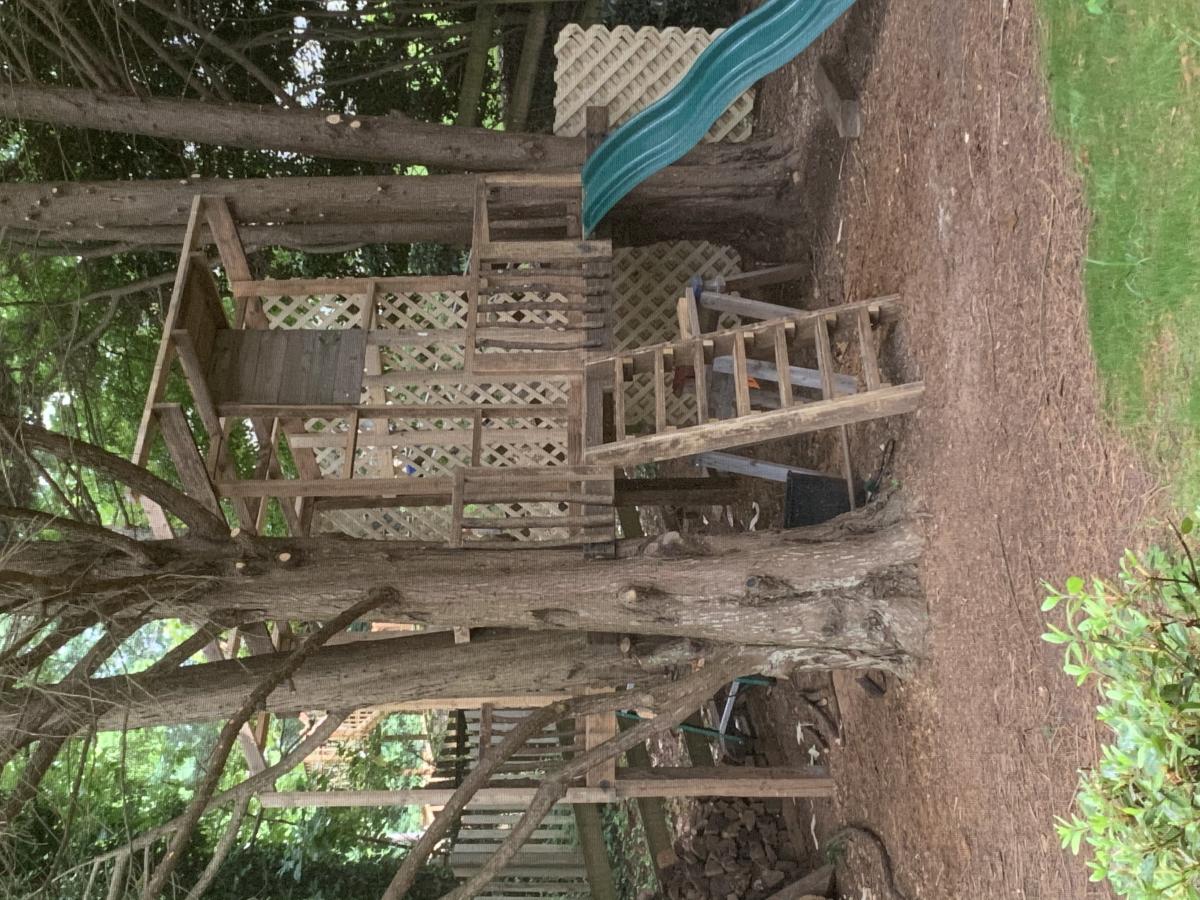
Papa’s Treehouse

Submitted by Anonymous (not verified) on Thu, 06/25/2020 - 02:53

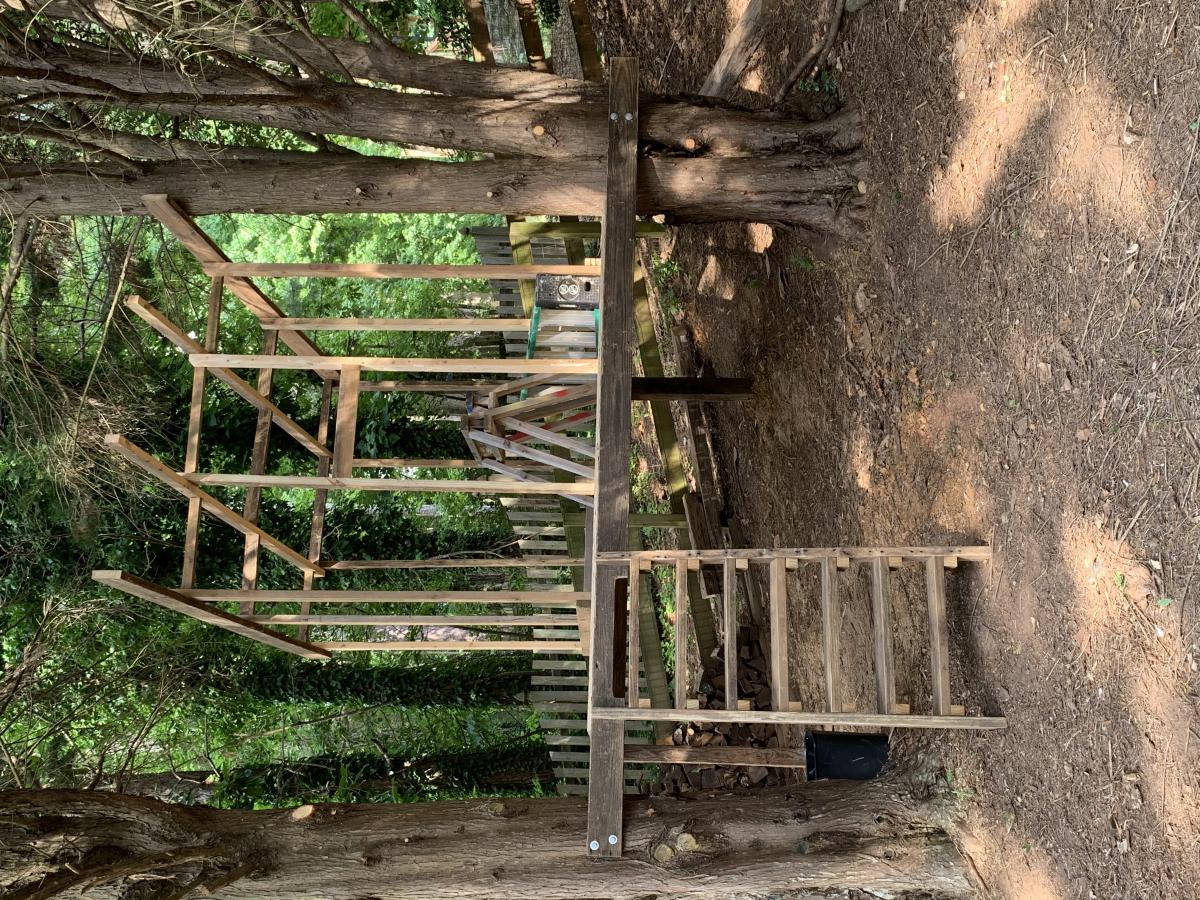
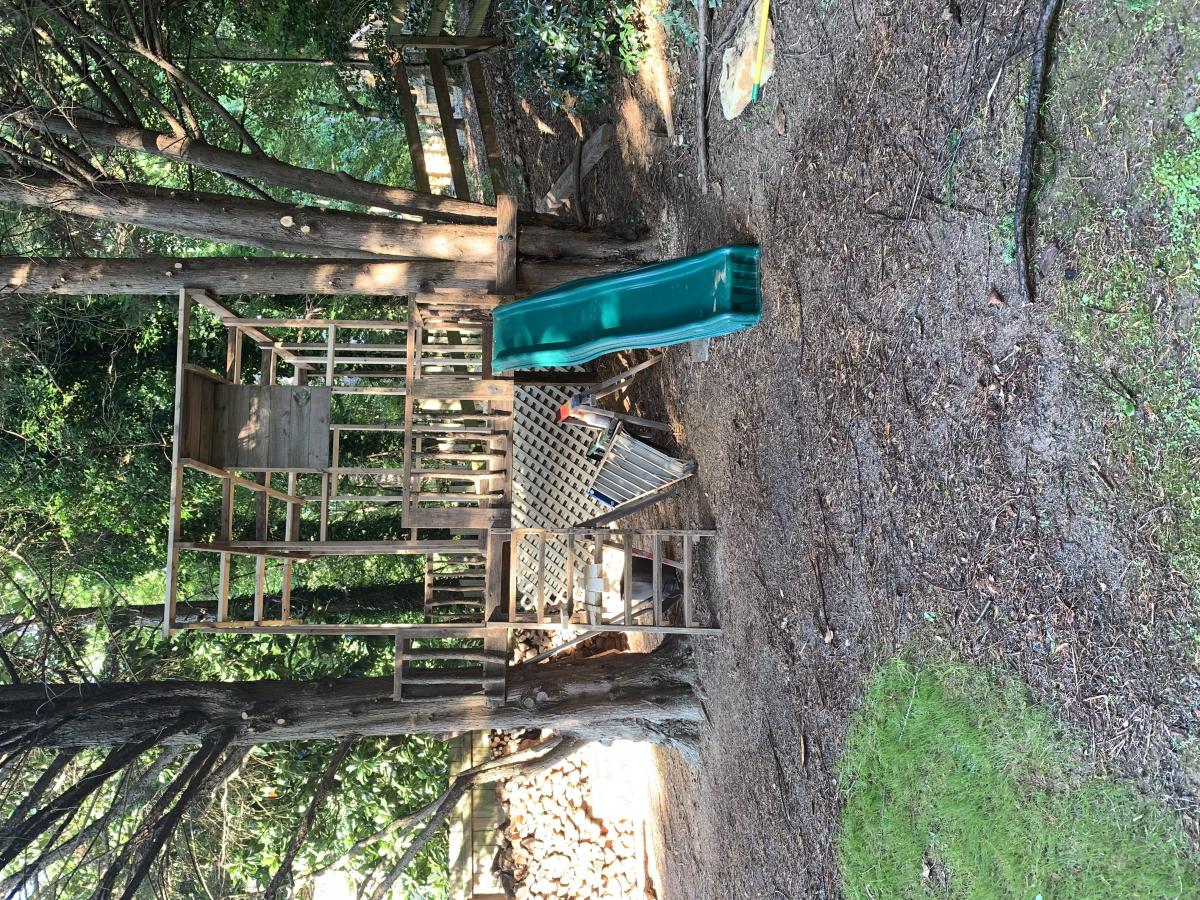
Have 3 granddaughters; 3, 2 and 6 months, so far 😉 Saw your treehouse video and made a modified version of your triangle platform using the trees I had available. Kinda went over the top a bit, but give you all the credit. Repurposed mostly old deck PT wood and rough hewn beams from neighbors.
Thanks!
Bill Magyar
Duluth GA

Estimated Time Investment
Week Long Project (20 Hours or More)
Finish Used
PT Wood patina and tea/vinegar aging solution on new.
Recommended Skill Level
Advanced

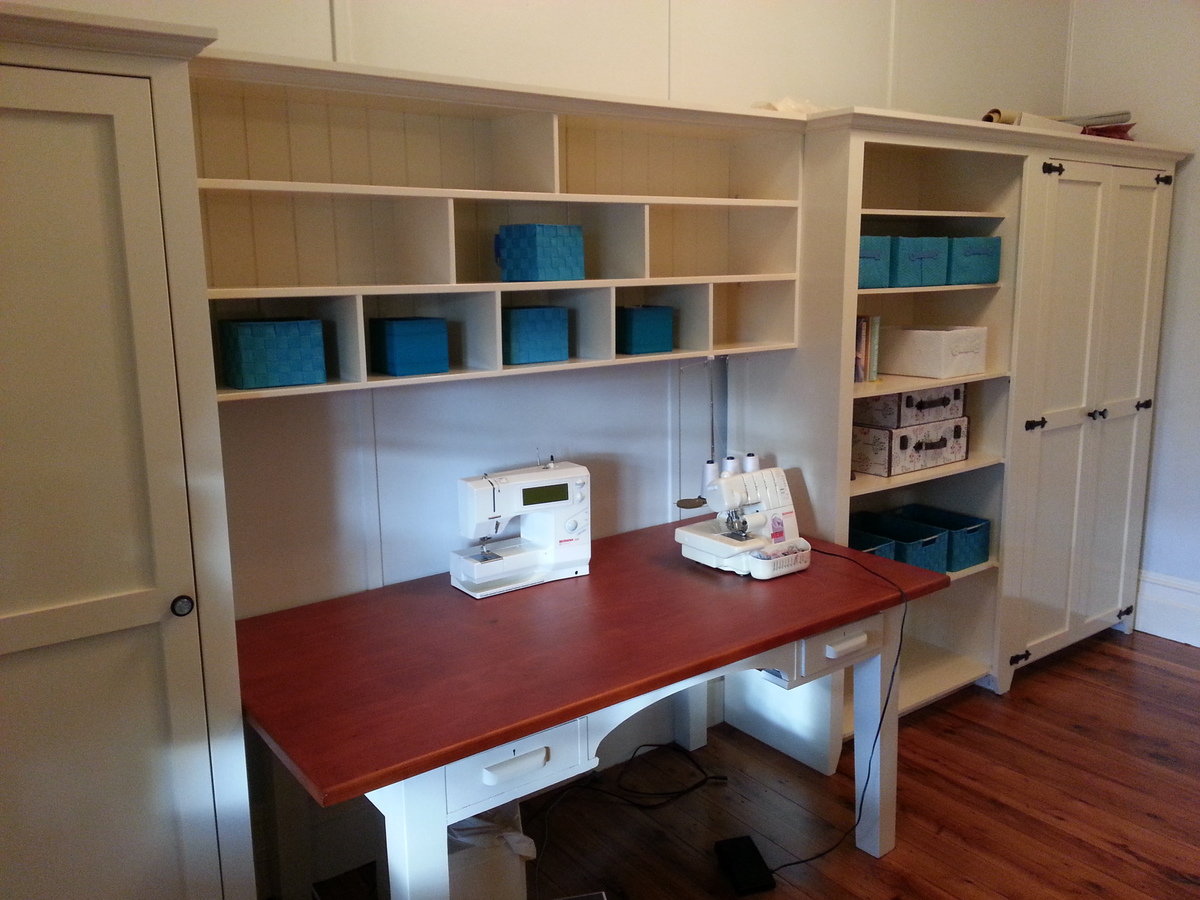
Craft Room Cupboards

My wife was wanting to get some cupboards and a hutch for her craft room that we were setting up. I looked to buy something but it was very hard to find anything the right size and combination. I was looking at different plans and I came across your site and was inspired to have a go myself. I used the plans for Patrick's Jelly Cupboard and also the Schoolhouse hutch.
I had to change some of it to get the right fit. It took a fair while to complete but I now have a very happy wife

Estimated Cost
$800 au
Estimated Time Investment
Week Long Project (20 Hours or More)
Finish Used
Enamel Paint
Recommended Skill Level
Intermediate

Corner computer cabinet

Submitted by Anonymous (not verified) on Thu, 09/22/2016 - 11:23

Flip down tray added for computer keyboard.

Built from Plan(s)
Recommended Skill Level
Beginner

Comments

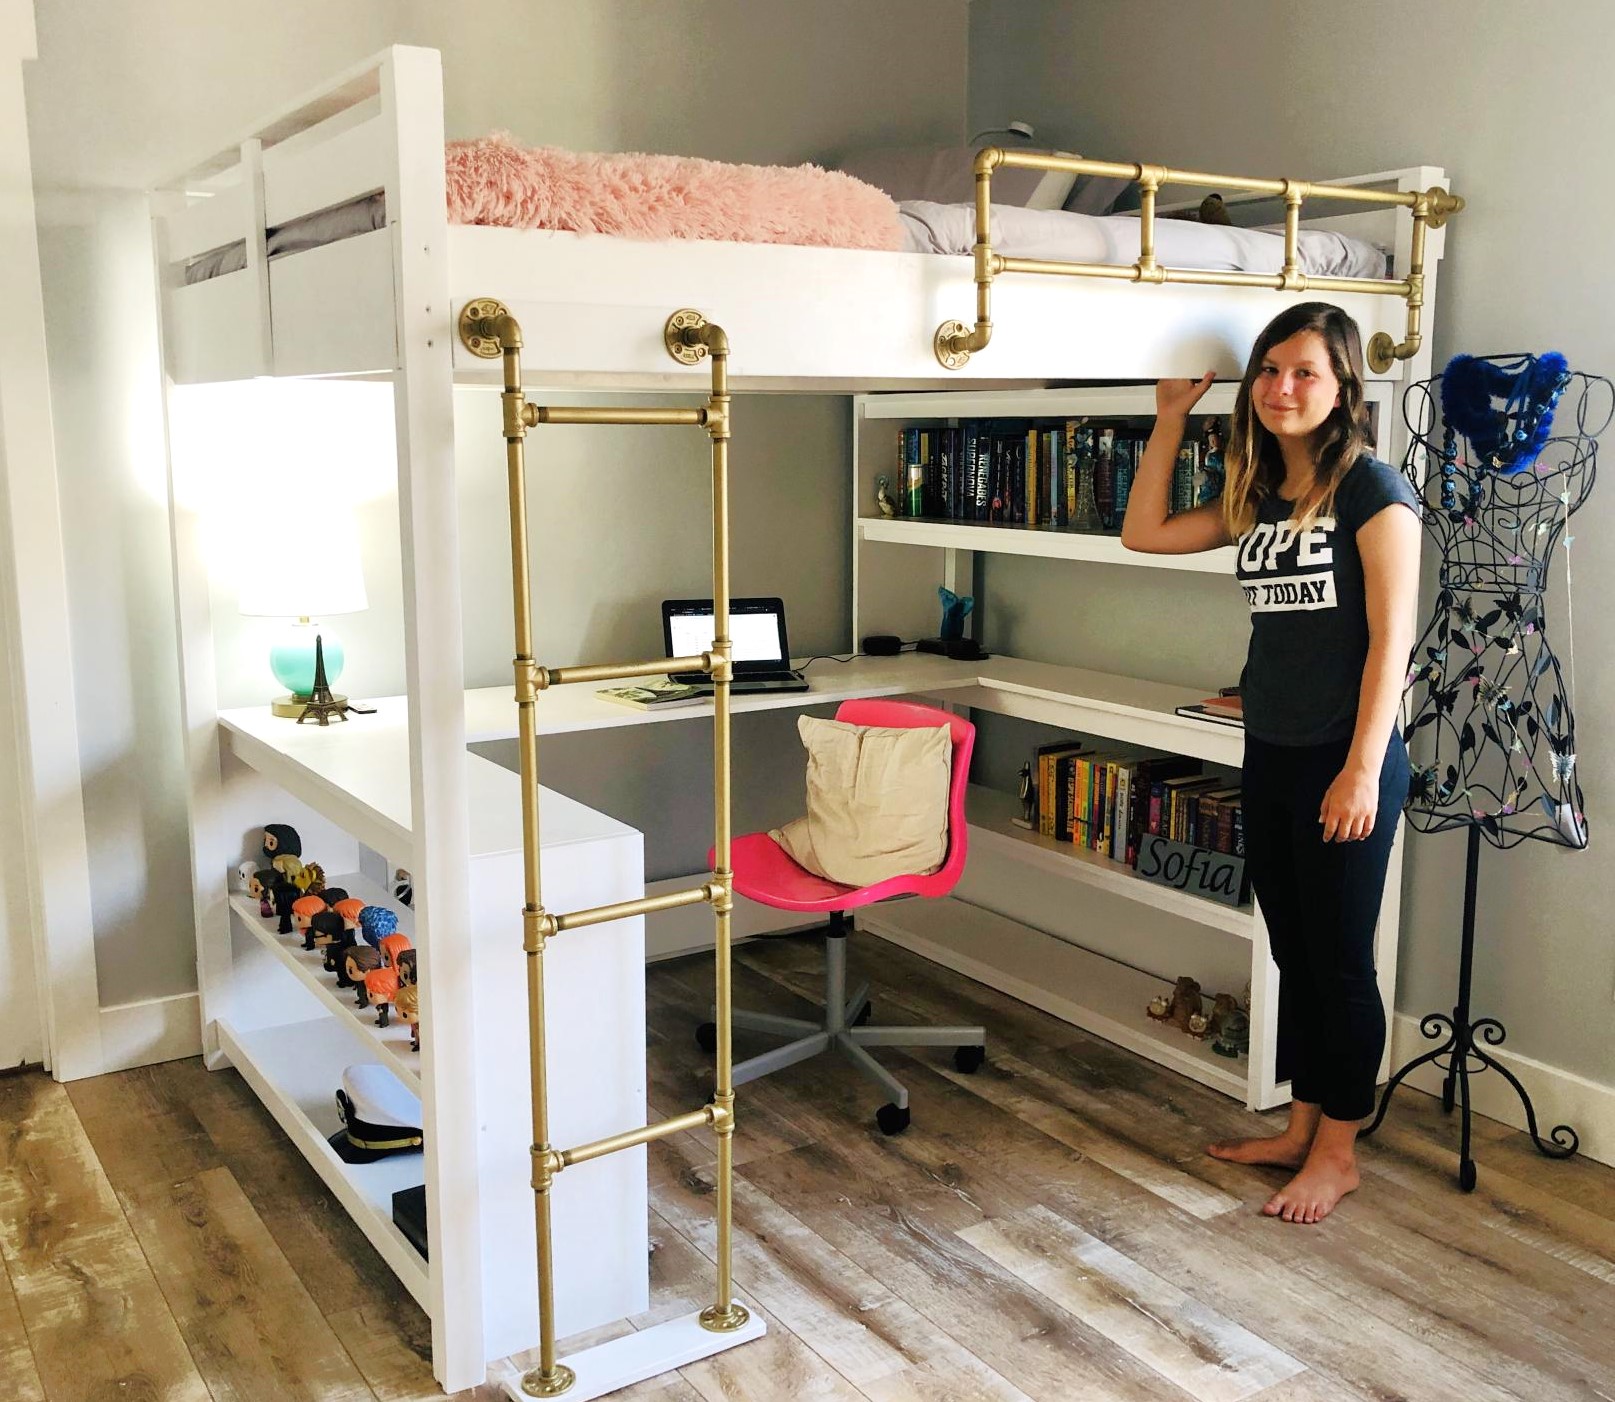
12 year old built her bed!

Submitted by gmktt on Wed, 07/08/2020 - 20:01

Thanks Ana White for the awesome plans! My daughter decided she wanted a new bed, so I told her I’d help her build one. I am not a carpenter, by any stretch, but I thought it would be some good dad/daughter bonding time. She tweaked your plans, did all the cuts, drilling, sanding, and painting (well, most of the sanding and painting anyway), and tolerated her father with great grace. It turned out pretty well. We couldn’t have done it without your plans! Thanks again! —Gabe

Built from Plan(s)
Estimated Cost
$600.00
Estimated Time Investment
Week Long Project (20 Hours or More)
Finish Used
White semi-gloss interior latex.
Recommended Skill Level
Beginner

Comments

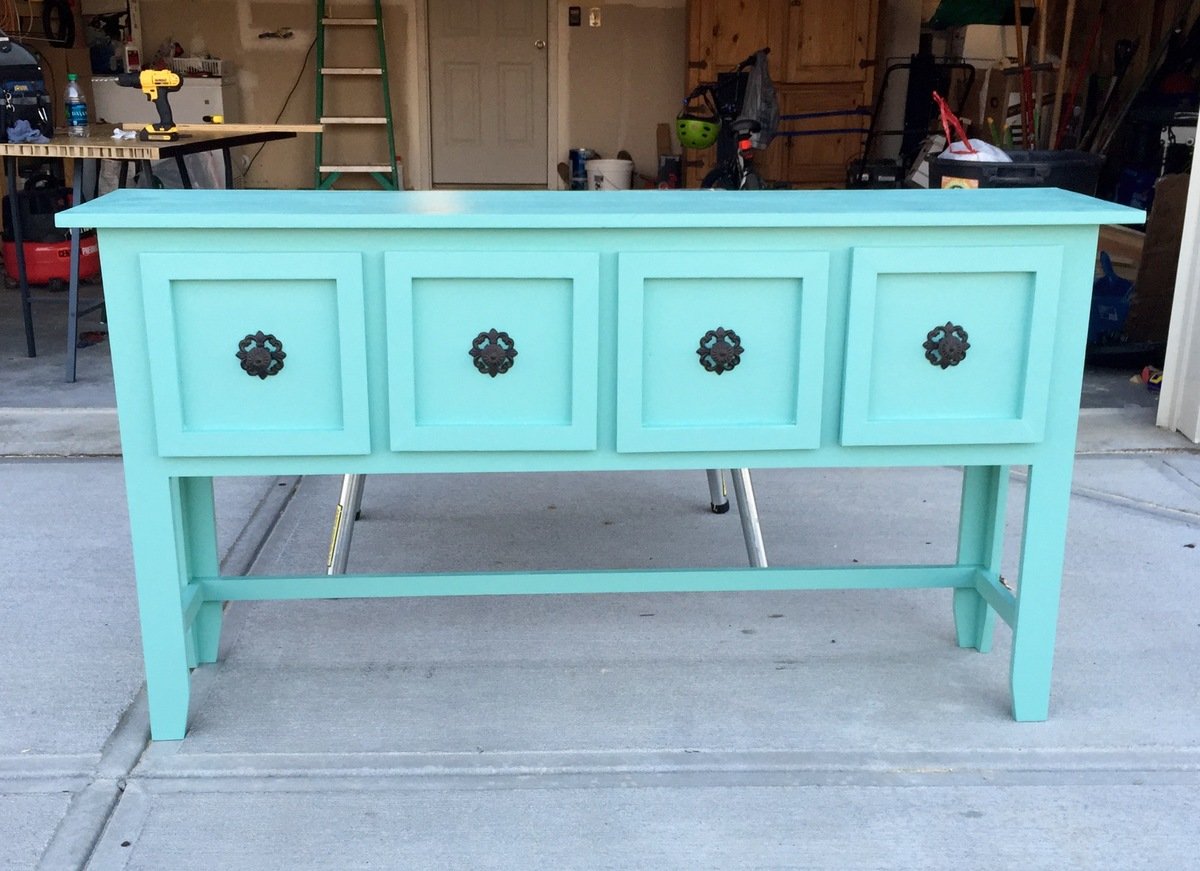
Balin Console Table with a twist

Submitted by CustomPulp on Wed, 10/19/2016 - 11:39

We needed an entry way table with storage.   The Balin Console Table was the perfect size for our needs.   I modified the drawers by attaching a wood frame around each one.  I decided to taper the legs with my mitre saw.   The hardware was purchased at Pottery Barn ($4/each) and the color is Valspar Turquoise / Gray - Semi Gloss.   I extended the leg length 6" to make the cabinet counter top heigth (plans call for a table heigth).

Project was easy (8 hours) from construction to finish.  

One advantage I had was using a sliding power mitre saw with a 12 1/4" cross cut for the 1x12 material.   It's possible to get a decent cut with a circular saw but the sliding compound mitre saw definitely makes that portion of the project go much quicker.


For best results, I recommend finish sanding with 220 grit and 2 coats of paint rubbing with steel wool after first paint application.   

Built from Plan(s)
Estimated Cost
$80
Estimated Time Investment
Day Project (6-9 Hours)
Finish Used
Valspar semi gloss - 2 coats
Recommended Skill Level
Intermediate

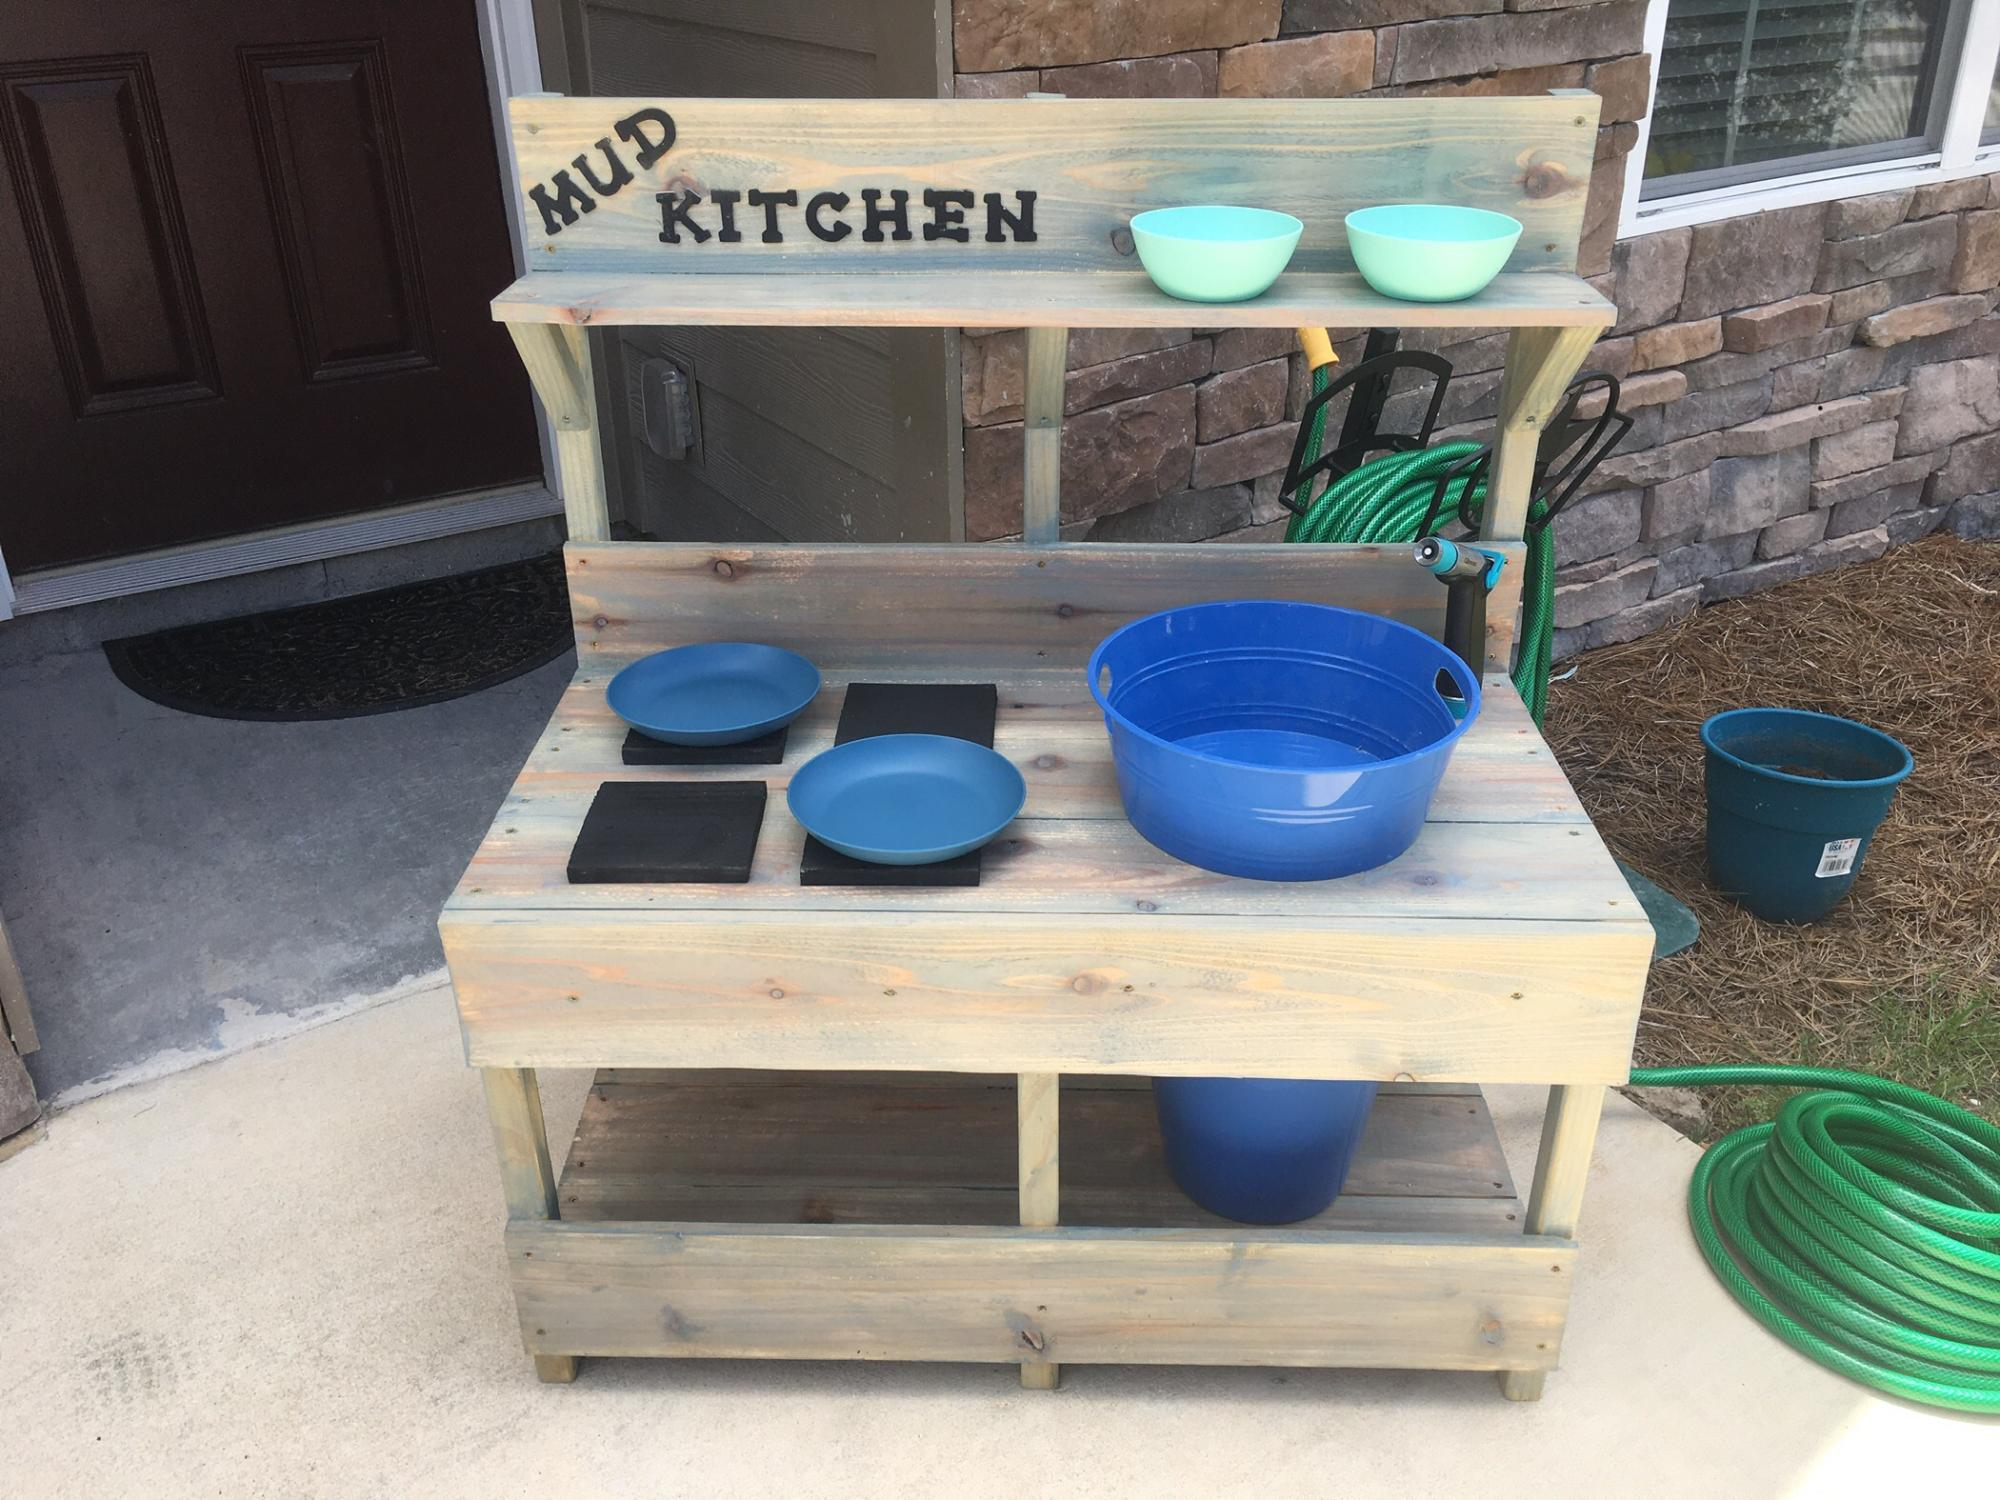
Mud Kitchen

We live in the south so we opted for treated wood. We weren’t able to locate all the connectors to combine sink sprayer and water hose so we ended up just getting another garden hose and sprayer. Works just as well. We used Smokey Mirror exterior stain to add some color. Didn’t have all the tools handy so we opted for a farm style sink that sits on top of the wood. Kids loving it so far, they have been playing non stop. Thanks for the great plan.

Built from Plan(s)
Estimated Cost
60
Estimated Time Investment
Day Project (6-9 Hours)
Recommended Skill Level
Beginner

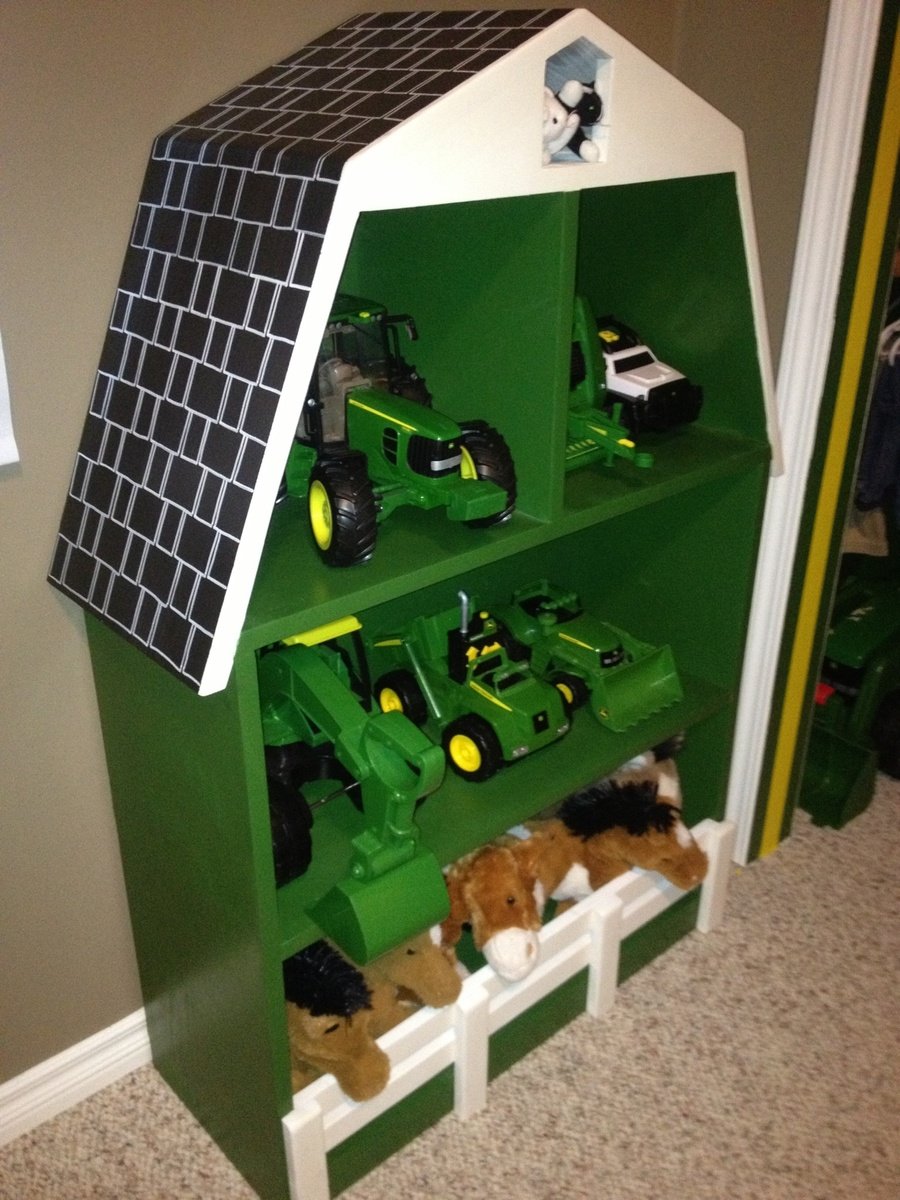
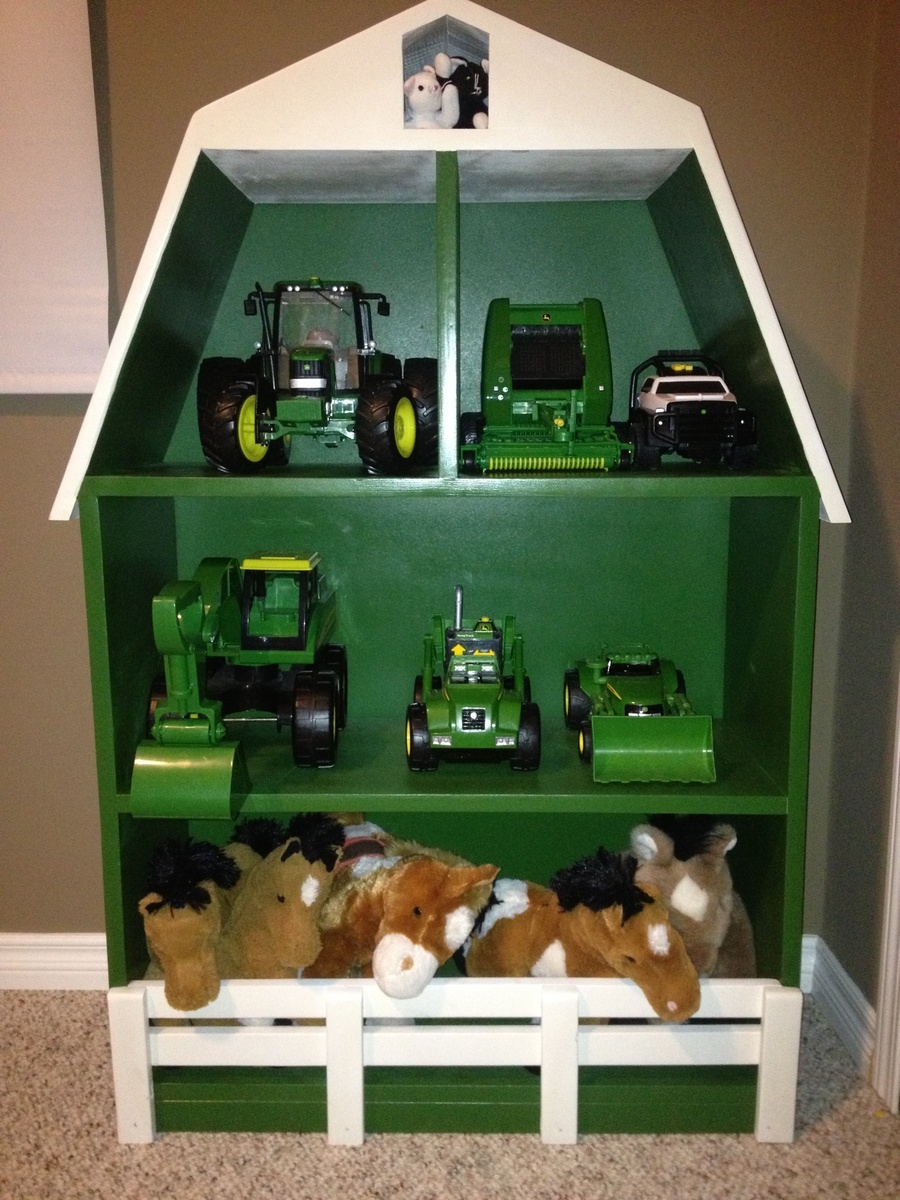
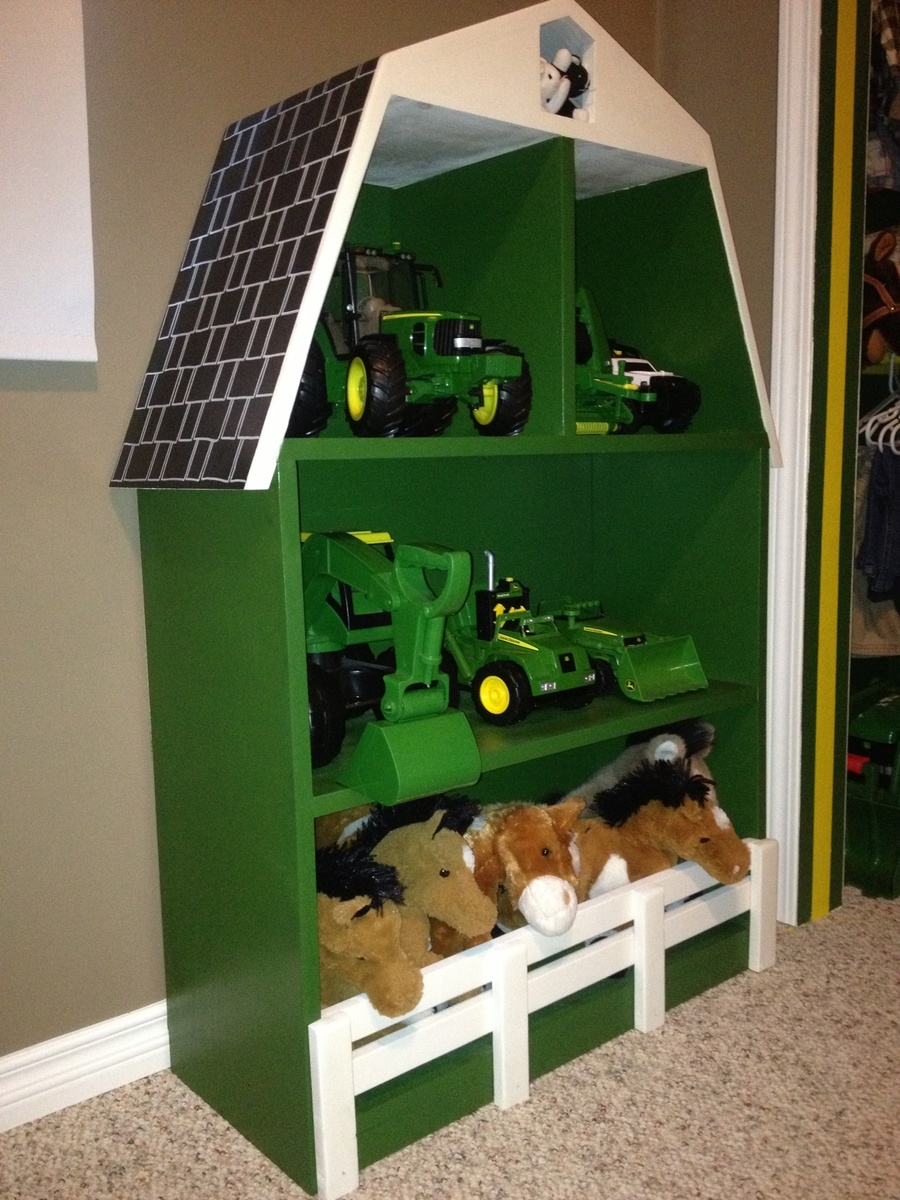
John Deere Green Barn Shelf

Submitted by Veronica P on Wed, 07/30/2014 - 22:08

After finishing my boys' new John Deere room and tractor bunk bed (also posted), I saw this plan and thought it would be the perfect thing for some extra toy storage.

Yes, I know, barns are supposed to be red. Everything else in the room is John Deere green and I had paint leftover, which is not cheap. So green it is! I used my new paint sprayer for the first time on this project and am thrilled with it. I would recommend it to anyone who dislikes painting as much as I do. I bought the Wagner Flexio 590 which comes with a detail sprayer as well as the full size and I'm very happy with both.

Thanks to Ana for the well laid out, easy to follow plan and also for helping me create a big boy room that my boys love!

Built from Plan(s)
Estimated Cost
$60.00
Estimated Time Investment
Weekend Project (10-20 Hours)
Finish Used
John Deere green paint plus primer, black & white paints, white paint marker for the shingle detail and satin polyurethane.
Recommended Skill Level
Starter Project

Comments

Veronica P

Thu, 07/31/2014 - 09:38

Thanks so much for your comments. It's so nice to hear positive feedback since I'm very new to this! My 3yr old is quite particular about everything being in its place, I'll pass along that you liked his animal placement. Lol :)

Cornhole Boards

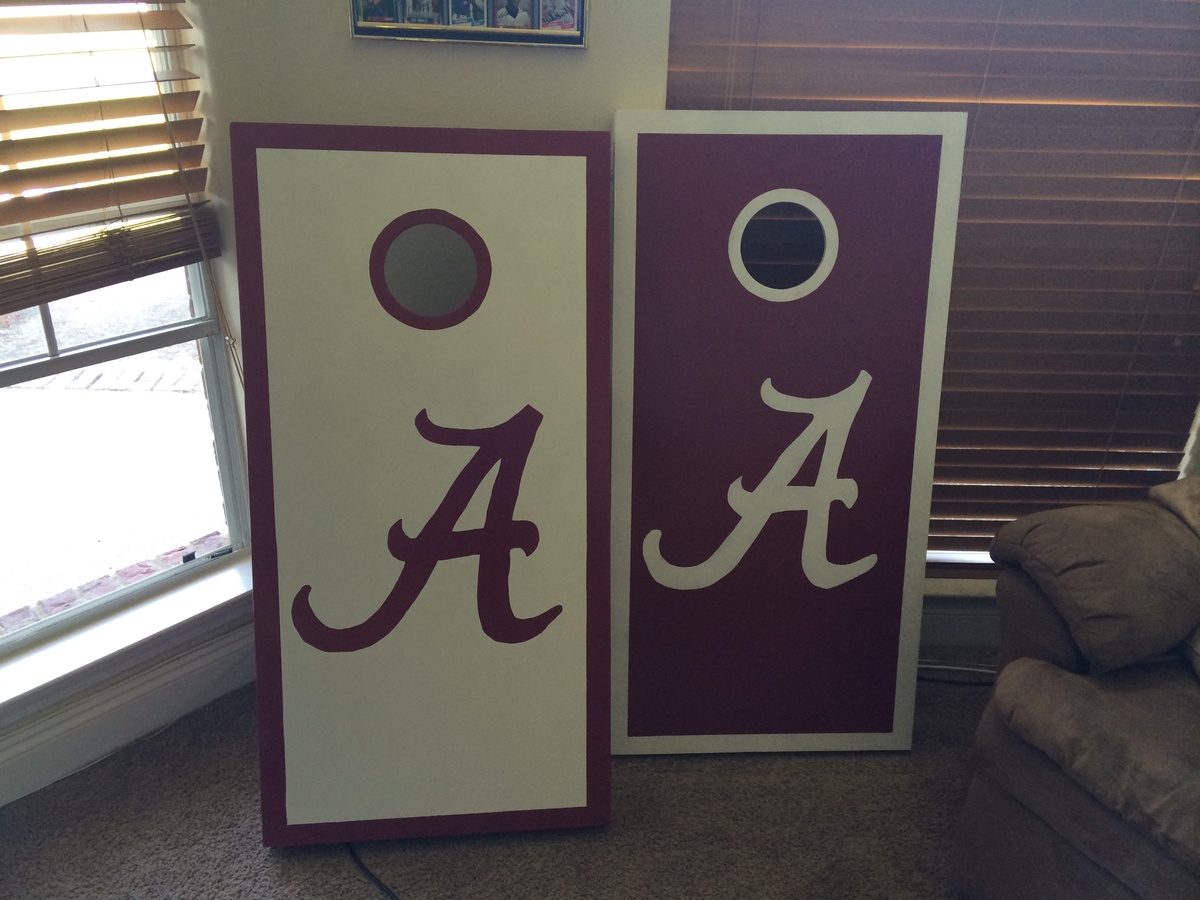
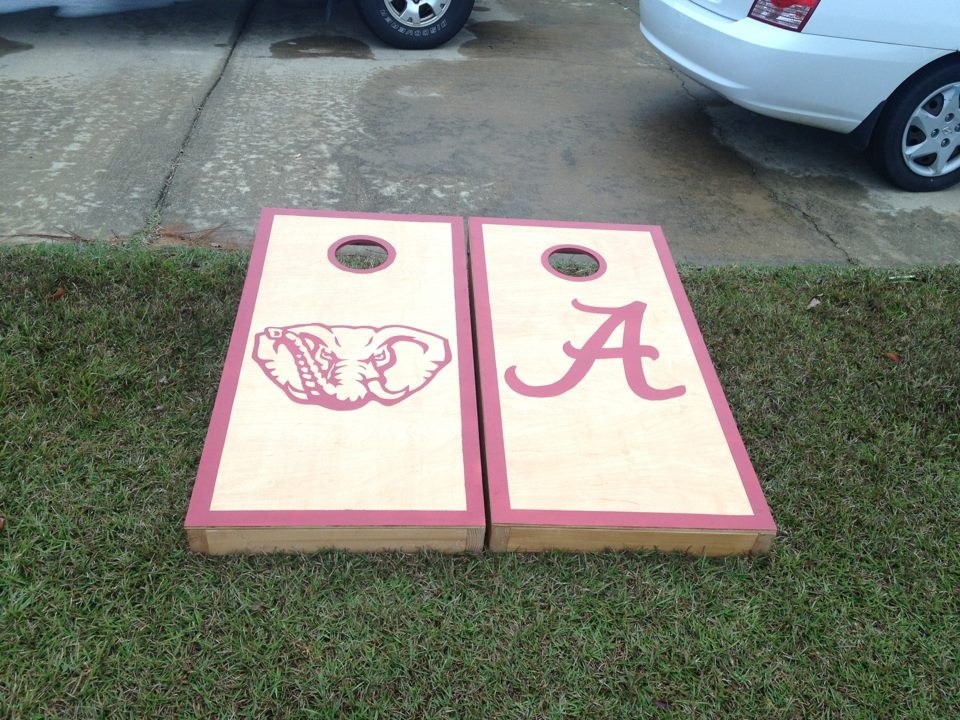
Submitted by djsaffer19 on Sun, 08/03/2014 - 20:08

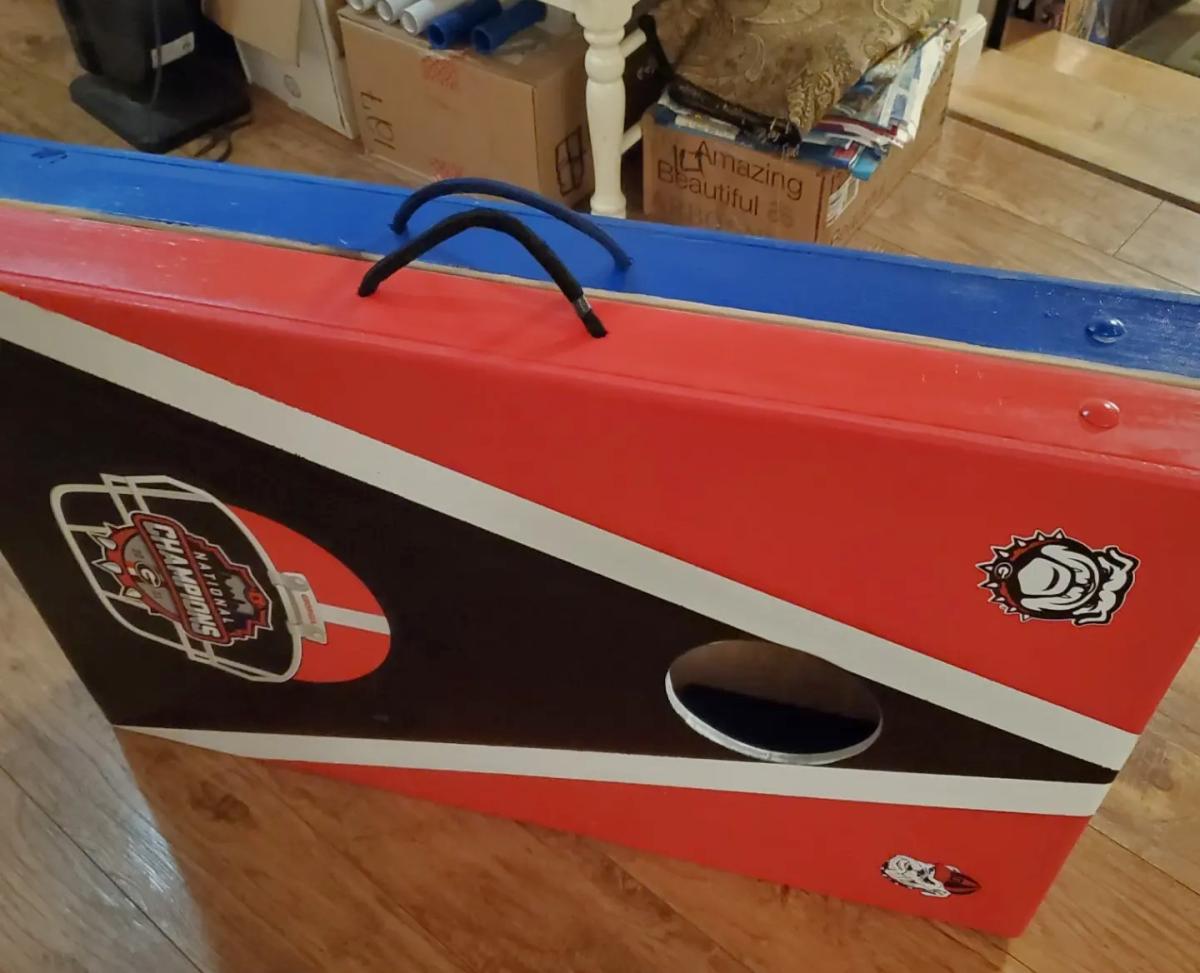
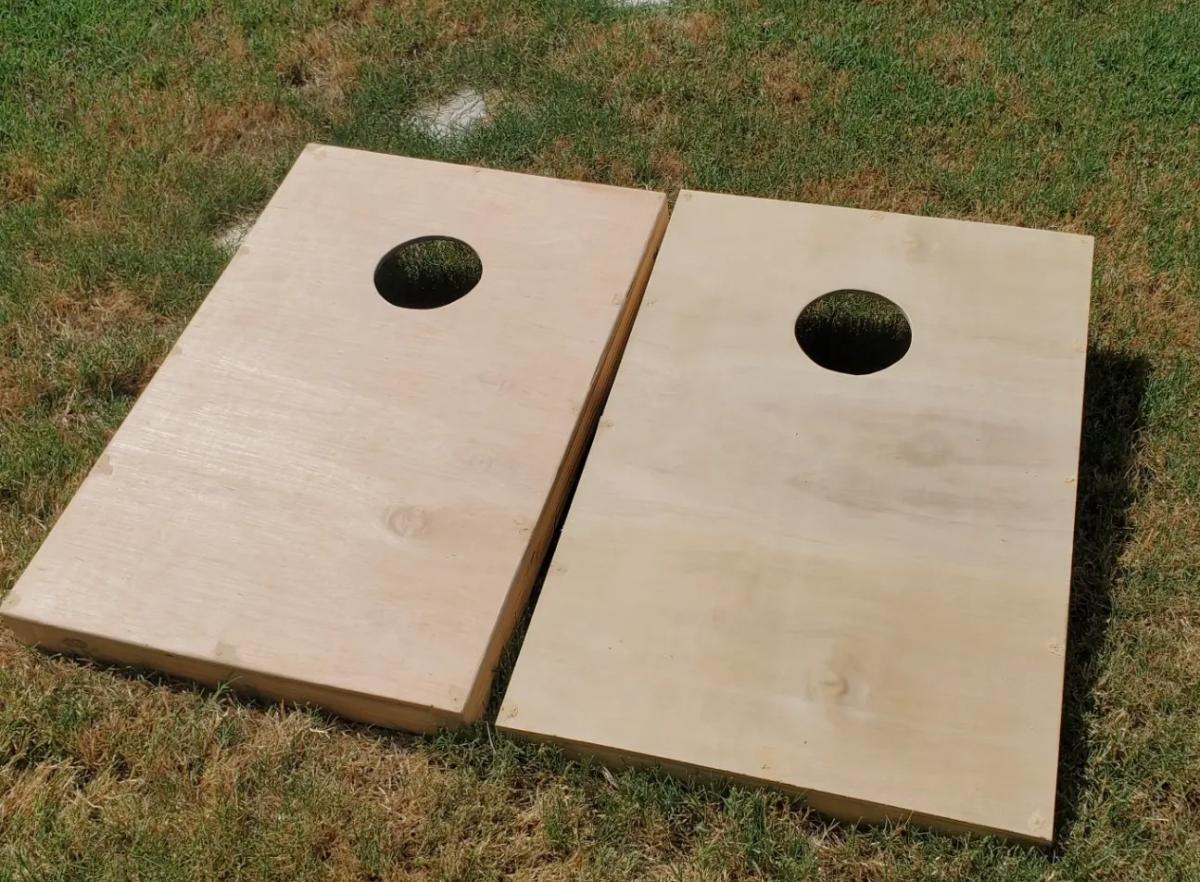
Custom cornhole boards, made with pocket joinery

Estimated Time Investment
Weekend Project (10-20 Hours)
Finish Used
Spray paint, stain, decals, always covered with polycrilic
Recommended Skill Level
Beginner

Comments

Pantry

Built this out of old Barnwood Pine !

Recommended Skill Level
Intermediate

Comments

kmschwer

Sun, 11/02/2014 - 18:27

This is beautiful and I just purchased my first home with my fiance and we have an old farm house. This would be amazing in our kitchen as our pantry. I must attempt to make it! Please help me :)
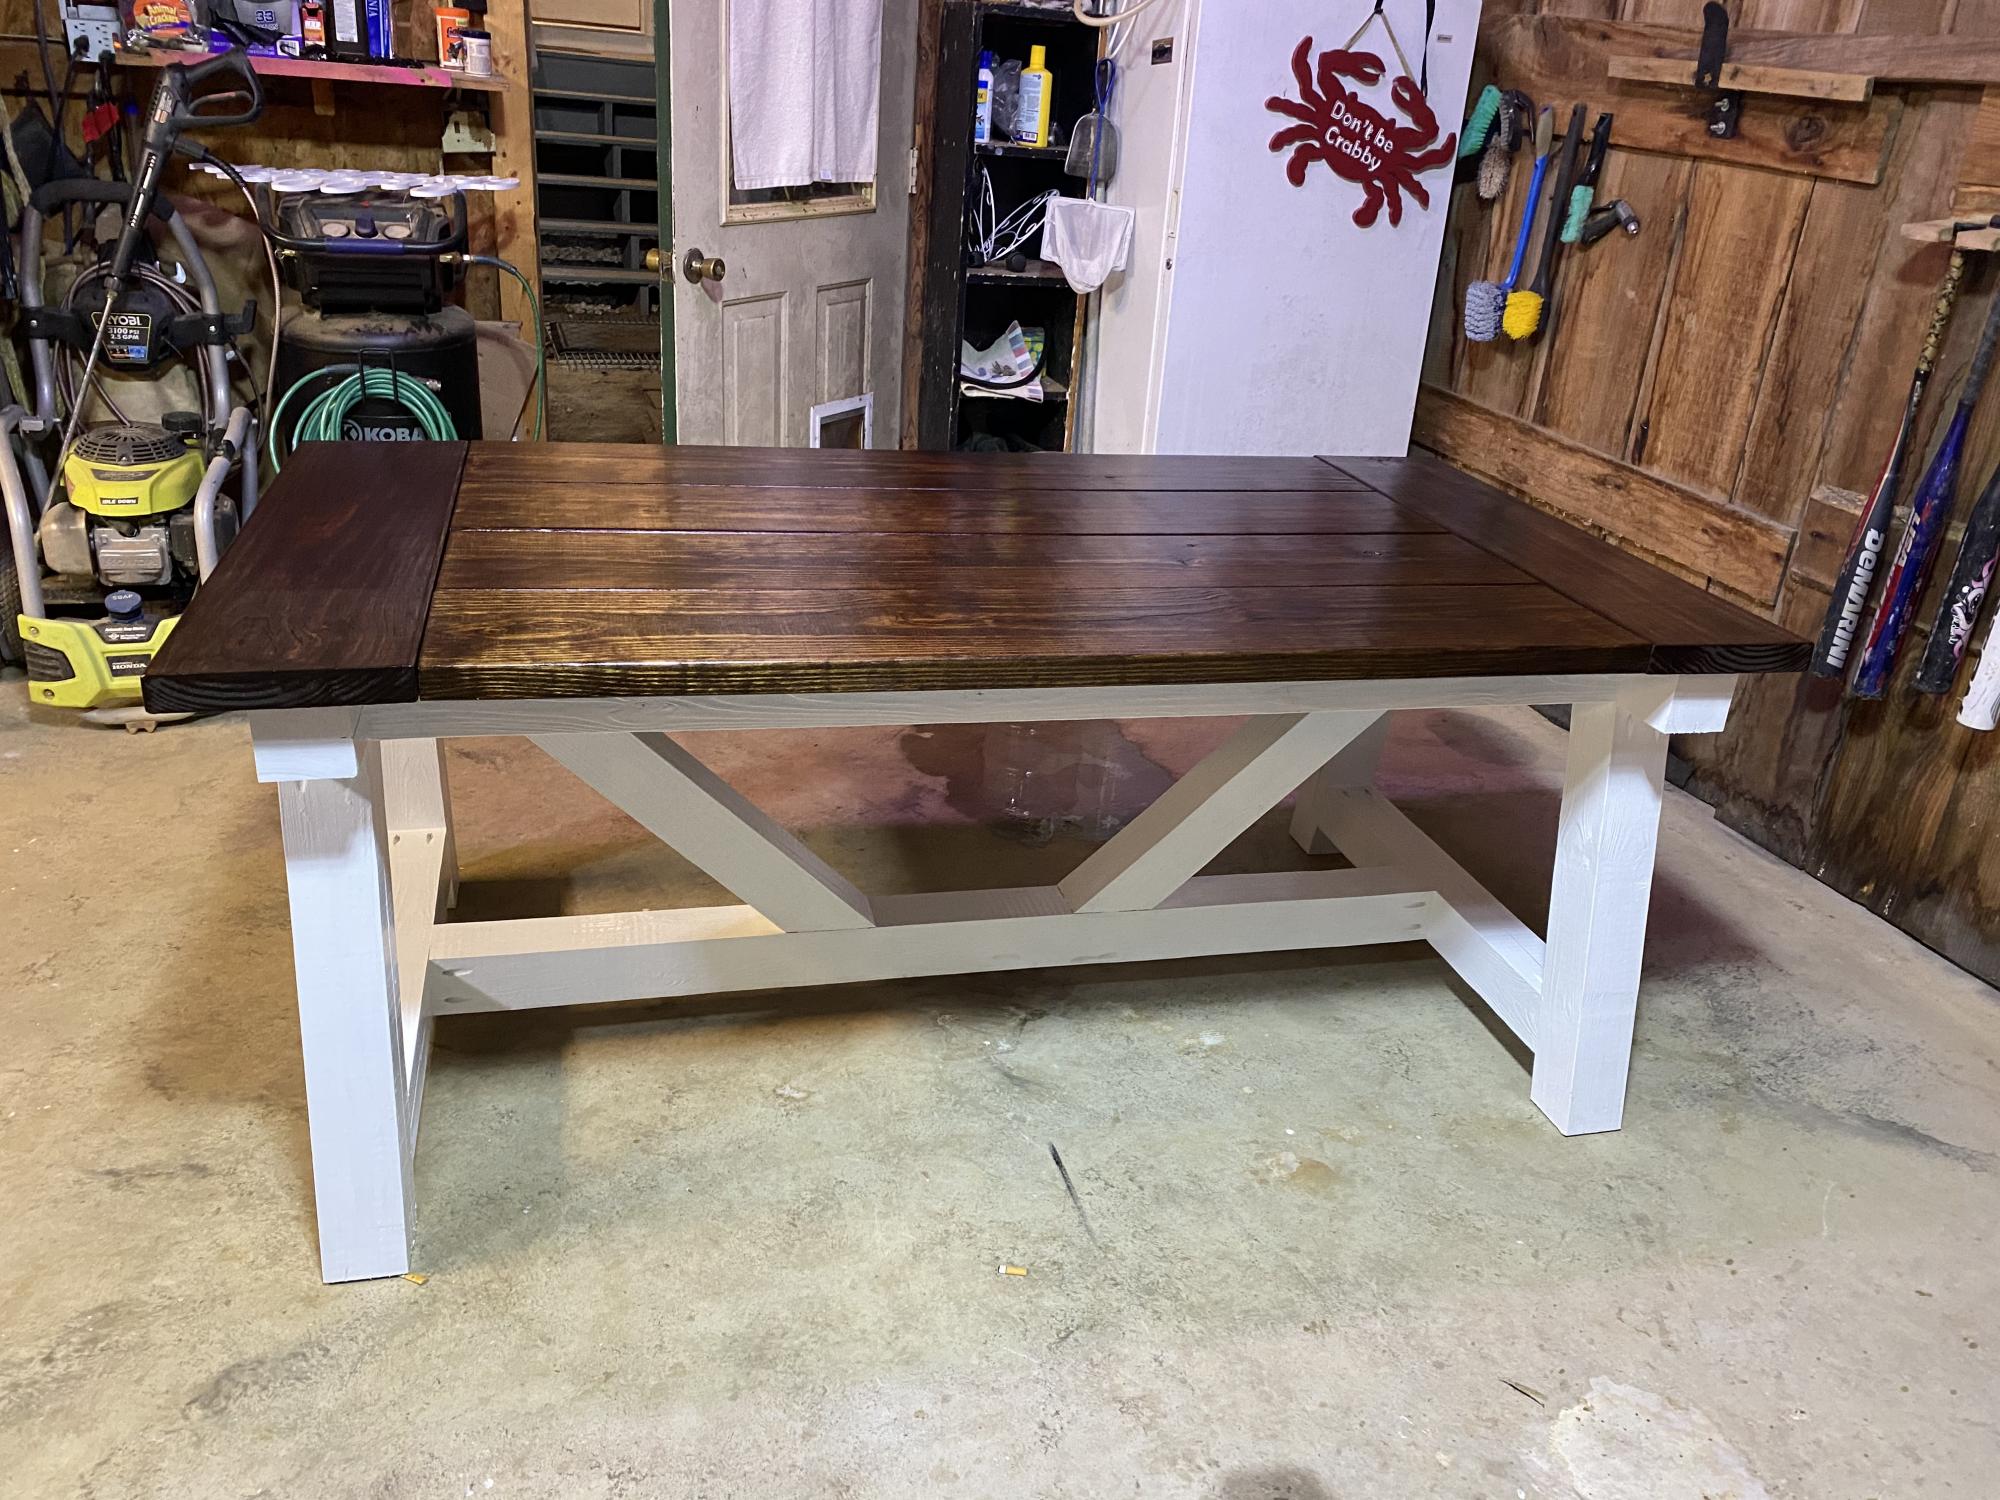
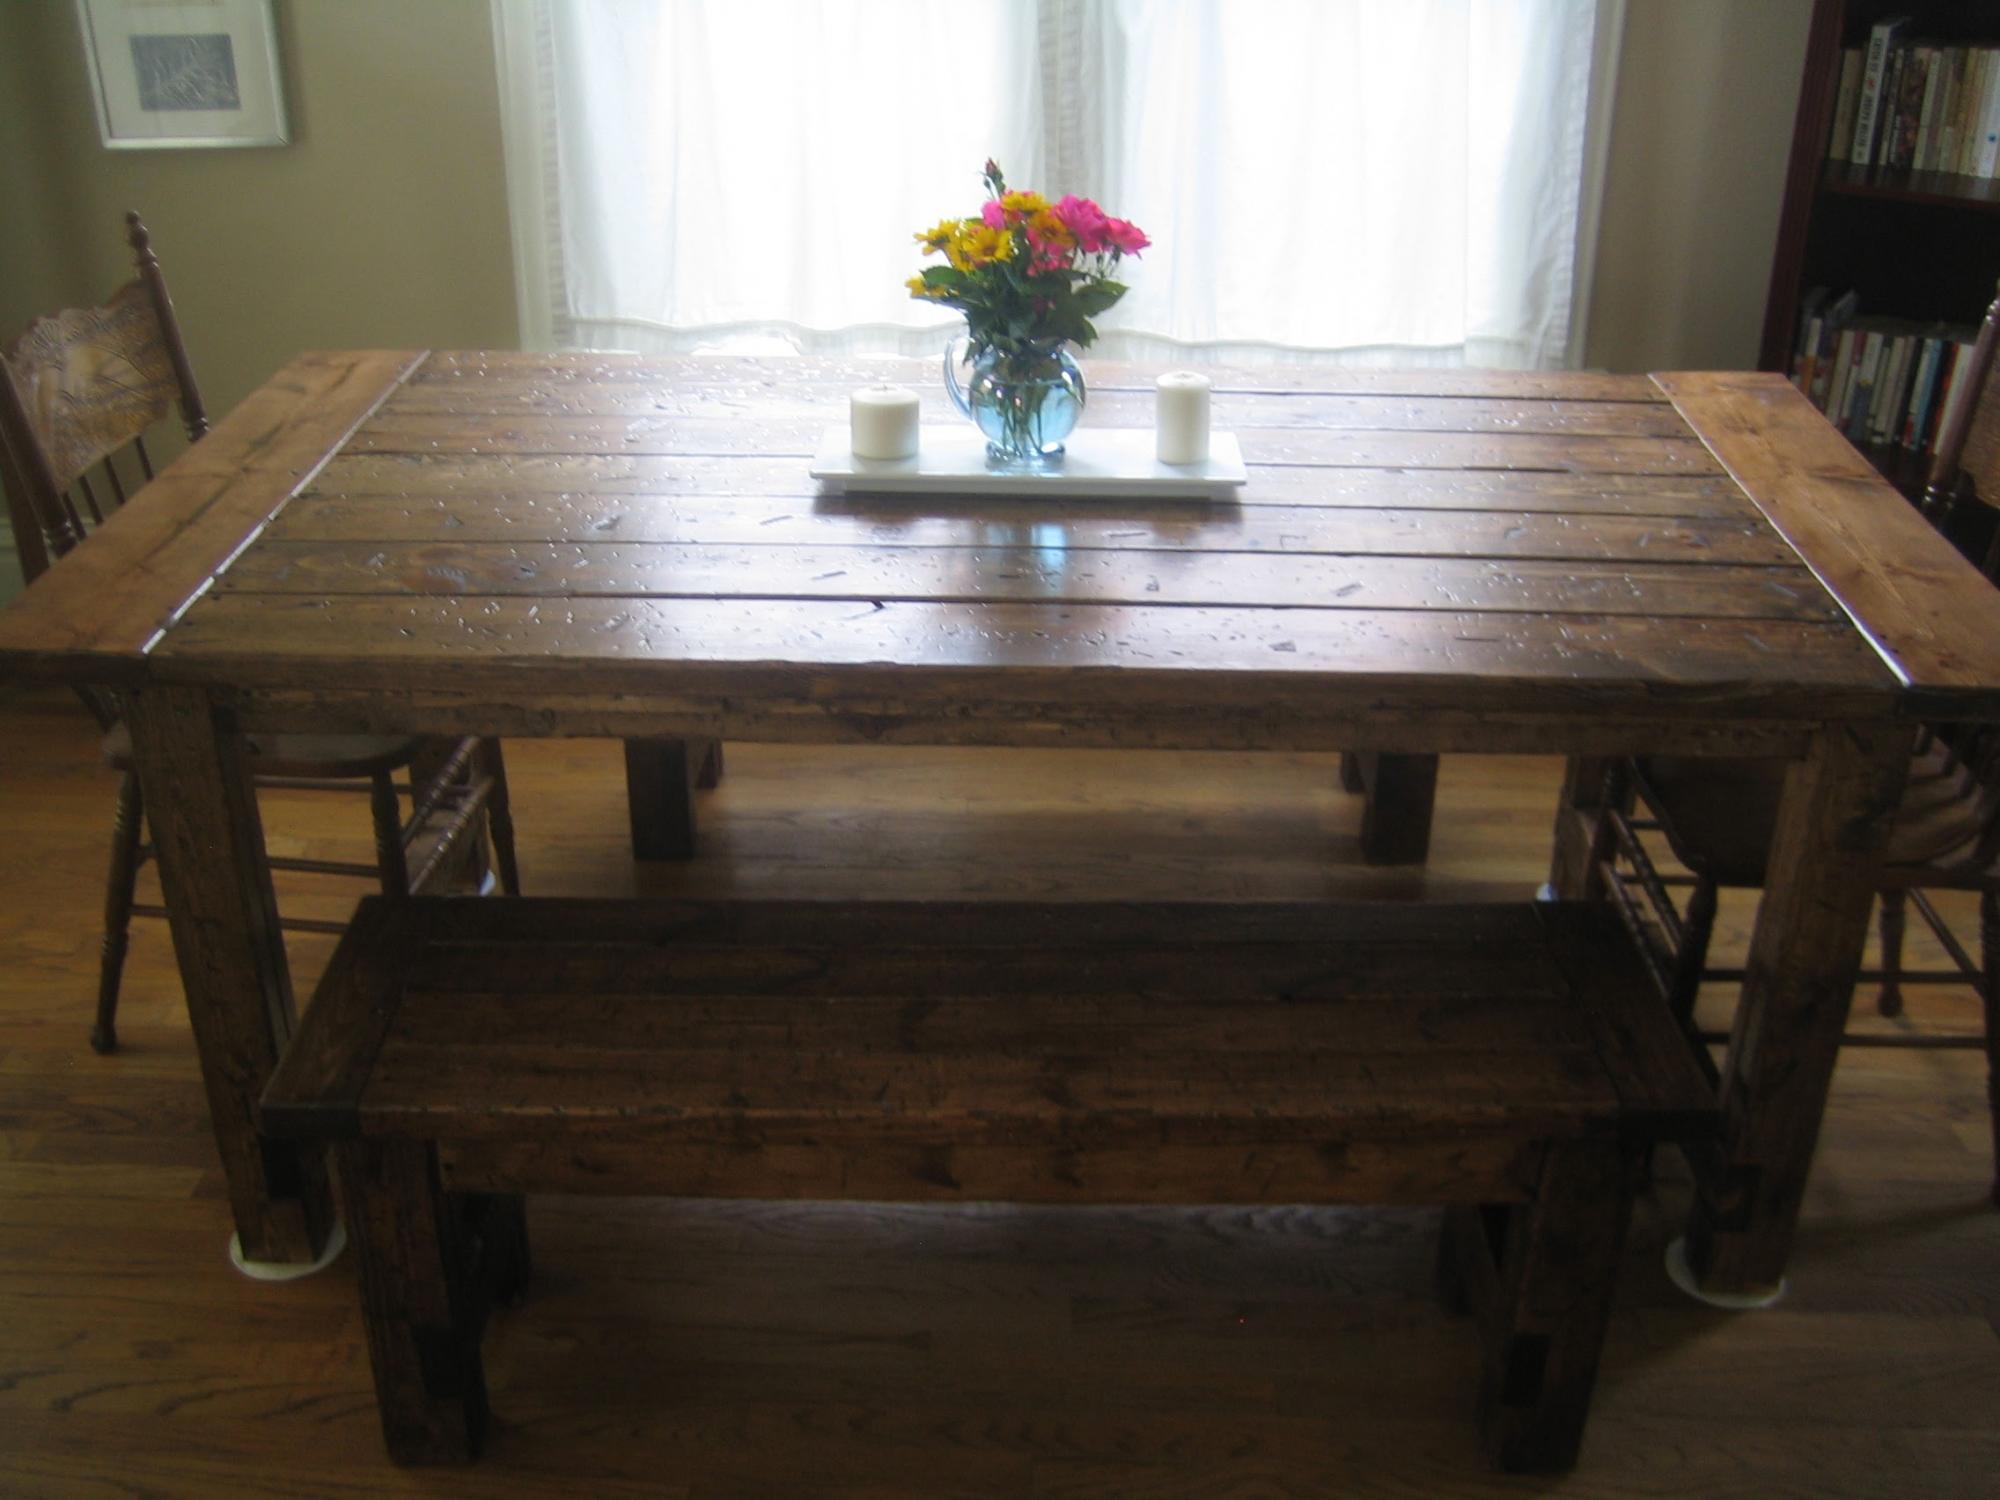
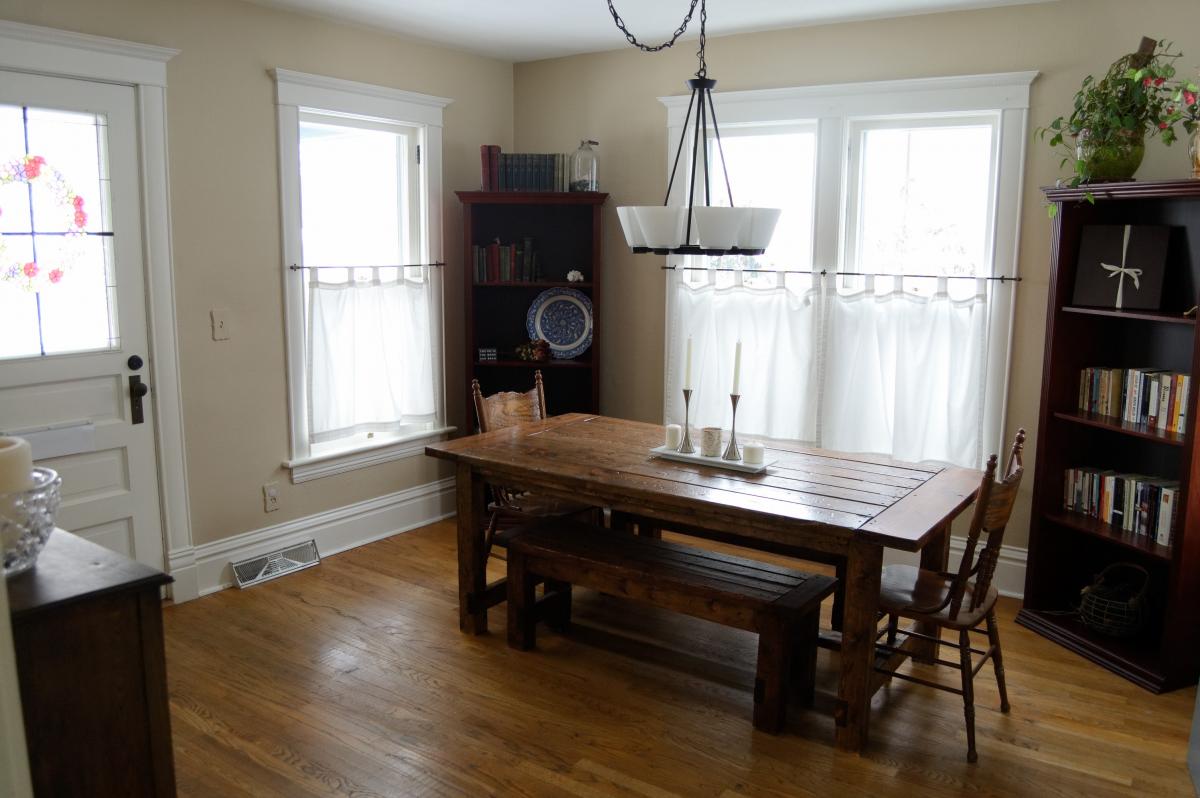
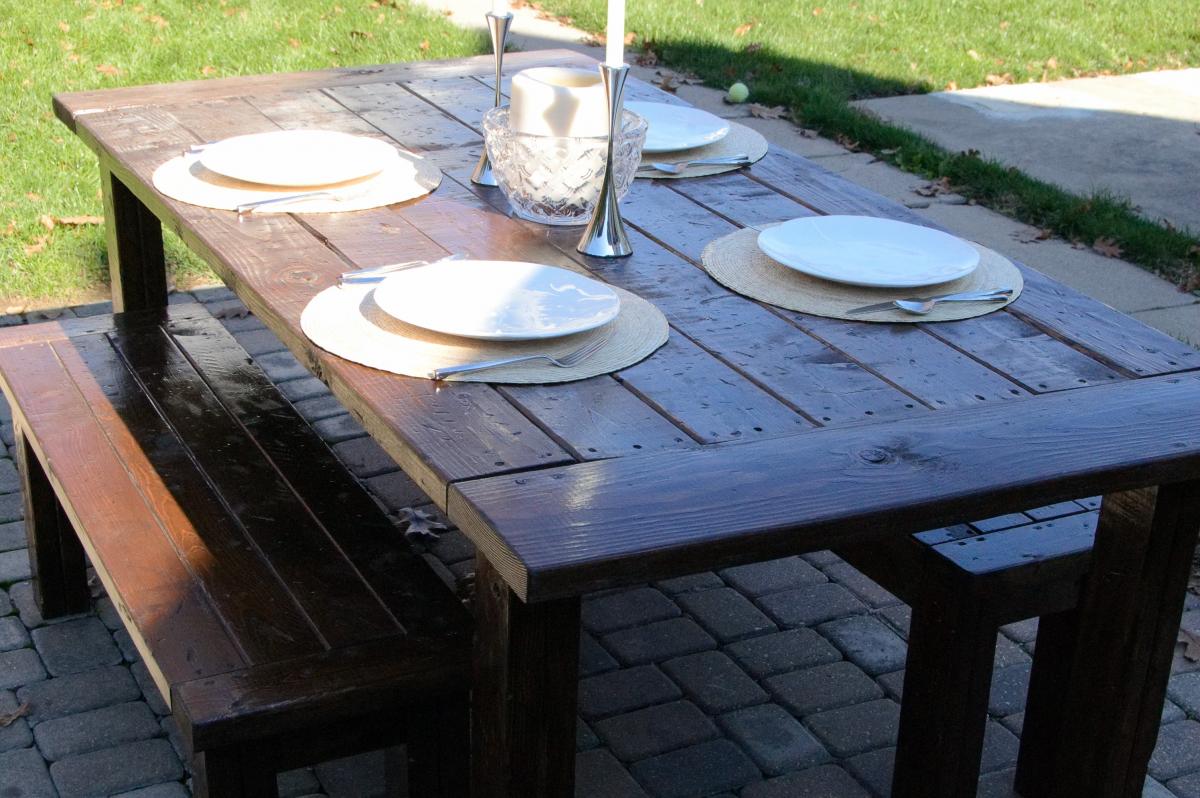
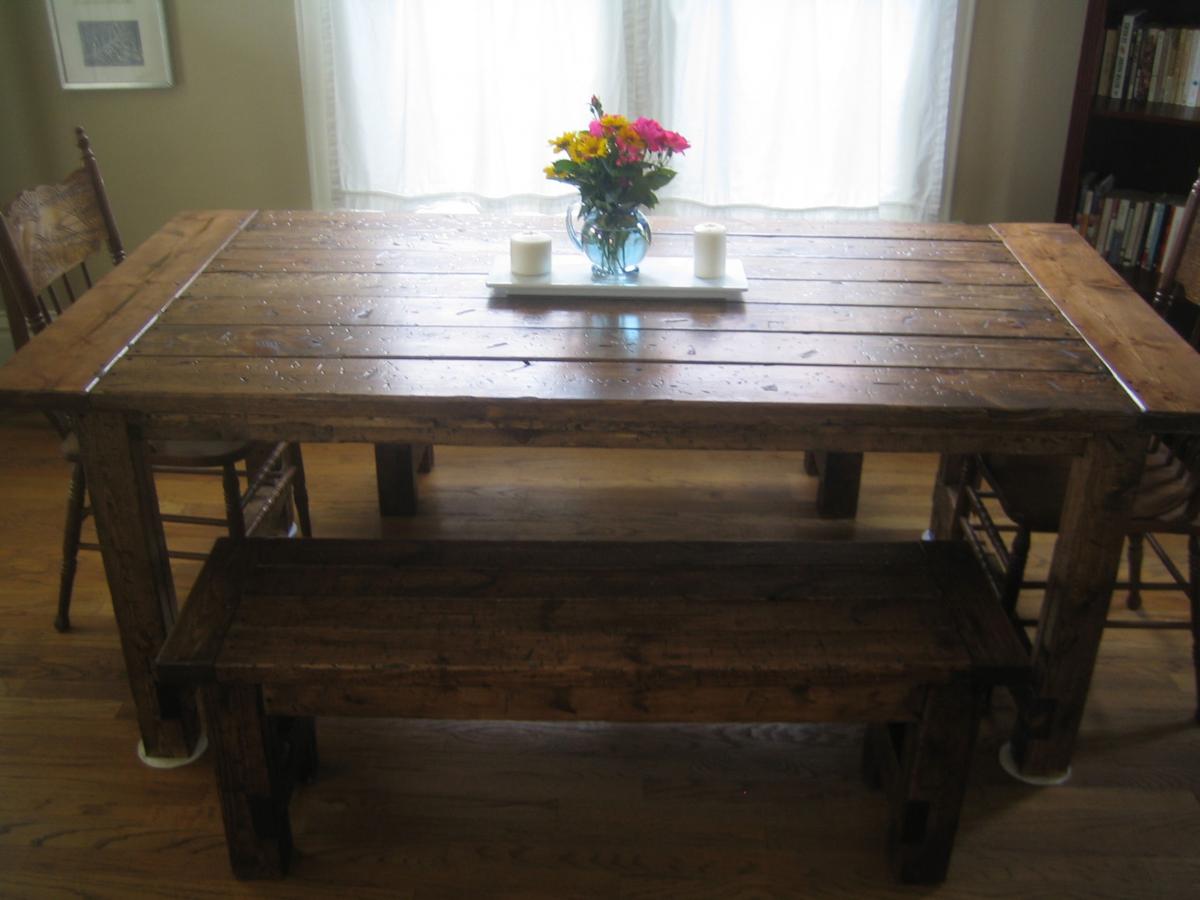
Rustic Farmhouse Dining Room Table w/ Benches

Made a vintage/rustic farmhouse dining room table with matching benches. Fairly easy DIY job. The notches were the most difficult. Quite heavy, so I suggest using less 2x2 for under-table supports. Turned out beautifully and very happy with it.

Estimated Cost
200
Estimated Time Investment
Weekend Project (10-20 Hours)
Finish Used
Stain and polyurethane
Recommended Skill Level
Starter Project

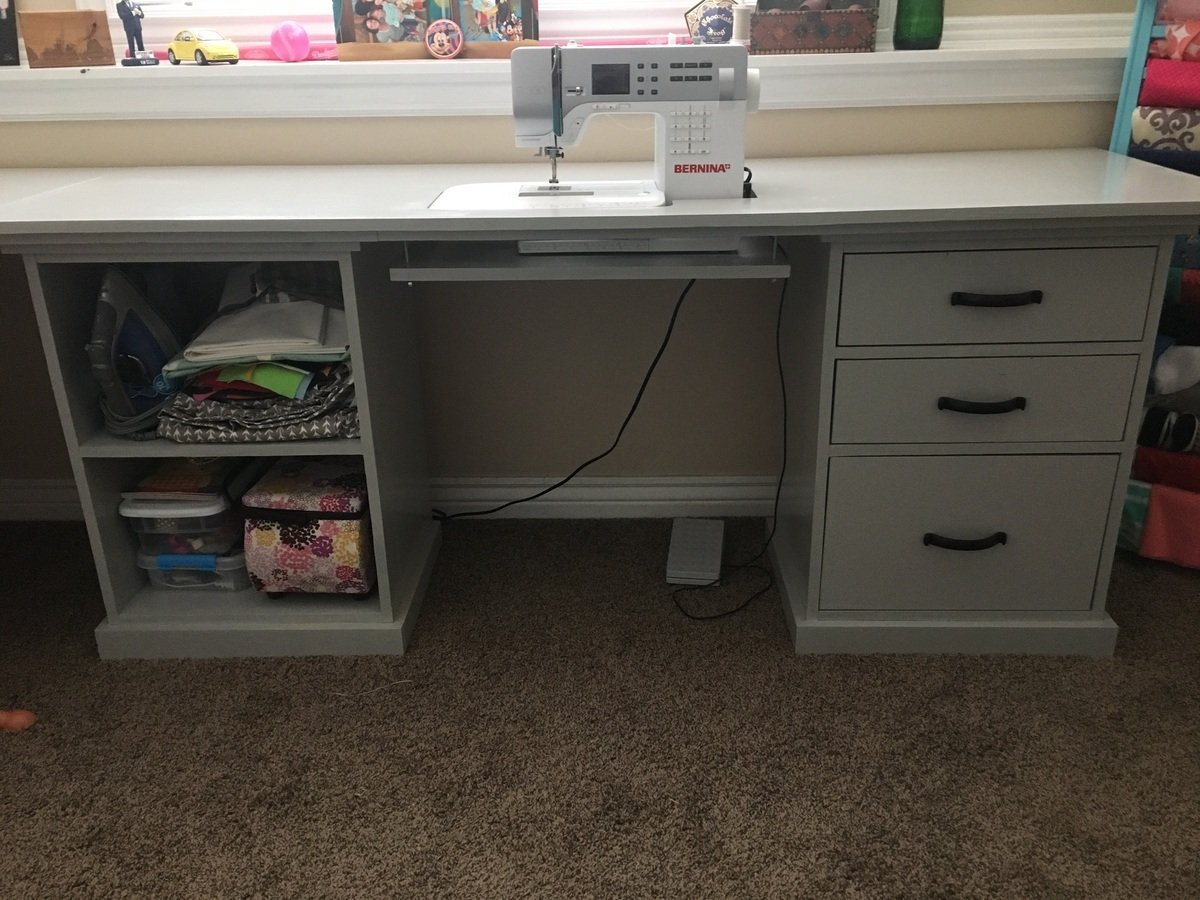
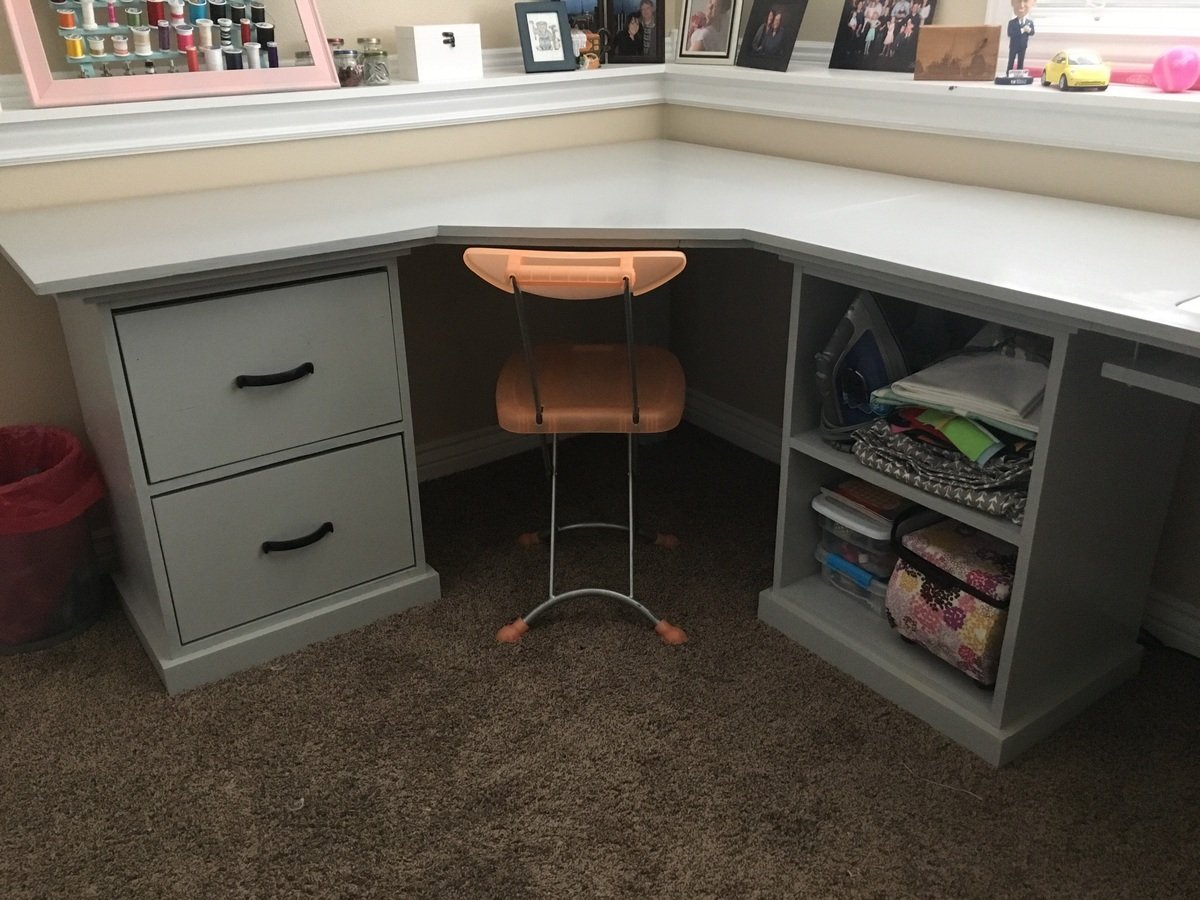
Modular office sewing/craft table

Submitted by Anonymous (not verified) on Thu, 07/25/2019 - 17:58

We built three base units-each with different storage options and used the corner desk plans. Then created our own long desk top using a 6ft long board and using a jigsaw to create an open space for the sewing machine. 

Estimated Cost
$300
Estimated Time Investment
Week Long Project (20 Hours or More)
Finish Used
Semi gloss paint-behr paint and primer in classic silver. Polycrilic semi-gloss top coat-3 coats with wet sand before final coat.
Recommended Skill Level
Intermediate

Comments

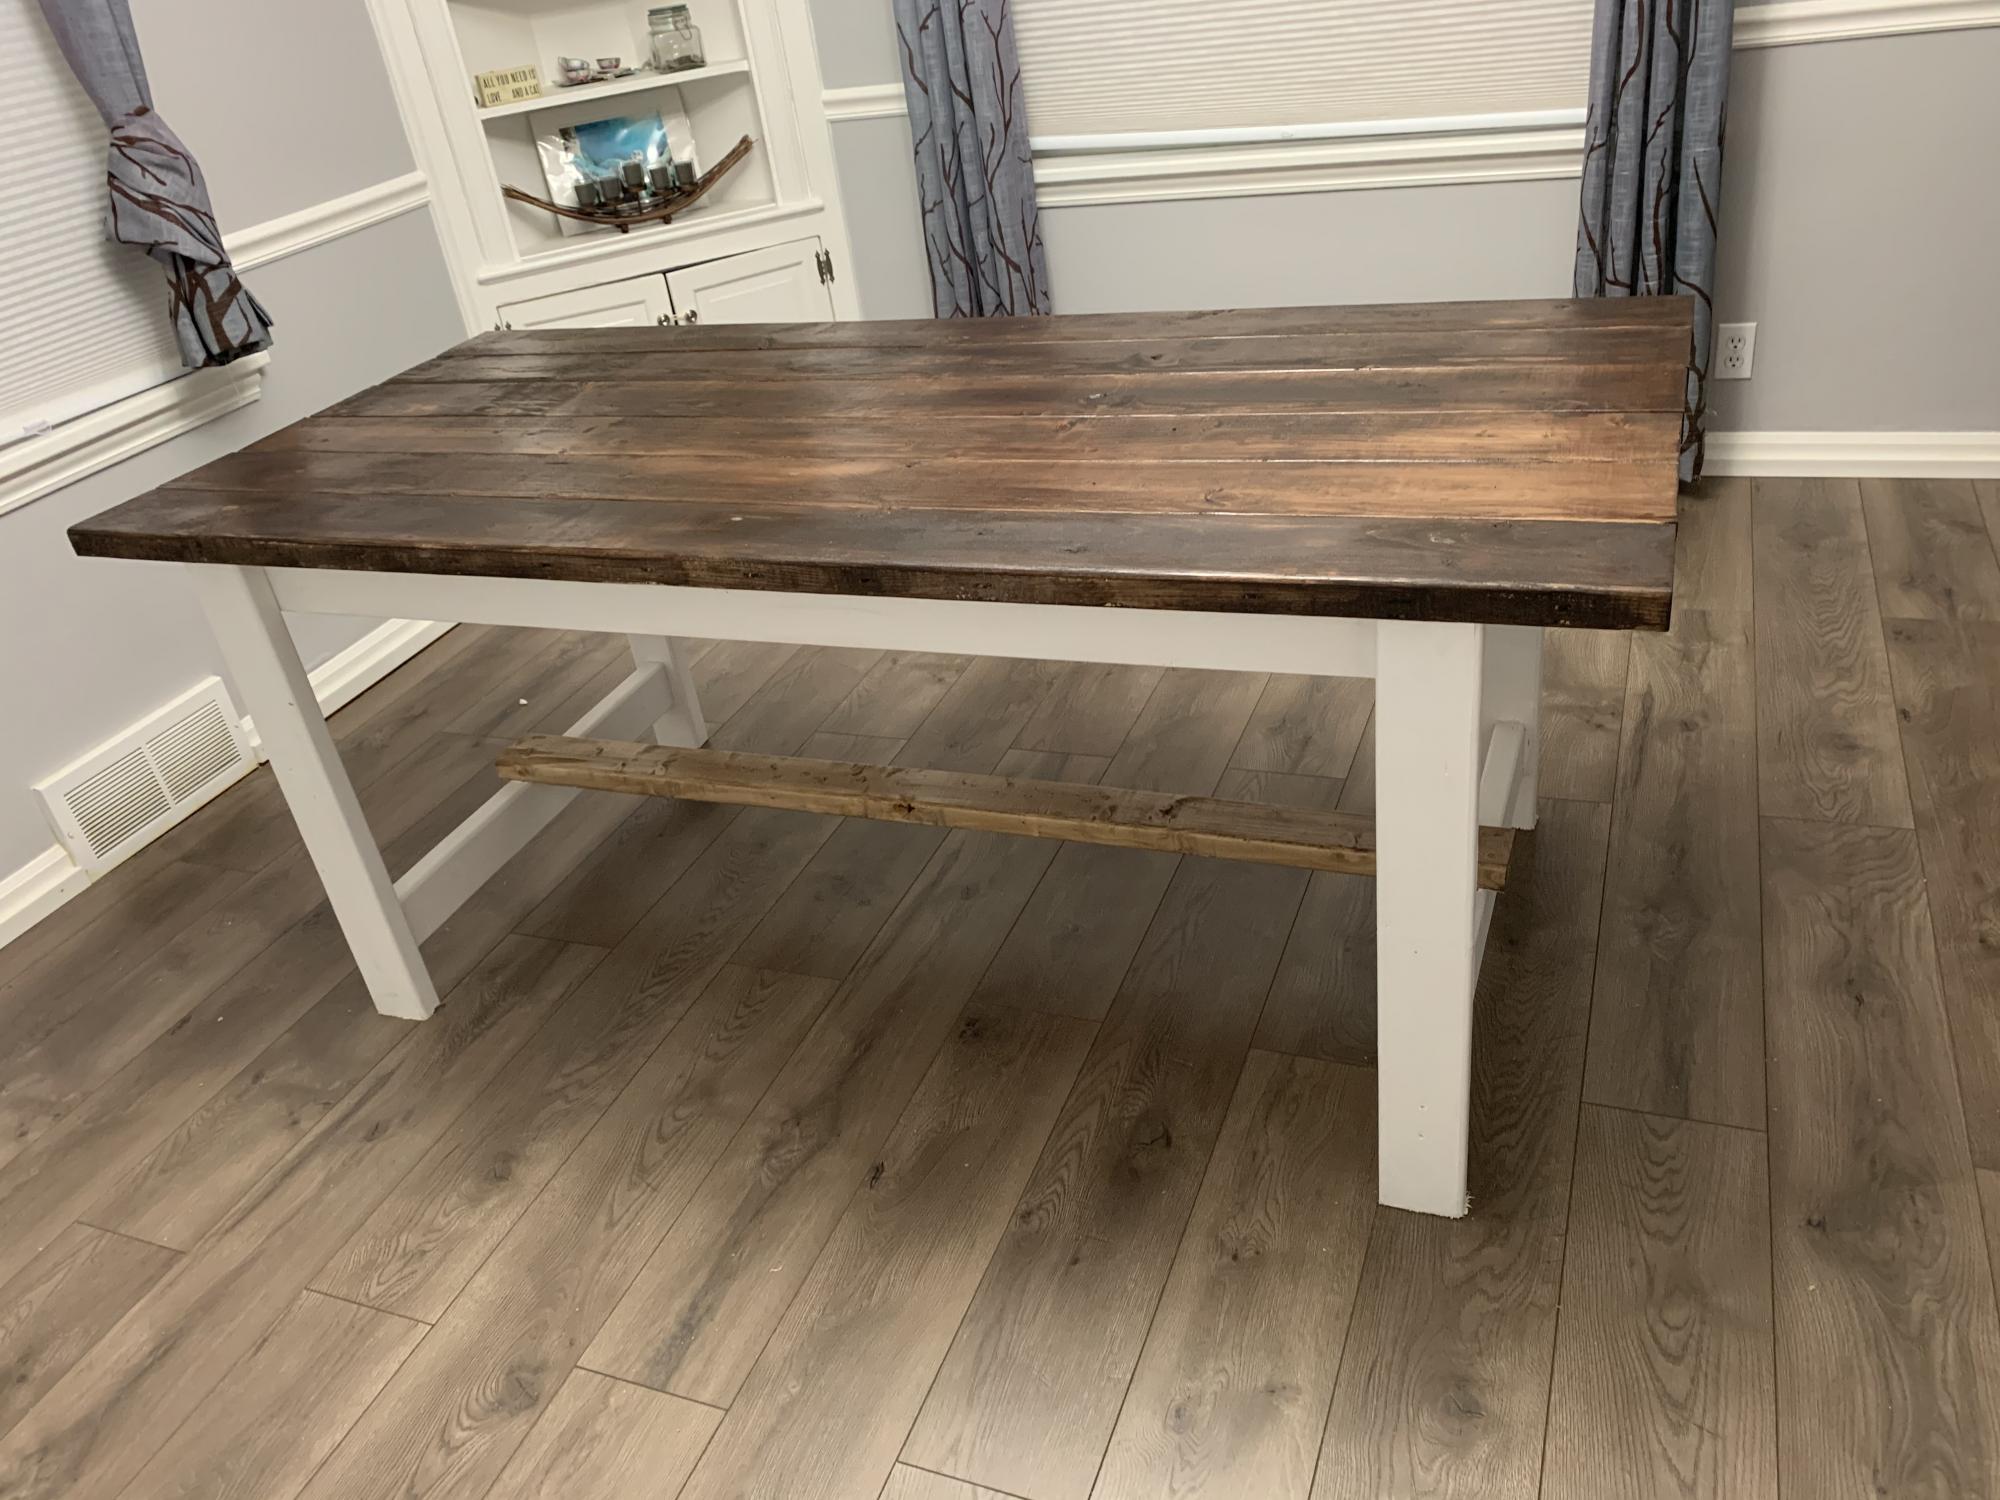
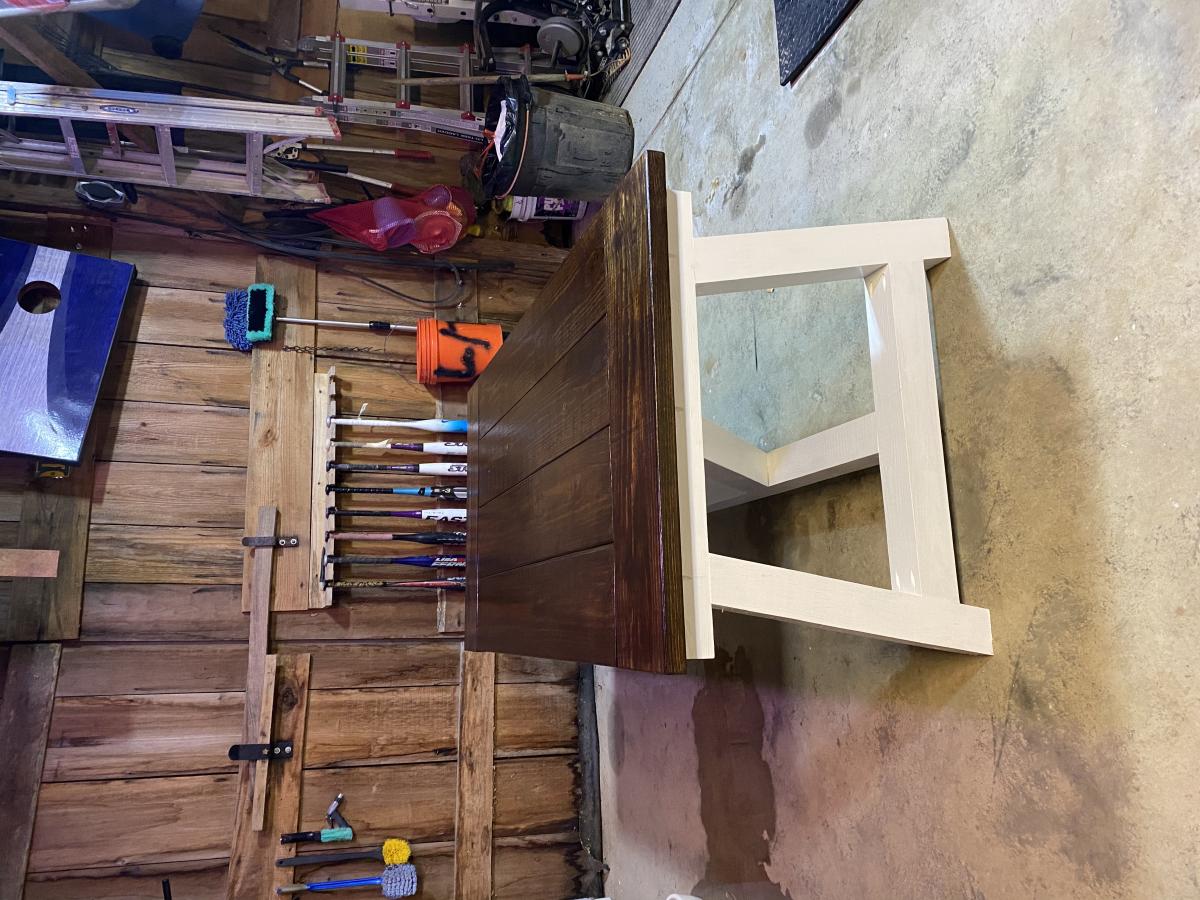
Truss 4x4 Farm Table

Submitted by iamjulz622 on Sun, 09/20/2020 - 19:07

I love this site and the user friendly plans. I used the suggestion of turning the 2x4’s but I think it would have been better to have more to screw the top boards to if I hadn’t.

Built from Plan(s)
Estimated Time Investment
Week Long Project (20 Hours or More)
Finish Used
White paint, stain and sealant.
Recommended Skill Level
Intermediate
Back