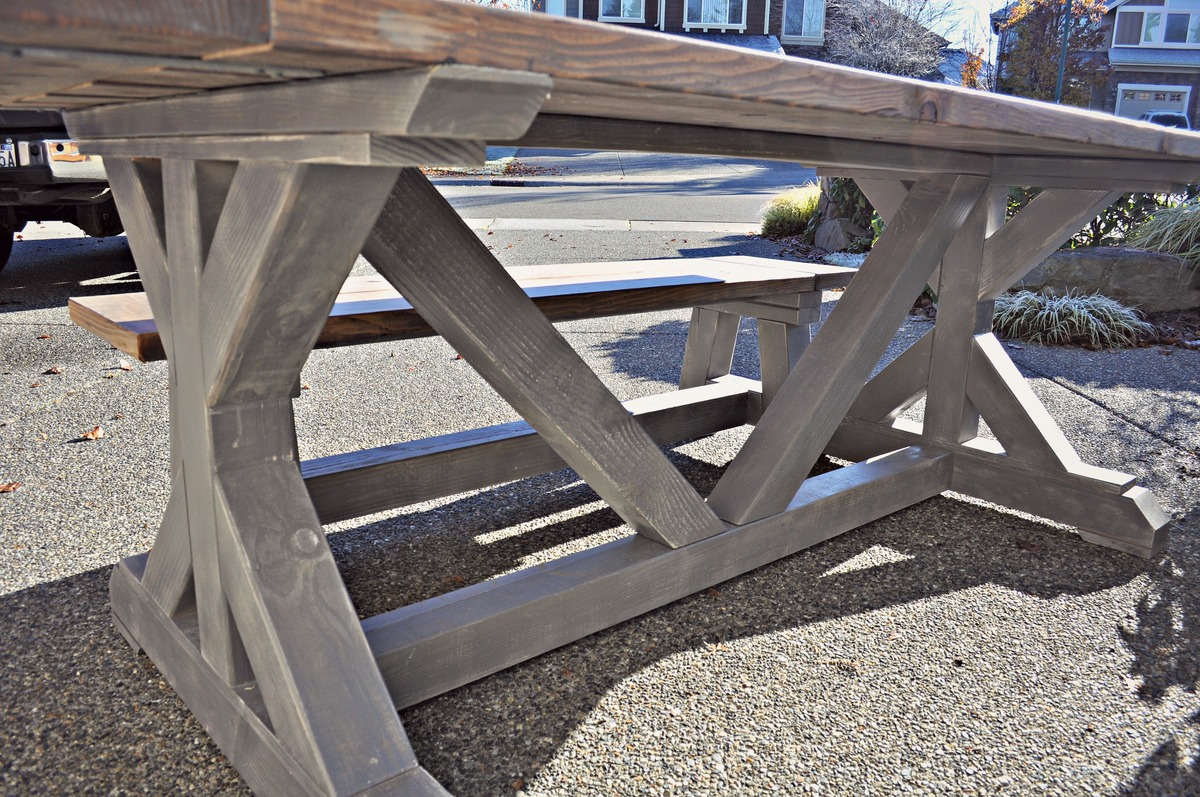
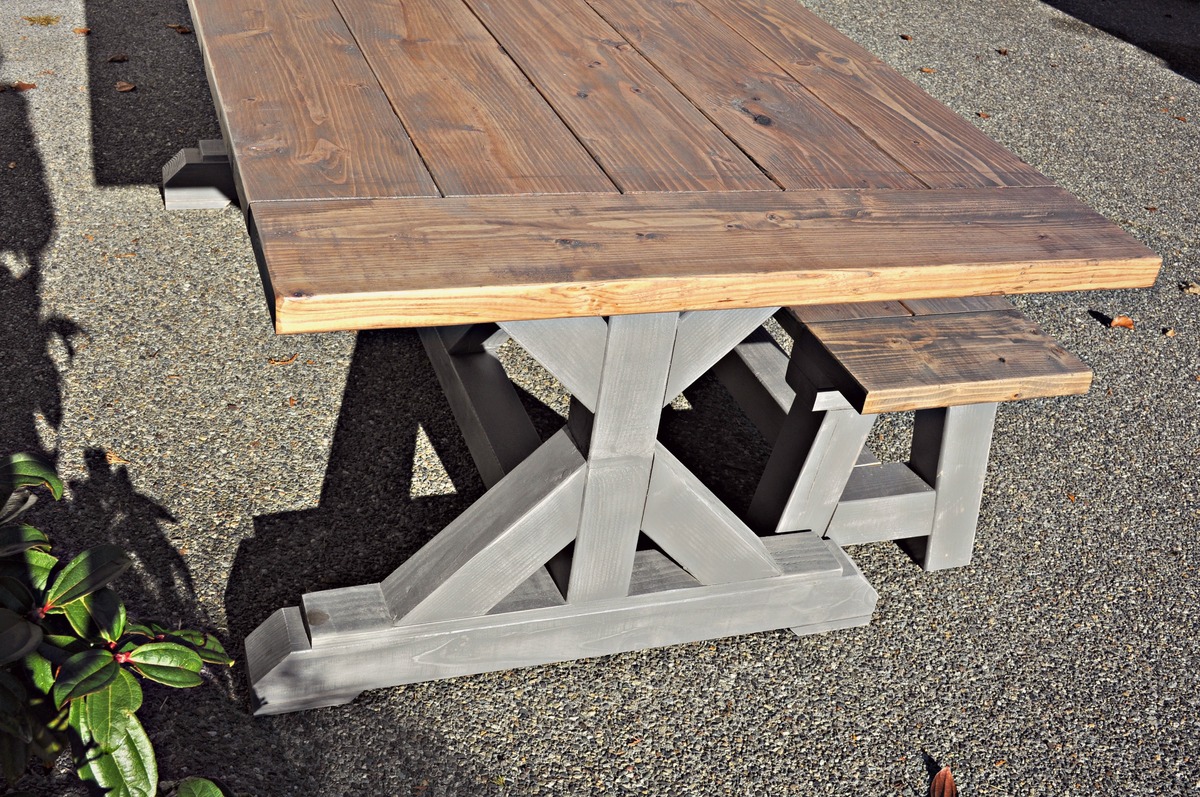
Farmhouse table

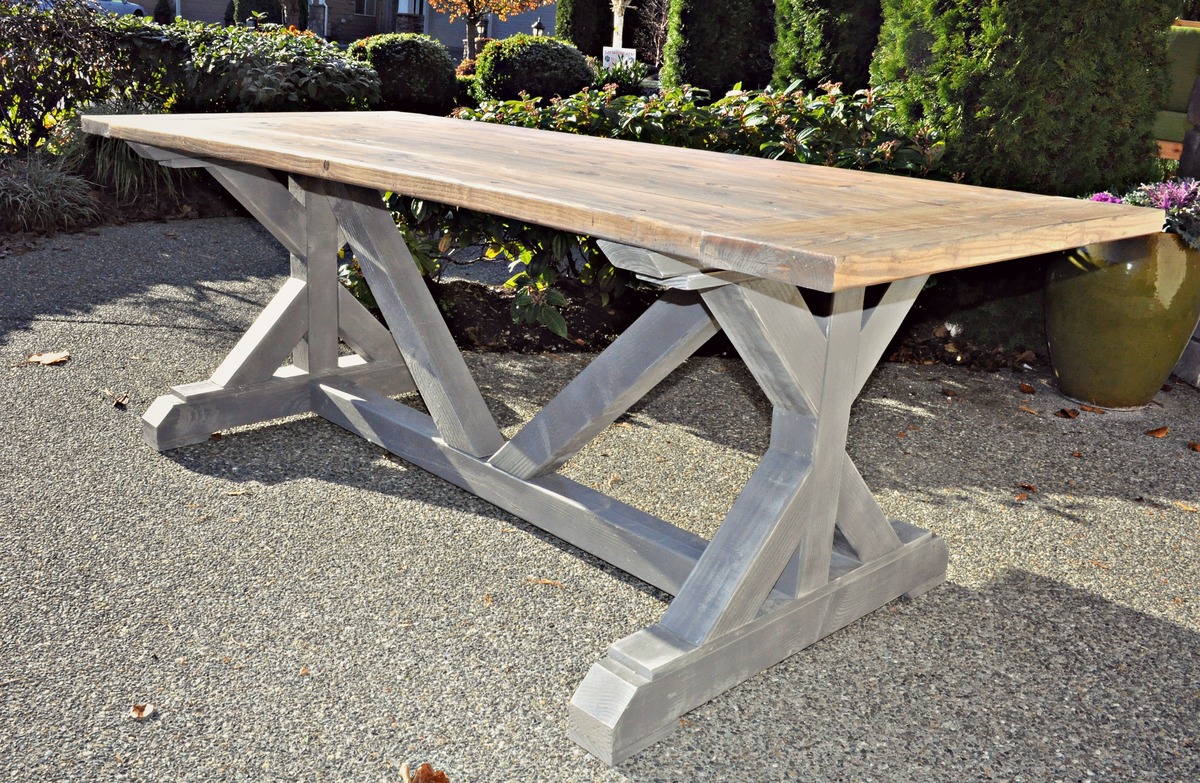
First time doing anything this big. The crosses on the side kicked my butt but I think I got them figured out.
Built from Plan(s)
First time doing anything this big. The crosses on the side kicked my butt but I think I got them figured out.
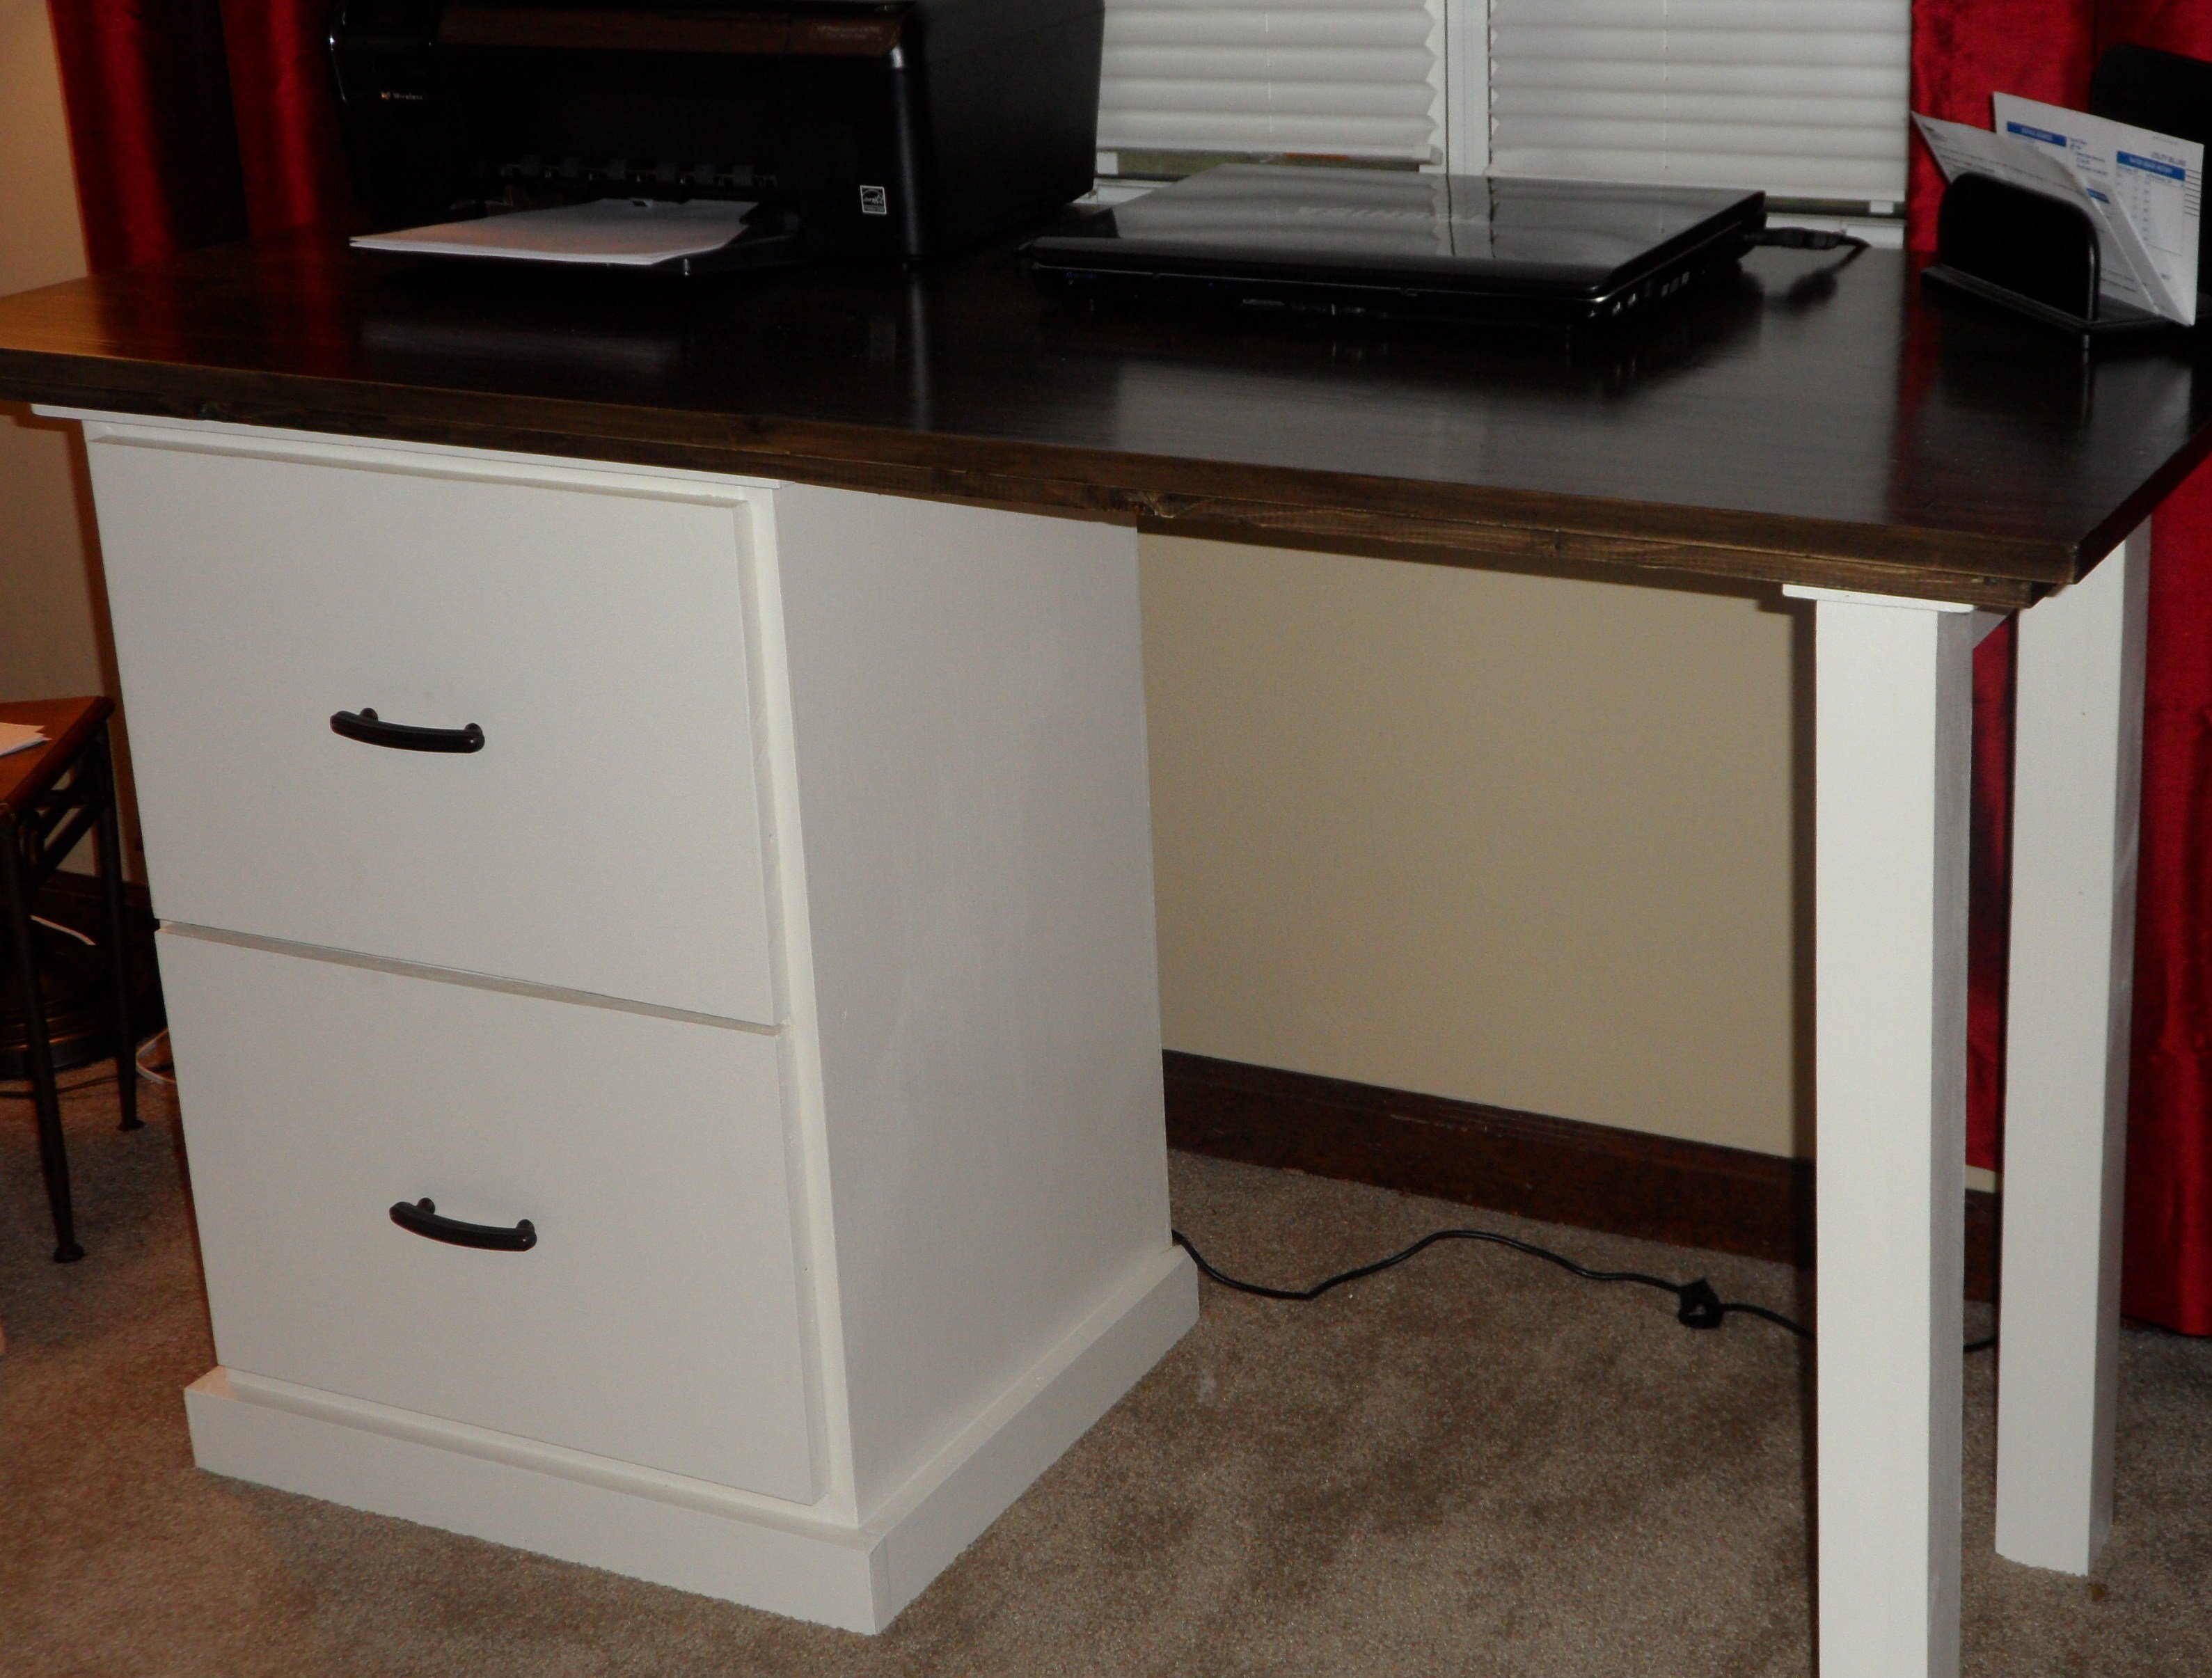
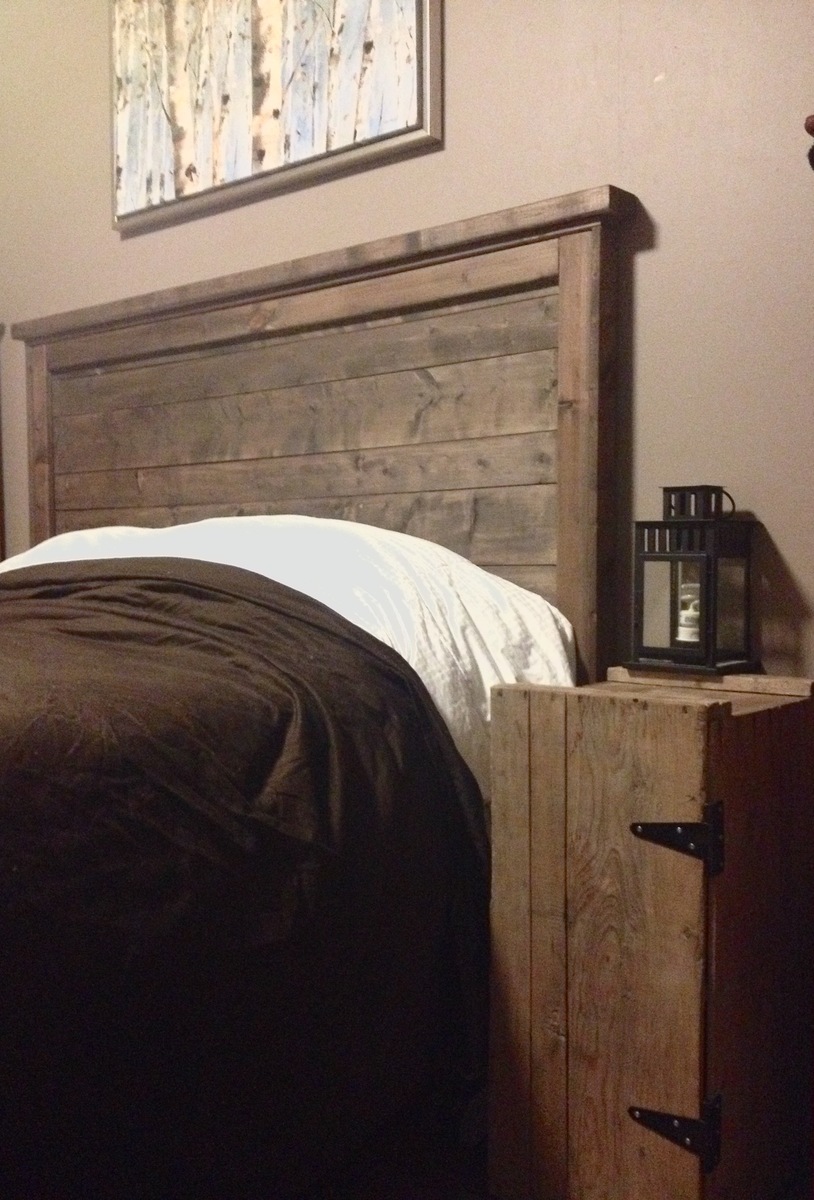
Finally finished my first build! This was initially meant to just be a file cabinet but by the time I got a little over half way through we got rid of our huge office desk to make a guest room and decided that I should a top to the file cabinet to make a small desk to go in our living room. It's a perfect fit! This definitely took me longer than I had expected thanks to a lot of cold or wet days, a busy schedule and a lack of a garage. If it wasn't light out and dry I couldn't work. In addition, since this was my first build, I had to learn a lot of skills, buy a lot of new tools (Christmas helped) and fix a lot of mistakes (not to mention the untold number of trips to the hardware store). However I am so excited about how well this turned out I am already halfway through building a set of night stands and my "to-do" list is very, very long!
Mon, 04/30/2012 - 11:37
What type of plywood did you use for the top? I am looking to buy the materials and I have no clue what to get.

Mon, 04/30/2012 - 16:56
Nadine,
If you're determined to stain the top, there are a couple of different things I'd try.
The first is looking for a panel instead of plywood. Most home stores and lumber yards sell glued up wood table and counter tops. At Menards I've seen maple, oak and pine. Lowes and Home Depot usually at least have pine. It costs slightly more, but it gives a really nice desktop.
If you want plywood, if you're going to stain it buy an A1 plywood. In an ideal world, it would have a rotary cut core, but that isn't essential. Home centers tend to make it a bit harder to by plywood by the surface grade, so I really recommend you go to a lumber yard for your plywood. That said, I've seen the stacks of Purebond at Home Depot that Ana recommends, and it looks like very nice material. I haven't used it, but I think it would be worth trying.
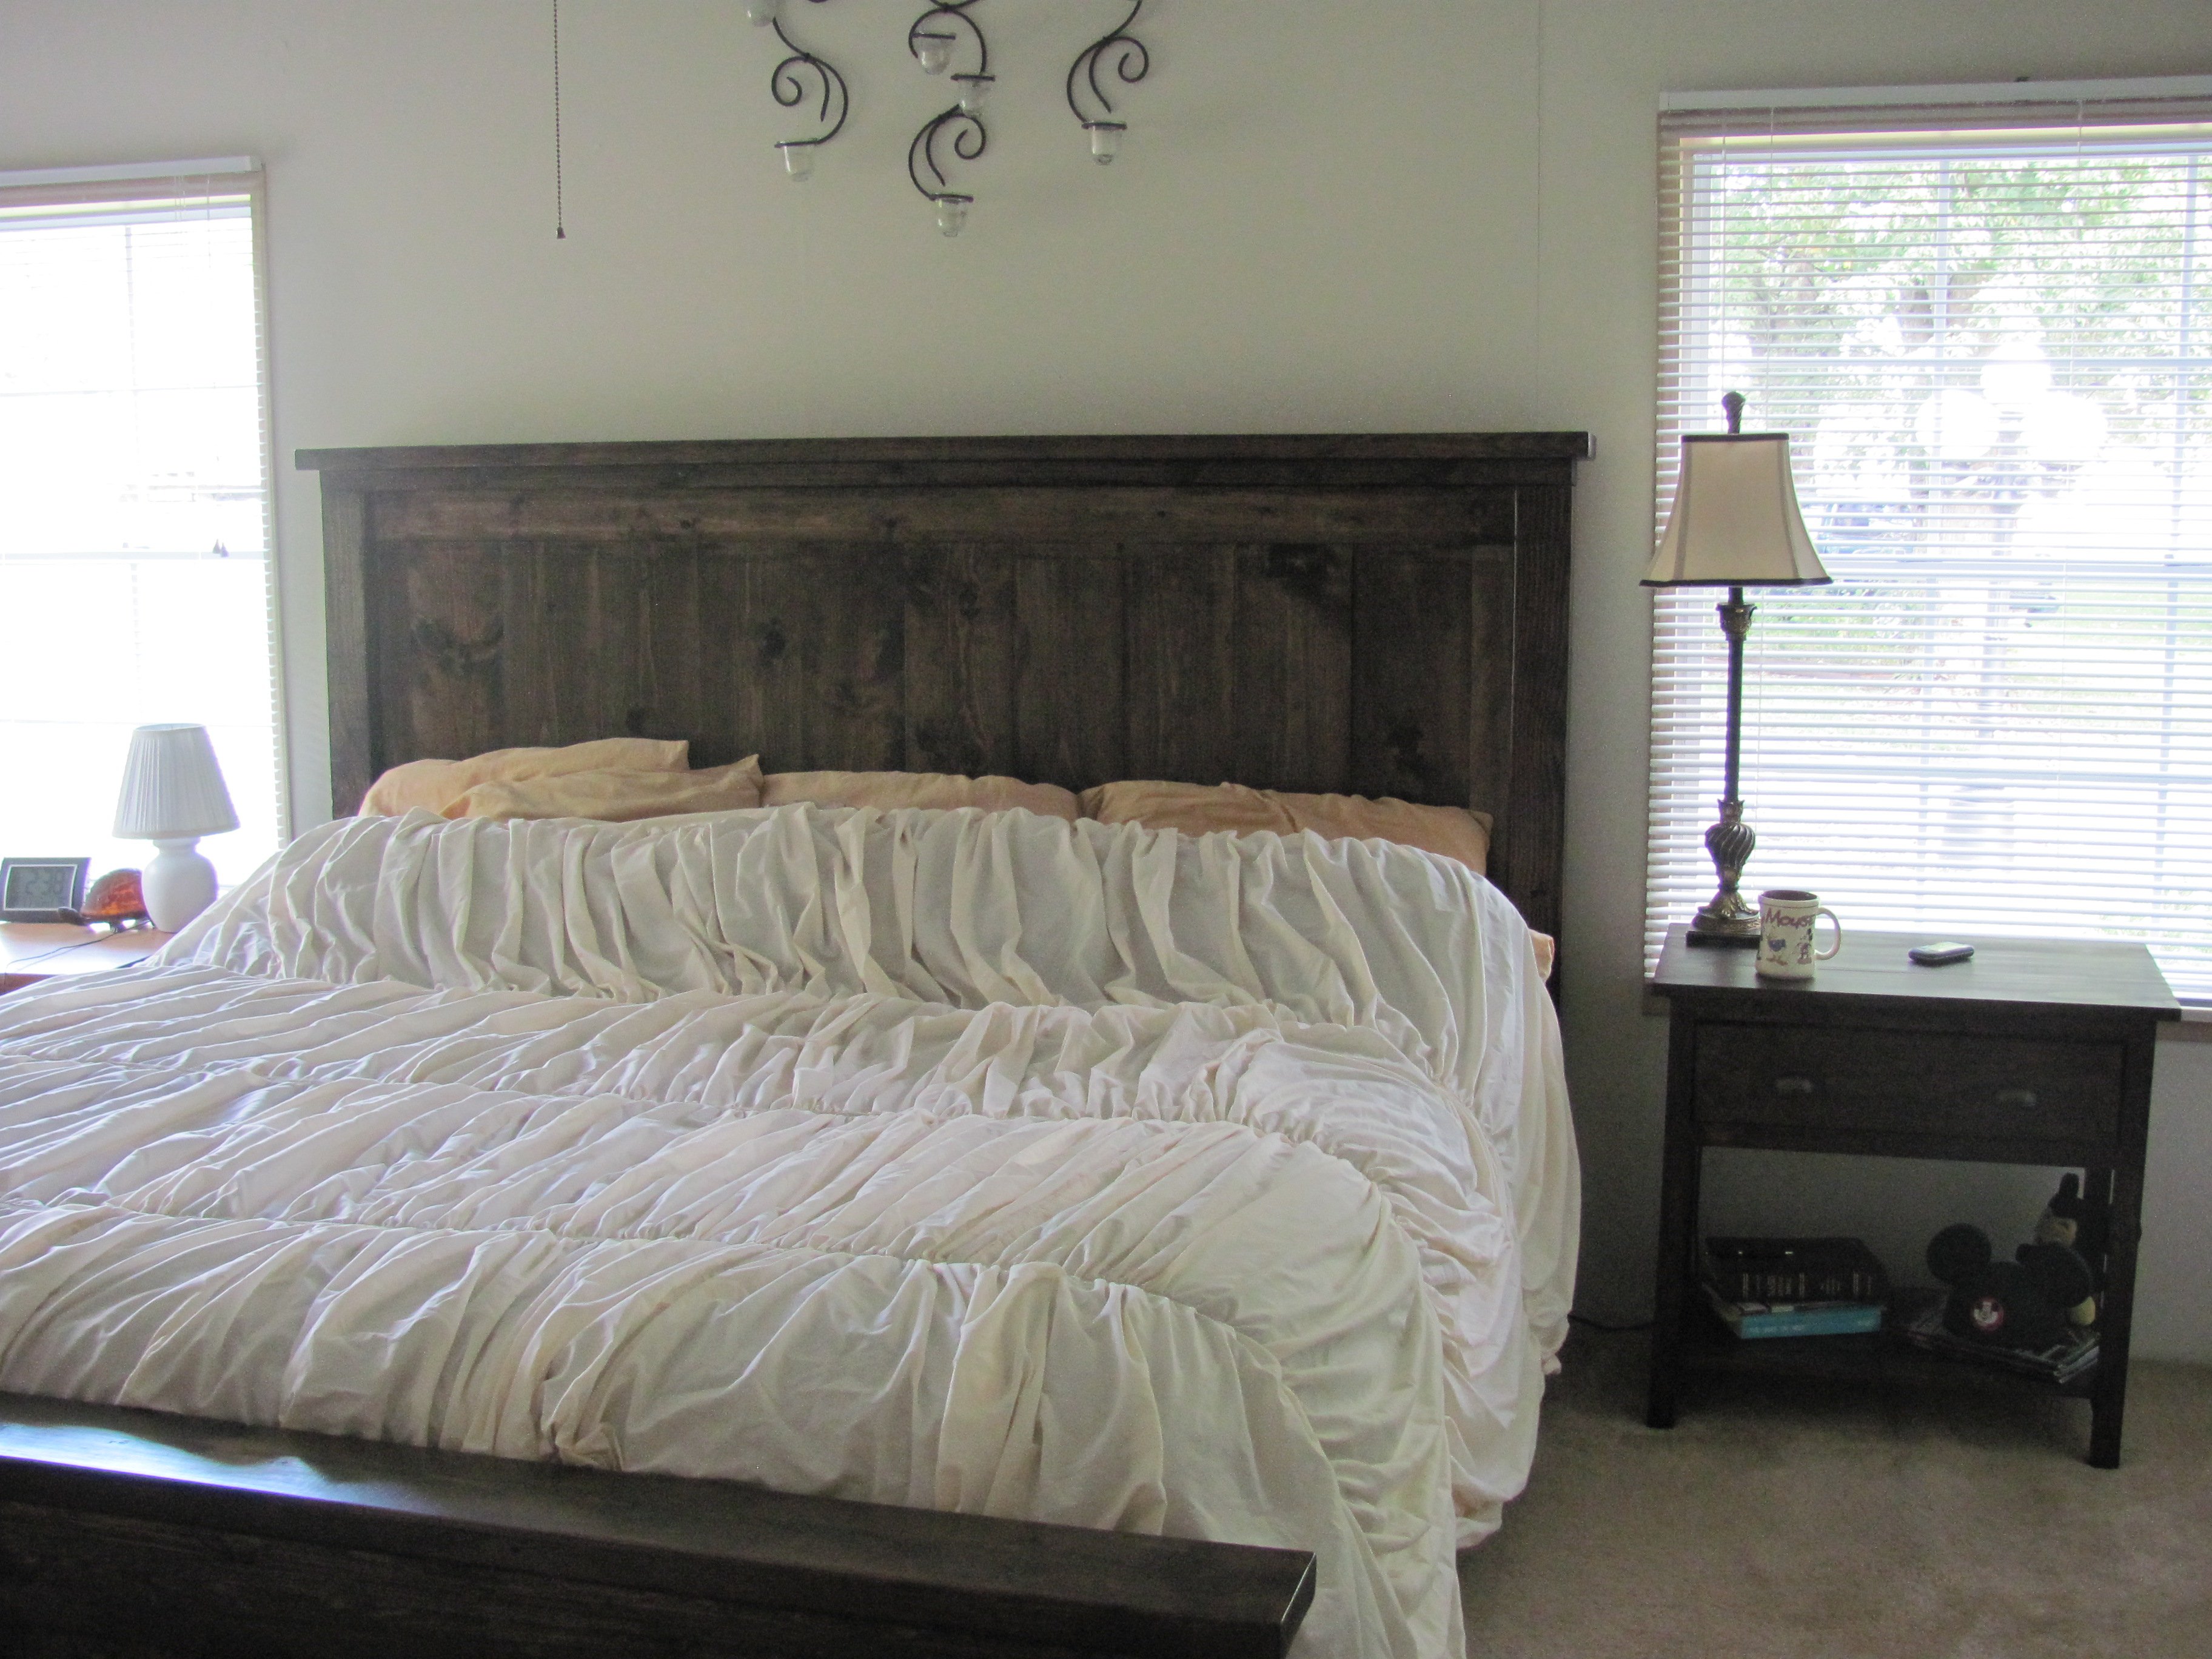
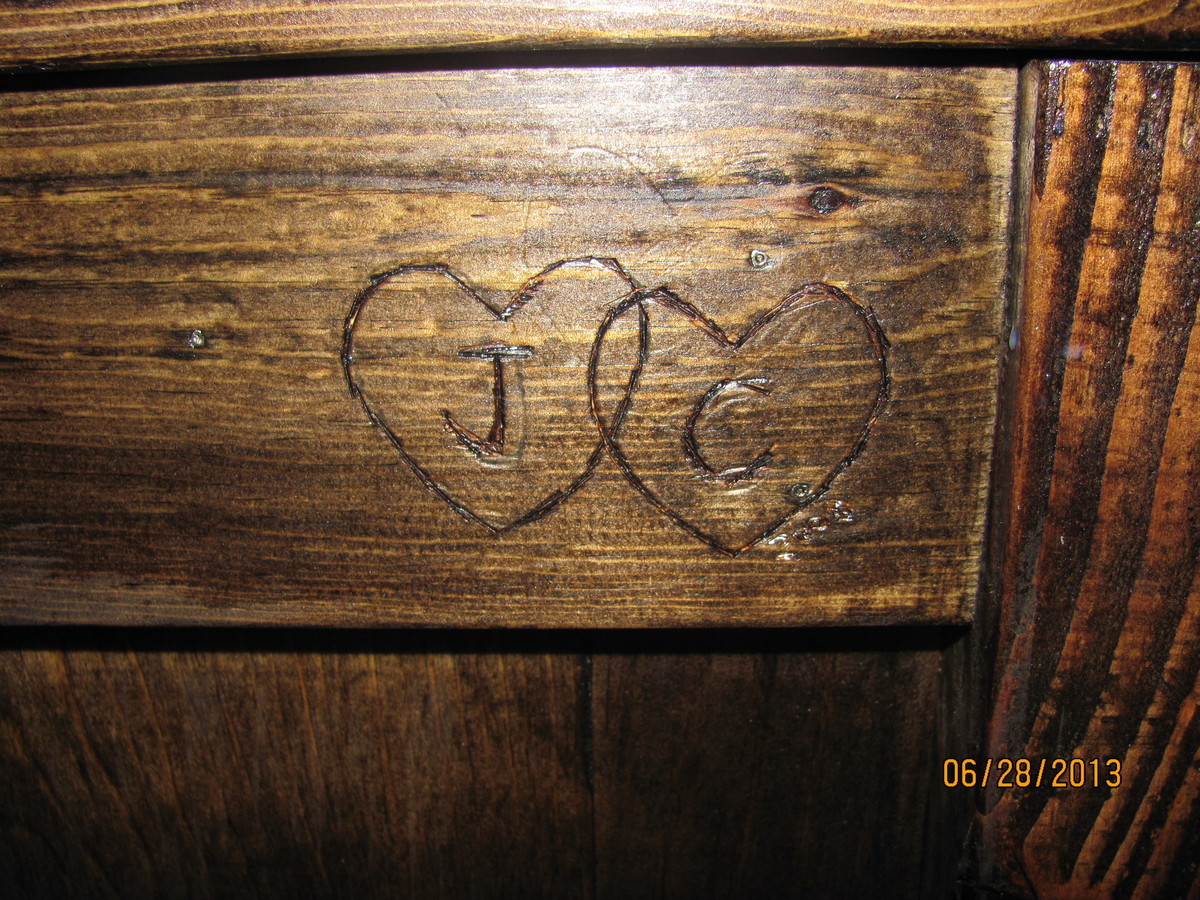
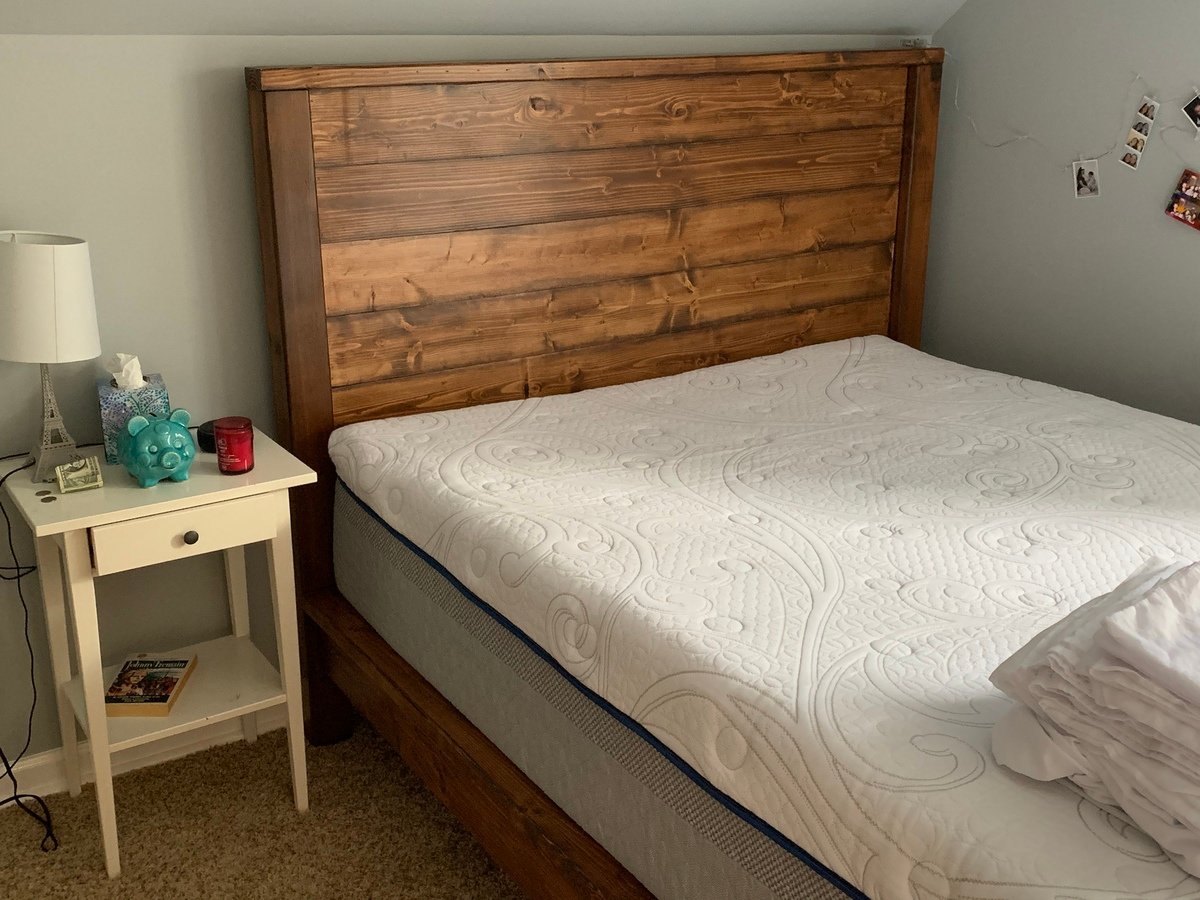
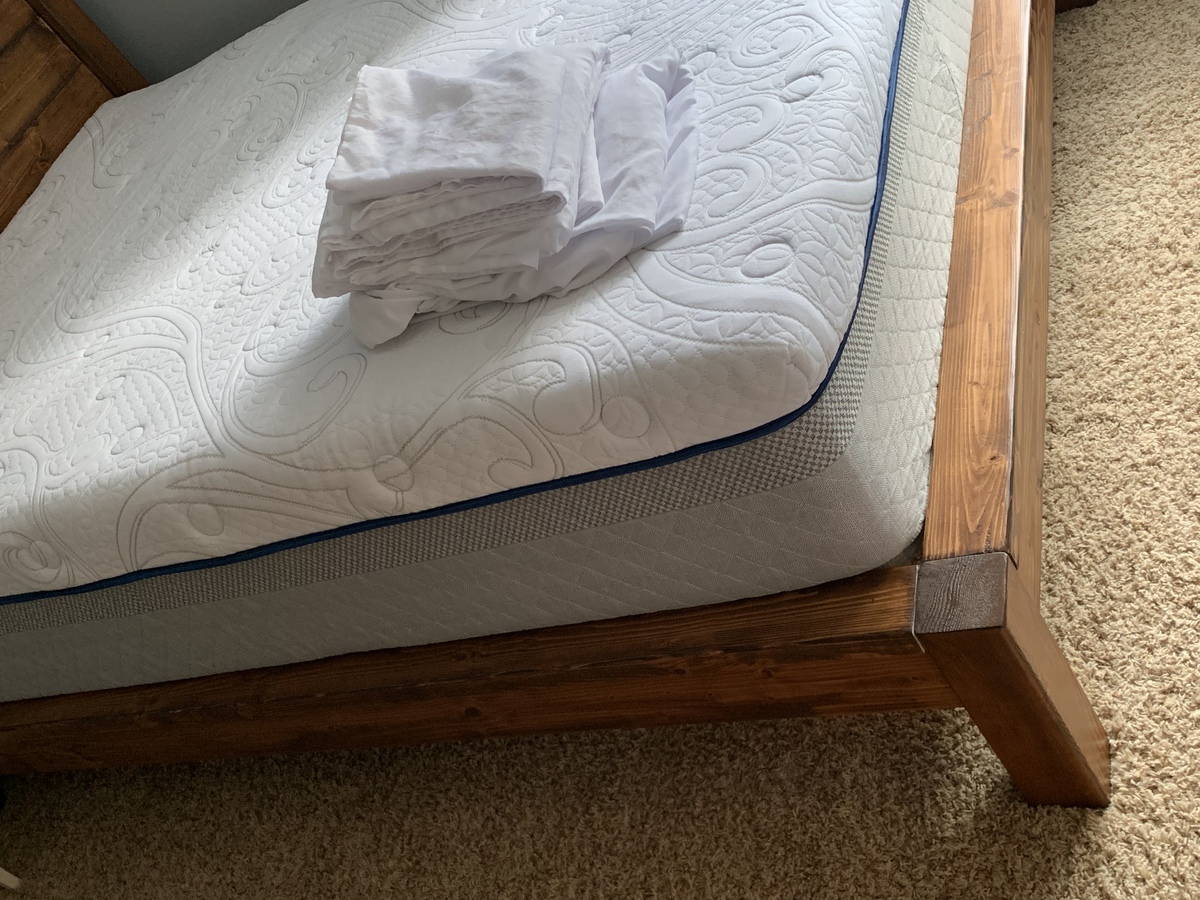
The bed was a great project to start with. Very easy to follow instructions. I was a little worried that the bed was going to be too big, but once my husband and I got it together it was perfect. I used the metal frame that the bed already sat on, so I didn't need supports. I added a special touch for my husband since it was almost our anniversay. It's barely noticable but I carved our initials into the footboard. He loved it! After I completed the bed I moved on to the table. I forgot to take progress pictures. My next project I will be sure to do so. This was a joy to build. I still can't believe I made these beautiful peices! One more bedside table to build and my room will have all new furniture. Thank you Ana for the plans!! It's going to be tough to figure out what to build next. so many plans to choose from! :)
I built this in a full size. Took some time to adjust all the measurements. I used cheap lumber since I was painting it and it cost a little over $350. Then I spent another $75 because I screwed up measurements. :). This was only the 3rd thing I ever built, so I think I did alright. The plans were great! Watched several videos on YouTube about squaring drawers and that helped.
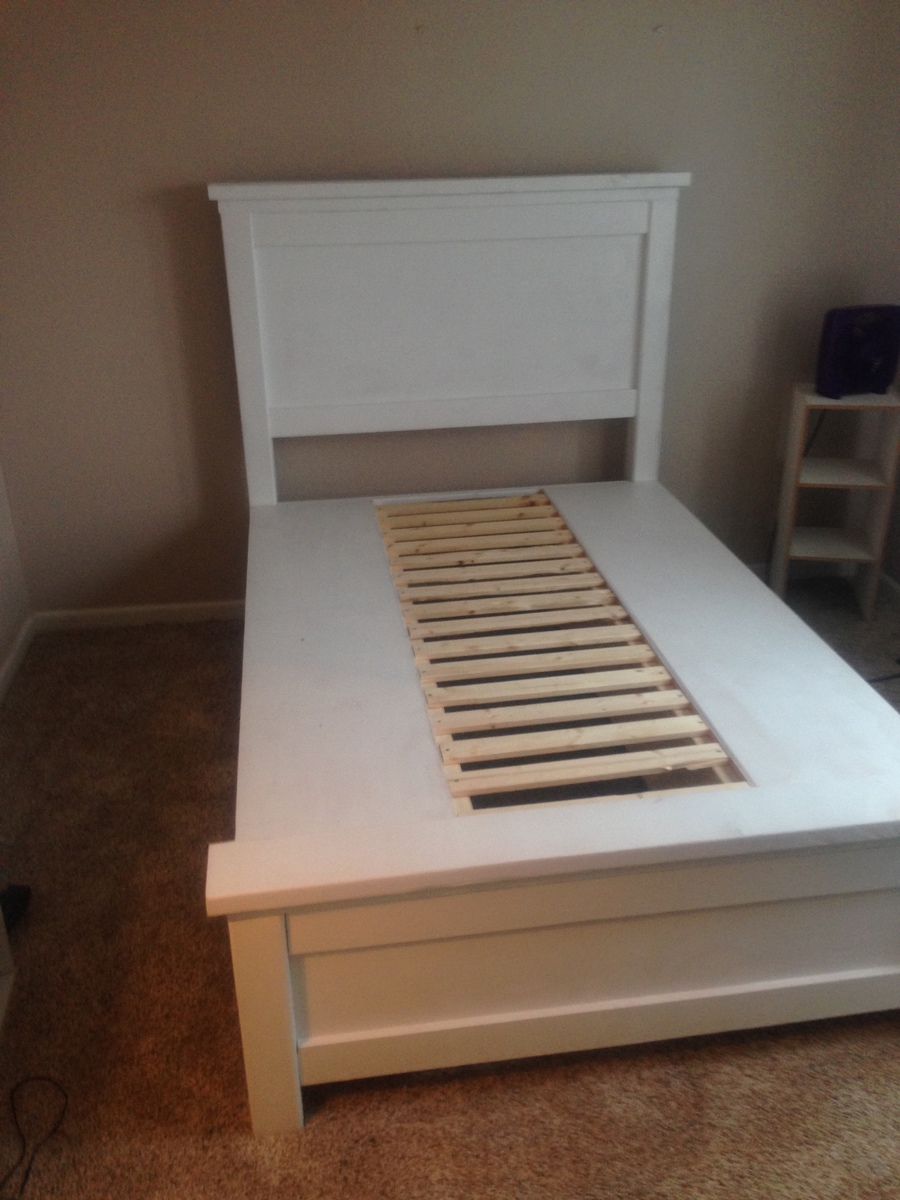
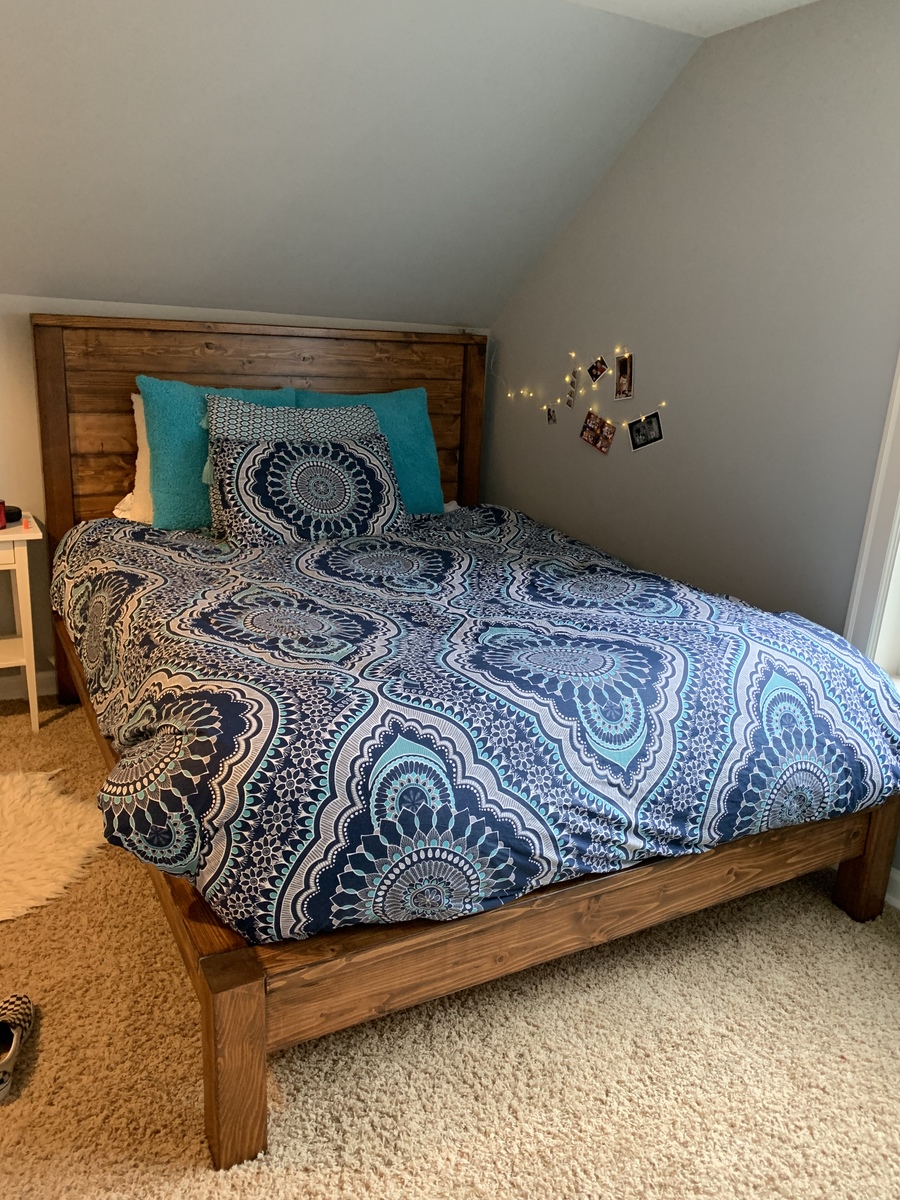
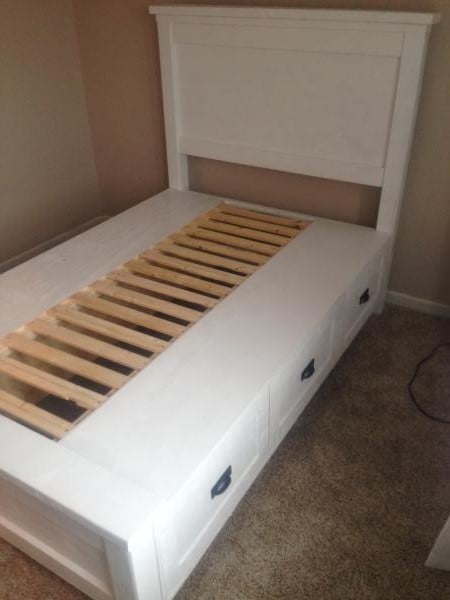
I made this as part of a room makeover for my teenager. It was my second furniture project, the first being Ana’s original farmhouse bed. This was my first project with the Kreg jig and I watched a great YouTube video by shanty2chic to learn the basics of pocket holes. This was also my first staining project and I love the results. My daughter loved it so much she had me stain her closet doors to match! The lumber for the bed was only $120, I spent an additional $80 on wood and screws for the slats to support the mattress, my new kreg jig came with enough screws to make the bed frame. I spent another $80 on wood conditioner, stain and poly since she didn’t like the first stain (Briarsmoke, which I will definitely use on another project).
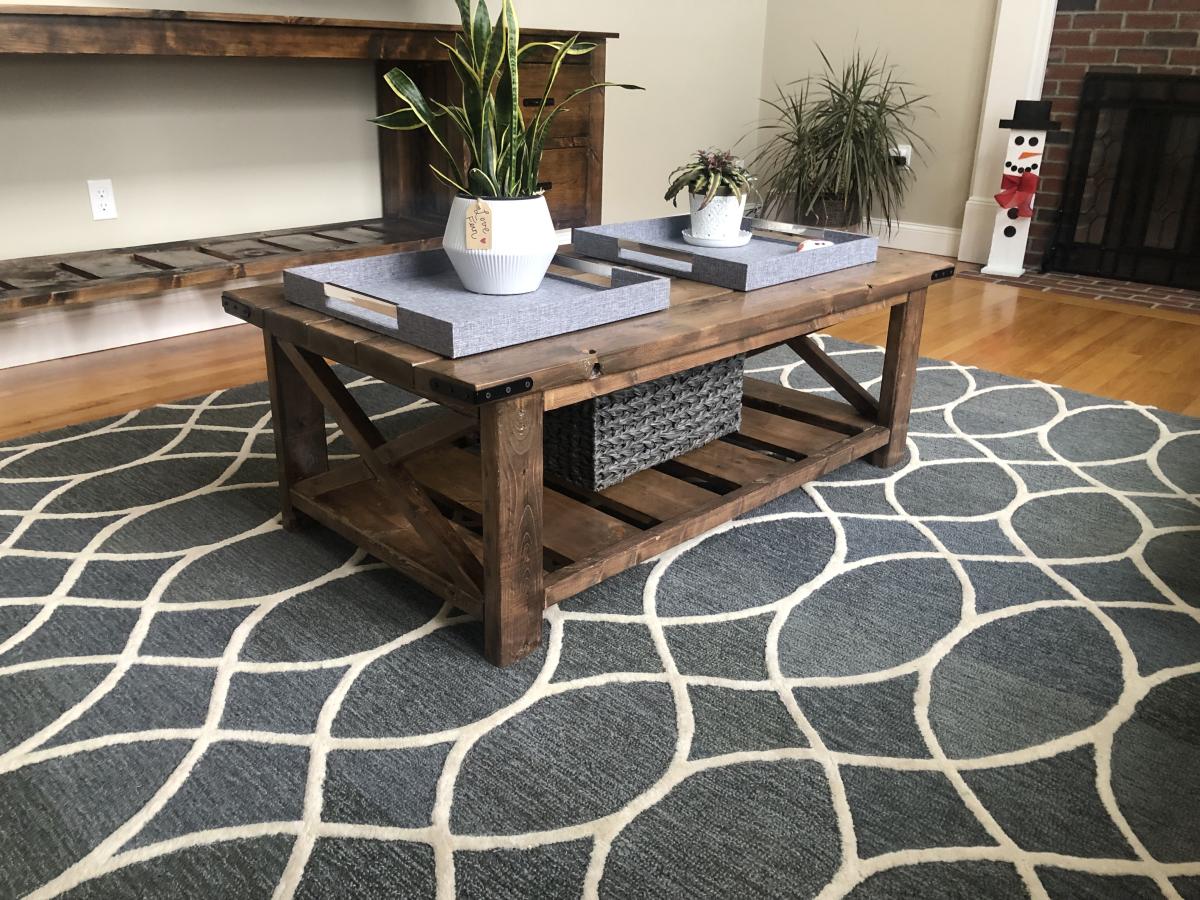
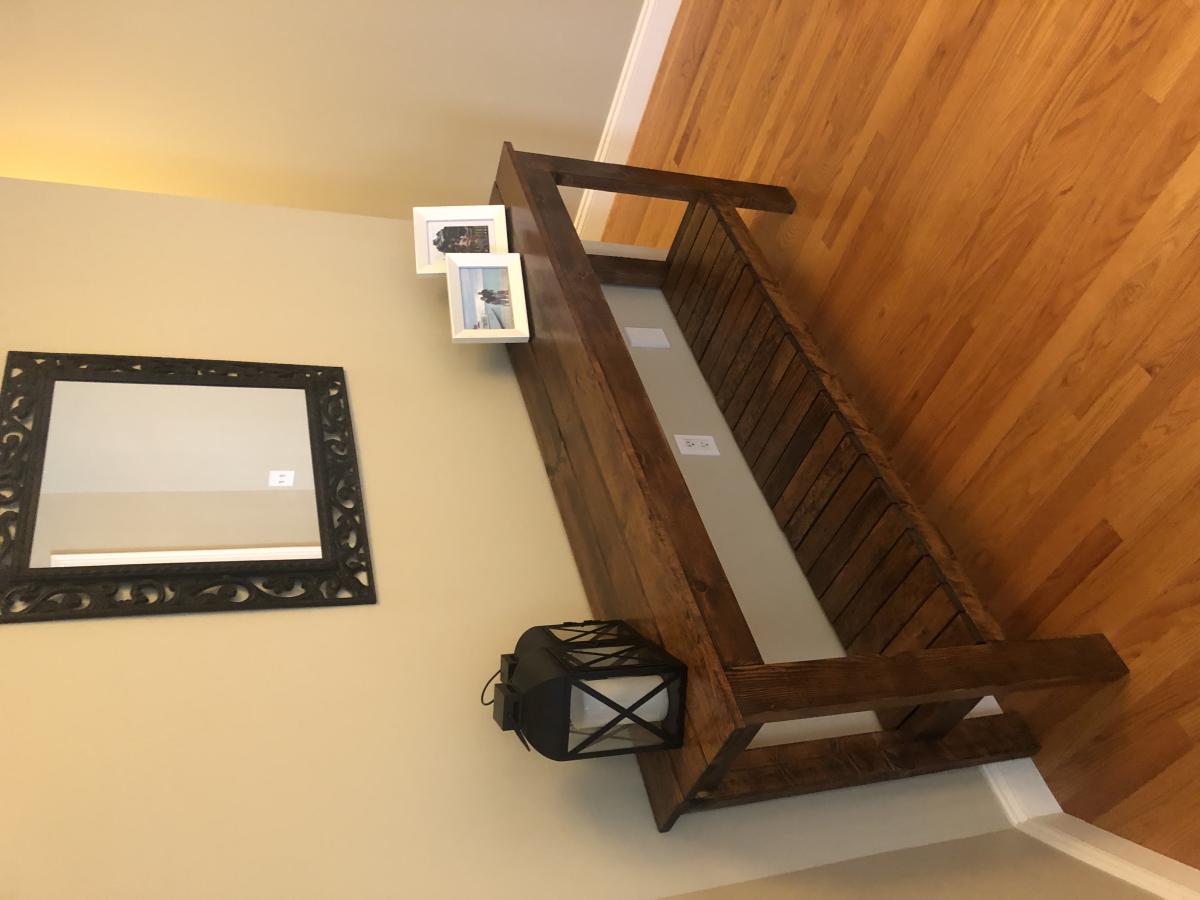
The tv table is most recent and custom with acquired skills using your other plans along the way. Coffee and side table are 100% from your plan . Hall table is modified from a plan as I wanted it to fit the top of stairs landing. Love your site! I've done other projects but these are all in my own and built in the last 18 months. Cheers!!

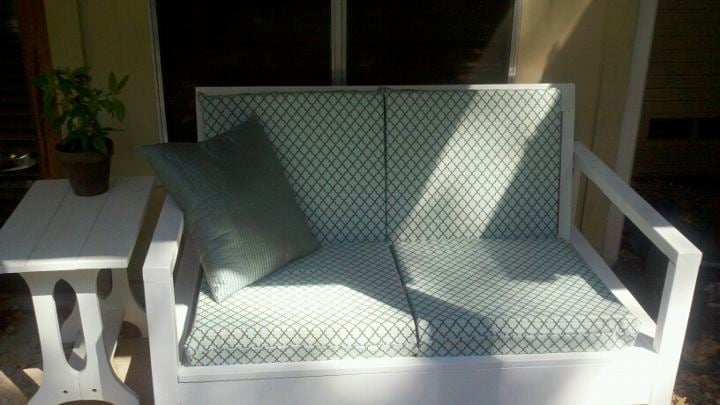
We followed the plans exactly. I I got 4 separate square cushions at Hobby Lobby, got the fabric there also. My friend sewed the cushions for me (so sweet!) because she knows I can't sew=)
I found the little side table at a garage sale for $3 and painted it white to match. I love this piece on my patio...it's great for reading, or to sit and sip coffee or a glass of wine!
loved the challenge first project ever, my suggestion to anyone buy the kreg jig best thing since sliced bread

Wed, 10/09/2013 - 19:49
Very nice!
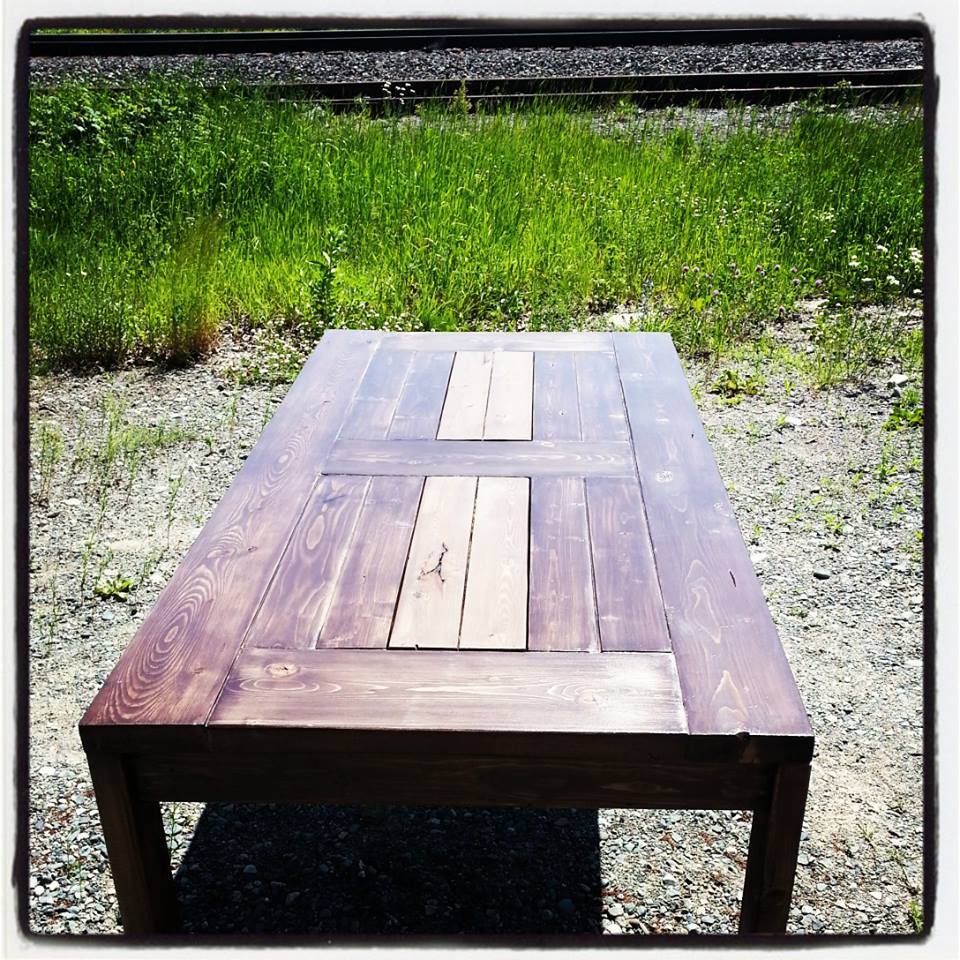
Is this the full size table or a coffee table? I'm curious about your dimensions.
Fri, 10/11/2013 - 08:10
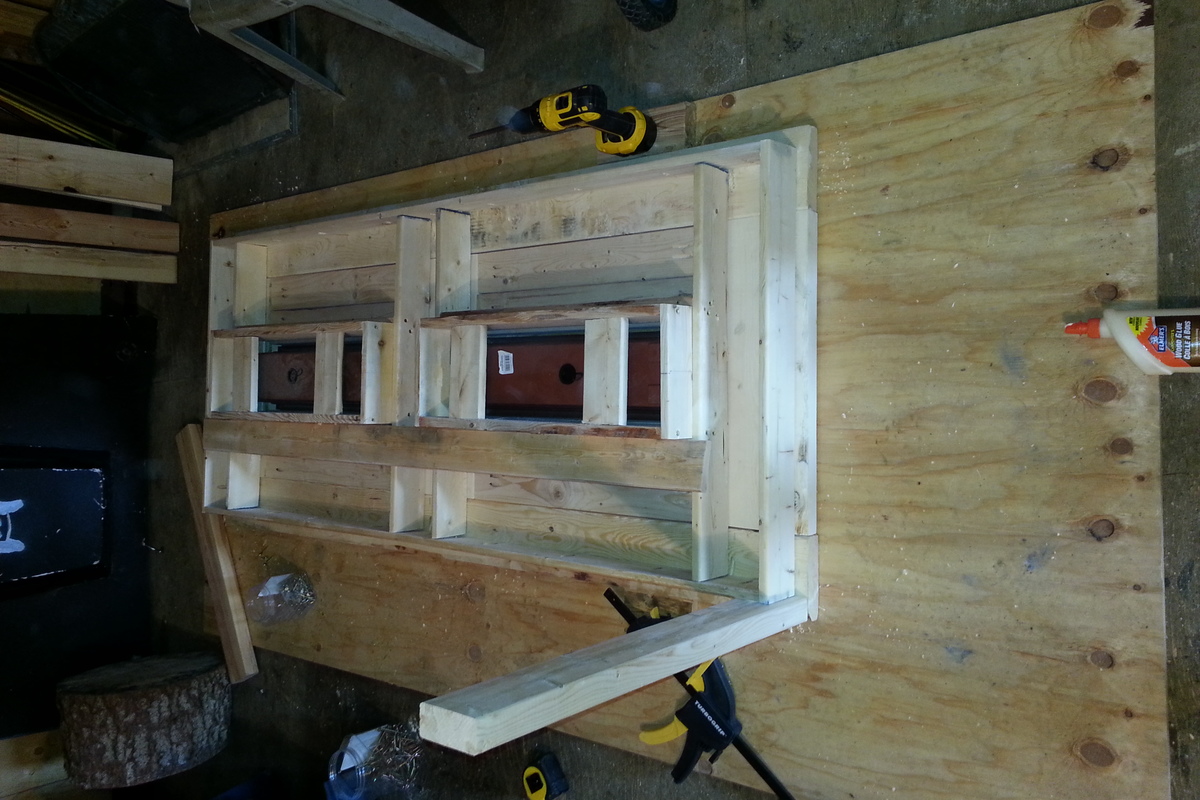
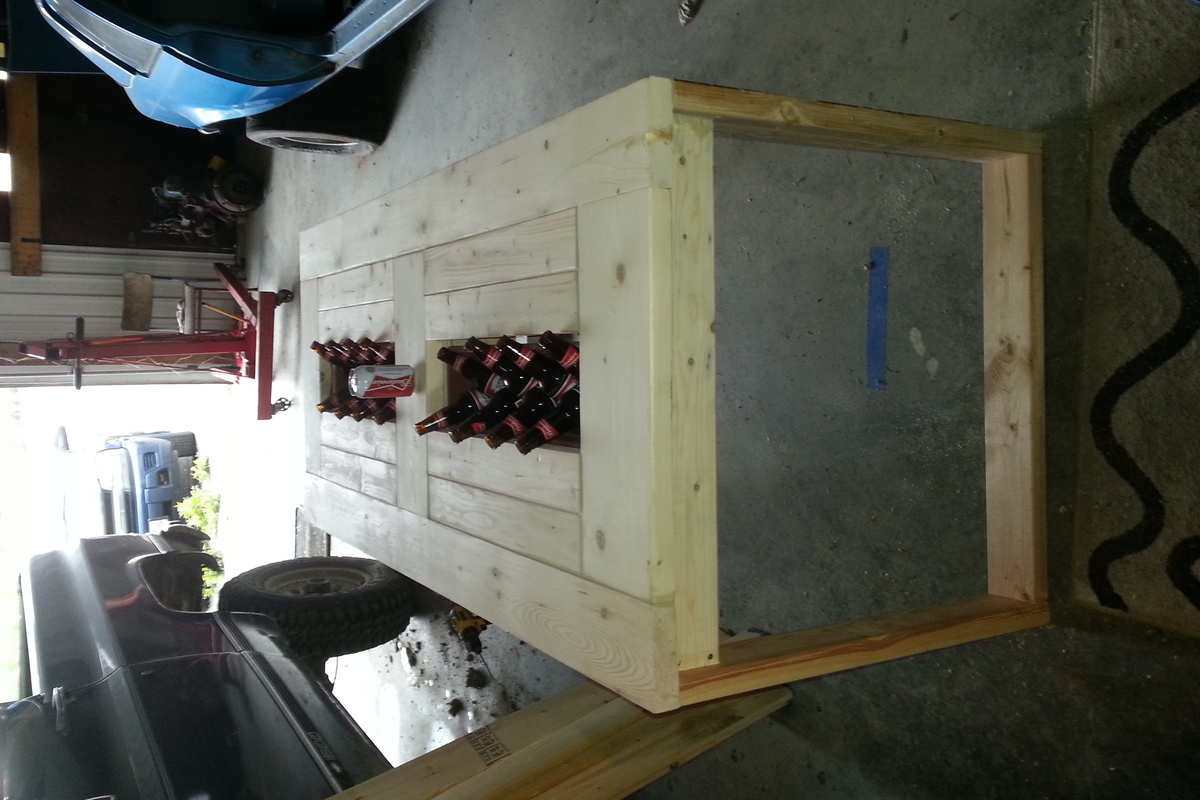
Full size outdoor table I used the plan located on this website outdoor beer table I believe
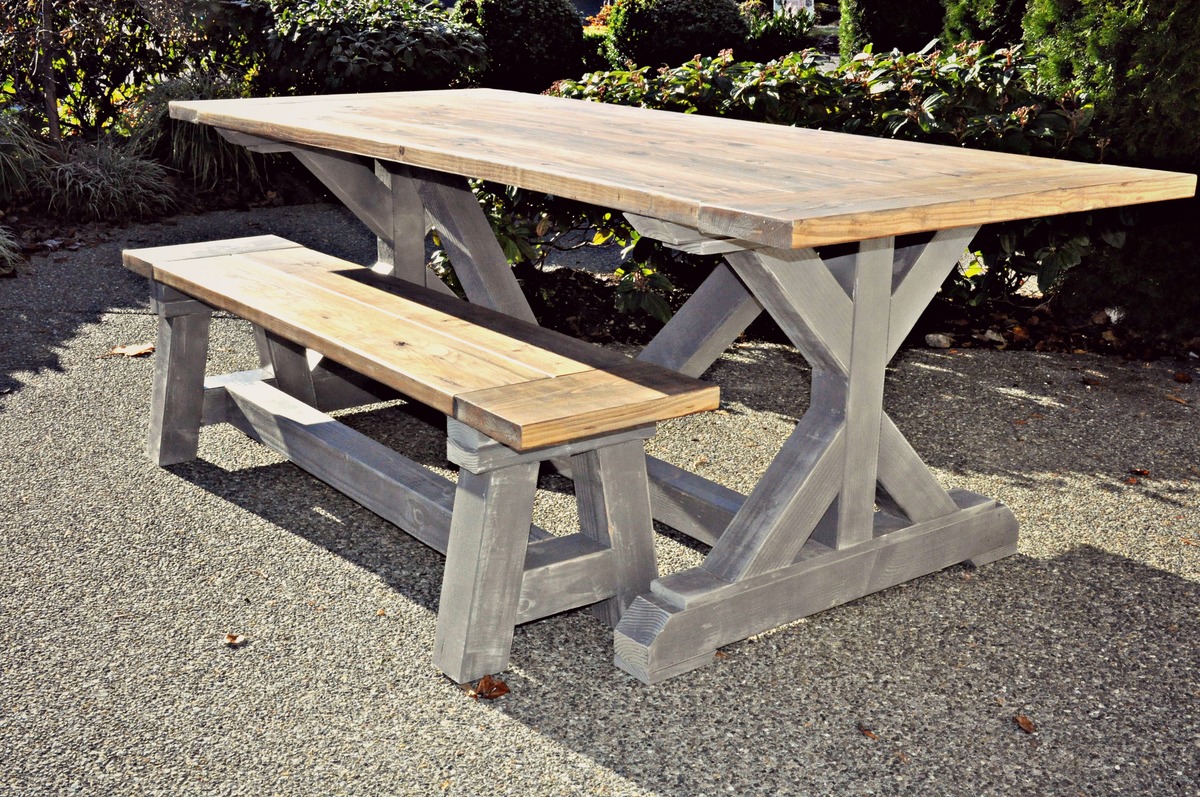
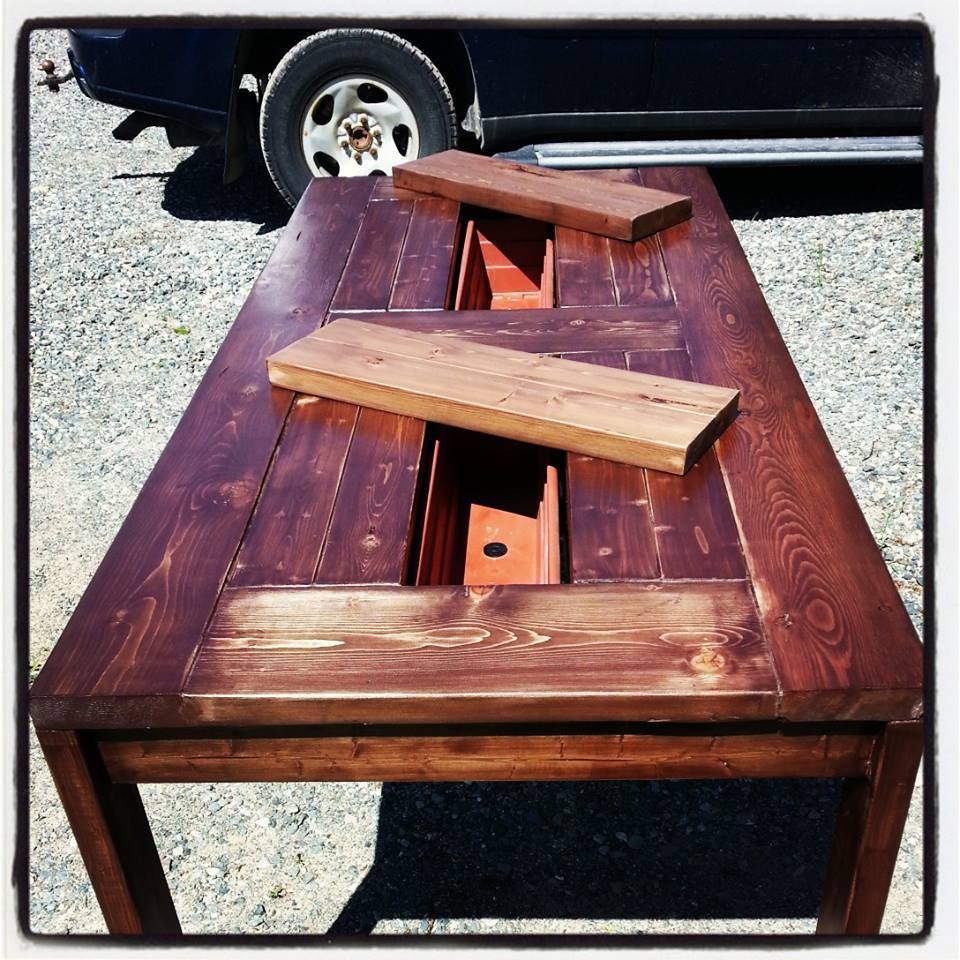
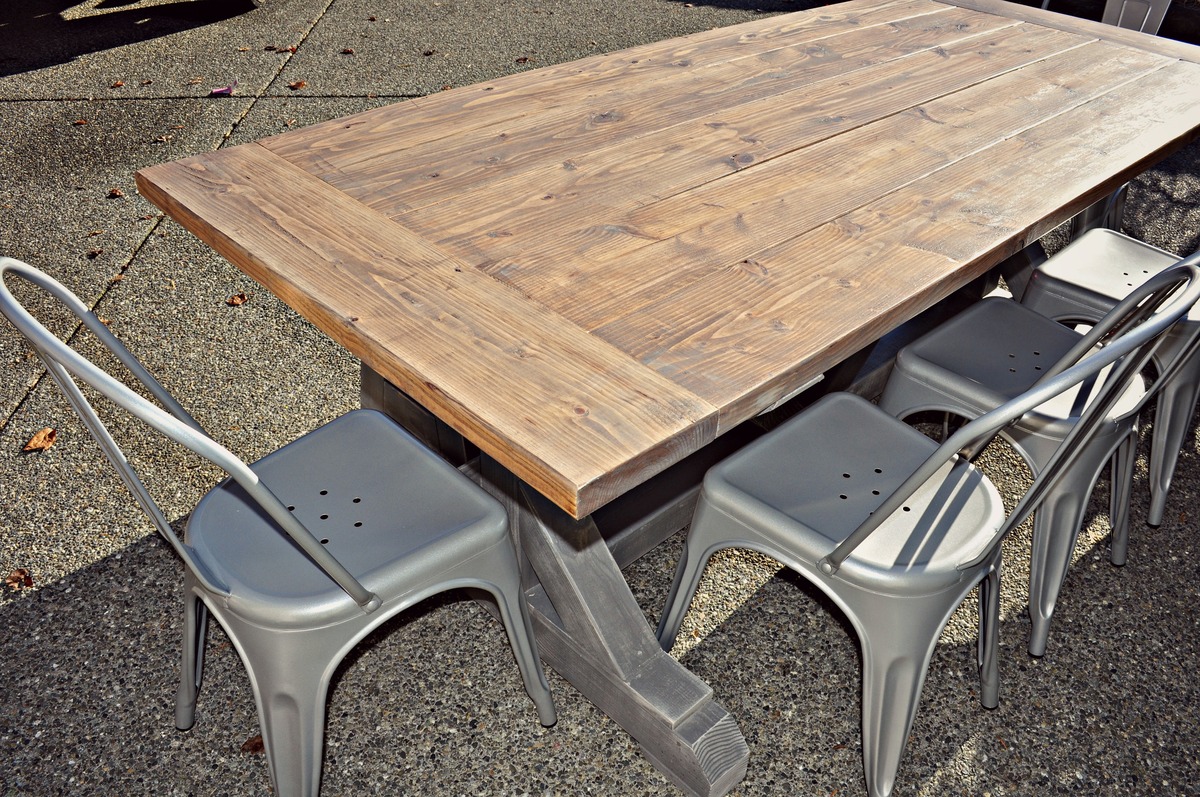
This was an adaption of the Fancy X Farmhouse Table using 4x4s as the base. Please check out my blog article for more details. Thanks for looking!
Built from plans
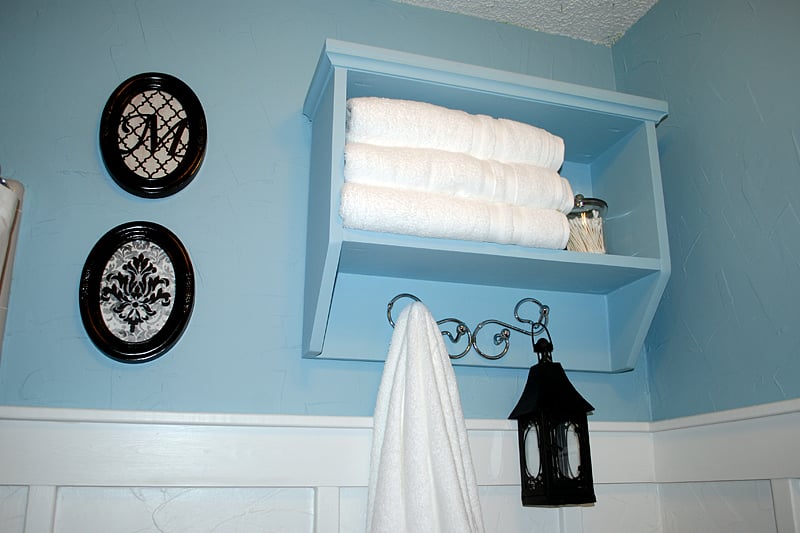
To finish off my bathroom remodel I built the Martina wall shelf. I reused the metal hook that was previously on my wall before the board and batten treatment. It fit perfectly in the space under the shelf meant for hooks. I wish I had measured out my towels and storage needs. I could have actually stored more if I had adjusted the plans to make the shelf a little deeper and a couple inches wider. Overall, I'm very pleased! The Kreg Jig is a fun little tool, too!
Fri, 11/04/2011 - 07:24
How did you attach the shelf to the wall?? Thanks!
First project! Cut the tops at the wrong angle. Stained with Miniwax Dark Walnut. Had some kreg jig troubles but all-in-all very happy with the results.

this was a super fun afternoon project! I used the specs for the Queen size headboard, and they were bang on. no modifications needed. i did reinforce with some screws from the back, as well as I used a 1x3 vertically in the centre of the back of the headboard, which i used to give extra stability to the horizontal pieces. i secured each horizontal board to it using 1" screws from the back, as my boards were not quite flush and I am a bit of a perfectionist! lol

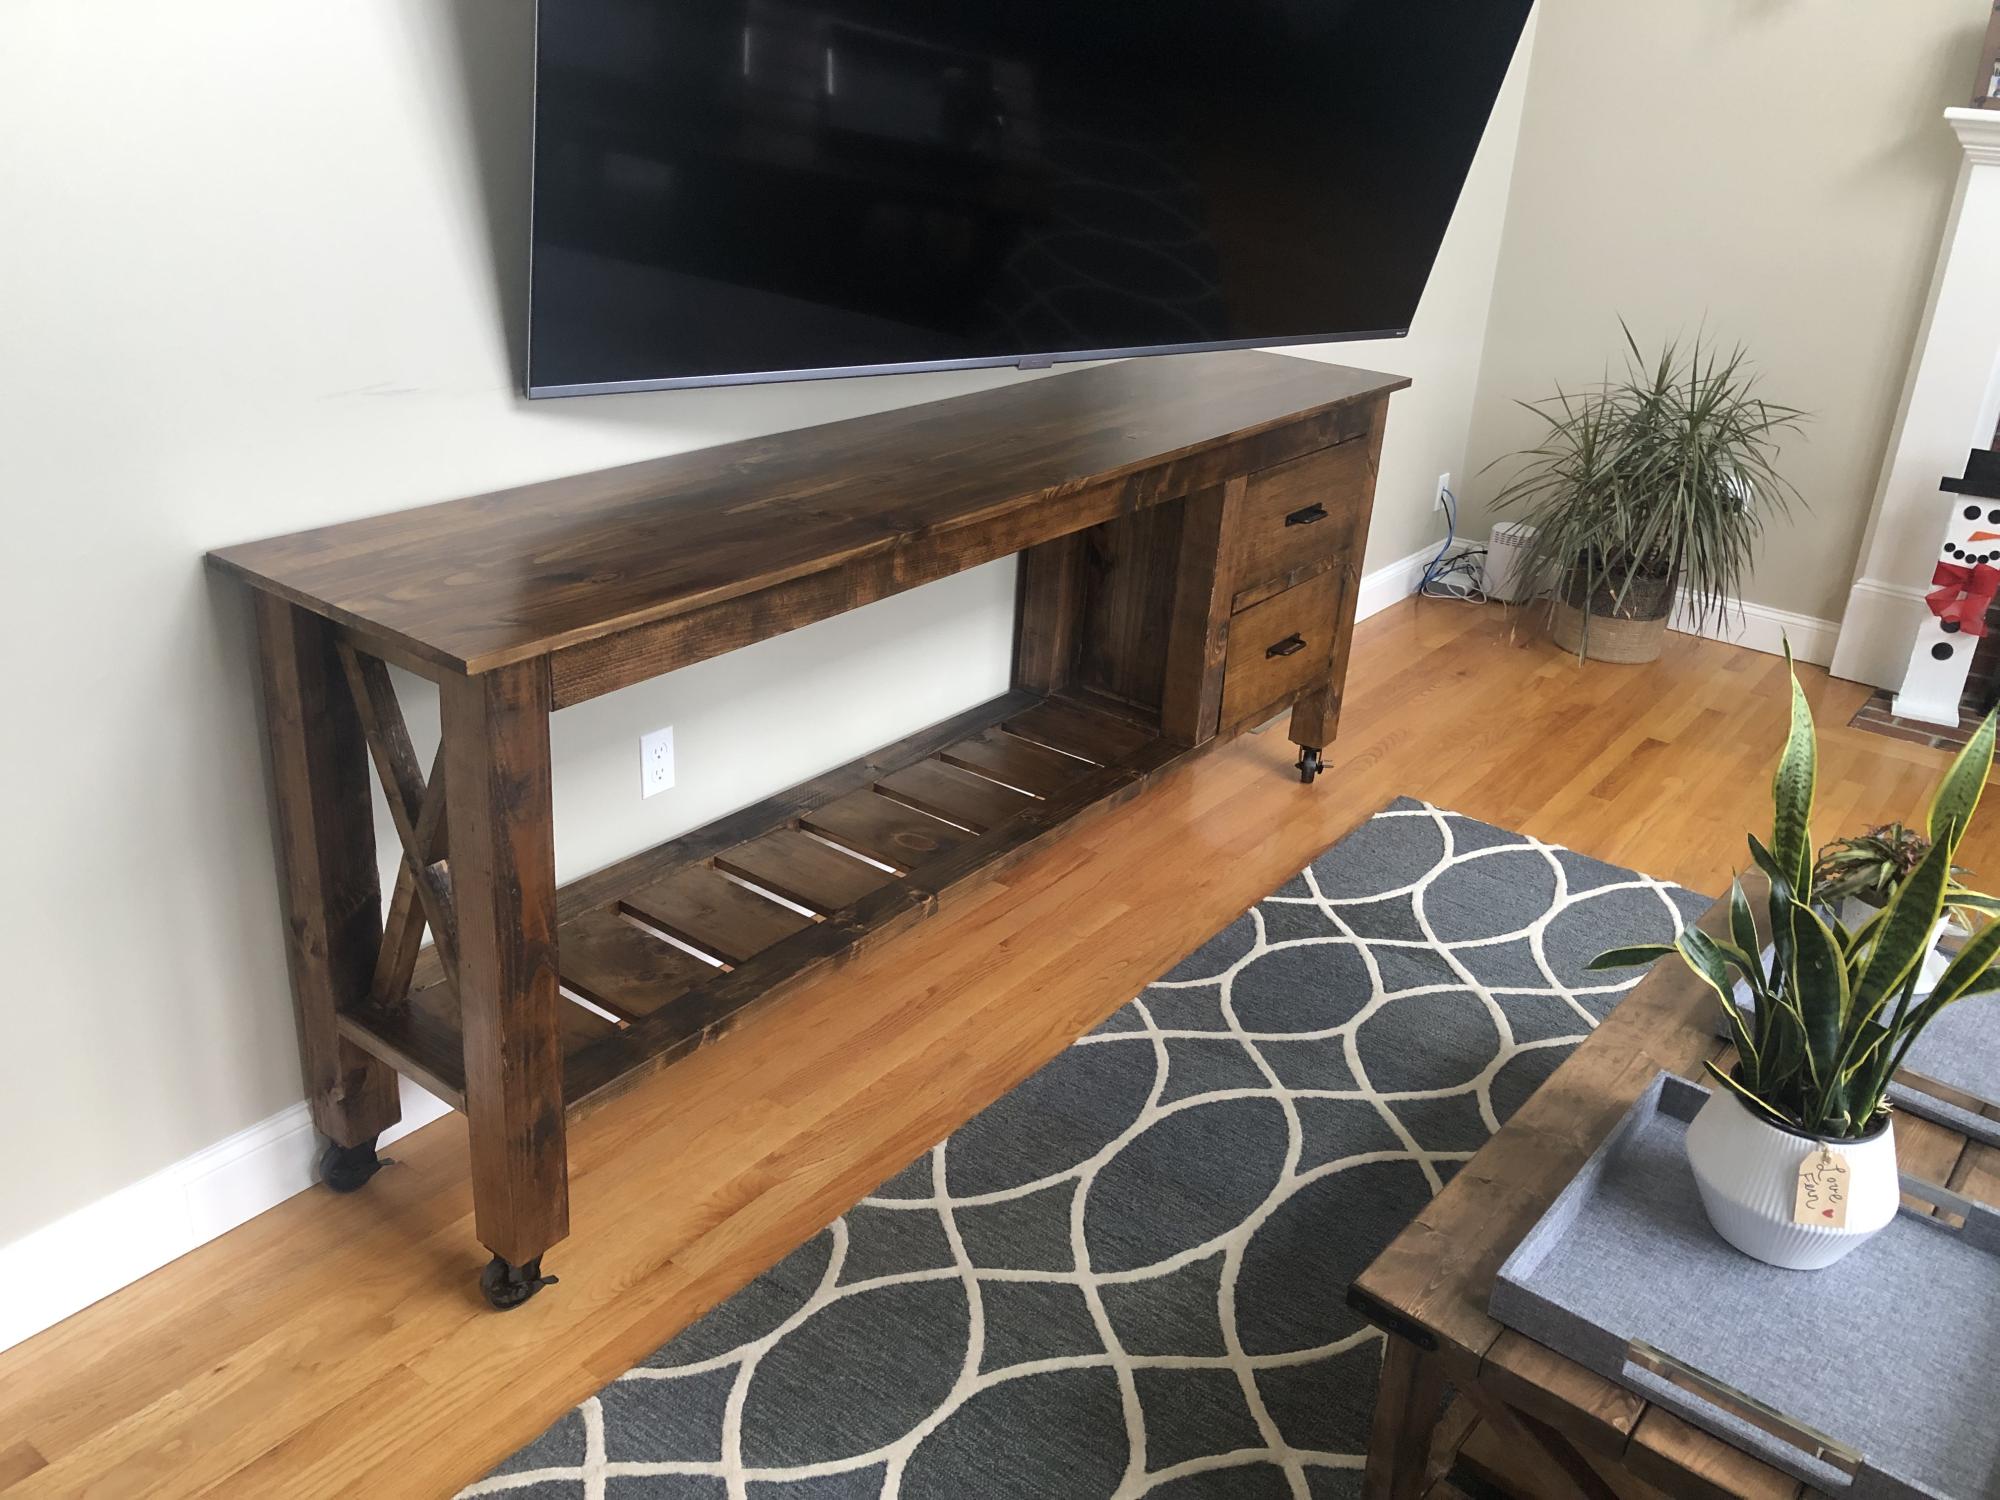
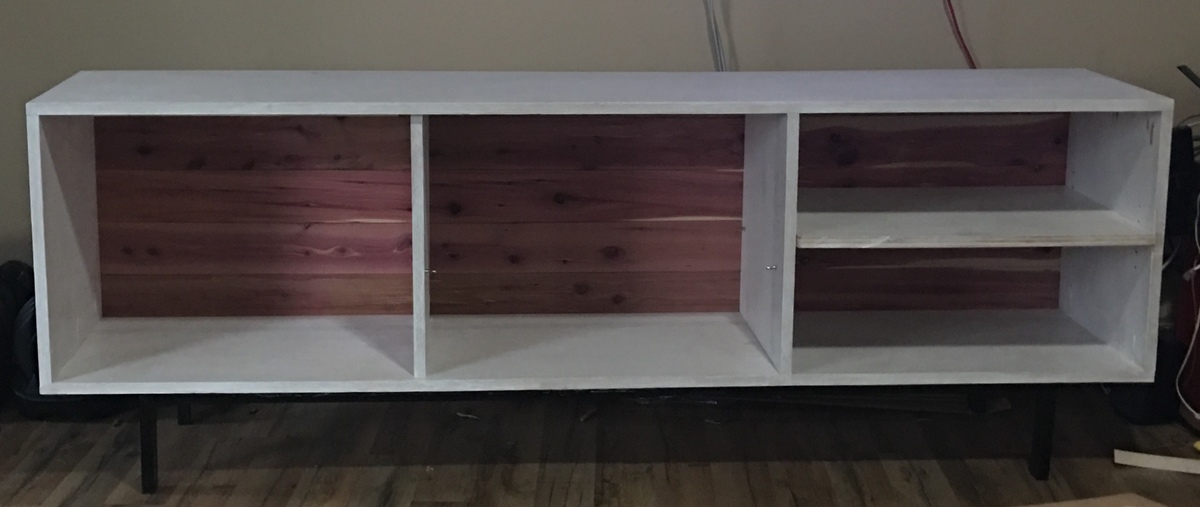
Built this project to organize and store the electronics in the living room. Followed the plans for the most part with a single sheet of 3/4” Maple ply for the console. 2” Oak lumber for the legs. Cedar planks instead of 1/4 plywood for the backing. I glued Cedar planks to 1/2 ply and trimmed for the doors; hidden hinges. I drilled holes for adjustable shelving in each section and bought the shelf pins on Amazon.


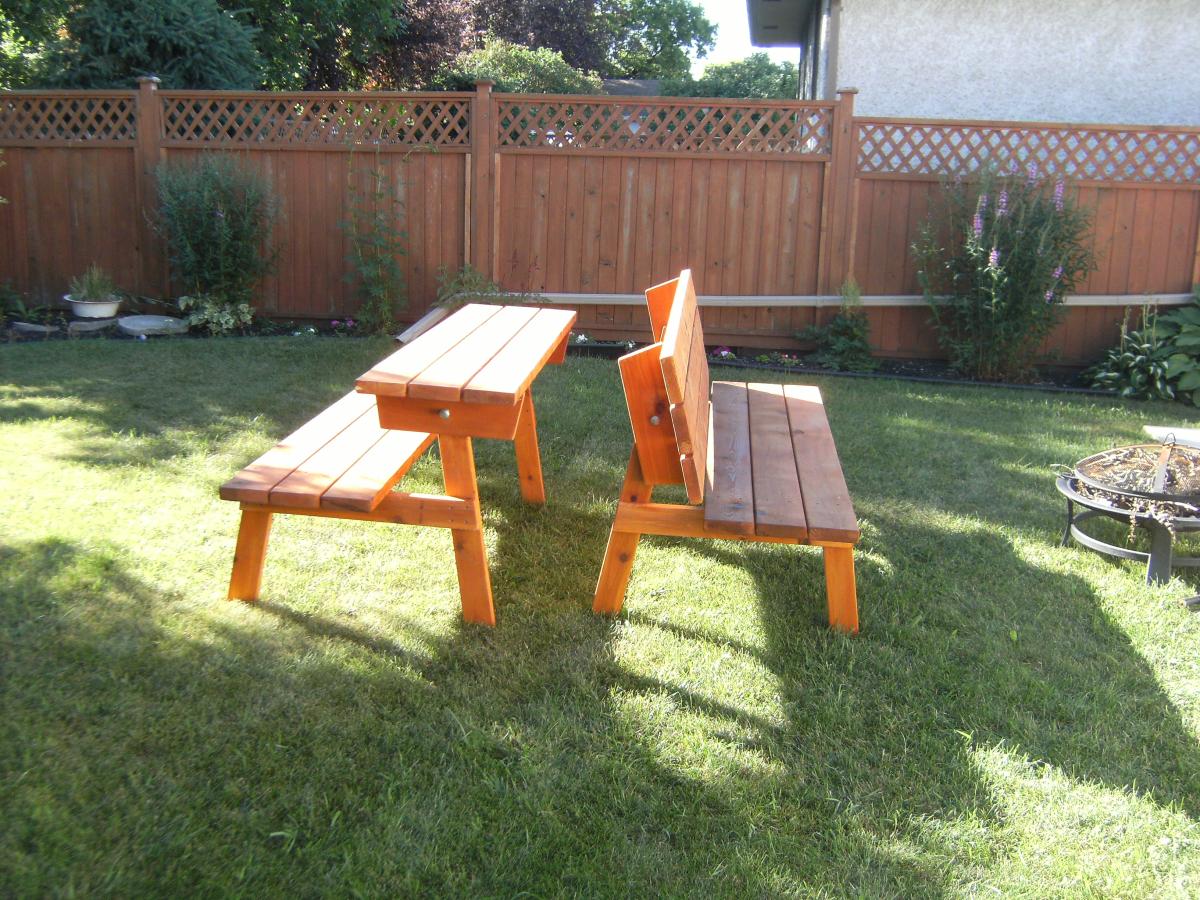
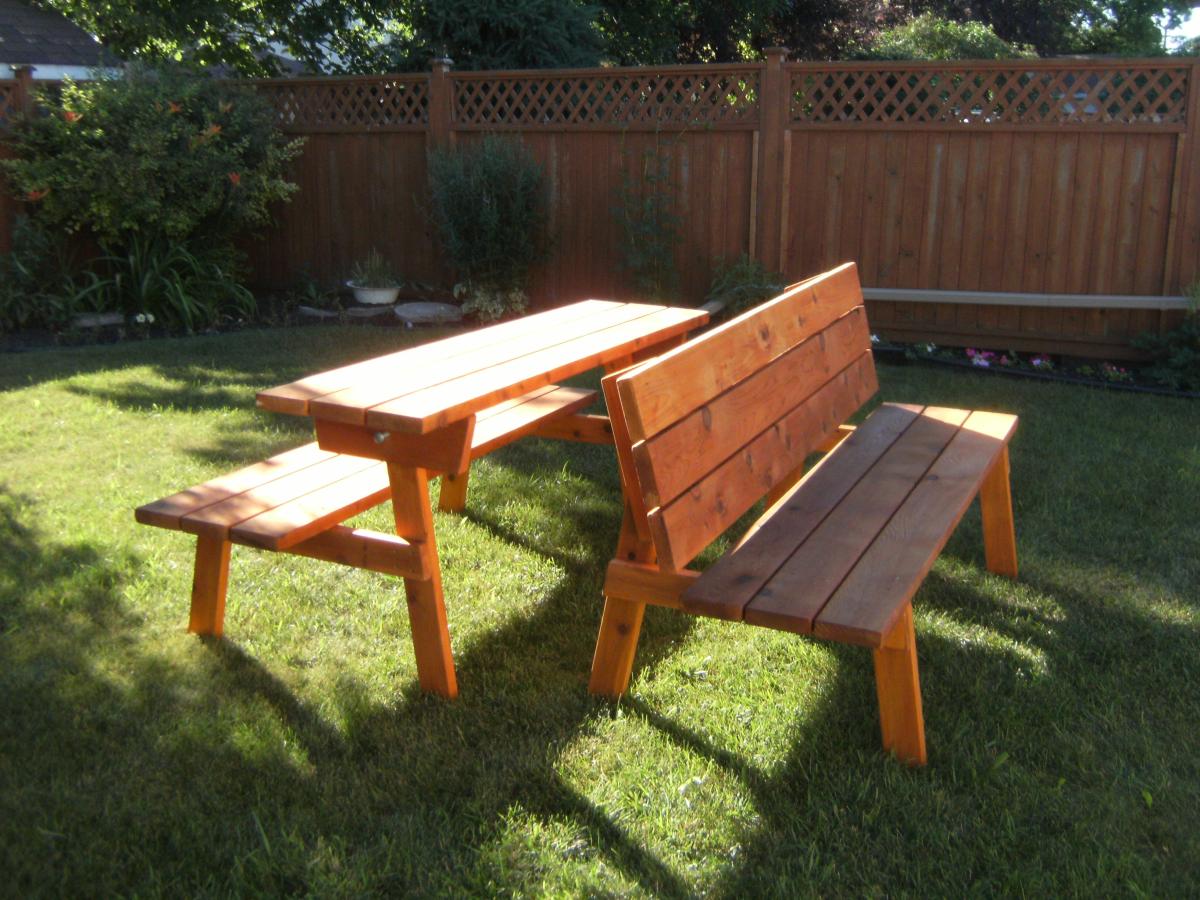
Simple benches that convert to picnic tables
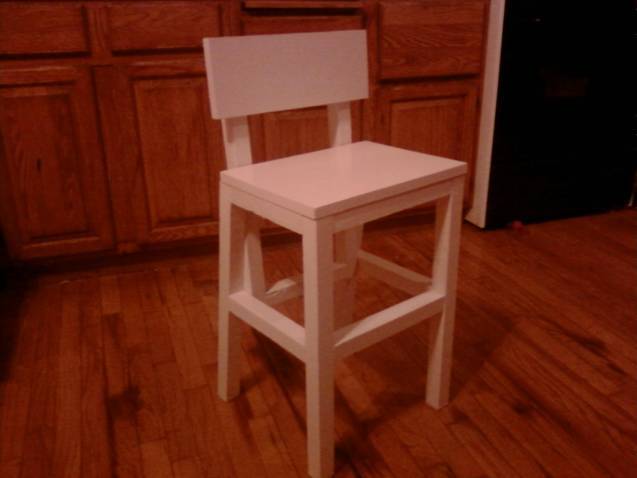
I made this chair for my two-year old niece so she can sit at the table like a big girl. We call it the "Share Chair" because she has to share it with her two sisters. It was fairly easy to make; I think I spent more time painting it.
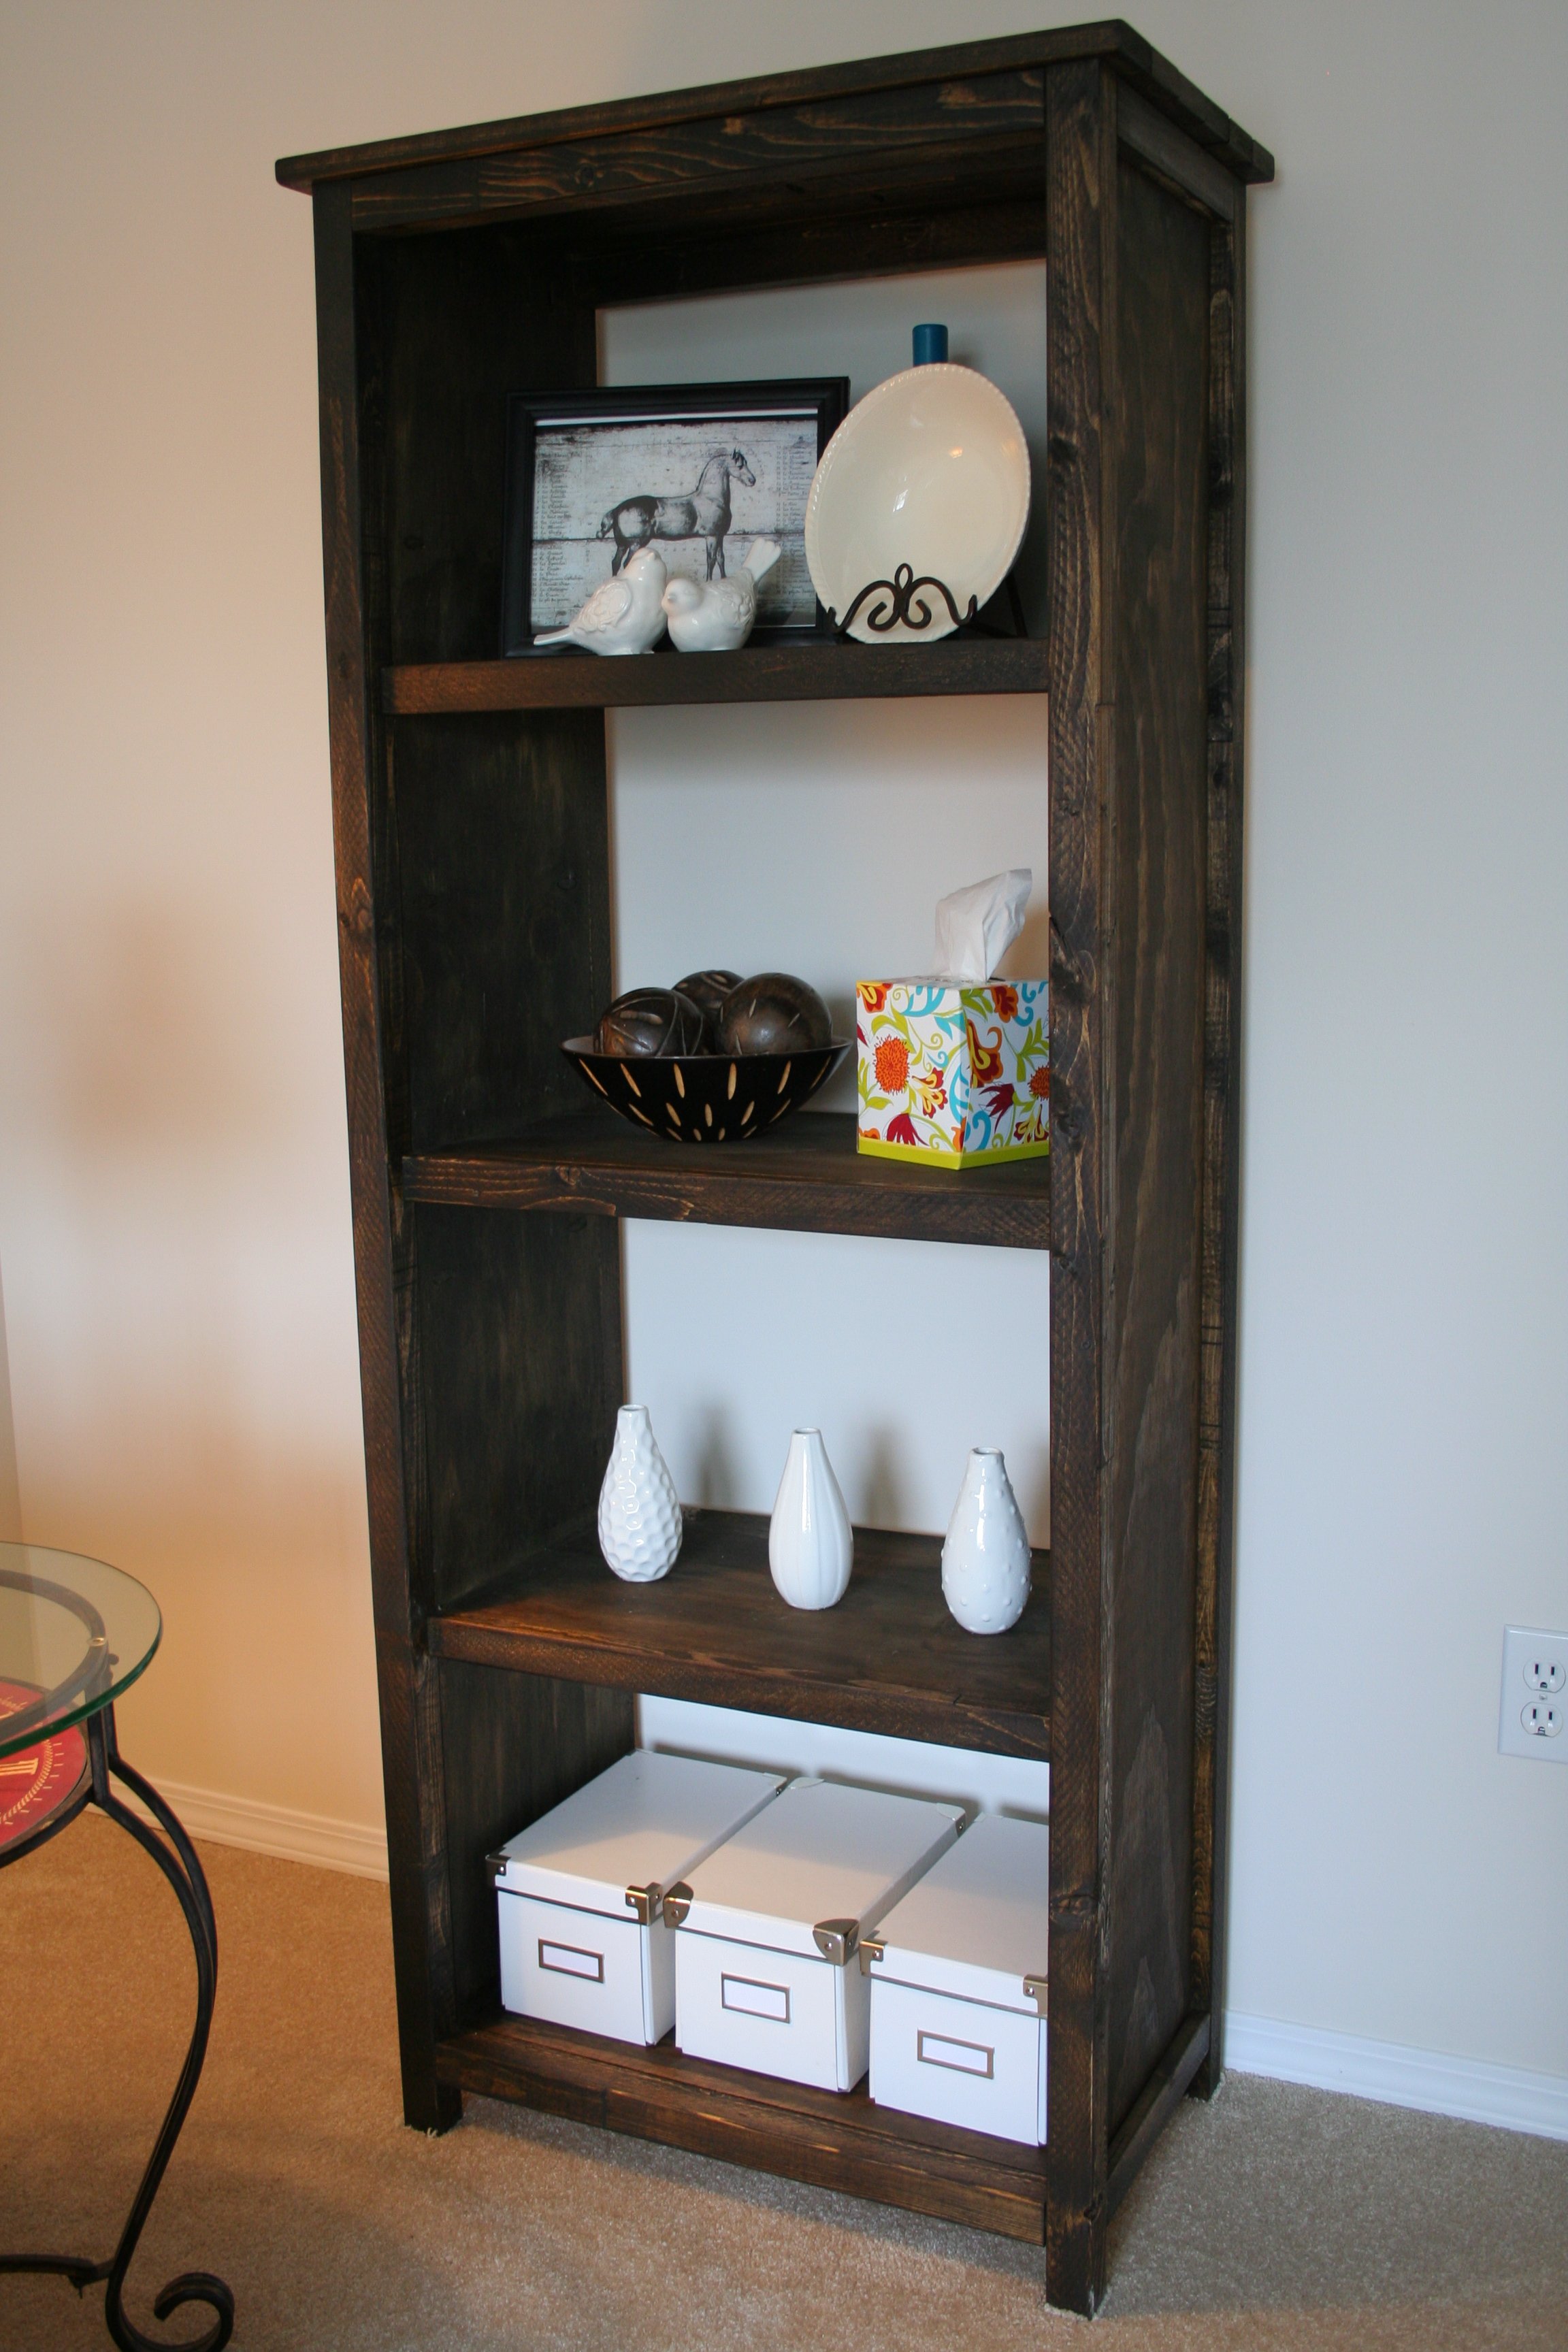
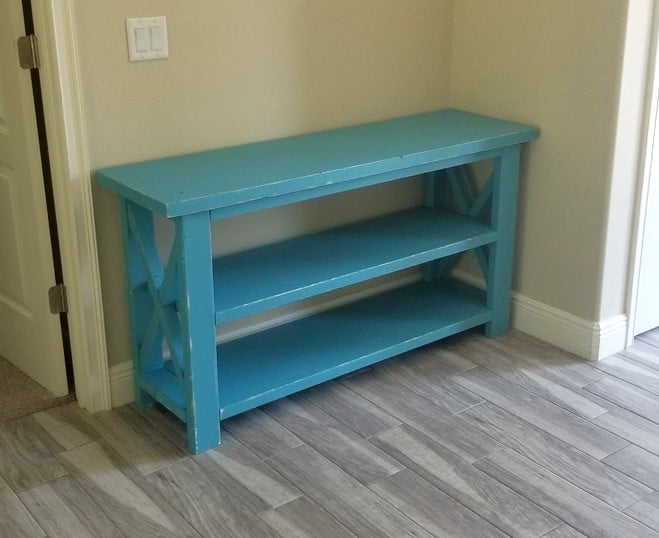
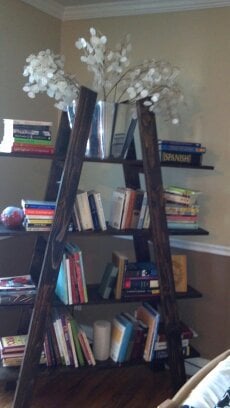
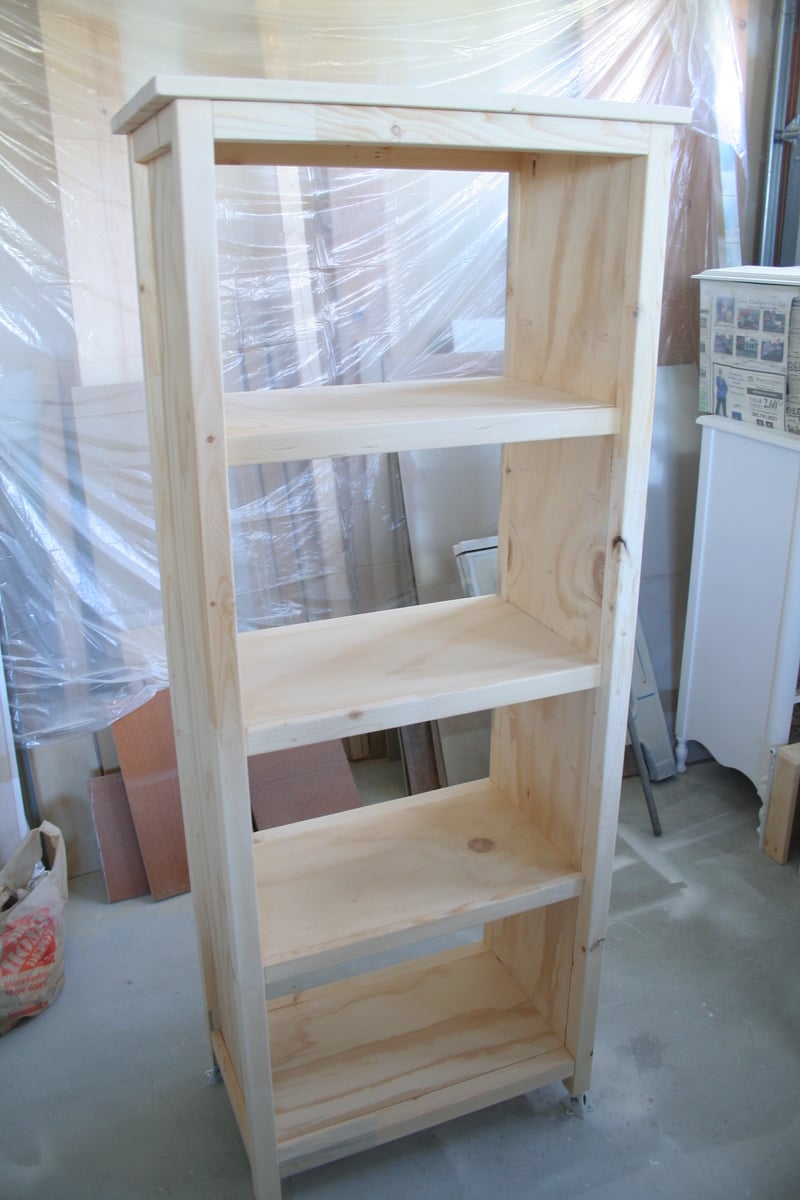
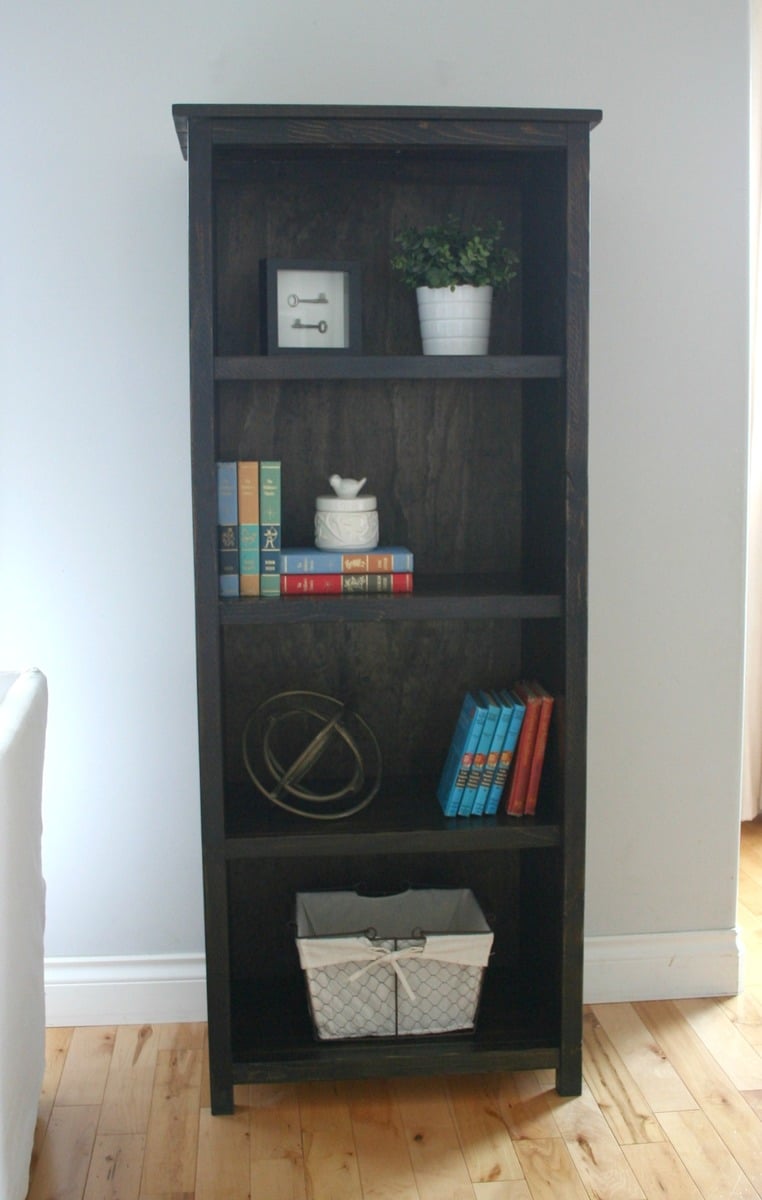
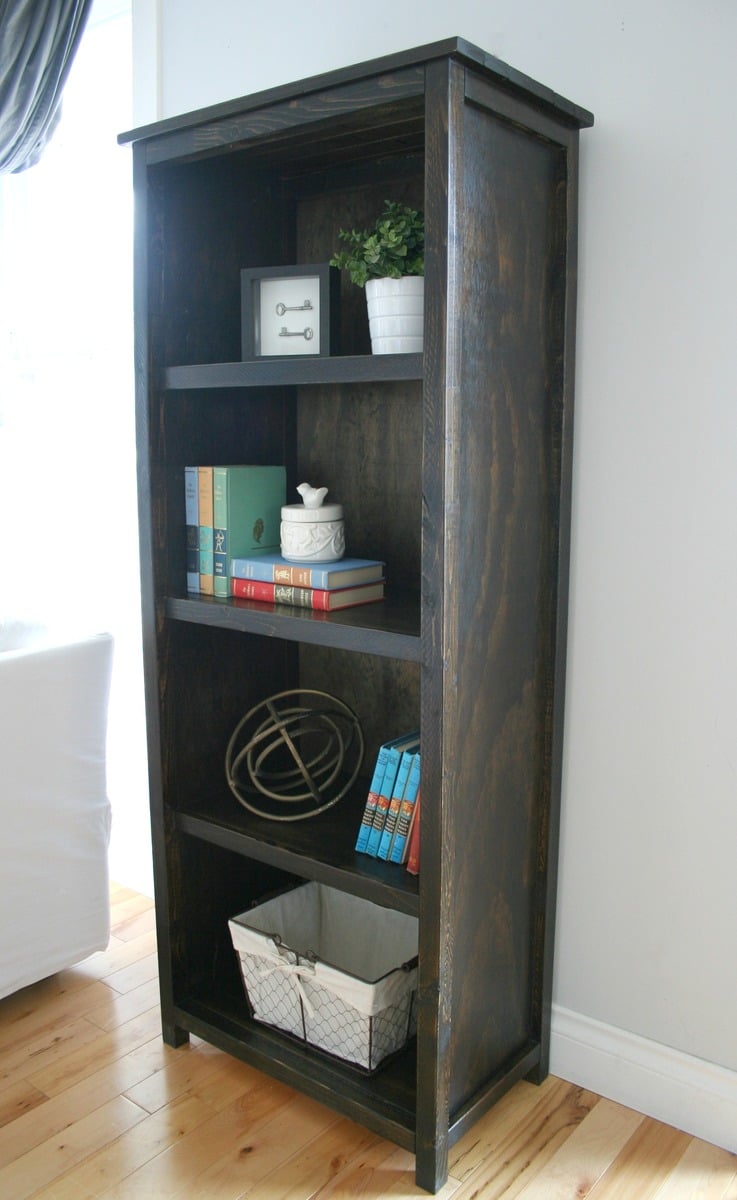
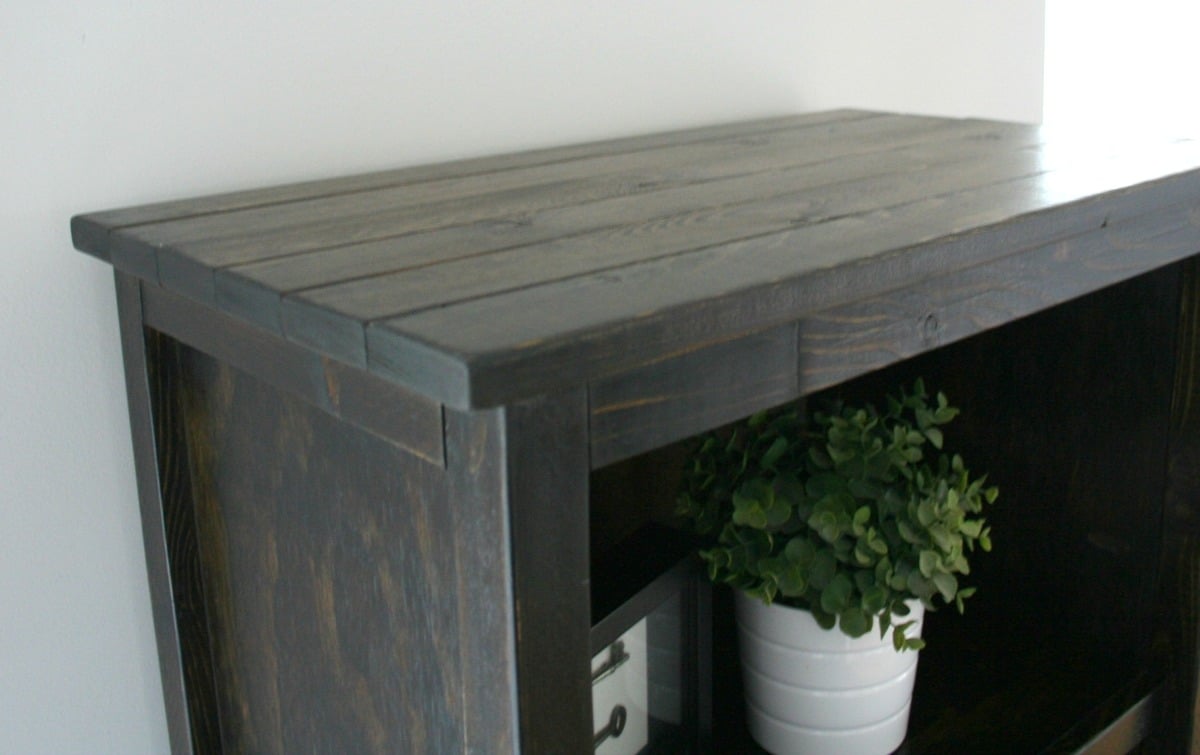
While staging my sister & brother-in-laws home so they could list it for sale, I ended up with an "empty wall" in their living room and nothing to fill it with, but knew a small bookshelf would work perfectly! I loved the look of the Kentwood bookshelf plan. I'm not the fastest builder, but after a couple hours, I had everything cut, all pocket holes drilled and everything fully assembled. I only applied one coat of stain and a single coat of poly and skipped adding a back...for now. I may go back and add a back later, but for now I'm thrilled with it (and so was my sister!)
Edit: I finally added a back to the shelf - just in time to sell it to a friend. ;)

I made this work bench for my garage. Over a few weekends. It is 11' 6' long and is made of pine lumber. I used 2x10x12's on the top, mostly 2x4's are used for the farm with the exception of the center part of the legs. Those are rough cut 4x4's I had laying around. 1x6's for the bottom shelf. Getting the top seams to line up took a lot of sanding with 40 grit. They were to big for me to run through the table saw myself so I sanded and sanded. I did run skews threw the top and then filled with wood filler. I wanted strength. Plus the top boards are not glued so I can replace as needed (It's a work bench right?). This thing is big, heavy, and solid!


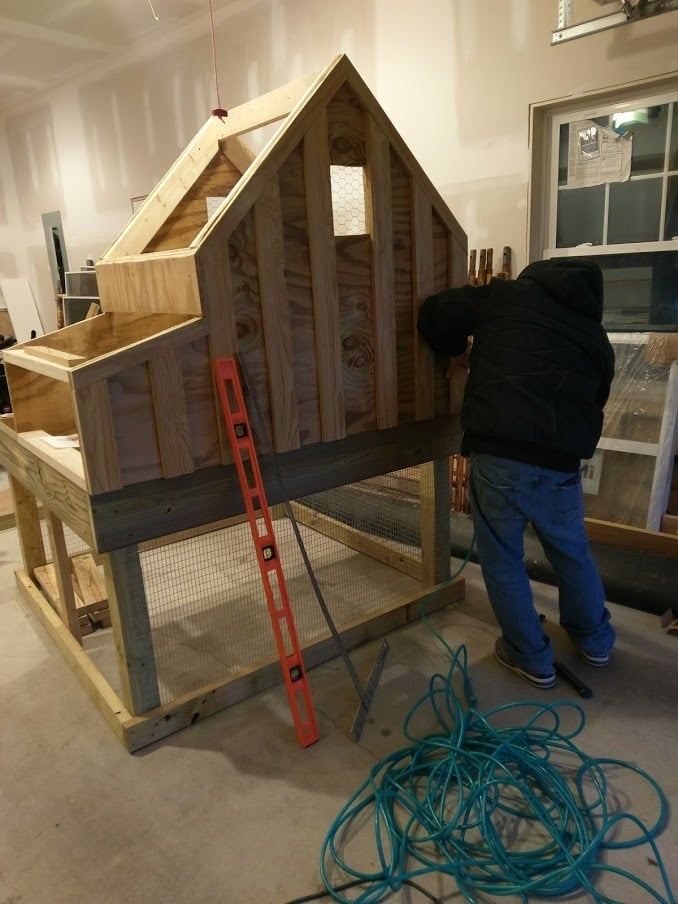
Built in 2017 for our ducks! They use the ramp just fine! I am now working on editing this coop plan to make a coop for 4 chickens we just brought home. I'm going to leave out the planting area, since it's going inside their open run.
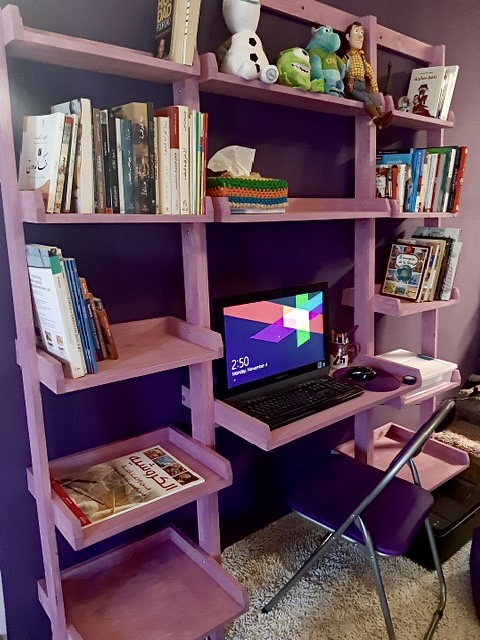
Leaning Desk System by Khalid Al-Bahi

Comments
Ana White Admin
Mon, 01/16/2023 - 15:13
Awesome!
Looks like you figured it out, the table looks amazing! Thanks for sharing.