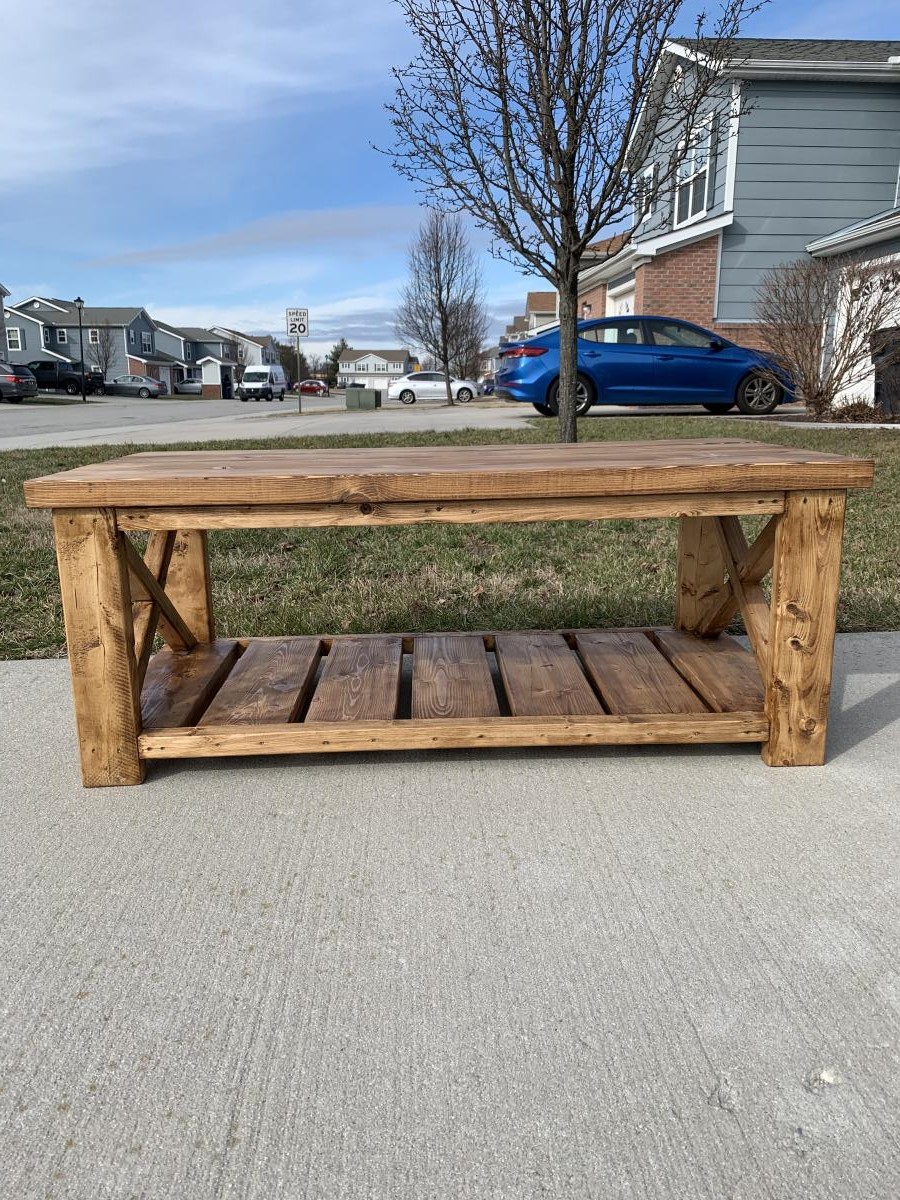
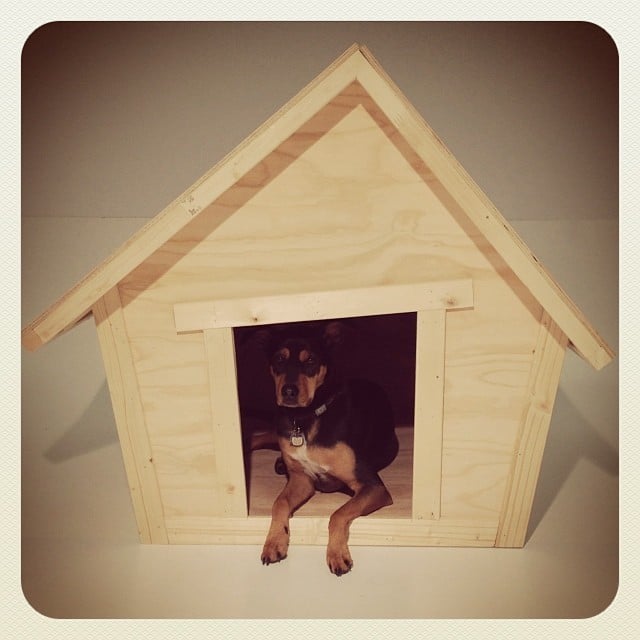
Community Brag Posts

crooked dog house

Submitted by Anonymous (not verified) on Sun, 05/01/2016 - 15:31

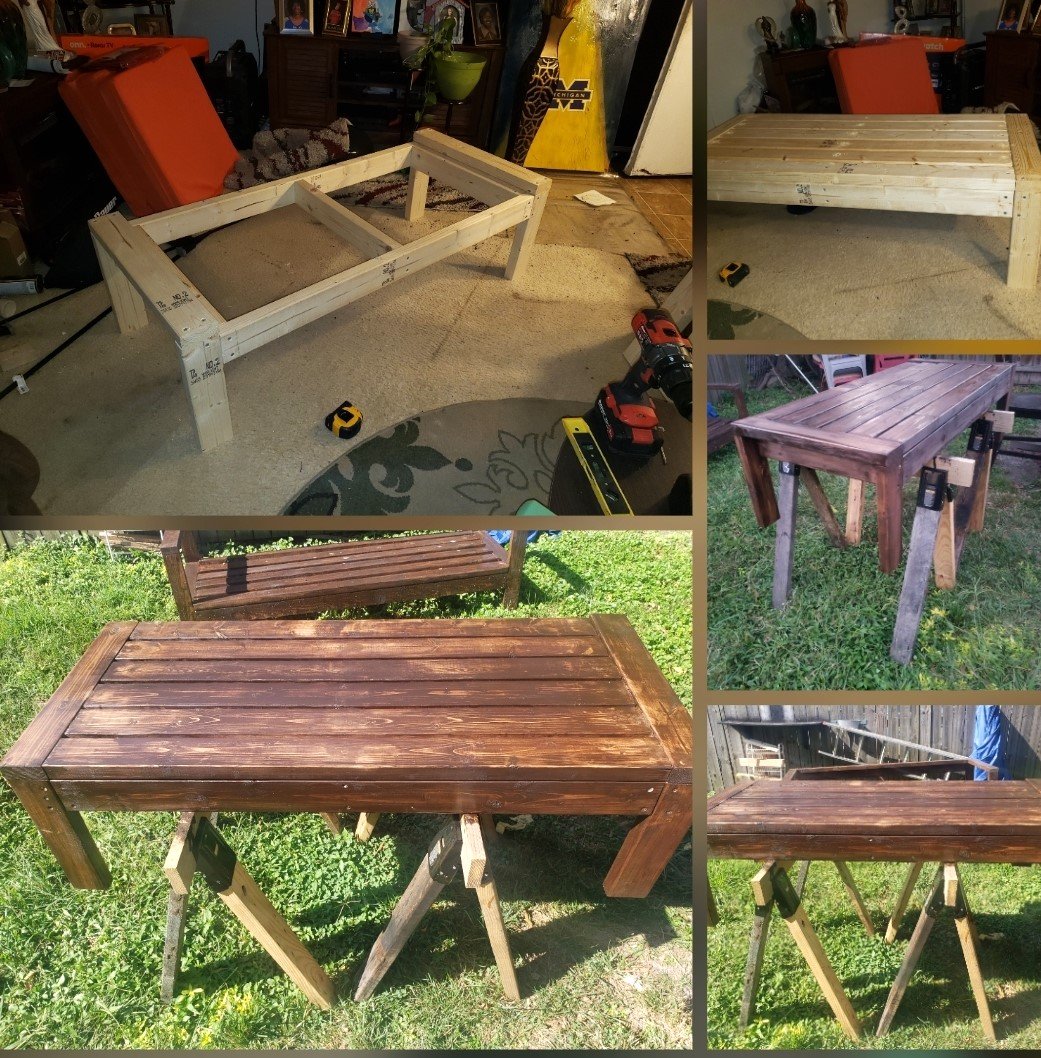
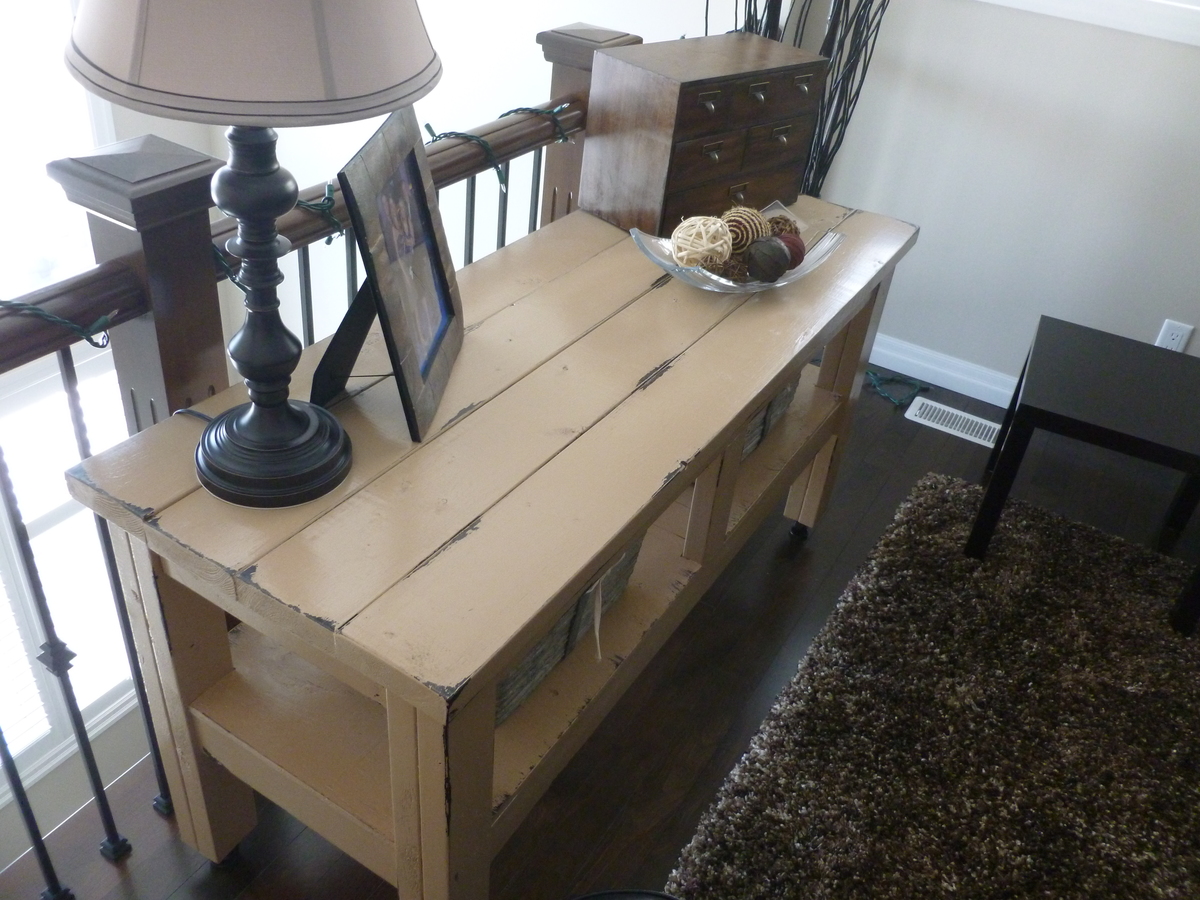
A few years ago I was looking for plans for a dog house to be used as a prop for a seasonal photo promotion. I found these plans and made the house, it was perfect! The promotion was to get a holiday photo of your dog in exchange for a donation of dog food, which was donated to a local food bank. The project brought in over 500 pounds of food!

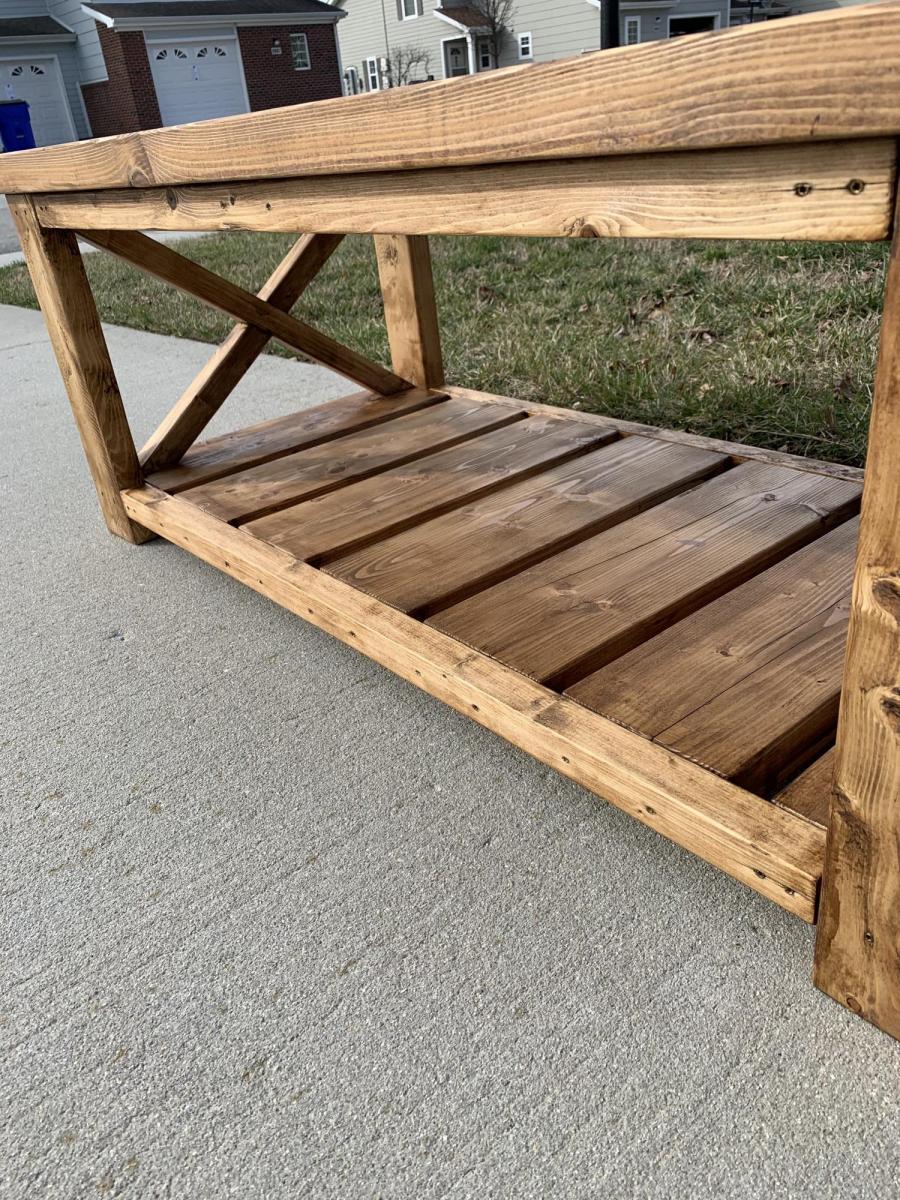
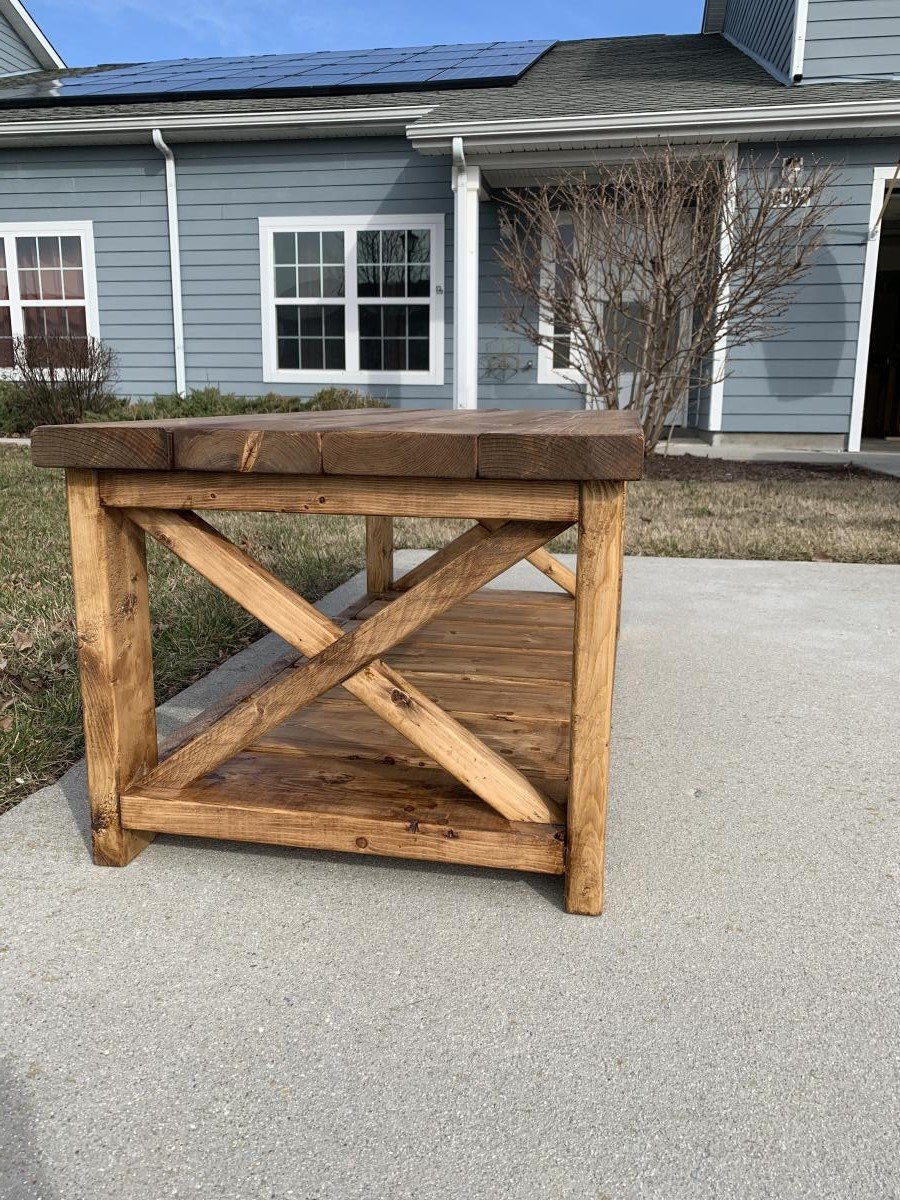
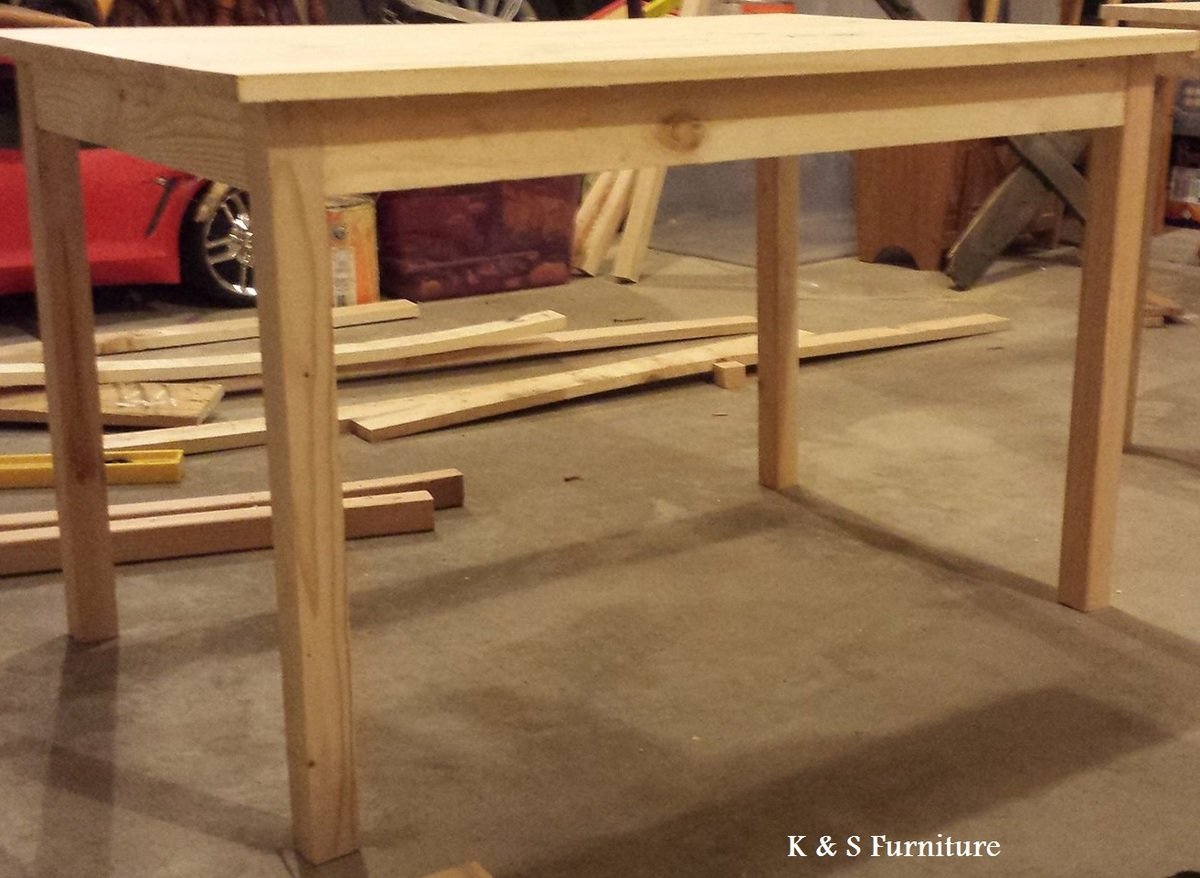
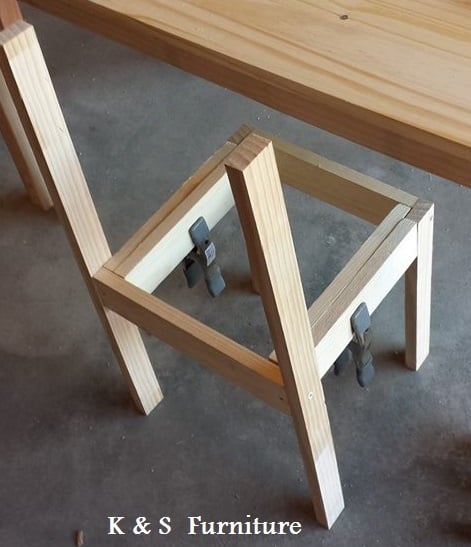
The plans were super easy to follow and the structure was very soild.

Thanks for all you do!

Ken from Canada

Built from Plan(s)
Estimated Cost
$200
Estimated Time Investment
Weekend Project (10-20 Hours)
Recommended Skill Level
Intermediate
Seasonal And Holiday

Farmhouse X Coffee Table

Submitted by Loaded918 on Fri, 01/24/2020 - 17:09

This was my first woodworking project, and it turned out really well. I am going to have to make all of the matching furniture to go with it as well now. My wife has been pushing me to find a hobby (probably to get me out of her hair), and it looks like I have found the one. Did this one with just a circular saw and a drill, now it's time to get a Kreg Jig. Also need to find a way to make my cuts a tad bit straighter as well, but I hope this soon leads to me getting a miter saw.

Estimated Cost
$36
Estimated Time Investment
Weekend Project (10-20 Hours)
Finish Used
Mission Oak by Miniwax
Recommended Skill Level
Beginner

Comments

Laundry basket dresser with a drop-down ironing board

Submitted by getcz on Sun, 04/22/2012 - 18:35

I used Ana's Laundry Basket Dresser plans but I added a drop-down ironing board and and made the entire top surface ready to iron on. A swing-out leg under the ironing board helps to stabilize while ironing.

Built from Plan(s)
Estimated Time Investment
Weekend Project (10-20 Hours)
Finish Used
Laundry
Recommended Skill Level
Intermediate

Comments

Teen's Study Space

Submitted by Stacie on Wed, 02/05/2014 - 06:25

I created a comfortable study space for my teen's room with plans from Ana. This was fun to build and everyone enjoyed working on it as a family project. I love that I can customize the furniture to fit my home and lifestyle by diy-ing it all! Thank you Ana for sharing your plans.

Estimated Cost
$120
Estimated Time Investment
Weekend Project (10-20 Hours)
Finish Used
I used Minwax Early American stain, Valspar Indigo paint, and polyurethane, then distressed some of the pieces with a sanding block.
Recommended Skill Level
Beginner

Barn door tv stand

Submitted by BojackH on Mon, 05/02/2016 - 20:44

We had a cheapo tv stand made out of pressed board which I felt was one nudge short of collapsing.  So decided to build an upgrade.  There were a few electronic components I wanted to be in the middle so designed a 3 bay instead of the 4 bay originally posted here. I used the picture from the sliding door hardware tutorial site - but instead of joining the plywood box with kreg screws I instead used Spax MDF screws on the end grain + wood glue (they work great and don't split the plywood at all - no need to predrill either!).

For the shelves, I drilled a buncha pin holes in case I wanted to adjust the height.  For the top I used 3 2x6's instead of the 1by used here.

With the backing, I used scrap planks from a couple pallets - I spaced them at about 2 inches to allow airflow for the components (HTPC/ PS4/ modem) as well as the ability to run cords through.


Built from Plan(s)
Estimated Time Investment
Week Long Project (20 Hours or More)
Finish Used
Minewax Special walnut for base & doors. Minewax Dark Walnut for top. 3 coats of Minewax Satin Polyurethane.
Recommended Skill Level
Intermediate

Scrap Wood Barn

Submitted by Anonymous (not verified) on Fri, 09/22/2023 - 08:11

My daughter watched me do another build project and wanted something for herself. We built the Toy Barn from Ana White's plans using only scraps around the garage!

Laura Thompson

Built from Plan(s)

Comments

Twin Farmhouse with Trundle

Submitted by mommaerika on Wed, 04/25/2012 - 09:52

This is the twin farmhouse bed and the matching trundle. We chopped about 8 inches off the headboard since we were not using a boxspring for our mattress. Other than that it's as written. I'm so thrilled to free up space in our girls' room!

Estimated Cost
$200 - 250 give or take for both
Estimated Time Investment
Weekend Project (10-20 Hours)
Finish Used
Primer, 2 coats of basic white semi-gloss paint, and poly.
Recommended Skill Level
Beginner

Comments

t00court

Fri, 08/22/2014 - 16:27

This is exactly what I'm looking for!
My husband and I would like to begin building this ASAP. Could you please clarify for me that the original measurements for the Twin Farmhouse bed and the trundle bed will certainly be able to accommodate one another? I just want to make sure it'll fit! I think I saw someone else comment that they changed some of the measurements to make a trundle bed fit underneath, but they didn't go into detail.

We also won't be using a box spring.

Thank you for your help!

Childrens table and chairs

We built Two children's table and 8 stackable chairs for one of our daycare's. It took a lot of work but once we figured out the first chair it was a breeze for the other 7.

Estimated Cost
$30
Estimated Time Investment
Week Long Project (20 Hours or More)
Finish Used
We stained the wood in a Cherry Stain and finished with multiple coats of Poly.
Recommended Skill Level
Beginner

Comments

timh

Sat, 02/08/2014 - 15:54

Awesome! I built one for our homeschool and it works great. Yours look very nice.

Queen Farmhouse Bed

Submitted by Anonymous (not verified) on Sat, 05/07/2016 - 17:56

Made the bed using the Queen Farmhouse bed plans as a guide.

Wanted to include my box spring so modified the frame so the bed sits inside the frame.  Also had to increase the height of the head and footboard to accommodate the additional height of the box spring.  

Added middle legs to the frame, somewhat for support but mainly to make the connect to the head and footboard easier (since I was doing it myself).  

Used leftover prefinished fooring for the paneling.  Like the contrast with the white, plus really ties it in with the room.  Bed came out really well, wasn't sure since I've never used plans from this site before but can now say, will be doing so in the future. Next up, matching farmhouse mini nightstand! 

Built from Plan(s)
Estimated Time Investment
Weekend Project (10-20 Hours)
Finish Used
Satin white enamel
Recommended Skill Level
Intermediate

Farmhouse Coffee Table

Submitted by cabinK on Wed, 02/05/2020 - 17:42

Had a great time building the Farmhouse Coffee Table plans from Ana! As with the Farmhouse Queen Bed, I used the old barn wood, ran it through the planer until I liked the look of the grains and then built away. I haven't decided on a finish yet but I'm more than likely going to epoxy the top only, so as to protect it from drink spills and water rings.  THANK YOU ANA!!

Estimated Cost
Screws and glue
Estimated Time Investment
Weekend Project (10-20 Hours)
Finish Used
None as of yet. Will probably use tabletop epoxy.
Recommended Skill Level
Beginner

Three Kids and Their Step Tables (Step Stools)

Submitted by Jake on Fri, 04/27/2012 - 17:21

Each grandkid and the little girl across the street built their own step table. Of course it was accomplished through my confused and sometimes inaccurate direction but they all came out looking good and withstood my 180 lbs standing on them. Each used a slightly different method of securing the legs, top and bottom but it worked. Great project for kids. I had a ball. Keep them coming.

Estimated Cost
$50
Estimated Time Investment
Week Long Project (20 Hours or More)
Finish Used
Paint on two of them and stain on one.
Recommended Skill Level
Beginner

Vertical Herb Planter

Submitted by Anonymous (not verified) on Tue, 05/10/2016 - 20:04

Used your plans but make changes to the planters since I do not own an angle machine.  They look great and the cost was less than $30

Estimated Cost
$28
Estimated Time Investment
Afternoon Project (3-6 Hours)
Finish Used
Deck screws
Recommended Skill Level
Starter Project

Comments

NextGreenLife

Tue, 05/30/2017 - 14:33

Can appreciate wanting to do projects but not having all the necessary fancy tools.  I need to make two of these anyway (one to give away), so going to steal this idea to make it a wham-bam quick job!

X-coffee table

Submitted by Anonymous (not verified) on Fri, 02/14/2020 - 11:16

We also made one with hydraulic life so table top come up and forward

Finish Used
Expresso

Lemonade Stand for Fundraiser

One of my daughters recently was diagnosed with Type 1 Diabetes. We are raising money to get a Service Dog for her and I was able to throw together this awesome Lemonade Stand from your plans, Ana. Thanks for the fun and QUICK project that will hopefully help my daughter with her fundraising goals. {Son not included with lemonade :)}

Gene

Homework Supplies Cubbies

Submitted by ltl_lisa on Sat, 04/28/2012 - 18:41

A place for everything and .... everything off the desktop!

Built from Plan(s)
Estimated Time Investment
An Hour or Two (0-2 Hours)
Recommended Skill Level
Starter Project

Comments

The Best Console Table

Submitted by kristyzed on Sat, 02/15/2014 - 09:48

I first saw this project on Shanty-2-Chic's website and fell in love with it. It was my first furniture build. In my area (near Toronto, Ontario, Canada) I couldn't find 4 x 4s unless they were treated. So I used 2 - 2 x 4s instead and made the minor adjustments necessary.
I chose casters that don't rotate but screwed the back two in pointed inward so that my children can't easily move the table around if they are playing near it and bump into it.
This is my favourite piece that I've made so far.

Built from Plan(s)
Estimated Cost
$140
Estimated Time Investment
Day Project (6-9 Hours)
Finish Used
I finished it using the technique from Shanty-2-Chic's website. I spray painted Rustoleum's Dark Walnut on the edges that I wanted to show through the paint. I then lightly rubbed in vaseline on the corners and edges that would naturally show wear over time using my fingers. Then I used 2 coats of Valspar's La Fonda Boulder. After that all dried I lightly sanded over the areas I applied vaseline to reveal the dark spray paint and create a chippy finish. I gave it 1 coat of poly to seal it.
Recommended Skill Level
Beginner

Thanks for the plans!

Submitted by Anonymous (not verified) on Thu, 05/12/2016 - 18:29

Ana, thanks for the plans! I modified mine to have more of a roof to give my son more play space and added a toybox at the "back" of the boat. Still need to pick up sand but has turned out great so far! I think it will be the starting point for a full playset.

Built from Plan(s)
Estimated Cost
225$
Estimated Time Investment
Weekend Project (10-20 Hours)
Finish Used
Outdoor oil-based enamel
Recommended Skill Level
Beginner

Comments

Back