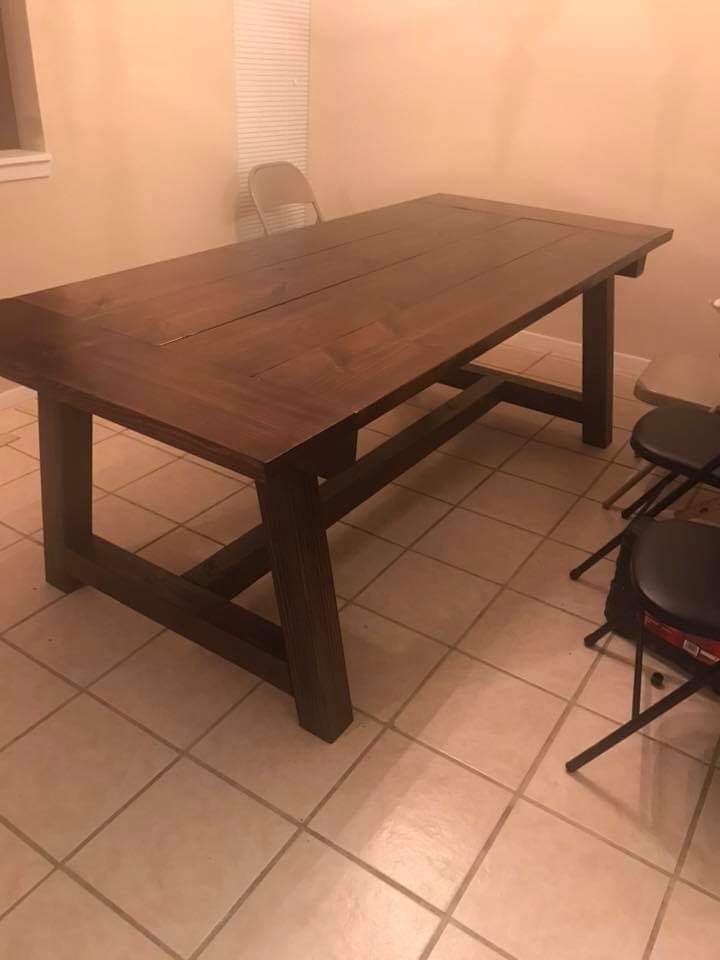
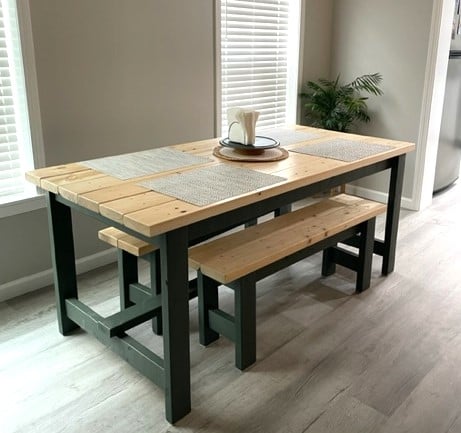
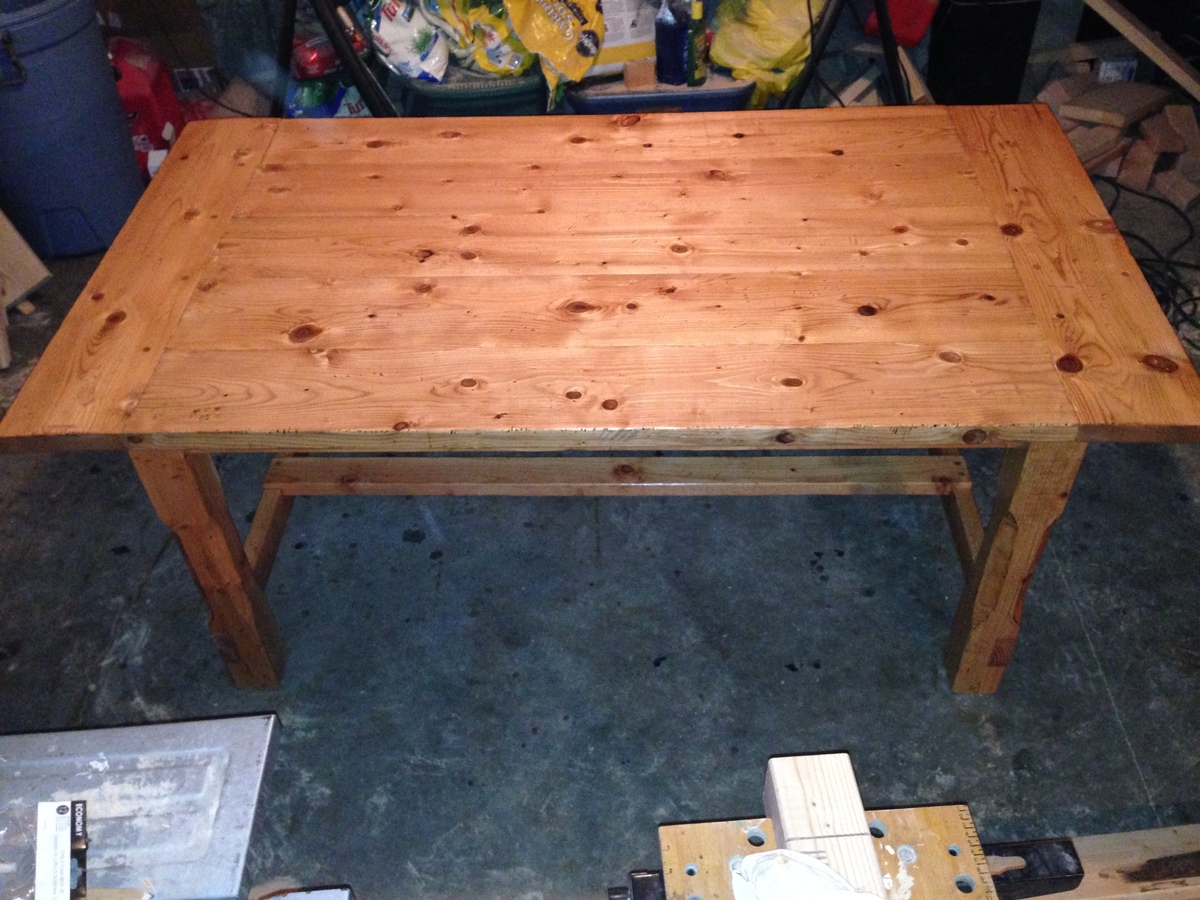
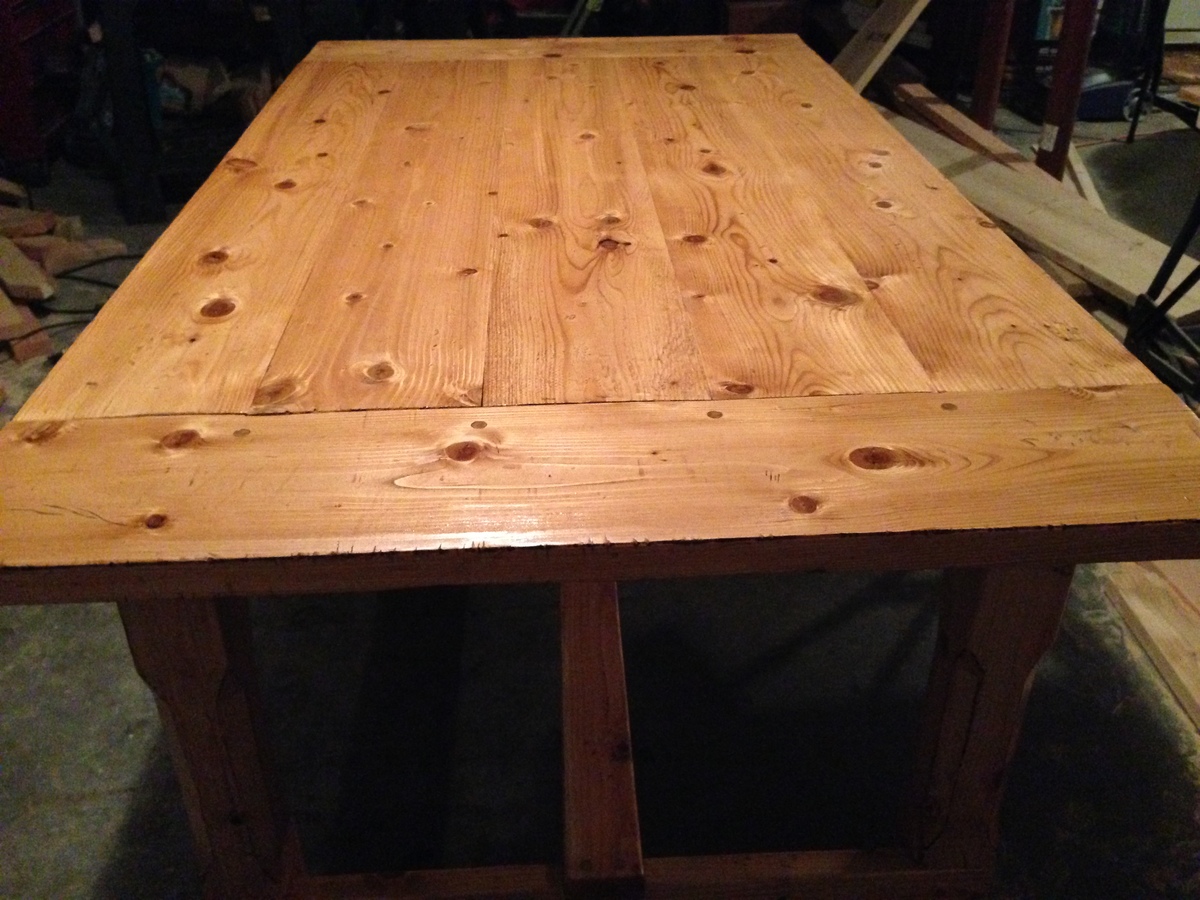
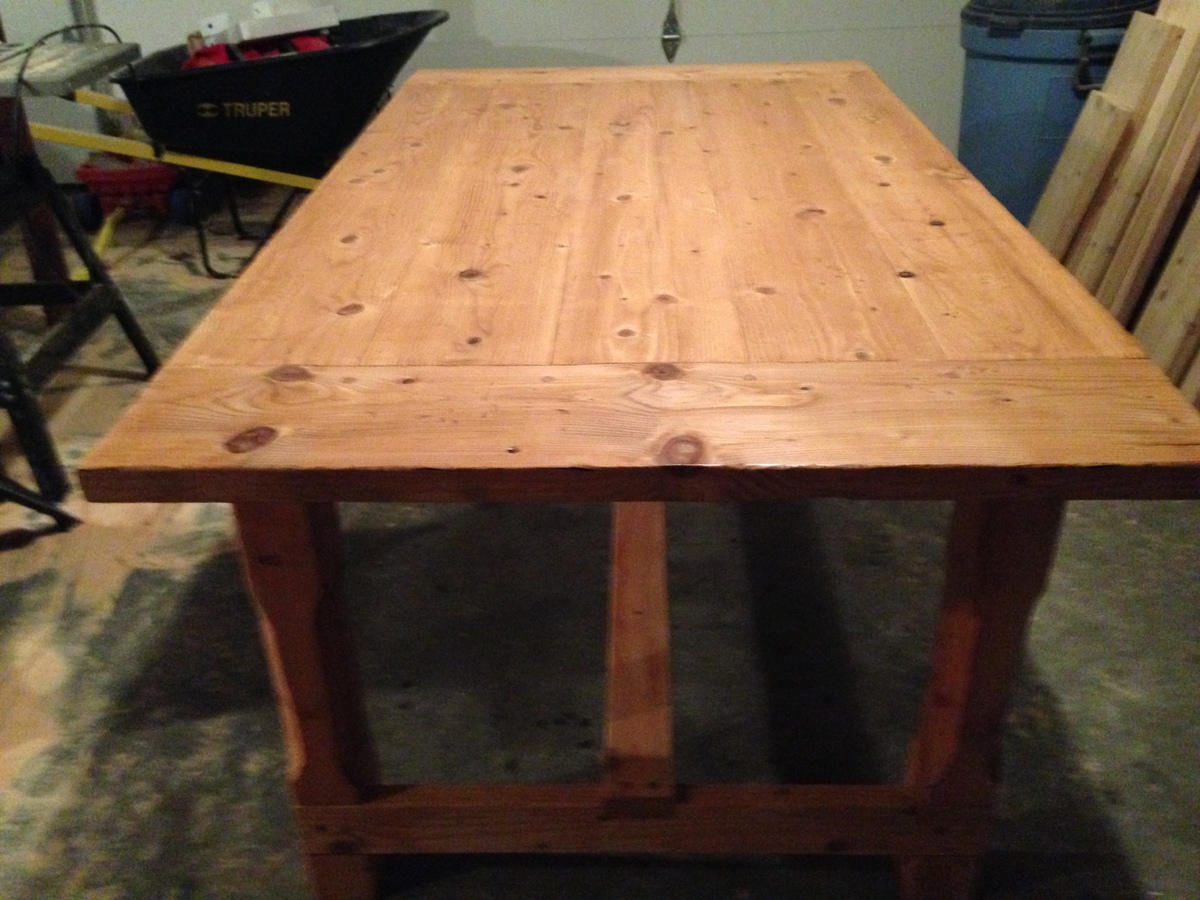
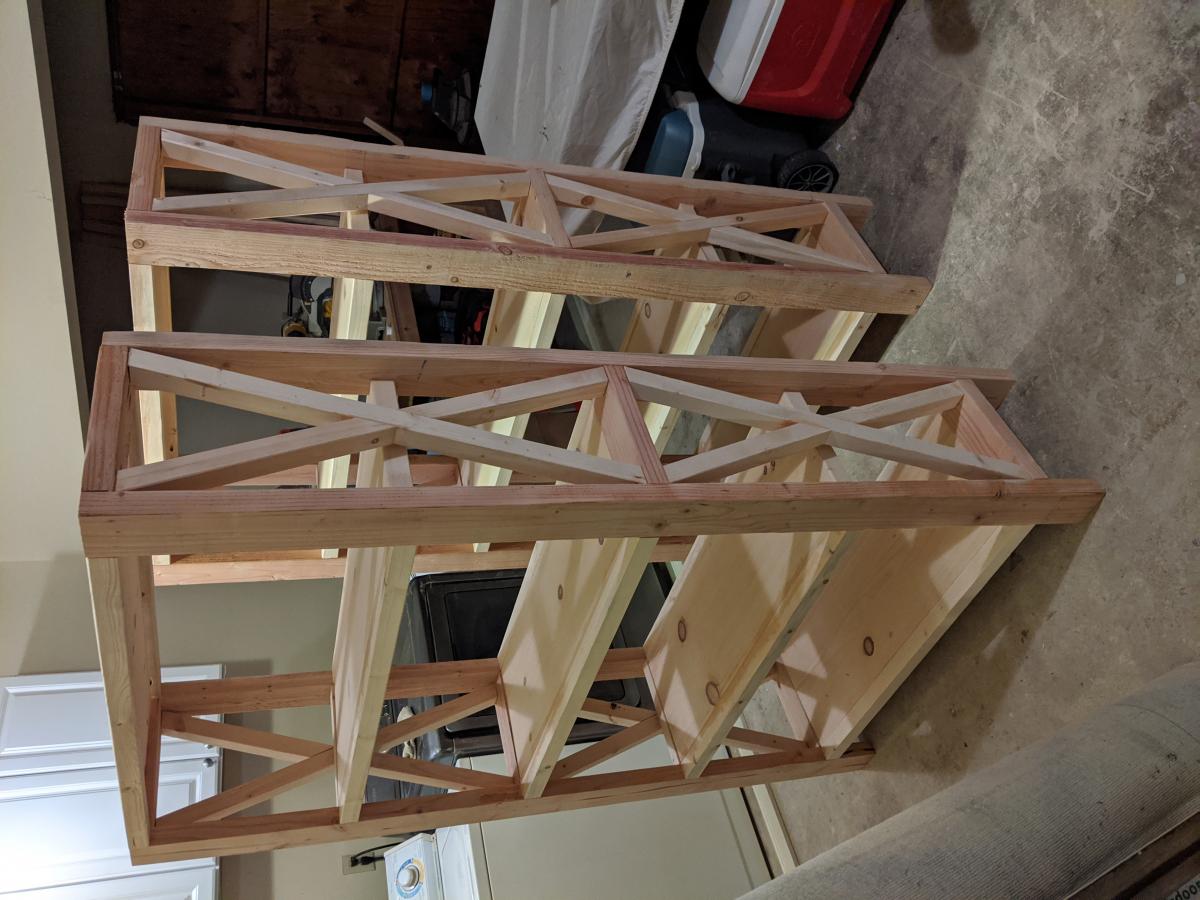
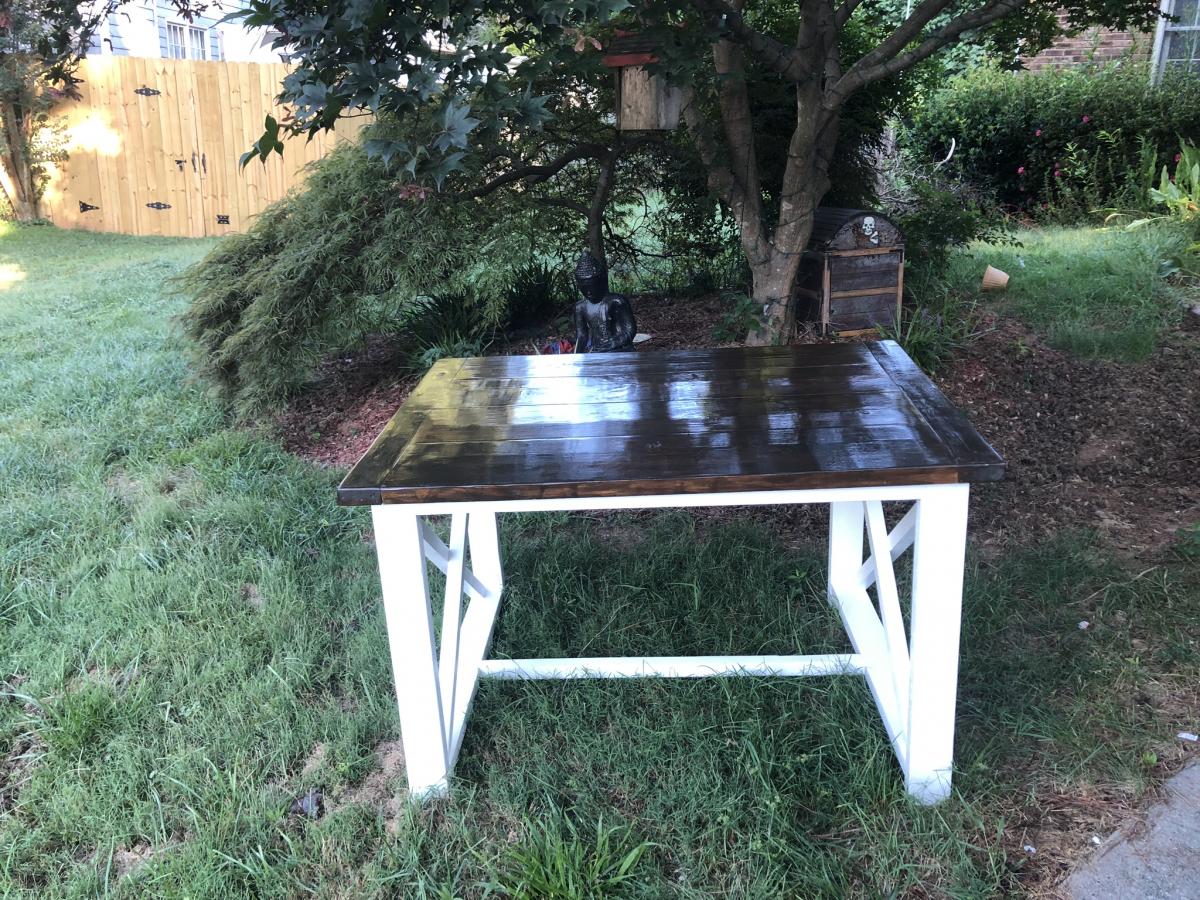
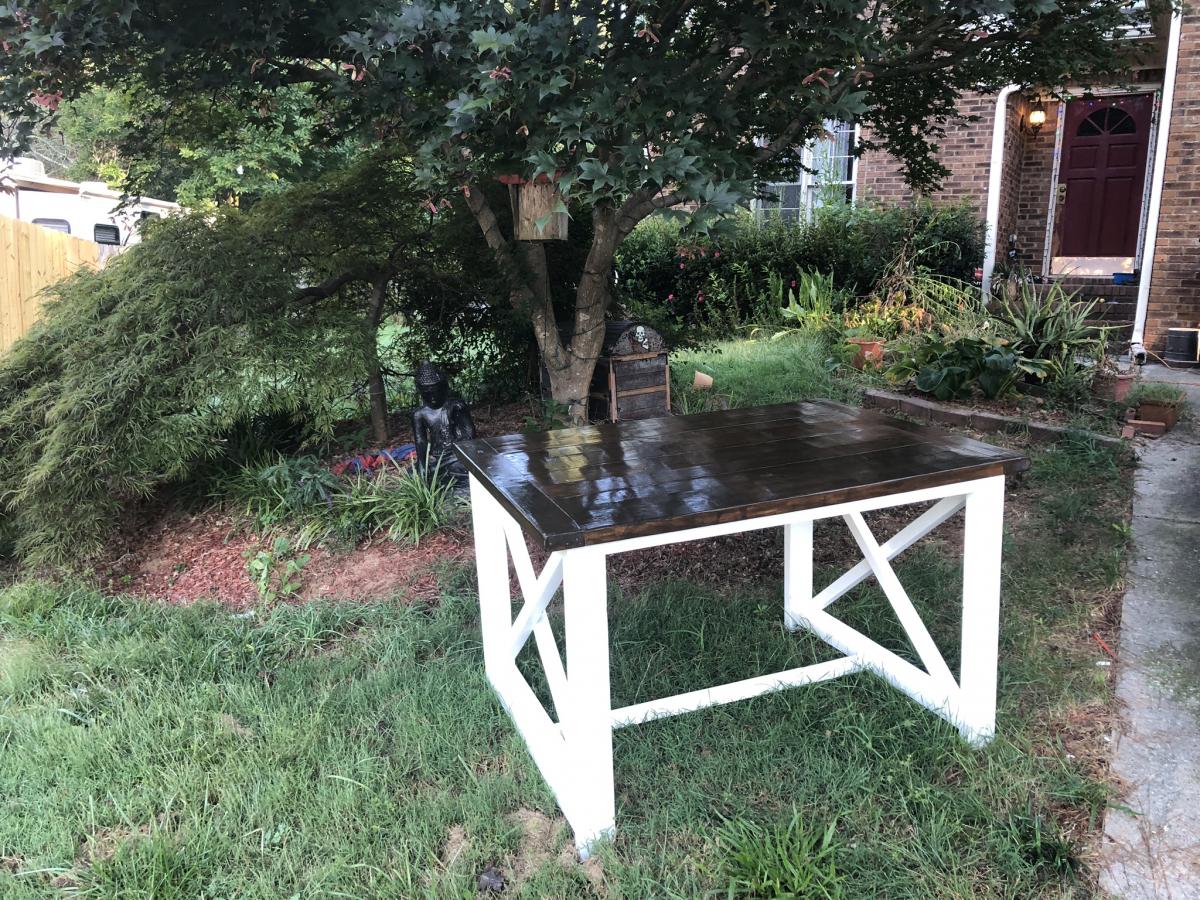
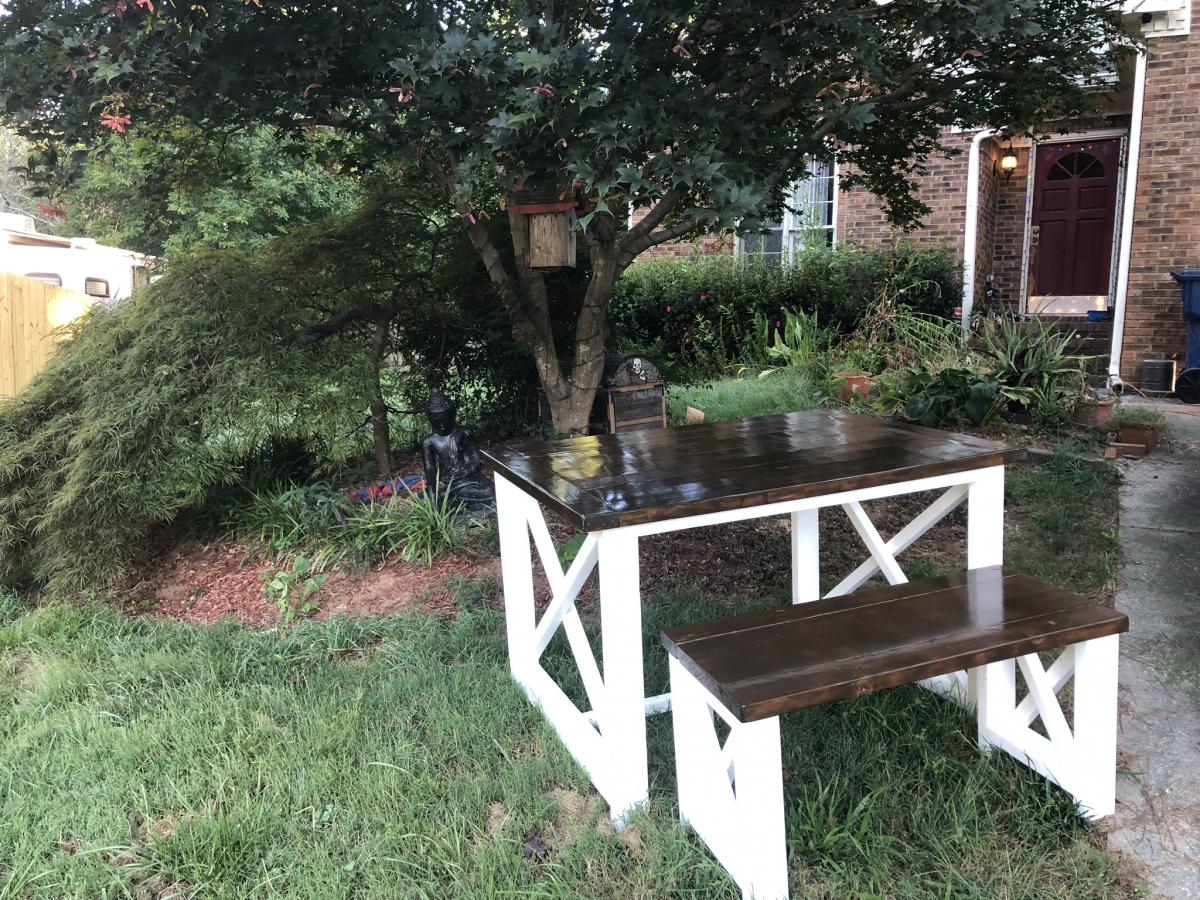
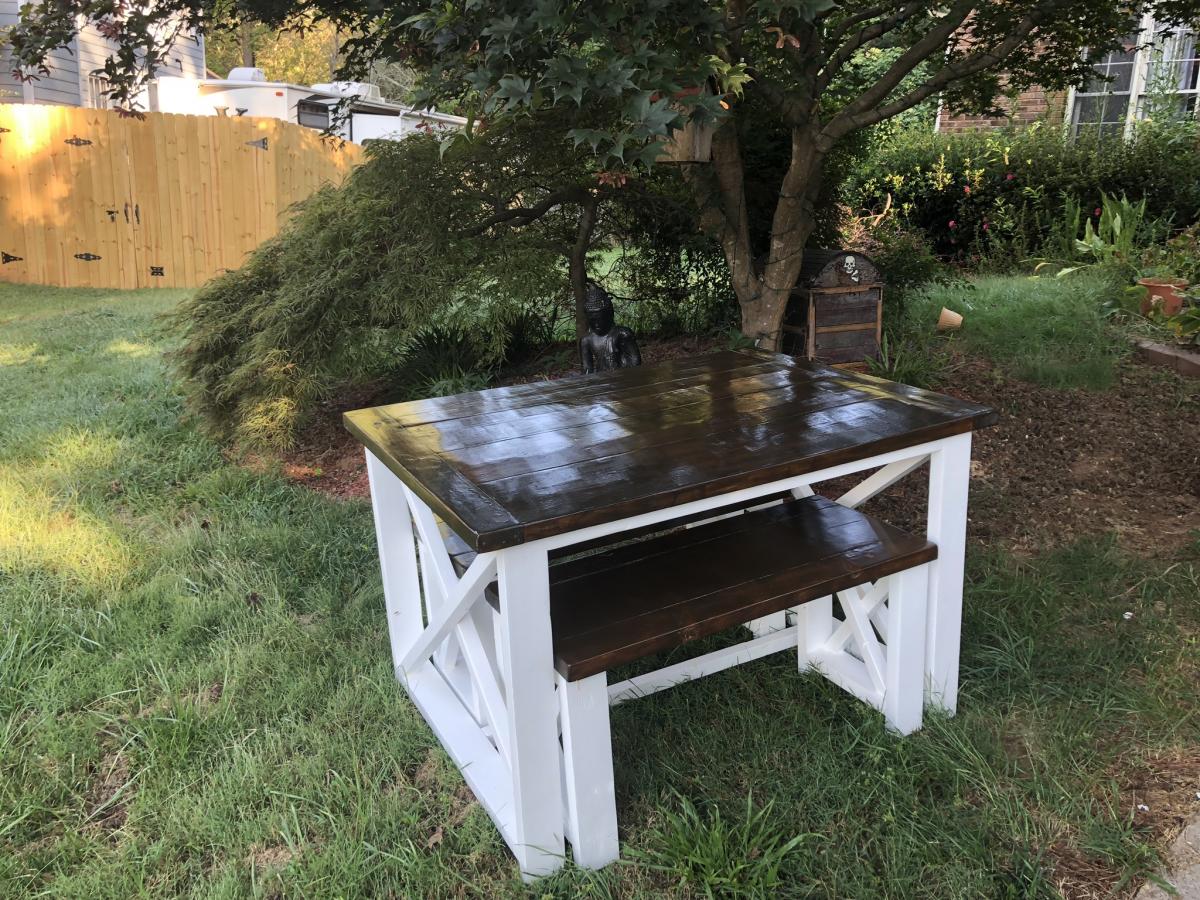
Farmhouse Breakfast Table
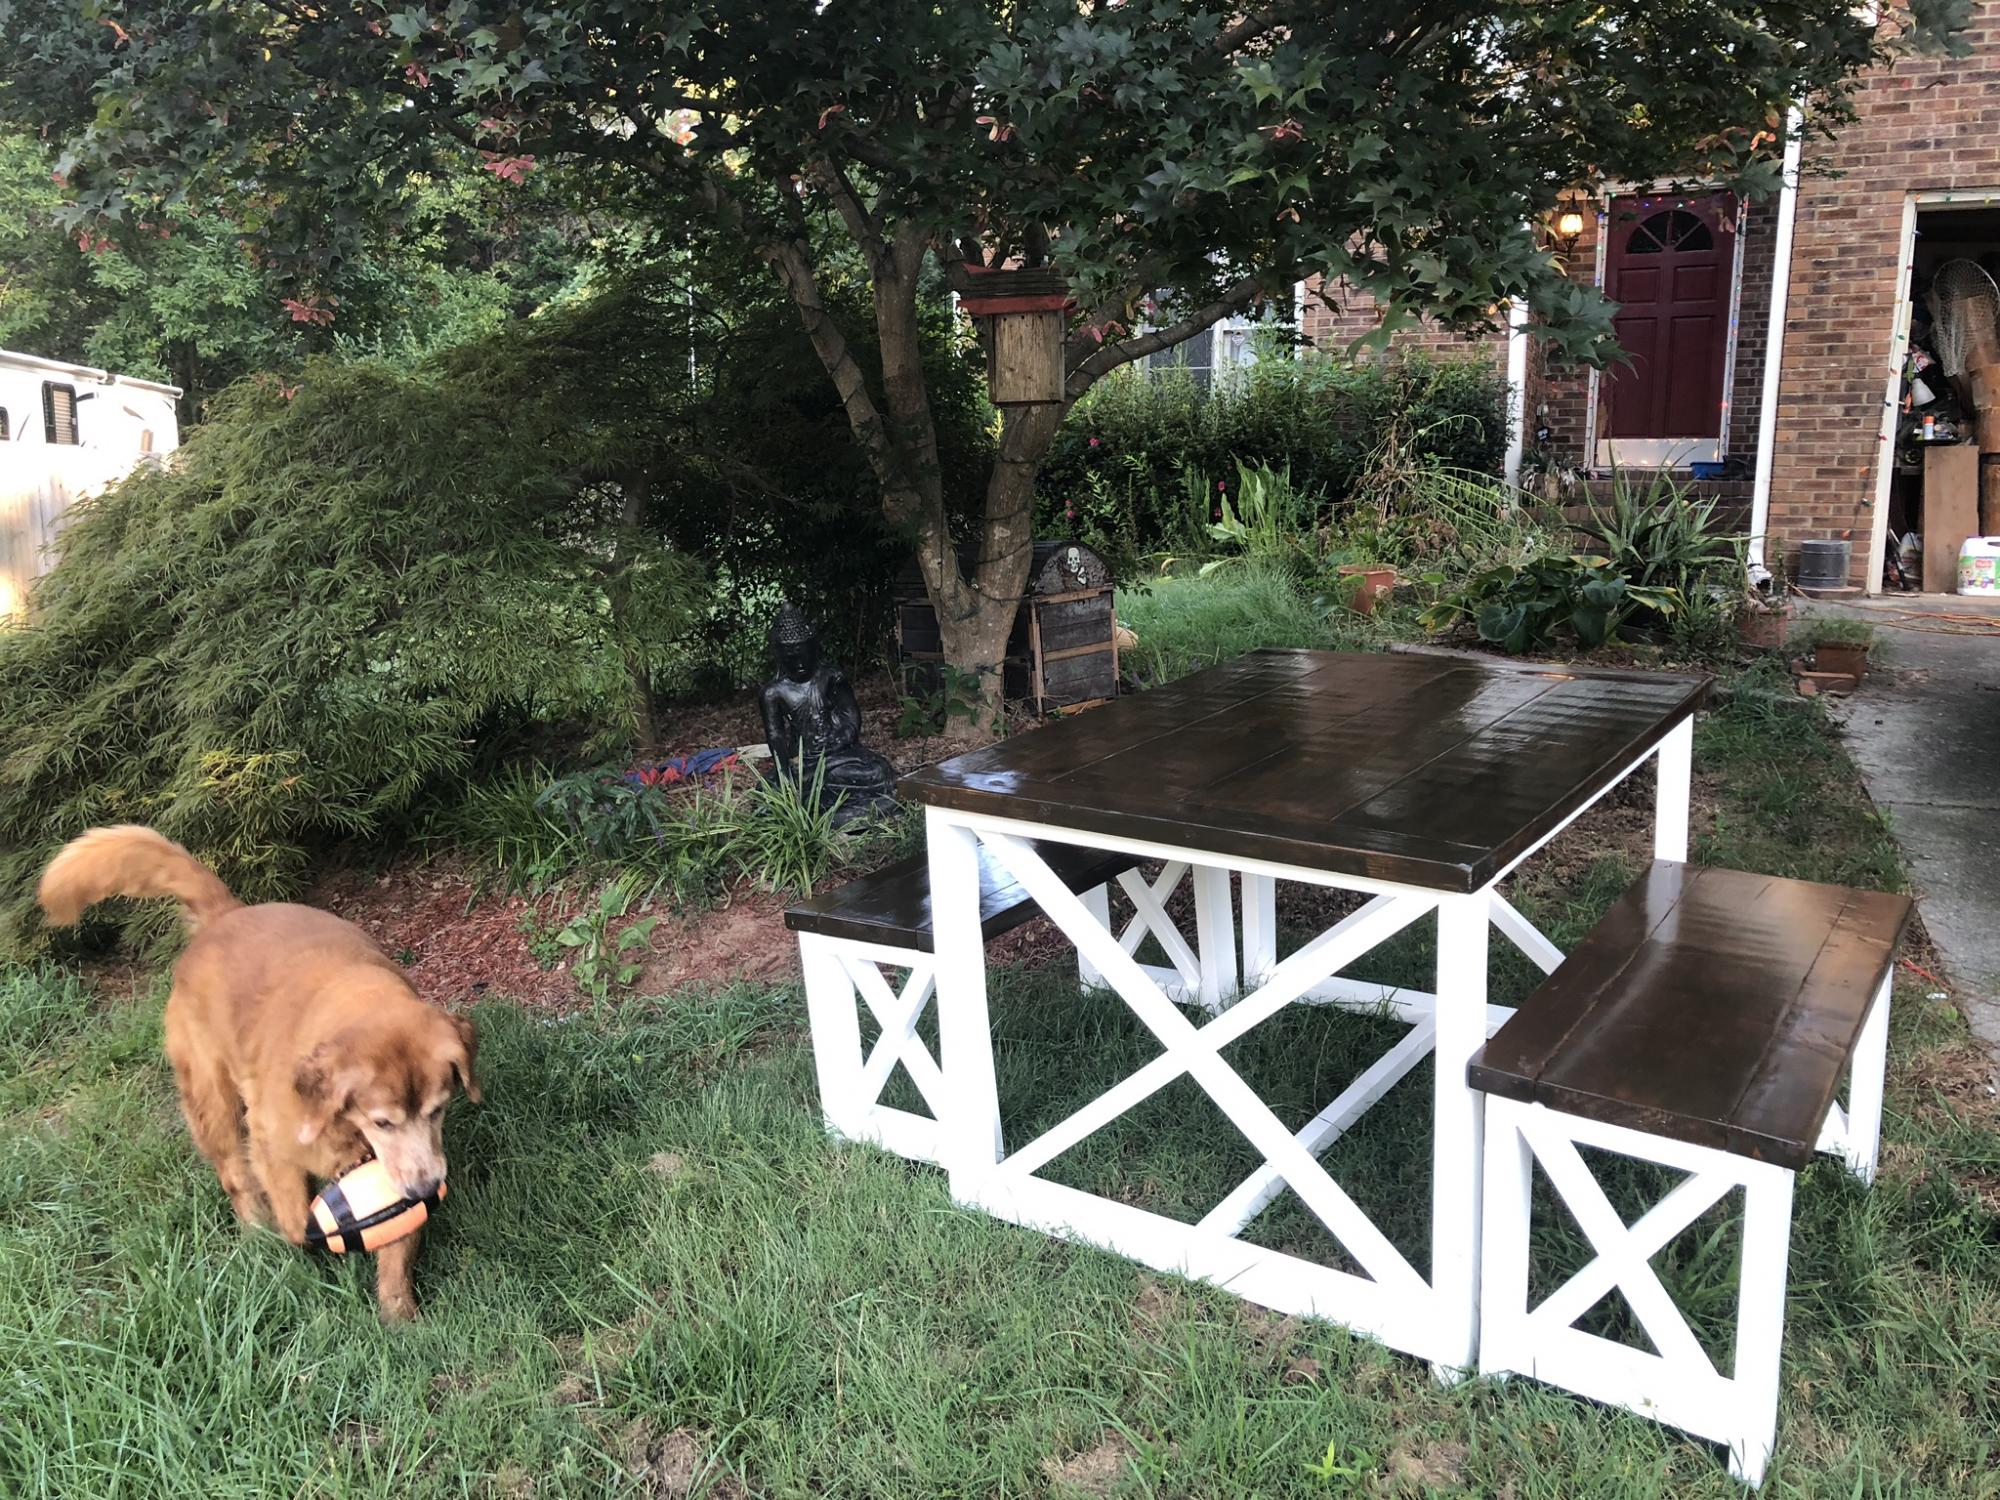
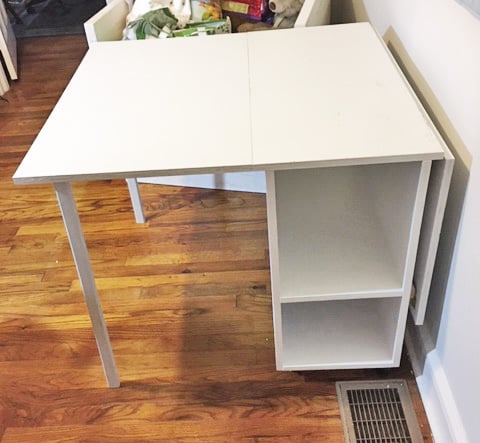
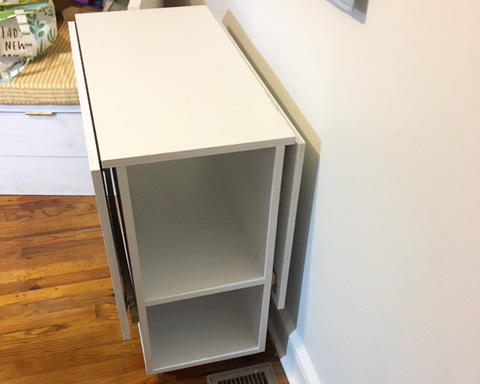
Farmhouse Breakfast Table inspired by the x coffee table

Built from Plan(s)
Estimated Cost
$50
Estimated Time Investment
Weekend Project (10-20 Hours)
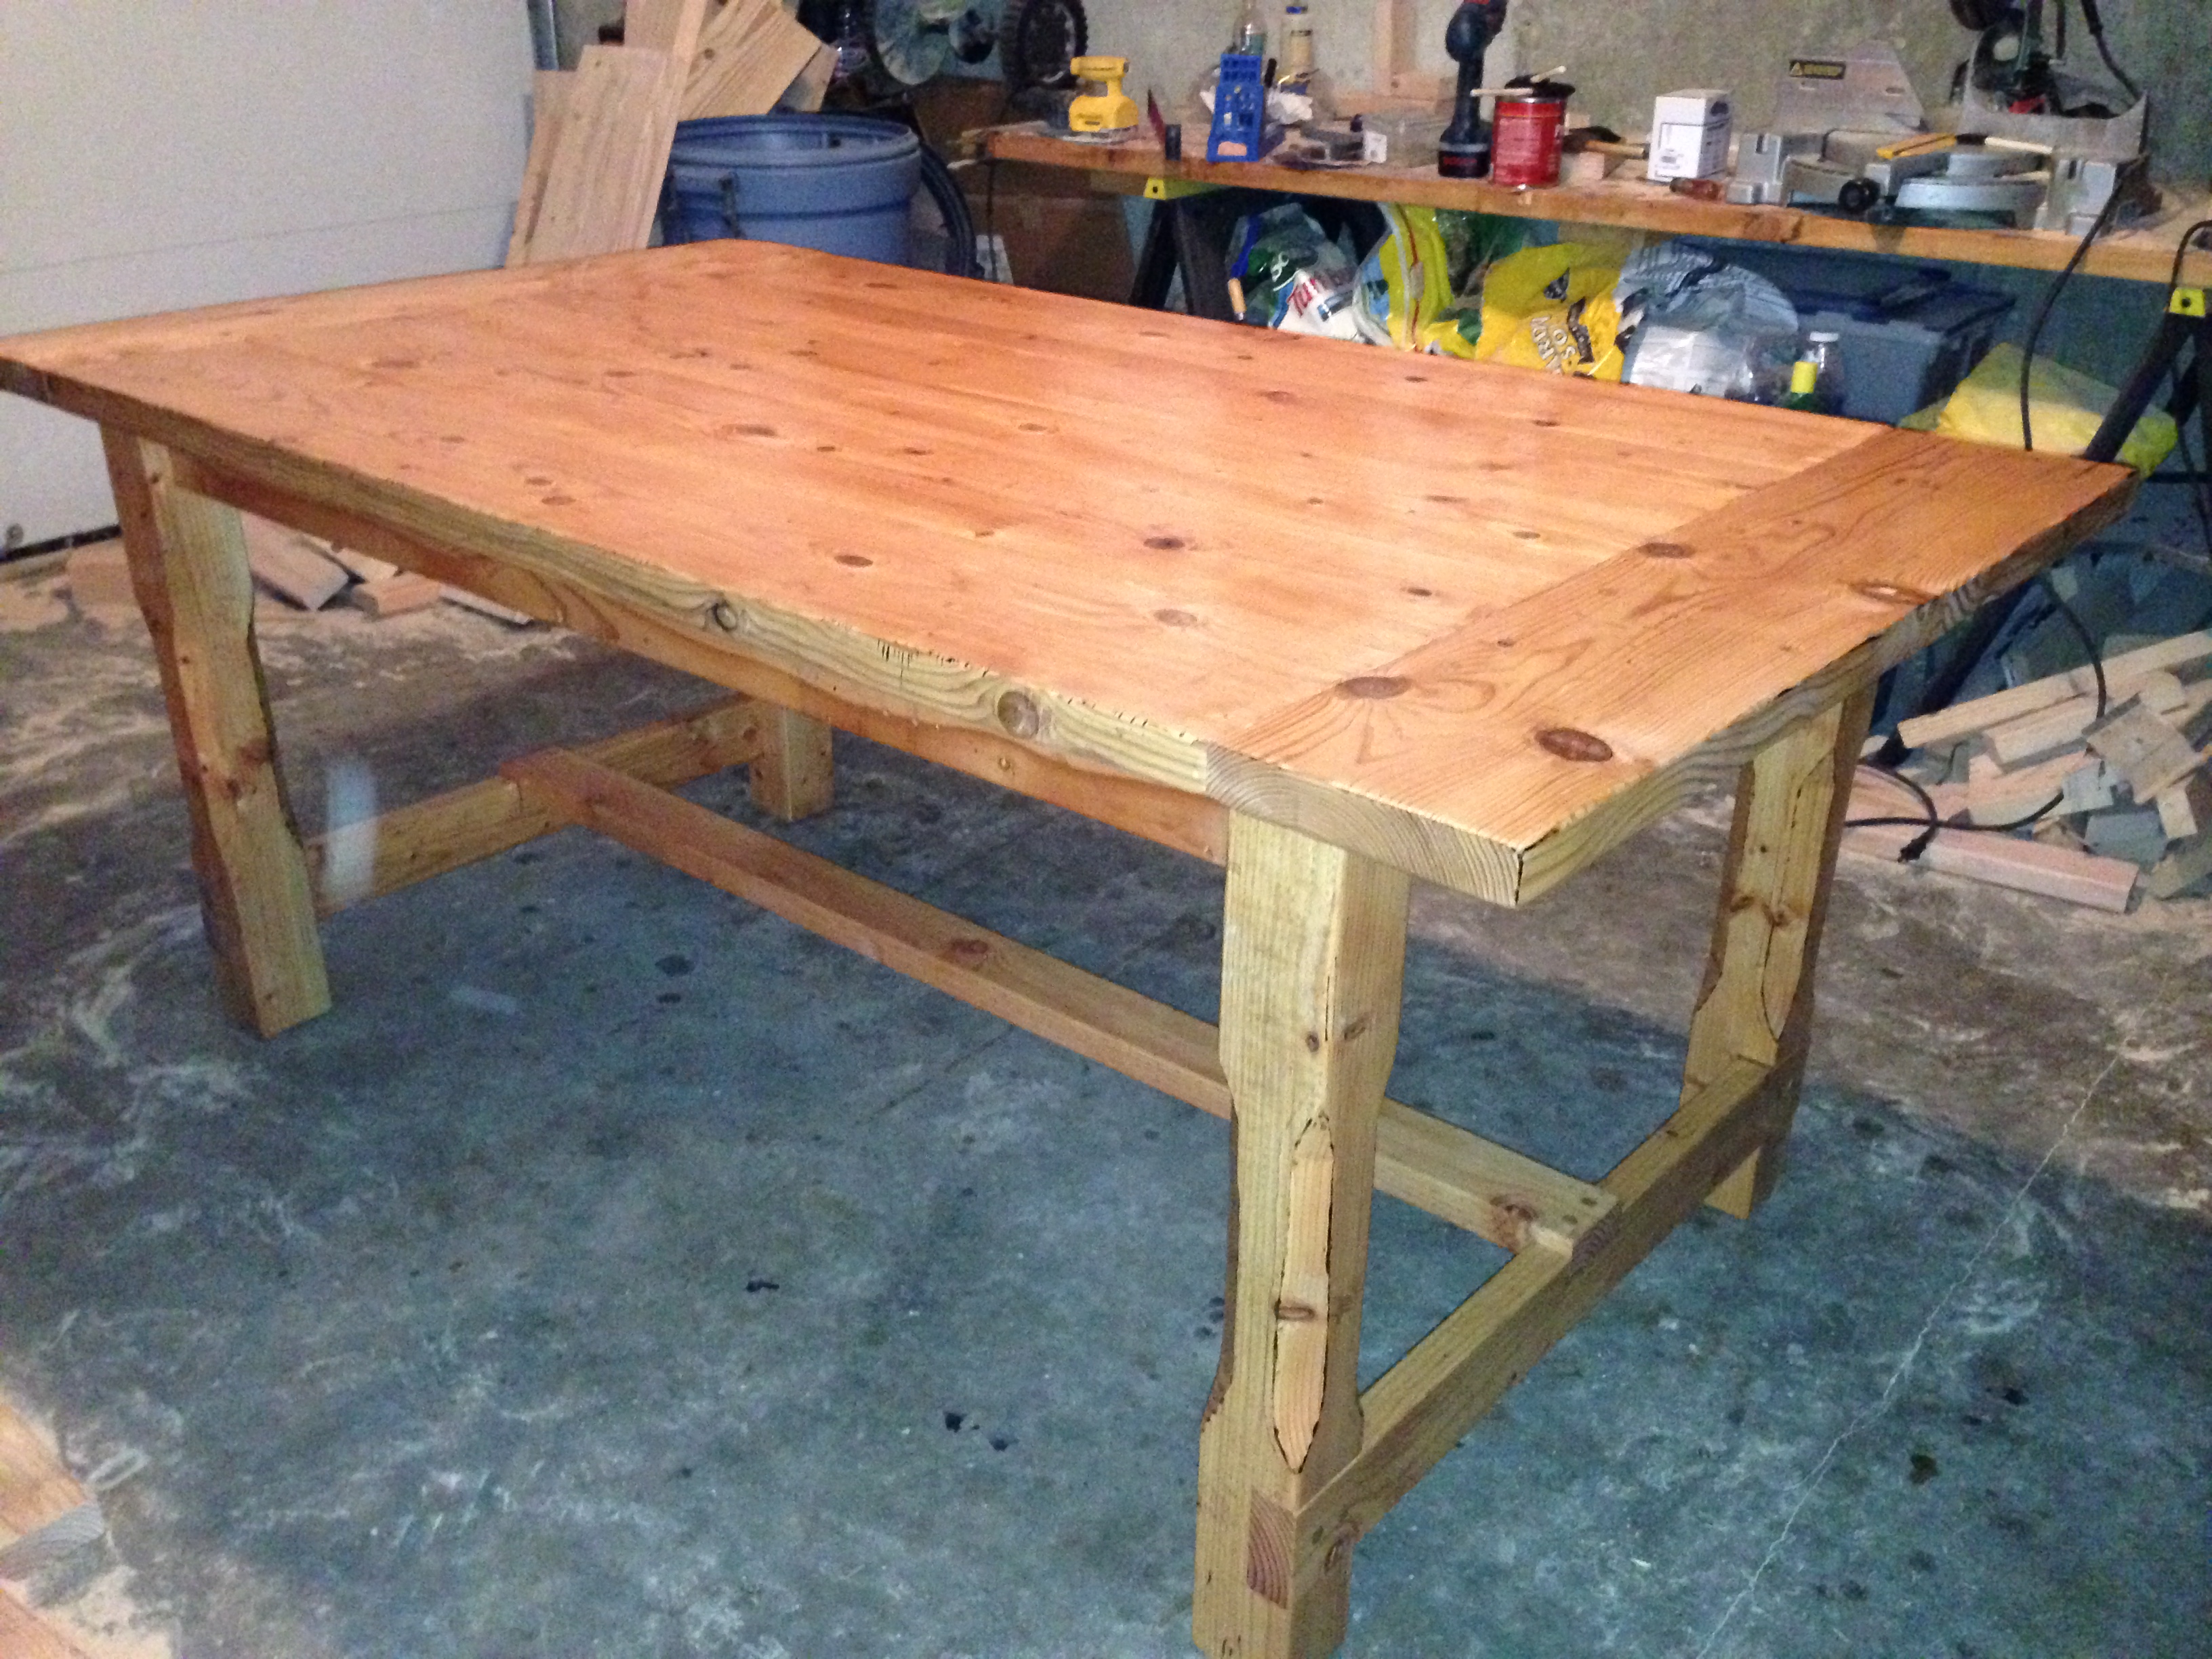
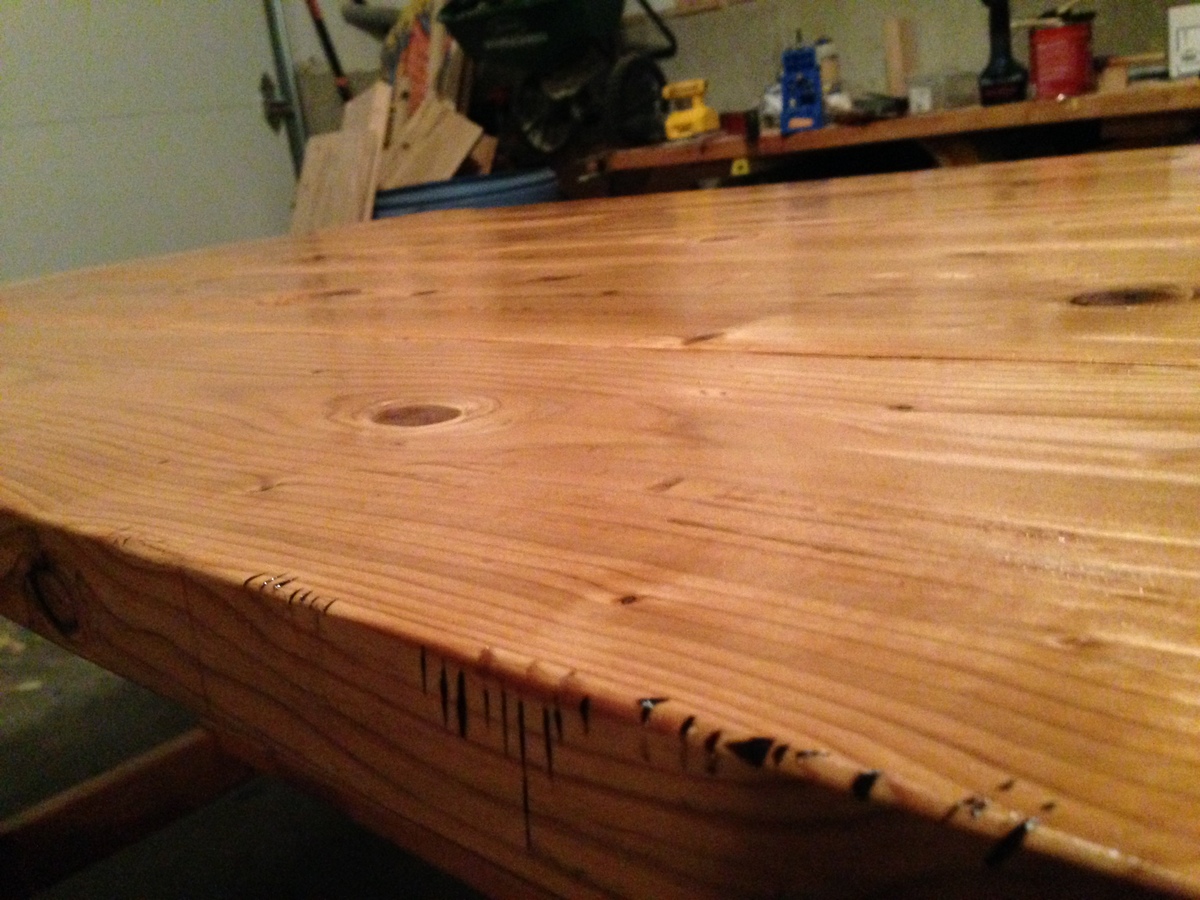
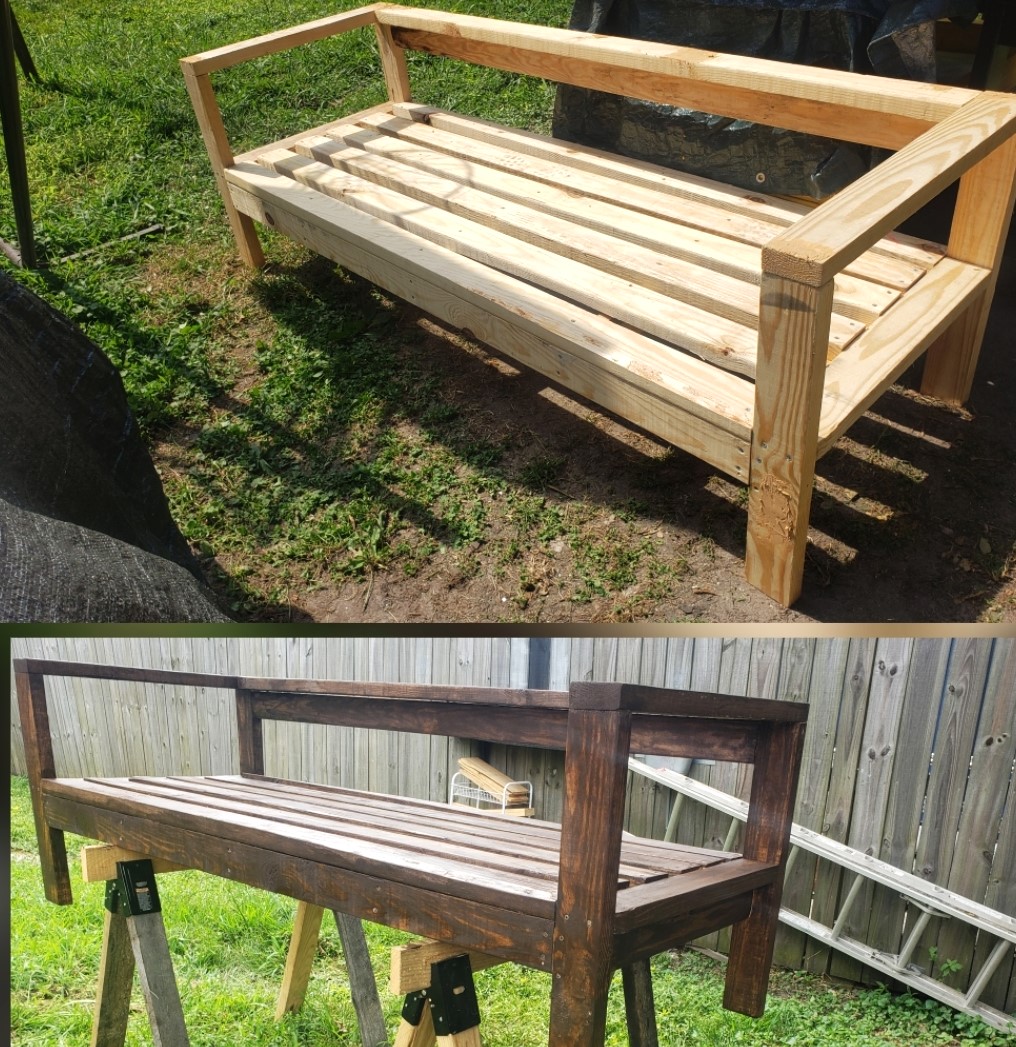
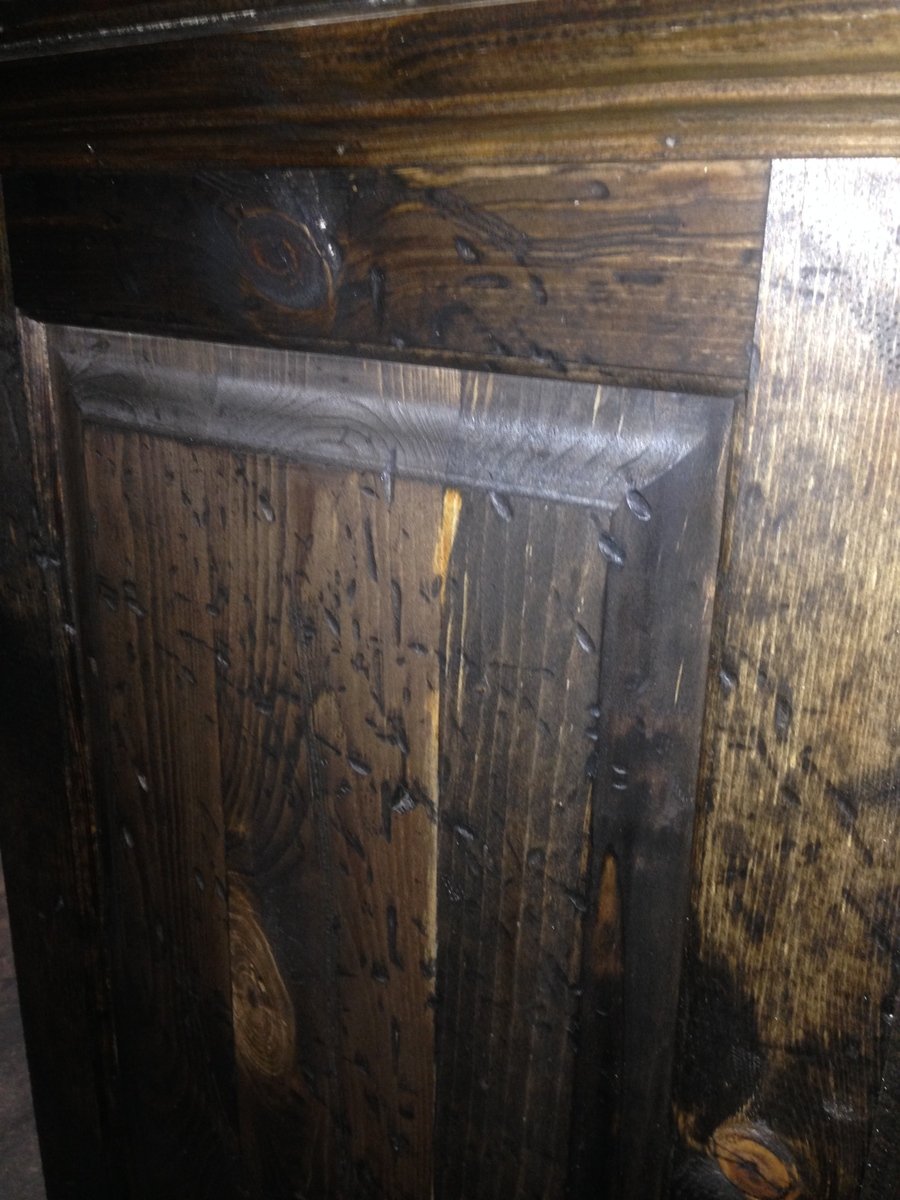
Finish Used
Mirmax Polyshade Honey