Community Brag Posts

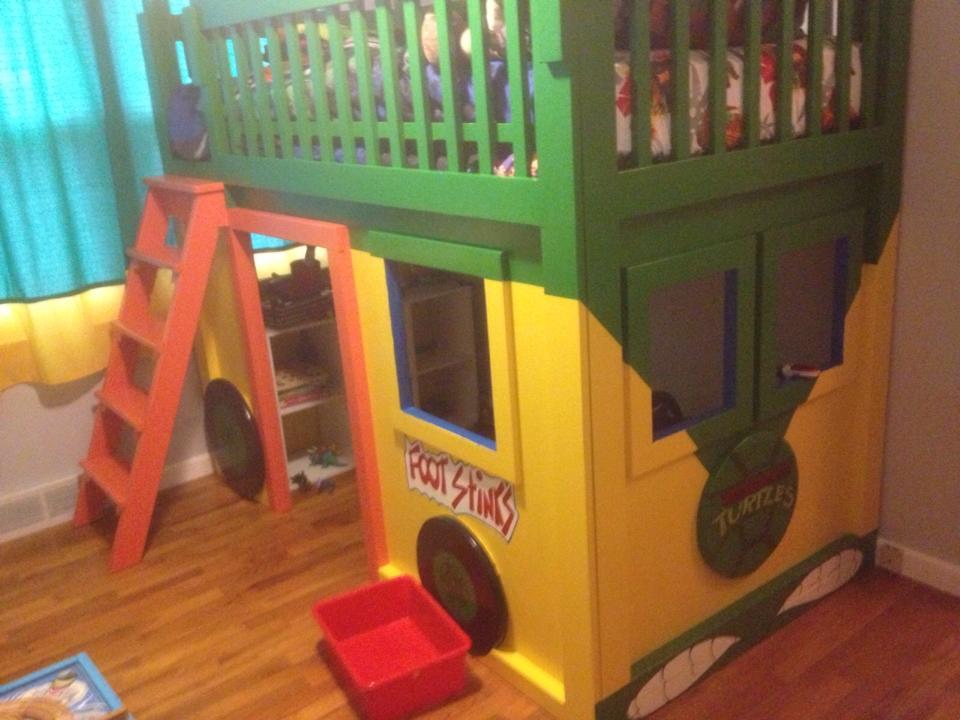
Teenage Mutant Ninja Turtle Bed

Submitted by KarahM318 on Sun, 05/05/2013 - 20:21

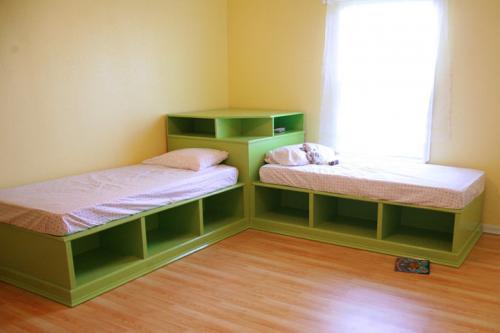
For this project, we followed the plans for the Firetruck Bed and also modified them a bit to fit our needs in the room. From start to finish, this project took two weeks to complete and cost us roughly $200 to build and $100 to paint. We were lucky though in that nearly everything we needed to purchase was on special or sale.

Built from Plan(s)
Estimated Cost
$300
Estimated Time Investment
Week Long Project (20 Hours or More)
Finish Used
Clark & Kensington latex paint & Minwax polycrylic clear coat (semi-gloss)
Recommended Skill Level
Intermediate

Comments

kim20904

Wed, 01/15/2014 - 07:33

can you tell me how you modified the plans to make this bed? I don't know much about building anything but I would like to build this for my son. Thank you Kim

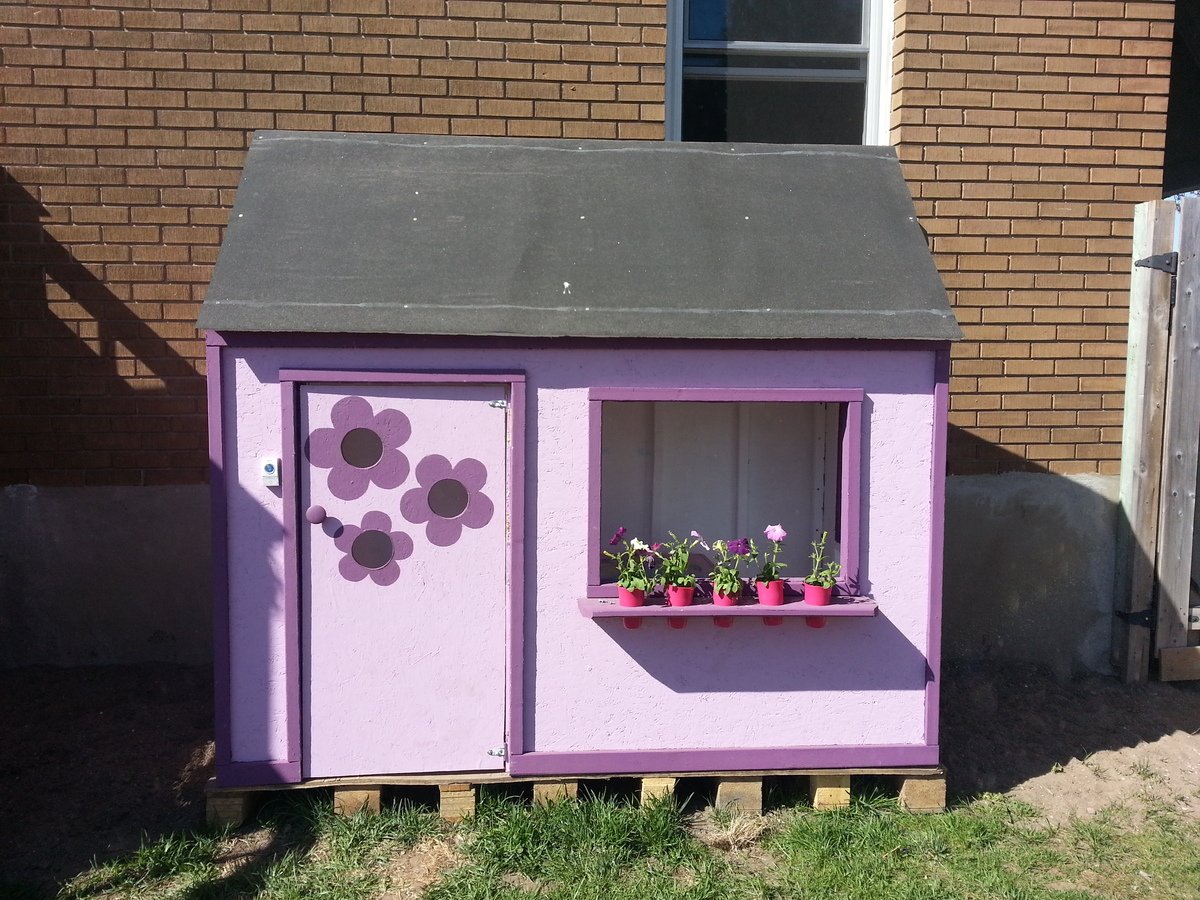
My Little Princesses Playhouse

Submitted by sanmaurais on Tue, 05/07/2013 - 17:00

This was the first thing I have ever built, and I loved making the playhouse! I took pictures of every step I did! It was very rewarding to see the look on my girls faces with it was done!! They absolutely love it!!! Thank you for posting the plans.

Estimated Time Investment
Week Long Project (20 Hours or More)
Recommended Skill Level
Starter Project

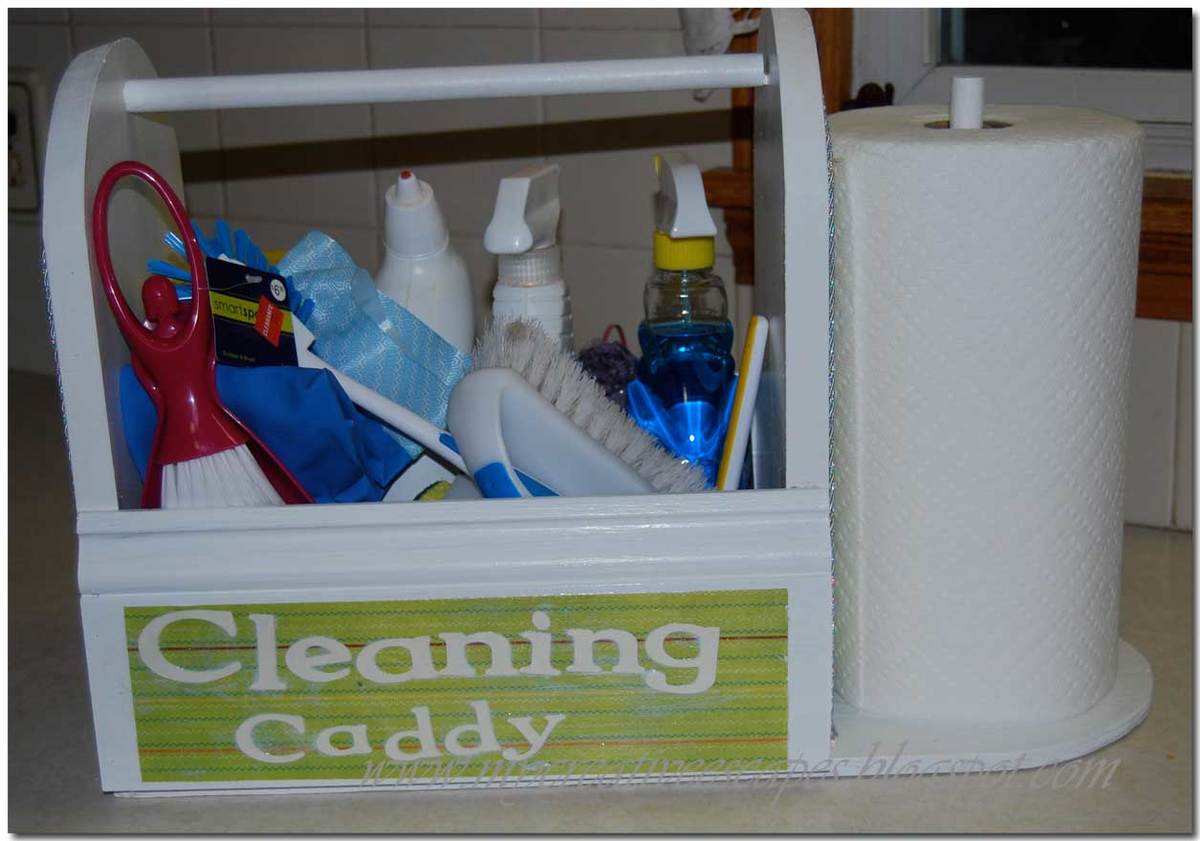
Cleaning Caddy

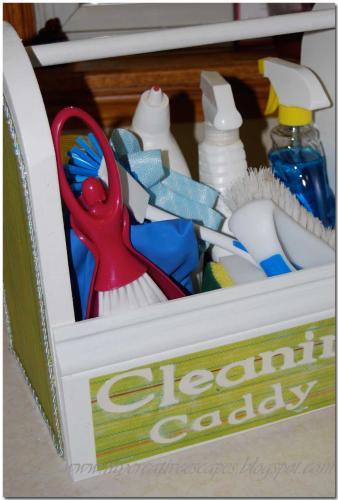
I wanted to build a cleaning caddy. Normally when I go to clean – I want to do it all at once. We have a bigger house – so I’ll be upstairs in the kids room – and realize I left the Windex downstairs – get upstairs – I left the paper towels downstairs….SERIOUSLY. So – hopefully this will stop that from happening!!!

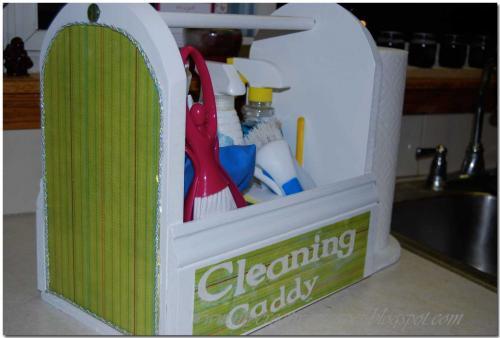
So – here we have my Cleaning Caddy!! It was actually pretty easy to build. I had everything on hand. I had the dowels from another project – so that is how I based everything.

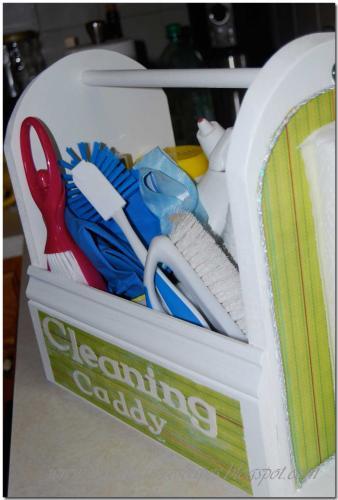
I took two left over pieces of MDF and made a design, cut it out with a Jig Saw. I wanted to make sure it was tall enough for the cleaning bottles.

Then I screwed the dowel to each side of the MDF sides.

I then measure the length I needed for the sides – I used scrap base molding we had laying around – I don’t even know where it came from!

Then came the bottom – I measured out the sides – and then I wanted it long enough to hold a roll of paper towels.

Glued and nailed everything in with the nailer (always use glue too – this thing is kind of heavy with all the cleaning supplies)

I screwed the dowel in from the bottom for the paper towels.

I painted it many times with white trim paint – used many different types of wood so I wanted it to look uniform.

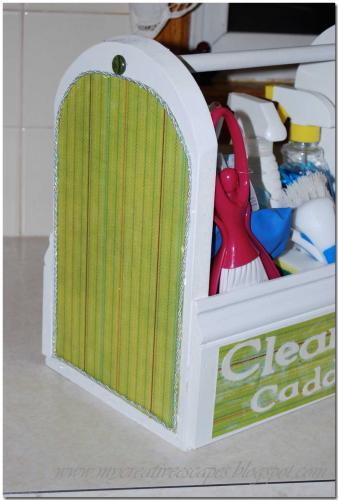
Then for the finishing touches – I went to my abundant scrapbook paper collection – Mod Podged it all up. Love that stuff!!! On the front – I cut out “Cleaning Caddy” with my Cricut. And on the sides I trimmed it out with cording I had on hand, just used hot glue and did about a 6 inch section at a time. I hot glued buttons where my screws were on the outside tops. My counter sink bit was the wrong size, so they stuck out a little. Now it’s a nice decorative element.
Estimated Cost
Free
Estimated Time Investment
An Hour or Two (0-2 Hours)
Finish Used
Sanding, priming, painting, mod podge
Recommended Skill Level
Beginner

Counter height planter

Submitted by h.abbott on Sat, 05/11/2013 - 18:40

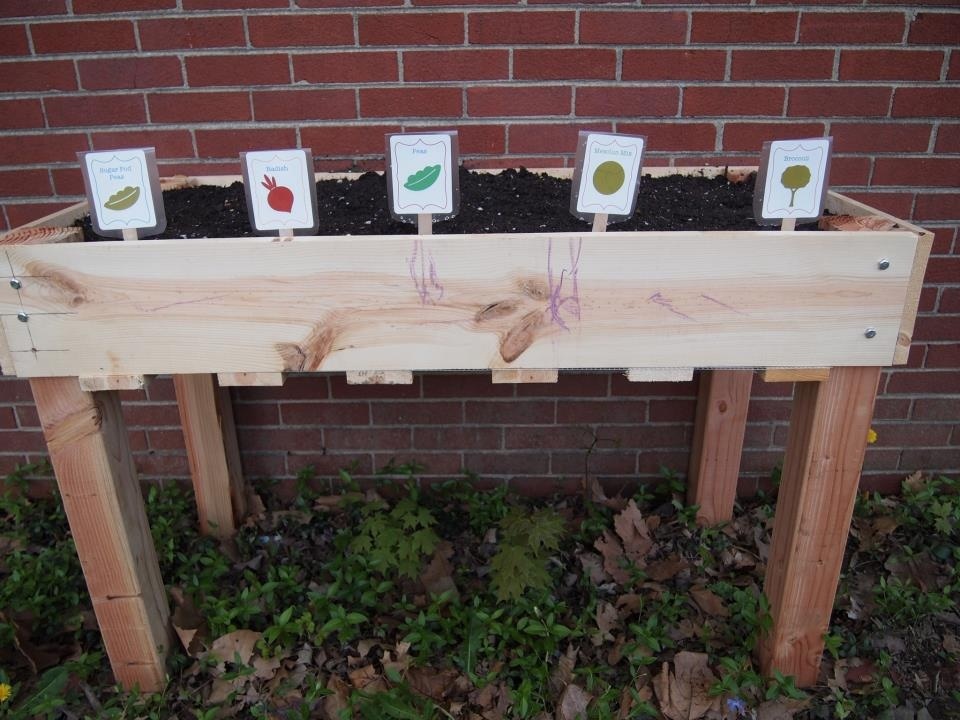
We needed extra garden space this year and I thought adding one of these planters would be a great addition. So far it has. It allows me to easily weed, which is my most despised gardening job. Added bonus that the dog can't dig it up, and bunnies can't nibble on my plants. It also makes a great art canvas for my son's chalk drawings.

Estimated Time Investment
An Hour or Two (0-2 Hours)
Recommended Skill Level
Starter Project

Comments

Janettx

Fri, 05/31/2013 - 04:25

Great job, glad you were able to follow my lame attempt at giving instruction! beautiful job!

pattyf50

Wed, 04/20/2016 - 12:55

Hi I live in north Dakota we get about 10 ft of snow every January, I am planning on making the counter height garden boxes, but how do I keep the snow in winter from crushing them. Patty

pattyf50

Wed, 04/20/2016 - 12:55

Hi I live in north Dakota we get about 10 ft of snow every January, I am planning on making the counter height garden boxes, but how do I keep the snow in winter from crushing them. Patty

Full size bed size

Submitted by Anonymous (not verified) on Mon, 10/04/2021 - 13:47

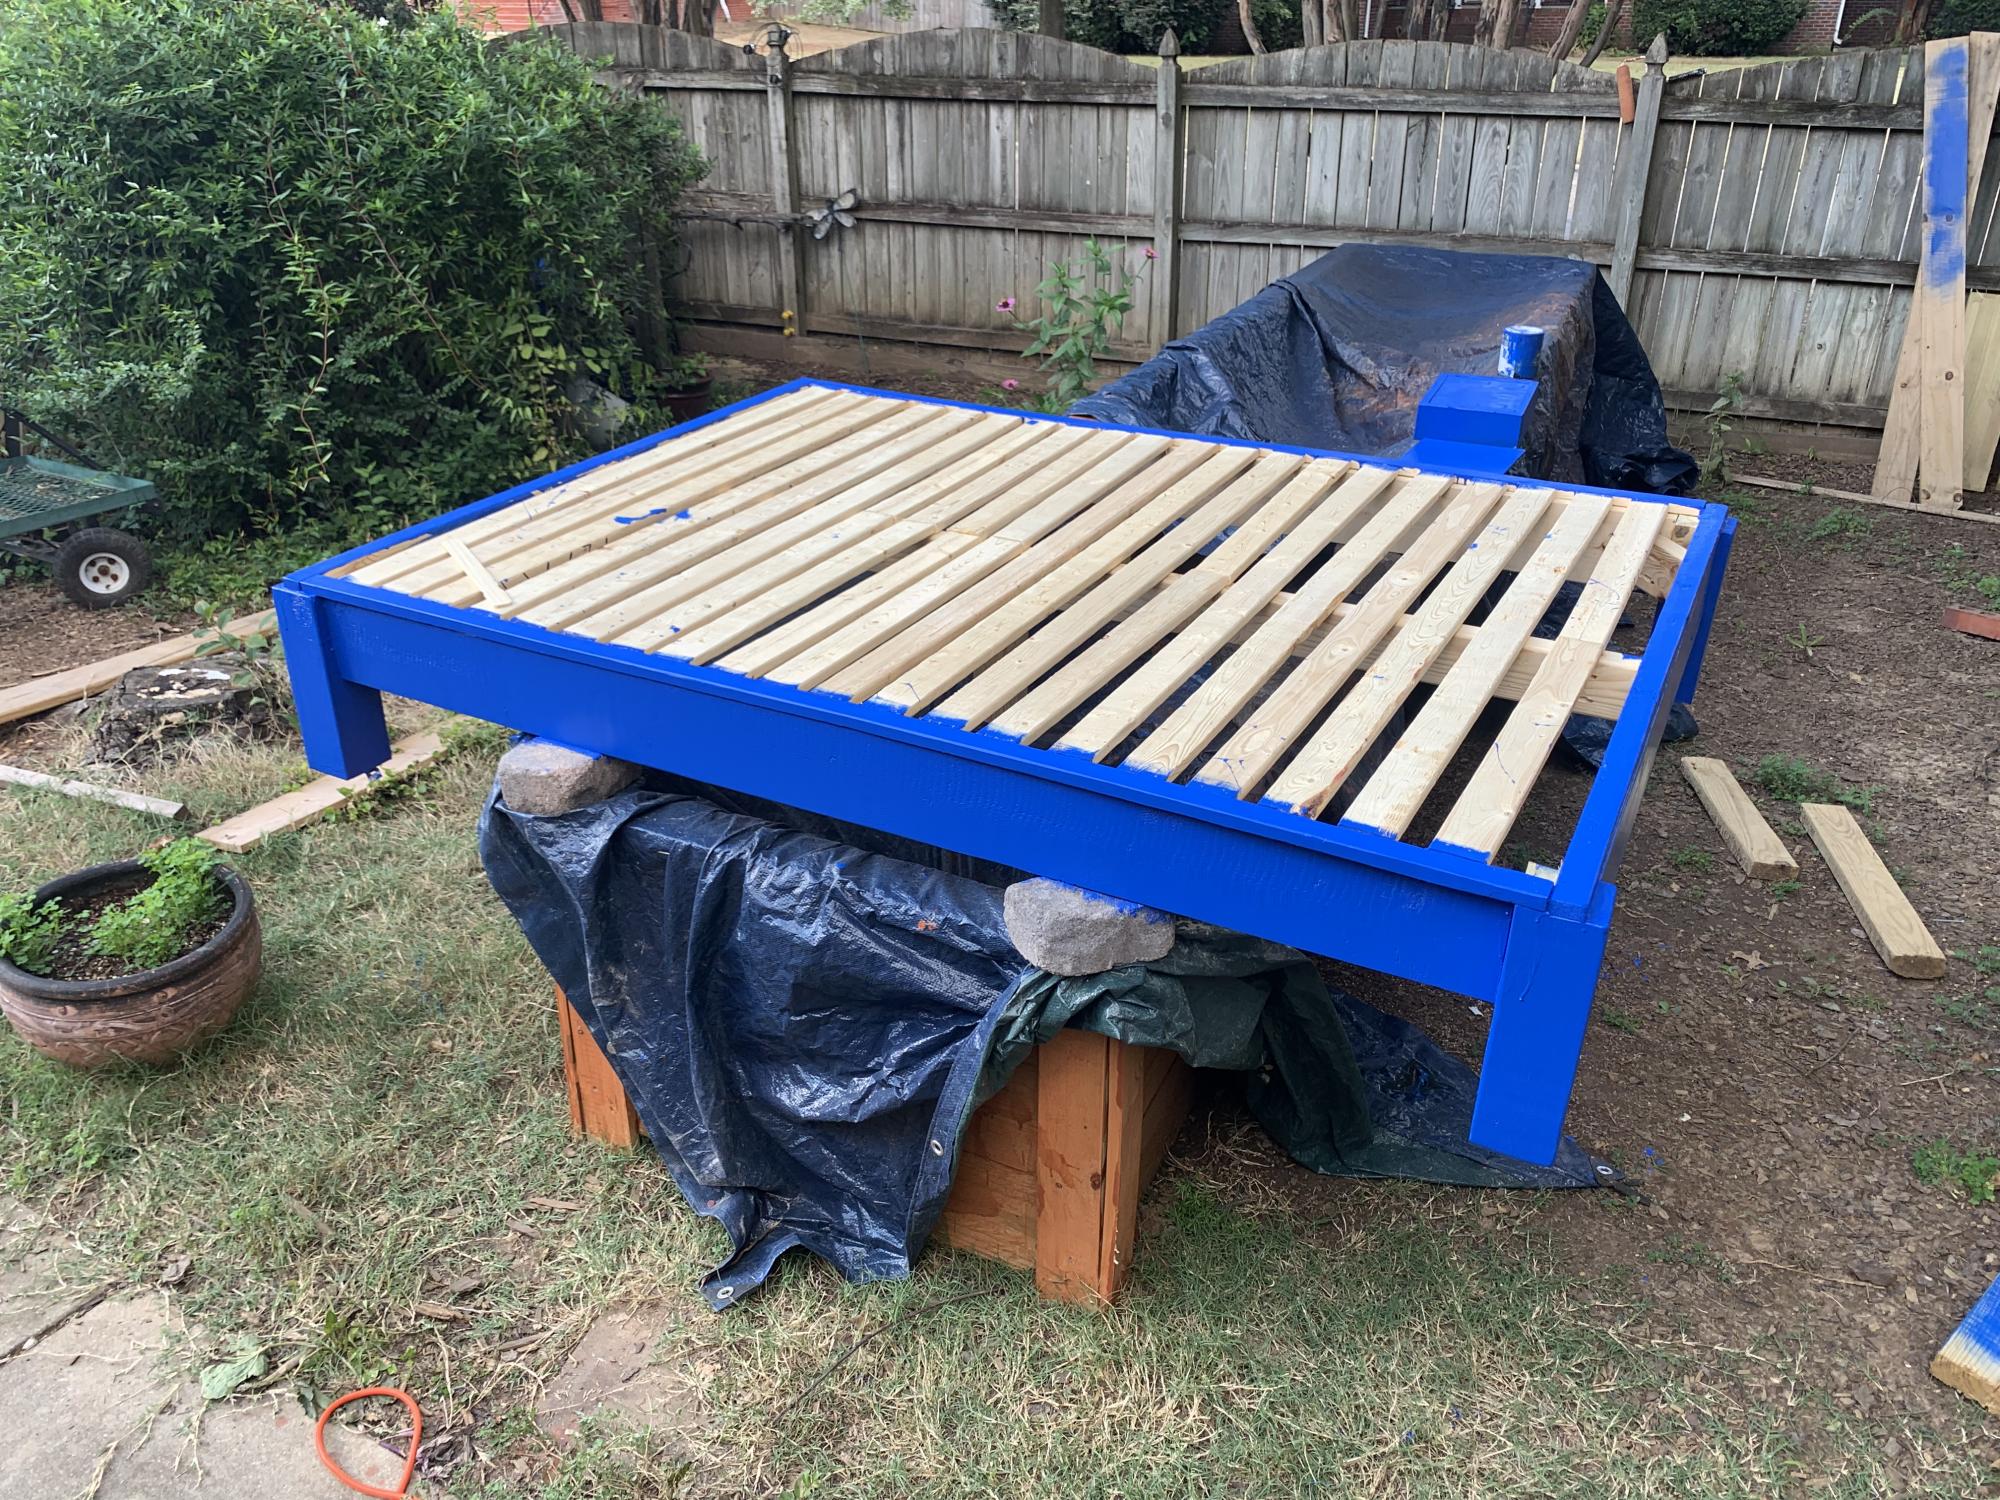
Loved your plans for building a bed frame- easy to follow.

Comments

Kid-sized reading loft and desk

This project is a modified version of Ana's loft bed. We shortened it and made it a bit more narrow to fit our space and because we only needed a place for our eight year old daughter to read and work, not a place to sleep. We also added a desk to the bottom, making it a full-service work station for our elementary school girl!

Built from Plan(s)
Estimated Cost
$125
Estimated Time Investment
Week Long Project (20 Hours or More)
Finish Used
Sherwin-Williams ProClassic white followed by Minwax Polycrylic.
Recommended Skill Level
Intermediate

Very first project - planter boxes

Submitted by Howegirl on Sun, 05/26/2013 - 09:25

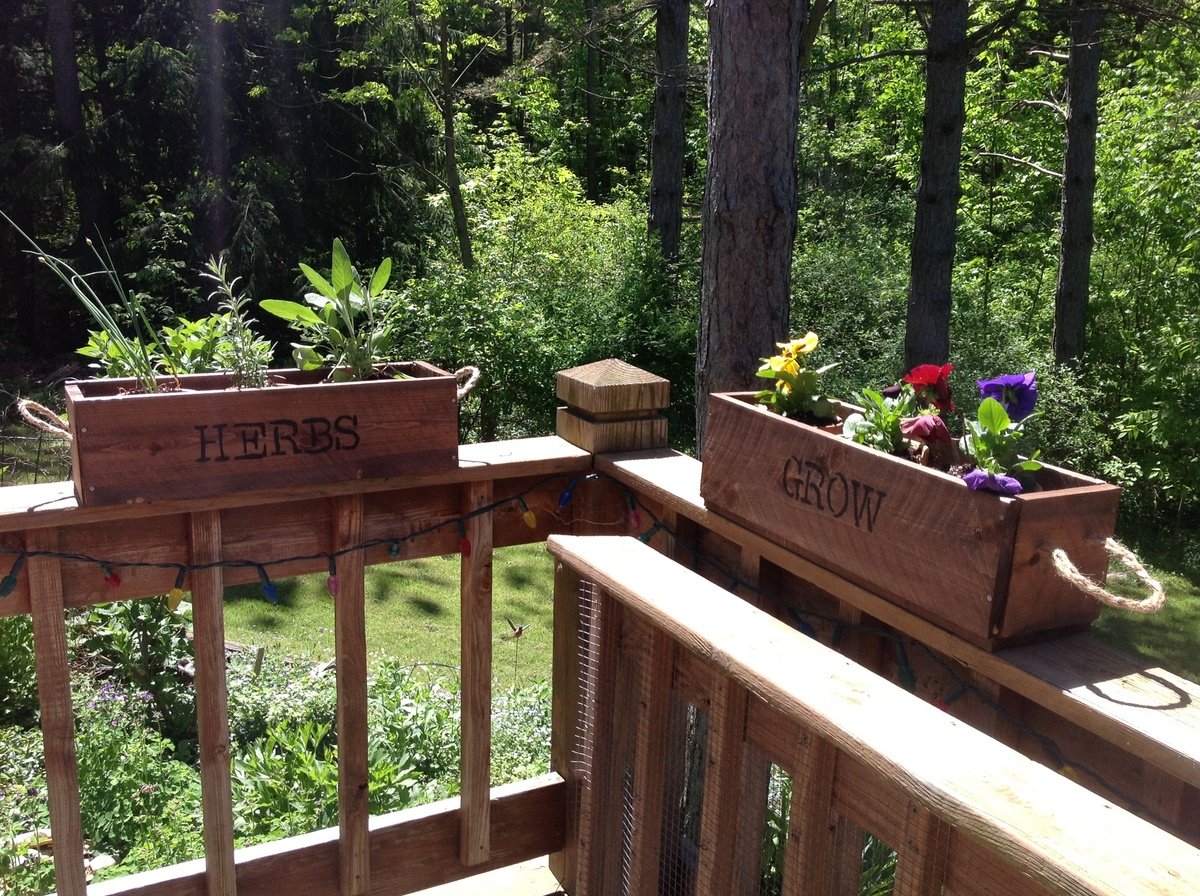
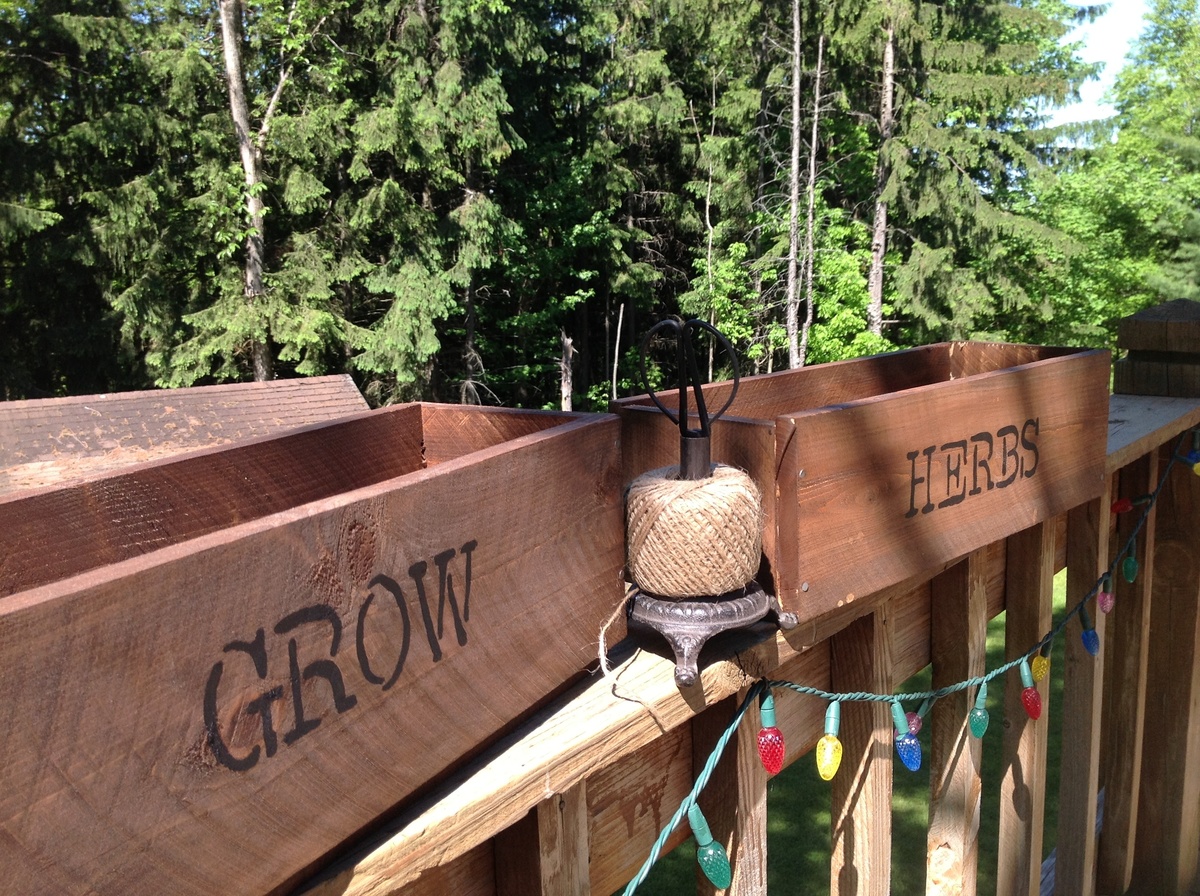
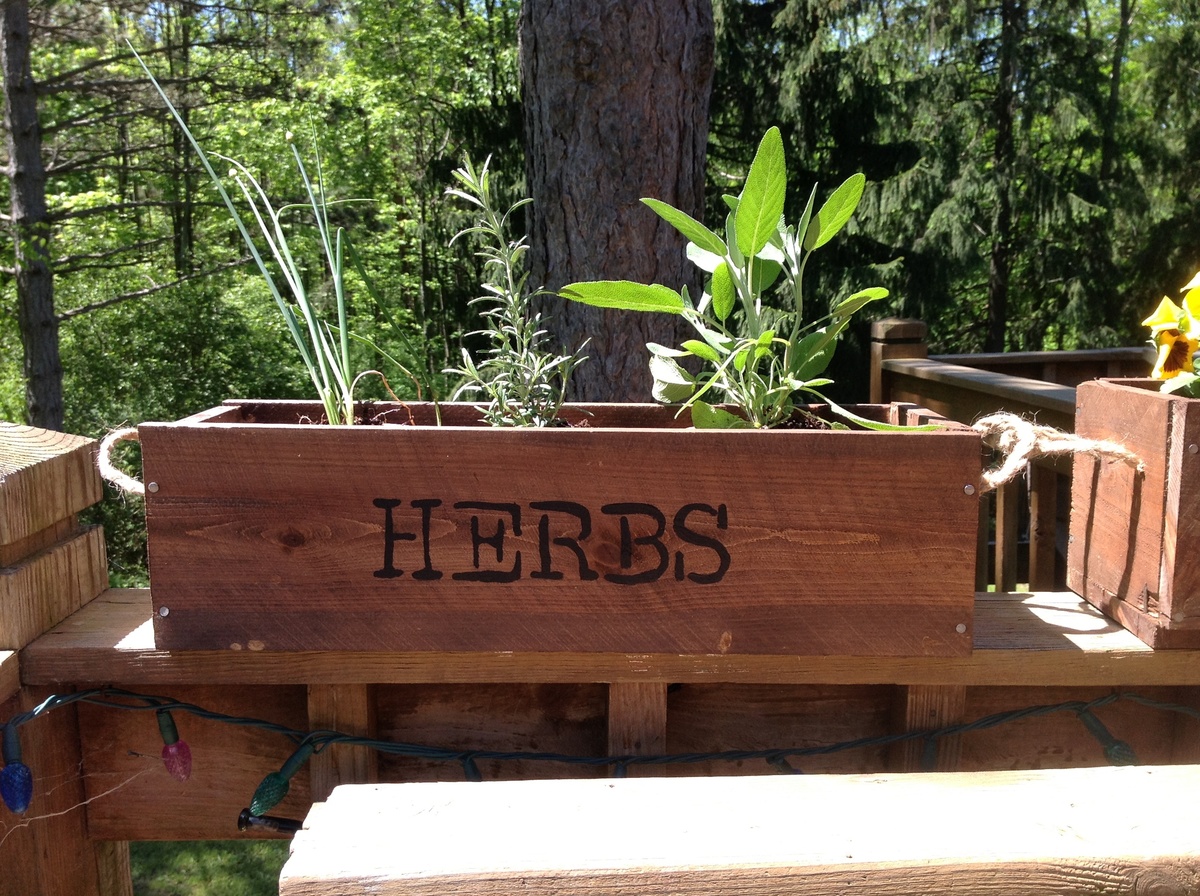
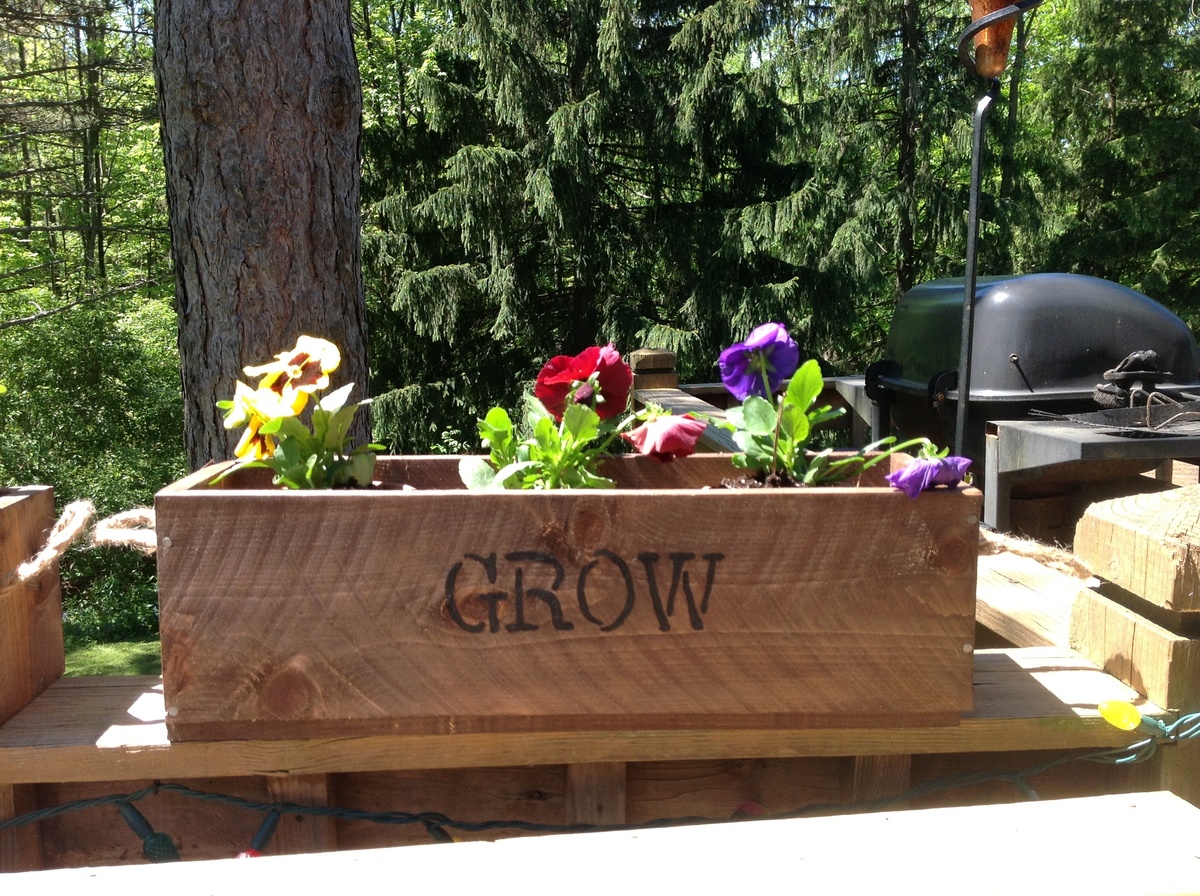
My very first woodworking project. I learned a lot. Most importantly, to watch my cuts more carefully. Also, a good stain and stencil dress up anything. I used braided jute for handles and love them!
Estimated Time Investment
An Hour or Two (0-2 Hours)
Recommended Skill Level
Starter Project

Comments

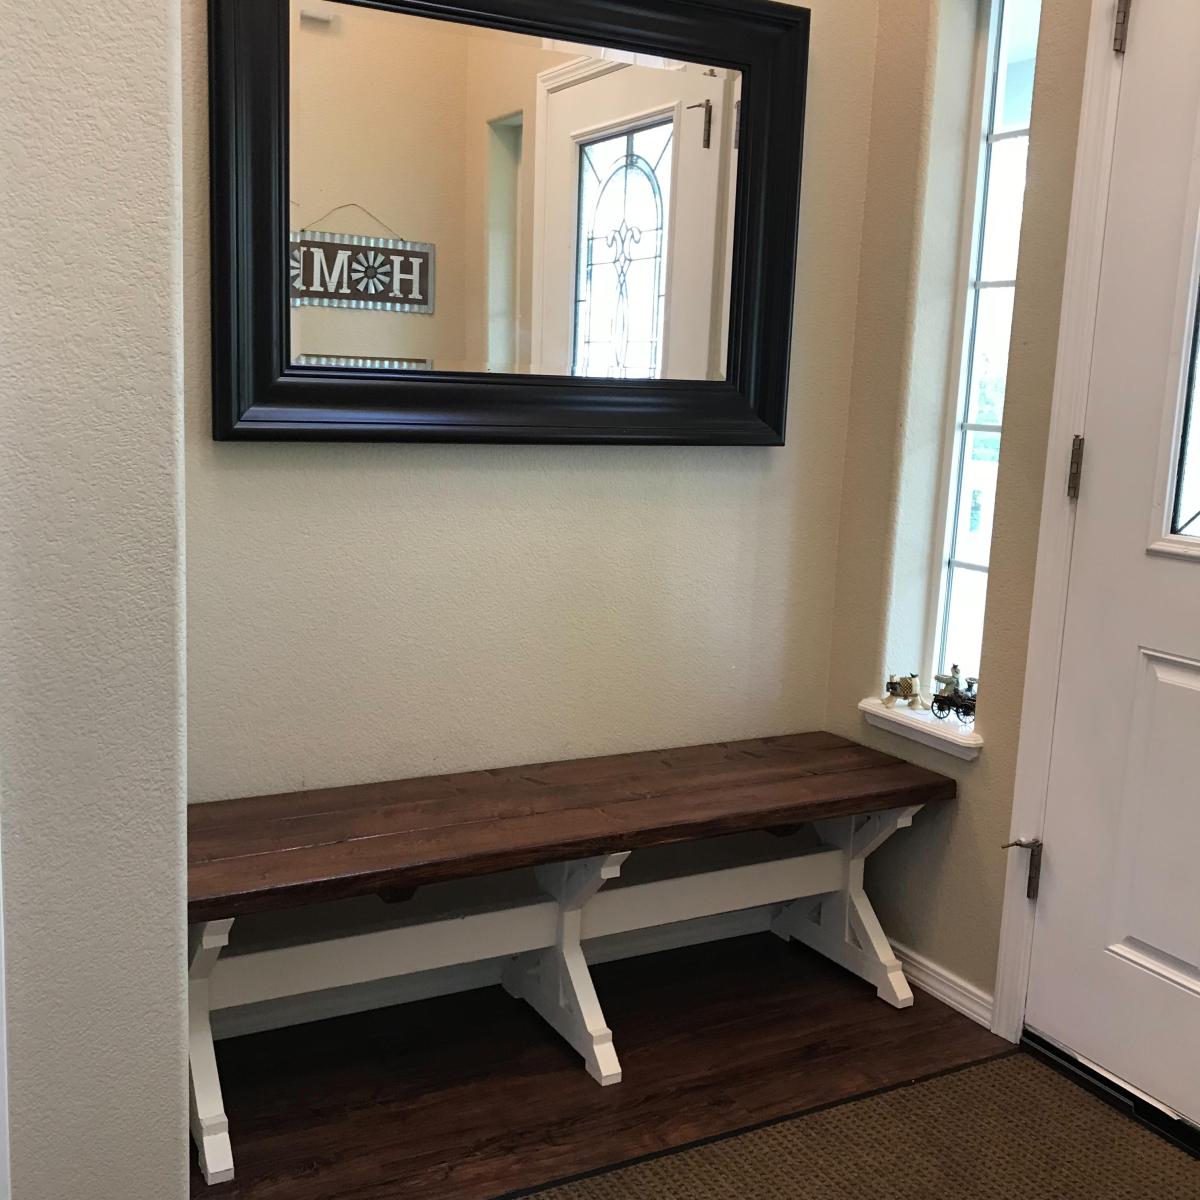
Outdoor bench (inside)

Submitted by Anonymous (not verified) on Thu, 10/07/2021 - 11:02

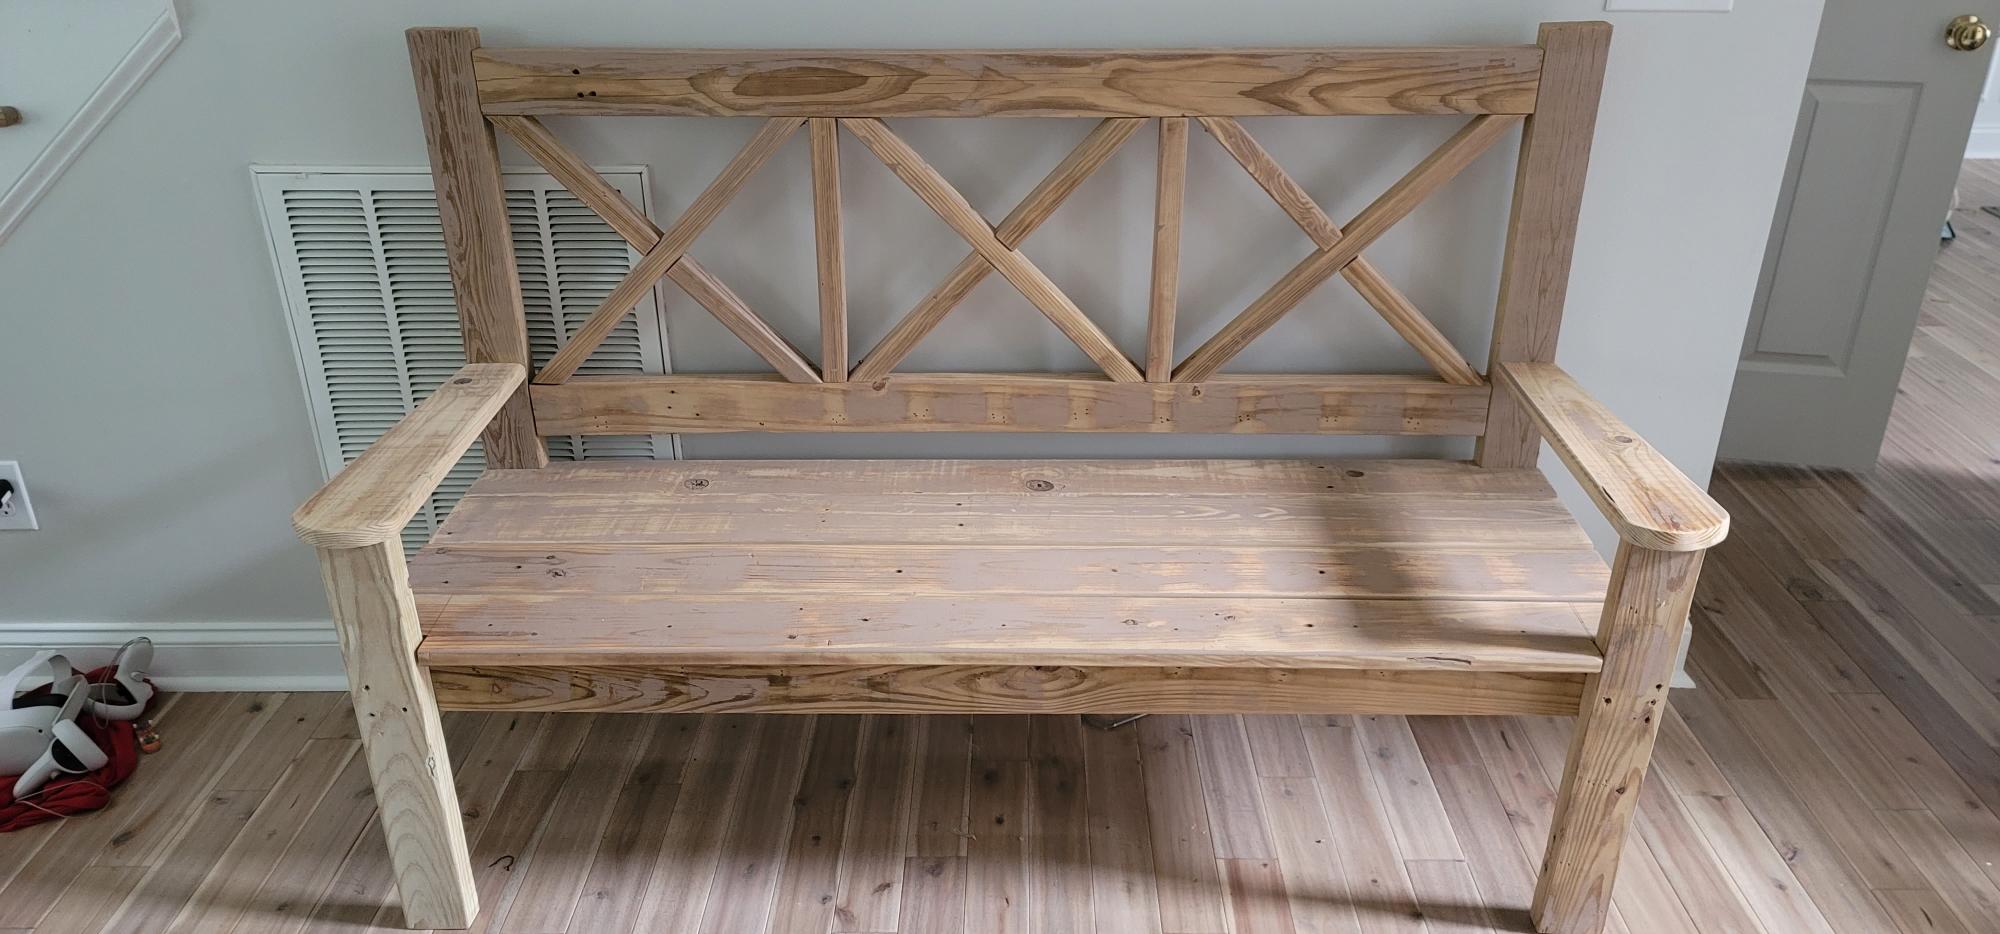
I took the plans for the out door bench and using wood from a friends deck remodel I build a indoor bench. My wife was going to paint it, but we like the way it looks. We still want to add pads to the bench.

Built from Plan(s)

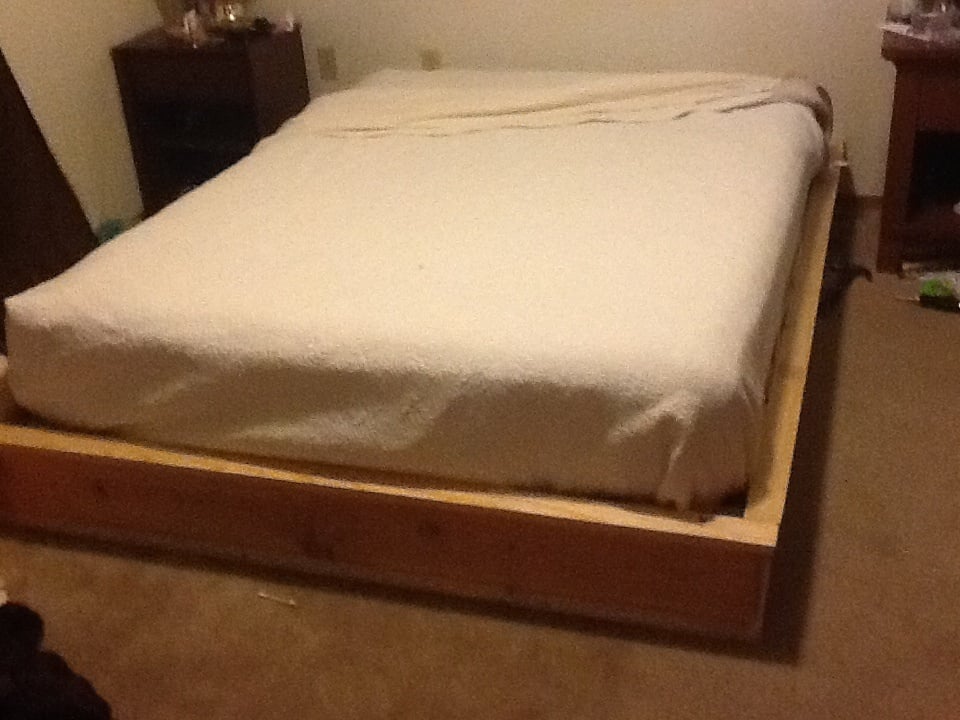
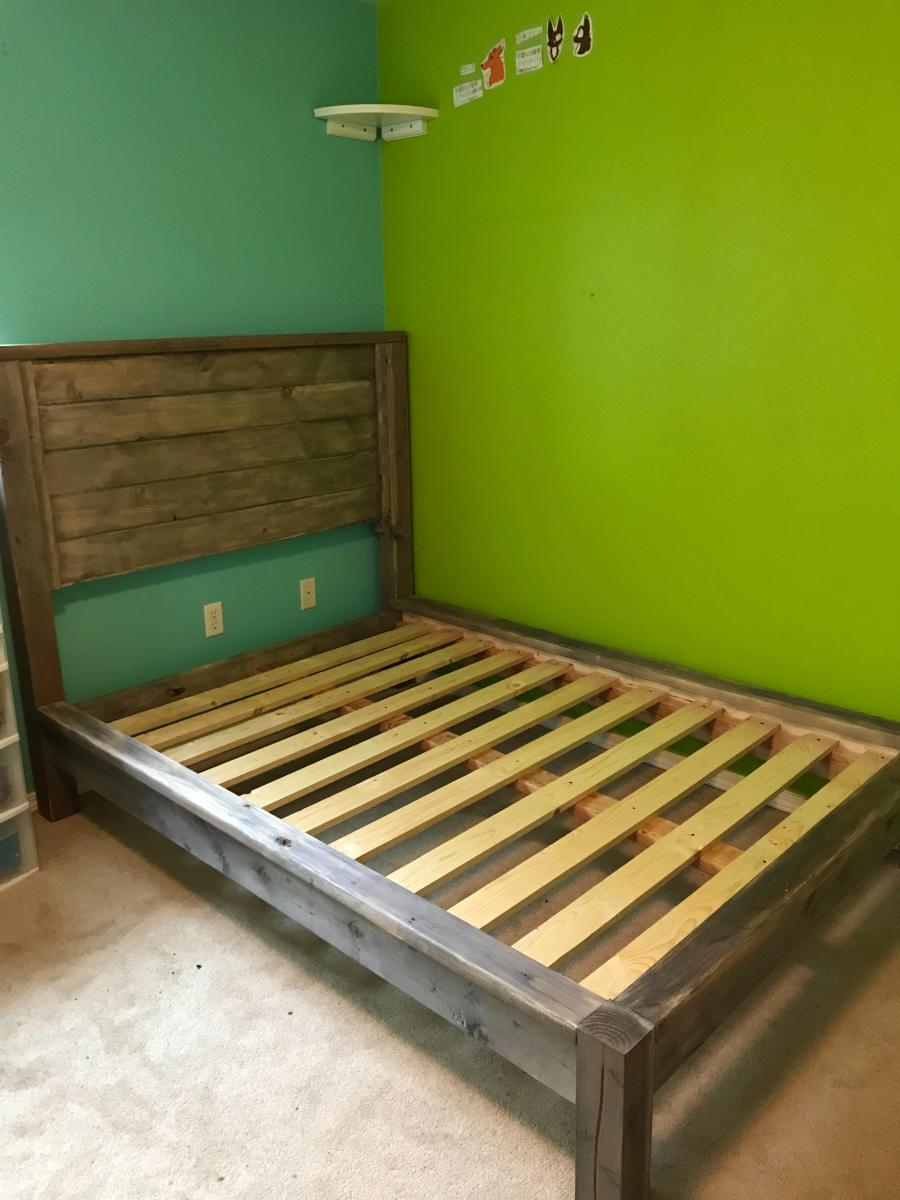
Chestwick Platform Bed

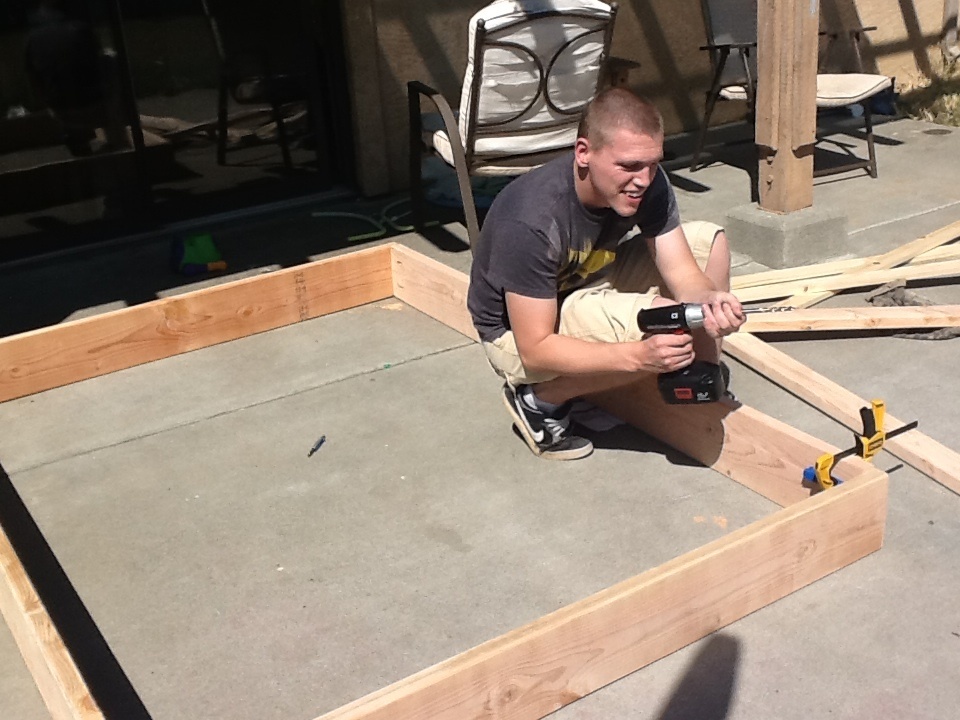
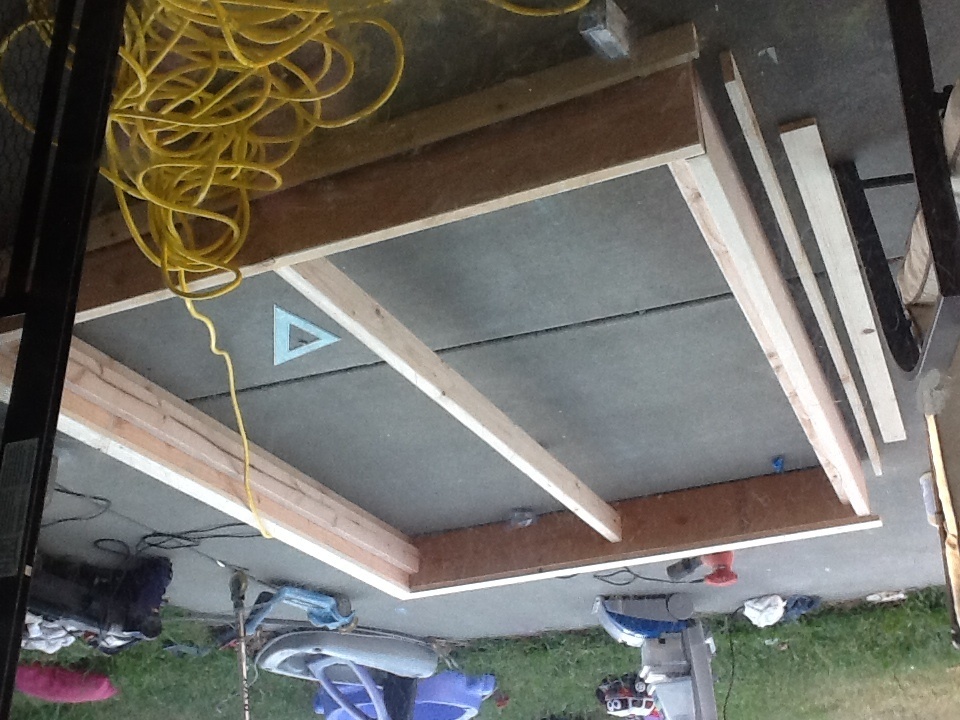
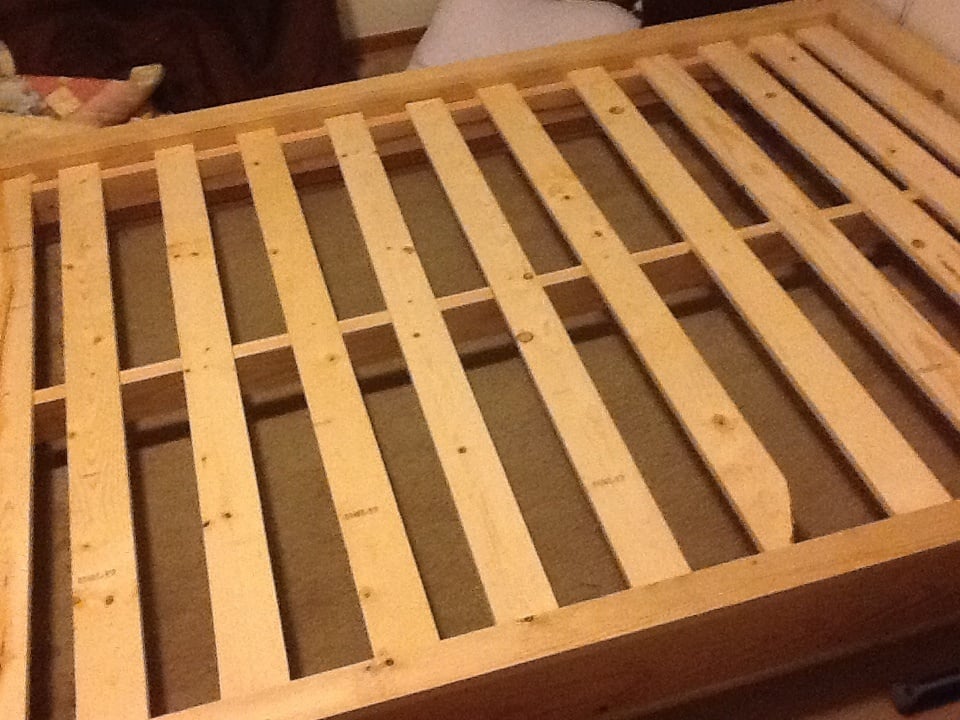
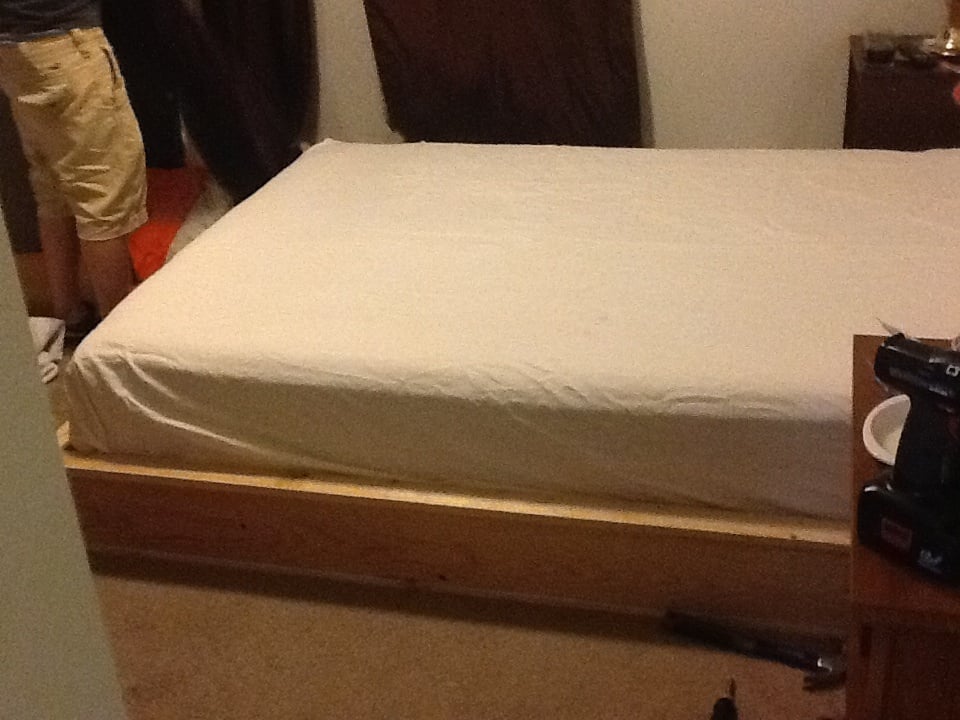
My husband and I spend a few hours on this. It was our first furniture project and we made our first pocket holes yesterday! We did a platform bed with slats to avoid a box spring. We used Douglas fir and left it natural, just with a clear poly coating. We love it and are addicted to making our own furniture!

Estimated Time Investment
Afternoon Project (3-6 Hours)
Finish Used
Clear polyurethane. We loved the natural look of the wood!
Recommended Skill Level
Starter Project

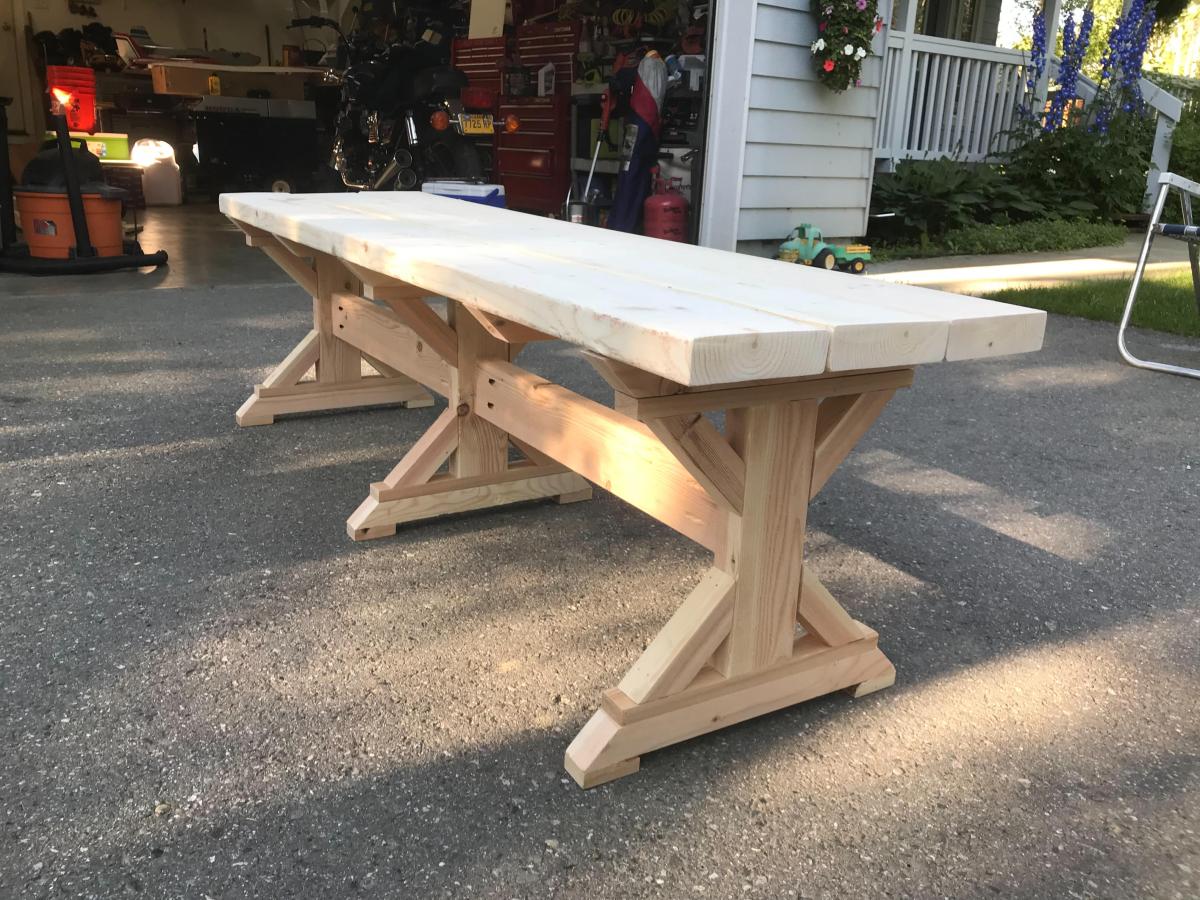
4x4 Truss Table and Benches - Modified

Submitted by ride4lamar on Tue, 05/26/2015 - 05:42

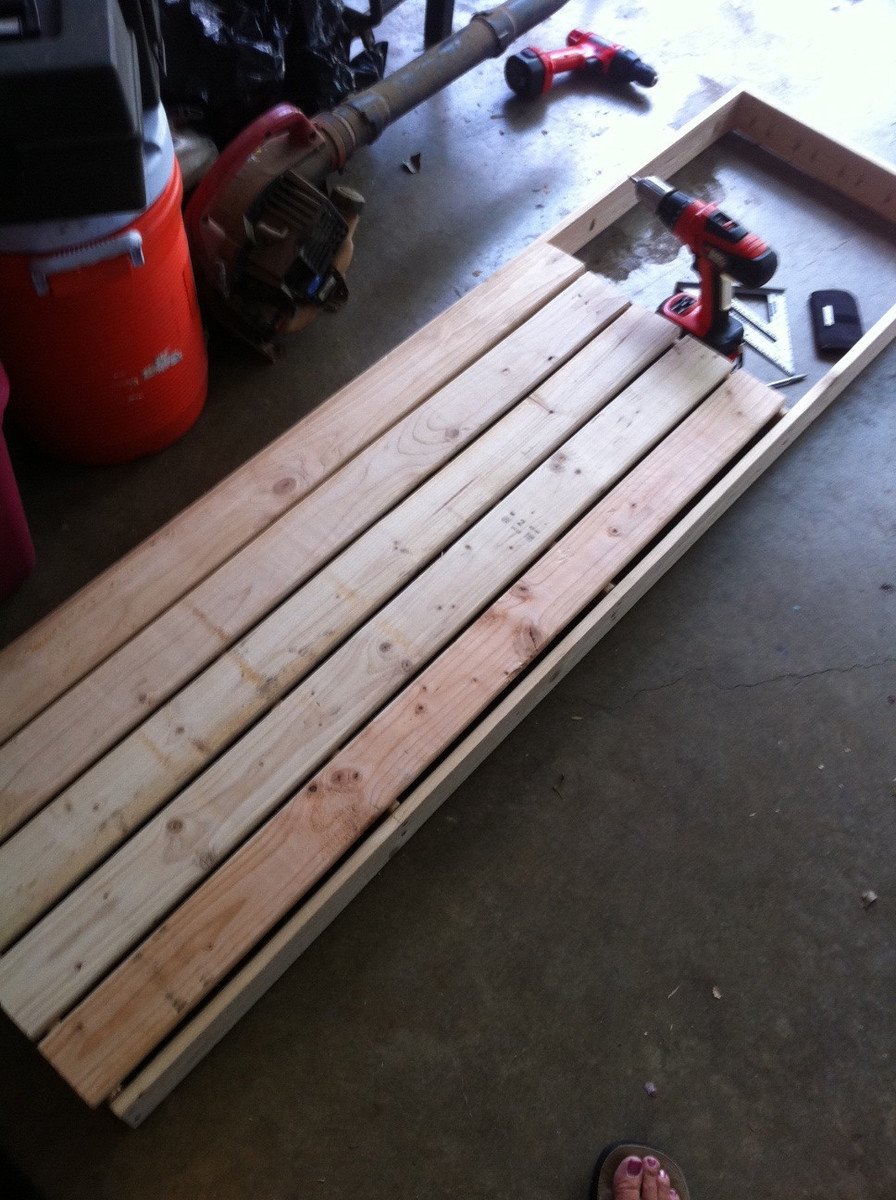
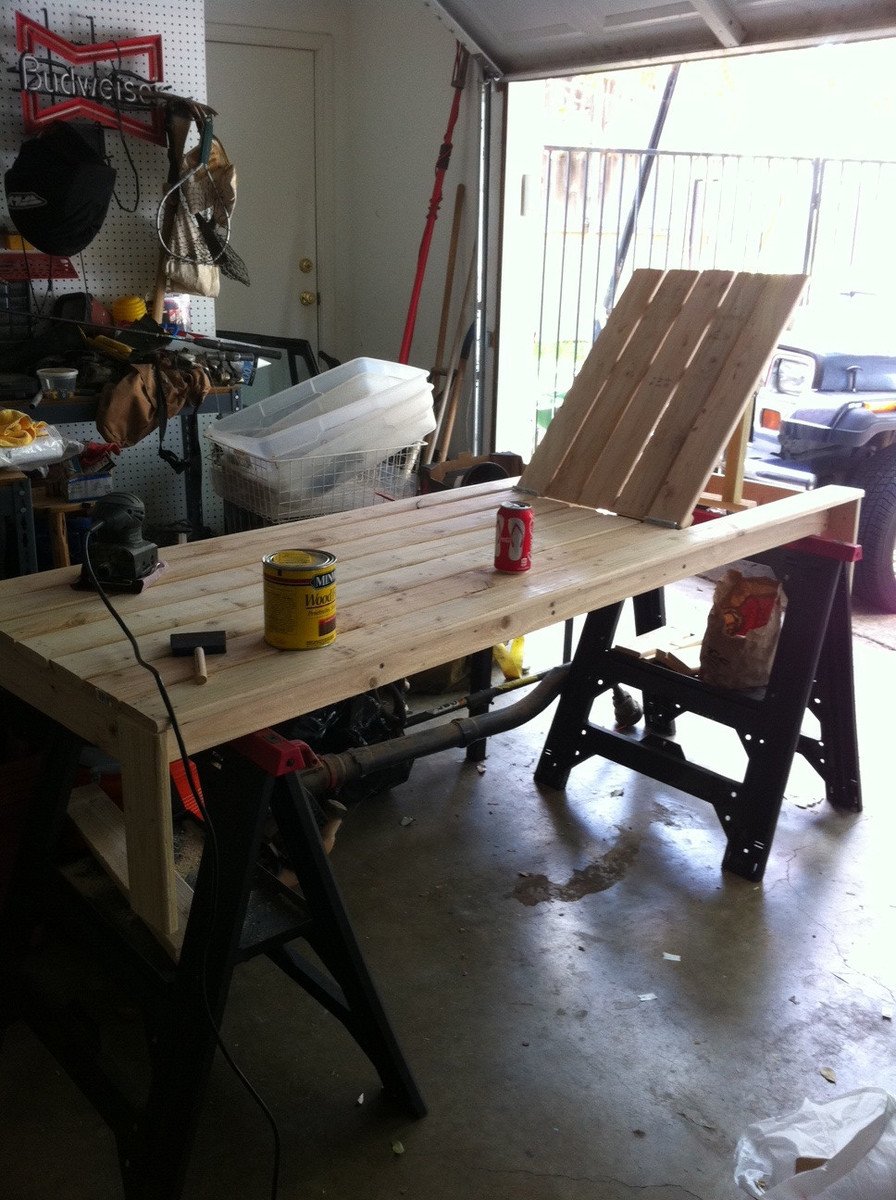
I took the plans and modified them a bit to build what we were looking for. - I used 2x8s for the top of the table so that the middle board could have two removable sections that could be used for ice buckets for drinks. I made those out of plastic planter boxes. I also used 4 2x4s across the top for support.

The last major change is that i used corner brackets and bolts or screws to attach all the pieces. I liked the industrial look it gave the table and benches.

Everything was sanded down and finished with a drift gray stain and seal.

The building part was easy, but sanding and staining prior to putting it all together is what took most of the time. It was probably an hour of cutting, an hour of building and the rest was sanding or staining.

Estimated Cost
$350-$400
Estimated Time Investment
Weekend Project (10-20 Hours)
Recommended Skill Level
Intermediate

Full size Murphy Bed

Submitted by Hartung26 on Wed, 06/26/2013 - 20:07

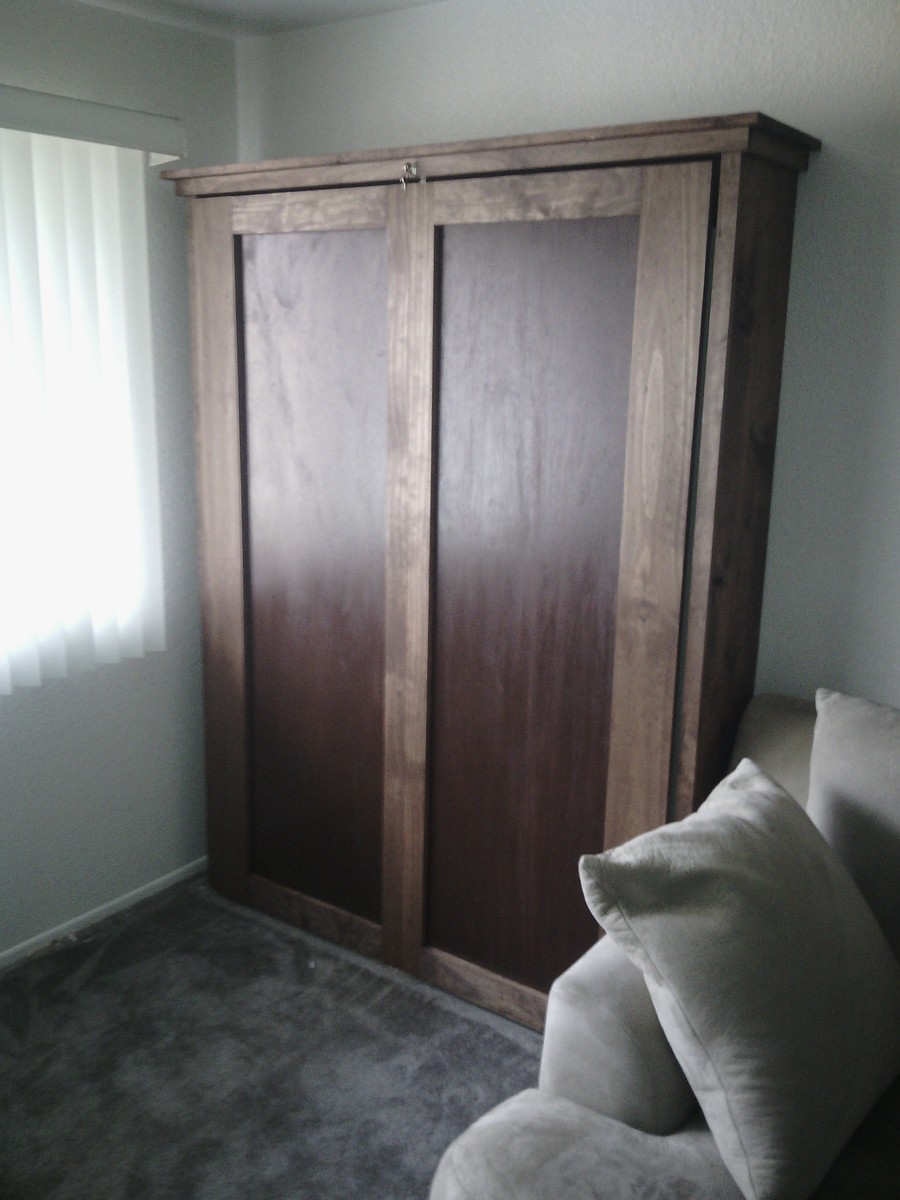
Used the plans for the twin bed, just added the difference in mattress size to the measurements. Pretty simple really. Used a cam lock centered above the door and a sawtooth picture hanger on the inside as a locking mechanism.

Estimated Cost
$275
Estimated Time Investment
Week Long Project (20 Hours or More)
Finish Used
WinMax English Chestnut
Recommended Skill Level
Intermediate

Comments

spiceylg

Thu, 06/27/2013 - 12:16

Been thinking of building one of these. Yours looks beautiful, nice job!

campbelllsara

Tue, 09/30/2014 - 14:16

Hello,

I have been scowering the internet... I too would like to have my murphy bed raised off of the ground and be a full size murphy bed.  But everytime I try to do "adjustments" and get "creative" it ends in disaster.  I am better at following instructions.  Is there anyway that you could give me the exact measurements for your fullsize bed and let me know how it is that you propped the bed up at the end?

[email protected]


Thank you.

Home made bar

Submitted by Anonymous (not verified) on Mon, 12/27/2021 - 06:34

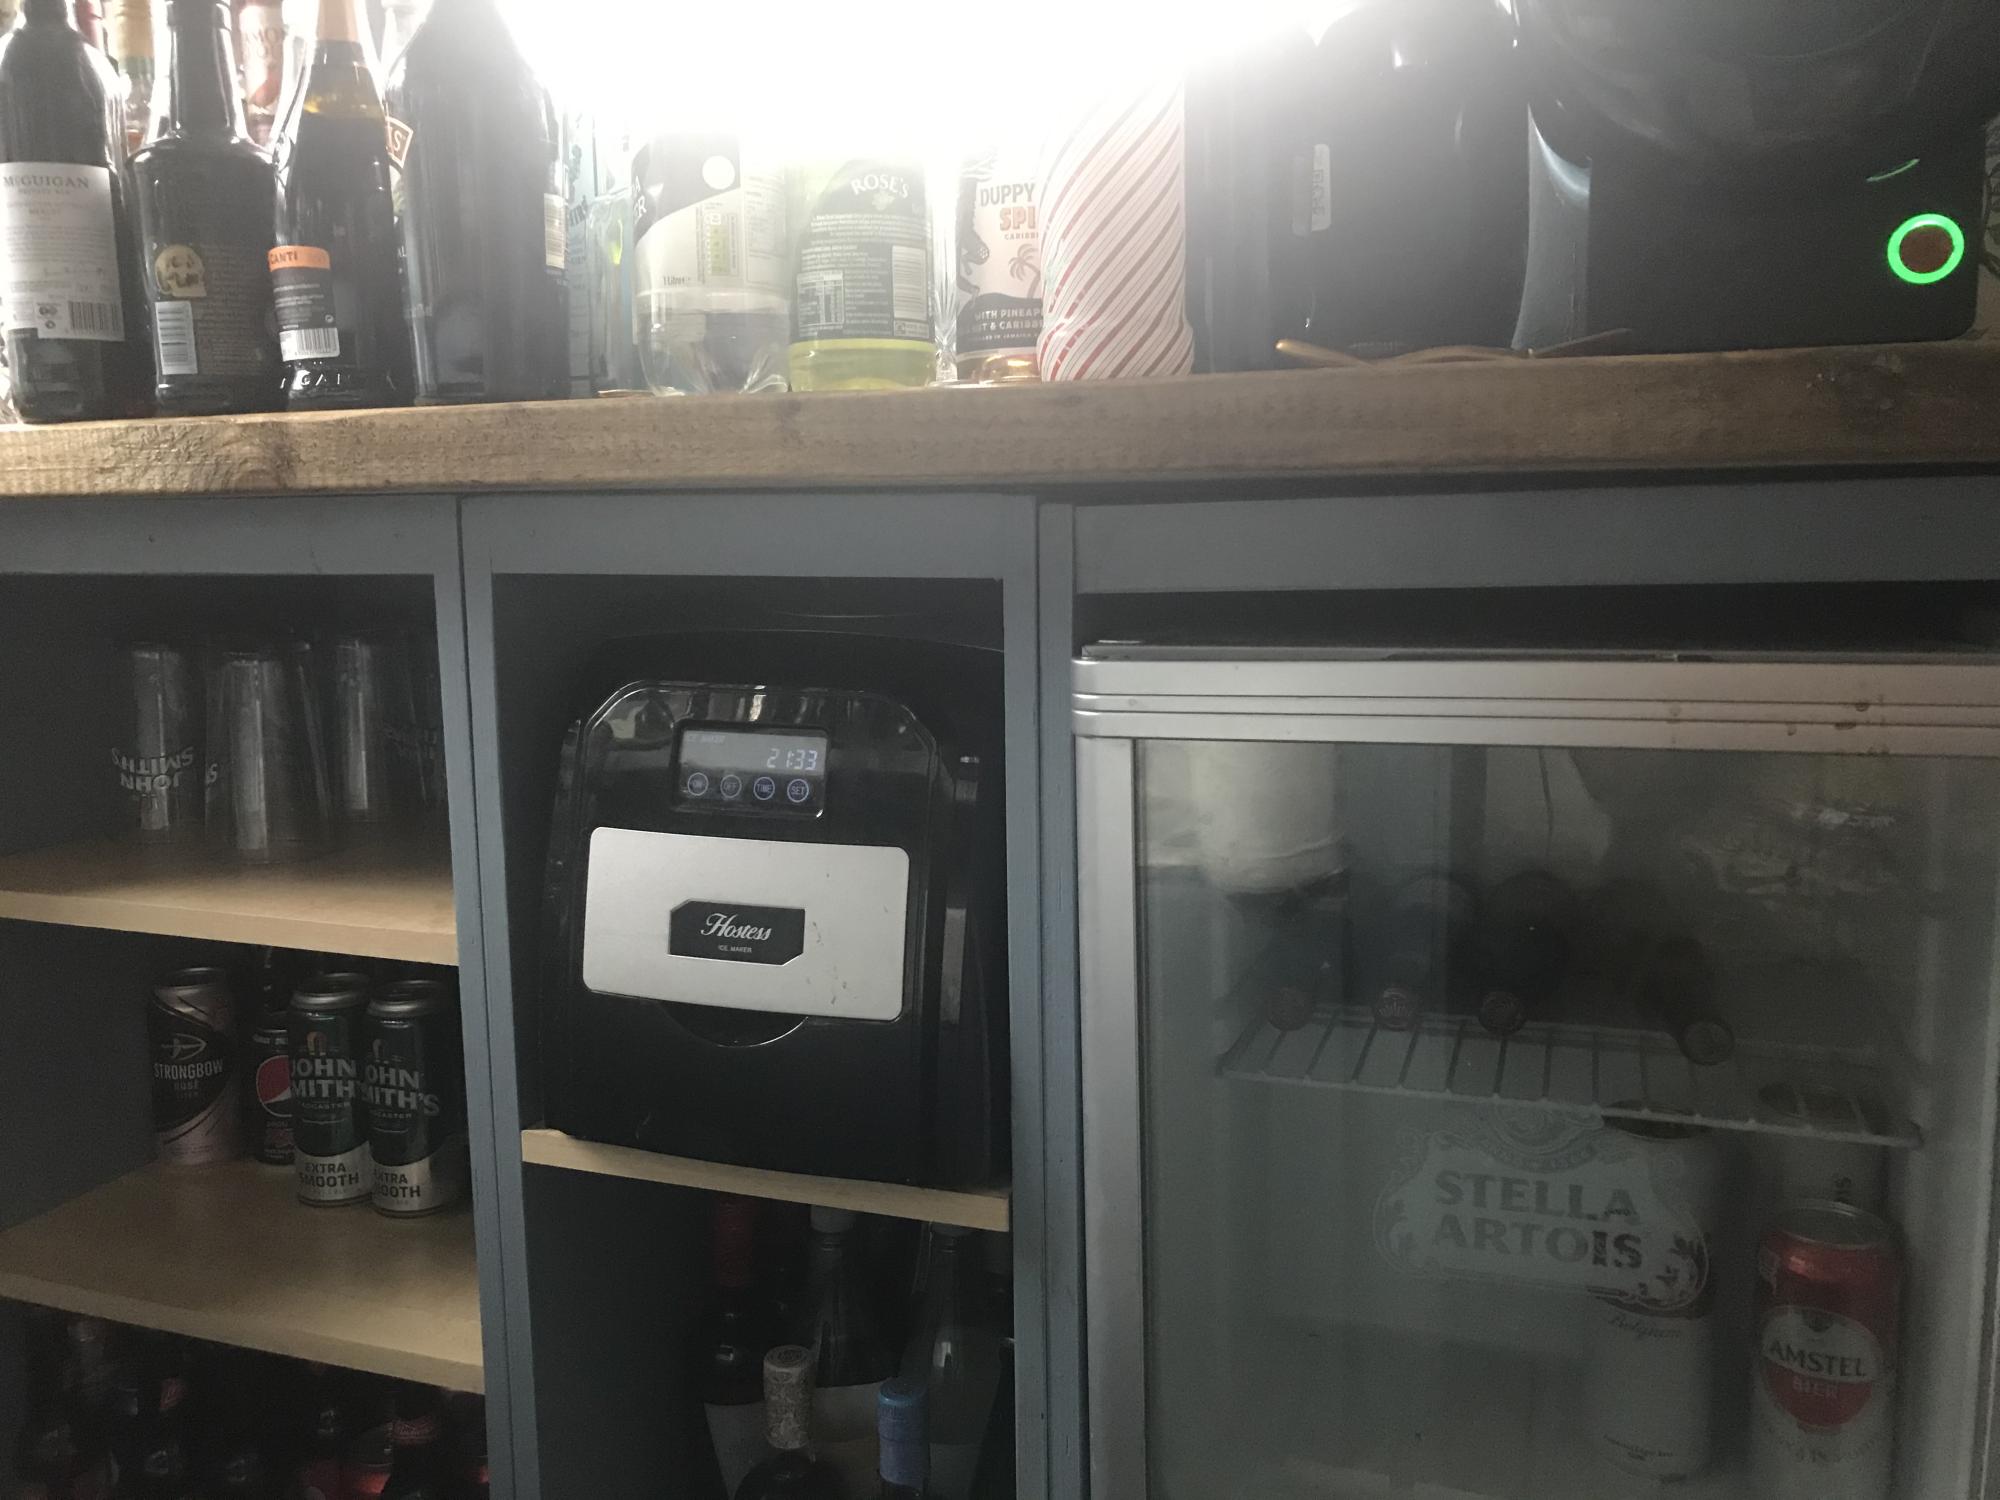
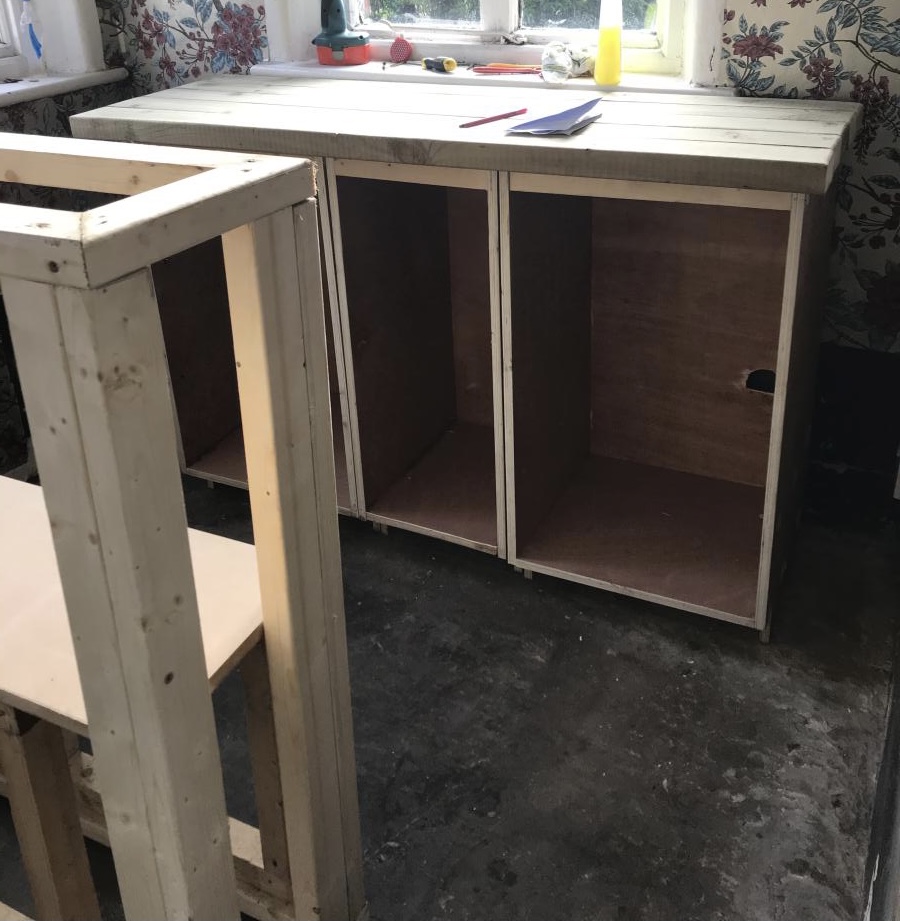
Based bar cupboard on kitchen carcass plans and then made the bar front as I went . The kitchen cupboard plans were easy to follow and I was really pleased with the results. This was a real hit at Christmas a really good base for mixing and even better folks brought bottles with them !!

Comments

DIY LP Vinyl Record Storage Box with Wheels

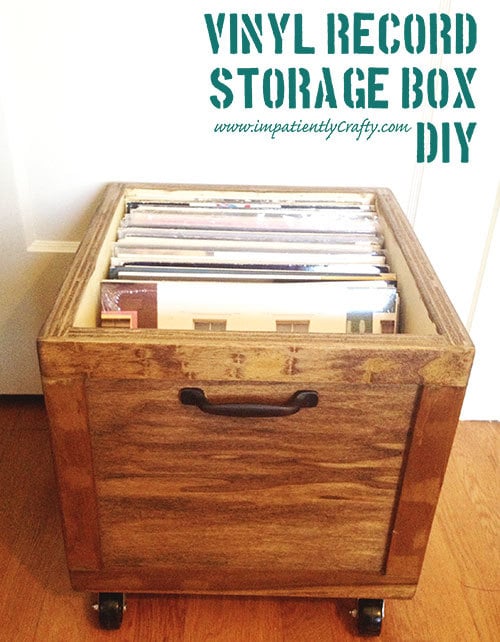
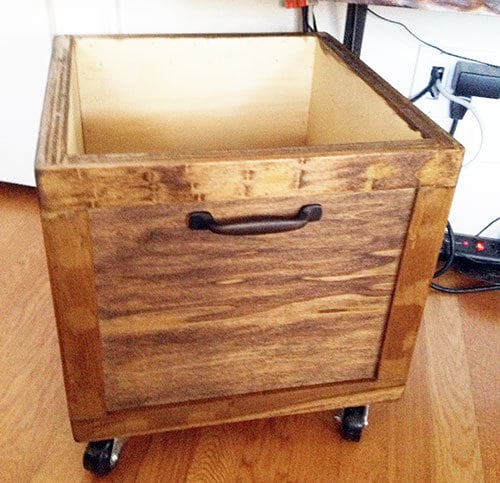
I have to say, there is something about listening to music on vinyl that just gives me the warm fuzzies! A little bit of crackle, fuzz and hum.. physically having to flip over the record to get to the next side, & listening to an album start to finish just has a nostalgic feel to me and I love it.

We’ve started quite the collection of LP’s and quickly found we needed some good storage for them. Since vinyl isn’t exactly the most popular form for listening to music, I just had to make my own.

I knew it had to have 3 things.. size to fit, wheels and easy of searching through records.

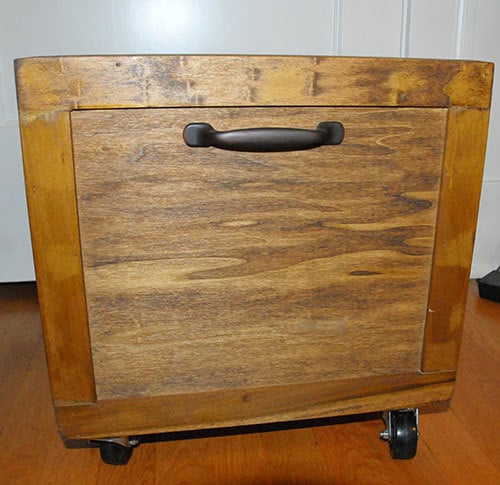
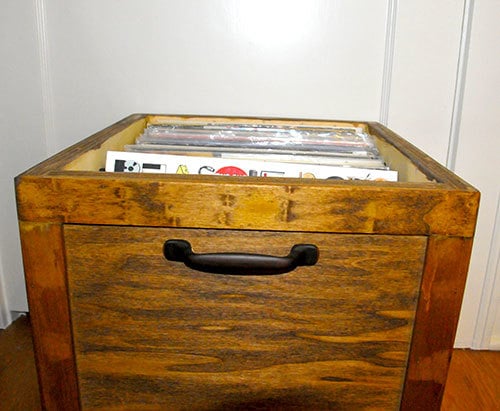
I had some scrap poplar plywood lying around, and just had to purchase some casters and furring strips to frame out the box. I even had an extra cabinet handle laying around to use.

I made it 12 inches wide by 16 inches deep, framed it out shaker style with furring strips and then stained it.. added casters and a handle ;)

Estimated Cost
$18
Estimated Time Investment
Afternoon Project (3-6 Hours)
Finish Used
minwax dark walnut stain and 2 coats of matte finish polycrylic
Recommended Skill Level
Intermediate

Comments

yurra-bazain

Tue, 07/09/2013 - 10:59

I love how you appreciate vinyls and gives things you have on hand new purpose. This storage box is nicely done.

I looked at your blog and went straight to the Upcycle tab, since that's where my interest lies too. I love seeing a "pile of useless" restored to use. =D

Wood Closet Shelving

Submitted by Anonymous (not verified) on Thu, 01/13/2022 - 09:01

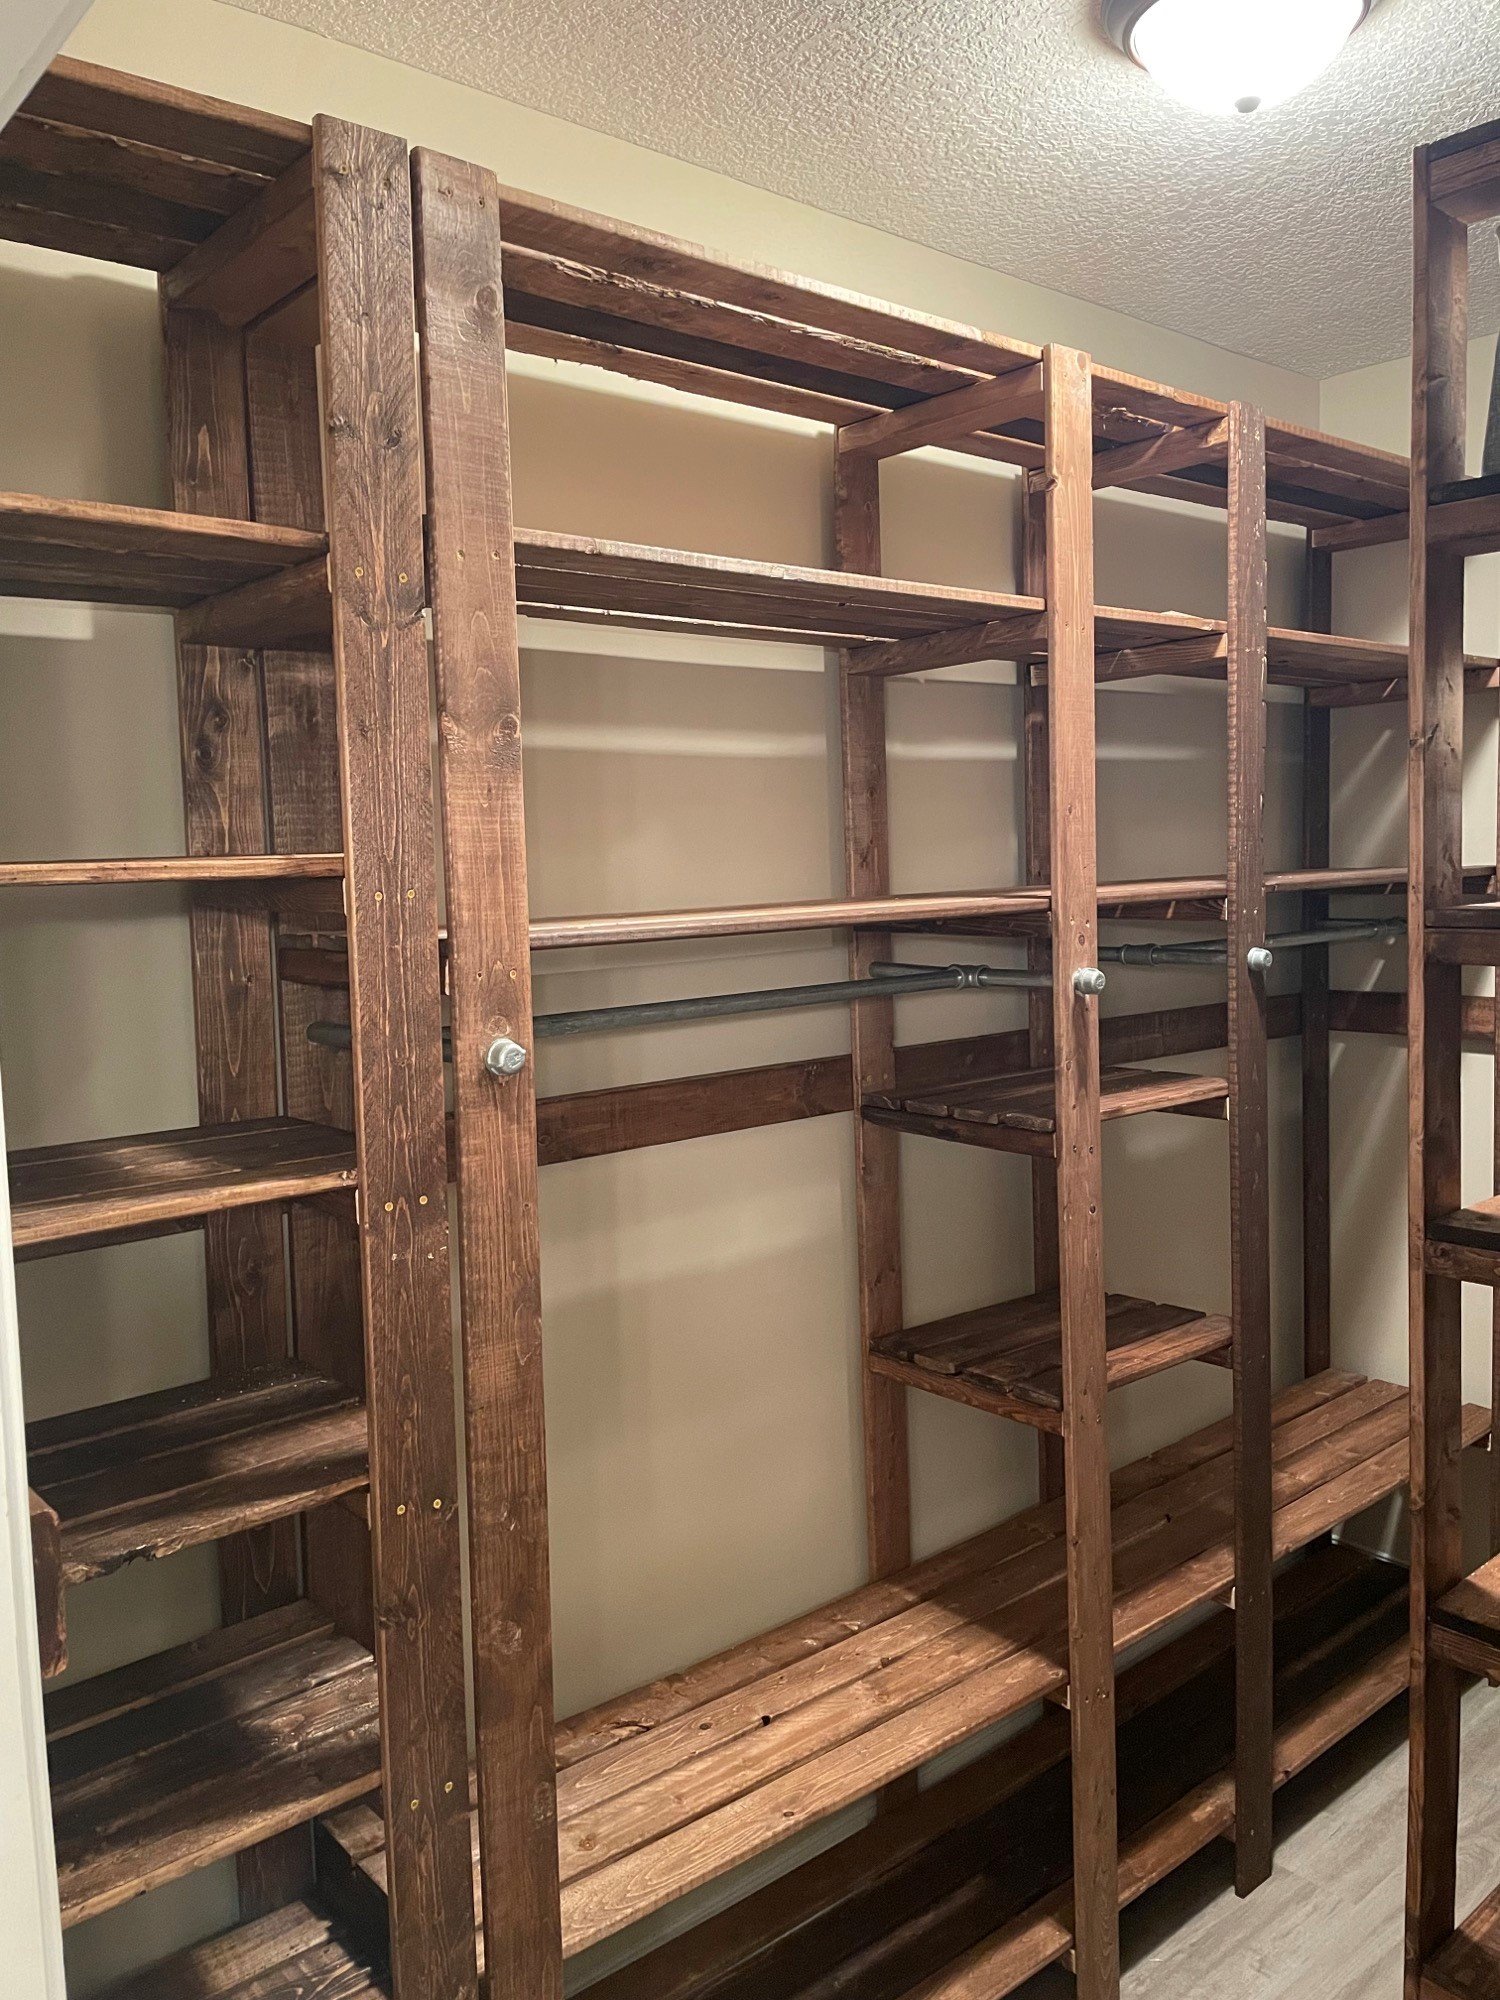
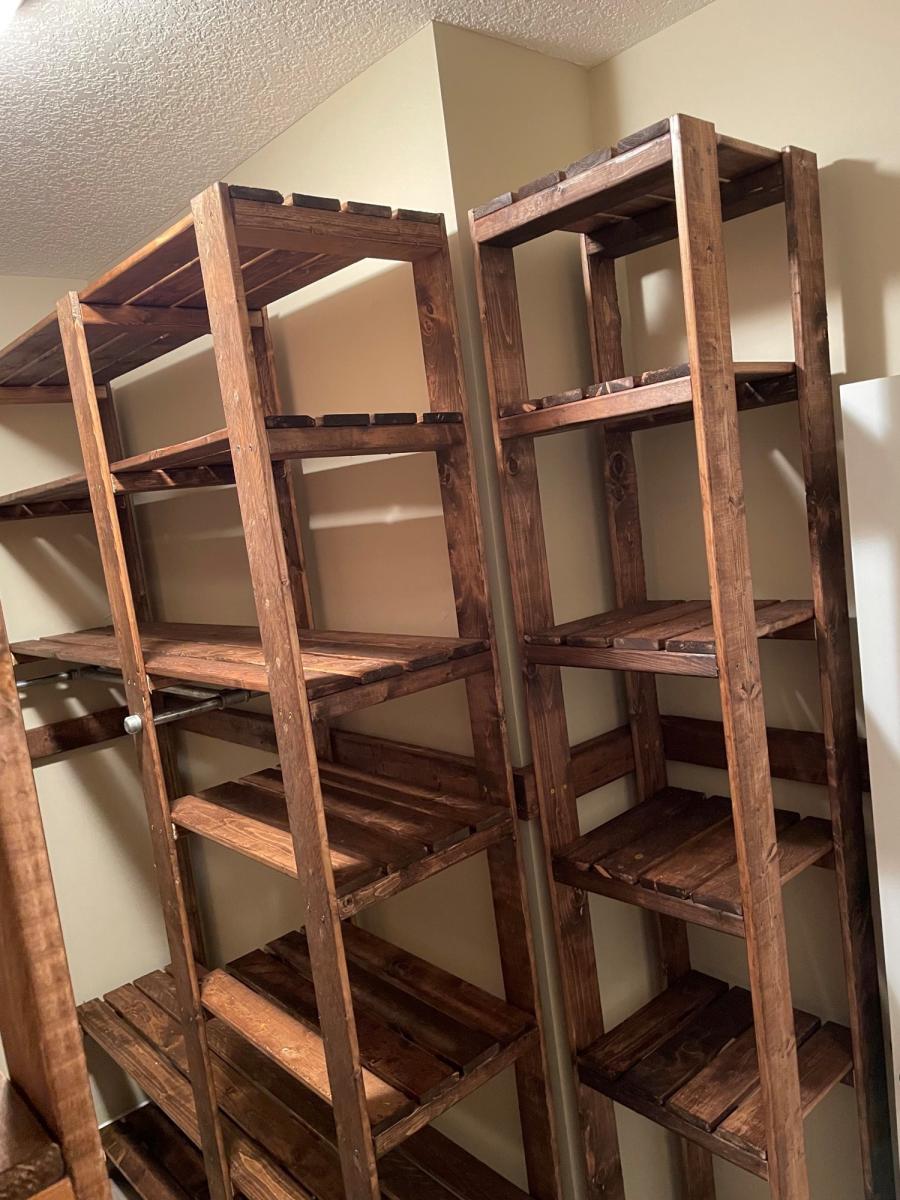
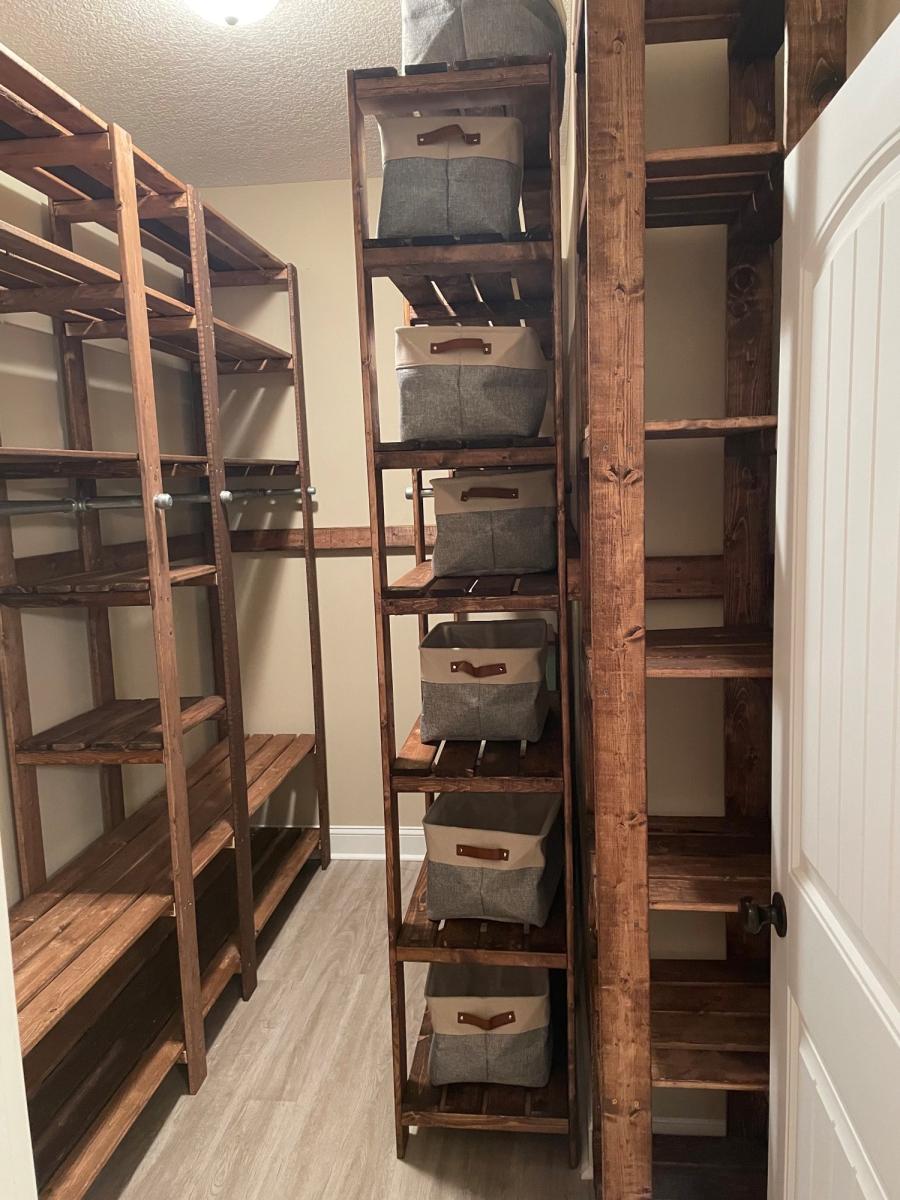
My closet system is four separate units that I butted up together and attached to the wall with a "decorative" 2x4 railing around the entirety of the closet. The main unit looks the closest to the real design but is 8 feet long and 8 feet tall to avoid extra cutting of boards. The smaller unit only has one area for hanging up clothes and is around 5 feet long which is just the length of the wall. I also built a unit for holding sheets and towels and another for my wife's shoes.

The plans are really easy to follow but I would suggest a few things:
-Do stain and boards before cutting; this would have been a nightmare otherwise.
-If you use the metal clothing rods (if I could go back in time I would have used wooden dowels) make sure that you put those in before you attach any boards between the support structures. I ended up having a 35 inch gap instead of a 36 inch gap and it killed my momentum.
-I made mine 8 feet tall because it was less to cut and then re-stain; time wise it probably was a scratch cause I had to build it in place and at the end it was very tight to work in the space.

Built from Plan(s)

Comments

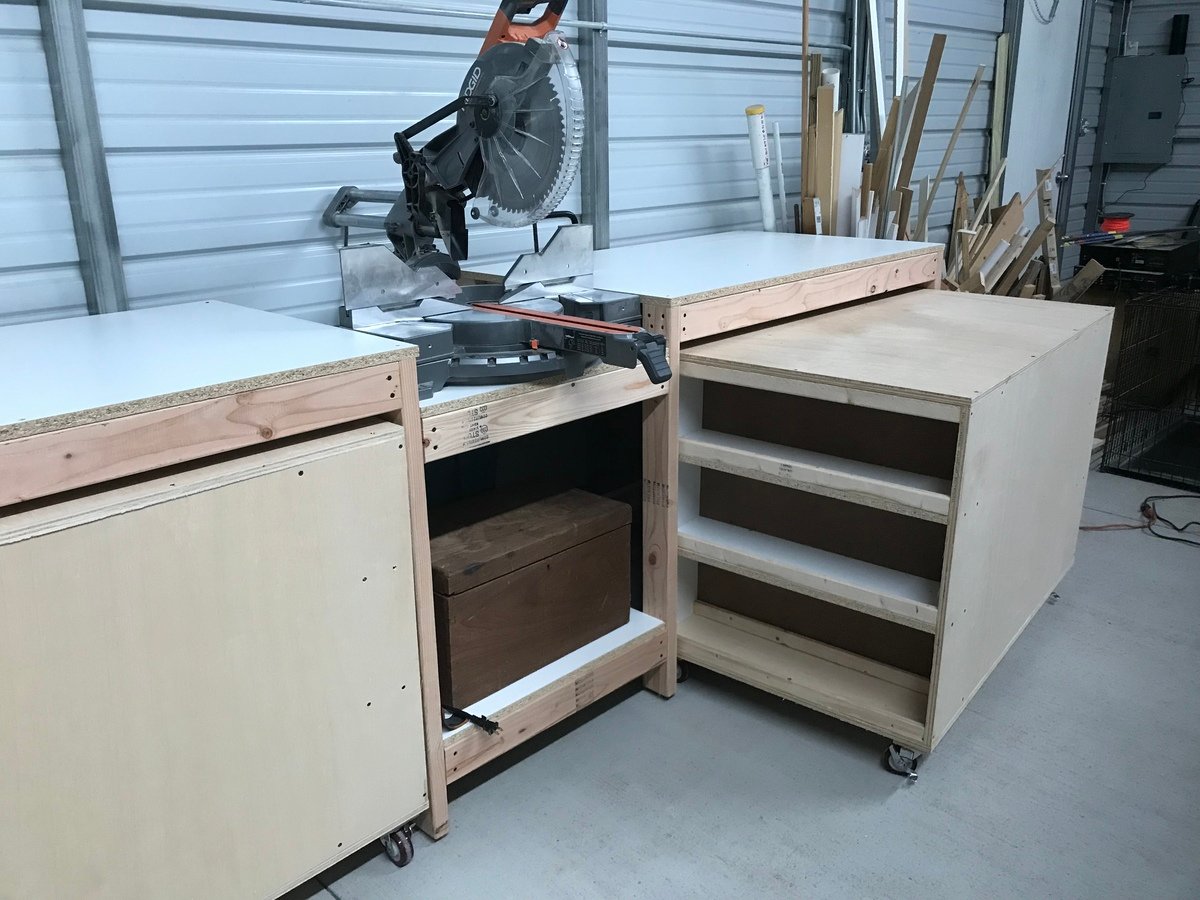
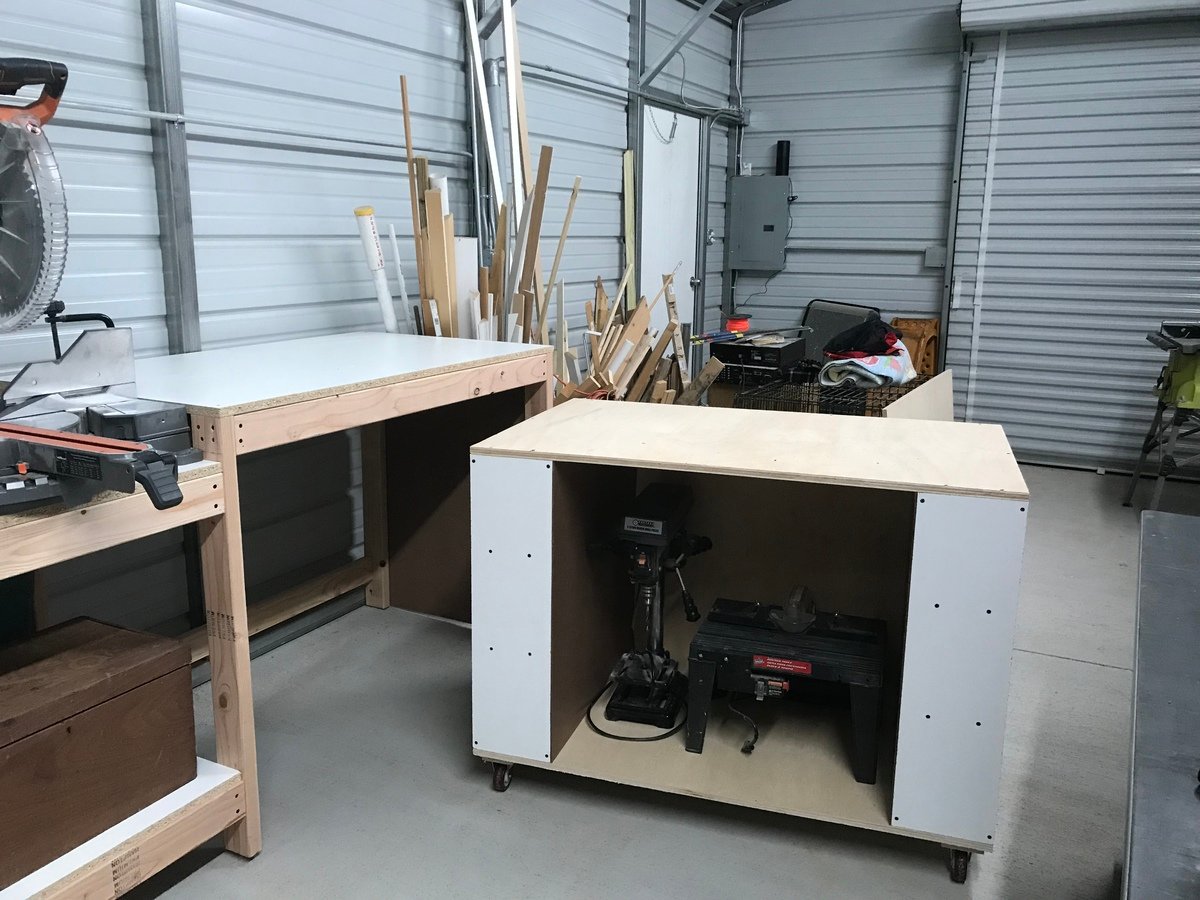
Workshop Now in Session!

Submitted by Ahlinn3 on Thu, 01/25/2018 - 18:46

Easy instructions and simple design. One cart houses table saw, and the other I plan to make a router table. I did make a slight modification in design by adding T-nuts and 5/16” bolts for feet. (My shop floor is crowned). I also used 3/4” melamine white panels for table tops. Difficult to work with but cheaper and has a smooth surface. (Be careful using for structural parts due to glue not impregnating through melamine) 

Estimated Cost
$250
Estimated Time Investment
Weekend Project (10-20 Hours)
Recommended Skill Level
Starter Project

Comments

Ten Dollar Ledges

Submitted by hannahclou on Sat, 06/11/2011 - 15:39

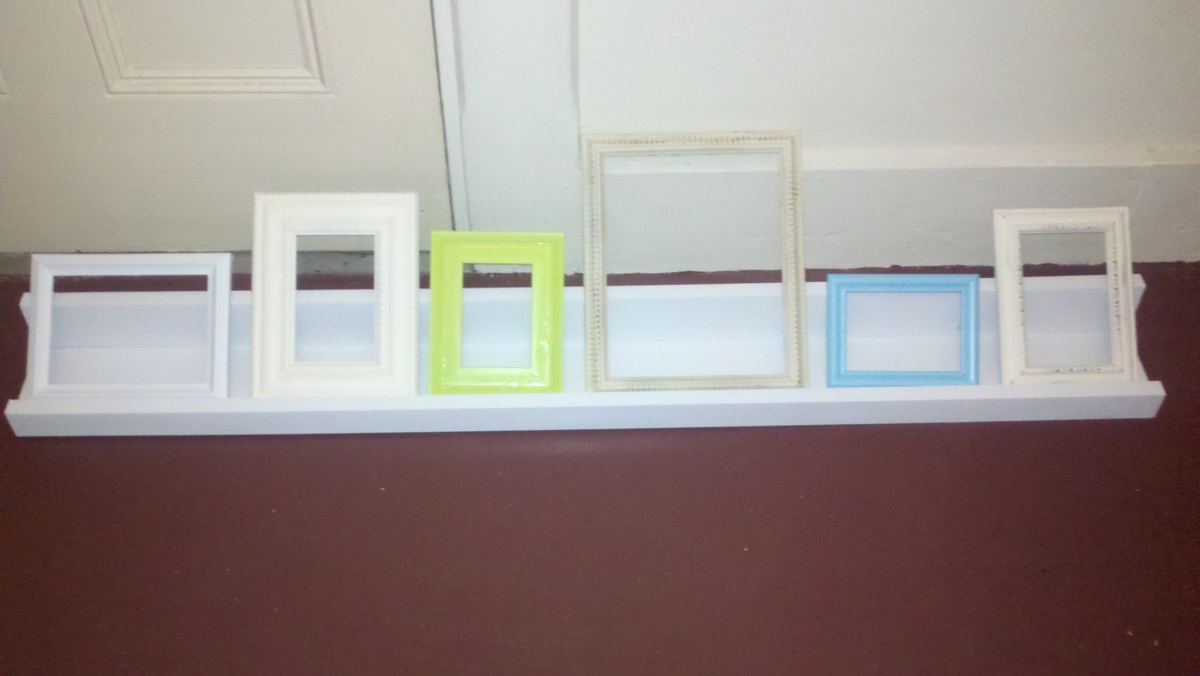
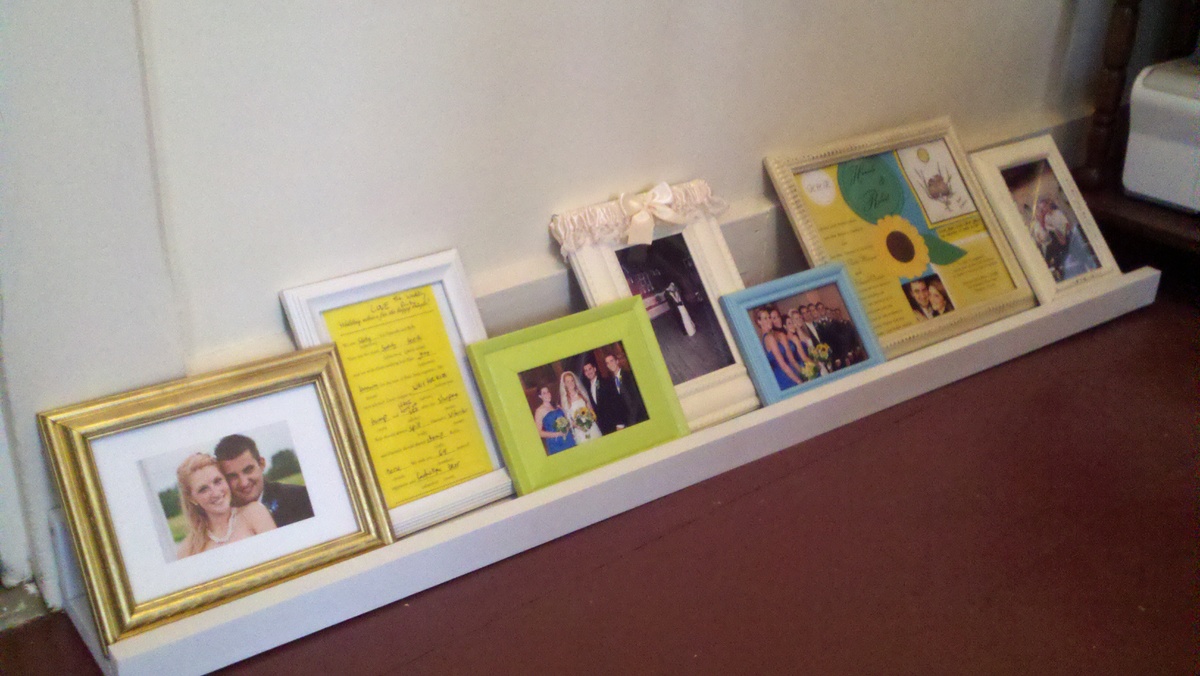
After moving into my new house, I found this great blog and began dreaming of building furniture! I am finally trying it out. Since I didn't know the first thing about power tools and wood-working I wanted to start simple. I bought some 48" pieces of 1x4 and 1x2 in pine, spray painted some old frames and used some of my wedding pictures/momentos and voila...my first project was done! I will be making many more of these easy and pretty shelves! Now to find a wall to put them on.

Built from Plan(s)
Estimated Cost
$5.00
Estimated Time Investment
An Hour or Two (0-2 Hours)
Finish Used
High Gloss White Paint
Recommended Skill Level
Starter Project

Bar cabinet

Submitted by kgclark31 on Thu, 04/21/2022 - 17:53

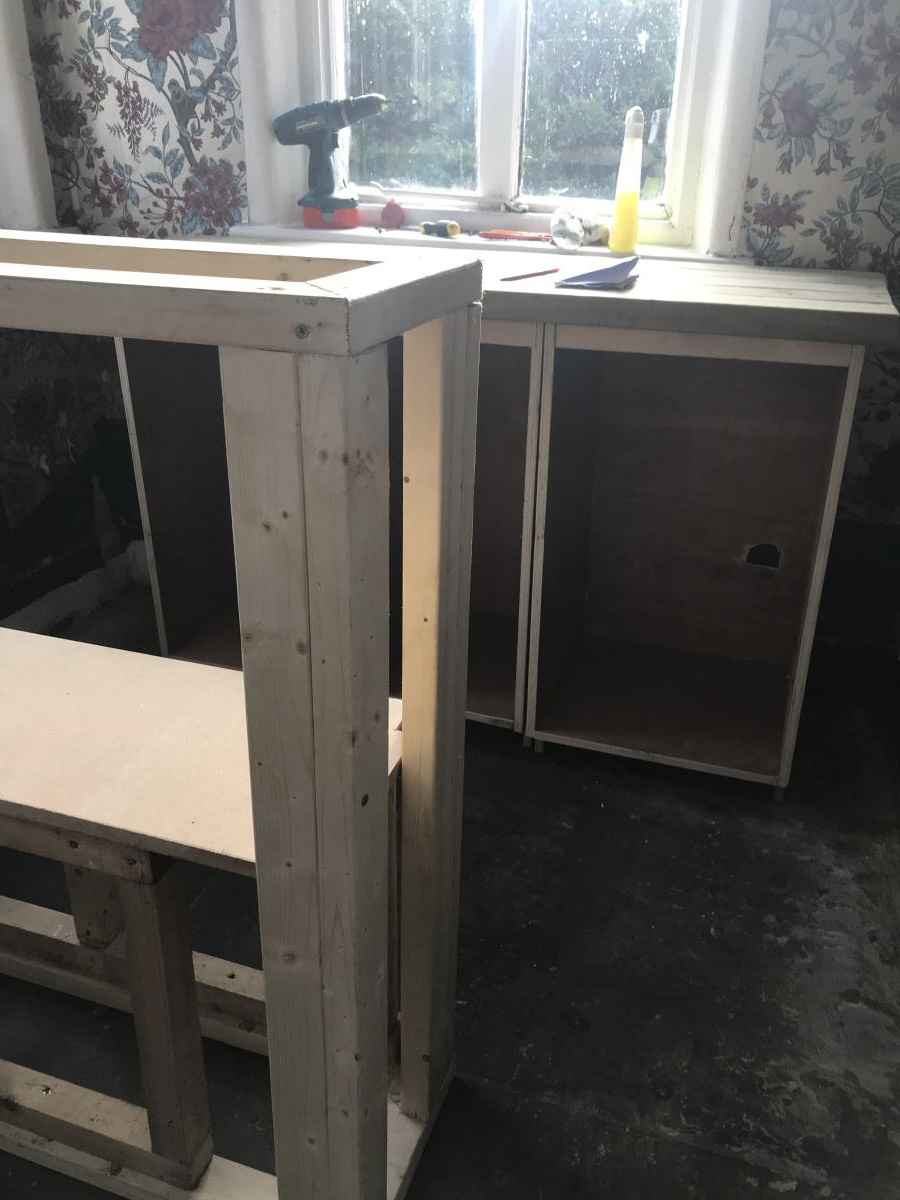
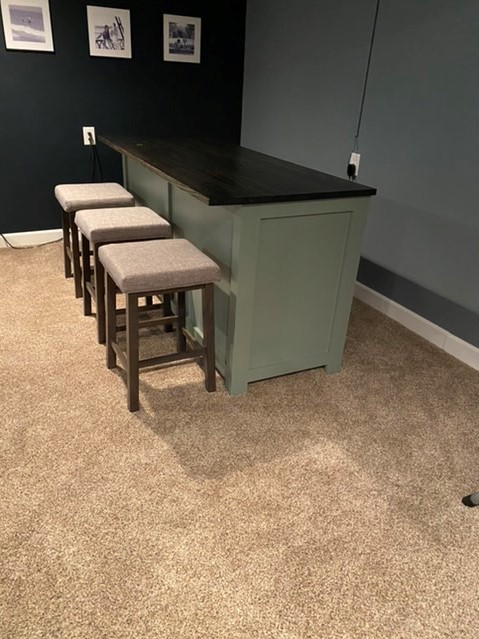
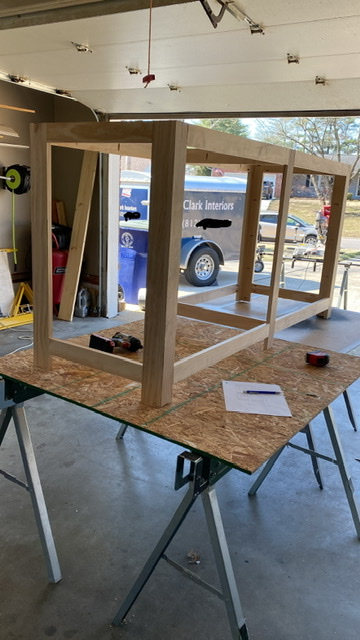
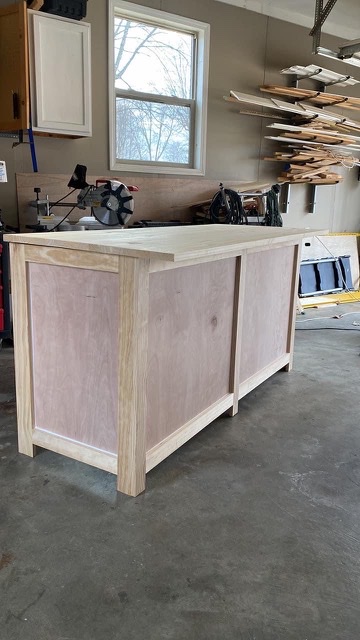
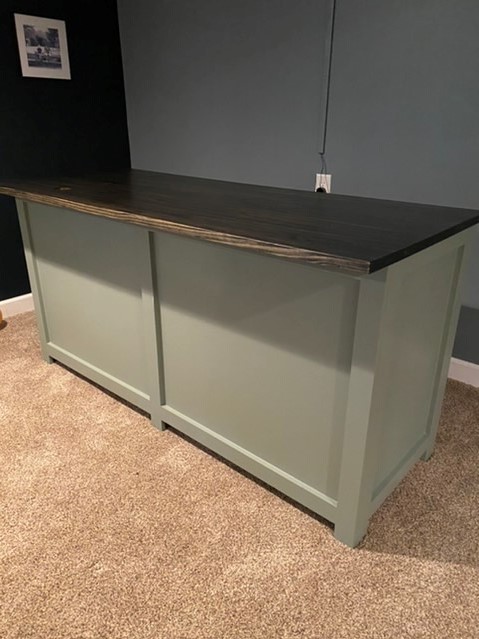
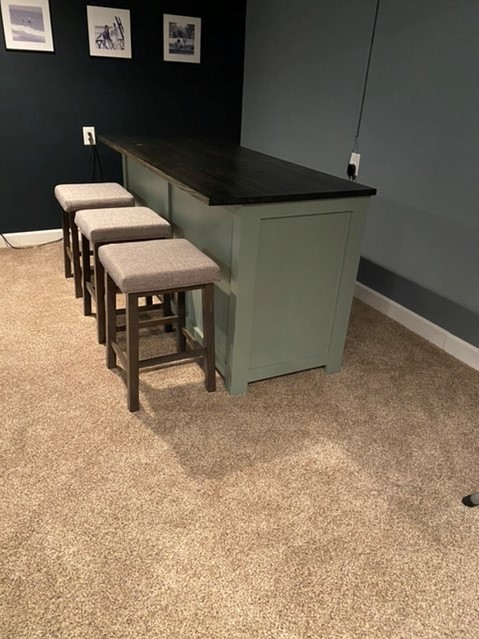
My wife wanted a eat at bar/cabinet for the basement family room. So after several design ideas this is what we come up with. It was a pretty simply build, built the frame using Kreg pocket holes to attach everything together. Love the Kreg pocket hole. Then cut the1/4” panels and attached them to the inside with brad nails. The top is a 1 x 24 glue board from Menards. Then some paint, stain and poly , attach the top and its ready to go. I used a water base poly for the top, it is great if you want to apply several layers quickly. Sand the poly after a couple layers with an 800 grit, then apply a couple more then repeat until you are happy with the finish.

Comments

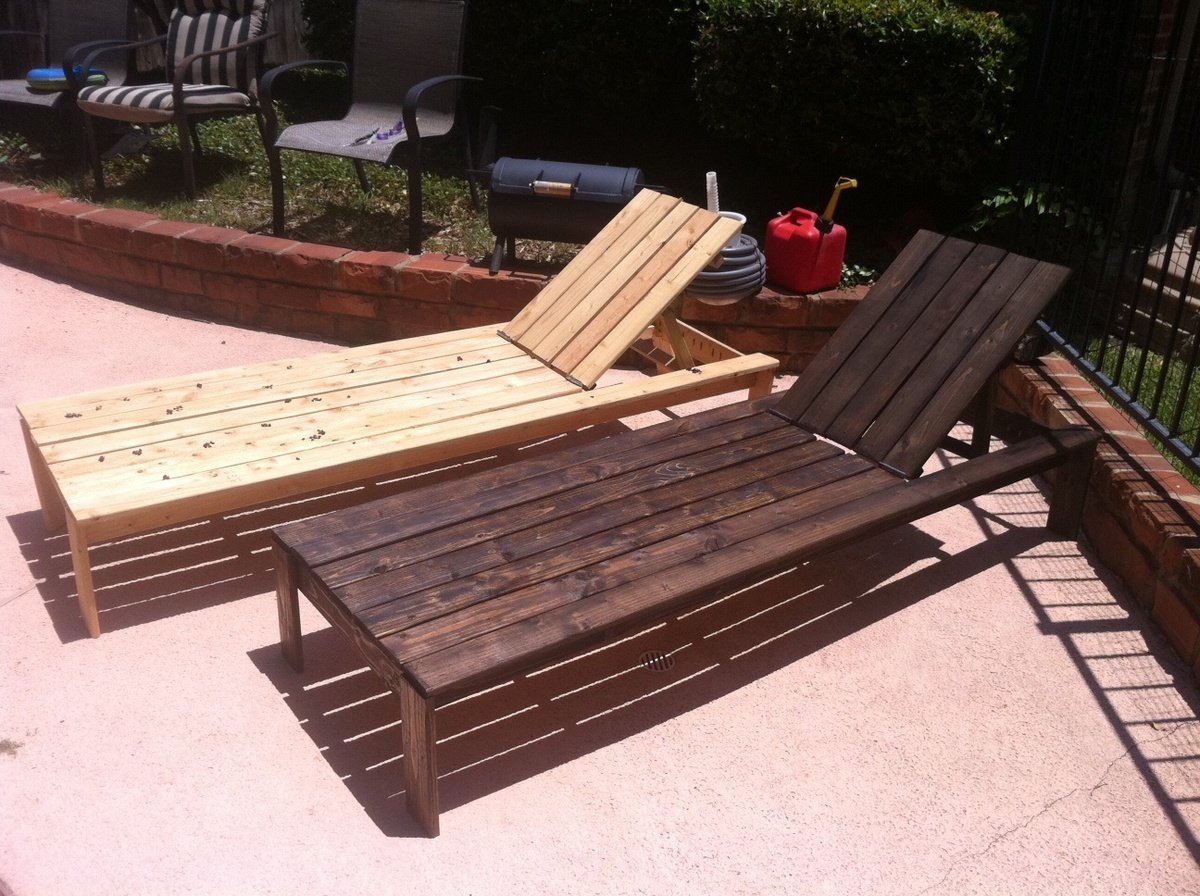
DIY Chaise Lounge Chairs

Submitted by jroubinek on Wed, 07/06/2011 - 10:44

This was my very first project to take on with Ana's plans. It took a little longer than I would have liked only because I got frustrated and put it to the side for a MONTH. I realized how important it was to pre-drill my holes and then got the motivation to get back to it. Once I got started again, it was finished in NO TIME! I still need to stain one of them, but I couldn't be happier with the result.

Estimated Cost
$60
Estimated Time Investment
Weekend Project (10-20 Hours)
Finish Used
I used Wood Conditioner to make sure I didn't have to worry about blotchiness. Then I used a paintbrush to apply Minwax's Dark Walnut stain.
Recommended Skill Level
Beginner

Comments

geophyrd

Sun, 07/31/2011 - 07:55

I'm right in the middle of building one of these. My problem is that the 2x4s specified are 2" thick...having to rip them down and that took a lot of guts. Did them all except the long boards. Going to do those later today (if I don't melt) and when my wife can give me a hand.

How did you rip them to size?

Also, did you use a router table to round the edges?

MichelleC

Fri, 07/20/2012 - 09:21

These look great! Geophyrd...do you mean 2x2's? You just use the ones straight from the store, also referred to as furring strips...that will save you a lot of time and stress rather than ripping down 2x4's. When the plans say 2x2's, they aren't going to actually be 2", and the plans don't say that they have to be 2". Ana writes the plans as simply as possible without us having to do complicated steps like ripping down boards thank goodness!