Community Brag Posts

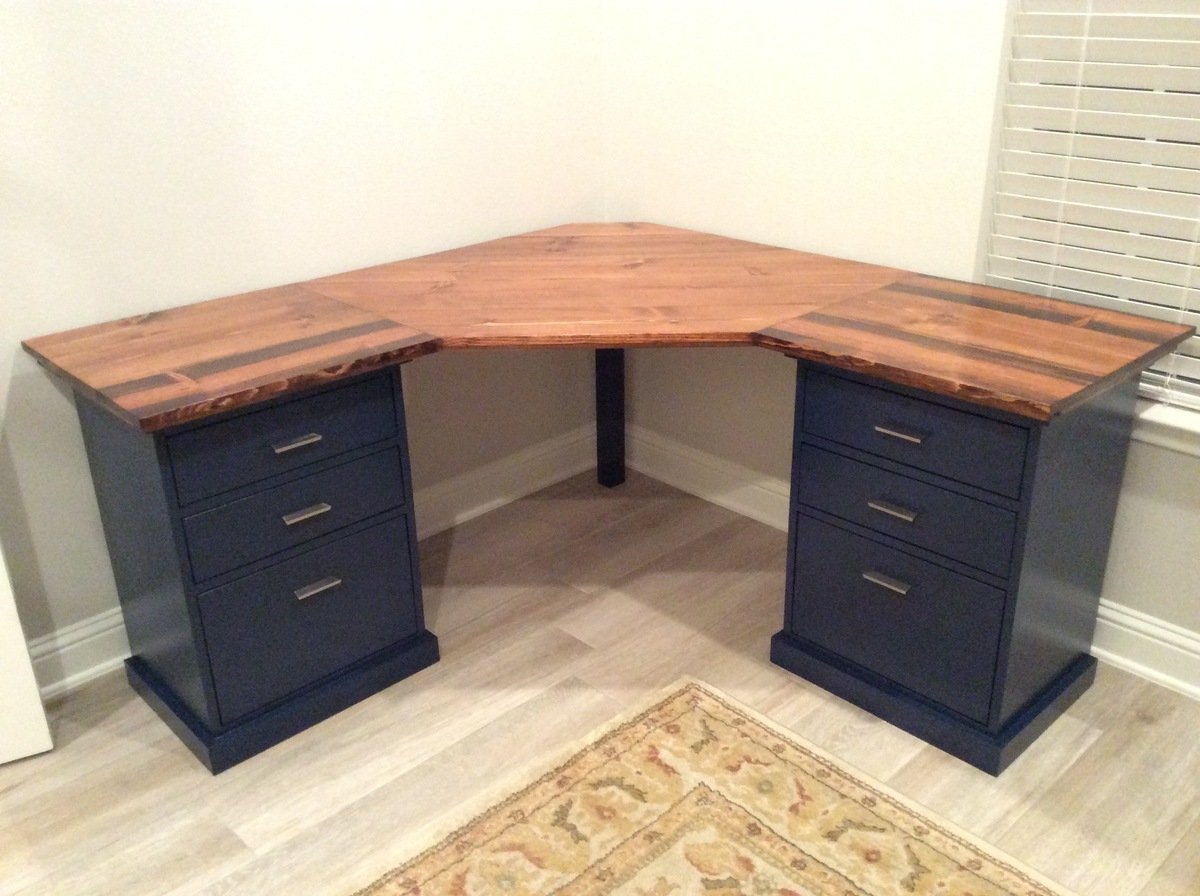
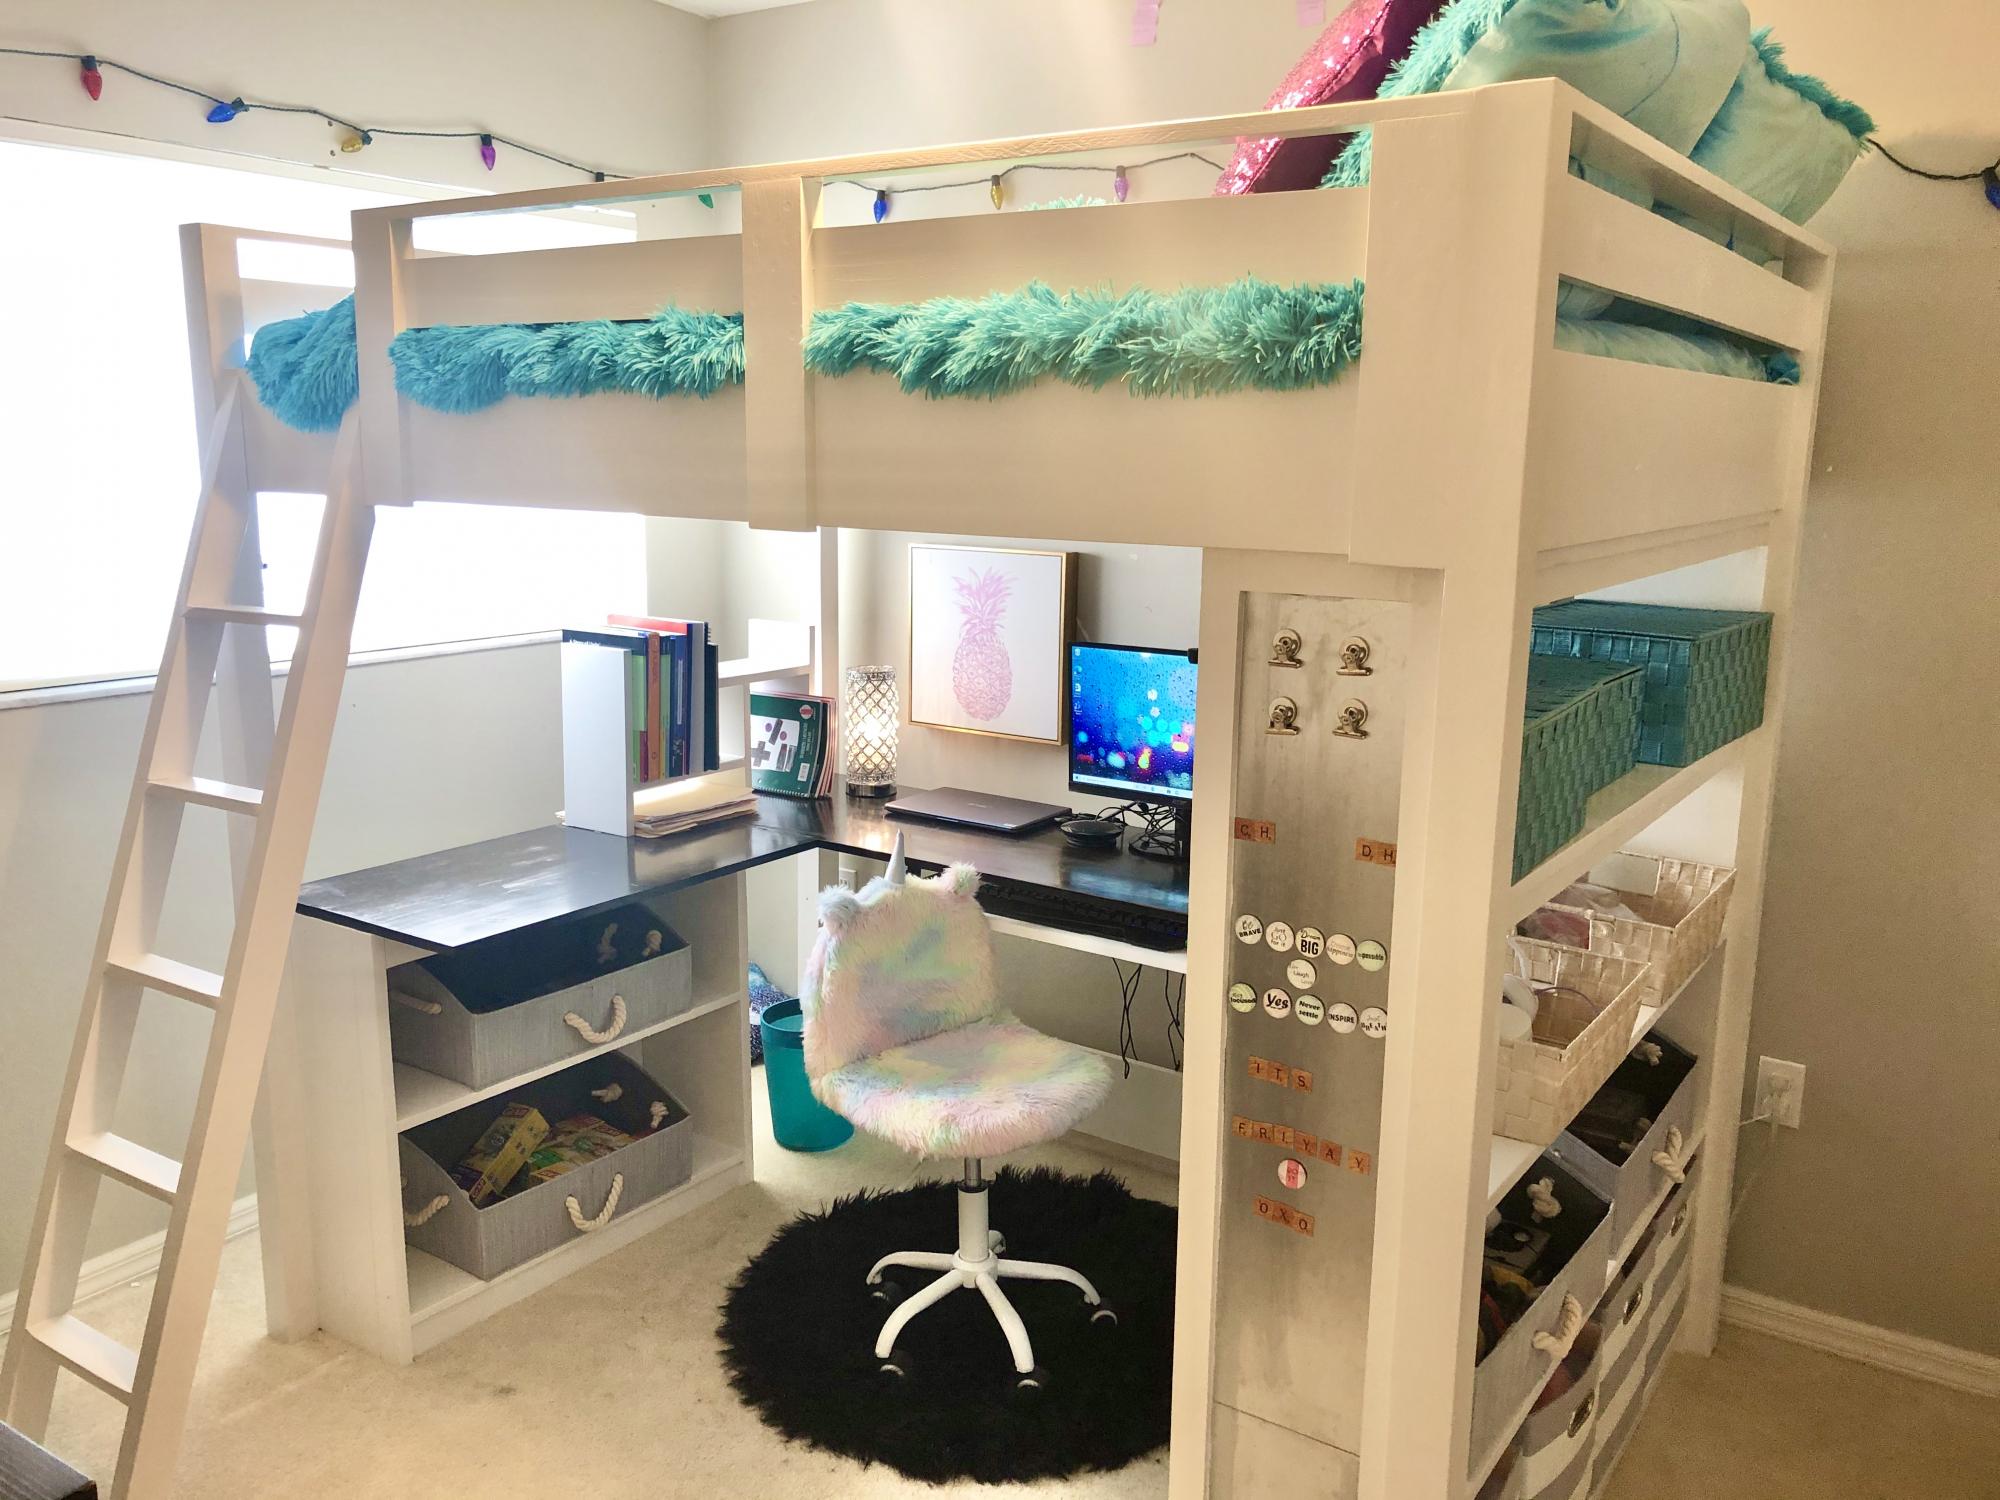
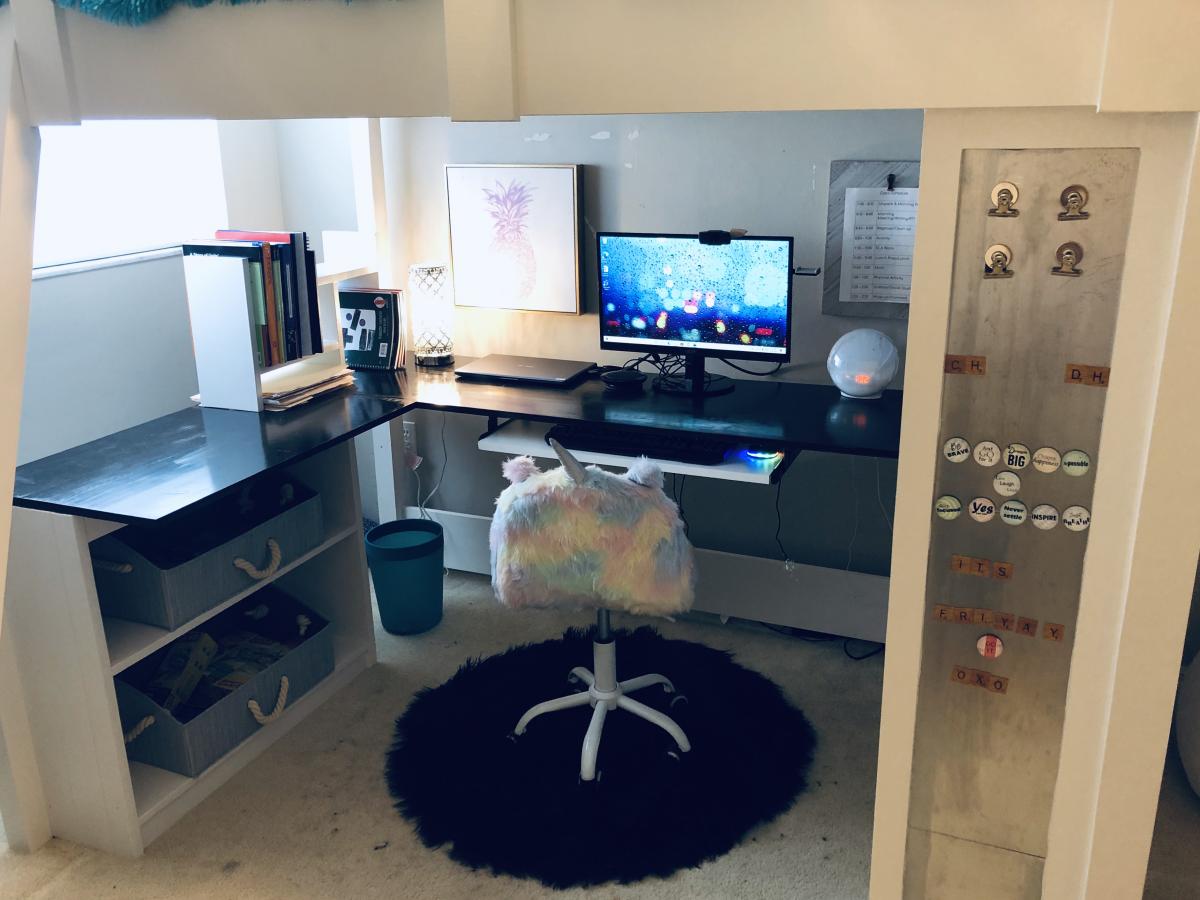
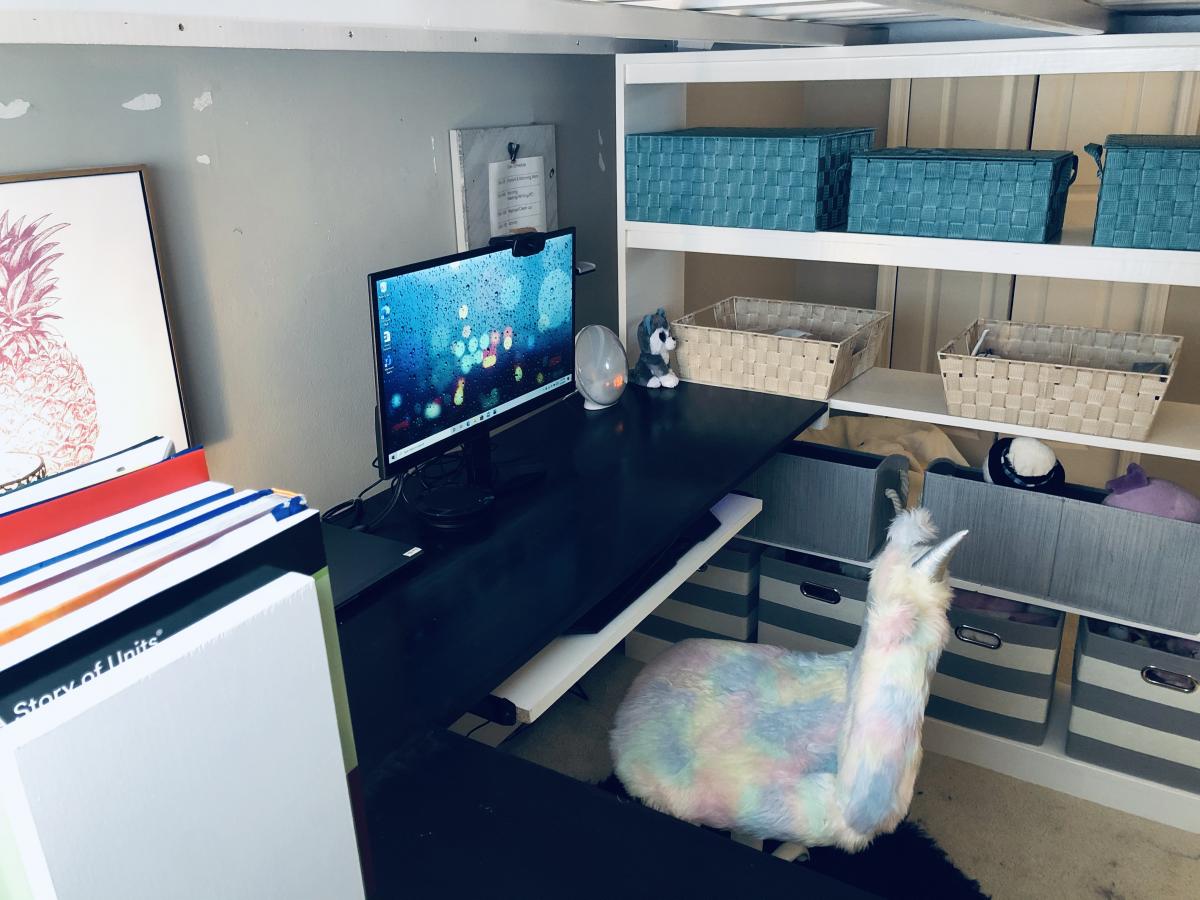
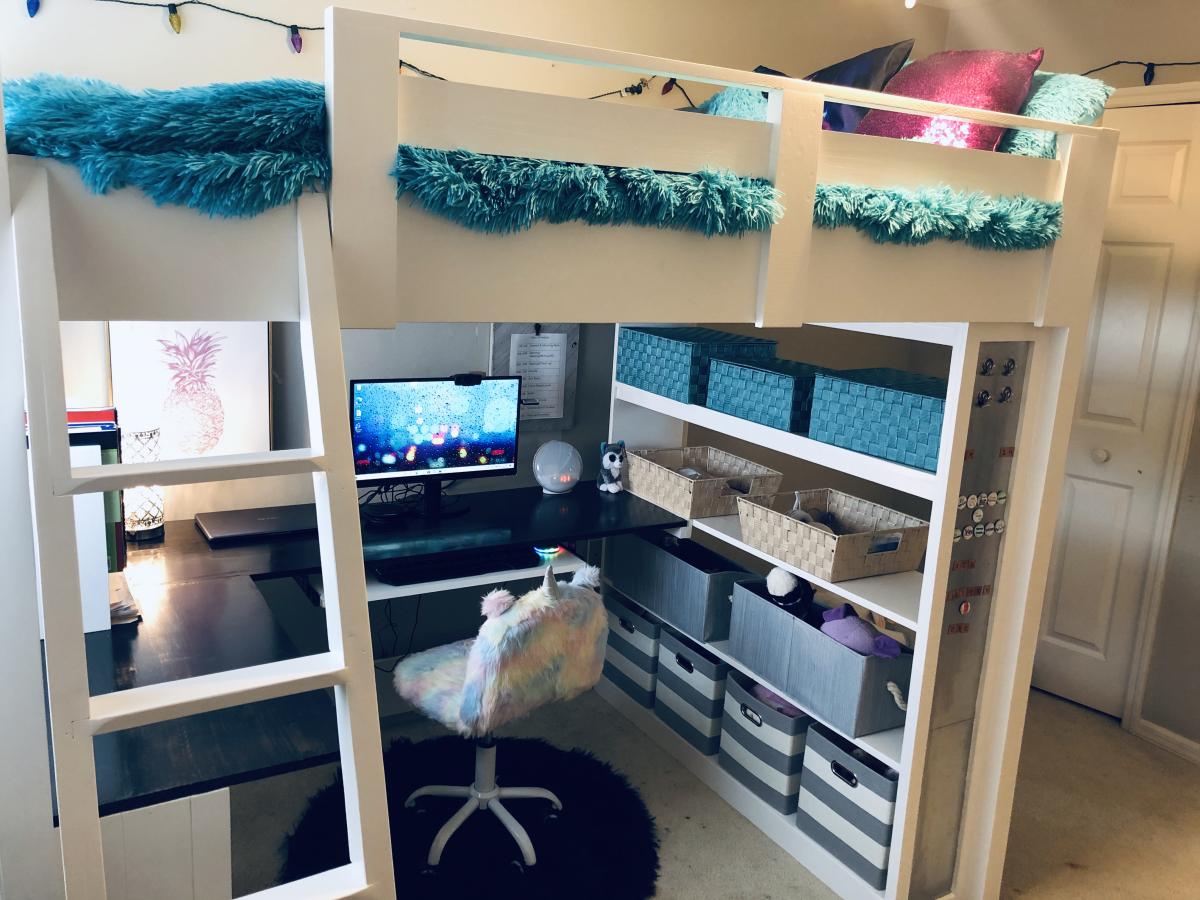
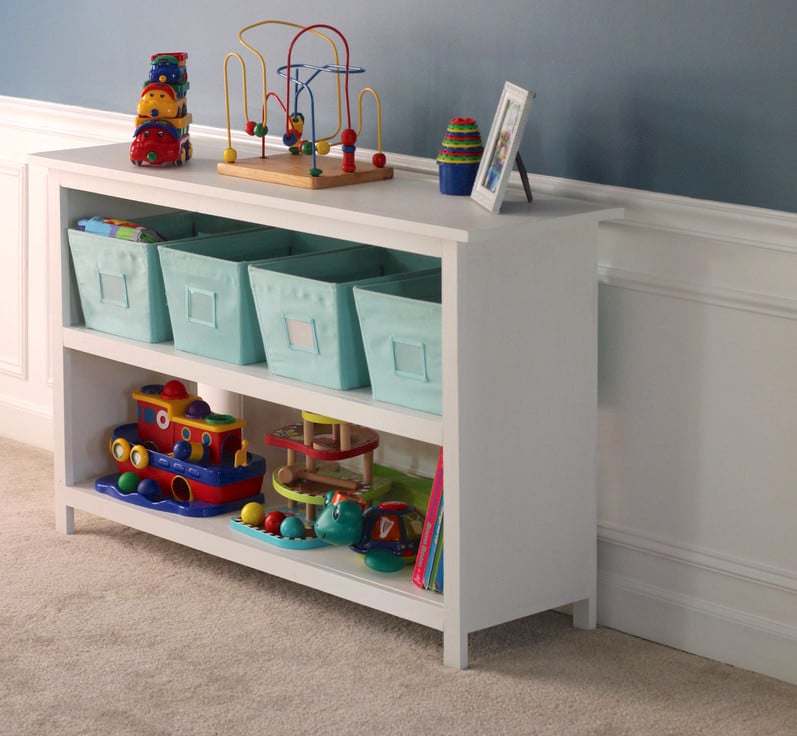
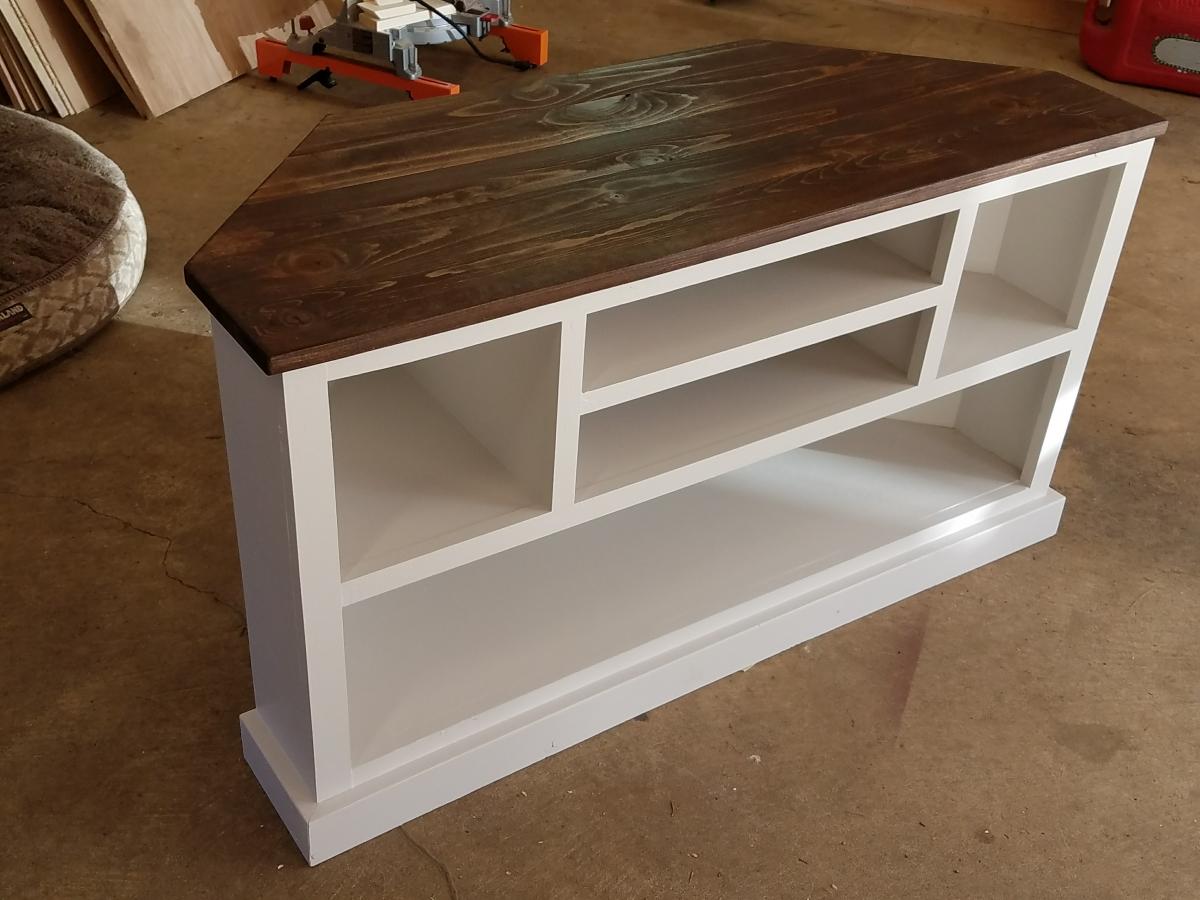
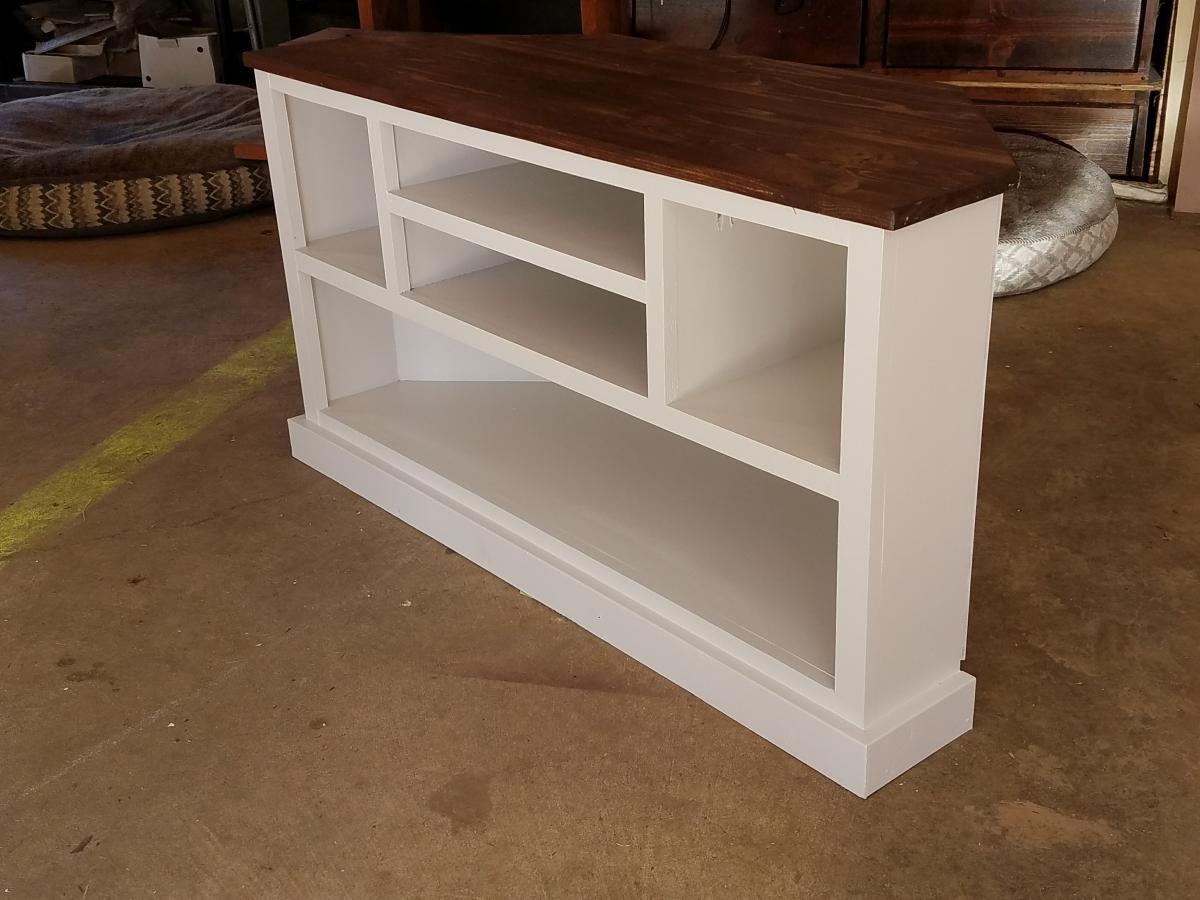
Corner Media Console

Submitted by craw4dz on Thu, 02/27/2020 - 10:39

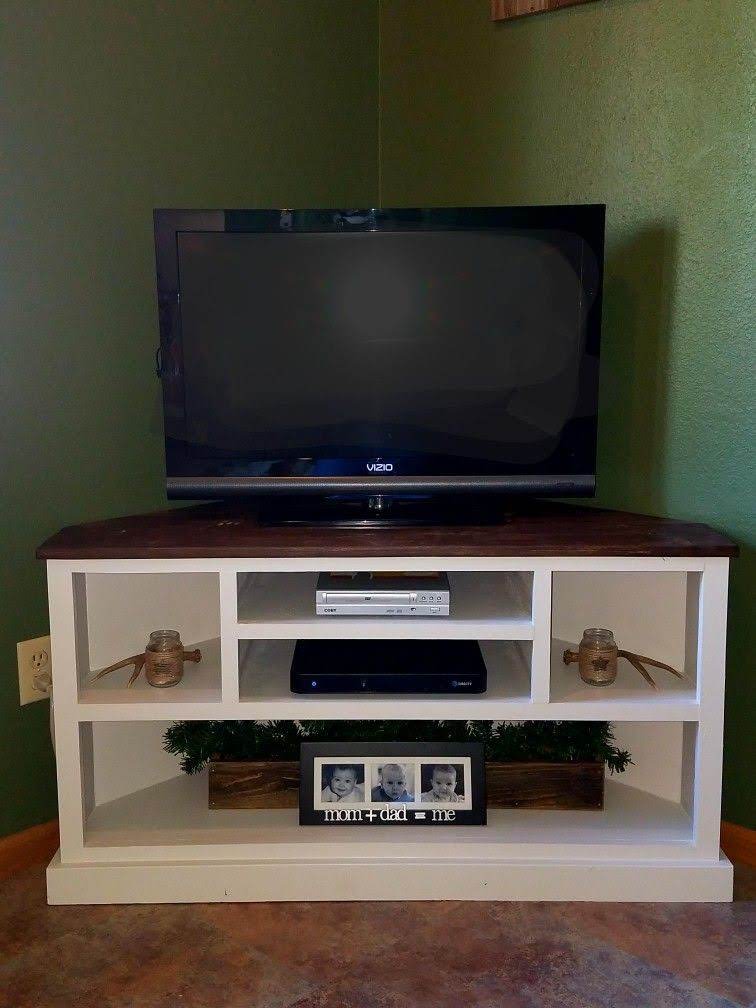
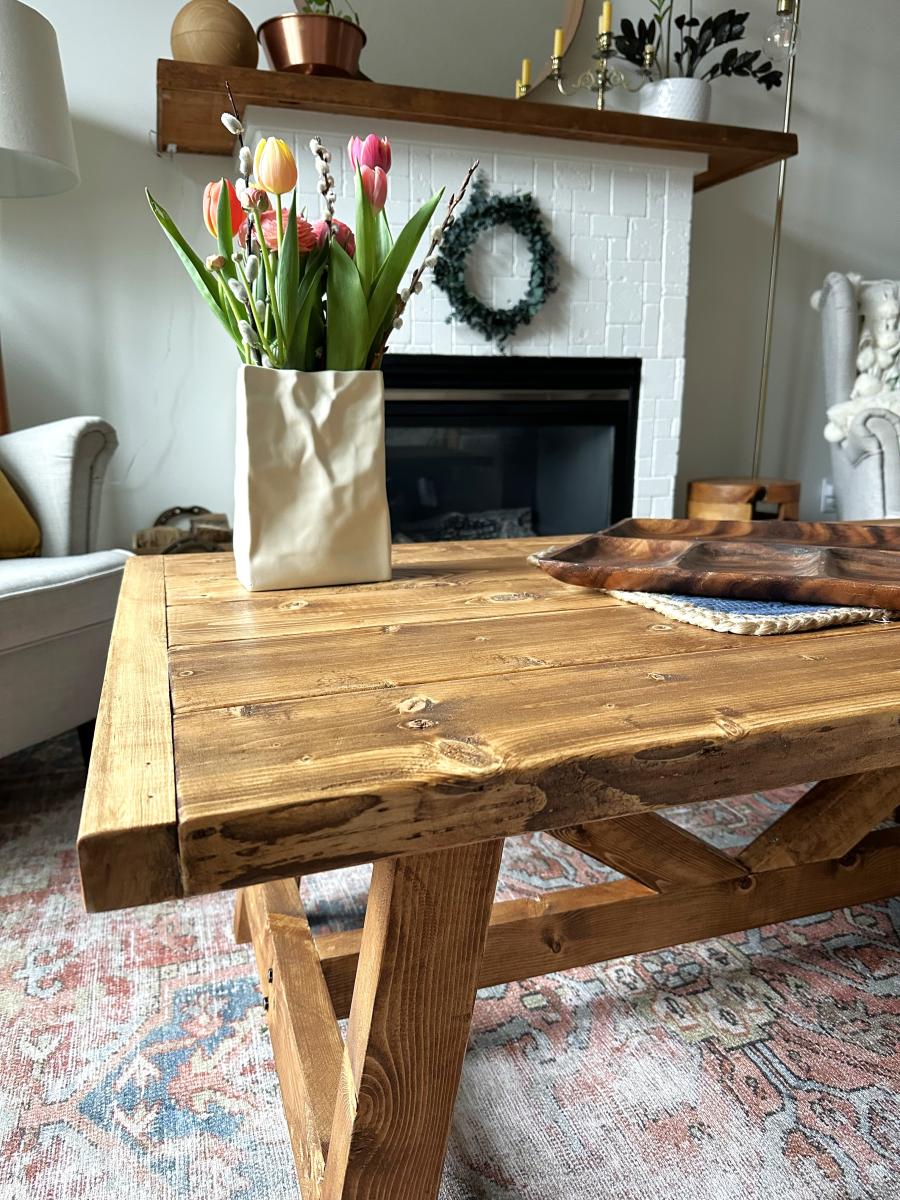
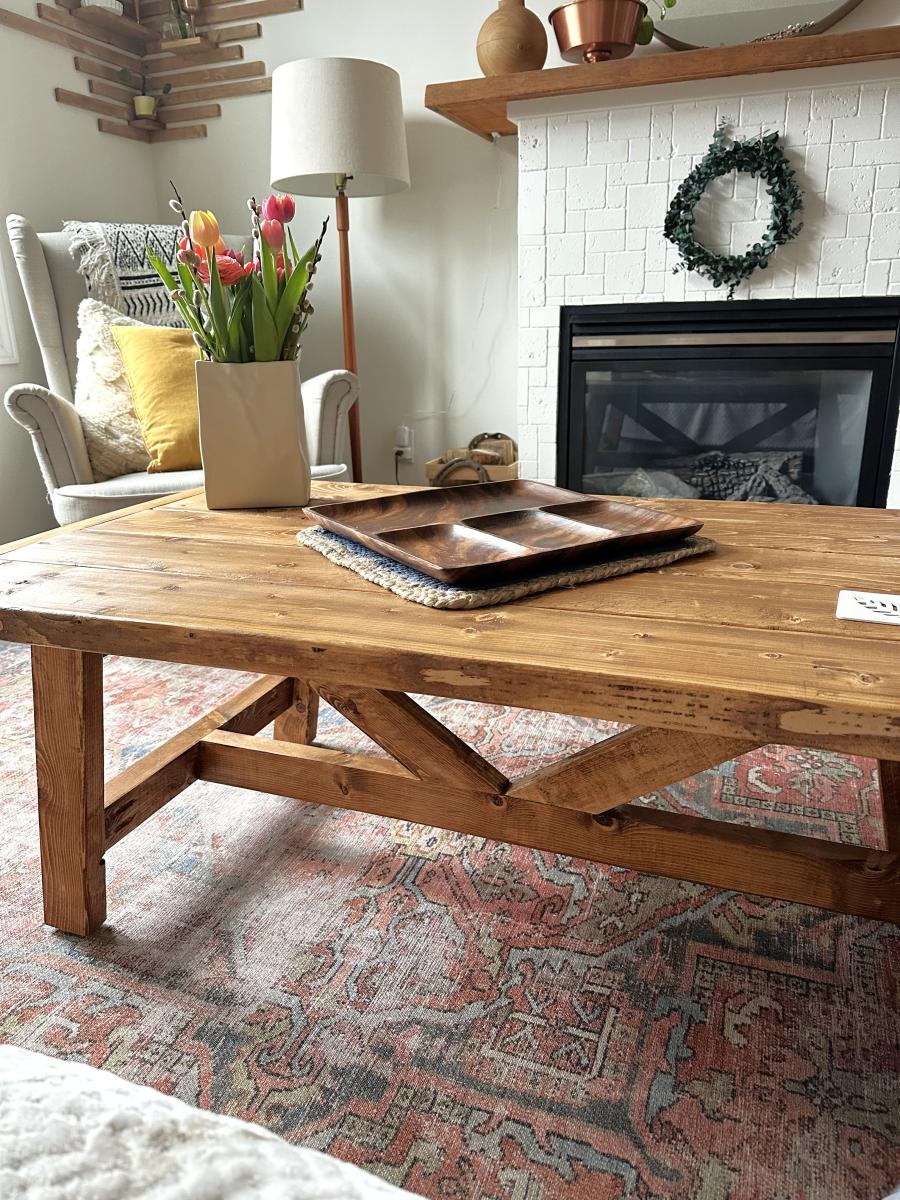
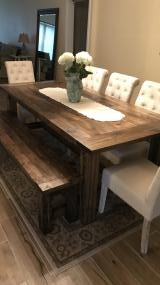
We had just moved into our new house and were using an end table for our TV stand I just didn't like it.  I found this and modified it so it's shorter and fits in our room better.  I also opted to not put doors on it and use it to display items instead.  This was a relatively easy build and I'm learning new things with every build I make.  It took about 2 days to complete not including filling holes/paint/stain.  I love it, it looks so great in our room and I am planning on building end tables to match as well as replacing our buffet with movies in it to match also.  Thanks for the easy-to-follow plans!

Built from Plan(s)
Estimated Cost
$45
Estimated Time Investment
Weekend Project (10-20 Hours)
Finish Used
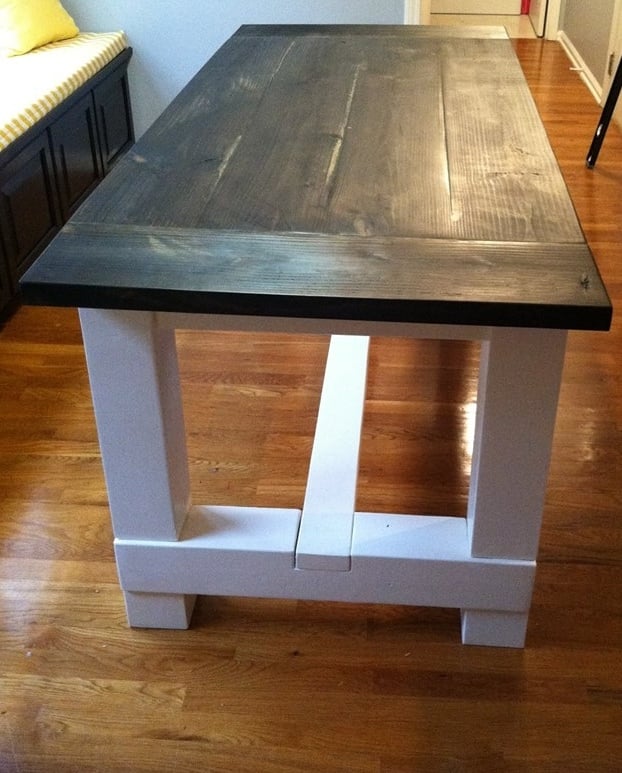
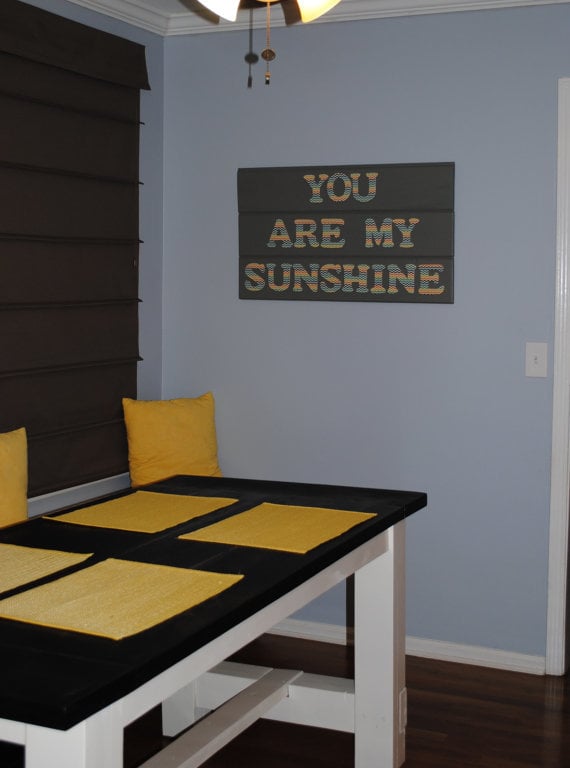
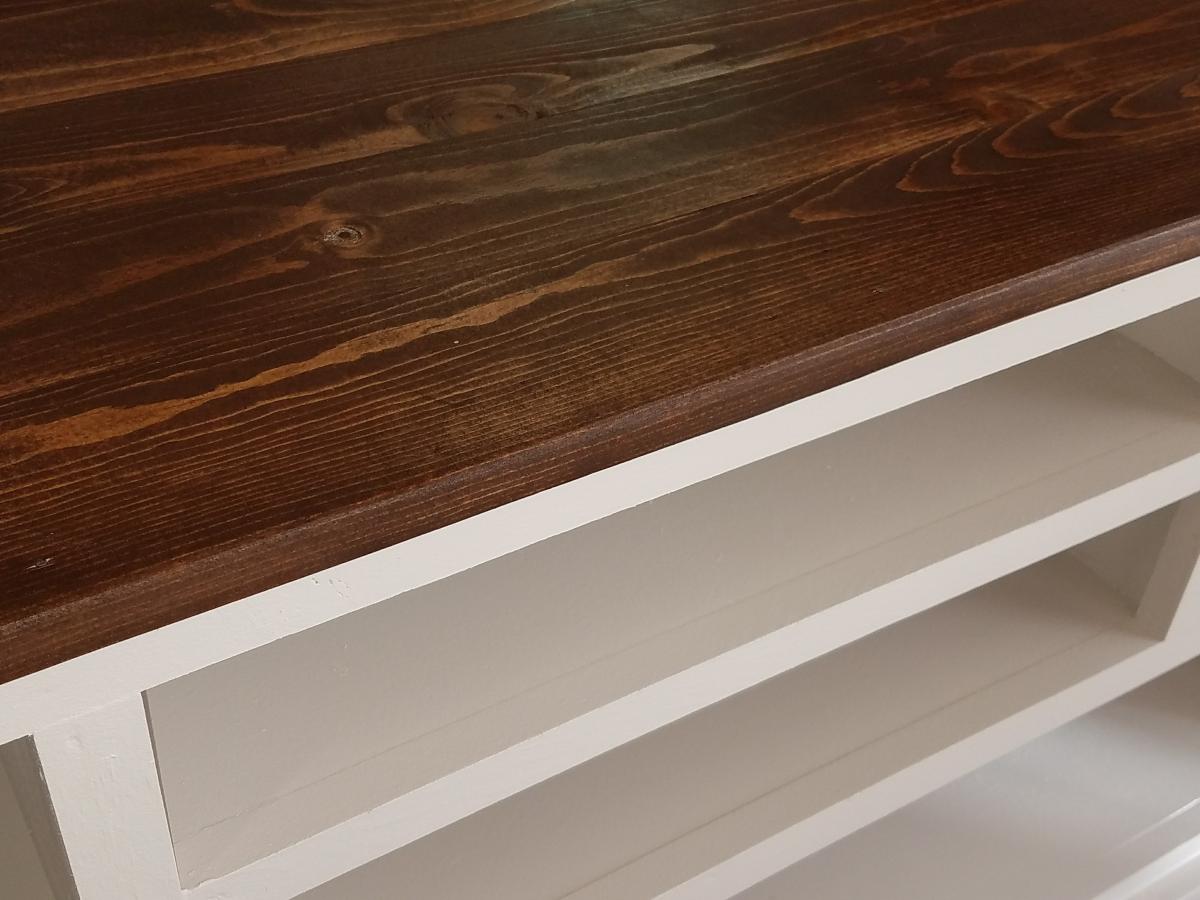
Whatever white paint I had on hand (haha) and Varathane Kona with a satin poly for the top.
Recommended Skill Level
Beginner

Colorful Custom Bedford Corner Desk with Live Edge Desktop

Submitted by Anonymous (not verified) on Fri, 06/28/2019 - 20:41

I followed the plans pretty closely. I added dividers to make 3 drawer units but I didn't find it necessary to have the top shelf go all the way to the back since it would never function as a shelf. I used scrap pieces for that and they weren't big enough to be full shelves.

I used 1/2" MDF for the bottom, sides, and backs of the drawers to cut down on weight, cost, and general bulkiness. I used this free app called Cut List to figure out the easiest way to have the guys at Home Depot cut all the drawer panels after I learned I'm not that good with a circular saw. I used a hack saw to cut aluminum bars for hanging files and used scrap wood to make the little brackets to hold the bars upright in the drawer. The full extension drawer slides are functionally and asthetically better but it would have been so much easier to put in basic bottom mount slides. 

I wanted a wood grain top and ended up with common pine boards over more expensive poplar or oak and I would use pine again without hesitation. I used Google SketchUp to figure out the widths of boards I needed to make the top with minimal cuts. Then joined them with glue and mending plates and sanded the hell out of them. I altered the dimensions slightly to make it the same size desktop as the Bedford desk. My two wing sections are 23" x 23" but I should have made them 23" deep by more like 24" or 25" long. I had to hack the bottom bracing to make a spot for the drawer units to slide into. If you alter the dimensions make sure you can secure a brace between the main body and the wing of the desktop and still have room for the brace at the edge of the wing. 

My cost includes things like a Kreg jig, saw blade, clamps, paint brushes etc. so you may be able to do this for less. I could have gone with a middle of the line paint I think. This project was a beast for me because a) I'm not a furniture maker b) I don't own a table saw which would have been amazing c) I picked the hardest way to make the desktop and d) I modified some of the dimensions from the basic plans. I worked on this thing for weeks (granted sometimes I didn't touch it for several days or a week). But it was a fun and rewarding project. 

Estimated Cost
$500-$600
Estimated Time Investment
Week Long Project (20 Hours or More)
Finish Used
Behr Marquee, Minwax wood conditioner, stain (honey) and stain poly
Recommended Skill Level
Intermediate

Comments

Traditional Wood Toddler Bed with a Twist

Submitted by mikekmikek on Thu, 04/30/2020 - 10:34

I made the Traditional Wood Toddler Bed in a weekend and it turned out great! I did add a twist though: A chalkboard replaces the wainscot!

Built from Plan(s)
Estimated Time Investment
Weekend Project (10-20 Hours)
Finish Used
Used a chalkboark panel from Home Depot instead of the wainscot.
Used a hand router to round all of the edges to give it a softer feel.
Had to extend the length of the bed by 1/2" to accomodate a Greco toddler mattress. (Check your mattress size before you build!)
Recommended Skill Level
Intermediate

Truss Style Coffee Table

Submitted by Anonymous (not verified) on Wed, 04/03/2024 - 10:52

I saw the Truss Coffee table and HAD to make it!
I couldn’t find 2x3 at my hardware store so I ripped 2x6’s for the base. I also ripped 2x4 for the top end pieces. I used the color Provincial to stain and covered it in Polyurethane. I just love it.

Mélanie S.

Built from Plan(s)
Seasonal And Holiday

Queen Farmhouse Guest Bed

Submitted by Anonymous (not verified) on Wed, 05/08/2024 - 09:33

Ana - built this Queen Farmhouse Bed from your plans and videos. Really a warm, guest room that I built inspired from your work and detailed plans — thanks again!

Chris K

Built from Plan(s)

Farmhouse Table

My husband created this table as an anniversary present to me! I painted my present with a creamy white for the base and he stained the top with ebony.

Estimated Cost
$245
Estimated Time Investment
Week Long Project (20 Hours or More)
Finish Used
Creamy white behr paint and poly for the base, ebony stain for the top with a hand rubbed poly.
Recommended Skill Level
Beginner

Ultimate roll away workbench

Submitted by maker4510 on Sat, 08/01/2020 - 05:22

NINE MONTH UPDATE: After using the bench for almost nine months, we’ve made some changes. The first is that our table saw, a Dewalt 7491 didn’t fit in the way the plans called for because of the fence. We ended up cutting down and rebuilding the table to make a platform for the saw, then we built three “tables” around it to leave a gap for the fence operation. We also added a curved piece that can be removed to access the riving knife lever.

The other change we made was to take out the clamp storage that was in one of the cart ends. When we rolled the cart in and out, the clamps would catch and fall off. We put in another shelf instead.

Otherwise, we love the bench. Having the two rolling carts that we can reposition based on where we need a table extension is great. The miter saw stand works perfectly, and our dust collection setup rolls right underneath. We’re also in the process of building a router table that fits in the removable bench room area.

ALSO, sorry for the upside down/sideways pics. It won’t let me remove or fix them.

We made the ultimate roll away workbench with very few changes. Added the clamp hanger on one end as pictured. We didn’t add the shelf under the miter saw, as well be putting a dust collection cart.

We absolutely love the cart.M, now to save up for a table saw. The only change I would like is that I wish the side shelves were a little deeper, more like 10” instead of 8”, so more tools would fit.

Estimated Cost
380
Estimated Time Investment
Weekend Project (10-20 Hours)
Finish Used
None
Recommended Skill Level
Beginner

My version of the SMALL CEDAR FENCE PICKET STORAGE SHED

Submitted by dalbrough on Wed, 08/13/2014 - 08:53

We needed something to hold our garbage cans and recycling.
We made this little shed with fence board floor and fence board roof a lot shorter in depth and height - We also used 2x4's as we already had them - fits perfect and was amazingly easy to do.

Looks fantastic in our yard - we are still working on the yard so ignore the extra fence boards and 2*4s laying next to it.

Thanks so much for the great plans.

Estimated Time Investment
Weekend Project (10-20 Hours)
Recommended Skill Level
Beginner

Loft Bed w/desk

Submitted by Anonymous (not verified) on Sat, 08/29/2020 - 09:05

Our daughter has been asking us to build her a bed for months now. When eLearning became a reality for our household, we knew it was time to get to work. We usually do two to three big DIY projects a year, and have built from many of Ana White's plans. We often refer our the time together DIYing as "couples therapy".

We used Ana's plans for the Loft Bed and included the tall bookcase and desk system, with a few of our own modifiations and personal touches, such as:
- elimated the plywood backing on the bottom shelves of the tall bookcase
- only used one (1) bookshelf for desk system
- used toungue and groove paneling for back of small bookshelf, adding it to the sides as well
- made the desktop 19" wide
- added a framed magnet board
- added a sliding keyboard tray

Estimated Cost
$600
Estimated Time Investment
Week Long Project (20 Hours or More)
Finish Used
Desktop: Minwax Ebony stain
Everything Else: Zinsser 123 primer & Valspar Cabinet & Furniture Enamel (Snowbound Semigloss)
Recommended Skill Level
Beginner

Comments

Ana White Admin

Mon, 09/07/2020 - 20:33

This is so cool, I'm sure it's a dream come true for your lucky girl!

Building is our couples therapy, sounds like a t-shirt in the making:)

Farmtable and Bench

Submitted by purdyc on Wed, 01/04/2017 - 06:37

Ana

This is a farmtable that i made from your plans, along with the bench also made from your plans.  Turned out pretty good, worked on it mostly on the weekends.  Christmas present for my son and daughter-in-law.  Your website is full of great ideas and plans, thank you.

Chuck

Estimated Cost
For bench and table est $300
Estimated Time Investment
Week Long Project (20 Hours or More)
Finish Used
Minwax Walnut Stain
Recommended Skill Level
Beginner

Mini Wine bar

Submitted by ericaf on Sat, 10/18/2014 - 10:41

Be aware: some of the measurements and materials needed in the plan are off. For example, you need 1/8" hardboard for the bottom of the drawer but earlier in the plans it shows 1/4". Also, if you have larger wine glasses, you'll want to plane down your stemware holders so the distance between them is 3 1/8" instead of 3". It would have also been a good idea to pre-stain those before adding them in. Regarding stain, it would also look really good with a light stain. Another really nice thing about this project is that people are really impressed with it though it is fairly straightforward. :)

Built from Plan(s)
Recommended Skill Level
Beginner

Comments

ericaf

Fri, 06/10/2016 - 07:09

Thank you. :) I don't remember exactly, I believe it was regular Minwax wood stain, walnut and/or red mahogany. I will try to find what I actually used.

DIY Bathroom Cabinet with Epoxy Vanity Top

Submitted by thediyplan on Sat, 10/17/2020 - 17:16

When you remodel your bathroom, you are breathing fresh life into your home. There are plenty of ways you can remodel your bathroom. Recently the vanity and cabinets are fast becoming the highlight of bathroom renovations. In this tutorial, I will show you how to make your own DIY Bathroom Cabinet with Epoxy Vanity Top. Check out my website for more details and photos TheDIYPlan

Also, See my other recent projects

Estimated Cost
150
Estimated Time Investment
Weekend Project (10-20 Hours)
Recommended Skill Level
Intermediate

Comments

Extra Long Bed

Submitted by Lumi on Fri, 10/24/2014 - 16:36

My hubby is 6'5'' tall. Since most matresses are 80 inches long, he mostly ends up with his feet hanging out of the bed (since you don't lay your head down at the very beginning of the mattress, right?). So I tried to solve this problem by making the bed 4'' longer than the plans suggested. I added 2'' of foam on each end of the bed, so now its 84'' long and my hubby fits perfectly!

Thanks for the great plans, I had a blast building my own bed!

Estimated Time Investment
Weekend Project (10-20 Hours)
Recommended Skill Level
Beginner

Garage Storage from Rescued Lumber

My daughter and I used these easy plans to build these two shelving units for the garage. We altered the plan slightly.The sizes that I used were determined by the lumber I had available as we used rescued lumber for this project. The height on each is 5' (tallest 2x4's we had) and the length is 64". All I had for 2x4's were 48" pieces so we used some other rescued lumber for the shelves. We used whatever we had. So they are made from misc lumber. The 2x material made for the strongest shelves. Depth is 17" as in original plans. 

We added additional brackets for support under a couple of the shelves. We also attached to the wall to avoid tipping. I absolutely love these. So useful. No more unstacking each tote to find out what's in the bottom one. I LOVE IT! Thanks for the plans.

We completed these in one afternoon. 

Estimated Cost
Used rescued lumber and screws already on hand.
Estimated Time Investment
Afternoon Project (3-6 Hours)
Recommended Skill Level
Starter Project

Outdoor Loveseat & Table

Submitted by 3G1B on Fri, 11/27/2020 - 07:41

Tired of cheap store bought chair getting blown around in the Texas winds. If these piece get blown off the patio I’ll be looking for the Wizard of Oz.

Estimated Cost
400
Estimated Time Investment
Week Long Project (20 Hours or More)
Recommended Skill Level
Beginner

Comments

6 cube bookshelf

Submitted by lindsay on Thu, 01/24/2013 - 04:27

This was my first project that I've built and I feel really great about how it turned out!

Built from Plan(s)
Estimated Time Investment
Day Project (6-9 Hours)
Finish Used
White paint
Recommended Skill Level
Beginner

Comments

ACM

Thu, 01/24/2013 - 14:25

Great job! Your bookshelf looks solid and the color is crisp against the darker wall. Love the frames too!

Computer Desk with hutch

Submitted by SusanStory on Sat, 12/19/2020 - 07:19

My cousin needed a computer desk but wanted it to look like a piece of furniture when not in use since they have limited space. The left side stores her tower, the right side has a pullout shelf for her printer and storage for printer paper & supplies. She works with 2 monitors so the center on the hutch will accommodate both but be hidden when she isn't working. This was a fun project and using Shelfhelp made it a joy to build. They will be my "go-to" place when building large pieces of furniture.

Estimated Cost
$400.00
Estimated Time Investment
Weekend Project (10-20 Hours)
Finish Used
Unfinished as they will stain to match their furniture

Comments

Simple Modern Outdoor Sectional

Submitted by jdwarns on Mon, 12/08/2014 - 13:03

So glad these plans were posted so that I could build my own outdoor sectional.  I built two armless and two corner/end pieces.  I used cedar with American Walnut stain and clear/satin spar urethane.  I purchased the cushions online.  They only had 24x24"; so for the back cushions, I used a seam ripper to open the cushion, cut the foam and extra fabric, and re-sew.

Estimated Cost
500 including cushions
Estimated Time Investment
Week Long Project (20 Hours or More)
Finish Used
American Walnut water-based stain
Clear/Satin spar urethane
Recommended Skill Level
Beginner

Comments

Rustic X Coffee Table

My 1st coffee table and I'm in love with how this came out. Really proud of myself for this one!

Estimated Cost
92.26 in lumber
Estimated Time Investment
Weekend Project (10-20 Hours)
Finish Used
Used gunstock stain and tricorn peppercorn SW paint
Recommended Skill Level
Intermediate

Comments

Farmhouse queen sized bed

Submitted by Miaya39047 on Sat, 02/16/2013 - 21:27

This project cost about 120.00 to make and about a weekend to build it. Plans make it very easy and it's beautiful and sturdy. I painted it antique white and used 1 coat of polycrylic on it.

Built from Plan(s)
Estimated Time Investment
Weekend Project (10-20 Hours)
Recommended Skill Level
Beginner

Comments

Seasonal And Holiday
Back