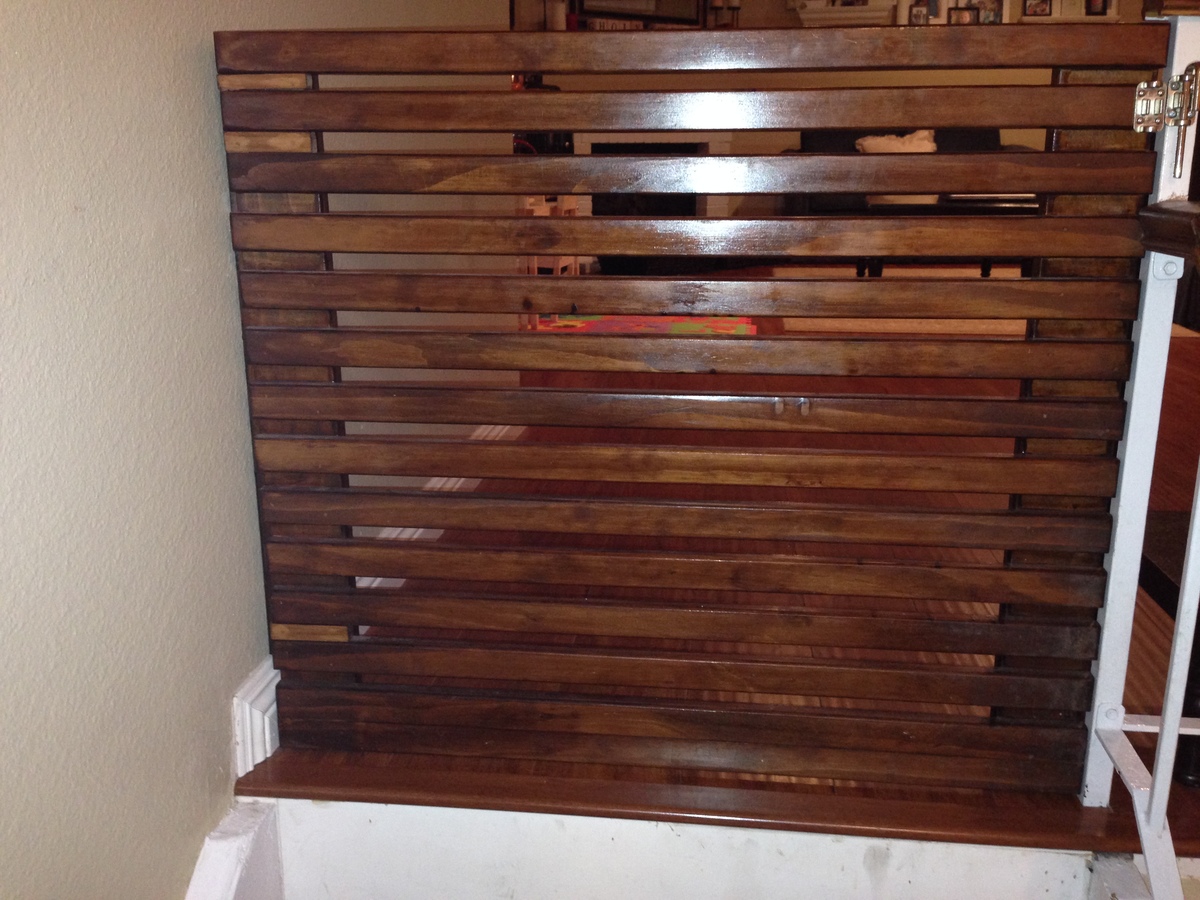
Community Brag Posts

Outdoor Sectional

Submitted by Anonymous (not verified) on Mon, 04/04/2016 - 06:29

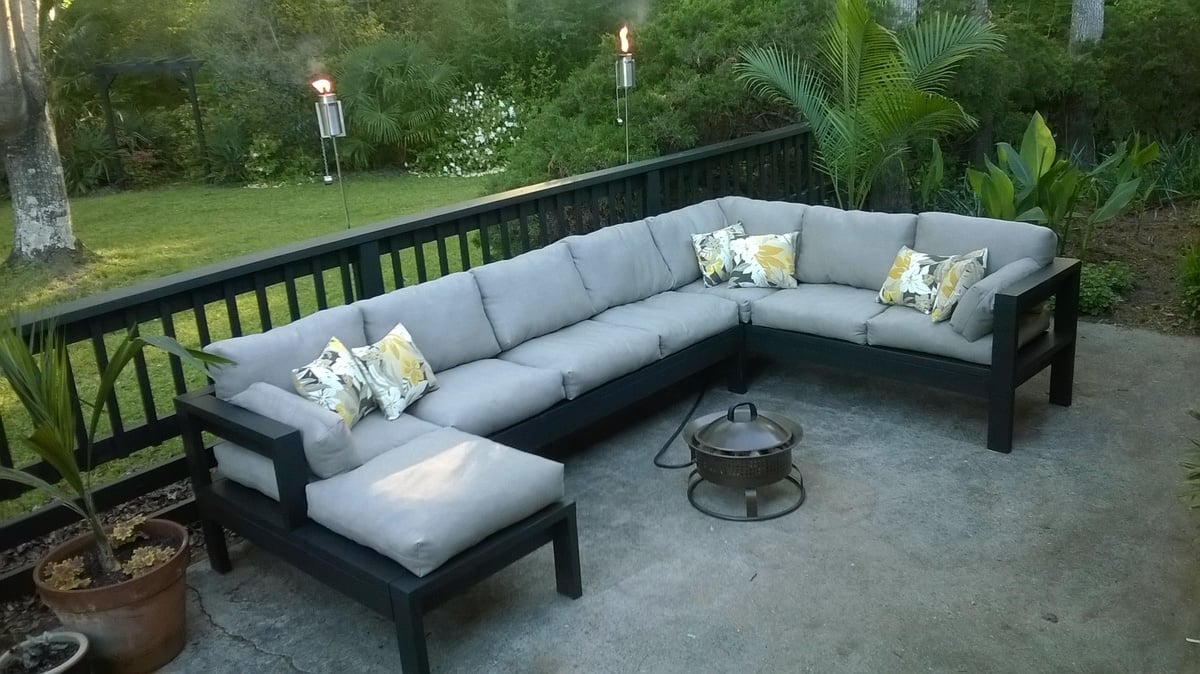
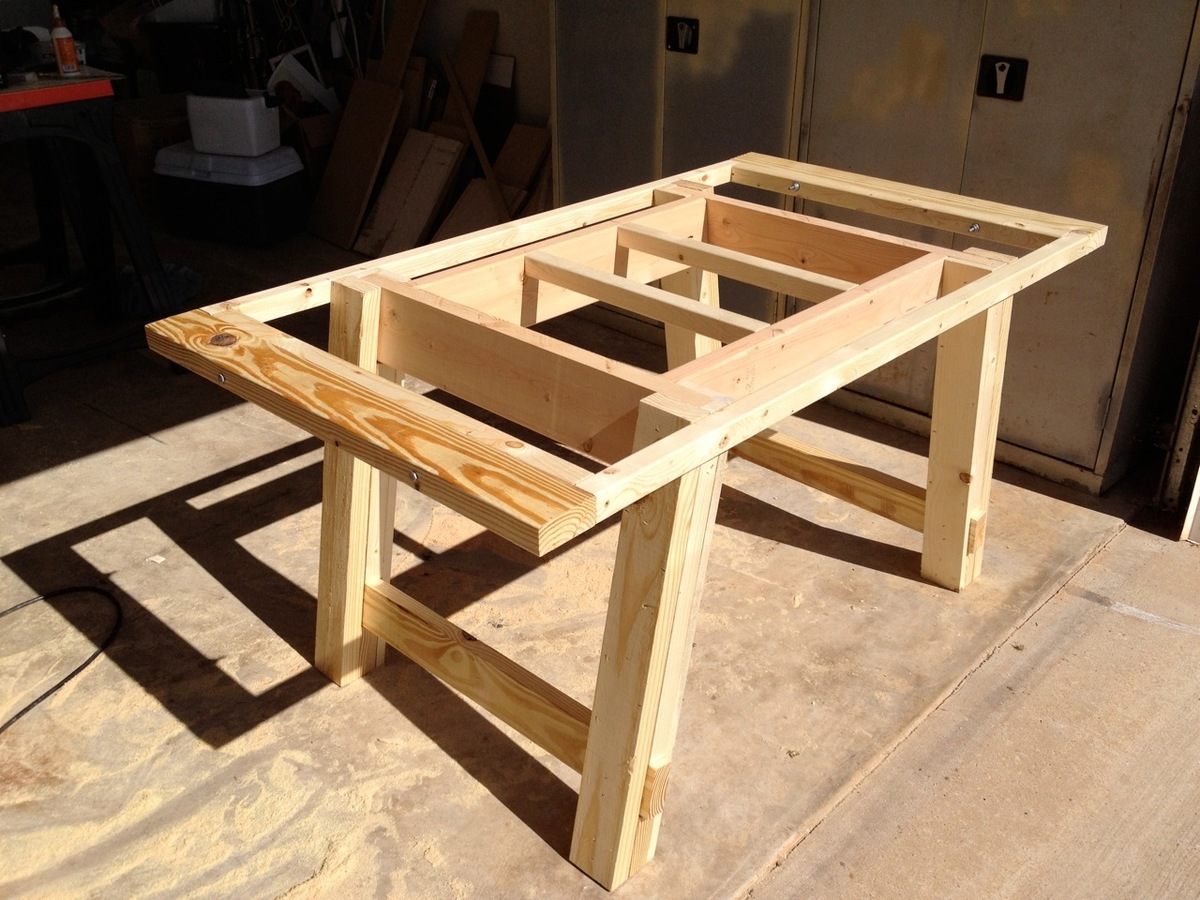
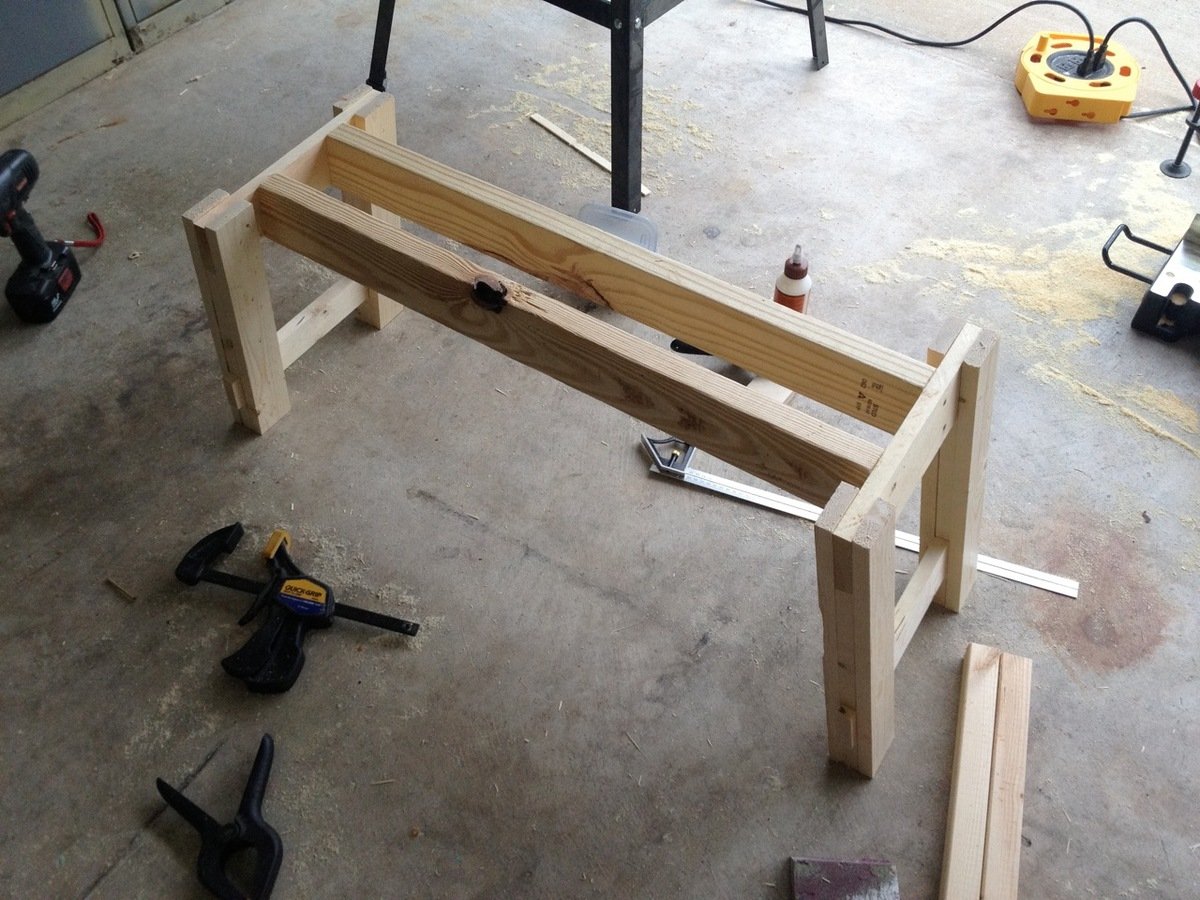
I modified the plans slightly, reducing the overall seating depth by 1.5" so I could use 8' lumber with minimal waste, and make 2 cushions out of one 54" width of fabric. I also tweaked the design to make a chaise lounge on one side. I used bargain priced sunbrella fabric (has a few imperfections) and recycled soda bottle fill for the cushions to keep cost lower. Building the wooden part was quick and easy (took an afternoon including two trips to the store), but this was my first sewing project so the total project time reflects my learning curve making and stuffing cushions.

Estimated Cost
Just under $300 total.

The lumber cost was less than $100. It was my first sewing project, so I was surprised that the cushion stuffing was the most expensive element of the whole project. If you can find cheap pillows, the plans are easily modified to fit their dimensions.
Estimated Time Investment
Week Long Project (20 Hours or More)
Finish Used
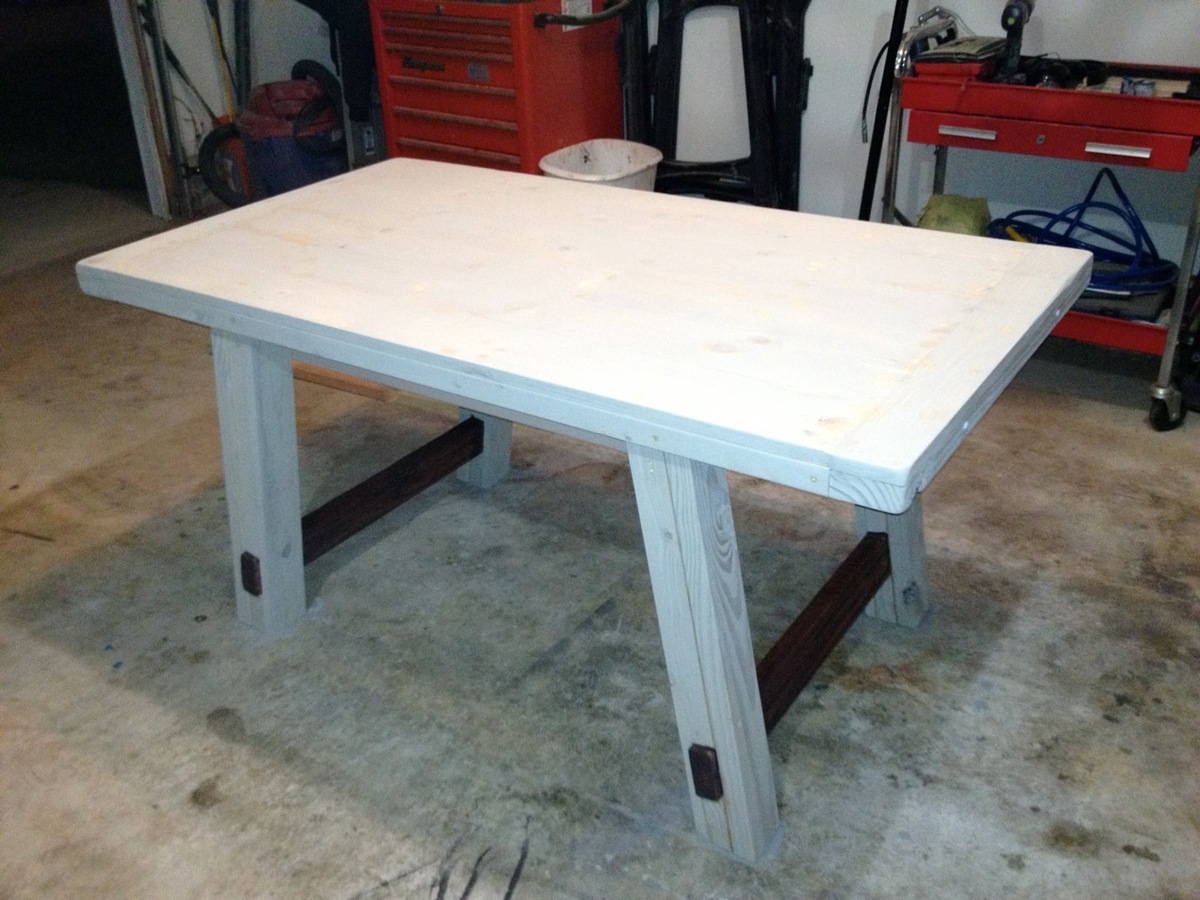
behr weatherproofing solid color, slate.

A narrow roller was a life saver in getting between all of the boards on the seat.
Recommended Skill Level
Beginner

Comments

marylowry

Wed, 04/06/2016 - 06:34

This looks really great! You have inspired me to stop procrastinating and get started on our outdoor sectional. Every time I think about doing it the building part seems fun but, I'm overwhelmed by the task/cost of the cushions. I'm interested in learning more about the fill you used. Where did you find it and what was the approximate cost? Thanks and great work!

sheinerbock

Wed, 04/06/2016 - 11:02

This came out amazing!! I just finished my very first project using plans on here and have the bug to keep building more!!! An outdoor sectional is next on my list!! Great job it looks fantastic.

Gregbpsu

Wed, 06/29/2016 - 20:25

Whoops - sorry about that. This looks amazing, and the detail on the fabric is quite fantastic. I have been wanting to replace some old furniture that is falling apart, and this would really be a wonderful addition to the outdoor space. Kudos on the great work. 

Rustic Console Project

Submitted by Anonymous (not verified) on Wed, 04/06/2016 - 07:31

This was my first project building something from this site. I absolutely love it! We didnt add the X's because the miter saw was at my dad's house, which I was kind of sad about, but I think it still looks good. Not too bad for mine and my husbands first build! 

Built from Plan(s)
Estimated Cost
$75
Estimated Time Investment
Weekend Project (10-20 Hours)
Finish Used
Minwax Jacobean
Recommended Skill Level
Beginner

Farmhouse King Bed Frame

Since developing a love for woodworking I’ve began building things for other people. This particular bed frame I built for a couple who are rebuilding their home after it unfortunately burned down. It’s a beautiful farmhouse home out in the country, and this bed frame fits perfectly in their new home.

Estimated Cost
$250
Estimated Time Investment
Weekend Project (10-20 Hours)
Finish Used
I used minwax pre-stain to prepare the wood. I then stained it using special walnut by Varathane (got it from The Home Depot). Finally, I finished it using a clear satin polyurethane by Minwax.
Recommended Skill Level
Beginner

Corner TV stand

Submitted by TBarn on Tue, 01/21/2014 - 12:41

After a promise to get a new carpet and TV stand as an anniversary gift, I began a search for a corner stand that would fit a 50" flat screen and hid all of those ugly wires. Craig's List had nothing and the retail options were either cheaply made, ugly or crazy expensive. I stumbled upon Ann's page, and since my son has a wood shop in the basement, I figured why not try to build something. I used the original plan, but borrowed ideas from other brag posts to create a 36" tall model with overlay doors that we think looks great. Next project: bar stools for the kitchen island.

Built from Plan(s)
Estimated Cost
$200
Estimated Time Investment
Weekend Project (10-20 Hours)
Finish Used
Zinder Primer and Gidden (America's Finest) Semi Gloss
Recommended Skill Level
Intermediate

Benchwright Farmhouse table and bench

I started this Table and bench because, we have a one year old and we had a bar height table. Something a little shorter was needed, so I picked the Benchwright plans since they were most like our style. I used all white wood from Lowes and some pine 2x4's. Since the original plans made the table a little too large for our house I shortened the length on the table and bench by 15". This was the largest project I have done so far, but the plans are so easy to use, that the major time spent for me was getting the wood, and sanding and staining. I submitted the last picture here, because I originally picked out a Rust-oleum Sunbleached stain, or so it said. As you can see from the photo it just made everything grey, and was not the look I or my wife were looking for. I recommend very carefully picking a stain color out and testing it on similar wood before using it on your finished project. I spent two hours after this mistake sanding off the stain, and since it was grey it still shows through a lighter color. In the end we are both happy with the final product, and you don't learn until you try and mess-up a few times. I really had a lot of fun with this project, and can't wait for the next thing to build.

Estimated Cost
$200
Estimated Time Investment
Day Project (6-9 Hours)
Finish Used
Minwax-Ipswich Pine 221(two coats on table)(One coat on bench), Minwax-Bombay Mahogany Satin 380 (one coat left on for 15 mins on cross members)
Recommended Skill Level
Intermediate

Comments

Britterz (not verified)

Wed, 04/18/2012 - 11:43

Wow! Your table looks spectacular! Great job! I especially love that bench. I would like to build a bench to go with my benchright table. How did you do it?

dklunde

Wed, 05/30/2012 - 11:25

I dont see any screws on the ends of the planks into the top of the table.
Did you only screw up from the bottom? Did you do that on the plank ends
also?

Thank you for the in process photos too. It really helps alot. Also helps to
see that everything doesnt have to match up perfect seam-wise. I get too used
to manufactured stuff...and forget how beautiful hand made items can be
simply because of their imperfections in the woods.

In reply to by dklunde

Kevin.Leach

Wed, 06/06/2012 - 19:59

I used finish nails from the top into the structure, and then used wood filler to
Fill in the holes. The ends are only held on by the two bolts on the ends.

I appreciate the handmade quality of real wood furniture as well. Even when small mistakes are made here and there, the end result is something to be proud of.

dklunde

Wed, 05/30/2012 - 11:26

Sorry...just thought of another question.... Did you glue in between your planks?

In reply to by dklunde

Kevin.Leach

Wed, 06/06/2012 - 20:10

I did glue between the planks and underneath, I figured anything to keep the boards closer together and fill in the gaps would help.

Outdoor Grill Station

Submitted by Anonymous (not verified) on Tue, 09/05/2023 - 09:21


This rolling bar was inspired by Ana White's plan.  It is used as a bar and conceals an electric smoker and a grill.  I added handles for moving and some hooks on the sides.  I stained the salvaged 2 X 6 's and brushed on clear oil based poly on the new Cedar fence boards.

Billie

Folding Work Table First Project!

Submitted by Anonymous (not verified) on Tue, 09/12/2023 - 09:52

This is my very first project. I have no other tools yet besides the drill, so I had to make all the cuts with the hand saw, but it worked out well :) As I am in Europe, the imperial metrics mean nothing to me. The wood they sell here is of different sizes. That is overall not an issue, although I had a tough time calculating the holes for the legs. Luckily, only one error hole, and all came out level on the first try. No waste of wood! I also had a good helper.
Thank you, Ana

Ventsi

Sweet Pea Bunk Bed Plans turned into a dream for our Little Girl

Submitted by ShushiGirl on Thu, 01/30/2014 - 09:01

We loved the Sweet Pea plans so much but we didn't need bunk beds. We turned it into a loft bed with a playhouse underneath. We also inverted the shelves on the stairs to be inside the playhouse due to her room size. Added a second roof and window boxes. This project was fun and took us 10 days to complete. Thank You so very much for sharing these AWESOME plans!!

Estimated Cost
$1100.00
Estimated Time Investment
Week Long Project (20 Hours or More)
Finish Used
We used Baer Premium Paint sold at Home Depot
Recommended Skill Level
Intermediate

Comments

junior2725

Sun, 02/02/2014 - 22:11

I am looking at making this for my daughter and I also want to do a playhouse on the bottom as she is a single child. Did you just extend the opening to the bottom bunk to the floor and then extend the bottom windows down some to let in more light? Also, I love the idea of switching the storage from the stairs to inside the playhouse. If possible could you elaborate on how you did this. Thank you.

ShushiGirl

Tue, 02/04/2014 - 15:46

We omitted the bottom bunk and took it straight to the floor. We left the side panel clear but the frame until we built the stairs then added trim & side boards around the cubbies.

nadia37

Sat, 05/24/2014 - 07:51

First of all, what an amazing job on your build! I was looking for ideas for a playhouse and I will be modifying the plans for Sweet Pea Bunk beds and your build let's me know how get it can be. But what colors did you use? The look great together!

E81firegirl

Sun, 07/17/2016 - 14:49

I love the changes on this!  I had a question.  What did you use for the roof and is the lower roof section built to the same specifications as the upper roof?

Coffee Table!

Submitted by kschuck on Sun, 02/02/2014 - 15:18

We completed this project over several weekends, but that was mostly because we only worked on it for an hour or two. I was THIS close to purchasing a $499 coffee table from Crate and Barrel, when I saw these plans. I wasn't sure how the drawers would work, since we couldn't find short enough drawer slides, so we kind of had to improvise by making our own. This way, we avoided the extra weight from a third piece of plywood on the bottom-most level. We had the sanded plywood cut at Home Depot, and amazingly it fit perfectly! We used the Kregg Jig on almost everything, except for the plywood, because our screws were just a touch too long for 1/2". We definitely had to measure each drawer individually, because they were not the same! (Can you tell? I hope not). It's a good thing I was going for the rustic look, because every time I had a bad spot, I could just hammer it around a bit and make it look worn. We finished this project with a stain and sanded off the edges to keep it from looking too perfect.

We had a great time with this project, and are trying to refrain from starting on the console table!!

Built from Plan(s)
Estimated Cost
$100
Estimated Time Investment
Weekend Project (10-20 Hours)
Finish Used
Rustoleum Dark Walnut, followed by Minwax finishing paste wax
Recommended Skill Level
Intermediate

Rustic Bookcase

Submitted by kristyzed on Sat, 02/15/2014 - 10:35

I wanted to build a piece for my living room that I could add onto later with other matching pieces. This was perfect since it has the matching coffee table, side table, and console table. It was my first time making angle cuts, and not tricky like I thought it would be. This is a very solid piece and fits in nicely with my decor.

Built from Plan(s)
Estimated Cost
$120
Estimated Time Investment
Day Project (6-9 Hours)
Finish Used
Stained with Minwax's Espresso stain.
Recommended Skill Level
Beginner

Comments

dbraa

Mon, 04/13/2015 - 18:24

Knotty Pine 2x boards aren't available here. Could you provide more specifics about what you used for each type of board?

Modified Ultimate Roll Away Workbench with Miter Saw Stand

Submitted by Anonymous (not verified) on Thu, 02/27/2020 - 14:28

I loved the idea of roll away cabinets that could double as more tabletops for larger projects but then be able to hide them and save space. I usually have 2 cars parked in the garage and space us at a premium. Instead of a mitersaw I placed my scrollsaw in the middle added peg board, lights, and a shelf. Thanks for the plans and the idea.

Estimated Cost
$325.00
Estimated Time Investment
Weekend Project (10-20 Hours)
Finish Used
Wood working workbenches.
Recommended Skill Level
Intermediate

Comments

Corner beds

Submitted by CLDavis on Sat, 03/15/2014 - 12:52

Thanks for the plans! The beds turned out great. I just made everything about 6 inches higher for more storage space.

Built from Plan(s)
Estimated Time Investment
Weekend Project (10-20 Hours)
Recommended Skill Level
Beginner

Matching Stools for Kids

This was my second project from Ana White, and overall it was successful. I used a miter saw for the cuts (struggled with the bevel because my 12 inch saw isn't a slider, a kreg jig to attach everything (struggled to attach the 1x3s to the legs due to the angle of the dril and tight space), but everything eventually was held solidly together and it's really very sturdy. My husband is about 160 and he was able to jump on it with absolutely no give. 


The paint is just small samples we had on hand from home depot to coordinate with other projects in the kids' rooms, and I handpainted the letters. I finished it with a double coat of polycrylic. 

Estimated Cost
$20 total for two stools.
Estimated Time Investment
Day Project (6-9 Hours)
Finish Used
paint and polycrylic
Recommended Skill Level
Beginner

Adjusted Counter Height Farmhouse Table

Submitted by rahurtado on Mon, 05/04/2020 - 23:26

I liked the look of the “counter height table” and adjusted the height to make it a table for an office. I used 4x4s for the legs and oak for the top.
I used a biscuit joiner to join the top, a Dremel tool to carve grooves in the frame so I could attach the top with figure 8 fasteners (allows wood to move as it expands and contracts).

Recommended Skill Level
Intermediate

Custom Gate

Submitted by zduchene on Fri, 04/18/2014 - 22:41

When we first moved into our new home one of the first things that I built for it was this custom gate that resides at the top of our stairs. We needed this to keep the baby from falling down and keep the dogs out when need be. Overall it was a great way to separate the two areas. It is also inexpensive and easy to build. I used a pneumatic nailer for all of the joinery on this one so it was quick to build as well.

Estimated Cost
75-125
Estimated Time Investment
Afternoon Project (3-6 Hours)
Finish Used
Early American Varathane Stain
Recommended Skill Level
Beginner

Vintage Doll Cradle

Submitted by Anonymous (not verified) on Wed, 07/27/2016 - 09:59

I used leftover plywood (1/4 inch) instead, but would only recommend it, if you plan to paint the cradle (due to splintering when you make your cuts). I also used my nail gun instead of screws, which worked fine since the wood is a lot thinner and lighter. The cradle is very sturdy and my 4-year-old loves it. Thanks for the awesome plans!!

Built from Plan(s)
Estimated Time Investment
An Hour or Two (0-2 Hours)
Recommended Skill Level
Beginner

Rustic Dining table

Submitted by Anonymous (not verified) on Sun, 08/07/2016 - 09:28

Took the plans from Ana white and made my own twist to it! Came out awesome and the person loved it that I made it for! Kona stain on table top and Navajo white on the bottom. Did the same for benches and chairs to match! Thanks for the great instructions! 

Built from Plan(s)
Estimated Time Investment
Weekend Project (10-20 Hours)
Finish Used
Kona stain and Navajo white, clear gloss poly
Recommended Skill Level
Beginner

Adirondack Chairs - first ever wood project completed

Submitted by fessehaye2 on Thu, 06/04/2020 - 17:00

Thank you for these really easy, step by step instructions. This was my first ever wood project and did it with borrowed mitre saw and few other tools I had at home. I'm now hooked and already planning my next project, twin beds for my kids.

Comments

Back