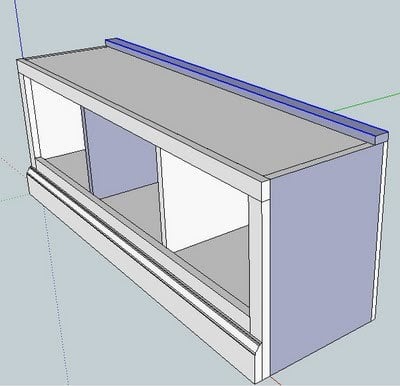
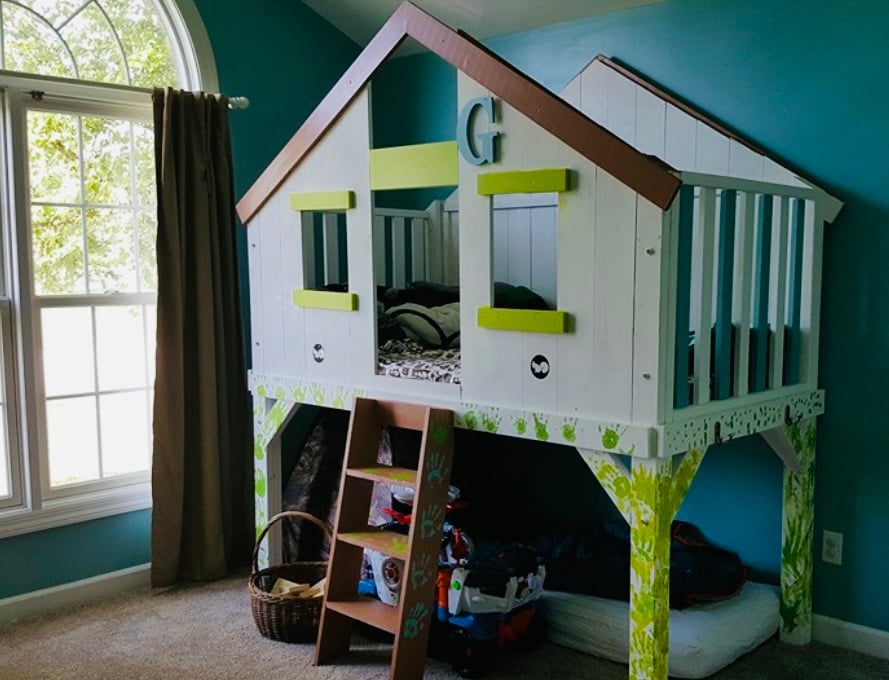
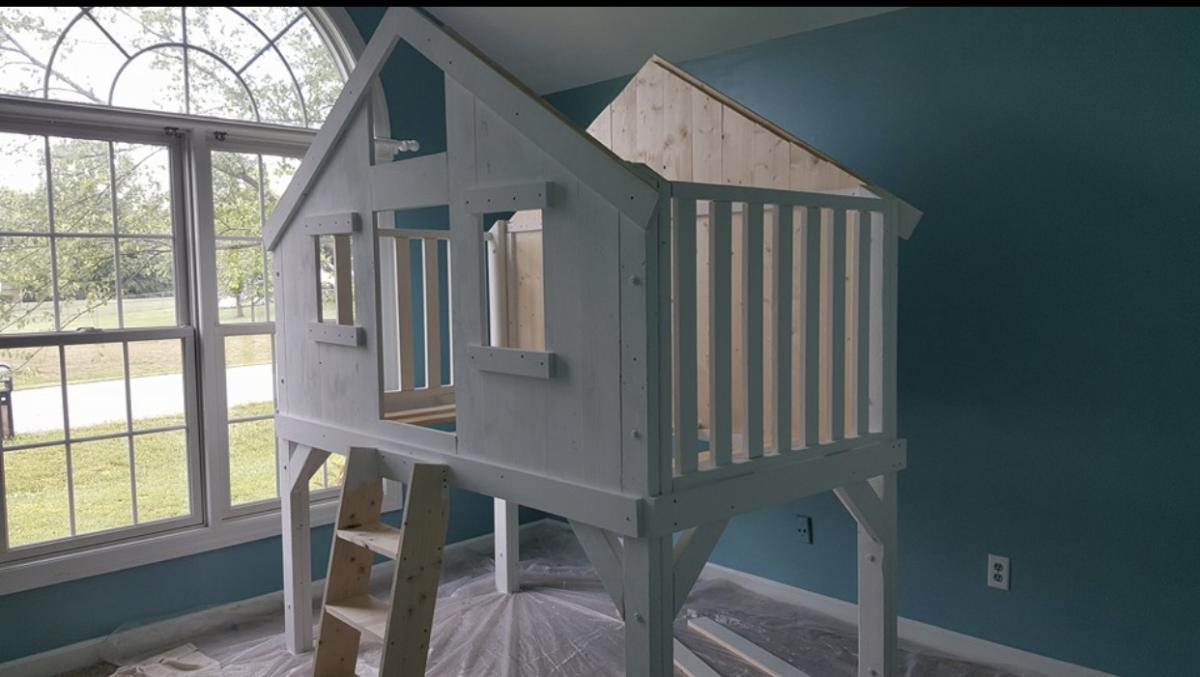
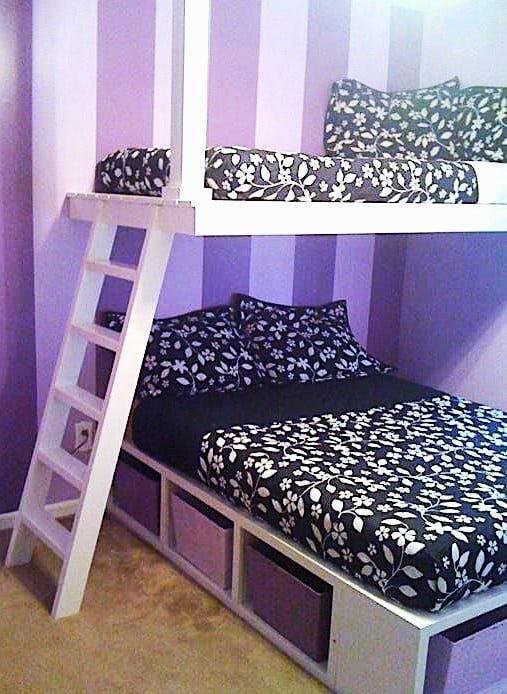
Bunk Bed with Stairs
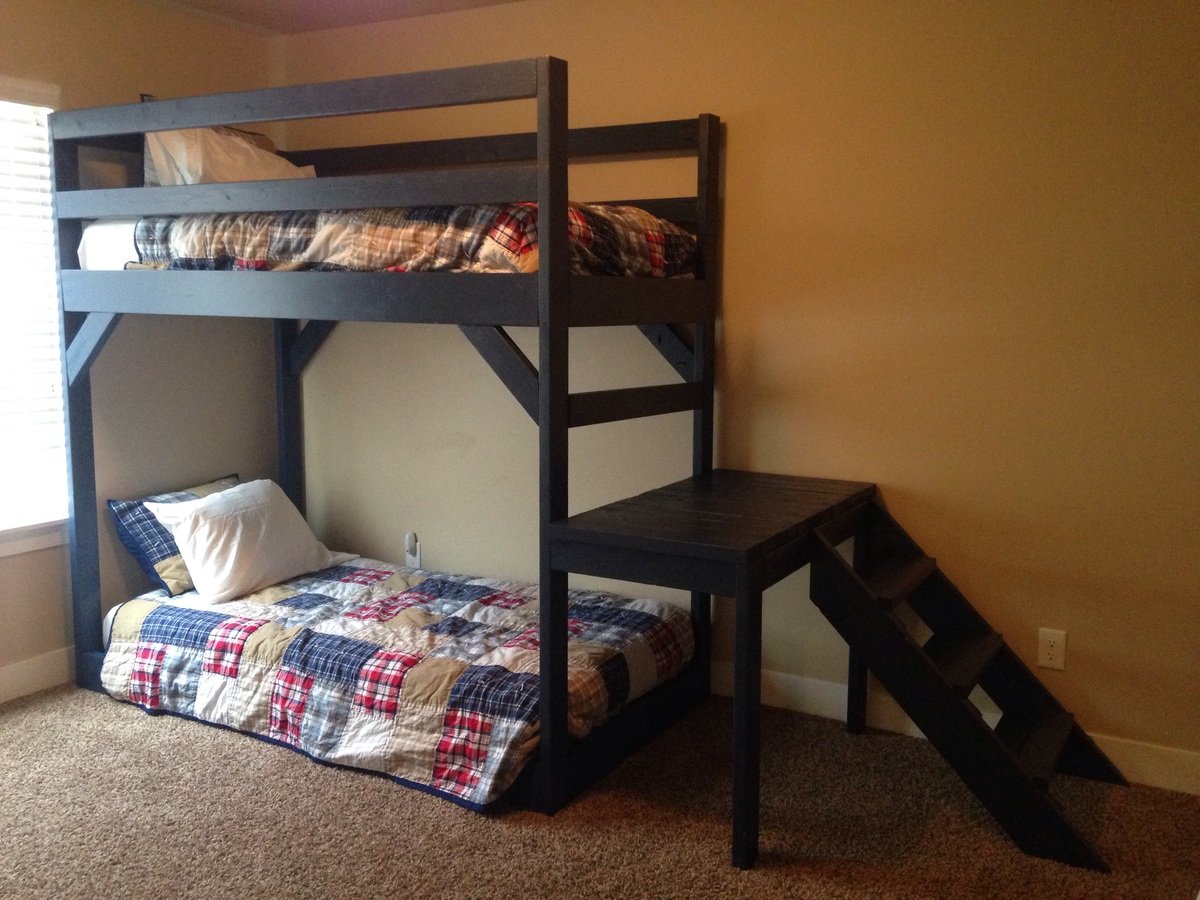
Modified plan to accomodate lower bed and changed stair location. Used pallet wood as bed supports.
Built from Plan(s)
Recommended Skill Level
Beginner
Modified plan to accomodate lower bed and changed stair location. Used pallet wood as bed supports.

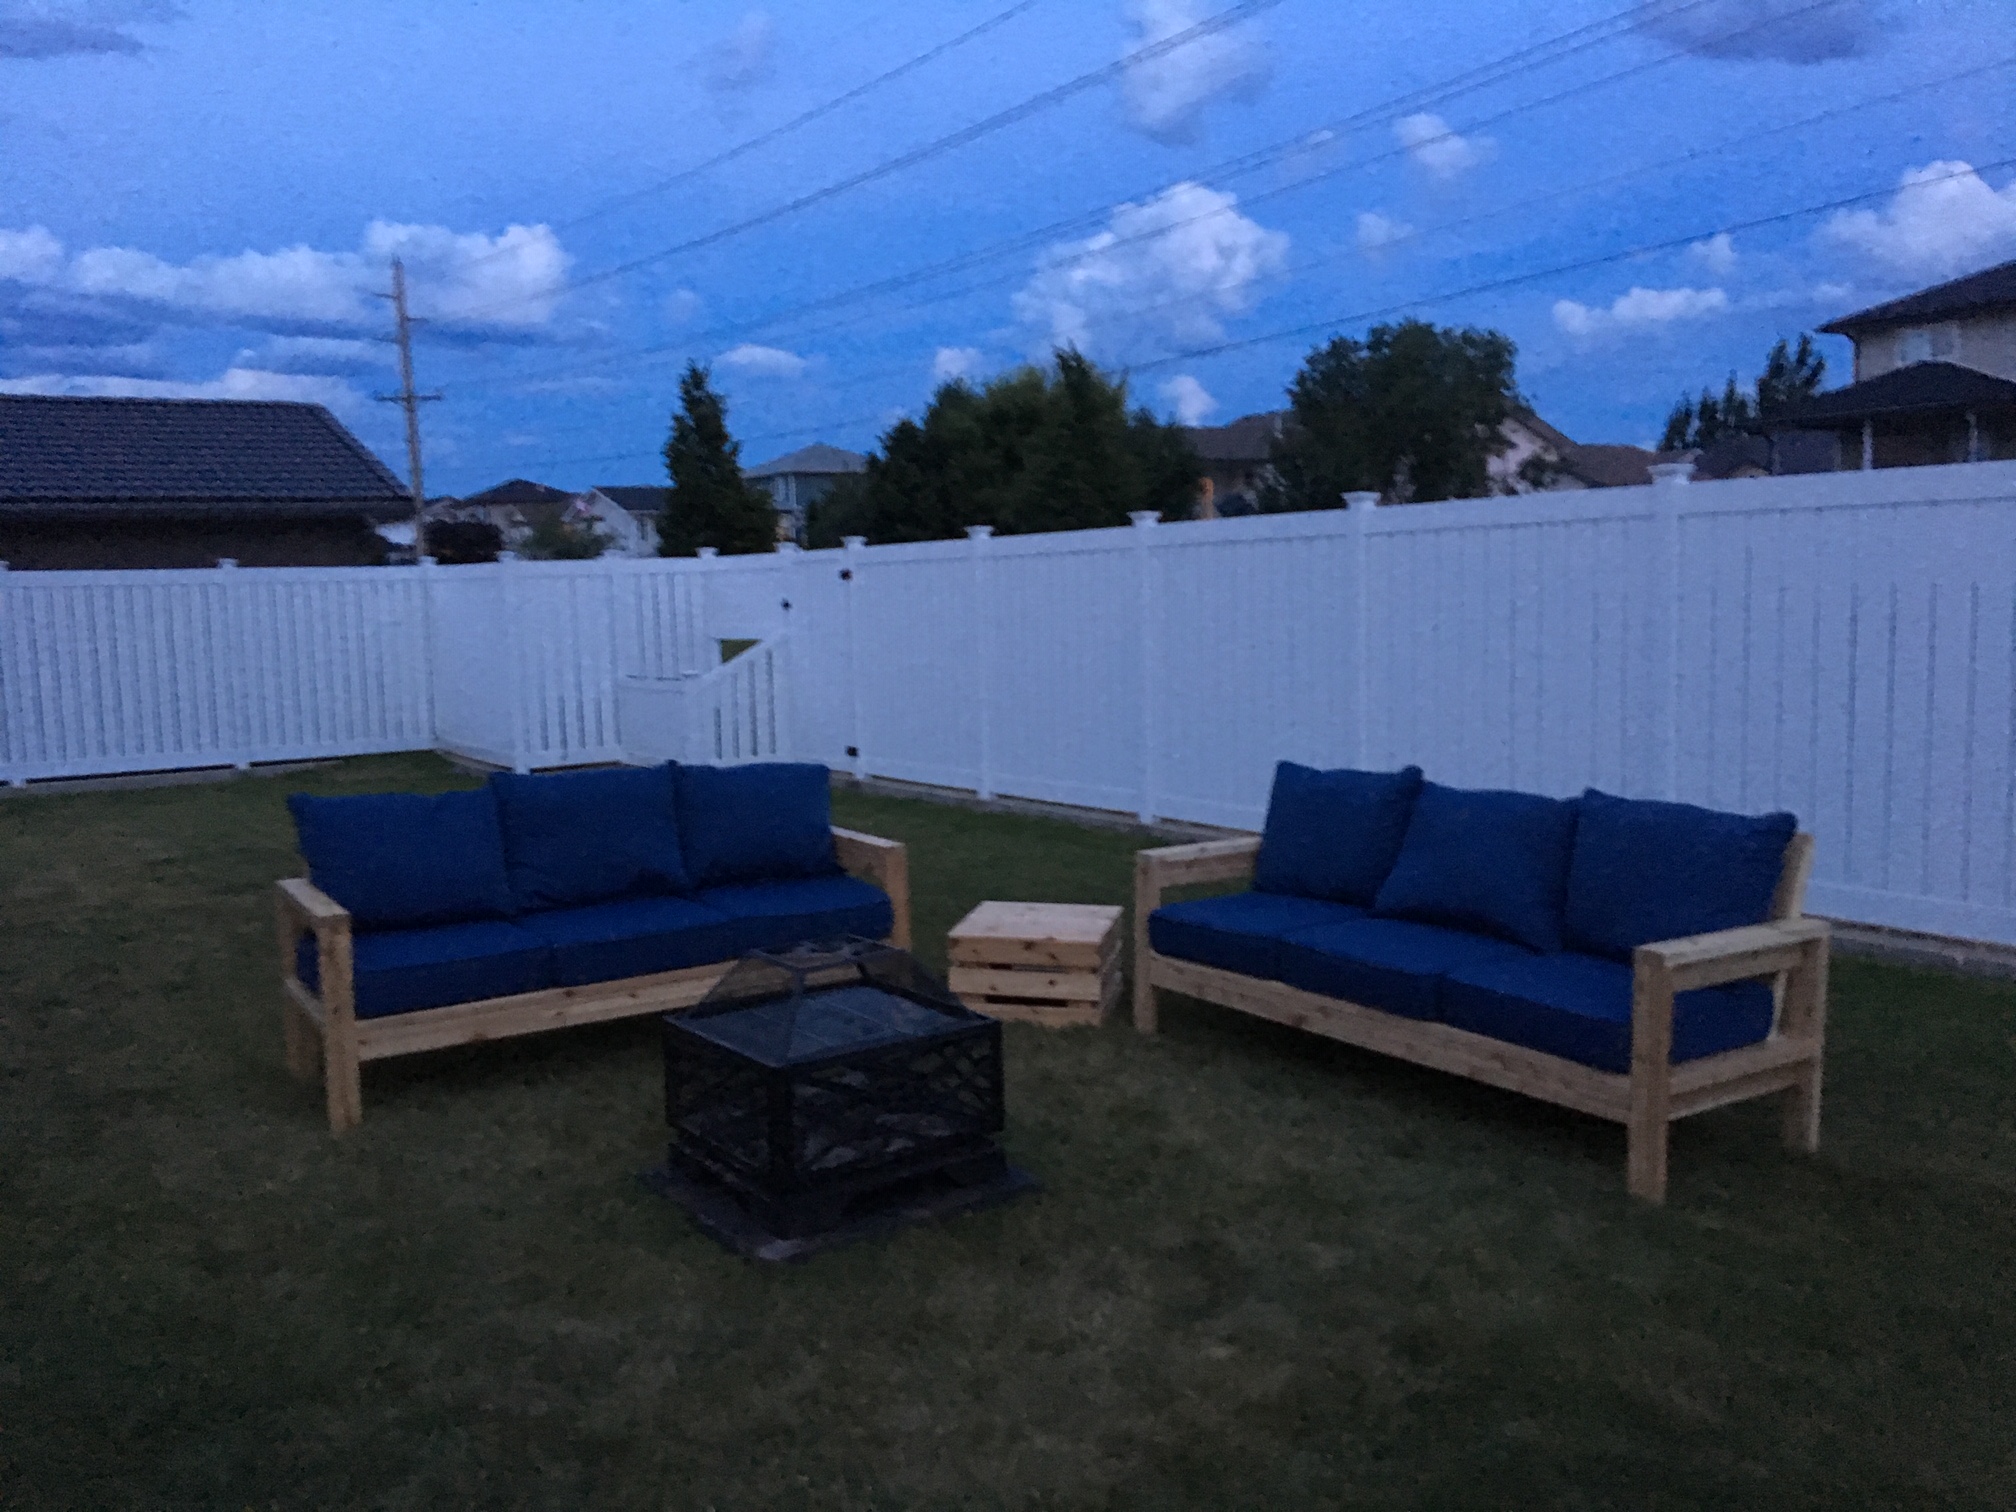
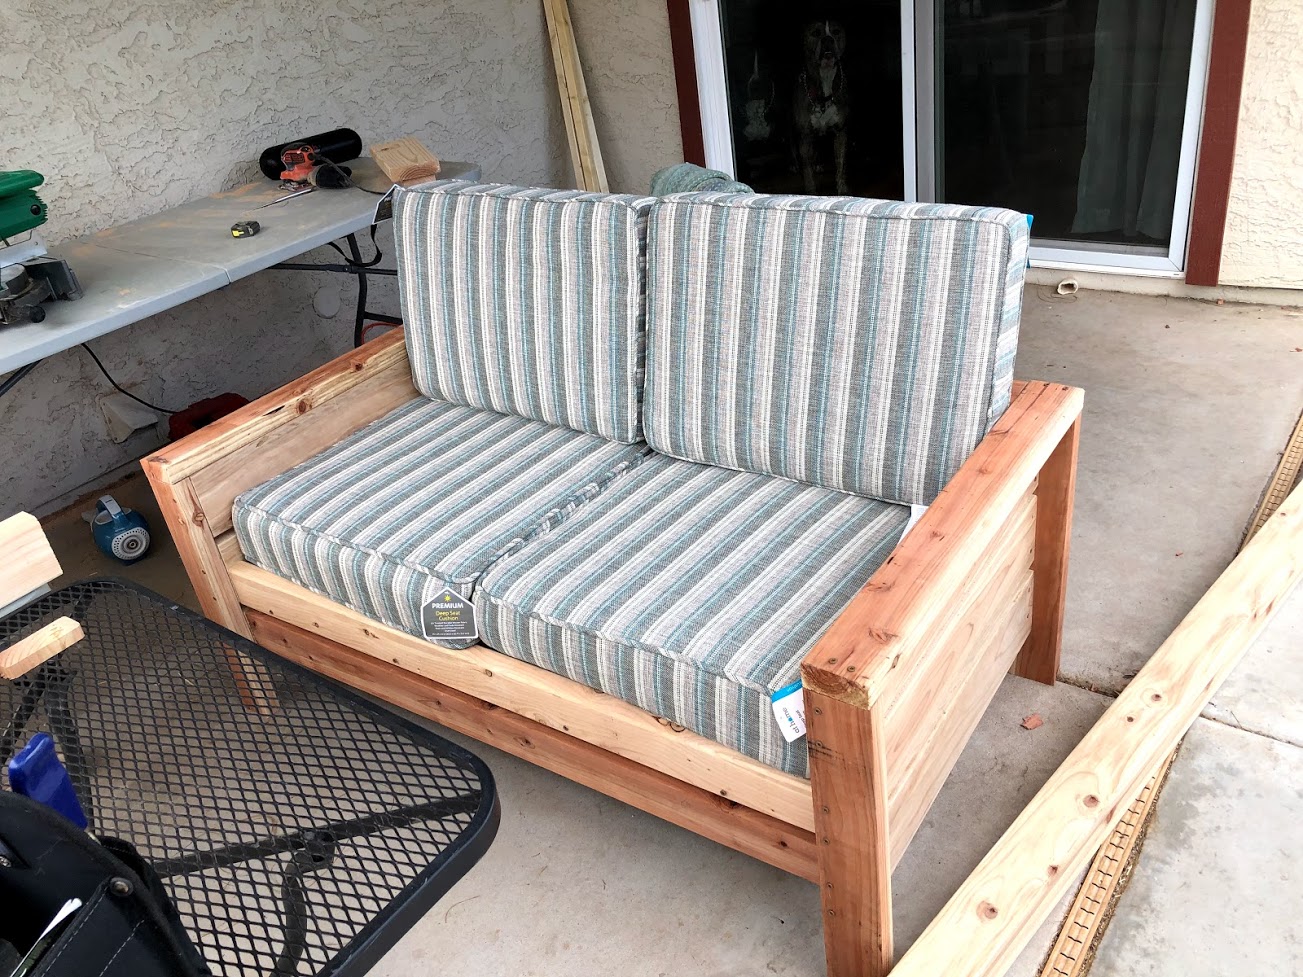
I built 2 of the 2x4 couches with slight modifications. I didn’t like the straight bar across the back so changed it to a leaning high back.
I also added a square box that can be used for a dividing table on the couch or side table when additional seating is needed.
Plan on scaling down for a love-seat and chair.
Kreg jig for pocket holes was time consuming but well worth it!


Made from reclaimed materials. Made it easier to standup with my bad knees
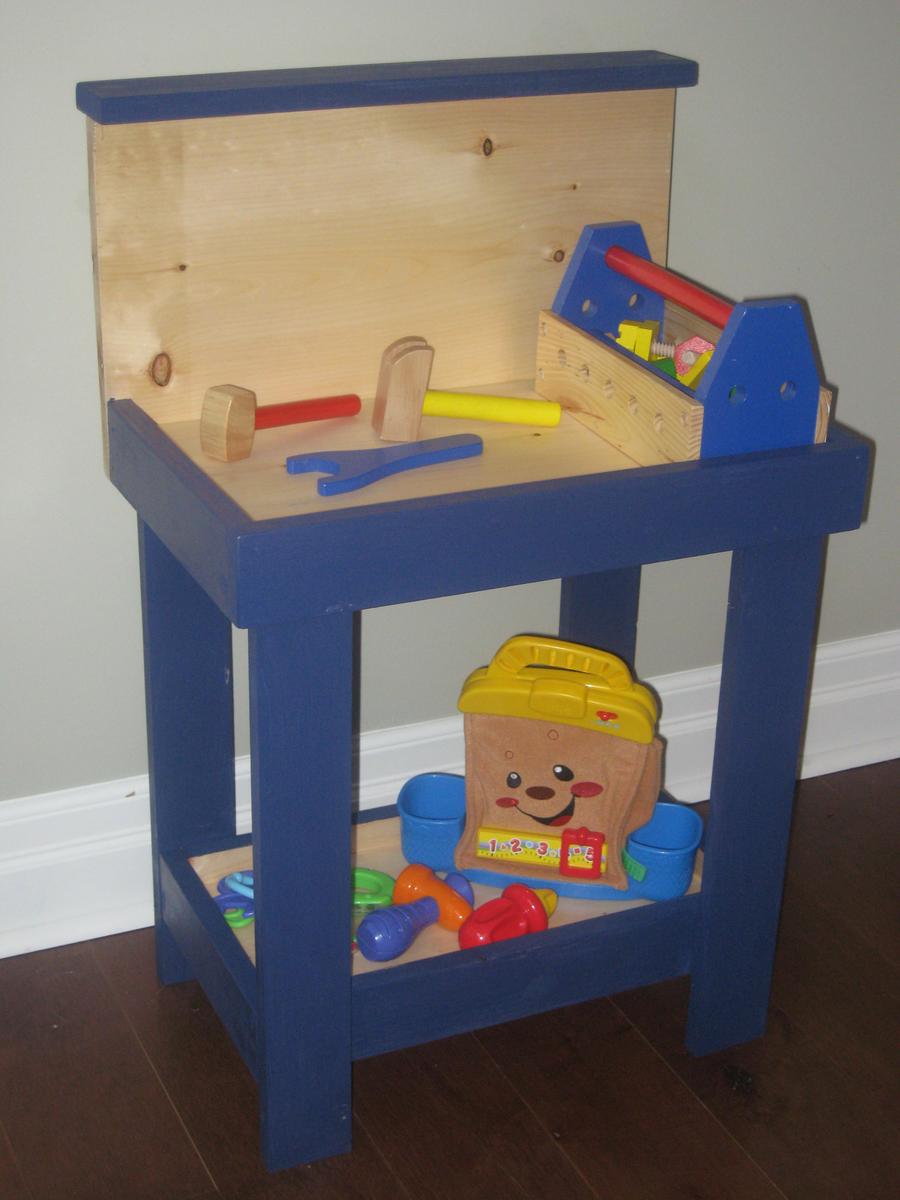
I am so excited to have my son see this on Christmas morning. I decided to build in the bottom shelf for more tool storage and I am considering drilling some holes in the sides of the top shelf or the back for hammering in "nails" (or clothespins painted grey). This was my first project without any man-help and I can't wait to get started on the next one! Thank you so much Ana for your designs and more importantly, your inspiration.
Fri, 12/02/2011 - 13:12
Awesome! I'm making one for Christmas also. Next week is a busy week for me because I'm making four different things. You did an amazing job and it's good to know that it only took a couple of hours.
We followed the plans closely, and it turned out well for the first project. It was the perfect size for what we needed! My husband had never built anything like this before and after a little research on how to use the kreg jig, he was able to finish it in a weekend.

I followed the plans and they were very clear.
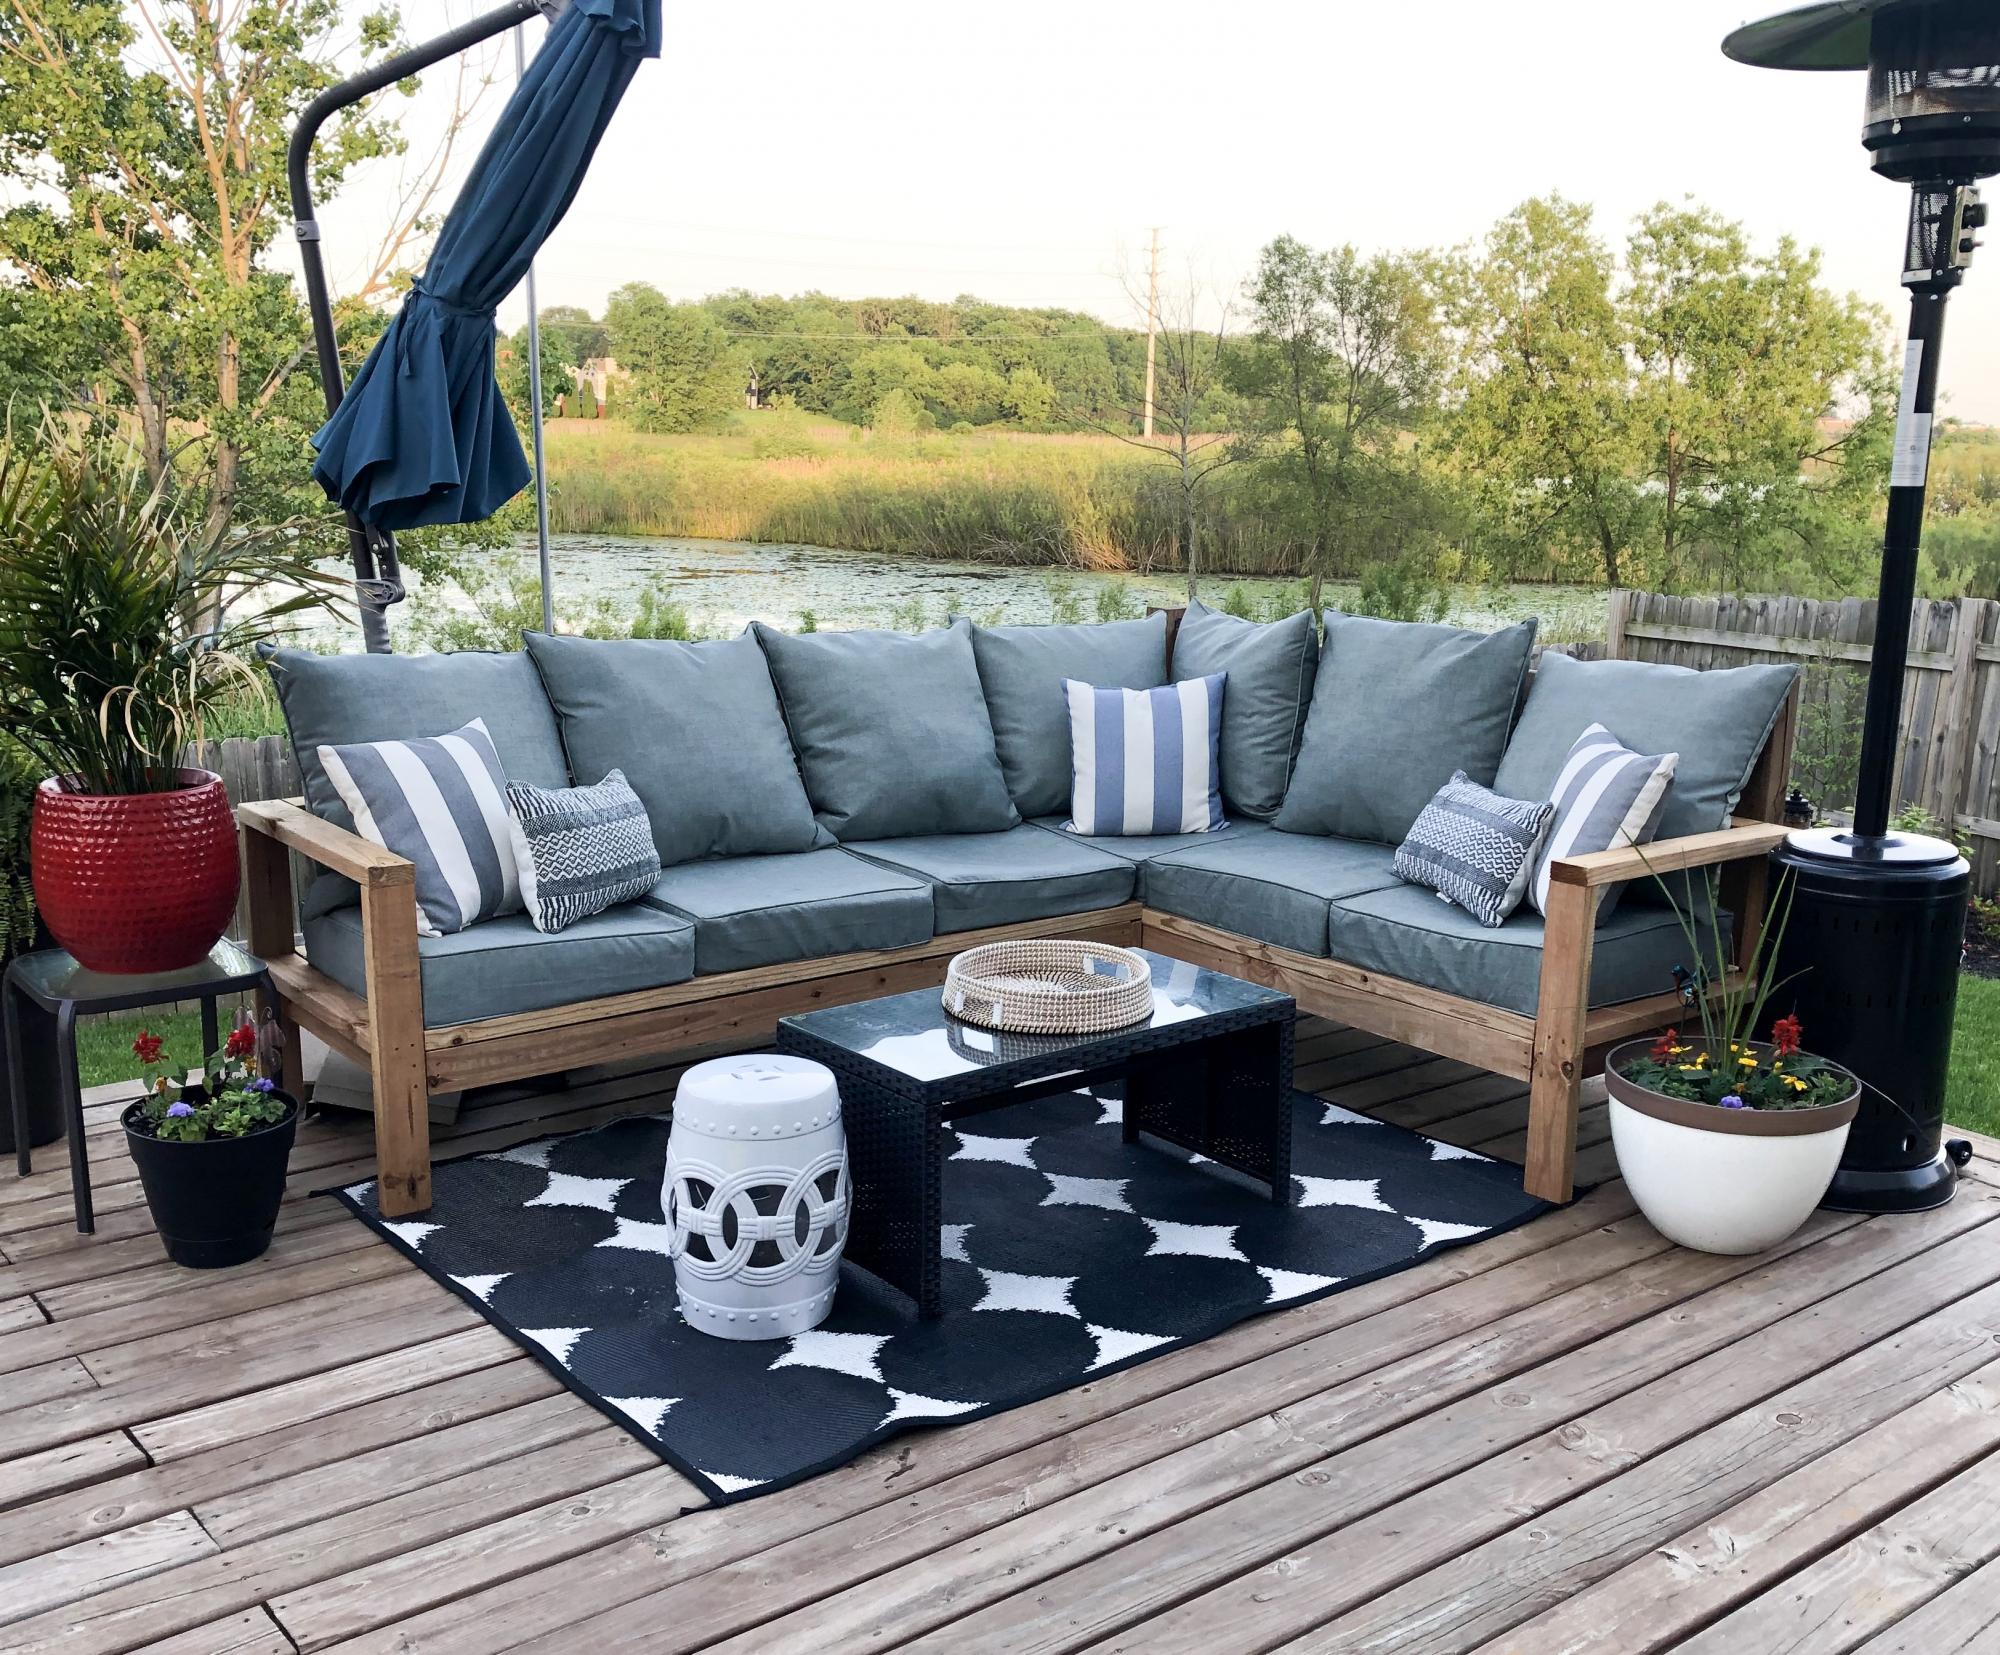
We built Ana’s outdoor sectional in a few hours and it’s made a huge impact on our deck! It saved us so much money but looks like a high end piece! Thank you for the simple and structured plans!

Fri, 06/07/2019 - 10:53
This is gorgeous! You really have an eye for putting different colors, textures and patterns together! Thank you so much for sharing a brag post.
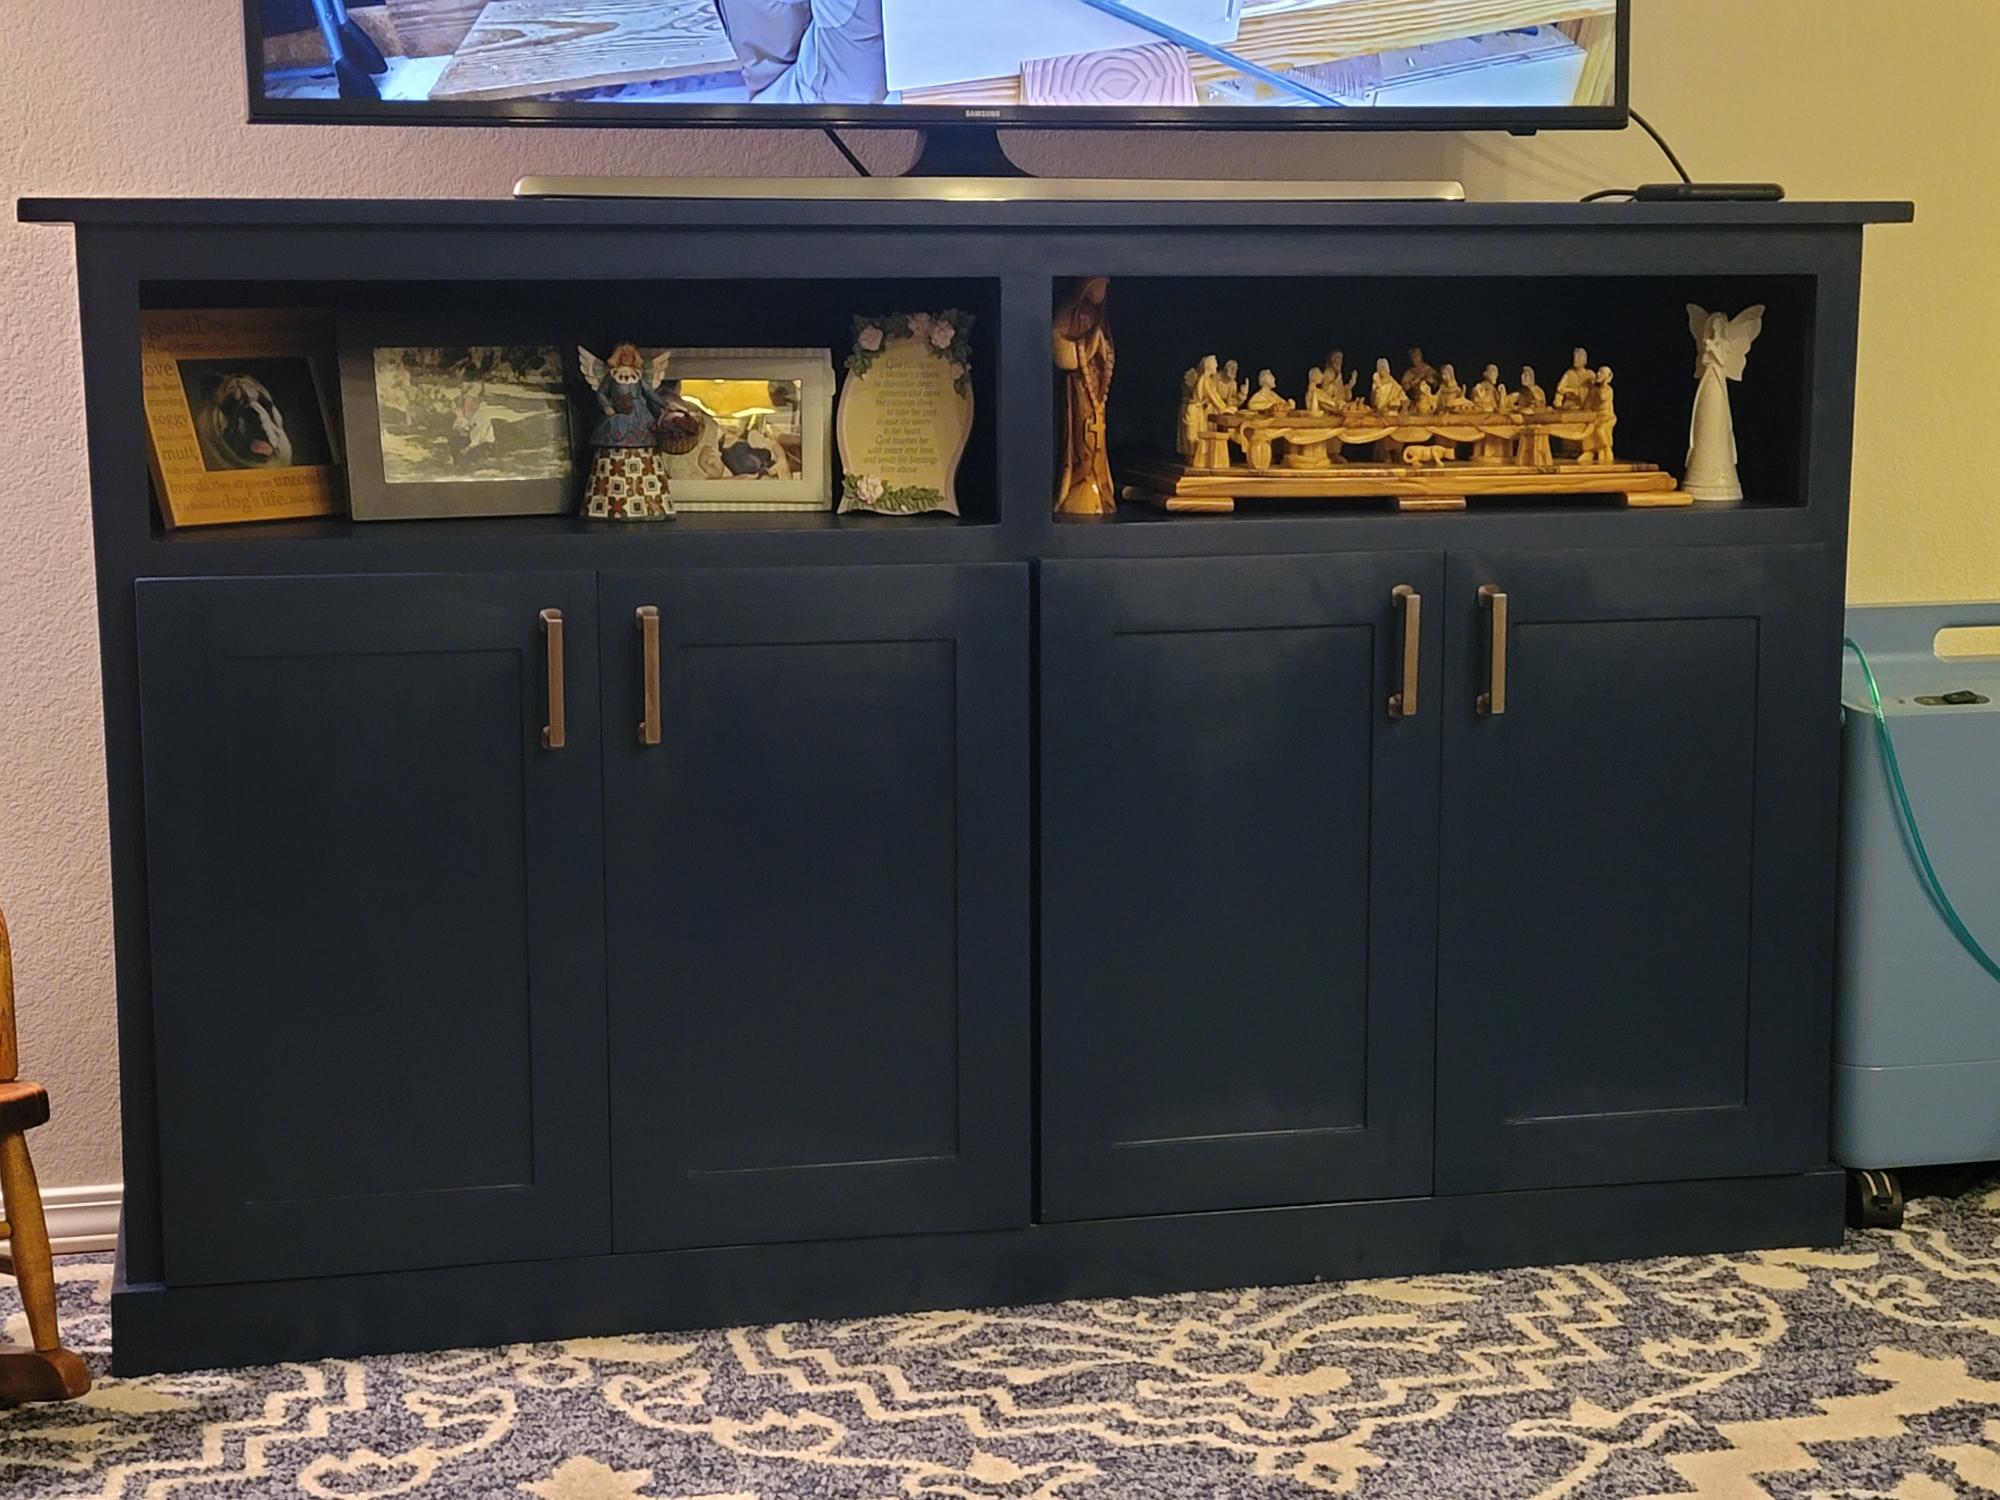
Thank you for this plan! We did a few alterations like the soft close shaker doors. We painted with Navy Blue paint mixed with BBFrosch chalk mix. Love this so much! John + Jina
Colorado
Sat, 03/25/2023 - 09:21
Really pretty, love the finish choice and soft close doors are so nice! Thanks for sharing.

Simple x bench followed the plans posted below except I shortened it to fit our old table.
Modified slightly to include just two legs and excluded the decorative pieces for a more streamined look.
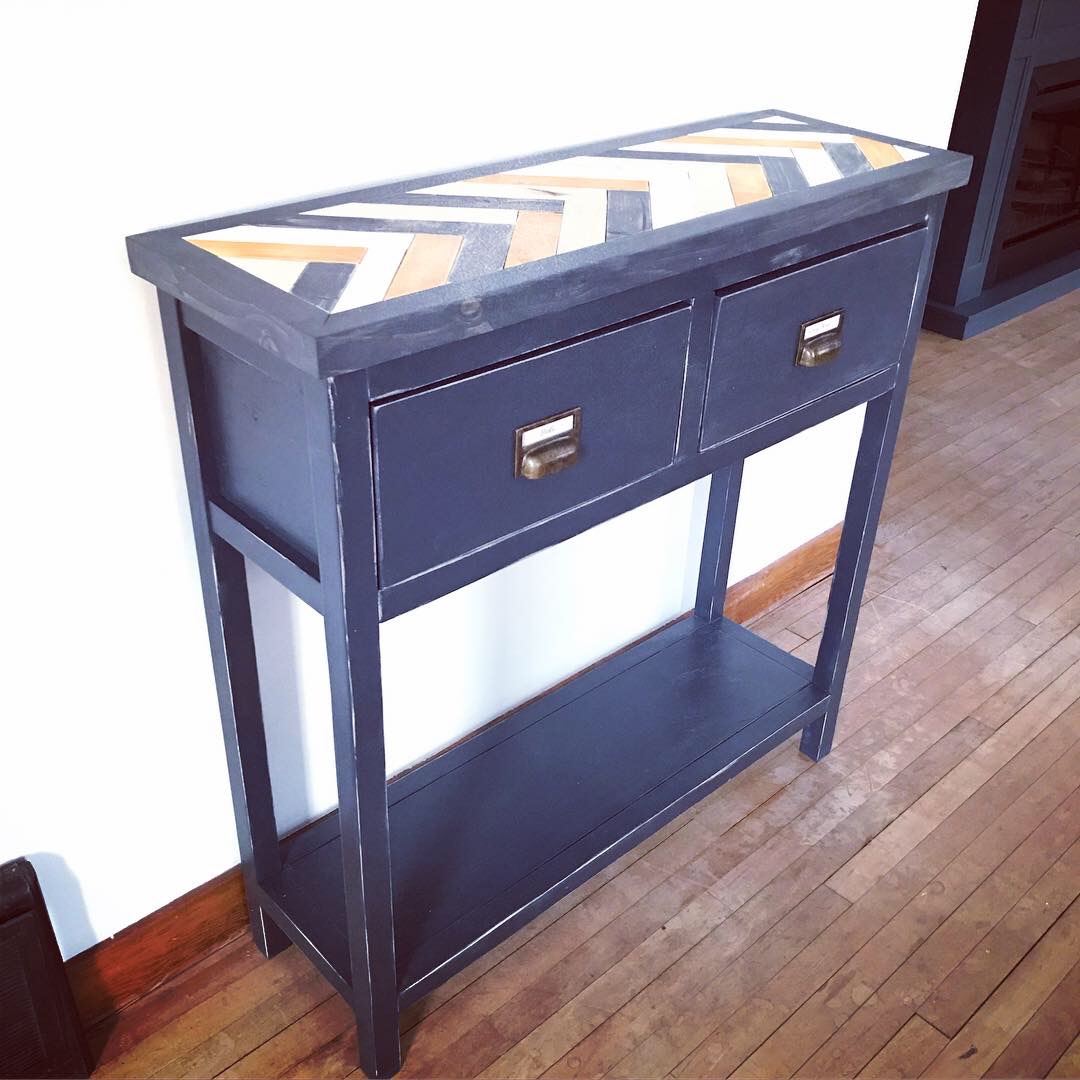
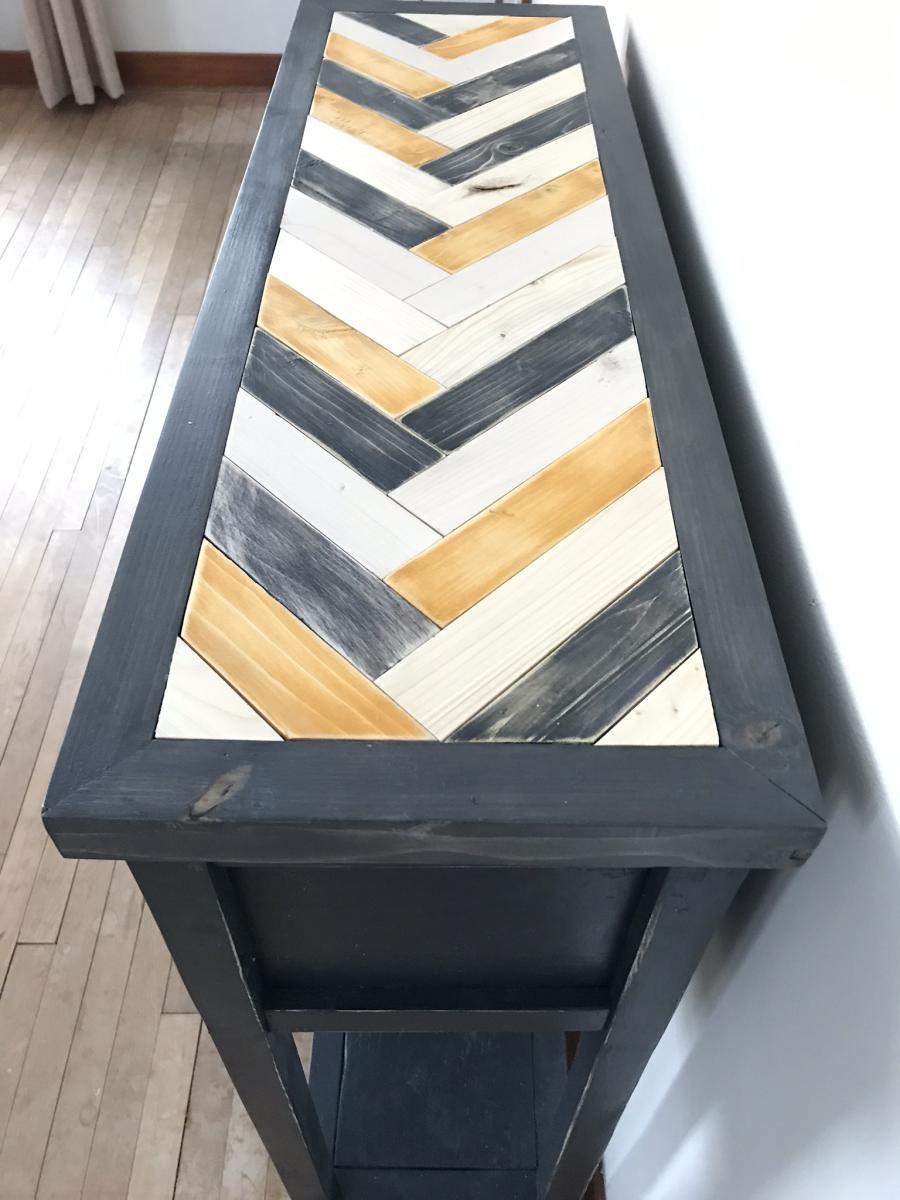
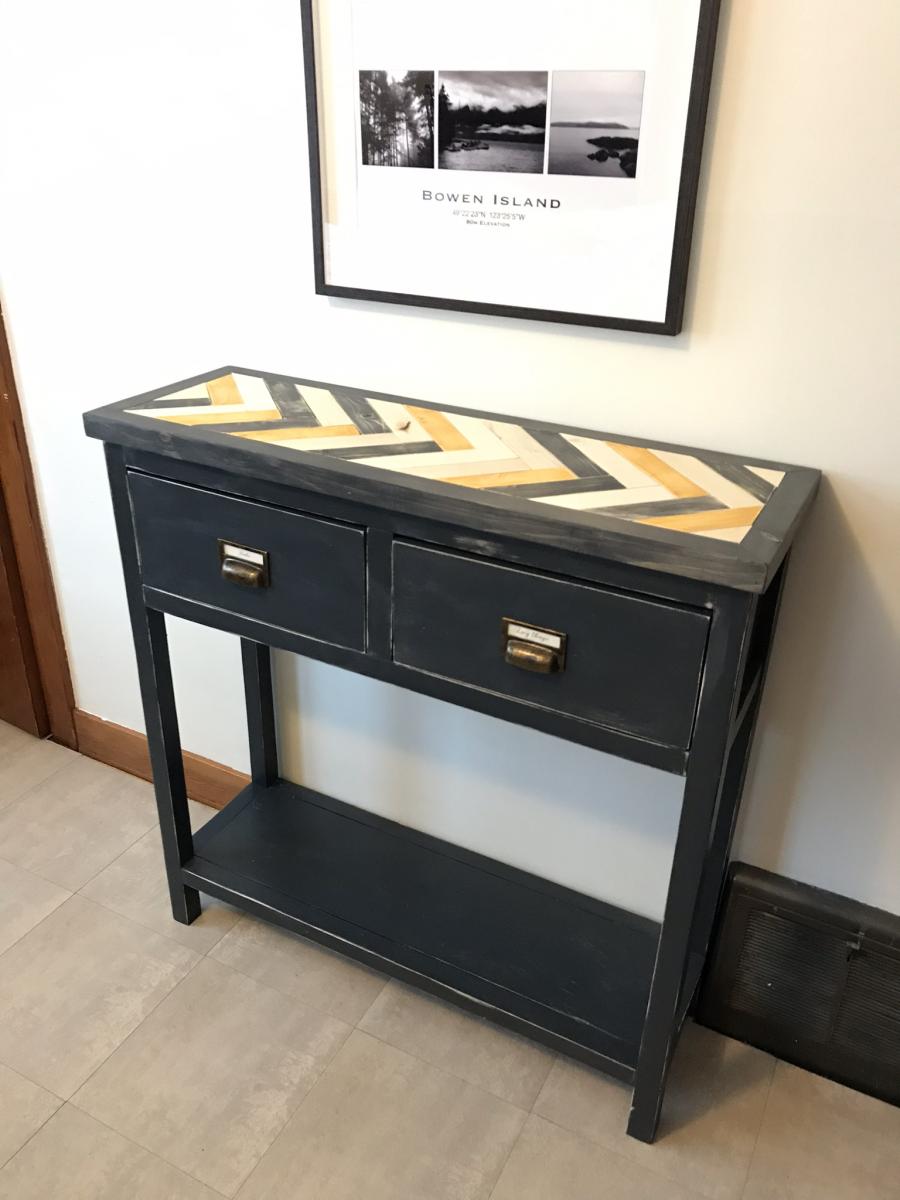
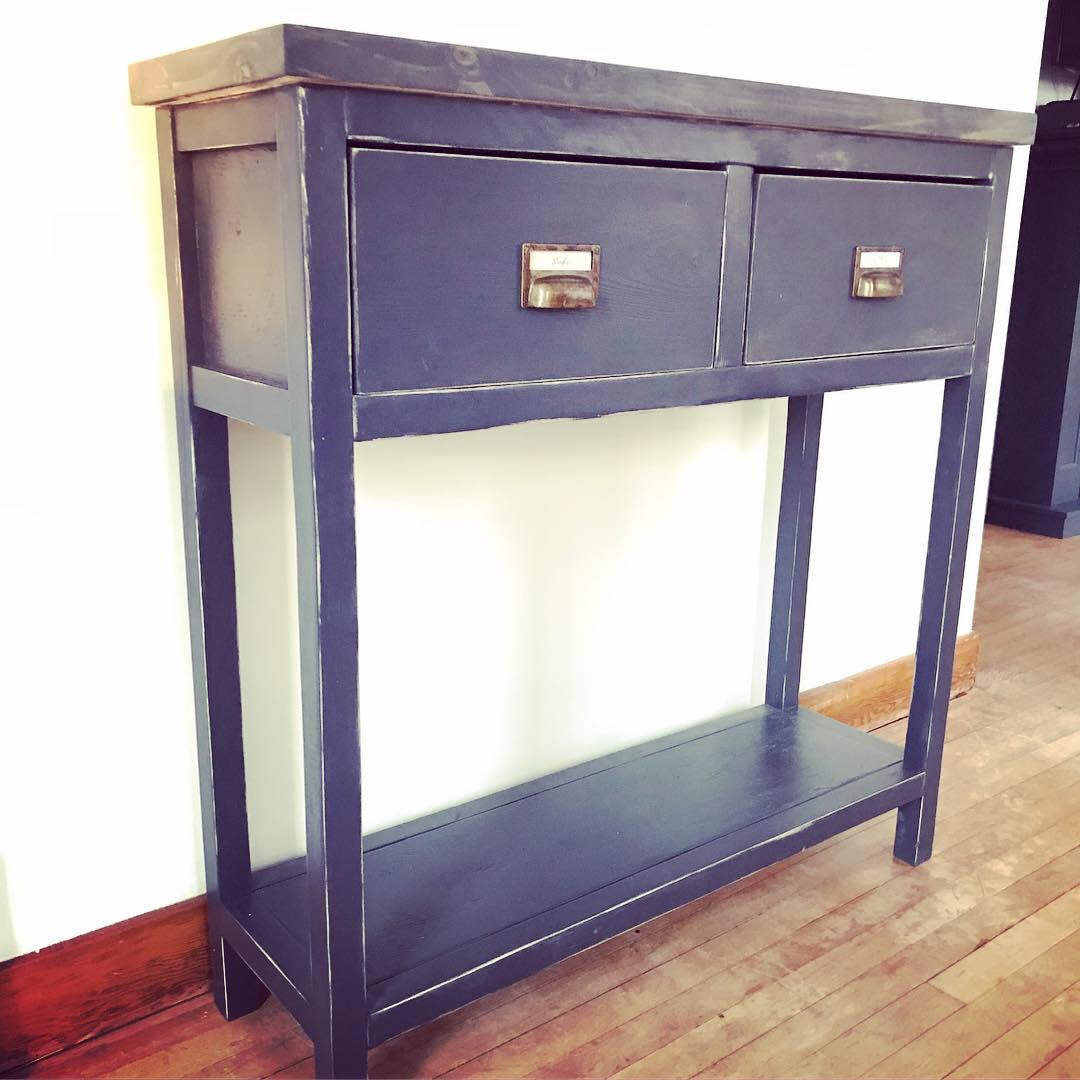
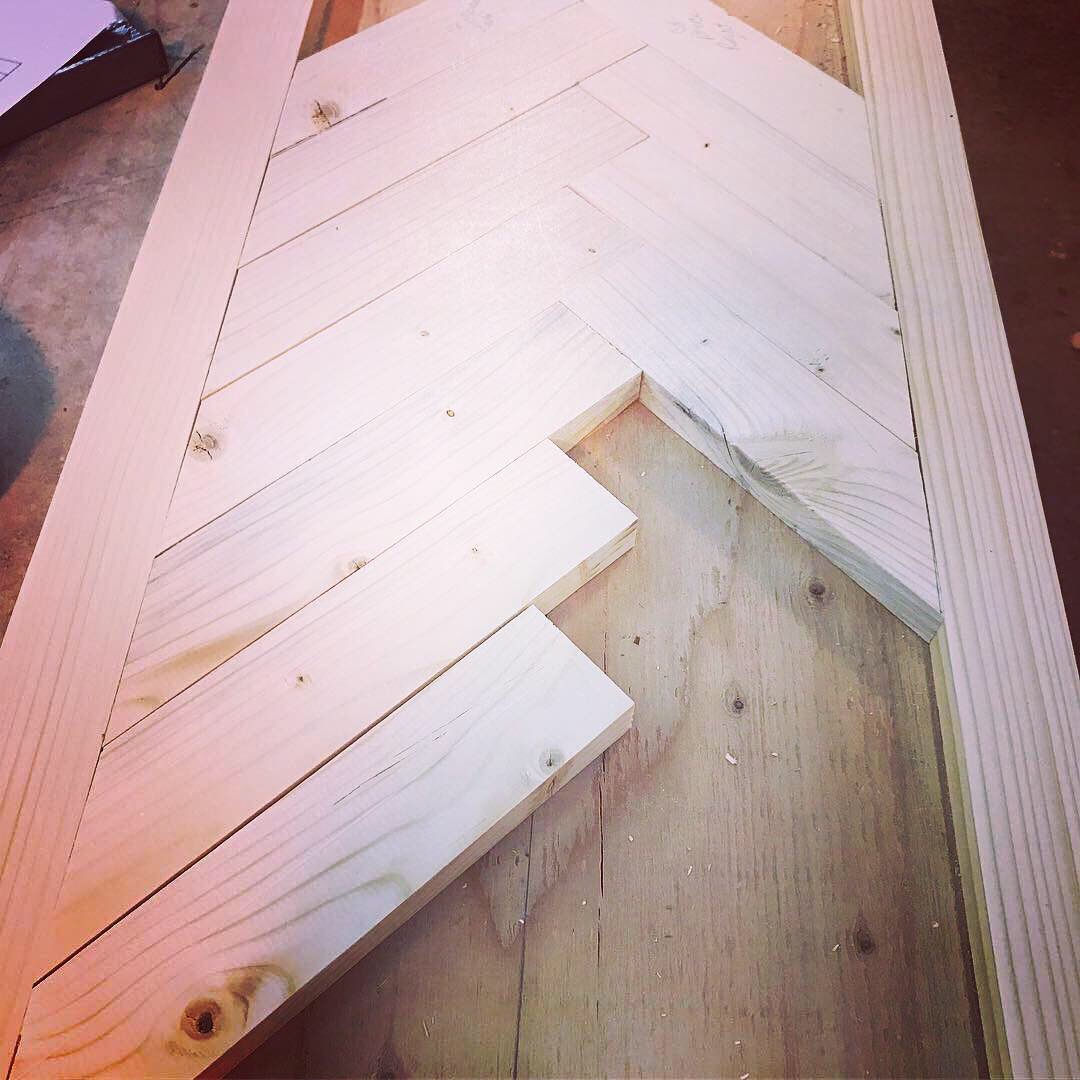
I started this project by using the mini Farmhouse side tables plan. I added my own herringbone detail on the top that turned out pretty cool. I finished with Italian brass hardware and put a sleek satin Old Masters finish over the whole thing. It's a lovely piece that I really enjoy.


A few alterations to plans….thanks for the inspiration!

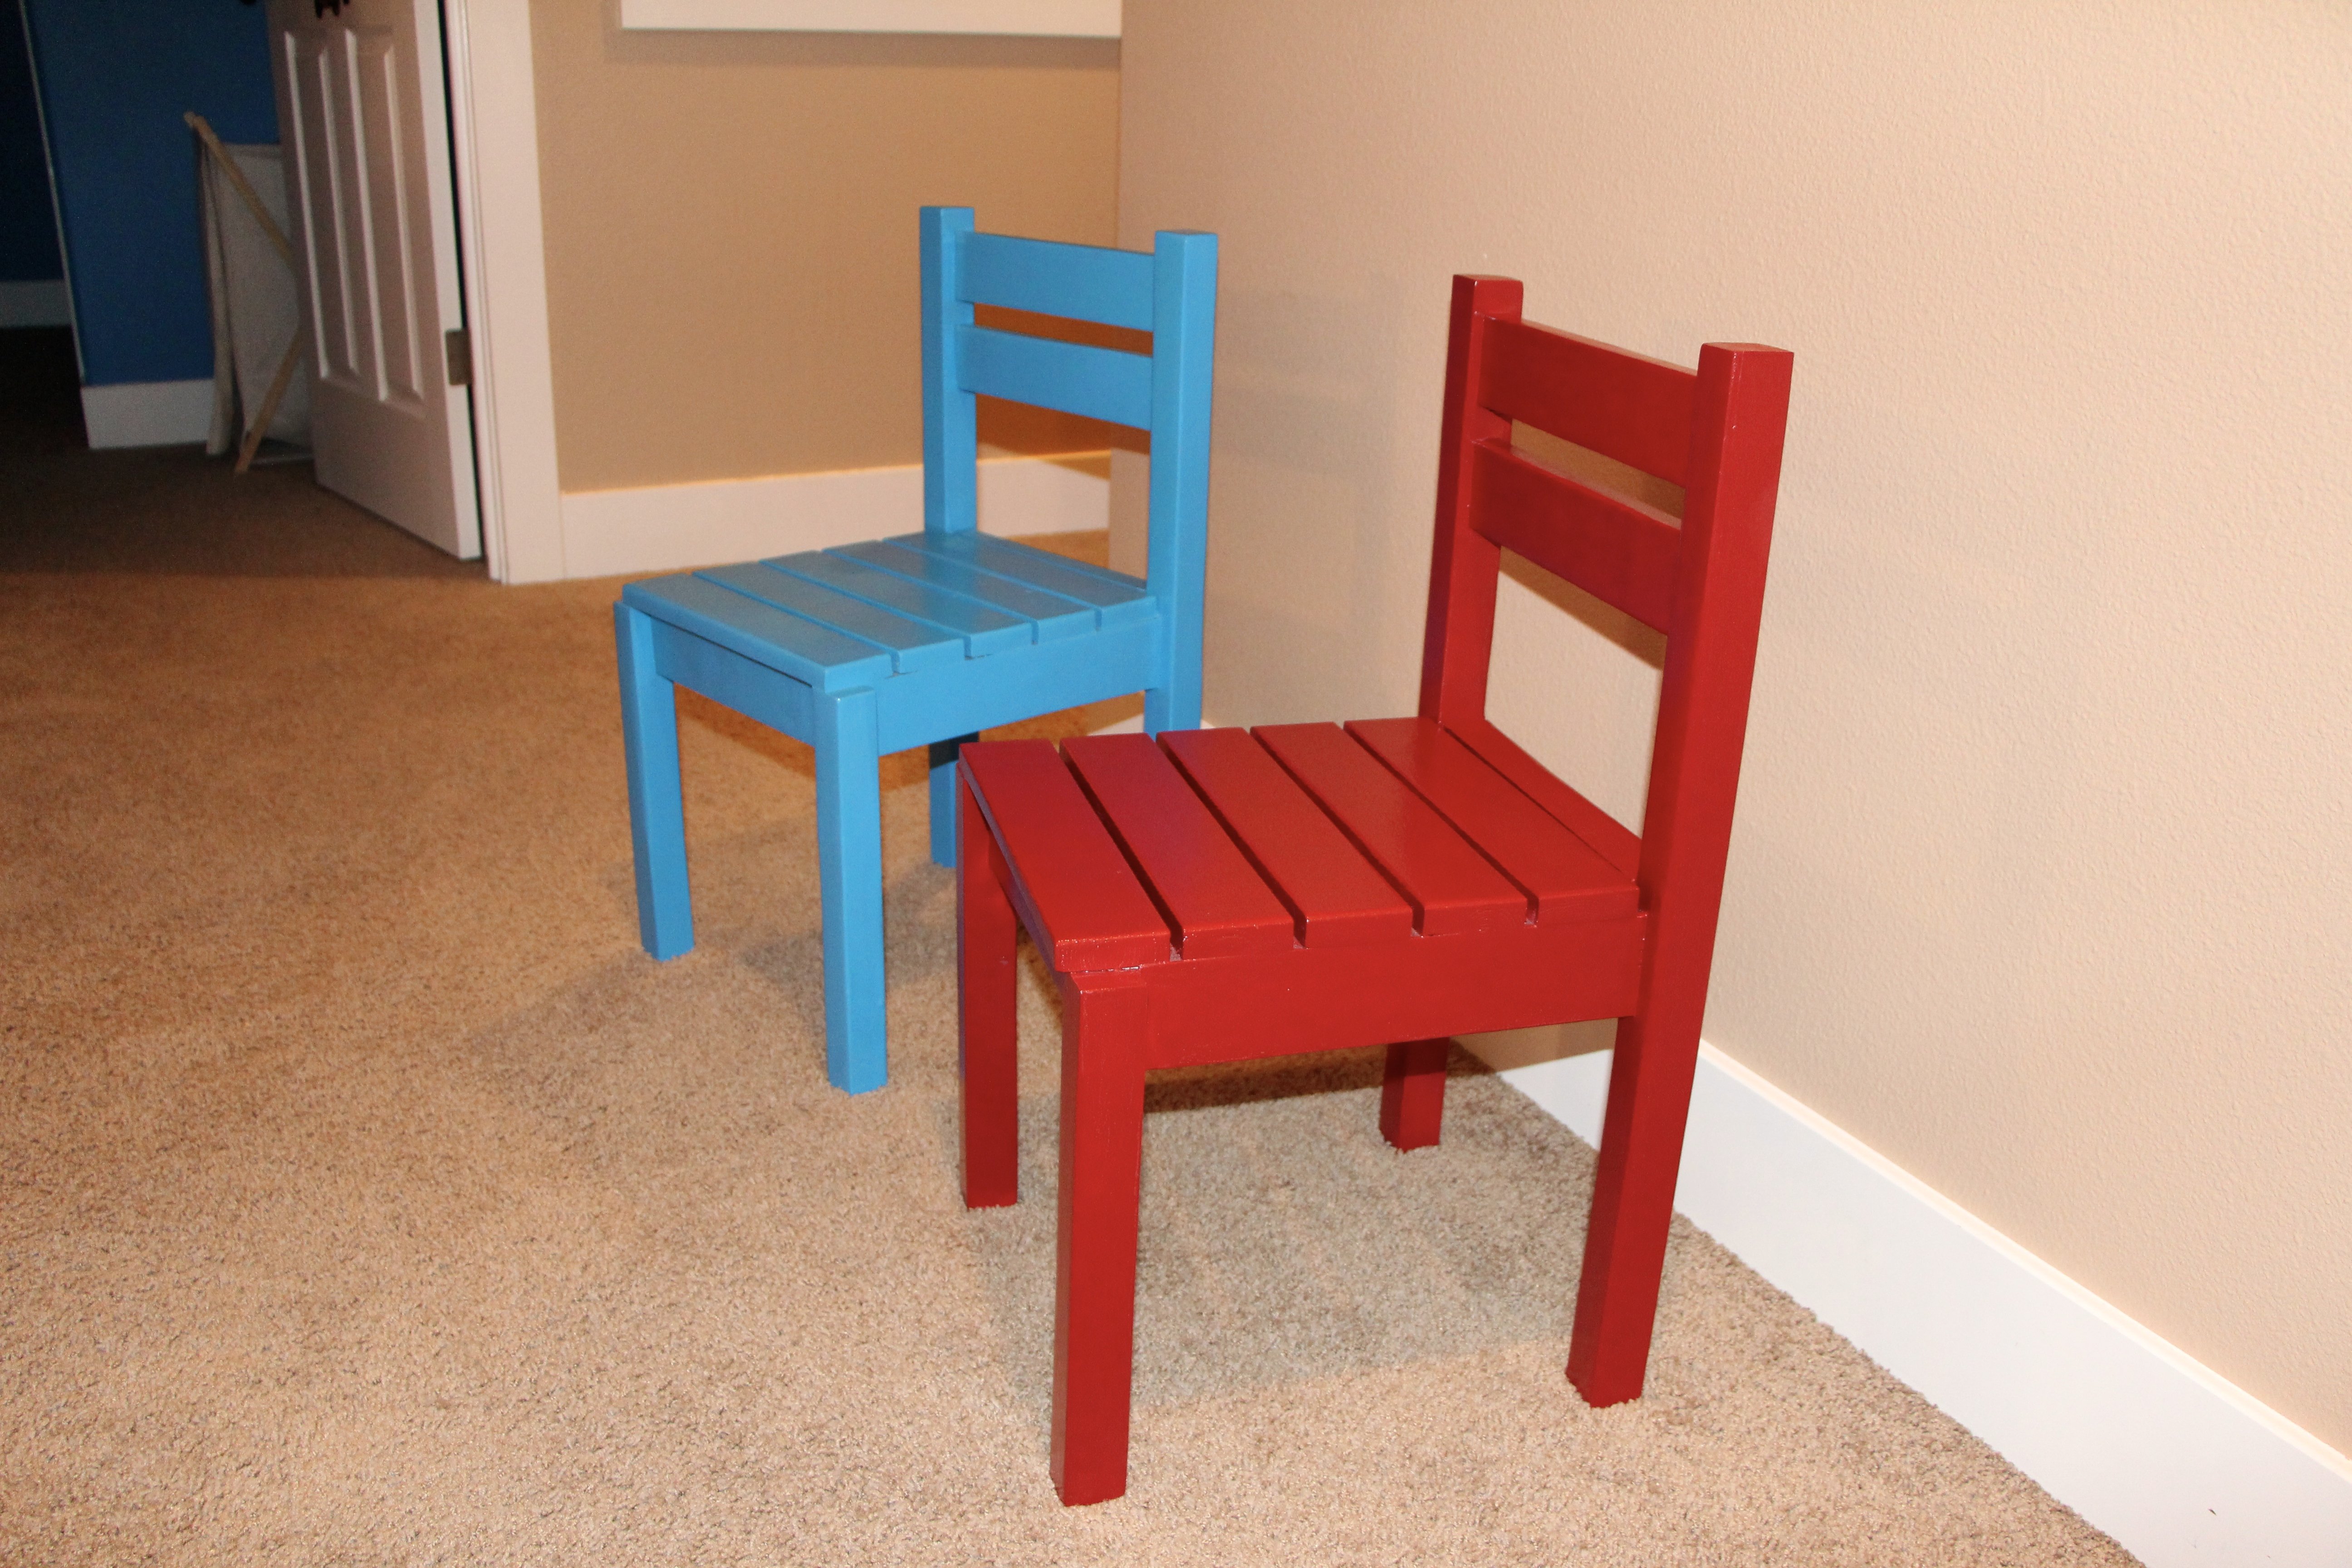
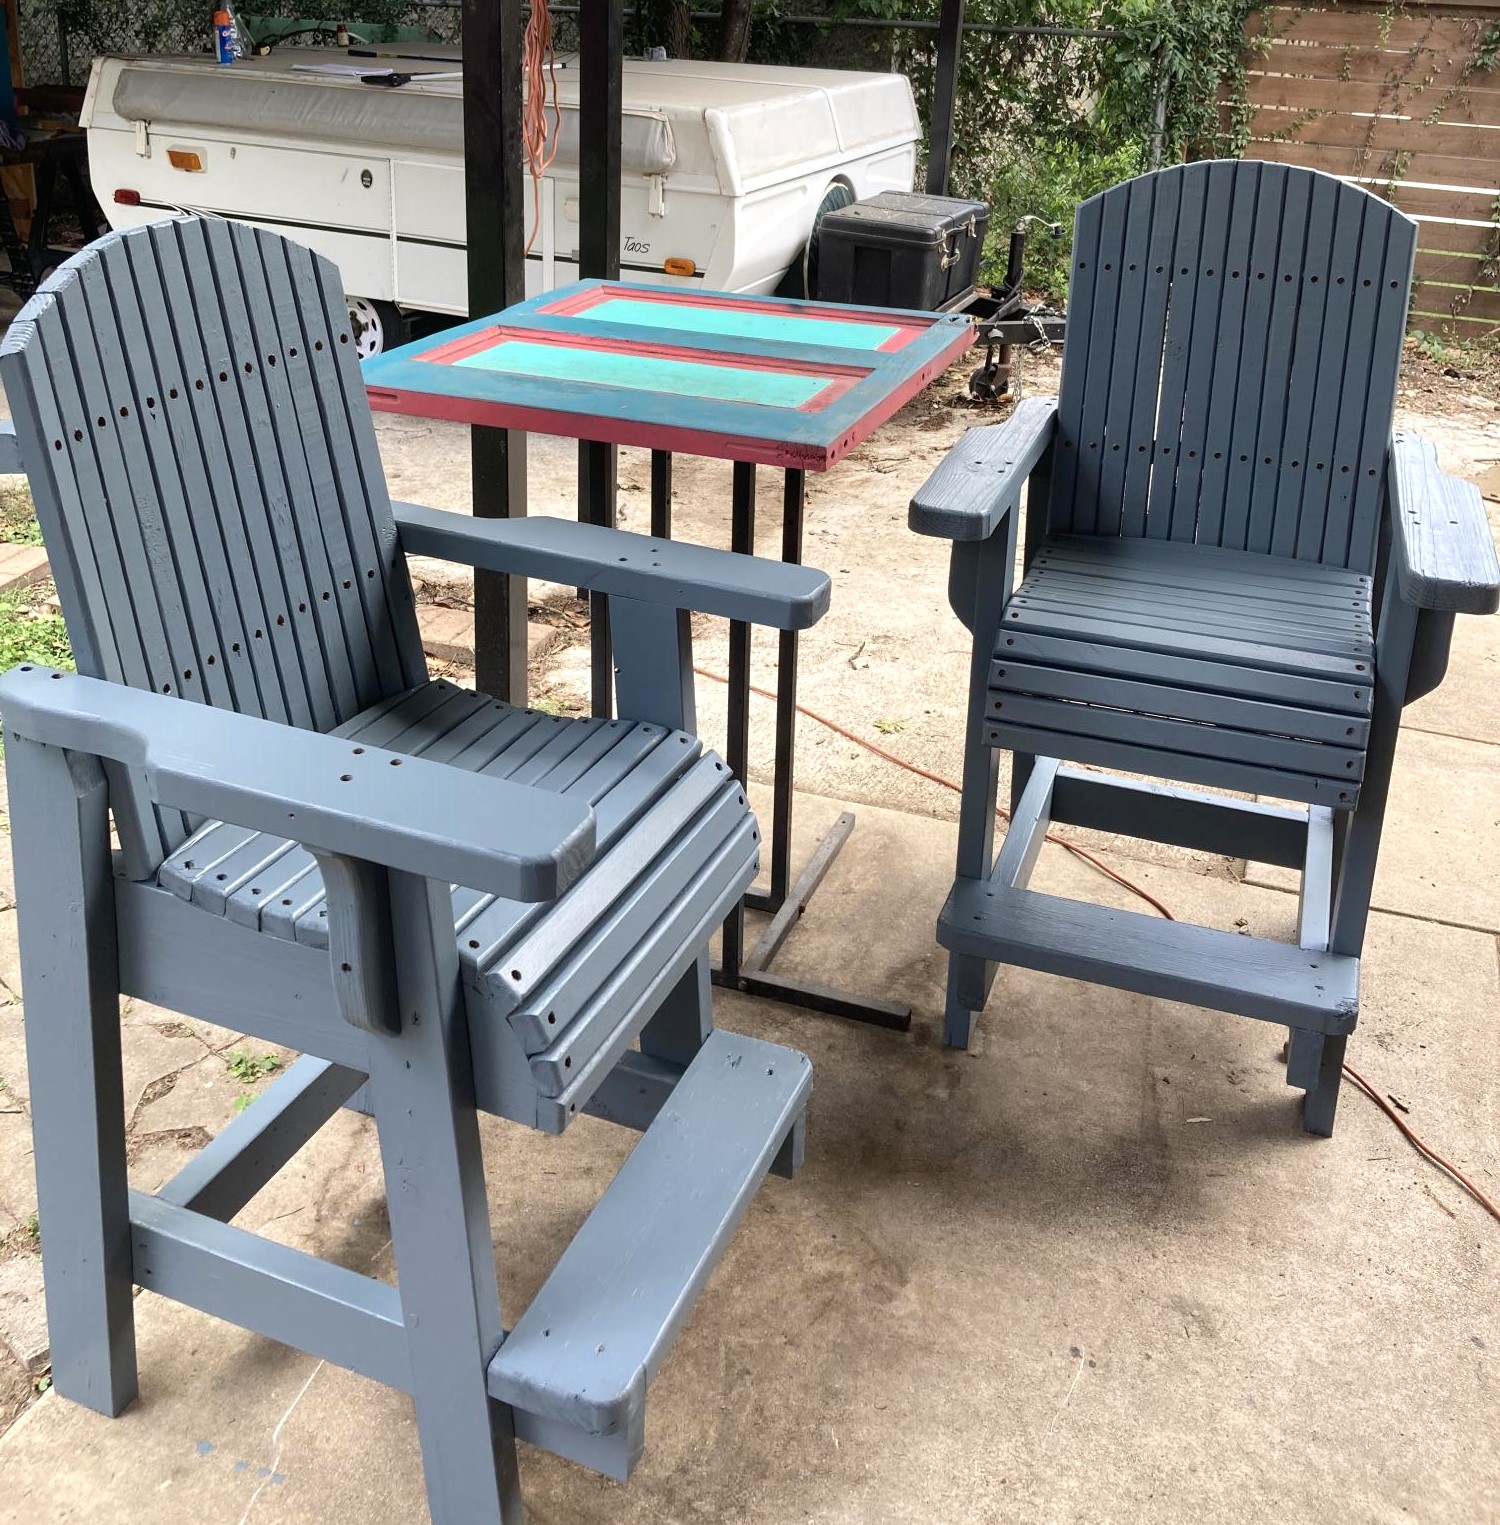
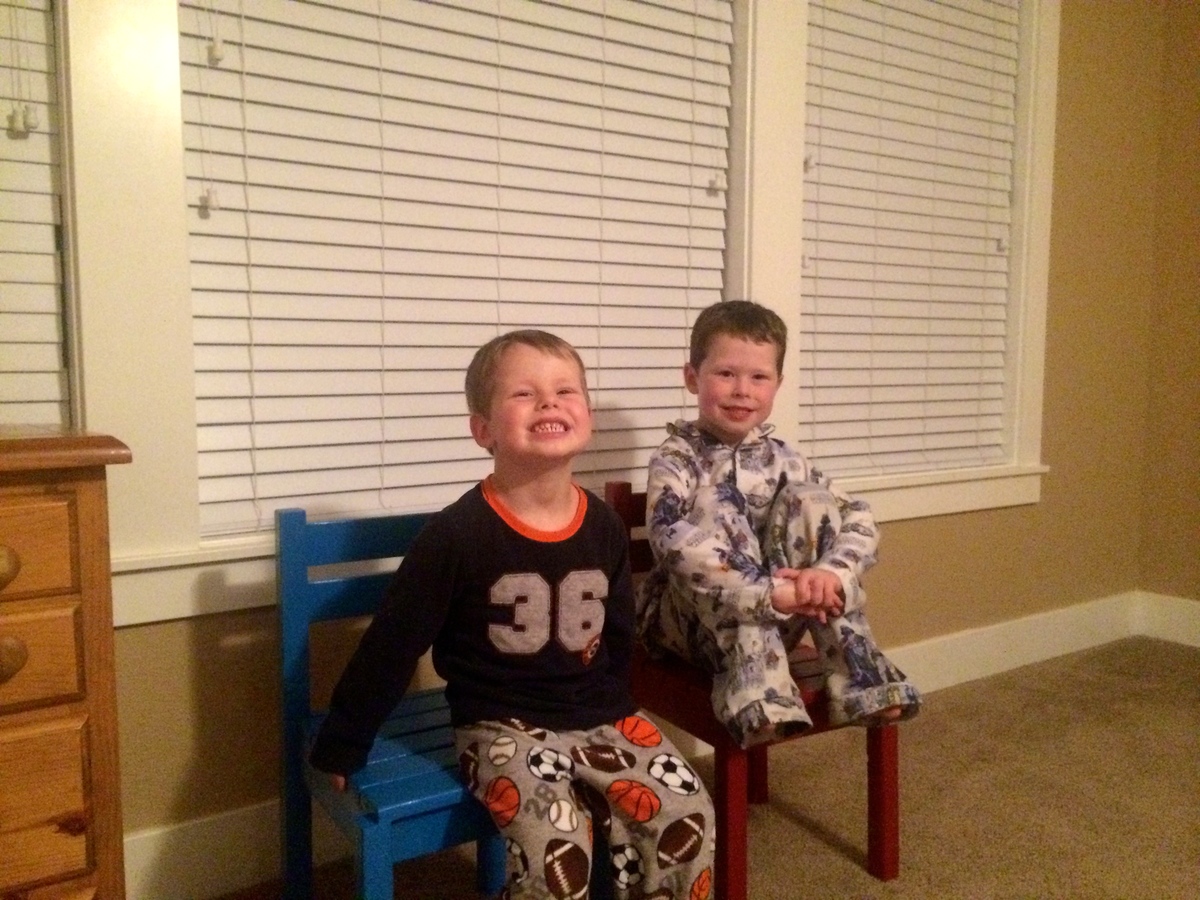
I needed some new chairs for my kids play room as the ones that came with a table they received as a gift were cheap and I had reinforced them three different times.
I liked the simple design of them and the cost is right! Mine were a little more as I used 2x2's for the legs and made the body of the chair double-braced as my boys are hard on things!!
My boys picked the colors, which the blue was left over from a room and the red from my older son's desk!
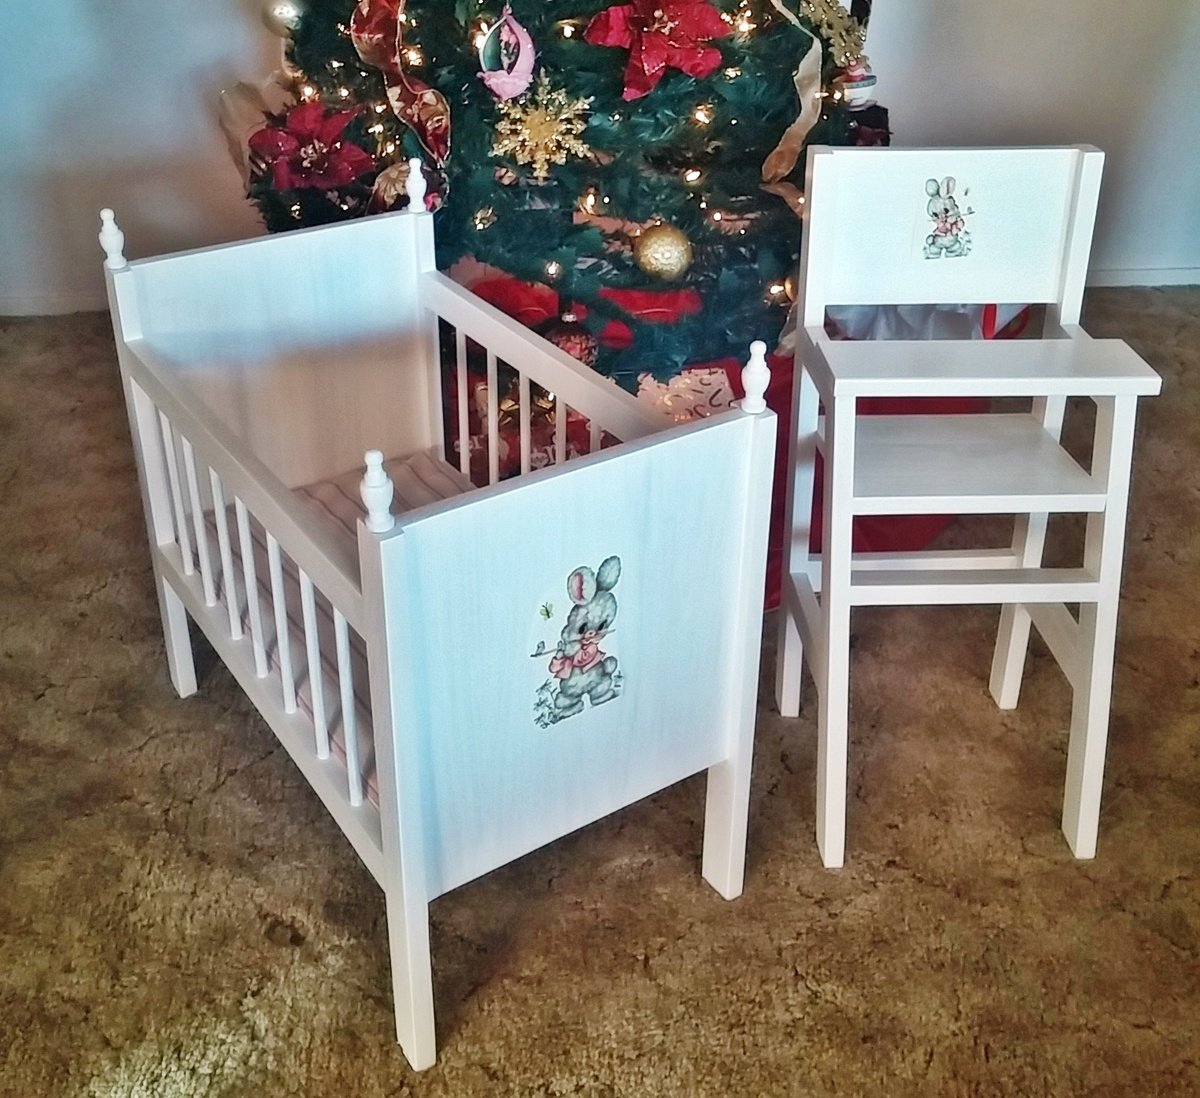
This was a Christmas gift for my youngest grandniece. The doll crib is made from the Fancy Doll Crib plans, slightly modified to be taller and longer. The high chair is made according to plan, except I substituted a 1" x 6" board for the back.


Still need to stain but this was my very first project and it turned out well! The directions are very easy to follow and I am very happy with it!
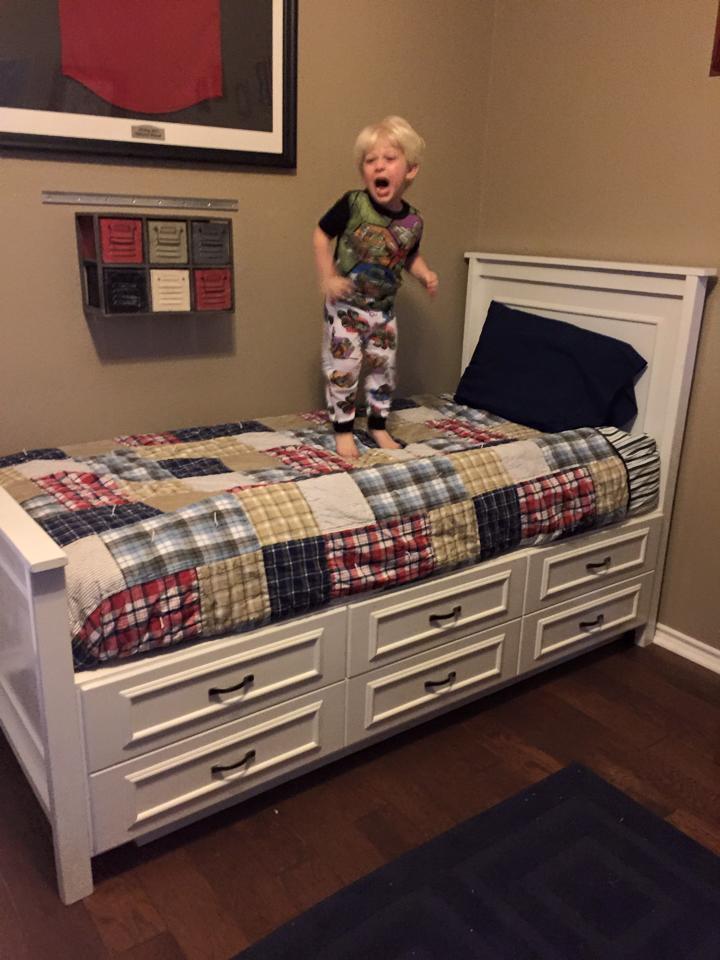
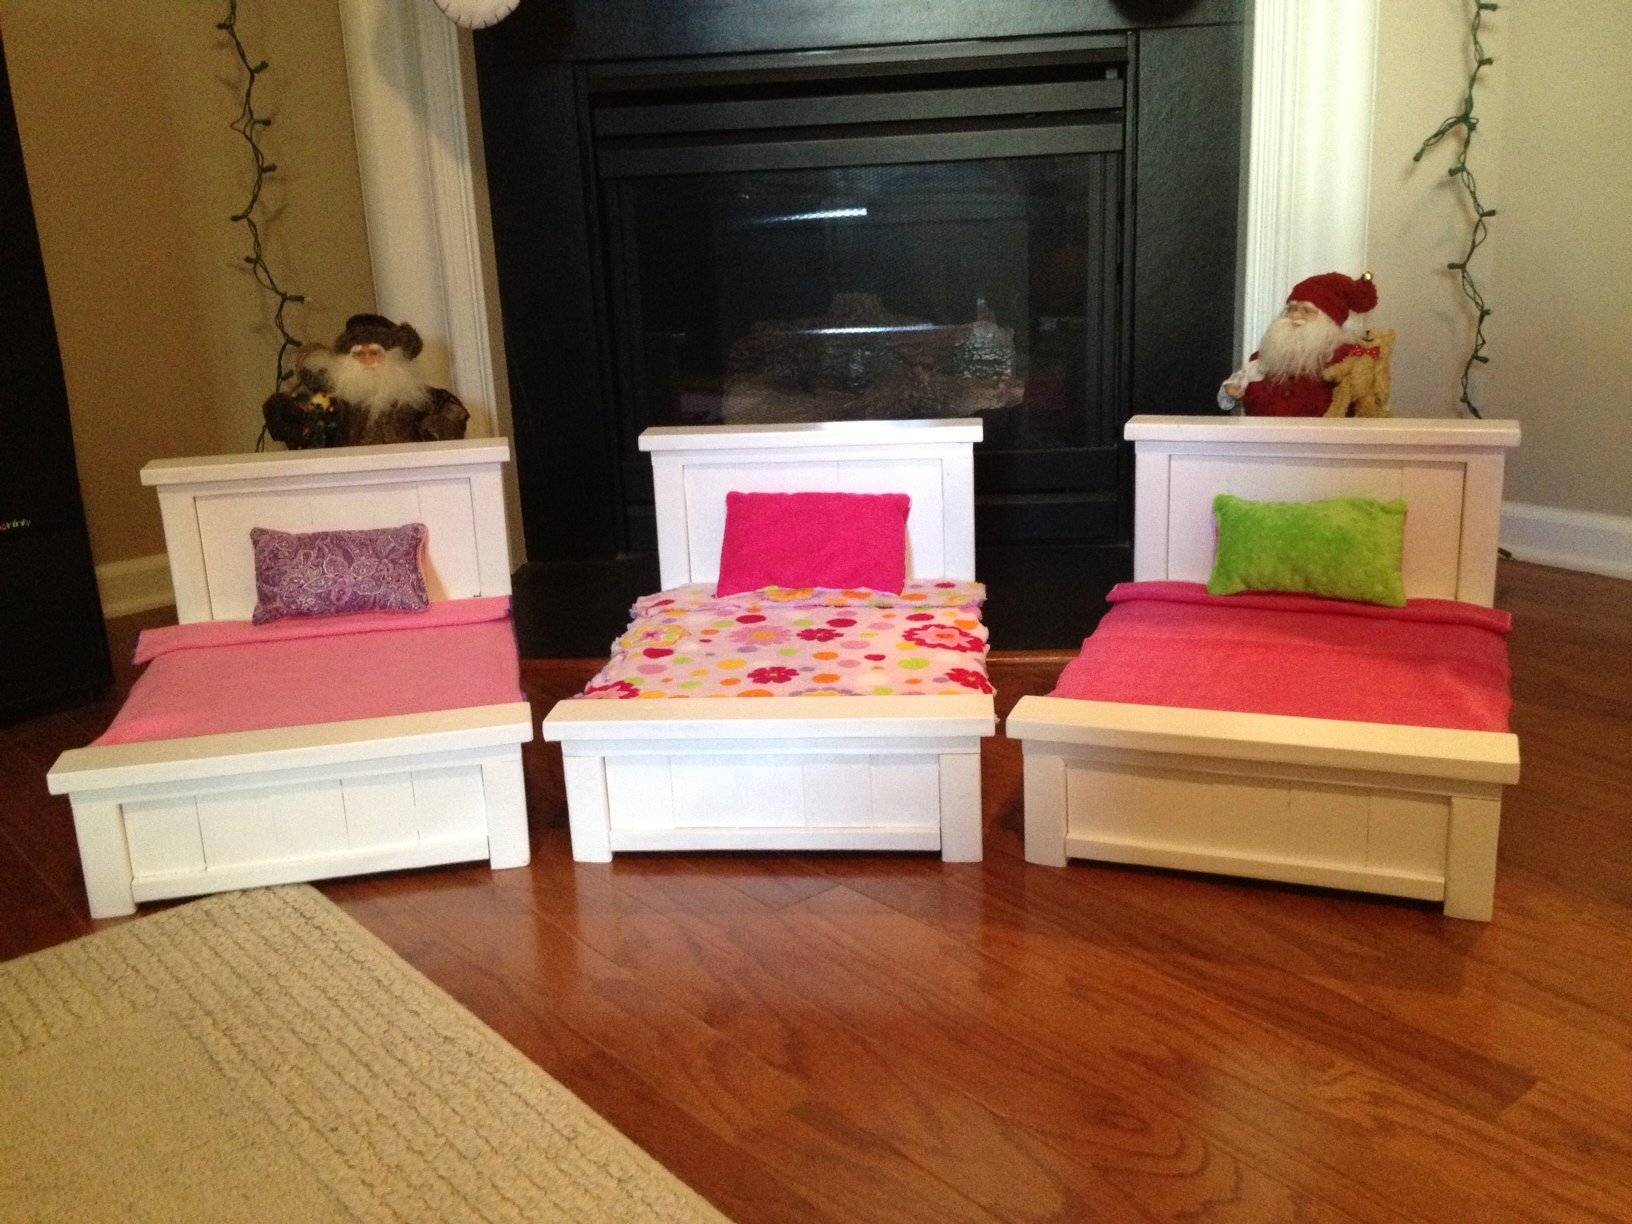
So...we are 6 people in a 3 bedroom house. We needed more room! Thanks for the inspiration Ana. I think these beds turned out GREAT. And the girls love them!!!
Sat, 04/08/2023 - 15:37
Love what you came up with, plus extra storage! Thanks for sharing.
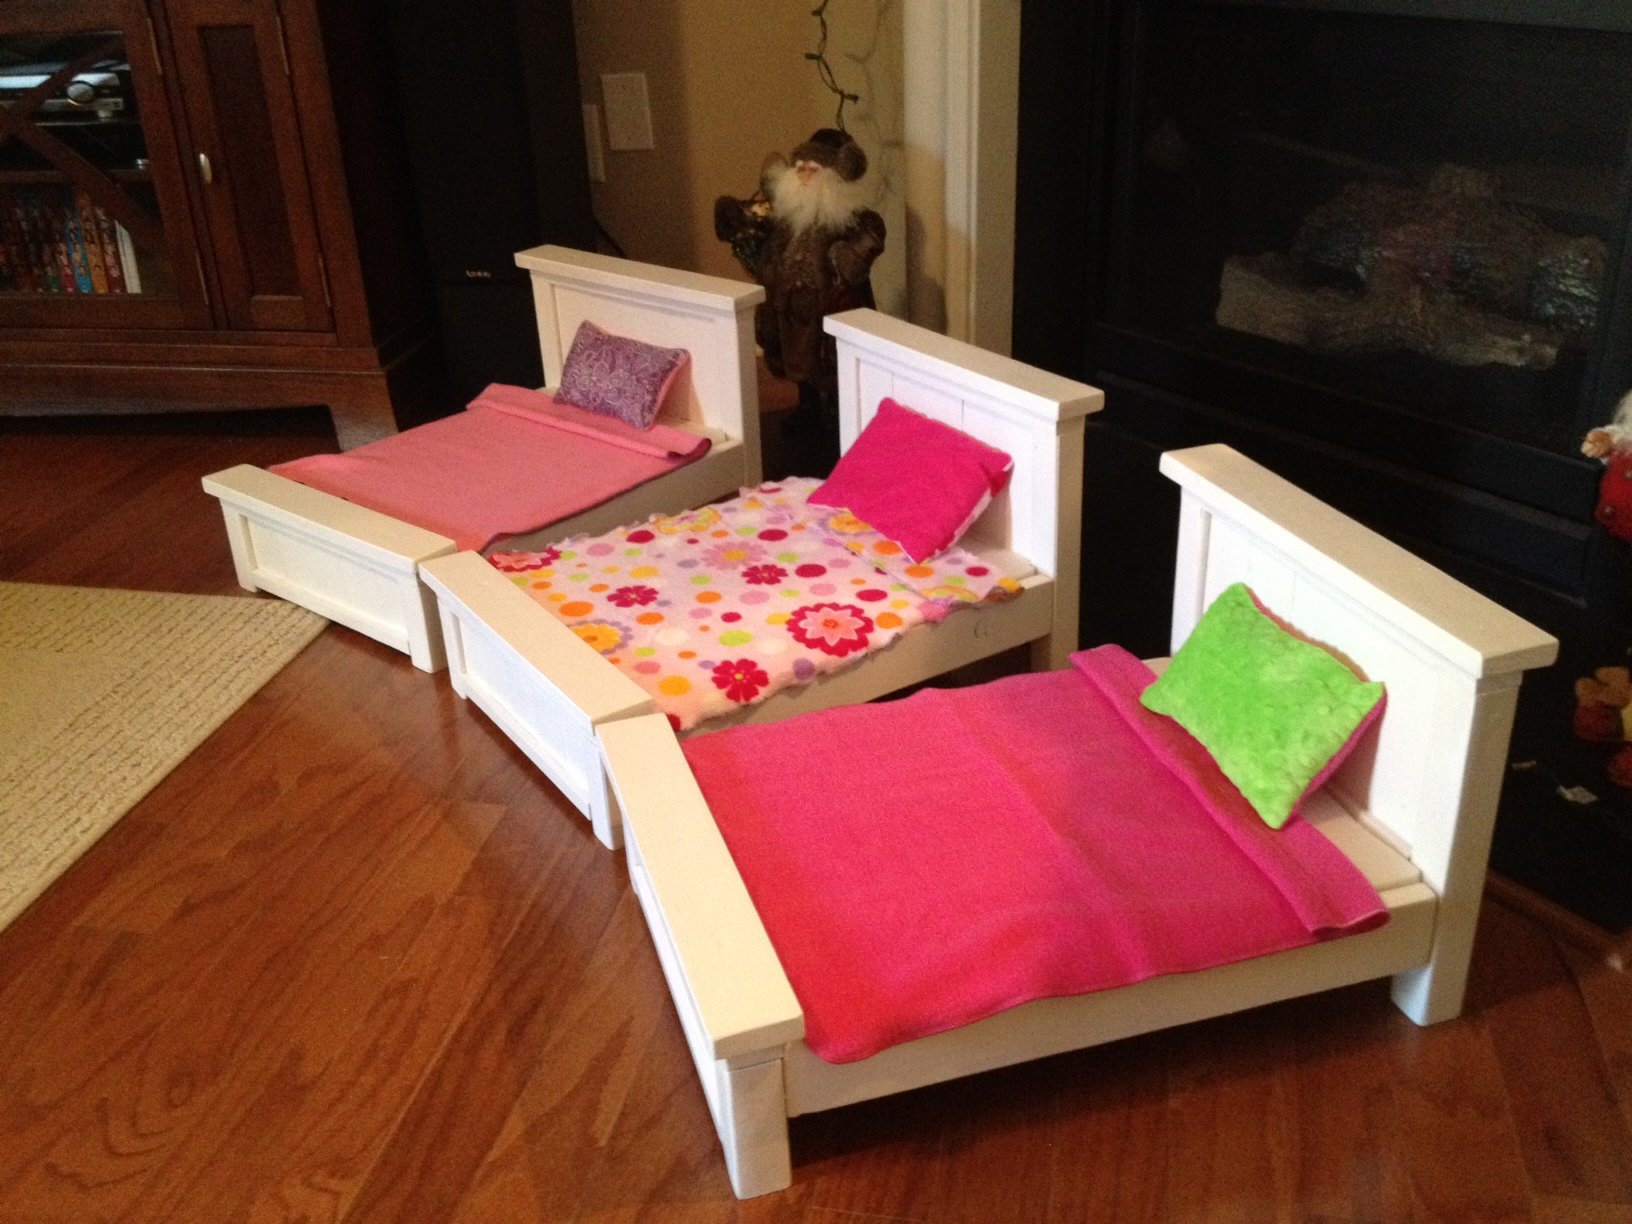
I made these for my two nieces and soon to be born daughter for Xmas. I used 1" hobby foam for the mattress.

Mon, 12/19/2011 - 14:52
Love the beds and the bedding is super cute! I bet your nieces will love their Christmas present!

Mon, 12/19/2011 - 16:54
Thanks, I hope so too!! Maybe next year I'll make your bunk beds for them!!
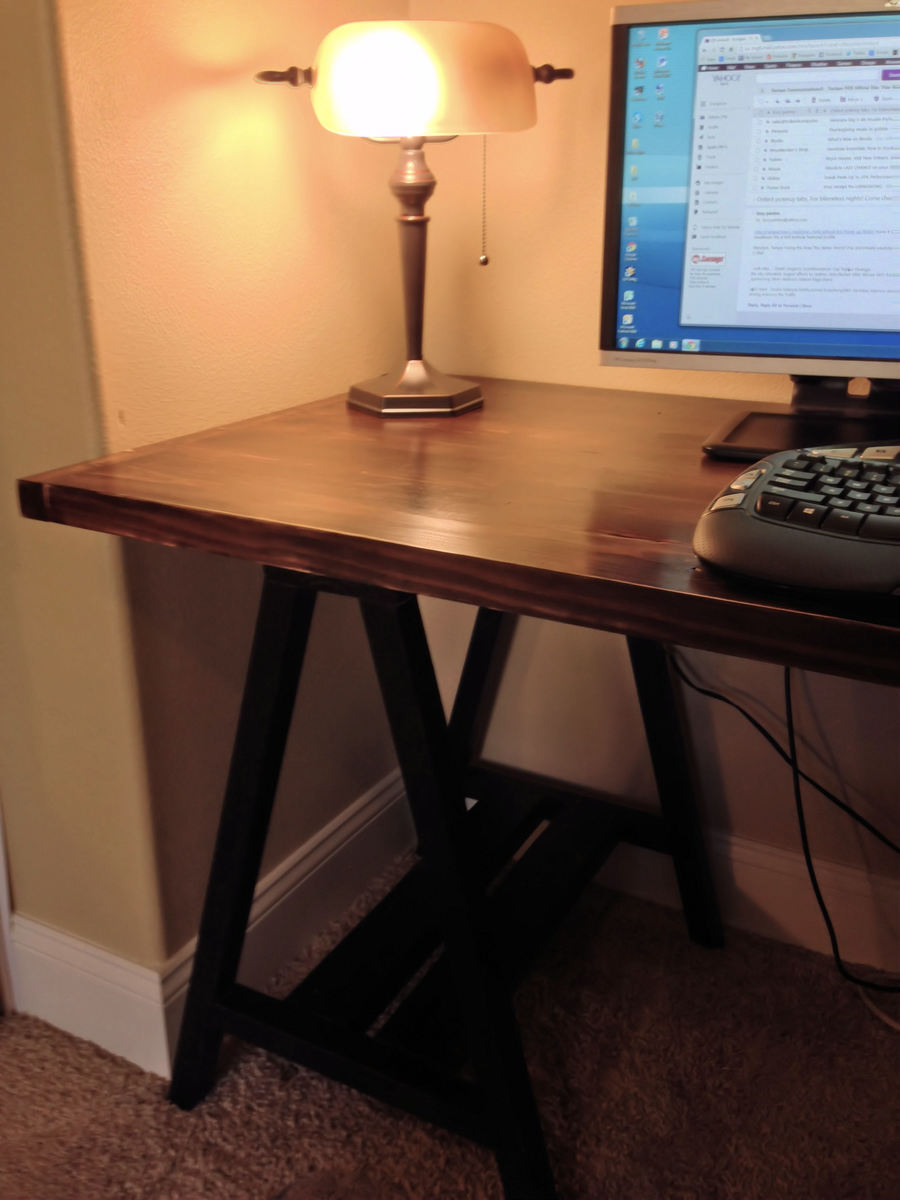
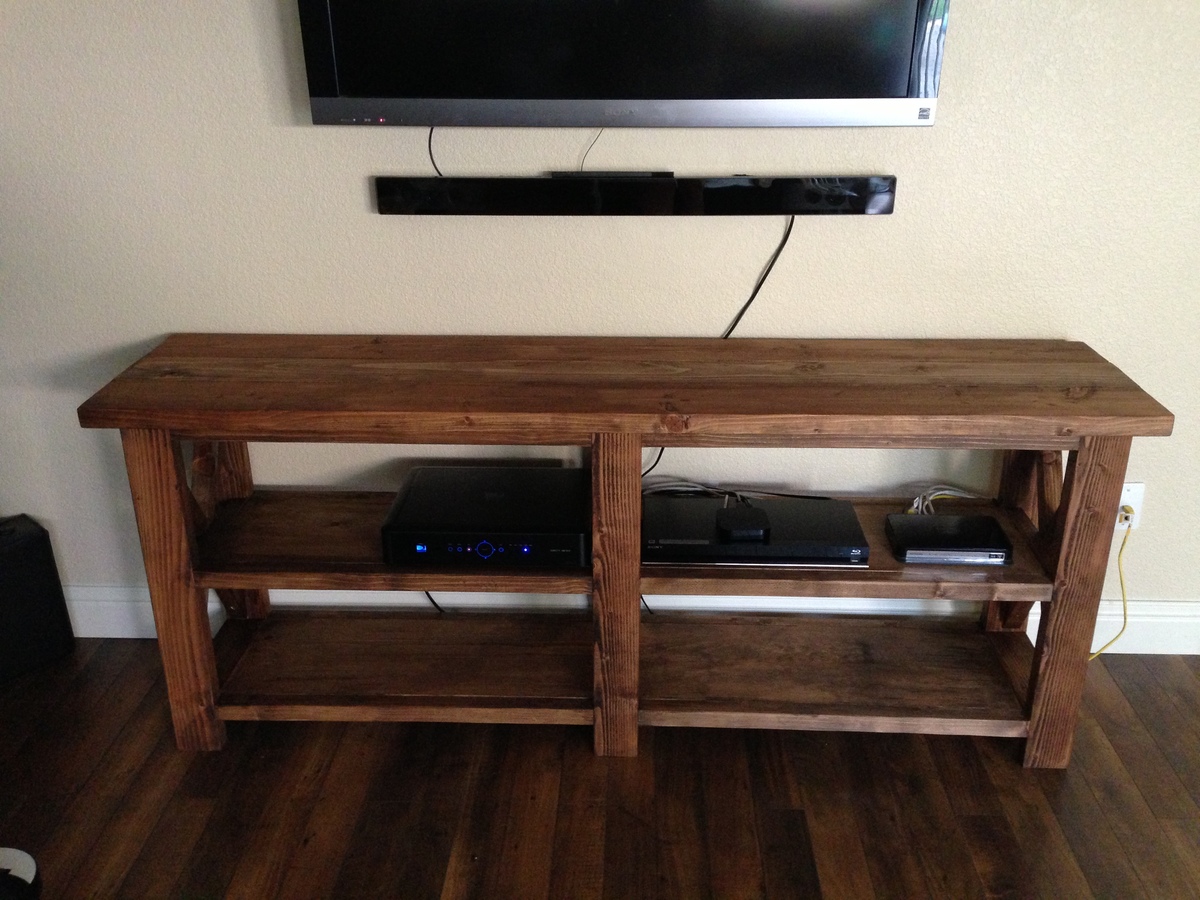
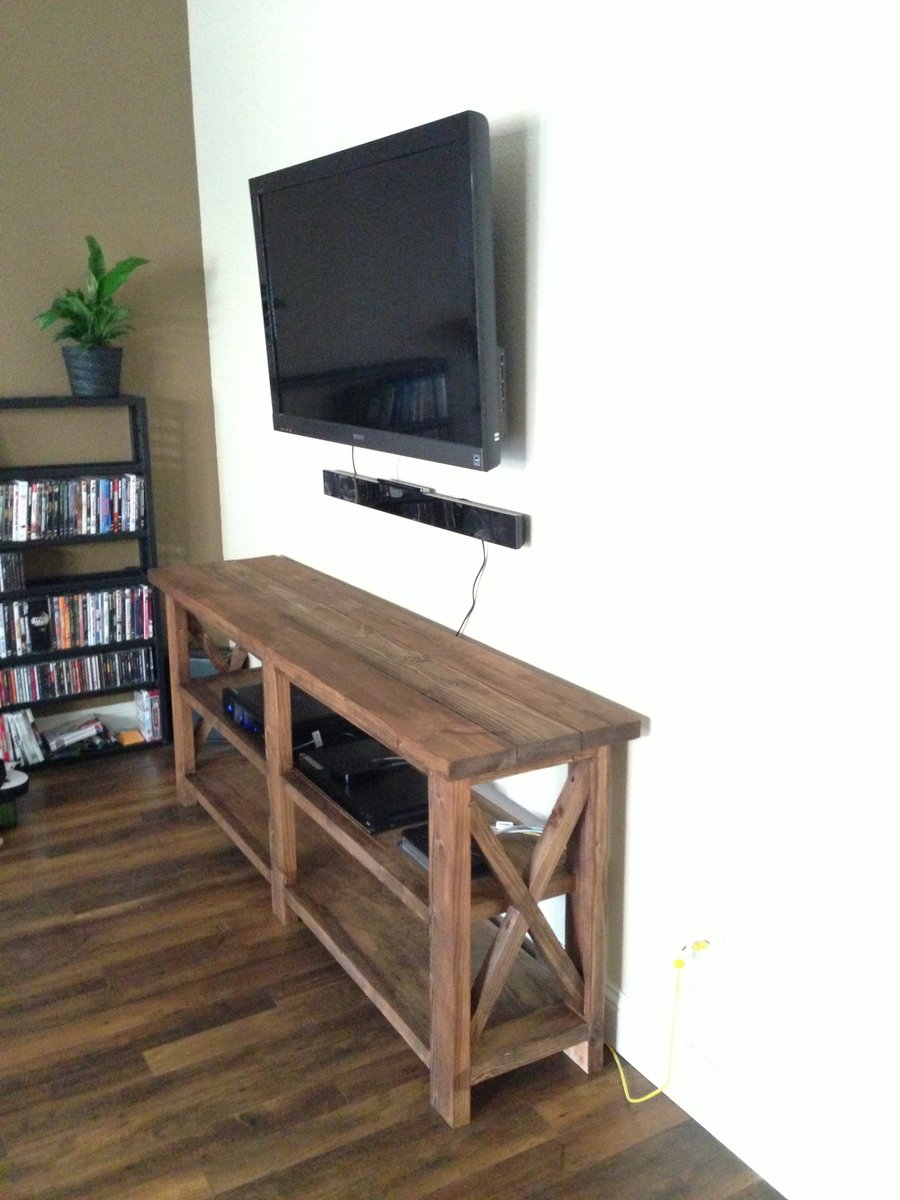
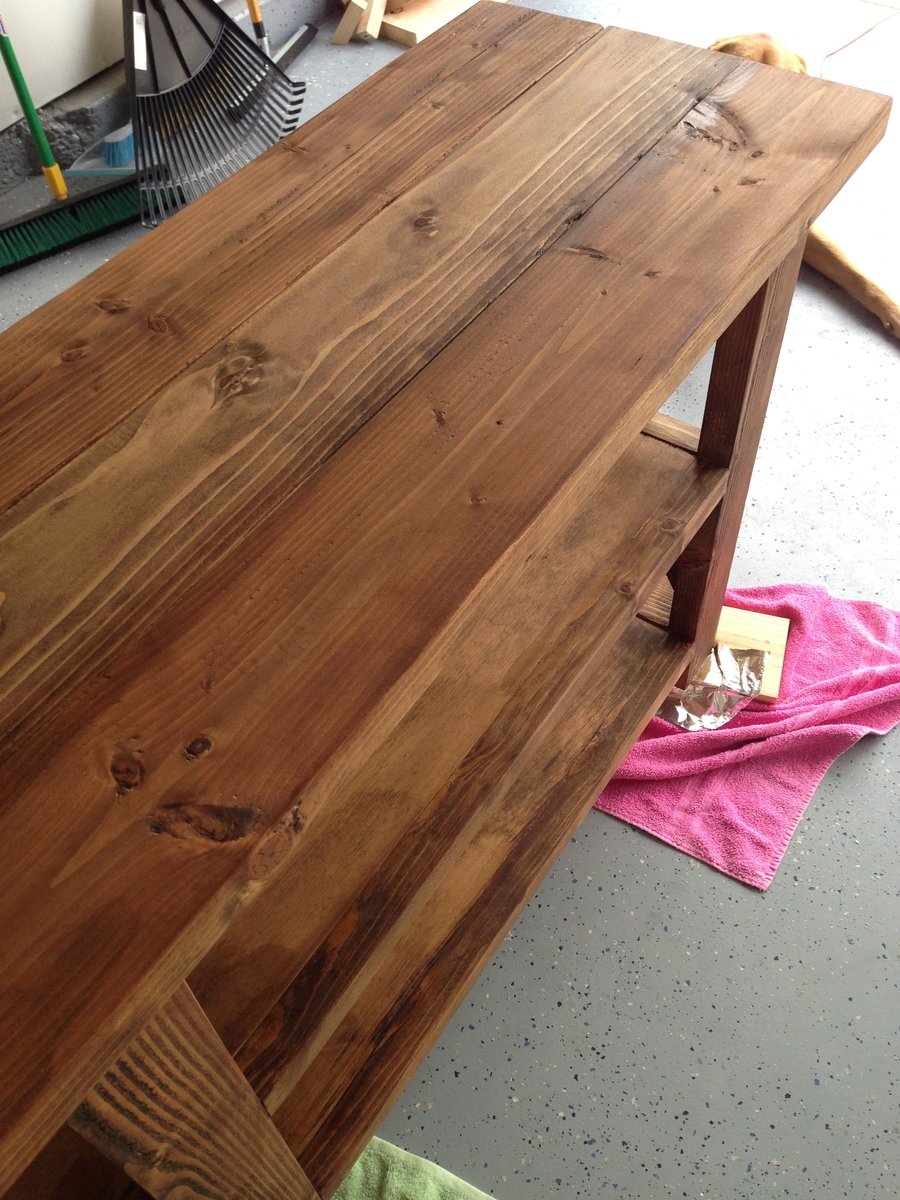
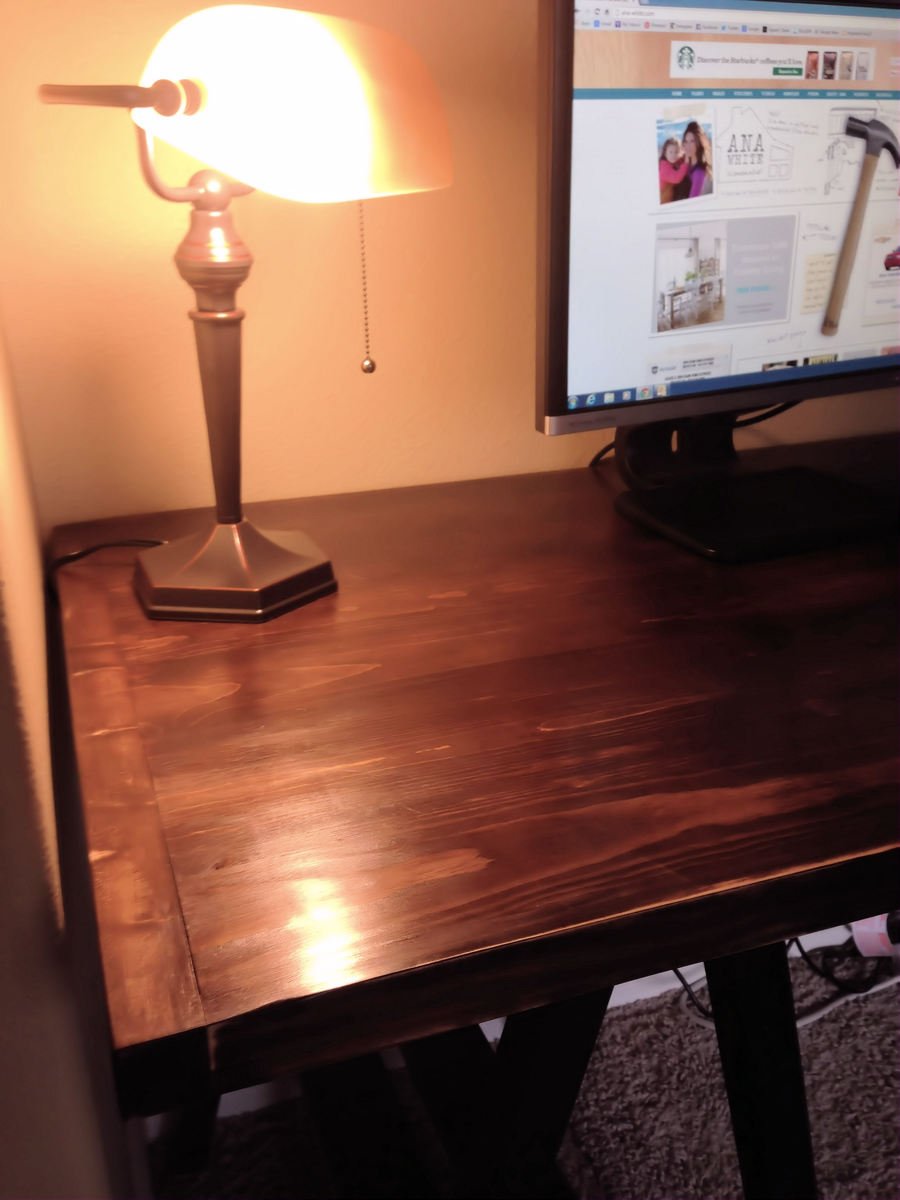
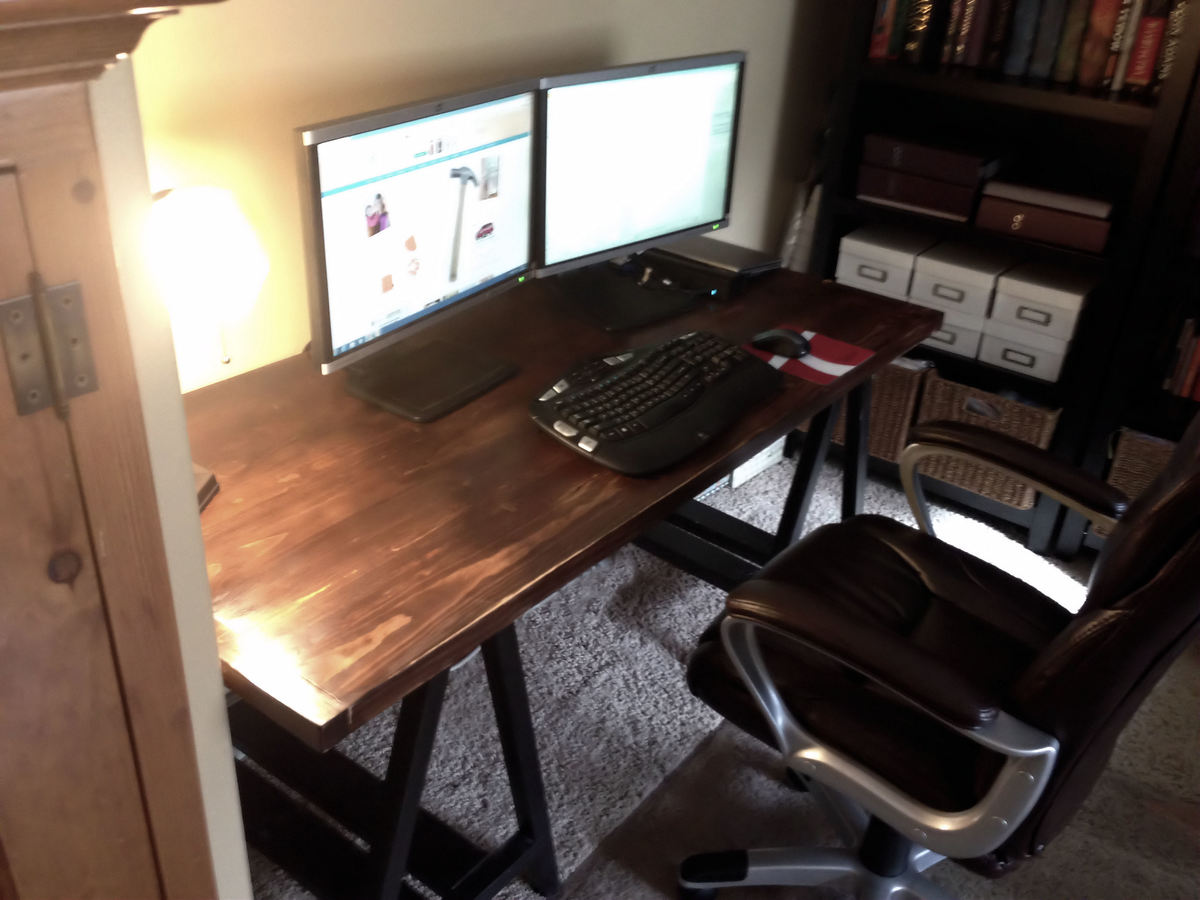
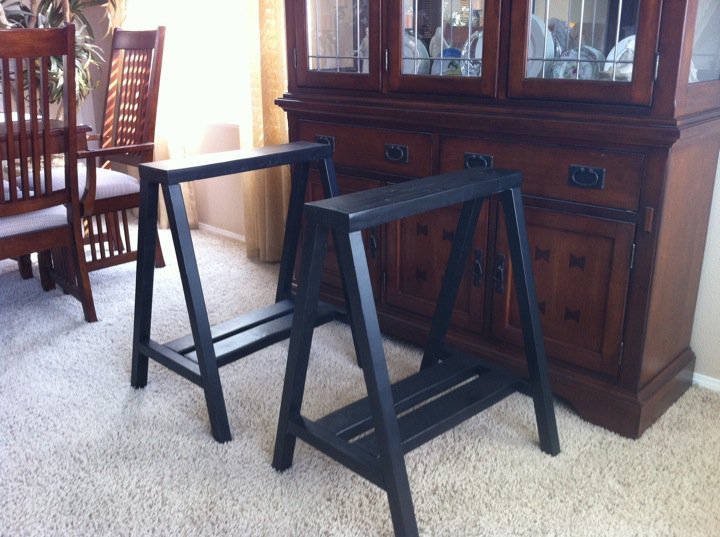
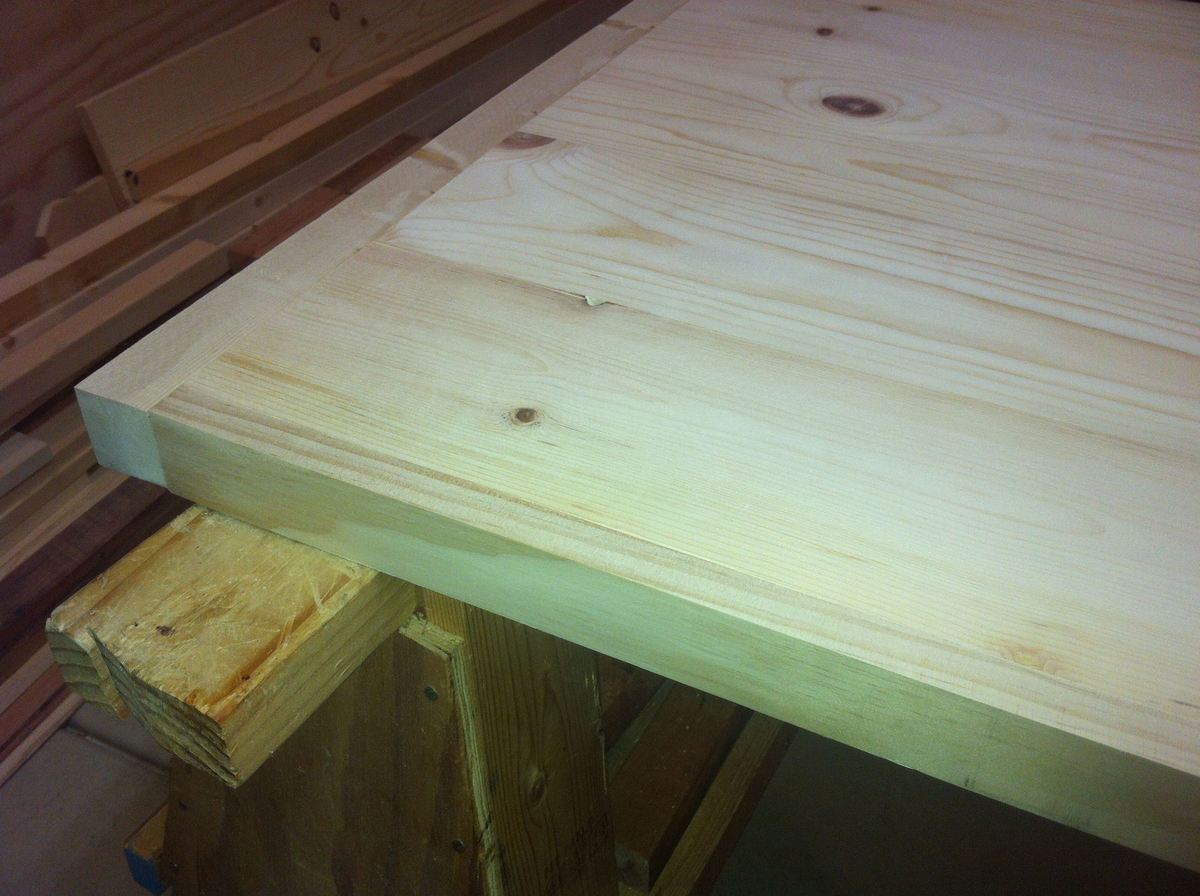
I used Ana's sawhorse plans and painted the sawhorses black. I made up a plan for the desk top inspired by some of the farmhouse table plans. The top looks very thick and chunky, but is mostly made from cheap 1x6 boards put together with glue and pocket holes. The ends of the top are made from 2x2 boards attached with pocket holes. The sides are from 1x2 boards - all attached with glue and pocket holes.
For the finish I used a water based stain from General Finishes - Black Cherry. I started with one coat of poly-acrylic and did not like the look. I sanded it back and bit (distressing the edges a bit) and put on two coats of wax.
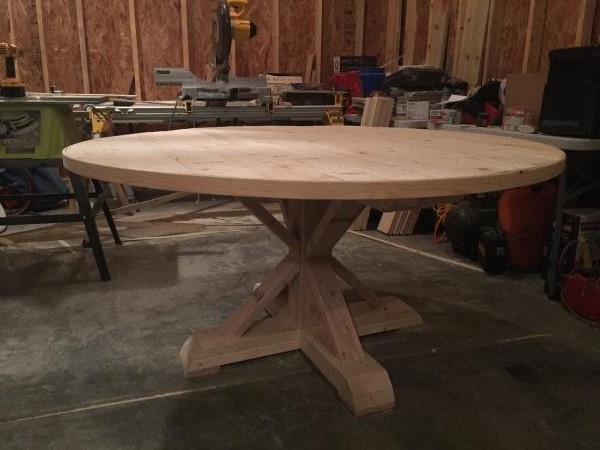
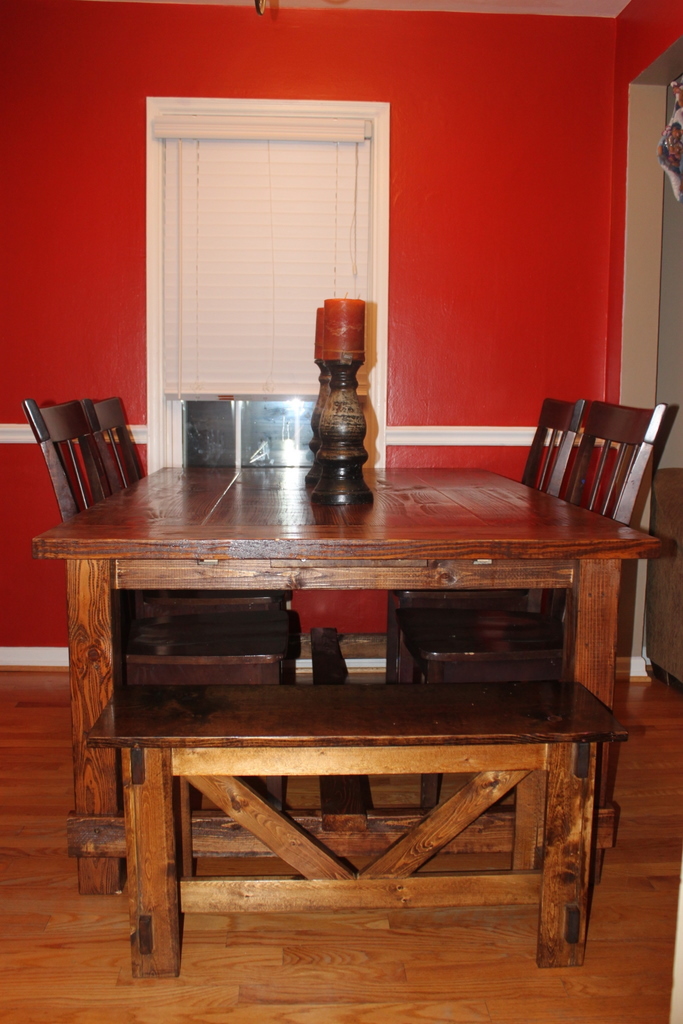
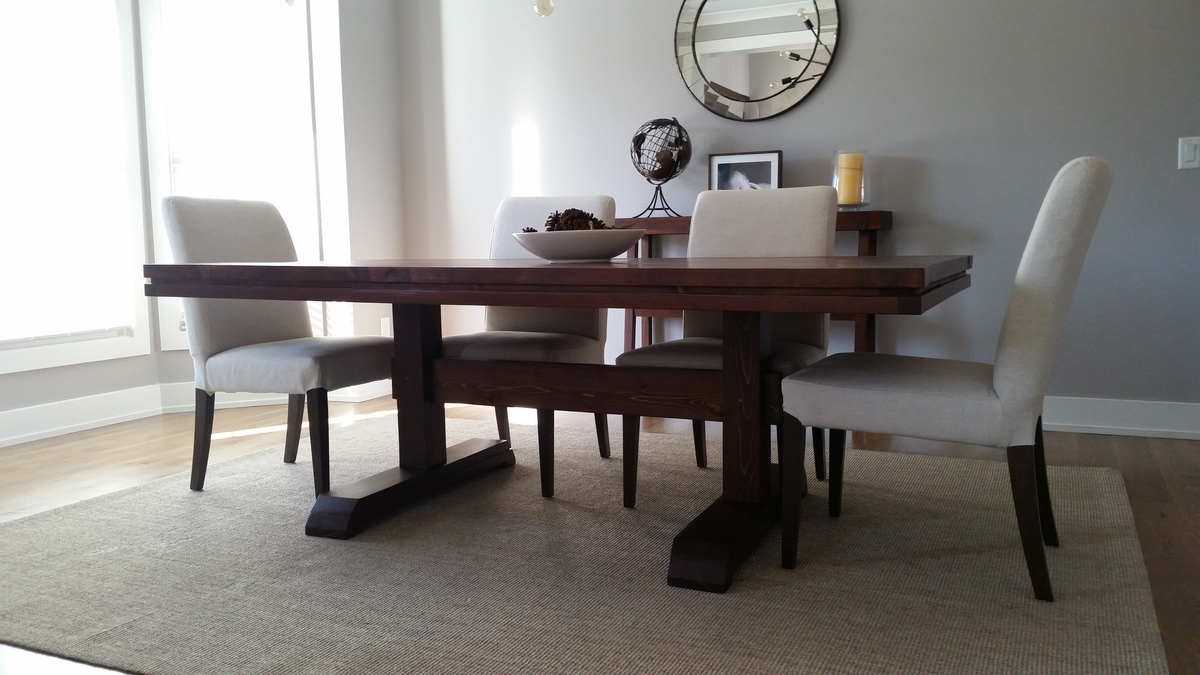
Made a round top 61" from 2x6 ripped to 5" wide so I deviated slightly for a wider bottom (42") and top (58") base. Used the cross pattern instead of the decorative supports. Thanks for the inspiration!
looking to whitewash whole thing or gray stain bottom and dark stained top.
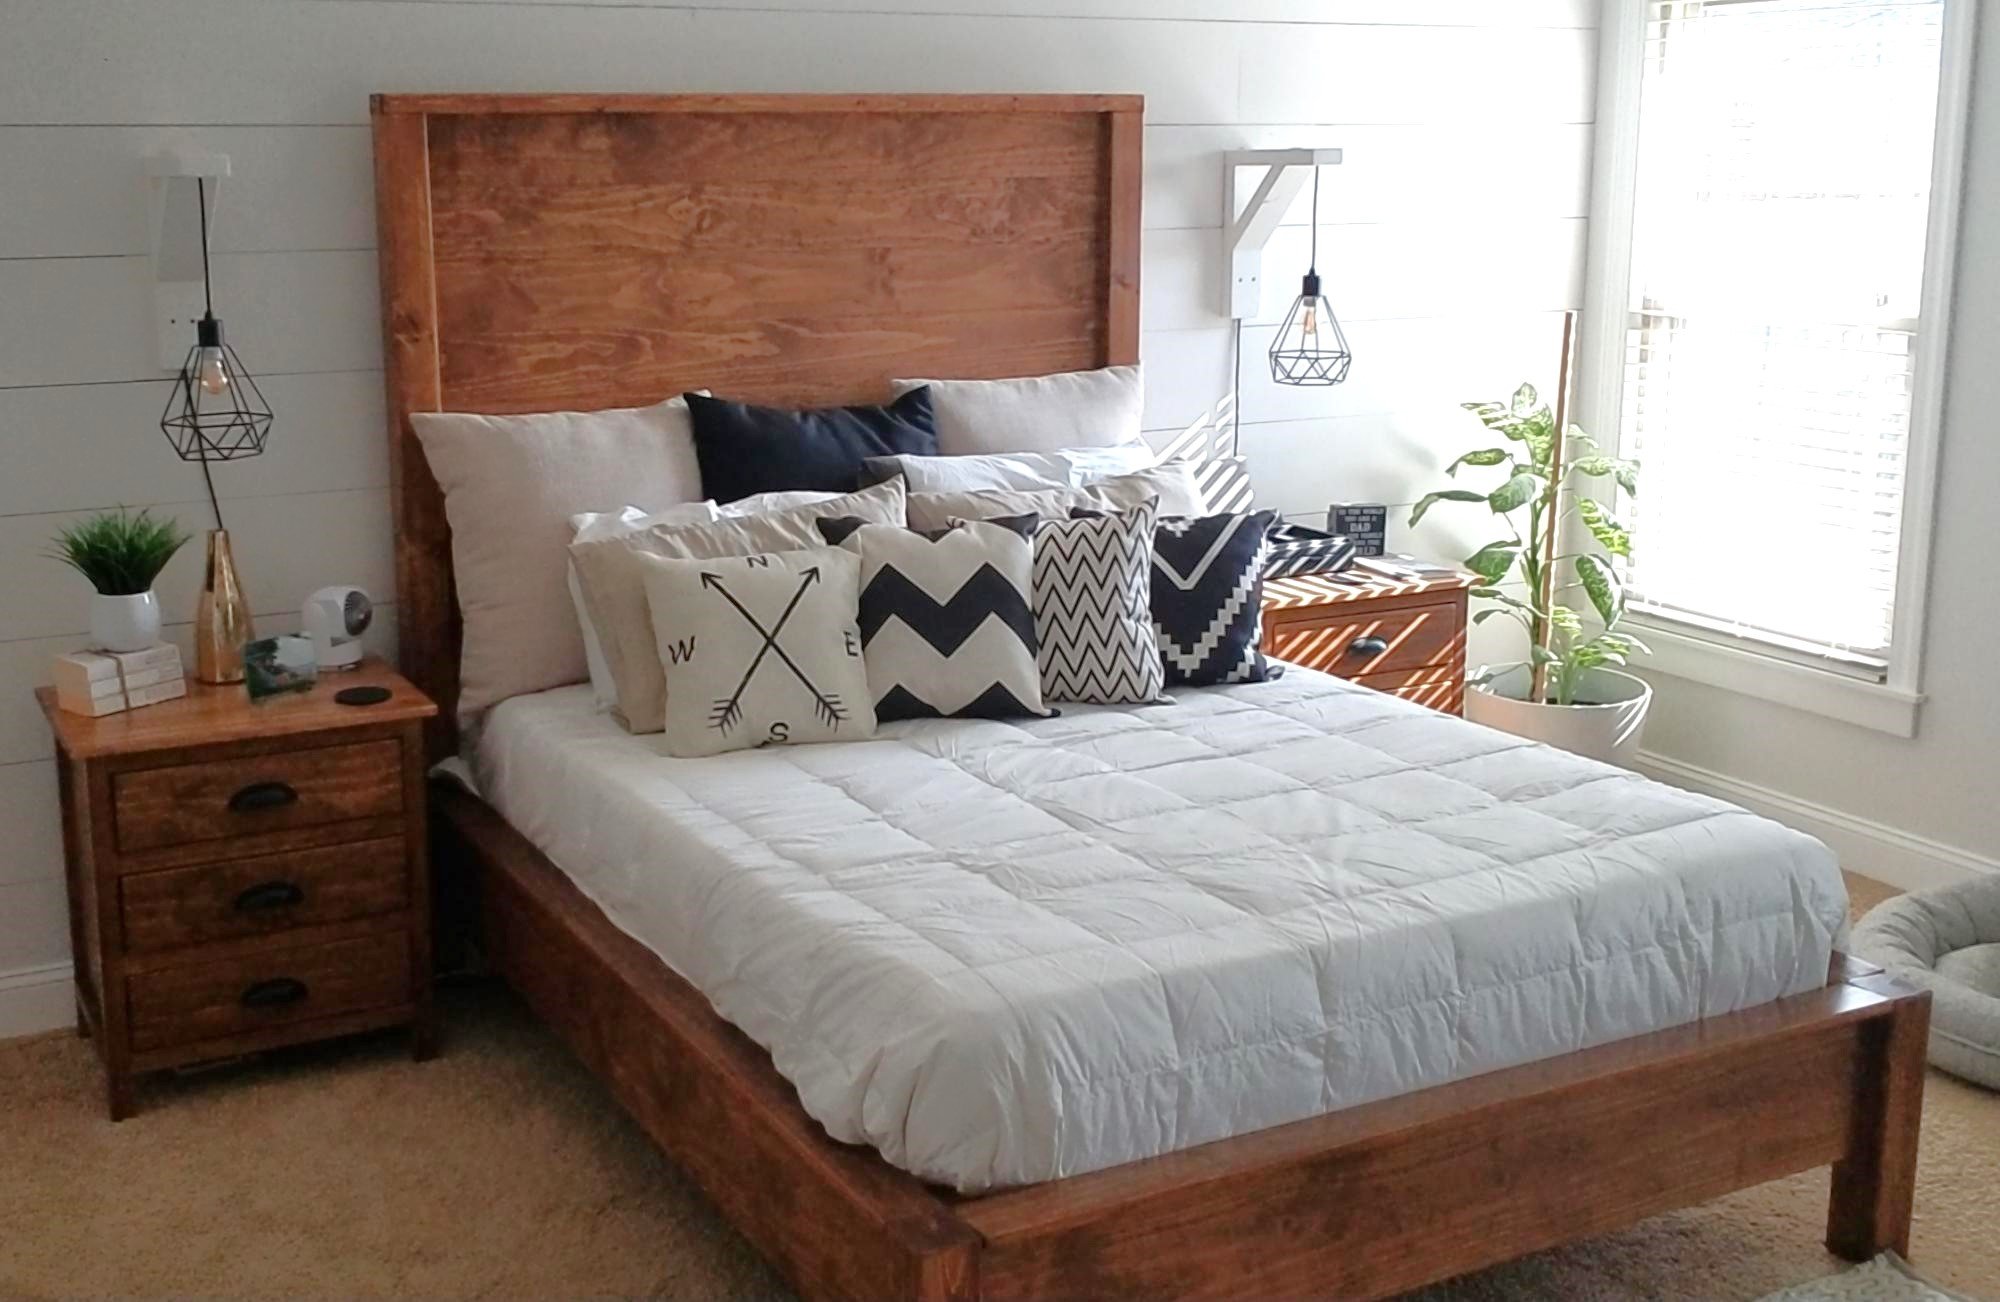
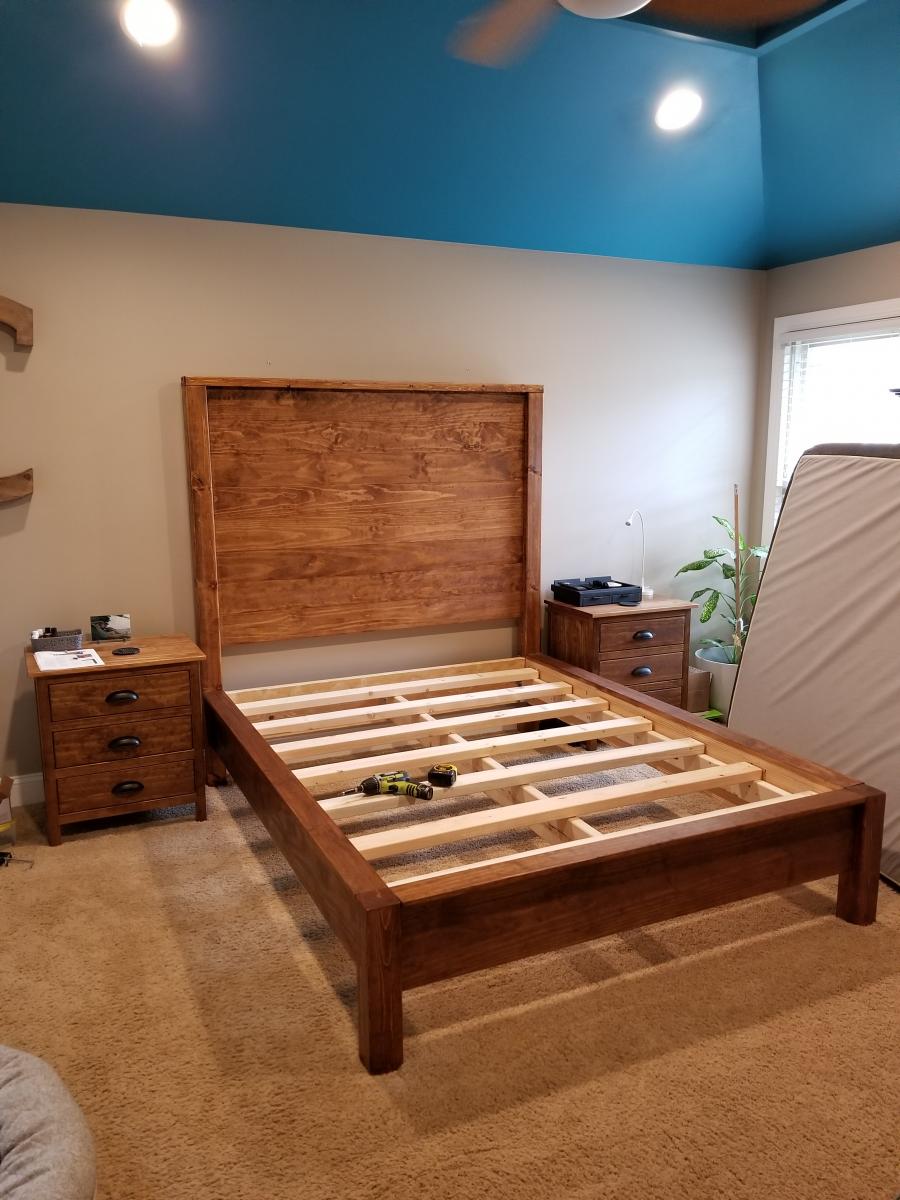
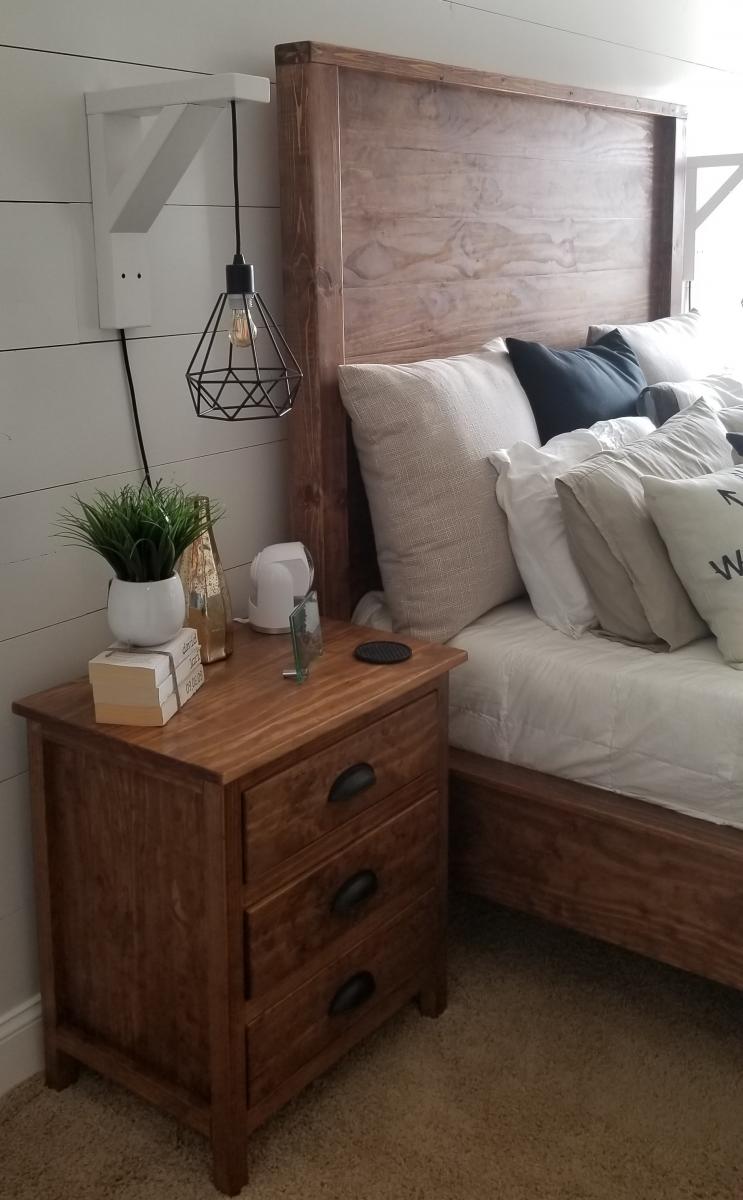
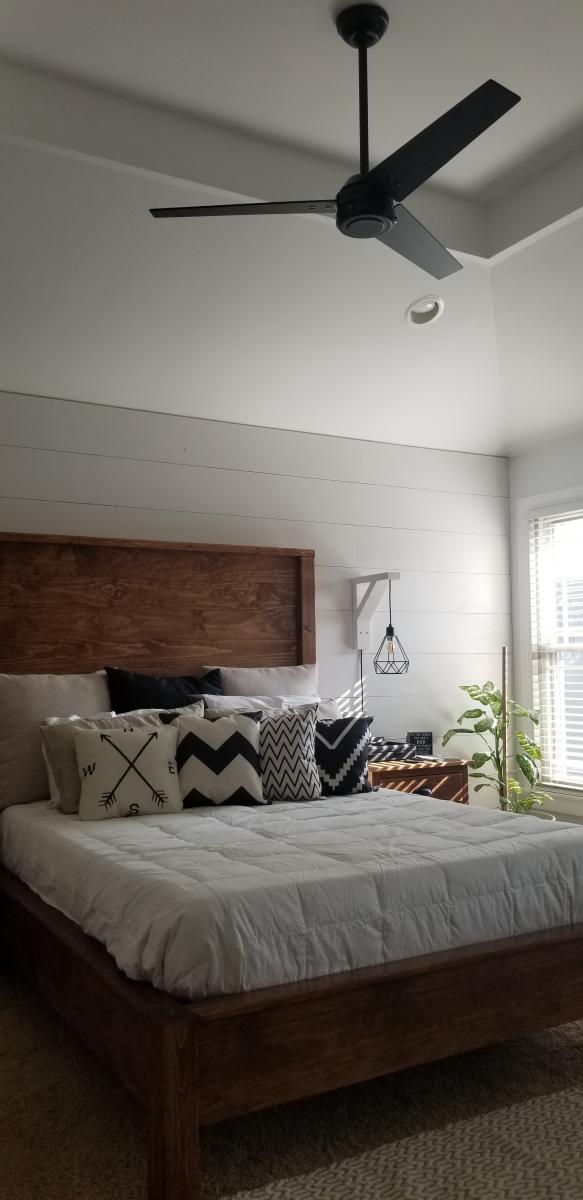
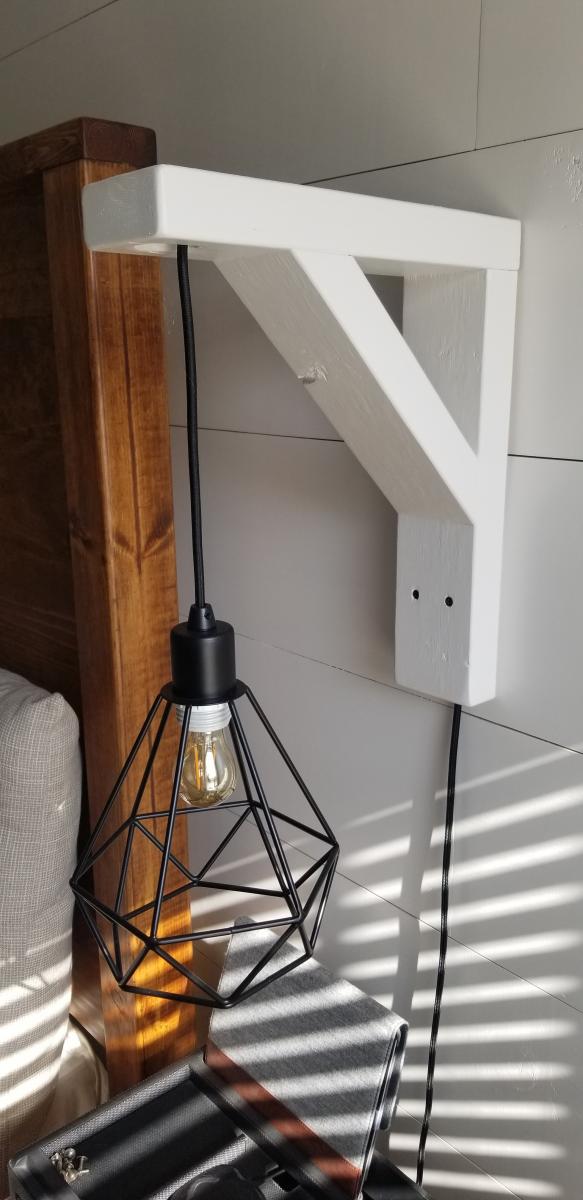
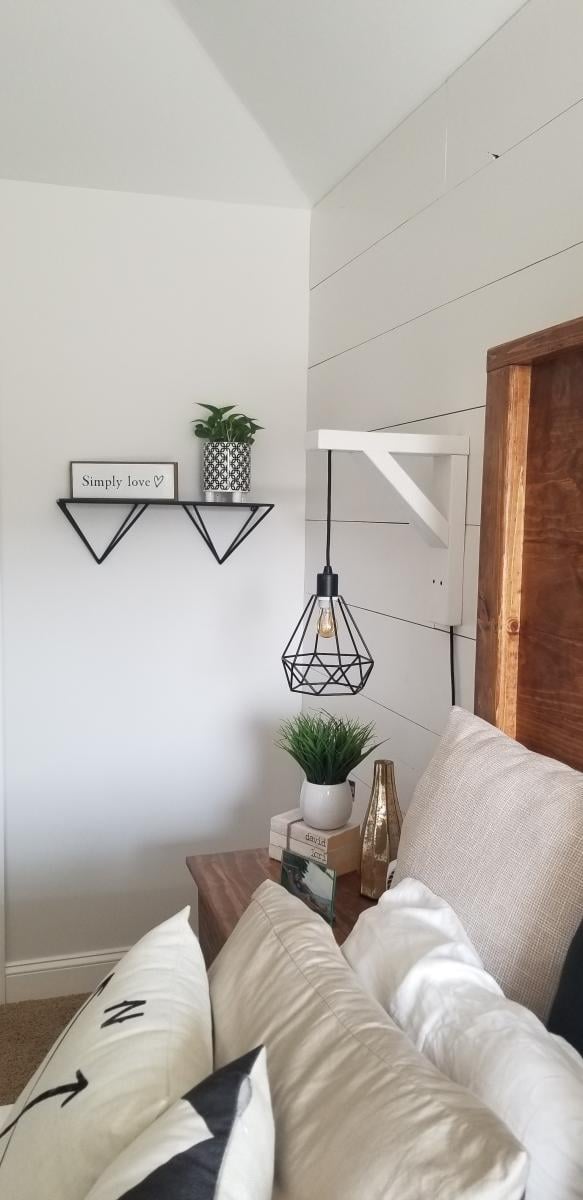
Just like my previous post on the nightstands, It was cheaper to build a bed that I envisioned instead of searching for something over priced. I found the plans for this bed on the site but made the headboard a little over 6 feet tall. This came out amazing and really compliments the nightstands. I also built the sconces that are centered over the nightstands to keep the tops of the nightstands clean and not cluttered. They also have touch pads for the lights mounted behind the bed to make them easy to turn on and off.
This is hands down the best transformation in any room in my house. Ana, you saved me a ton of money with DIY. I even picked up most of the Kreg jigs along the way which is an added bonus!
Tue, 07/09/2019 - 10:09
What a gorgeous room! The bed is just stunning in the space! Those nightstands and lights are perfect. Thank you so much for sharing brag posts!

In reply to What a gorgeous room! The… by Ana White
Fri, 07/19/2019 - 11:39
Thank you so much! I need to thank you for the plans!