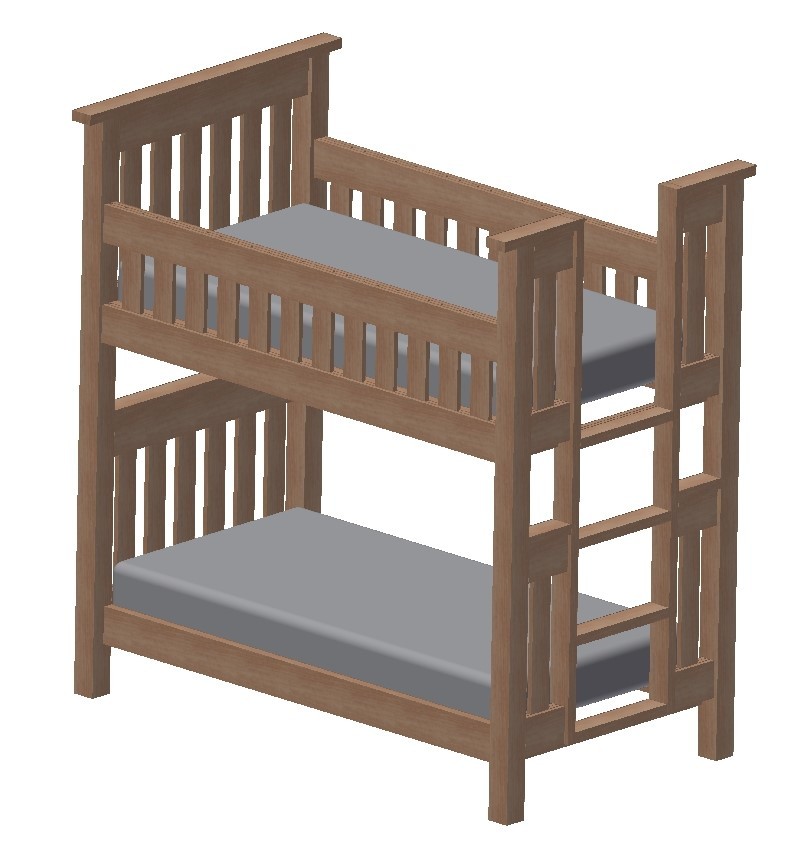
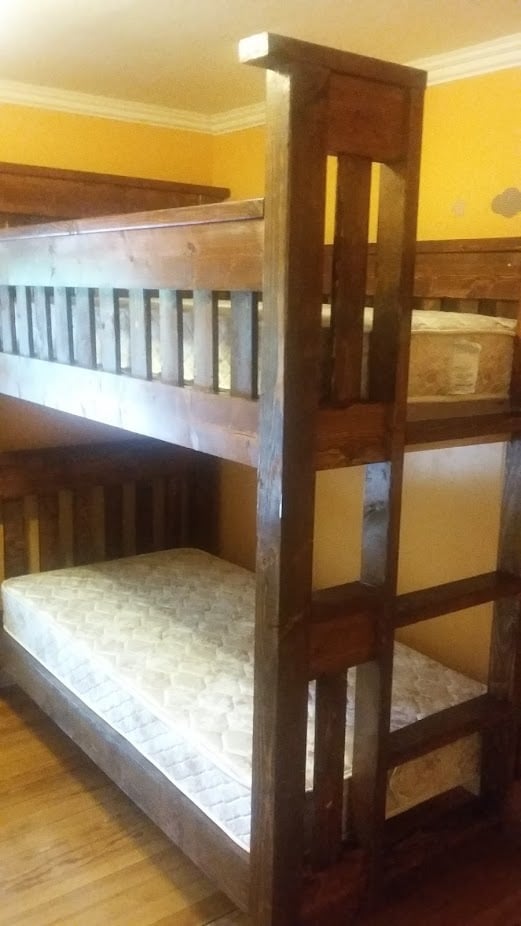
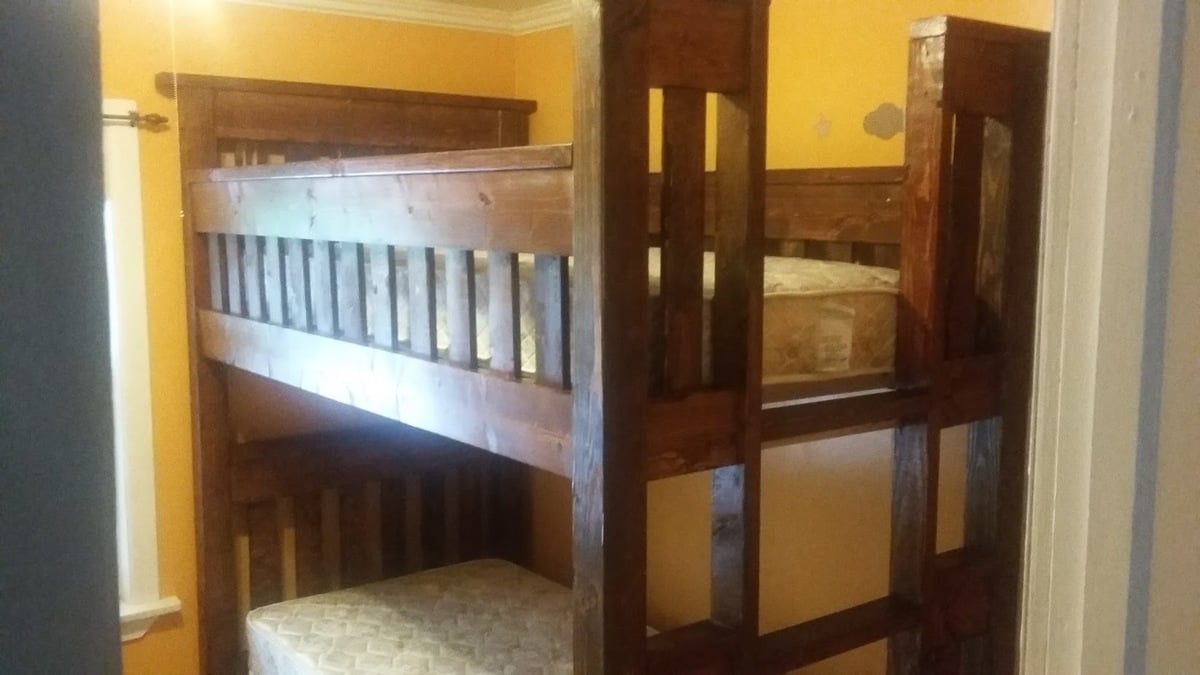
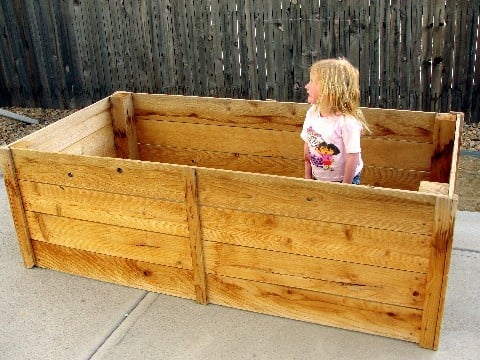
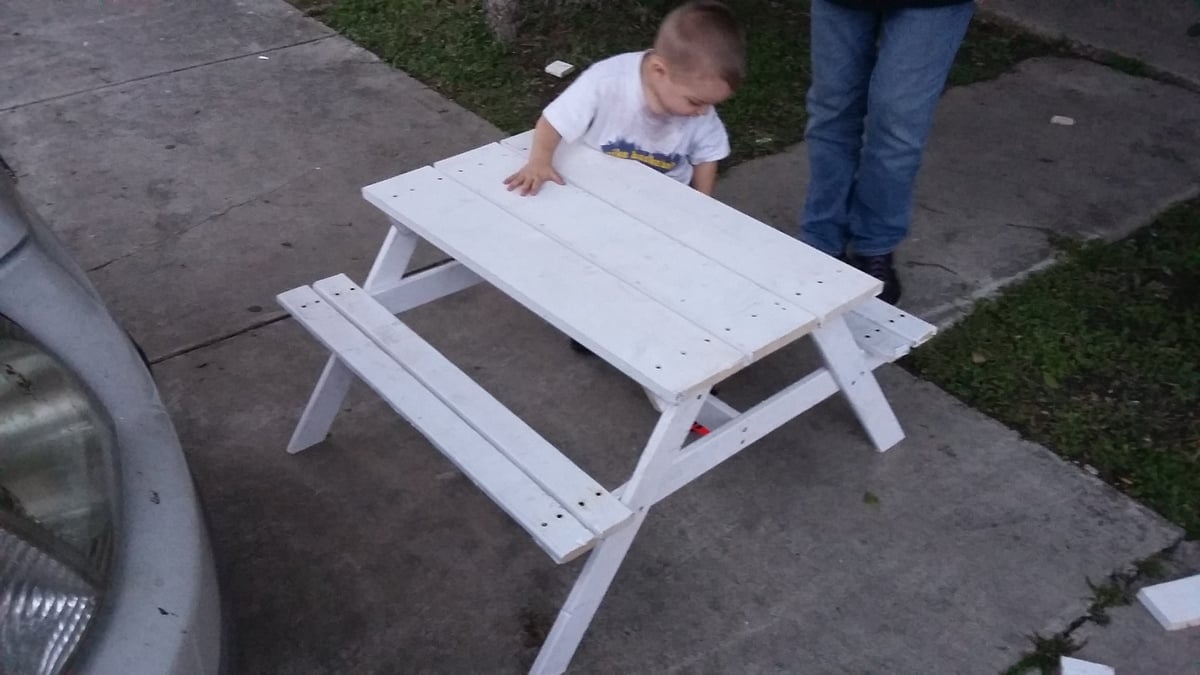
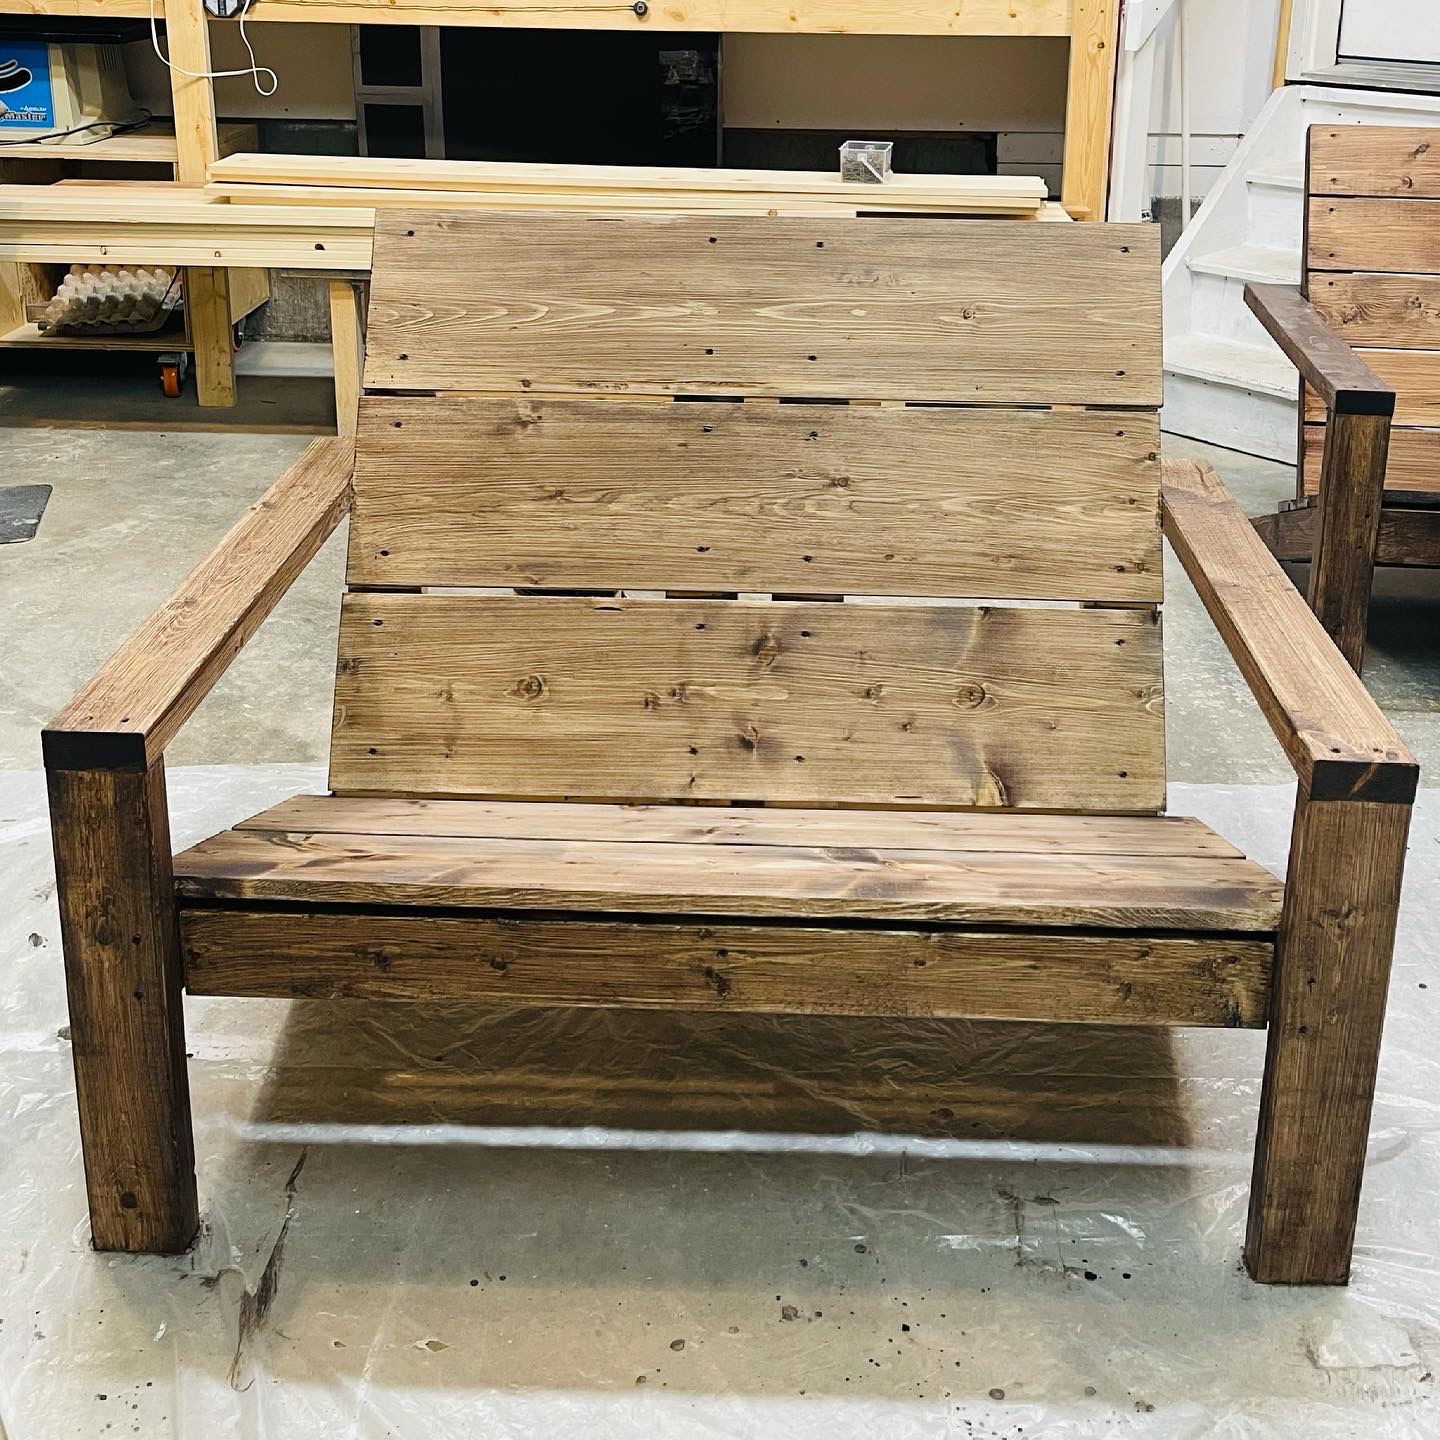
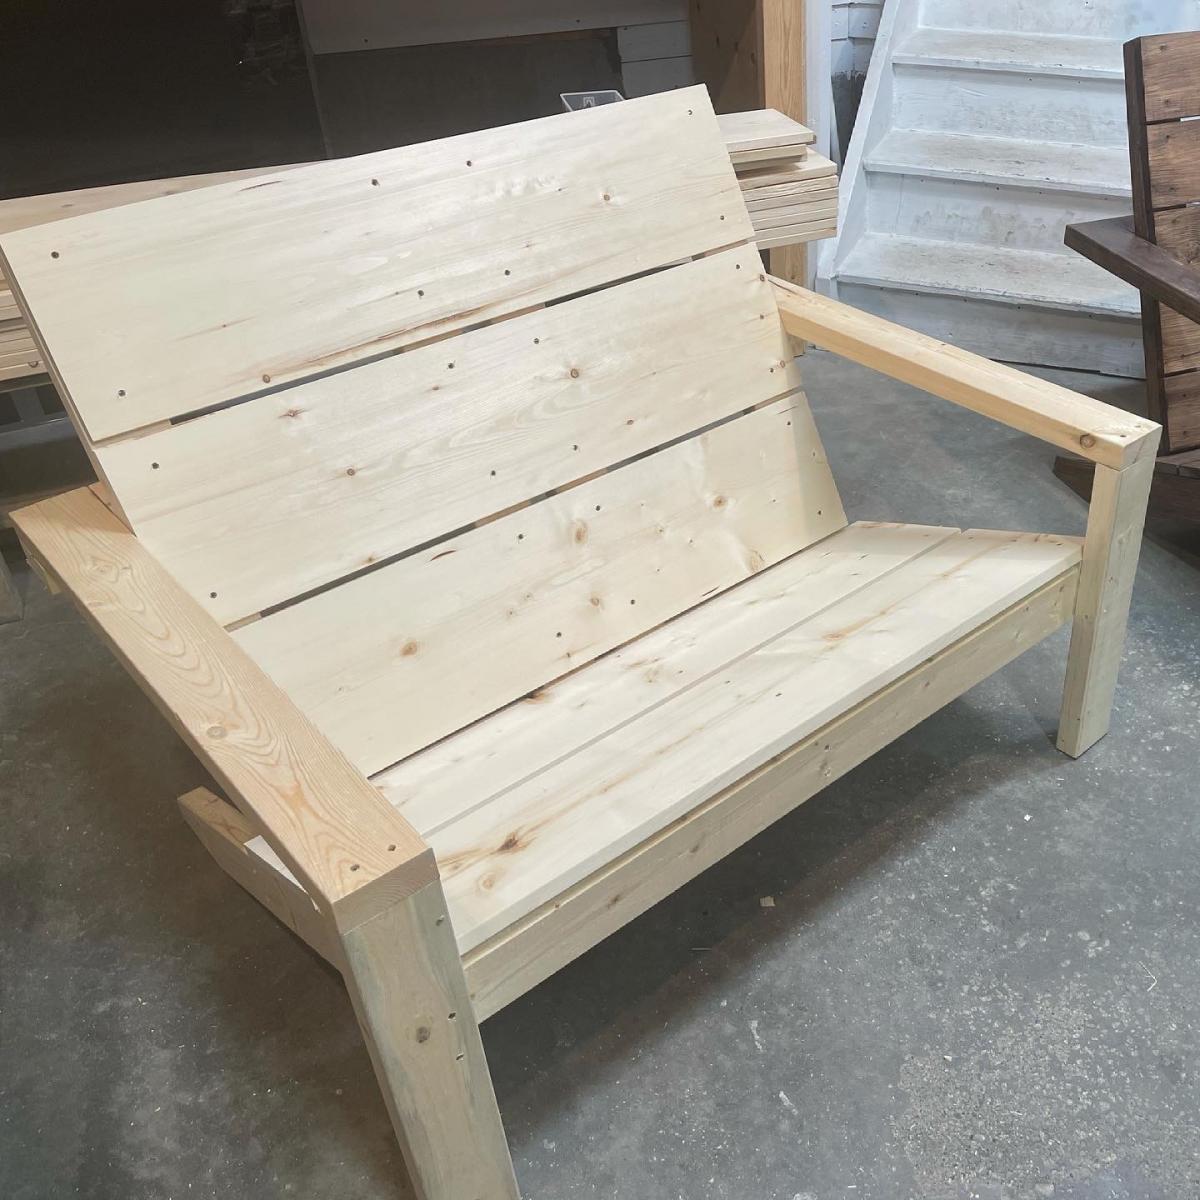
Grandkids LOVE IT!
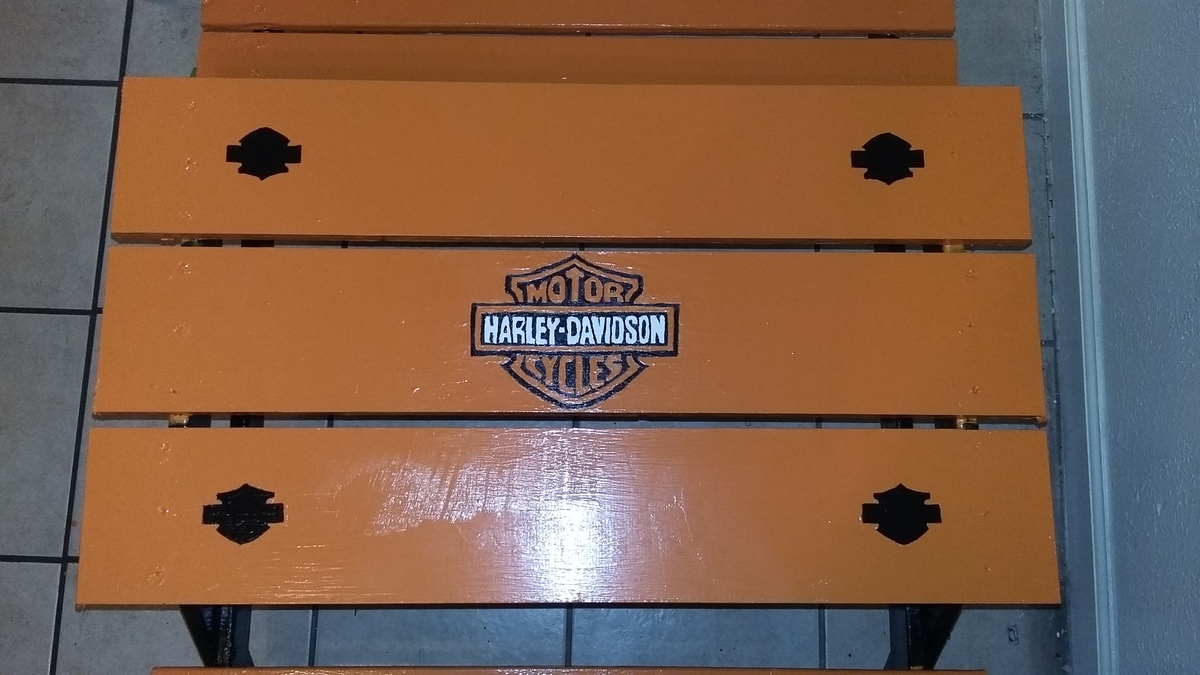
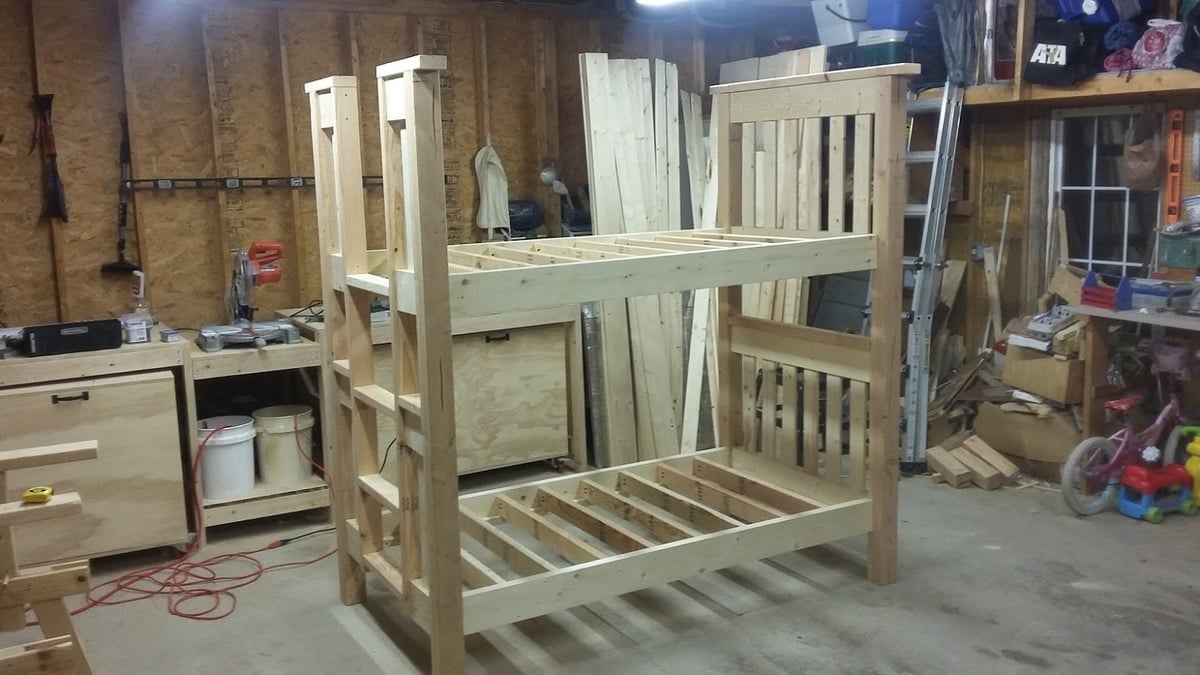
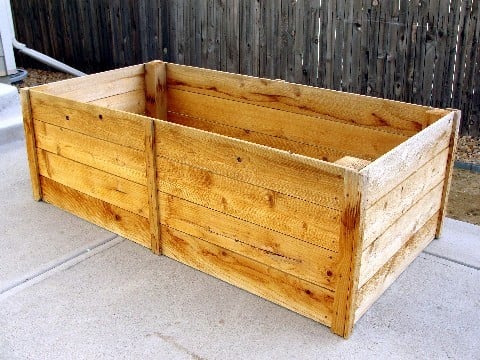
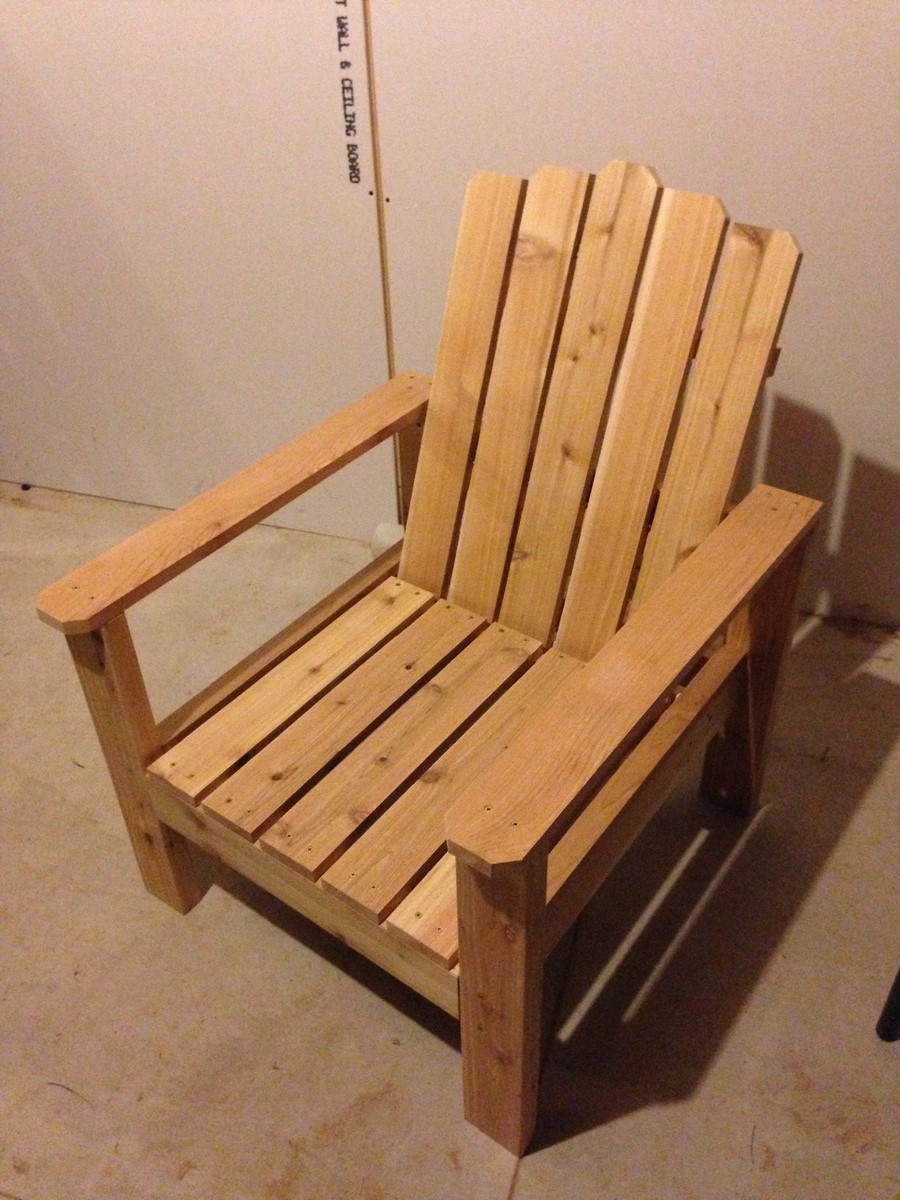
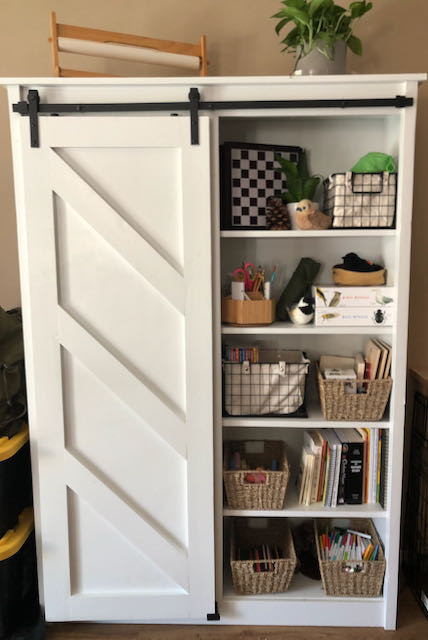
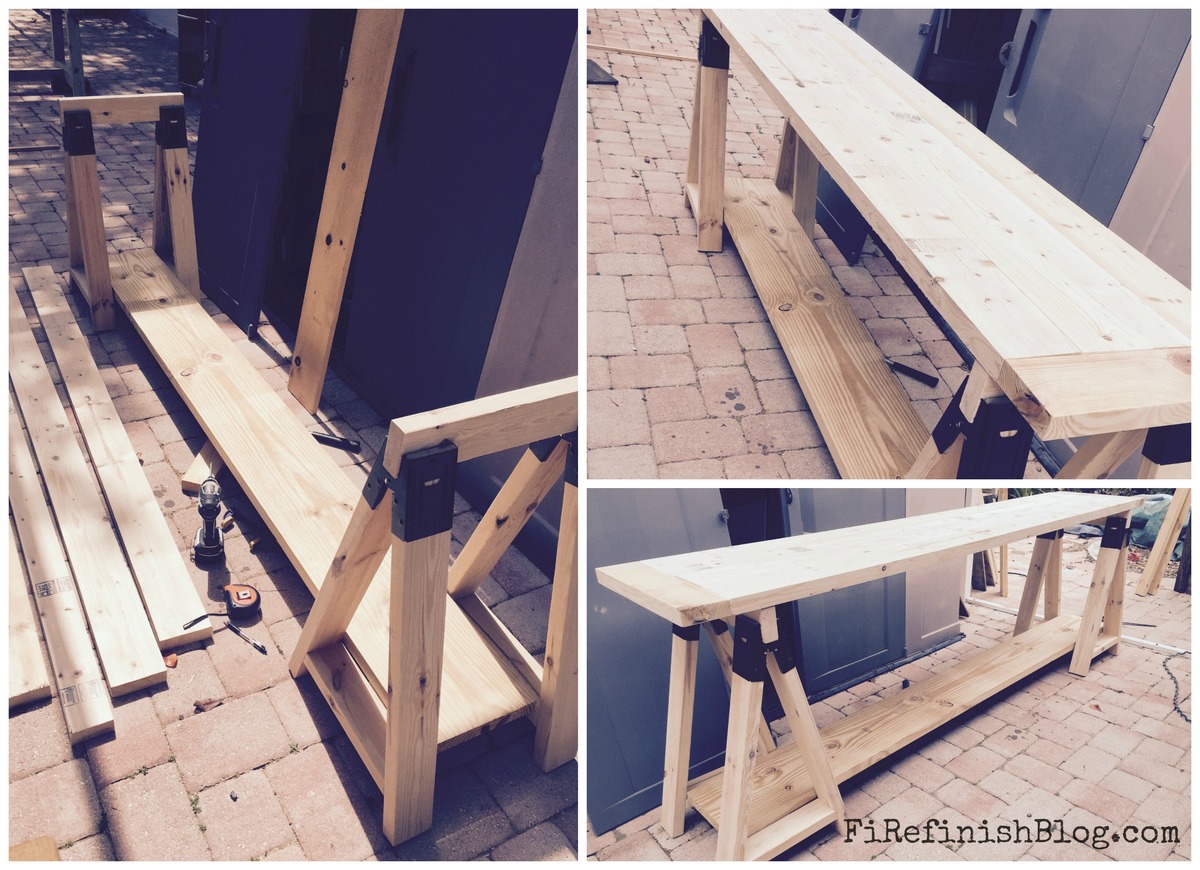
Simple to build, took longer to paint it than it did to build it!
Built from Plan(s)
Estimated Cost
65 dollars (45 was paint).
Estimated Time Investment
Weekend Project (10-20 Hours)
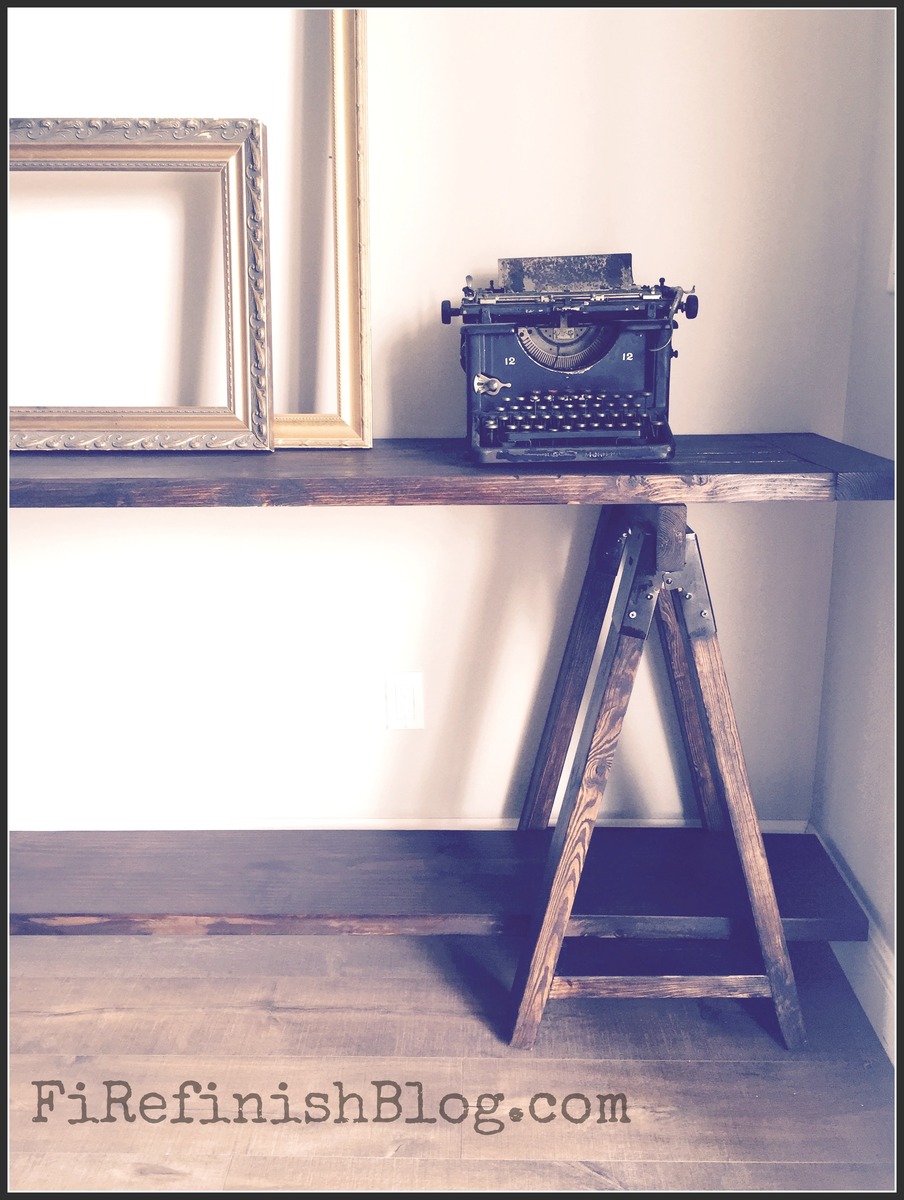
Finish Used
primed with Kilz, painted with Glidden. Harley symbols were hand painted.
Recommended Skill Level
Beginner

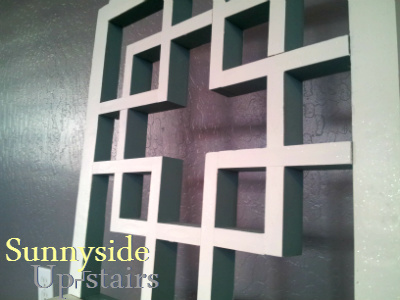


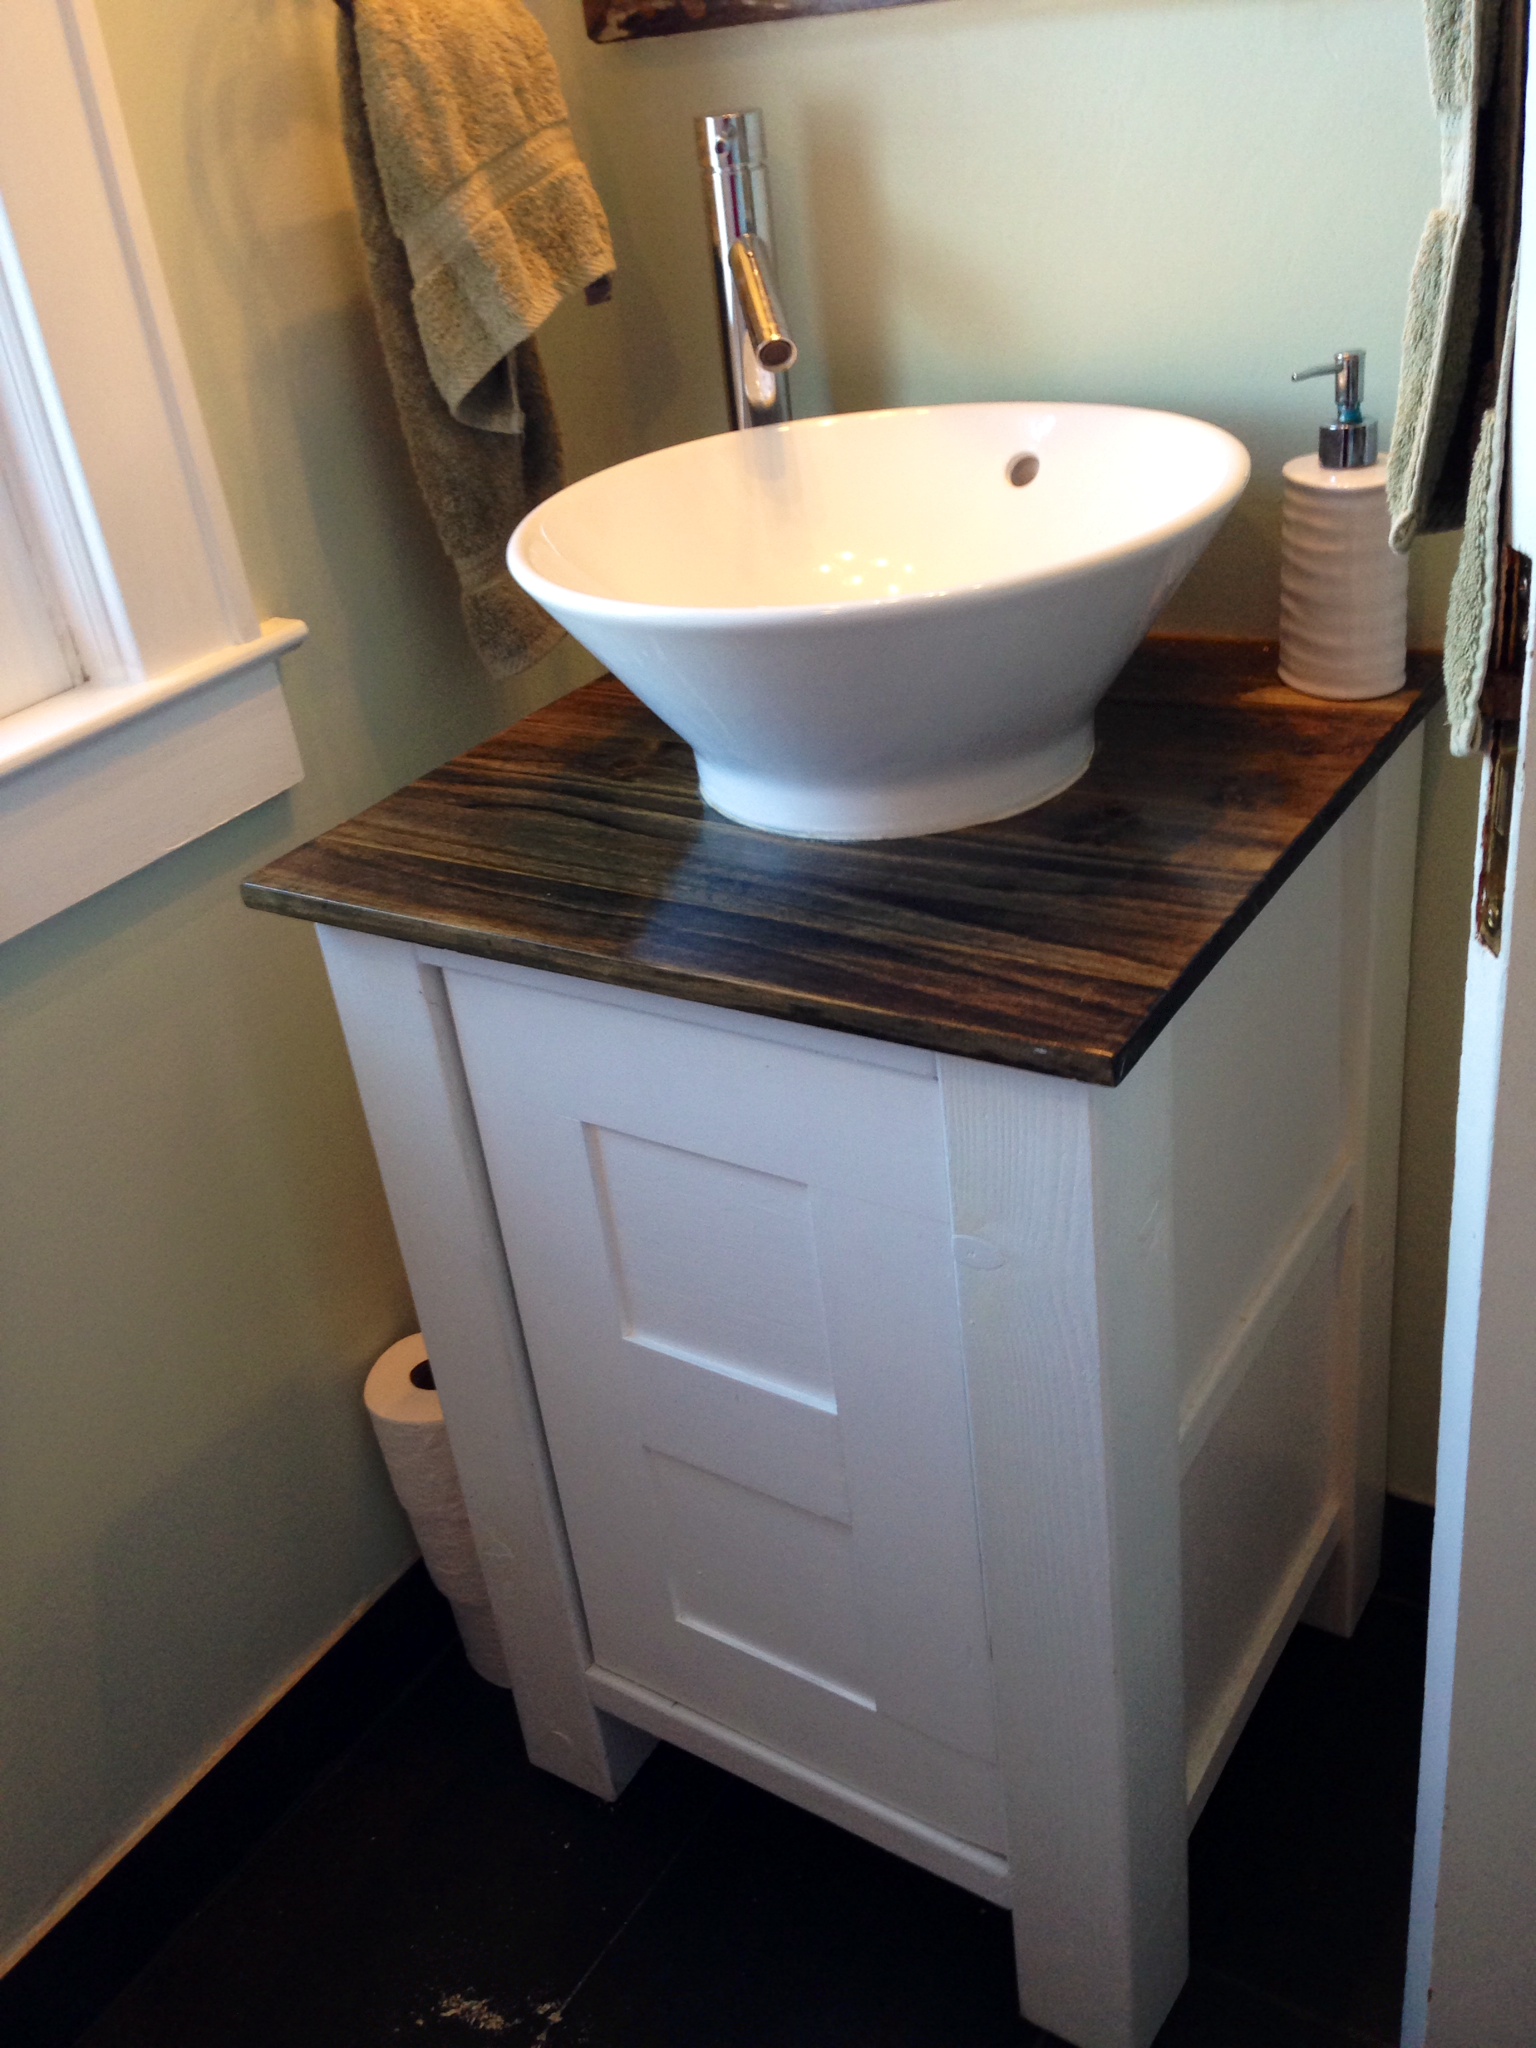
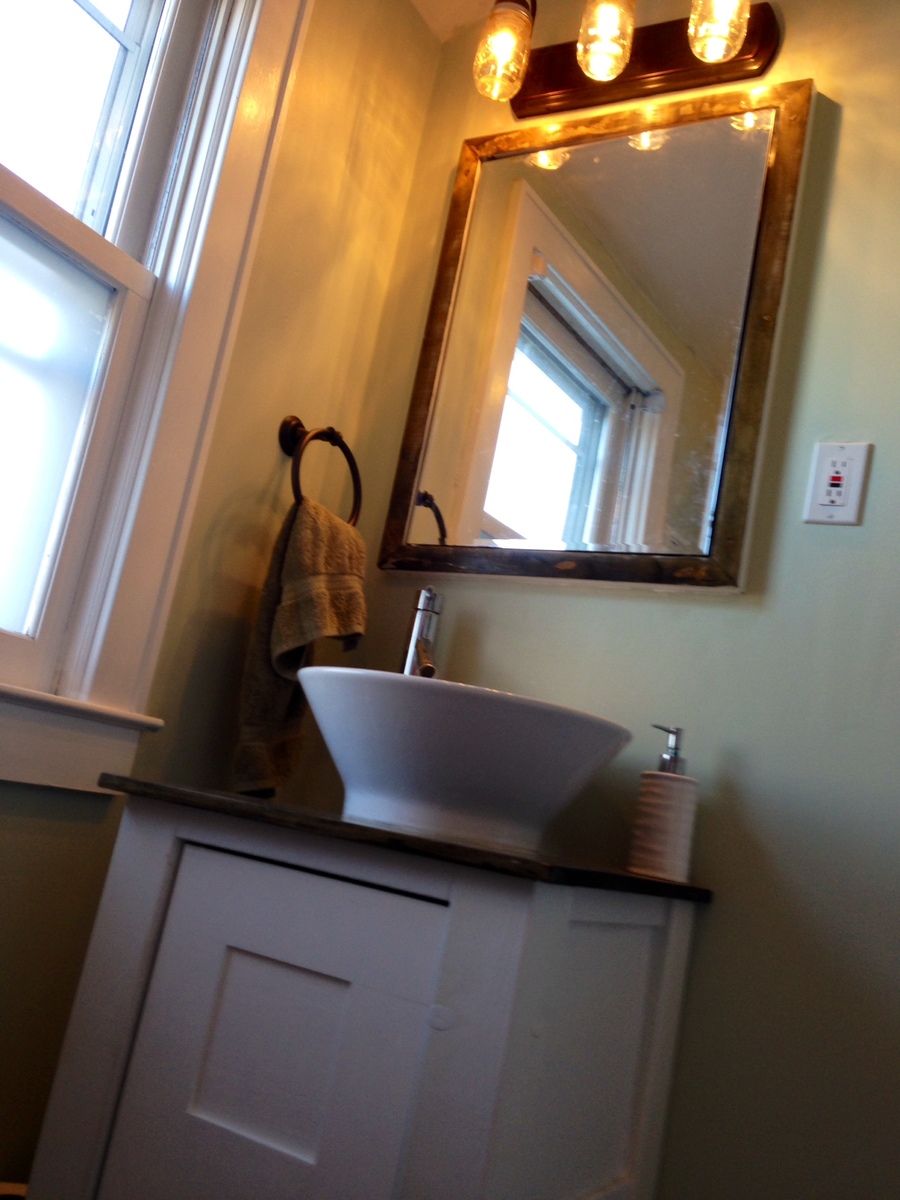
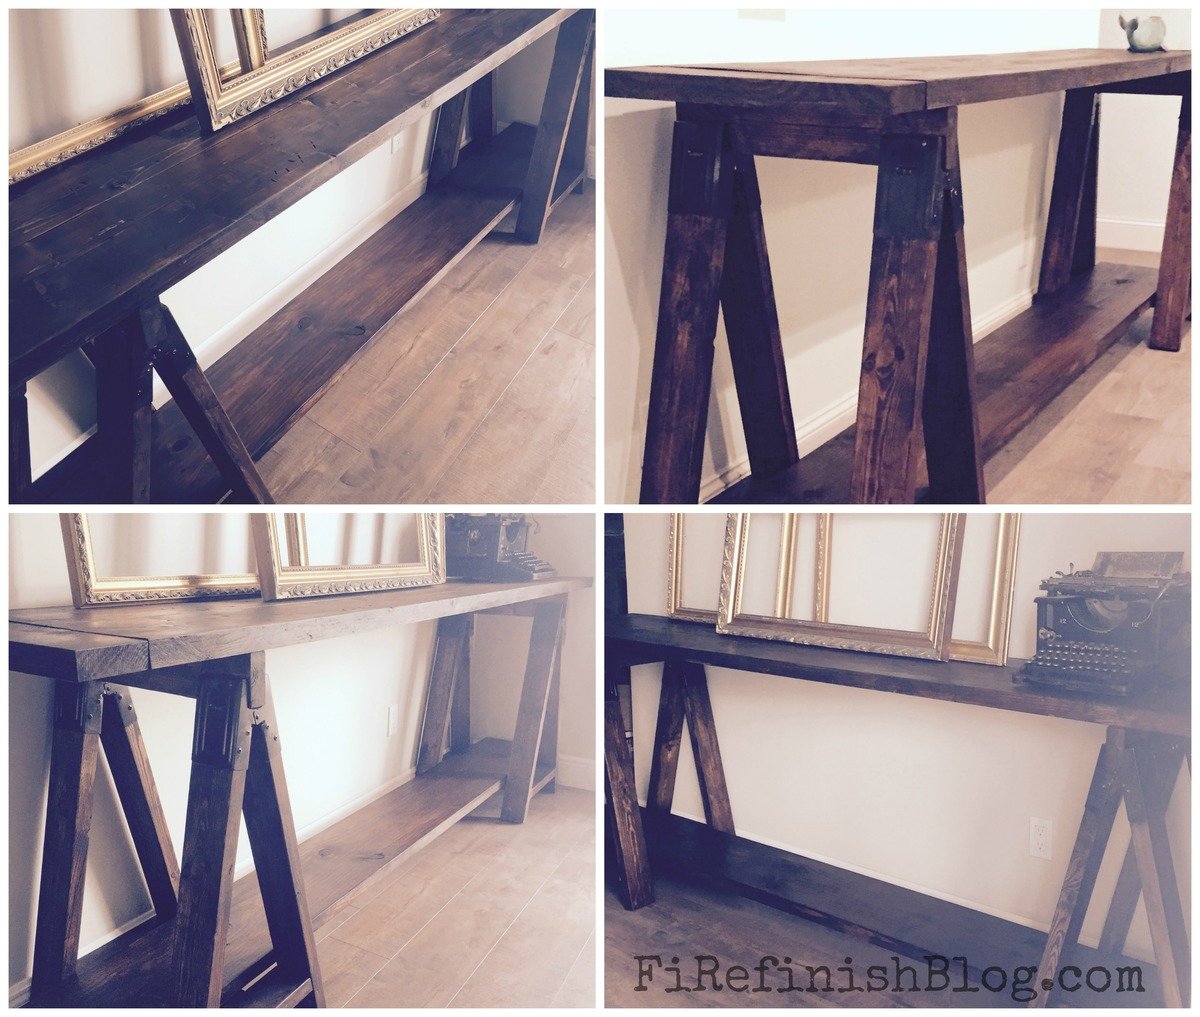

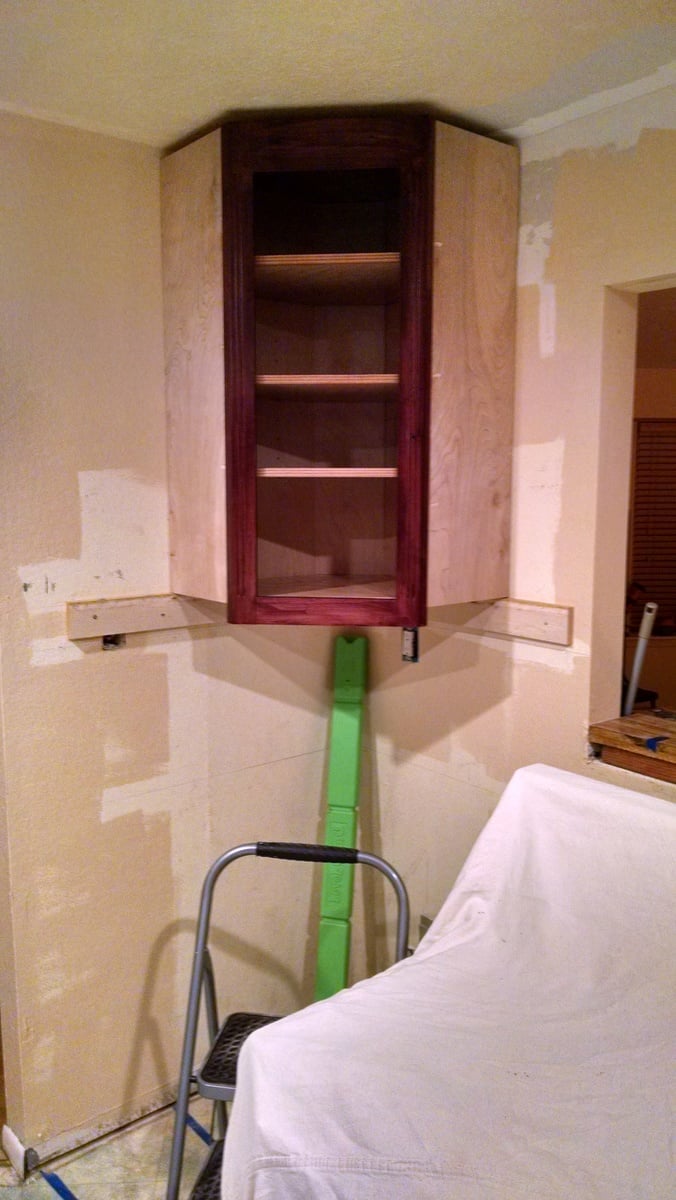
 . Painted walls, added new flooring, still have to customize the closet, but with Ana's help that will be a snap. I would have never gotten the courage to do some of the builds I've done without Ana's site. Thank You Ana!!!