Community Brag Posts

DIY Wood Outdoor Chair with Deep Seat Cushion

Submitted by Anonymous (not verified) on Thu, 08/10/2023 - 12:27

Using just basic tools, I was able to build this super comfy outdoor chair for the fraction of the cost. With a couple of modifications, Ana White's design plan made for a perfect fit for the new deep seat cushions I had found on fb marketplace.
 

Seasonal And Holiday

Daybed and side tables

Submitted by Anonymous (not verified) on Tue, 12/17/2019 - 06:56

My husband made this for our granddaughter when she comes to visit. Then we saw the side tables, adjusted the height and poof the best room ever!

Estimated Cost
$300.00
Estimated Time Investment
Weekend Project (10-20 Hours)

Combo of Farmhouse Bed with Farmhouse Storage Bed

Submitted by jeniroosen on Mon, 01/27/2014 - 21:39

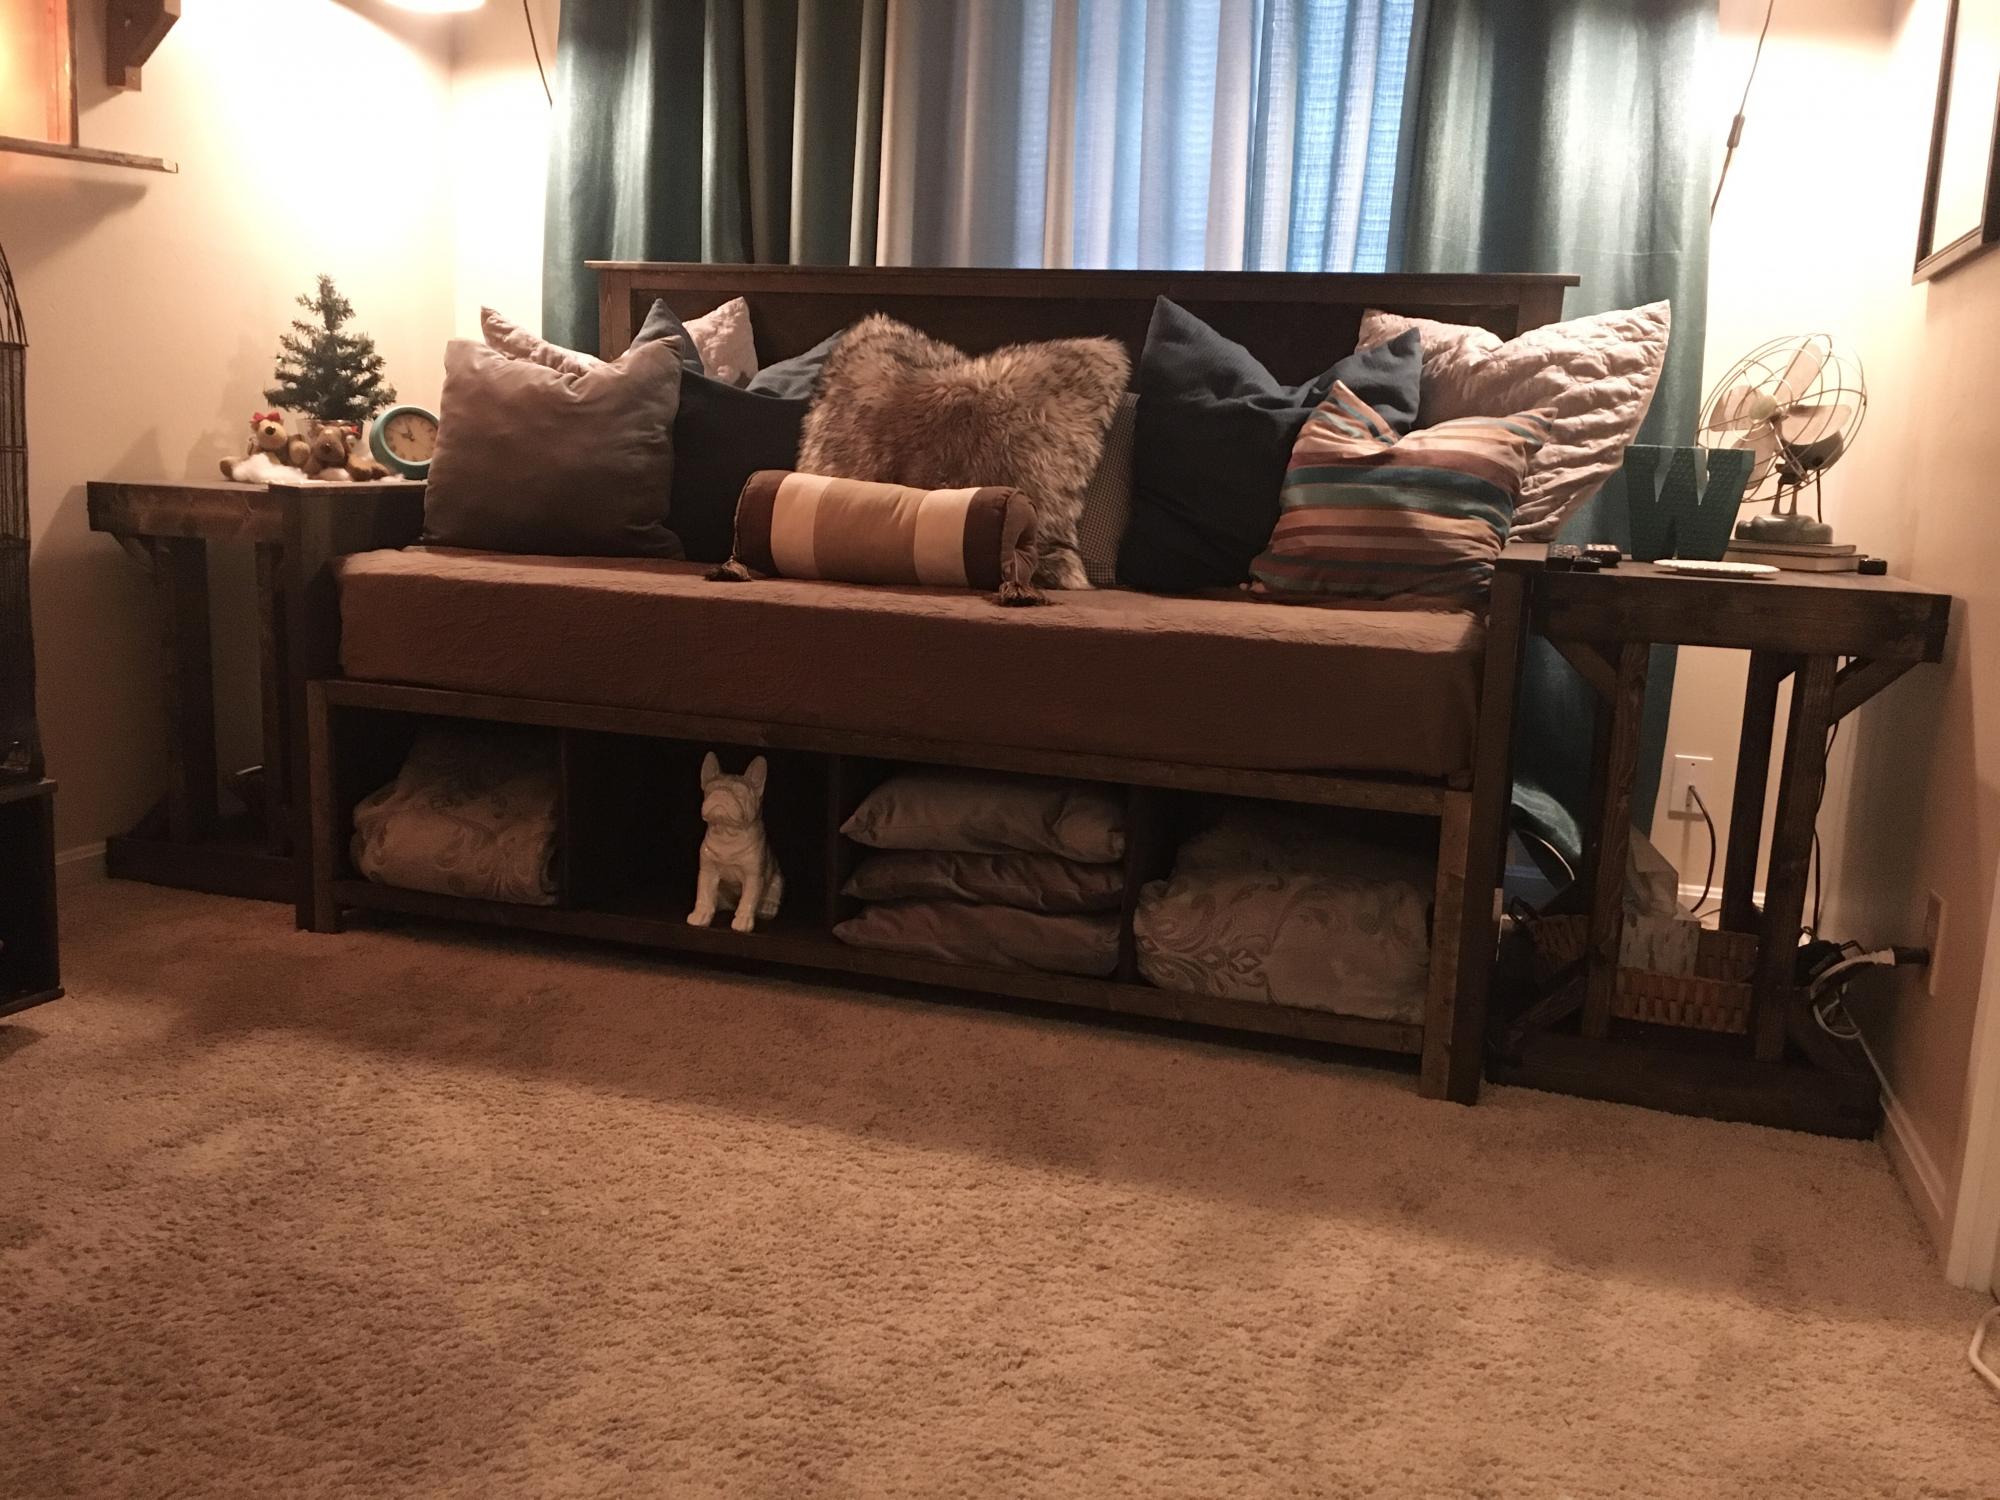
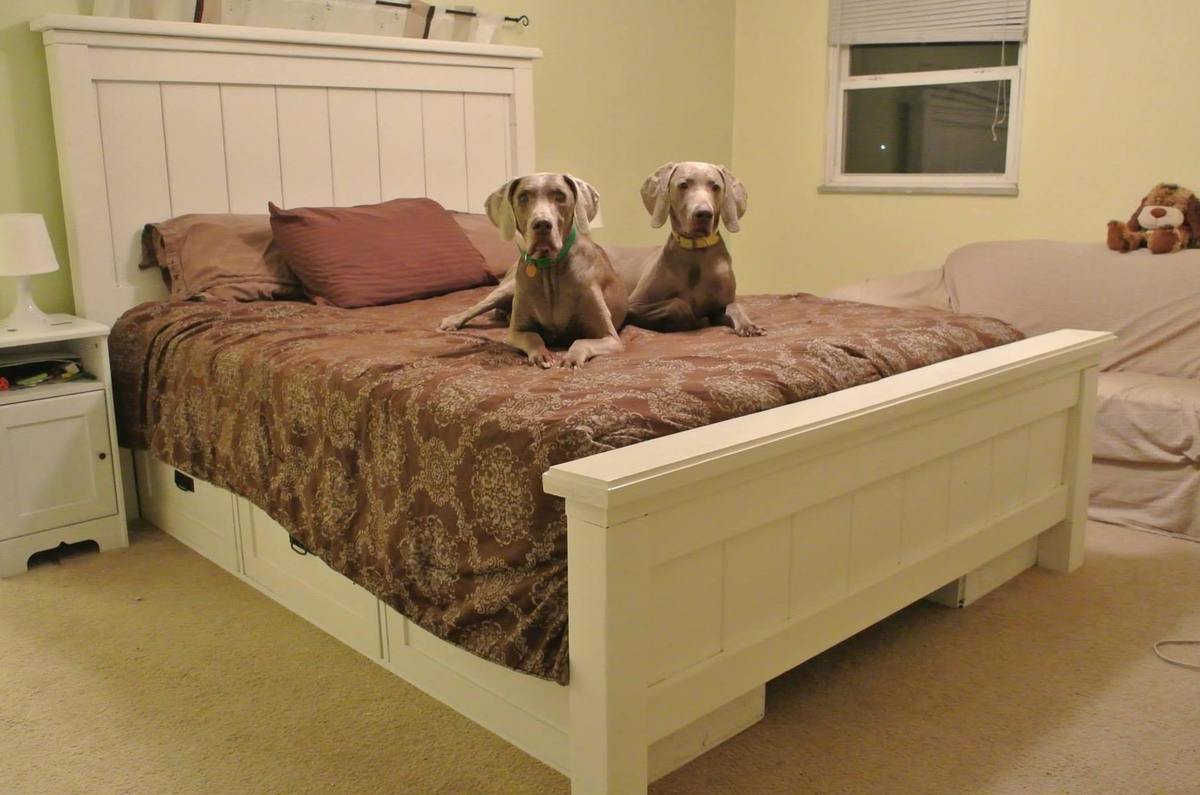
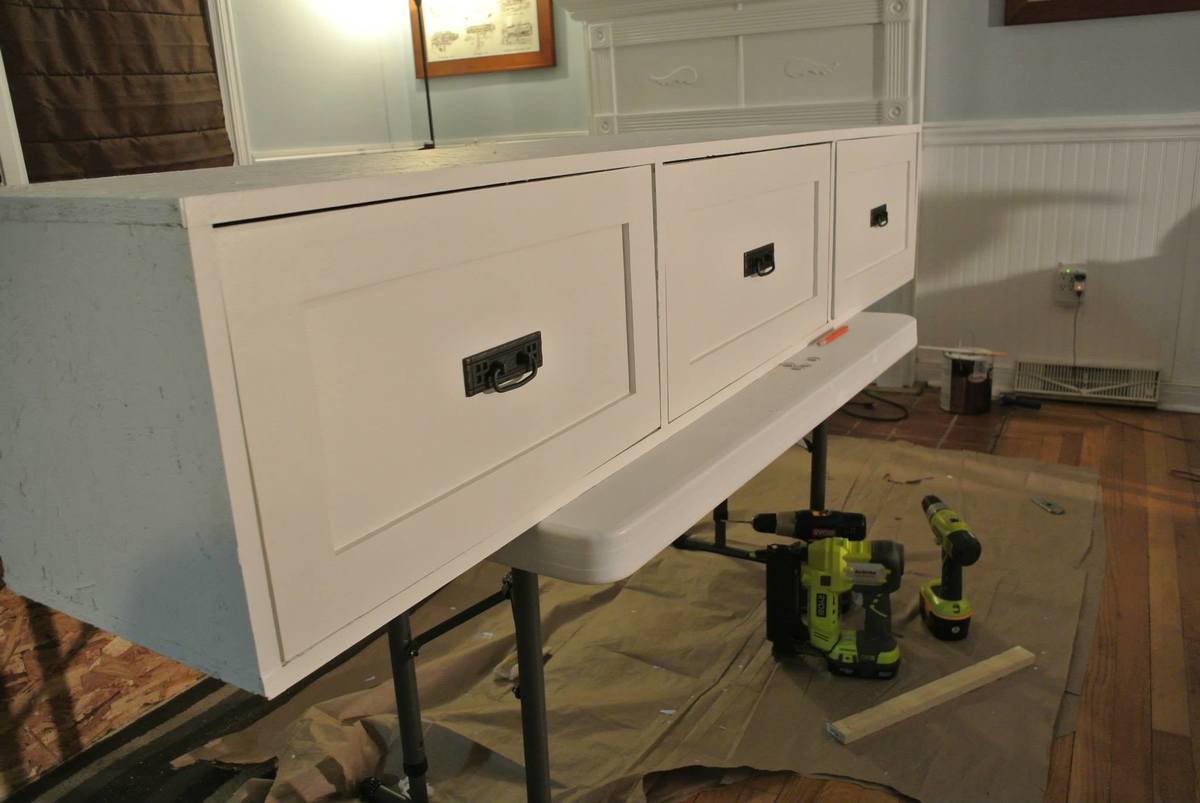
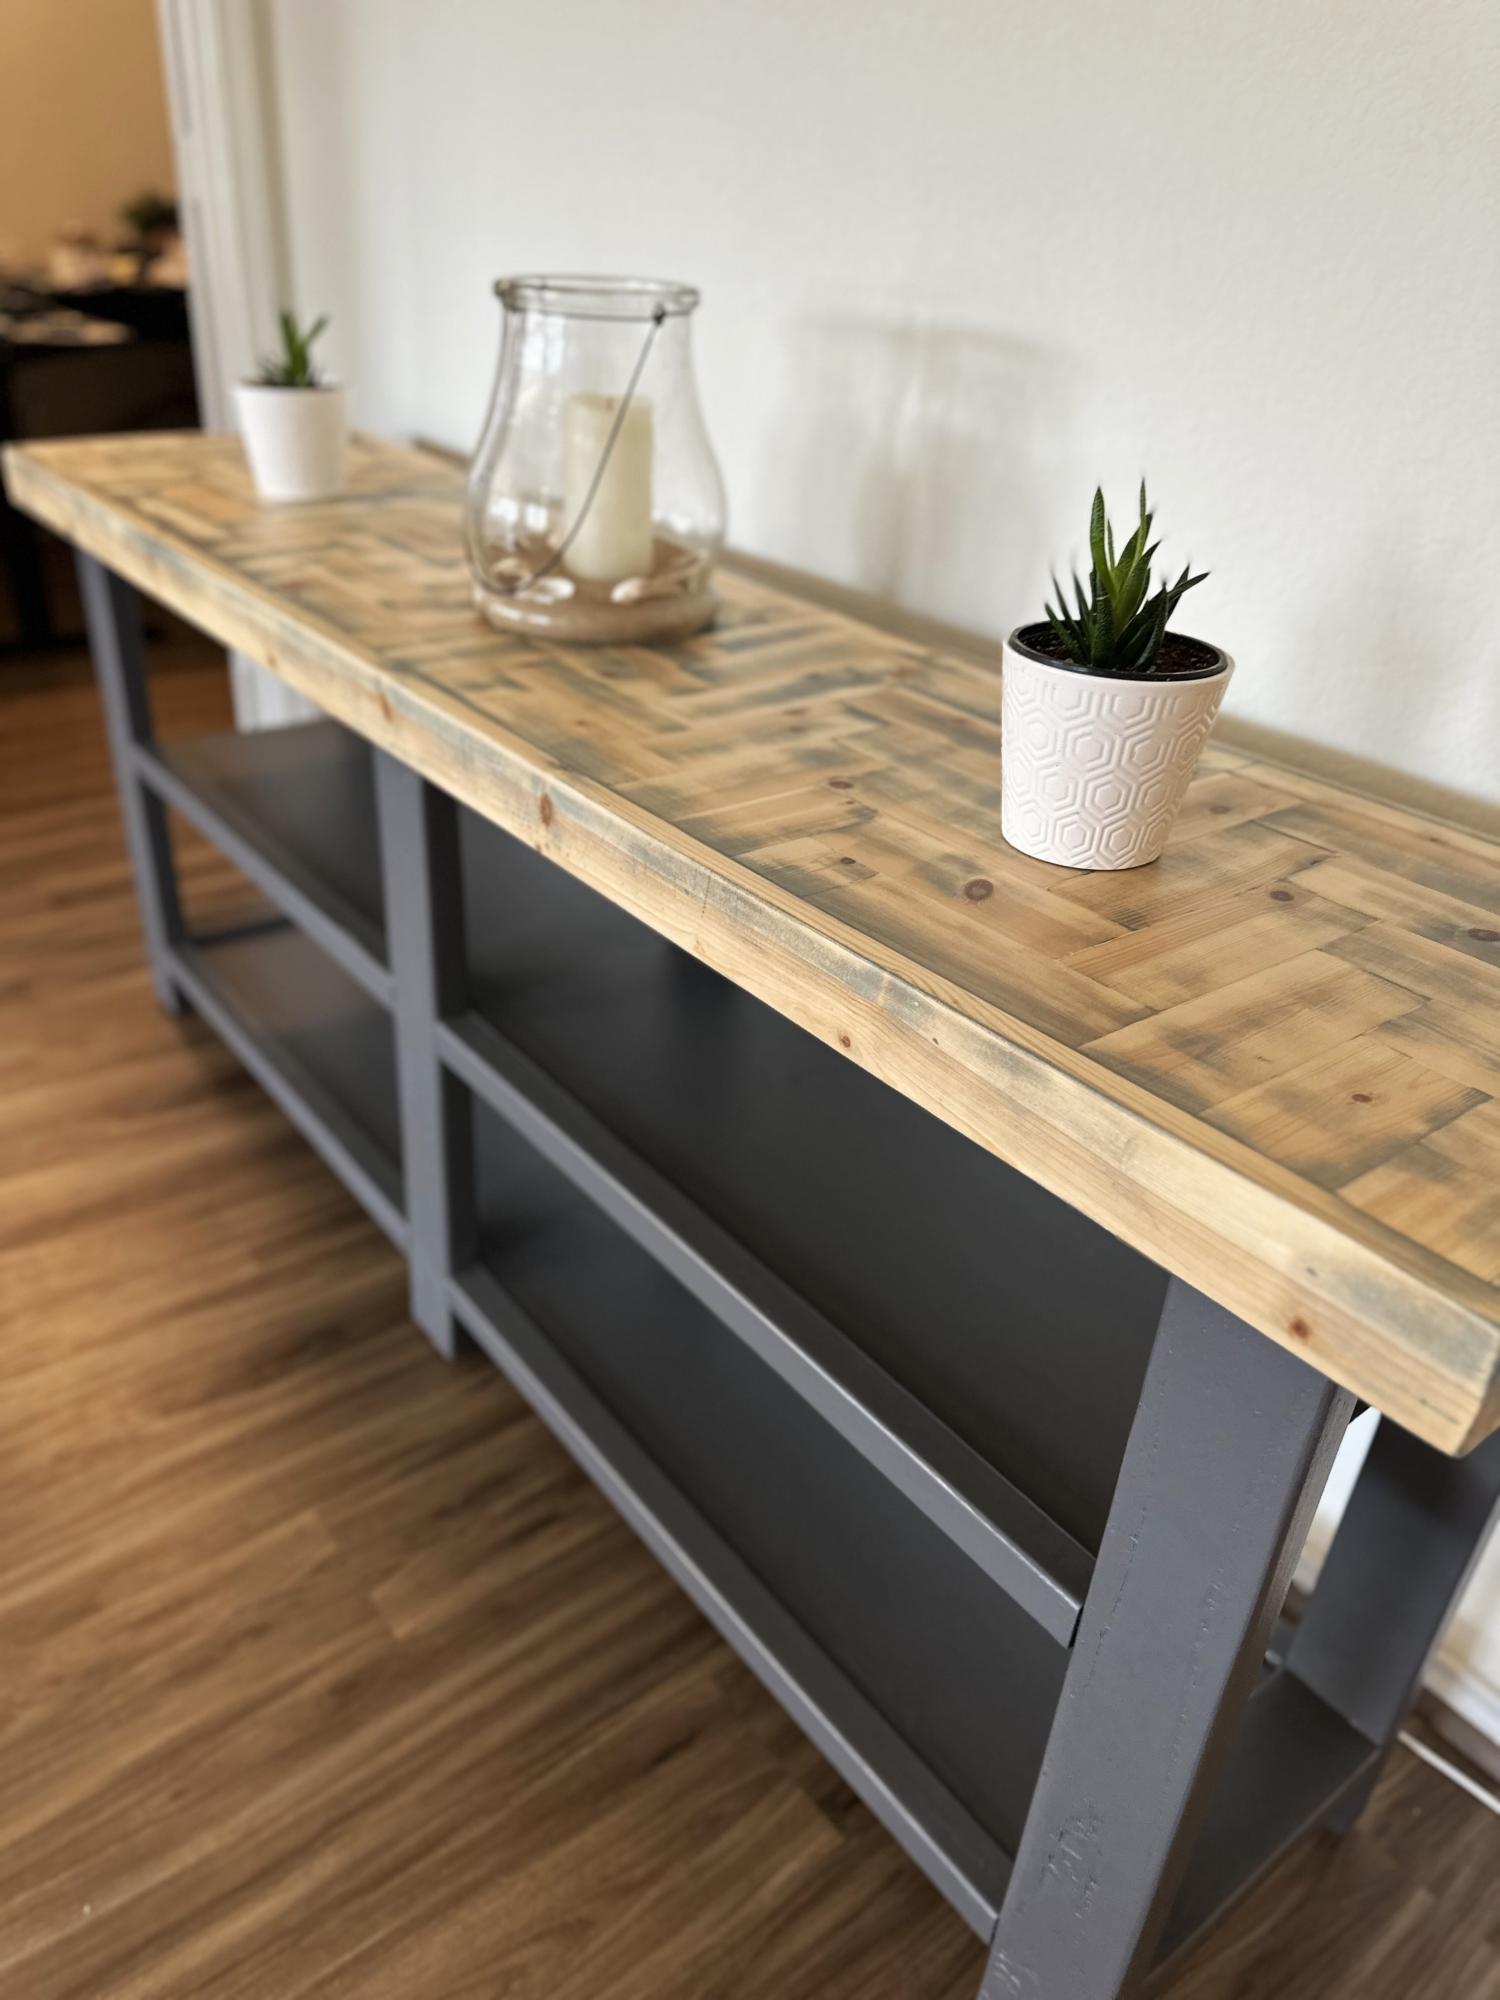
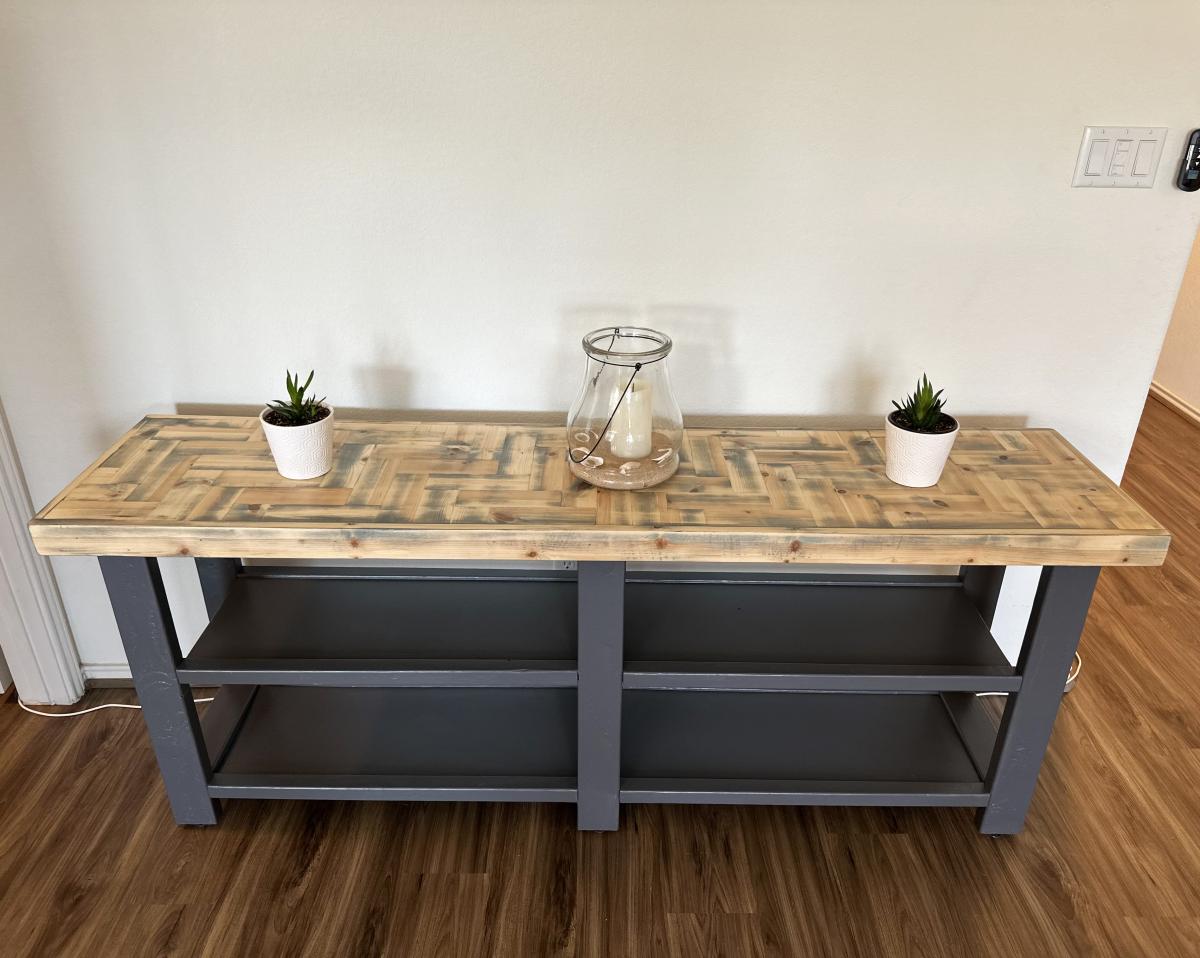
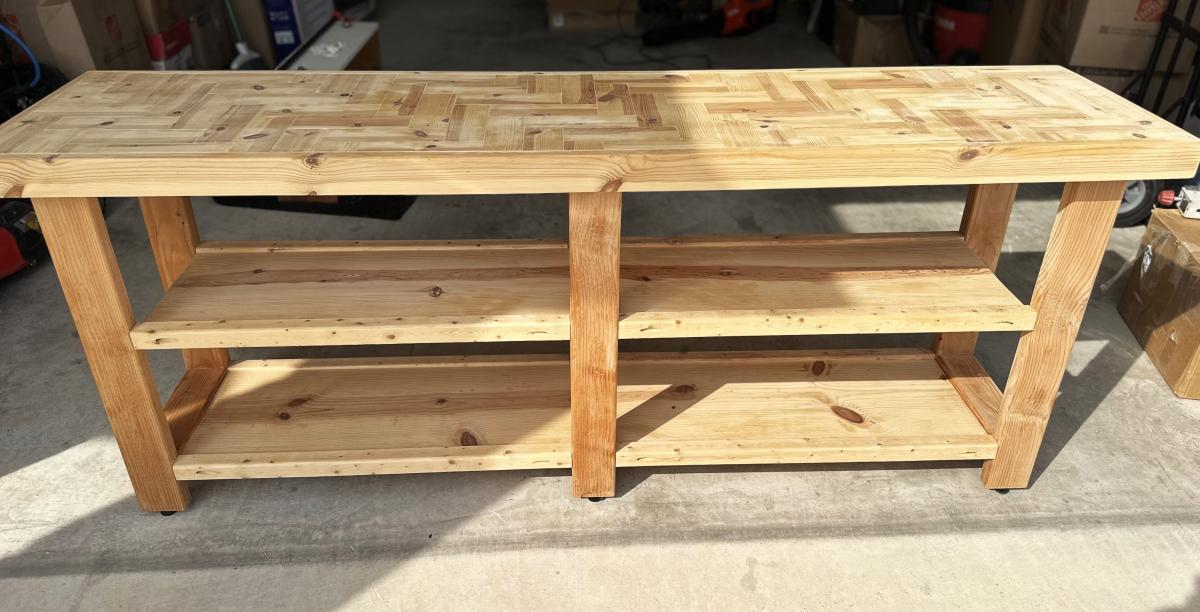
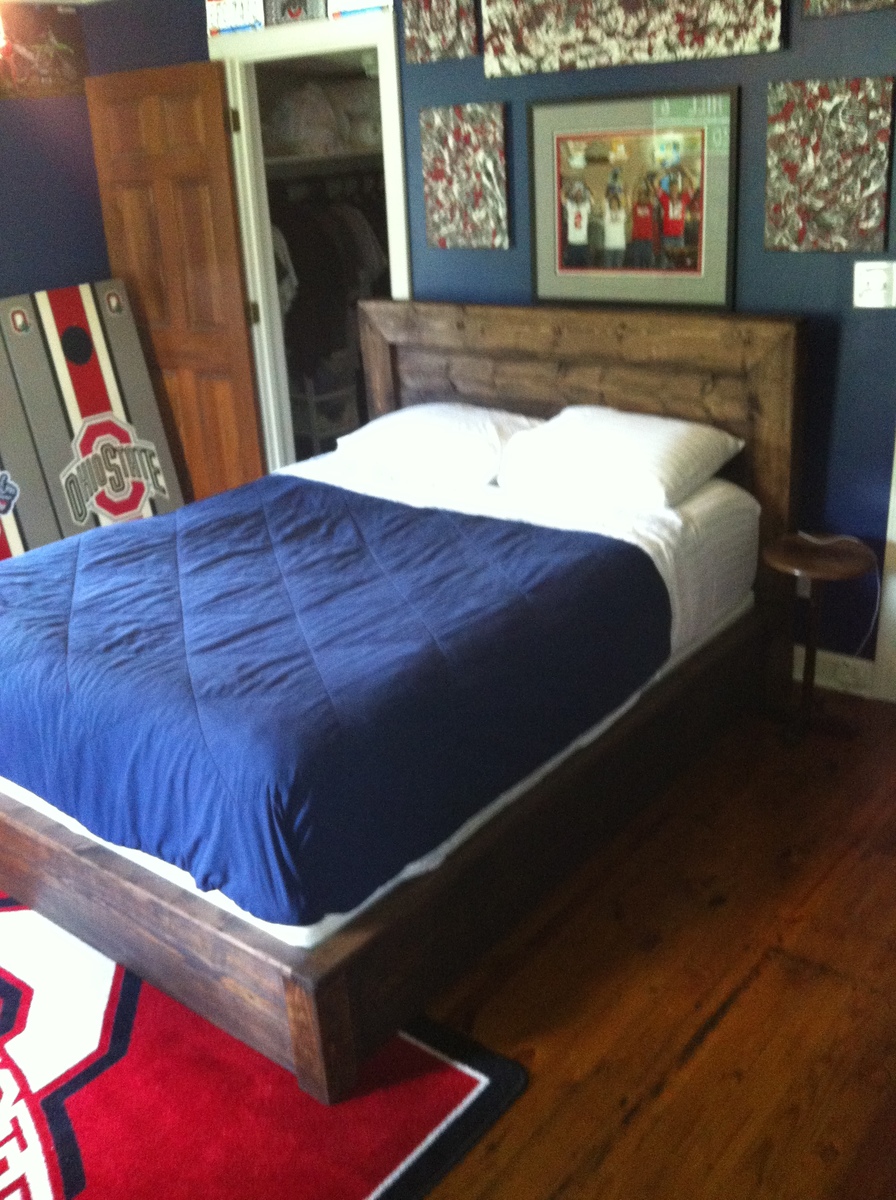
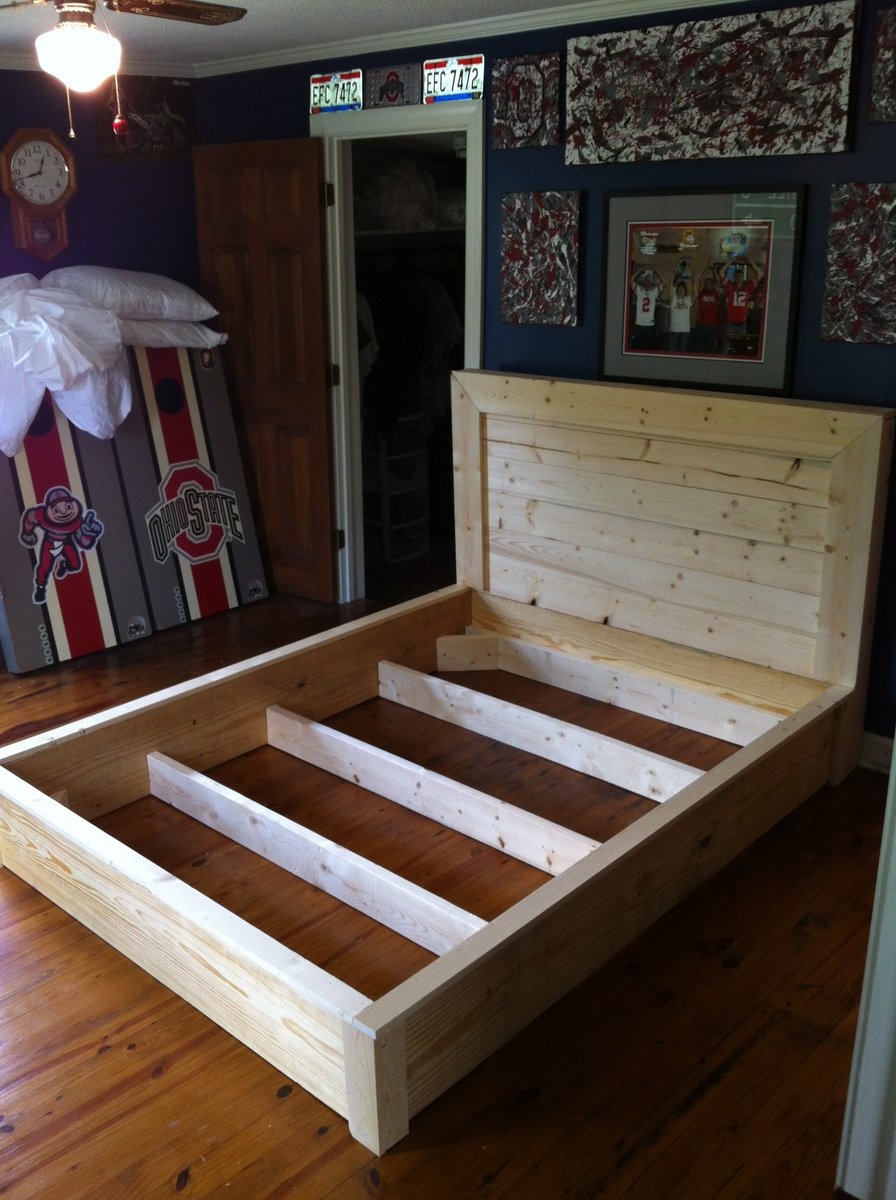
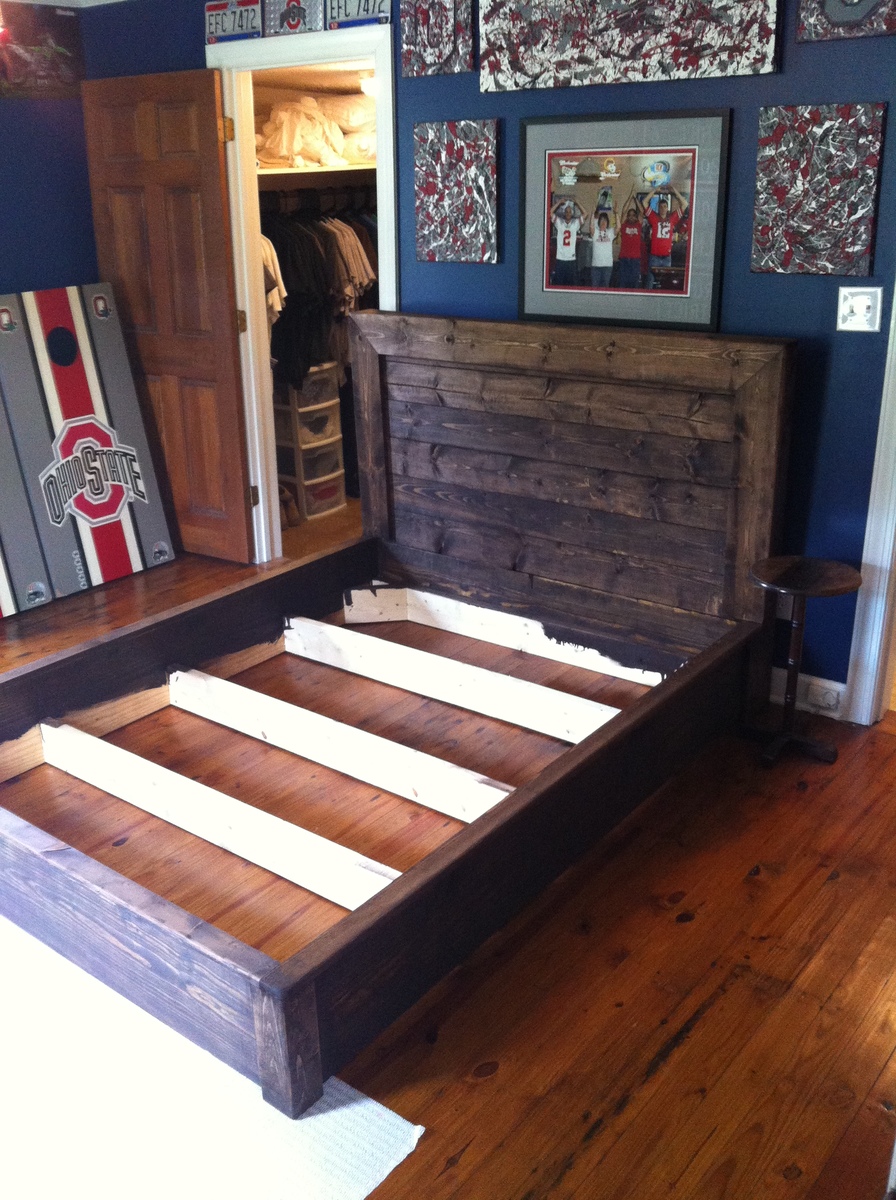
I meshed the Farmhouse Bed with the Farmhouse Storage Bed with Storage Drawers and this is the final product. Let me know if you have any questions. I learned along the way.

A few things I modified -

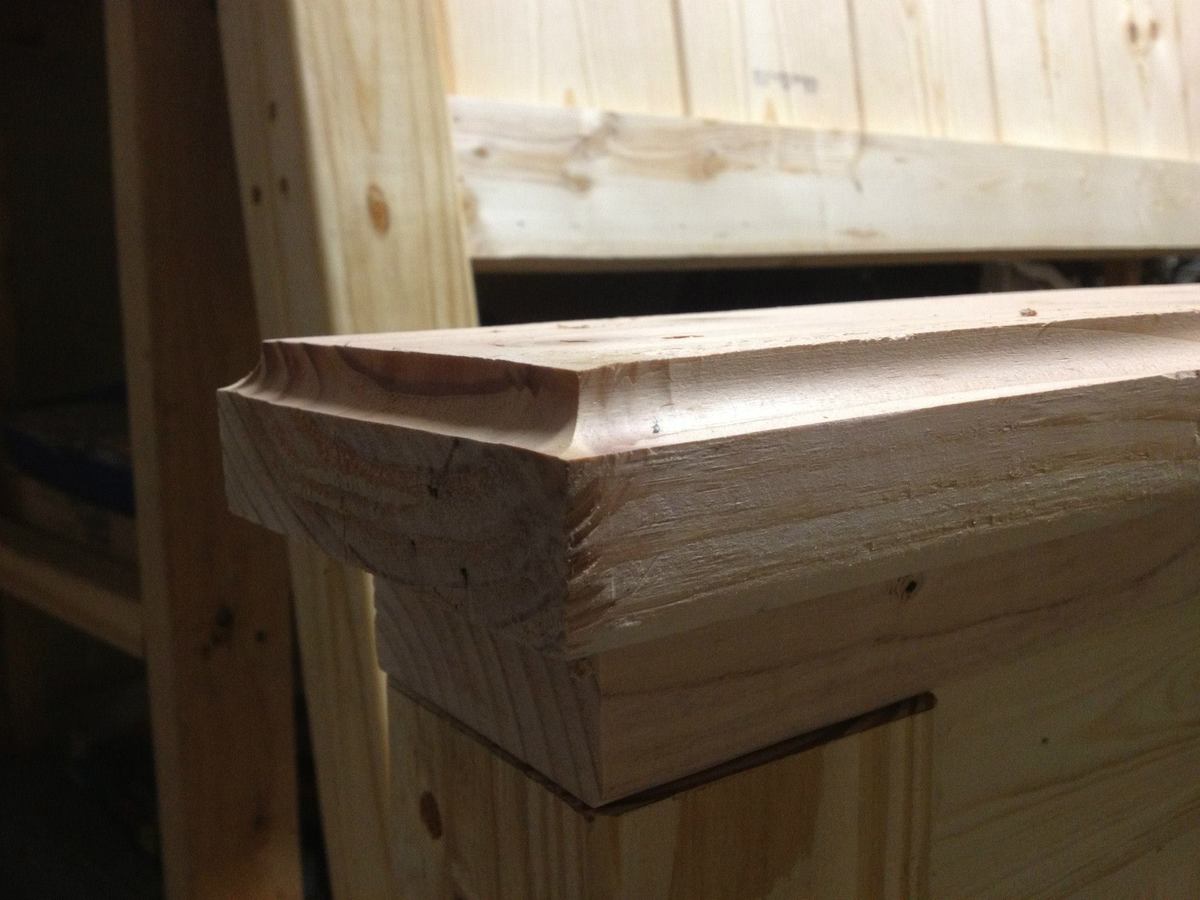
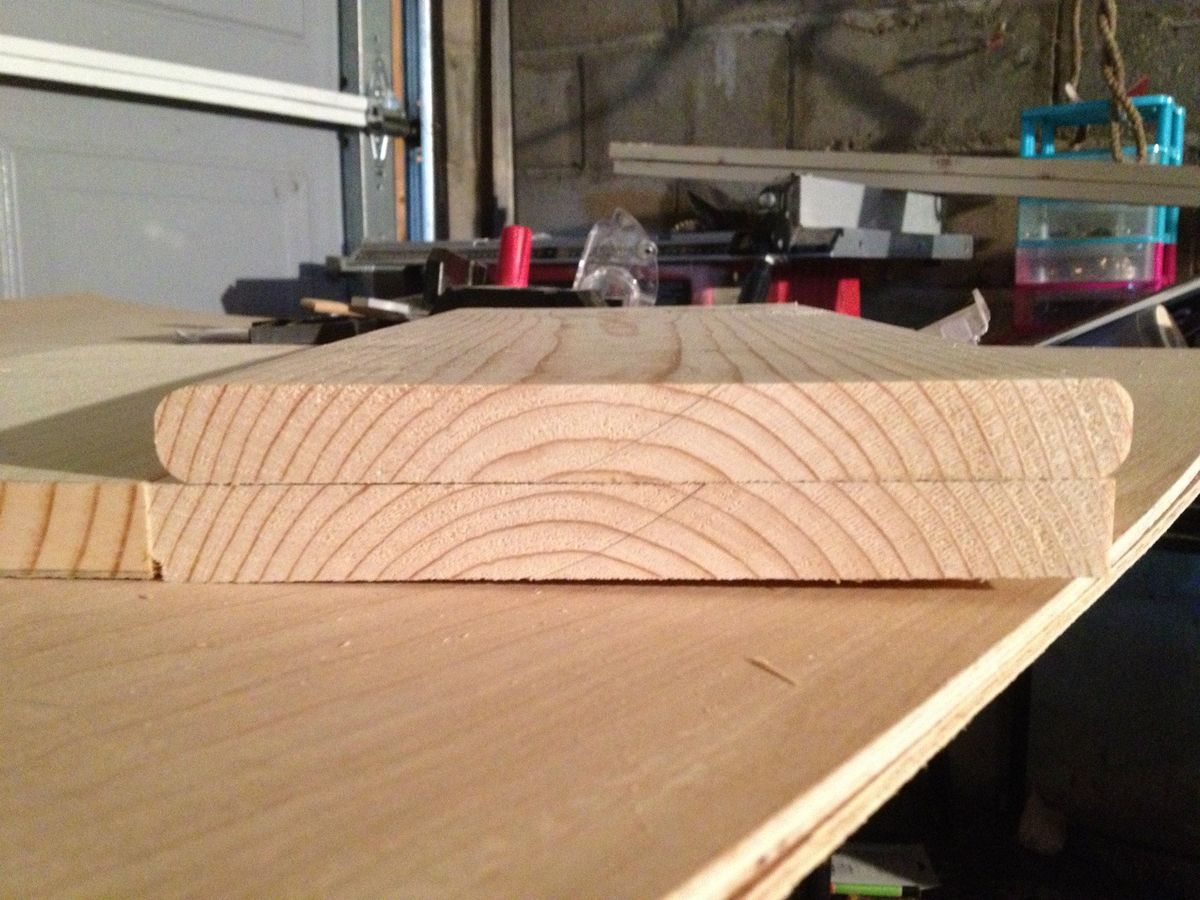
I knocked off the corners of the 1x8's used in the footboard and headboard as I wasn't a fan with how they butted up straight. I liked the rounded edges of the routered boards instead.

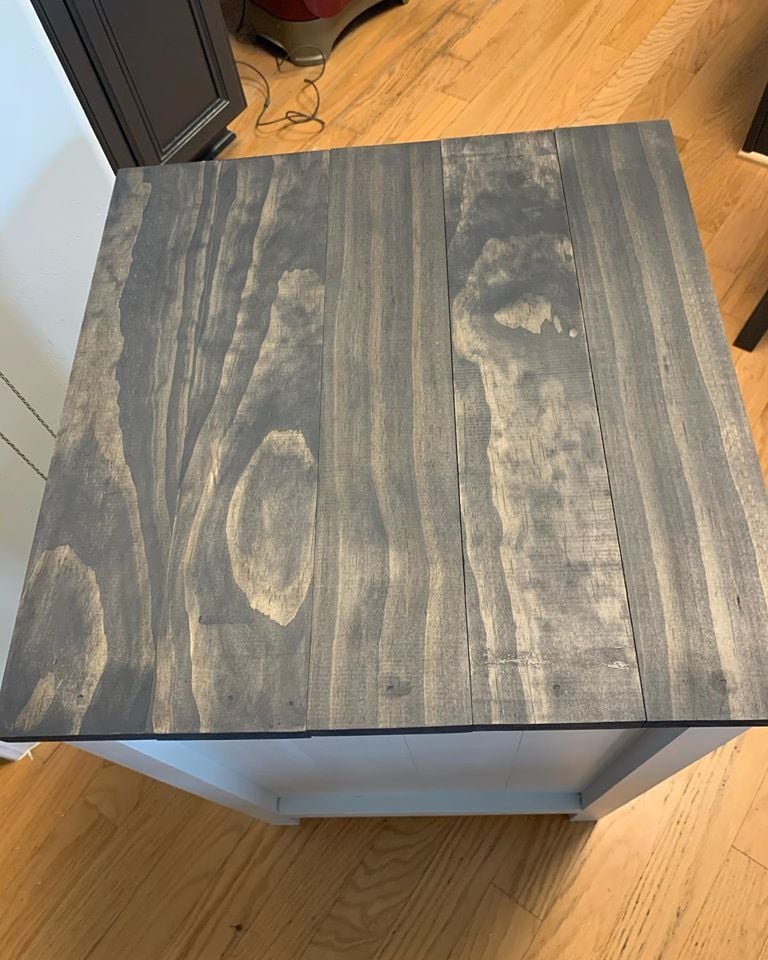
I cove routered the tops of 2x6's and loved how they turned out

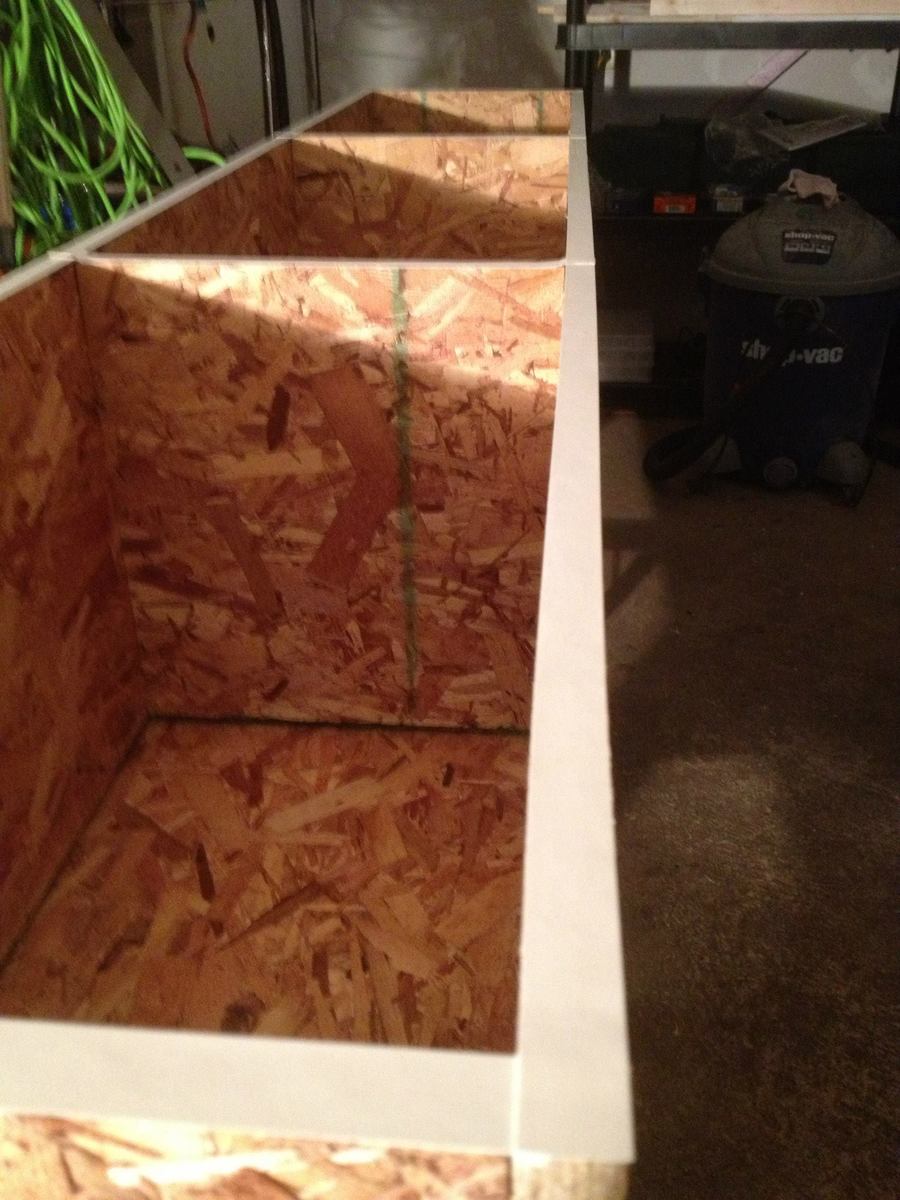
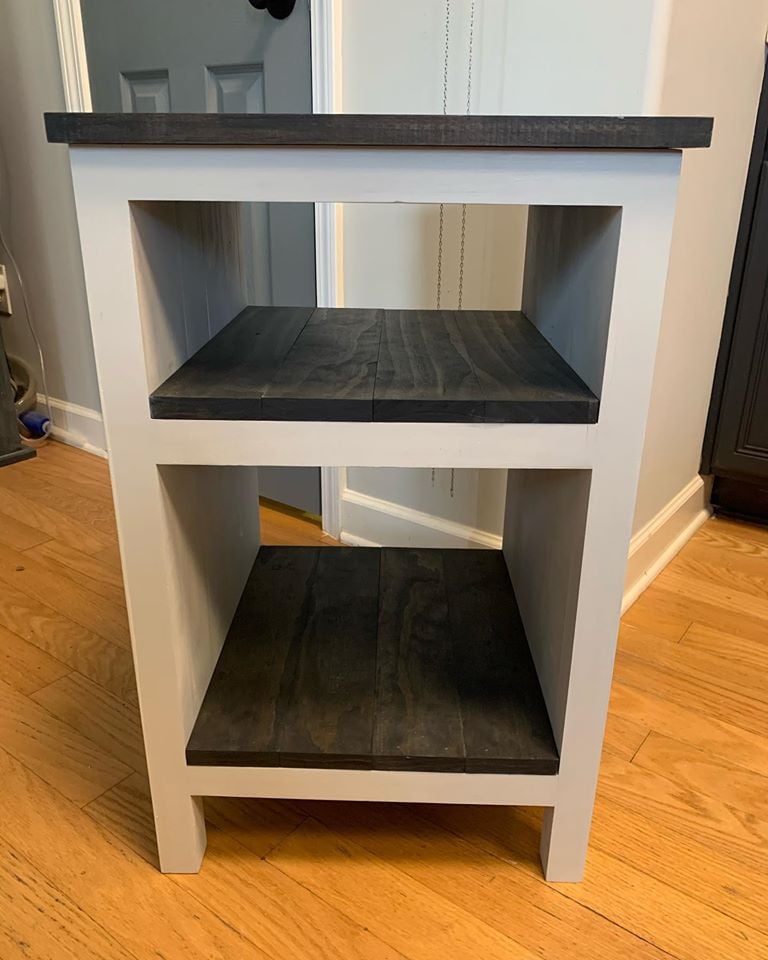
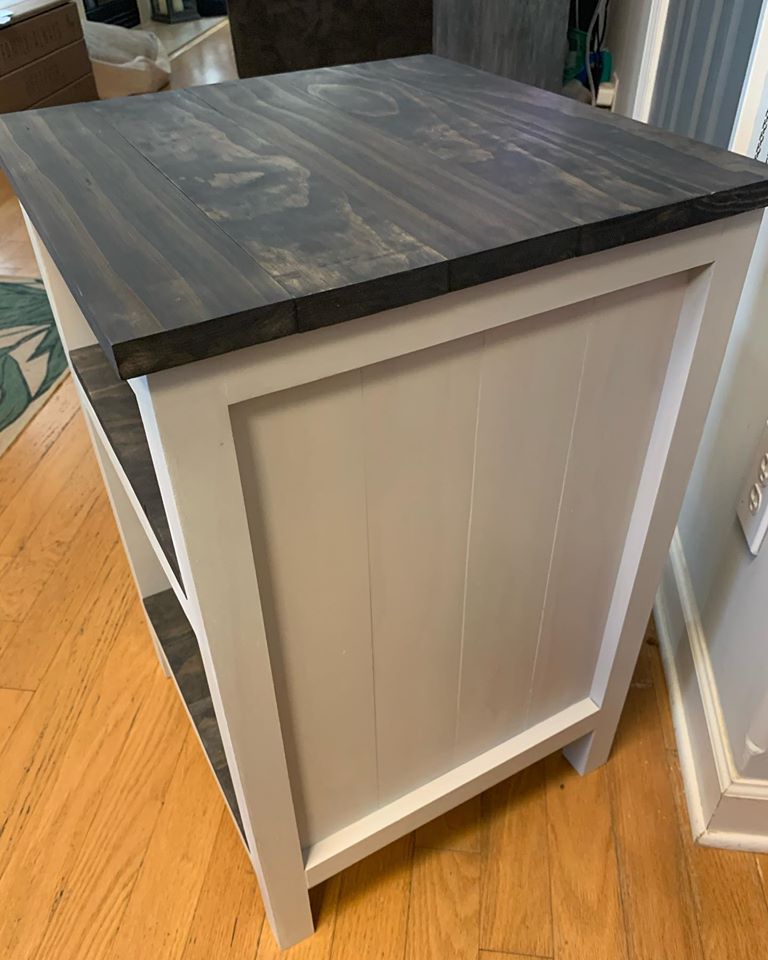
When I handed my cutlist to the kid at the big orange store, he pulled OSB instead of plywood for the storage cabinets. I realized it halfway through the cutting as I was shopping for other things and didn't have the heart to tell him halfway through the job. I had to edge band (first time) the edges and the OSB soaked up a lot of primer.

Estimated Cost
$400
Estimated Time Investment
Week Long Project (20 Hours or More)
Finish Used
Glidden Antique White
Recommended Skill Level
Beginner

Comments

Cedar Top Modification

Submitted by Anonymous (not verified) on Sun, 05/01/2016 - 16:45

We needed a compost bin to replace the pile forming in a corner of the yard. We referred to it as "The Buffet" to reflect how much our new puppy enjoyed digging through the scraps. 


I I substituted cedar fencing to top the bin instead of the plastic sheeting. I just liked the way it looked and it was more cost effective. The most difficult part of the project really is wrangling the chicken wire. It's sharp!

Estimated Cost
I spent about $75 on materials for the project. I spent about another $75 on things like screws, a new staple gun, some waterproofing stain, etc all of which I have left overs and can use again.

I used treated lumber and a waterproofing deck stain. This is not for an edibles garden. I'm just using the soil to fill in low spots around the yard. If I was building it for a veggie garden I would have used all cedar wood with no stain or a natural shellac.
Estimated Time Investment
Day Project (6-9 Hours)
Finish Used
Thompson waterproofing deck stain. Brushed on.
Recommended Skill Level
Intermediate

Little Girl Dress Up Caddy

This project took about a week of commitment because of the multiple coats of paint. Otherwise, it was a very quick build, built in one day, but quite tedious sanding. I wish I could have sanded before I built it because the corners were very difficult to get around on the inside. I drew the crown on very thin Plywood that I had laying around from a night table I built and cut it out with a jigsaw.

Estimated Cost
Under $100 with stencils, paint, light, stick on mirror ($10 from Amazon) and jewels for the crown
Estimated Time Investment
Week Long Project (20 Hours or More)
Finish Used
Valspar Pantone Cabaret, Disney Shimmering Glitter Specialty Finish on the crown, and satin polycrylic
Recommended Skill Level
Starter Project

Slipcovered Bench

Submitted by Linda7 on Tue, 02/11/2014 - 16:55

My mother needed a bench in her small entryway. She had definite dimensions in mind and we looked everywhere. None fit the bill. Then I saw these plans and we went from there. She had leftover fabric from recovering her dining room chairs, and I had the plywood. She wanted the Queen Anne legs to go with her traditional furniture; we put felt floor protectors on the bottom of the feet of the legs, which helps keep the bench from moving so easily on the tile floor. The plans were easy to follow, including the tutorial on how to sew the slipcover. The bench worked out just like she had hoped. Thanks Ana, for the great plans.

Built from Plan(s)
Estimated Cost
$60.00; about $40 for the legs, foam, and finish
Estimated Time Investment
Day Project (6-9 Hours)
Finish Used
Minwax Polyshades in walnut; two or three coats. This acts more like paint, but you can re-coat in just an hour or so. I then used minwax poly in satin three coats for protection.
Recommended Skill Level
Beginner

Custom Top Entryway Console

Submitted by Anonymous (not verified) on Mon, 10/02/2023 - 11:29

Already made the Rustic-X Coffee table and End tables, so I decided to make the Console table with a little twist. The herringbone top just really made the difference. Painted the body with @sherwinwilliams color of the year, Pepprcorn.

Robert Wetzel

Built from Plan(s)

Comments

Planked Wood Bedside Table with Shelves

Submitted by Tandi43 on Mon, 02/17/2020 - 13:04

I was looking for a small piece to make as my 1st work of furniture.  My husband passed away 8 months ago.  He has EVERY tool imaginable.  I learned how to use his saws, and my favorite - pocket hole jig!!  I started small with the floating shelves.  Then I decided to branch out.  I love Ana White's plans and find them very easy to understand.  I made some mistakes but learned from them!  Love how this table turned out.  Going to add some rustic hinges.  Can't wait for my next project! 

Estimated Cost
$50 - 60
Estimated Time Investment
Day Project (6-9 Hours)
Finish Used
General Finishes Carbon Gray on the top and Shelves
Fusion Mineral Lamp White on the body
Recommended Skill Level
Beginner

Bunk Beds with Trundle Bed for American Girl

Submitted by Klabadie on Sat, 02/22/2020 - 14:53

Followed Ana White's Doll Bunk Beds for American Girl and added a Trundle Bed using a few small modifications. Ana's plans were easy to follow and I was able to complete this in an afternoon. 

Estimated Cost
Free - used scrap materials
Estimated Time Investment
An Hour or Two (0-2 Hours)
Finish Used
Rustoleum Aged Gray Chalk Paint
Recommended Skill Level
Beginner

Platform inspired bed frame

Submitted by KL728MX on Sun, 02/23/2014 - 15:01

I had searched for a nice bed frame for the longest time. I wanted something that would last and the prices in furniture stores or antique shops were crazy. I found the plans for the platform bed/headboard and modified them a little. I used 2x12's for the frame and set my 2x6's down inside for my box spring. 2x6's for the headboard and trimmed it the same way as in the plans. I love it. Thanks for the plans Ana.

Built from Plan(s)
Estimated Cost
125
Estimated Time Investment
Day Project (6-9 Hours)
Finish Used
Rust oleum dark walnut. I didn't put polyurethane on it so it would have an older look.
Recommended Skill Level
Beginner

Comments

Jmar2038

Fri, 05/30/2014 - 18:40

Love your inspired bed! What size mattress is your frame for? I am looking to make a frame just like yours for a queen size bed. Do you have your measurements or are they pretty similar to the original post? Complete beginner here, any help is much appreciated!!

OCTAGON PICNIC TABLE

Submitted by BigBry on Sat, 03/01/2014 - 07:36

My son and I had a blast building this table last October. I have been meaning to write and thank you for the great plans. We took the suggestion of staggering the legs for better access and it turned out great. I also used deck boards for the top to help reduce weight and they were already slightly curved on the sides which made sanding easier. Thank you!
My cost includes a nice Kreg Jig set up (approx $100)

Built from Plan(s)
Estimated Cost
$220
Estimated Time Investment
Weekend Project (10-20 Hours)
Recommended Skill Level
Intermediate

Dining Room Table

Submitted by Anonymous (not verified) on Tue, 05/31/2016 - 07:23

Great plans. Fairly easy project. My husband built it and I stained it, Briarsmoke by Varathane. The most difficult part was to get the bread boards to sit flush with the perpendicular boards when attached. We had to undo and re-do that part several times. We followed the plans and built the table base before adding the bread boards at the end, but my husband decided that it would have been easier to attache one end of each board to the bread board, then attach the perpendicular boards together, then attach the other bread board.

Built from Plan(s)
Estimated Time Investment
Weekend Project (10-20 Hours)
Finish Used
Wood pre-conditioner. The stain color is Brairsmoke by Varathane, folowed by two coats of matte poly.
Recommended Skill Level
Intermediate

Bunk Beds!

Submitted by JayD on Sat, 03/15/2014 - 10:55

Great plans. Easy project -- made some mods and saved a bundle. My son is stoked!

Estimated Time Investment
Weekend Project (10-20 Hours)
Recommended Skill Level
Intermediate

Barstools

Submitted by lazyLiz on Sat, 06/09/2012 - 21:22

A 30" tall bar stools inspired by the plan simplest stool.

Built from Plan(s)
Estimated Cost
$ 40- $60
Estimated Time Investment
Afternoon Project (3-6 Hours)
Finish Used
valspar white paint
Recommended Skill Level
Beginner

Comments

Handygirl

Sat, 07/07/2012 - 18:47

I love these stools! I love the curve in the top. Are yours square on top or rectangle?
Also, what size of board is the top (seat)?

Rusty Cottage

Fri, 07/20/2012 - 05:32

I like your design. Finally made an account and will be making matching ones. Thanks for the inspiration. If the better half doesn't like the first one I will have a new stool for my workbench

MrsPowers

Fri, 08/31/2012 - 20:27

Hi! You're stools came out wonderful. I was wondering how you got the seat to be curved that way.
Thanks!

Outdoor Chaise Lounge

We decided to put my husband to work during a hot Oklahoma summer! After about a month's worth of procrastination, he finally built the chair! It was very detailed but easy to follow. I was the one who stained it (in the dark - so don't judge) and got the cushion from Garden Ridge.

Estimated Time Investment
Day Project (6-9 Hours)
Finish Used
Minwax Cherry outdoor wood stain and sealant
Recommended Skill Level
Beginner

Our garden enclosure!

We decided that we wanted a raised garden and found the plans here on Ana's site that we really liked. The plans were really easy to follow and it only took about a day and half for our kids and myself to build for my wife. Only issue I had was the door... that is getting it square but I figured it our later after looking at it long enough. The two 2 x 4's the door sits in between were not level. So I have got to adjust them and the door in the coming days to correct it. Other than that we absolutely love it! Thank you for providing the plans to all these projects. This is the second thing that I have made from this site. I will be making another post later on regarding the other project! I might add I have never done anything like this ever and honestly I think it turned out great :-)

Built from Plan(s)
Estimated Cost
$250
Estimated Time Investment
Day Project (6-9 Hours)
Recommended Skill Level
Intermediate

woodworking bench

Submitted by jcengel on Thu, 07/05/2012 - 21:17

Used the sturdy work bench plans for the base. The base is 60" x 20". The top is 6'x2'. I wanted 2" overhang all around to accomodate clamping. I used 3/4" oak plywood for the benchtop. It's stacked as follows, oak plywood, 3/4" mdf x 2, oak plywood for a massive 3" thick top. I used pocket holes to join the legs and on a few of the other joints including to attach the top. The benchtop layers are screwed together with 2.5" wood screws with countersinks for the heads. I would have put a full shelf in but that's the piece of wood I had so I used it. I bought the 7" undermount woodworkers vise online for around $70. It's mounted with 2.5" lag screws and washers. I did not use exact 2x4's for the base, I used the standard 2x4's (which are actually 1.5" by 3.5"). The bench is pretty sturdy as is but with the massive top/vise and not using standard 2x4's it is not as solid as I would like. It's fine for now but eventually I going to install some threaded rods through the legs length and width to pull it together rock solid. I put some tung oil on the top and later i'll put some wax paste over that. I'm going to seal the edges with shellac or maybe just leave as is. Eventually put some bench dog holes in the top for my vise. I did this all with a cordless drill/bits, kreg jig, circular saw with homemade fence, rulers, squares, random orbit sander etc. Took about two weeks time, working mostly on weekends. The bench alone is around $130, all bought from a "big box" store. Be ready to spend more $$ on tools if you don't have them. This is my 2nd project.

Built from Plan(s)
Estimated Time Investment
Week Long Project (20 Hours or More)
Finish Used
tung oil
Recommended Skill Level
Starter Project
Back