We love the skylights in our version of your greenhouse!
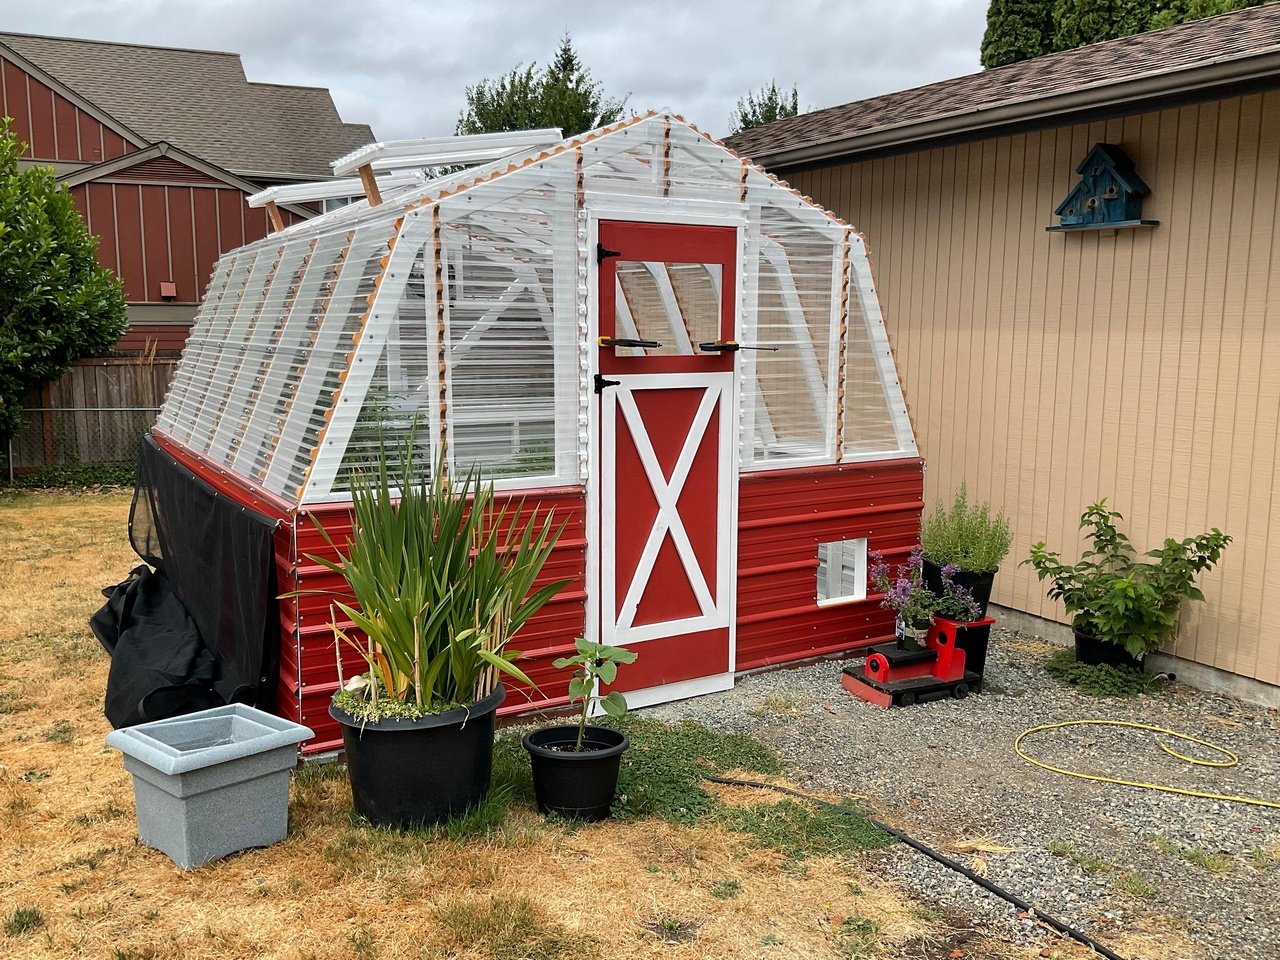
This was the perfect post-retirement project for me. It was a lot of work, but very rewarding.
I documented most of it on my blog.
We sure love this greenhouse!
Built from Plan(s)
This was the perfect post-retirement project for me. It was a lot of work, but very rewarding.
I documented most of it on my blog.
We sure love this greenhouse!
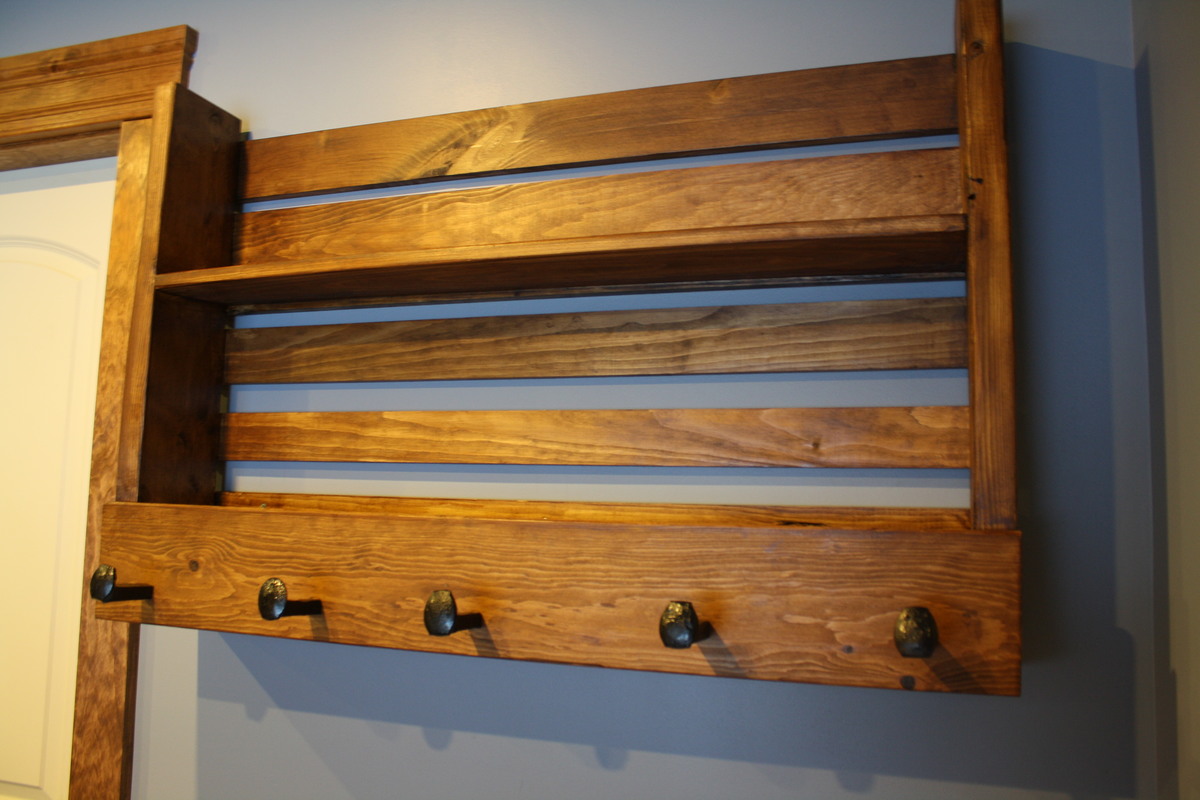
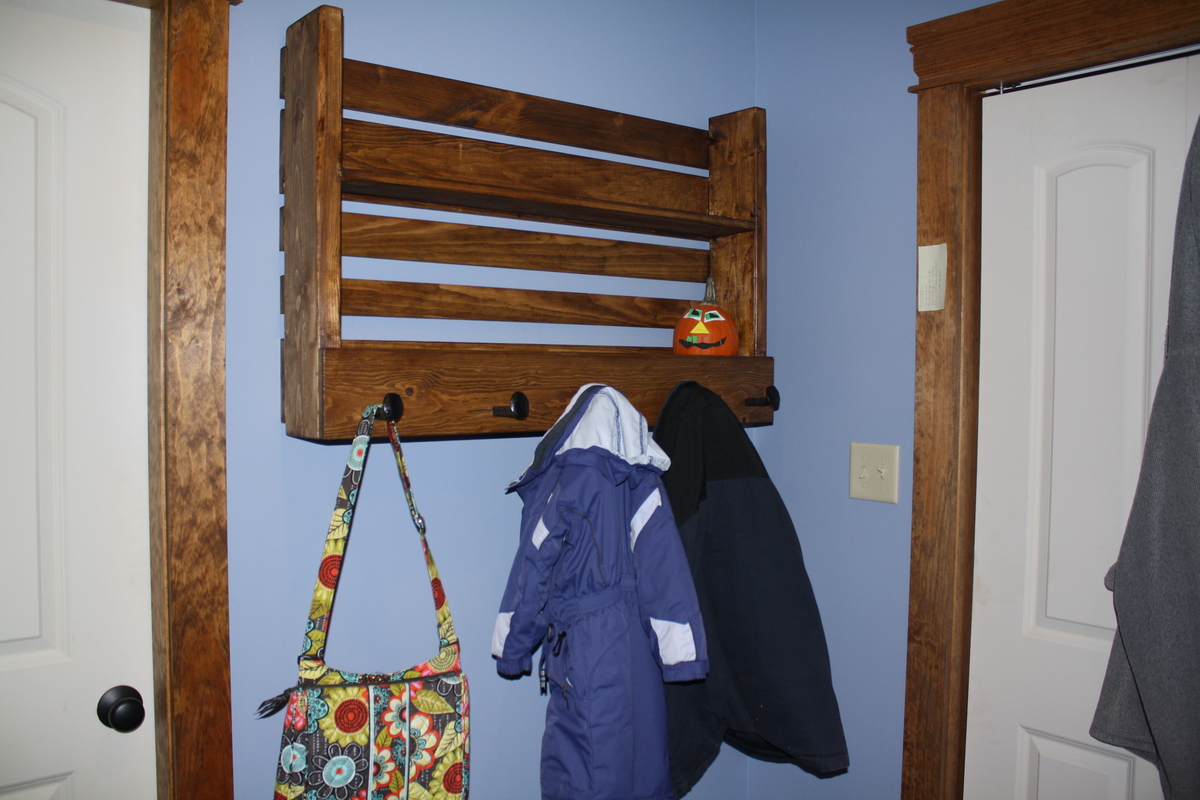
From the pallet style coat rack plans we saw from Ana and what she did for Ryobi Nation. Real simple to follow. I just change measurements to fit my space and other modificaitons because I didn't have quite enough 2x lumber. I saw the railroad spike hook idea on Pinterest and had a metal worker down my road cut them and thread them for me. I am very happy with it. I found a water-based stain (I HATE the clean up for oil based stuff) in a color called Aged Leather.
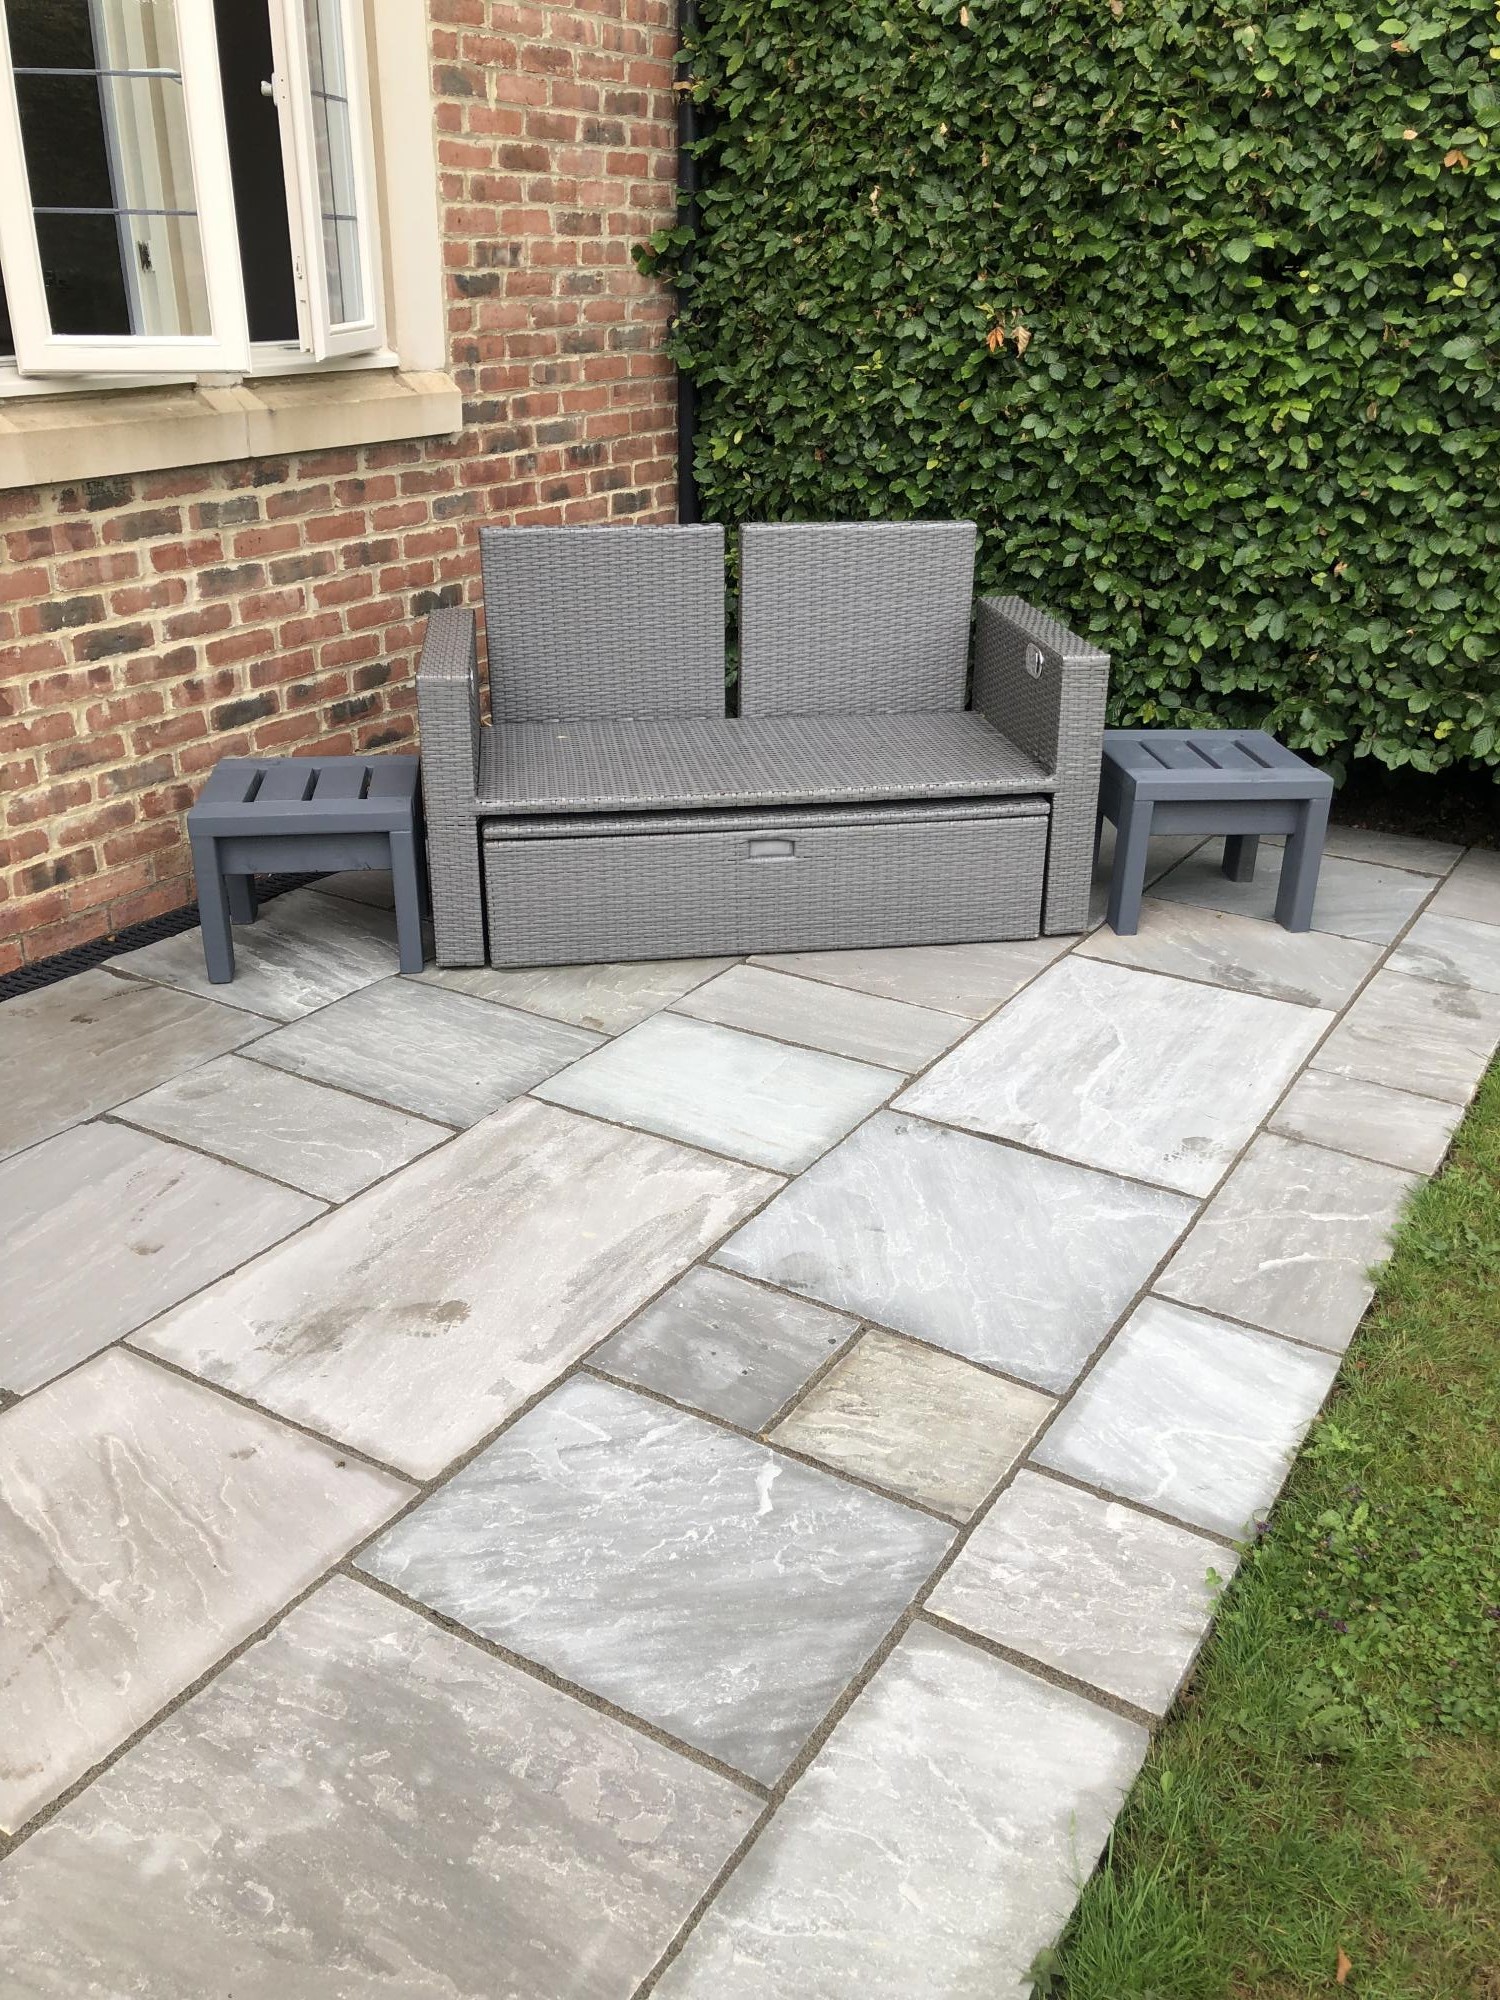
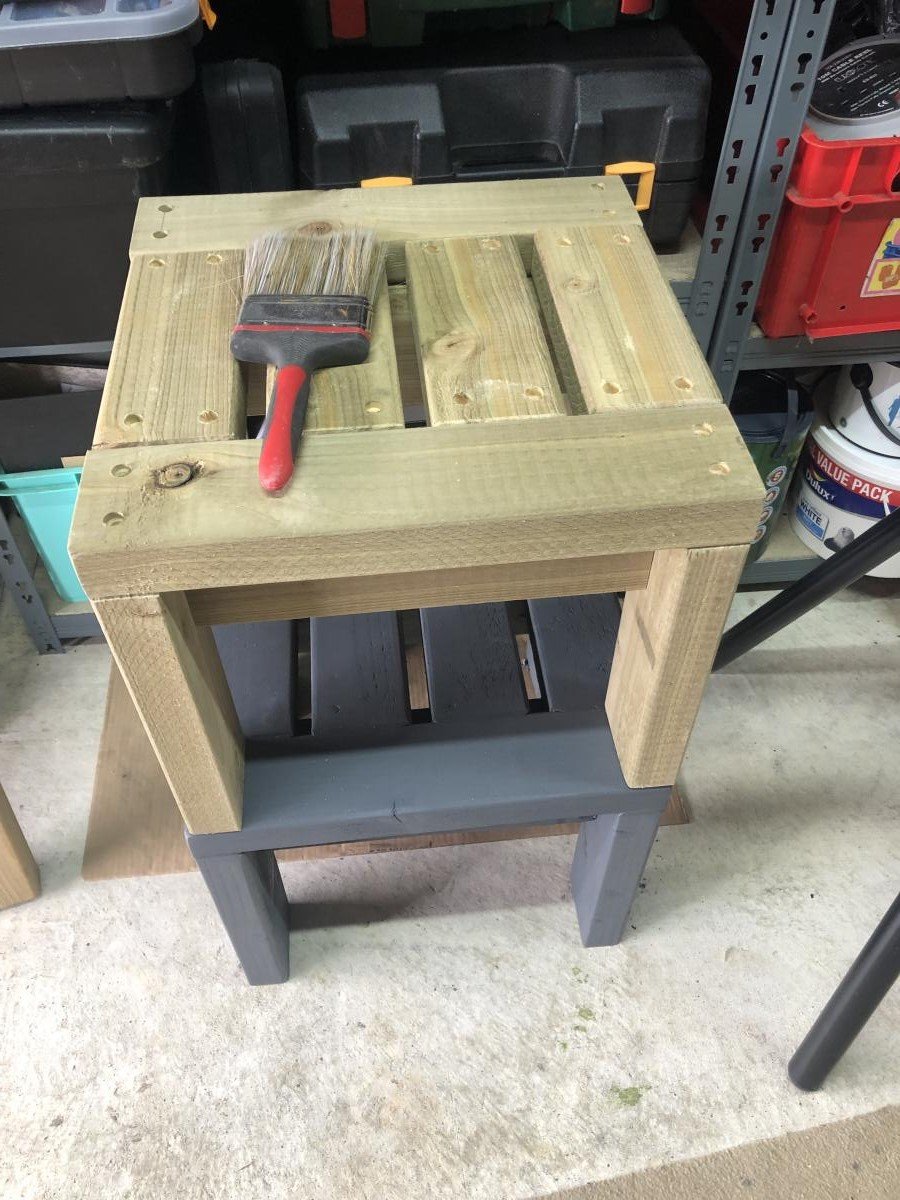
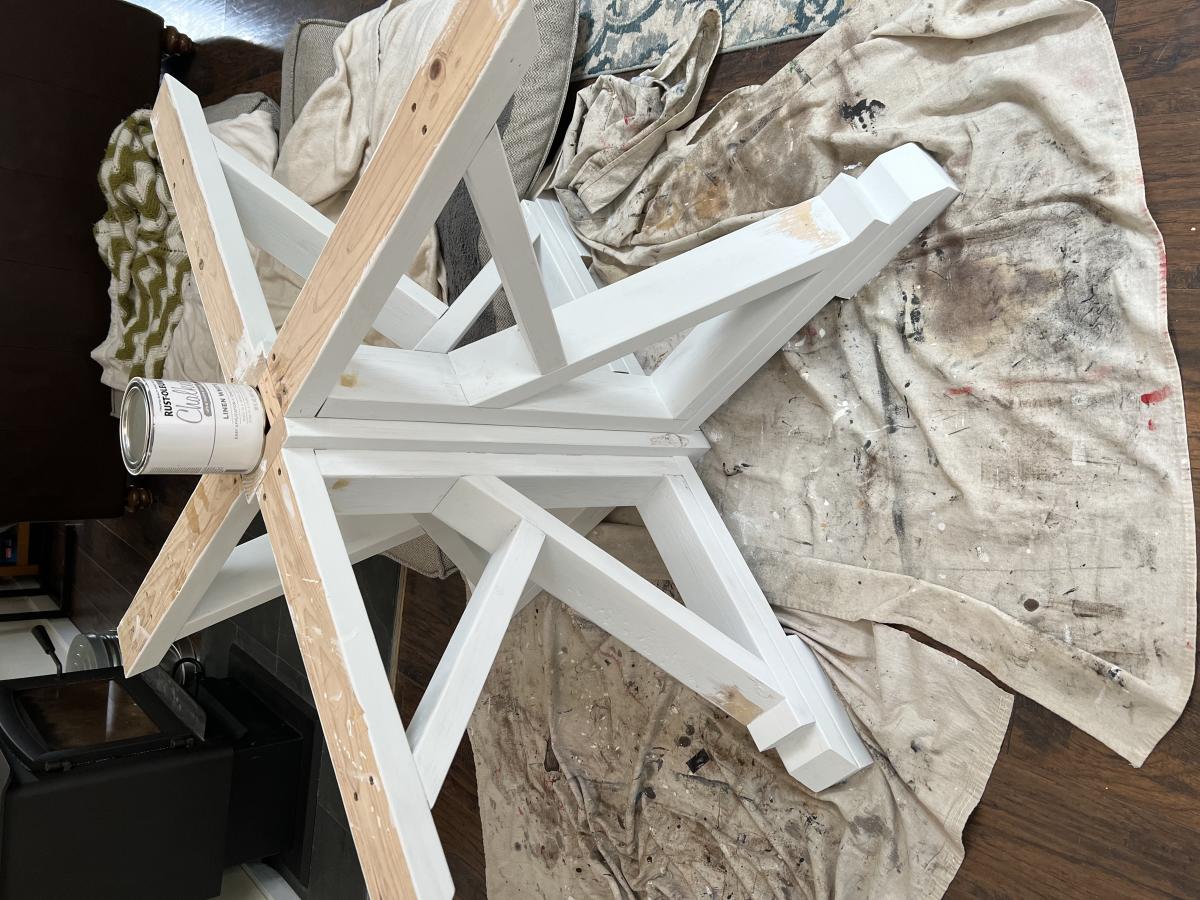
Well my wife bought 2 x 17” square seat cushions the problem was we didn’t have any stools to put them on so decided to enhance our front seating patio area with 2 solid 2x4 side tables that would double up as stools.
I based the design on Ana’s table design but decided to counter sink all the screws & cut plugs to suit so no screw heads could be seen, they turned out perfect & very robust, perfect for the U.K. weather, my wife finished them in grey outdoor paint to match the furniture, all in all they took only around 6hrs to make & paint.
My first brag post!
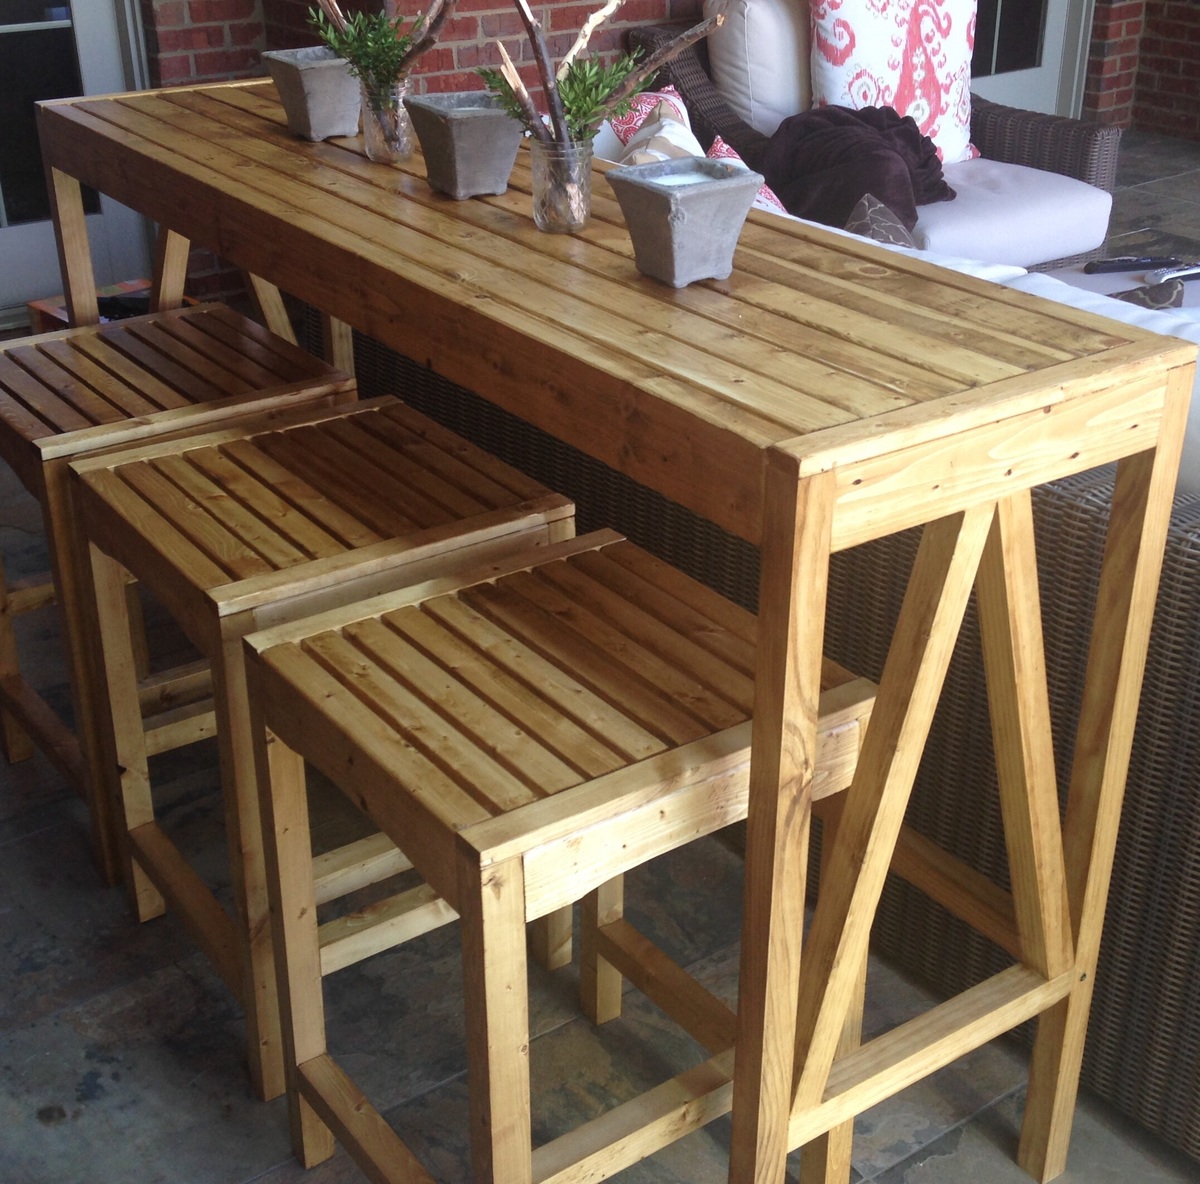
UPDATED: New photo with bar and stools on covered porch. Very happy with how it worked.
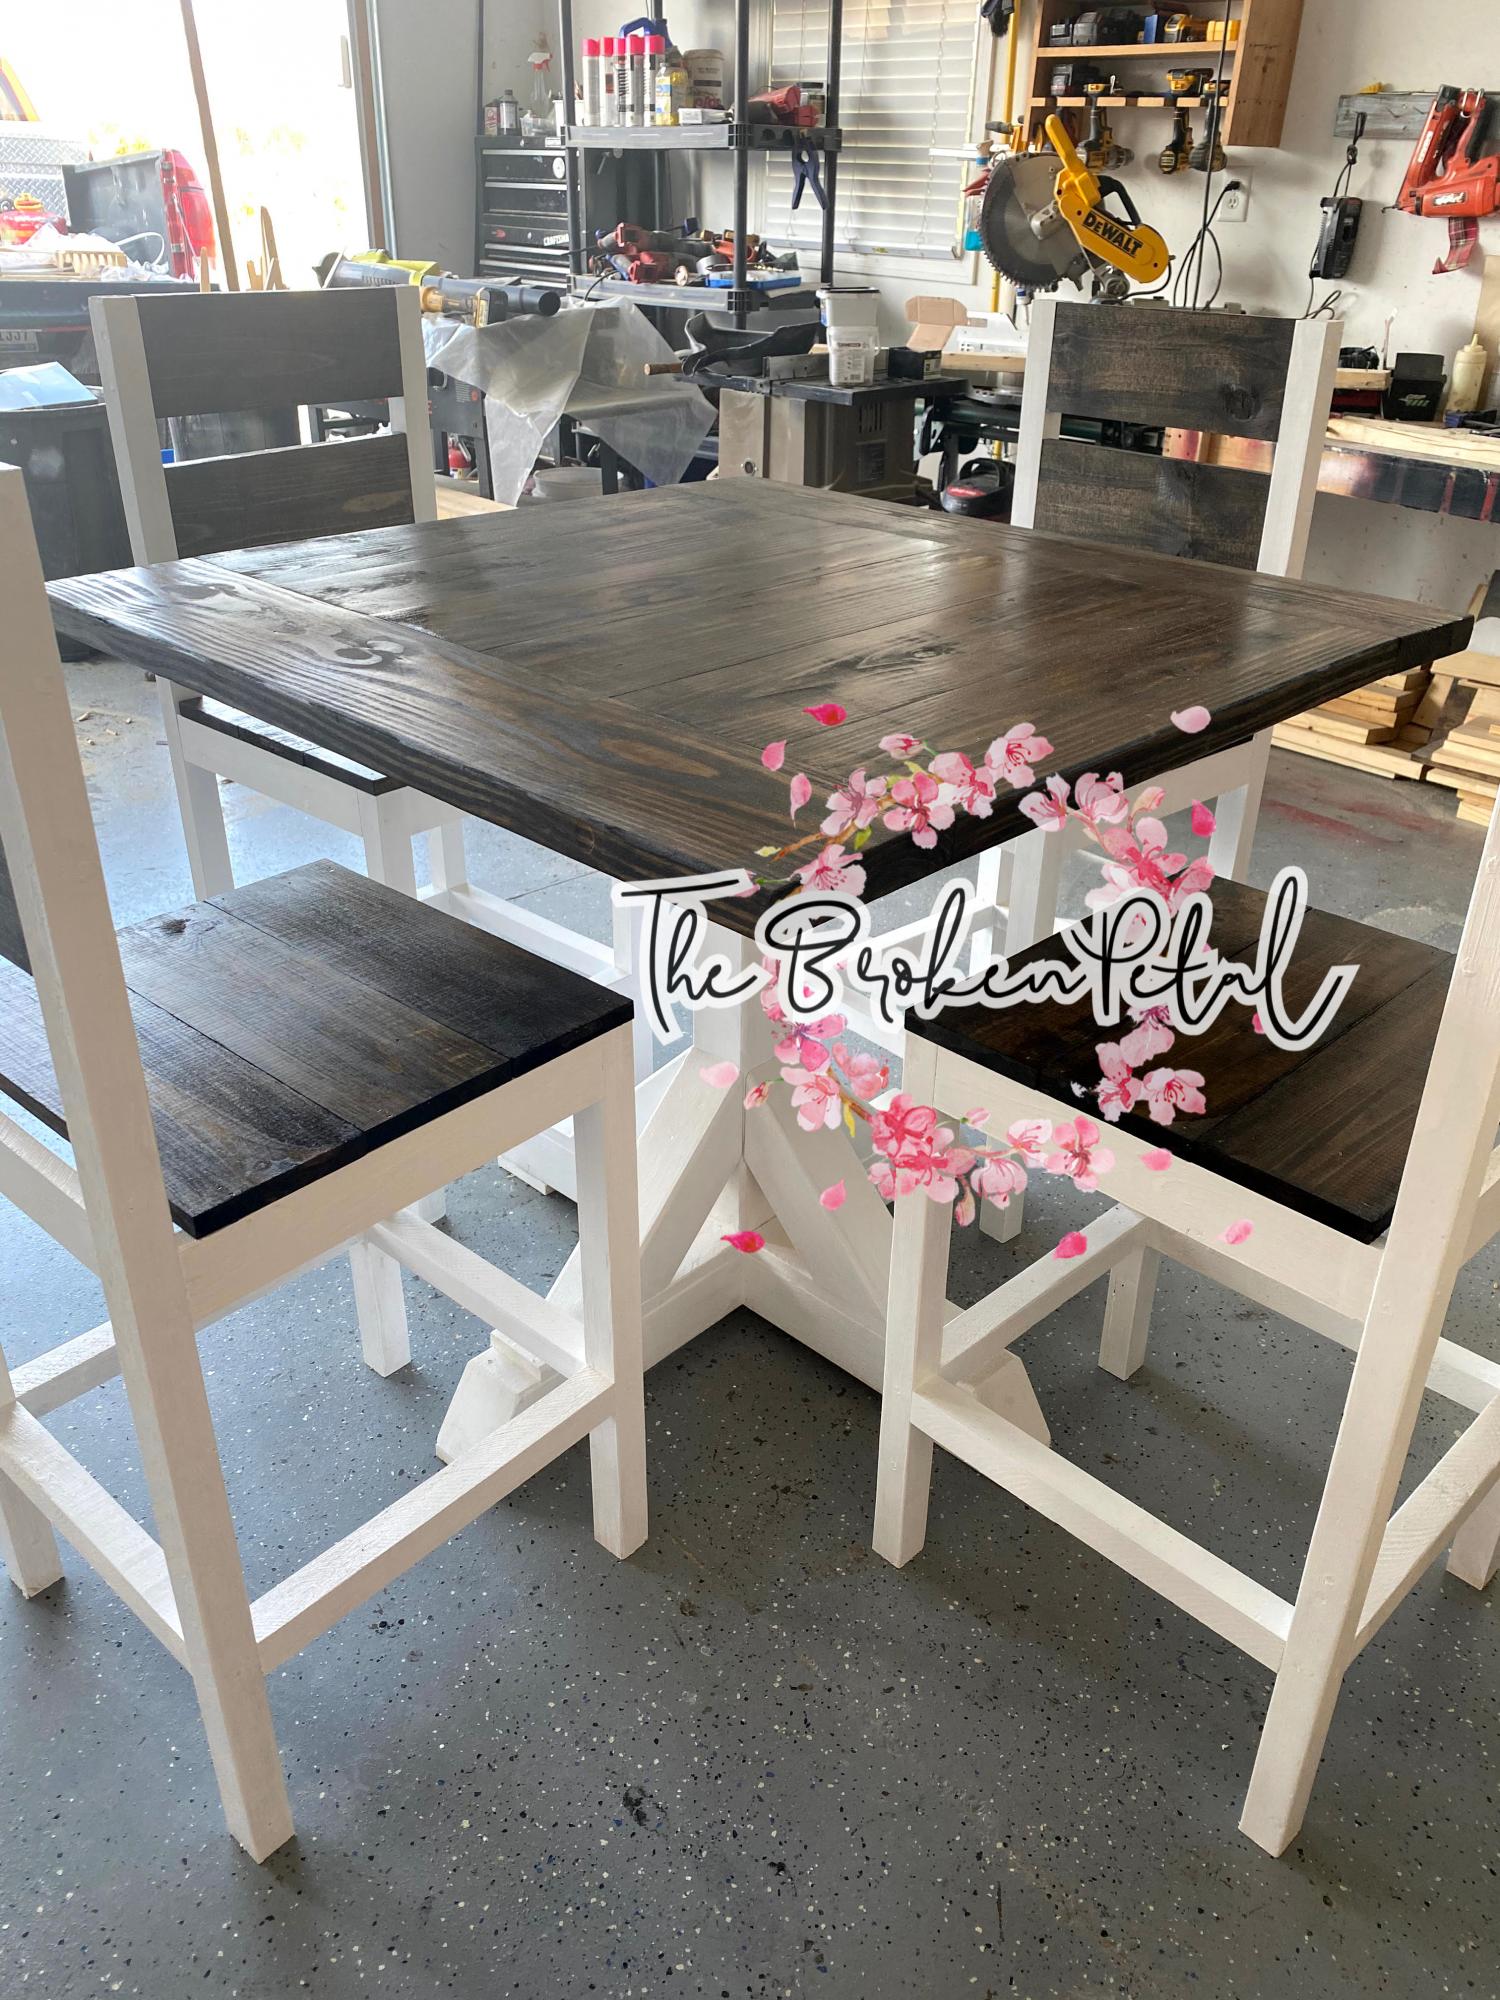
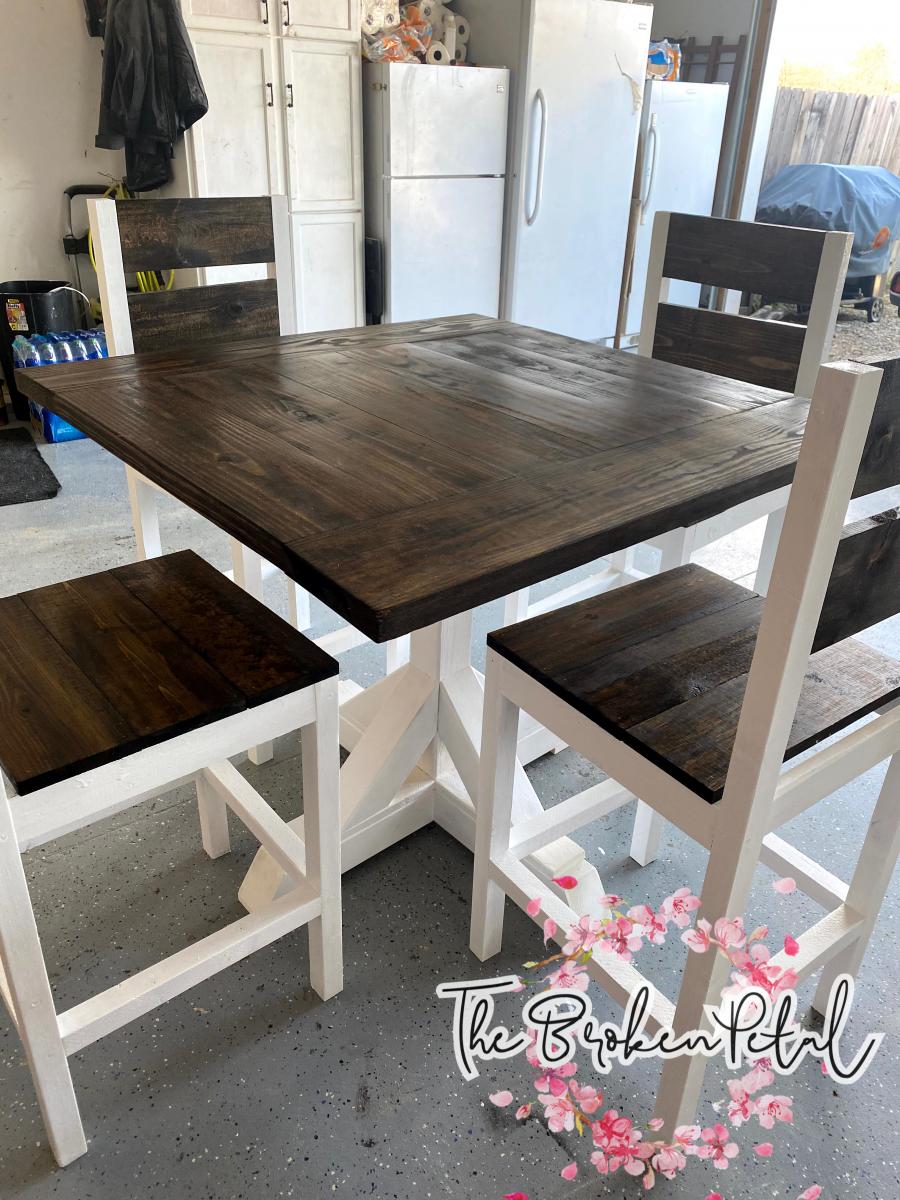
We wanted the Ballard Sutton Console Bar Table and three stools to go with our outdoor furniture. Unfortunately, that little package was going to run about $2,500. Decided instead to see if I could build the things and make up my own stools to match. So basically by studying the picture a little bit figured out my plan. Then the stools are more or less a mini version of the table with a couple modifications.
I haven't itemized the bill, but built 3 stools for about $50, and the table was a little less. Incidentally, I can never find decent common 2x2s, so I have started ripping 2x4s into two 2x2s, and they come out clean, sturdy, smooth, and most important, straight!
Stained them using MinWax Puritan Pine to try and get the new teak look we wanted. Not too dark -- wiped the stain after 5 minutes.
Have the stool plans if anyone is curious!
Best regards!
cstarliper

I had some Kebony deck boards left over from another project and thought they would work well. I think they did! Kebony is pine that is soaked in an alcohol and then heated up. It has a 30 year warranty and requires no care. I used a Penofin oil on the 2x4s and Cutek oil on the Kebony
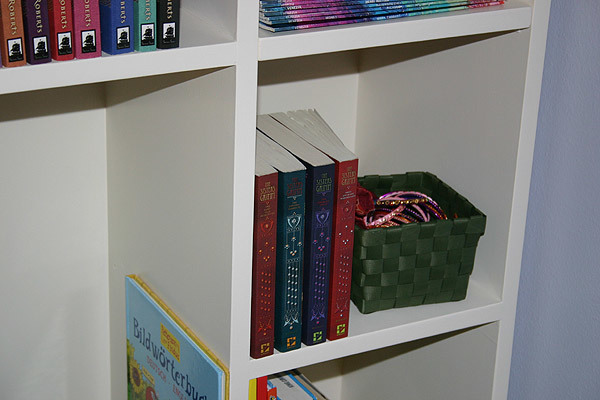
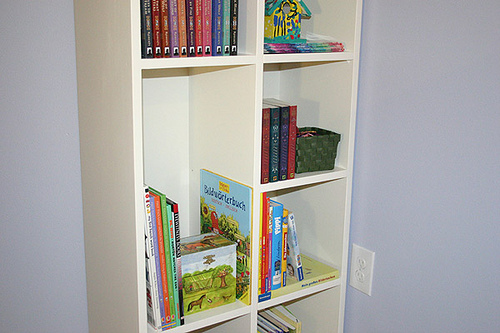
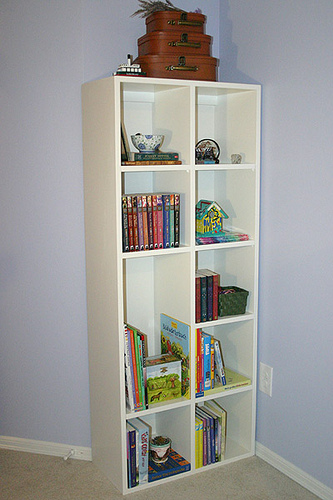
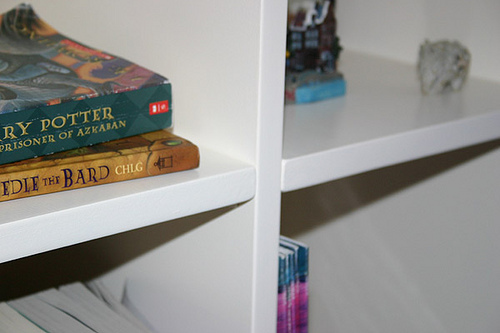
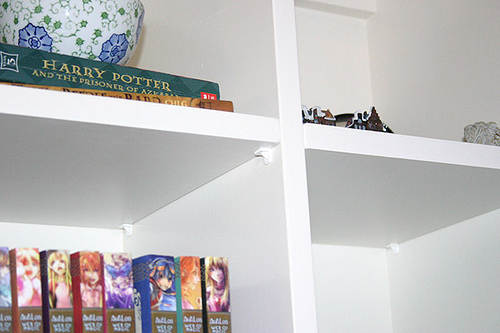
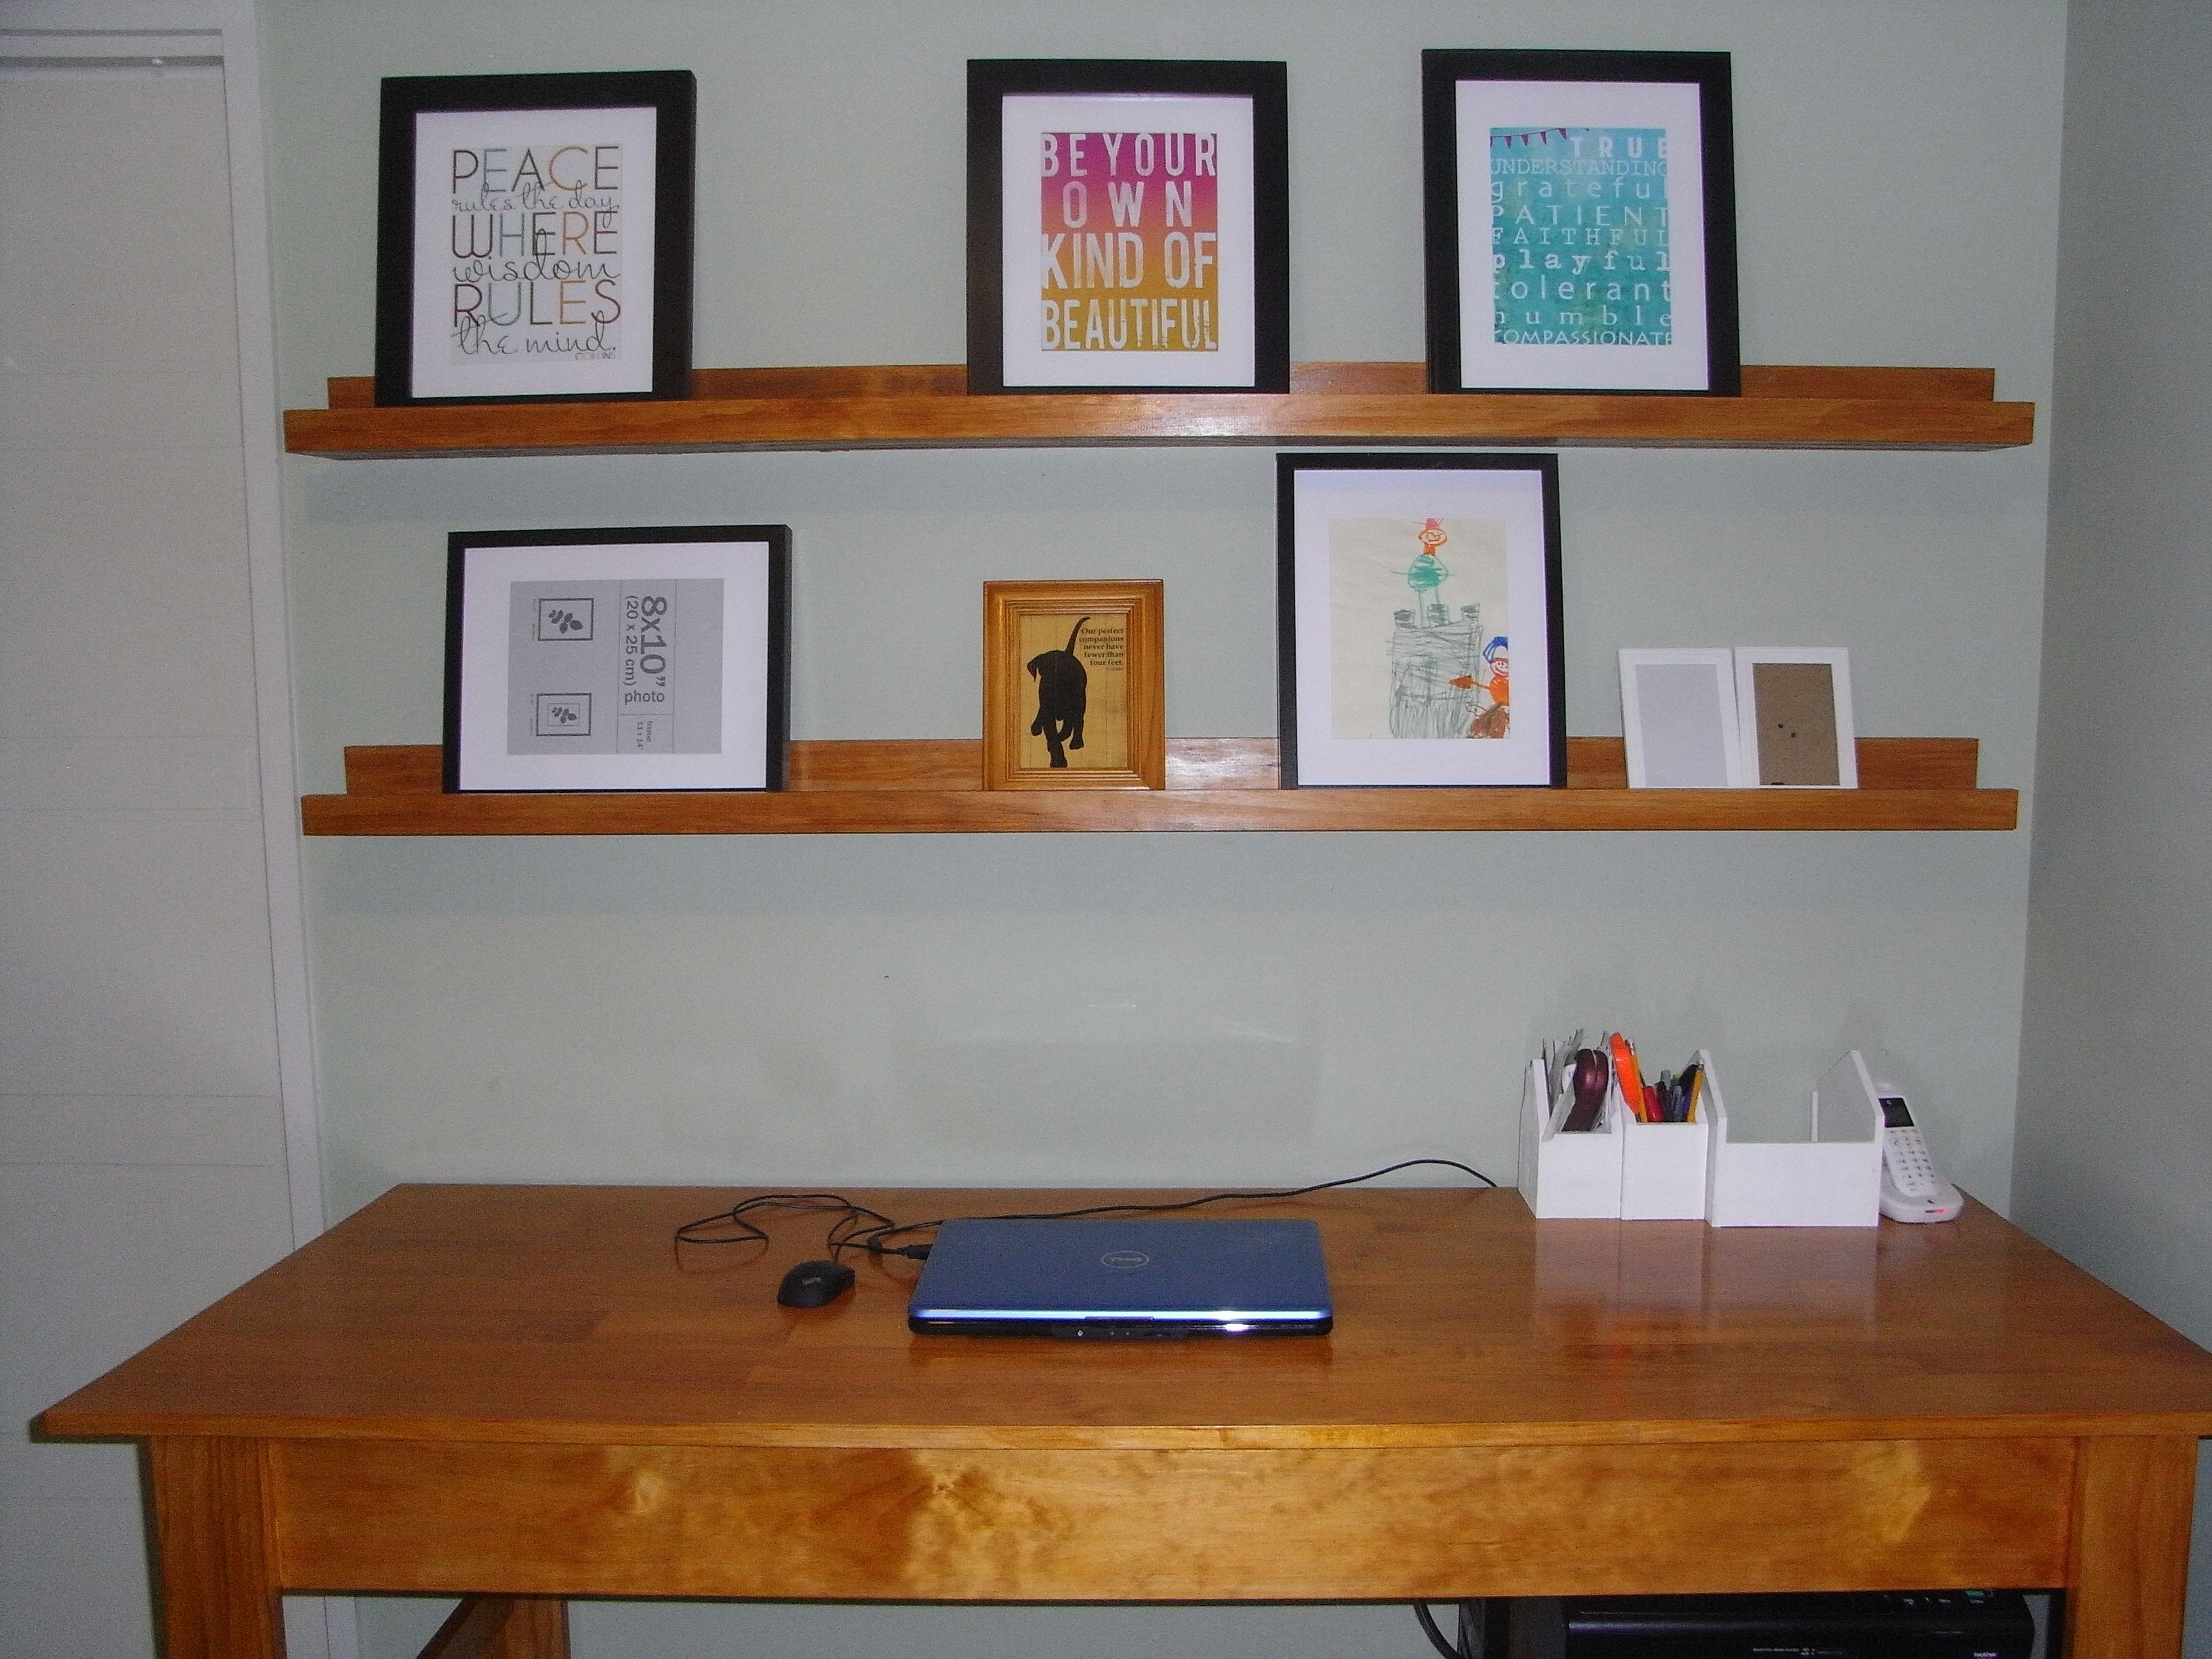
This is my very first woodworking project! My oldest daughter badly needed a bigger bookcase... I made this last year and it's already completely stuffed full of books now! Home Depot ripped the MDF for me, hubby helped me put it together and then I finished it. Since it is tall and narrow, the sides were bowing inward. I decided NOT to make ALL shelves adjustable, so I made two of them part of the bookcase. Squared things up nicely. The rest of the shelves are removable though.
My very favourite thing to build, so cheap and simple.
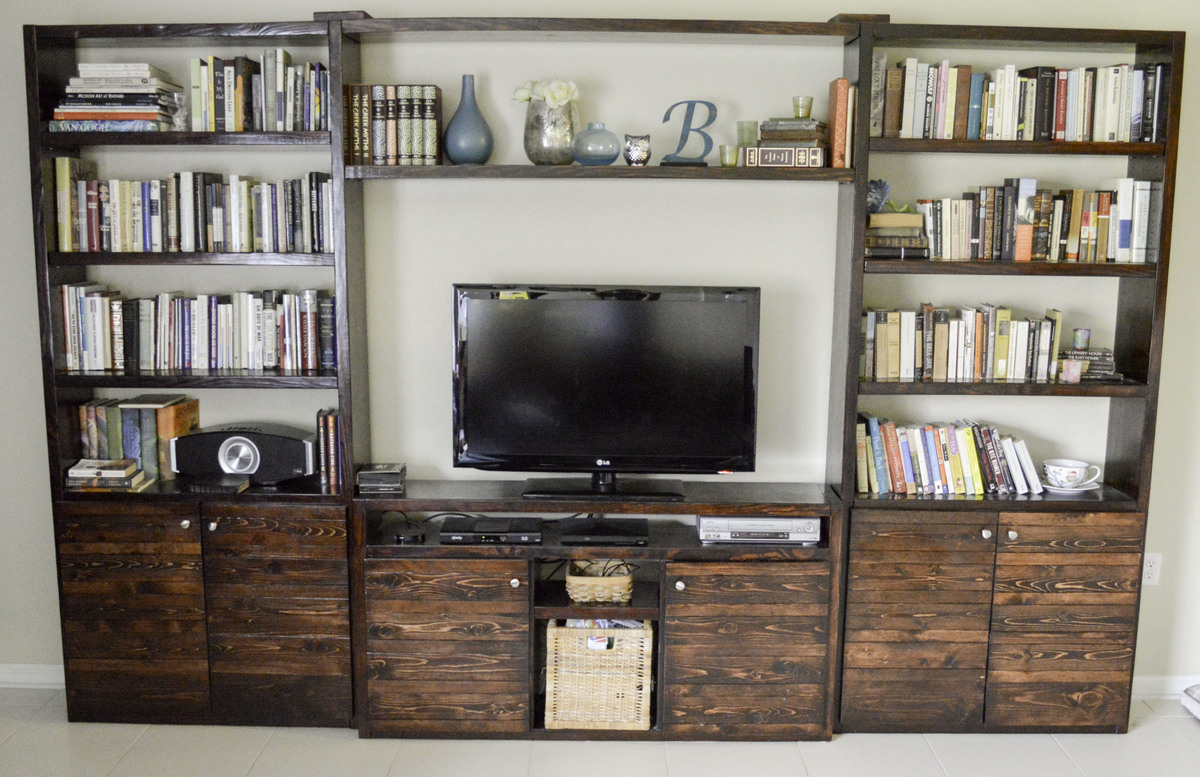
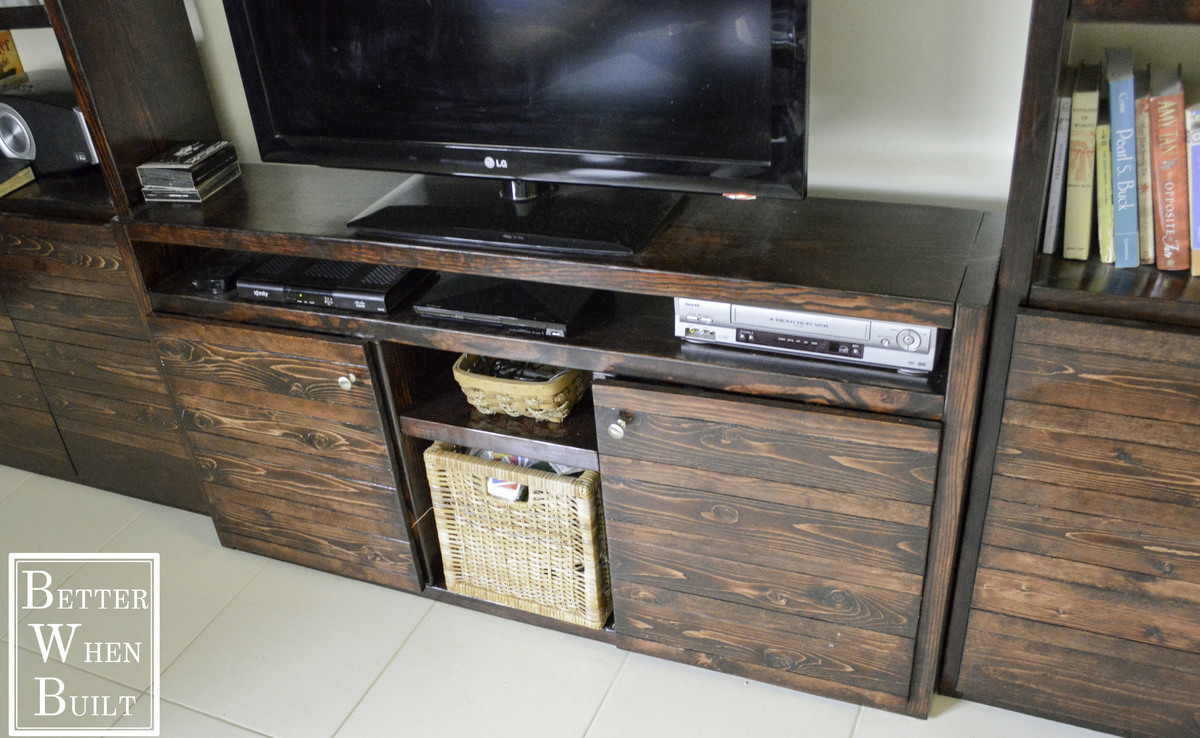
The IKEA Lack Inspired Bookcase plans became my inspiration for the entire entertainment center. I made a few changes to the bookcase plans. I increased the height of the bookcases to 84 inches and added adjustable shelves. I also included some major extras including a console for the TV, a bridge to connect the bookcases, and doors inspired by www.shanty-2-chic.com.
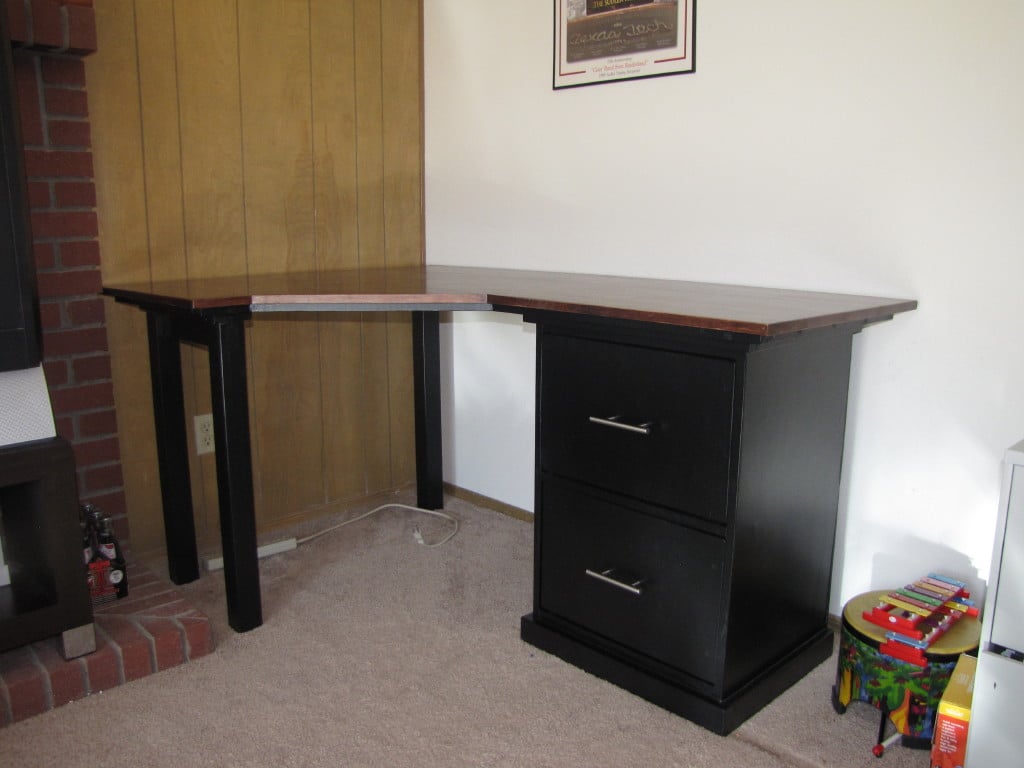
This was my first build I have wanted to get this particular desk from Pottery Barn but don't have the space for it. I used the corner desk plans but on one side I used the plans for the legs used on the smaller desk. Since it wasn't too big I made the desktop one piece. All in all it was pretty straightforward. The only problem I had was when I put the legs on the wrong side, I didn't realize until after I had used wood filler and painted.
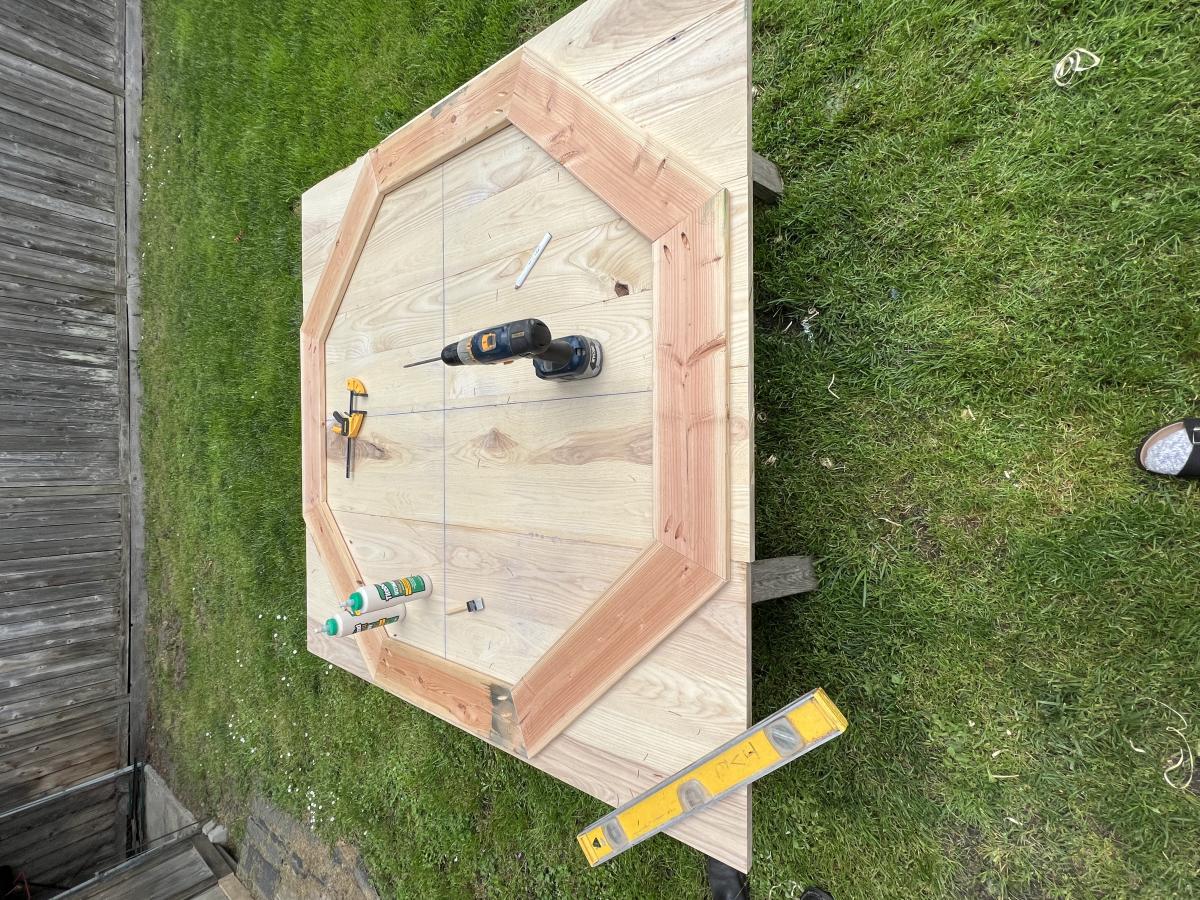
Built this amazing table & chairs a few years ago for a customer.
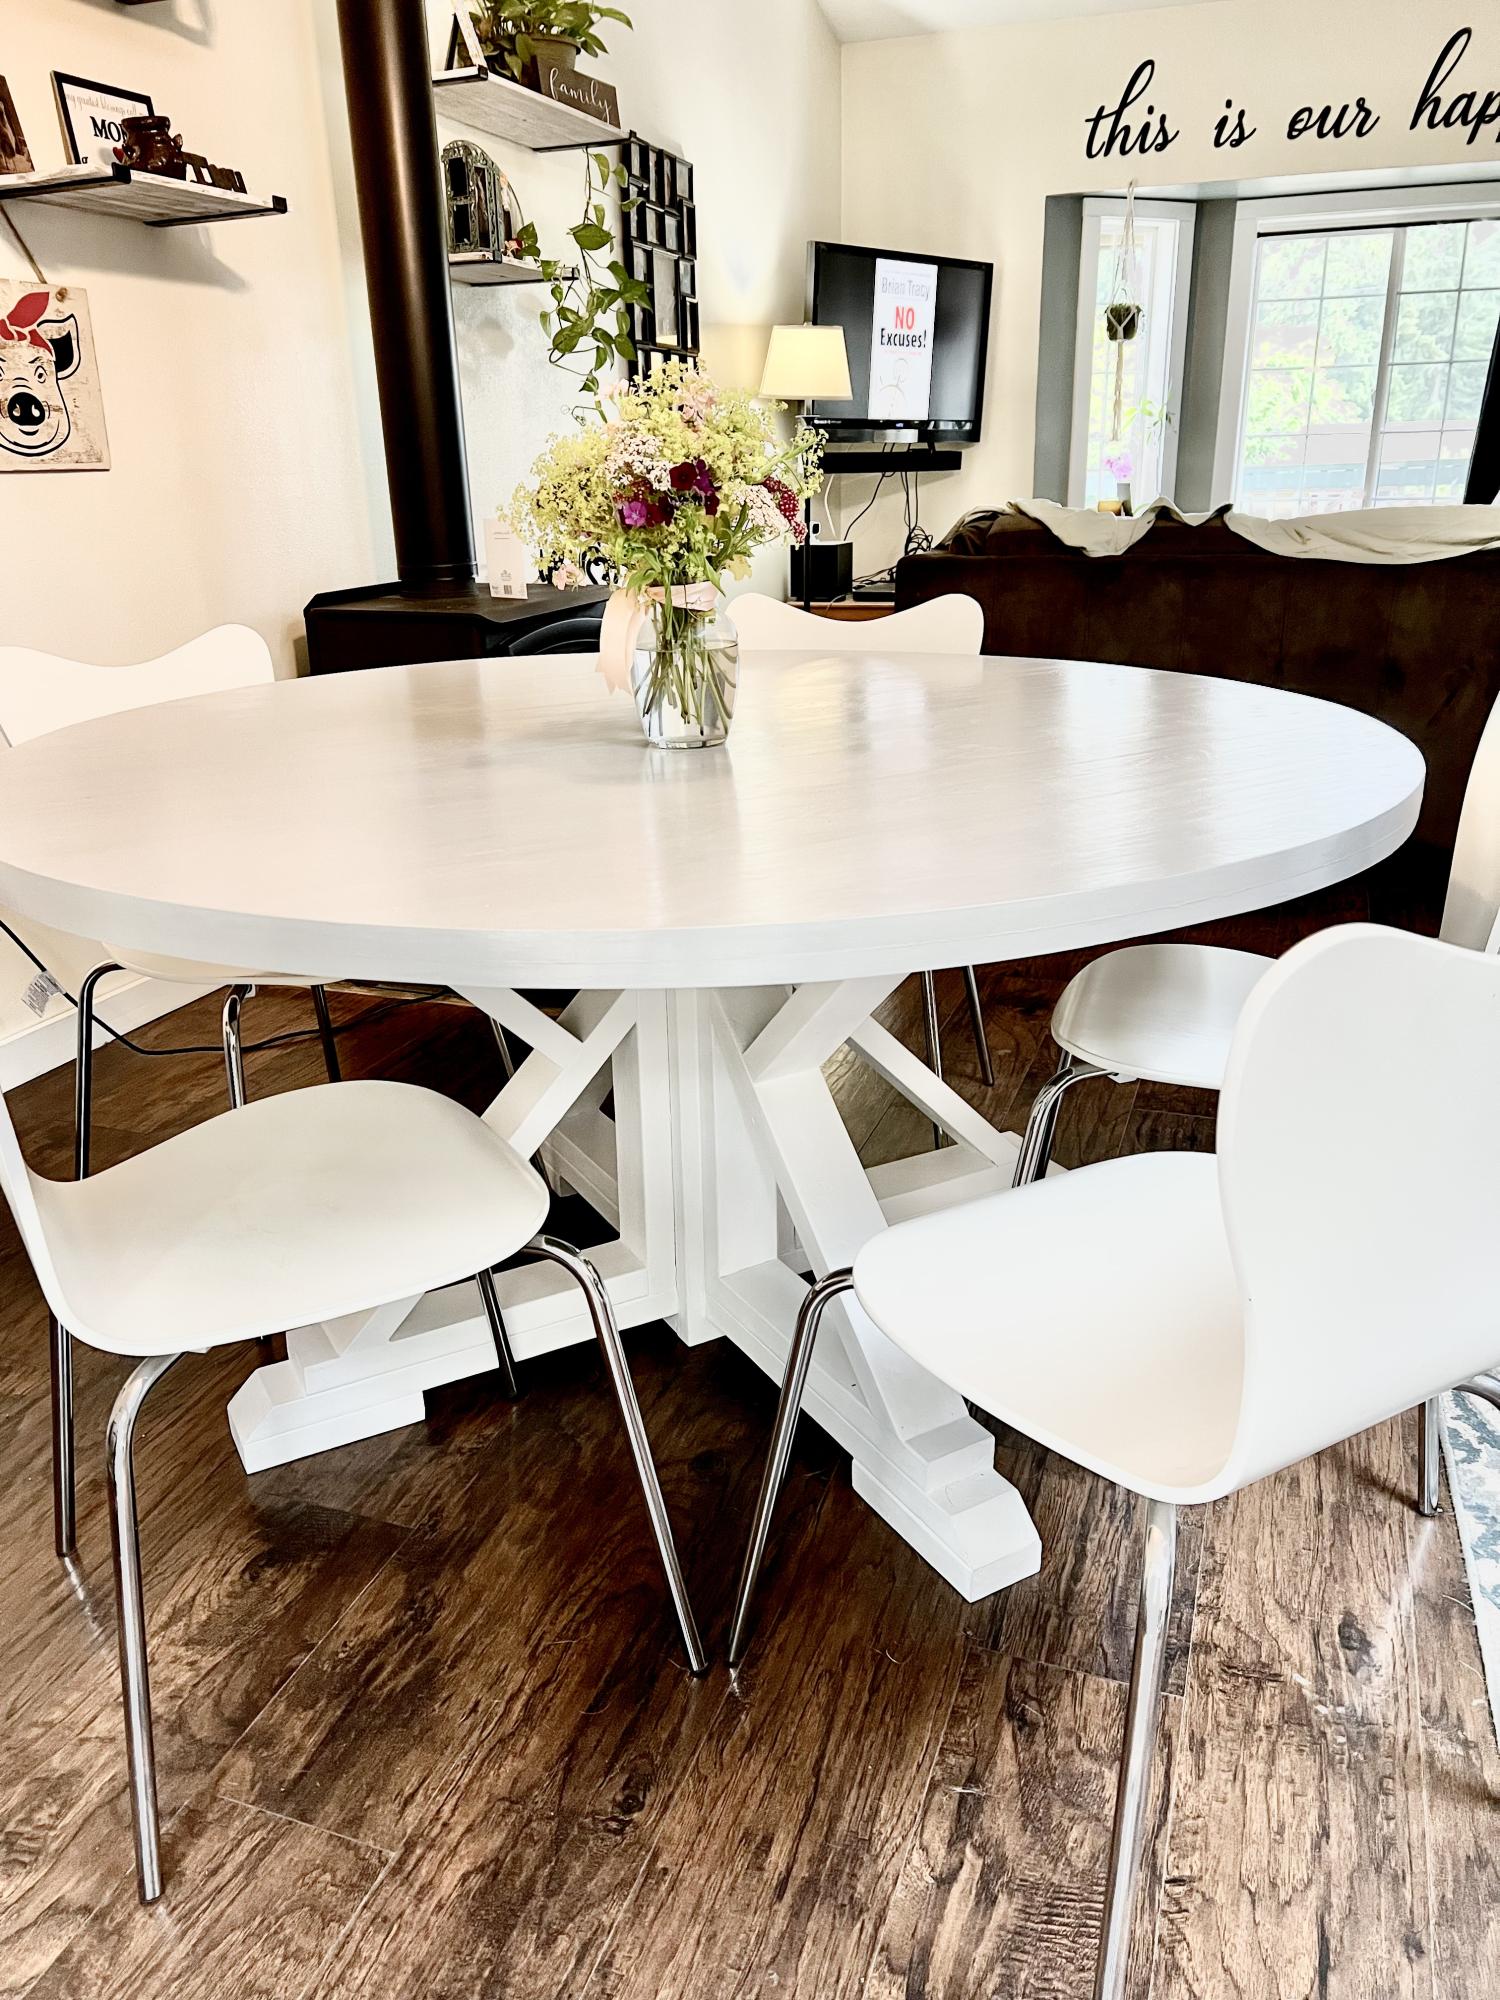
I saw this super simple farm house table plan on my Facebook feed from Ana and I just had to do it !!$50 in lumber a Saturday afternoon and I was done!!!! Followed all her tips and it turned out great

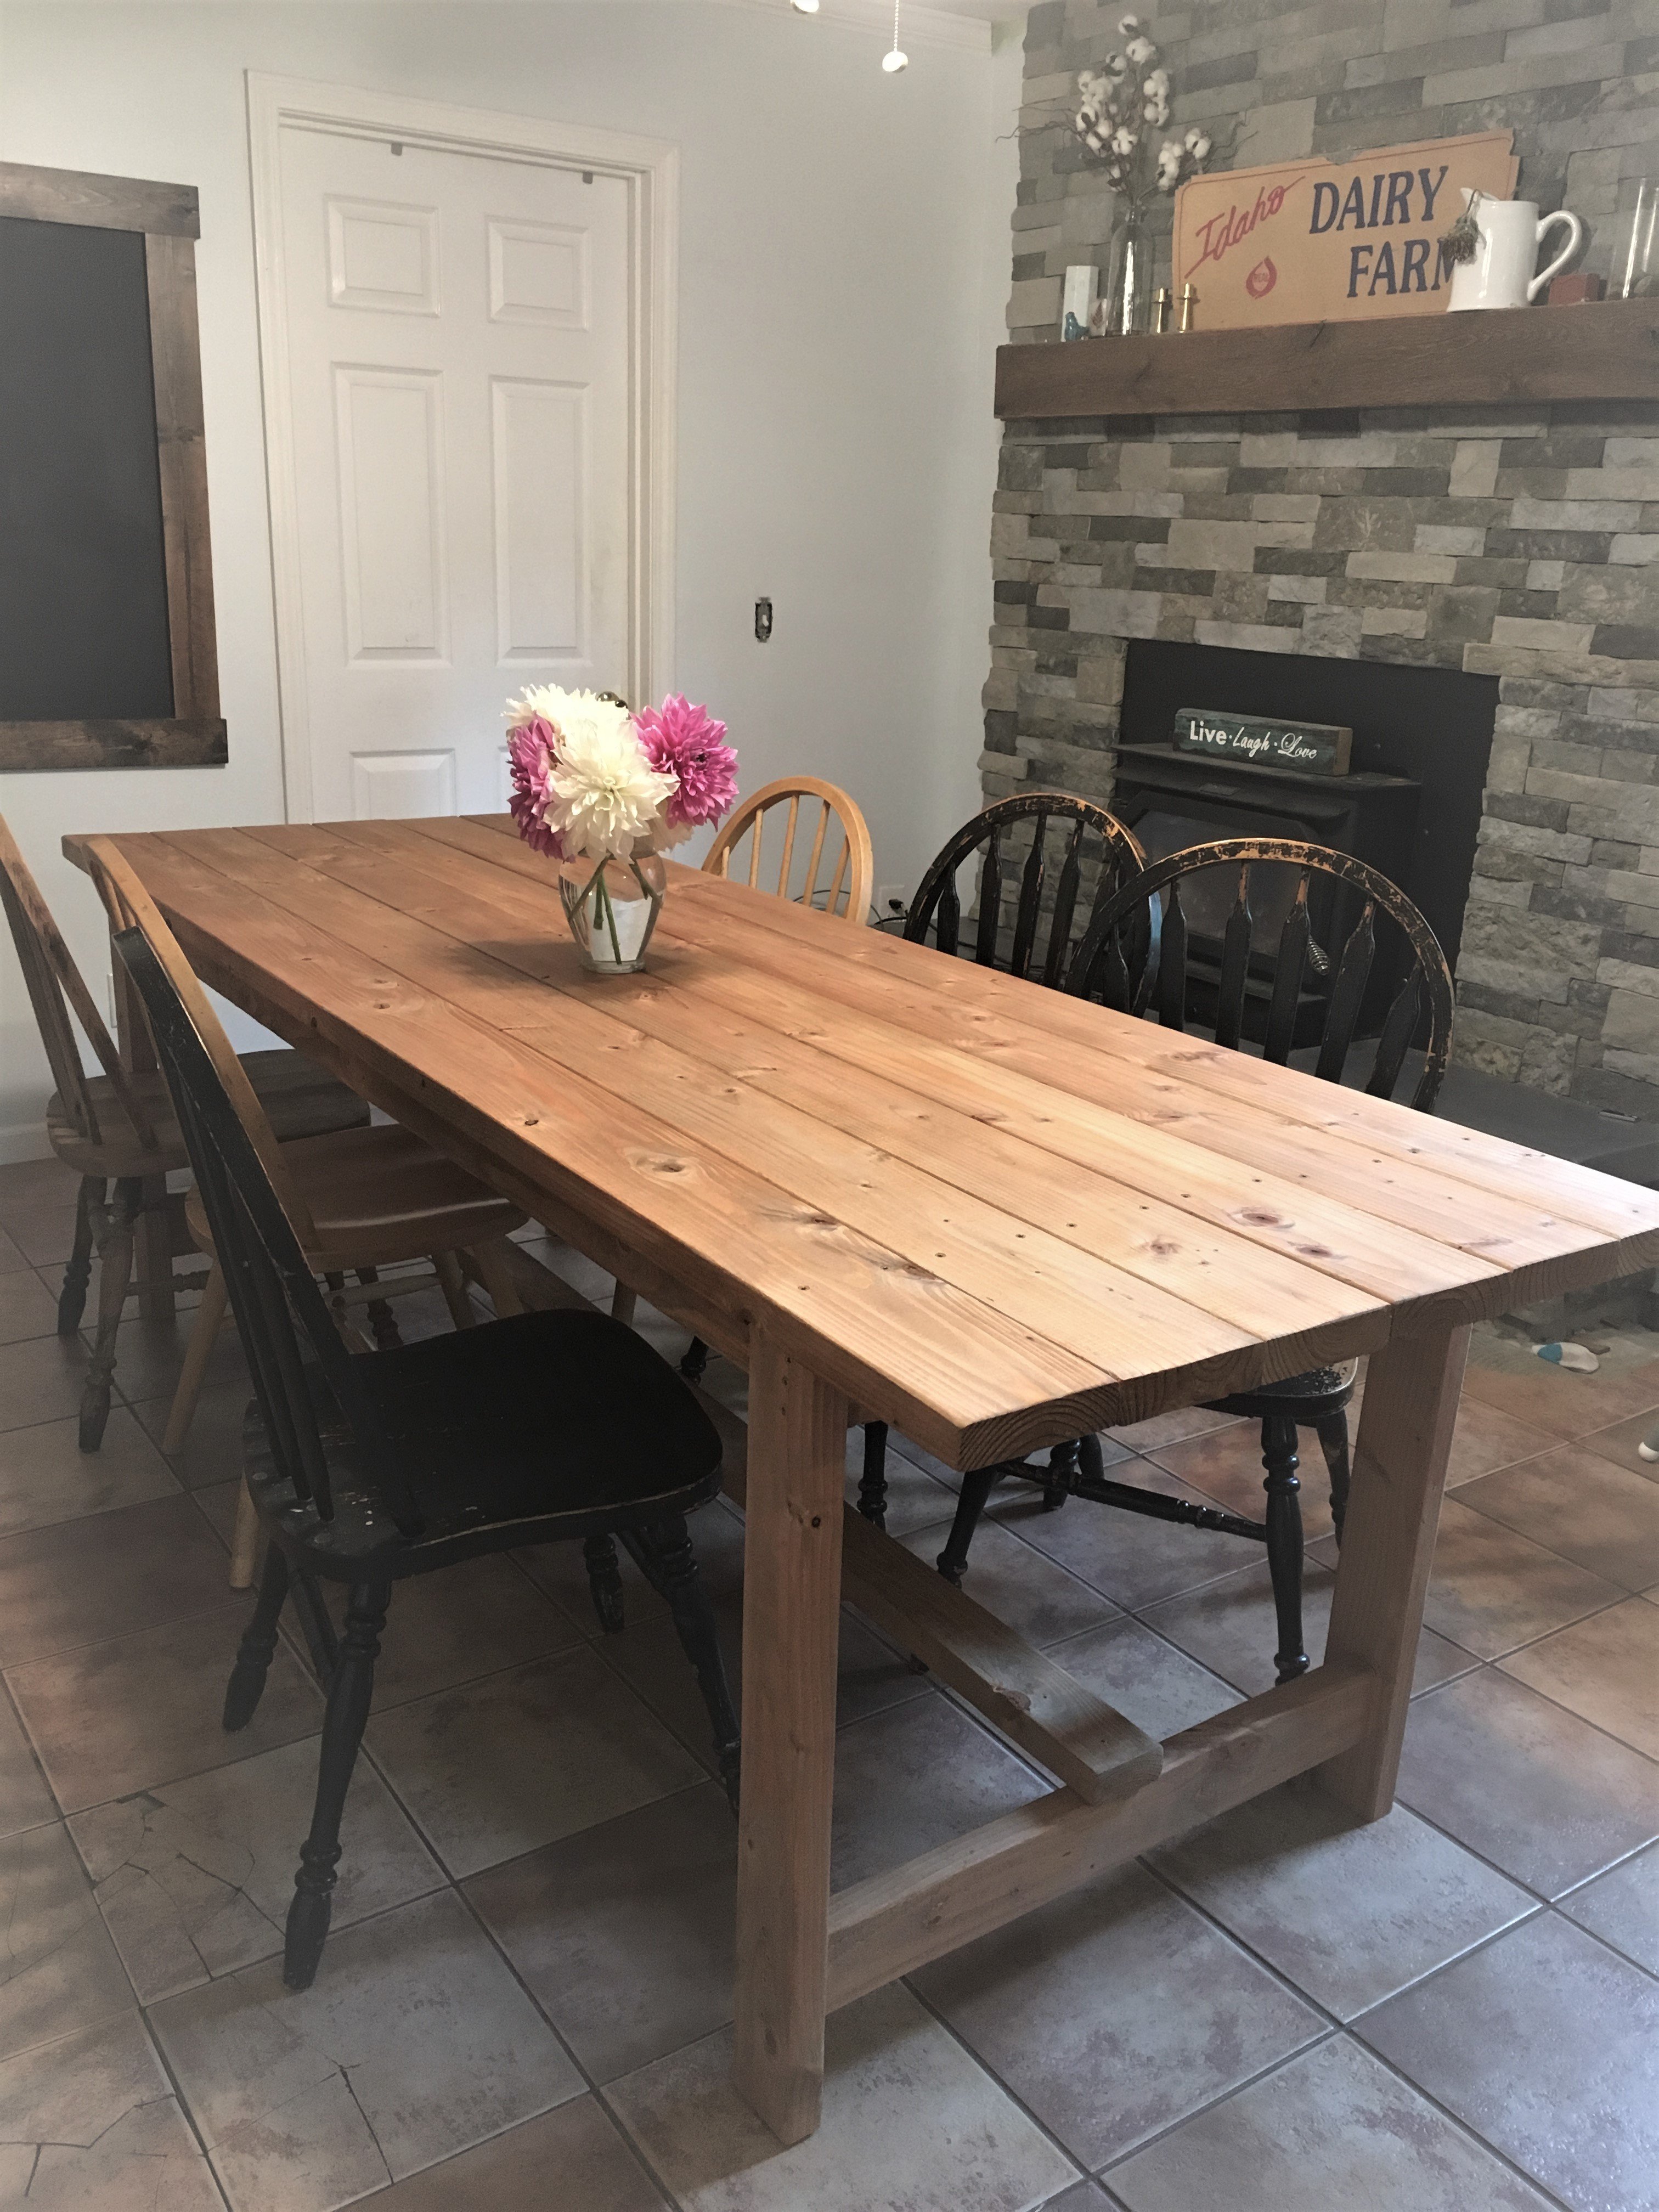
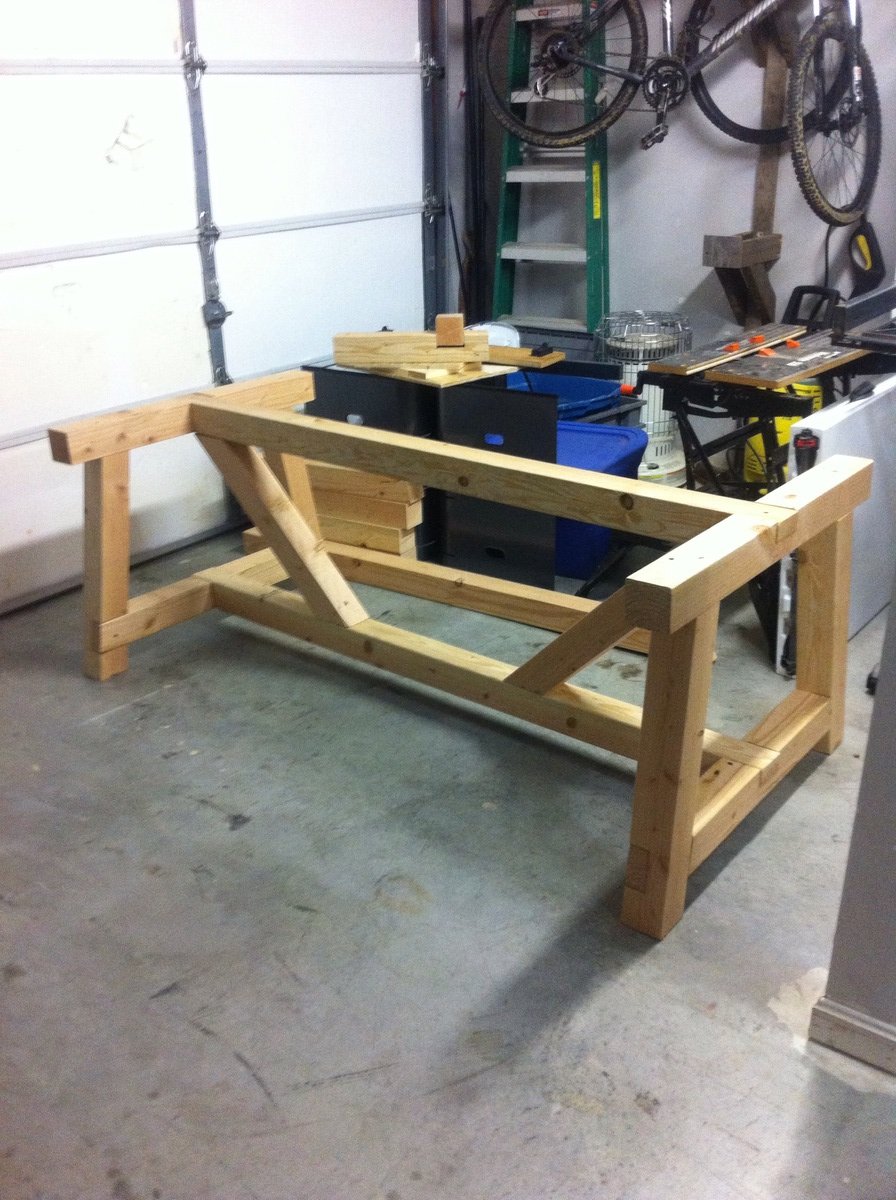
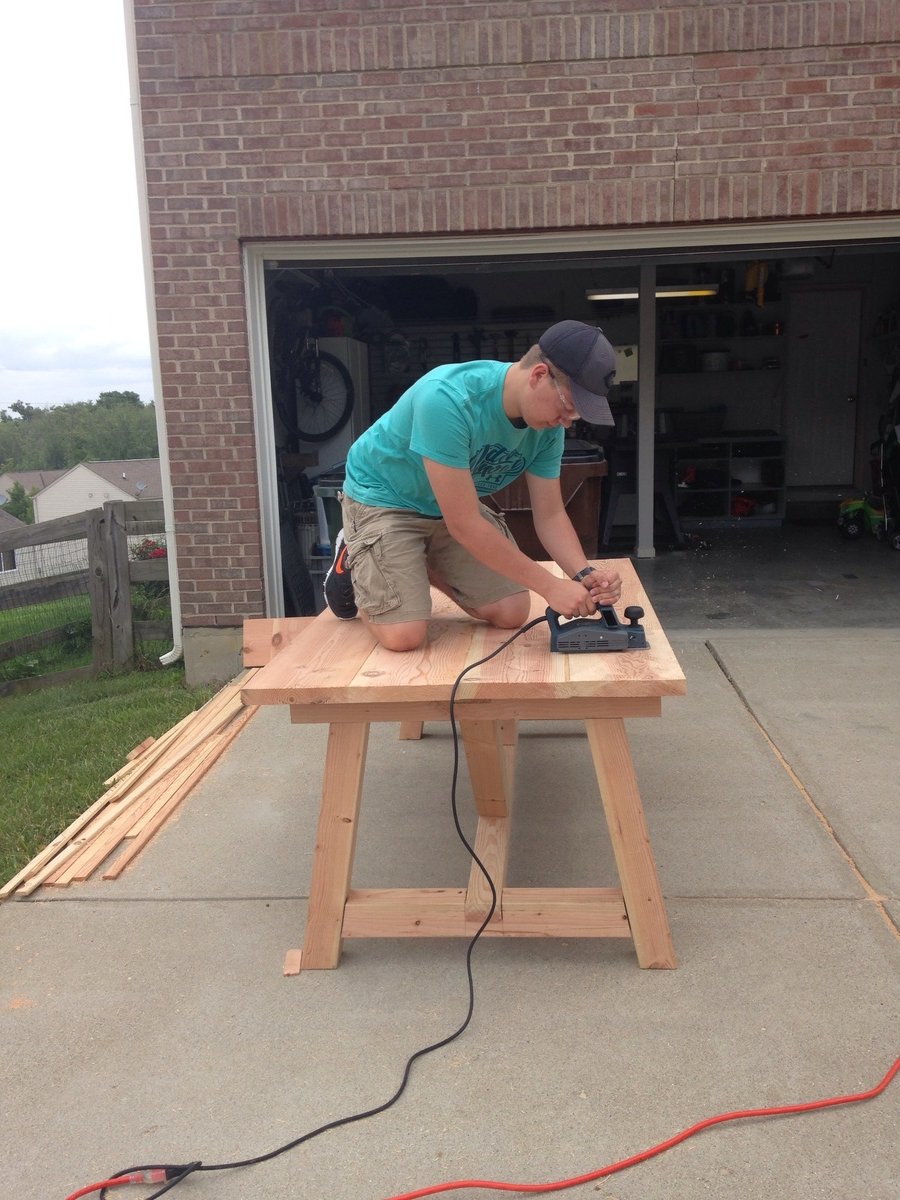
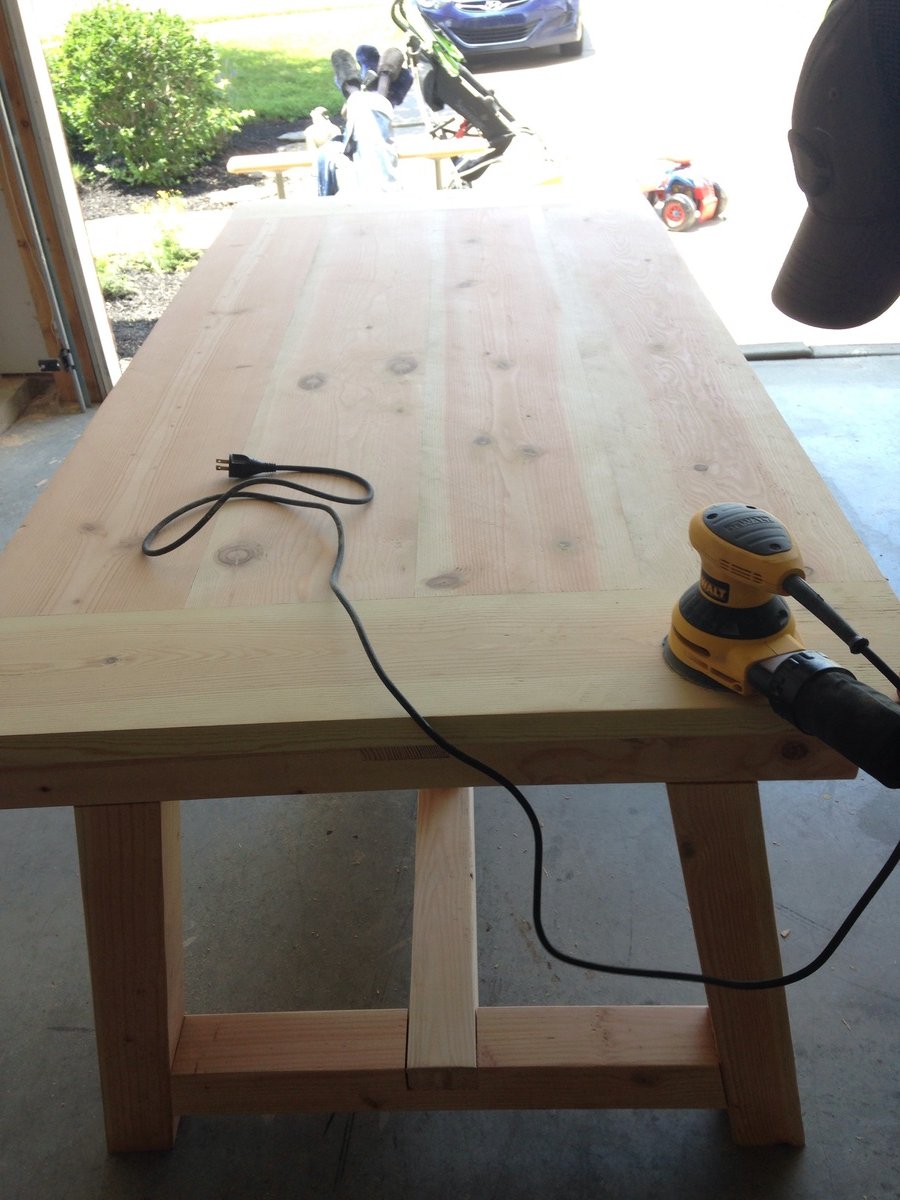
My wife wanted a portable farmhouse style rustic dining table that she could take to photoshoots and other events. I started with a top made with 2x6s and make the legs with 4x4s and the rest with 2x4s. Stain is dark walnut with a clear coat on top.
The legs are attached with door hinges and can fold into the top for more portable use. There is also a board that can be inserted in the bottom slots so that when in use the legs can not fold in.
So far the rustic dining table is working out great, although this table is VERY HEAVY and needs 2-3 strong people to carry it around. I have also made a lighter version using 1x6 tops and all 2x4 frame and legs.
Photos courtesy of Jennifer Blair Photography Designed by Amber Veatch Designs


Wed, 06/12/2013 - 04:15
Oh I really hope that you are able to put these modified plans up!!! A foldable farmhouse table.... what will they think of next!

Sat, 10/22/2016 - 12:25
Stunningly beautiful! Thank you for sharing and inspiring!
Sat, 10/22/2016 - 17:21
I cannot find the plans for the tiny house drawers any where. Can someone please point me in the right direction. Thank you!
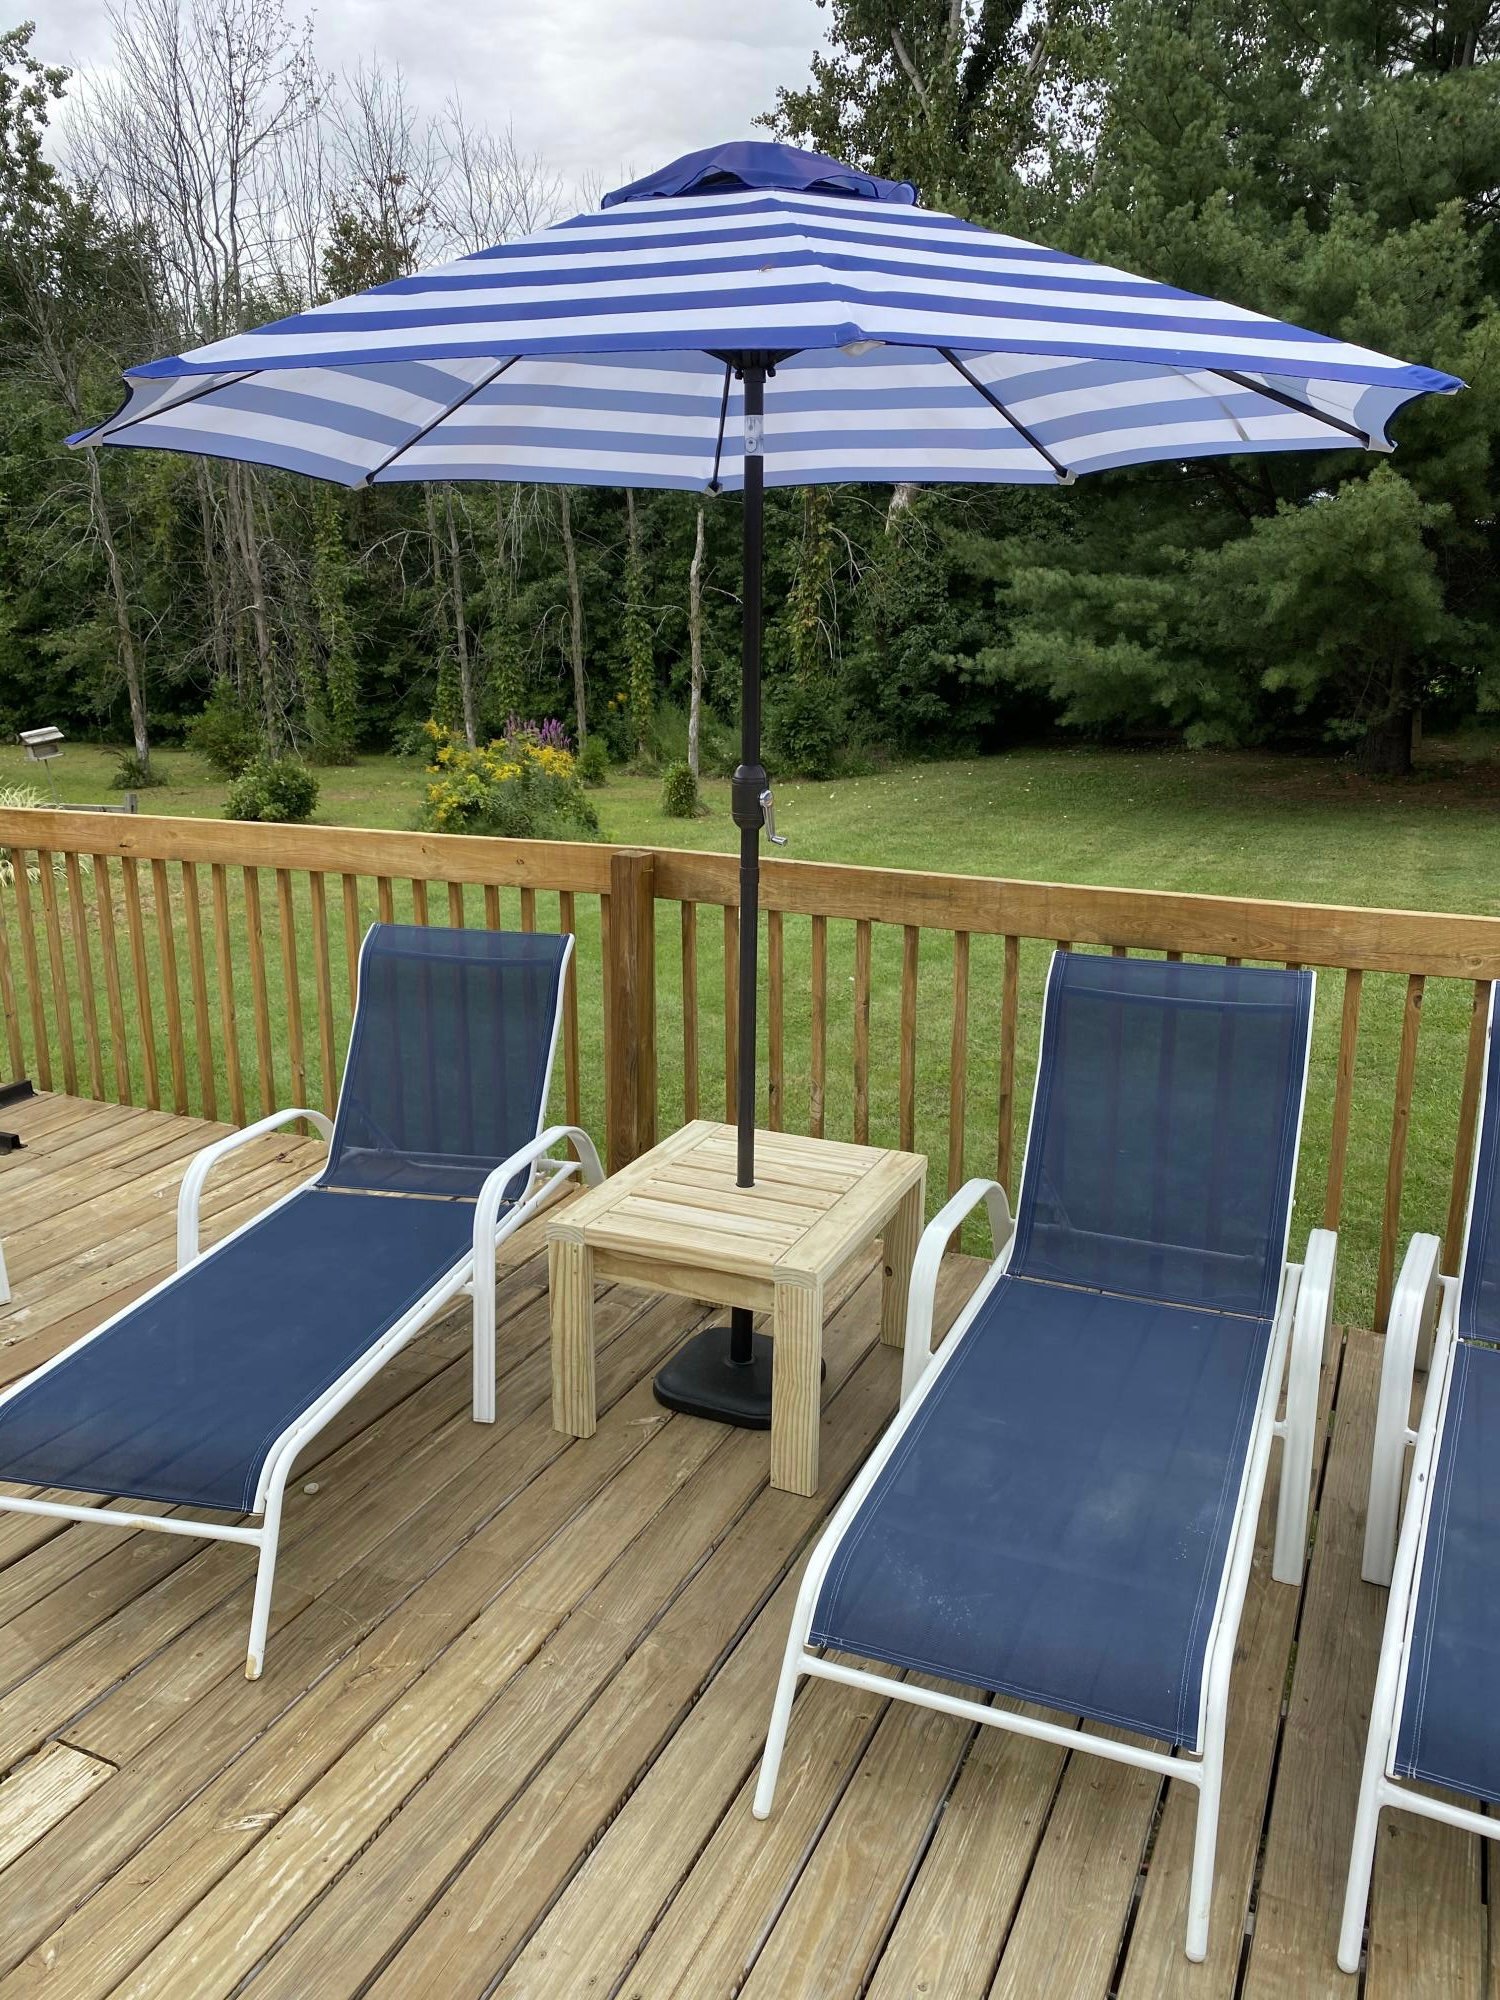
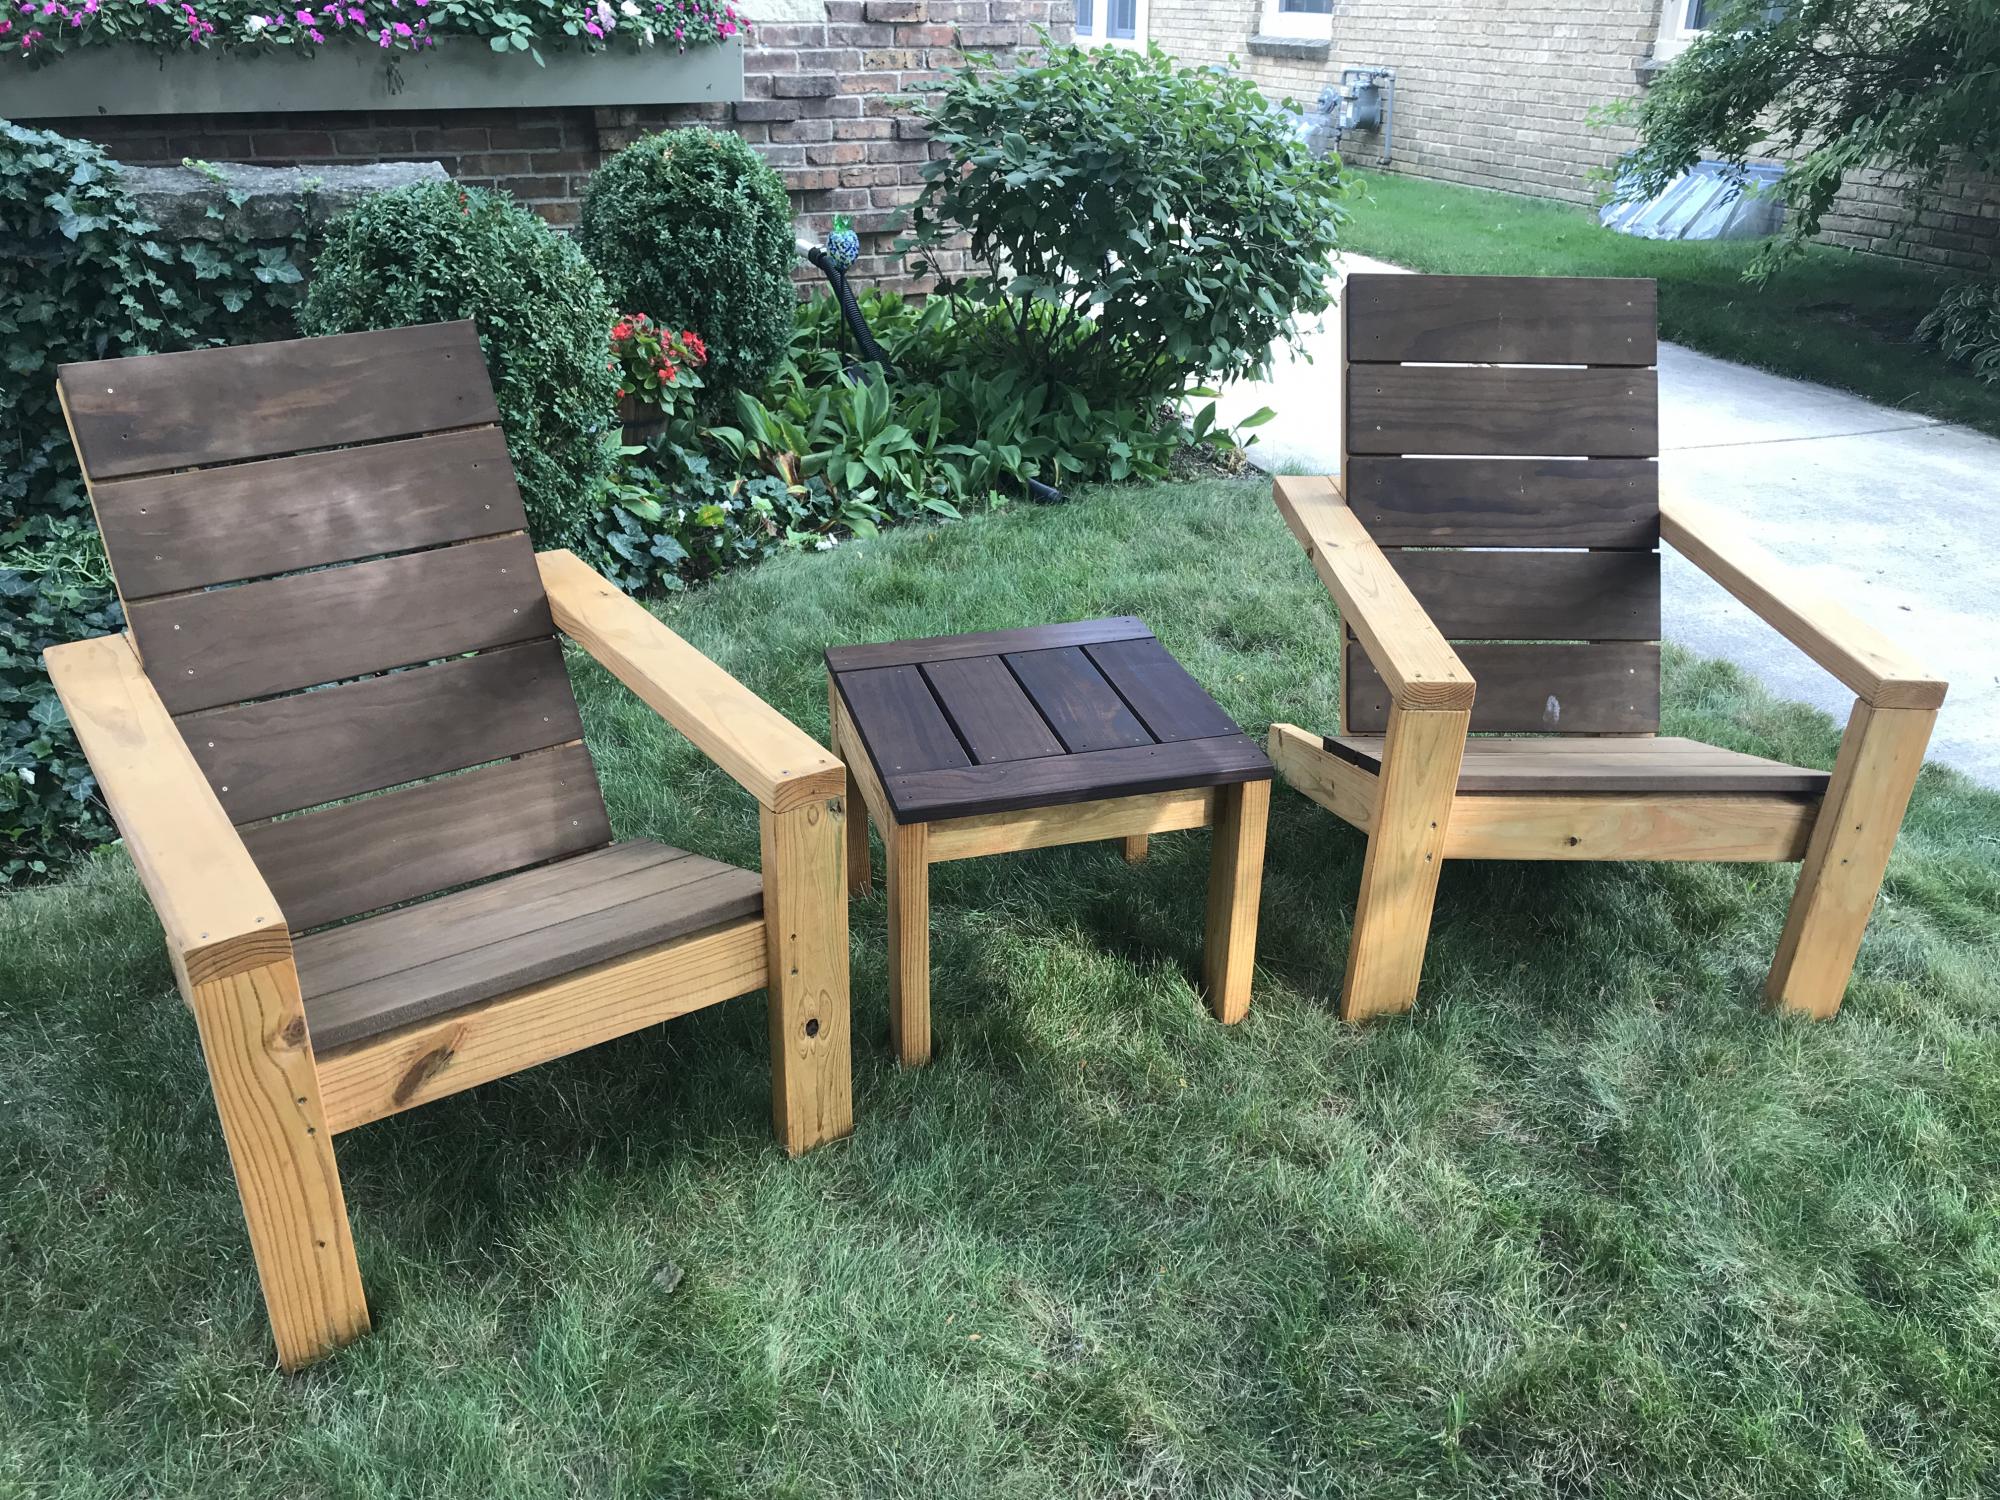
I made the end table a little taller than the instructions and the top boards further apart for rain to fall thru, then drilled a hole so it can be used as an umbrella stand too!
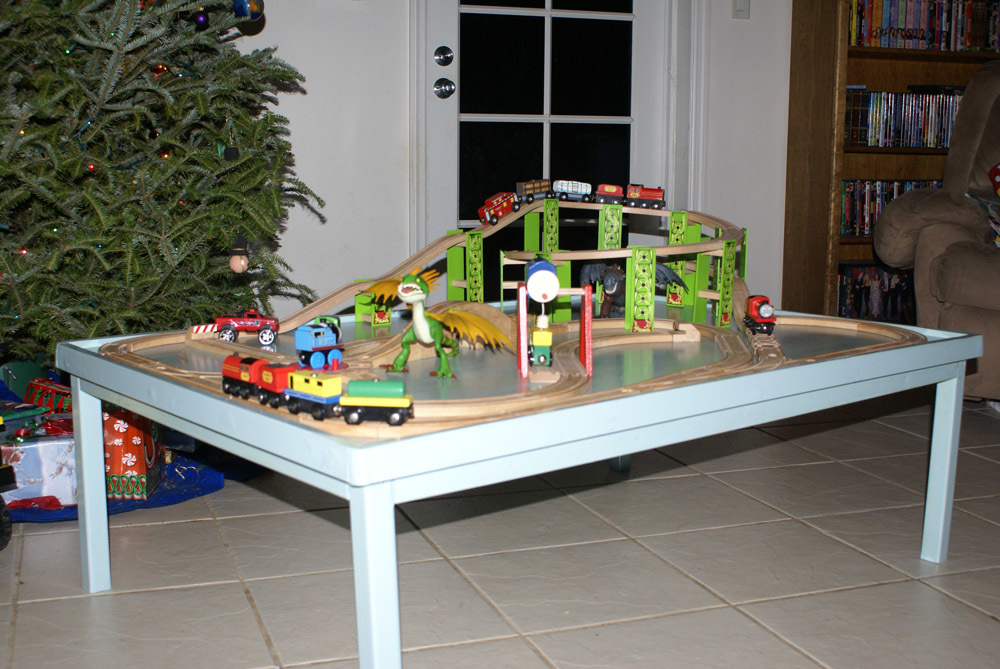
This was my very first "Ana project"! It was a special Christmas treat for my boys and their expanding train collection. This table has had many, many hours of entertainment and enjoyment. It is a great beginner project and has very easy plans to follow! I didn't do the storage carts at the time. I may go back and do them later though...for now they like playing under the table as well. My obsession began :)
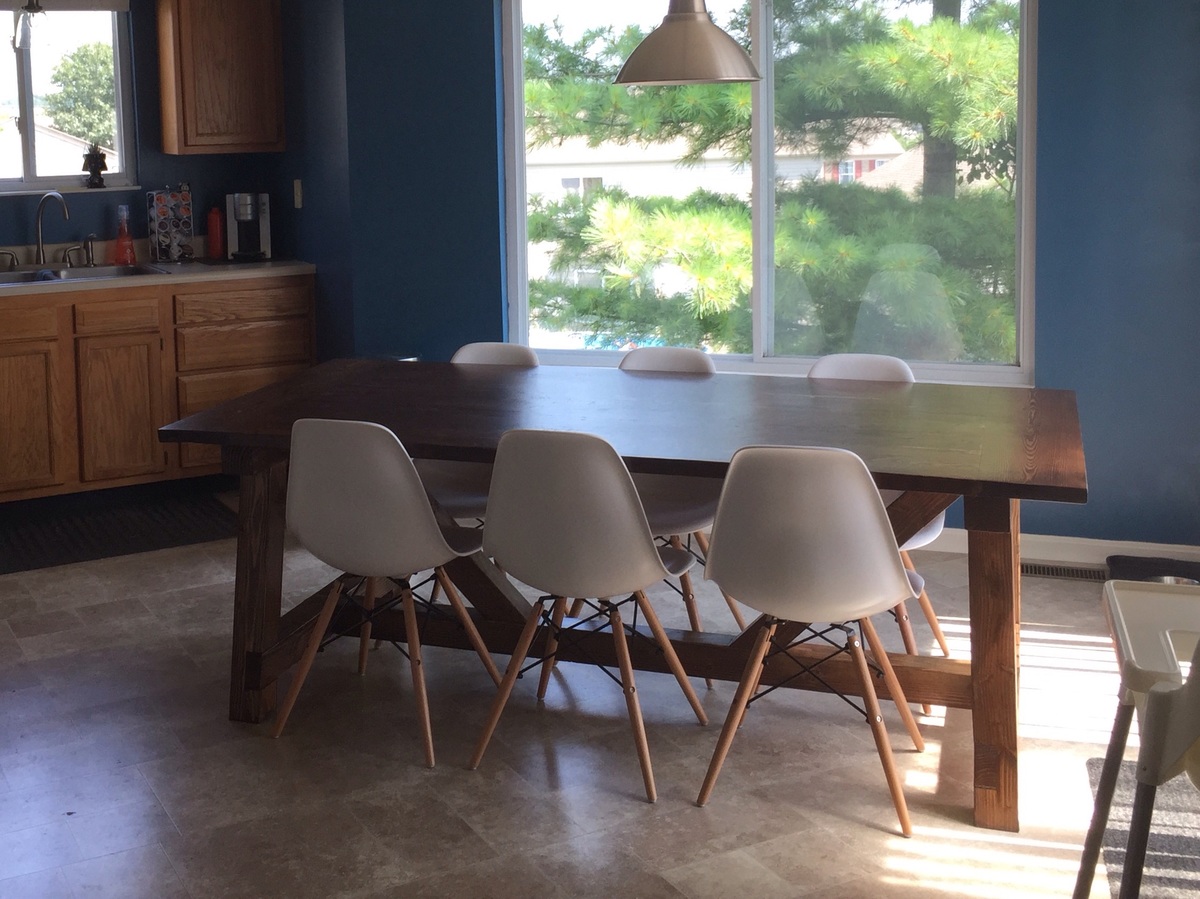
My take on Ana's table that I made with my son over Summer Break.
Wed, 03/30/2016 - 01:07
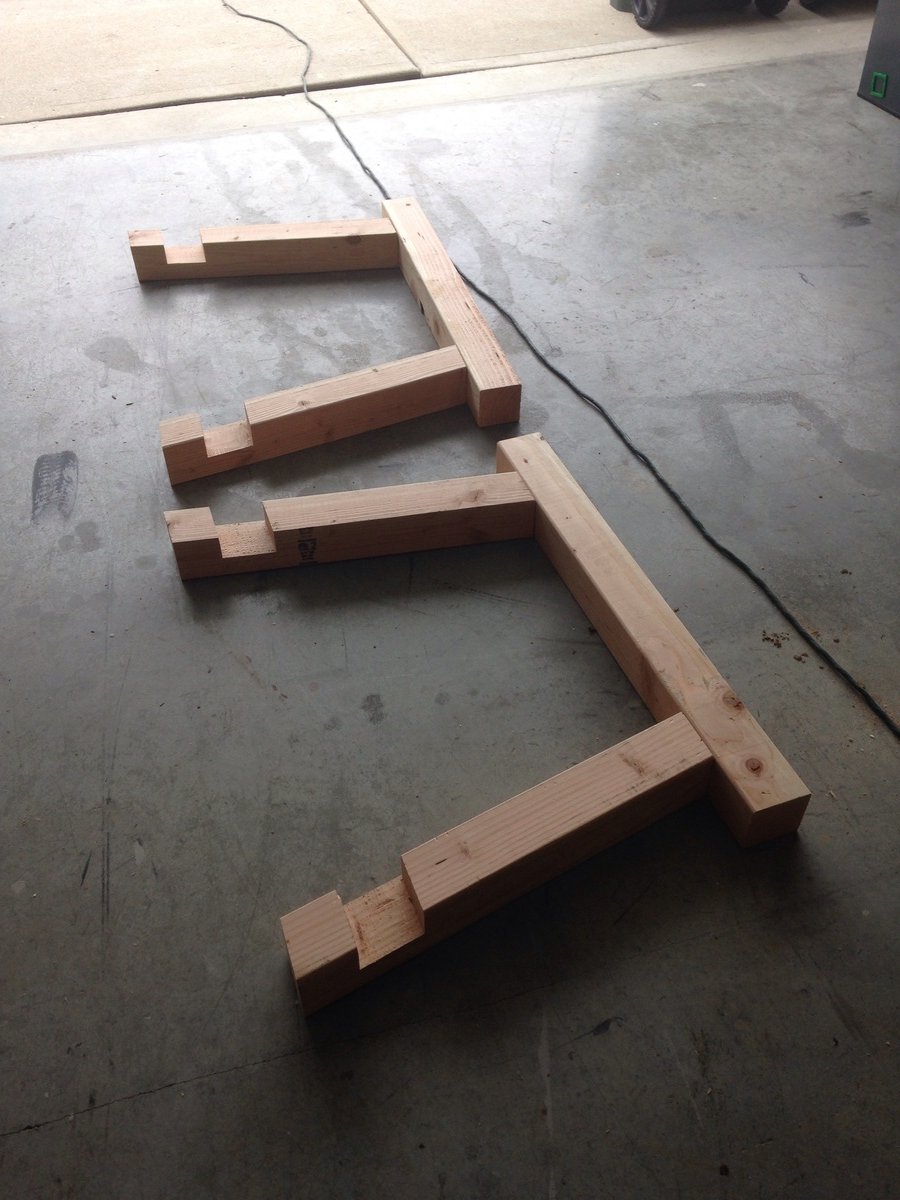
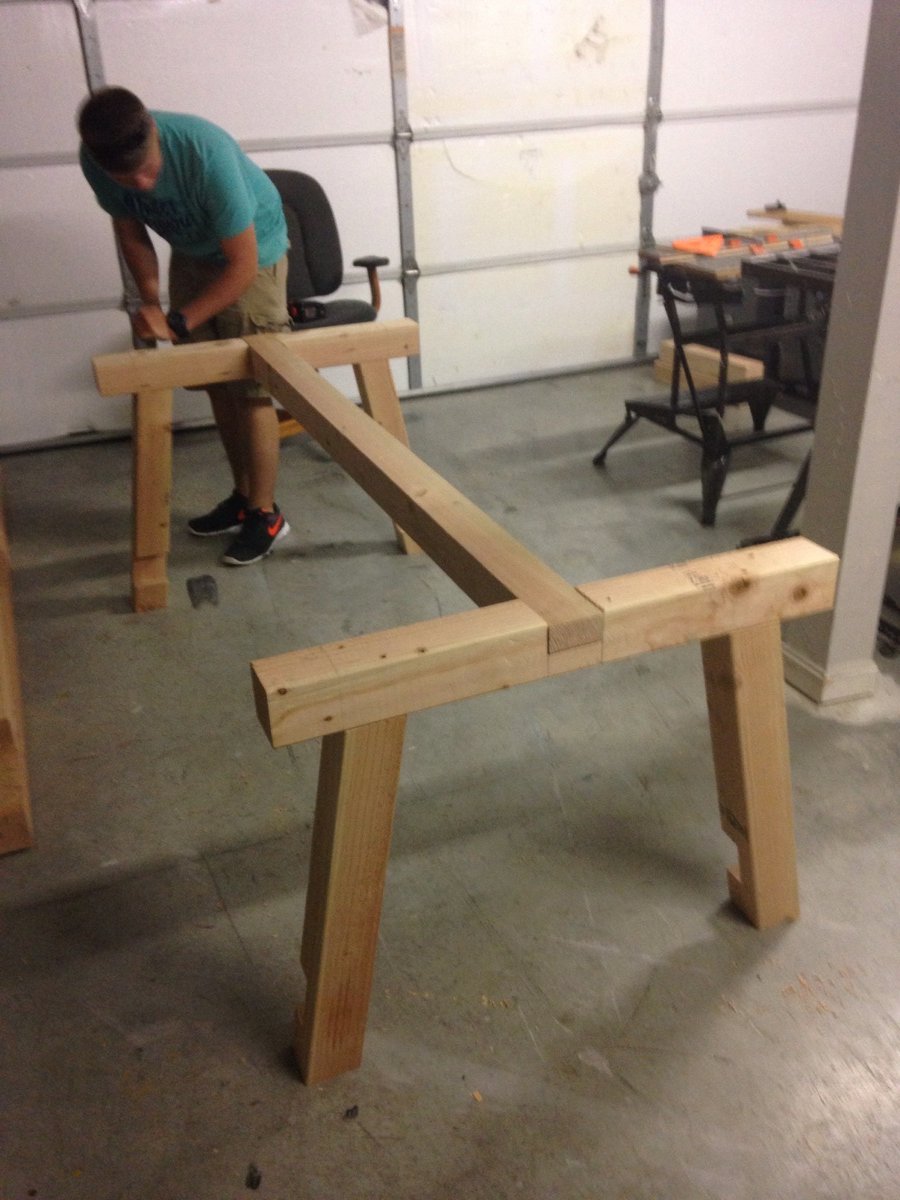
I really like how you made half cuts so that the beams were more supported!
On the legs did you attached with pocket holes or where did you attach so that the screws were hidden?
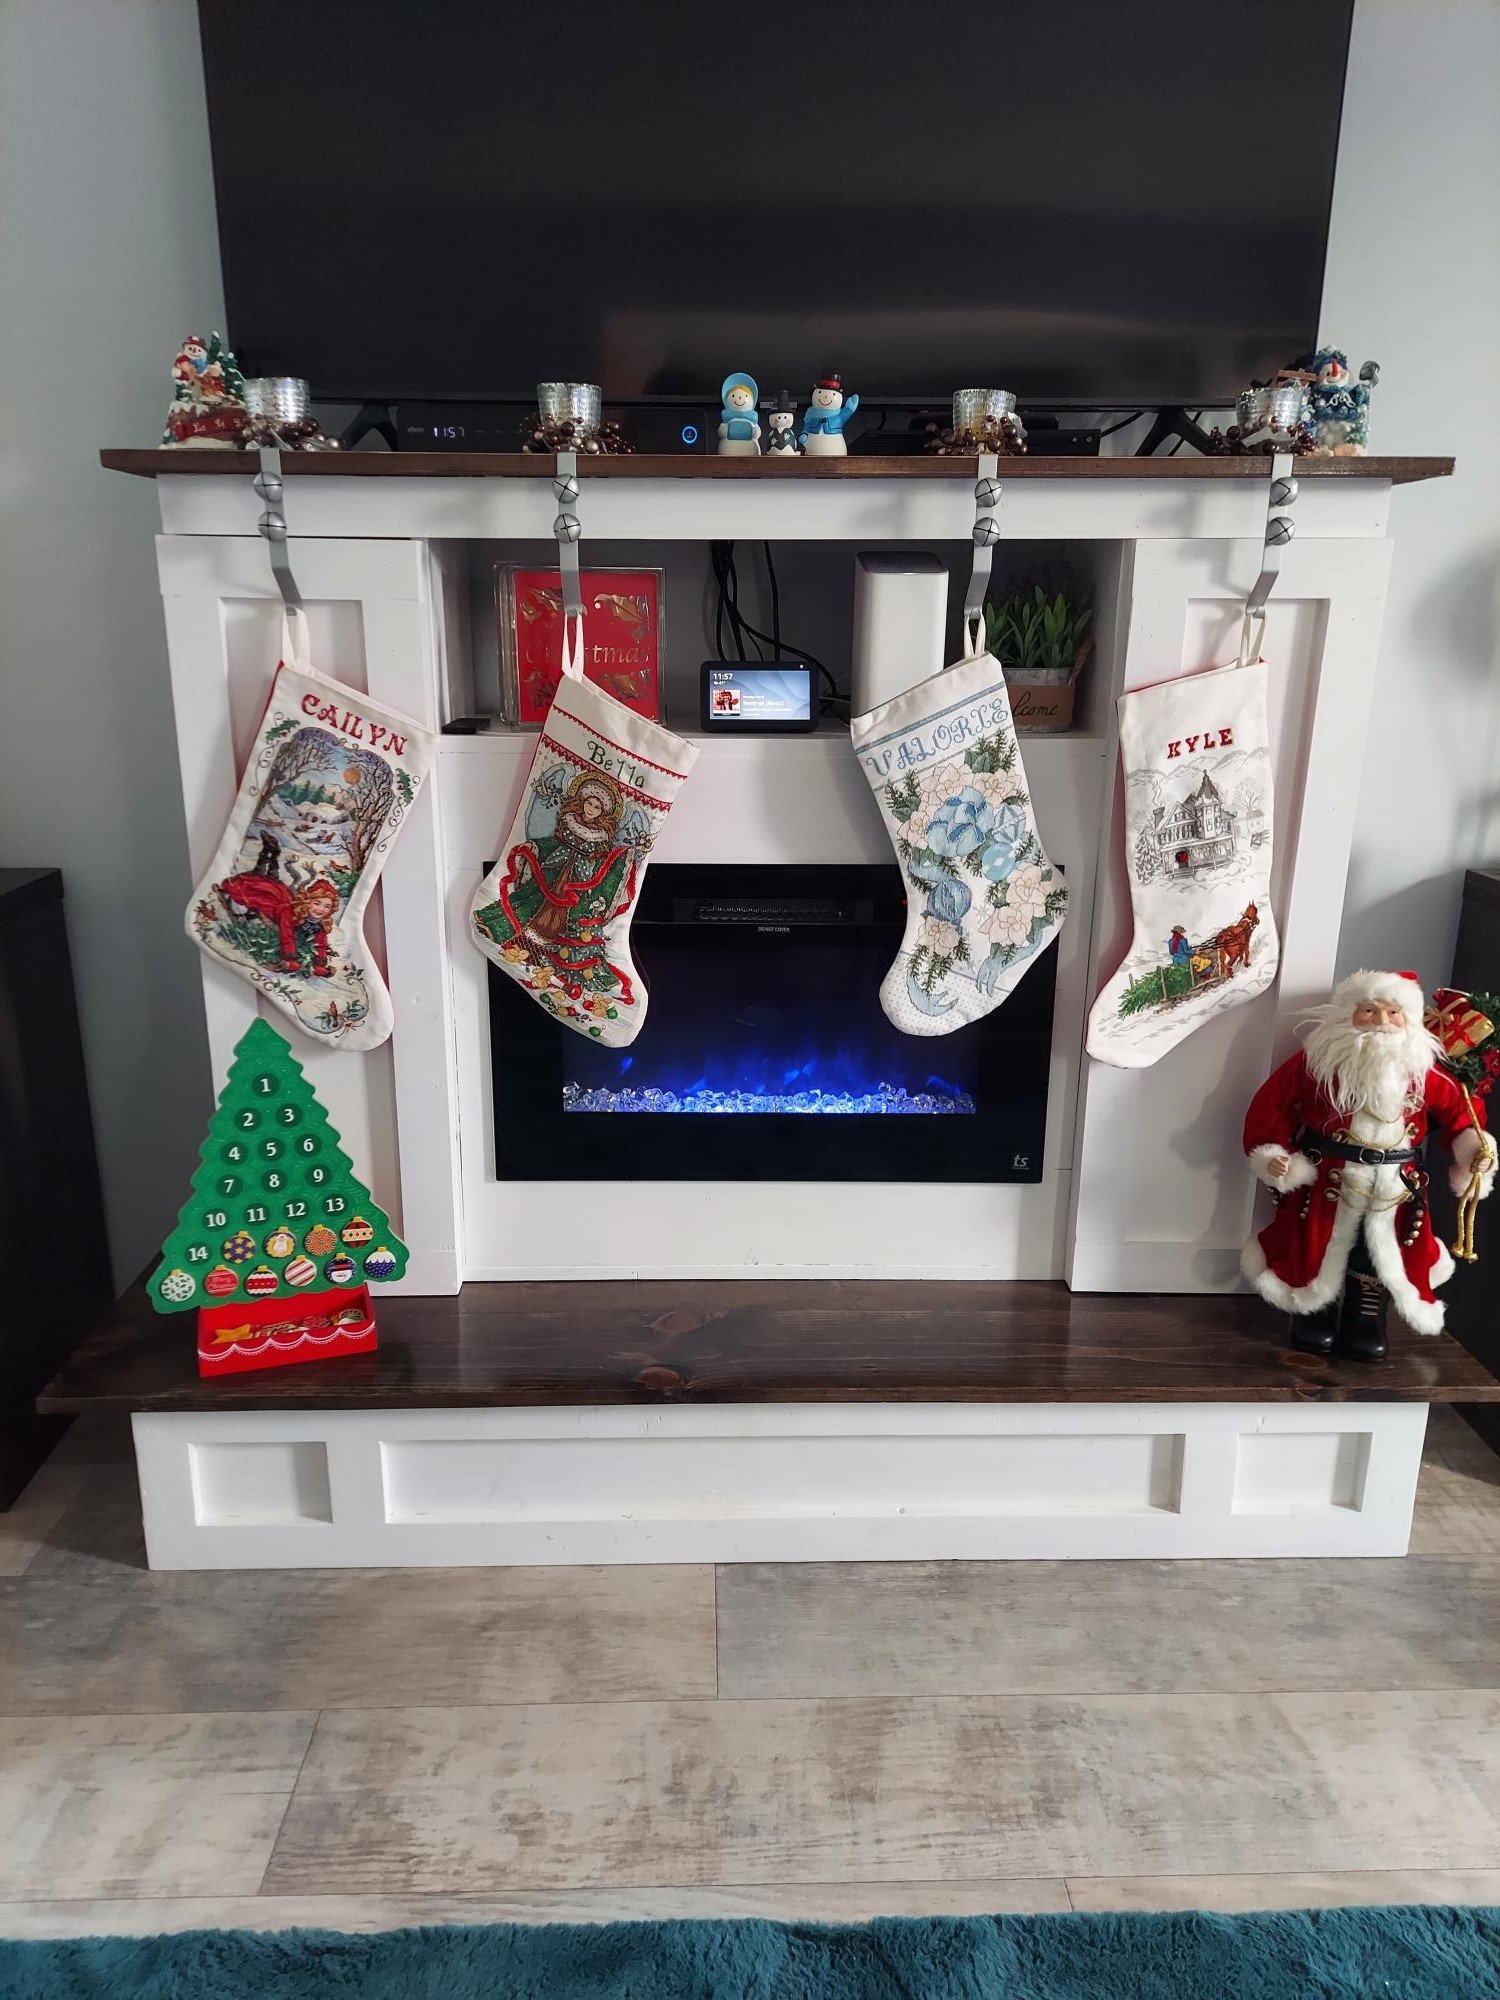
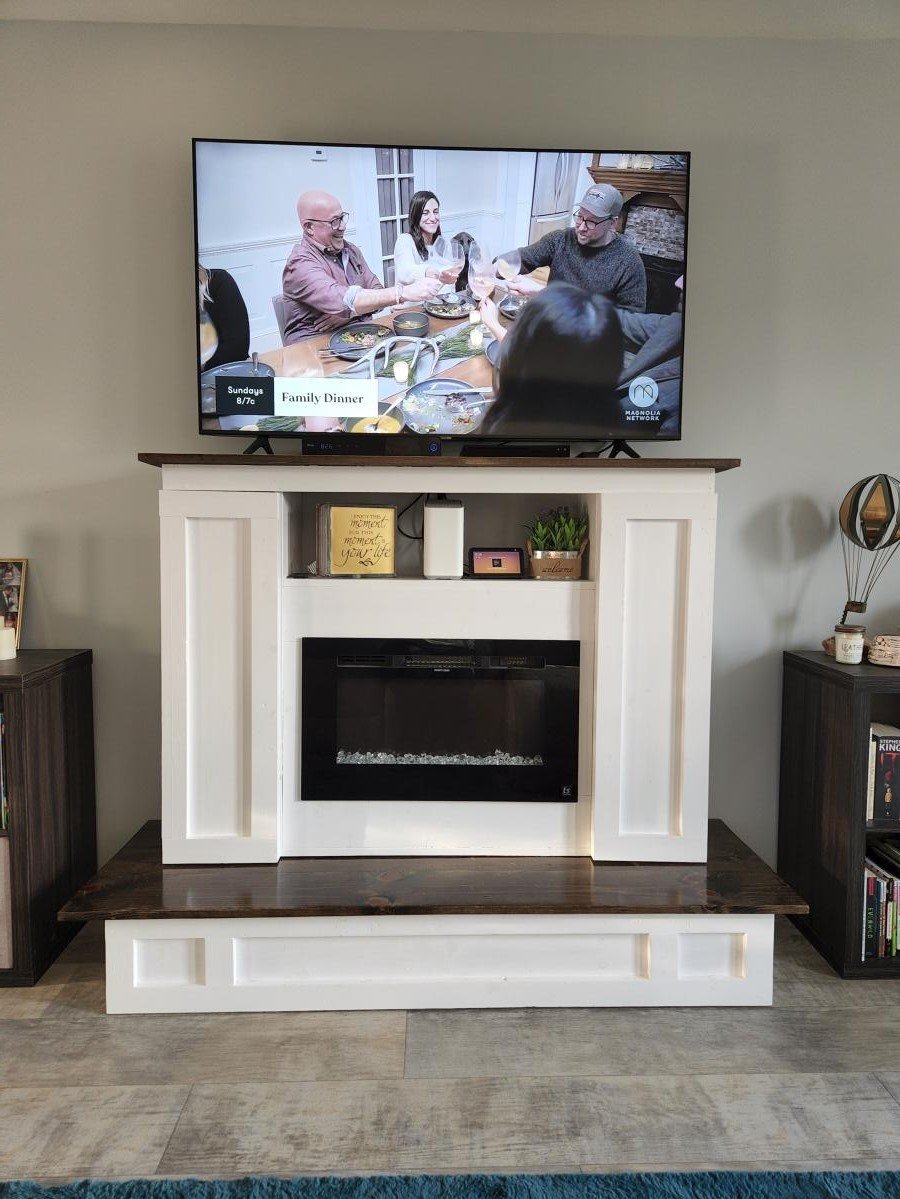
We bought a new house that didn't have a Fireplace and we didn't want an entertainment center, so I built this for the best of both worlds. Electric fireplace insert, side panels open for additional storage, and left the nook above the fireplace open for the wifi router and other decorations.

I've built a few bookshelves and cubbies before, but nothing on this scale. I built this in my basement this past December as a Christmas present for my three-year-old son. The plans were easy to follow. I believe I spent about $150 on lumber. The bed is very sturdy. My kids love it! Now the the other kids want their own special daddy-made bed :)
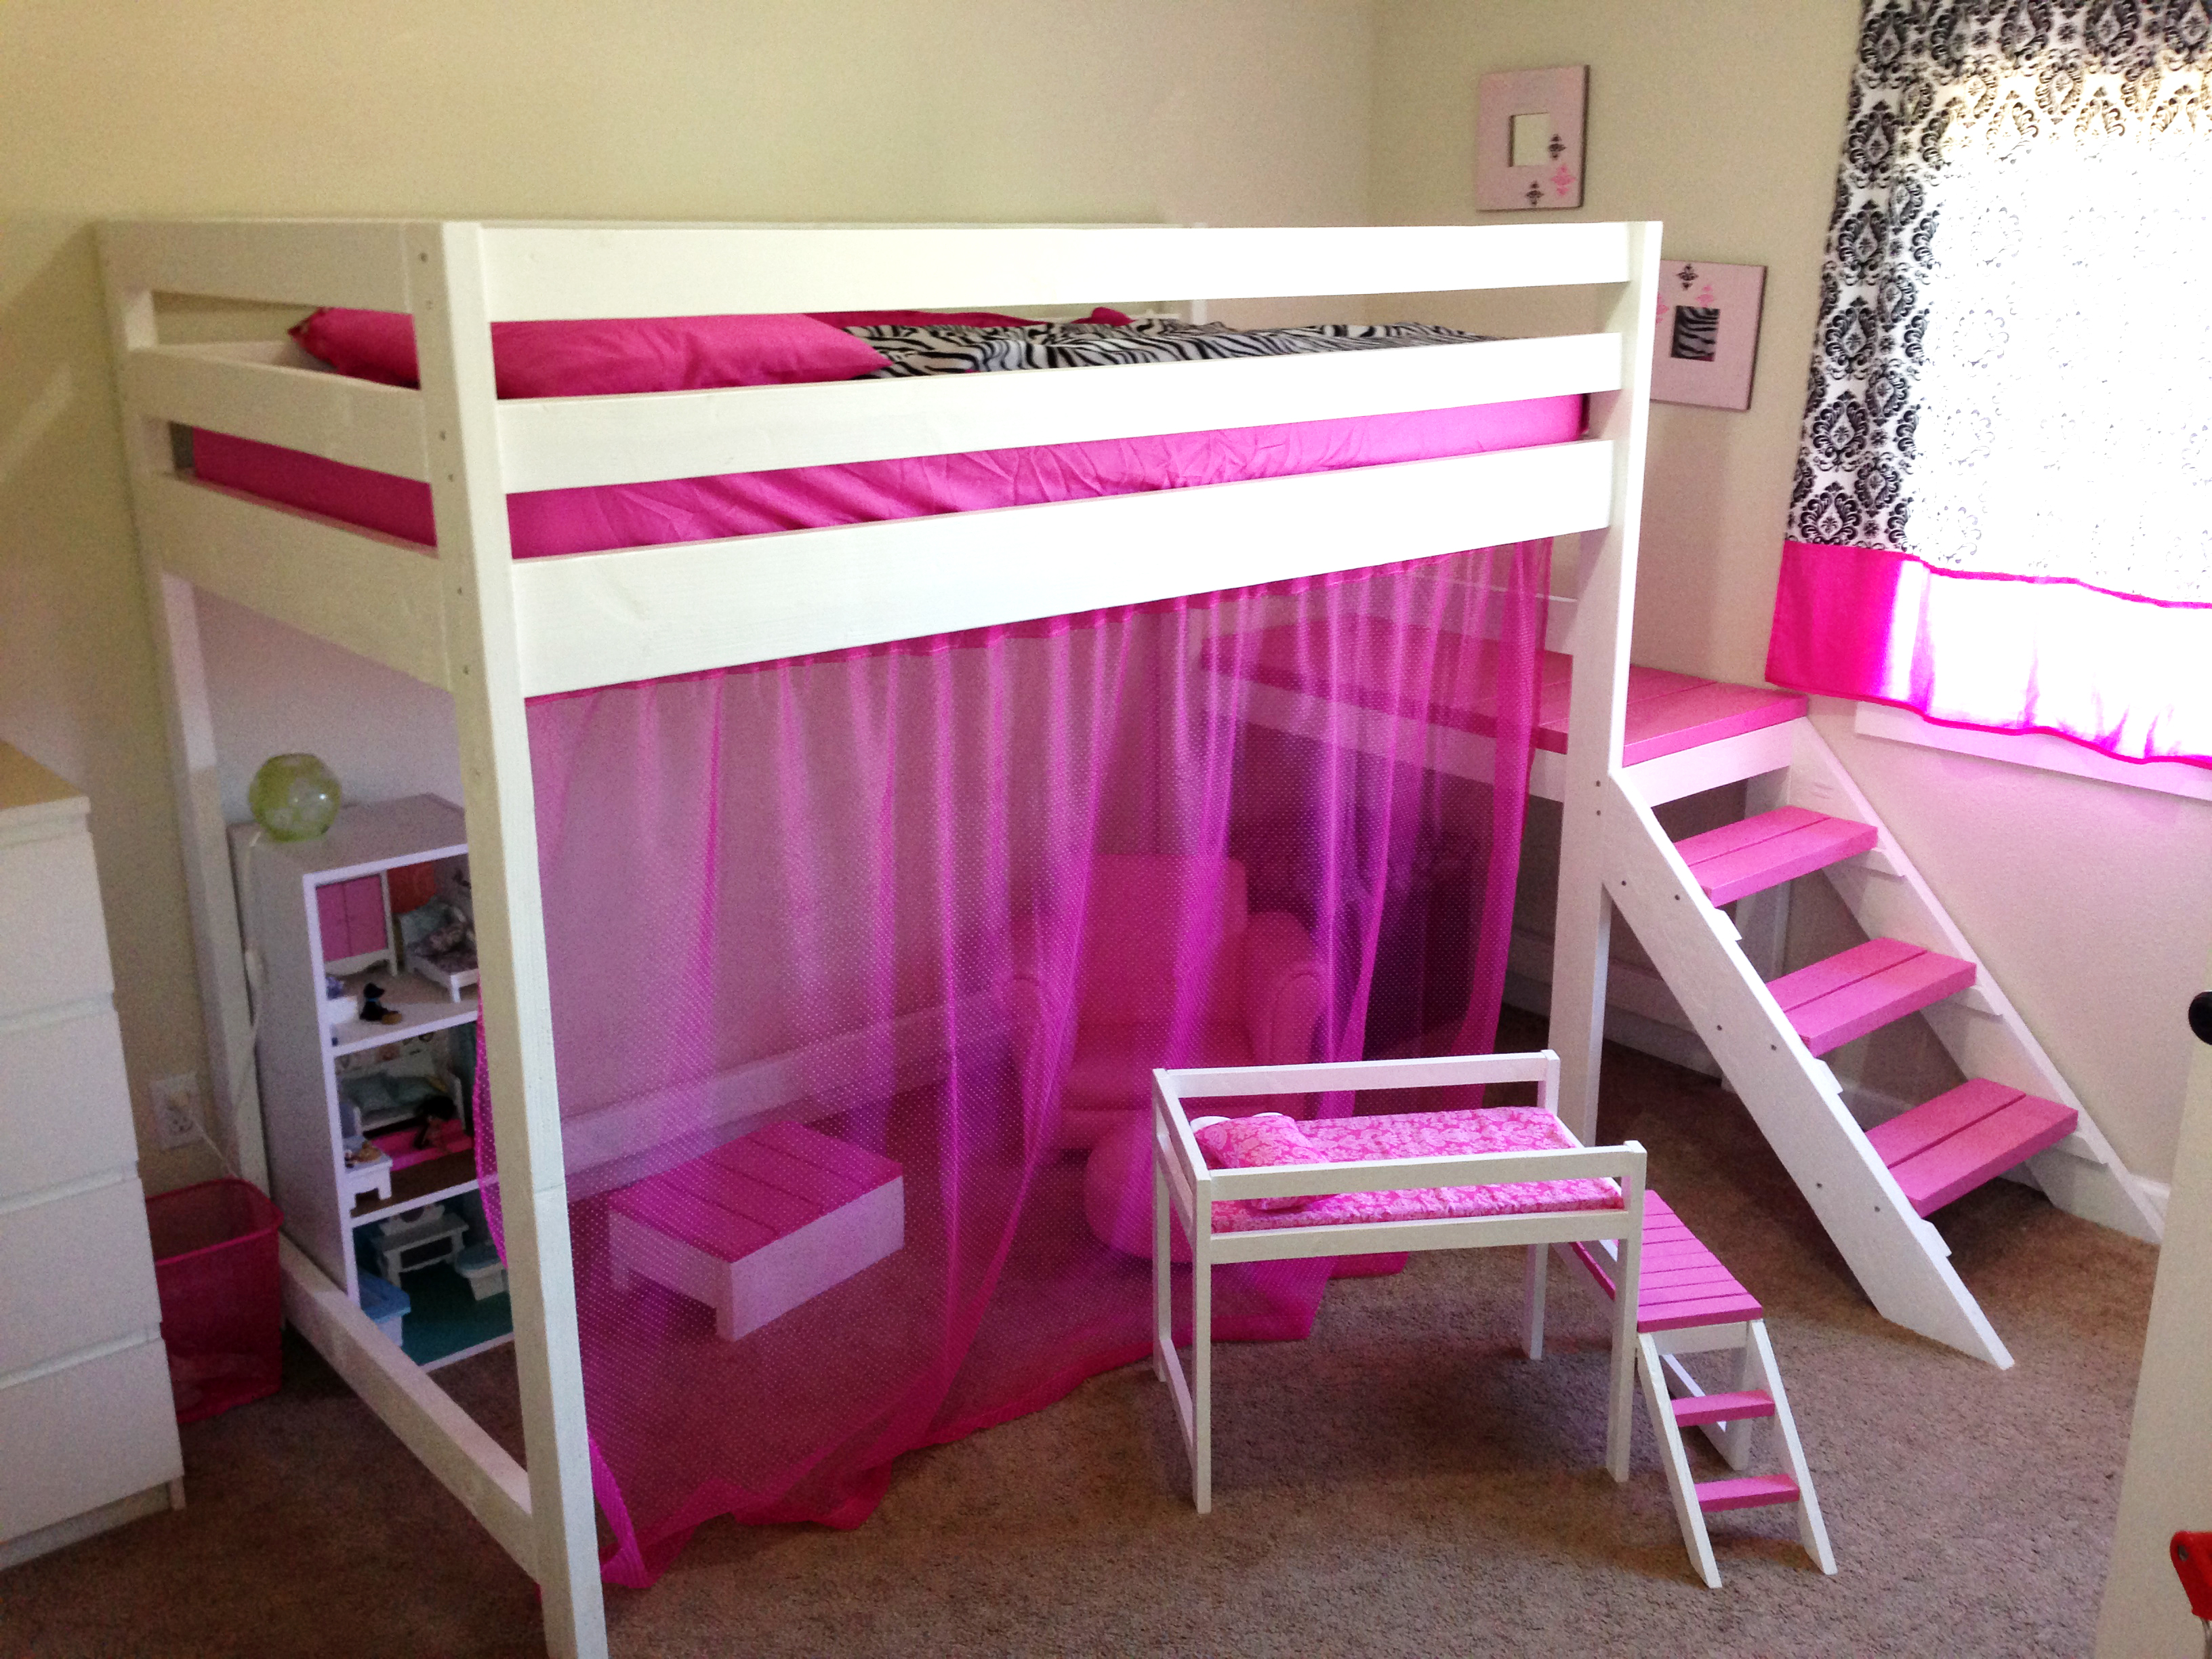
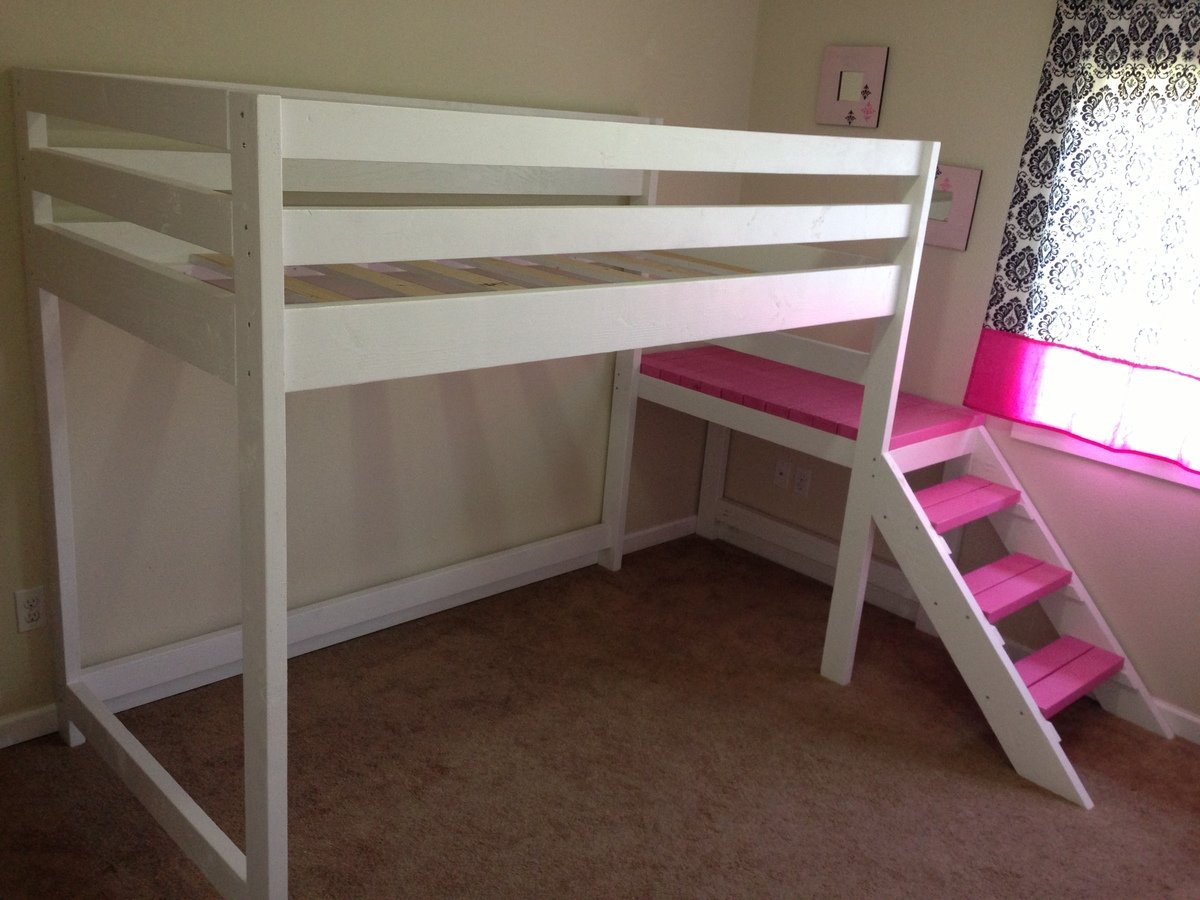
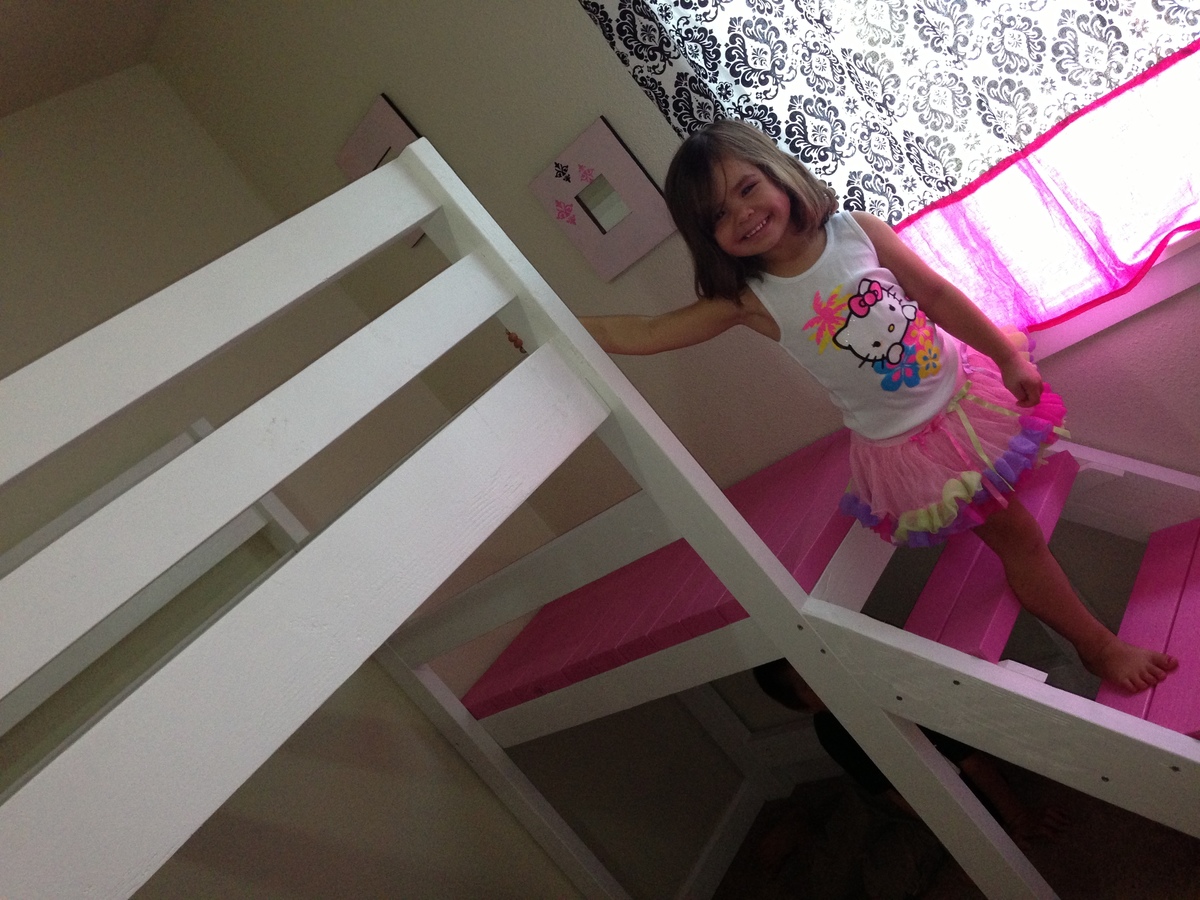
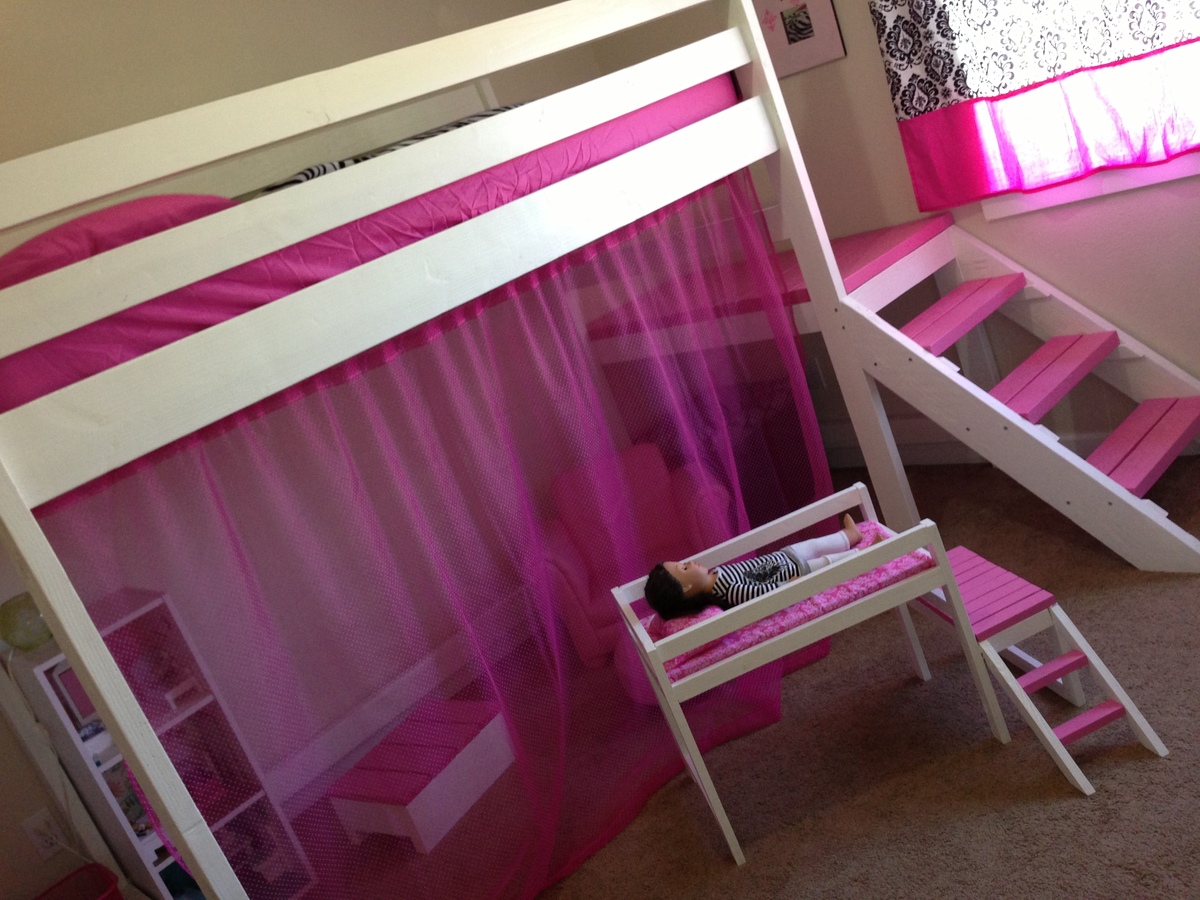
We made this loft bed for my daughter's 4th birthday. I did all of the cuts, sanding, and painting on my own, and had my husband help me with the assembly of the bed. It took us 2 full days to complete this build. The sanding and painting was the most tedious part of the project. I think it cost us about $150 for all of the lumber, paint, screws, etc.
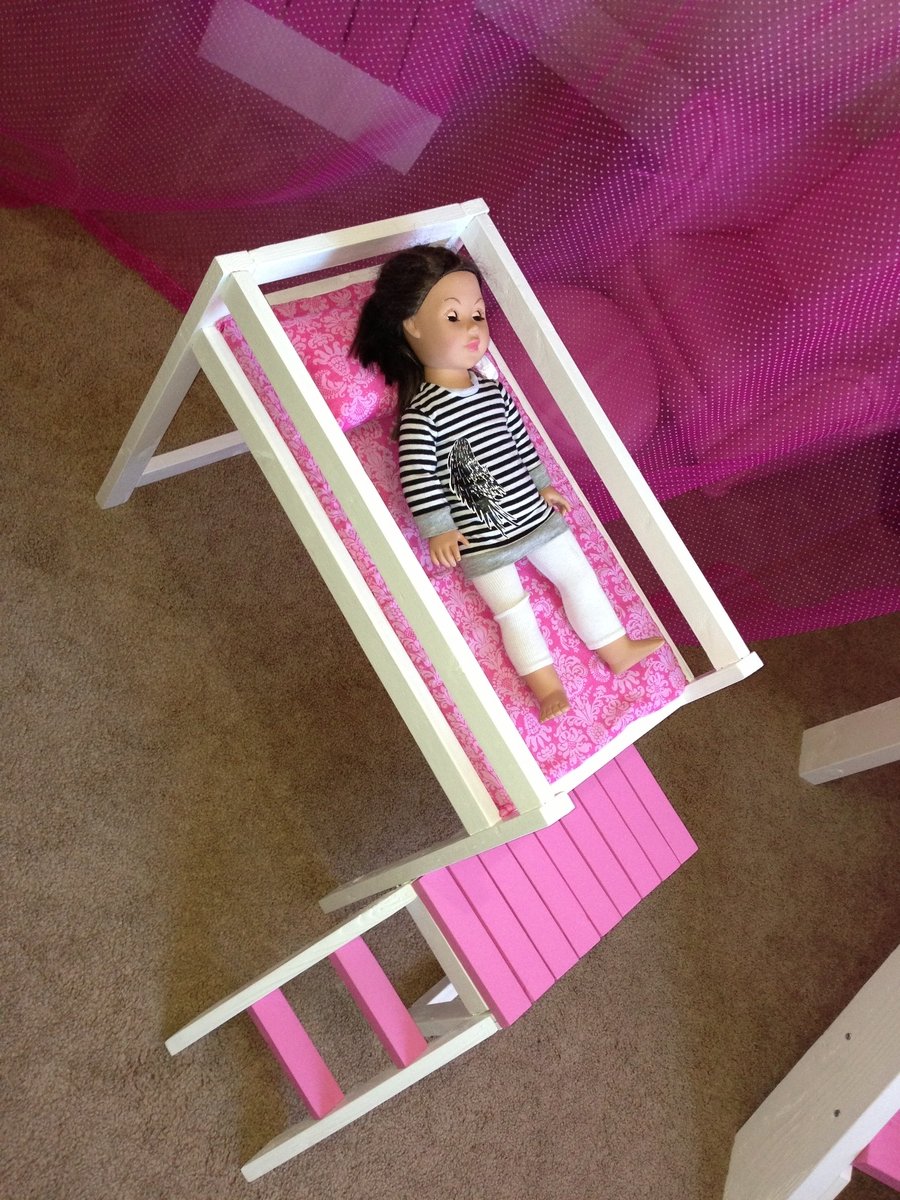
My daughter's really into playing with 18" dolls right now, so I decided to make a mini version of her loft bed for her dolls. I think it turned out really well and she absolutely loves it! The doll sized loft bed only cost about $15 to make (including wood, foam for the mattress and fabric). You can't beat that price for a wooden doll bed...and what little girl wouldn't love a matching bed for her dolls?!?!
I'm so happy with how both beds turned out!
Your plans are so clear and easy to follow. Your video on using the skillsaw to cut a circle was sooo valuable. We easily created the same jig and got really good results. I have followed your YouTube channel and blogs for years and wanted to finally say thank you for all that you share!
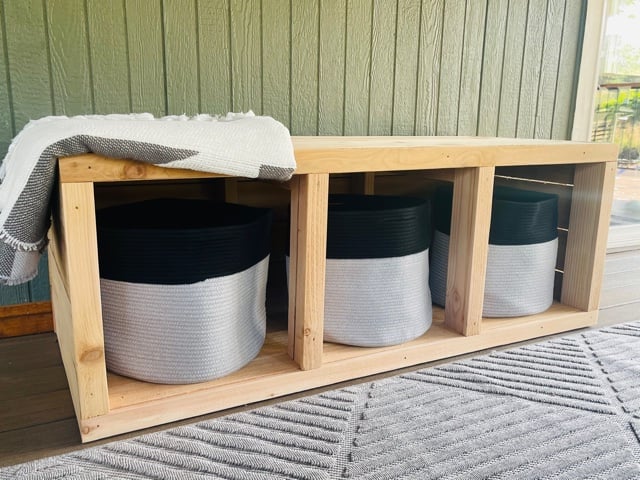
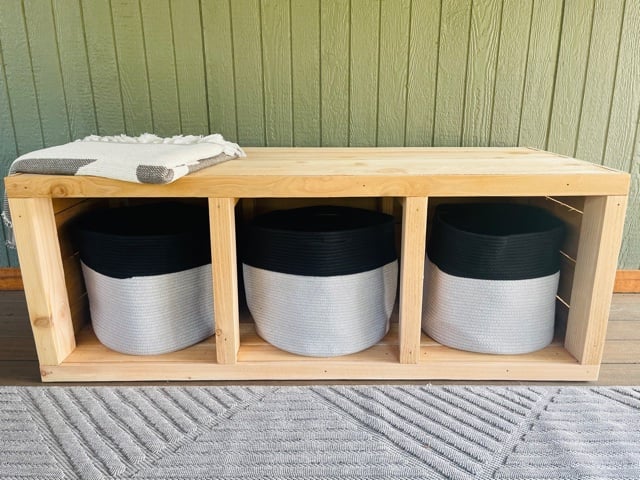
I needed some extra shoe storage just outside our sliding glass door on our deck. I used Ana's easiest 2x4 bench plan with drawers, just left the drawers out and did some extra 2x4 framing. Once the 2x4 frame was built, I wrapped it with cedar fence pickets. This thing is sturdy and pretty much weather proof!


Comments
Ana White Admin
Tue, 08/31/2021 - 12:23
WOW, WOW, WOW!
Gorgeous, those skylights are the ticket! Thank you for sharing!
rick1956
Wed, 09/01/2021 - 05:37
Thanks
Thank you! They definitely added a LOT more work, but we've already used them a lot. The plants are sure glad for them. I'll post pictures of the finished greenhouse when it's finally there.