Community Brag Posts

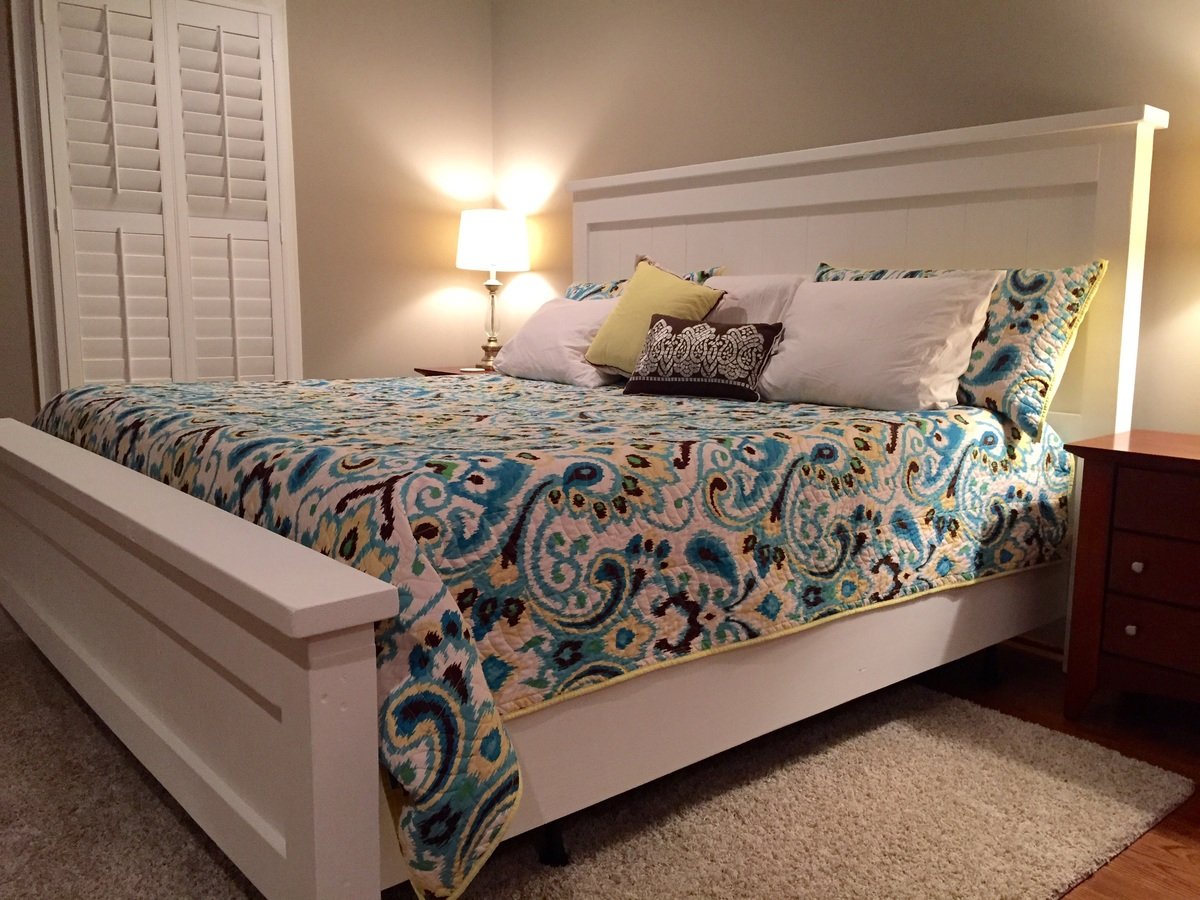
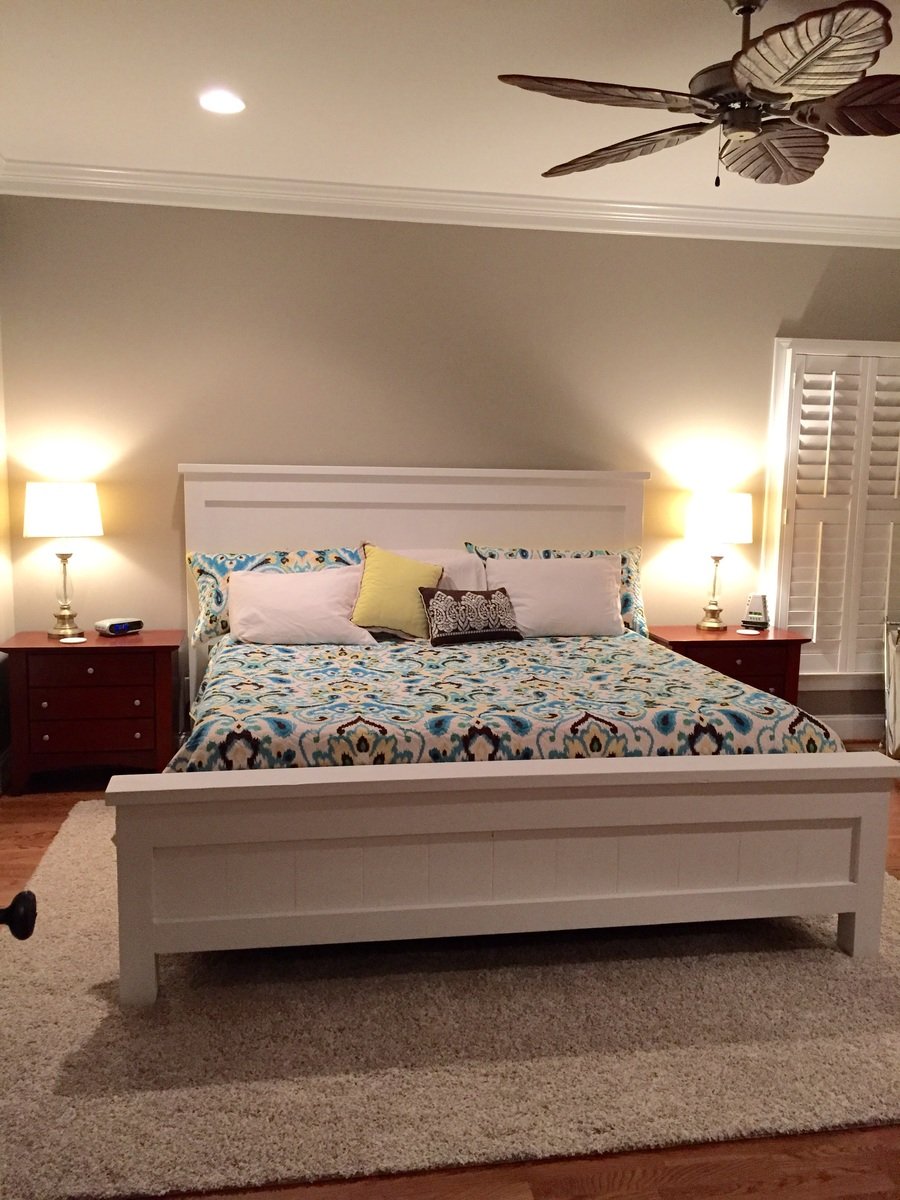
Farmhouse King Bed

Submitted by Tdunlap33 on Tue, 04/07/2015 - 17:48

First project my husband and me attempted- turned out awesome! Very sturdy bed. The metal frame and box springs are not attached, it just sits inside the wood rails, headboard and footboard. We worked on this a few hours at a time on Saturdays and Sundays for one month since we work full time. Definitely more projects to come! 

Estimated Cost
$200
Estimated Time Investment
Weekend Project (10-20 Hours)
Finish Used
Latex primer and latex white from Sherwin Williams
Recommended Skill Level
Starter Project

Comments

My first building project ever. Thanks Ana!

Submitted by amberhibbs on Wed, 03/09/2011 - 19:01

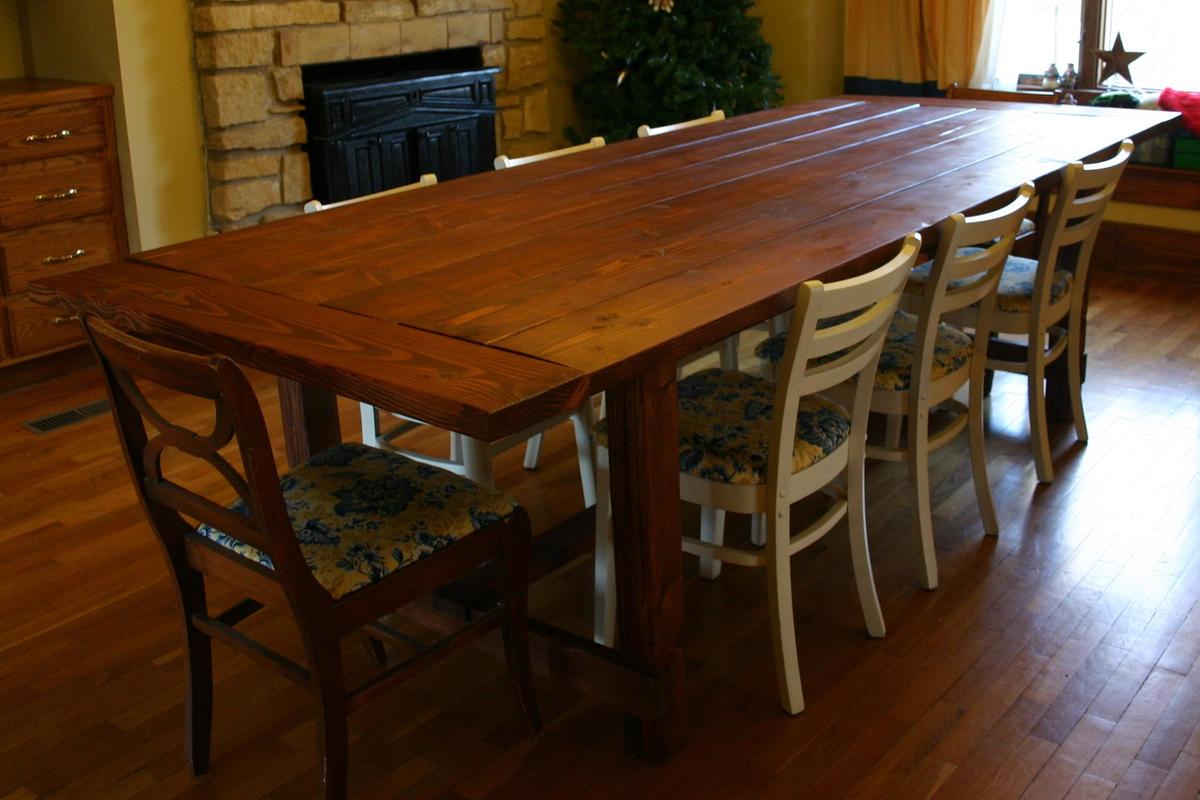
I made this table using Ana's design for the Farmhouse Table and the original from Restoration Hardware. I put the stretcher supports back on the outside and added the extensions.

I also switched out the 2x6 top for 2x8s and attached them all from the bottom; I didn't want to deal with concealing screws on the table surface. The switch meant the boards on the sides are attached only on the innermost 3 inches. I drilled up through the 2x4 aprons and used 3 1/2 inch screws every six inches to make sure they were secure.

It's enormous and seats 12 if needed.

Estimated Cost
$160 using free recycled stain and a ton of screws
Estimated Time Investment
Weekend Project (10-20 Hours)
Finish Used
I sanded it until I was pretty sure the risk of splinters was eliminated, but it was far from perfectly smooth. After pre-stain conditioner, it got a coat of Minwax Red Chestnut. The result was a little too red so my mom saved the day with a coat of Minwax Provincial and sealed it with wax. It's a tough finish and I'm not taking any special care of it. The goal is for it to look like it's really old, not pristine, so I make a point of not using place mats or protecting the surface.
Recommended Skill Level
Beginner

Farmhouse Vanity

This was my first project working start to finish with my husband, and let's just say that I prefer to build without him! This was a lot of trial and error, but I think in the end it turned out really well. We splurged on the plywood top, the sheet alone was $60, but since we used it on this, 3 benches, and our kitchen island, it was well worth the splurge!

We made the vessel sinks from metal bowls snagged at Target for $17 each. We drilled a hole using a hole-saw bit, and popped in an $8 drain kit from Lowe's. The faucets were given to us by my father-in-law, who's the manager of a plumbing company. I sewed a curtain that I stapled on the inside to hide the plumbing beneath the sinks. I love how it all looks now!

Estimated Cost
$60 for vanity, $50 for sinks
Estimated Time Investment
Day Project (6-9 Hours)
Finish Used
Minwax stain in Dark Walnut followed by 3 coats poly
Recommended Skill Level
Starter Project

Barn Pallet Beam Ledge

I always have leftover pallet wood lying around. So I decided to whip of a beam ledge as a gift. I ended up wrapping it before I even got a final photo but it was finished in a dark gel stain. I think the next time I make one I will apply a simple Tung oil finish so all the wonderful character can remain.

Built from Plan(s)
Estimated Cost
FREE!
Estimated Time Investment
An Hour or Two (0-2 Hours)
Finish Used
Moderate Sanding
Recommended Skill Level
Beginner

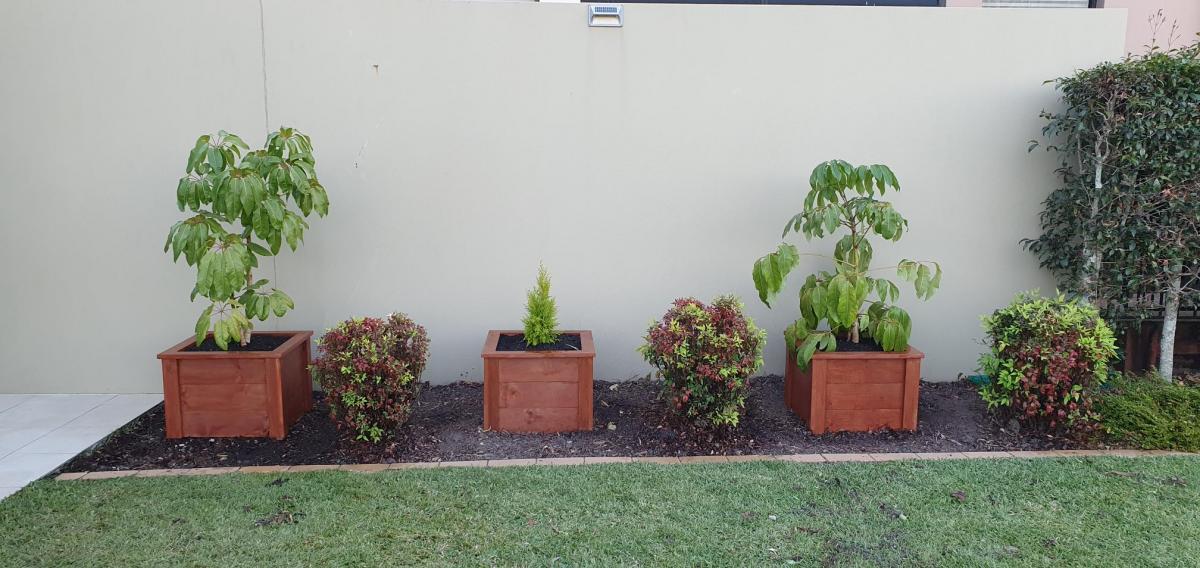
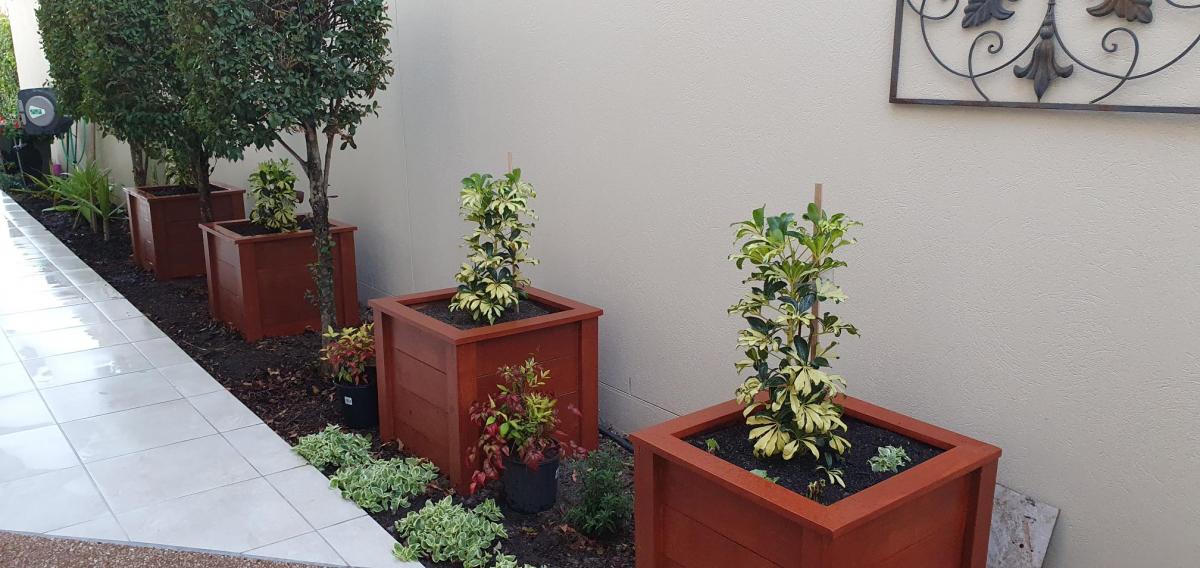
Planter boxes made in Australia

Submitted by Anonymous (not verified) on Wed, 10/06/2021 - 00:41

Greeting from from Queensland, Australia.

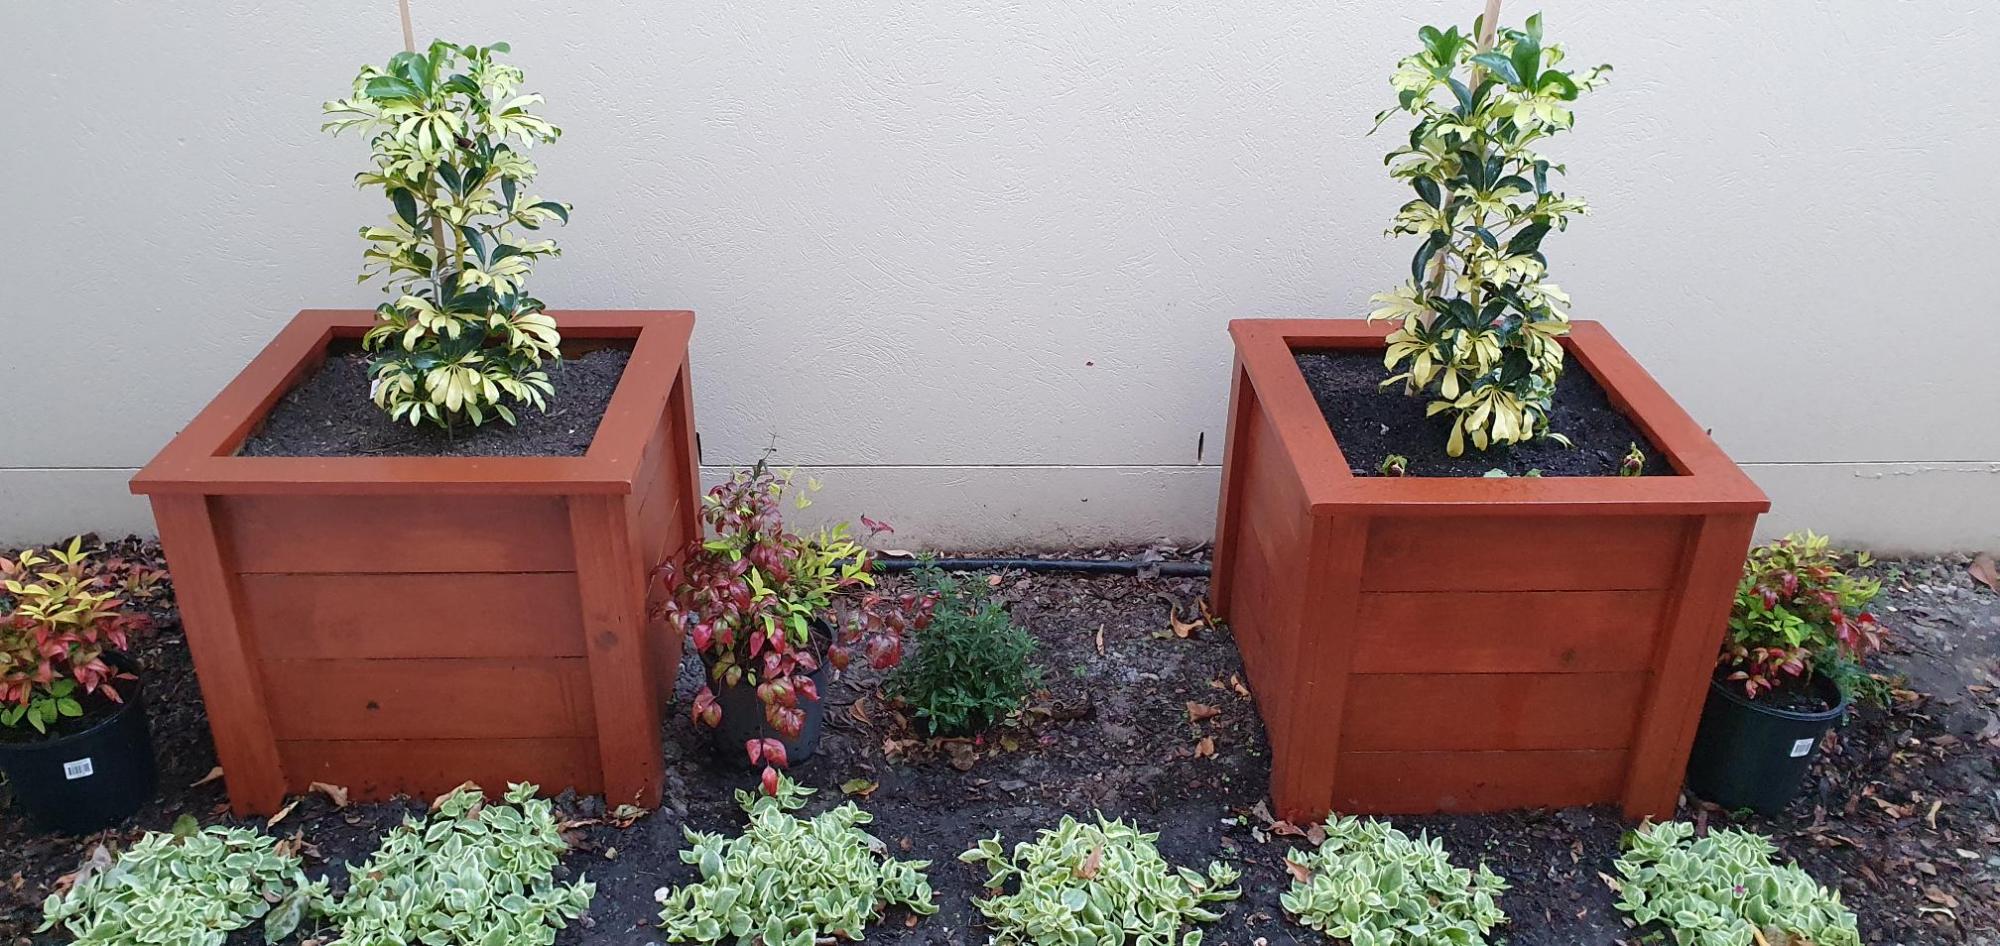
I decided to make a couple of wooden planter boxes for our garden at home, after watching Ana's video on the “Easy Build DIY Planter Box” made from cedar and painted white. I downloaded the plans, and then converted the measurements to metric. I did make a couple of alterations from what was shown in the video. Whilst I do not have a workshop at home, I attend a local "Men's Shed" where there is a large range of woodworking machinery available to use. Firstly, I used rough sawn treated pine 150mm x 25mm boards, which I dressed and cut down to size. The dressed timber looked great once I stained the boxes. Secondly, I have made the boxes without legs, so that they sit directly in the garden, and are filled with potting mix soil.

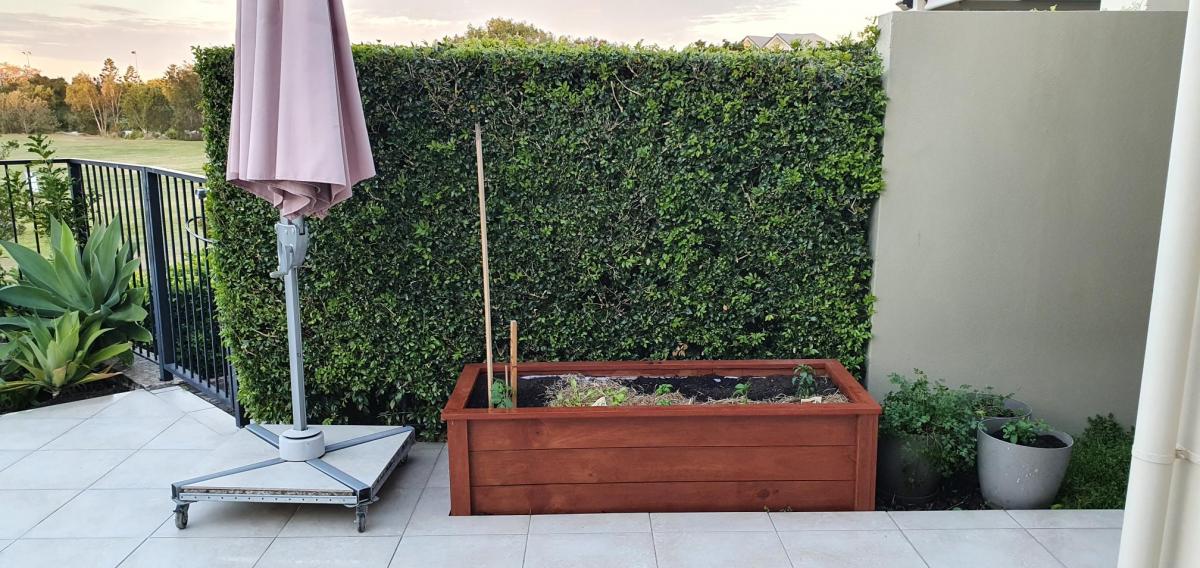
After making the first 2 planter boxes, my wife asked if I could make another couple. After that we decided another 3 planter boxes in a different part of the garden might be nice, so I made these the same. Then I made a longer planter box of the same style for vegetables and herbs.

Thanks so much, Ana, for the great plans and video, as well as the inspiration. Mind you, my planter boxes took a lot longer to build than the time you indicated in your video, but that is fine.

Cheers Noel

Comments

Seasonal And Holiday

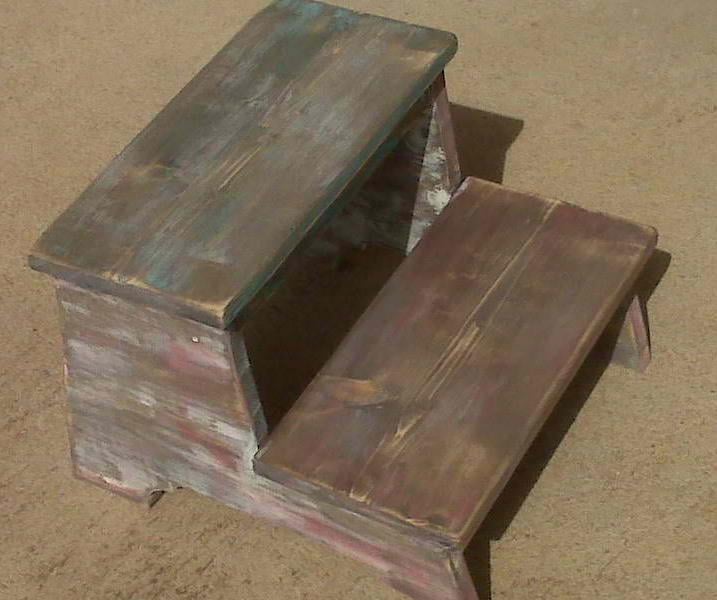
vintage step stool

Submitted by rhonit on Mon, 03/14/2011 - 05:17

This is my first ever build. Now I have cut wood all my adult life, trim wood and straight cuts for husband. As to actually build something all on my own, this is a first. I started small, and have other things in mind to build up too (excuse the pun). I did have my husband drill the holes with his Kreg Gig. It might look like old barn wood but that was a happy mistake. First I used oak stain, then black stain, white paint, red and turqouise paint. And sanded like crazy, again, Happy Mistake!!

Estimated Cost
$20
Estimated Time Investment
An Hour or Two (0-2 Hours)
Finish Used
stain & paint
oak stain, black stain, left over paint: white paint, acrylic paint, barn red & turquoise
sand like crazy and ta-duh, looks like old barn wood. Looks like One Hot Mess, prior to sanding.
Recommended Skill Level
Starter Project

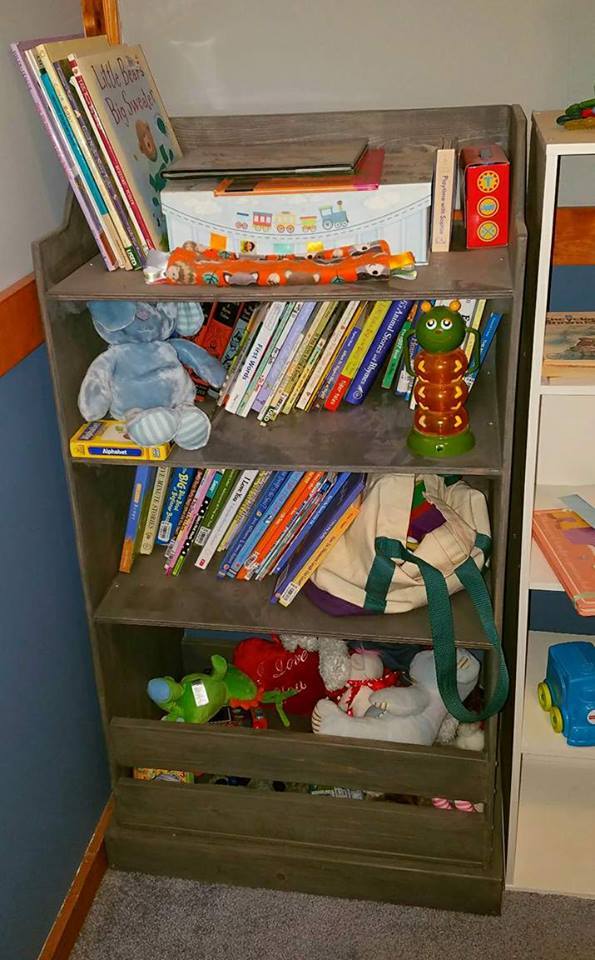
Kids Storage Bookshelf

Submitted by Malka on Wed, 09/13/2017 - 00:29

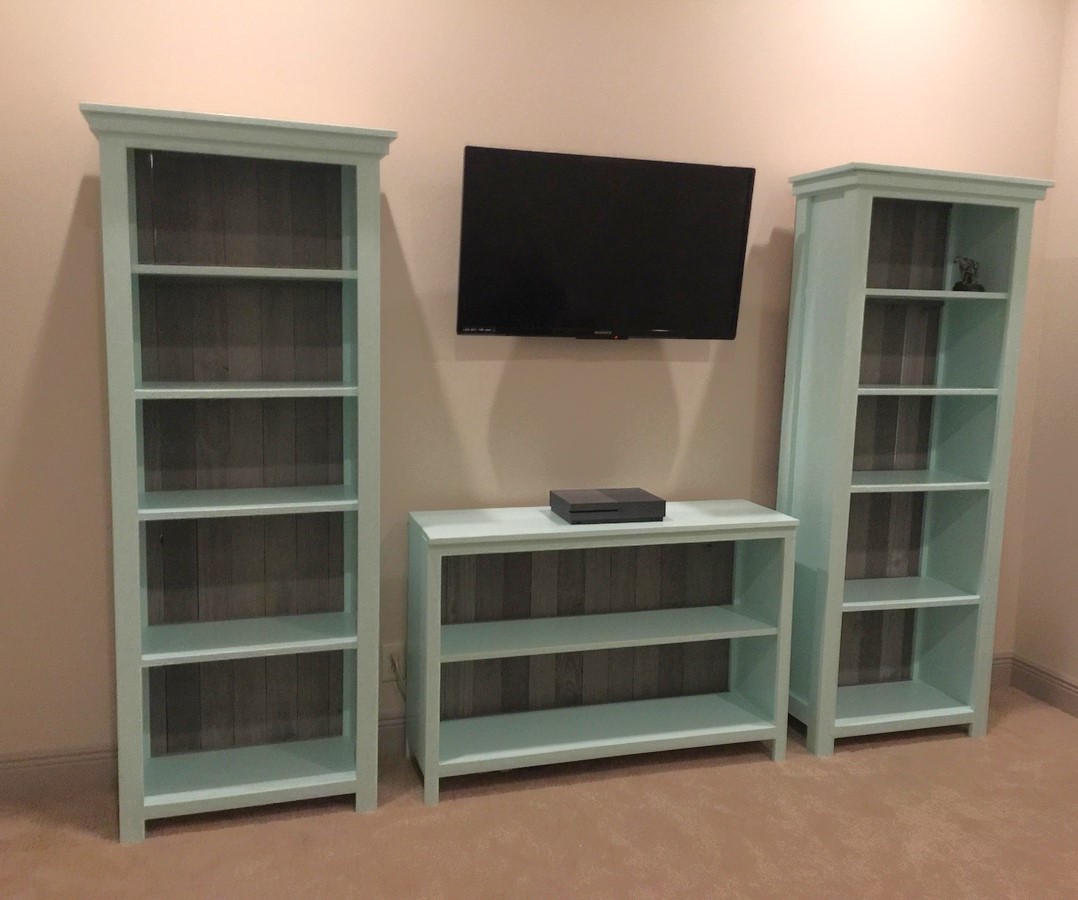
Project was super easy to build, and fits a TON of books and toys. Perfect for our nursery. Stained in Minwax Classic Grey with a satin poly finish.

Built from Plan(s)
Estimated Cost
$100 +/-
Estimated Time Investment
Weekend Project (10-20 Hours)
Finish Used
Minwax Satin Polyurethane
Recommended Skill Level
Beginner

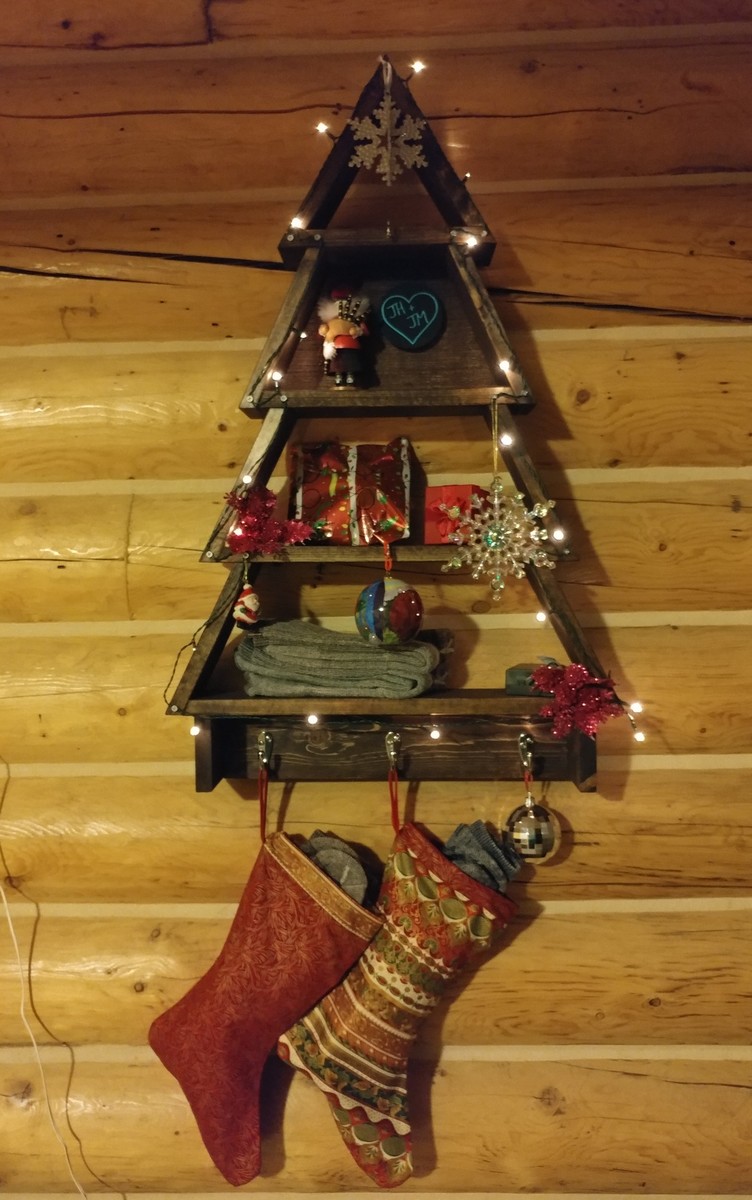
Tree Wall Shelf with lights

Quick, easy and inexpensive build... I opted not to do the rounded corners at the base of the tree as I was in a hurry.

Built from Plan(s)
Estimated Cost
$25
Estimated Time Investment
An Hour or Two (0-2 Hours)
Finish Used
Minwax espresso
Recommended Skill Level
Beginner

Hall Tree and House Number Plantr

Submitted by tpsully225 on Sun, 12/26/2021 - 17:52

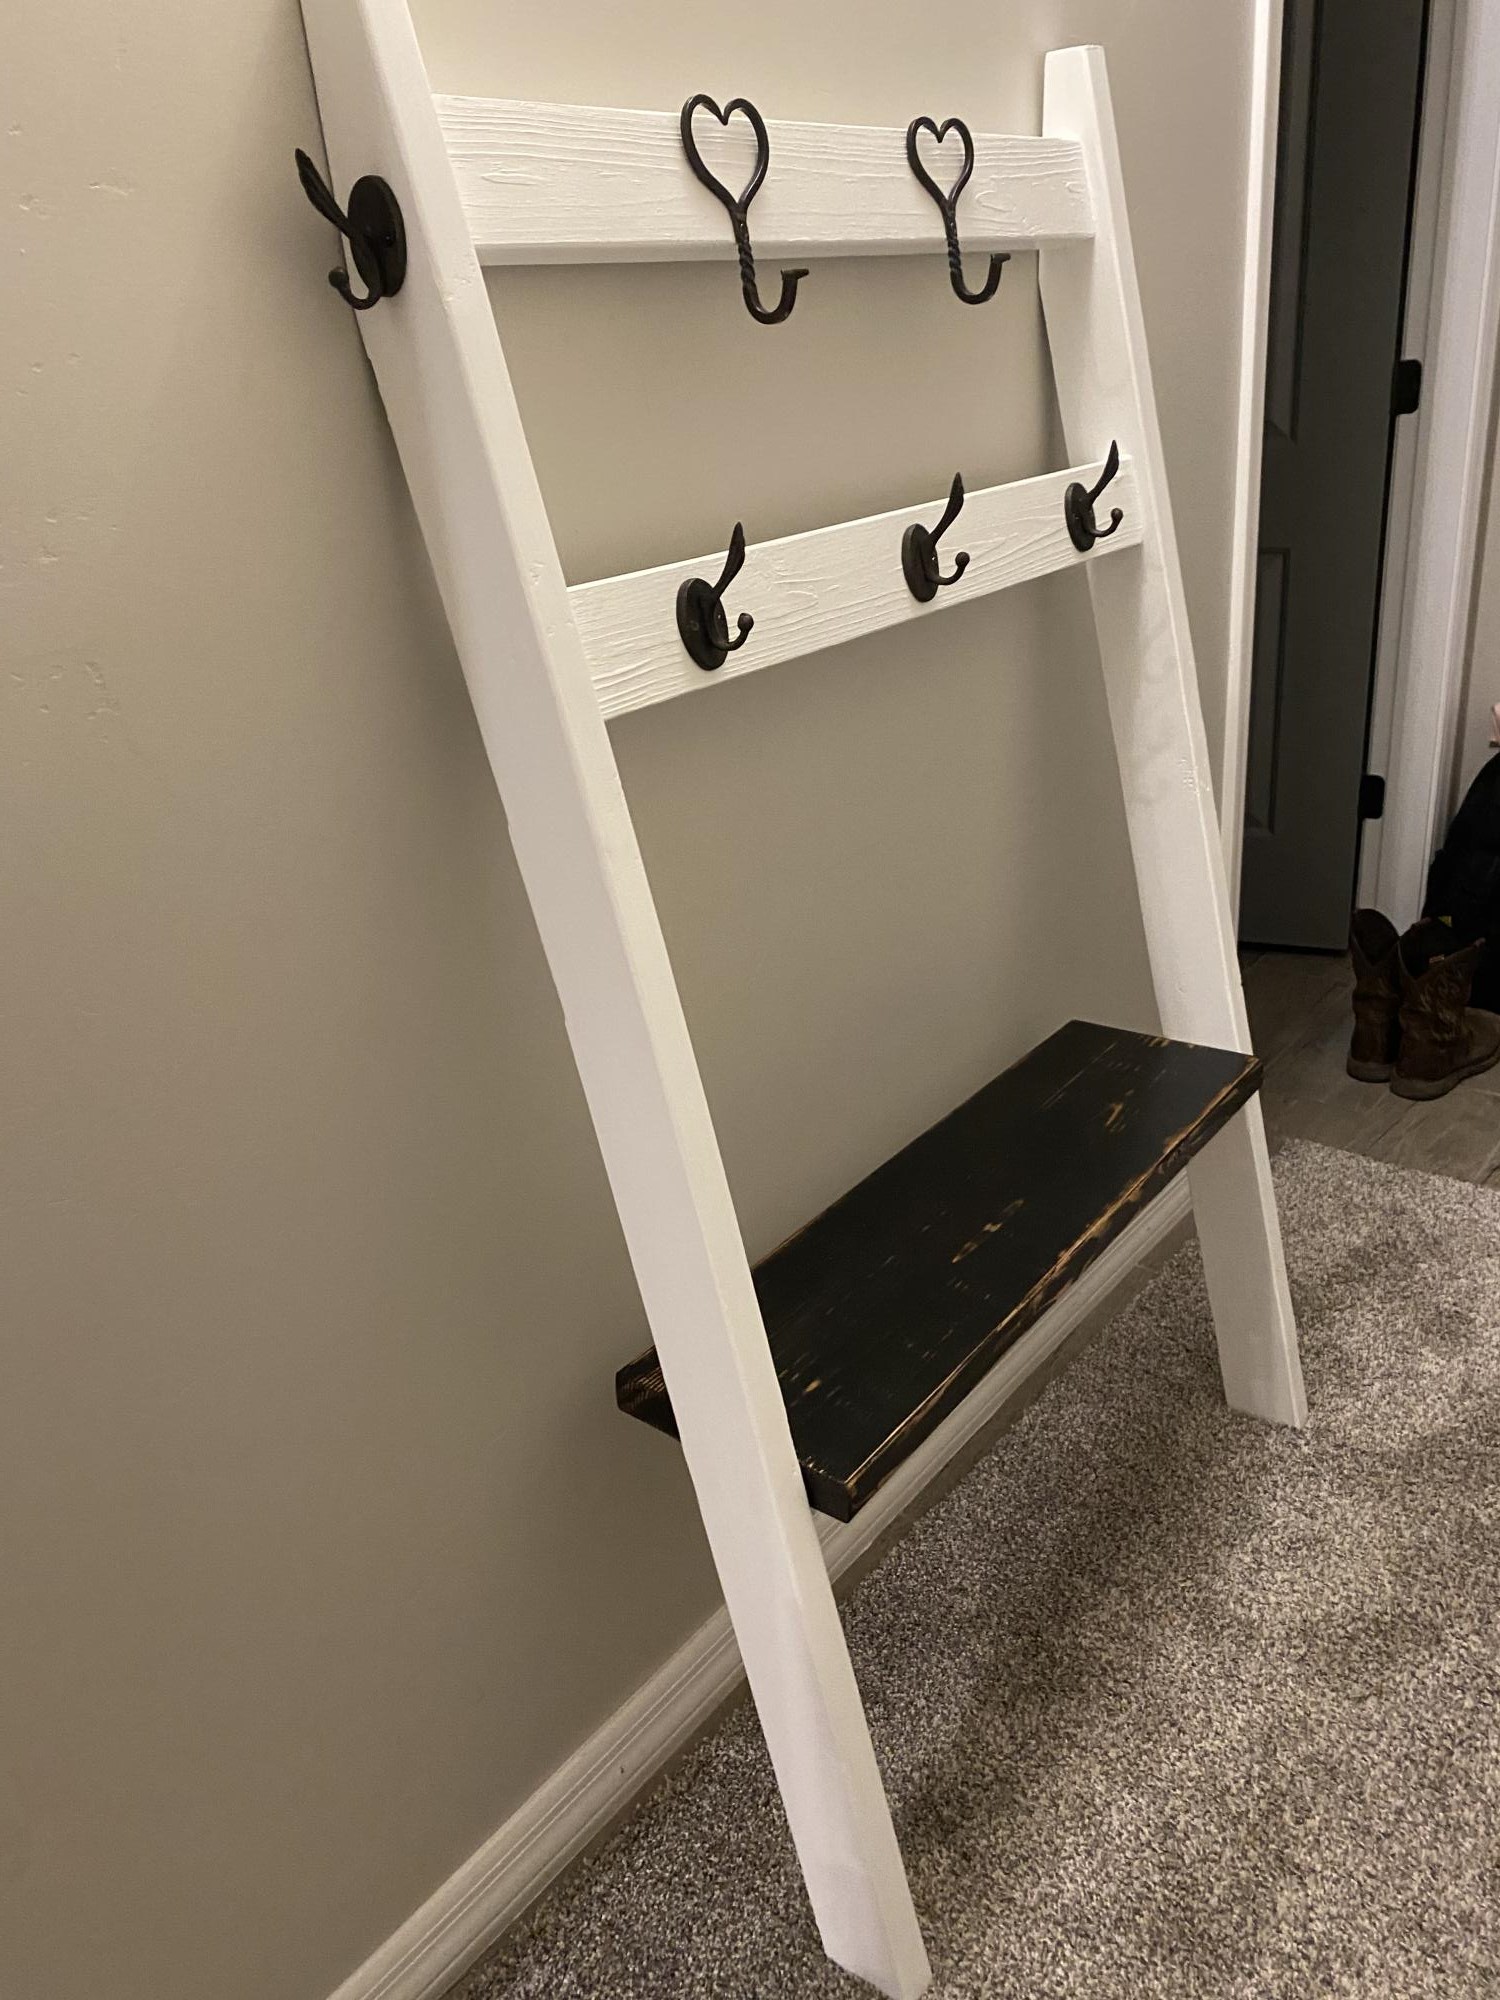
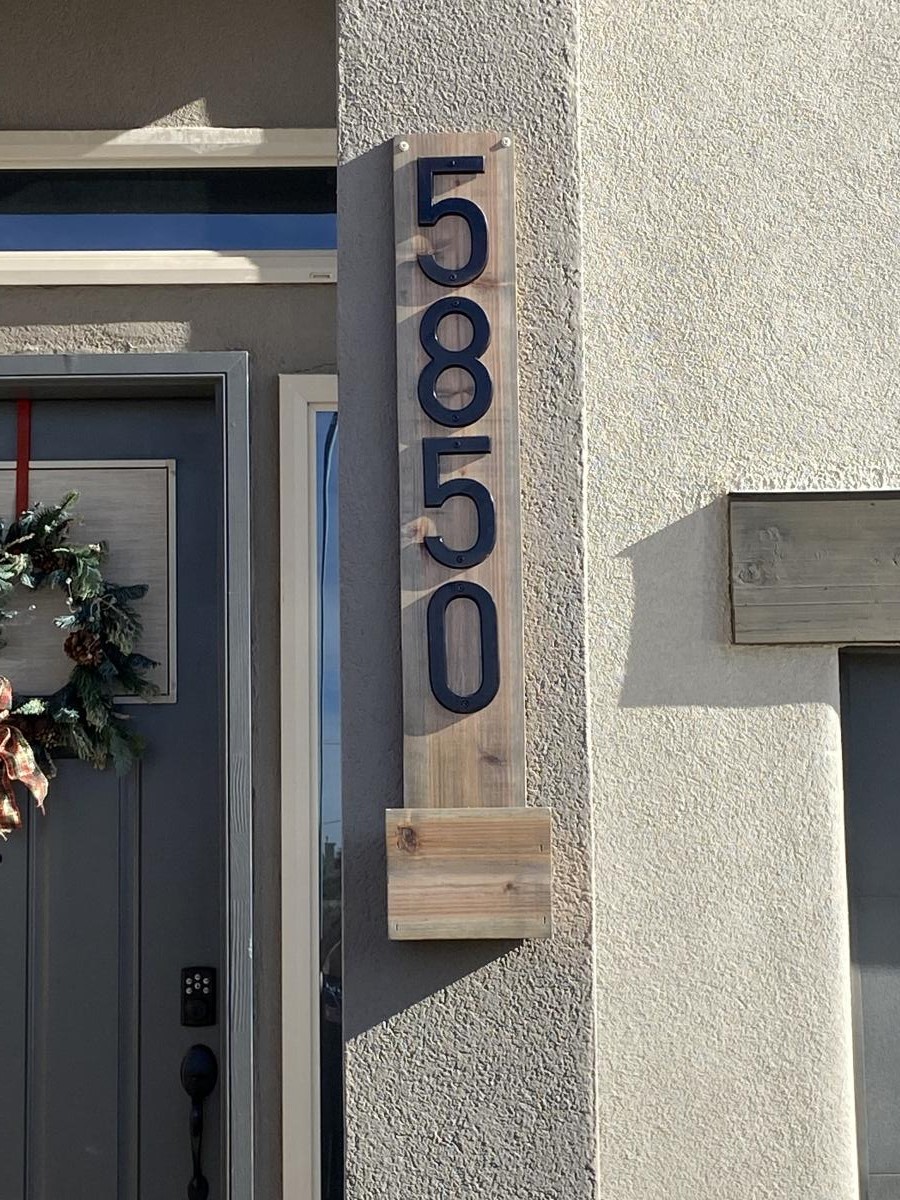
Hi Ana, I recently made two of your posts. First, the 2”x4” hall tree and then the house number planter. We found some unique hooks at Hobby Lobby for the hall tree. This is great to keep the kids’ backpacks off of the floor. On the house number planter I stained it with Antique Beige, but is more gray than beige. I then put 3 coats of spar urethane on it to protect from the TX sun.

Comments

Outdoor Bench

Submitted by mcnessa on Thu, 06/18/2015 - 09:11

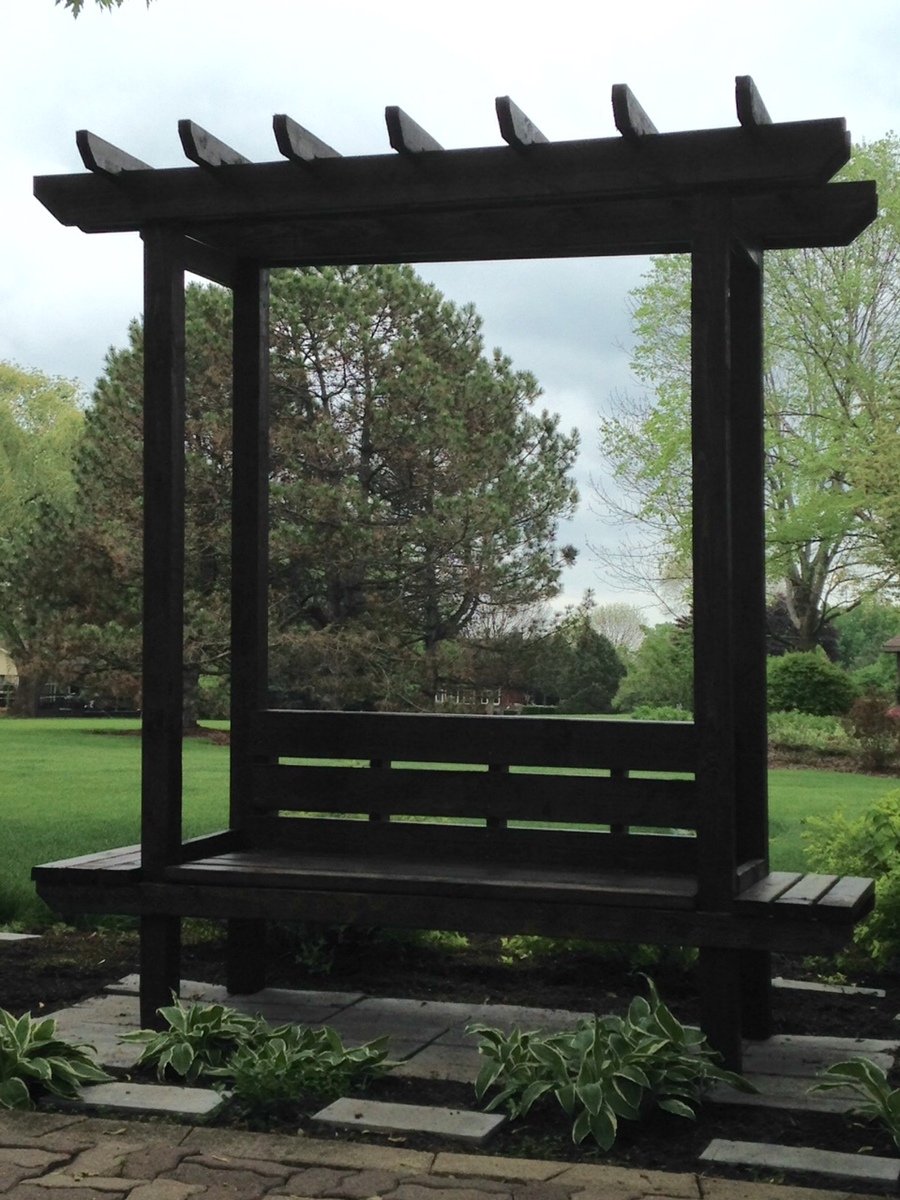
This plan was pretty easy to follow. Apart from having to make some minor adjustments to the notches for the rafters across the top, and needing a couple more seat support boards than the cut list called for, everything went as planned.

I used green treated lumber and stained it with Minwax Walnut. I also sealed the entire piece with Spar Urethane.

I didn't use lattice work on the sides, but went with some horizontal lattice work on the back (a mix of stained and unstained 2x1 and 3x1 boards). I may install a couple of 2x4 for arm rests on each side.

The morning glory vine I planted behind the bench has almost reached the top of the lattice work. All in all, I'm very pleased with how this project turned out.

Thanks Ana!

Built from Plan(s)
Estimated Time Investment
Weekend Project (10-20 Hours)
Finish Used
Minwax Walnut
Spar Urethane
Recommended Skill Level
Intermediate

Comments

Our new pantry

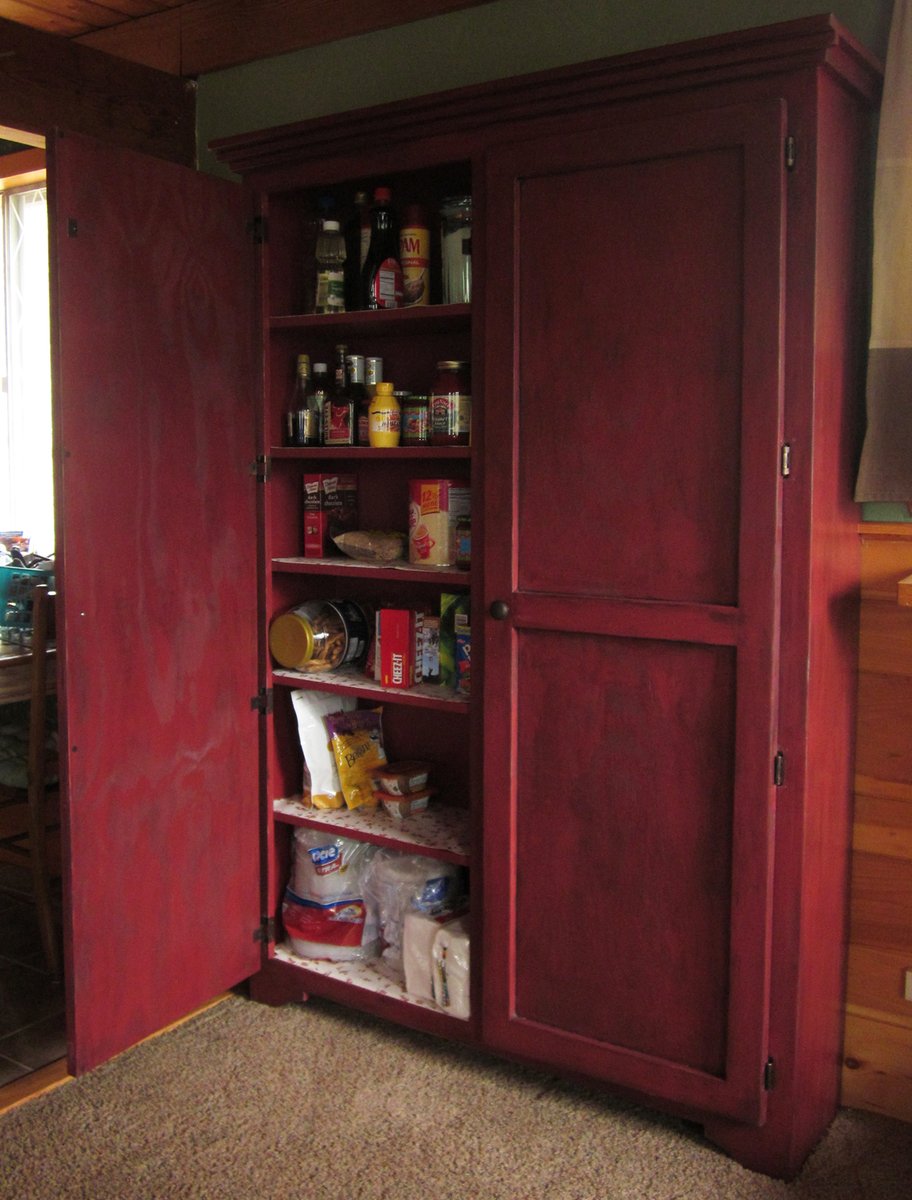
We bought a vacation home that has such a small kitchen. I knew we needed more storage. So I checked out Ana's plans and made this bad boy based on the Simplest Armoire plans.

The home is in the mountain/lakes area of northern New Hampshire, so I wanted to bring the outside colors in. I used Valspar Cabin Red paint and the Valspar Antiquing glaze over the top after distressing it a bit.

Built from Plan(s)
Estimated Cost
$200 +
Estimated Time Investment
Weekend Project (10-20 Hours)
Finish Used
Valspar Cabin Red paint
Valspar Antiquing glaze
Recommended Skill Level
Beginner

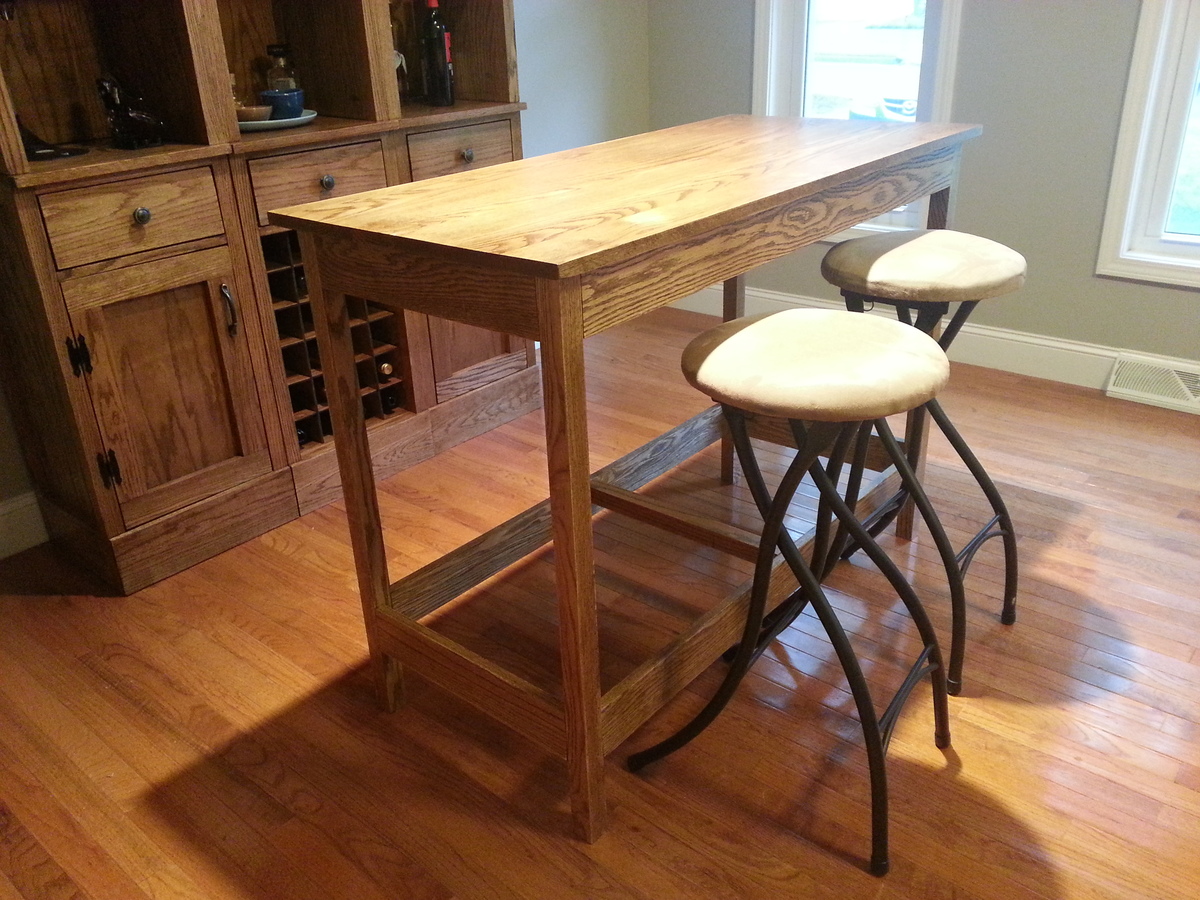
Island for our Modular Bar

Submitted by SaraLodise on Mon, 07/08/2013 - 05:37

Second Project! Although the storage capacity of the Modular Bar is awesome, we needed a good workspace for pouring the drinks :)
I modified the "Simple Kitchen Island" plan a little:
1) Instead of using a 2'x4' project panel for the tabletop, I used the jig to put together two 1x12s, this made it a little bit narrower, but since I was staining I prefered the look of the edges of solid oak.
2) I didn't need the storage of the bottom shelf (and the dogs would get in anything I put there), however I knew people may put their feet on the bottom rails so I beefed them up to 1x4s instead of 1x2s and added a middle beam to stabilize them some.
3) I increased the total height some so we can pull the island up to our current 36" high dining room table to accomodated two extra people.

Built from Plan(s)
Estimated Cost
Oak Boards: $130 Finish: $15 (was able to use some scrap from Mod Bar)
Estimated Time Investment
Weekend Project (10-20 Hours)
Finish Used
Miniwax Gel Stain in Aged Oak (1 coat) + 3 coats of Miniwax Polycrylic
Recommended Skill Level
Beginner

Comments

Jenna Boone

Tue, 11/12/2013 - 16:41

It looks like it came out really nice. I have been looking for a bar plan and I think this is what I needed to see. You did a great job.

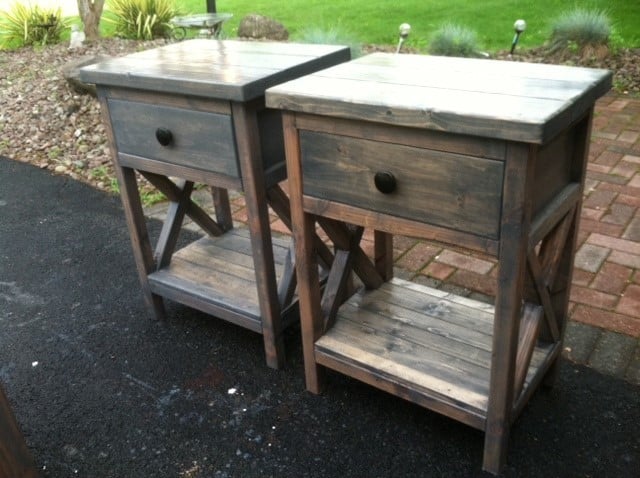
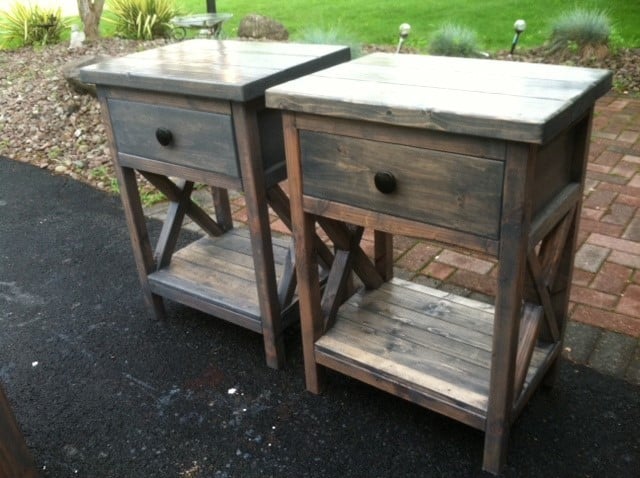
X Frame nightstand

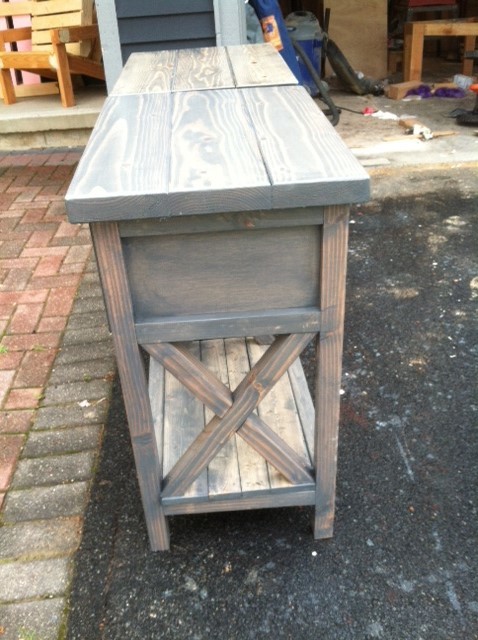
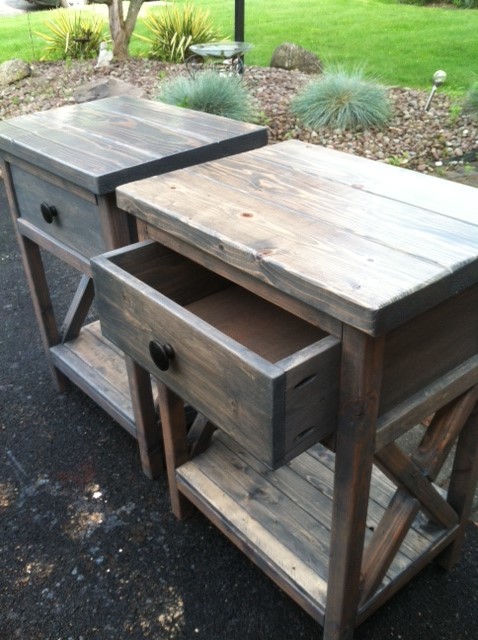
Used the simple nightstand from this site, and modified to add in the "X" on the sides. Finished in a Classic gray minwax to give reclaimed wood look.

Built from Plan(s)
Estimated Cost
50
Estimated Time Investment
Day Project (6-9 Hours)
Finish Used
Classic Grey minwax, rustoleum poly
Recommended Skill Level
Beginner

Comments

Barbara Thomas

Thu, 07/11/2013 - 19:32

Can you please post how you did this. I'm going to make my first project this weekend and I would like it to be this. I know it's based off the simple nightstand but can you give the details on the alters especially how to make the x? Thank you

thefarmerswife

Sat, 02/04/2017 - 13:39

Did she ever post her plans? If so, I can't find them! I prefer this design to Ana White's original, but I don't trust myself enough to try and wing it and make it look like hers. Did you end up making something similar?

thewoodbuilder

Fri, 07/12/2013 - 08:39

Thanks guy's! :0) The only modification from the original nightstand was adding the x. I do my x's different from the the other rustic x way. I will take some pics of how I do it today.

thewoodbuilder

Fri, 07/12/2013 - 08:39

Thanks guy's! :0) The only modification from the original nightstand was adding the x. I do my x's different from the the other rustic x way. I will take some pics of how I do it today.

ShannonEmily93

Sun, 07/24/2016 - 12:38

I am very interested in building these nightstandss, could you post the plans, or where would I be able to locate the plans? Thank you!

Oohlaladesigns

Tue, 08/23/2016 - 05:30

Your nightstands are beautiful and I am working on creating my own! Did you keep with the original plans and use the 1x2 and 1x3's for the legs? Yours look thinner. Did you use 1x2's for the X sides?

sandbox with benches

Submitted by nananana on Fri, 07/10/2015 - 13:18

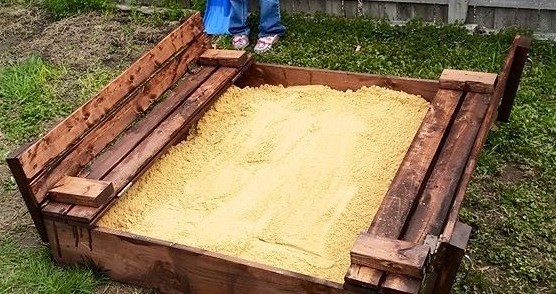
This sandbox has been around for some time BUT it is still a great project to build The plans were simple to follow and would be an excellent project for beginners. We built this for our grandson and future grandbaby. Was easy to complete in one day, including painting

Built from Plan(s)
Estimated Cost
Estimated cost was $75.00 including the wood, hinges and paint.
Estimated Time Investment
Day Project (6-9 Hours)
Finish Used
We used a flat exterior paint. paint color was Cool Bamboo. We put on two coats to preserve the wood.
Recommended Skill Level
Beginner

Comments

Seasonal And Holiday

My Boys Playhouse!

Submitted by Anonymous (not verified) on Fri, 01/28/2022 - 03:18

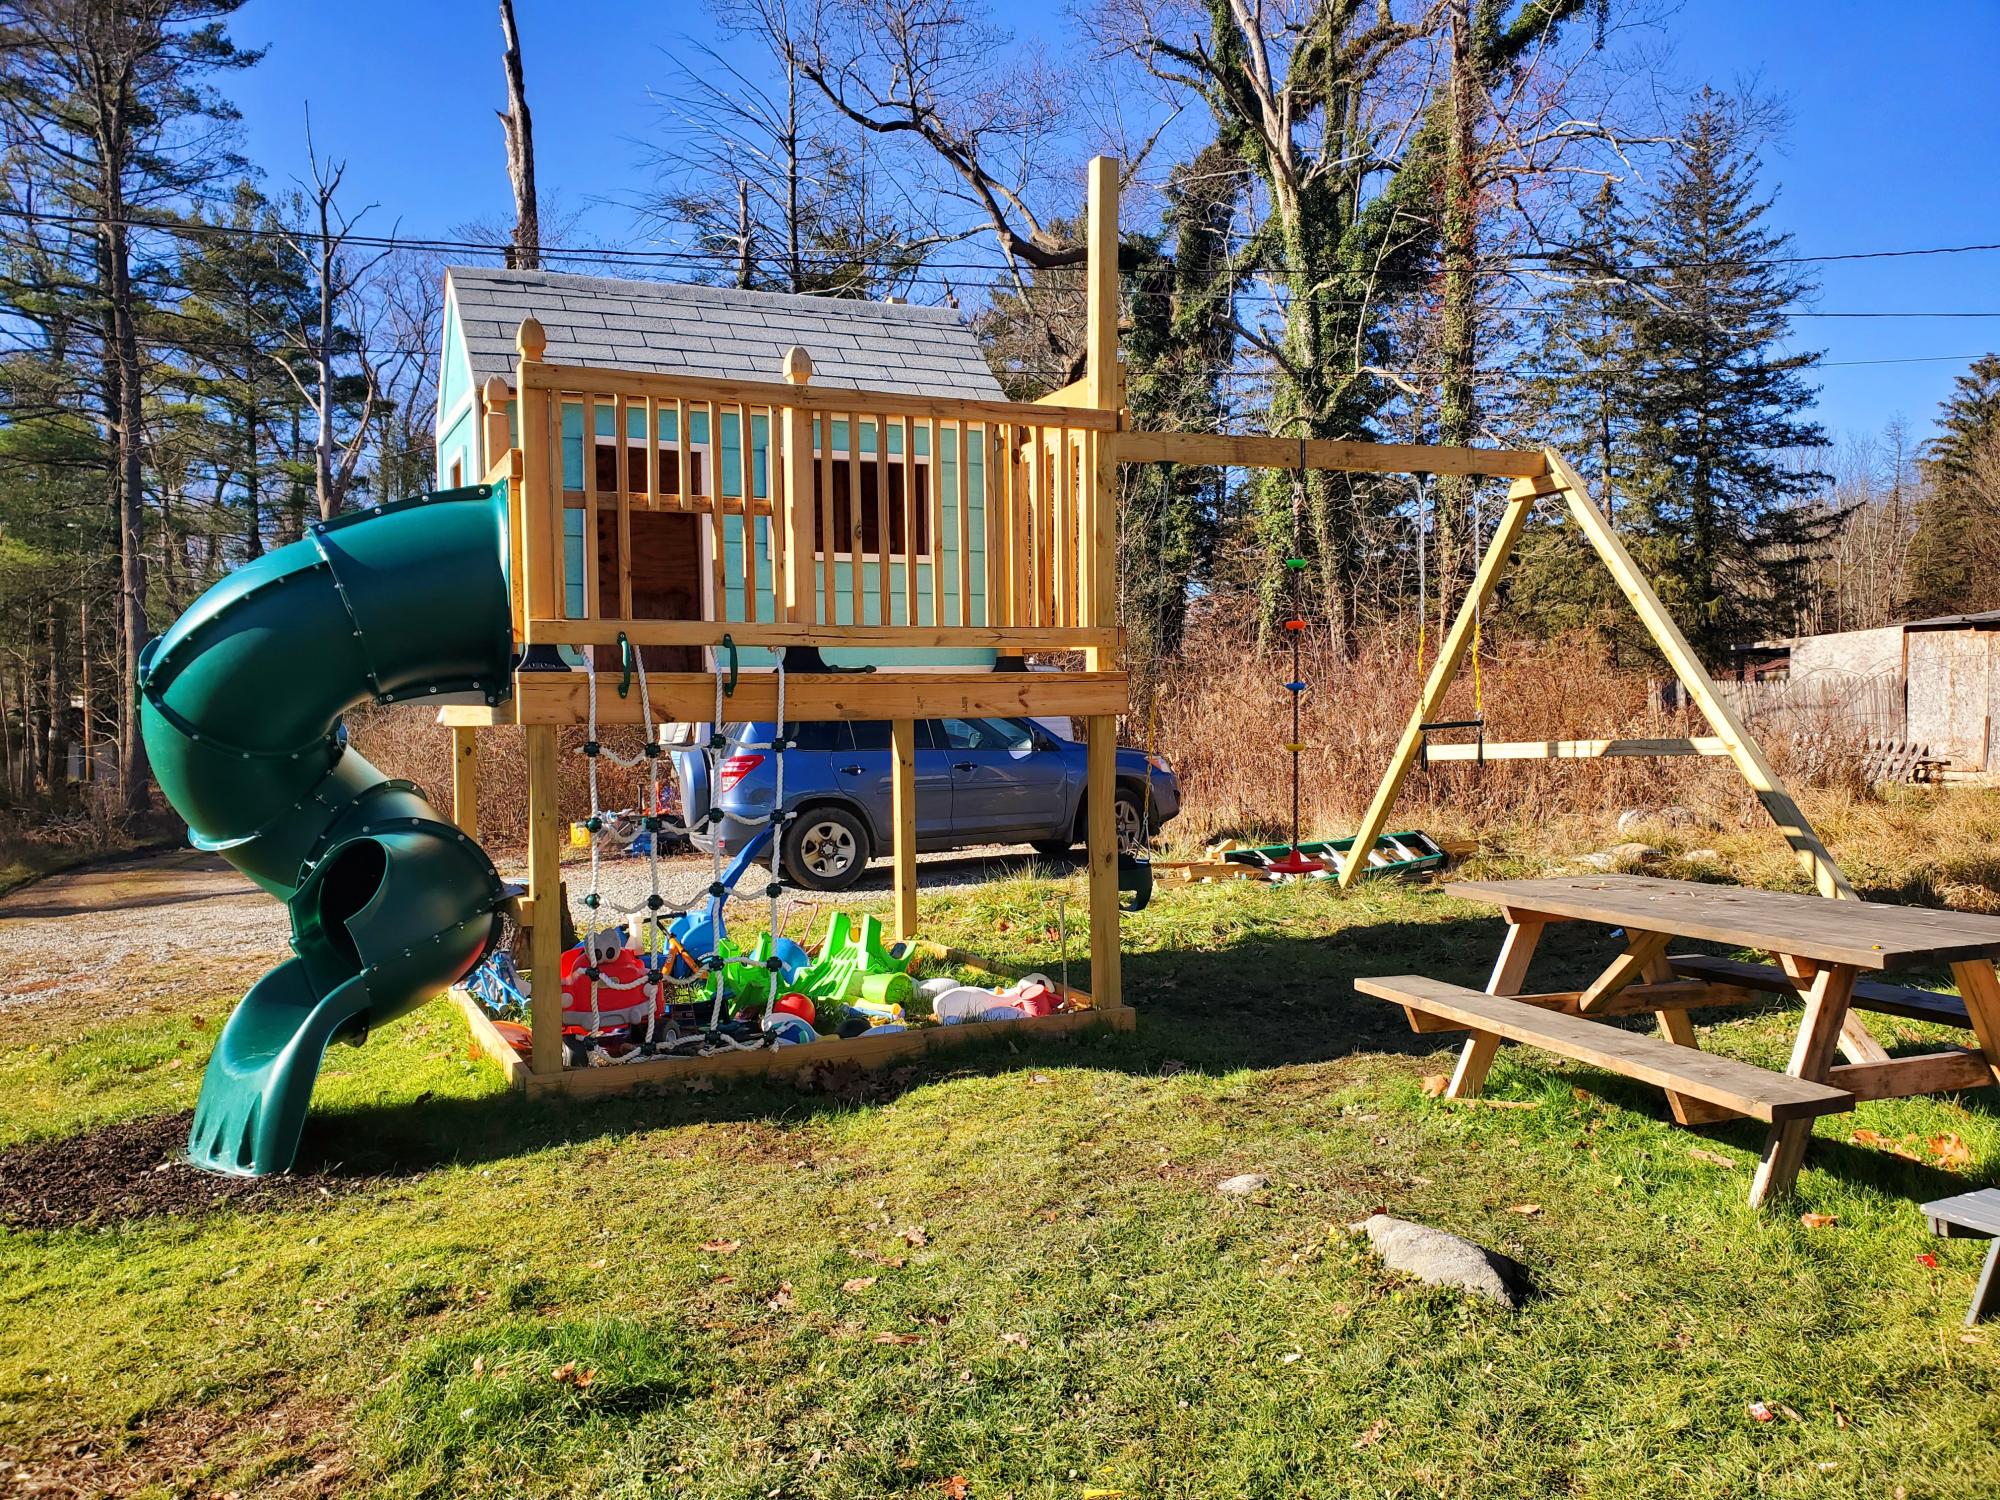
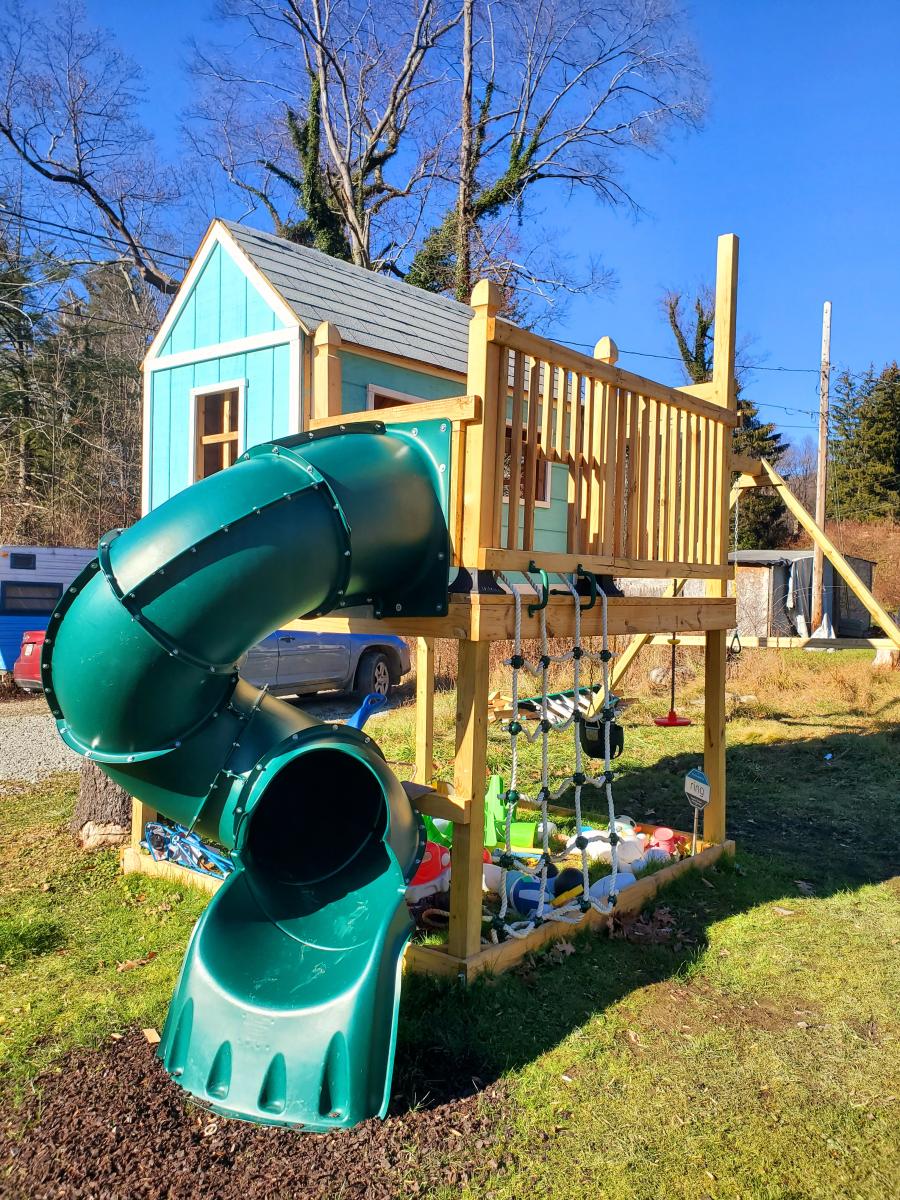
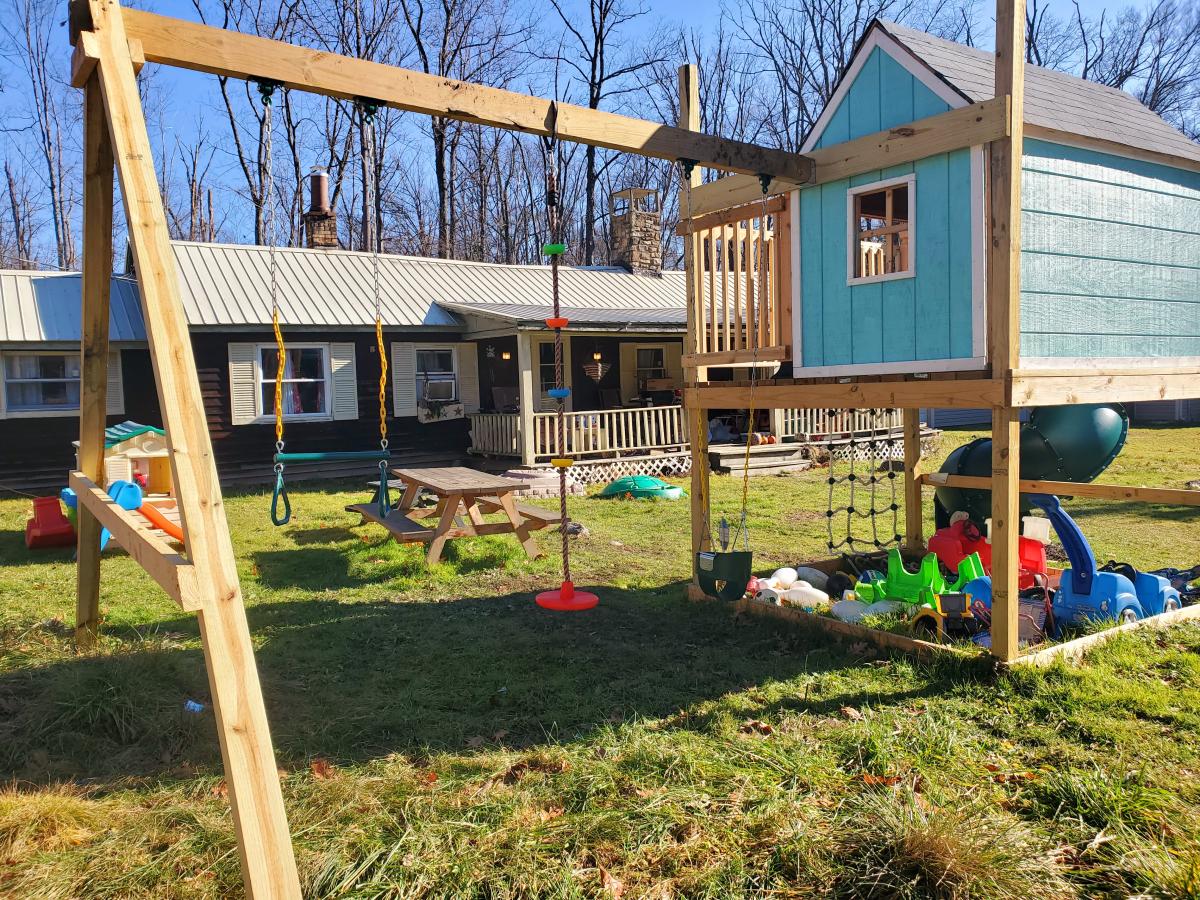
We made a few changes to fit our needs but love the design. Way better than any kit you can buy!

Comments

An heirloom for the youngest grandson

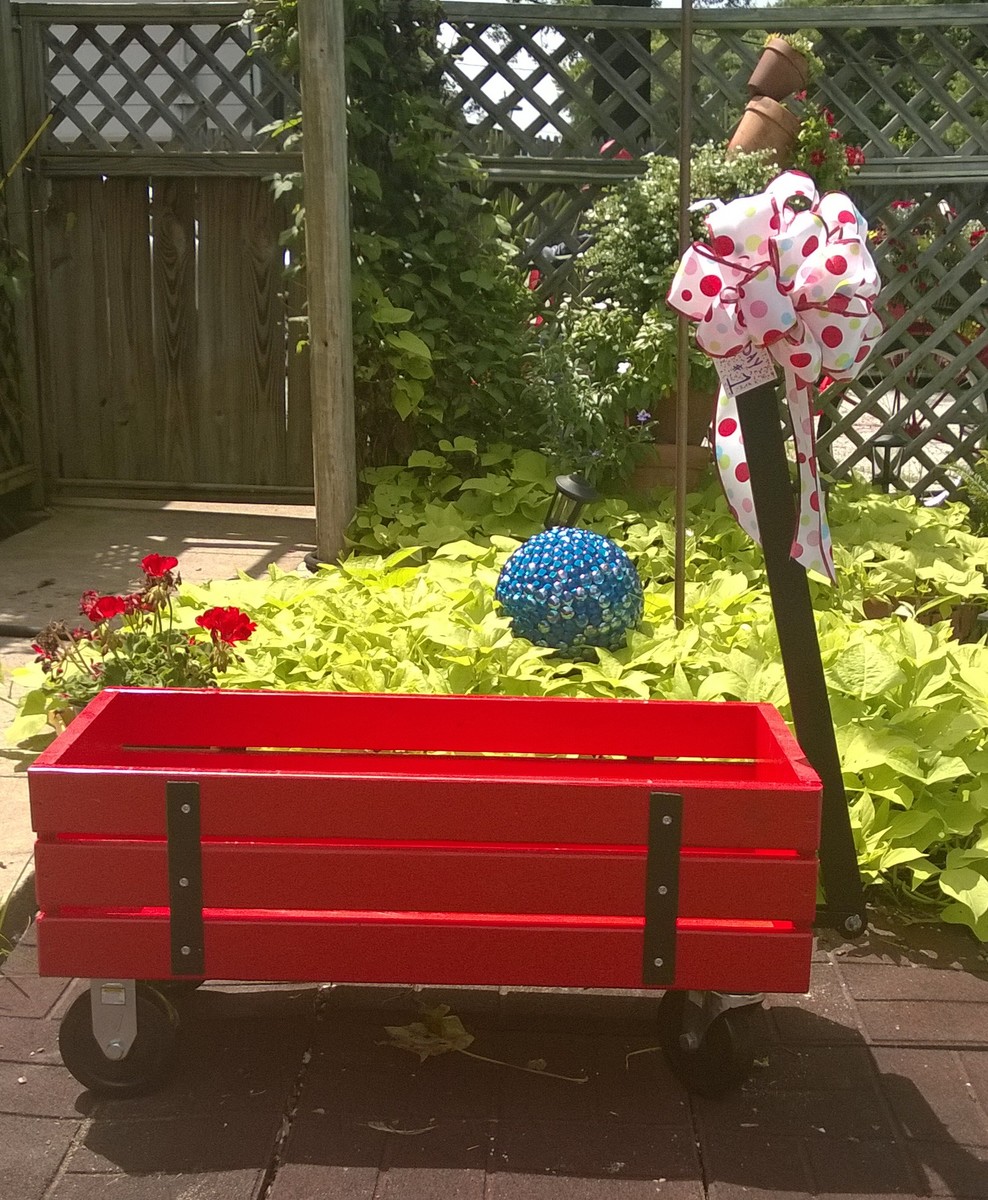
I used 5 inch wheels  as I wanted the wagon to sit a little higher. http://www.harborfreight.com/5-in-polyurethane-heavy-duty-swivel-caster-69852.html and http://www.harborfreight.com/5-in-polyurethane-heavy-duty-rigid-caster-61757.html    We bought these metal pieces for the straps http://www.lowes.com/pd_44138-37672-11662    Our Lowes didn't have snow blower parts in July. But we were able to find a shear pin  in the draawers where much of their specialty hardware connectors are located.  . I opted to screw everything together and not use nails.  Thanks so much for plans that include a seperate shopping list and cutting list and easy to follow directions.  The wagon was a huge hit with the birthday boy.

Built from Plan(s)
Estimated Cost
$69
Estimated Time Investment
Day Project (6-9 Hours)
Finish Used
The body of the wagon was finished with homemade chalk paint. The metal pieces were spray painted in black satin.
Recommended Skill Level
Beginner

Comments

Step Stool for a Friend

Submitted by Jake on Sun, 08/04/2013 - 12:35

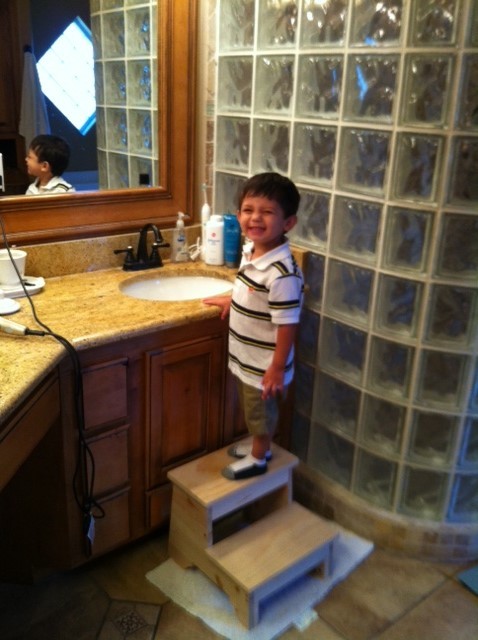
At dinner a couple of nights ago with a good friend and his wife she commented that she really needed a stool of some sort for her older kid to stand on at the bathroom sink. Well that need became the next quest for me. I really savor trying to fill a need quickly and successfully. It took a few hours from the scrap pile to put the stool together and it appears from the picture that it was a success.

I deviated from the plan just a little by adding stiffeners on the four legs just because I did not like the direction of the wood grain and felt they might break off with enough lateral force.

If I build another stool of this type I think I would hinge the top step to give access to a small storage compartment. Should be easy to do and could add some versatility to the stool's function.

Built from Plan(s)
Estimated Cost
Probably about $5
Estimated Time Investment
Afternoon Project (3-6 Hours)
Finish Used
None, just a lot of sanding.
Recommended Skill Level
Beginner

Antique Quartersawn White Oak Dining Table

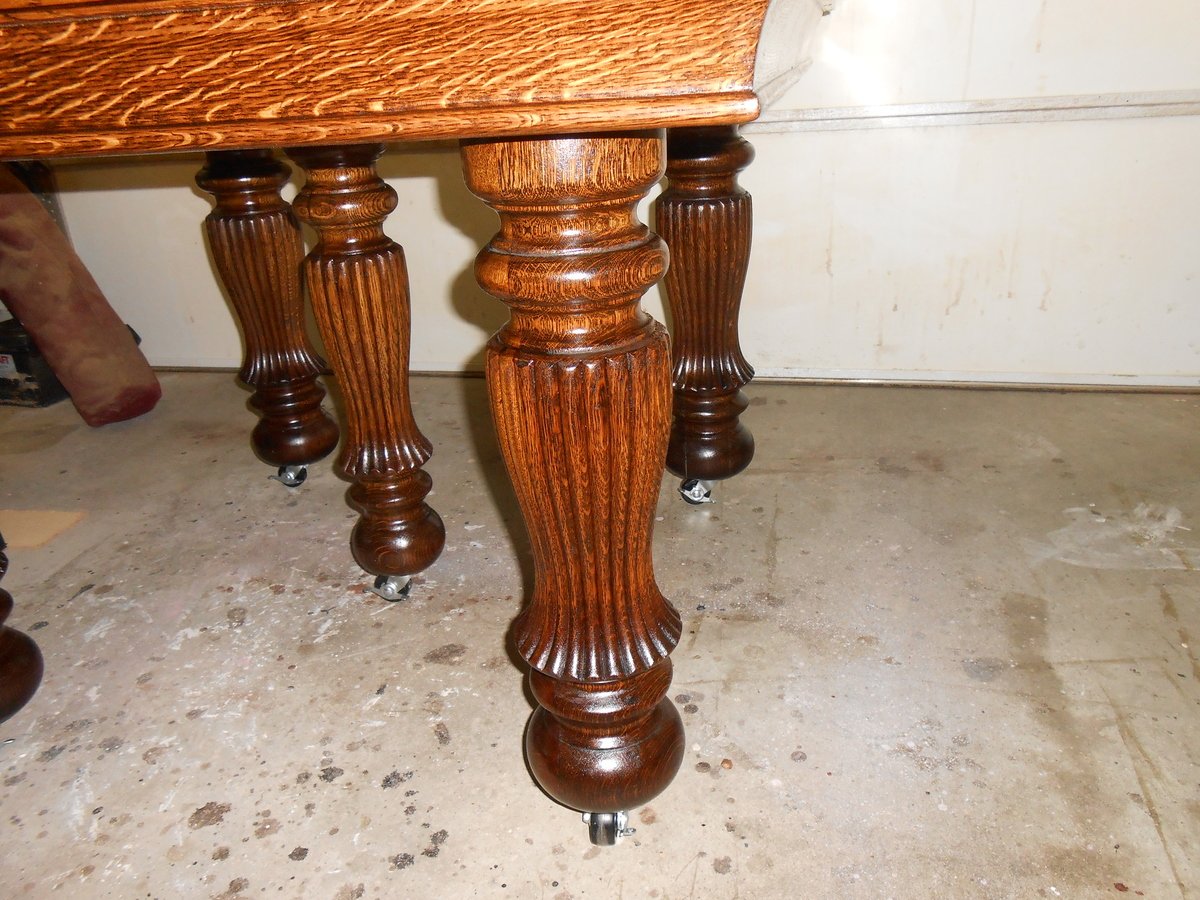
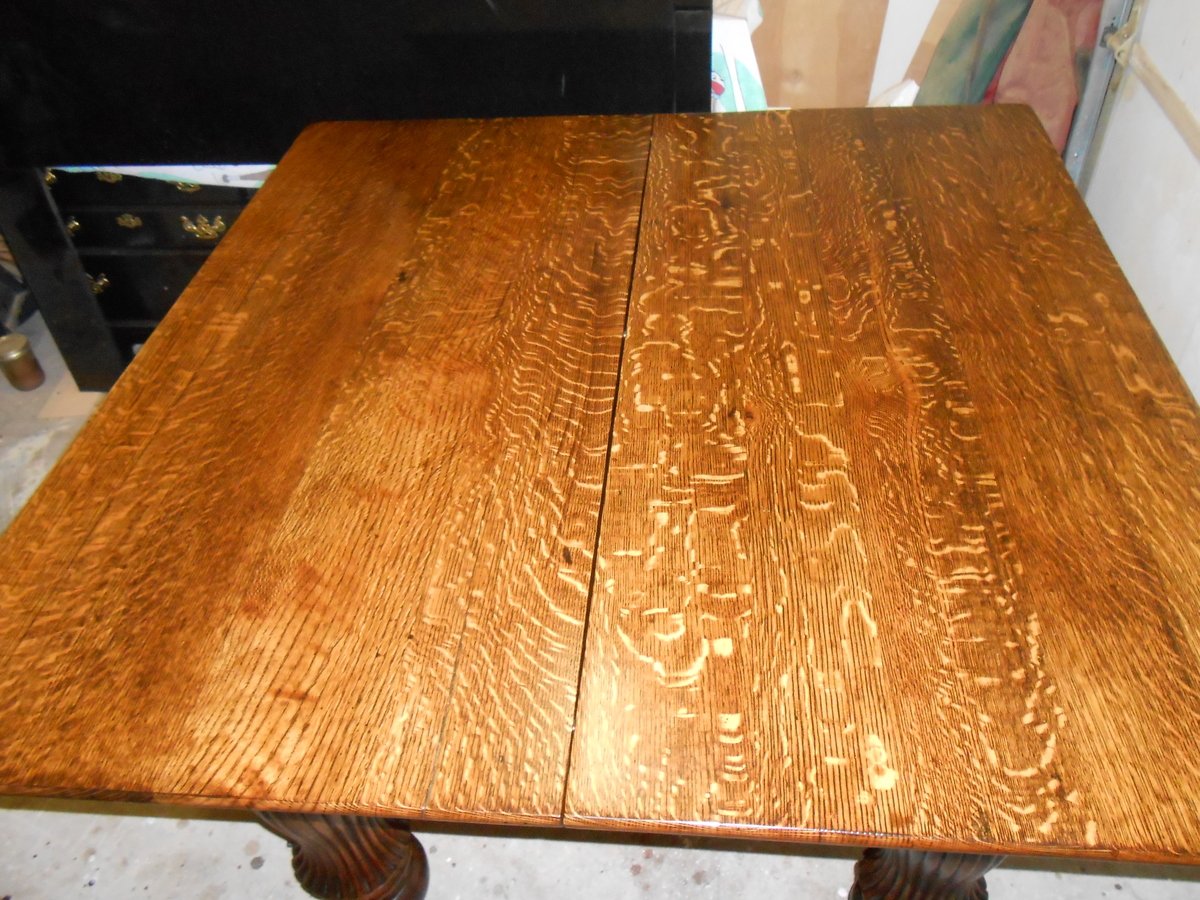
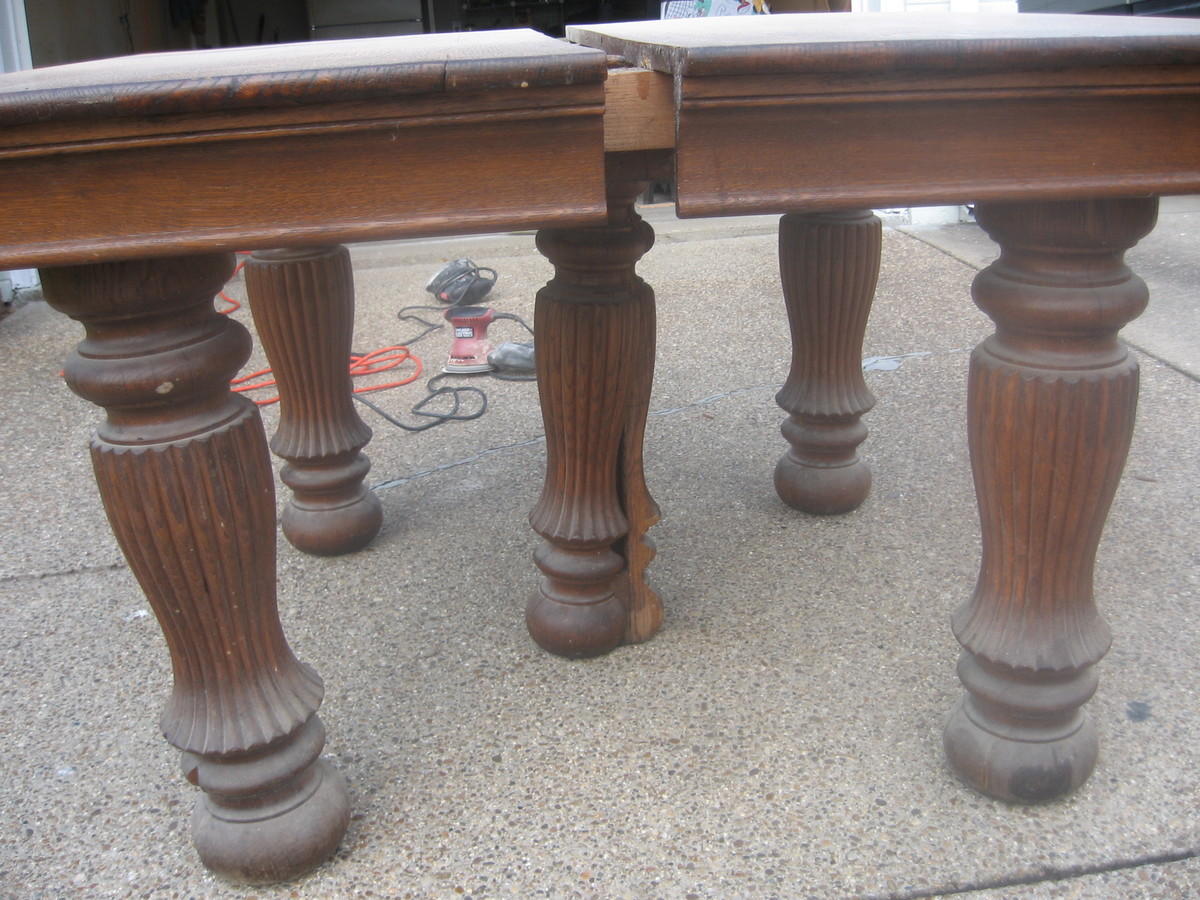
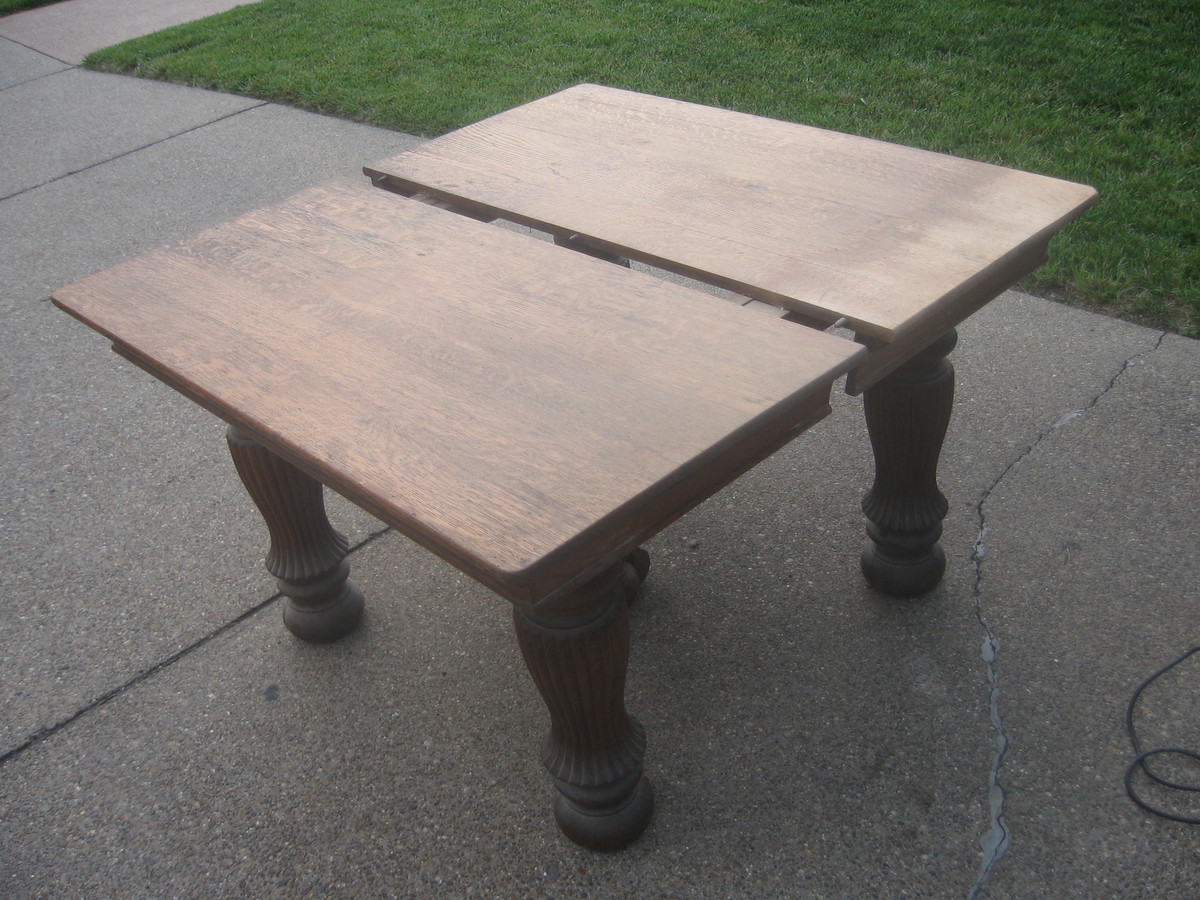
This is a solid, quartersawn white oak 5-legged dining table. It was originally built in the late 19th or early 20th century. The table was in need of a refinish. The massive turned and fluted legs were full of cracks, chips, and splits.

I took the table completely apart and began stripping and sanding. The legs were re-glued where needed and clamped. I filled the cracks, splits, and and chips with wood filler, sanded, and repeated until I was happy with the results. I replaced some bracing and replaced the screws where needed. Heavy duty casters were added. They have brakes/stops that can be locked to keep the table from rolling on a hardwood or tile floor.

Once the final sanding was completed, I applied 2 coats of Minwax Dark Walnut stain with a foam brush. I wiped down after each coat after waiting 10-15 minutes or so. After drying I began applying Minwax Fast Drying (oil based) polyurethane. The table received 3 coats and the top received 6 coats. I hand sanded with 220 grit sandpaper between coats.

After applying the final coat of poly to the top, I allowed it to cure 48 hours. I then hand sanded the top very lightly using 400 grit paper. I did the same using 0000 steel wool. I then added a few drops of dish soap to a cup of water and wet sanded with the 0000 steel wool. I used a circular motion to remove any scratches. I then wiped down the table and buffed out two coats of Johnson Past Wax with an orbital buffer. It resulted in a super smooth finish.

I am very happy with the results. By the way the table if for sale ($600) and is located in Evansville, Indiana.
Estimated Cost
$80
Estimated Time Investment
Week Long Project (20 Hours or More)
Finish Used
Minwax Dark Walnut Stain (2 coats) and Minwax Fast Drying (oil based) polyurethane.
Recommended Skill Level
Beginner