Grill Station
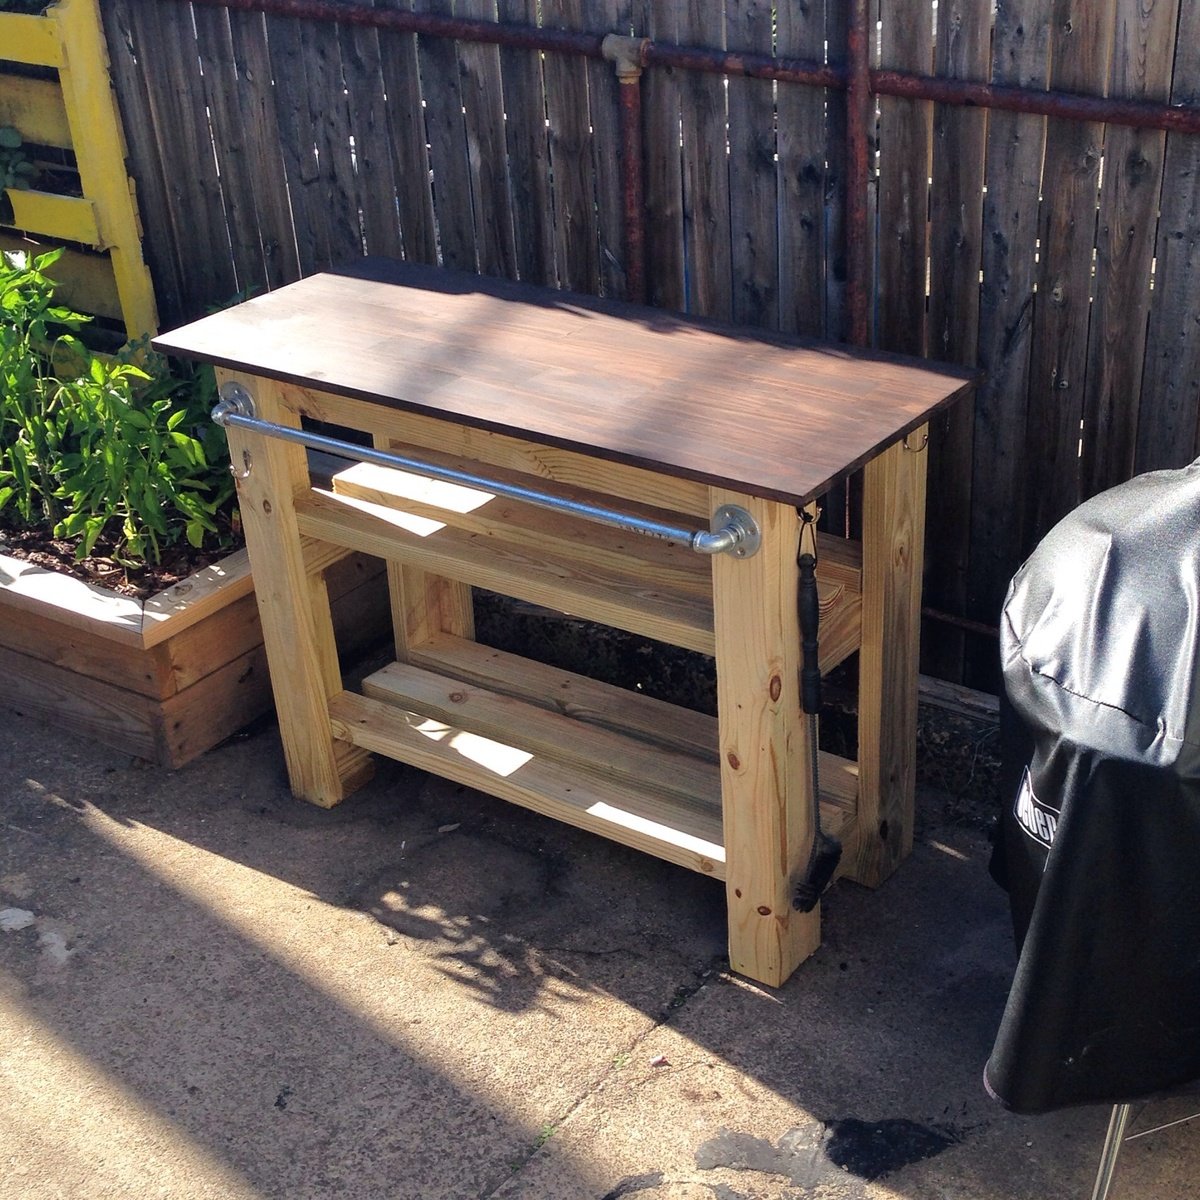
Grill station

Grill station
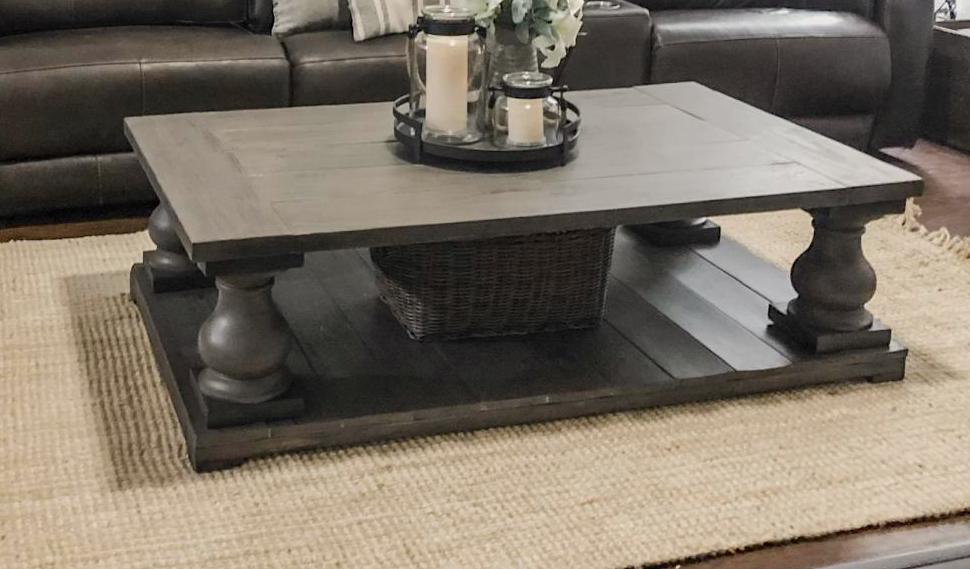
Love this table! Created from Ana Whites Balustrade Coffee Table plans. Looks just like the table from RH.
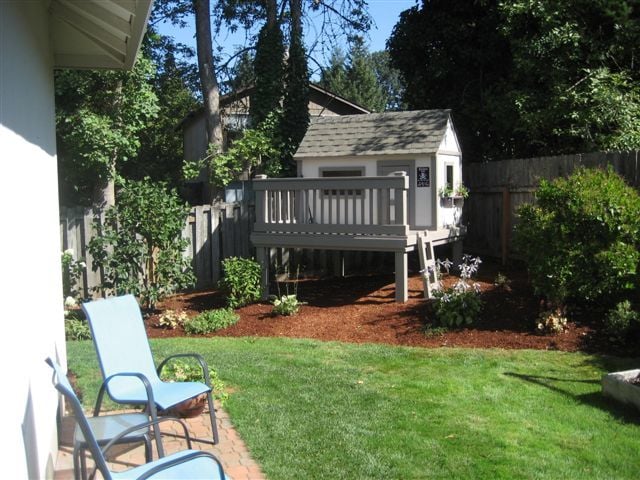
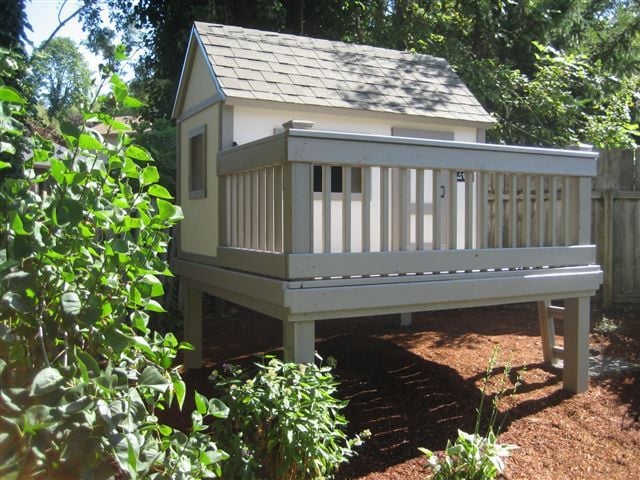
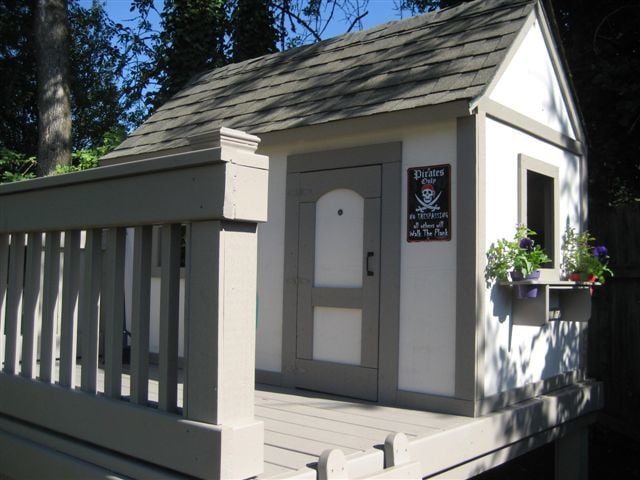
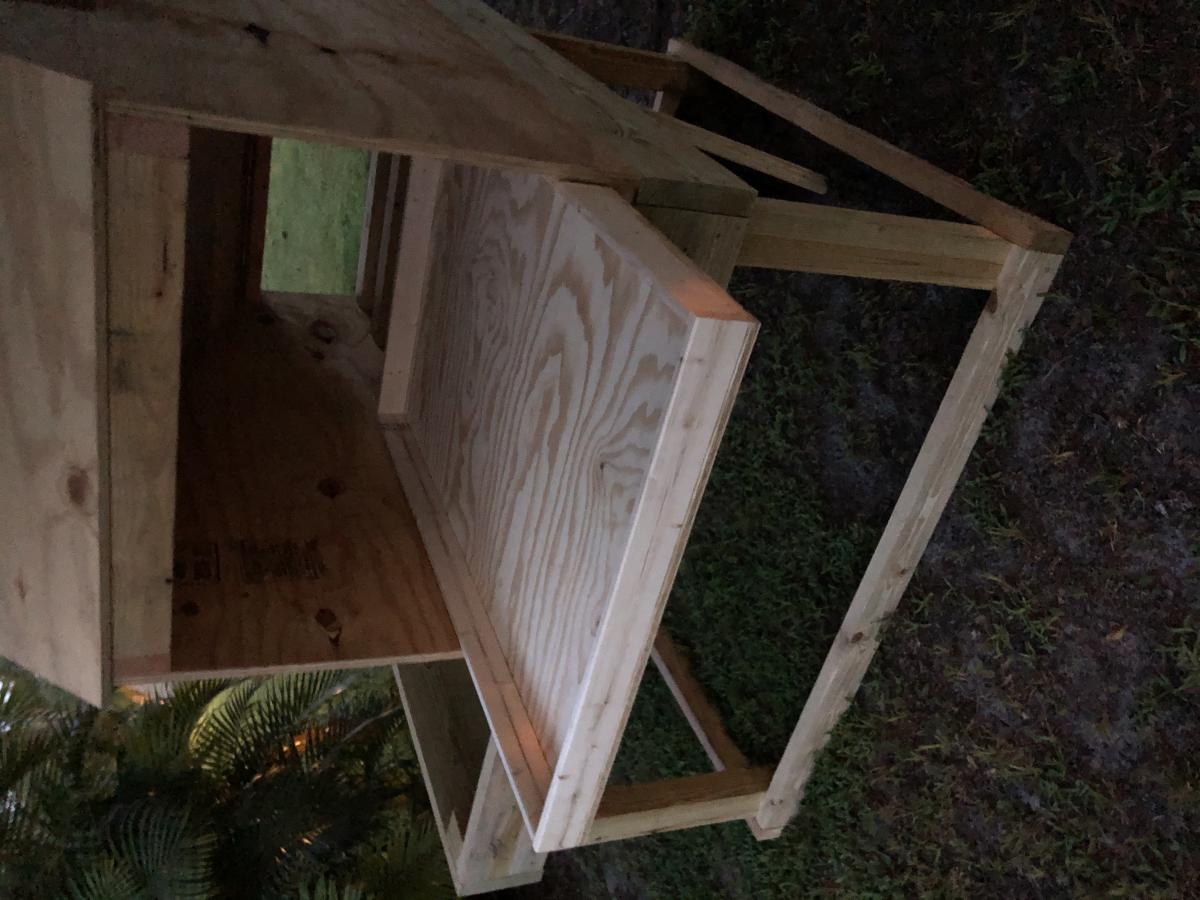
Grandma and I spent a couple months building this playhouse for our grandkids. The project took longer and cost more than we initially thought it might but we had a lot of fun doing it and it's a big hit with the kids.
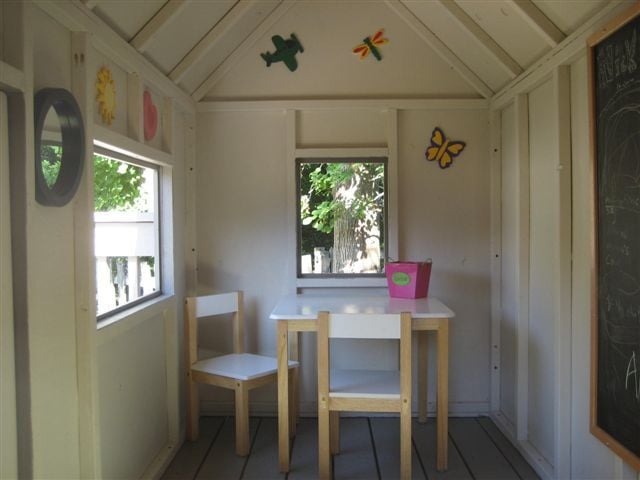
We followed the plans on this blog pretty closely only changing a thing or two here and there. We used cedar for the deck and railing and we painted it (and roofed it) to match our house. We put in 1/4 inch tempered glass windows to keep the rain out in the winter. (The glass is easily removed for summer.)
Thank you Ana White for providing such a great little plan!
Fri, 09/28/2012 - 05:52
This is just beautiful! The build, the landscaping, the paint. I am always stalking the brag posts to see if any new playhouses have been posted as we have been working on my daughter's since March:) I know! It has taken us forever. This is our first build and I work full time so we are a little slow. I just love what you've done with the place! Great job!
Base was completely made from reclaimed 2x4's. Desktop made from Oak plywood
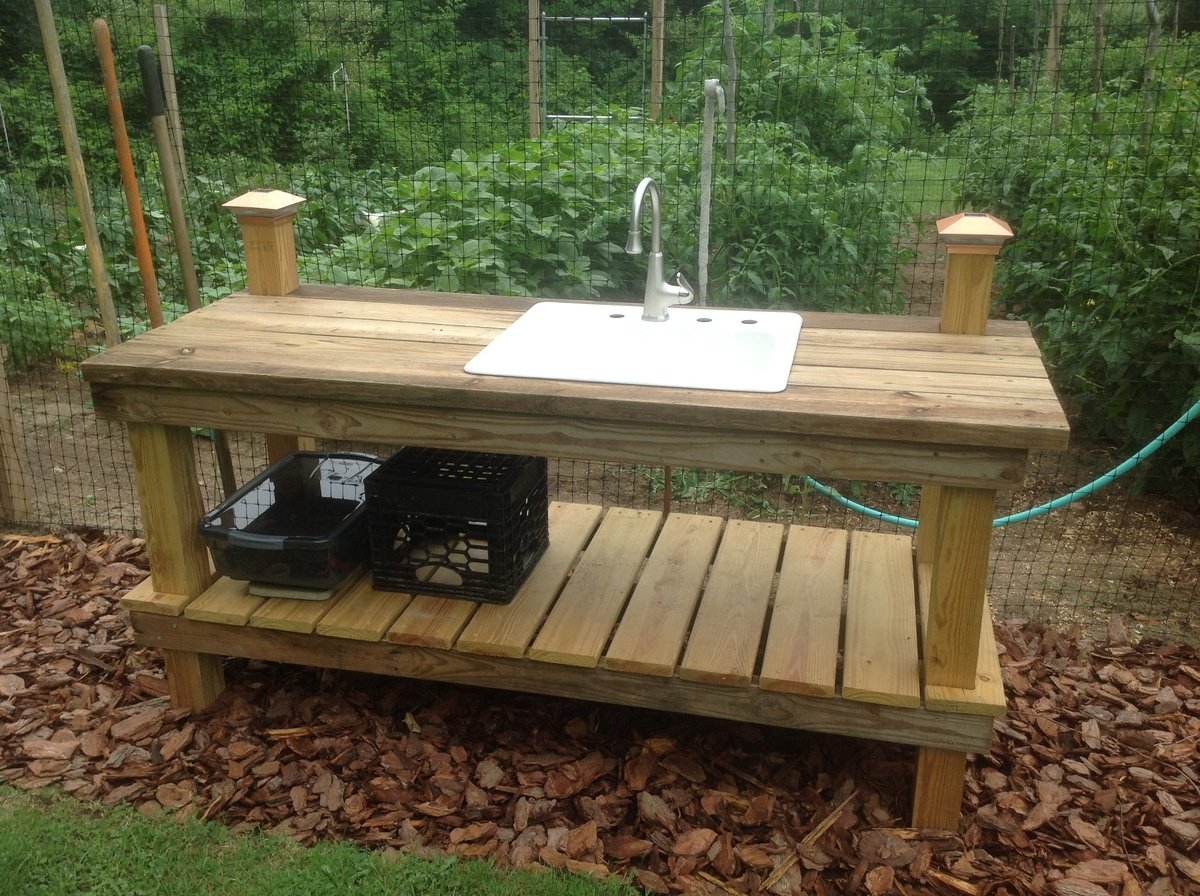
I started with the potting bench by Between Naps. I made it longer and taller (for my dad). There is a tool holder along one side and I added a sink, for washing the veggies newly harvested from our garden. We ran the water from our house faucet and will blow out water for winter. All that's left is running a pipe from the drain to leach out across the perimeter of the garden. Most of the lumber was given to me (pressure treated even). And I bought the sink from a junk guy for $50. My dad was so impressed and I think it may be my best present project ever. I can't believe I made that! Oh yeah, the end caps have solar lights, nighttime gardening! Ya never know!
Thu, 07/17/2014 - 12:05
That is awesome! I want a sink for my garden (and a cooktop for outdoor canning) so I am very jealous. :)
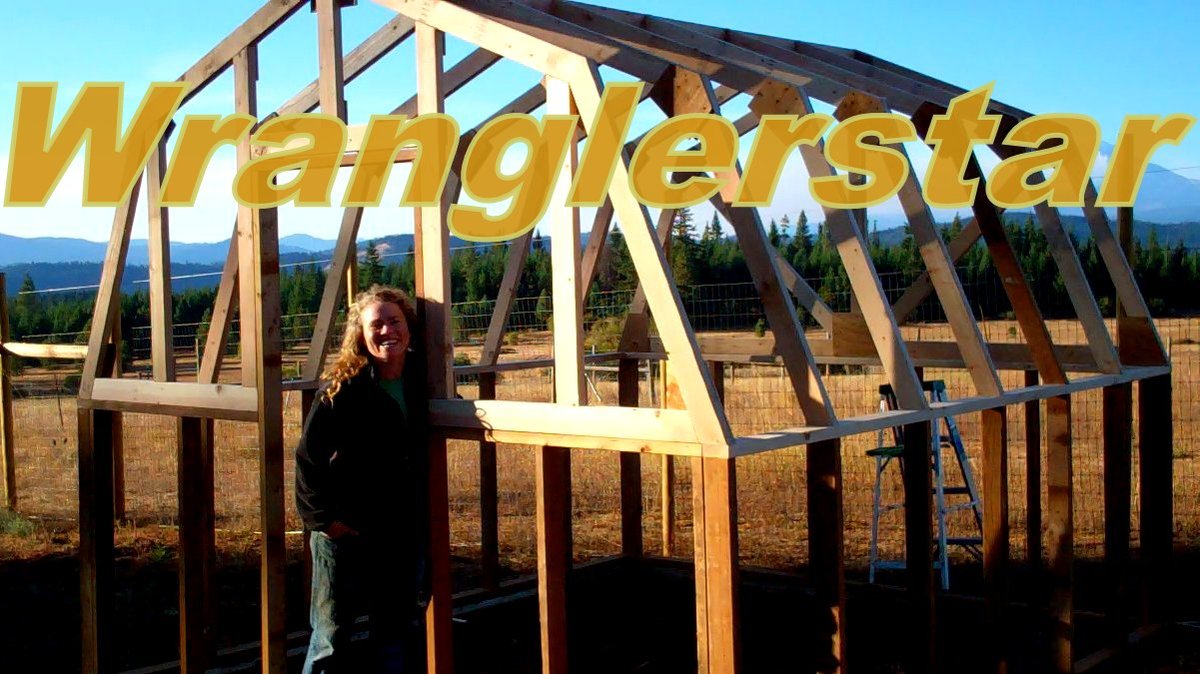
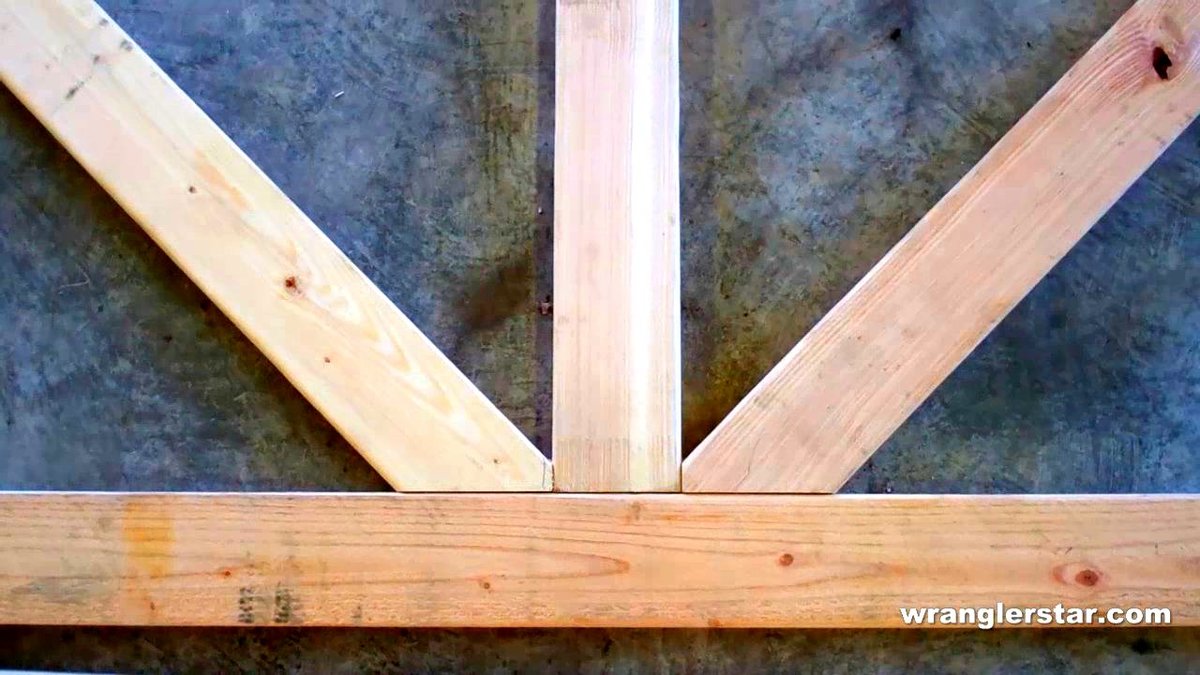
Thank you Ana for the excellent plans. We have been talking about this for months and are excited finally have a greenhouse. We live in the mountains and this will help extend our growing season. Please tell Ram thank you from the Wranglerlerstar family.
Sat, 08/31/2019 - 12:34
Did you extend the base height? I want a greenhouse to enclose trees that do not do well in the winter and I think I would like to raise the base height a foot or so.
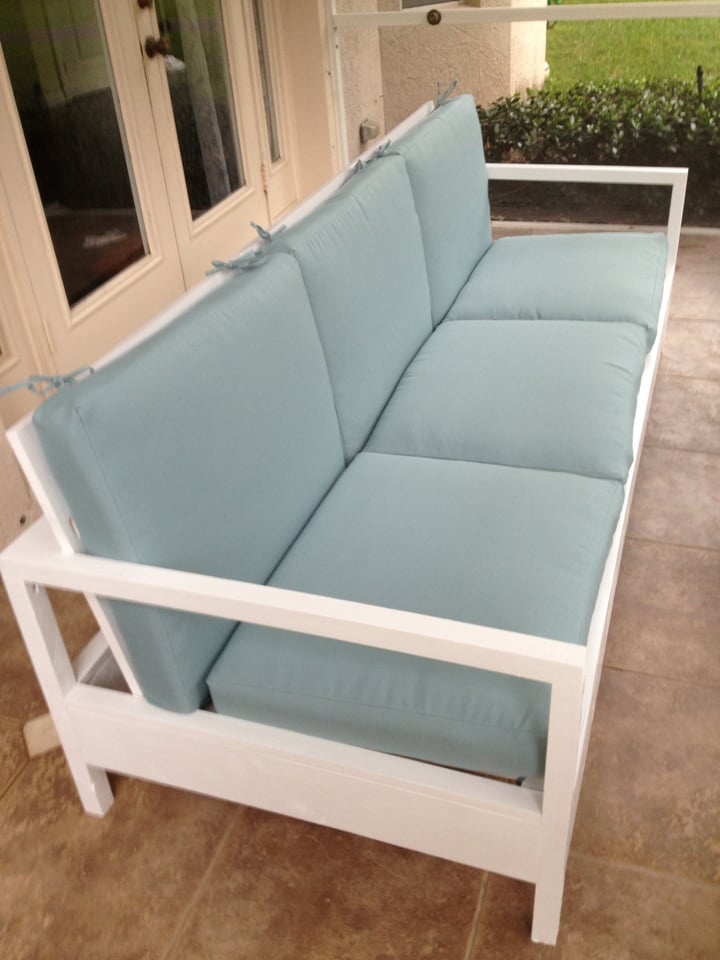
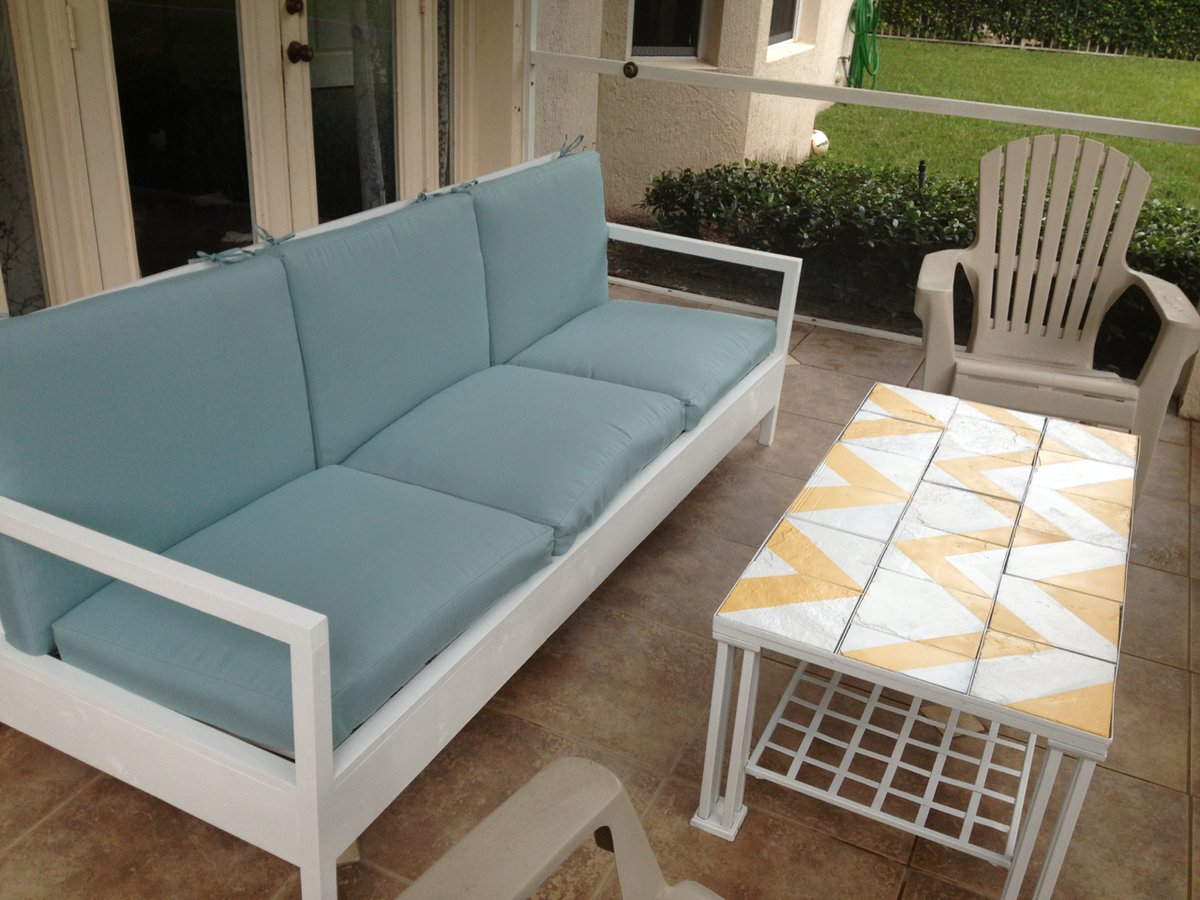
This was one of my favorite DIY projects. It's so much more affordable than buying patio furniture, and the building instructions make it sturdy as ever.
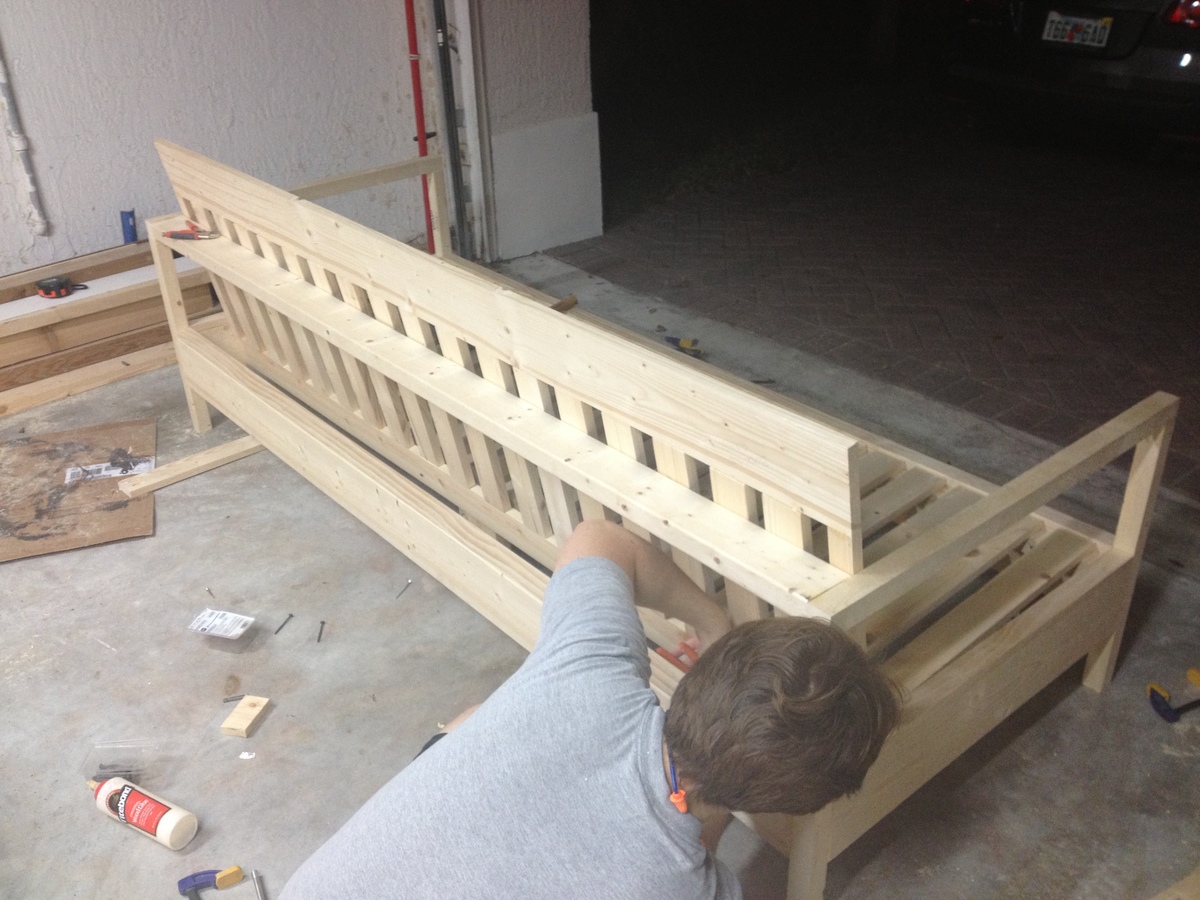
I built this with my fiance, who you'll see in the image of the in-progress bench. It was a snap for us, since we have a fair amount of experience building our own furniture. With the right tools, this project can take only two days, including wait time in between coats of paint and varnish.
We made our sofa to fit the cushions we found, and thus, the sofa is actually 84" wide, instead of 72" wide. By doing this, we also eliminated the need for a love seat, and instead are in the process of making two chairs to match this sofa. All in all, our patio will seat 6, which is what we were aiming for.
TOOLS
The most important part of making this an easy, fun project is having the right tools. I highly recommend you purchase or borrow:
- Compound miter saw
- Kreg jig
- Square head screws (stripping these is nearly impossible)
Mon, 04/12/2021 - 09:52
where are the plans for this? the link goers to the new plans which are different
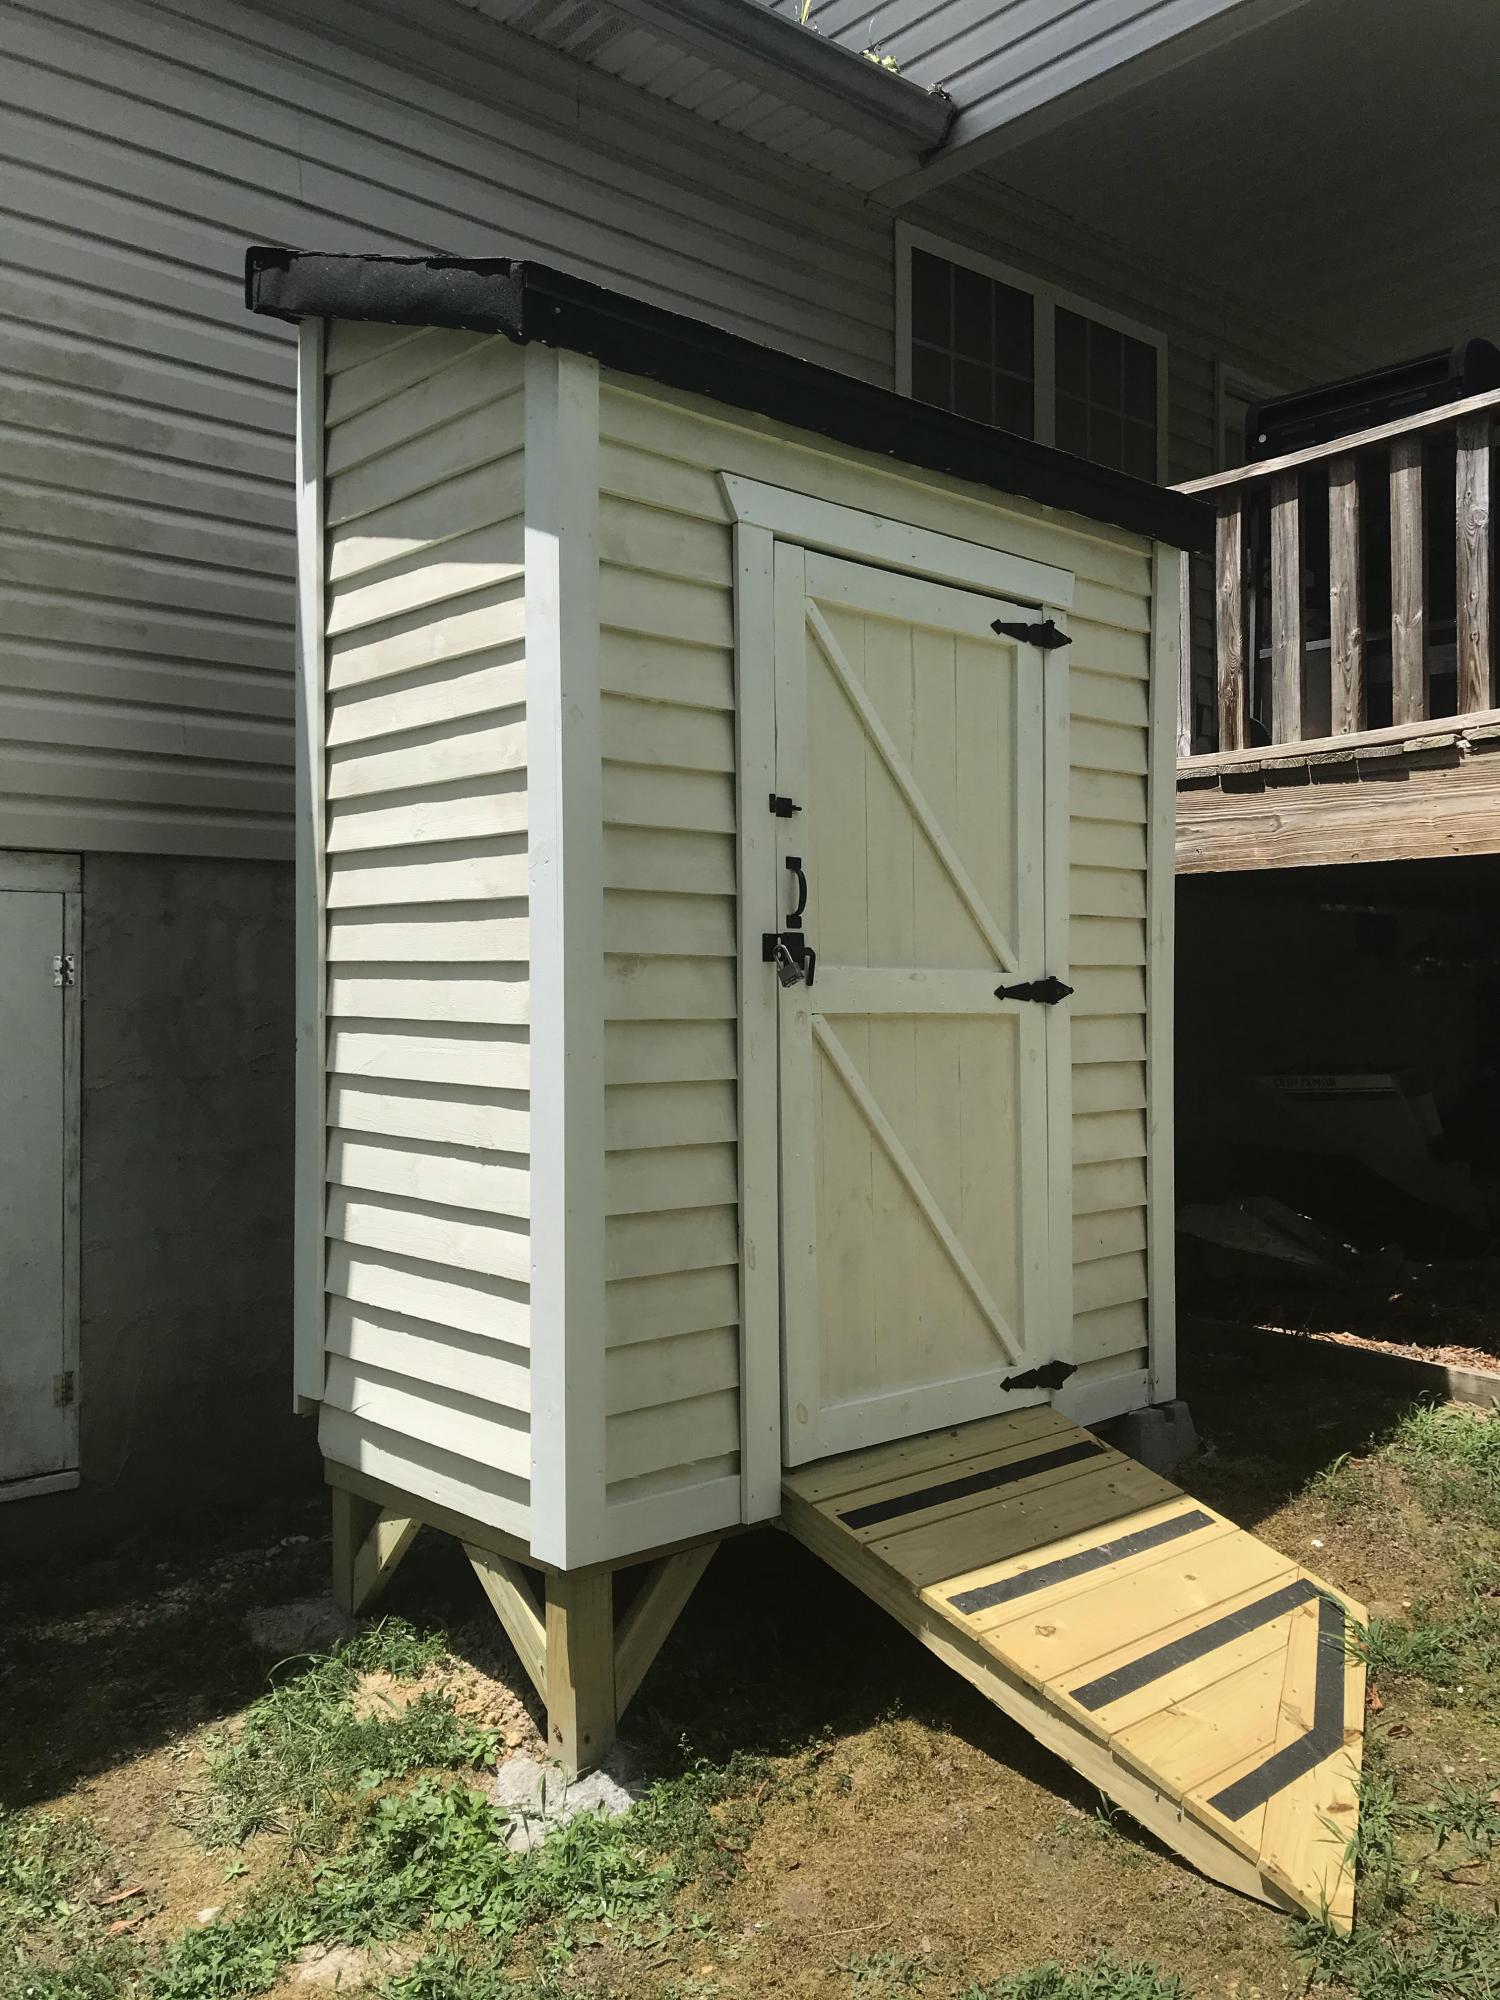
Using the Small Cedar Shed plans as inspiration, I created this 3'x6' shed using pressure treated fence pickets as the siding. I also made the shed one foot taller than the original plans to have a taller single door instead of the double door in the plans. Used 2x4 framing to strengthen the shed. Overall, I am pleased with the results. This was my first time constructing any type of building.
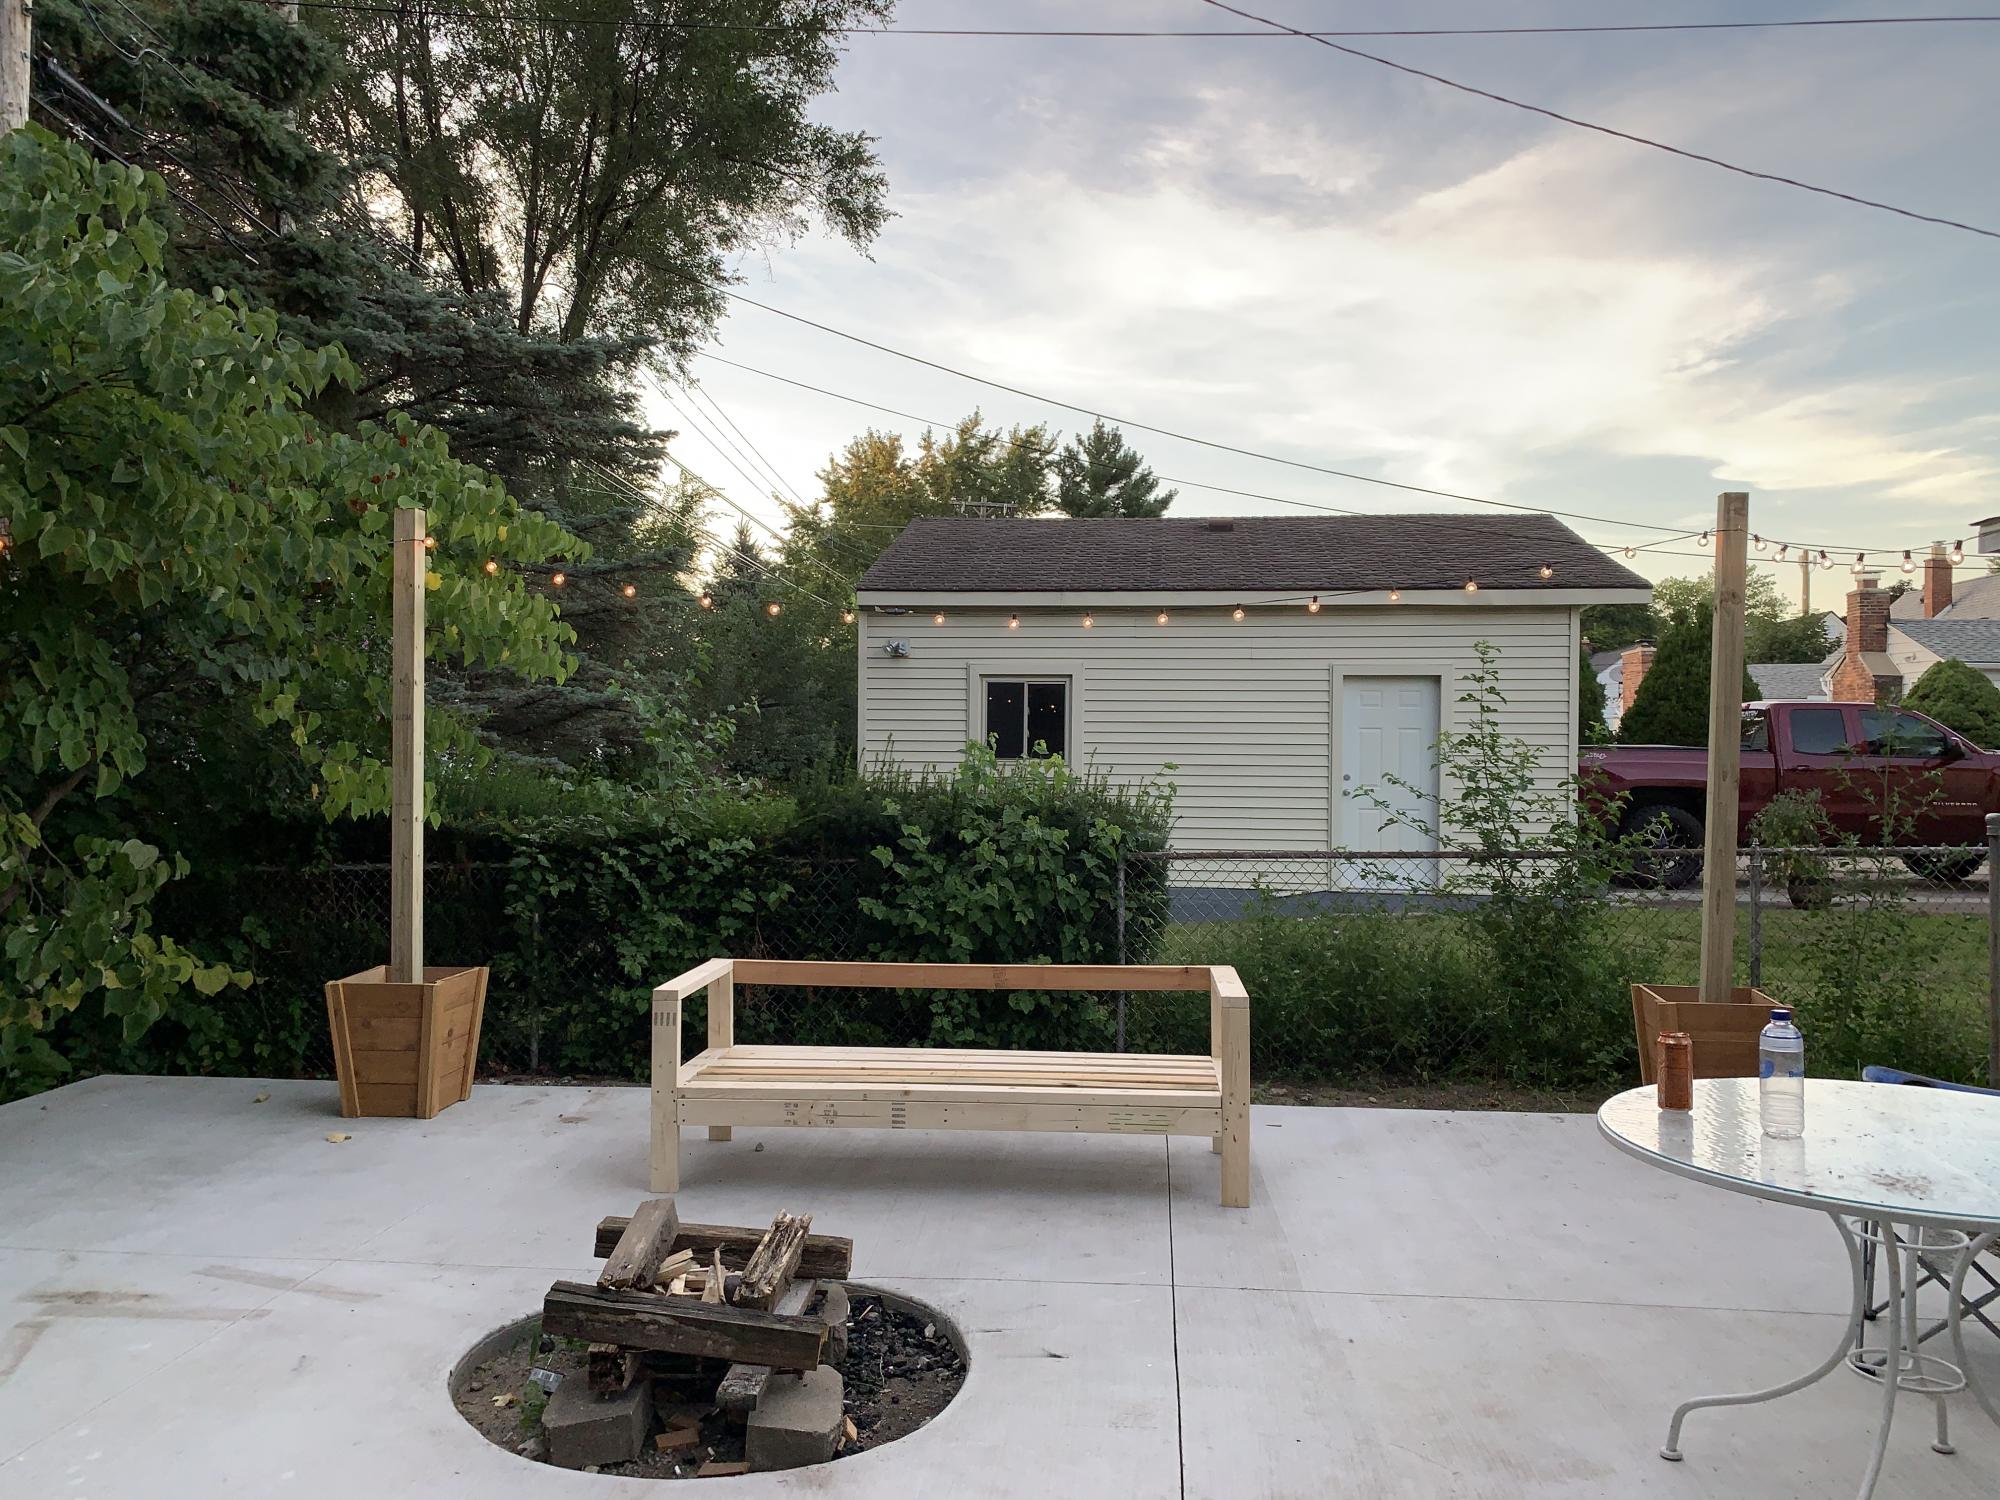
Tall planter that we modified to hold our light post and the bench waiting on cushions. The bench is on the wide side of things and is heavy, but these are good things as we are tall people. The only thing we would change is the seat size maybe not so wide. Otherwise it was an easy and very affordable project.

I built the one bench using the original plan with the storage and table top unit but needed two additional seating benches to go around the firepit without the bulk of the backside of the bench.
I modified the original plan as follows:
Shopping List:
(2) 2X6X8
(3) 2X4X8
(2) 1X6X8
Cutting List:
(2) 2X4X17" front legs, 15 degree cuts, parallel long to short
(2) 2X4X23" back support, 15 degree cuts, parallel long to short
(2) 2X4X20.75" back legs, 15 and 60 degree cuts, not parallel long to long
(2) 2X4X24.75" under seat, 15 degree cuts, not parallel long to long
(2) 2X4X30" bottom support, 15 degree cuts, not parallel long to long
(1) 2X4X42" bottom cross brace between leg sets, 90 degree cuts
(2) 2X6 cut equally in half, 3 for the seat and 1 for the top plate
(2) 1X6 cut equally in half, 3 for the back rest and 1 to be tucked under the seat overhang
Thu, 09/08/2022 - 11:23
Great work! Have you had any tipping issues with the benches without the table back? If you kneel on the bench backwards and lean on the back do you think it would tip? Ha I clearly have kids around to be asking such strangely specific questions... TIA!
Thu, 09/08/2022 - 14:26
Also, what size platform did you pour for reference?
Sat, 02/25/2023 - 08:57
The concrete pad they are sitting on is 14 foot diameter.
Sat, 02/25/2023 - 08:56
I built these for my daughter/son-in-law and their young family. I have grandkids that use them and have never tipped them. However a strong wind gust 100km/hr did flip one over but not the other. I would suggest adding a horizontal ground level ‘foot’ extension on one or both back legs to alleviate any concerns of tipping.
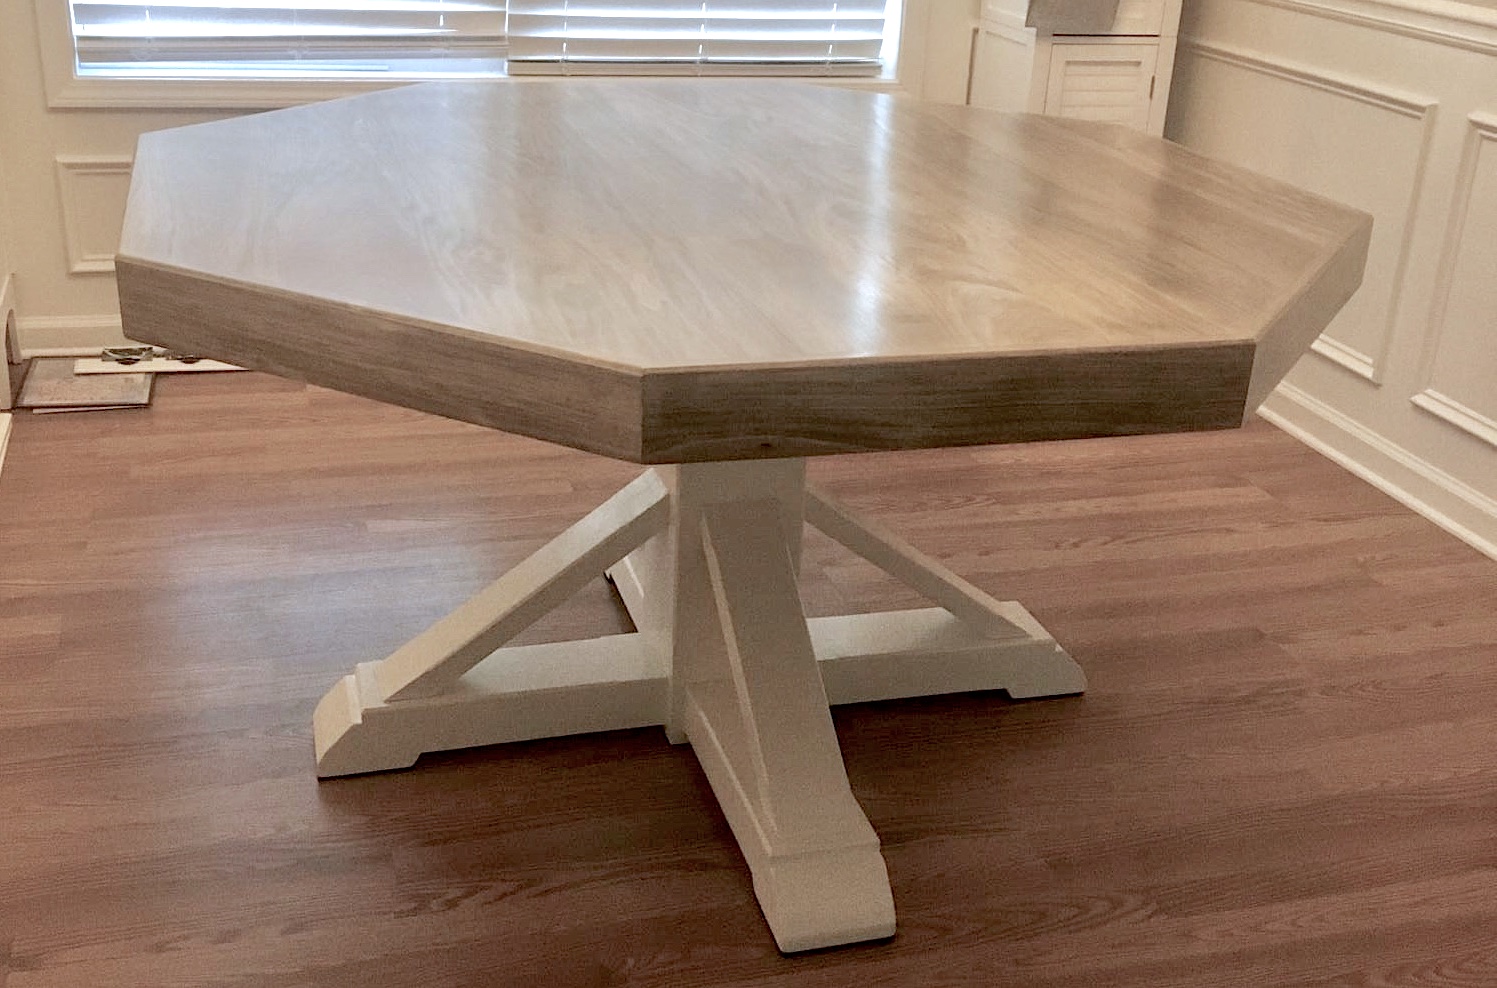
This was the 2nd table I built. I made this one for my daughter. The table I built for my wife is 10 inches wider.
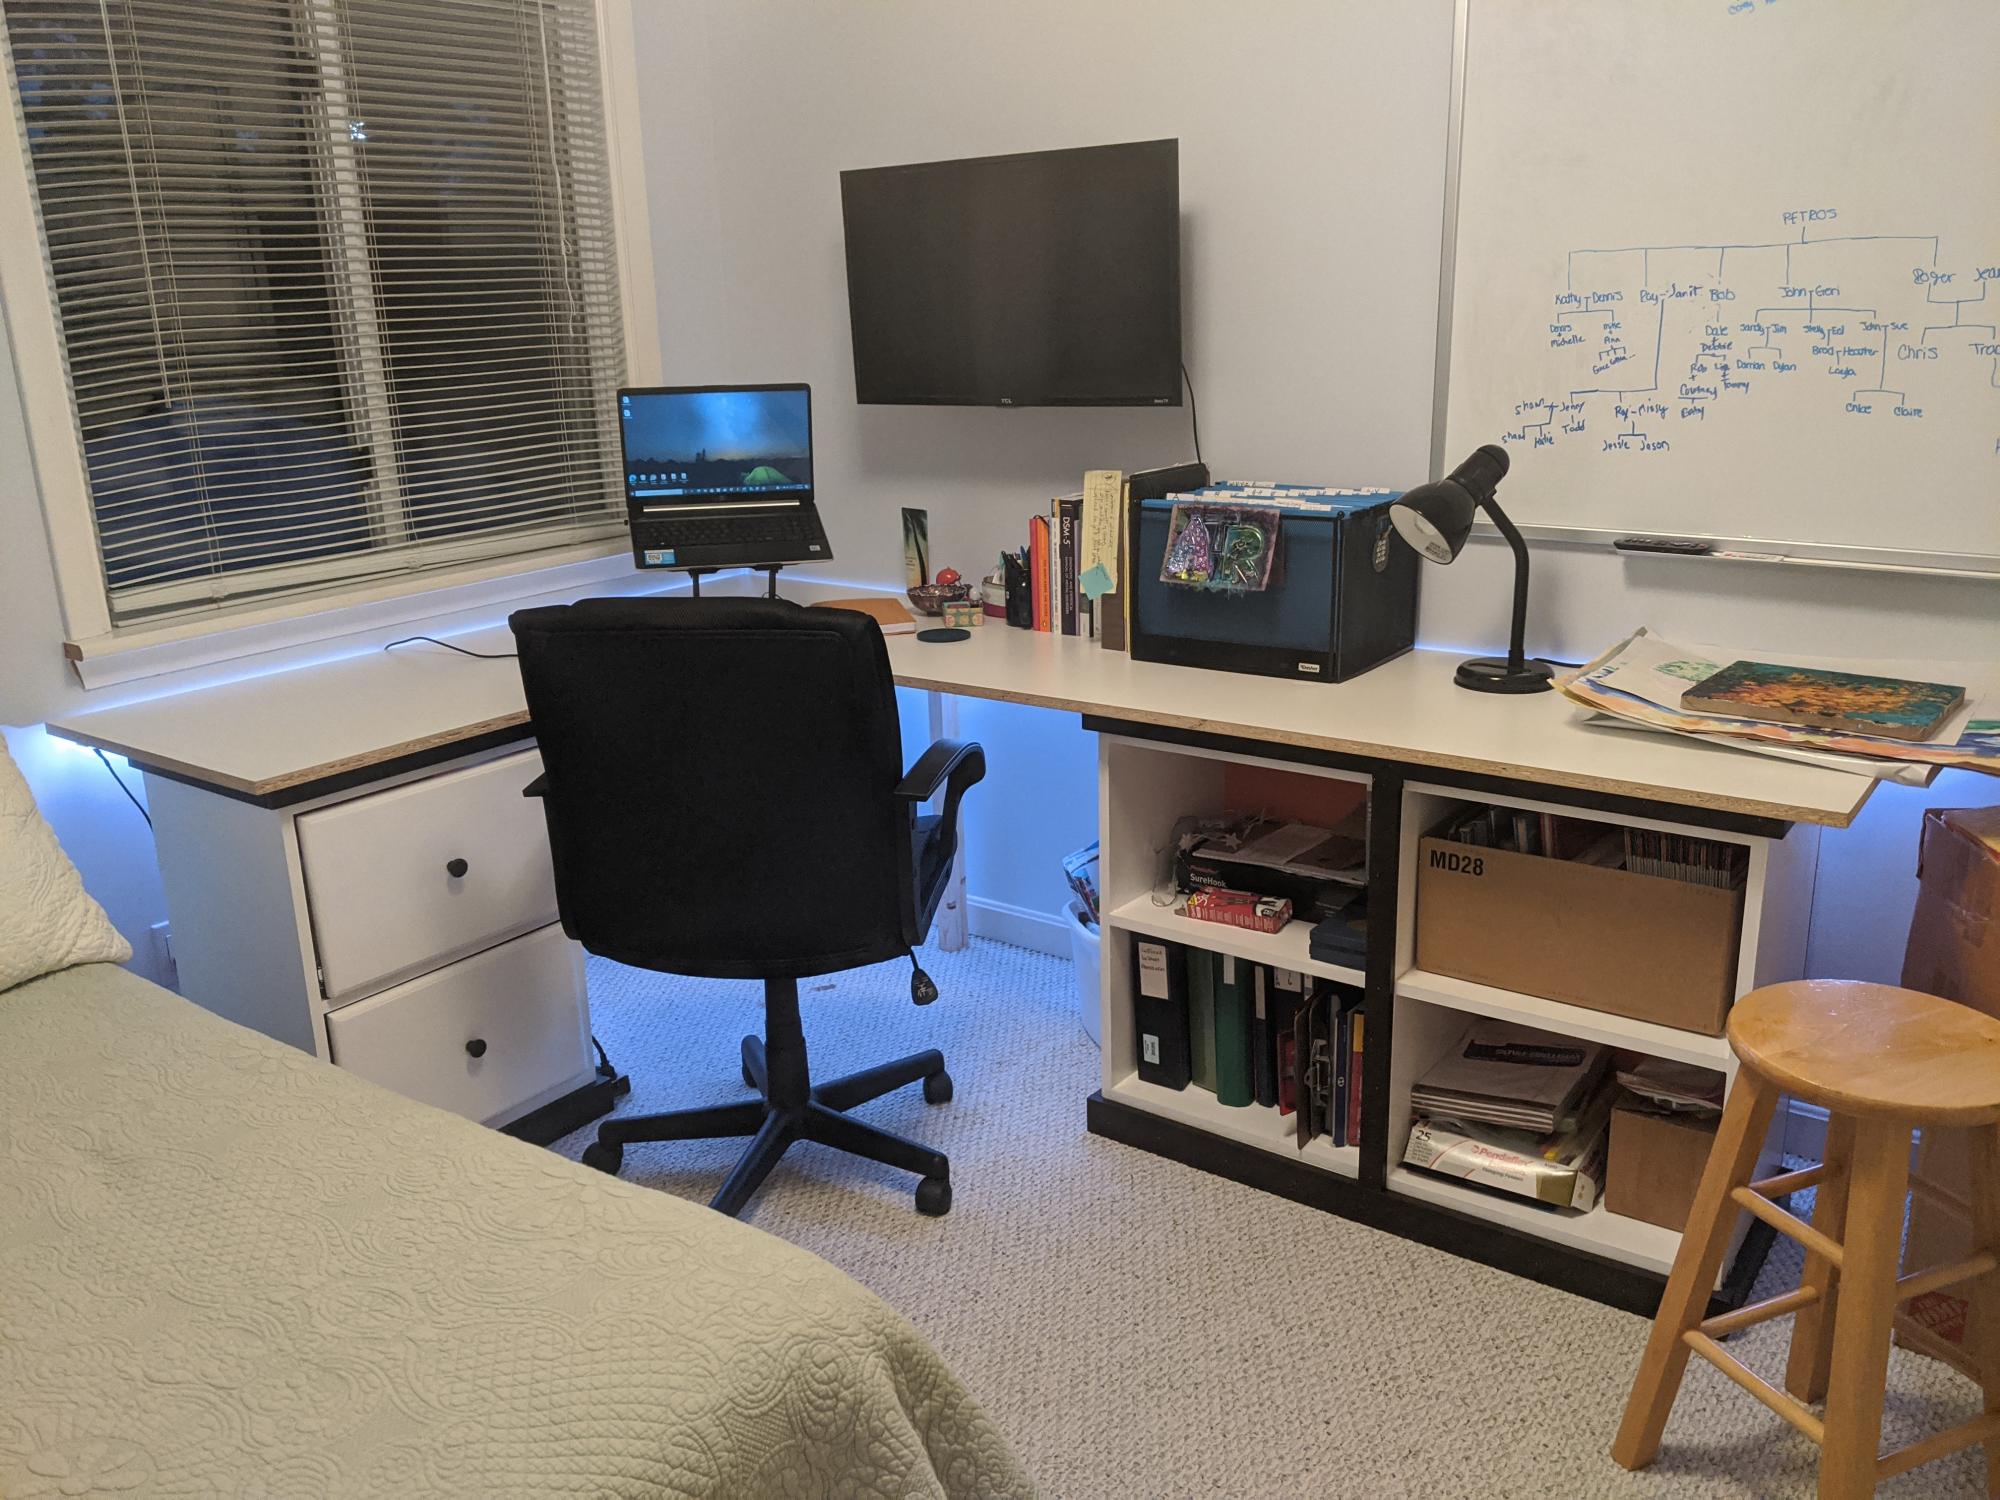
My wife needed a bigger desk for her home office so built one. I used the modular office desk designs. I had to modify it, my wife wanted the 90 degree cut in where the two desk to meet. I built two open shelves and fastened then together and built one narrow shelf with drawers. Built mostly out of MDF with the top being melamine. Waiting on the edge banding to ship. Also, installed some rope lighting for indirect light.
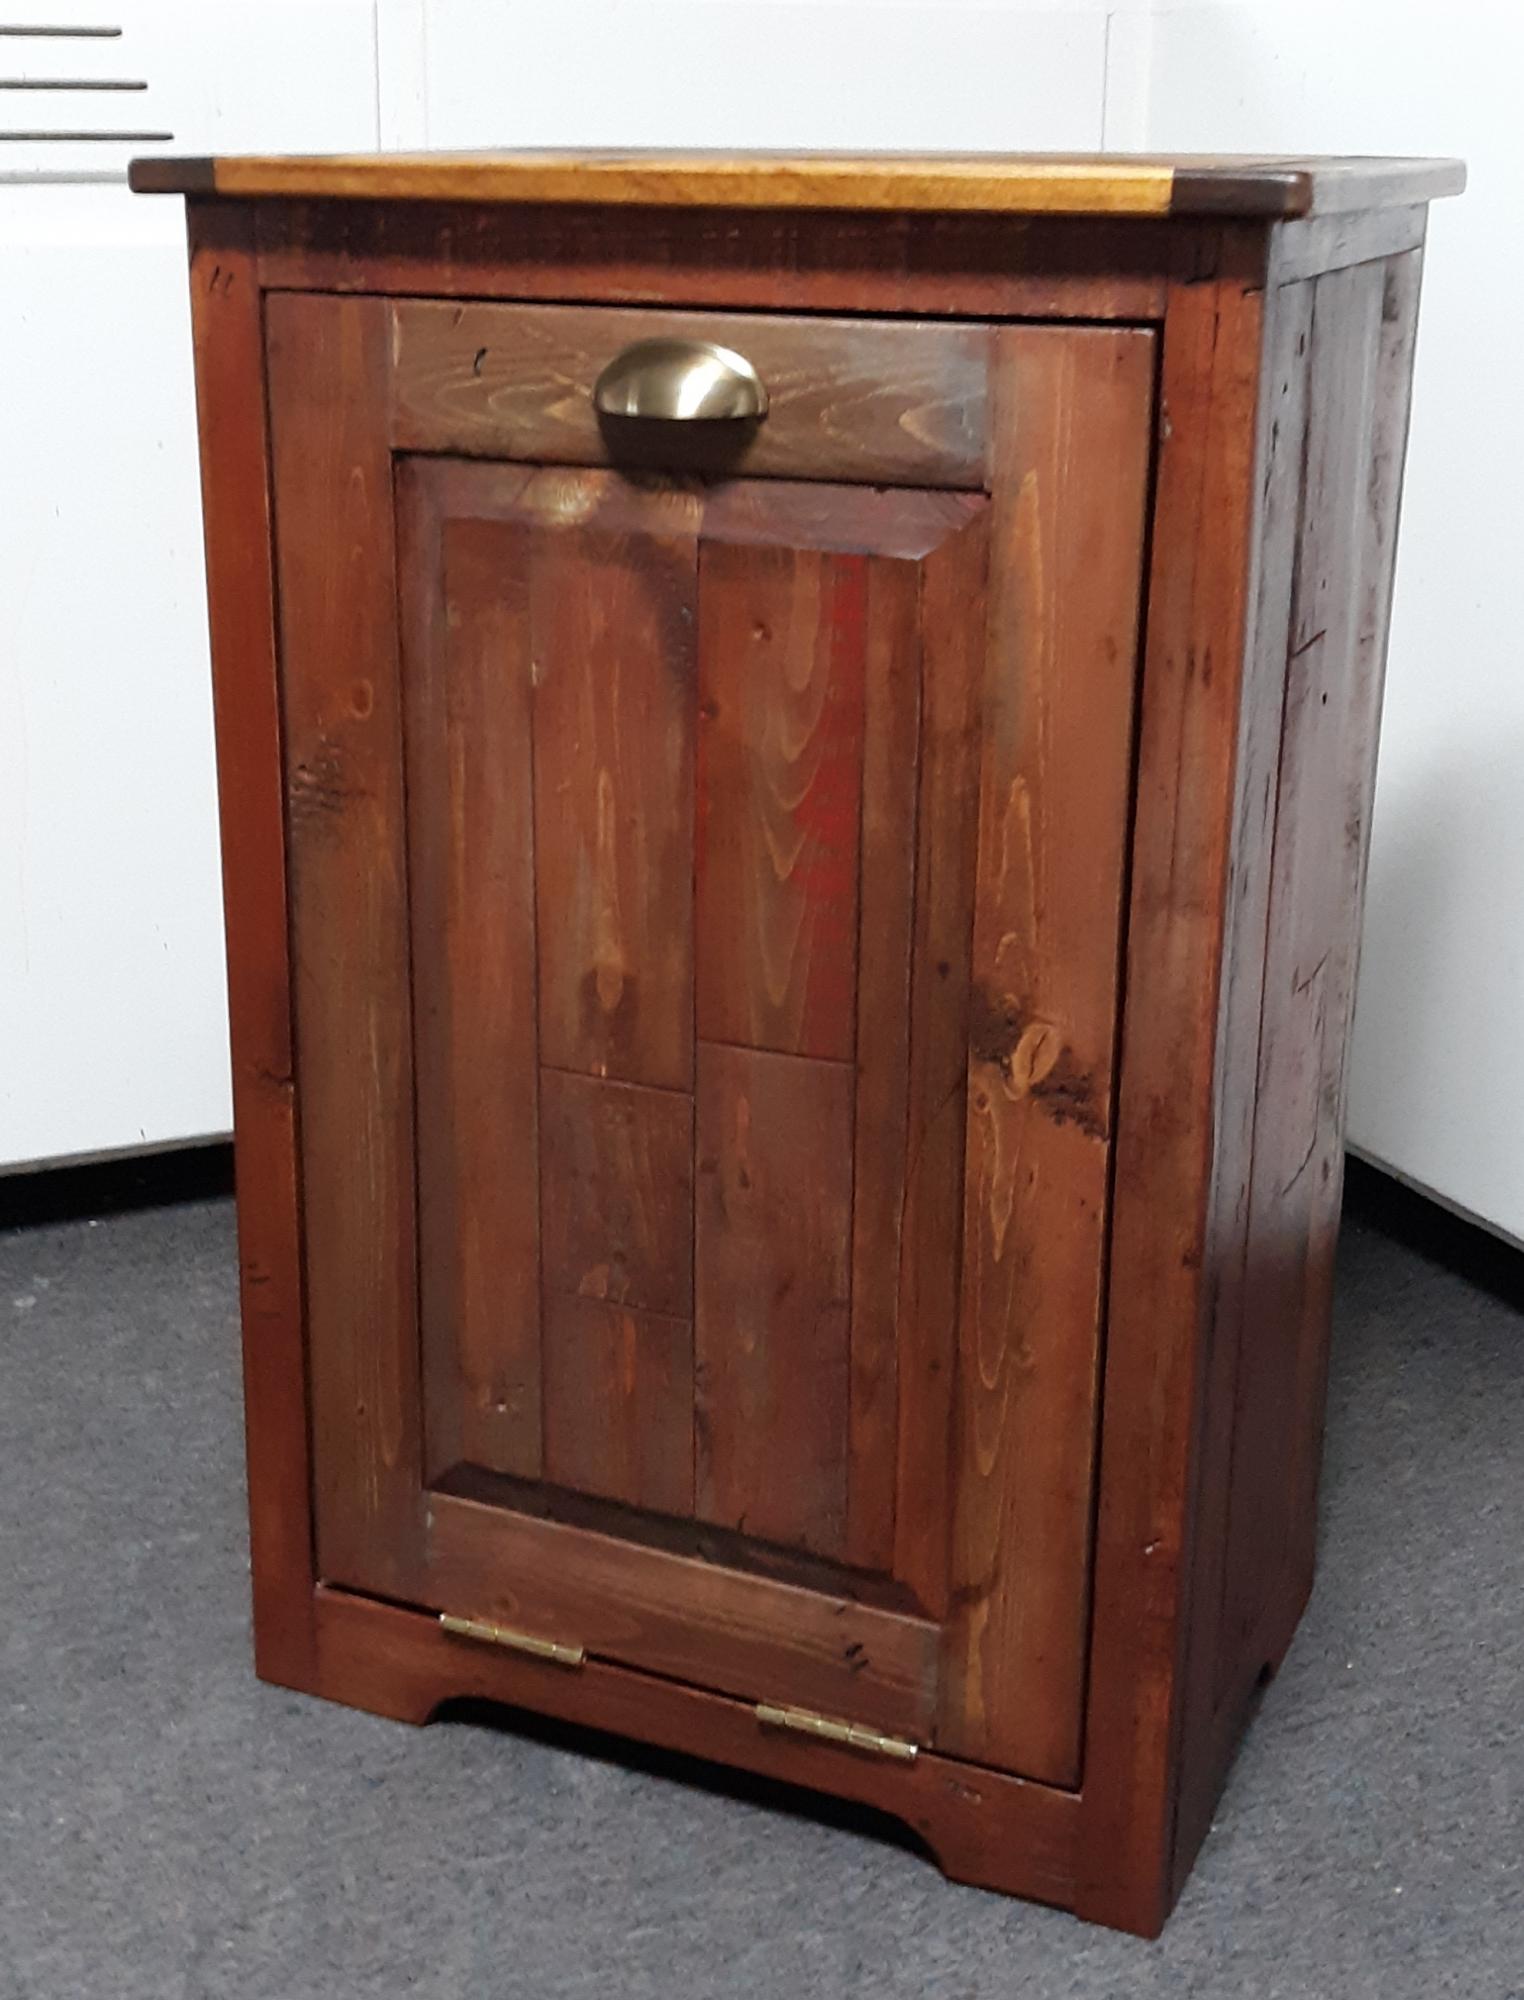
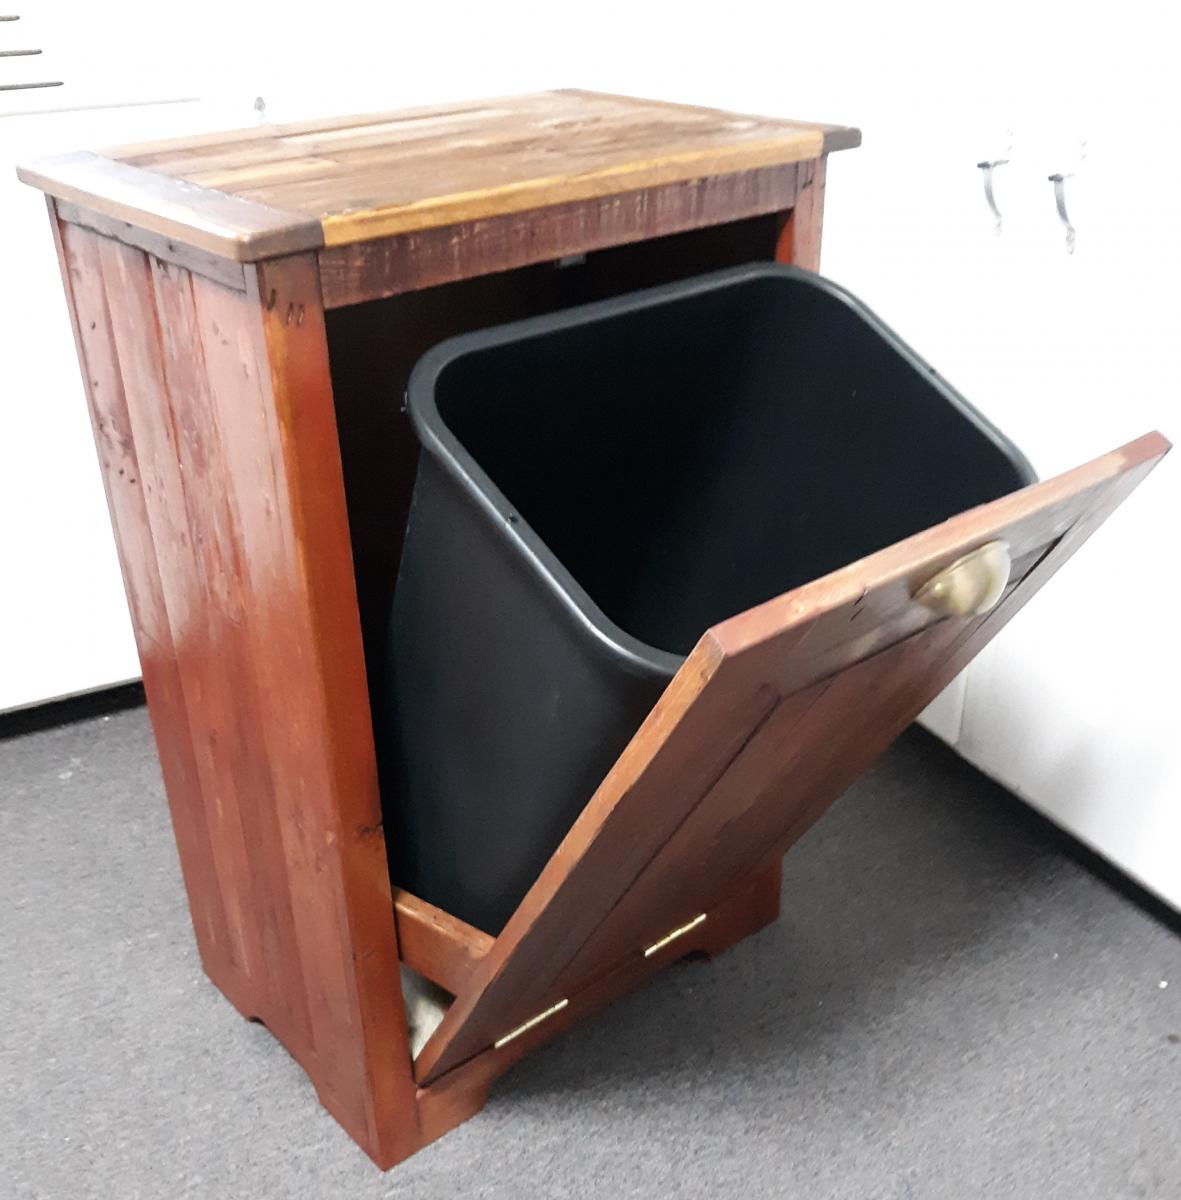
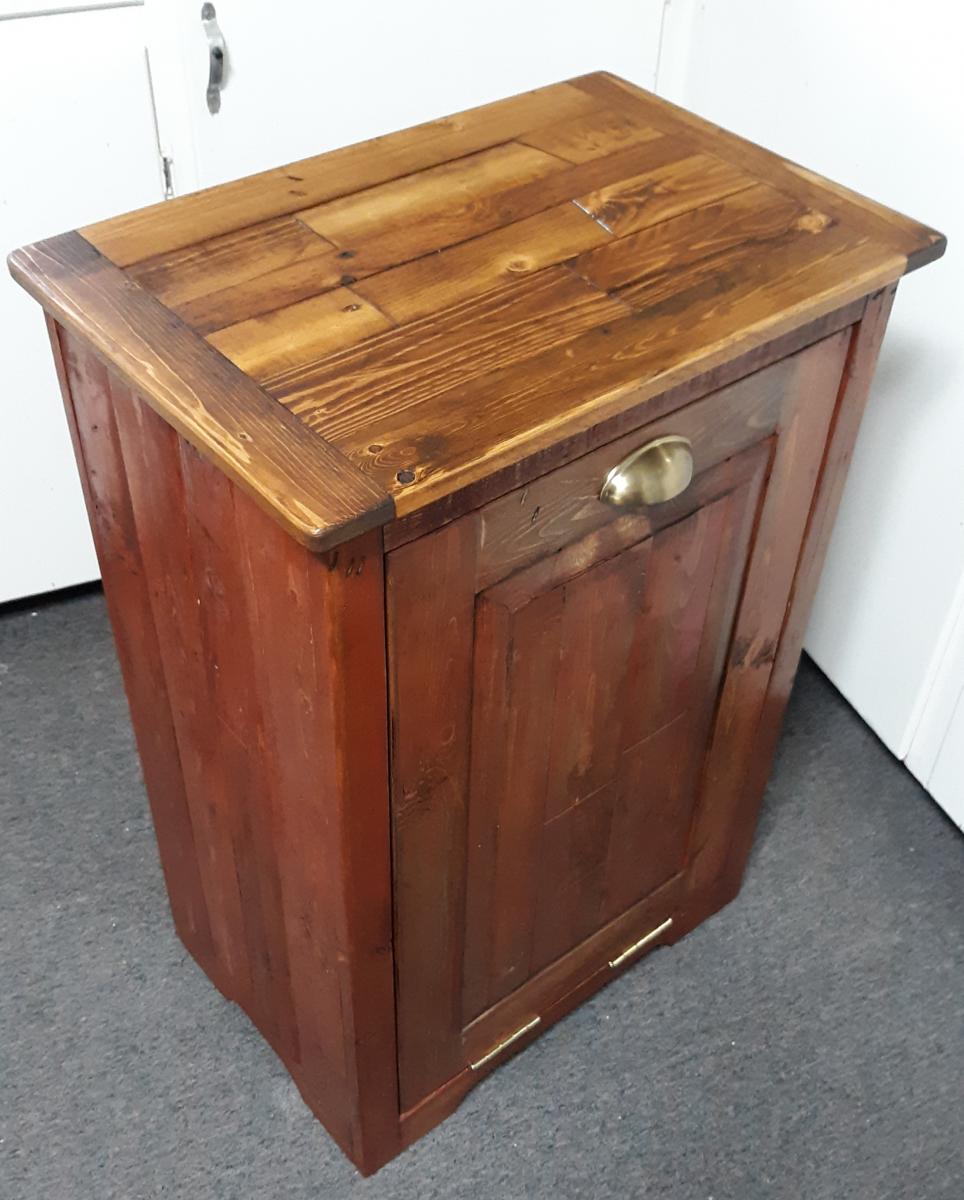
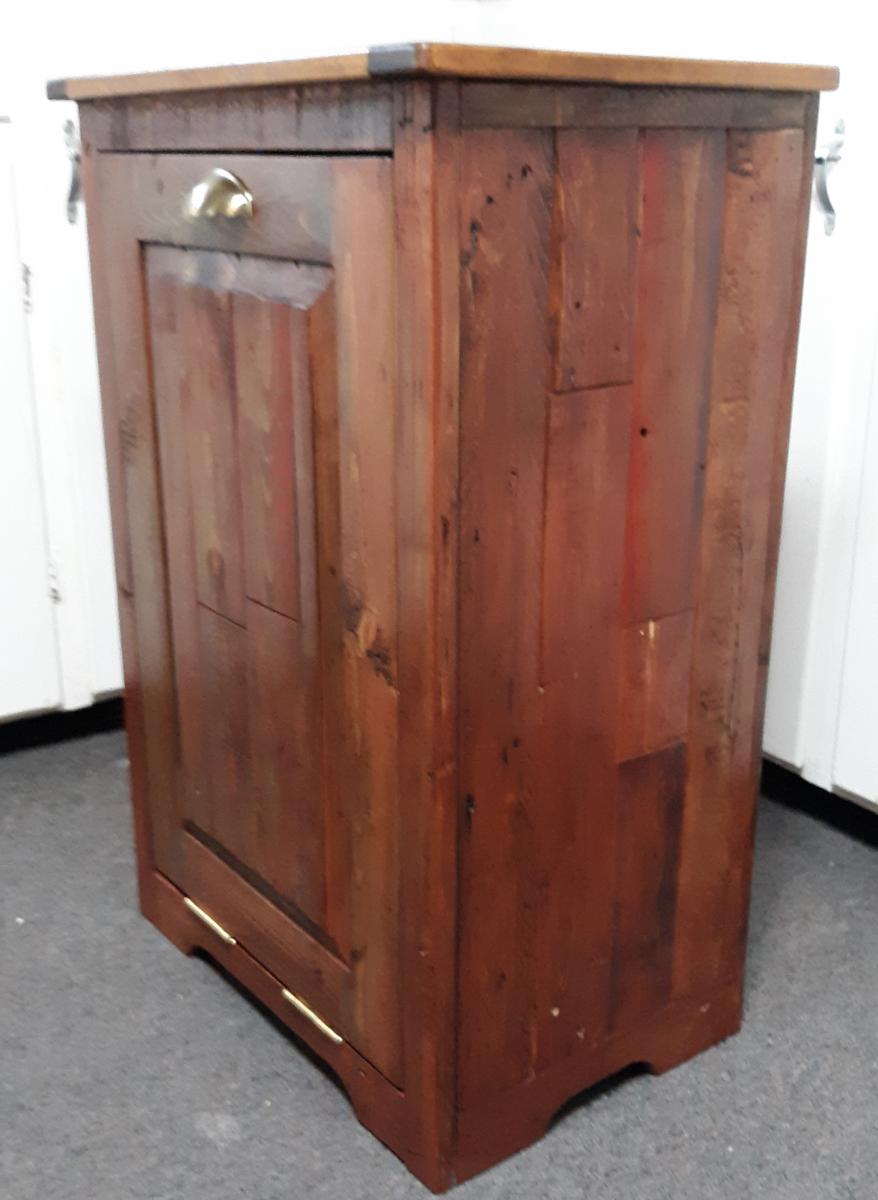
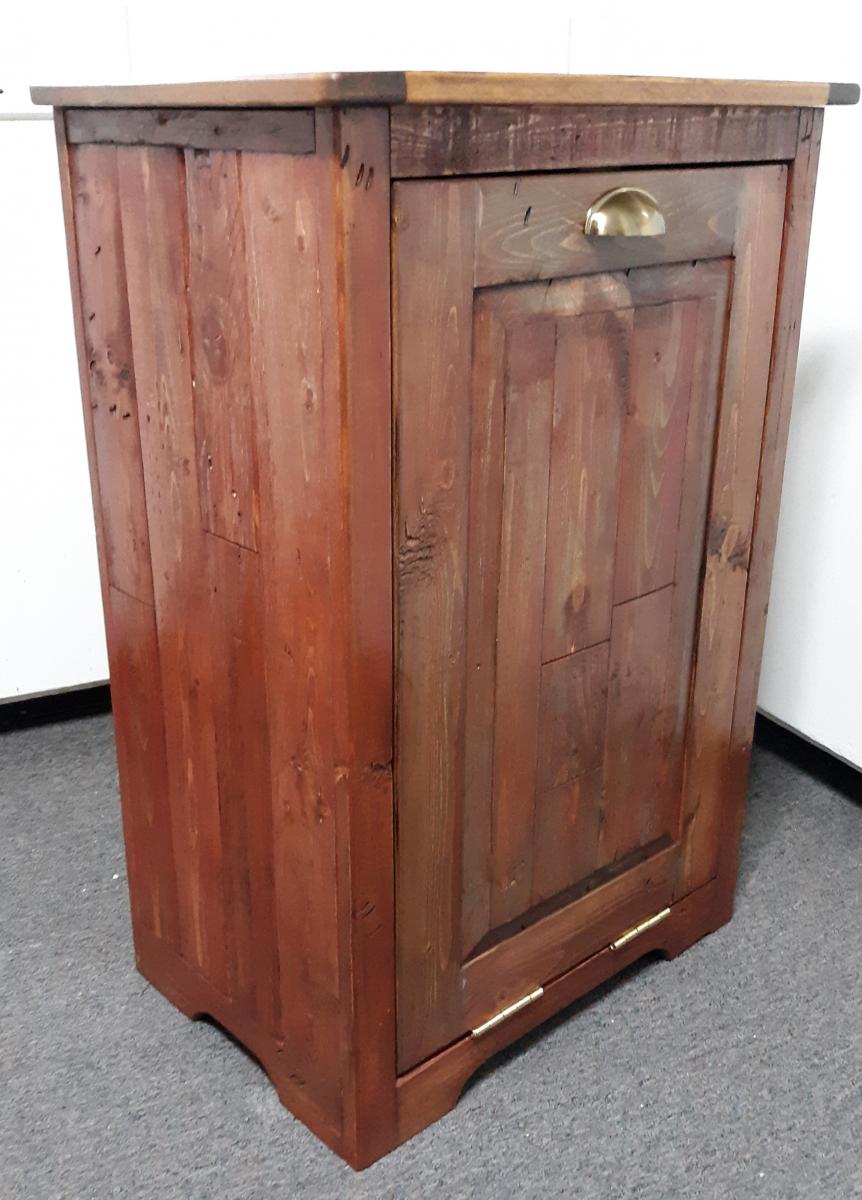
Here's my take on Ana's 'Wood Tilt-Out Trash or Recycling Cabinet.' It's made from lumber salvaged from pallets found locally. Two changes made from the original plans:
- Raised panel on the door
- Used two stop blocks inside the cabinet to limit motion on the door (instead of chains)
The only items that were purchased were the trash can, hinges, door pull and Kreg screws.
Links for techniques and finishes used in this project:
Raised panels:
https://www.finehomebuilding.com/2006/03/01/making-raised-panel-doors-o…
Milk paint finish:
http://toolmakingart.com/2008/06/16/two-layer-milk-paint/
Topcoat on cabinet:
https://sawsonskates.com/bobs-miracle-finish/
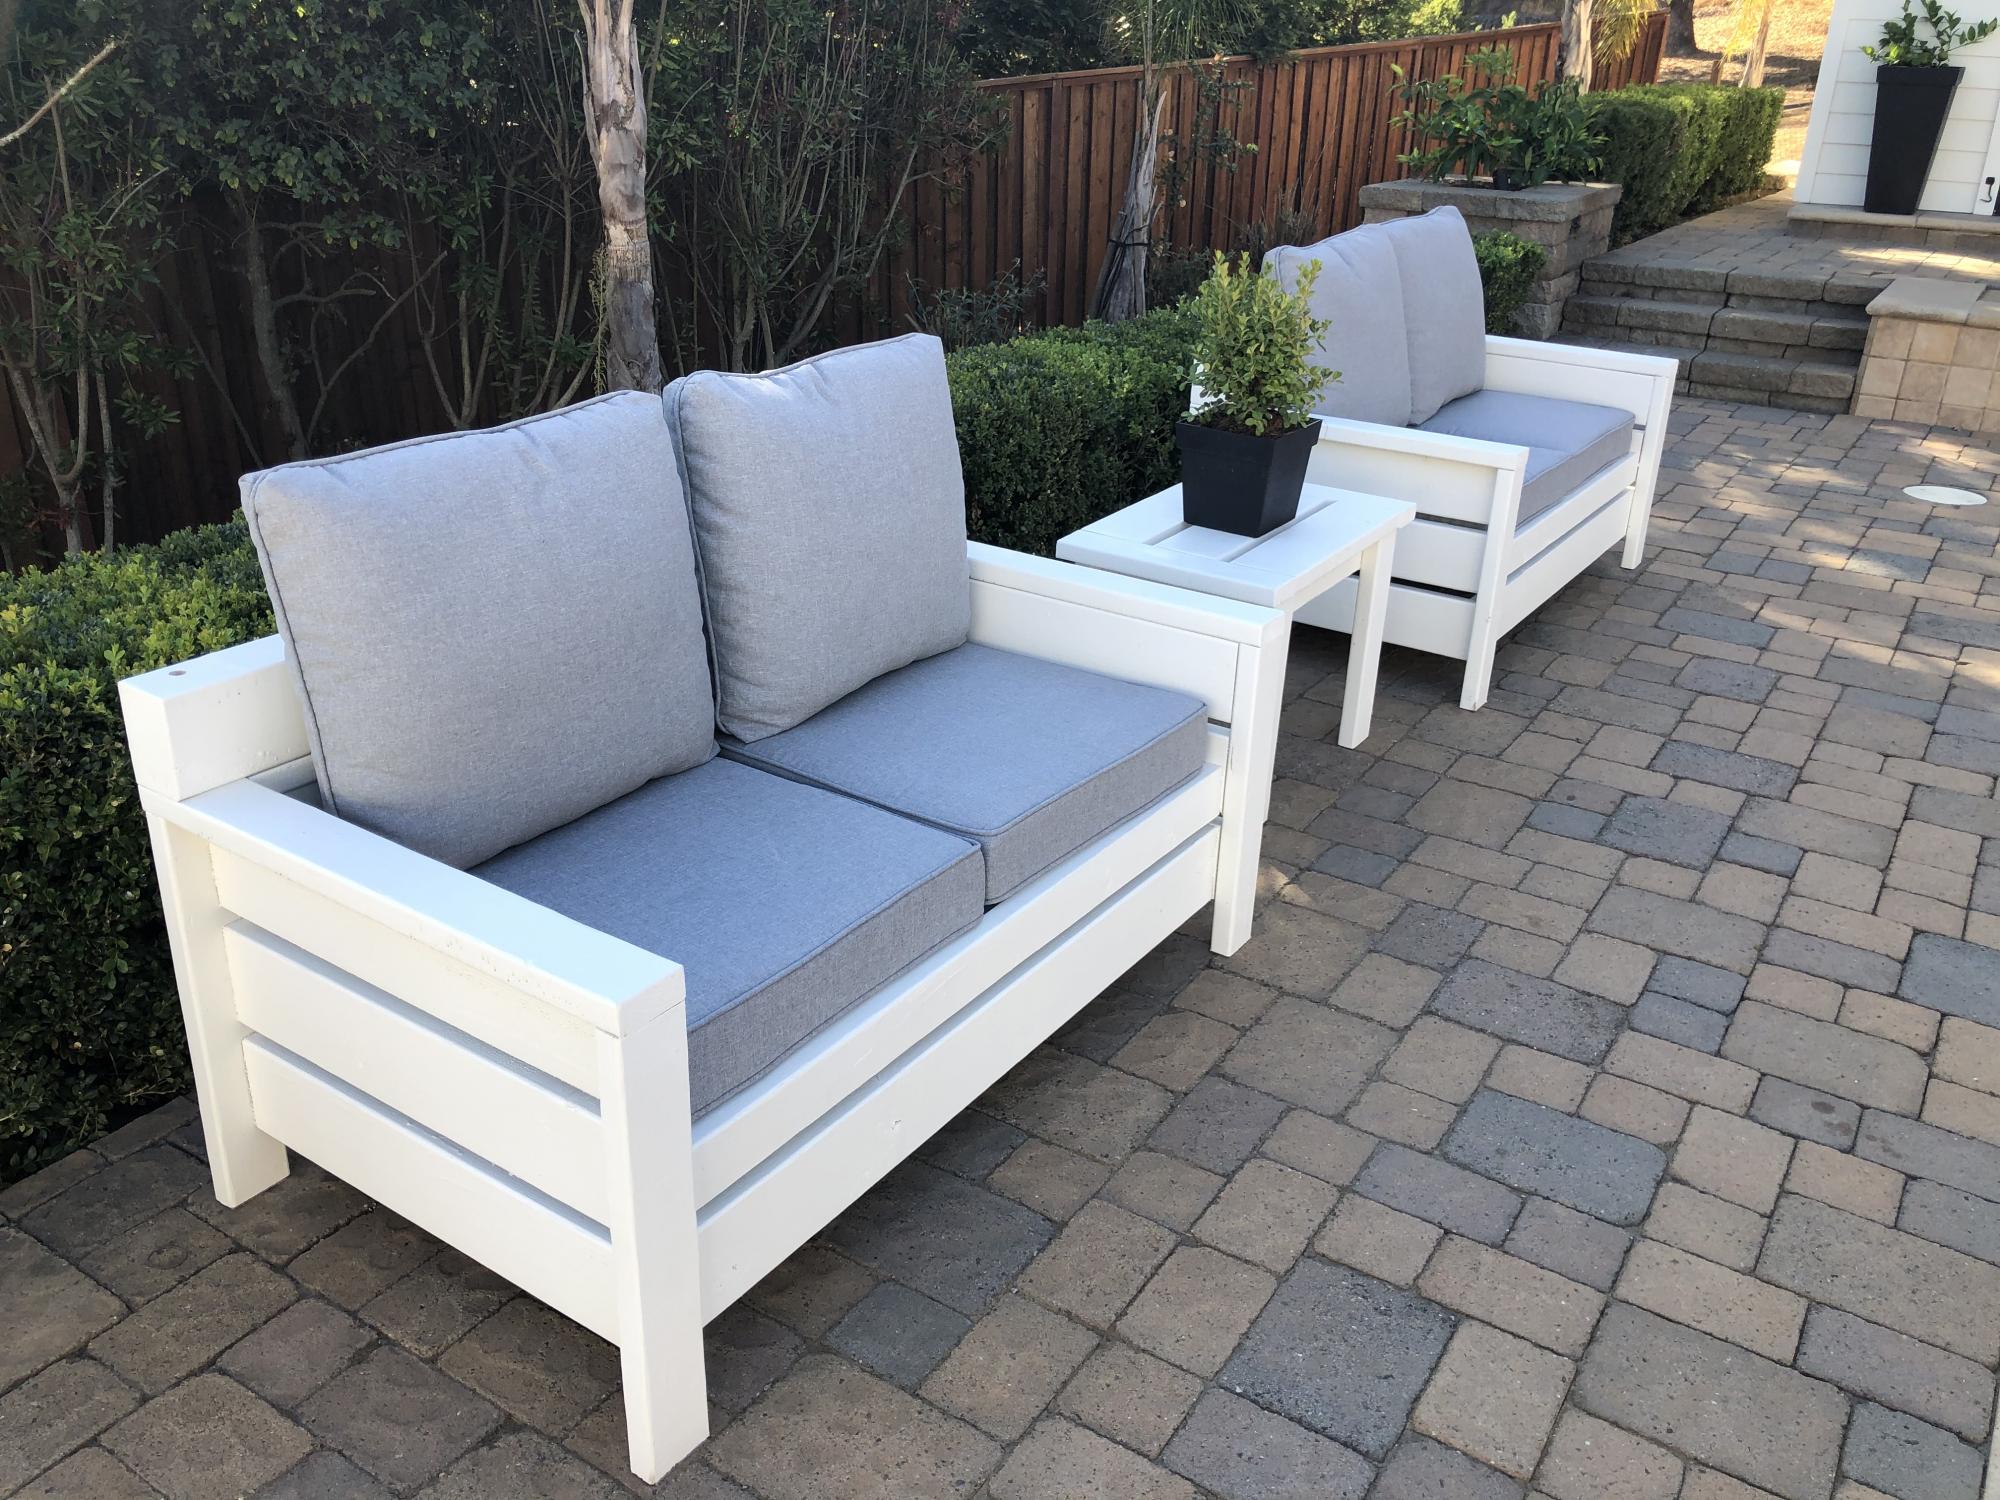
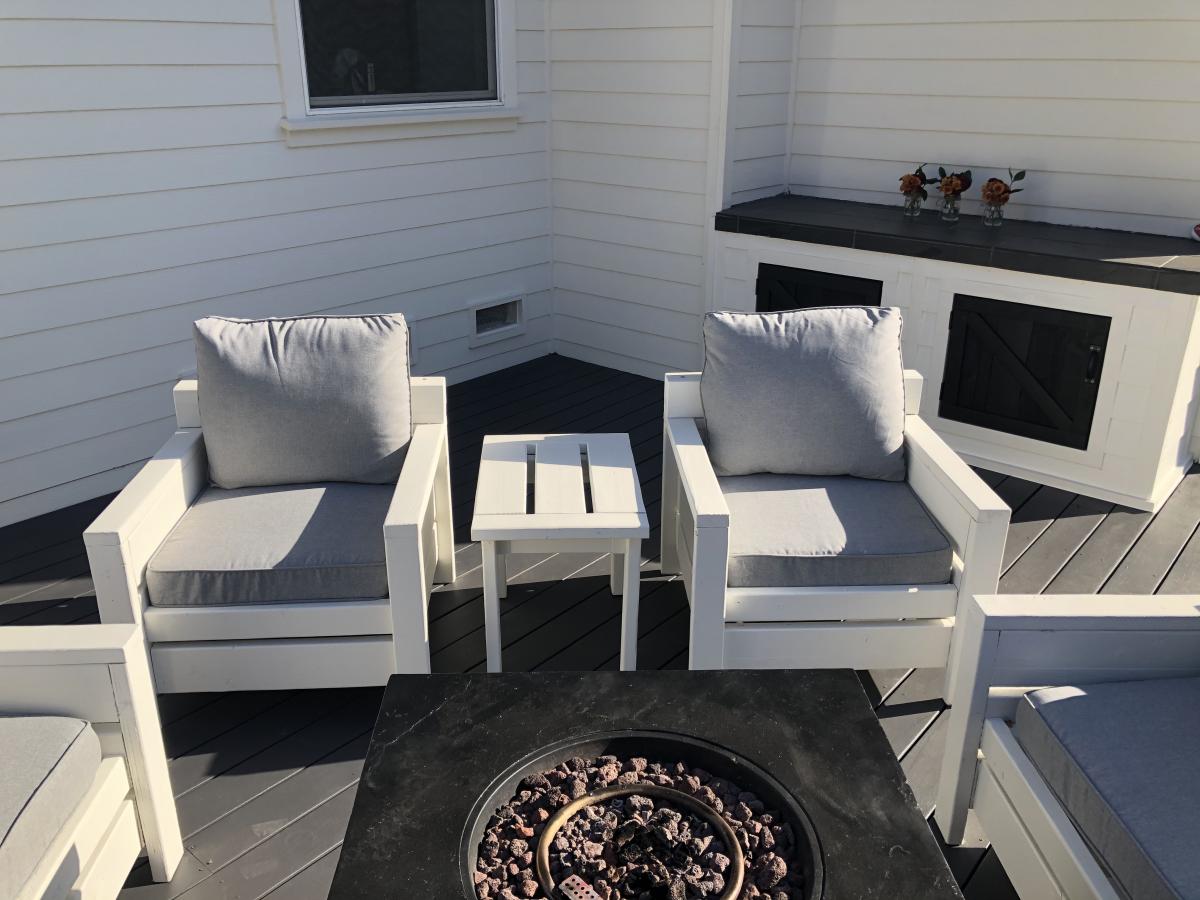
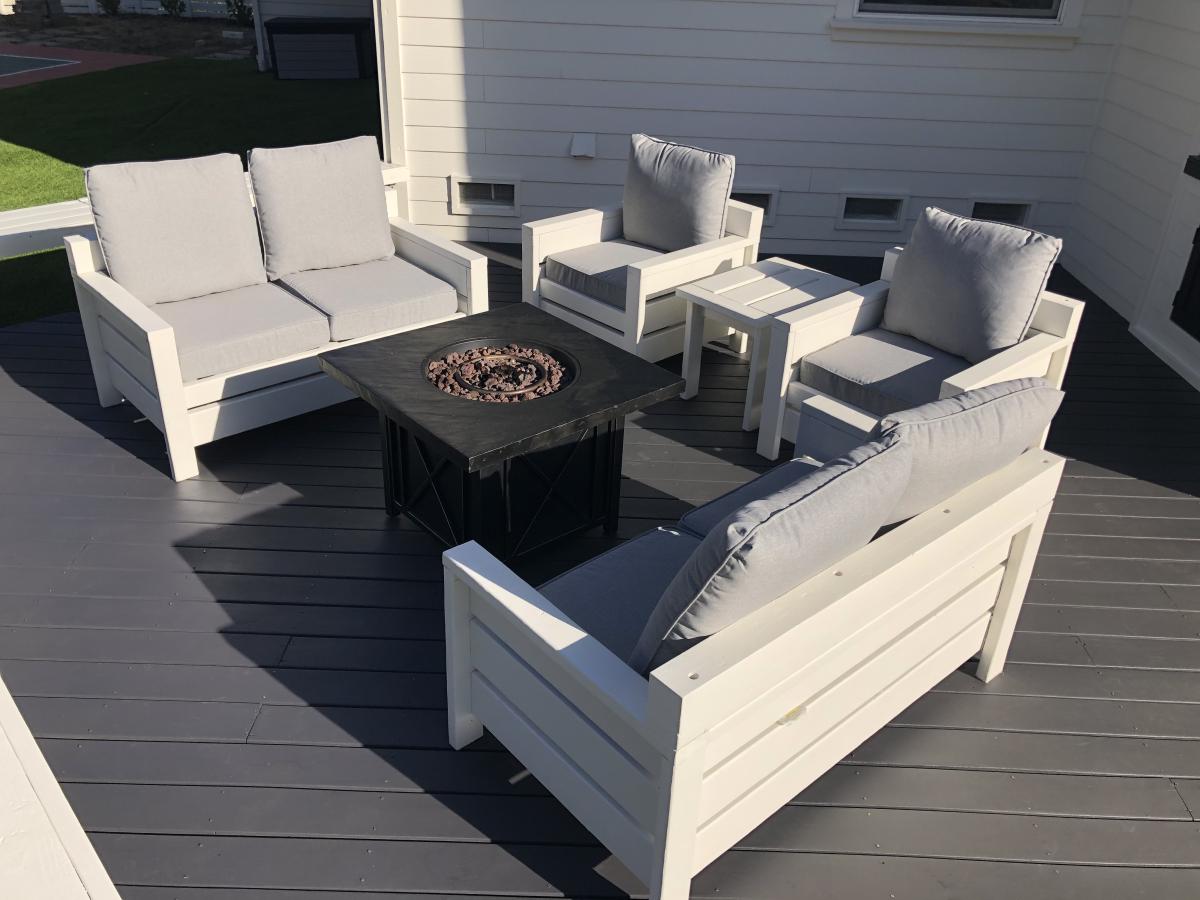
Great plans - thanks so much! Started with two chairs, and kept going...
MODS: Once built, we felt there wasn't enough back support, so added a 2x4 then 4x4 on top. Also added a 2x2 in back of the seat bed, so our 25" x 25" seat cushions didn't float around.
Recommend paint gun vs. painting by hand.
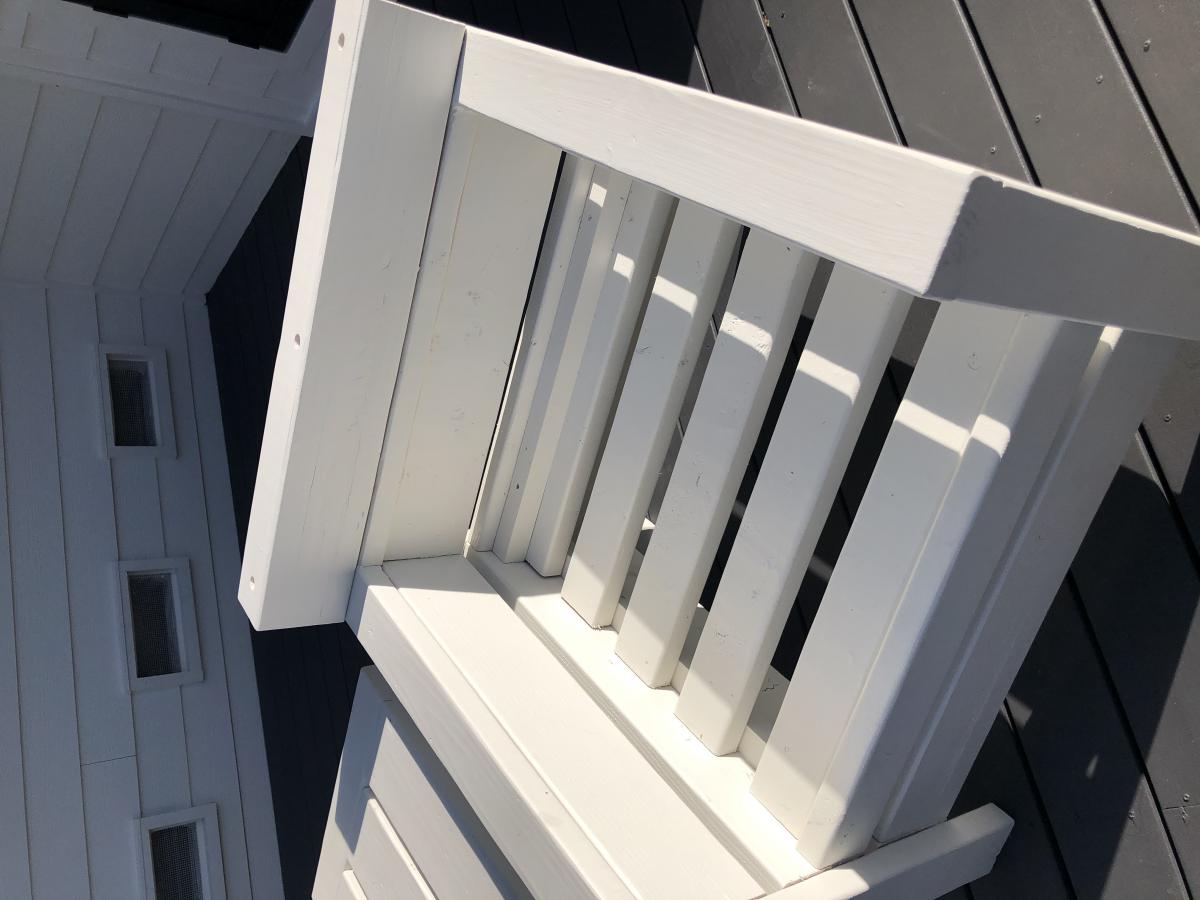

We made these toy chests for baby shower gifts. We followed the plan for the most part. We skipped the notching on the front of the chest, and opted to upholster the top. I added names to the front as well to personalize them a bit as well. Overall, it went pretty smooth, once we got going. The plans were clear and easy to follow. This was our first build off of plans from Ana-White, and I think they turned out pretty nice!
Tue, 11/04/2014 - 08:47
Such a sweet gift - made with love I can tell. Great job!
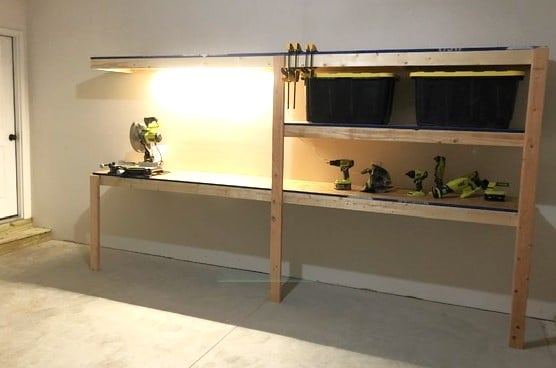
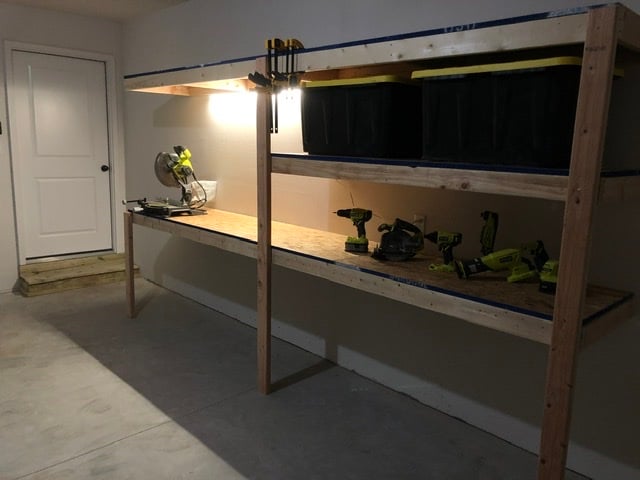
I used Ana’s plans for the garage shelves, but modified them to include a work bench. A lot of you tubers have done this, built a combination work bench and shelving, but I built nearly everything according to Ana’s plans. 12 feet long, 24 inches deep. I got some LED lights (two 1600 lumen strip lights) from menards that really brighten up my entire garage and make the work bench more useful. The one thing I really wanted was to not have a supporting pillar on the work bench to keep it open, and I loved how it turned out. I went for 3/4 plywood, mostly to have a stronger work surface, and I’m glad I did. I have since added a supporting 2x6 off of the study to support the top shelf above the bench and its strong enough to do pull-ups off of, and I have reinforced the support leg under the bench with a cross bar. Thanks for the great plans!!
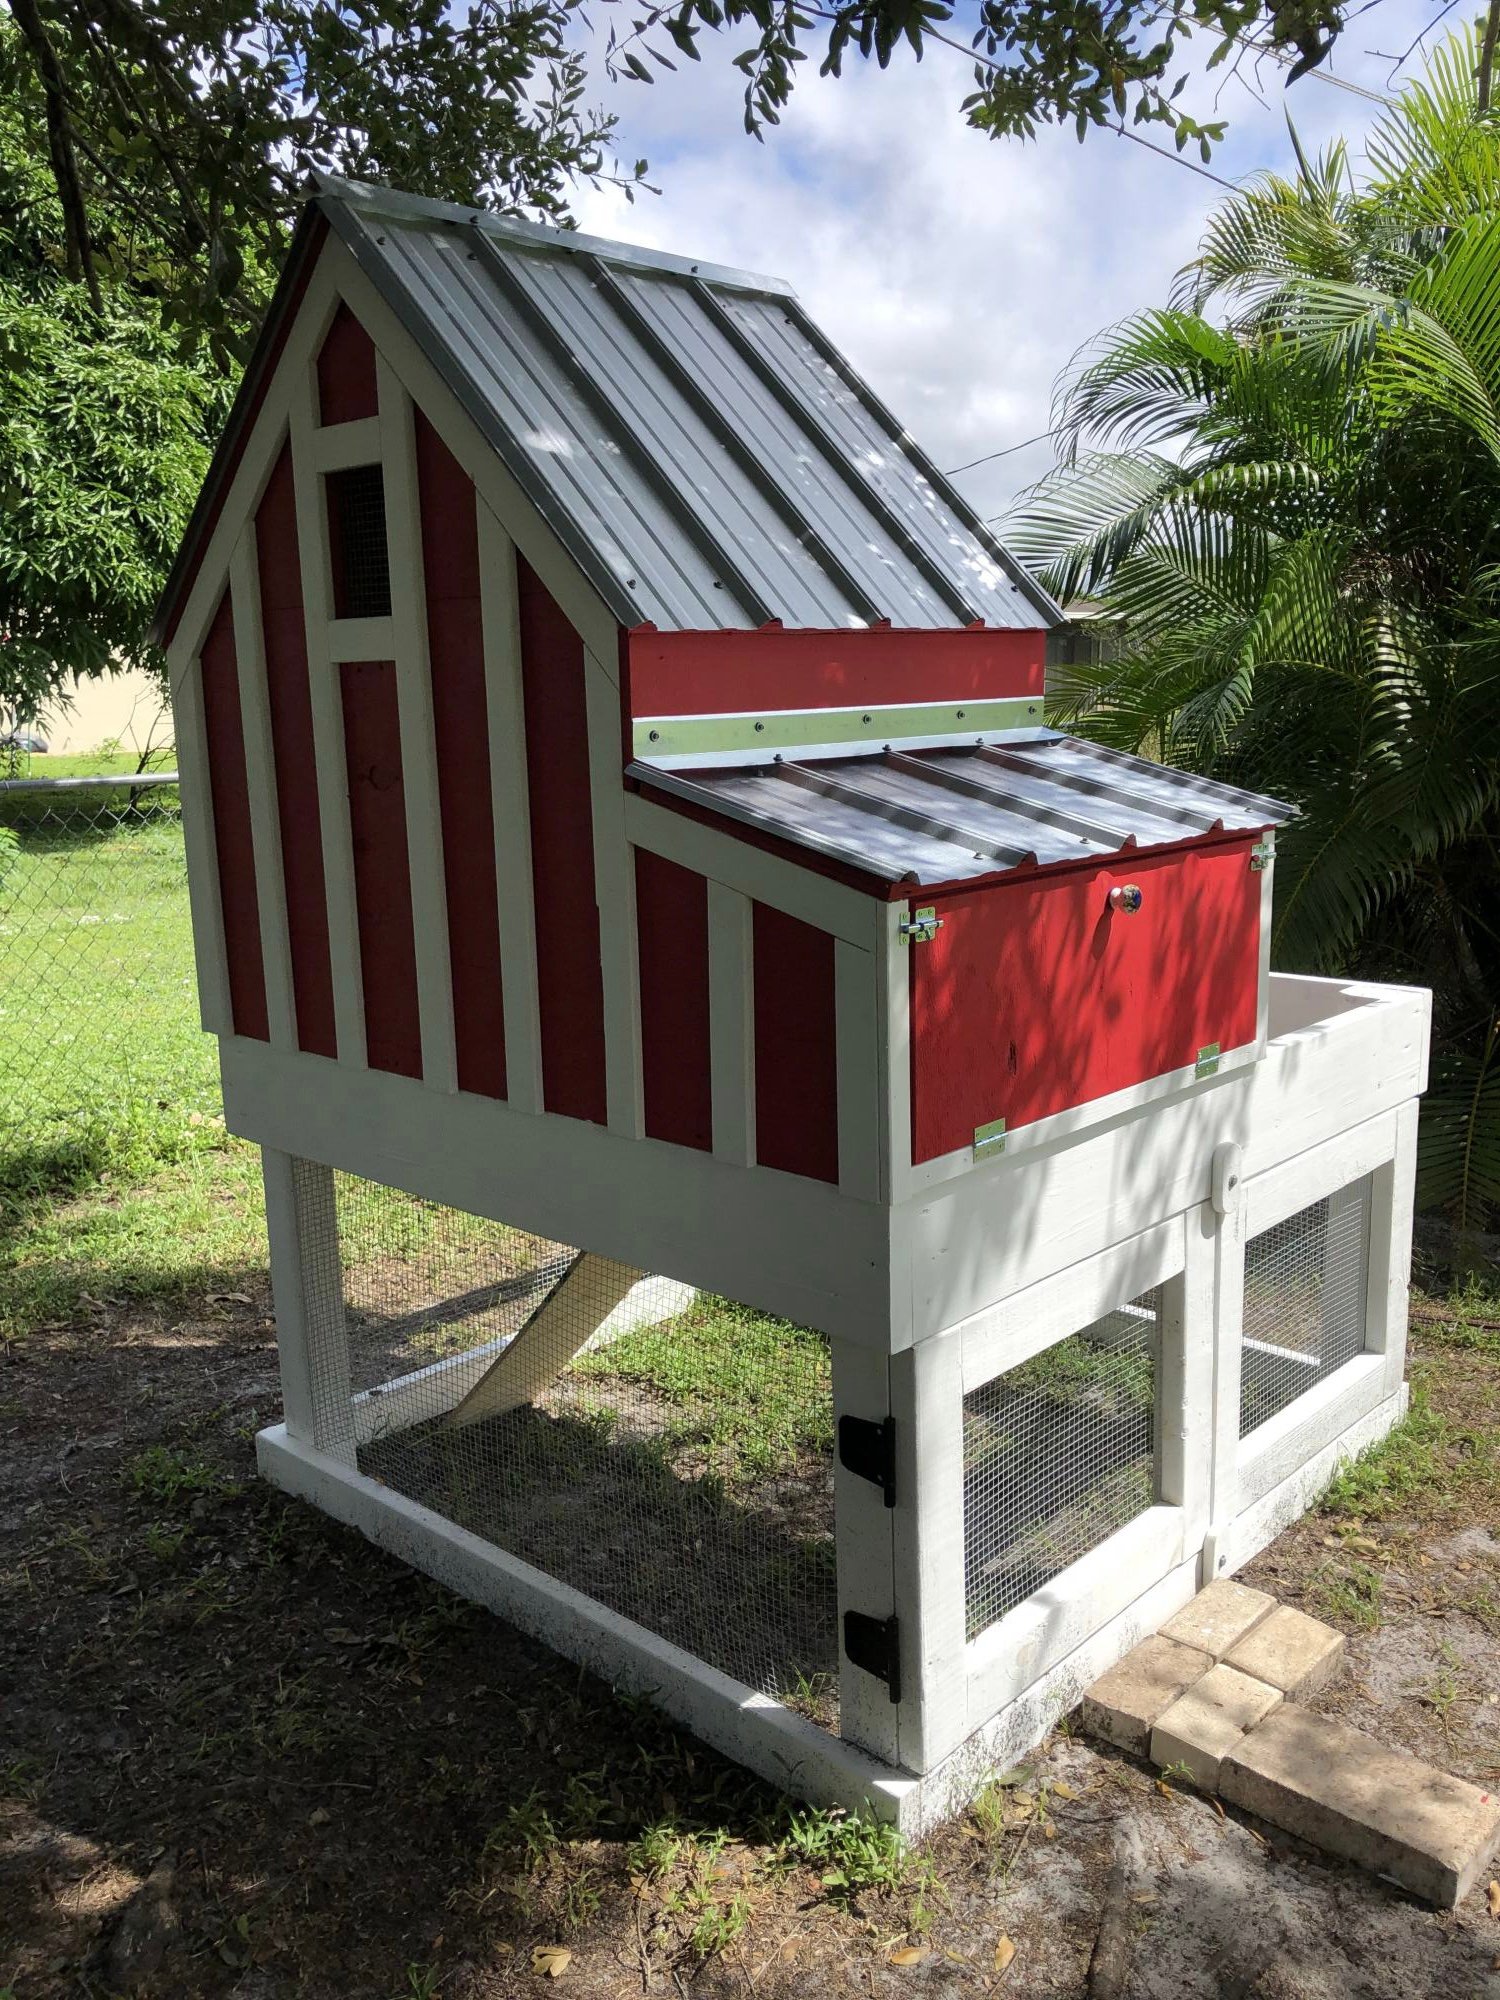
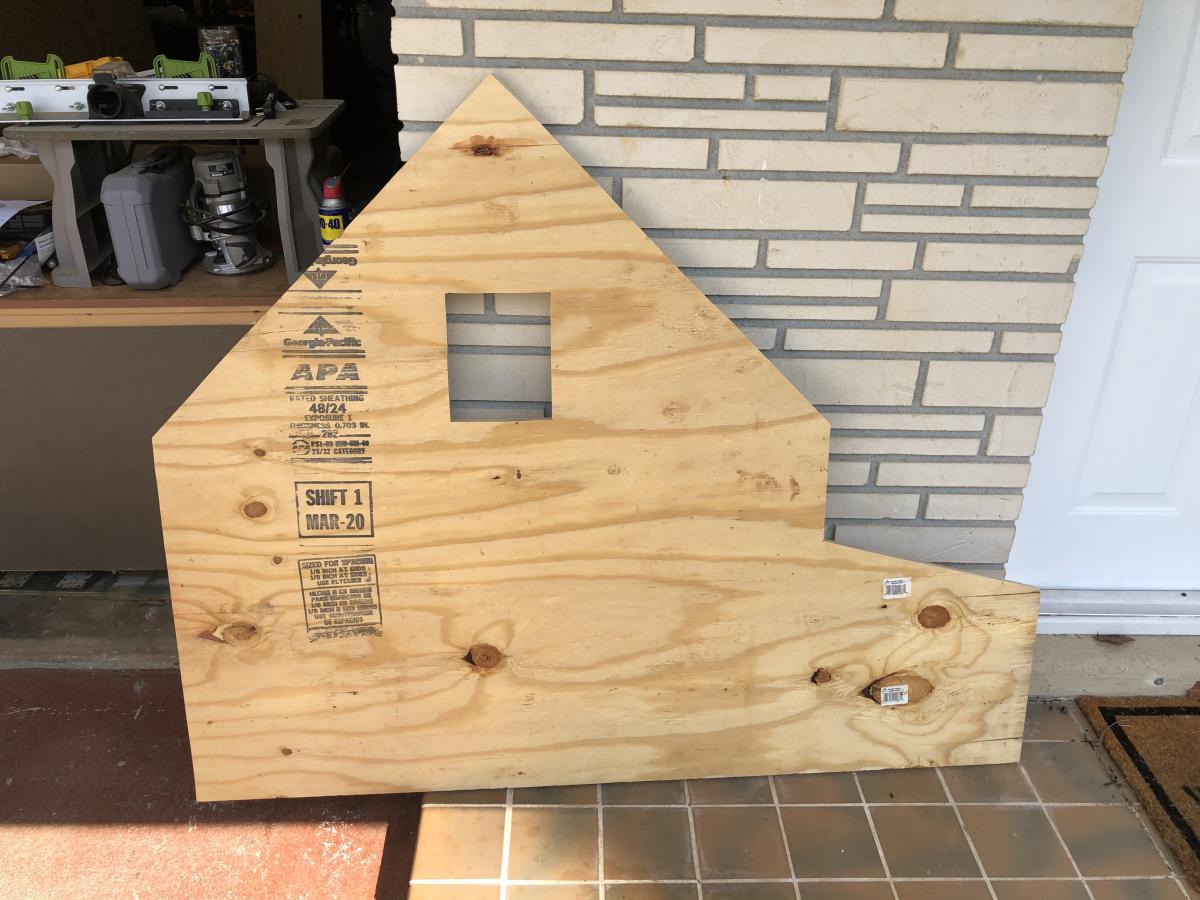
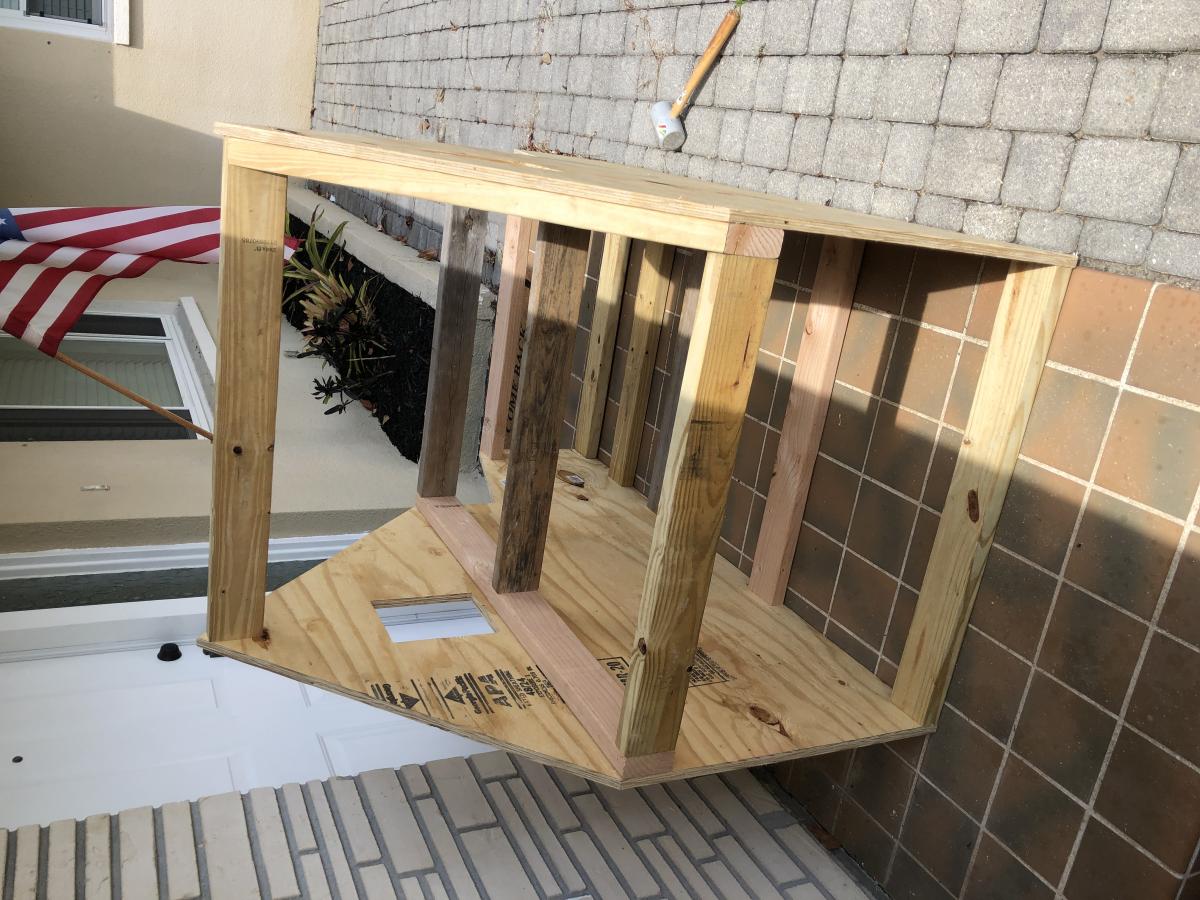
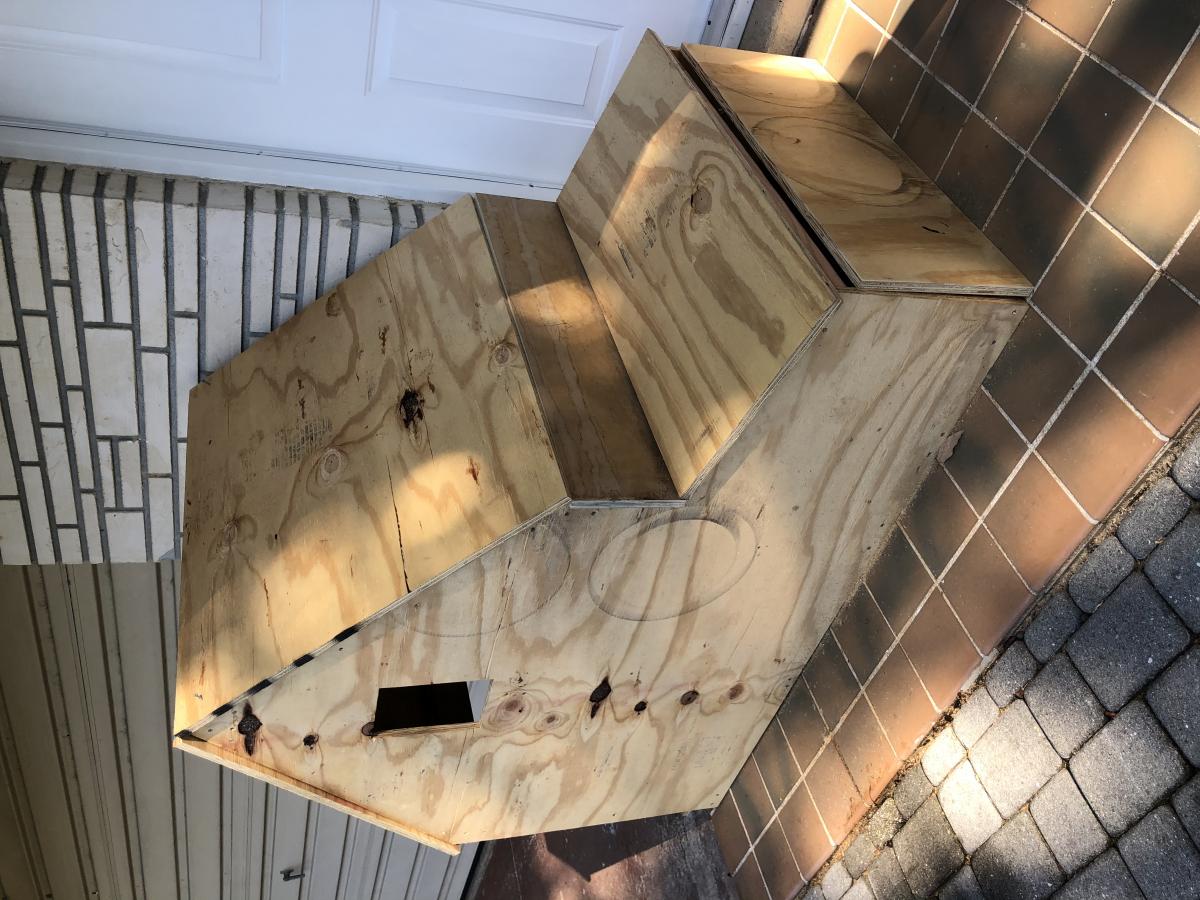
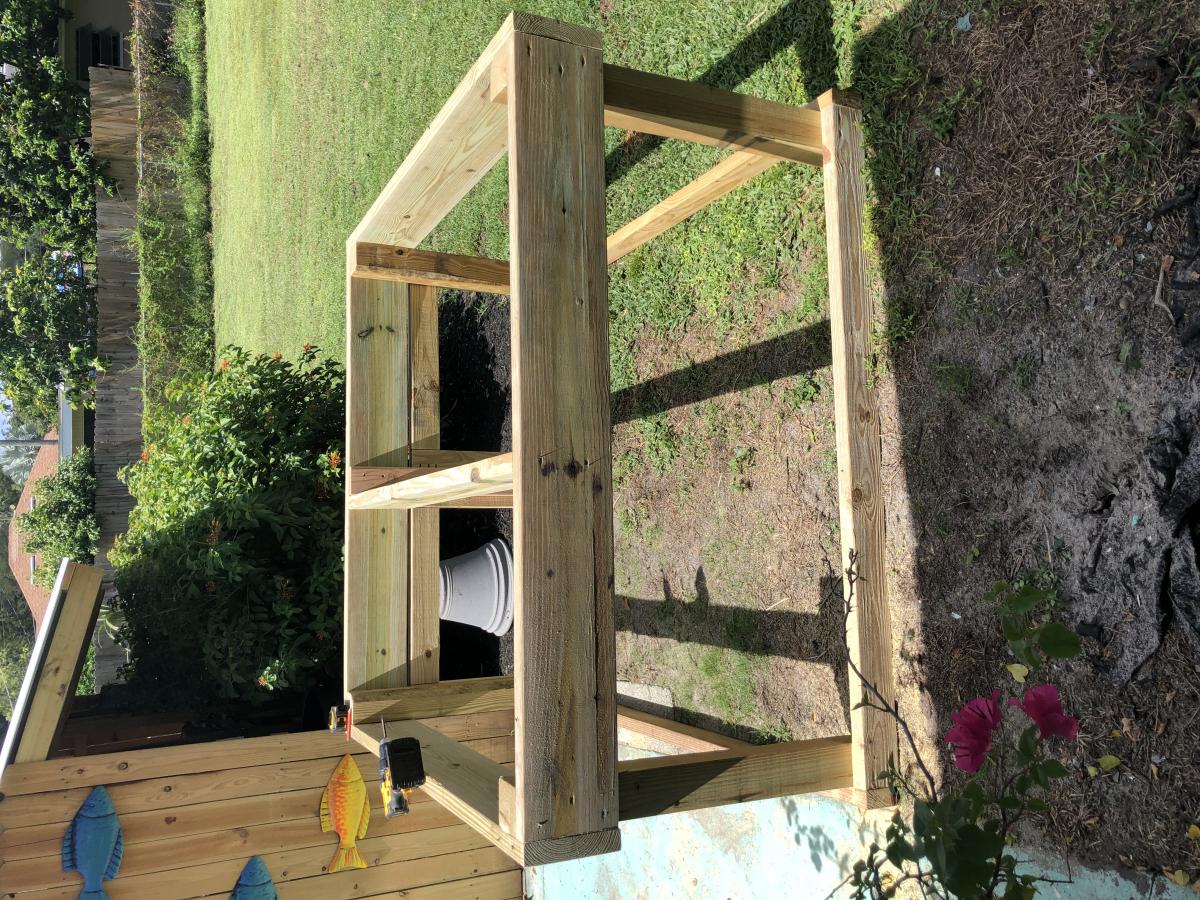
Housing three (3) hens now that are about a month old. Probably late January before can expect any eggs.
Great project. Metal roof worked well. I used flashing for the ridge caps. Have allowed for as much ventilation as possible for this Southwest Florida heat.
Thanks Anna, for sharing this project.
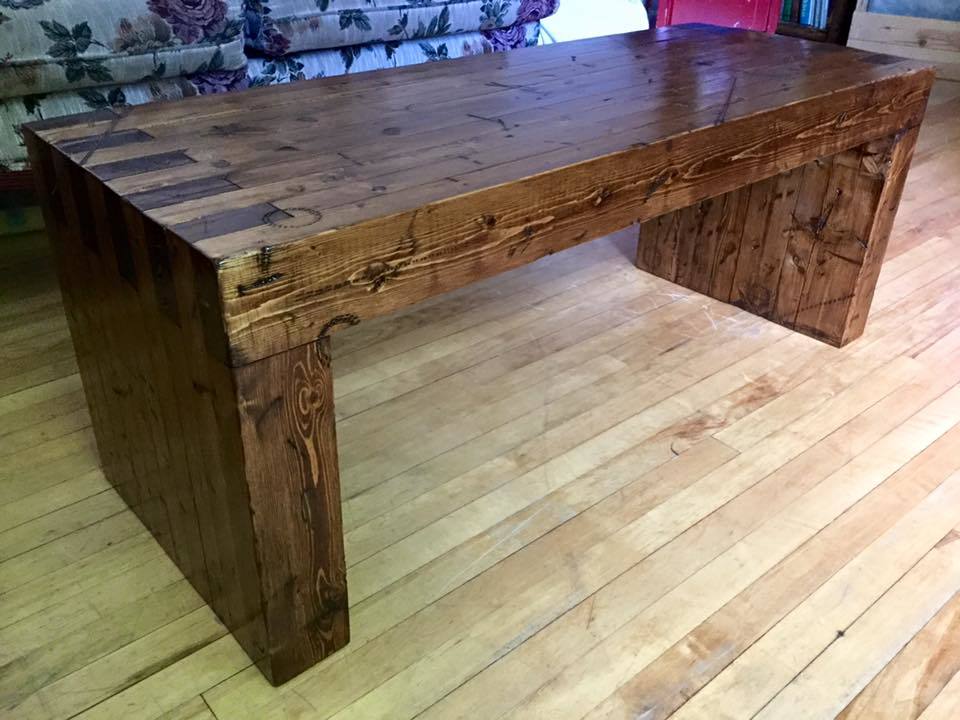
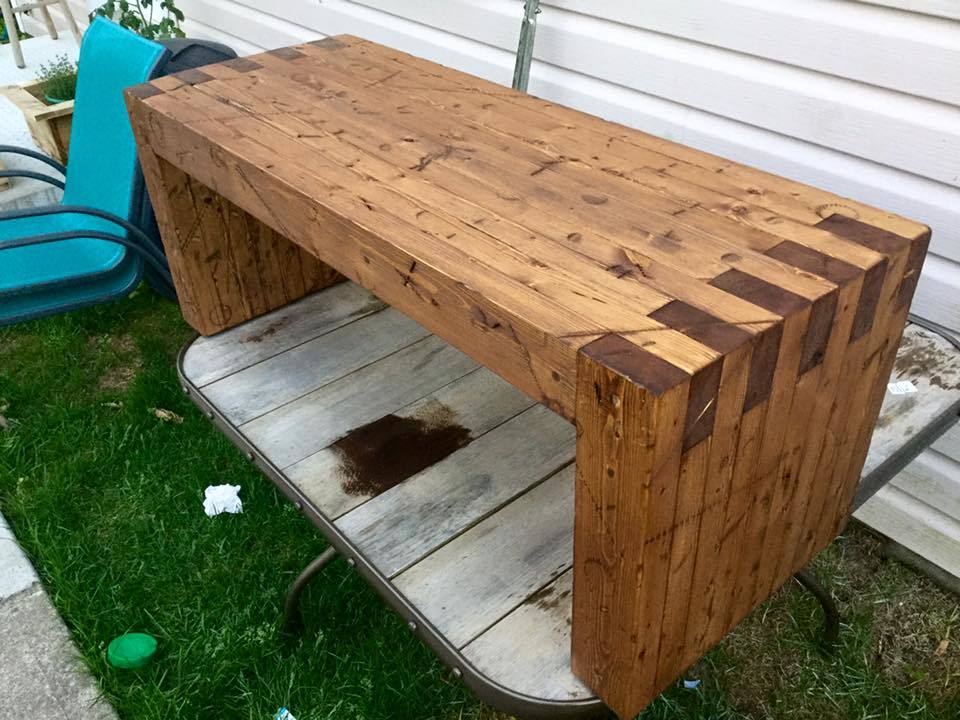
We had seen the modern slat bench before, and stumbled upon the plans on Ana-White, we did look further to see if we could find a style for us and had seen one made entirely out of 2x4's that also cam with plans, http://diycandy.com/2015/06/modern-williams-sonoma-inspired-diy-outdoor…
I thought I would share mine as it differs slightly, I opted to age my bench before staining as well as added adjustible feet so I can level it no matter where I put it. I am using mine as a coffee table, and if I have too many people over, I just use it as a bench to accomodate.
I hope that everyone enjoys the look of how my bench turned out. To reproduce the look of mine I described and linked the 2 products I used for the finish. But I also used the following power tools, Table Saw, Drill and Sawzall, belt sander and palm sander. I used the sawzall as I made a slight error and had some overhang that needed trimming. We used numerous items to get the outside beat up prior to the stain and sealer. The finished product looks amazing and I don't fear someone running away with it at 80lbs.
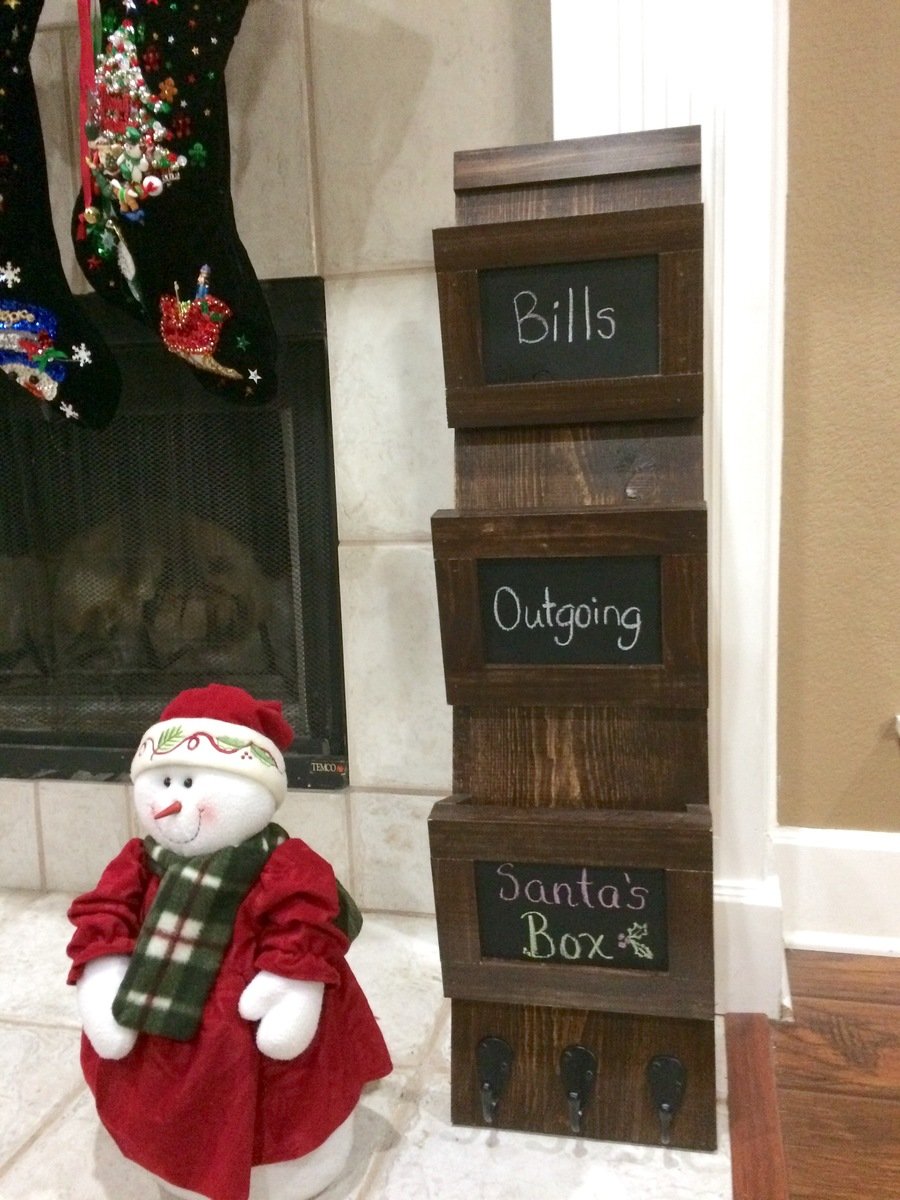
Great quick project. Made two so that I could give one as a gift. Used chalkboard paint so I could change box names. Made bottom box a Santa box for the Christmas season.

I basically stuck to the plans, but I shortened the length of the table just a touch, and lengthened the bench to fit just inside the legs. I also used 2x4s for the legs, tapered them for aesthetics (similar to some other posters), and reinforced them with "L" brackets to reduce the wobble. We finished it with Semigloss white paint, Minwax Honey stain, and Minwax Gloss Polyurethane.
If I can make this table, just about anyone can.

Mon, 11/07/2016 - 11:29
Your table is beautiful!
Do you remember how you tapered your legs? I'm trying to figure out if I can do it without a table saw.
Thank you!
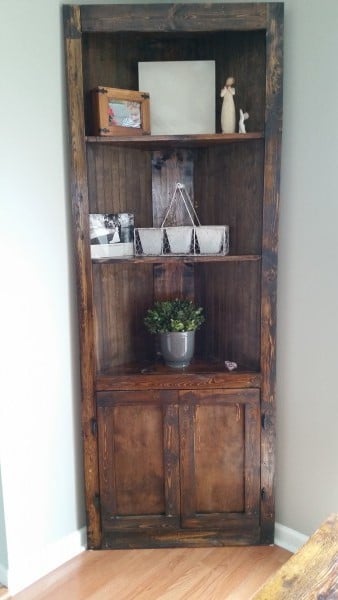
This was very easy to make. Stained with minwax dark walnut. It's very sturdy too.