Community Brag Posts

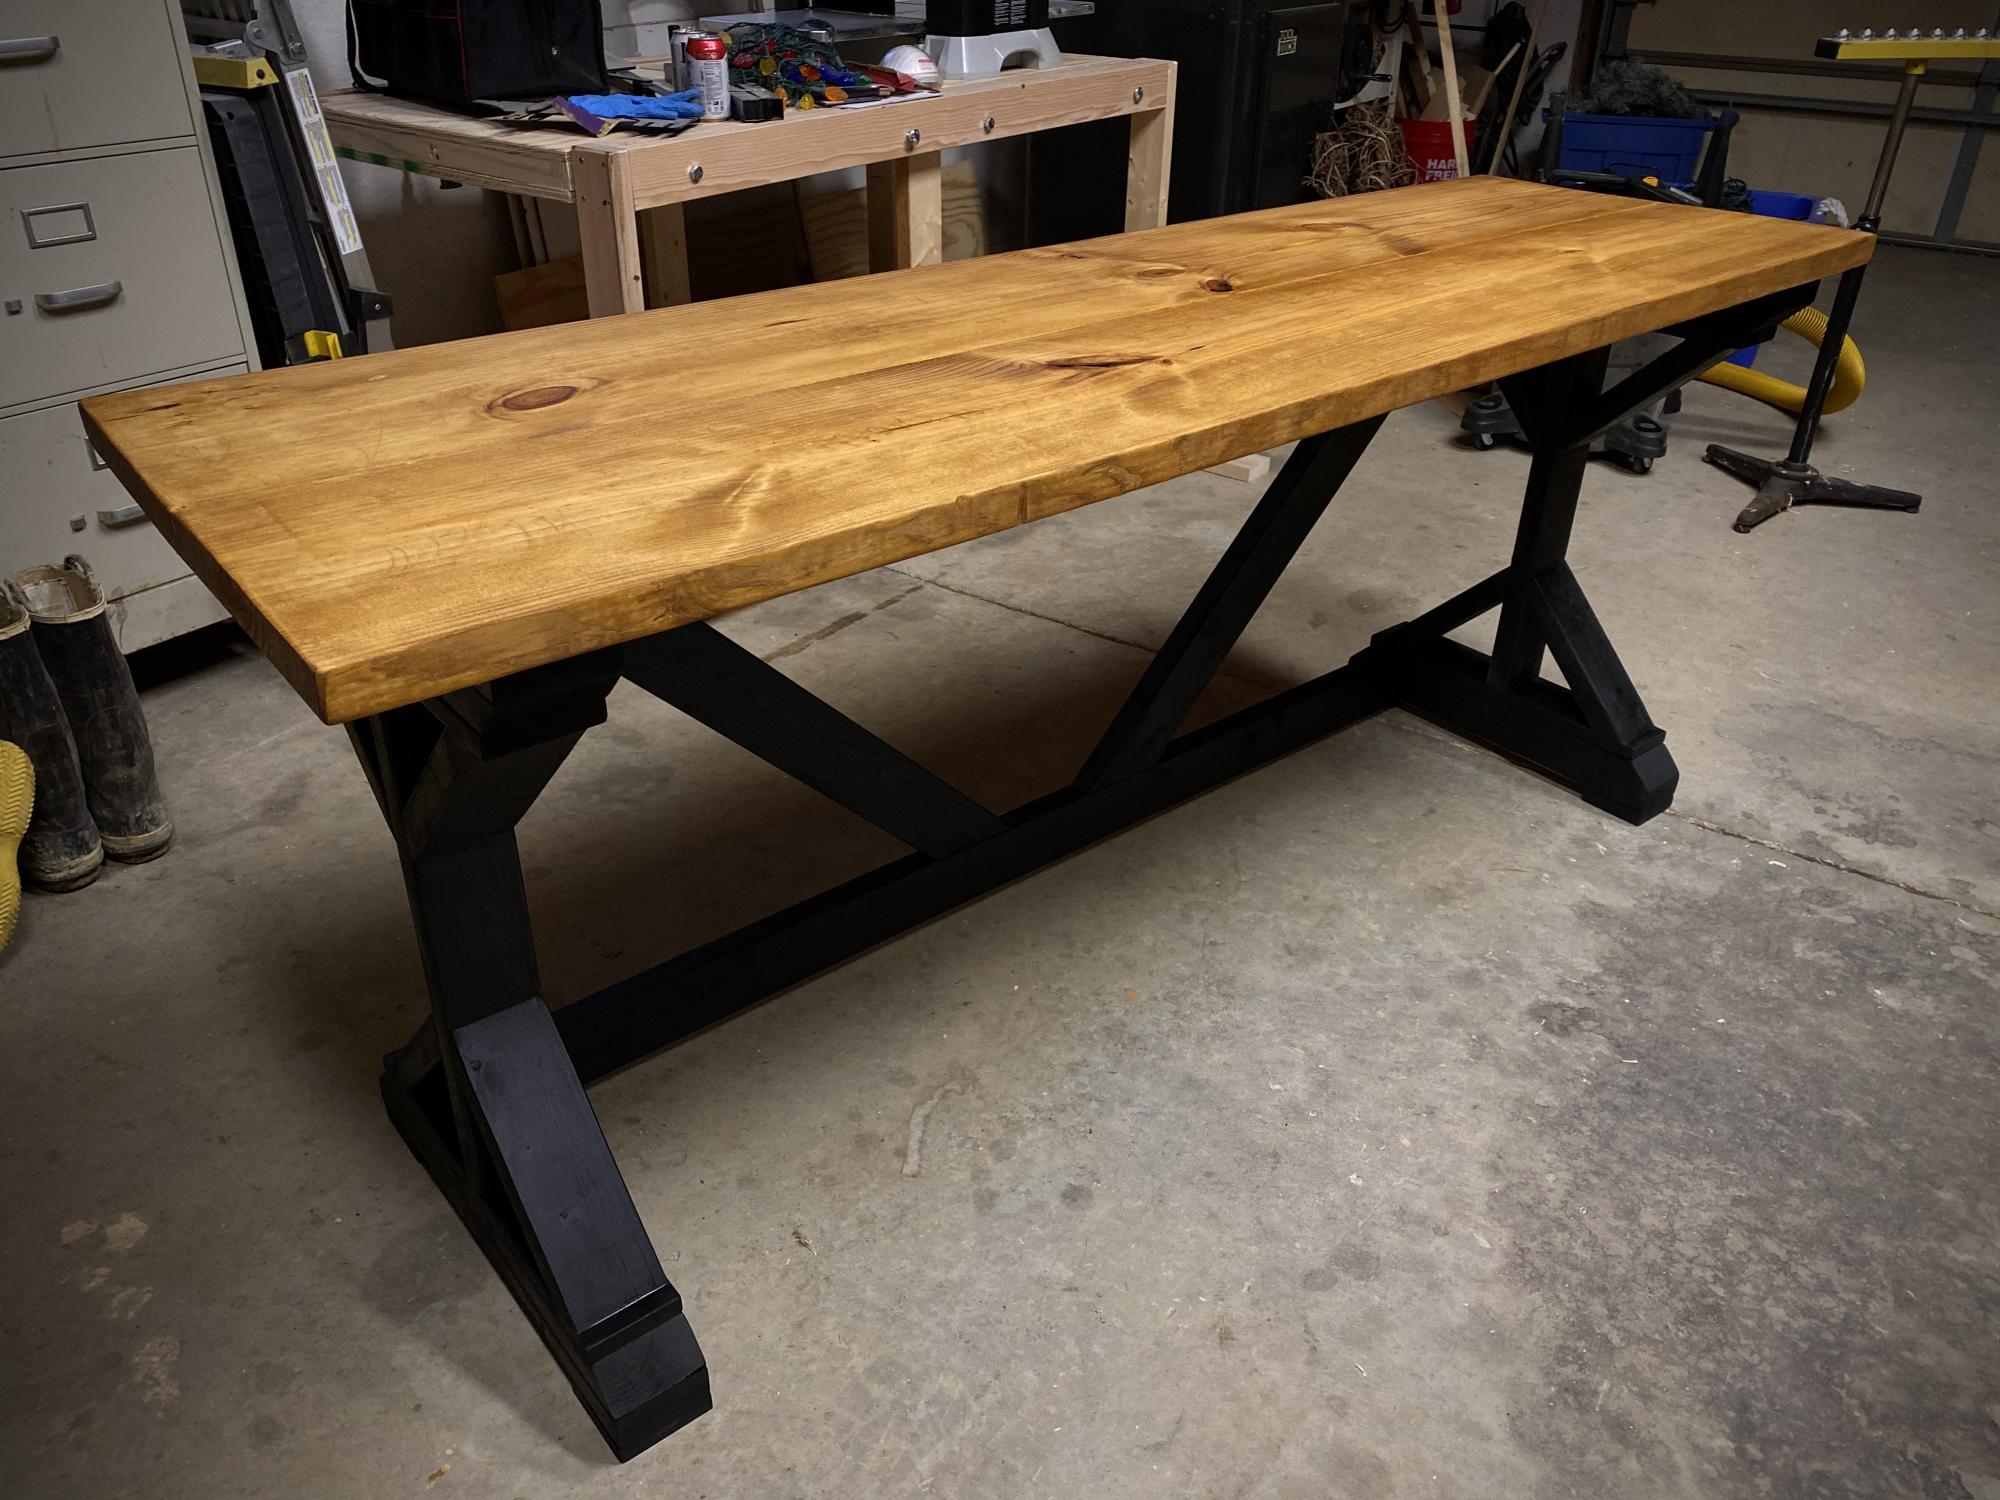
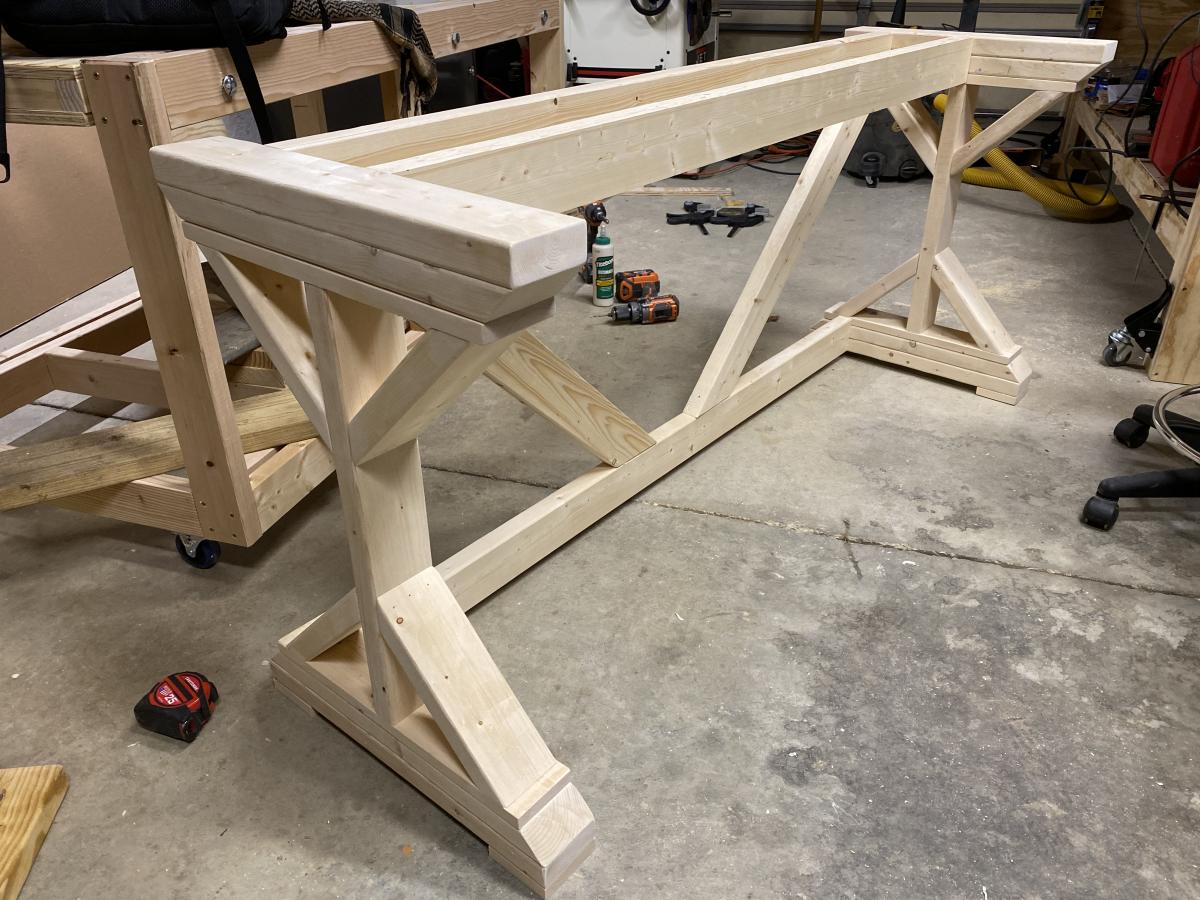
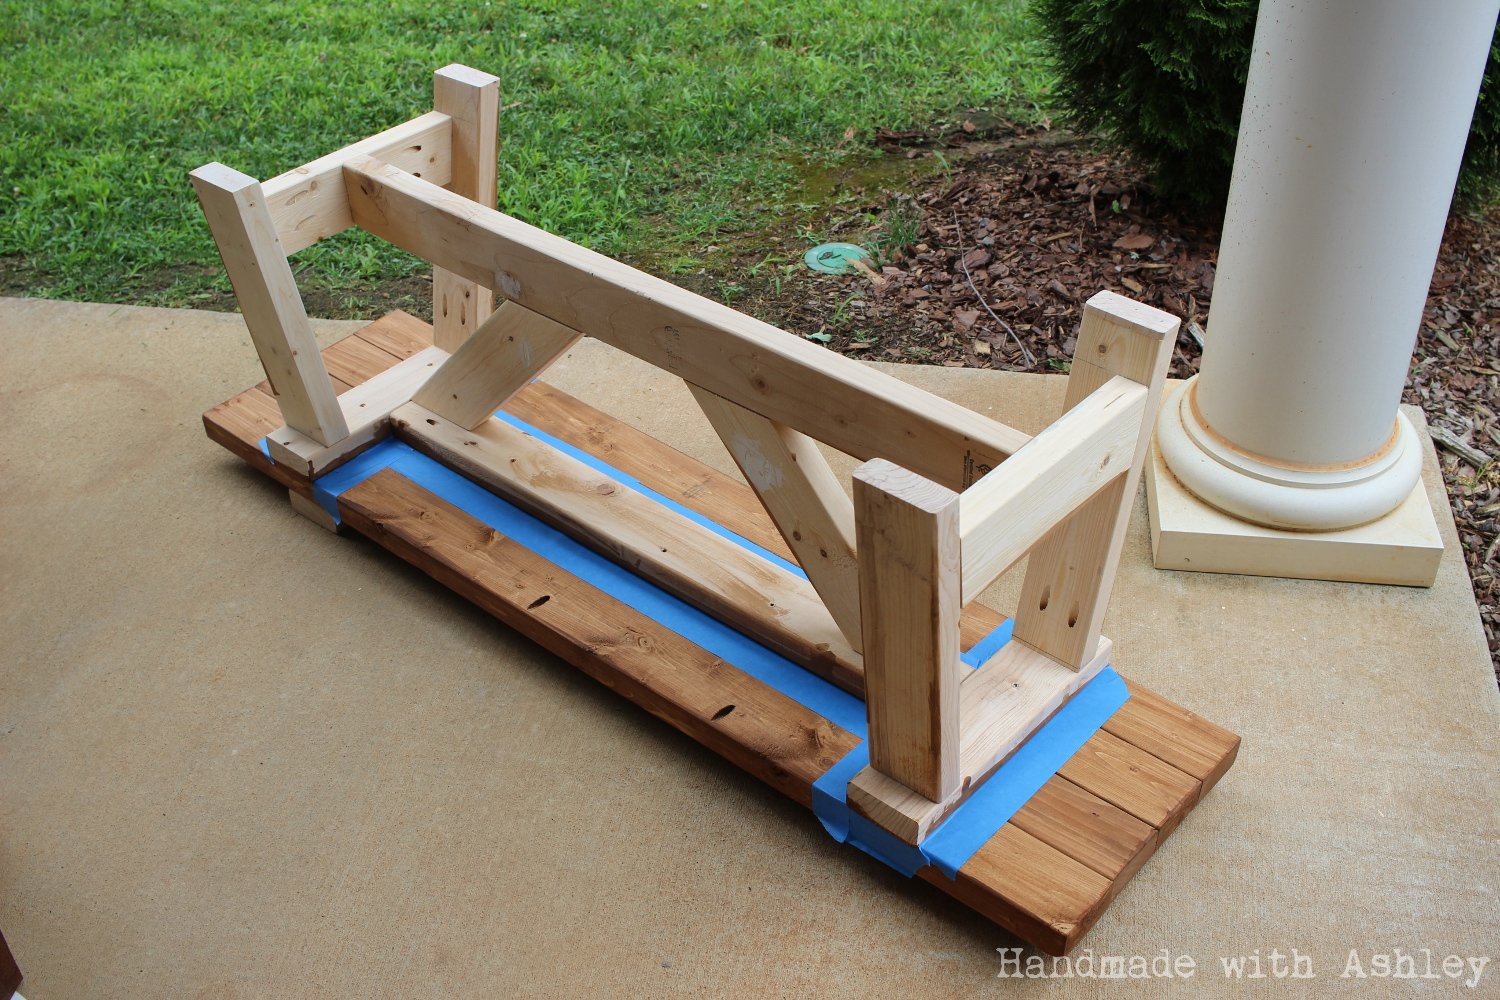
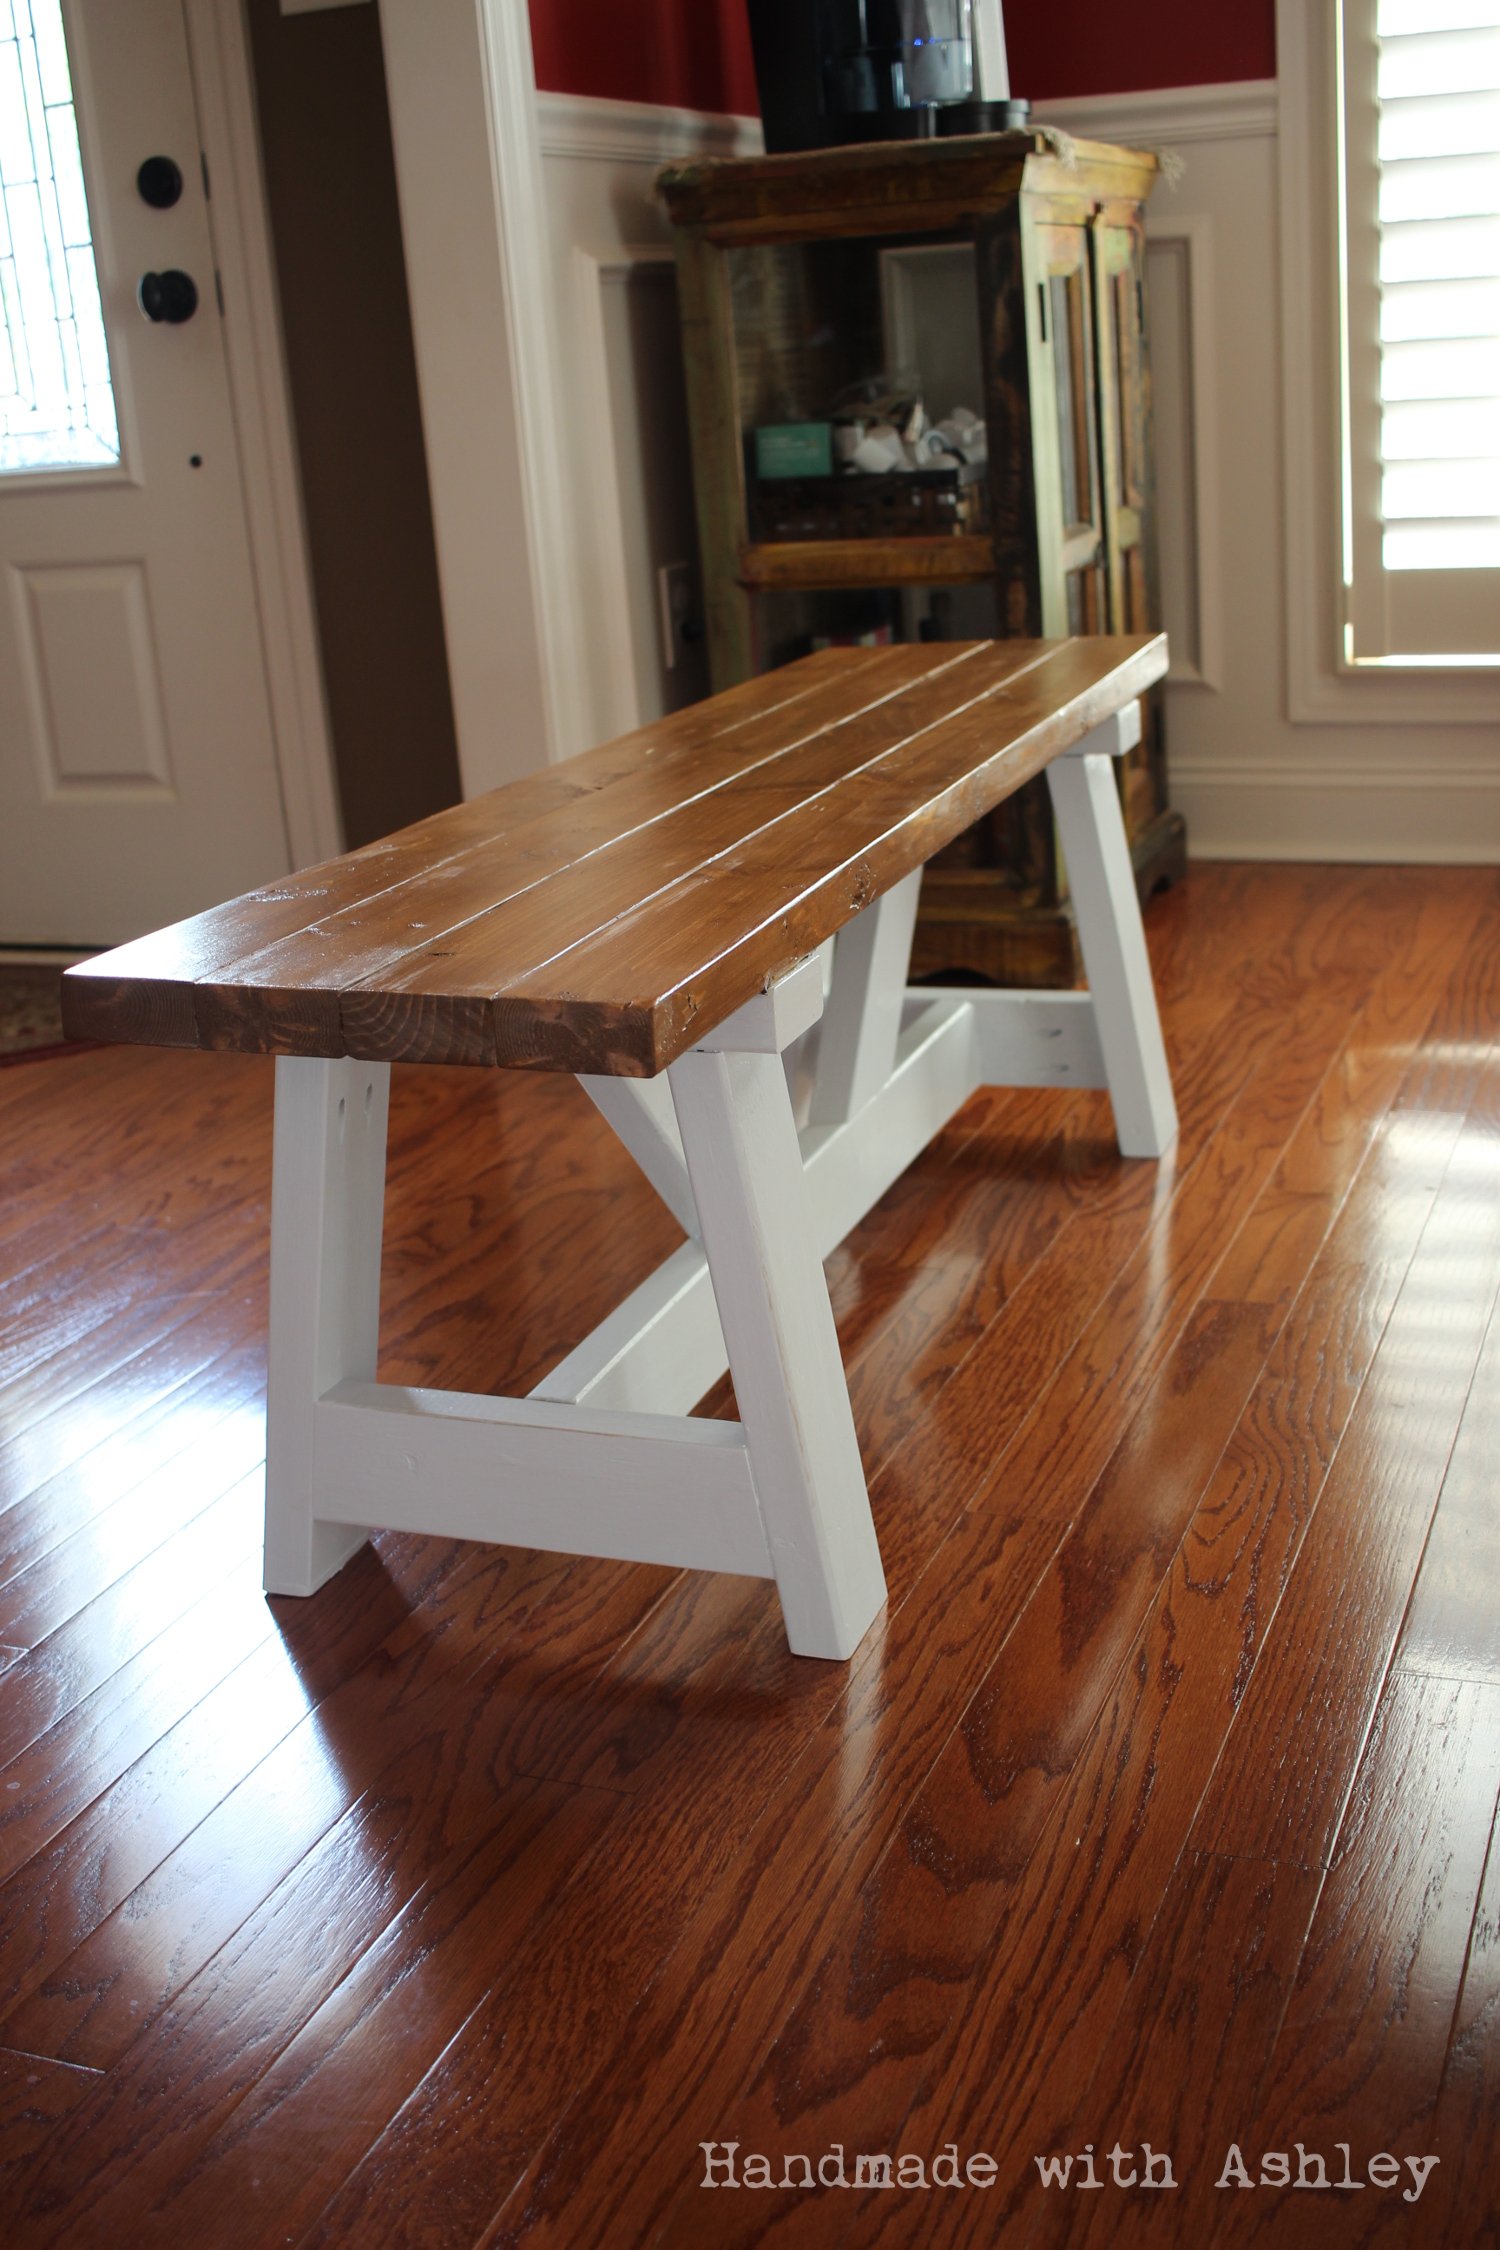
DIY Providence Bench

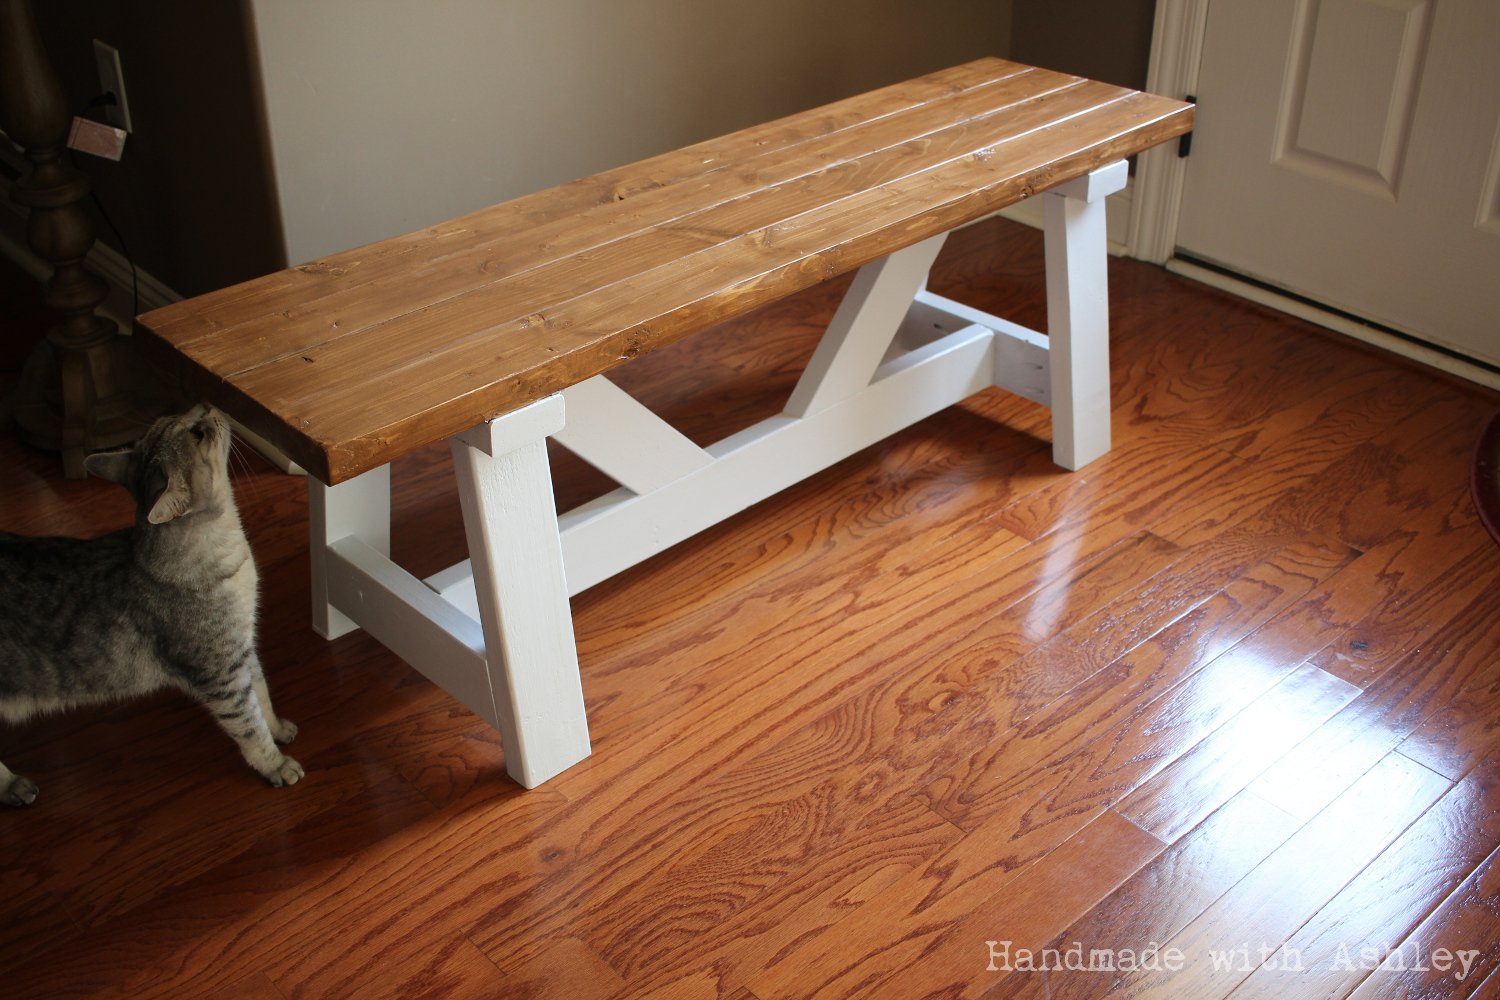
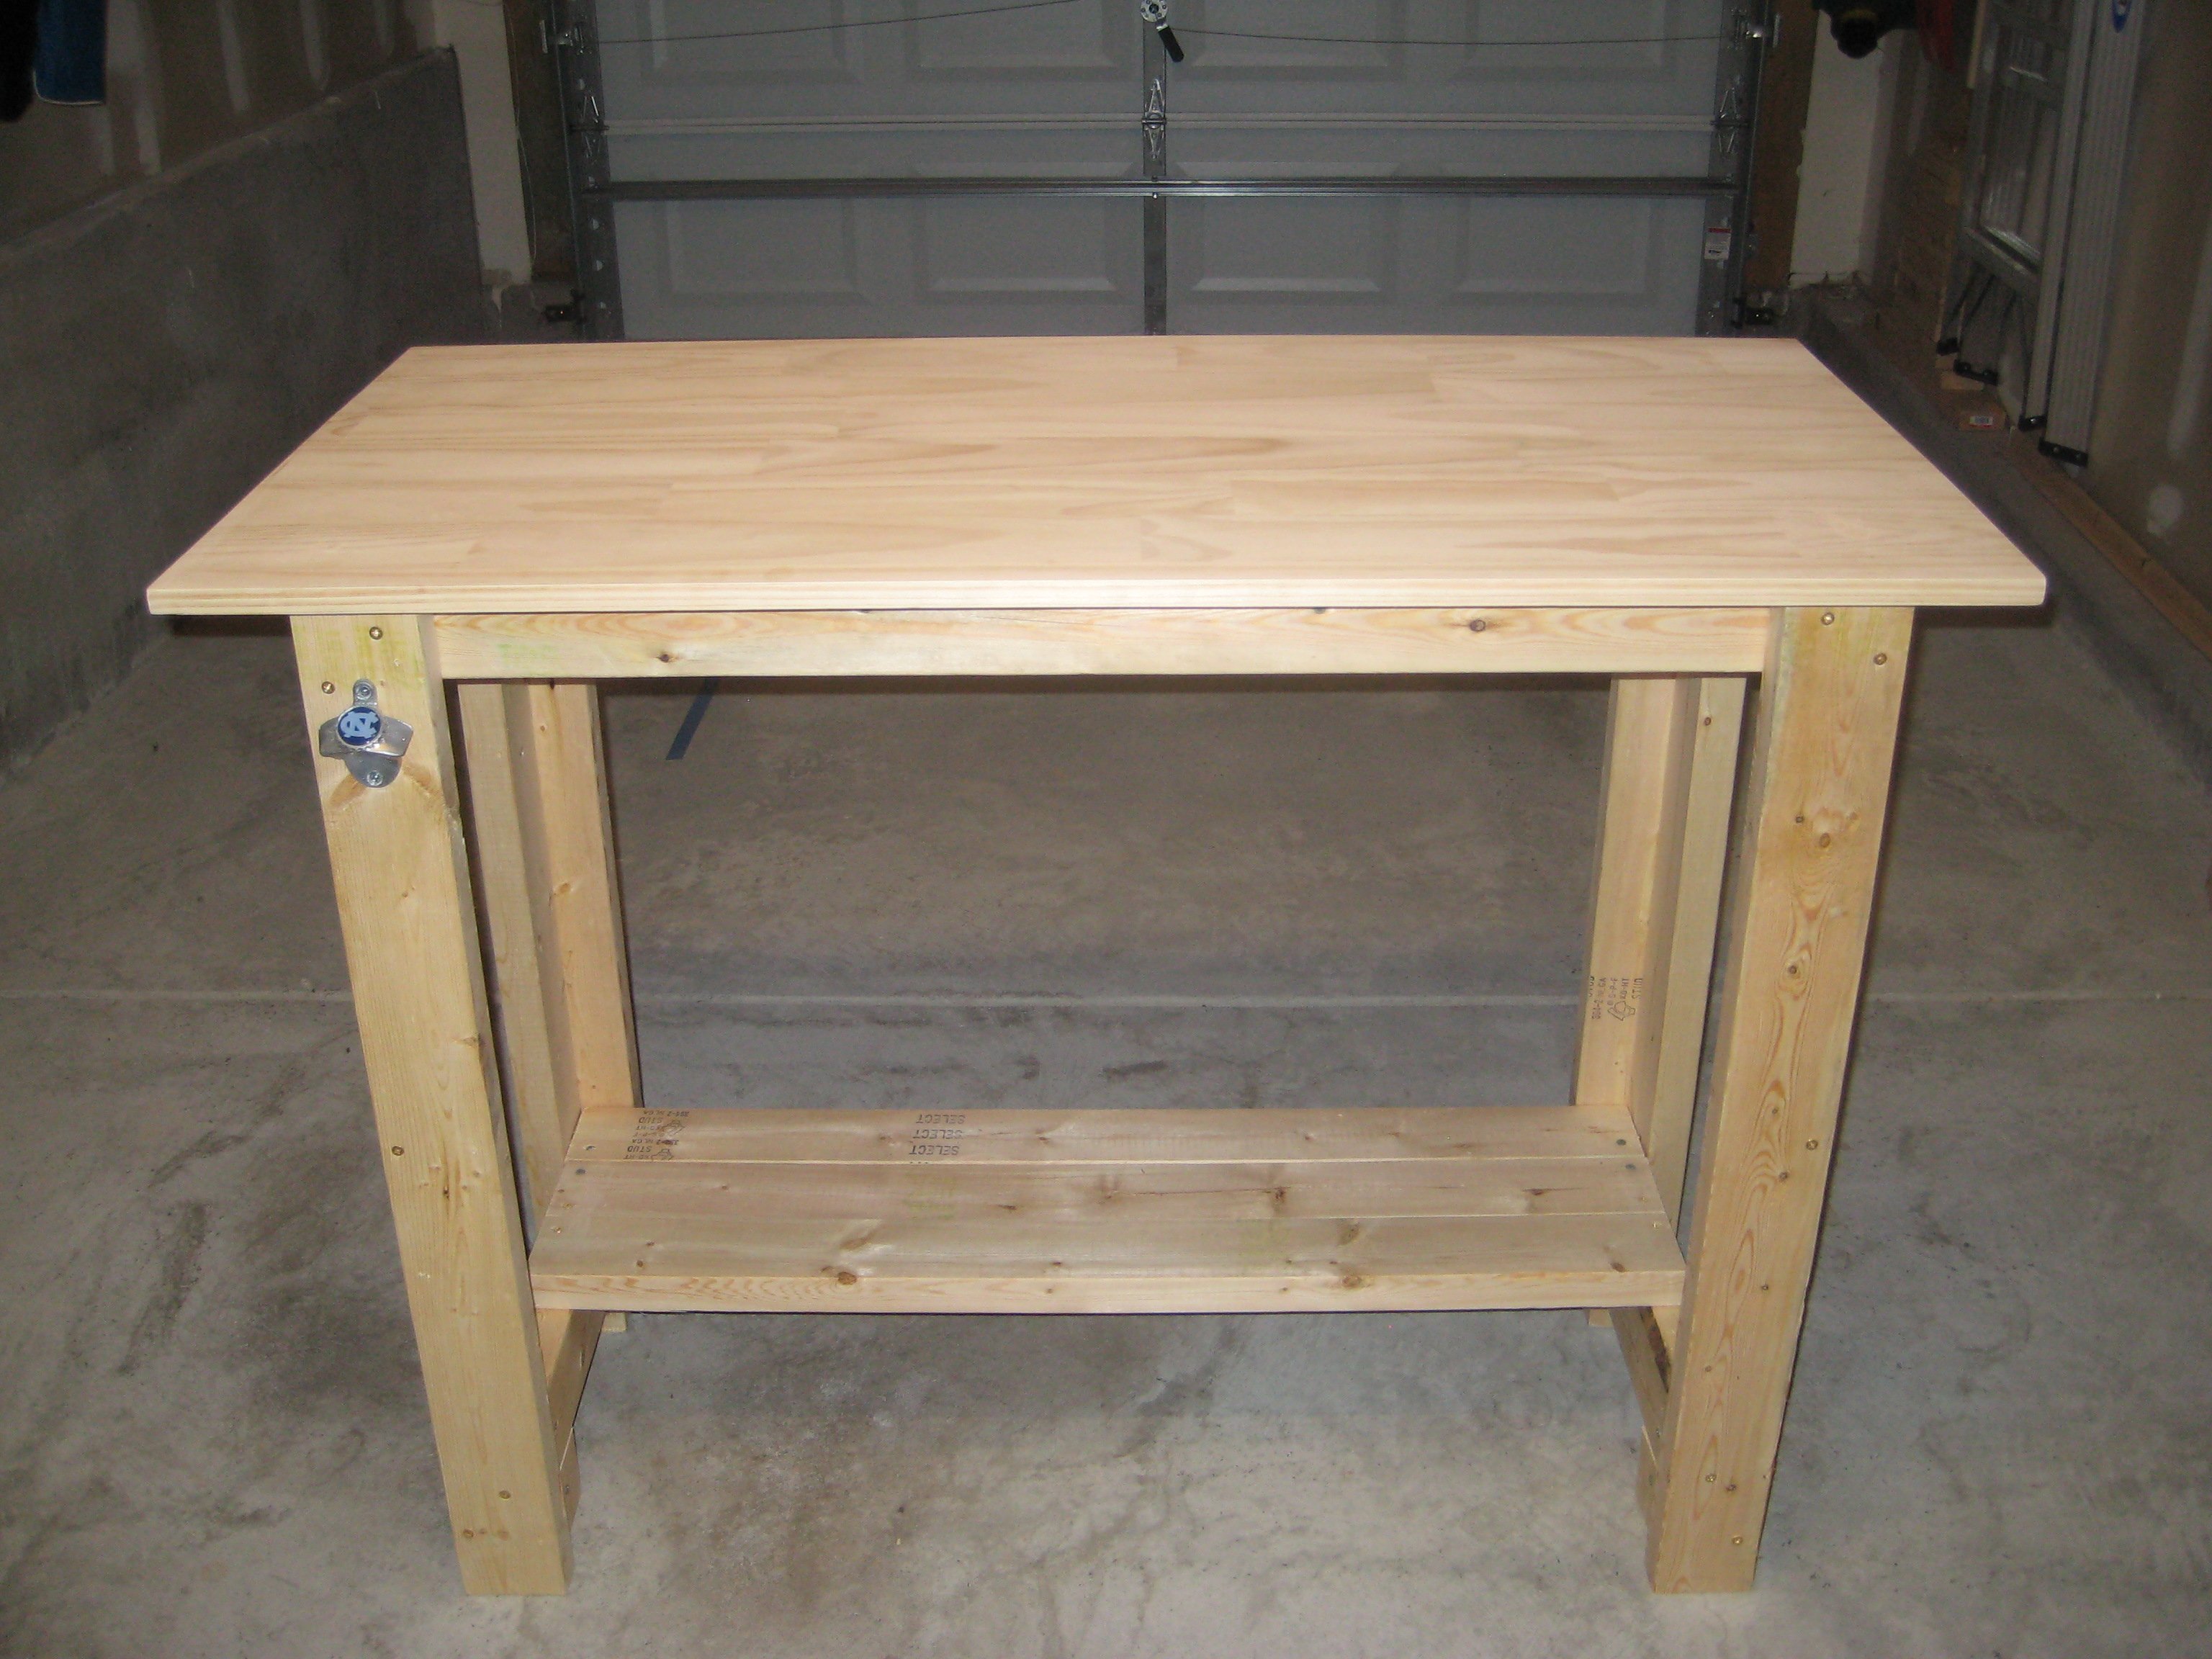
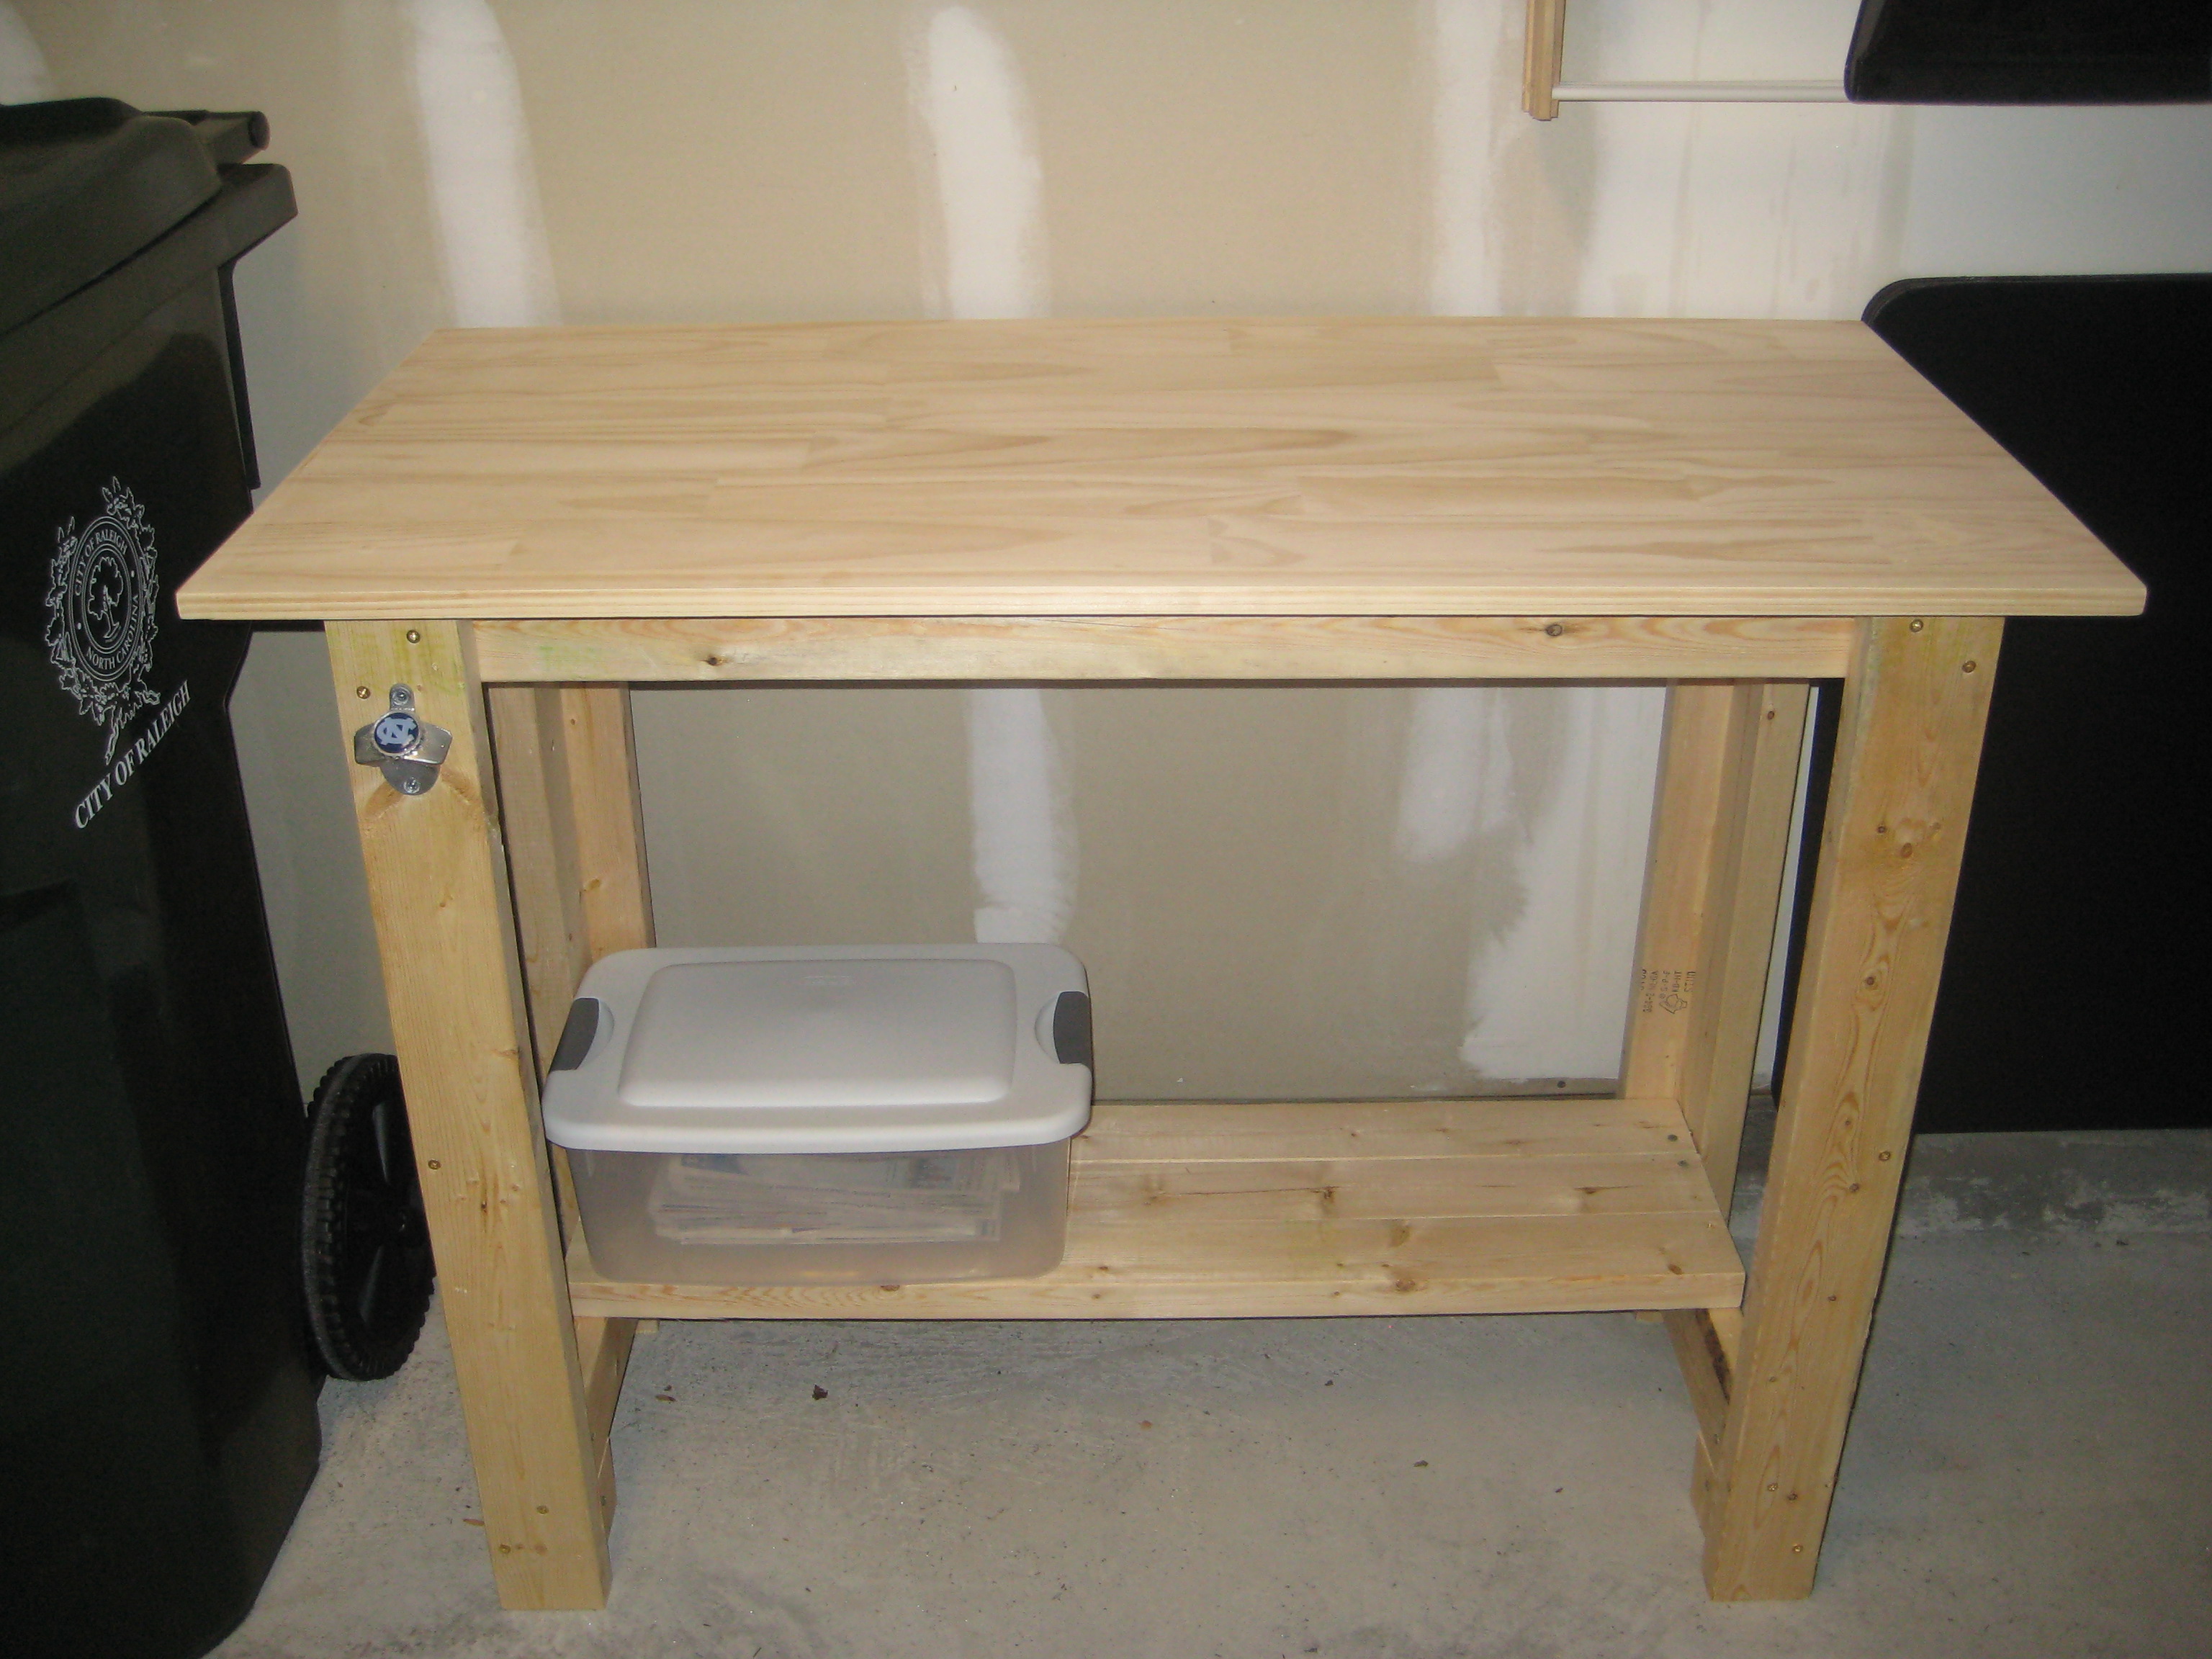
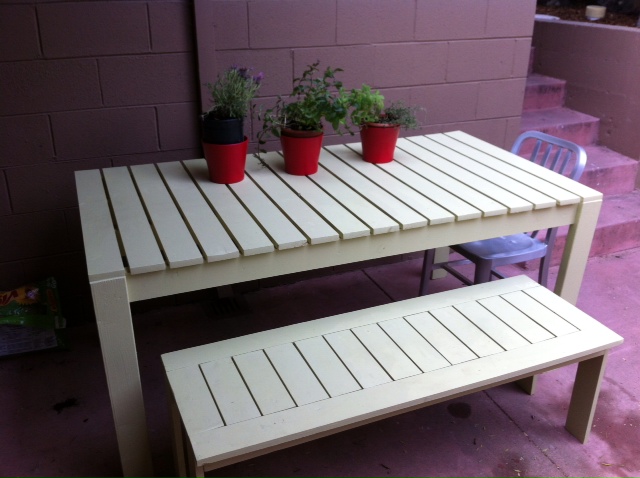
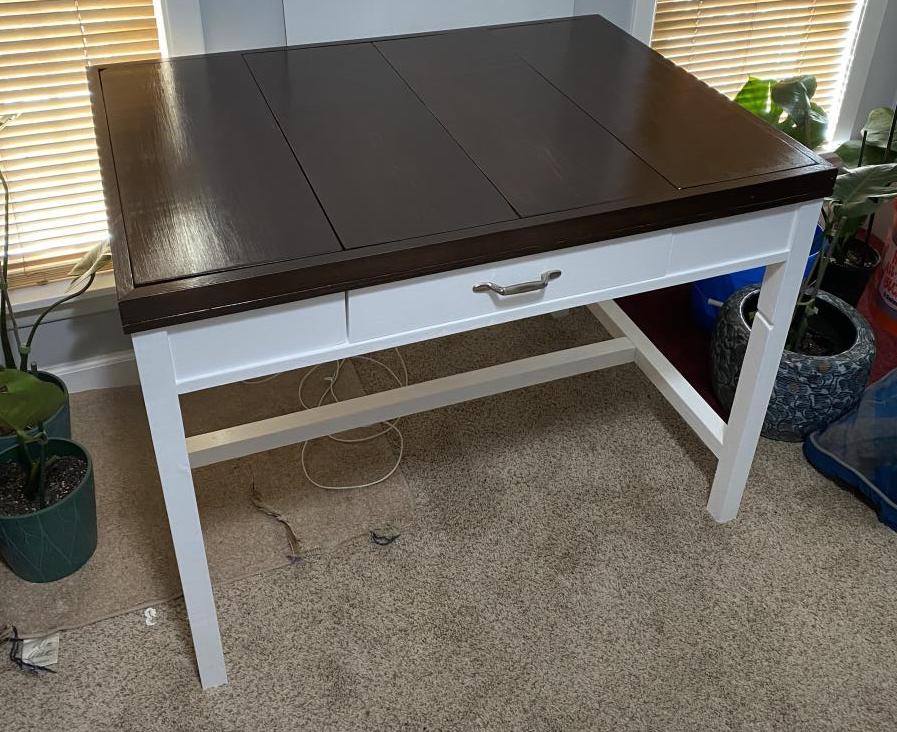
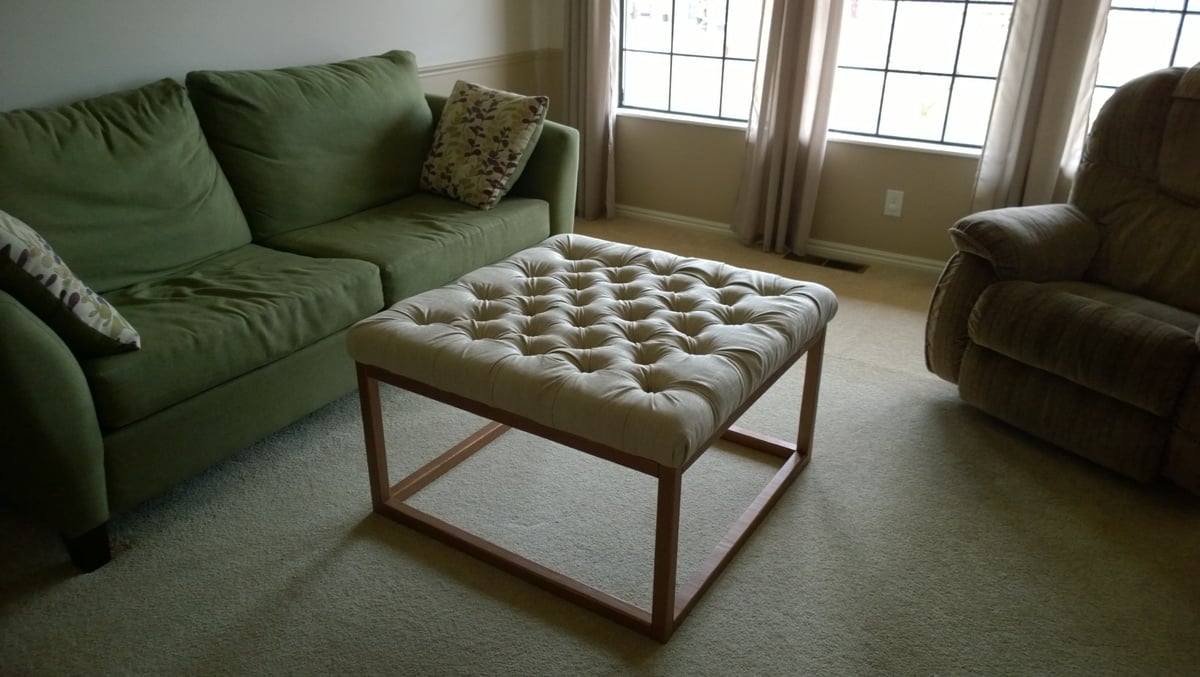
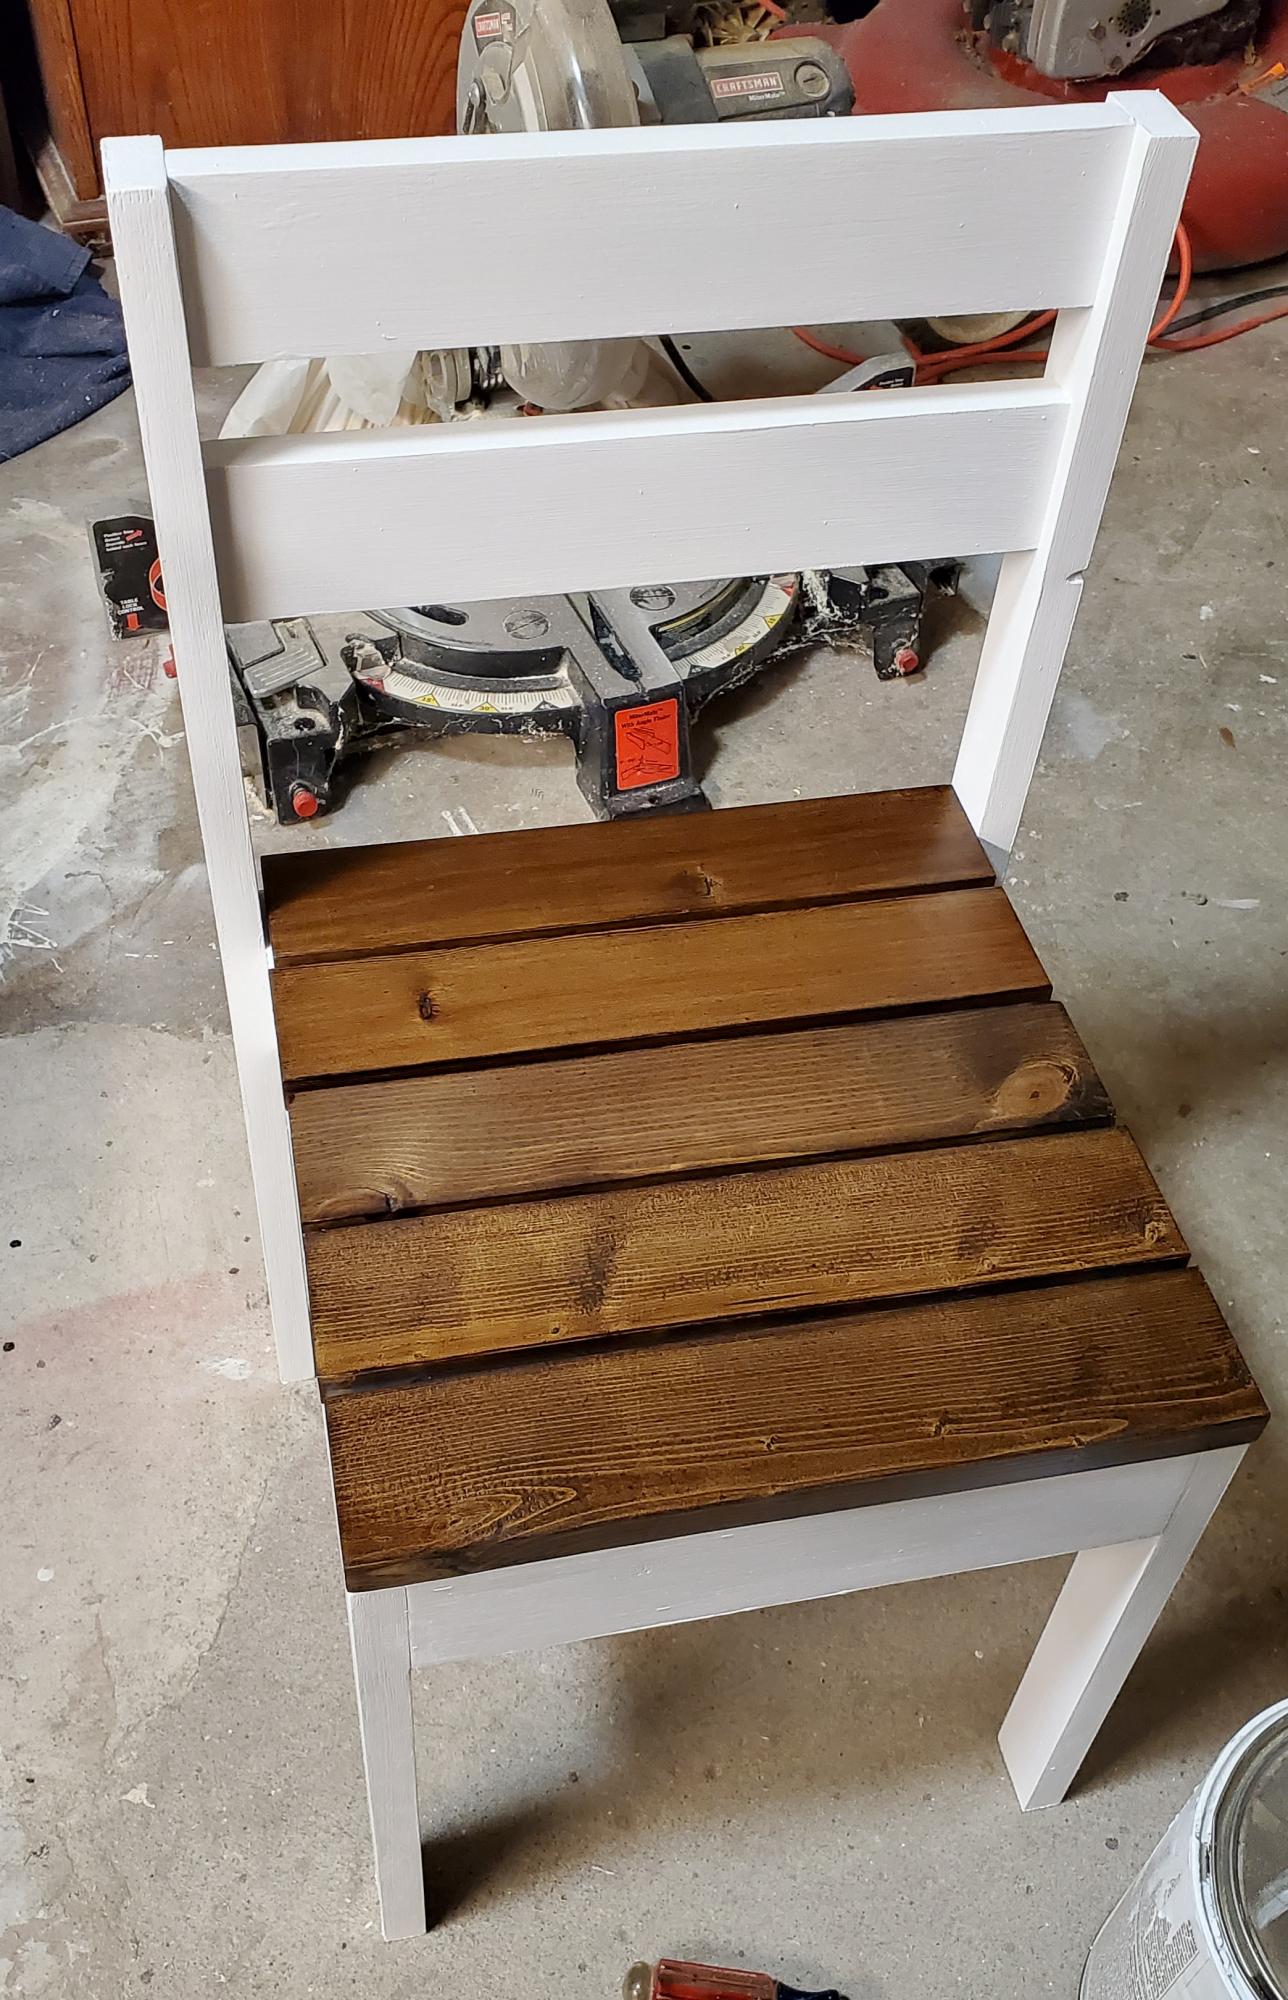
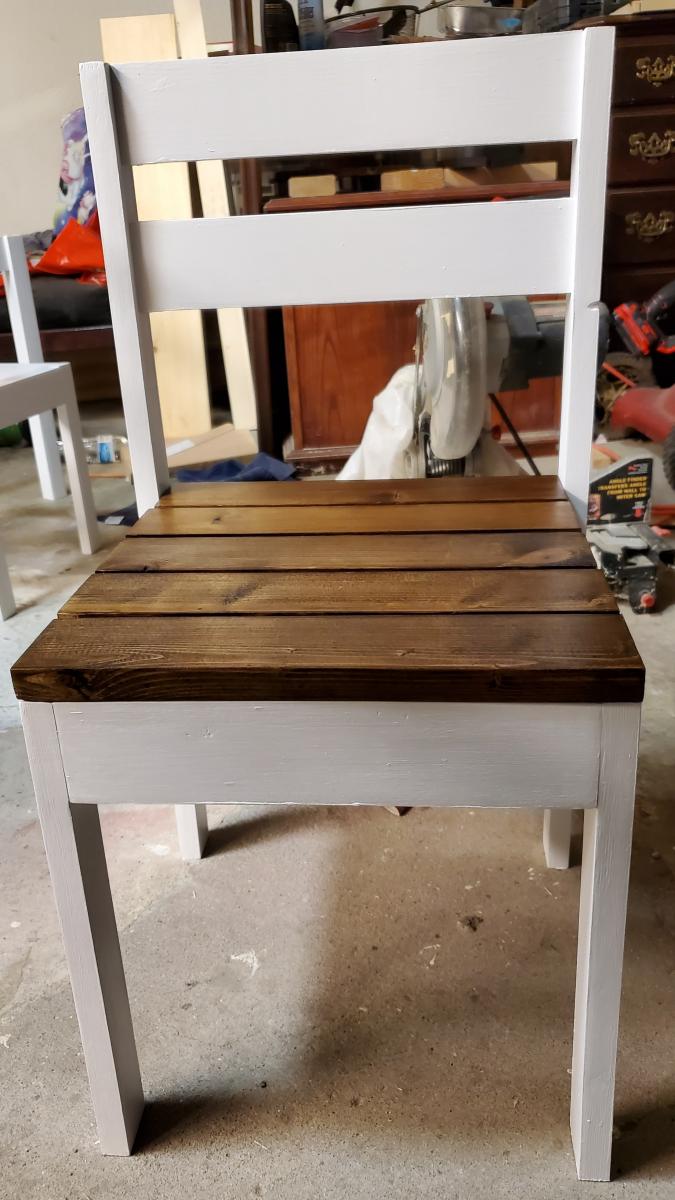
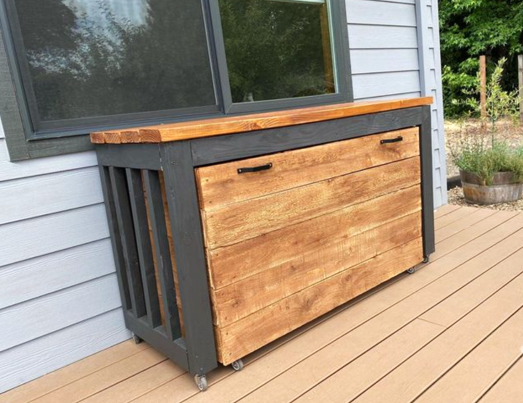
Hooray! I recently finished building a dining room bench. For this project, I used the Providence Bench plans by Ana White. I started this project in May, and two months later it is finally complete! I am really happy with how the bench turned out! It is pretty sturdy and makes for a nice addition to the dining room!

Built from Plan(s)
Estimated Time Investment
Weekend Project (10-20 Hours)
Finish Used
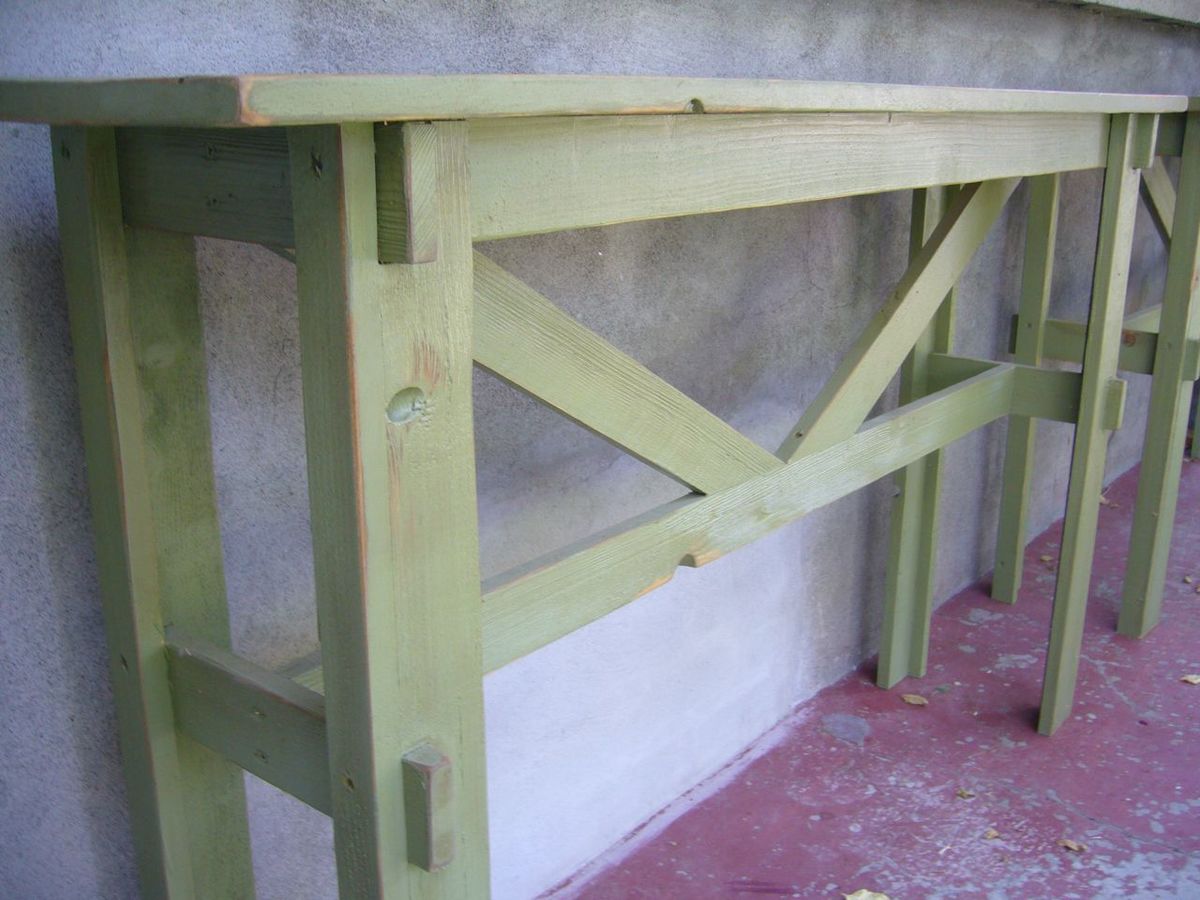
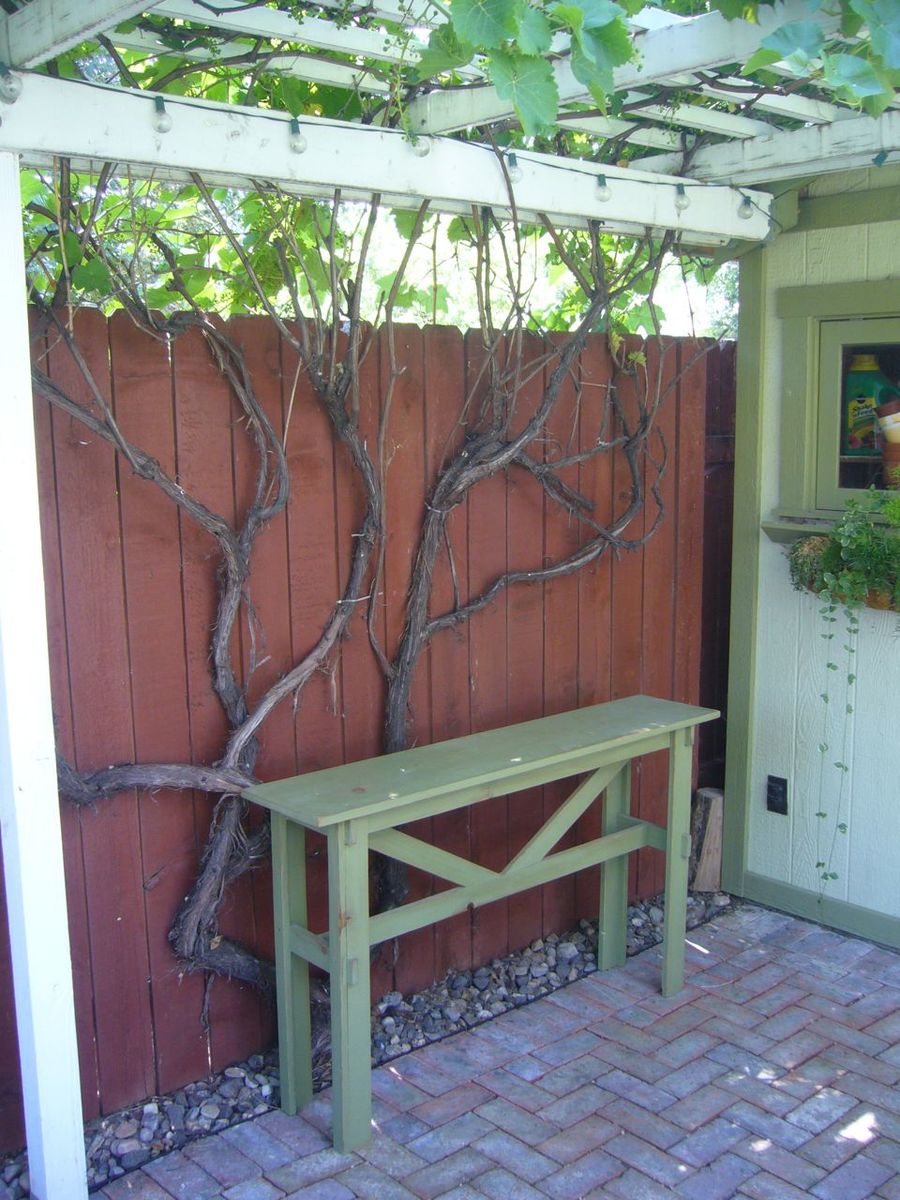
ECOS Paint Woodshield Stain in Pine Needles and their Satin varnish
Rust-Oleum White Semi-Gloss
Recommended Skill Level
Beginner

Sturdy Work Bench - First project completed!

Submitted by kmatt55 on Sun, 05/22/2011 - 16:04

My first project from Ana's website! I figured in order to make more furniture I'm going to need a sturdy work bench to help me along the way. I cut my legs at 36" instead of 33". The 3 added inches brings it to a standard kitchen countertop height (I think, at least mine is). Thanks for the inspiration and plan pericles49!

Built from Plan(s)
Estimated Cost
$65
Estimated Time Investment
Day Project (6-9 Hours)
Finish Used
Water based clear semi-gloss polyurethane.
Recommended Skill Level
Beginner

Outdoor Dining Table

Submitted by sonnenerin on Tue, 08/13/2013 - 11:55

We started with the bench as a weekend project. After counter-sinking and filling all those screw holes we borrowed a Kreg jr and took onothe table project. However we ended up countersinking the top boards for the table as well; it was easier for us to visualize the spacing between boards and make sure everything was as square and level as we could make it... We used behr paint and primer in one in a satin finish and opted for a punchy green to brighten up our courtyard.
We plan to build another bench since it will tuck in nicely under the table when not in use, and we can pull the table out and use the bench when we need more seating.
We love our new outdoor furniture!! Thanks Ana!

Estimated Cost
$150
Estimated Time Investment
Week Long Project (20 Hours or More)
Finish Used
behr outdoor paint and primer in one
Recommended Skill Level
Beginner

Simple Outside Serving Table

Submitted by jazberg on Fri, 07/15/2011 - 13:17

Problem: I want a serving table. I love the Rustic X Bench. Solution: Longer legs! This was made from the Rustic X Bench plans. We built two. And they serve us well. We love them. They are small enough to move around and use for all kinds of purposes from serving outdoor meals to holding the screw gun while I clamp the next ana-white inspired project (it was my tool holder/work bench when I built our chicken coop). Easy project made super cheap that works perfect for every outdoor serving table need.

Estimated Cost
$75 for two
Estimated Time Investment
Afternoon Project (3-6 Hours)
Finish Used
Dark Moss Green paint, distressed with a red mahogany stain rub.
Recommended Skill Level
Beginner

Comments

A Pair of Twin Headboards

Submitted by ChrisHobbs on Mon, 09/05/2011 - 12:00

I built two of these headboards over Labor Day weekend for my girls.

Estimated Cost
$100 for 2 Headboards
Estimated Time Investment
Afternoon Project (3-6 Hours)
Finish Used
One coat of semi-gloss white paint. Was going to put a second coat on, but wife loked seeing the wood peeking through, so we left it with only one coat.
Recommended Skill Level
Beginner

Comments

denny Shortt (not verified)

Mon, 11/26/2012 - 21:46

Your mattress look a little low be careful that your girls do not get their heads stuck between the top of mattress and bottom of headboard

Farmhouse Queen Bed

Submitted by Amanda G on Fri, 10/18/2013 - 19:56

First building project ever! I wanted a new bed for our new mattress and got inspired when I came across this website. A compound mitre saw, orbital sander, nailer, and many more tools later, I am building furniture whenever I get a chance!

Modified the way I attached the frame to the head board and foot board a bit. I used joist hangers on the footboard, which the frame slid into perfectly, and secured it with a couple screws on each side. I attached the headboard with 2 large carriage bolts on each side through the posts and frame.

Overall, I loved the way it turned out. On to the next project!

Built from Plan(s)
Estimated Cost
$200
Estimated Time Investment
Weekend Project (10-20 Hours)
Finish Used
Distressed white. I used a shade of white paint, sanded the edges and corners (mostly with an orbital sander) and used a stain pen (in Provincial shade) on the sanded spots. Sanded the entire project by hand using 220 grit sponge and finished with 3-4 coats of Minwax Polycrylic
Recommended Skill Level
Beginner

Comments

In reply to by Ana White

Amanda G

Wed, 10/23/2013 - 19:38

Your website really guided me through everything, from buying the wood to the finish. I credit you and tell people to visit this website whenever anyone asks me about my projects :)

Hidden Puzzle Table

Submitted by Anonymous (not verified) on Fri, 03/10/2023 - 12:02

I wanted a table that would protect my puzzles from puzzle piece eating dogs, so I used this Ana White desk plan and built a frame on top to hold the cover panels. The drawer is perfect for holding puzzle pieces during a build.

Comments

Upholstered Coffee Table/Ottoman

Submitted by Anonymous (not verified) on Wed, 01/27/2016 - 10:15

I built the plans exactly as given (minus the top of course) but in hindsight I would have reduced the height by three inches to accommodate for the three inch height of the upholstery foam. I am still very happy with it!

Built from Plan(s)
Estimated Cost
$100 approx.
Finish Used
For the base, I painted them with Rustoleum's Hammered in copper. (The quart, NOT the spray paint) I did two coats. When applying, go quickly and don't over brush the paint. I did spray on a light clear matte finish to tone down the shiny finish of the paint.
Recommended Skill Level
Beginner

Comments

Levi's play kitchen

Submitted by Ash Matson on Thu, 12/26/2019 - 11:17

We modified the plans a little we made the 2 pieces together instead of separate. We used a 2” hole saw to cut out the oven knobs, then drilled holes a tad bigger than the screw so they would still turn once attached. We also made the back splash taller to accommodate our faucet that had to attach on the back splash instead of the counter top. We used all pocket holes to attach everything it makes it look so much nicer but doesn’t need to be done that way. We bought vinyl circles for the burners on the stove. A dog bowl for the sink and a laundry room faucet for the faucet.

Links to products we used

Faucet - https://www.amazon.com/gp/product/B01KRCTHEA/ref=ppx_yo_dt_b_asin_title_o07_s00?ie=UTF8&psc=1

Oven hinges - https://www.amazon.com/gp/product/B004K7V8UU/ref=ppx_yo_dt_b_asin_title_o08_s00?ie=UTF8&psc=1

6 – 4 inch circles matte black Stove vinyl - https://www.etsy.com/listing/713062039/circle-circles-pack-set-vinyl-decal-car?ref=yr_purchases

Sink 56oz dog food bowl - https://www.amazon.com/gp/product/B00H6OXRN0/ref=ppx_yo_dt_b_asin_title_o01_s00?ie=UTF8&psc=1

Oven handle - https://www.lowes.com/pd/Sumner-Street-Home-Hardware-Vail-10-in-Center-to-Center-Matte-Black-Pull/1001368422

Estimated Cost
100.00
Estimated Time Investment
Weekend Project (10-20 Hours)
Recommended Skill Level
Beginner

Comments

Ultimate Workshop Workbench

Submitted by Anonymous (not verified) on Mon, 09/18/2023 - 15:38

My garage needed an overhaul and I wanted to start a hobby in woodworking.
I found my way to Ana's website and found some of the best ideas and decided to try my attempt at building the Ultimate Roll Away Workbench with Miter Saw Stand.
This helped inspire me to augment my garage and build that workbench and new french cleat wall.

Thank you Ana for having such an awesome website and offering up ideas for free!!

Comments

Kids Bunk Bed with Storage Stairs

My husband and I searched at least a hundred plans to find a simple bunk bed for our girls and Ana's Loft bed was a perfect base plan with a few changes. We wanted a lower bunk, top and bottom, since our girls are young (ages 5 and 2.5). The youngest just moved from the crib so by putting the bed lower we are able to skip the side rails. Overall we cut 10 inches off the height of the original loft bed plan and still have plenty of room in the lower bunk. I can sit up comfortably on the lower bunk and the youngest can even stand. We went with another 8 inch board for the top bunk rail, it was simpler then the rail with cap but achieved the same overall rail height. We knew we didn't want a ladder in their room because our 2 yr old is fearless. So for the stairs my husband just ended up winging it, loosely basing them on the Storage Stairs plan, creating basic cubes so we can still let light in and have storage. We also didn't want the steps to be high up in case the girls fall from them, which is more common then them falling off the top bunk. At 32 in. high (the bunk is 61 in) both of them can still climb in the top bunk without issue. At first the steps didn't have the tall "cube" at the back but the platform just wasn't that big so the long cube was an add on and gave it the perfect size and heft. We couldn't be happier with how it turned out. Thanks Ana for your awesome blog and the great plans that you post. My husband also built the original play kitchen and it is amazing! I'll have to do another post with pics of that.

Estimated Cost
$300
Estimated Time Investment
Weekend Project (10-20 Hours)
Finish Used
Valspar white primer and top coat in one in satin finish. Decorative paint is Martha Stewart craft paint, our 5 year old chose stencils, the 2.5 year preferred to free hand her art ;)
Recommended Skill Level
Beginner

Comments

Dog/Baby Gate

Submitted by advanlente on Sat, 03/28/2020 - 11:53

Inspired by Ana White's $25 Wood Baby Gate (https://www.youtube.com/watch?v=cPV6XfheqgA), I needed a gate for my miniature schnauzers. They loved going into the basement unattended ... and well ... potty accidents happen without me being the wiser. So, I modified the hardware used, and so far so good! The puppies and my little nieces and nephews are protected. 

Fancy X Desk For Home Music Studio

This is only my second ever furniture project. I modified the height to give me extra clearance for a full sized synthesizer underneath. I spray painted the base matte black, stained the top with Minwax Puritan Pine, and sealed it with Varathane Triple Thick Water Based Polyurethane.

I attached the top with heavy corner brackets and 1" hex head lag screws to add a bit of an industrial look.

Built from Plan(s)
Estimated Cost
$60
Estimated Time Investment
Day Project (6-9 Hours)
Finish Used
Used a single coat of Minwax Puritan Pine for the top, and a single coat of black matte spray paint with primer for the base.
Recommended Skill Level
Beginner

Comments

Smaller modern farm table

Submitted by Anonymous (not verified) on Fri, 07/08/2016 - 19:36

smaller version of modern farm table at counter height

Built from Plan(s)
Estimated Time Investment
Afternoon Project (3-6 Hours)
Finish Used
Minwax classic gray
Minwax Jacobean
White latex paint dry brush
Recommended Skill Level
Beginner