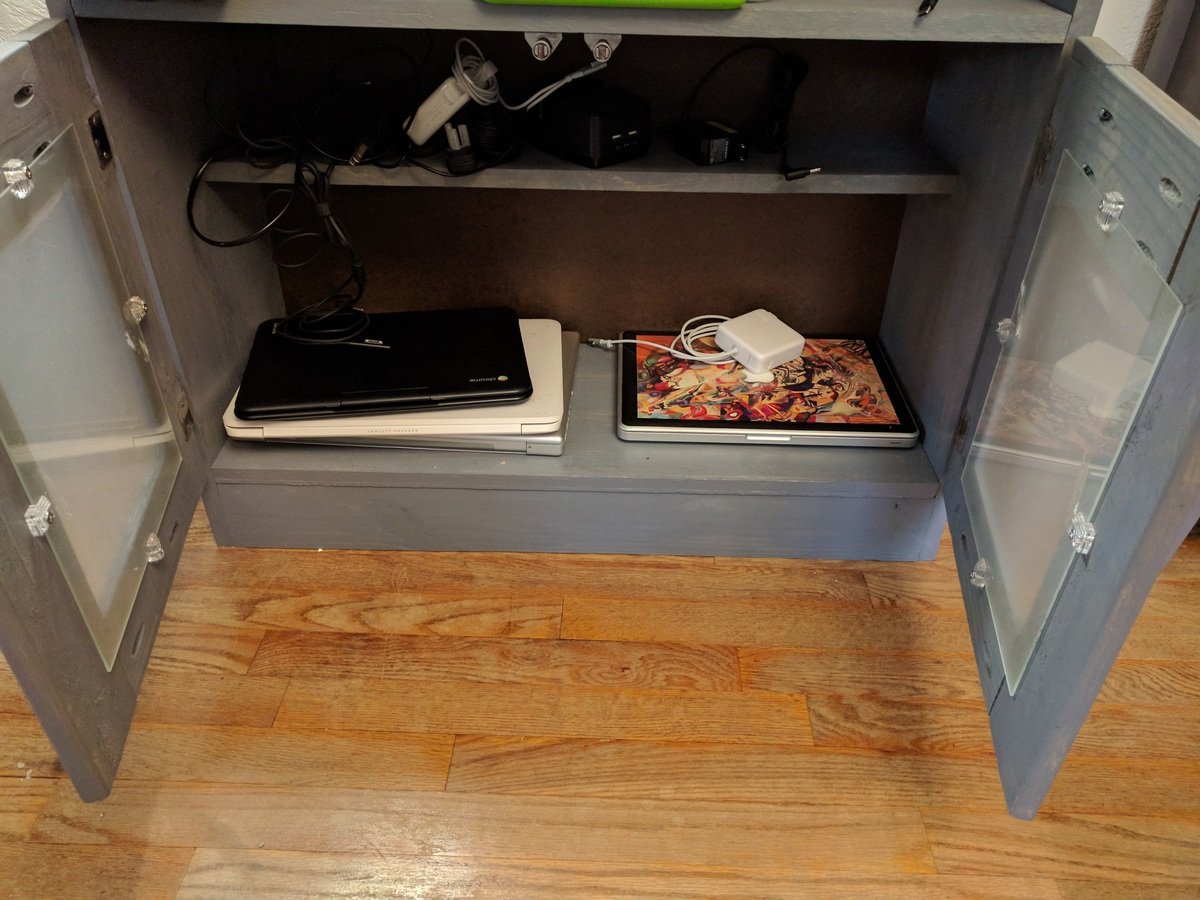
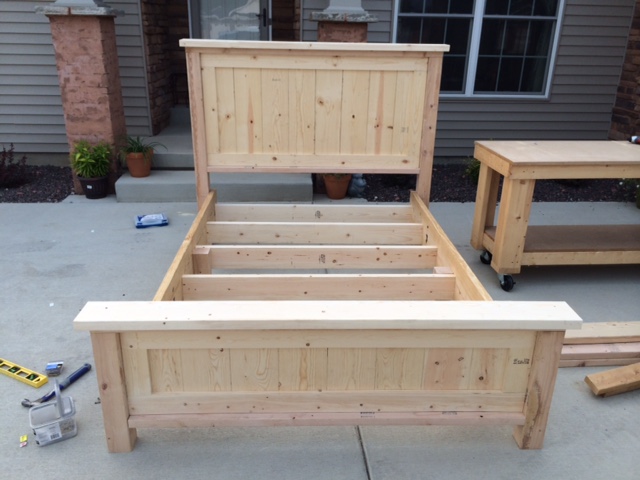
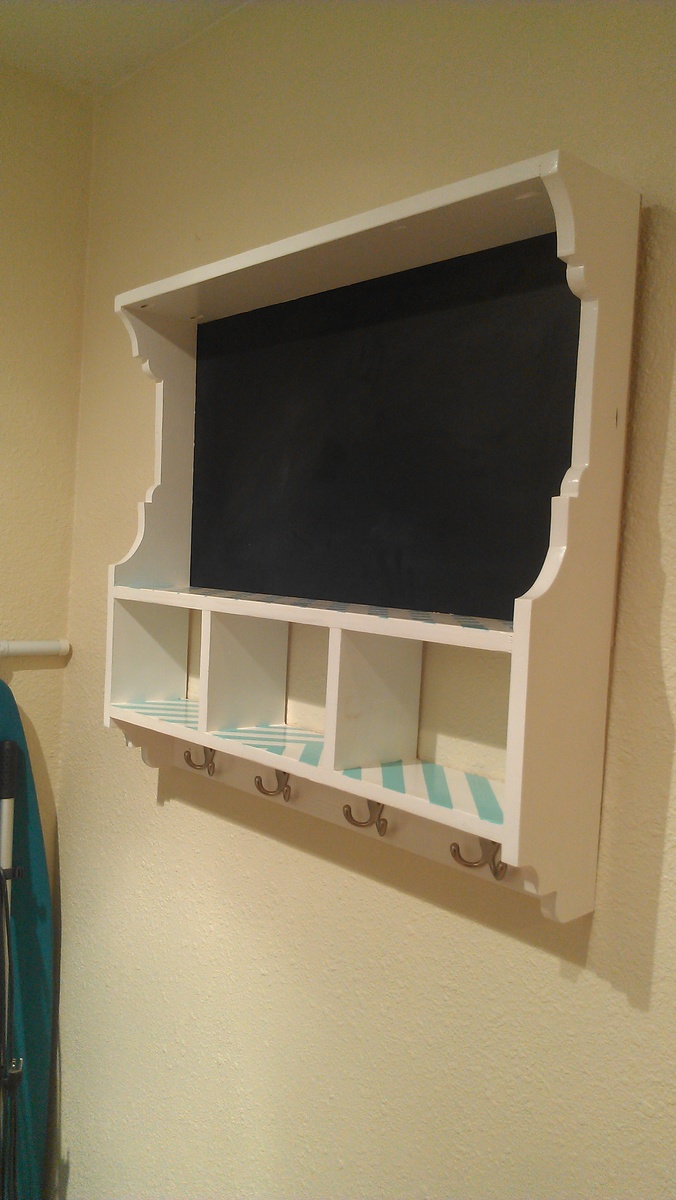
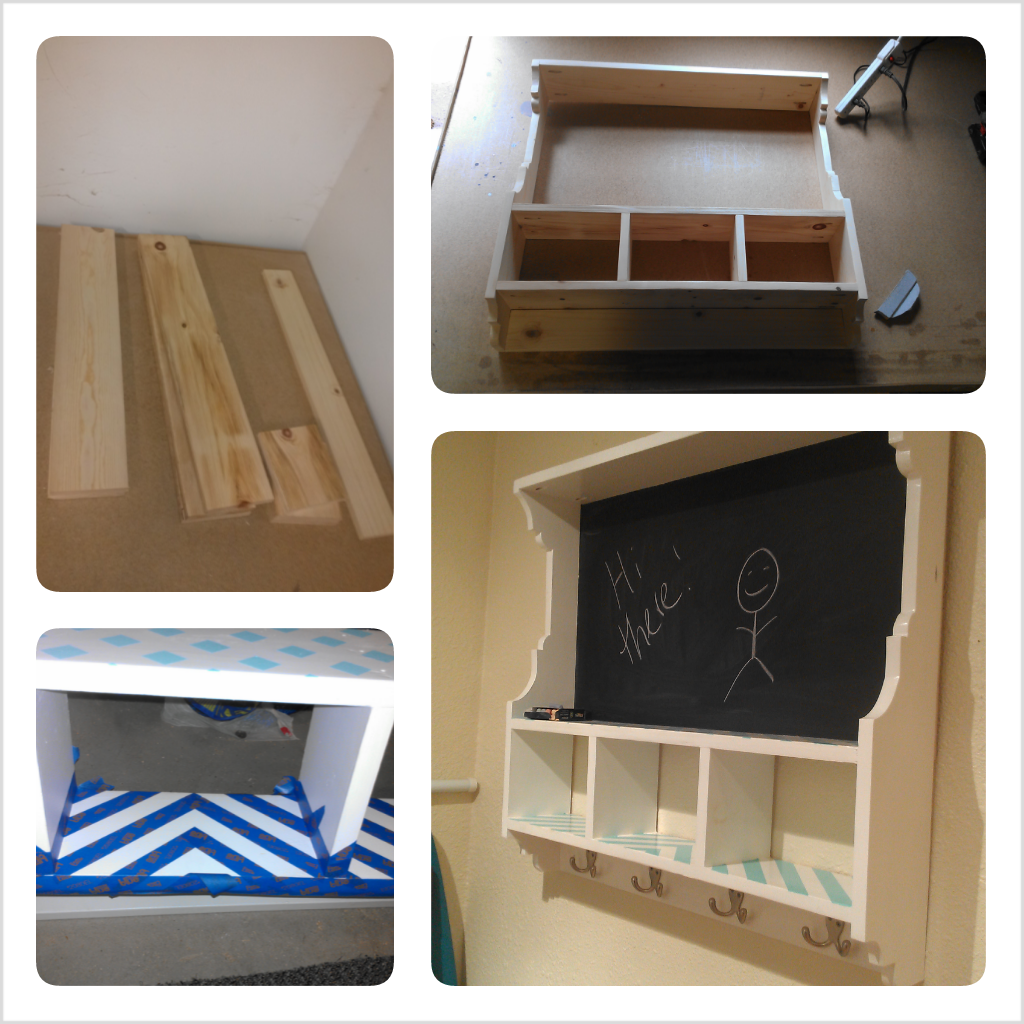
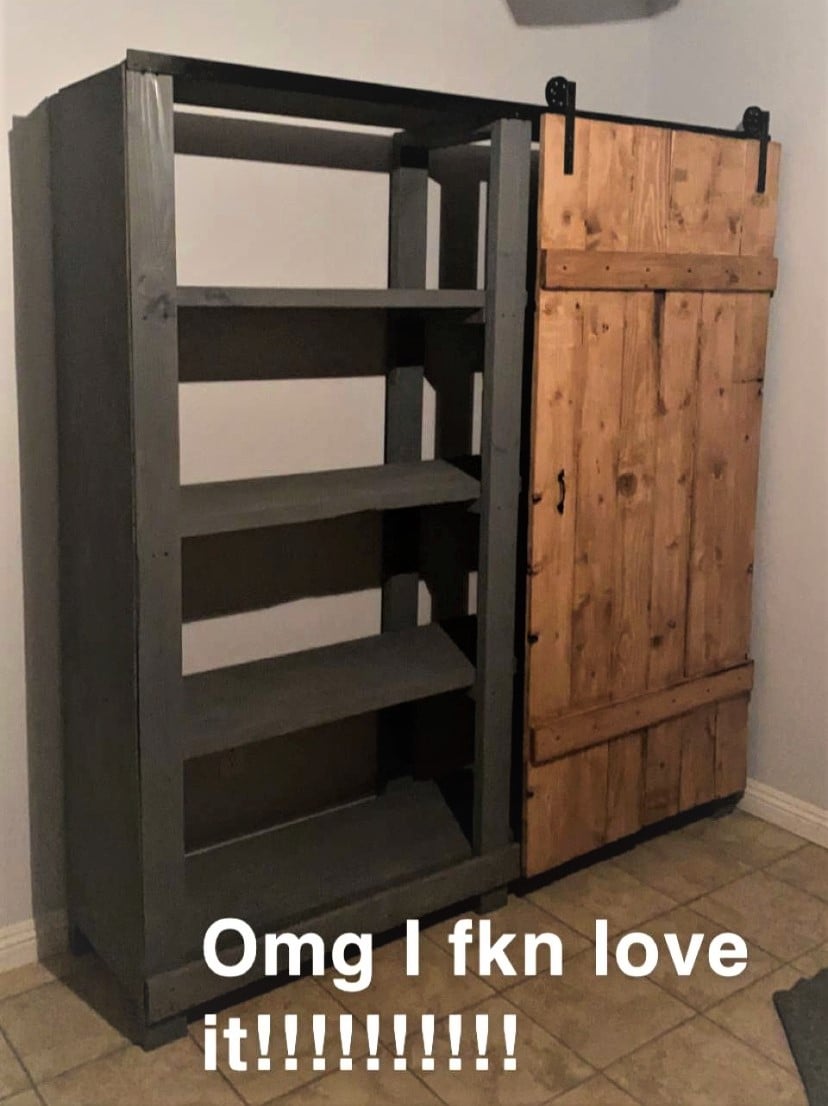
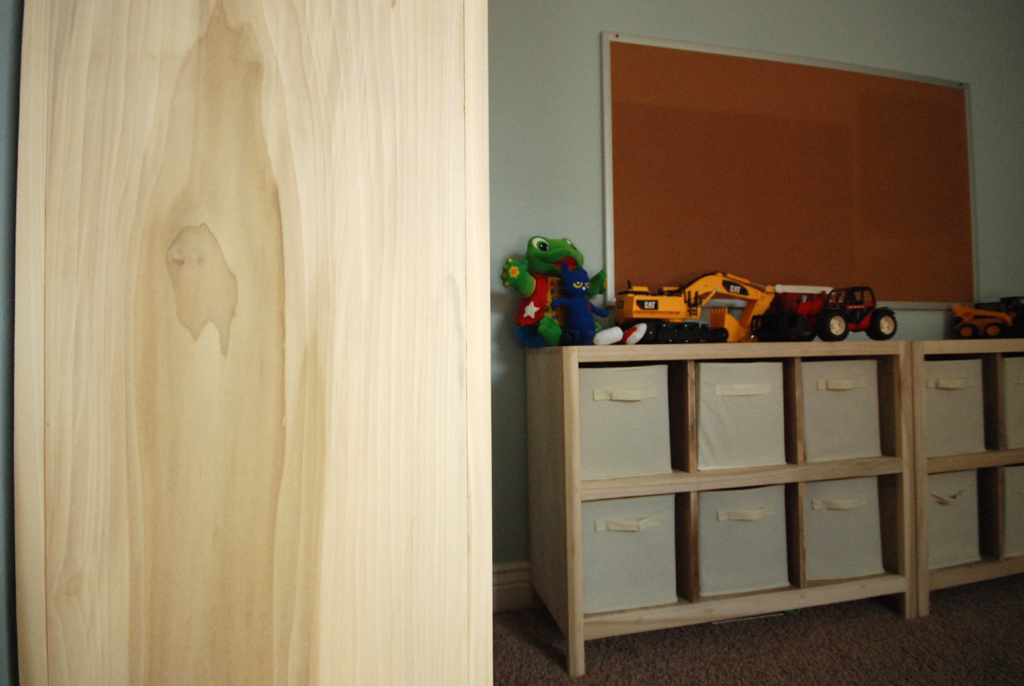
Corner Shelf for Nursery
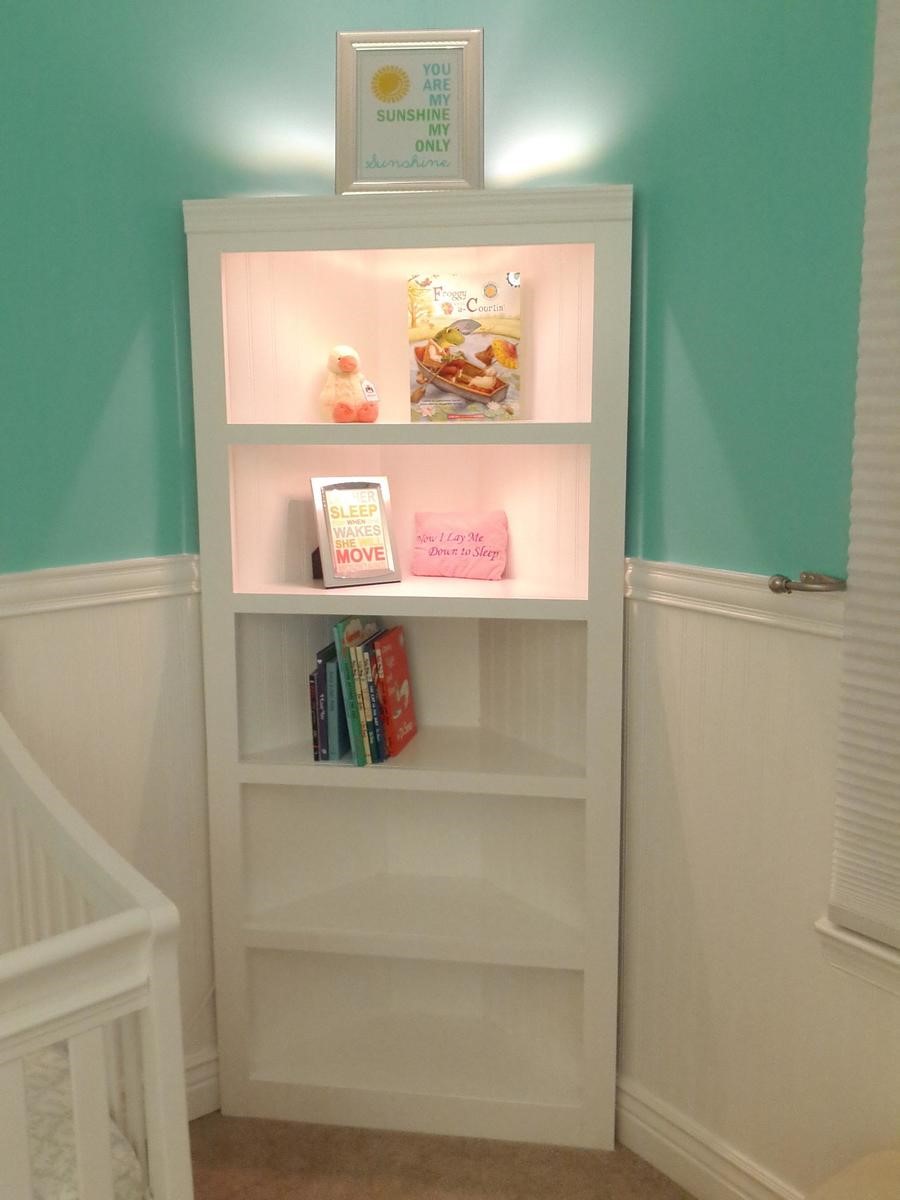
Super Easy.. I like it better without the doors. Recommend getting a KREG Jig. I have the Jr and it was perfect for this project.
Built from Plan(s)
Estimated Cost
$130
Estimated Time Investment
Afternoon Project (3-6 Hours)
Recommended Skill Level
Beginner


Comments
Ndesmidt
Sat, 04/26/2014 - 18:53
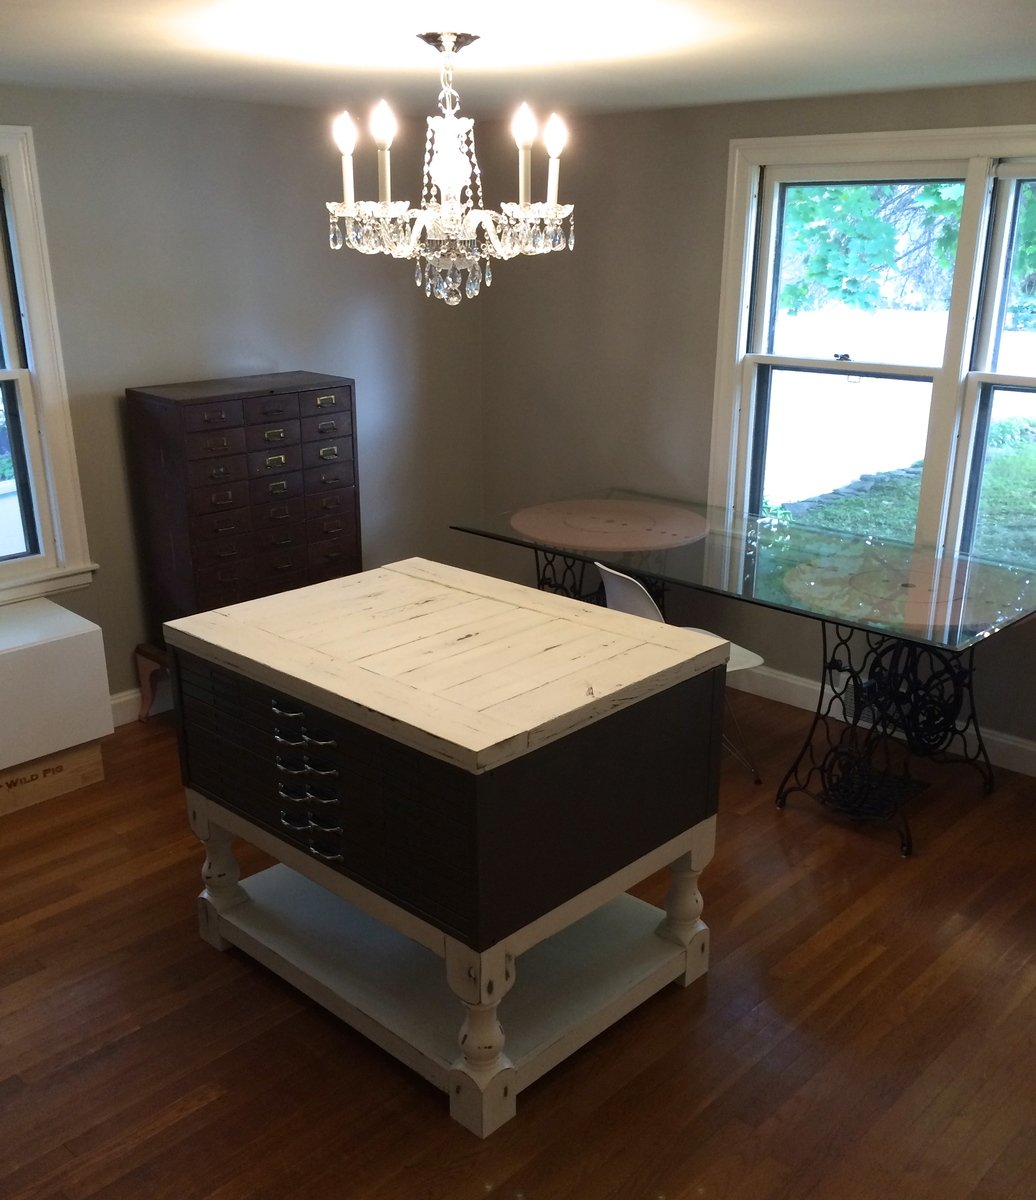
Lighting
How did you do the lighting I love it?!?
Ndesmidt
Sat, 04/26/2014 - 18:53
Lighting
How did you do the lighting I love it?!?
Lgwaltney123
Thu, 01/15/2015 - 09:16
Plans!!
Where do I get these plans?!