Community Brag Posts

Lean-To Shed

Submitted by Anonymous (not verified) on Fri, 03/24/2023 - 13:17

I’m a first year teacher of construction class at Waterloo High School in Illinois. We recently used your Small Cedar shed instructions with some modifications for a class project. It’s a bear getting cedar right now, so we used T1-11 for the outside and 2x4 for the frame.

Built from Plan(s)

Comments

Basic Wooden Desk Chair

Practically to spec. (When I make a mistake I adjust to accommodate :) if possible)
Ana's plan was exactly what I was looking for. Love the result. Love pocket hole screws!

Built from Plan(s)
Estimated Cost
under $40
Estimated Time Investment
Day Project (6-9 Hours)
Finish Used
Minwax American Chestnut Stain & Minwax Polycrylic Clear Satin
Recommended Skill Level
Beginner

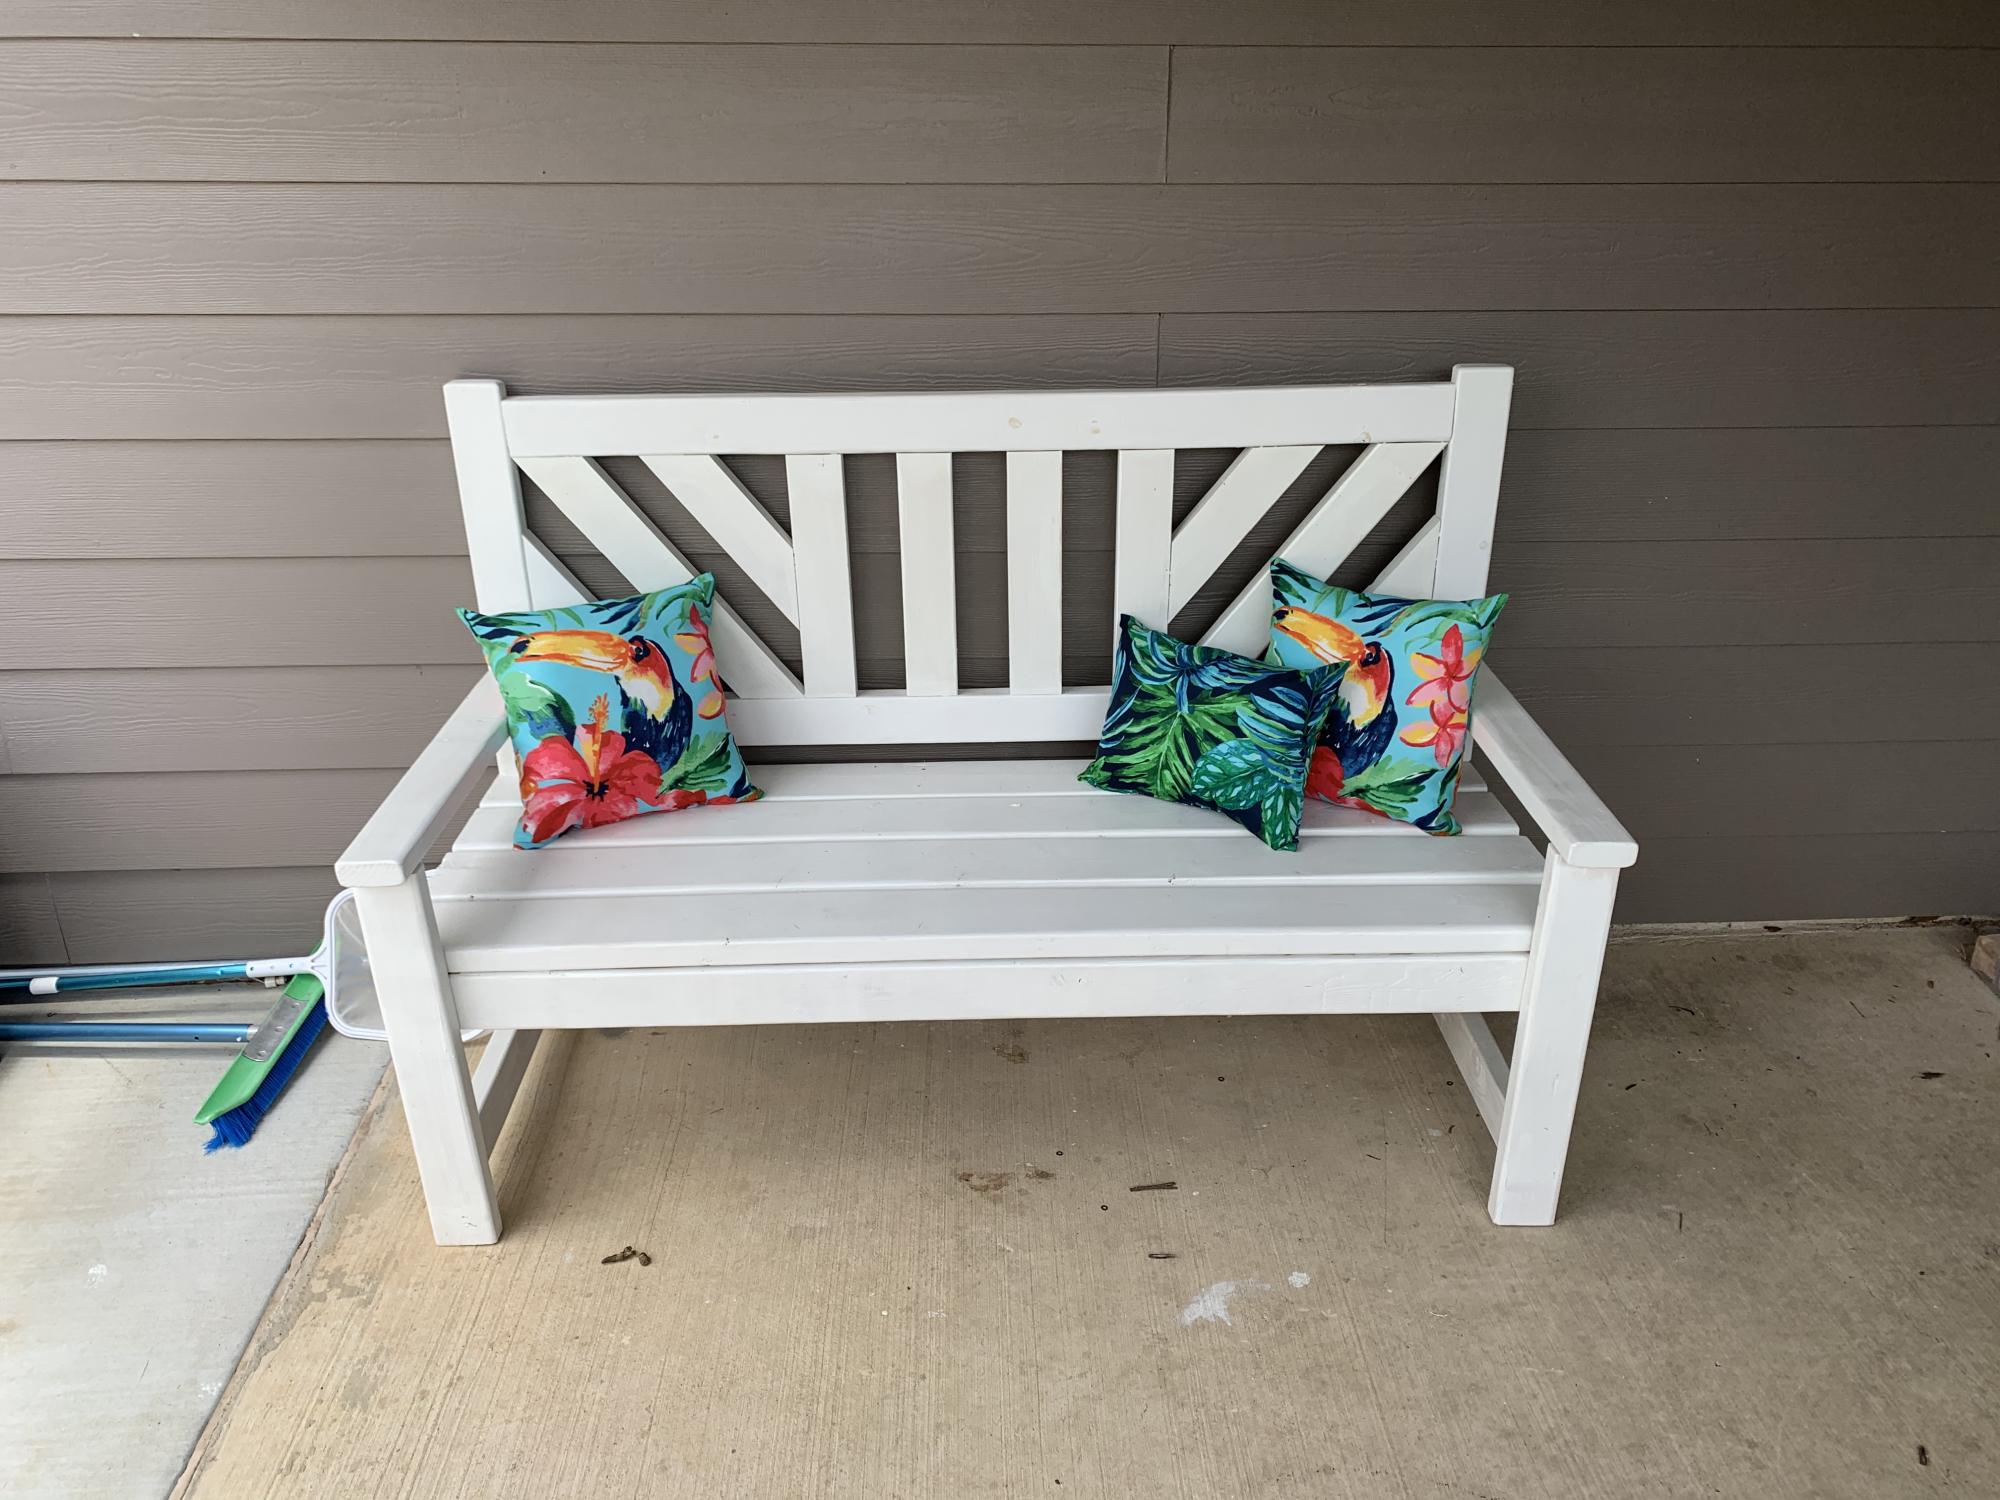
Large Bench

This bench is freaking huge but I love how it turned out. A lot of pocket holes for the back so it took a lot of putty to cover those up but that’s to be expected. Proud of this one.

Estimated Cost
40
Estimated Time Investment
Weekend Project (10-20 Hours)
Recommended Skill Level
Beginner

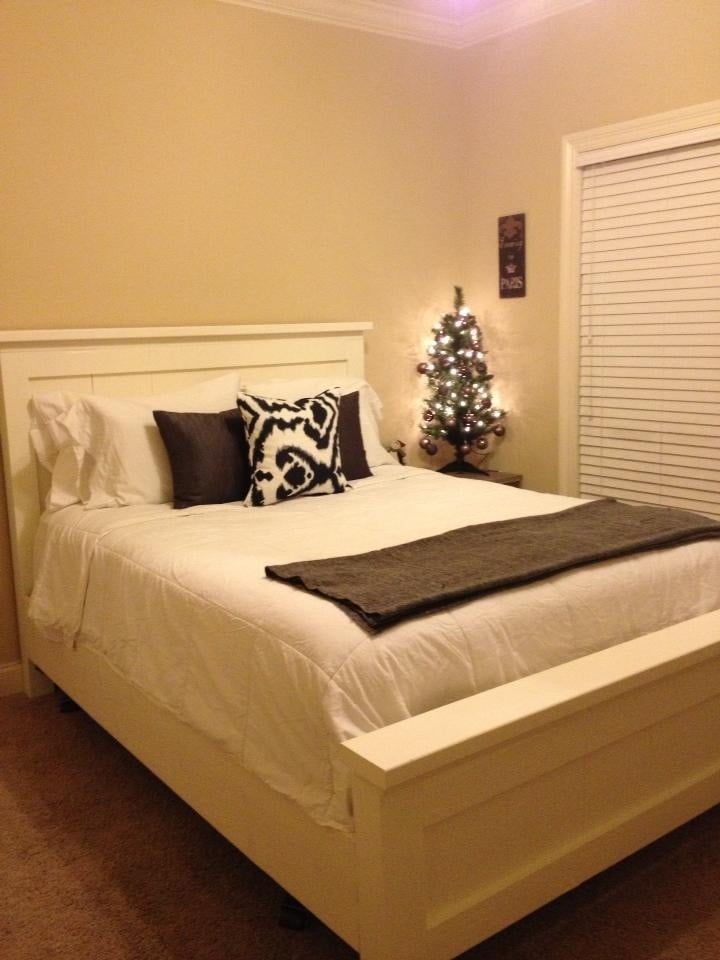
Farmhouse queen sized bed

Submitted by Miaya39047 on Sat, 02/16/2013 - 21:27

This project cost about 120.00 to make and about a weekend to build it. Plans make it very easy and it's beautiful and sturdy. I painted it antique white and used 1 coat of polycrylic on it.

Built from Plan(s)
Estimated Time Investment
Weekend Project (10-20 Hours)
Recommended Skill Level
Beginner

Comments

Seasonal And Holiday

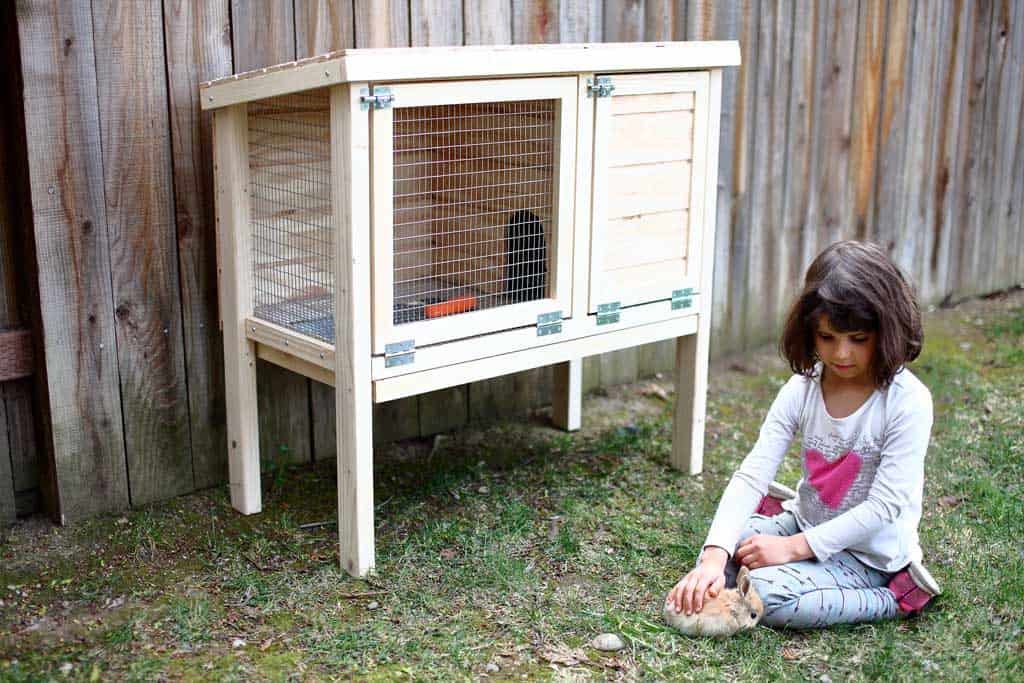
Rabbit Hutch for Indoor and Outdoor

Submitted by thediyplan on Fri, 03/26/2021 - 15:34

Looking for a cute, interactive pet to add to your home. What about bunnies? These creatures make great indoor pets. But before getting the rabbits, they will need a hutch to live in. To solve this problem, I’ve made detailed plans on how to build a DIY rabbit hutch that could be used indoor and outdoor.

The hutch has a litter pan under the floor that could be removed for cleaning. Since the hutch is only 3 feet wide, it could be easily moved around.

See my website for additional pictures and how I've built it, TheDIYPlan.com

Estimated Cost
$140
Estimated Time Investment
Day Project (6-9 Hours)
Recommended Skill Level
Intermediate

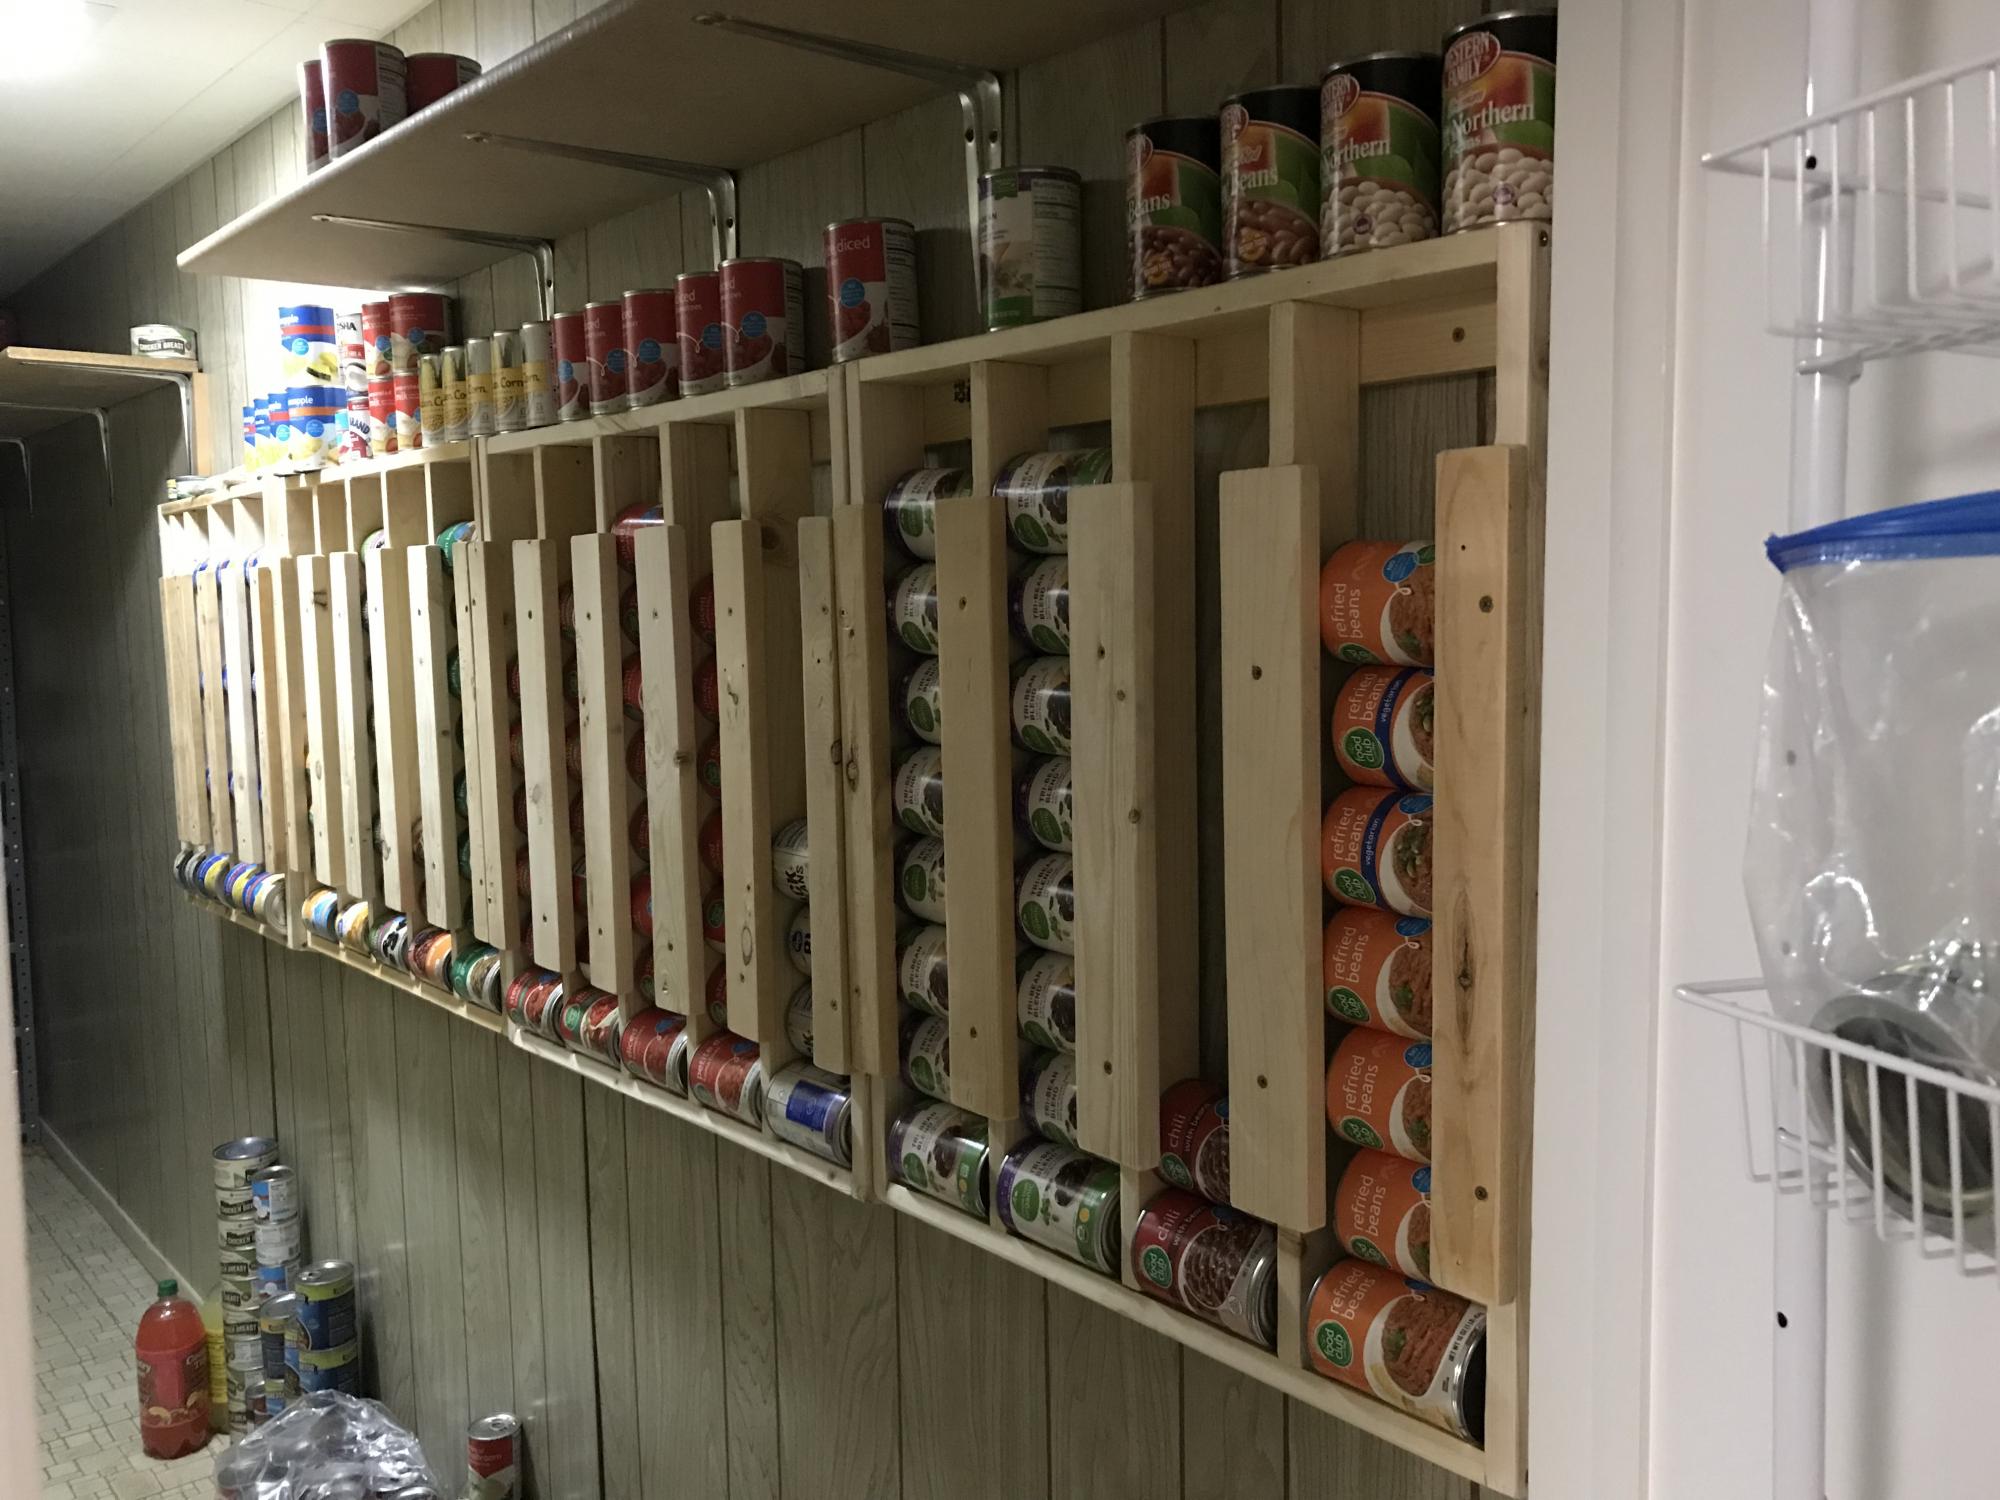
Walk mounted can organizer

Submitted by Anonymous (not verified) on Tue, 10/05/2021 - 20:13

Love this! My husband used this project to help boys learn to use power tools and work with wood. They made one and he did the others. THANK YOU!

Built from Plan(s)

Comments

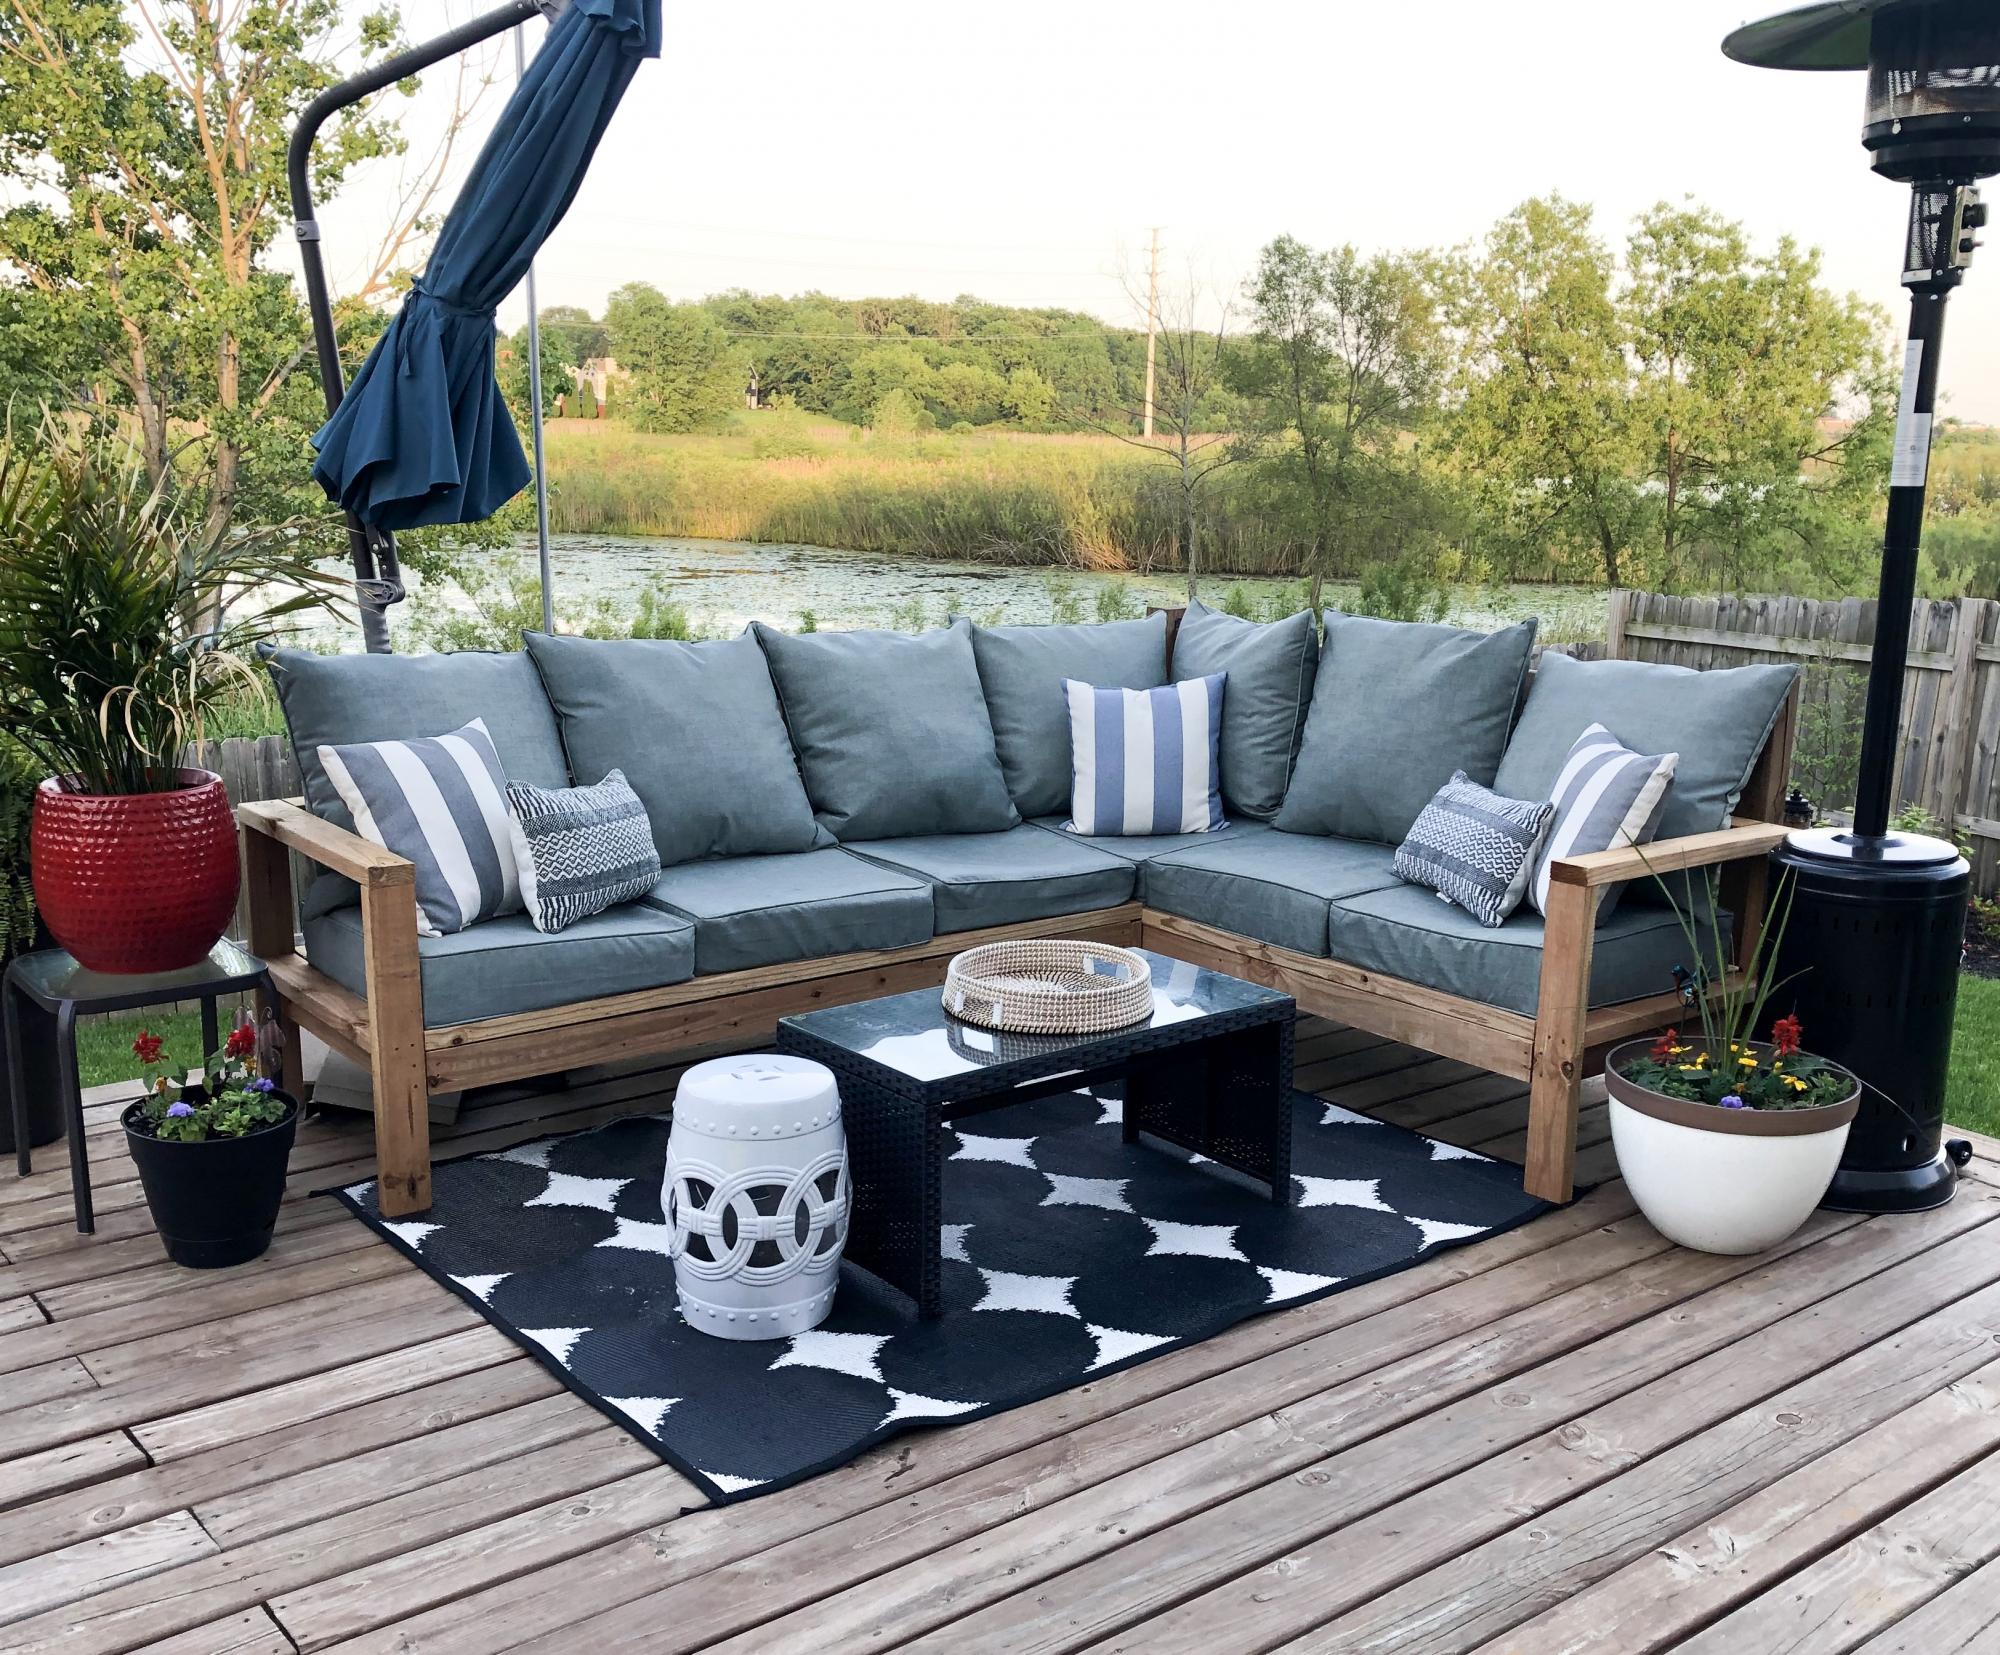
Outdoor Sectional

Submitted by KristenP on Thu, 06/06/2019 - 18:00

We built Ana’s outdoor sectional in a few hours and it’s made a huge impact on our deck! It saved us so much money but looks like a high end piece! Thank you for the simple and structured plans!

Estimated Cost
$200
Estimated Time Investment
Afternoon Project (3-6 Hours)
Finish Used
Cedar Stain
Recommended Skill Level
Beginner

Comments

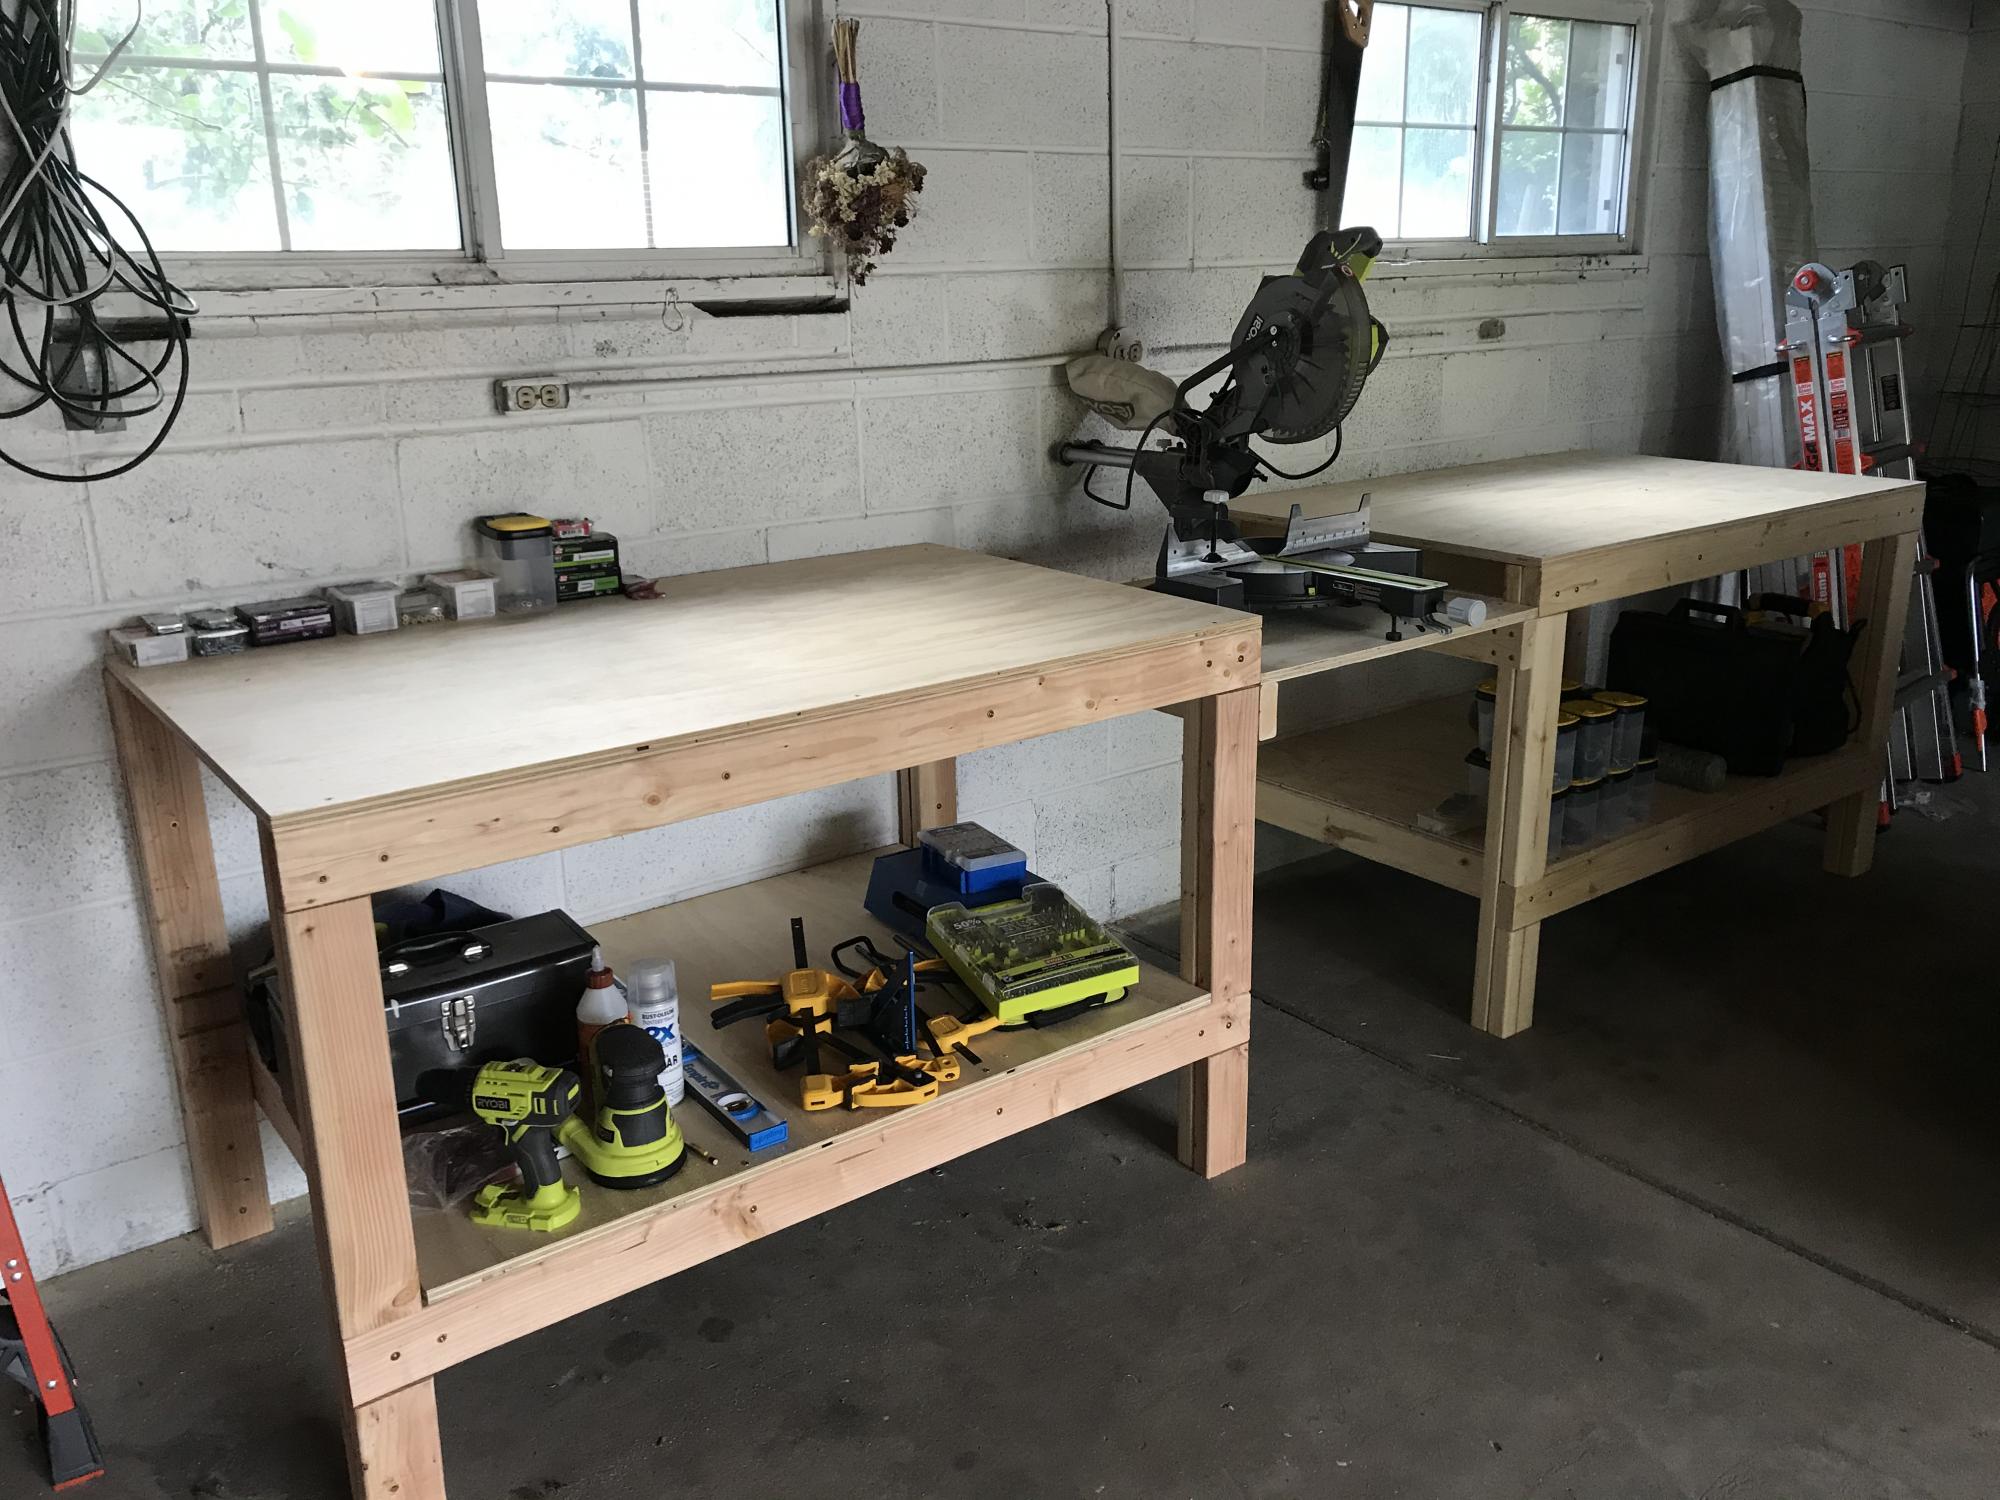
Workbench

Submitted by Ulrike on Sun, 06/21/2020 - 09:37

Built 2 of the workbenches for our garage. The plans made assembly very easy and quick. We had Home Depot cut the plywood to size.

Estimated Time Investment
Afternoon Project (3-6 Hours)

Comments

Laundry Station

Submitted by Anonymous (not verified) on Mon, 02/27/2017 - 10:03
We followed these plans, but instead of building two cabinets, we combined them with one side in the middle. We also used pine planks on top. The sides are painted with chalk paint, and the top is finished in dark wax. 
Built from Plan(s)
Estimated Cost
$200
Estimated Time Investment
Afternoon Project (3-6 Hours)
Recommended Skill Level
Beginner

Comments

Bella's Backyard

Submitted by ebuffy99 on Tue, 04/02/2013 - 14:48

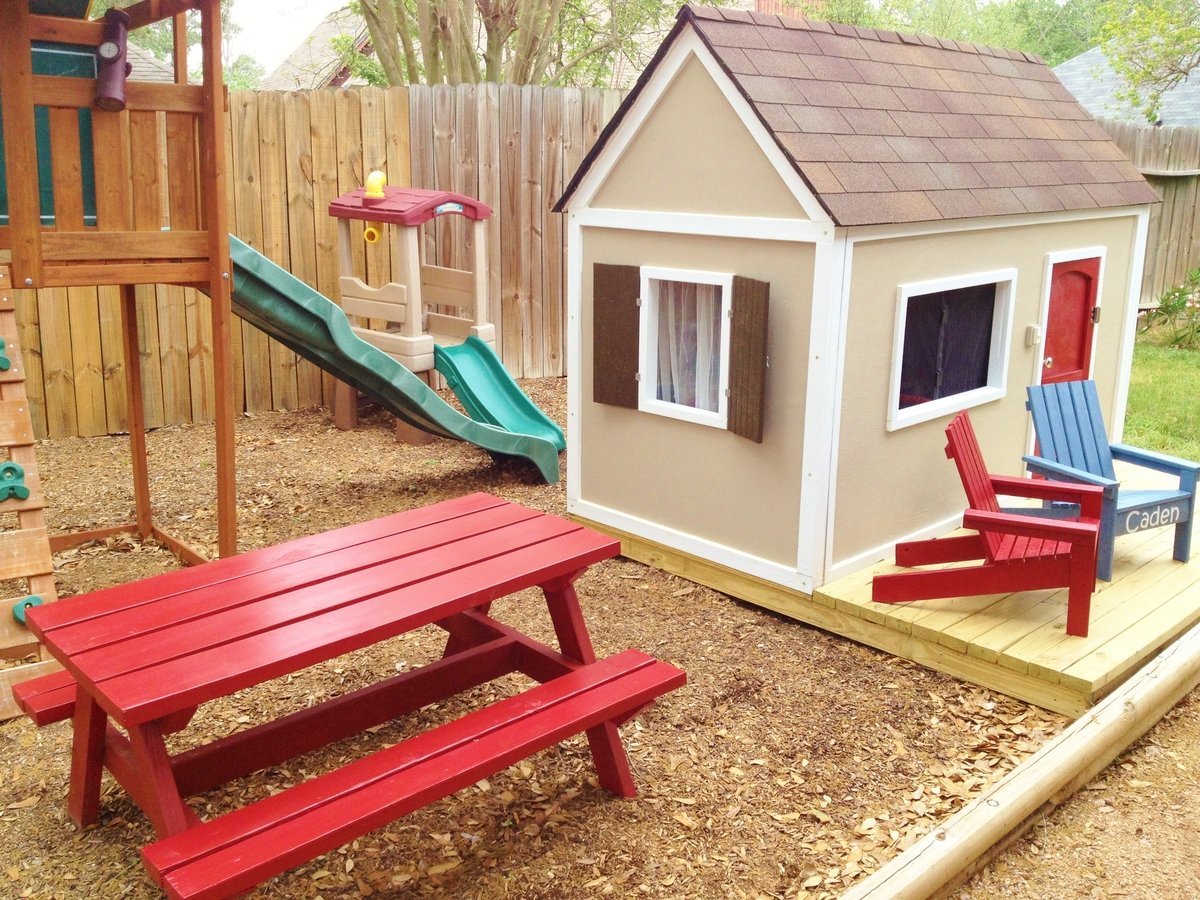
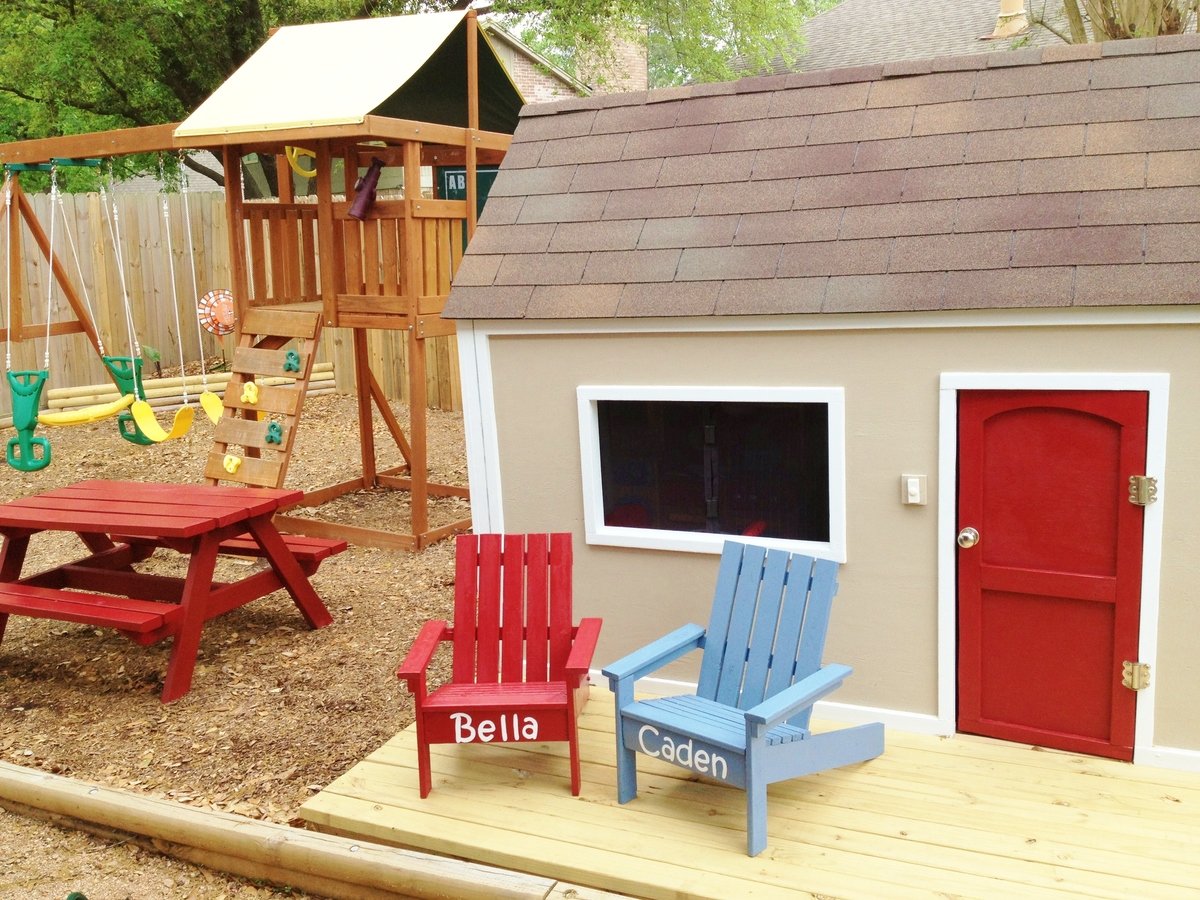
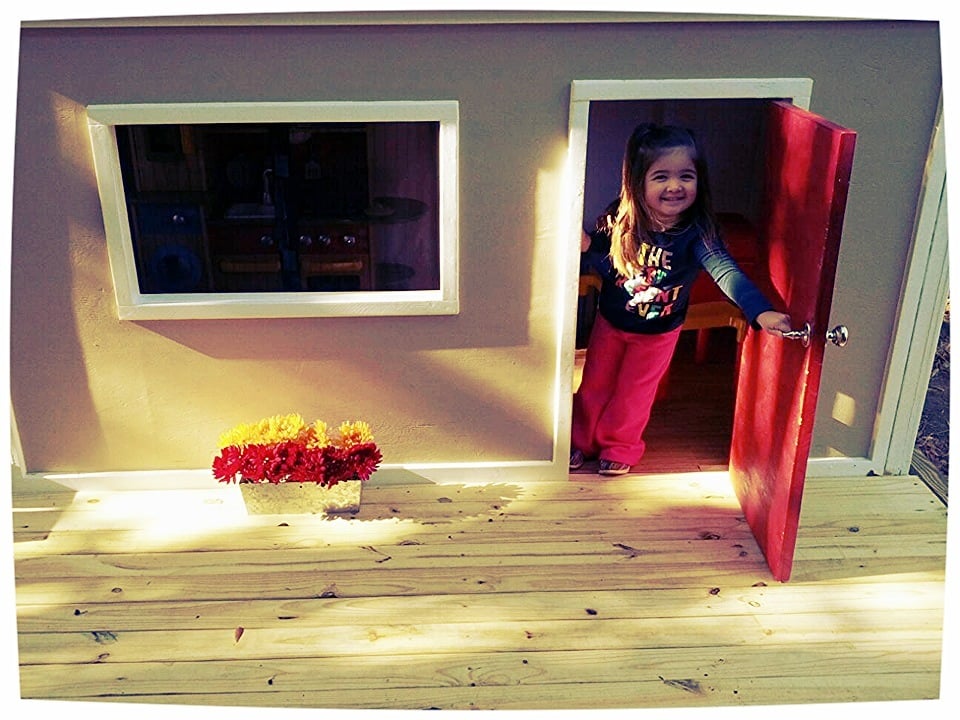
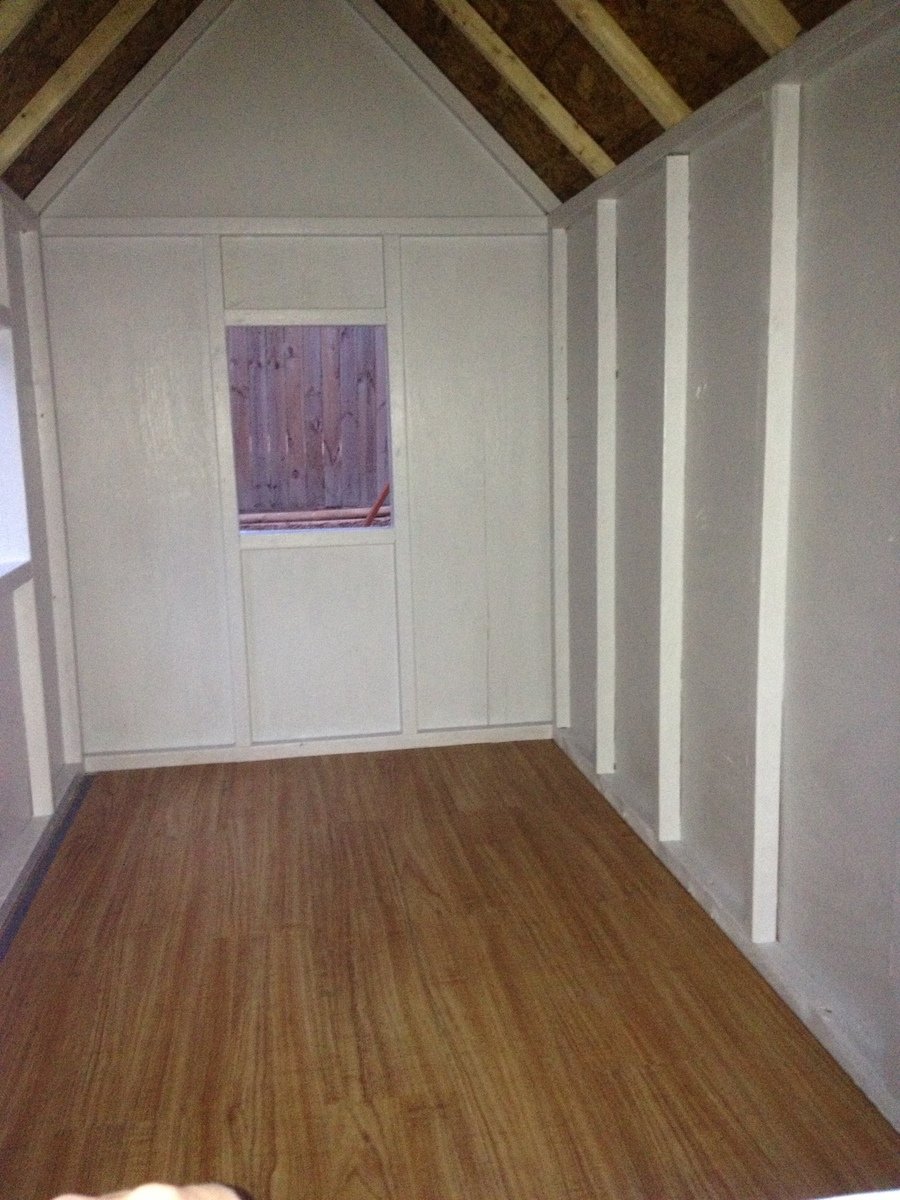
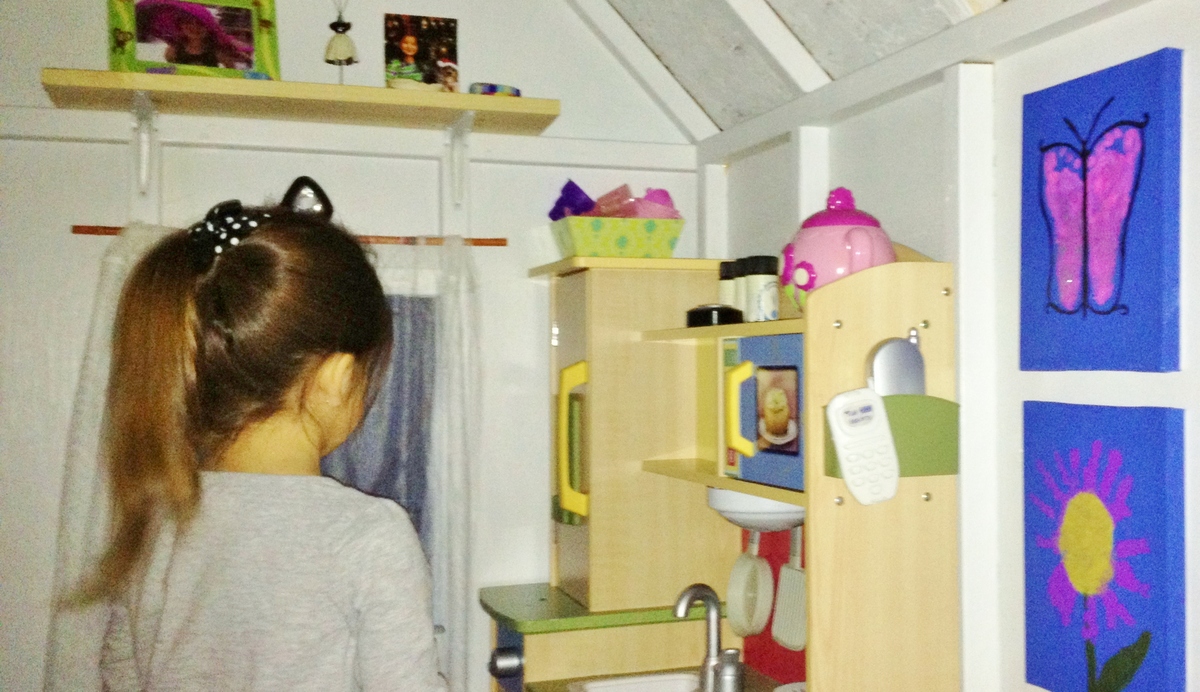
My first project ever was the red picnic table about a year ago and have built many more as housewarming/kid's bday gifts. This Christmas, instead of buying my daughter more toys, I decided to build her a playhouse. Not only was it a very special gift for her but also freed up space in my house being able to put her play kitchen, table, and other toys in it. The small changes we made were the size of the deck to better fit our available space and the shutters (made out of scrap 1x2s and hinged to close with a hook and eye). We put down 3/4" treated plywood as the base and then used 1 box of vinyl plank flooring that looks like wood to hold up to the Texas humidity. I eventually want to make accordion-like shutters for the front window but have up a bug curtain (used for regular size doorways and closes together with magnets) that I cut in half to fit. We have bad mosquitoes here in Texas! I also added a wireless doorbell.

Estimated Cost
$500
Estimated Time Investment
Week Long Project (20 Hours or More)
Recommended Skill Level
Advanced

Comments

spiceylg

Wed, 04/03/2013 - 04:58

You did an amazing job! Lucky little girl. Looks so cozy inside and out!

Seasonal And Holiday

Bookshelf Hidden Doors Over Closet

Submitted by Anonymous (not verified) on Mon, 10/23/2017 - 10:13

Hidden door bookshelves hide a furnace closet.  Built by Kraig Faulkner

Built from Plan(s)
Recommended Skill Level
Advanced

Comments

charkue

Thu, 09/17/2020 - 08:01

I'm currently working on a basement renovation project. I'm probably going to incorporate a feature like this for my mechanicals, too.

One important safety note for anyone who wants to do this: It's recommended that your furnace be a minimum of 30" away from any combustible materials. That includes walls and partitions. The image of this project displayed is right next to the furnace, which is not a good idea.

Wooden garden tools storage shed

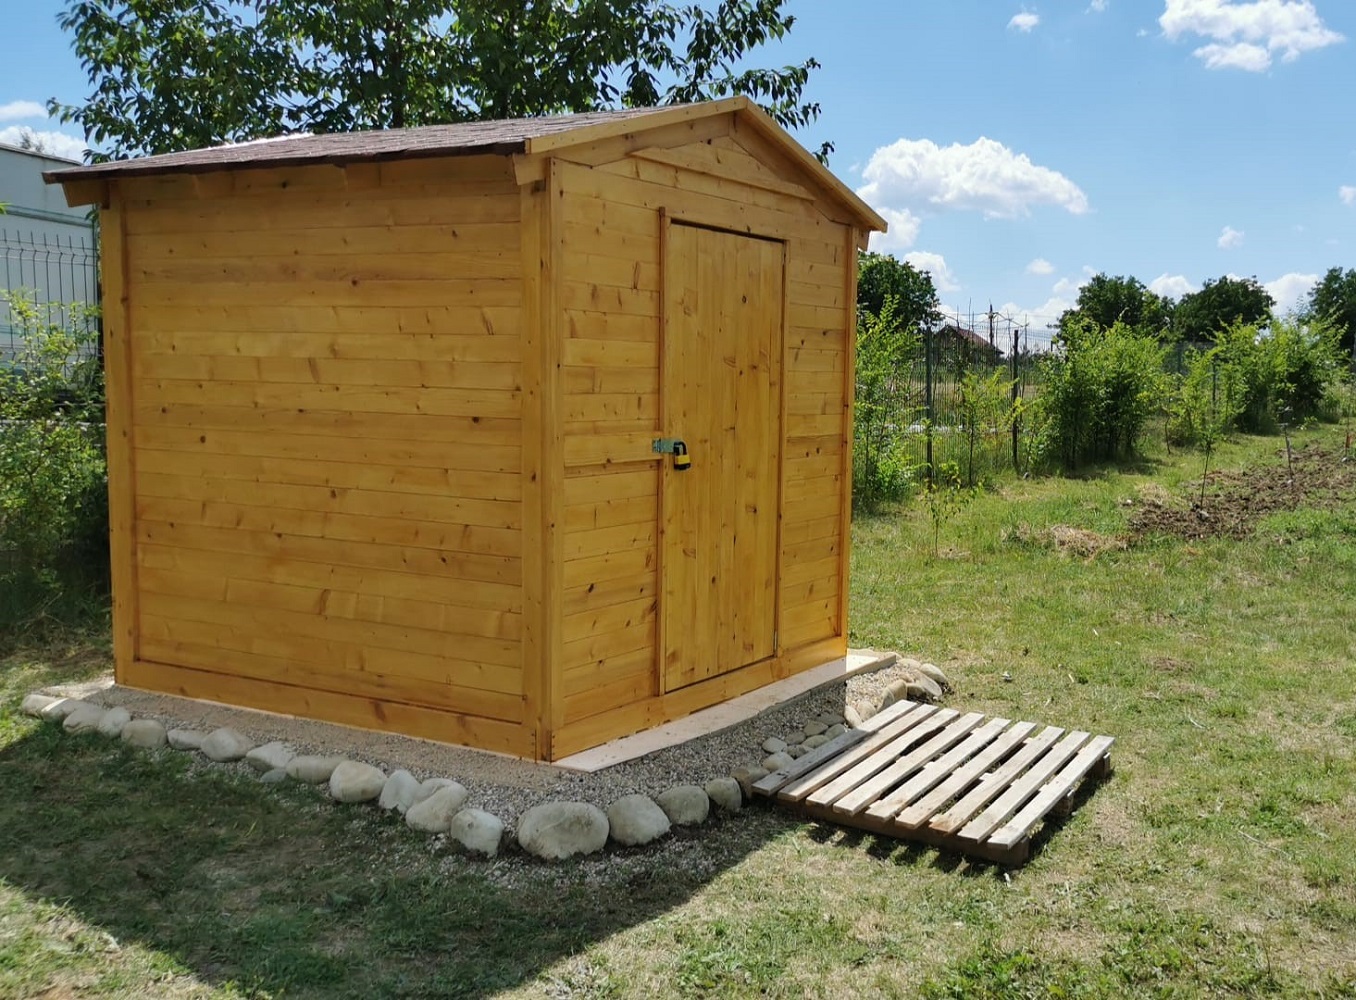
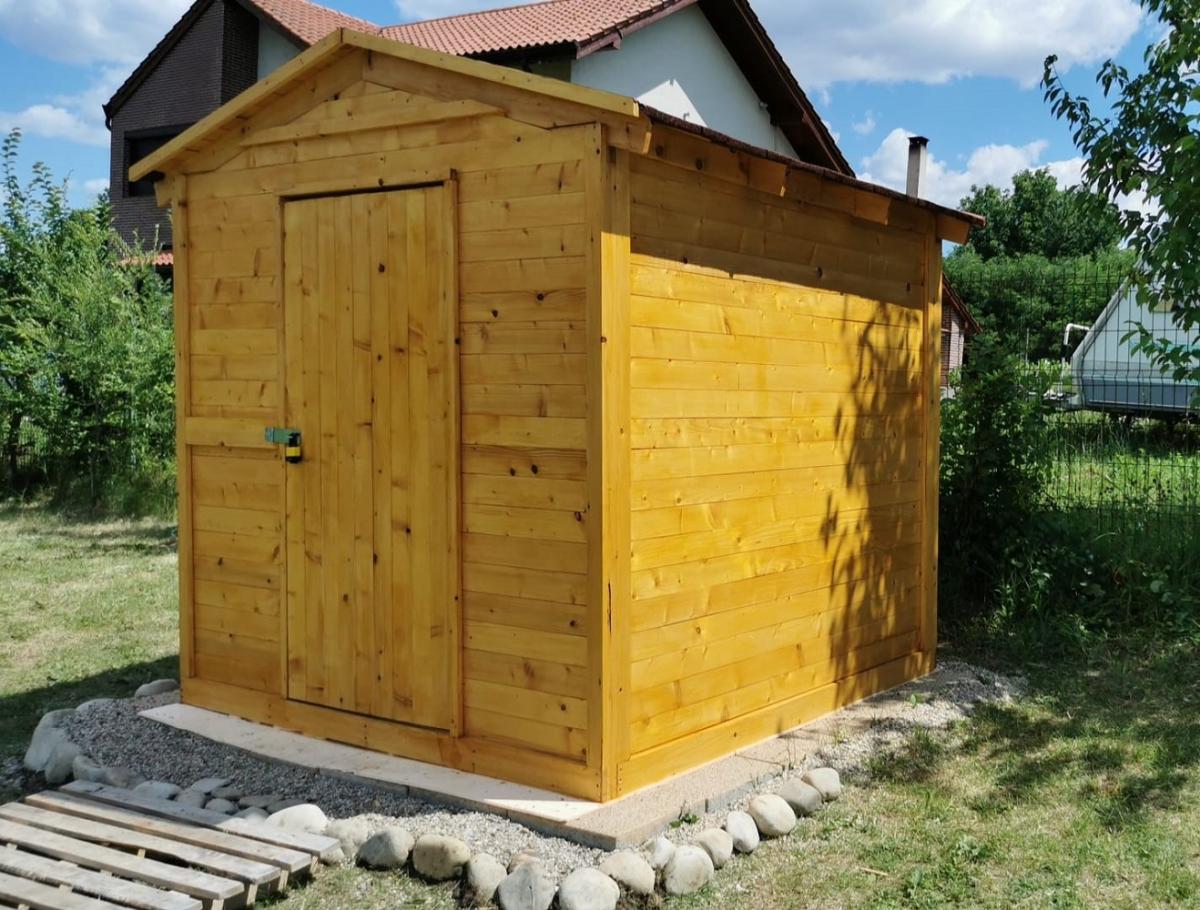
Our last project was building a tiny garden tools storage shed. We used only 1 x 4 boards. We don't have any plans, but you can watch the entire building process on our YouTube channel. We are very proud of the way the project turned out.

Built from Plan(s)

Comments

Seasonal And Holiday

Modern Dorm Mini Refrigerator Microwave Cabinet

Submitted by rachelcb on Sat, 07/31/2021 - 12:35

I changed plan to make deeper. I also modified the bottom trim and top. I put a ball bearing soft door drawer guide on modern door so it can slide back and forth. I feel we need more modern plans on here but with a bit of creativity and using plans you can make anything. I have never built anything before. I love General Finishes Milk Paint in Snow White and I brushed rolled it on (sanded between 3 coats). It’s basically self leveling and leaves a nice matte finish. Used door glide in picture bought from homedepot in the 24 inch and that’s how wide door was and it was 36” tall. Door glide I only used one on top of the door not on bottom as well. Door piece of fiberboard with just strips glued on and quarters spacing them correct.

Estimated Cost
$200
Estimated Time Investment
Weekend Project (10-20 Hours)
Finish Used
Dorm mini refrigerator microwave cabinet
Recommended Skill Level
Starter Project

Comments

Resized modern chairs with table

Submitted by CarolinaL on Thu, 12/28/2017 - 16:27

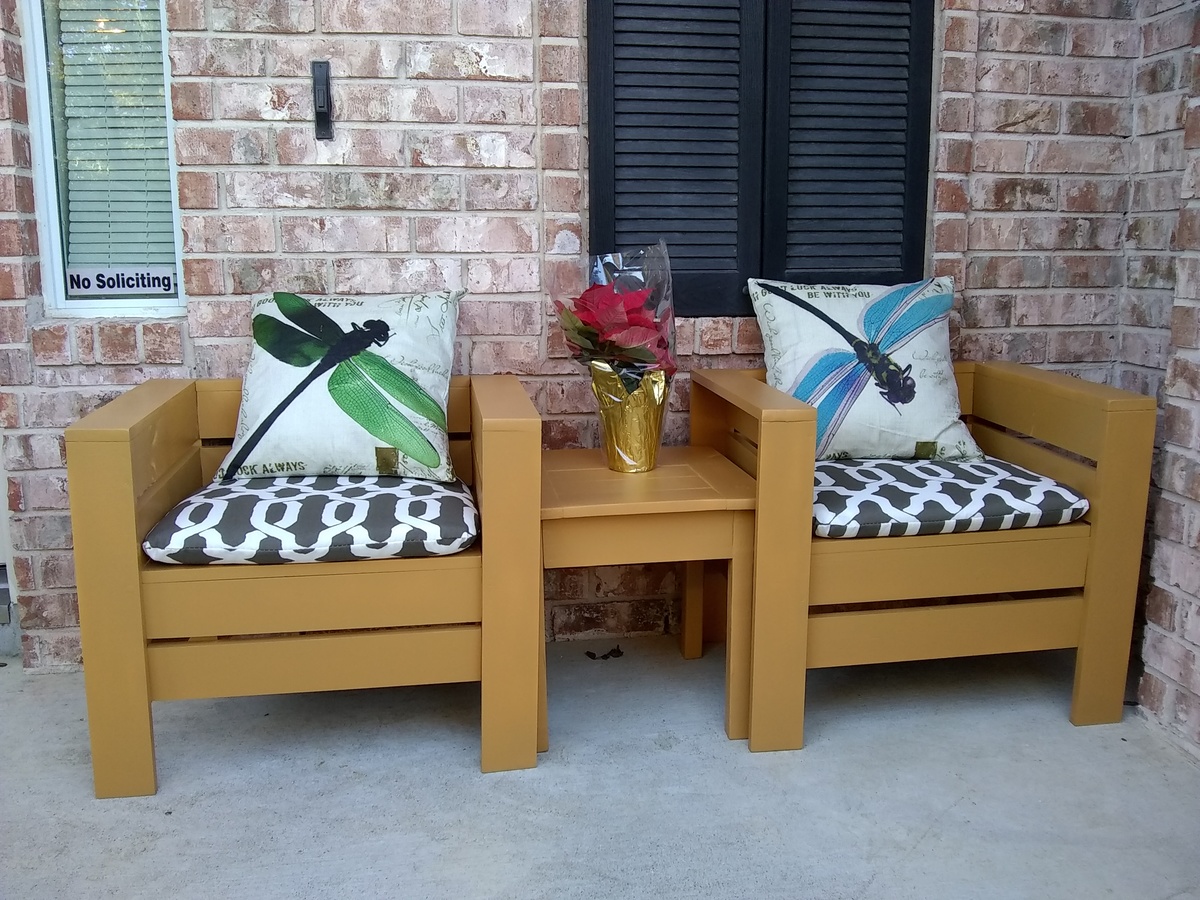
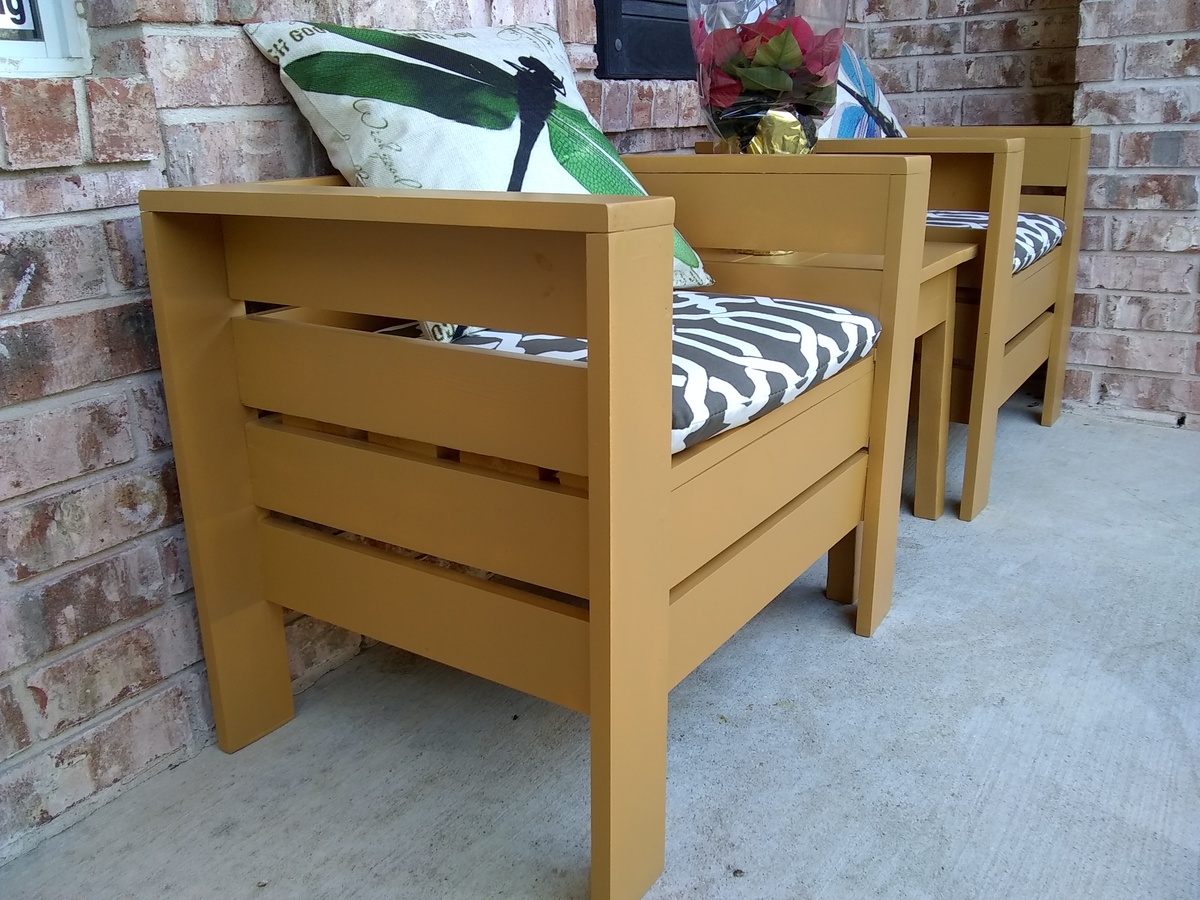
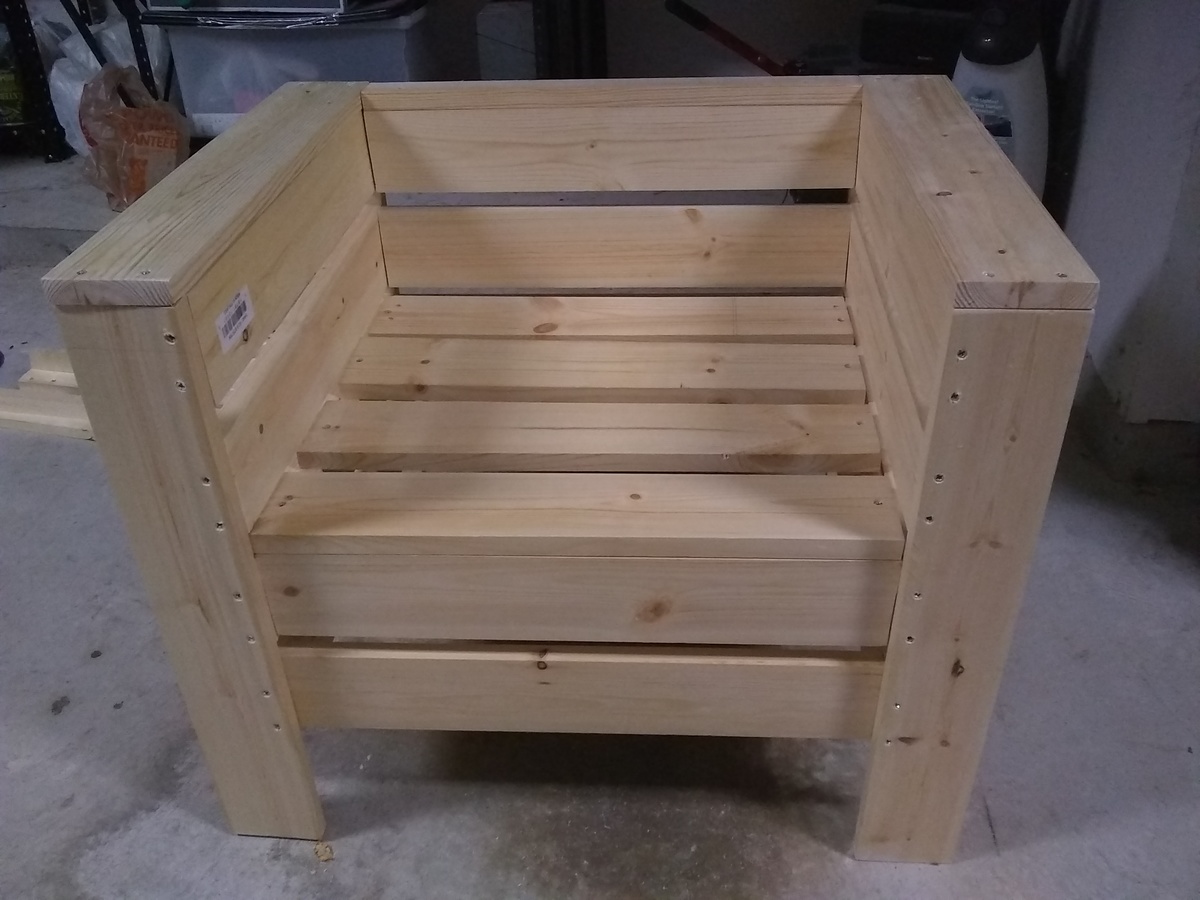
I needed chairs that would fit on my narrow front porch. This plan was great because I was able to resize it to 20x20. I used 1x4s that I already had and some wood glue. They turned out solid. I made the tryde table with left over wood. That one is 17.5x17.5. Super happy with the results. We are doing the garage shelves right now. I have a list of other things I want to make thanks to Ana's wonderful website. 

Estimated Time Investment
Week Long Project (20 Hours or More)
Finish Used
Exterior Valspar with a paint sprayer
Recommended Skill Level
Beginner

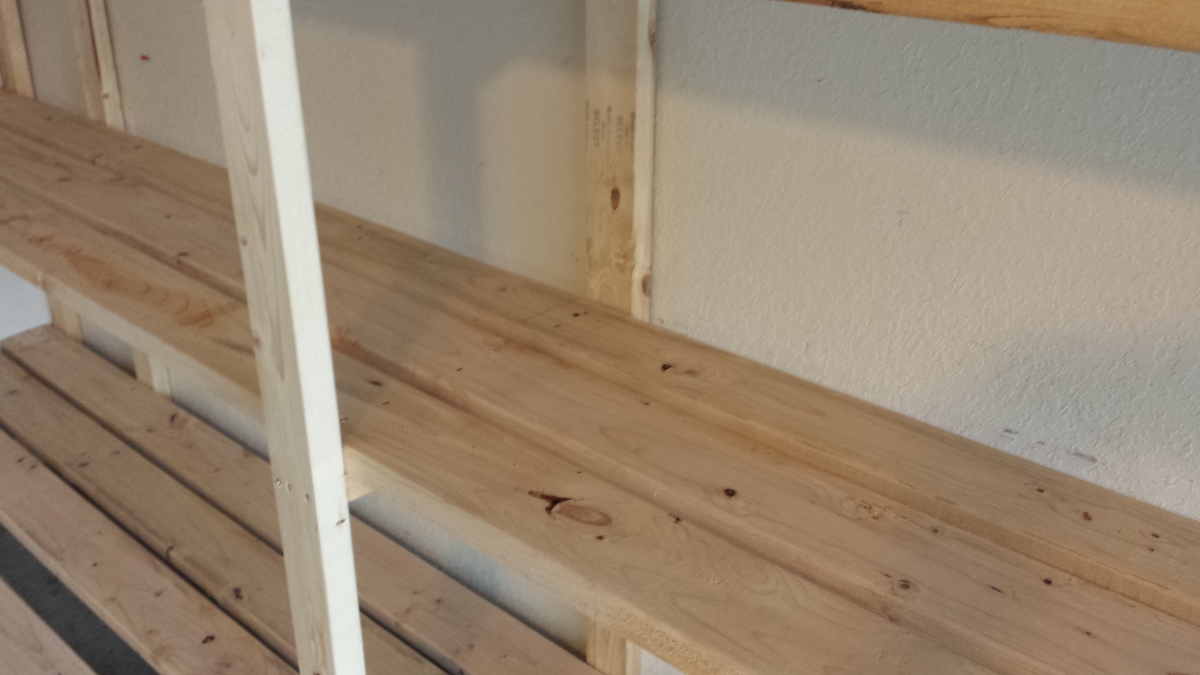
Garage Shelving - Some minor mods to Ana's great basic plan

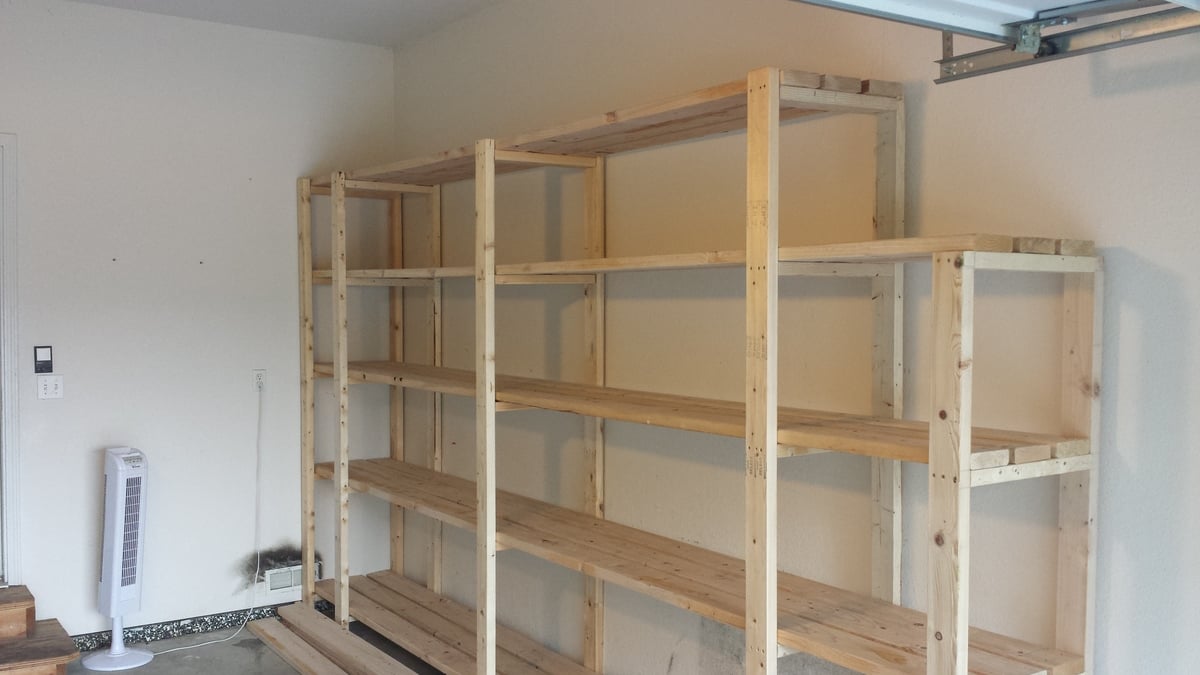
My father-in-law and I knocked this project out in about 5 hours including the trip to the lumber yard. You've got a great basic design here! A few modifications we made:

1. I thought the depth of the shelves in the original plan was a little too shallow so I used 3 2"X6"s instead of the 4 2"x4"s. That made the shelves 1 1/2" deeper. Although 2"x6"s are obviously more expensive, the overall cost for the project didn't change much because we only had to use 3 boards per shelf instead of 4. This also reduced the amount of screwing and made it easier to position the shelf boards without taking measurements since we only had one middle board to deal with (instead of 2 with the 2"x4"s). We just eyeballed the spacing of the middle shelf board as we worked.

2. Since our garage has a 10' ceiling, I decided to go 8' tall with the unit. This allowed us to add a 5th shelf.

3. Some oversized tubs can be 18-20" high or more so I varied the height of each shelf -- 24" at the bottom, then 20", 18" and 16". There's approx. 24" available between the top shelf and the ceiling.

4. Due to the position of the garage door track, I had to notch out a couple feet at one side. The end support piece is only 6' high.

5. Since many storage tubs can be 16-18" wide, I made sure that there was at least 54" between 3 of the vertical support structures. This will allow us to store 3 tubs side-by-side and maximize storage. You might notice that I have two vertical supports that appear to be very close together near the back wall. I did this so I would have something on that side to attach more shelving to on that short wall where the garage door opener is. 

The only cuts we had to make for this entire project were for the 18 1/2" 'braces' or support pieces on the vertical ladder structures. The shelves are either 14' or 12' (top shelf only) and the vertical 2"x4"s are either 8' or 6'. Most lumber yards will carry these lengths in either 2"x4"s or 2"x6"s. 

We didn't use any wood glue, and I admit this may come back to haunt me. However, to get a good fit and eliminate gaps, I used clamps I already owned to squeeze the boards together before adding the screws. Everything feels very solid and sturdy to me. 

Because of the extra height compared with the original plan, I was worried about it possibly tipping over (we have a 10-year-old who likes to climb frown) so I made sure that 3 of the supports are lined up with the wall studs. After leveling the entire unit, I plan to anchor it to the wall using 3 1/2" screws.

So for about $187 in lumber and maybe $20 in construction screws, I've got 76 feet of STURDY shelving that should accommodate hundreds of pounds! Not a bad investment at all...


Estimated Cost
$187 lumber + $20 construction screws
Estimated Time Investment
Afternoon Project (3-6 Hours)
Finish Used
None right now, but my wife wants to sand it and apply marine varnish to give it a shiny, yet still unfinished, look.
Recommended Skill Level
Beginner

Comments

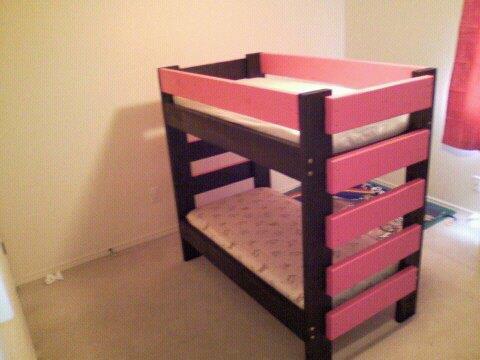
Toddler beds,Toddler bunk beds,Toddler lofts

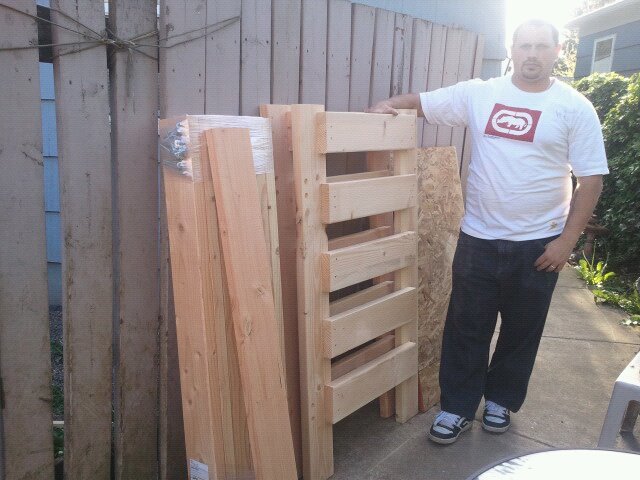
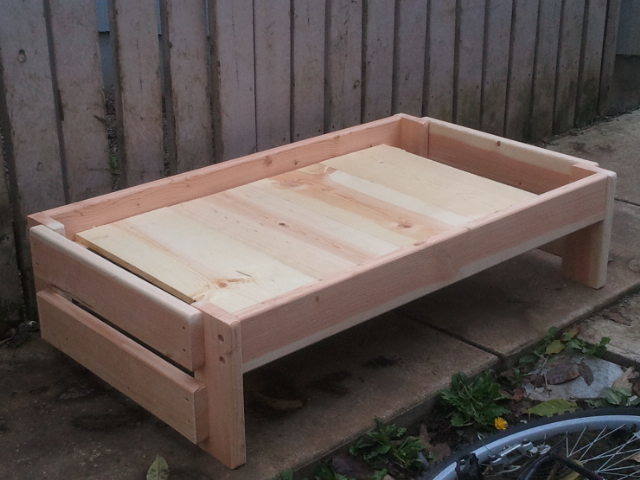
Building Bunk beds and custom beds is what i do. I router the corners so that they are rounded, plane the face's of the boards,and sand to perfection. then i glue and screw it all together. you can check out the site at http://www.dreamworksbunkbeds.com

Built from Plan(s)
Estimated Time Investment
Afternoon Project (3-6 Hours)
Finish Used
all my products come with no finish just natural.
Recommended Skill Level
Beginner

Eagle Project Workbench - Ultimate Roll Away Workbench with Miter Saw Stand

Submitted by nelsoncc on Mon, 10/18/2021 - 11:32

My son chose to make a workbench for his high school theater for his Eagle Scout project, and selected the Ultimate Roll Away Workbench with Miter Saw Stand as the basis for the project. The theater teacher wanted pegboard for tool storage, so we extended the rear legs on each workbench and notched the top to allow them to pass through. We built two frames from 1x3s to fit inside the rear legs, then put a pegboard inside each one.

To secure the extended legs, we added a riser shelf from 1x8s. We put a storage station for drills at one end of the riser shelf.

We also made all the cart shelves adjustable and added an adjustable shelf under the miter saw, and added lighting and power strips.

We left out the panels at the end of the workbench to allow access to the shelves there without having to remove the carts. Once we had constructed it, we added a brace at each end of the workbench to better support the outside front legs.

This plan was the perfect one for the theater, giving a stable work area for the miter saw and allowing for tool and materials storage. The carts can be rolled around to where a work surface is needed. This will come in handy for years of set construction in the theater. So proud of my son and all the leadership and hard work he put into this project!

Comments

Garage makeover

Submitted by aderosa on Wed, 01/17/2018 - 11:05

Inspired by the ryobi dream workshop.  Shelving unit and the feed carts are complete.  Still working on the the organization of all our stuff!

Estimated Time Investment
Weekend Project (10-20 Hours)
Recommended Skill Level
Beginner

Comments

Back